All posts by Ralph

Action At Sanwa – Part 1: Preliminaries

The Wandering Mystic, Kibwe Nkruma and his followers entered Kattego some weeks ago.

He quickly alienated  the conservative Kattegoans.  More importantly his disruptive proselytizing drew the ire of Kattego’s leader, Oumar.  Before his arrest order could be carried out, Kibwe fled north to the village of Sanwa.

He had quite a different reception in that village, where the people treated him and his disciples with respect.  The Sanwanians have a number of belief systems, all of which emphasize the supernatural.   Kibwe’s pronouncements resonated with them, and he became a much sought-after soothsayer.

Angered by Kibwe’s escape, Oumar ordered he be pursued, arrested, and brought back to Kattego.

The Sanwanians refused to allow Oumar’s order to be carried out.  Now angered, the usually even-keeled Oumar threatened the use of force.  Once again, the Sanwanians refused to comply, encouraged by Kibwe’s assurances of a great victory.

Anger turned to rage, and Oumar ordered a punitive expedition mounted to take Kibwe by force.  The people of Sanwa  prepared to meet the threat.

As the Kattego Army approached, the Sanwa leaders chose an area of rough ground, just outside the village and overlooked by a small hill, to make their stand.  The small army marched from the city and  waited for the advancing Kattegoans.

Yes, It Usually Is This Difficult

I fish, so I read about fishing.  Sometime in the last couple of years I came across an article describing a unusual fishing survey.  The survey asked the question, “What Percentage Of The Time Do You Go Fishing And Not Catch Anything”?  The surveyor insisted on brutal honesty.  If I remember right, the aggregate was about 75 percent of the time.

Now, who wants to hear about a fishing trip where you don’t catch a damn thing?

I think it’s the same with wargaming blogs.  People only want to read about success with lots of supporting eye candy.

In the interest of something different, here’s a quick story about the proverbial 75 percent.

A couple years ago, during my period of blog inactivity, I decided to upgrade my terrain.  One priority was  purchasing some additional K&M trees.  I had splurged on several many years ago, but wanted/needed more.

It was hard to find them in the USA.   When I did find a provider, I was overjoyed that bases were available.  For some reason, my first ones came without individual bases, but with a plastic “sheet” (for lack of a better word) that, with  superglue and machined nuts,  served to keep the trees upright.  Awkward, do-able, but unsatisfying.  One of those visual irritants when placed on the table.

So, I included a bunch of bases in my order.  Unfortunately, they were no longer in stock and could not be backordered.  The provider  said I could fabricate bases using plastic screw anchors and florist’s tape.  The tree would fit in the anchor, the wrapped tape would form the trunk, and the whole thing  then glued on a (in my case) circular wood base.

I tried.  It was unsatisfactory.  The trees and wood bases went in a box.  The florist’s tape eventually disappeared.

This December I tried again, this time using at first sections of plastic straws and then plastic tubing – from Home Depot – for trunks.  Paint wouldn’t stick to the primed straw sections, and the curved plastic tubing was an absolute bitch to get straightened out.  This drama played itself out over the entire month.  My final attempt at basing resulted in  escalating levels of chaos.

Looking pretty organized.  Pliers, bases, trees, adhesive.  But then…..

Circular bases weren’t working.  Too shallow for a number of different adhesives/mixes of adhesives, so I started digging around for alternative bases.

I found this half-hemispheric (?) bit of wood.  But only one.  Problem with it was the hole had to be drilled perfectly straight or the tree would lean awkwardly.  I have marginal straight-drilling capabilities.   But, bending the trunk would make it acceptable.  Just barely acceptable.

Faced with awkwardly bent trunks – another set of minor table irritants –  and a trip to Hobby Lobby to find the needed wood bits, I decided on a drastic course of action……

I Googled up “K&M Trees USA”.  YES!  I found a new provider with bases in stock.

The bases have shipped.  What unexpected challenges will they bring?

Why Not! Irregular Wars Returns To The (Renovated) Table

It was a chicken and egg situation.  Which came first, the decision to refurbish the old DBA table, or re-boot the Irregular Wars East African Renaissance Campaign?

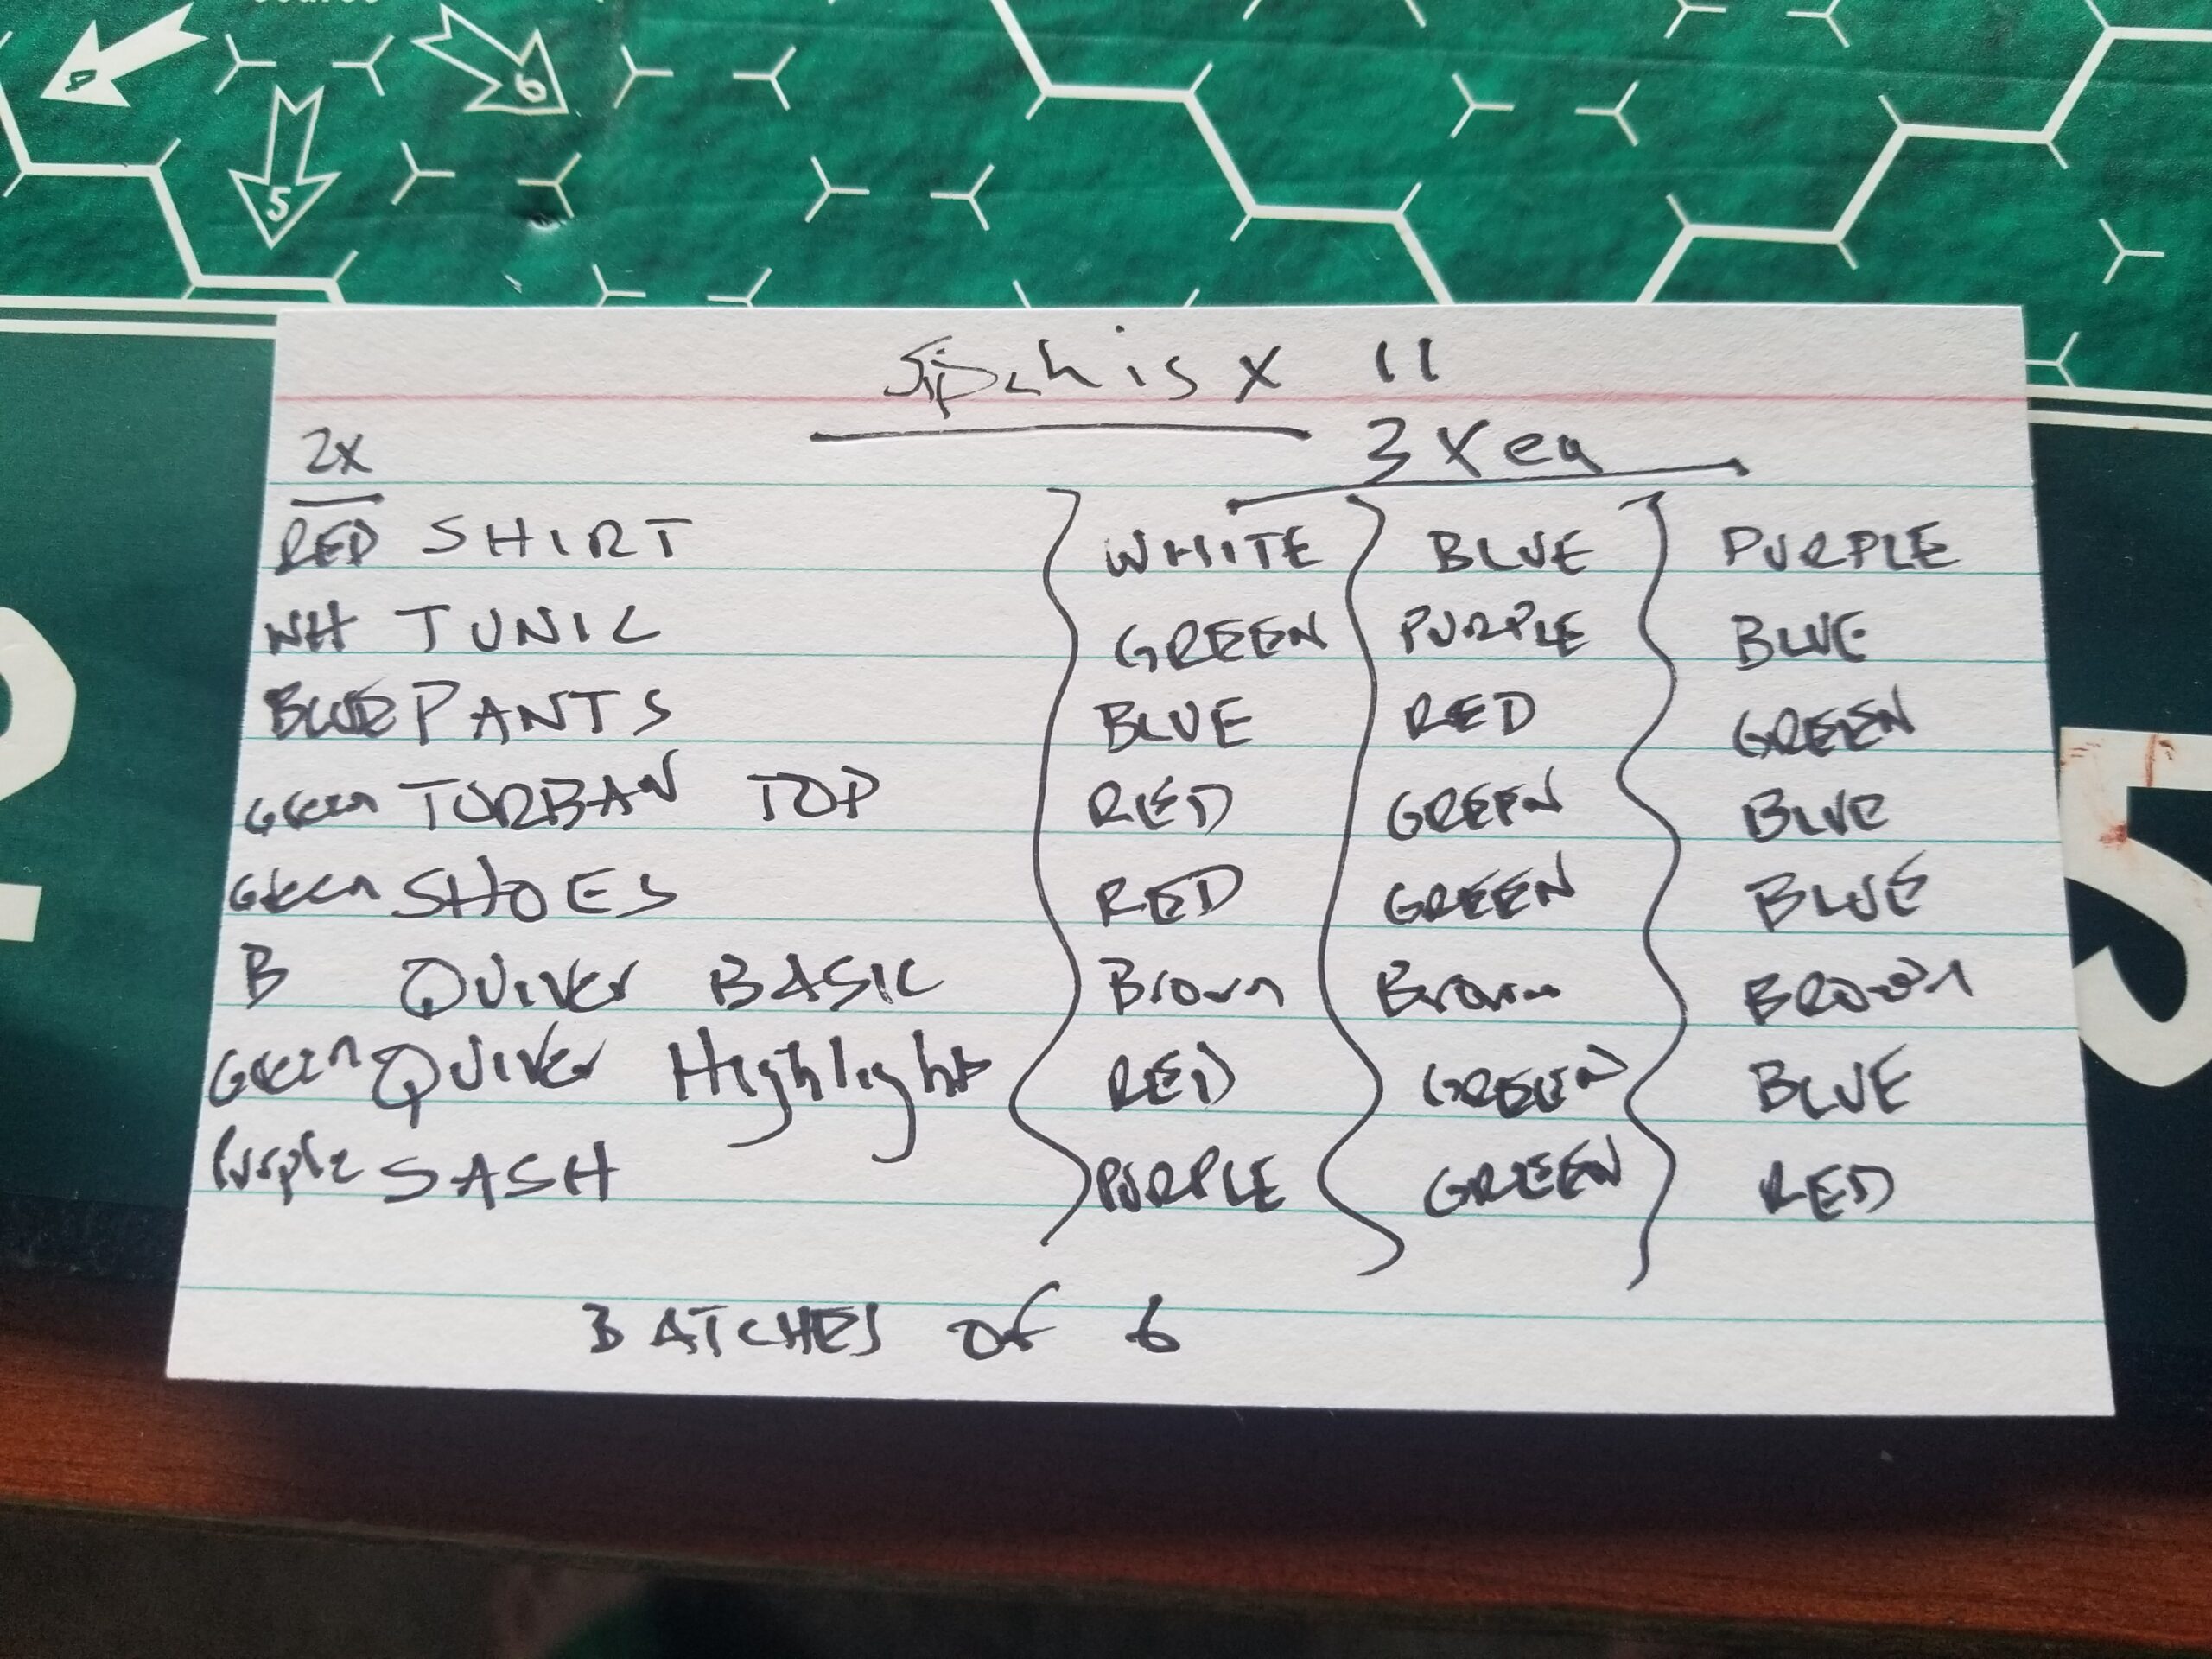
Either way, after reading the rules, fixing up the 2×2 foot table with Home Depot plywood/ spray paint, and reviewing  old posts, serious scenario development work is now underway.   The Yes/No/Maybe dice have had quite a workout over the weekend, answering an endless number of questions scribbled on a yellow notepad.

Before two new characters are introduced, a quick review and update on this “inspired by true events” campaign last featured some three-plus years ago, having started way back in 2016.

Oh, and a map might be helpful.  Don’t you just hate having to following a military narrative without (or with bad) maps.

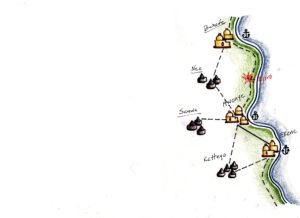
Couldn’t find the original, so this one – annotated with a battle site – will have to do.  Gee, I’m a professional………bad map!

The ineffective Lord Renaldo has been recalled to Portugal to face the King and Bastinado.  His replacement is General Einar Costa.  General Costa was born in Brazil, and has fought in several campaigns.   He is devout, experienced and inspiring.  He is considered a “lucky” general.   His staff includes a skilled physician and highly regarded master gunner.

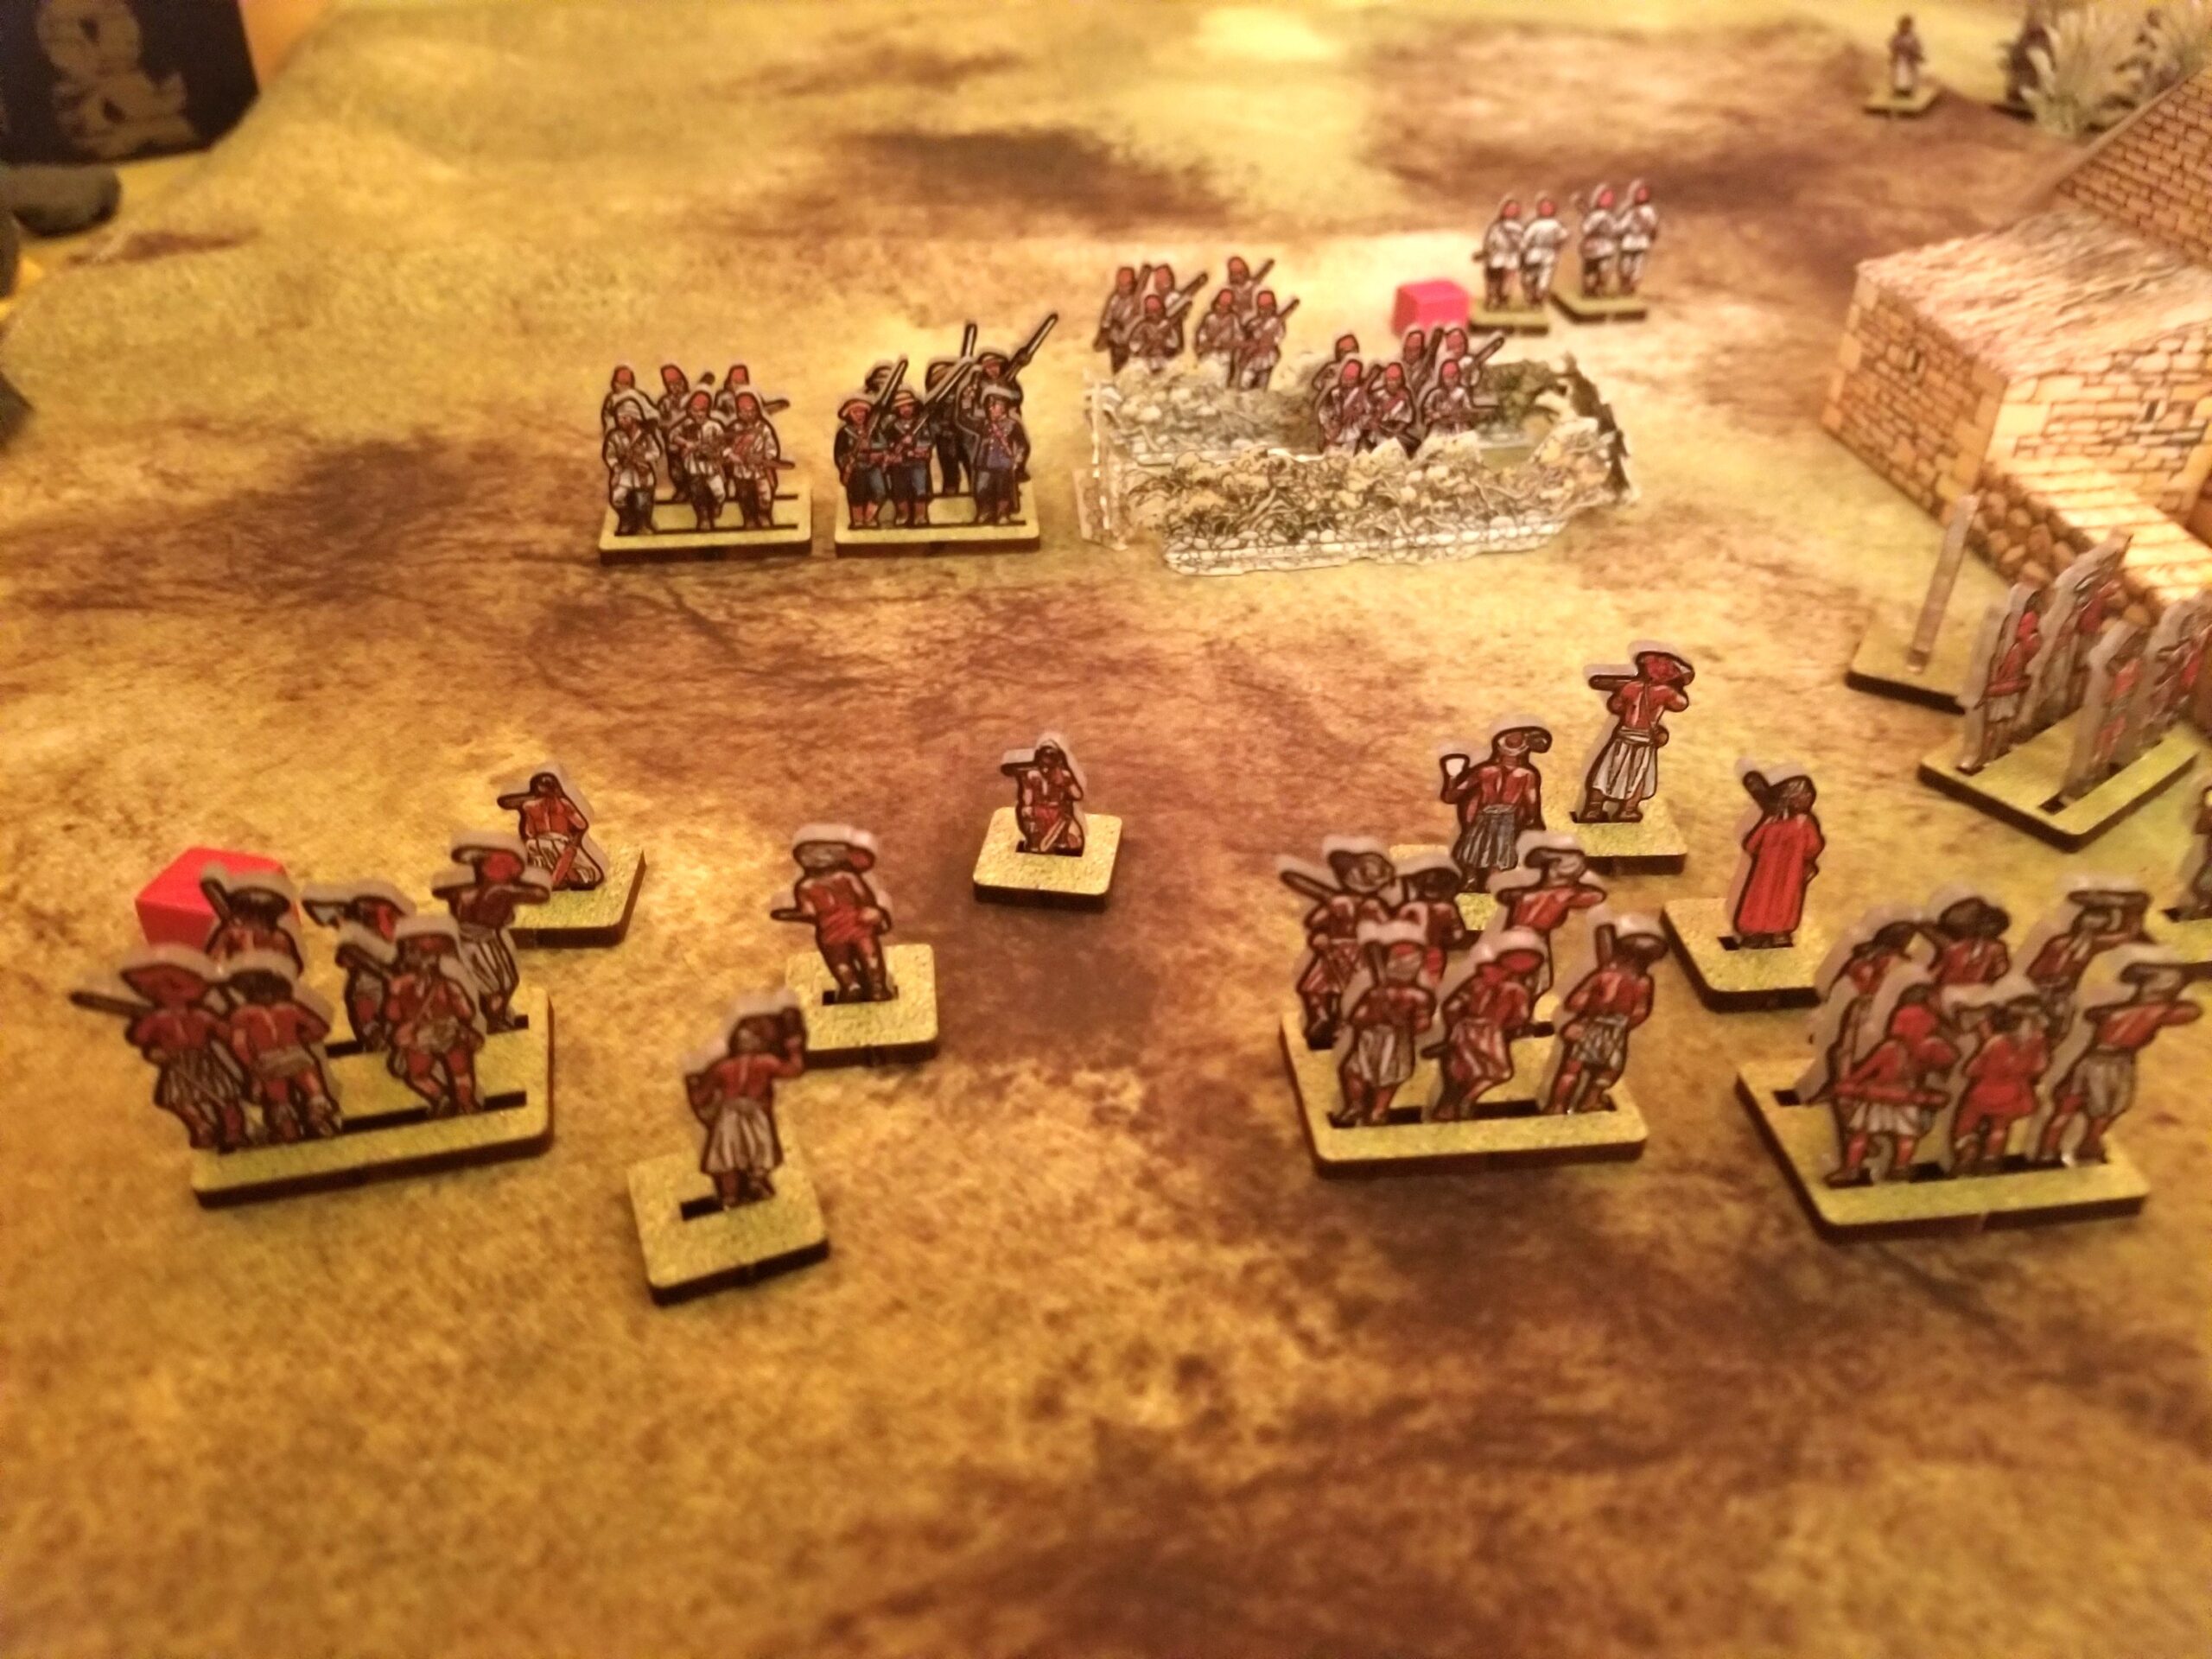
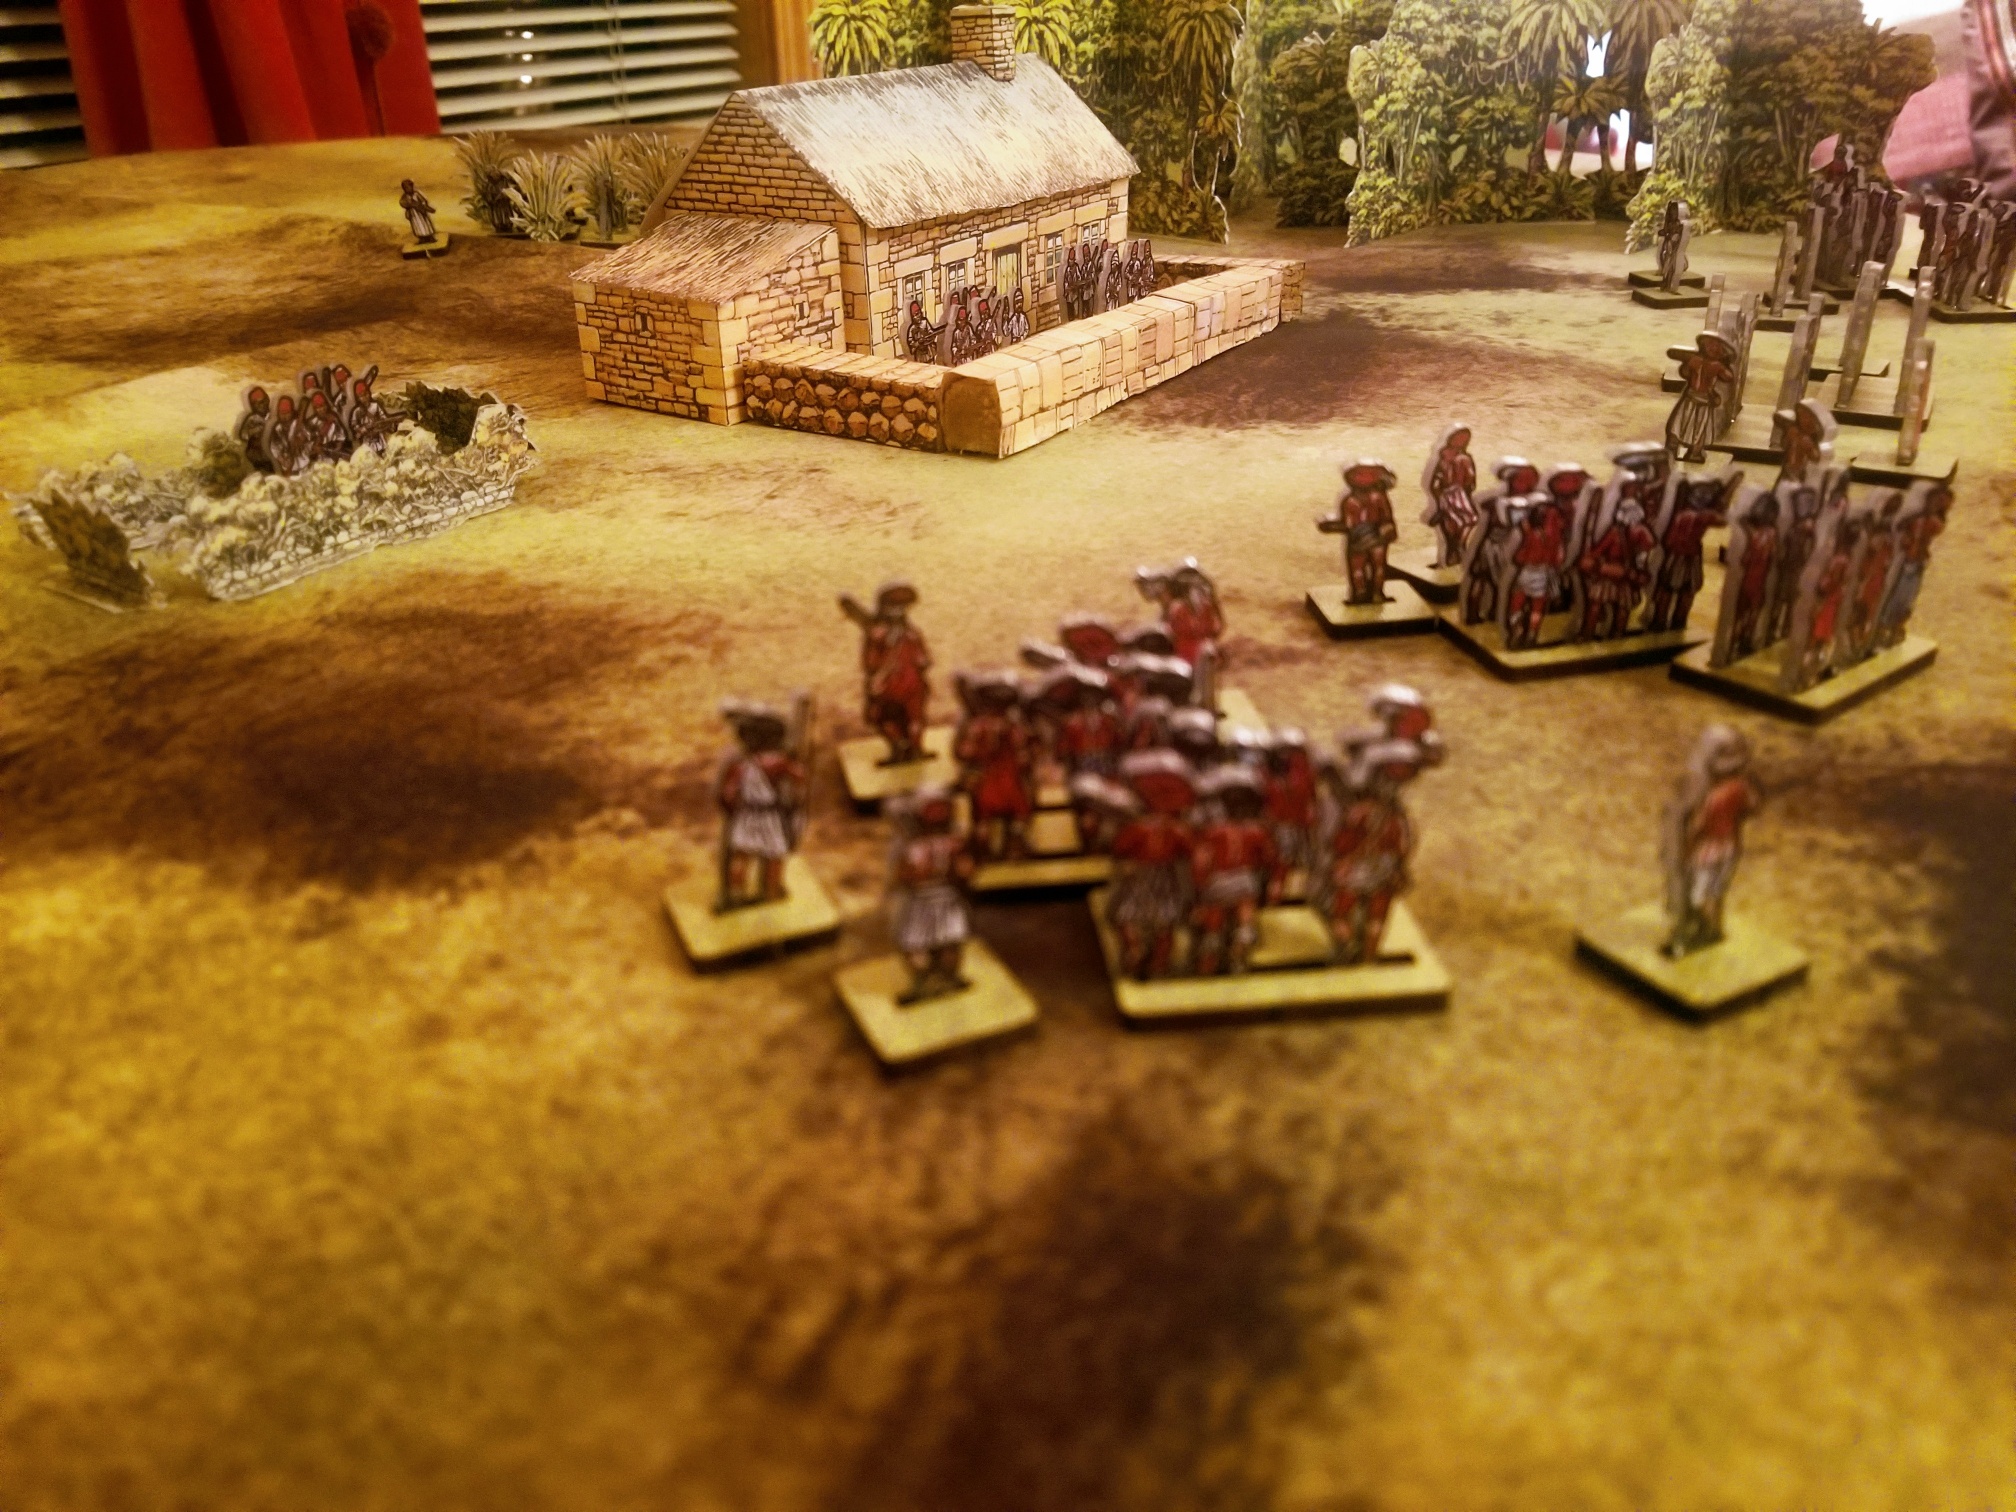
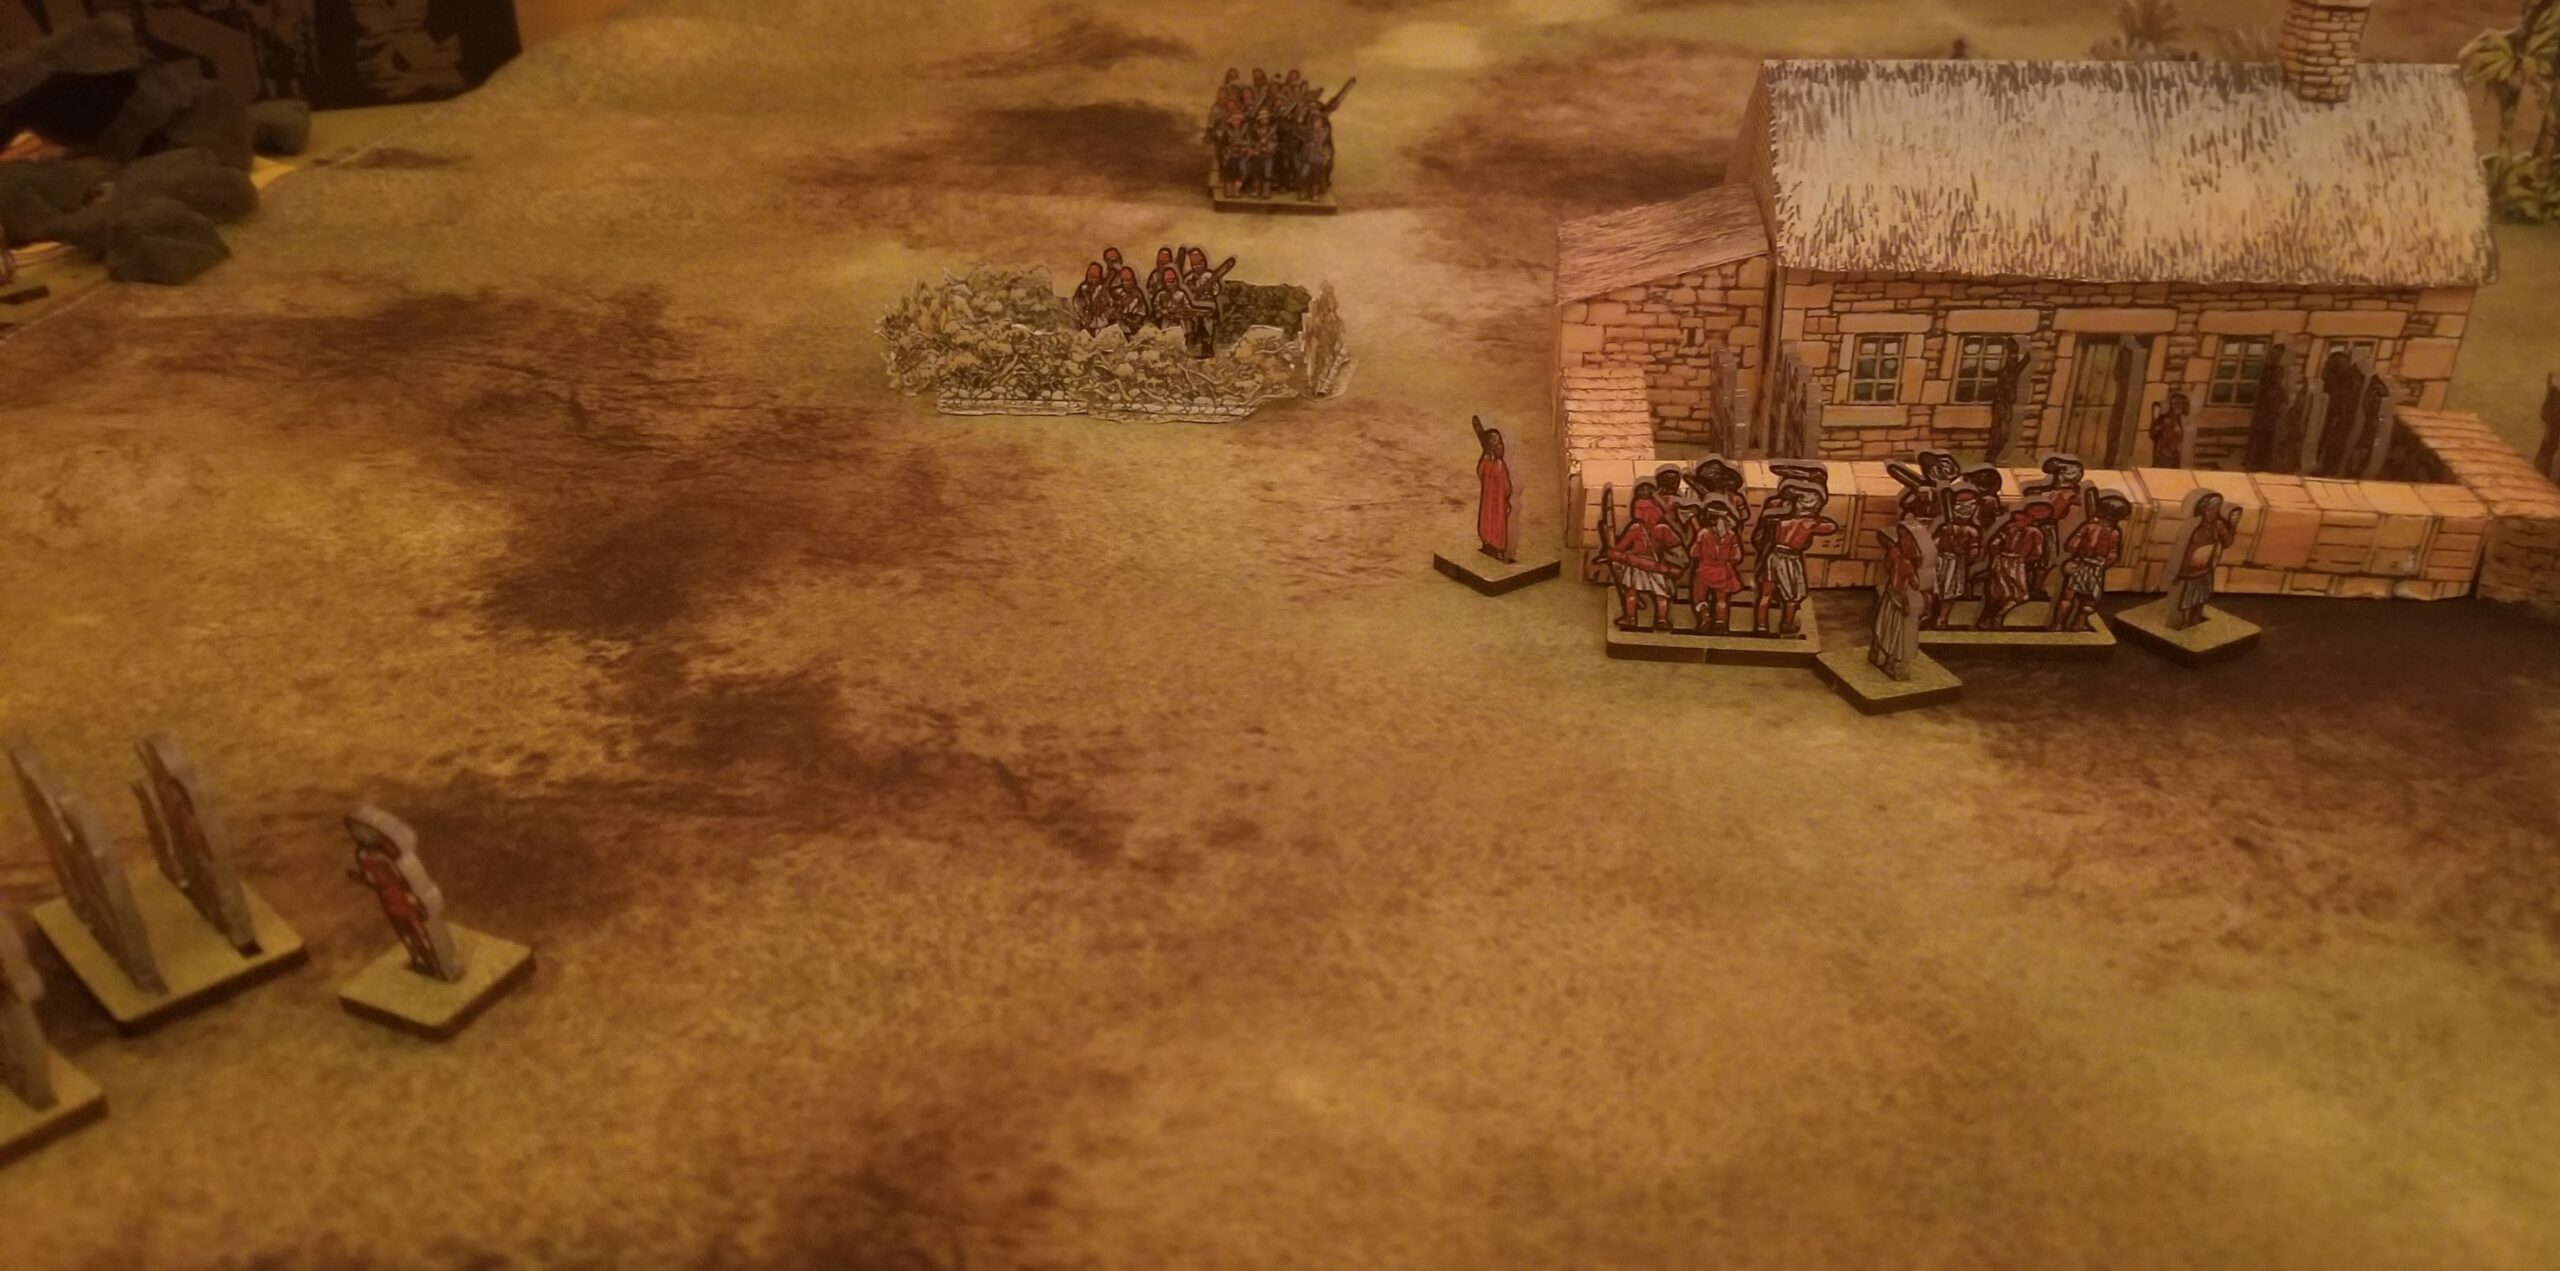
Portuguese strategy has shifted from attempting to exploit the areas outside of Ekene to simply holding on to the port, using it as a stop-over for  merchant ships traveling to/from the Indian Ocean.  While government support is still relatively low,  additional funds have been provided to provide for the city’s defense and improve the port’s facilities.

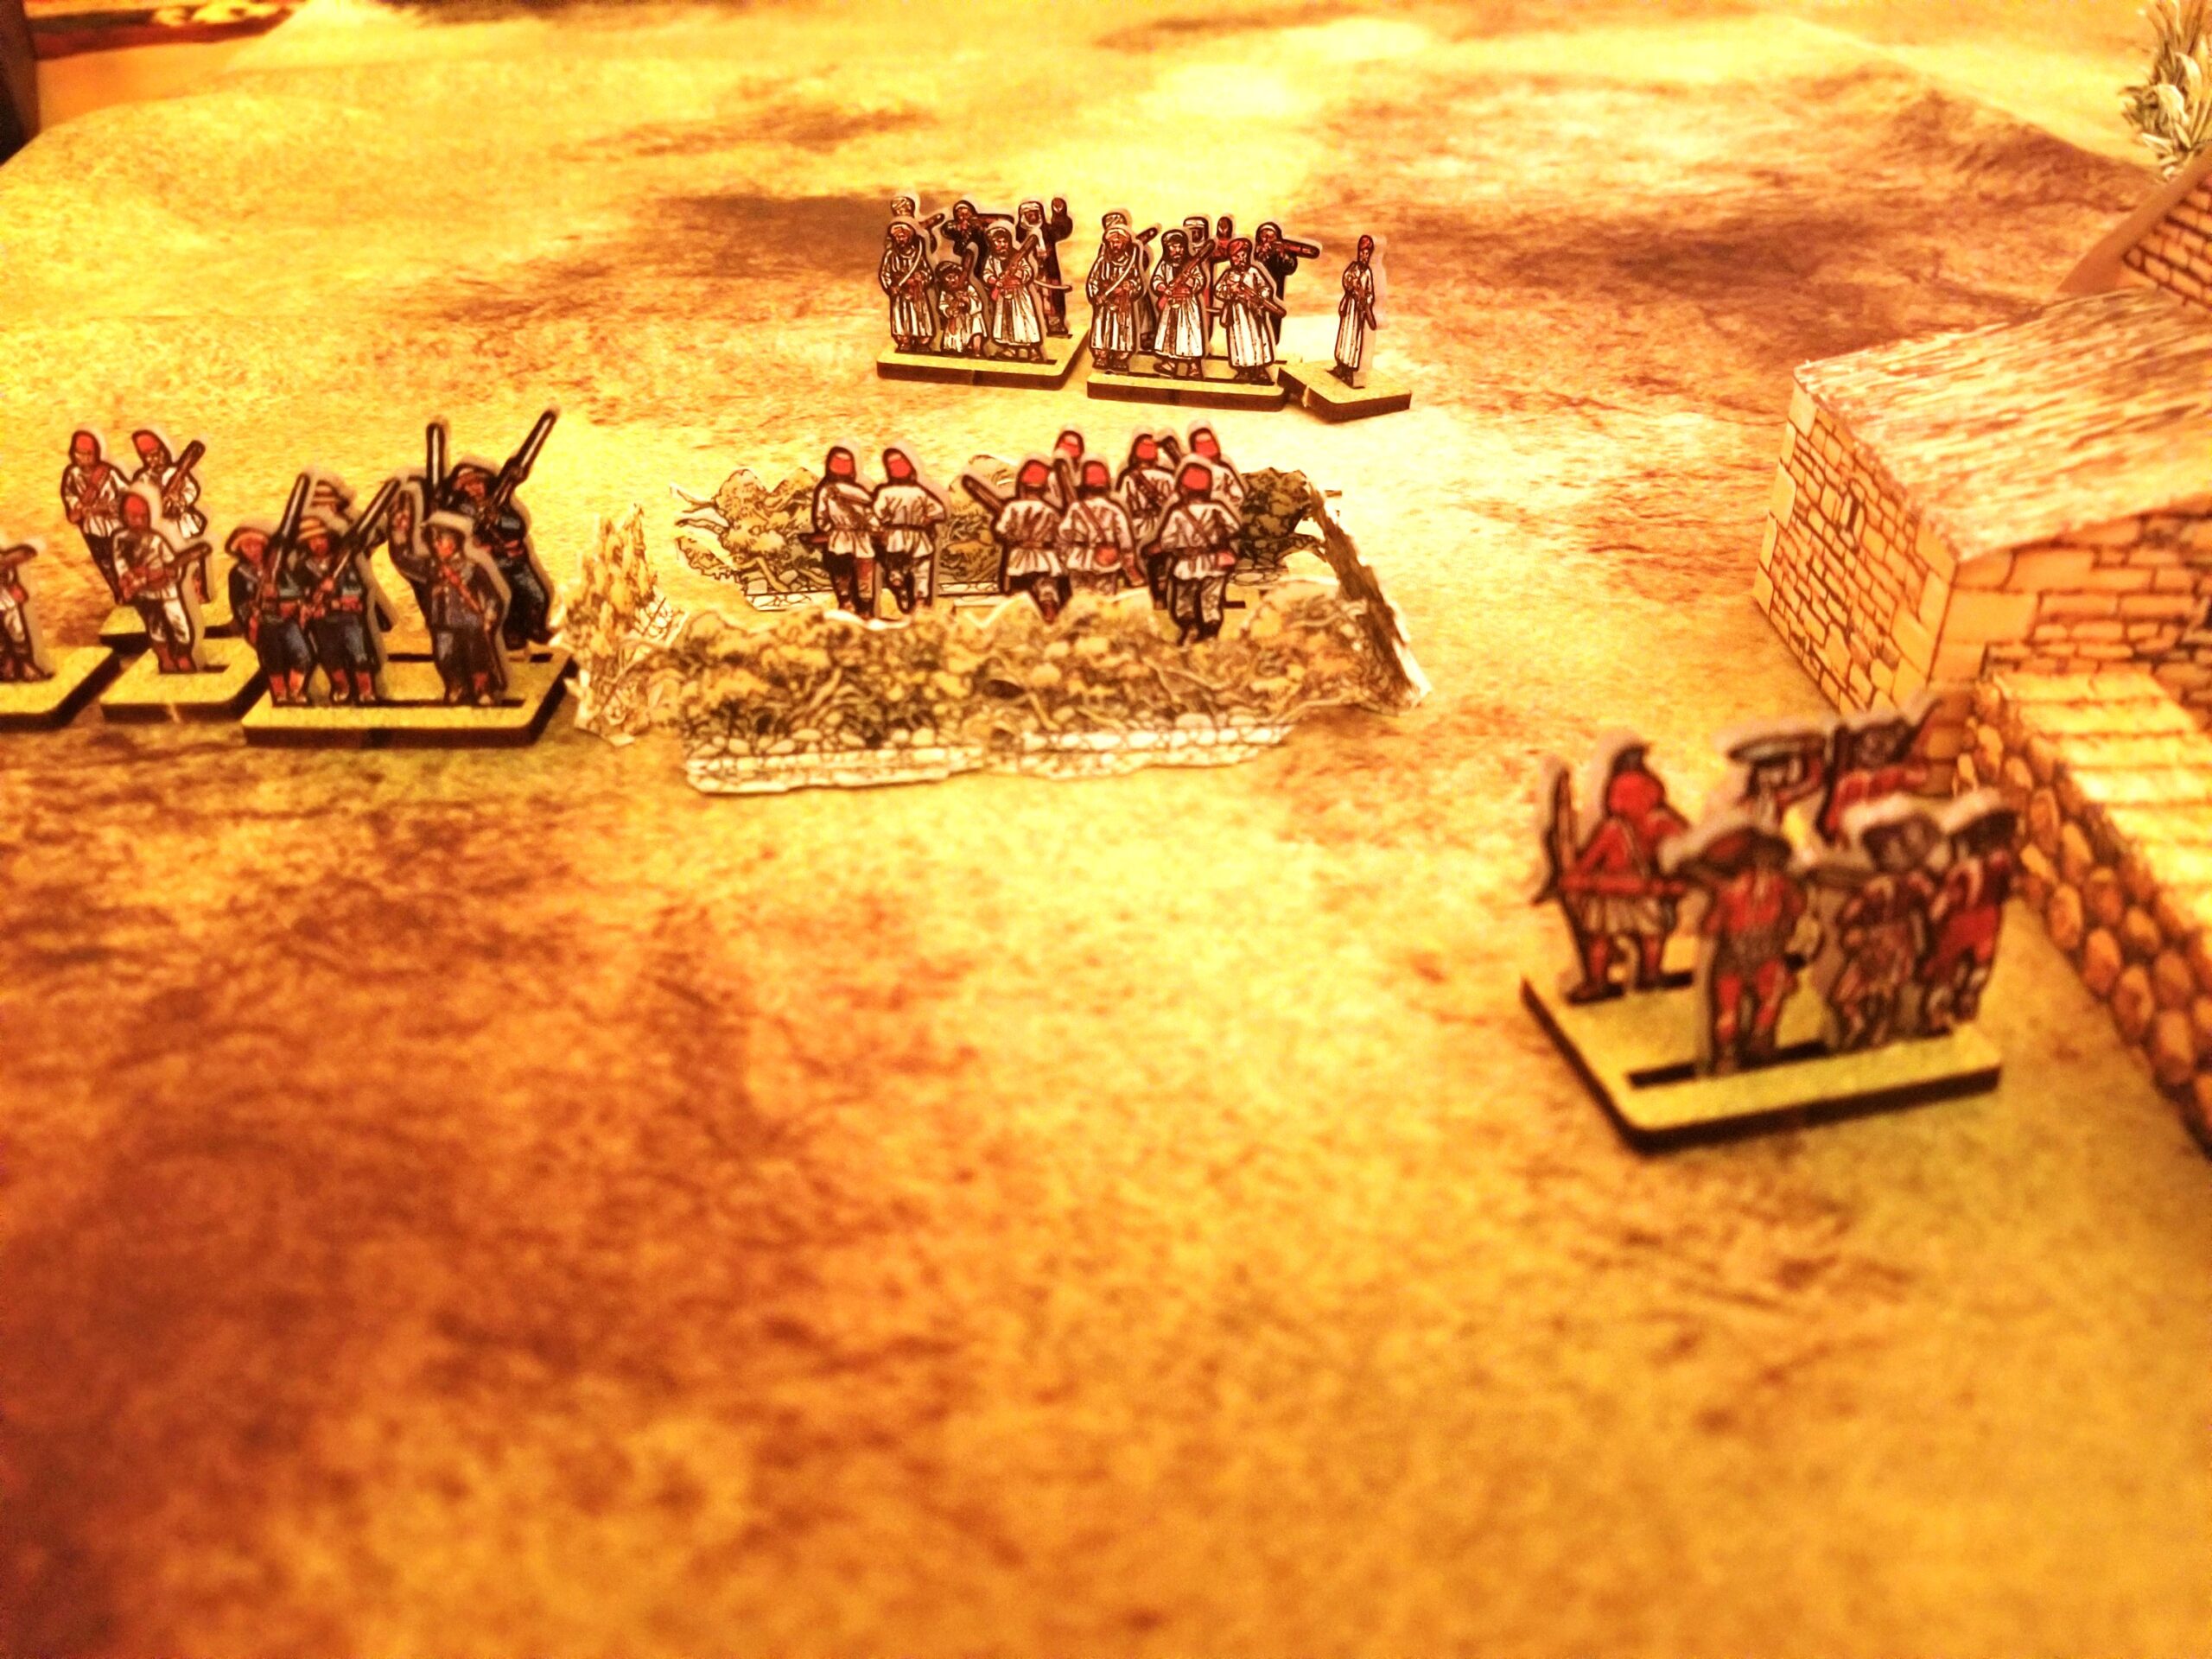
To the north lies Mwenye.  This port city is ruled by Sultan Jabir Efe.  He is an experienced ruler and leader, having controlled the city for as long as anyone can remember.  His knowledge of the coastal region is second to none.   A thriving port, the city is renowned for its doctors and hospitals.  His armory is supervised by a formidable master gunner.  The Sultan is pragmatic and keeps on good terms with all neighboring cities and villages.

Sultan Efe is using the small, but active, Chinese merchant community in an attempt to establish contact with the Chinese fleet cruising between Aden and Mogadishu.  The local merchants have assured him that interaction will bring increased commerce and wealth.  So far, his efforts have not been acknowledged.

Bey Iman Mahir continues to rule Behefe.  He stills pays tribute to his mentor, Sultan Efe of  Mweyne.  Now an experienced leader, he has excellent regional knowledge.  Relations between Behefe and the indigenous peoples of neighboring Neo are good.  He has been ably aided in his campaigns defending the city by an outstanding physician.

Bey Mahir has also heard of the Chinese fleet.  Not fully trusting Sultan Efe’s motives, Mahir has sent an envoy north to Somalia.  He is to contact Ottoman leaders and inquire as to their interest in trading with Behefe and, perhaps, acting as allies against any threats.

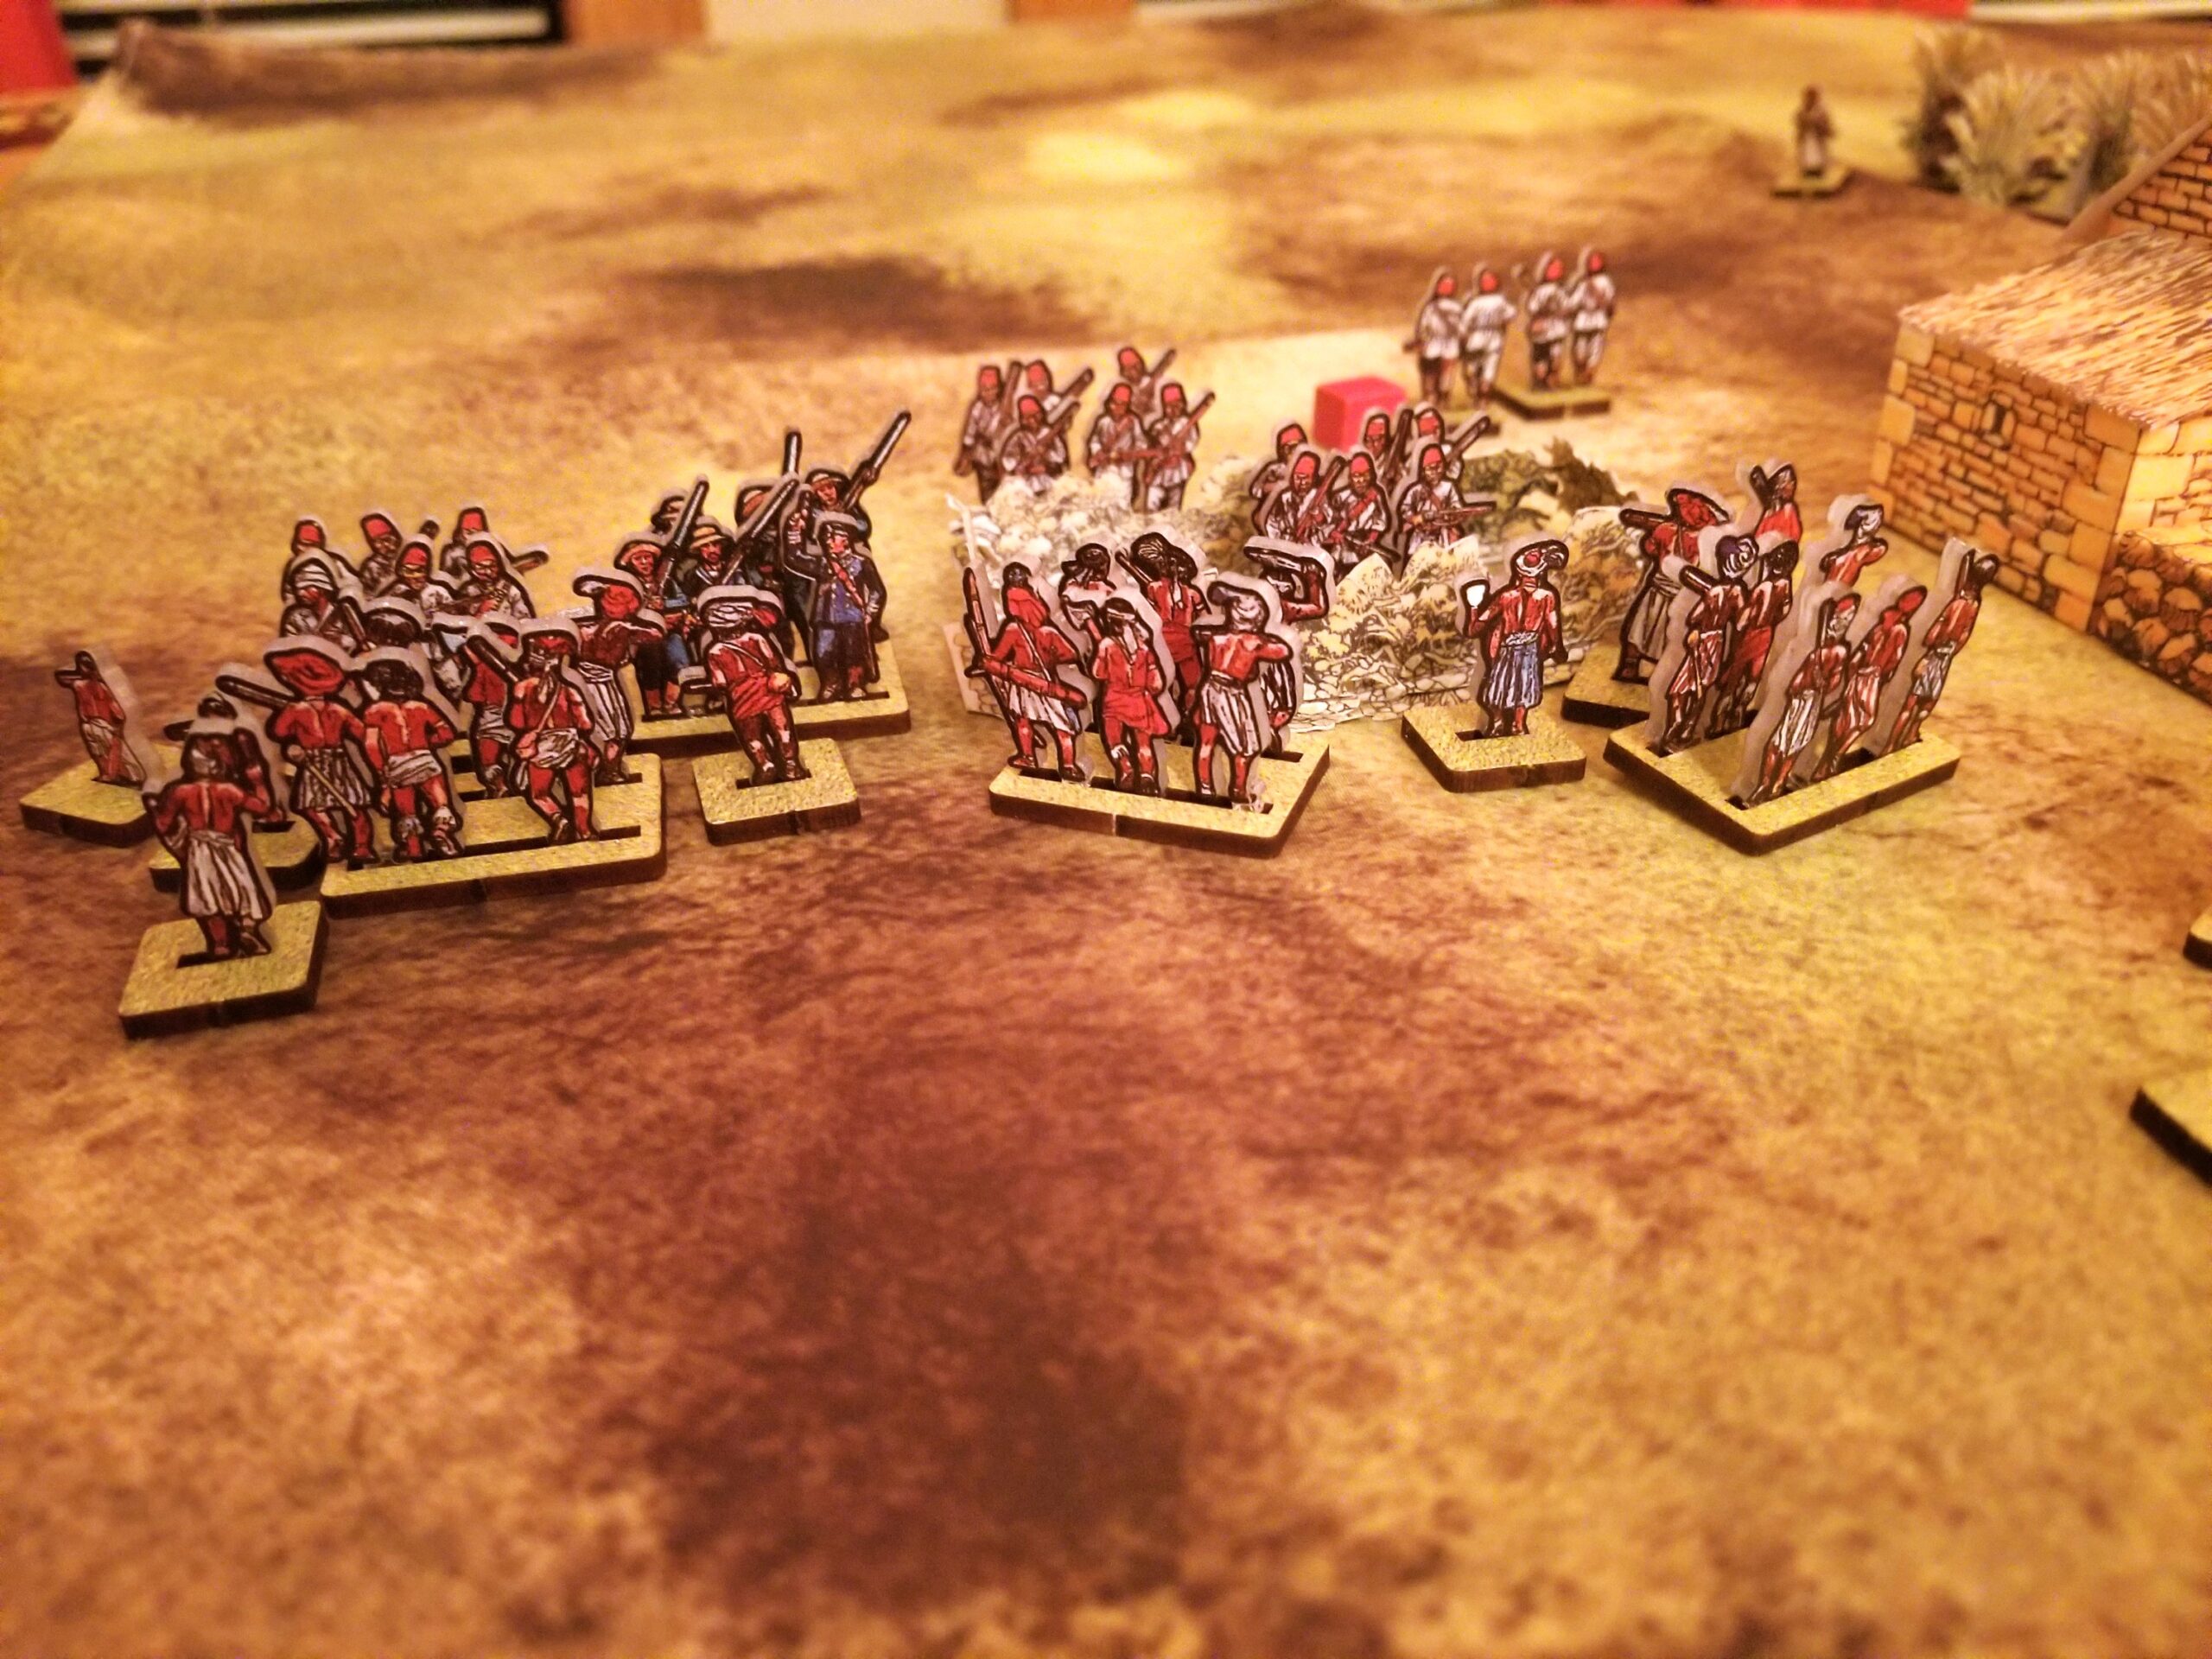
After his surprising victory over the Portuguese, Oumar has emerged as  leader of Kattego village.  Deeply suspicious of outsiders,  his people consider him an experienced and inspiring leader with a vast knowledge of the lands lying west of the coastal cities.  They also believe he is blessed with good fortune.  His success has not effected his humble manner nor aversion to flattery.

More is now known about the Mystic travelling in the region.  He is Kibwe Nkruma, also called Abdal (The Servant) by Arabized Africans.  He is a Diviner, from the West, and a disciple of Shango,  Nigerian God of Fire and Lightning.  He has a small, but devoted, group of followers.  His current whereabouts is unknown.

Rumor has it the leader of the  Chinese is Admiral Lei Qui.  According to Mweyne’s merchants, his reputation is as an inspiring and experienced leader, with strong Buddhist beliefs.  An excellent judge of character, his staff includes an experienced surgeon as well as a highly competent quartermaster.

The region has been relatively tranquil.

Pursuit of Glory AAR- Part 2

Quick Comment:  This game was played using the First Edition, not the recently published Second Edition which, from what I gather, contains some significant rules modifications.

And now….Wargame Forensics.  Why?  I forgot to include the cards played in my map photo.  So, here’s a stab at what happened during the Summer 1915.

The major development was the Allied invasion at Gallipoli and accompanying Central Powers response.  It was business as usual in Caucasia – with more attrition – and a lack of activity on other fronts.  At this point, the Ottoman replacement pool is dangerously shallow.

During the Fall 1915 turn, the Allies shifted focus to  Mesopotamia, eyeing an undefended Baghdad.   The Marsh Arabs tribe frustrated the Allied advance, buying time for the Central Powers to deploy forces to the threatened city.

The Romania Enters The War card was played in error.  Tim noticed that the pre-conditions had not been met (Allies in Salonika), so the forces involved were taken off the table and Tim used the card for operations.

The Central Powers were in reaction mode, trying to cobble defenses together in Mesopotamia and Caucasia, attempting to build up the replacement pool, as well as maintaining some momentum in their effort to “Set The East Ablaze” using dissident tribes.

Our final turn was Winter 1916.

The Allies played the Russian Winter Offensive card, reducing the negative effects on winter attacks, and so maintaining the momentum of  their  push towards Anatolia.  The Asquith-Lloyd George card allowed an increase in British aid to Russia in the form of replacement points.  These positive developments would help Russia delay the beginning of the revolution.

The Central powers gained Bulgaria as an ally  (forces cannot be set up until the end of the turn), and the Ottomans were able to stabilize both the Mesopotamian and Caucasian fronts.   For how long is anybody’s guess.

As usual, just when things were getting good, or dicey depending on one’s perspective, it was time to pack it up.

One overarching observation is how both of us shied away from any significant effort(s) outside of the Caucasian front.  Yes, Tim did invade both Mesopotamia and Gallipoli, but with limited assets.  Neither of us showed any interest in the Sinai or Egypt.  The historical Allied invasion at Salonika did not occur in this game.

My other impressions from the Central Powers’ perspective are:

  1.  Is it worth pursuing a peripheral strategy focusing on Jihad and tribal actions?
  2. How quickly Ottoman forces are reduced.
  3. Given this attrition, is there a more defensible series of positions in Caucasia that will not provide the Russian player with the ability to further delay the revolution?
  4. Outside of Bulgaria (and perhaps the peripheral strategy) what are the opportunities for the Central Powers to be pro-active?

My head is starting to throb.  Time to play something less taxing.

Pursuit Of Glory AAR – Part 1

The first rule of Blogging an After Action Report (AAR) is to blog right after the game.  The second rule of Blogging an AAR is to……you know the rest

I’ve let two weeks pass since Tim and I sat down for a session with the game that gives both of us headaches.  So many situations, so many theaters,  and so few cards

We managed to get through the Winter 1916 turn, and left it with Bulgaria entering the game.  Tim had a definite advantage at that point, as my Ottomans were badly attrited, and barely hanging on in Caucasia.  But, that situation had stabilized to some degree and his Commonwealth forces had bogged down in Gallipoli.  On the other hand, my situation in Mesopotamia was not the best, with only a corps between him and Baghdad.  Still, I now had the Plucky Bulgarians along with their powerful German friends ready to go.

Here’s a shot of the situation at the end of the (first) Fall 1914 Turn.  Plot Spoiler:  These photos are up to my usual (sub) standard.

I failed to capture the cards played in this photo and, as you will see, it happened again in the Summer 1915 turn.  Lack of attention to detail.

My strategy from the outset was to increase the Jihad level as quickly as possible by playing  event cards and capturing Jihad cities.  Of course, starting the time track towards the Russian Revolution was a priority.  I needed  the “Parvus To Berlin” card on the table as quickly as possible.  From an operational standpoint, I wanted to actively defend my victory point cities in Caucasia.  Any loses would delay the revolution. I kept a relatively strong force in Western  Anatolia to act as a reserve, especially to counter an Allied amphibious invasion of Gallipoli.  One challenge for the Ottomans if reserves are kept there is their rudimentary rail system, limiting their ability to shift troops from one theater to another.

I’ll ask Tim to provide some comments on his strategy and operational intent.  From my perspective, he was aggressive in Caucasia, and did an excellent job of wearing down the Ottomans.  This is important as the Turks have limited and dwindling replacement opportunities as the game wears on.

During the turn I played the “Goeben”, “Persian Push” and “Pan-Turkism” cards.  I was able to destroy the fort at Batum, and the latter two cards started jacking up the Jihad level, and my ability to place dissident tribal units on the map.  These tribes can take isolated victory point cities and delay/defend Allied moves in Persia and Mesopotamia.

Tim enjoyed playing the “Enver Goes East” card, forcing me to undertake mandatory attacks at time I wasn’t quite ready for them.  He also opened up the Mesopotamia theater by playing the “Russo-British Assault” event.  Surprisingly, he played the “Churchill Prevails” (more on this later) event for replacements.

Here’s the situation at the end of the Winter 1915 turn.

The Allies began the turn by playing the “Kitchener” card.  This allows the British player to provide the Russians with replacement points.  The “Project Alexandria” initiated a build-up of forces in the Aegean.   And,  it got worse for the Central Powers.  The “Royal Naval Blockade” event was played.  It “caps” the Ottoman replacement pool at 25 points, with each point taken reducing those available and with a -1 Victory Point (VP) adjustment each winter.

The Central Powers used their cards for operation points to undertake less than successful mandatory offensives and taking advantage of victory point opportunities in Persia.

The situation at the end of the Spring 1915 turn is shown below:


During this turn the Allies played the “Churchill Prevails” card, bombarding  forts guarding the entry to the Bosphorus.  Fortunately, for me, only two forts were destroyed.  The “Murray Takes Command” card was also played.  This card initiates the construction of the Sinai Railway,  required for an Allied corps size unit to participate in any regional offense/defense.

Again, the Central Powers concentrated on operations in Caucasia and Persia, launching a corps eastward into Persia, while playing the “Enver To Constantinople” to reduce the havoc that rascal plays on operational planning.

I’ll leave this fragmented account for now, with a follow-up post later this week.

Missed It…..By That Much

The timing was just right.  Finish up over a year’s worth of planning and work on New Year’s Day.

I was close……but didn’t quite make it.

The genesis of all this was my decision to focus on  specific figure brands for  each period.  The next steps were to inventory all my painted lead and decide what rule sets to use.  This all occurred way back in October 2022.  The rule sets were…..

Pre-Renaissance:  WRG 6th Edition;  Italian Wars:  DBR;  Eastern European Renaissance:  Husaria.

Purchases were made, grotesque shipping charges paid,  and the painting began.

I added an even dozen Hinchliffe Sipahis, along with random German Knights, to the to-paint list.  These stalwarts had been occupying a paper sack since about 1991, but lacked mounts.

Progress was in fits and starts until mid-October, when things got serious.  To keep things moving at speed, I relied on cheat sheets like this:

The bulk of the effort  involved the Old Glory Italian Wars figures.  Painting was the least of my worries.  Figure prep involved a power drill auguring out hands for pikes, spears and halberds.  This was accomplished with White Knuckles and Cold Sweat.

The Hinchcliffe figures came with plenty of flash, requiring way too much X-Acto knife work (with accompanying loss of flesh).

To complicate things, I was running low on metal bases.  Fortunately, after several calculations I determined the quantities on hand were (just) adequate.

The culminating events would be a final base flocking and spraying the figures with gloss coat on New Year’s Eve, with all of my storage boxes (metal hand and shop tool boxes) cleaned and re-organized on New Year’s Day.

It all happened……but late on 12/31 I discovered  two lonely Sipahis and eight Arab Archers  had been missed.  OK, not that big a deal……but still.

These figures will be finished this week.  But, as they say, “Now Is When The Work Begins.”

I have to start playing with the damn things.

The Men Who Would Be Kings – Some Observations

I refrained from any review-type comments about this rule set in my initial post.

Changed my mind.

This is a good set of rules.  Easy to digest and fun to play.  The general structure is very similar to “Pikeman’s Lament”, but provides excellent historical context.

The temptation here is to start layering on house rules to increase rule “realism”.  Then it becomes something it is not.  I’m sure the author considered anything  I thought about and, after careful consideration, declined to add another layer of complexity and/or chrome.

This result is a rule set placing an interesting burden on the players – a different sand box so to speak –  to construct interesting scenarios with interesting smaller forces with interesting mixes of troop-types.

What a relief!  No longer are colonial battles limited to big games with small,  highly disciplined, regular units decimating wave-after-wave of native hordes.  Rorke’s Drift is so boring.

Here are some thoughts based on my initial play-throughs and formulaic scenario described in my previous posts.

  1.  Make the majority, if not all,  of your Askari units Irregulars.  As Irregulars, their musketry and hand-to-hand capabilities will make them far more vulnerable.
  2. Upgrade at least one (1) Tribal unit to “well armed”.  Longer range will  increase their ability to inflict casualties and pin opposing forces.  A pinned unit is very vulnerable in melee.
  3. Use “Go To Ground” for native units in the open and waiting to assault.
  4. “On The Double” is one way to allow your Tribal units to remain out of deadly short-range weapons fire (especially when delivered by Regulars), and have decent chance of attacking into melee.  All you have to do is roll a D6x5 or D6x6 to get the extra move distance.  Try it with multiple units.
  5. Vary the leader rating of your Native units to avoid a cycle of pin/rally/pin.

More Action! (Finally)

Been fishing.  Time to finish up the narrative on my latest game.

The Natives finally launched a coordinated attack against both the Zariba and troops in the open.

The attacks were repulsed by a combination of good (Colonials) and bad (Tribal) die rolls.  The Africans will be flayed by rifle fire while attempting to rally.  Notice the Arab Band unable to get it together in the upper right corner of the photo.

The Arab contingent finally swung into action, making quick work of the small Askari unit detached from the main body of the relief force.  However, their attempt to assault the Zariba from the rear was shattered by accurate Askari rifle fire.

The Regulars and Askaris now decimated the pinned Native and Arab units, which were unable to rally and charge back into close contact.  Very few remained on the field at the end of the engagement.

An entertaining game.  I’ll follow-up with some thoughts on the rules in my next post.

Action! (Finally)

Enough of the musings for now.

Been playing an African scenario using “The Men Who Would Be Kings” rules by Osprey.

Threw out a terrain cloth on a living room table, set up some paper scenery, and organized my WoFun troops.

One of the criticisms leveled at these rules is that Tribal units are battered by modern weapons fire and are quickly pinned and attritted without getting close enough to to melee with the Colonial regulars or irregulars.

So, I set up a small “Last Stand” scenario to judge for myself.  All Tribal units had a morale rating of seven (7), with the Colonial at six (6).  Morale checks involve a D6x2 role equal to or greater than  the morale rating.

My first try involved a force ratio of 1:1 and, sure enough, the tribal units were paralyzed and shredded.  I increased the number of tribal units for my second try.

The colonial troops are deployed by sections of six (6) figures, with a unit comprising two sections or twelve (12) figures as per Rules As Written (RAW).  The colonial force is comprised on Askaris (classed as Irregulars) with a section of Naval Infantry (classed as Regulars – better morale and melee capability). Tribal units/bands are sixteen figures (16) each, as per RAW.

The initial set-up looking northeast. Askaris occupy the fortified house and a zariba.  Reinforcements are somewhere in the offing.  I’ll trigger their movement with a “Yes/No” die roll when the Tribal units get within a charge move of the house.  Right now – given table space – the Tribal units are at long range, one move from where they are on the table.

Tribal advance hampered by failed activation checks. But, one unit charges an Askari section engaging in melee.  Overwhelmed, the Askaris are destroyed, without inflicting a casualty.  The Tribal band occupies  one half of the Askari fortified position.  The other Tribal units advance, taking casualties.  One pinned band is destroyed by fire from the zariba position.

Another Tribal band assaults the house, engaging the other Askari section.  The reinforcements, after some hesitation, advance in column at the quick.  The Tribal band concealed in the elephant grass fails their activation check, losing their chance at an ambush, and remain in place.

Reinforcements arrive, advancing past the fleeing Askaris (red cube indicates pinned – and needing a morale check) to support the zariba position, choosing not  to re-take the house.  This may be a tactical error.  One Askari section needs to take additional time to enter the zariba.

I’ll get back to the game this evening.

Me & Army Painter – It’s Complicated

I love to cycle.  I don’t much care for E-Bikes.

E-Bikes have their place.  For certain people and situations they are a wonderful solution, allowing folks who might not be able/willing to ride to do so.

But, they don’t provide the entire cycling experience, which I will summarize in two words:  Pain and Accomplishment.

When a grinning e-biker zooms past me on a hill,  all I can think is “Cheater”.

Army Painter is the E-Bike of miniatures.  For people who don’t paint all that well (Me) and  want to do a half-way-decent-job on well sculpted figures (Me & Old Glory Landsknechts right now), it is The Bomb.

What’s missing is the pain of trying to paint well, and sense of accomplishment when one actually does a pretty good job.

With Army Painter, just block in the colors (not sloppily), and apply.  The results look pretty damn good, and far better than if I was to stumble my way through details and a myriad of washes.  The tricky part is figuring out how thin one wants the wash.

Cheater.

Will I use Army Painter when I finish up my Hinchcliffe Ottoman Turks?  No, out of place for their dated sculpting.  On my 15mm Alternative Army Ottomans……maybe.

So, I’ll ignore my superficial hypocrisy and grin as I zoom through the last of my Italian Wars figures.

I can live with it.