Category Archives: Miniatures

The Men Who Would Be Kings – Some Observations

I refrained from any review-type comments about this rule set in my initial post.

Changed my mind.

This is a good set of rules.  Easy to digest and fun to play.  The general structure is very similar to “Pikeman’s Lament”, but provides excellent historical context.

The temptation here is to start layering on house rules to increase rule “realism”.  Then it becomes something it is not.  I’m sure the author considered anything  I thought about and, after careful consideration, declined to add another layer of complexity and/or chrome.

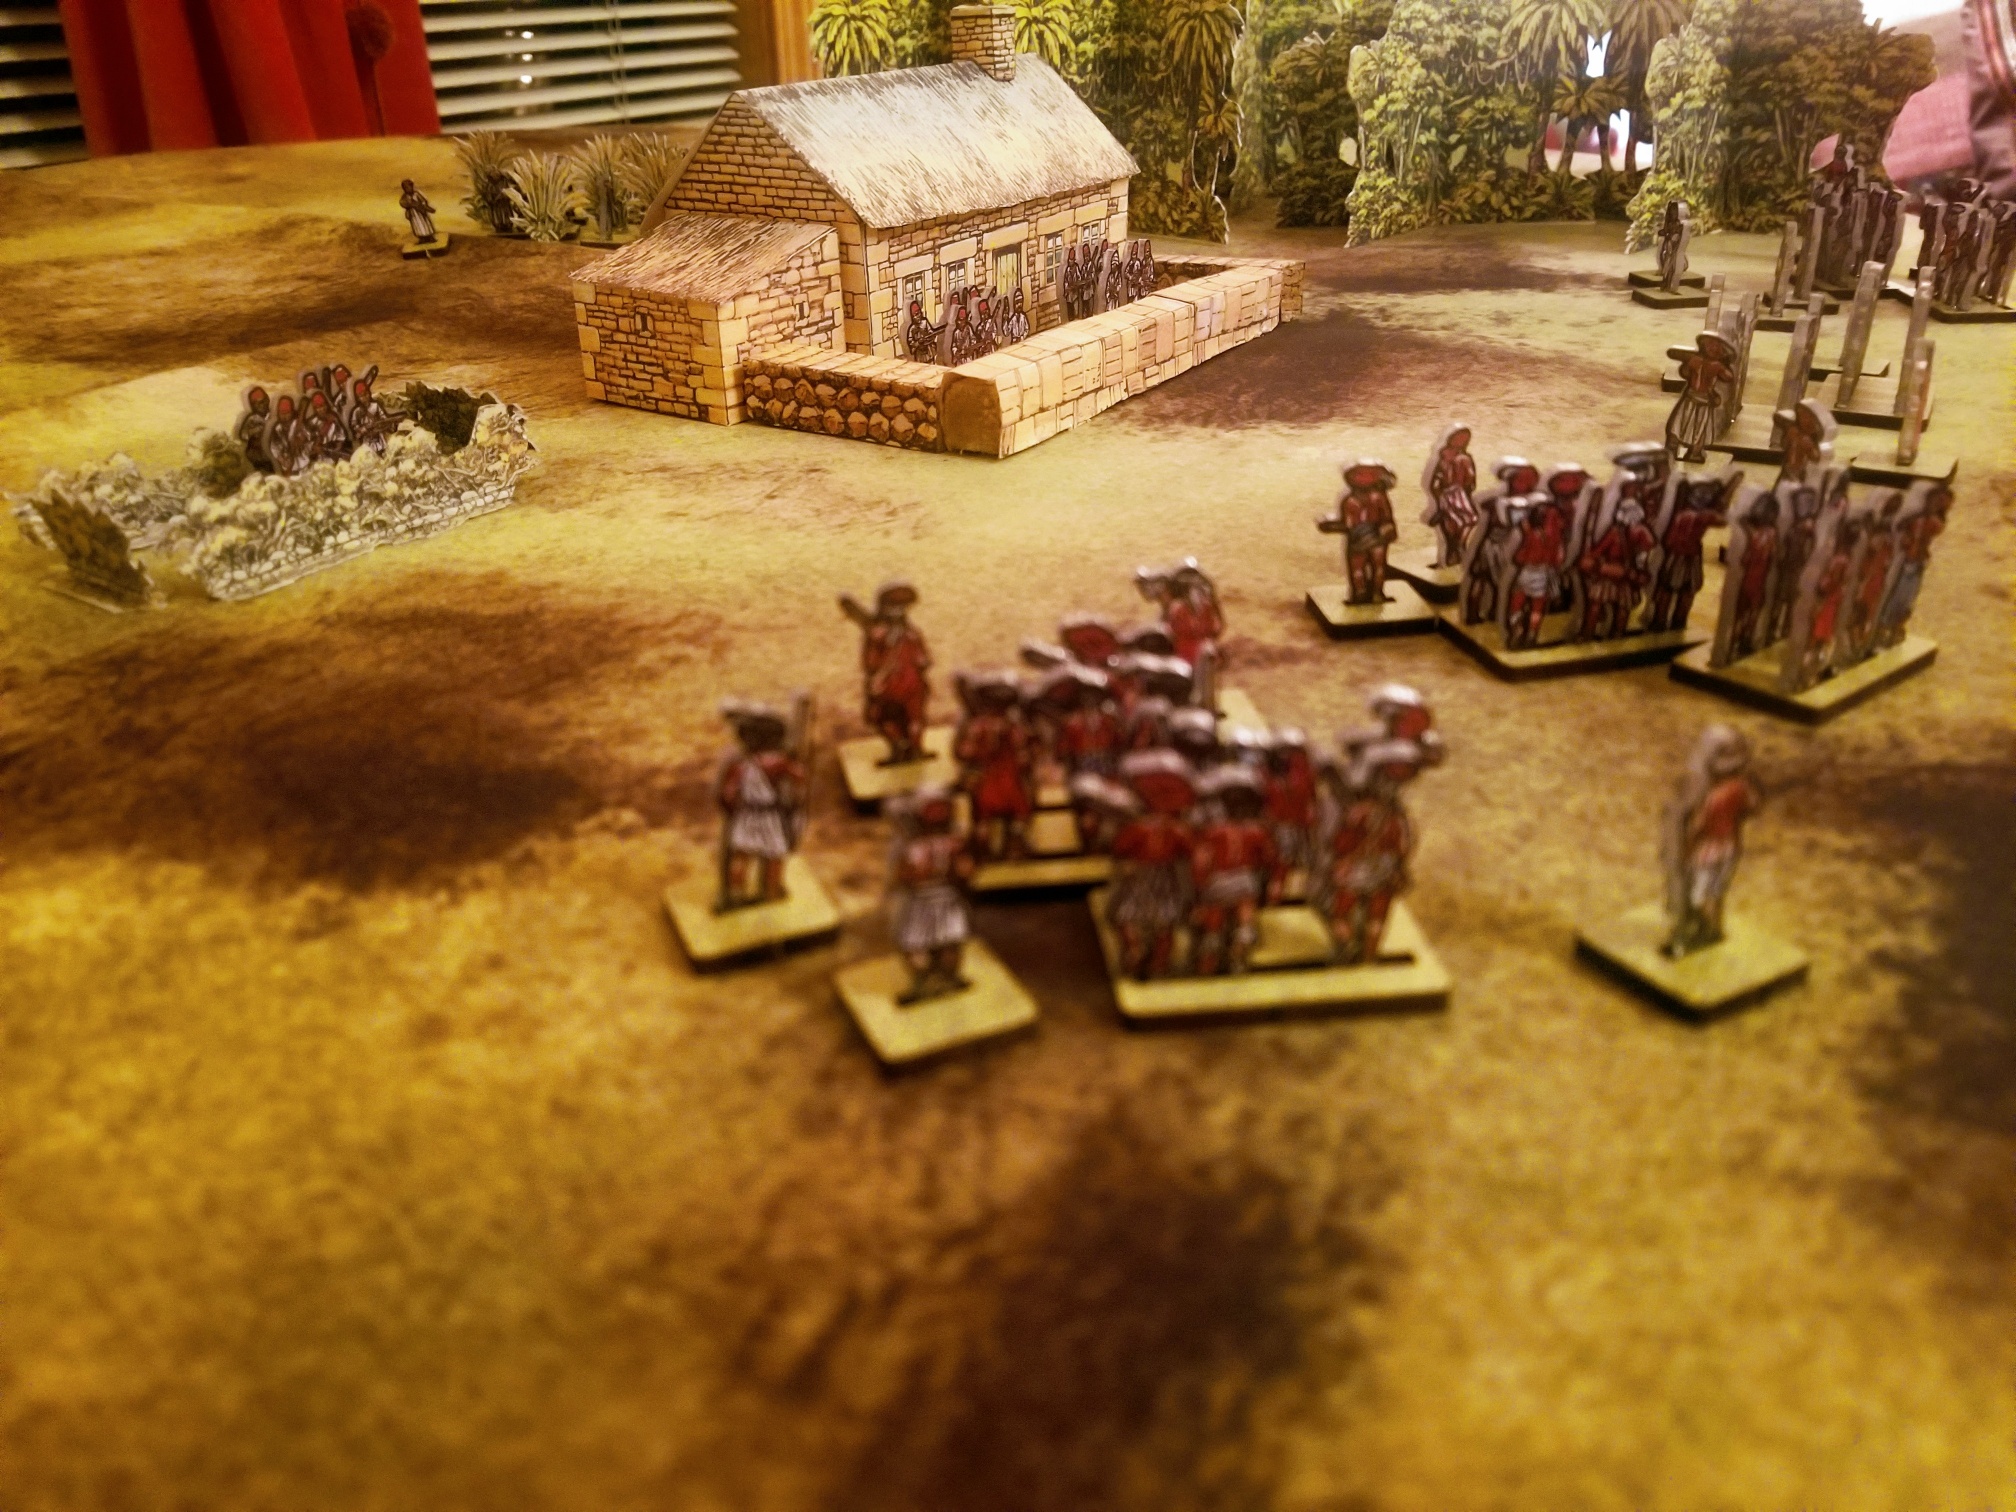
This result is a rule set placing an interesting burden on the players – a different sand box so to speak –  to construct interesting scenarios with interesting smaller forces with interesting mixes of troop-types.

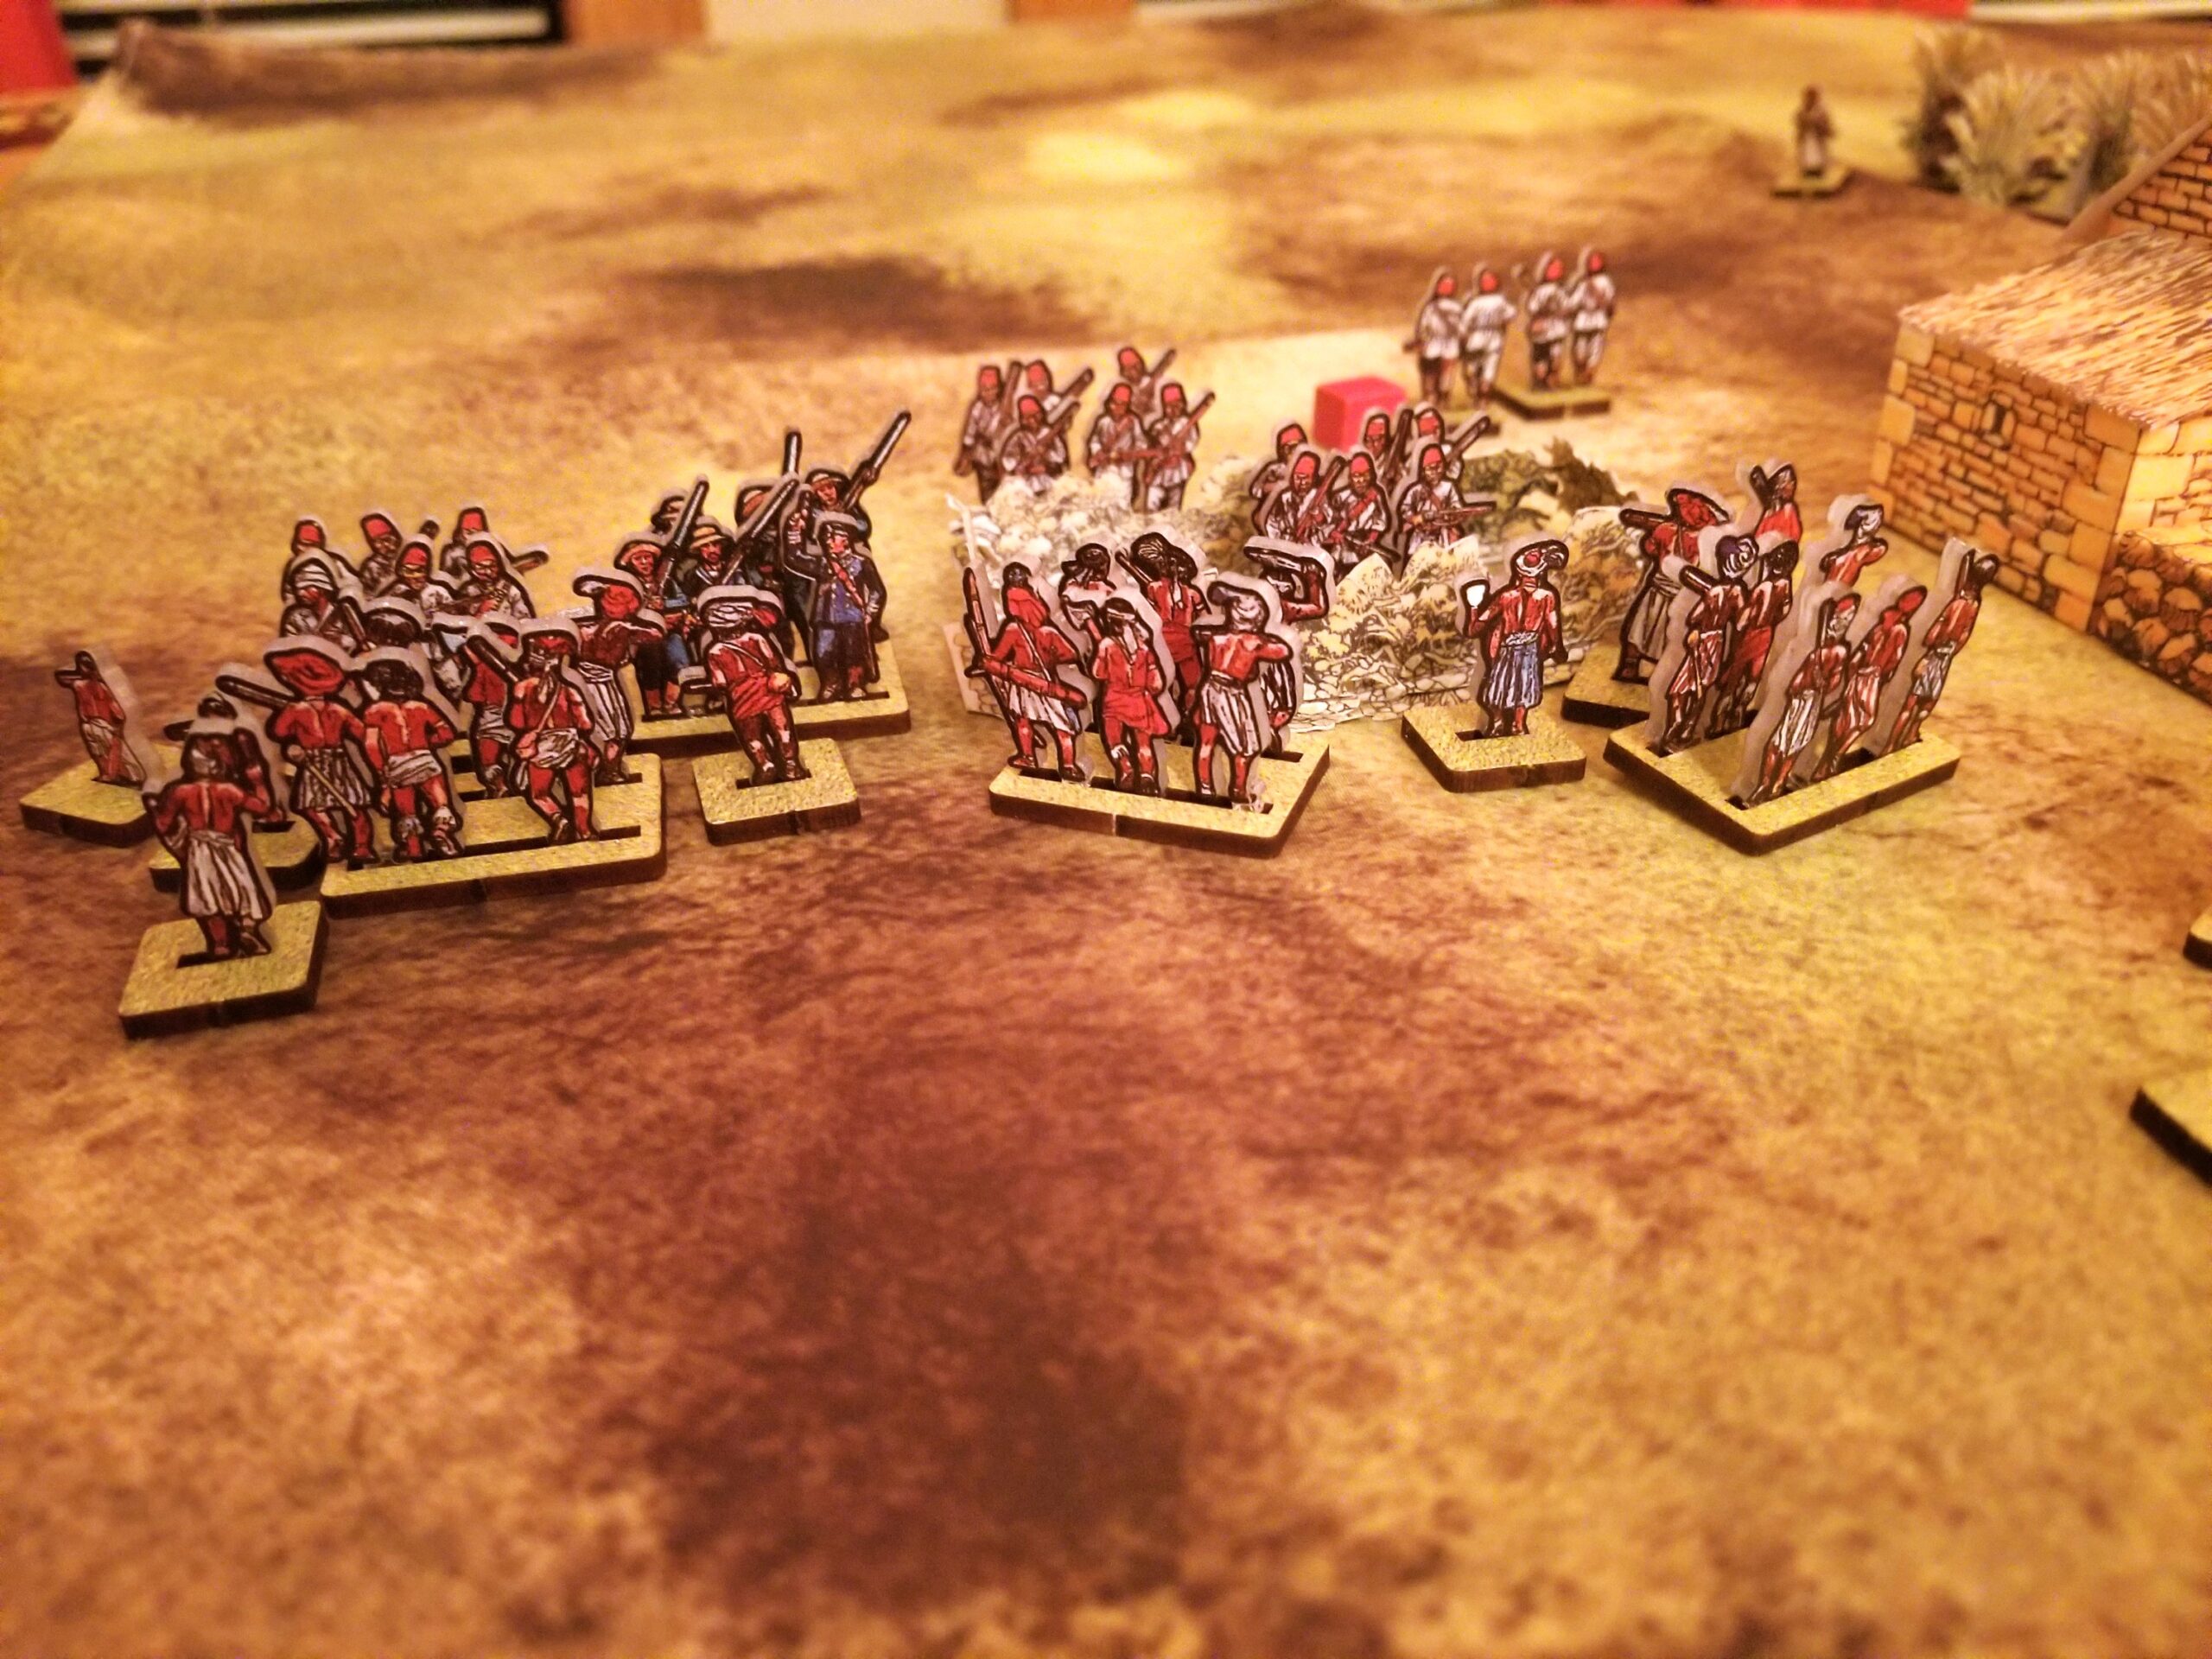
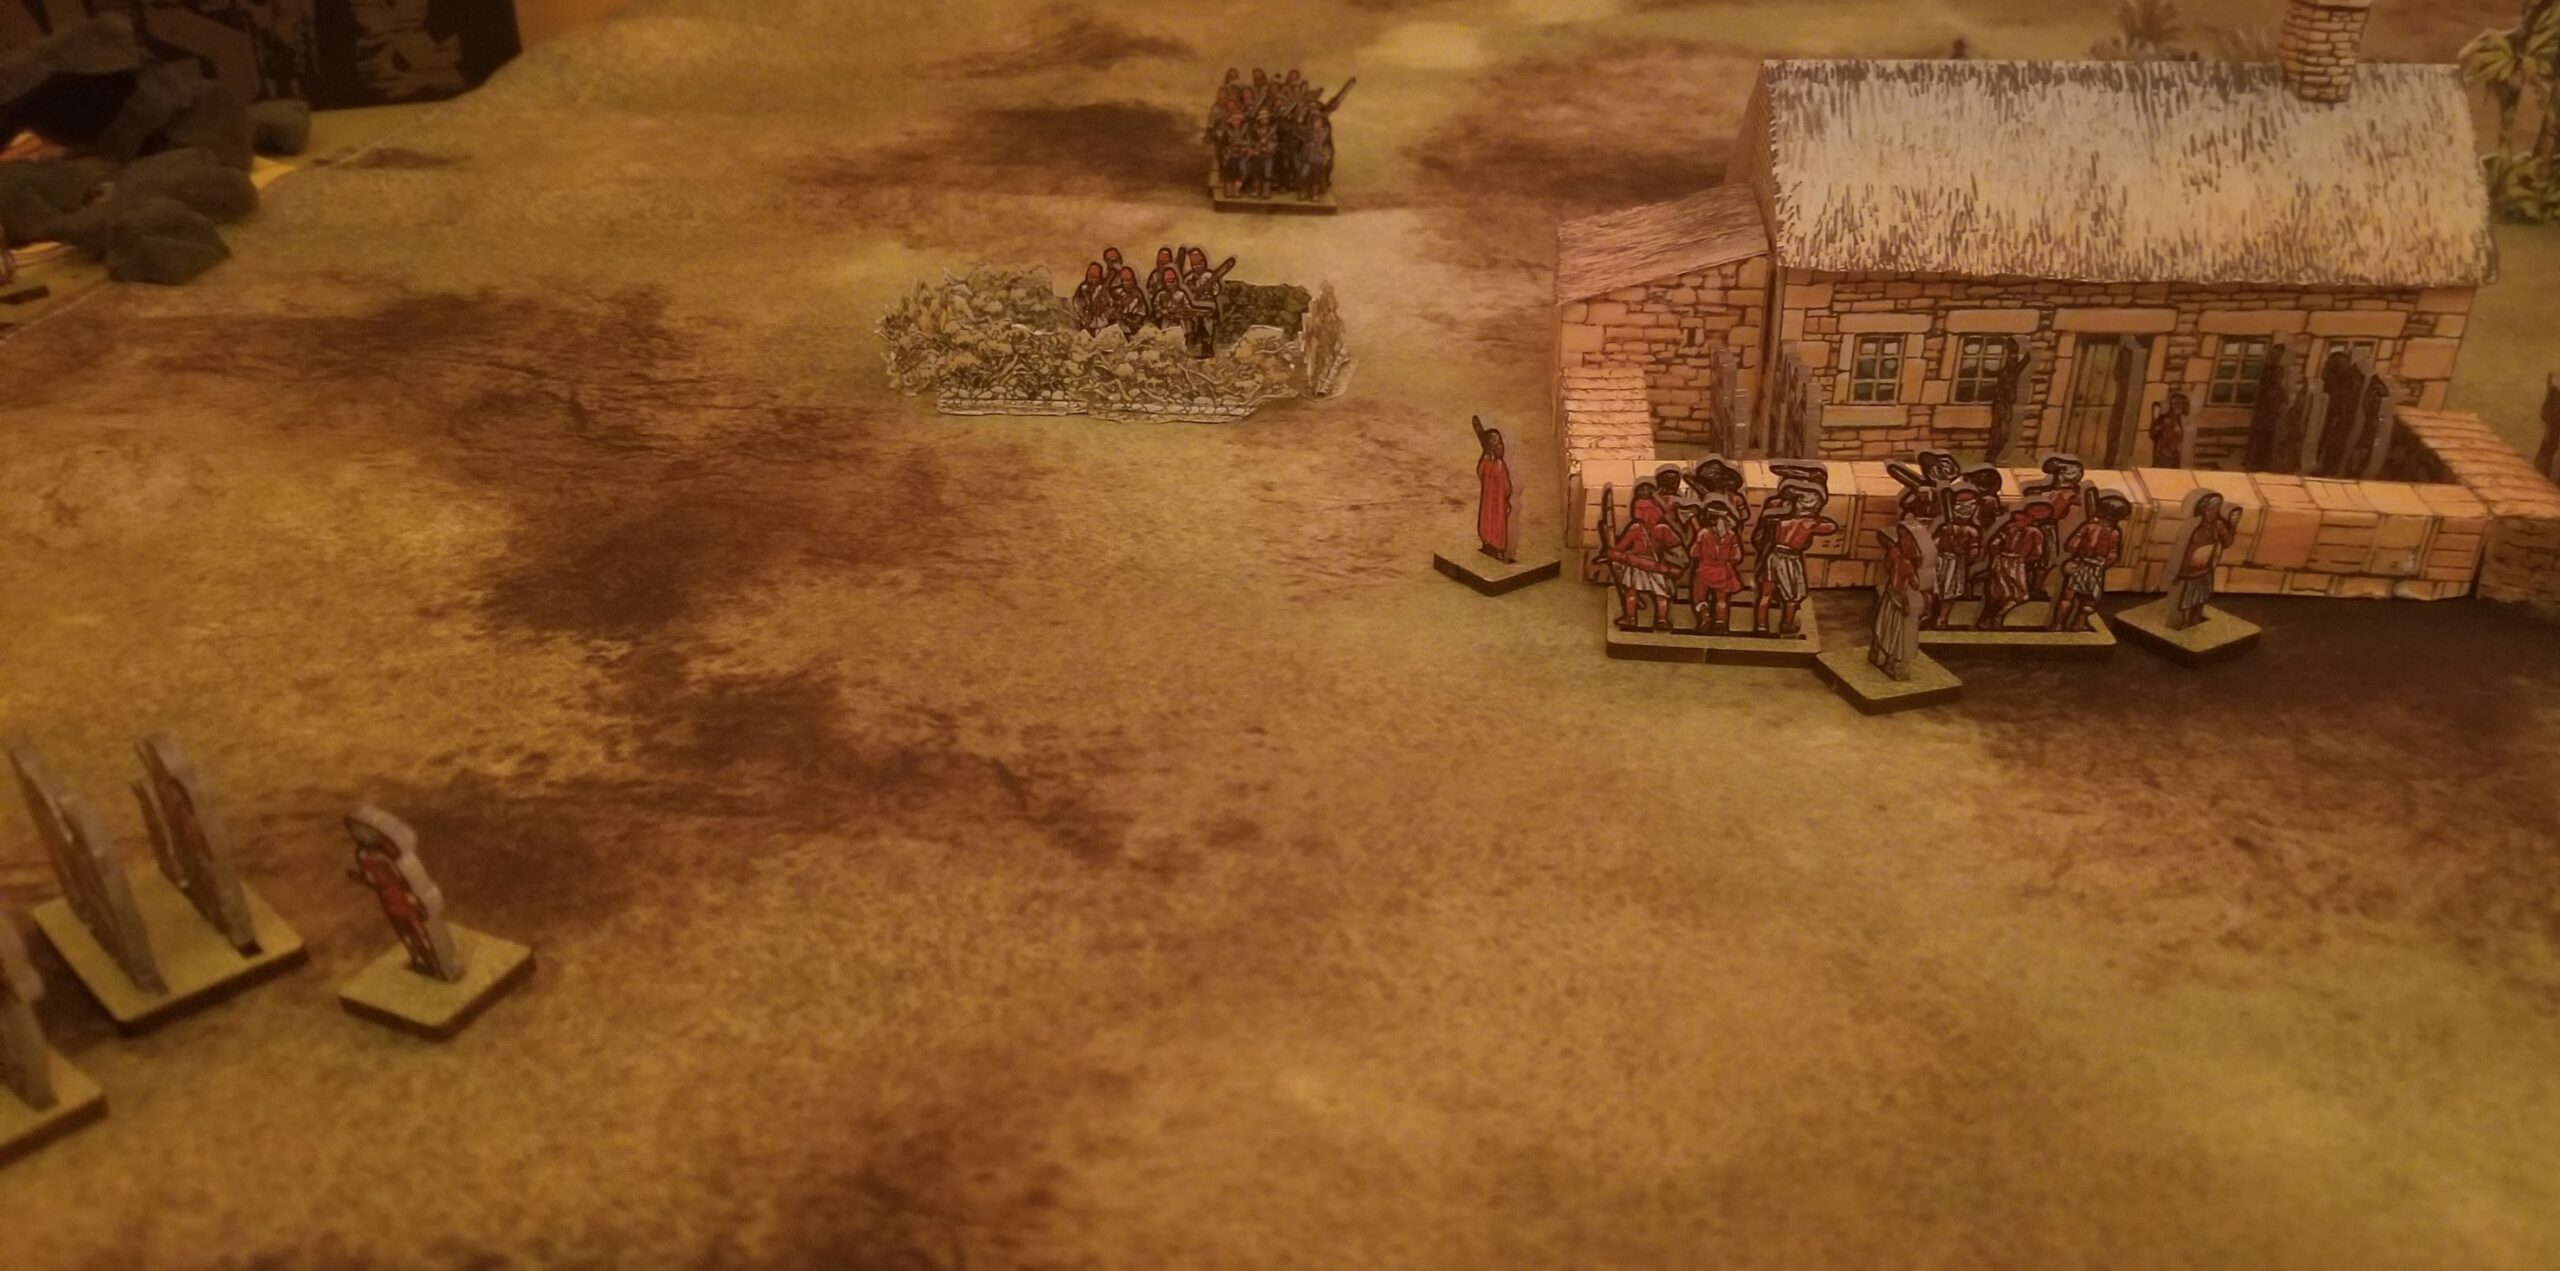
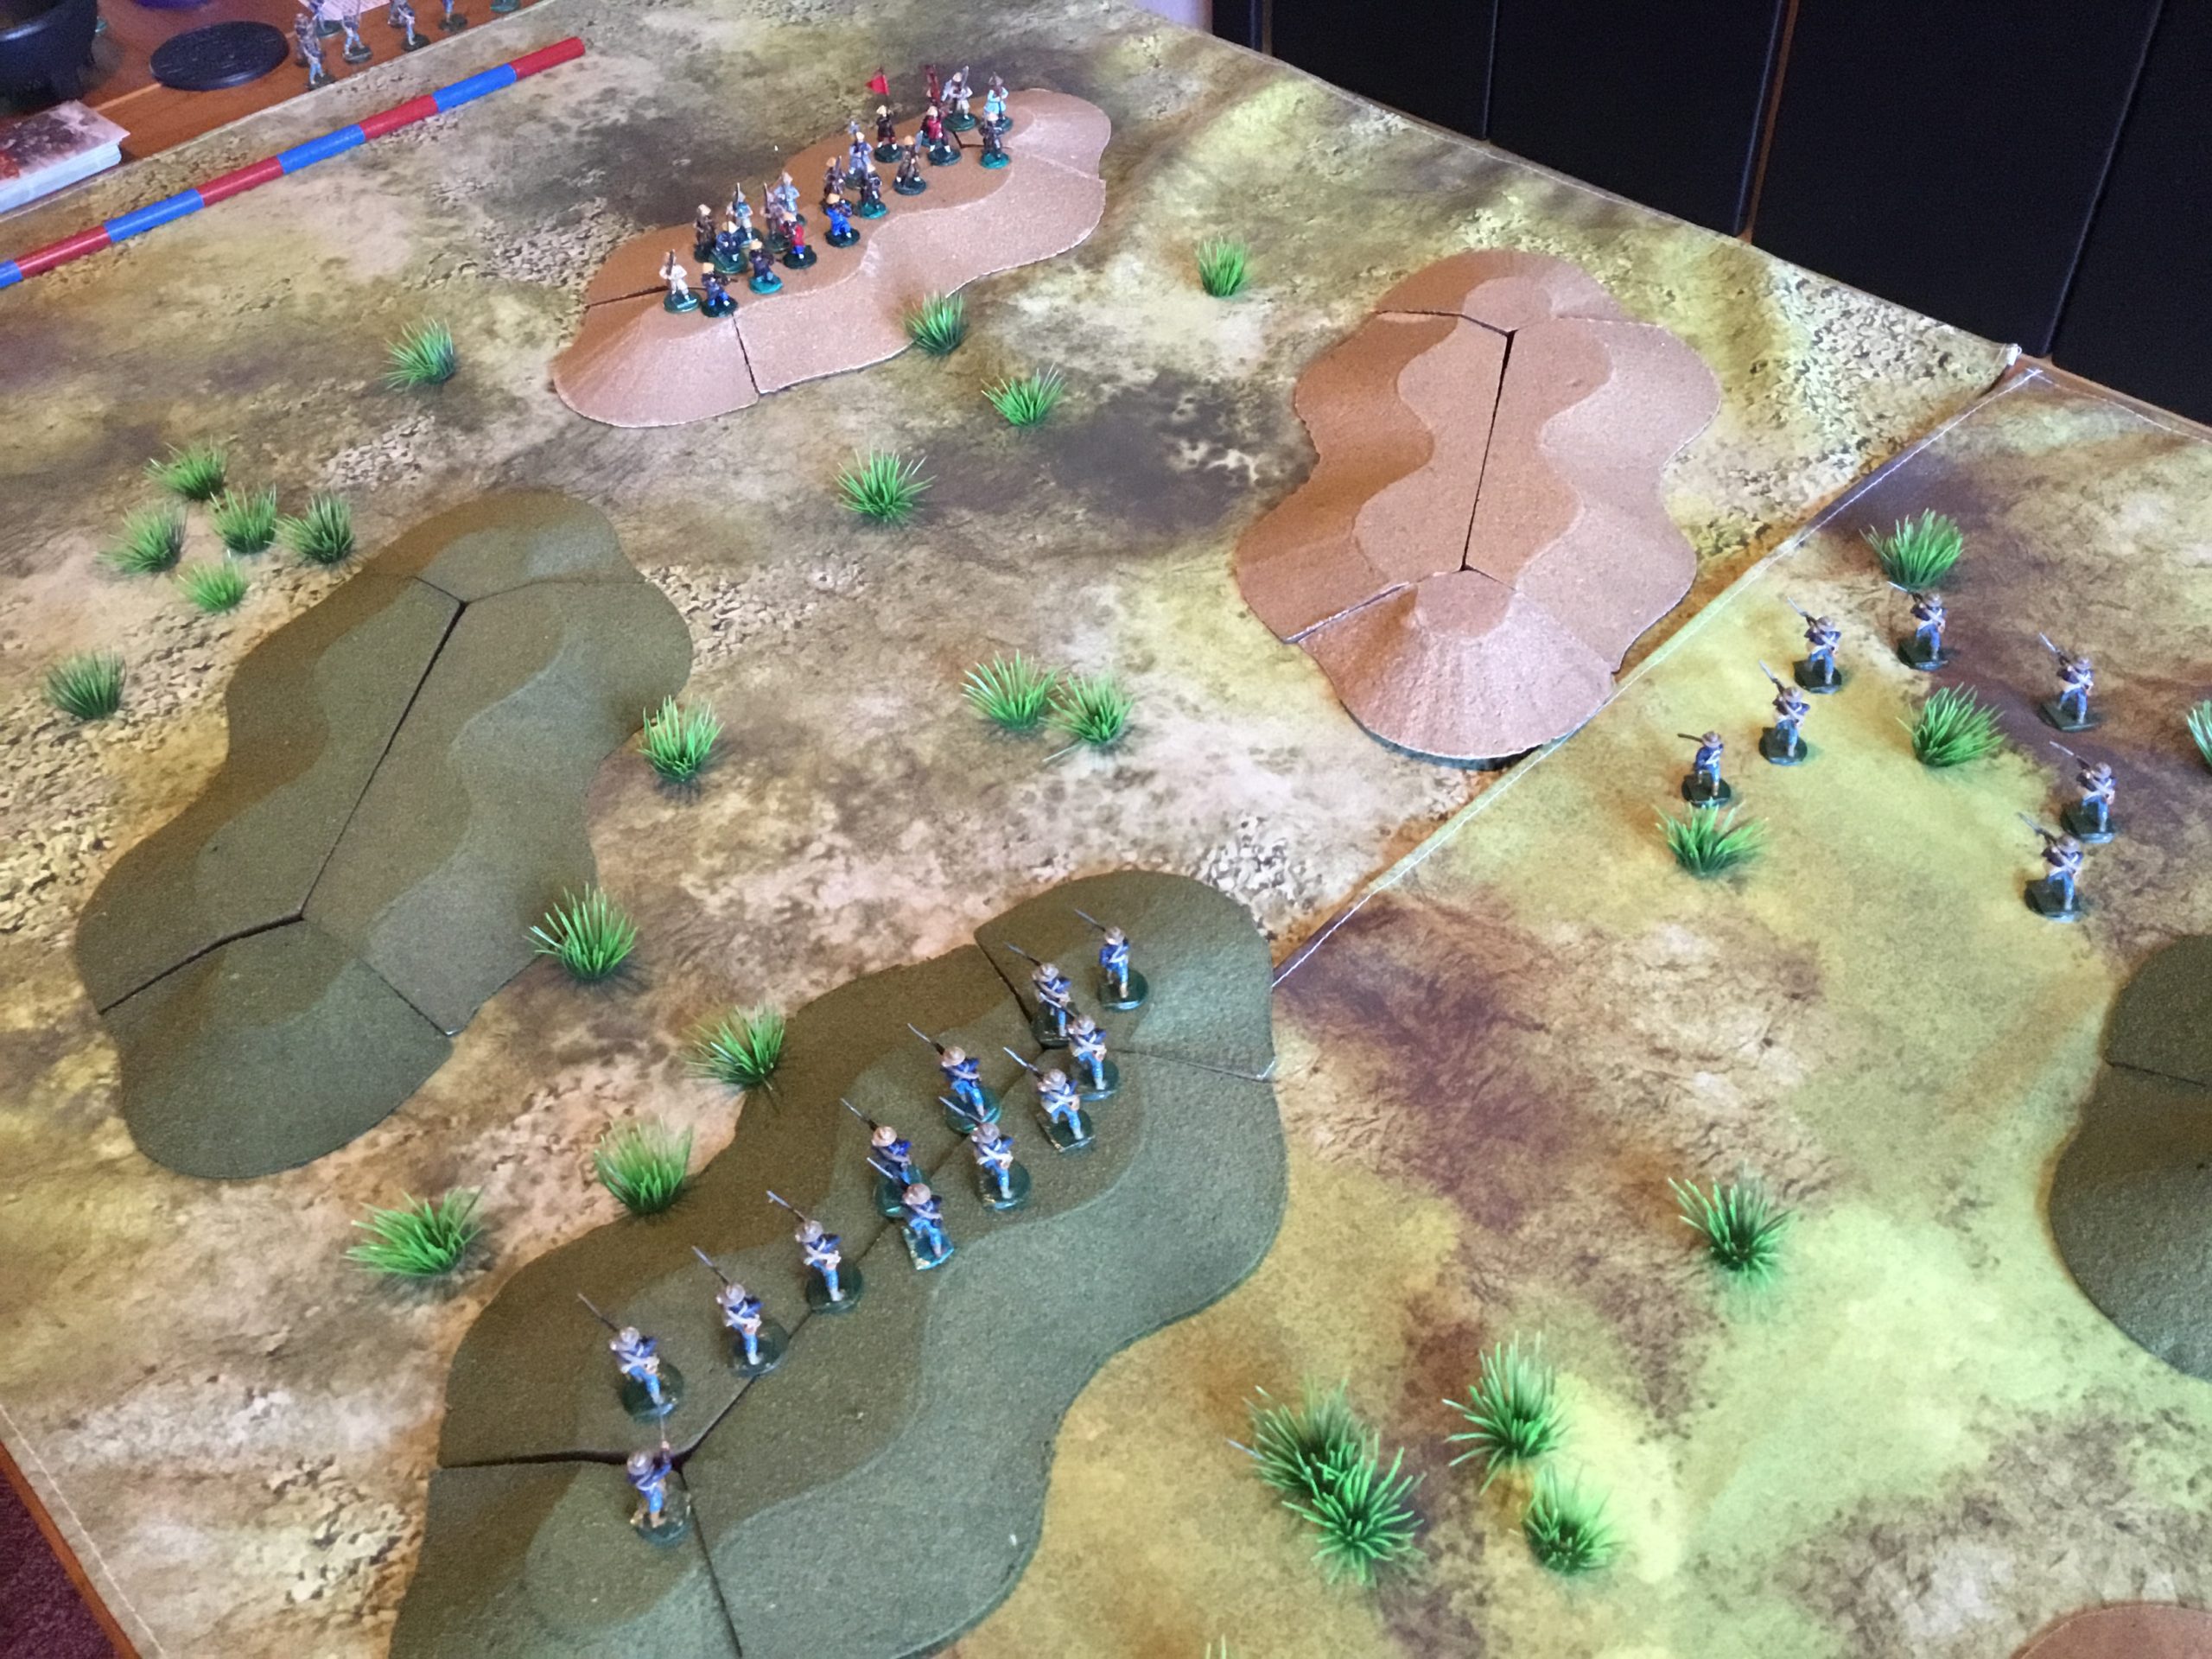
What a relief!  No longer are colonial battles limited to big games with small,  highly disciplined, regular units decimating wave-after-wave of native hordes.  Rorke’s Drift is so boring.

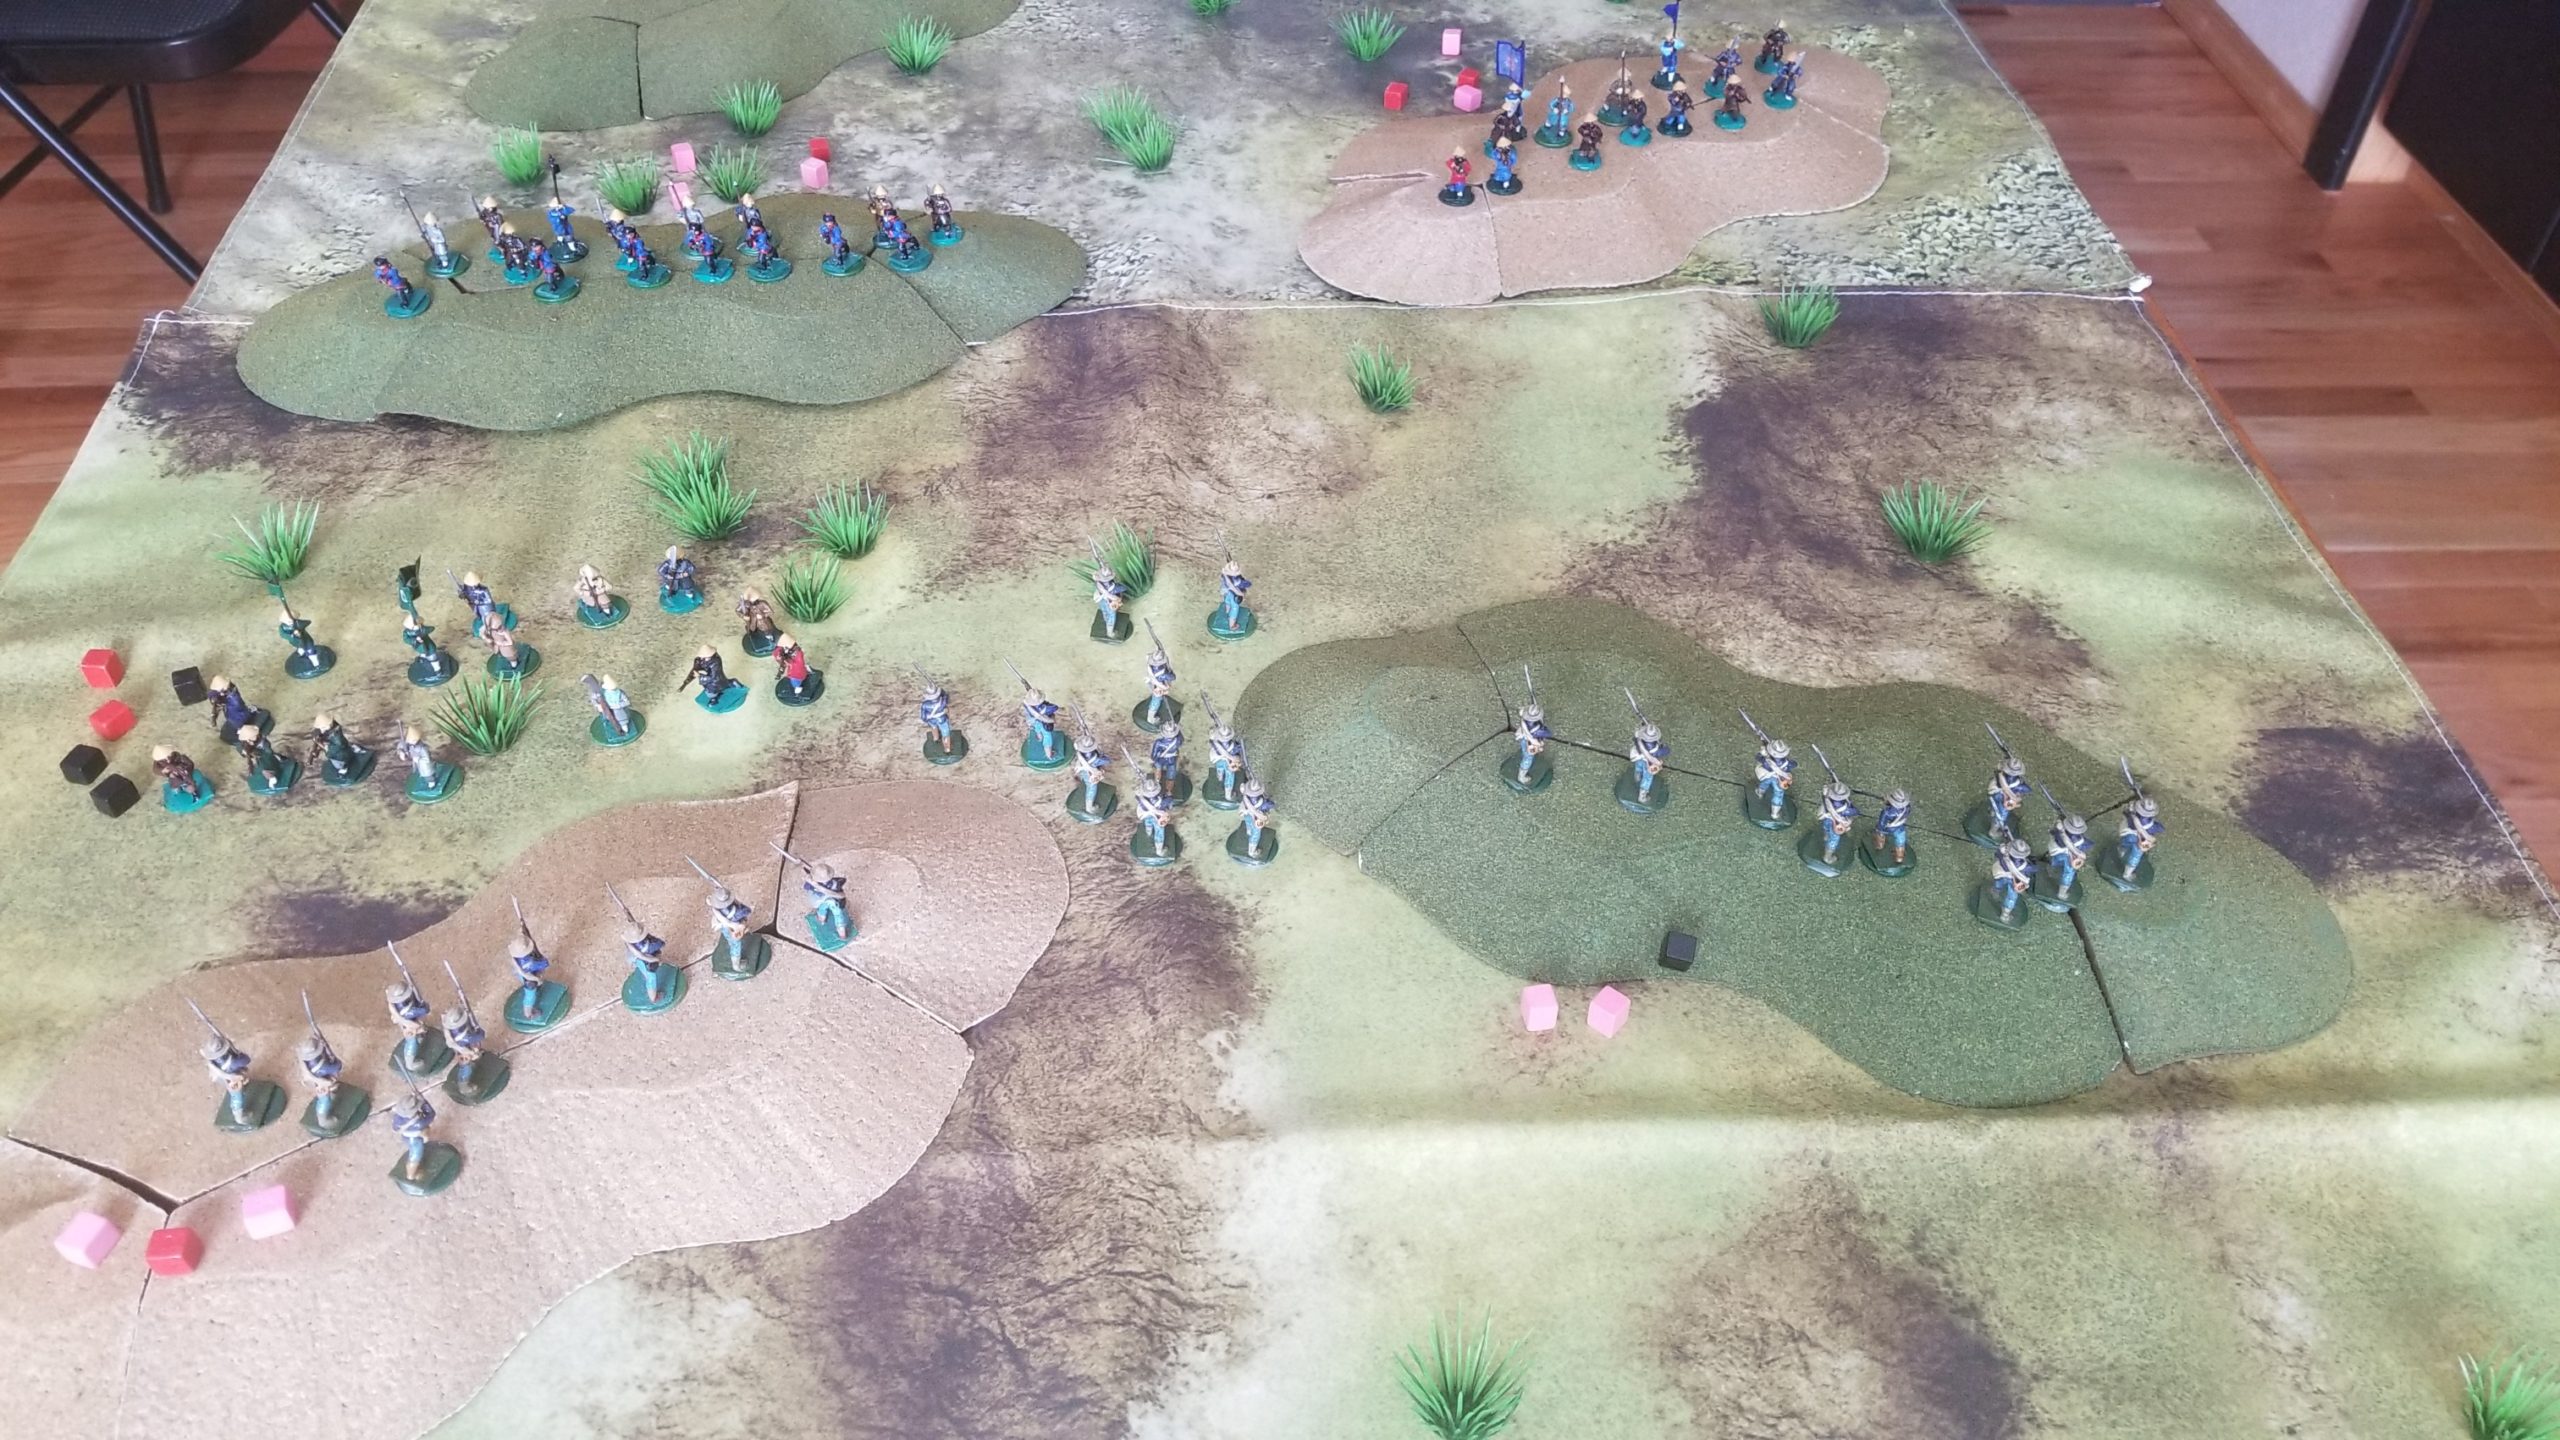
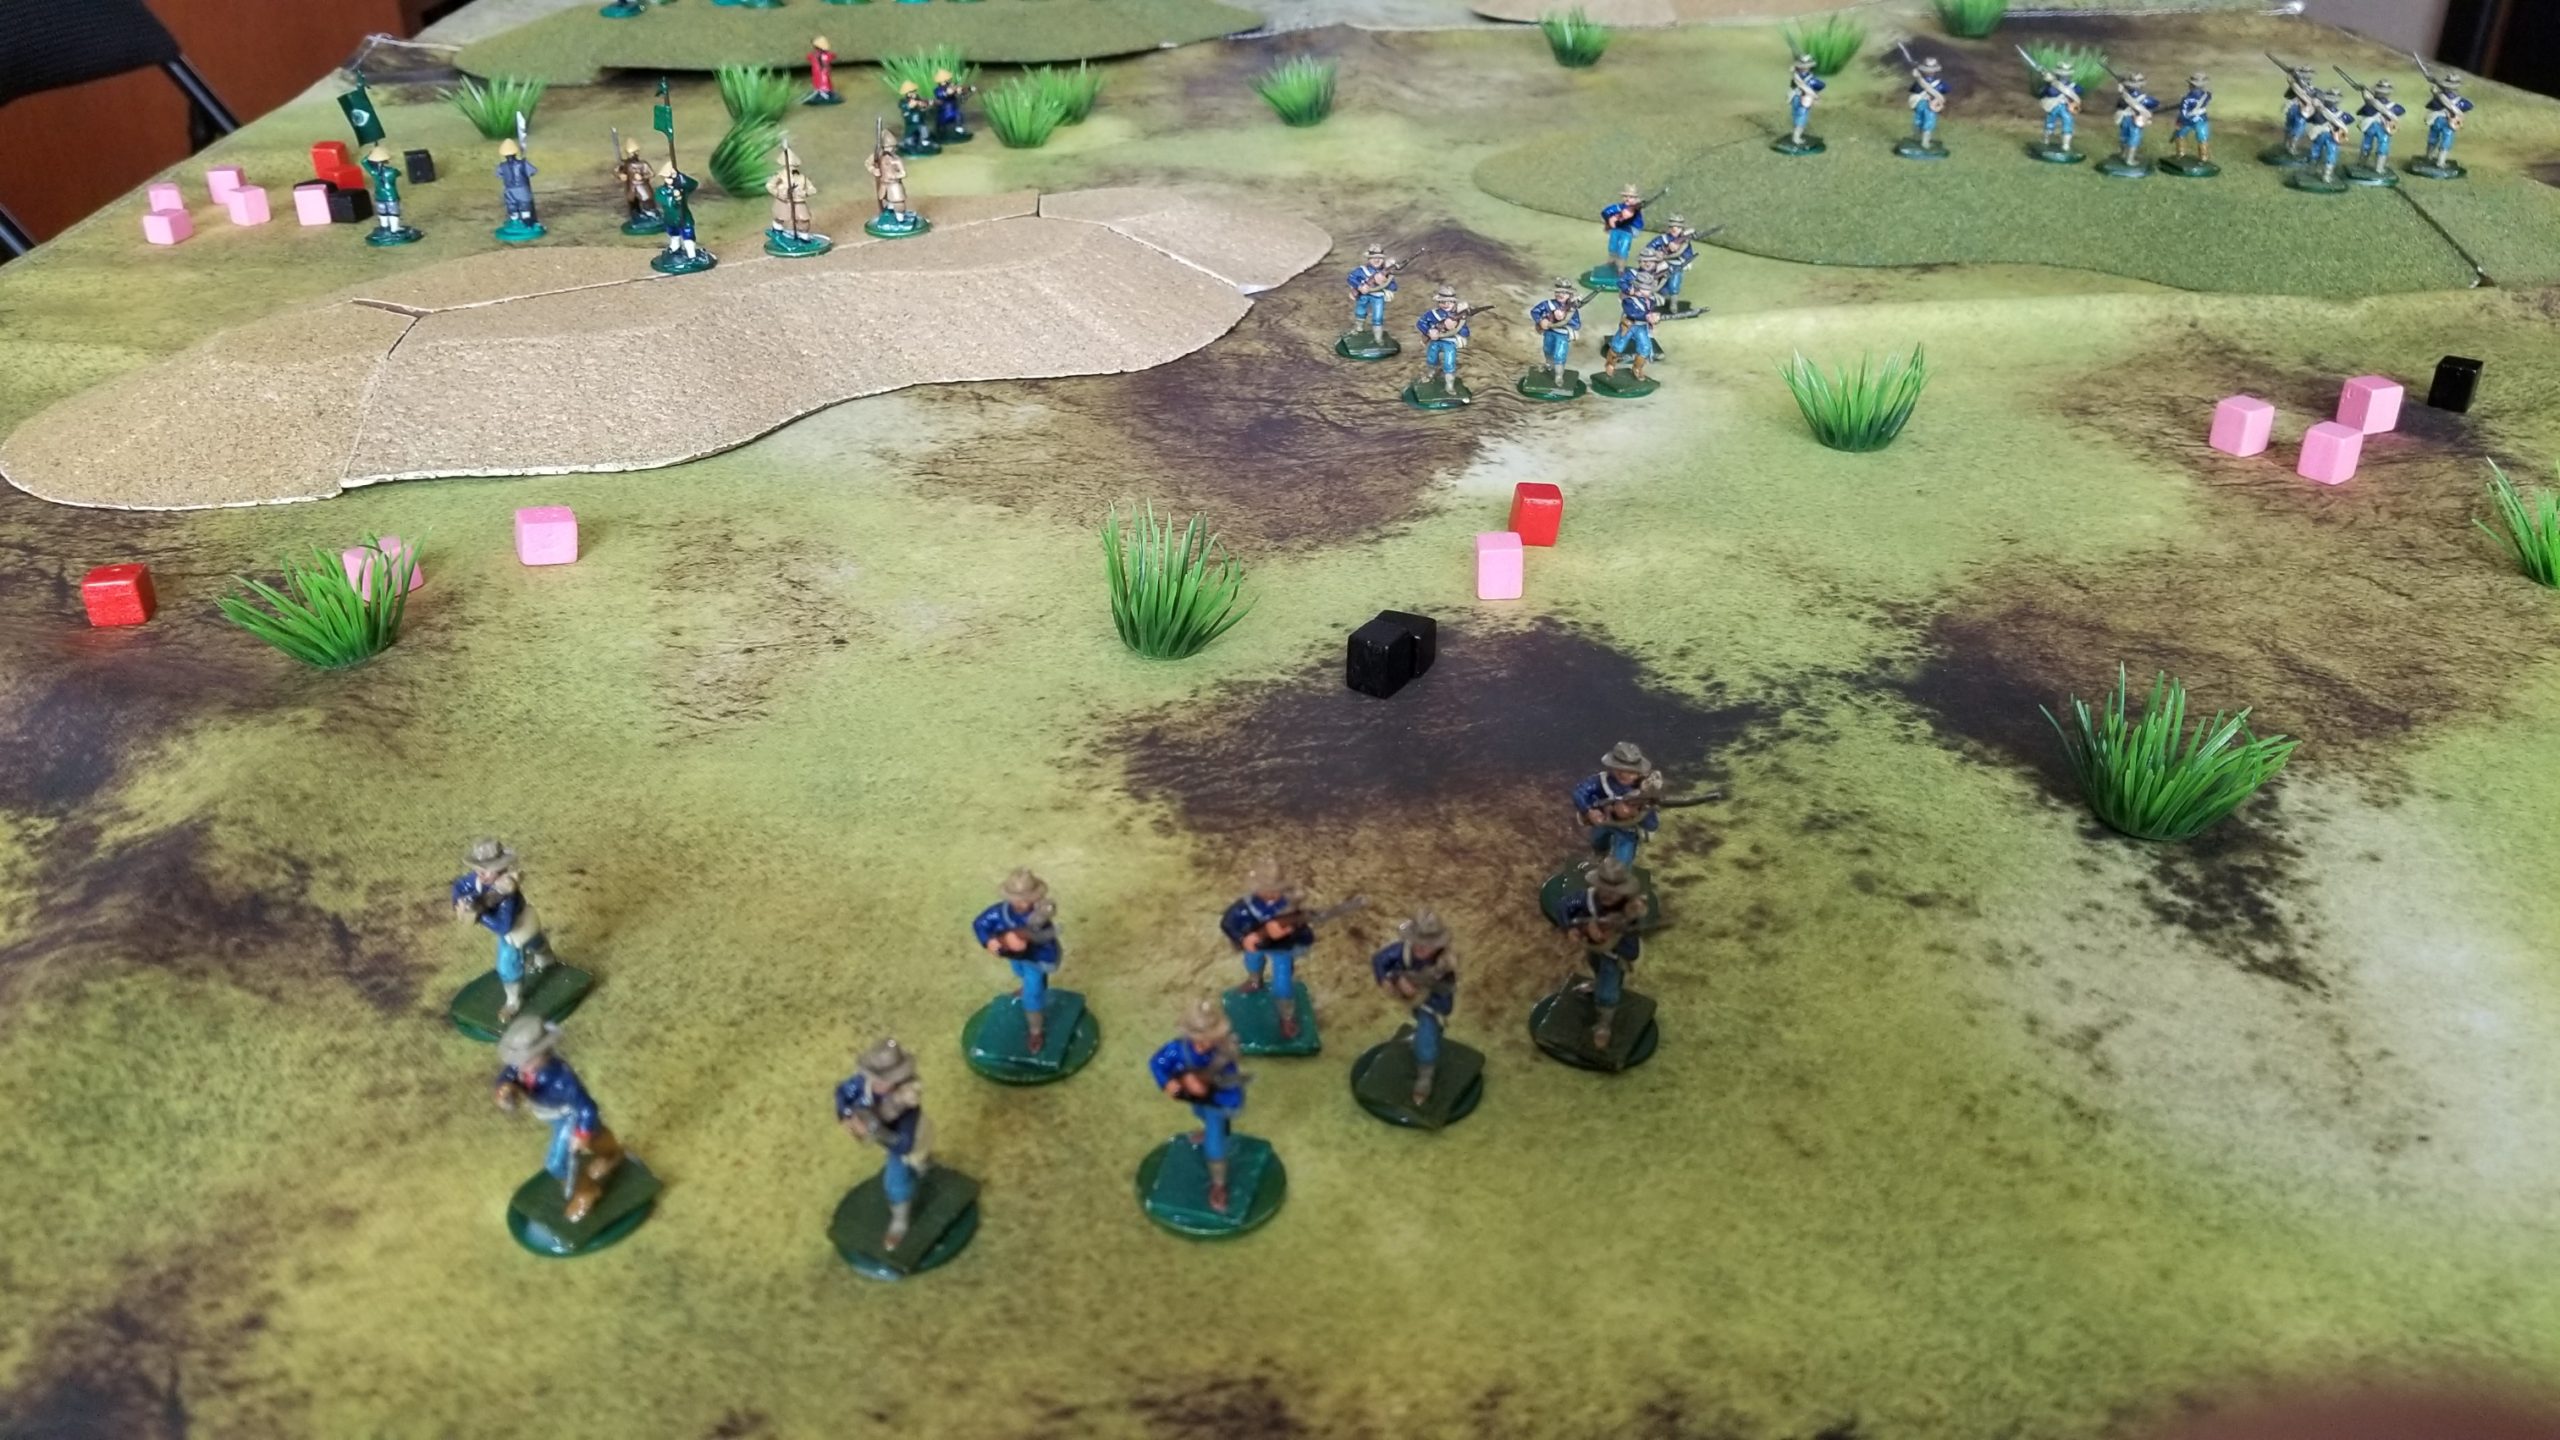
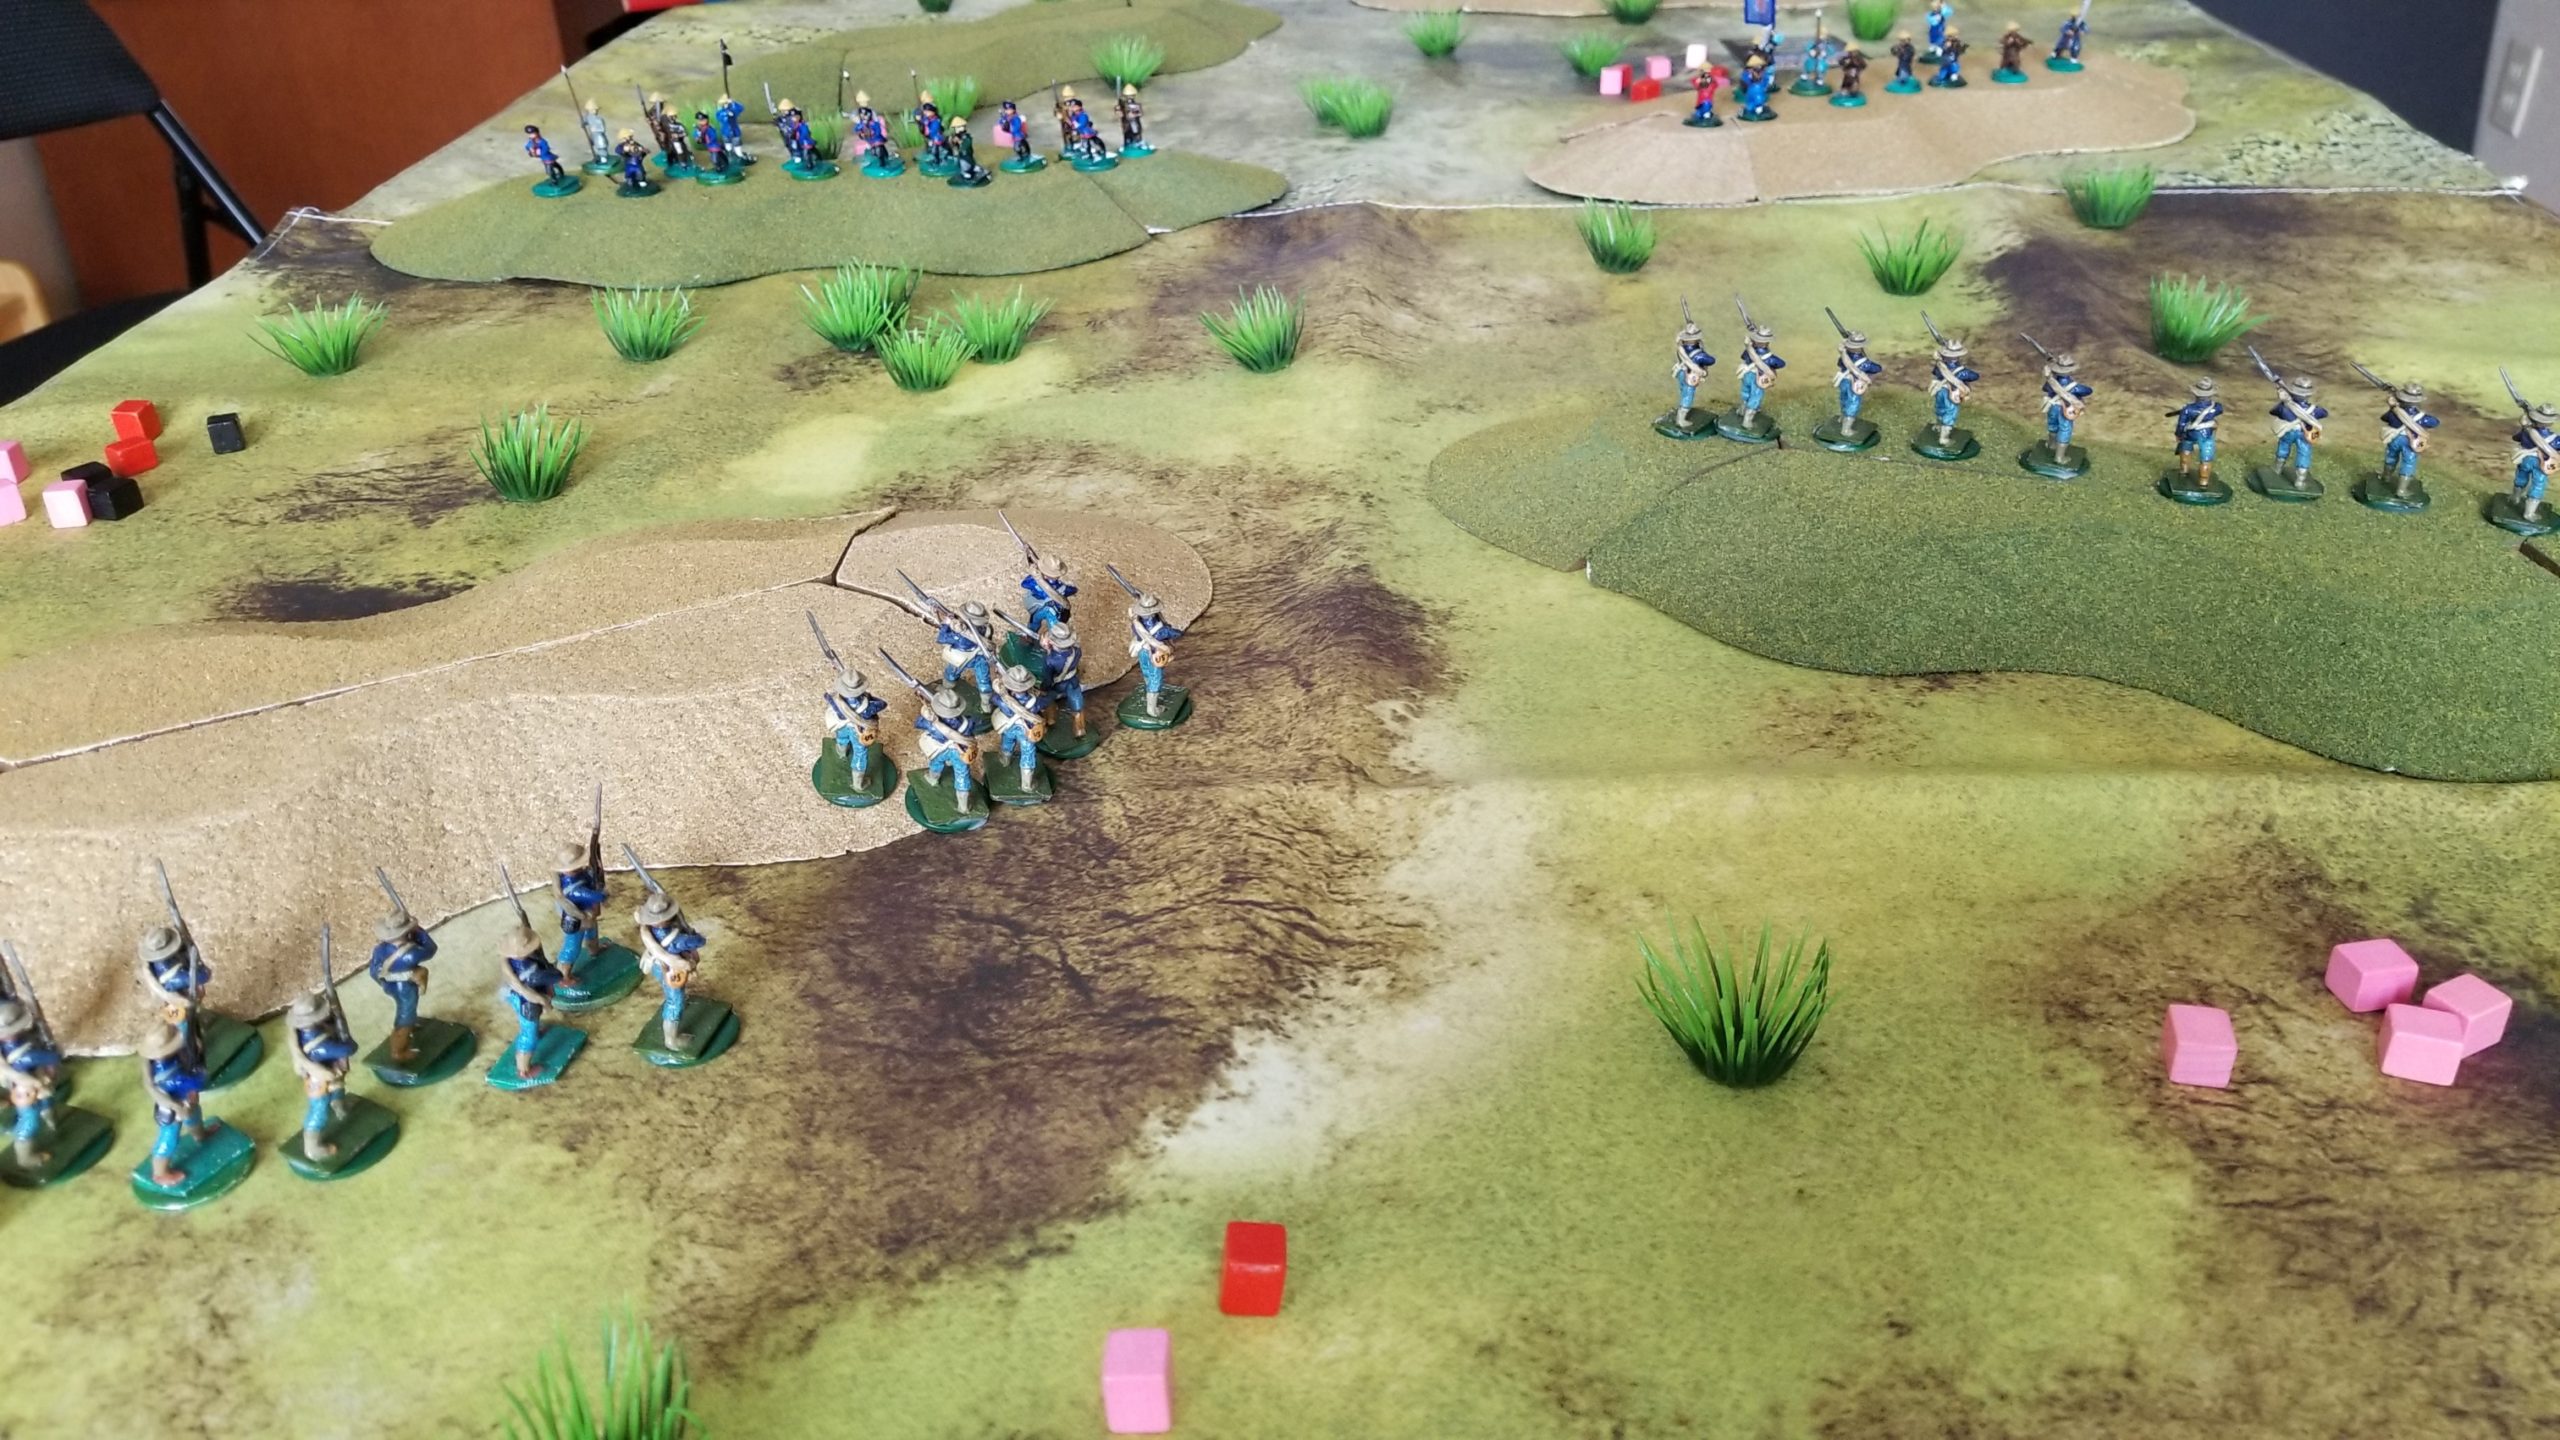
Here are some thoughts based on my initial play-throughs and formulaic scenario described in my previous posts.

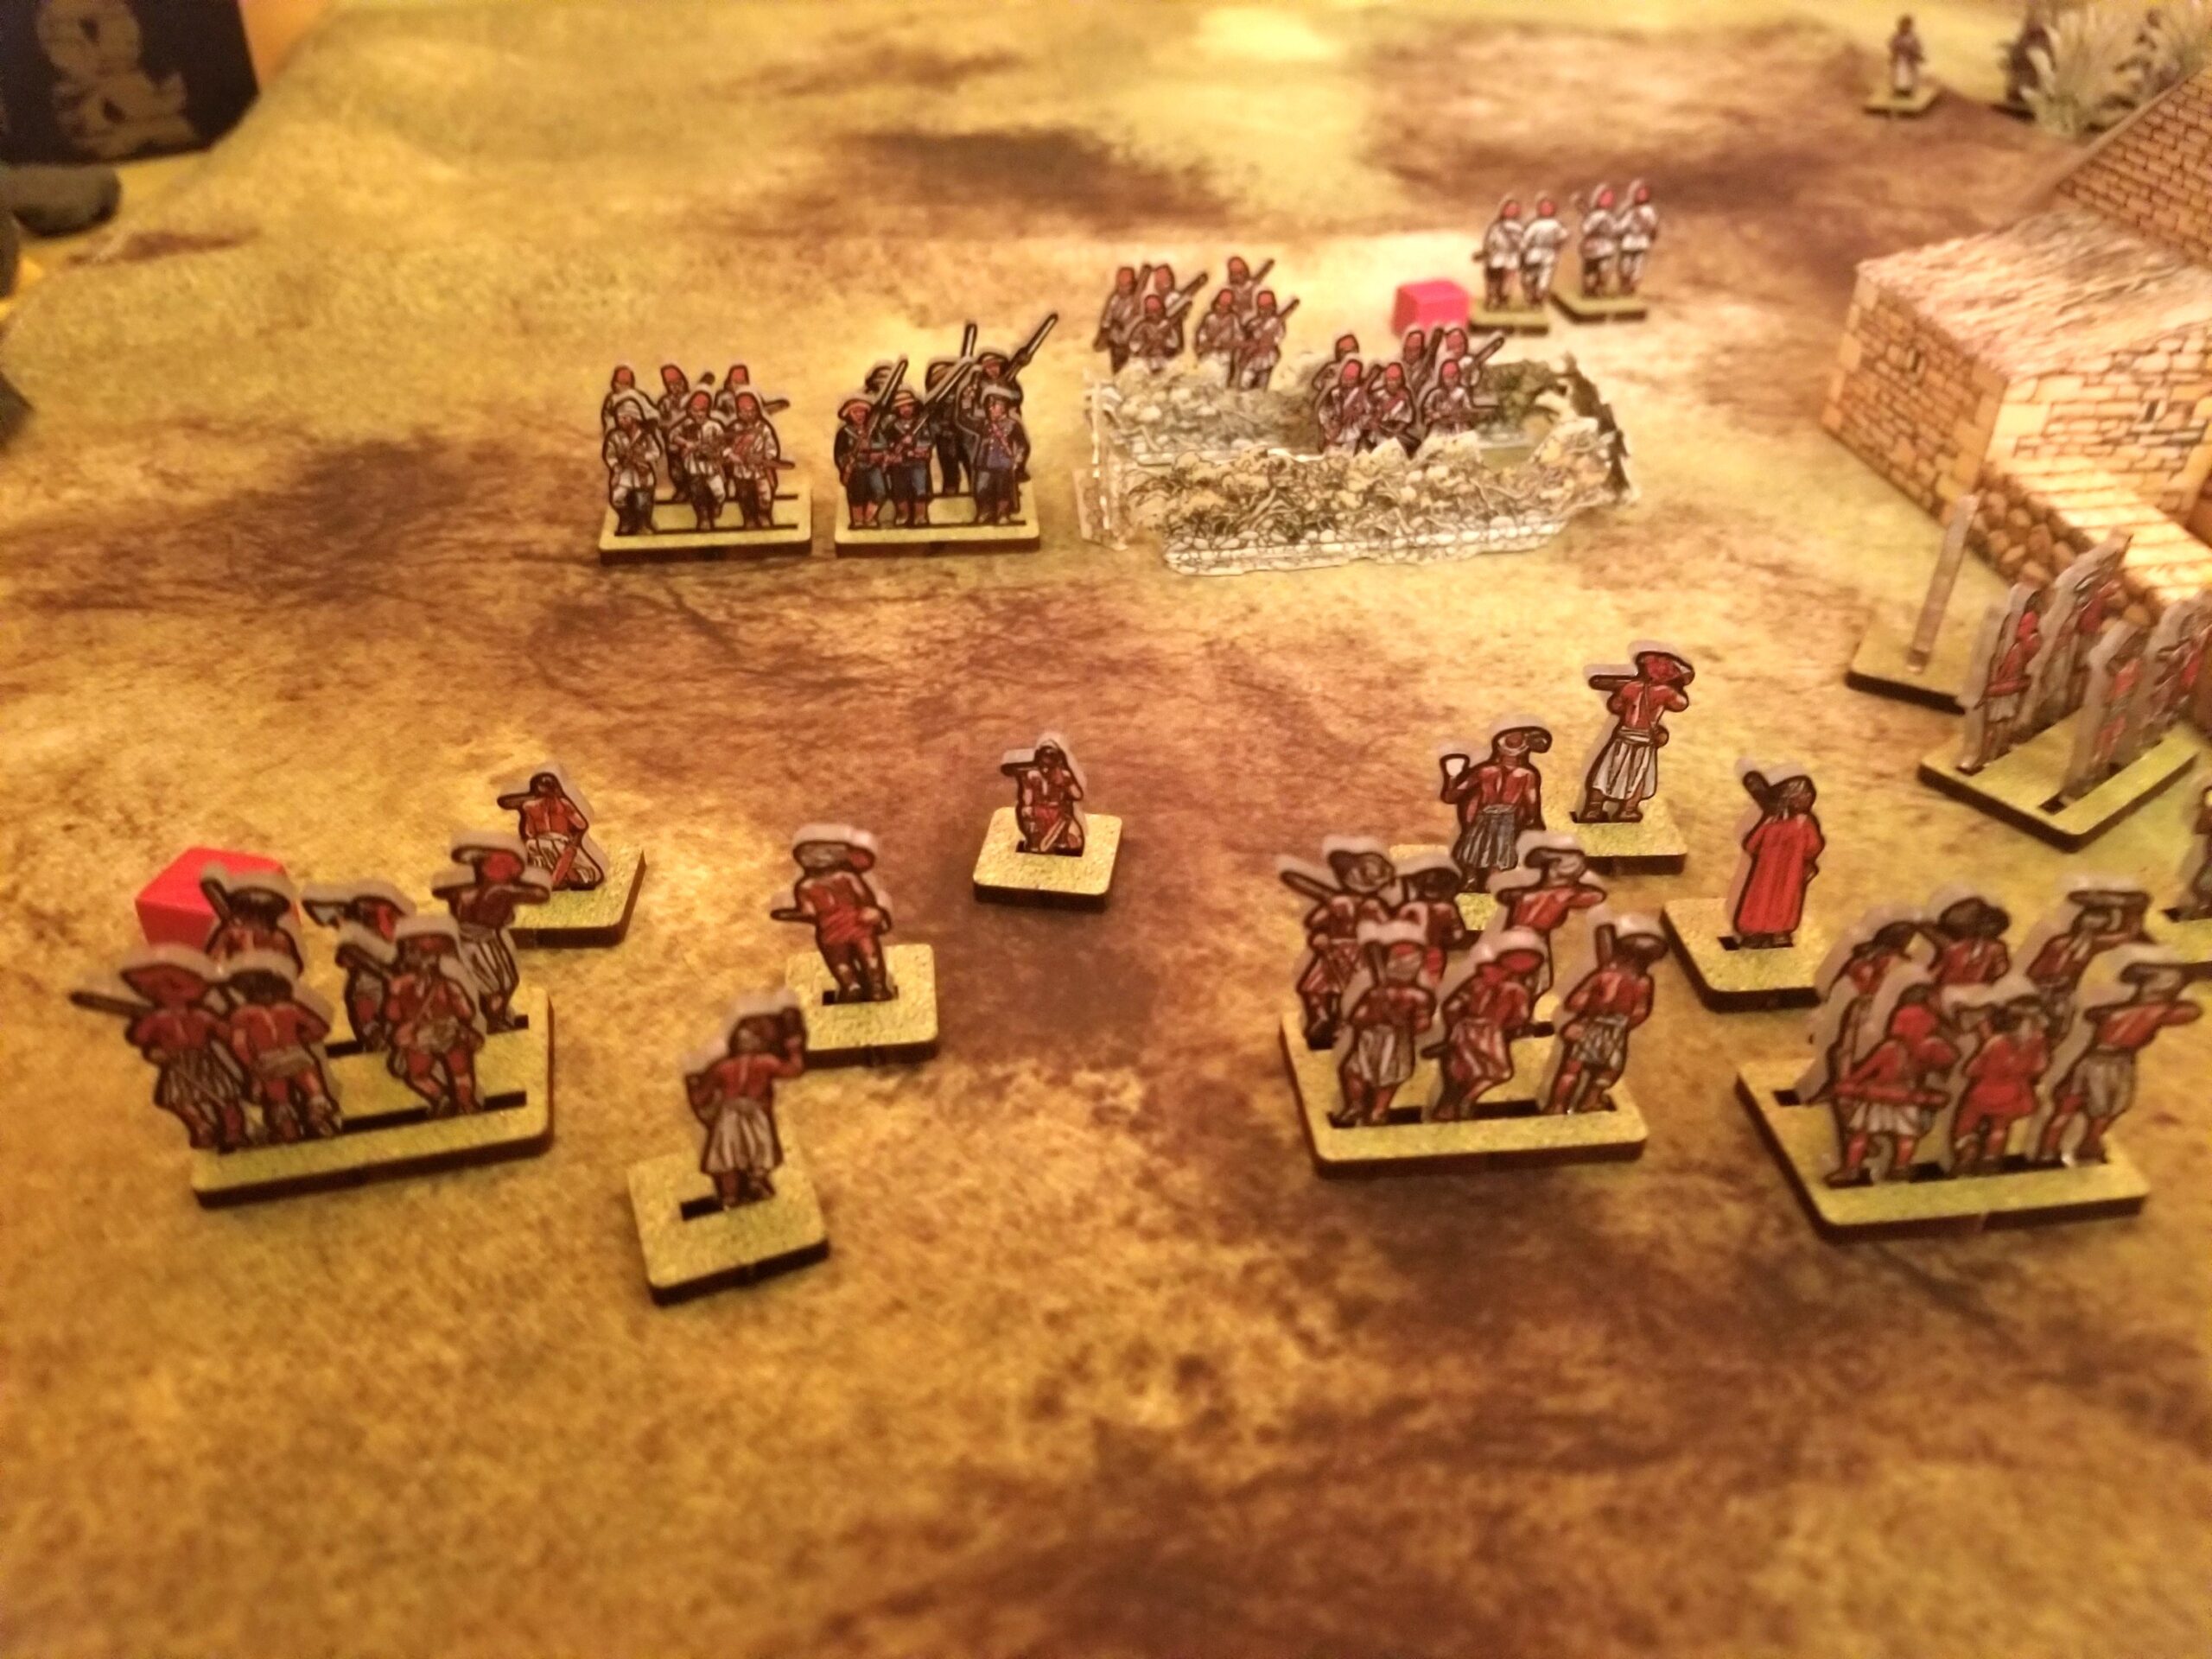
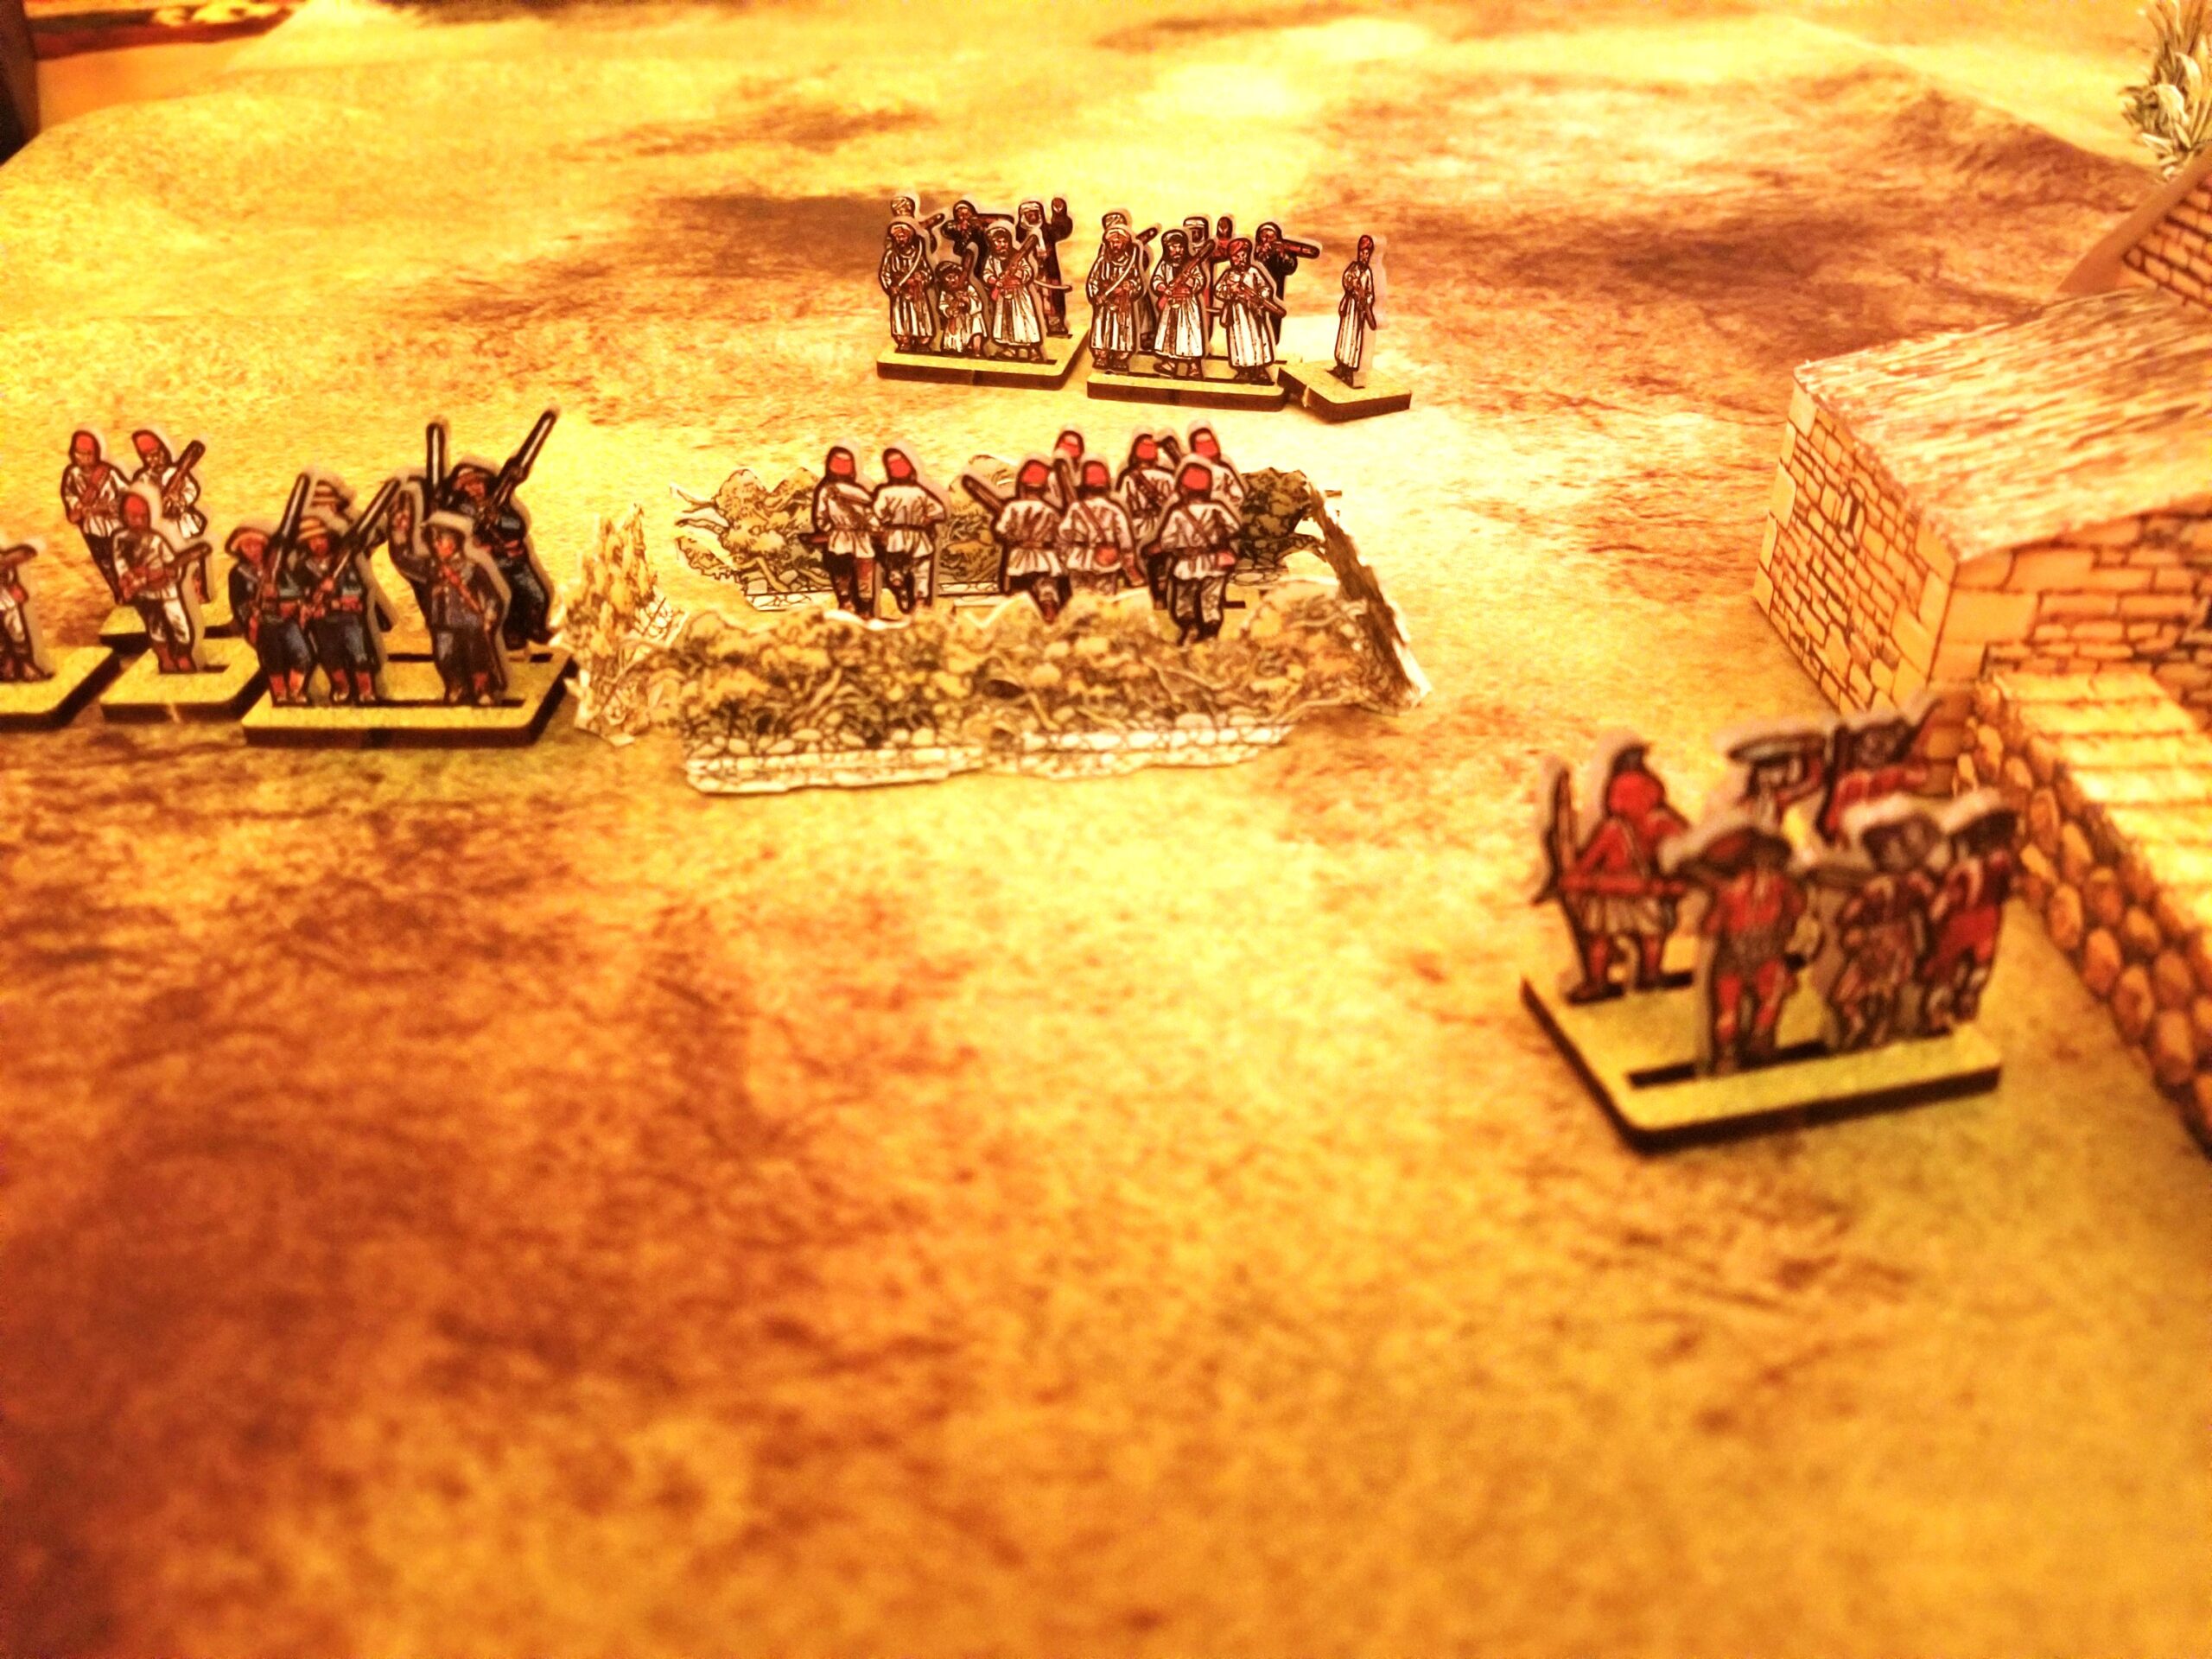
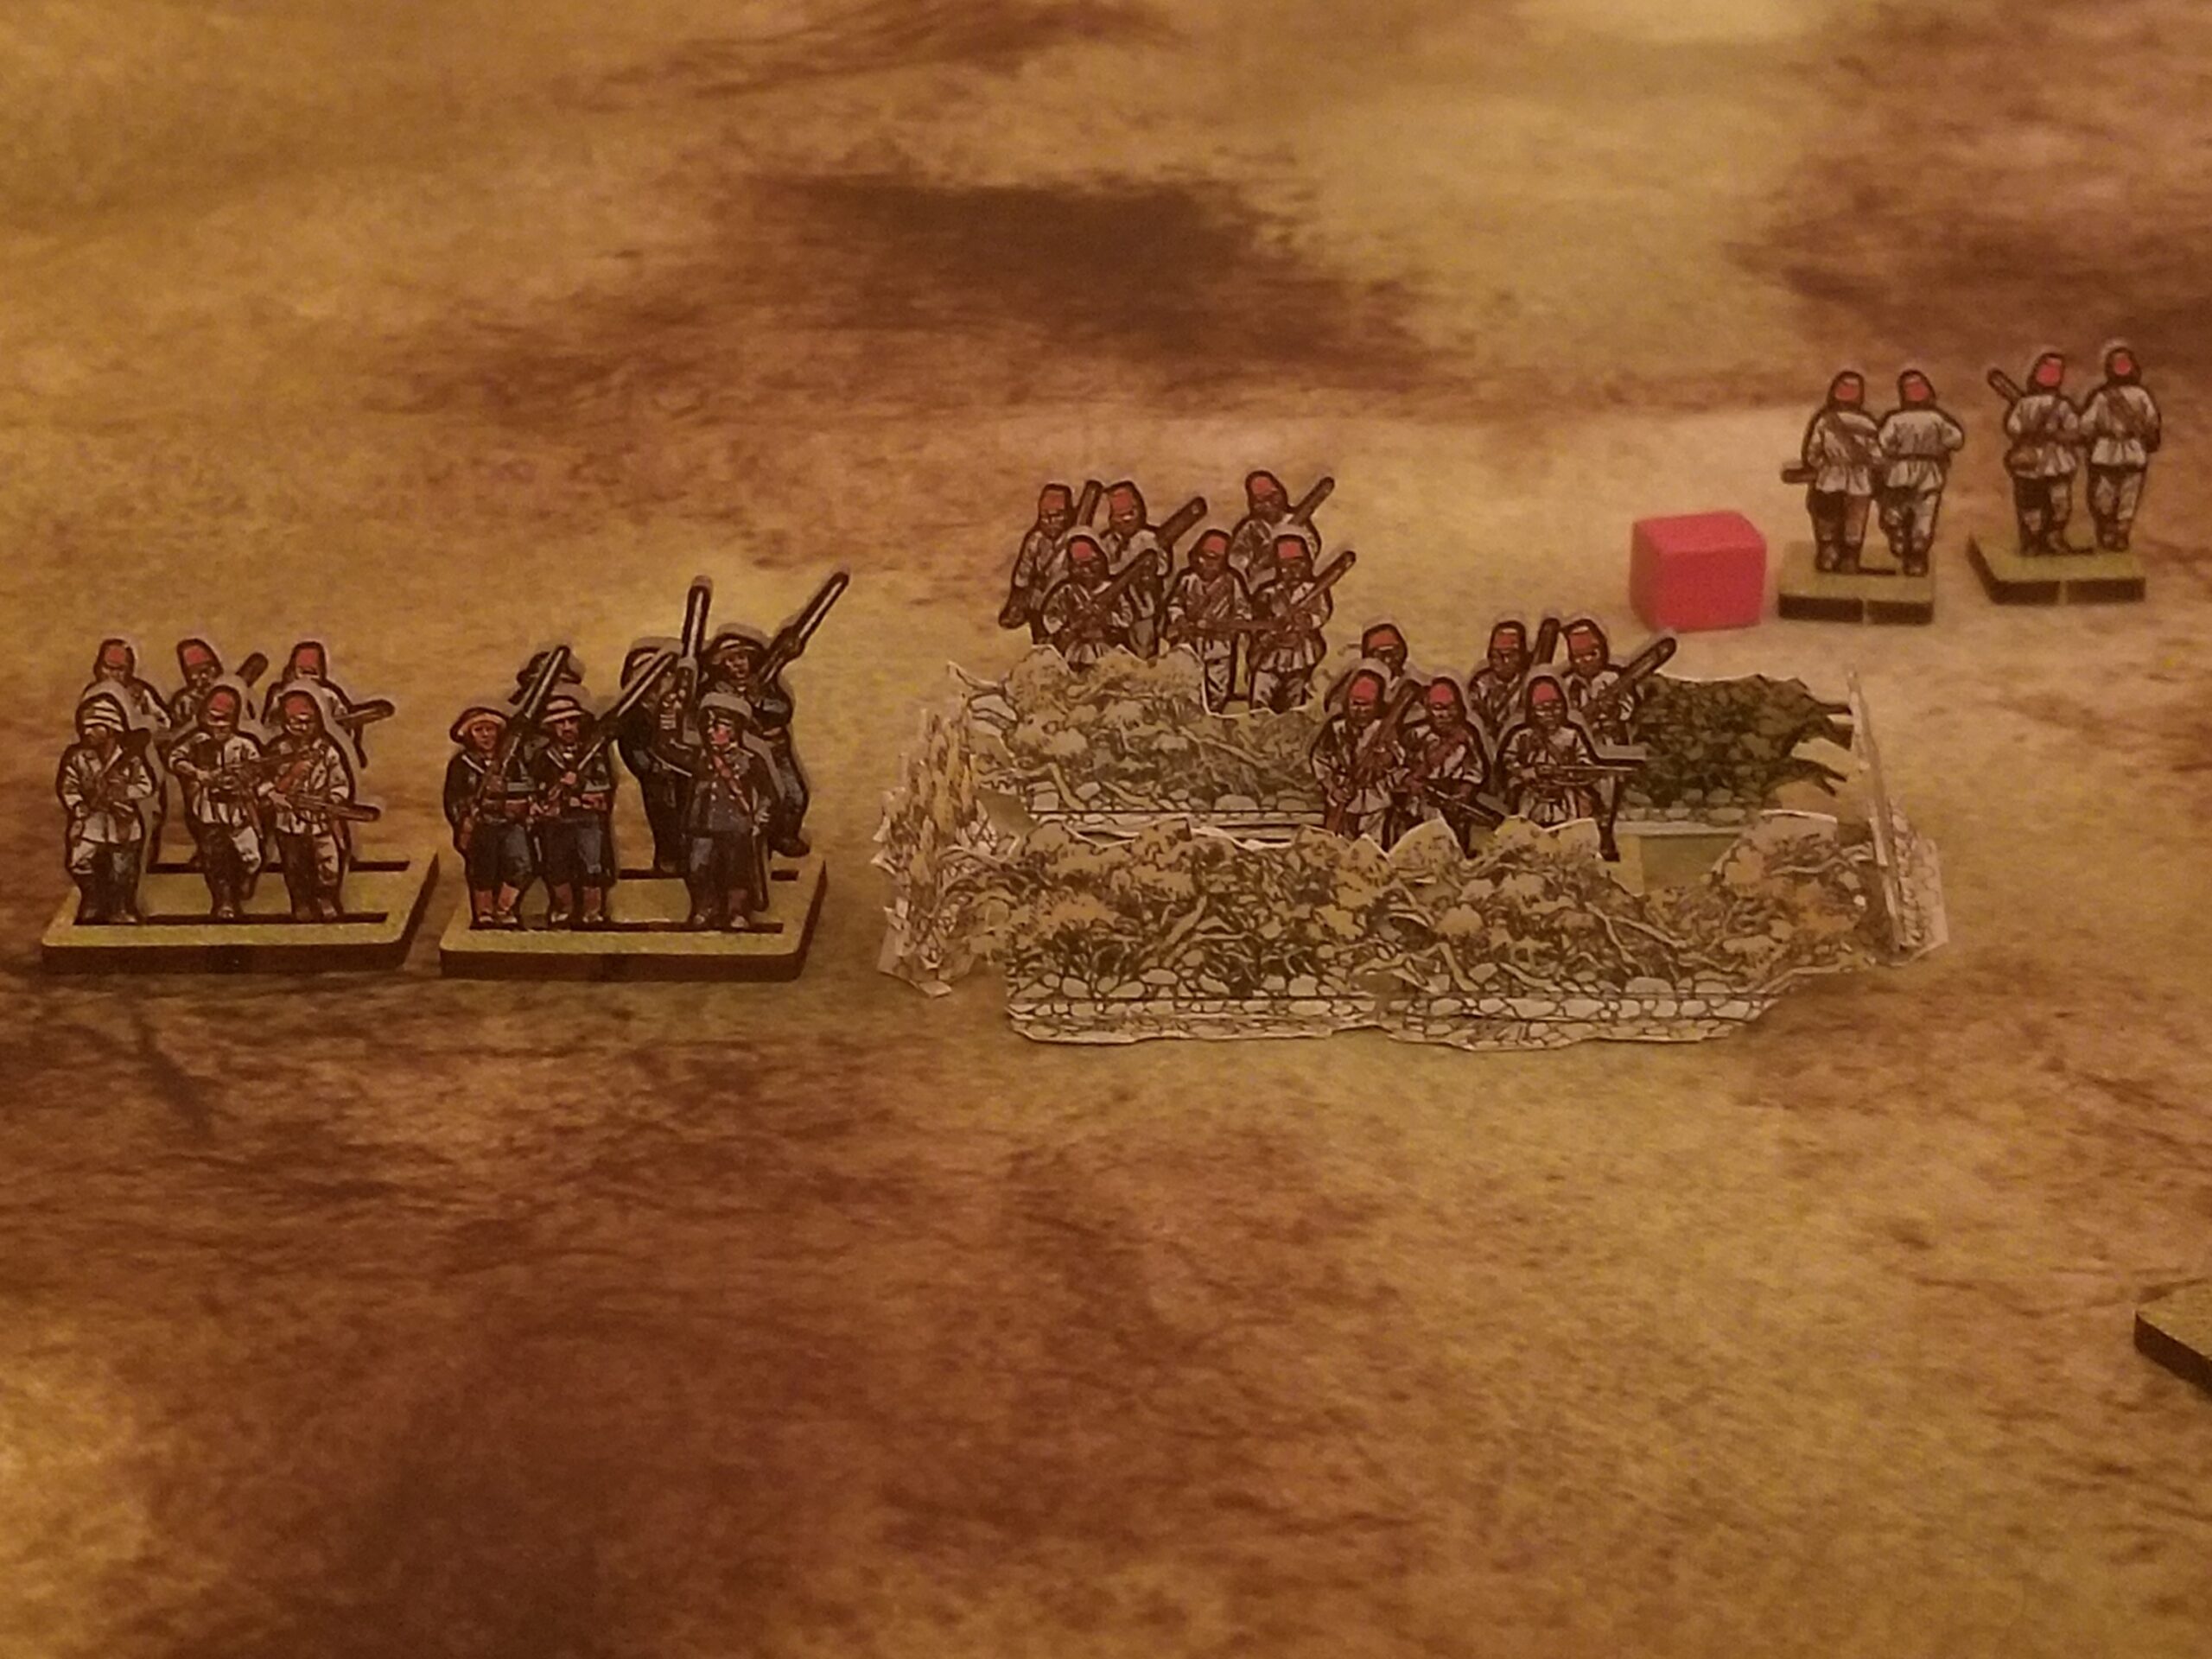
  1.  Make the majority, if not all,  of your Askari units Irregulars.  As Irregulars, their musketry and hand-to-hand capabilities will make them far more vulnerable.
  2. Upgrade at least one (1) Tribal unit to “well armed”.  Longer range will  increase their ability to inflict casualties and pin opposing forces.  A pinned unit is very vulnerable in melee.
  3. Use “Go To Ground” for native units in the open and waiting to assault.
  4. “On The Double” is one way to allow your Tribal units to remain out of deadly short-range weapons fire (especially when delivered by Regulars), and have decent chance of attacking into melee.  All you have to do is roll a D6x5 or D6x6 to get the extra move distance.  Try it with multiple units.
  5. Vary the leader rating of your Native units to avoid a cycle of pin/rally/pin.

More Action! (Finally)

Been fishing.  Time to finish up the narrative on my latest game.

The Natives finally launched a coordinated attack against both the Zariba and troops in the open.

The attacks were repulsed by a combination of good (Colonials) and bad (Tribal) die rolls.  The Africans will be flayed by rifle fire while attempting to rally.  Notice the Arab Band unable to get it together in the upper right corner of the photo.

The Arab contingent finally swung into action, making quick work of the small Askari unit detached from the main body of the relief force.  However, their attempt to assault the Zariba from the rear was shattered by accurate Askari rifle fire.

The Regulars and Askaris now decimated the pinned Native and Arab units, which were unable to rally and charge back into close contact.  Very few remained on the field at the end of the engagement.

An entertaining game.  I’ll follow-up with some thoughts on the rules in my next post.

Action! (Finally)

Enough of the musings for now.

Been playing an African scenario using “The Men Who Would Be Kings” rules by Osprey.

Threw out a terrain cloth on a living room table, set up some paper scenery, and organized my WoFun troops.

One of the criticisms leveled at these rules is that Tribal units are battered by modern weapons fire and are quickly pinned and attritted without getting close enough to to melee with the Colonial regulars or irregulars.

So, I set up a small “Last Stand” scenario to judge for myself.  All Tribal units had a morale rating of seven (7), with the Colonial at six (6).  Morale checks involve a D6x2 role equal to or greater than  the morale rating.

My first try involved a force ratio of 1:1 and, sure enough, the tribal units were paralyzed and shredded.  I increased the number of tribal units for my second try.

The colonial troops are deployed by sections of six (6) figures, with a unit comprising two sections or twelve (12) figures as per Rules As Written (RAW).  The colonial force is comprised on Askaris (classed as Irregulars) with a section of Naval Infantry (classed as Regulars – better morale and melee capability). Tribal units/bands are sixteen figures (16) each, as per RAW.

The initial set-up looking northeast. Askaris occupy the fortified house and a zariba.  Reinforcements are somewhere in the offing.  I’ll trigger their movement with a “Yes/No” die roll when the Tribal units get within a charge move of the house.  Right now – given table space – the Tribal units are at long range, one move from where they are on the table.

Tribal advance hampered by failed activation checks. But, one unit charges an Askari section engaging in melee.  Overwhelmed, the Askaris are destroyed, without inflicting a casualty.  The Tribal band occupies  one half of the Askari fortified position.  The other Tribal units advance, taking casualties.  One pinned band is destroyed by fire from the zariba position.

Another Tribal band assaults the house, engaging the other Askari section.  The reinforcements, after some hesitation, advance in column at the quick.  The Tribal band concealed in the elephant grass fails their activation check, losing their chance at an ambush, and remain in place.

Reinforcements arrive, advancing past the fleeing Askaris (red cube indicates pinned – and needing a morale check) to support the zariba position, choosing not  to re-take the house.  This may be a tactical error.  One Askari section needs to take additional time to enter the zariba.

I’ll get back to the game this evening.

Me & Army Painter – It’s Complicated

I love to cycle.  I don’t much care for E-Bikes.

E-Bikes have their place.  For certain people and situations they are a wonderful solution, allowing folks who might not be able/willing to ride to do so.

But, they don’t provide the entire cycling experience, which I will summarize in two words:  Pain and Accomplishment.

When a grinning e-biker zooms past me on a hill,  all I can think is “Cheater”.

Army Painter is the E-Bike of miniatures.  For people who don’t paint all that well (Me) and  want to do a half-way-decent-job on well sculpted figures (Me & Old Glory Landsknechts right now), it is The Bomb.

What’s missing is the pain of trying to paint well, and sense of accomplishment when one actually does a pretty good job.

With Army Painter, just block in the colors (not sloppily), and apply.  The results look pretty damn good, and far better than if I was to stumble my way through details and a myriad of washes.  The tricky part is figuring out how thin one wants the wash.

Cheater.

Will I use Army Painter when I finish up my Hinchcliffe Ottoman Turks?  No, out of place for their dated sculpting.  On my 15mm Alternative Army Ottomans……maybe.

So, I’ll ignore my superficial hypocrisy and grin as I zoom through the last of my Italian Wars figures.

I can live with it.

Paper, Plexiglass and PDFs: A low cost wargaming path of less resistance

Over the past couple of years I’ve become intrigued with paper soldiers, terrain and buildings as a low cost, lower time alternative that allows me to tryout intriguing new rule sets as well as an alternative to my ham-fisted DIY efforts.

I initially started out with paper buildings for my Fistful of Lead games.

My first paper soldiers were sourced through Wargame Vault using Batalov’s titles, as well  as those created by “Antohammer”.

Earlier this year I discovered Peter’s Paperboys, featuring both Peter Dennis’ quality work and others.

Combining these low cost figures with (comparatively) low cost PDF rules opened up a number of possibilities, especially skirmish or small unit encounters, with quick set-up, small footprint and big fun.

Two new rule sets  I’ve been working with that combine attributes of both skirmish and small unit (s) games are Osprey’s Pikeman’s Lament and The Men Who Would Be Kings.  These sets have been exhaustively covered, so there’s no need to go into any discussion here.

The paper soldiers provide the ability not only to get into the rules, but create  interesting matchups.  For example:  Portuguese vs. Spanish Conquistadors for “Lament” and Late 19th Century Russians vs. Central Asian Factions in “Kings”.

The overhead for each of these games was no more than $20 each, all-in with rules, figures, terrain and professional printing.

A bonus is that  cutting out 28mm figures and terrain, as well as 15-18mm buildings gives me an excuse to have football on and not feel like I’m wasting time.

It was then just a short jump to WoFun’s 18mm plexiglass figures.  This range also includes 28mm figures, with work by both Batalov, Dennis and others.  Why 18mm?  Because 18mm paper soldiers are just too hard to cut out.

Yes, the plexiglass figures are more expensive and postage from the UK is a drag (although some sets are available from US based Raven Banner Games).

I purchased British and a variety of African Askaris, Arabs and Tribal figures for skirmishes and a campaign using the “Men” rules.

I’m really enjoying this combination of interesting match-ups and quick set-ups.

Showdown!

Decided enough is enough with my Husaria contest between Poles and Muscovites.

Just “guided” units to set up cavalry confrontations in the center.  Guiding is my polite term for “to hell with the rules, let’s get these units into position.”  Yes, to do so would have involved finagling figures through expansion/contraction of frontage gyrations, as well as the timing of said moves.  Said finaglings would have expanded my deeper knowledge of the rules, but in my current bloody mood, it would have just been another experience tantamount to a telephone hold (thank goodness for the speaker setting on cellphones).

Now that the units are in general position, I can pick up the game using Rules As Written (RAW), and see what happens with cavalry combat.  To this point, all combats have involved infantry units.

Here’s the overall situation:

Poles to the right, Muscovites to the left.  The flanks are secure for both sides.  The Polish Pancerni are moving into attack position, as are the Muscovite heavy cavalry and Ratjars.  The center area is narrow and becoming congested for the Muscovites.  Since both sides are now within charge distance (28 cm), the Muscovites may not be able to expand their frontage before first contact.   In this rule set, only the front rank of Cavalry fights in melee.  However, rear ranks can overlap after the initial melee turn.

This photo gives  little better view of the Muscovite situation.  The cavalry in the foreground is retreating (not routing) and will pass through, and disrupt, the Streltsy infantry.

The Polish objectives are the two villages.  With that in mind, the Muscovite CinC (single figure top center)  has moved to rally the withdrawing cavalry units and direct the reorganization of  each village’s defenses.

I’ll pick this one up with the usual turn sequence, starting with declaration of charges for whichever side wins the initiative die roll.


Culling The Herd

Just about finished homogenizing my miniatures collection.

The ongoing subtractions and anticipated additions are all related to scale.  As we all know, not all 15mm and (especially) 25mm figures are the same size.  I’ve whined about this in the past.

And, as we all know, the selection and quality of castings has dramatically improved over the past (gulp) 35 years.

I attempted to take advantage of that while expanding my existing forces and creating new ones.  But, what I wound up with was a hodgepodge of units.  25mm Hinchcliffe, Essex and Ral Partha figures just don’t look right on the same table.   Old Glory 25mm figures vary dramatically in size, with some not 25mm but large 28mm figures (looking at you Wars of Religion and Persian lines).  15mm Alternative Armies  (Tabletop) medieval and ancients do not work with 15mm Essex.

The only solution was to add and subtract.   I have purchased some new Essex 15mm Late Medieval/Early Renaissance figures, and will be purchasing some new Old Glory Italian Wars figures.  The results will be:

15mm WRG Ancients  –  Alternative Armies

15mm Late Medieval/Early Renaissance  – Essex

15mm Age of Exploration – Essex and Eureka

15mm Colonial – Miniature Figurines augmented by the Age of Exploration figures

25mm Italian Wars – Old Glory, with very few smaller Essex

25mm Eastern Europe – Hinchcliffe, with very few smaller Essex

25mm The Sword And The Flame – Miniature Figurines

I’ve been selling outliers this month, and will apply those funds to the 120 or so Old Glory additions necessary for the Italian Wars.  Those and the 100 or so Essex 15mms purchased late last year should just about do it.  I will have enough armies for enough periods to keep me busy for quite awhile.

But,  I am committed to painting up some strays before I embark on painting up the new arrivals.  Boring, but necessary.

TSATF – Last Move

Rolled for Boxer resistance on the last two ridges.  None on one ridge, and one, passive, unit -with only four riflemen, on the other.

Don’t need to play this out.  Marines will simply engage at a distance, and force them off.

This game turned out well.  I’m fairly satisfied with my solo adjustments for Boxer placement, strength and aggressiveness.

I did roll for Marine casualties.  Four of the eleven lightly wounded are now considered seriously wounded.  Add those to the four KIA and other three seriously wounded, and the Marines took roughly 1/3 casualties.  High price.

Well, time to put them back in their cabinet and start playing Husaria.

TSATF Skirmish Continues

Well, maybe not that interesting at first, but later the situation became too interesting for the Marines.

The Boxers failed the morale check needed to charge the Marines occupying the west ridge line;  ran off the ridge and went prone/pinned.  Elsewhere the firefight continued, with both sides sustaining casualties.  Surprisingly, the retreating Boxer unit rallied on a die roll of “1”.

Here’s photo of the situation.

The riflemen of the rallied Boxers turned to engage the Marines moving through the saddle, while the remainder charged and closed with the Marines to their front.  The Marines moving through the saddle, in turn, charged the detached riflemen.

Both Marine units were pushed back!  In TSATF, hand-to-hand combat is simply a comparison of die rolls, and the Boxers were rolling well.  Despite losses, the Boxers  held the west hill.

However, the Boxers unit losses were now greater than fifty percent.  The detachment on the hill failed the required morale check and fled (final turn phase after shooting). The riflemen, however,  passed their check and remained in place.

In the following turn, the two Marine squads rallied and moved back towards the west ridge, staying in defilade. The Boxer riflemen focused on the remaining Marine unit, but their fire was ineffective.  Here’s a photo of the situation at the end of this turn.

Quick Note:  I’m keeping the casualty cubes in-place for an end-of-game count.  Red indicates a serious wound, pink a light wound, and black for death

The Marines regained the crest of the west ridge and engaged the Boxers to their front.  The Boxers literally fought to the last man.  The Boxers holding the east ridge drew an event card reducing their effective firing range to only 12 inches, or not far enough to engage the Marines to their front.  They wisely withdrew to the reverse slope.

The Marines advanced through the open ground to take the east ridge.  Here, the  Boxers emerged from defilade, but retreated after taking casualties and failing  their morale check.

While this action was taking place, Marines occupied the west ridge.  Here’s a photo of the current situation.

Lots of wristage before next turn’s action.  Have to determine who and what will be on the final two ridges.  I will also inventory all losses, clean up the casualty cubes, and maybe die to see which of the lightly wounded Marines can no longer continue.

Two Ring Circus

High winds with rain turning to snow.  Focus at a time like this?  Just TSATF?  Why not get the Husaria re-set going?

I have the roster sheets filled out, and the armies deployed.  All I need to do is annotate each unit’s initial orders.

Very curious to see the impact of the additional generals,  new light horse units, and a  morale upgrade  to veteran status for selected units will have on the game.

A couple of marginal photos to document preparations.

This marginal shot is looking north.

The Muscovites now have Cossack infantry instead of Dragoons in the woods, with Kalmuck light horse in support.  Ratjars will support the Cossack infantry deployed on the east hill.  Also, there are two medium guns emplaced on the hill between the villages.  Streltsy infantry, supported by cavalry, hold the center.

The Poles have fewer dragoons facing the woods, only one heavy gun (instead of the multiple batteries in the previous game), and Cossack cavalry – supported by Ratjars – on their right flank.  Again, the Hussars are off-table and situated to the rear of the Pancerni (now upgraded to Veteran status) supporting the Haiduks in the center.