Monthly Archives: September 2017

Tim’s Take

Here are Tim’s thoughts:

  • As the German, I’m not sure it if is better to do overruns before combat or afterwards.  More than once, I had a stack stopped and left out of position for the combat phase when it received an adverse result on the CRT.  Maybe overruns are best used to disrupt a key soviet unit (most likely a headquarters unit).  I tried that once and it seemed to work well.
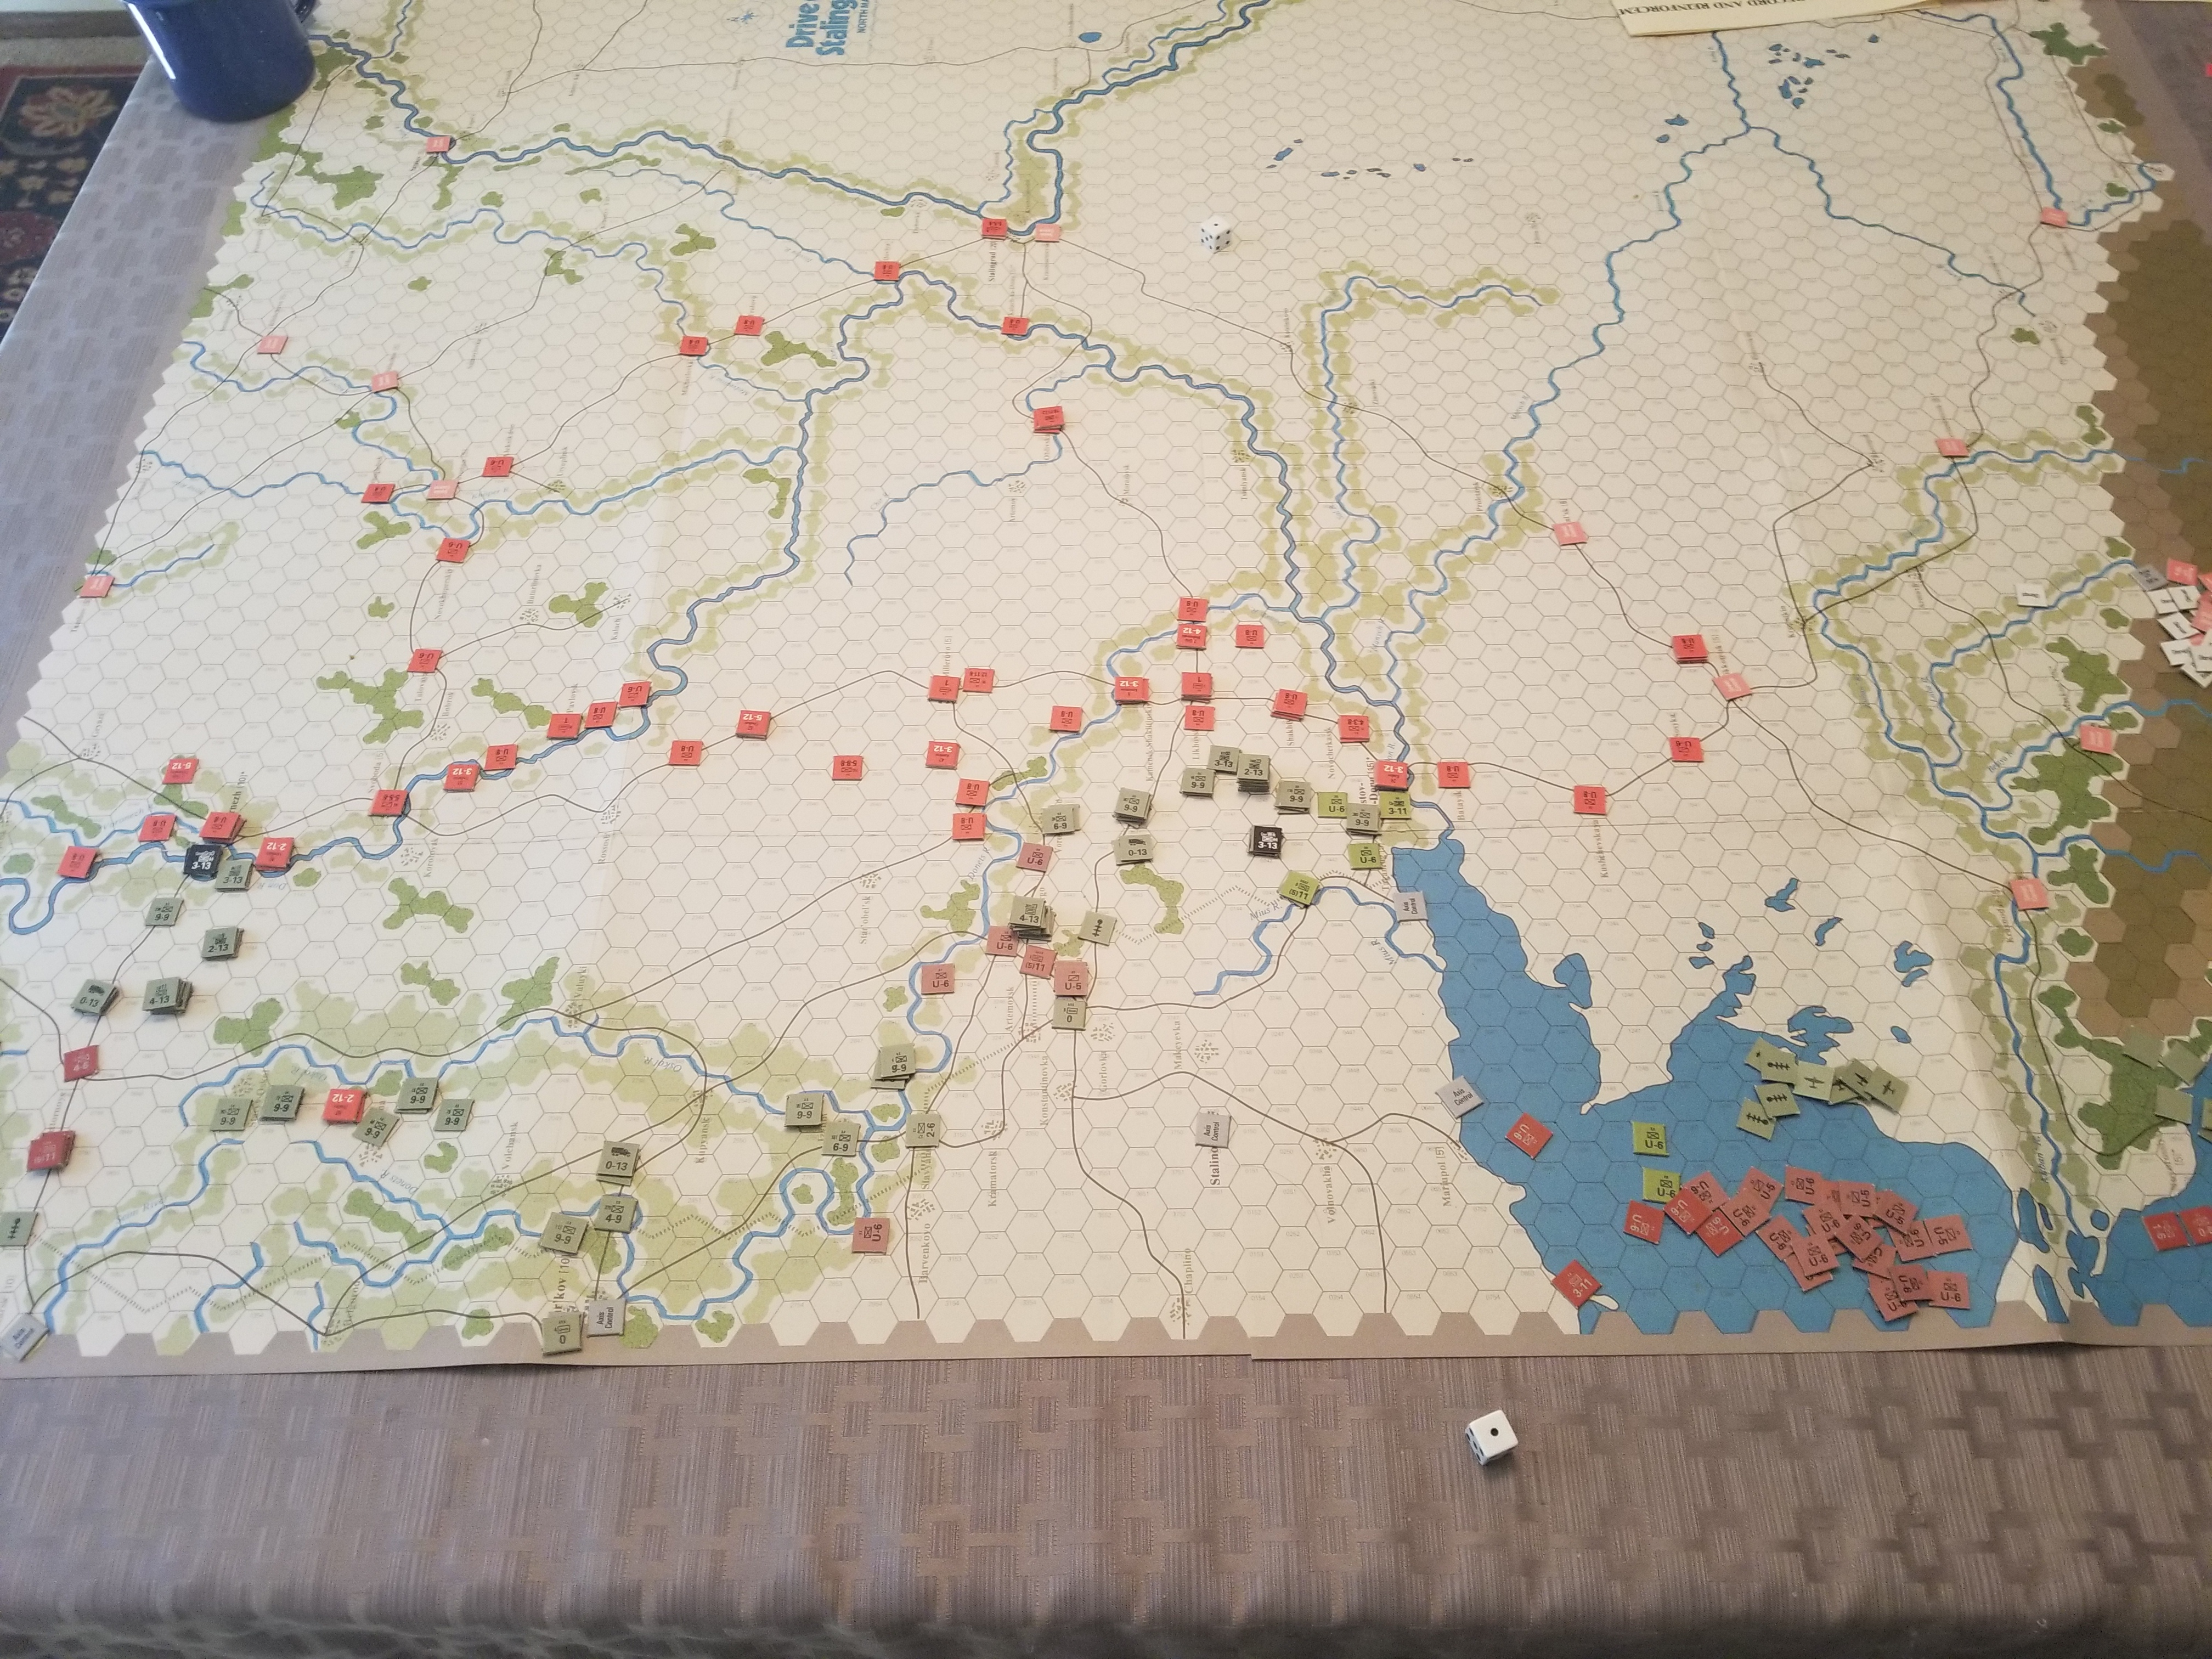
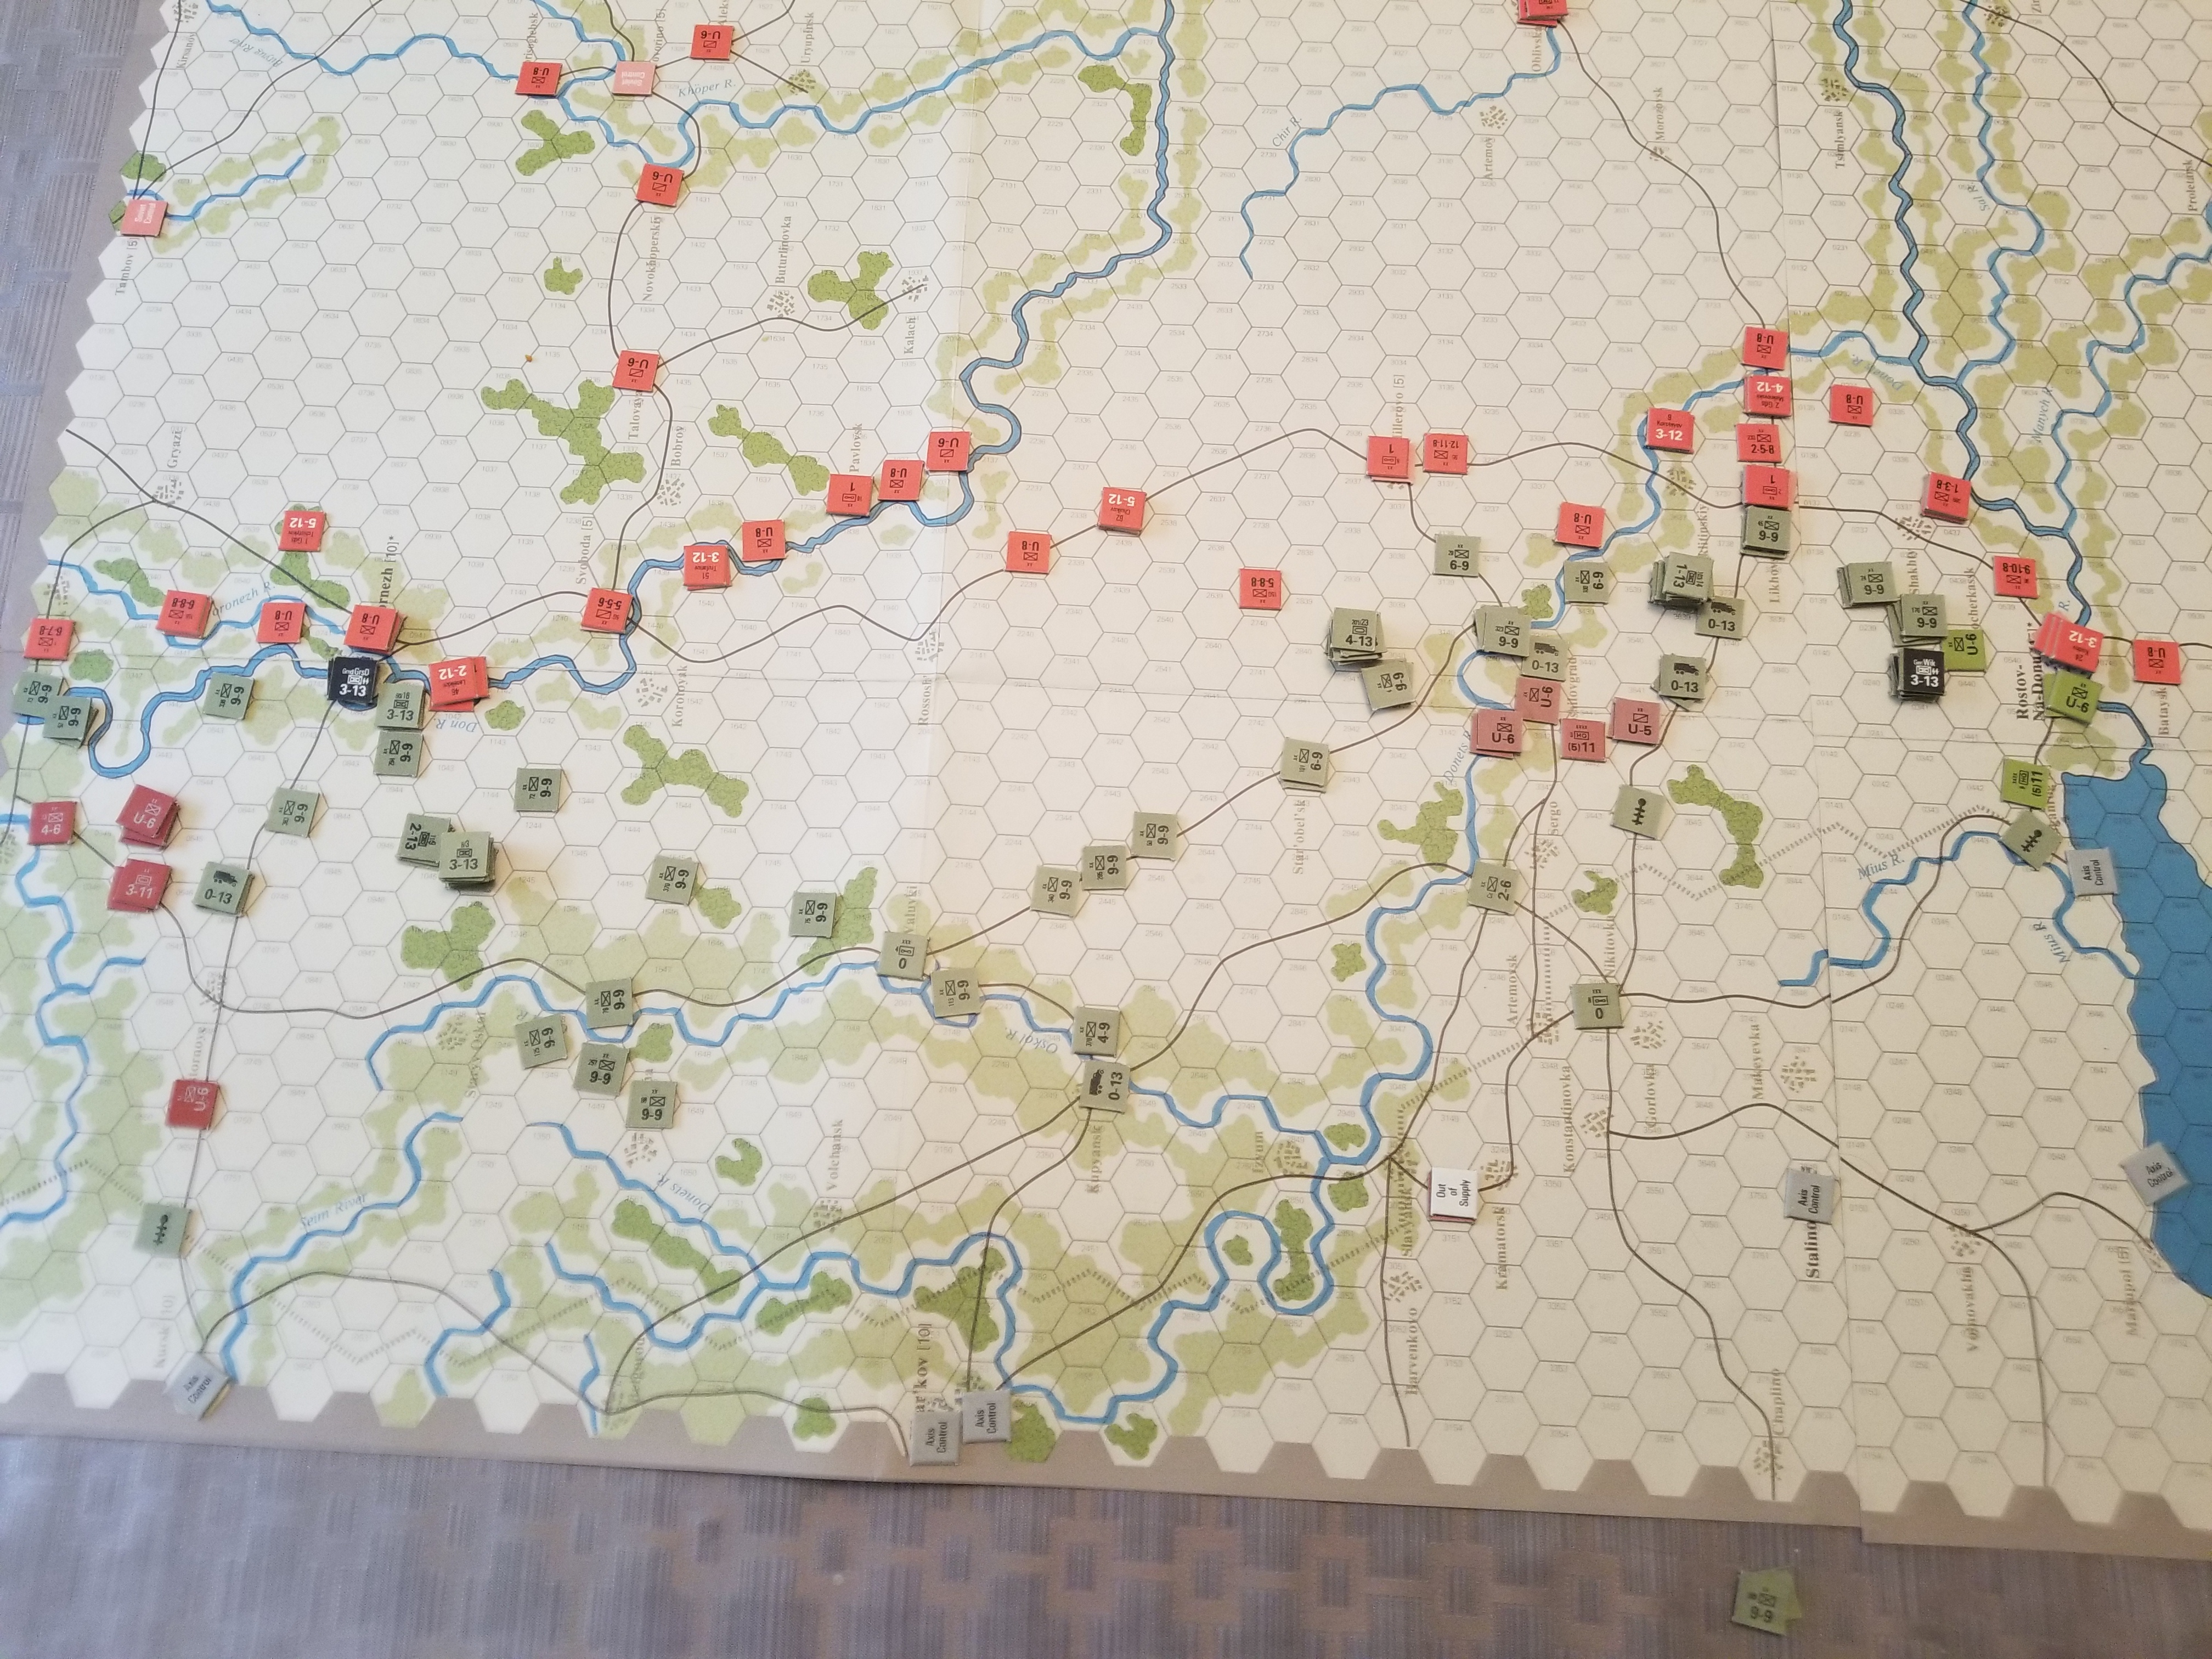
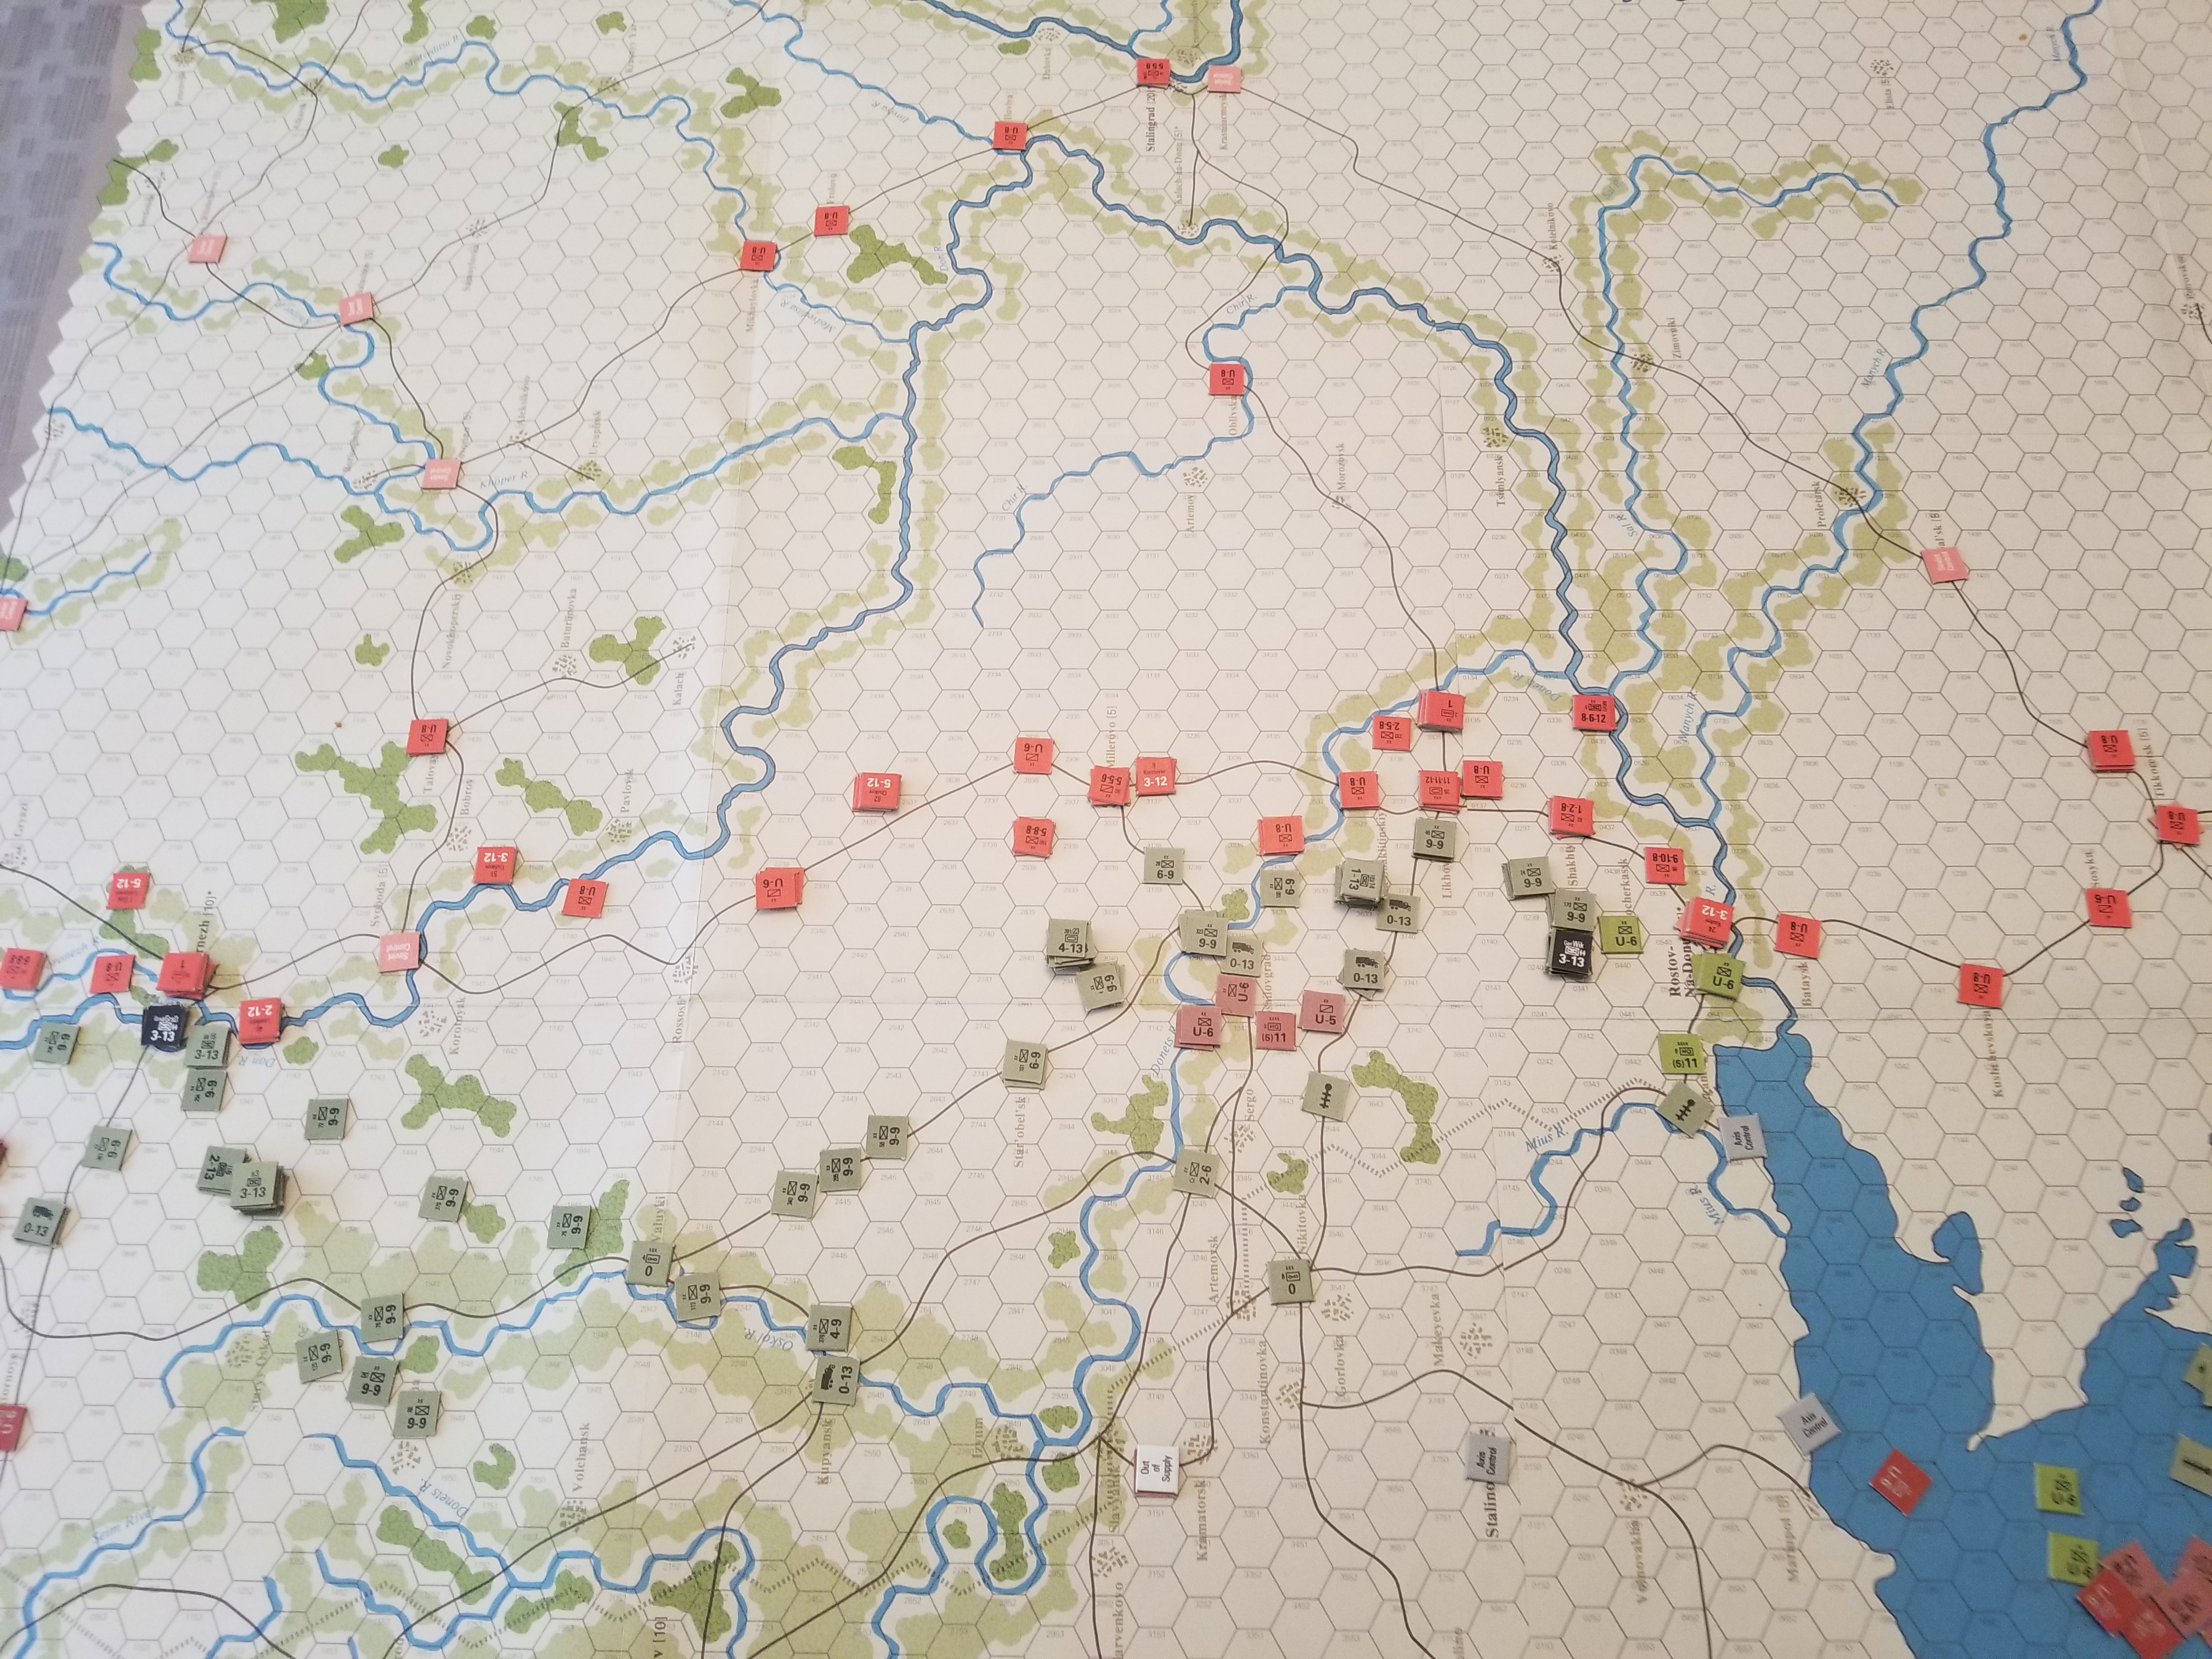
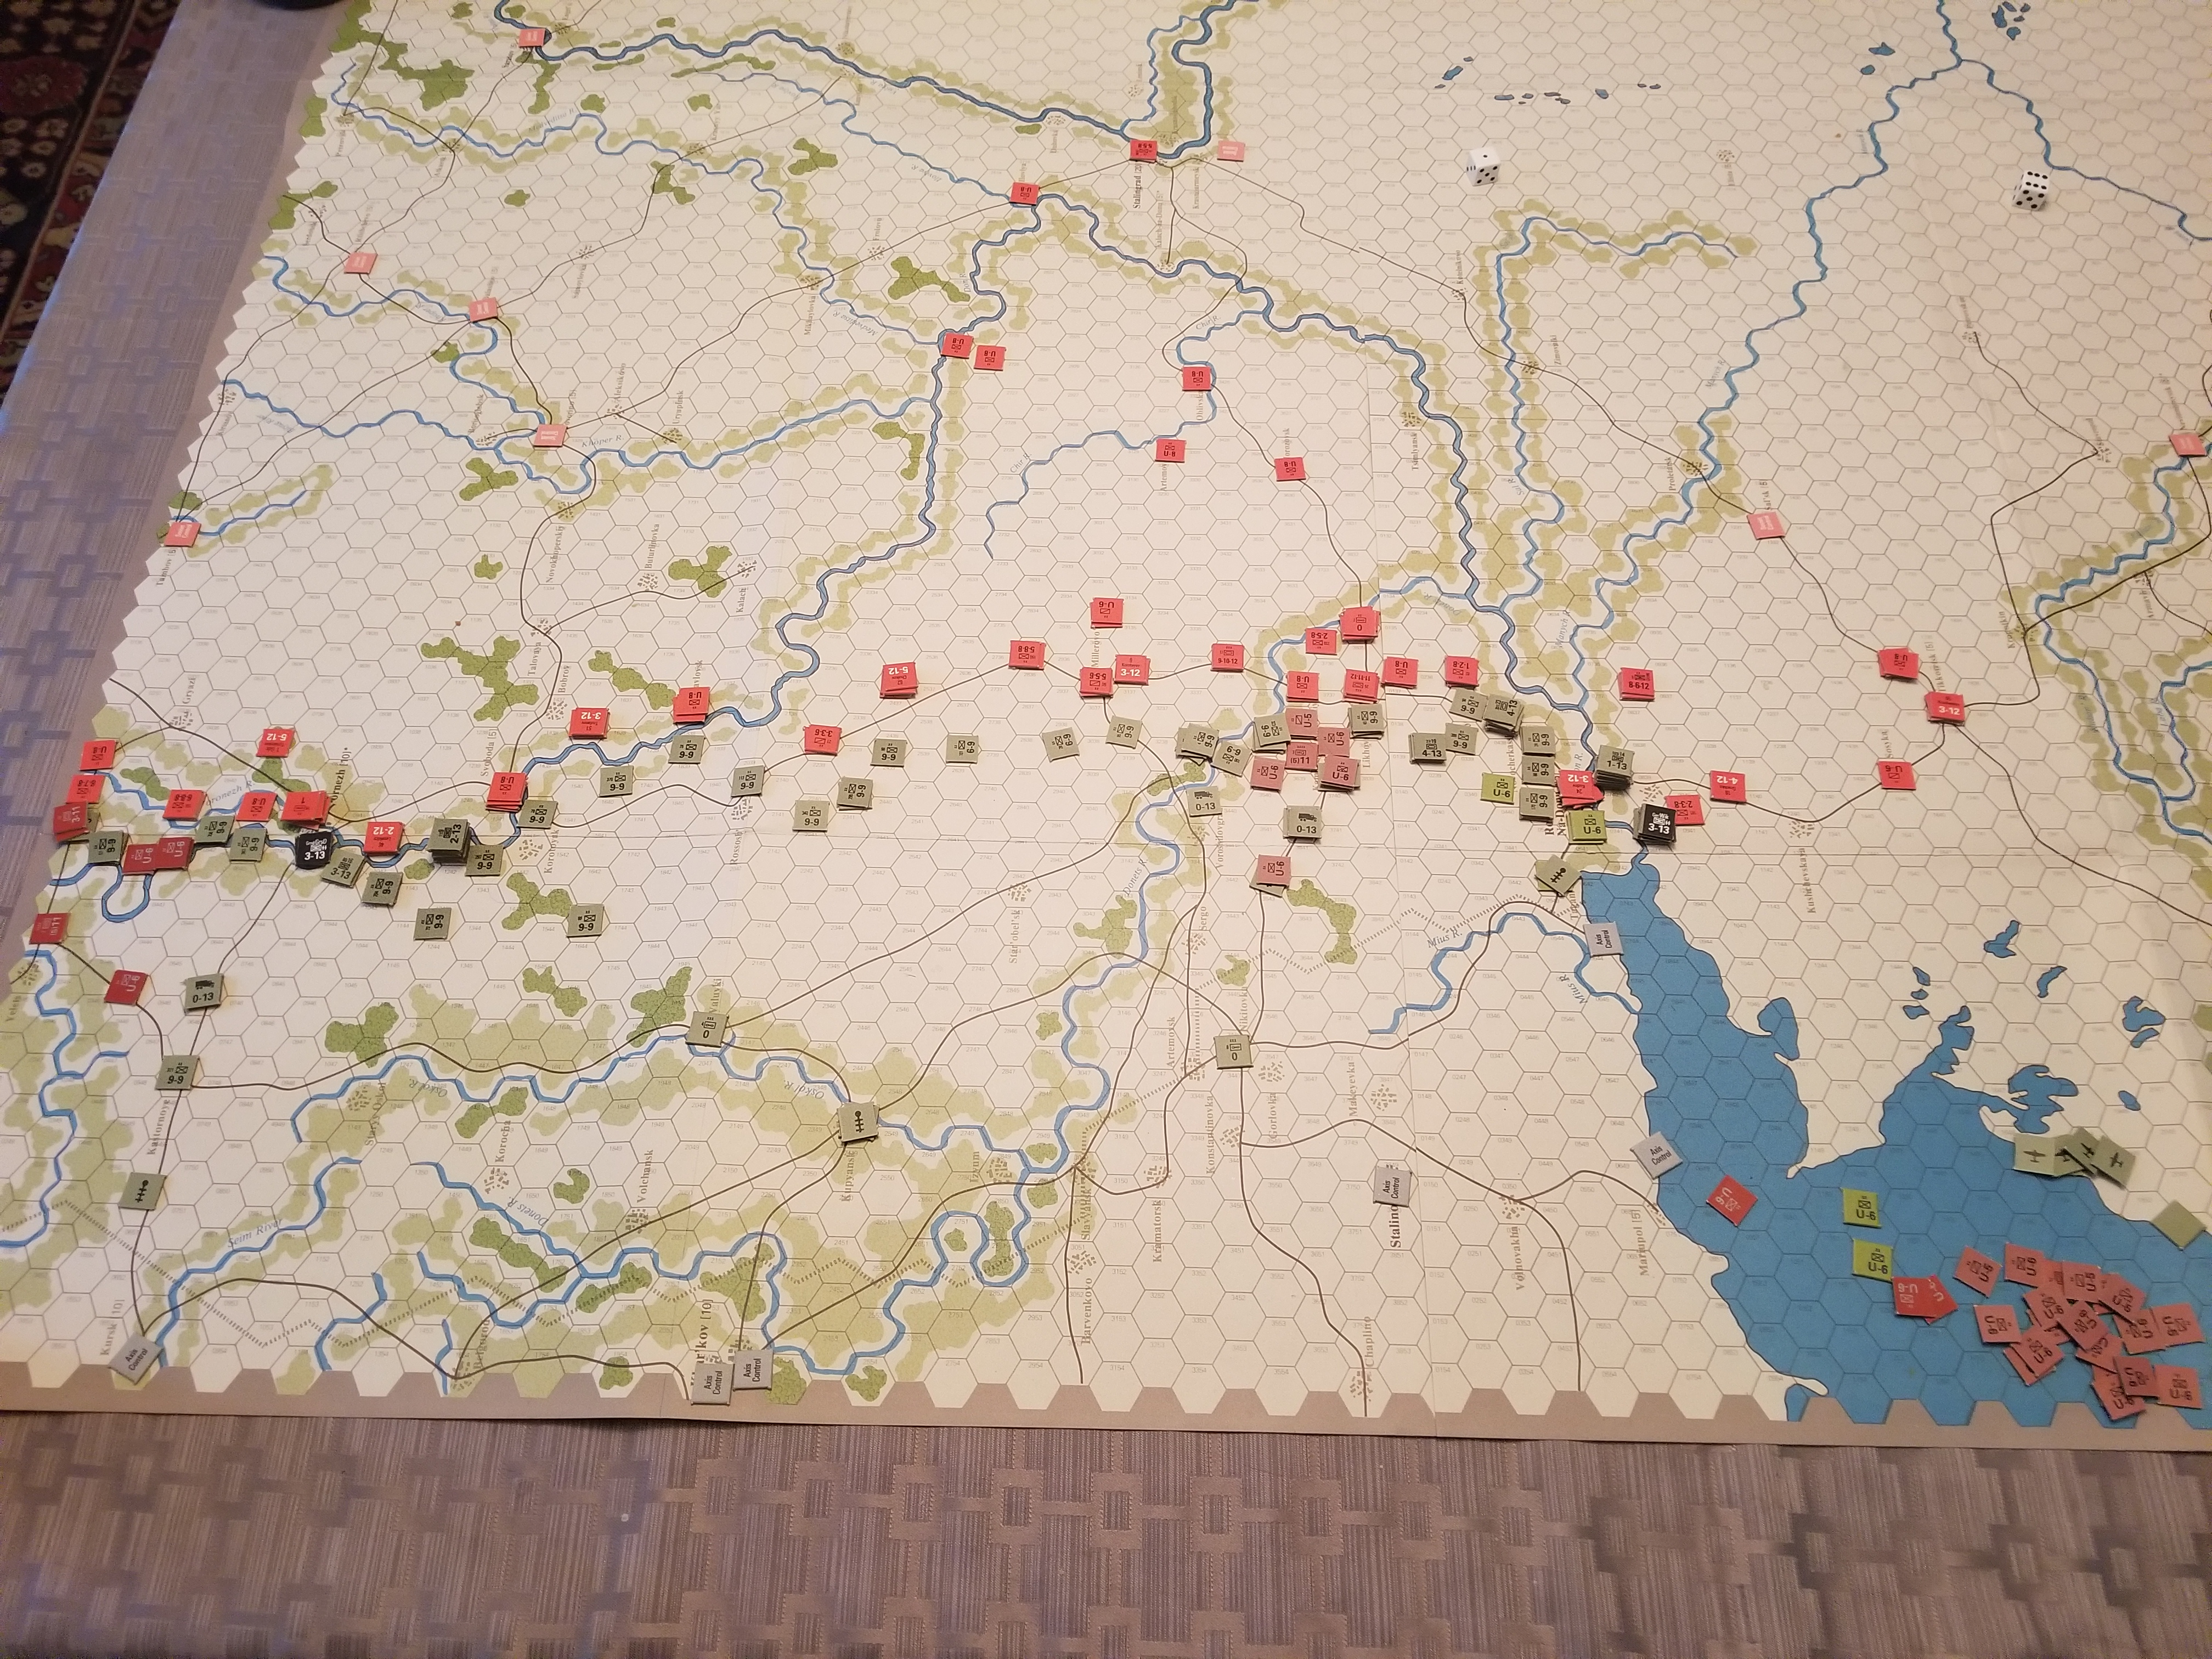
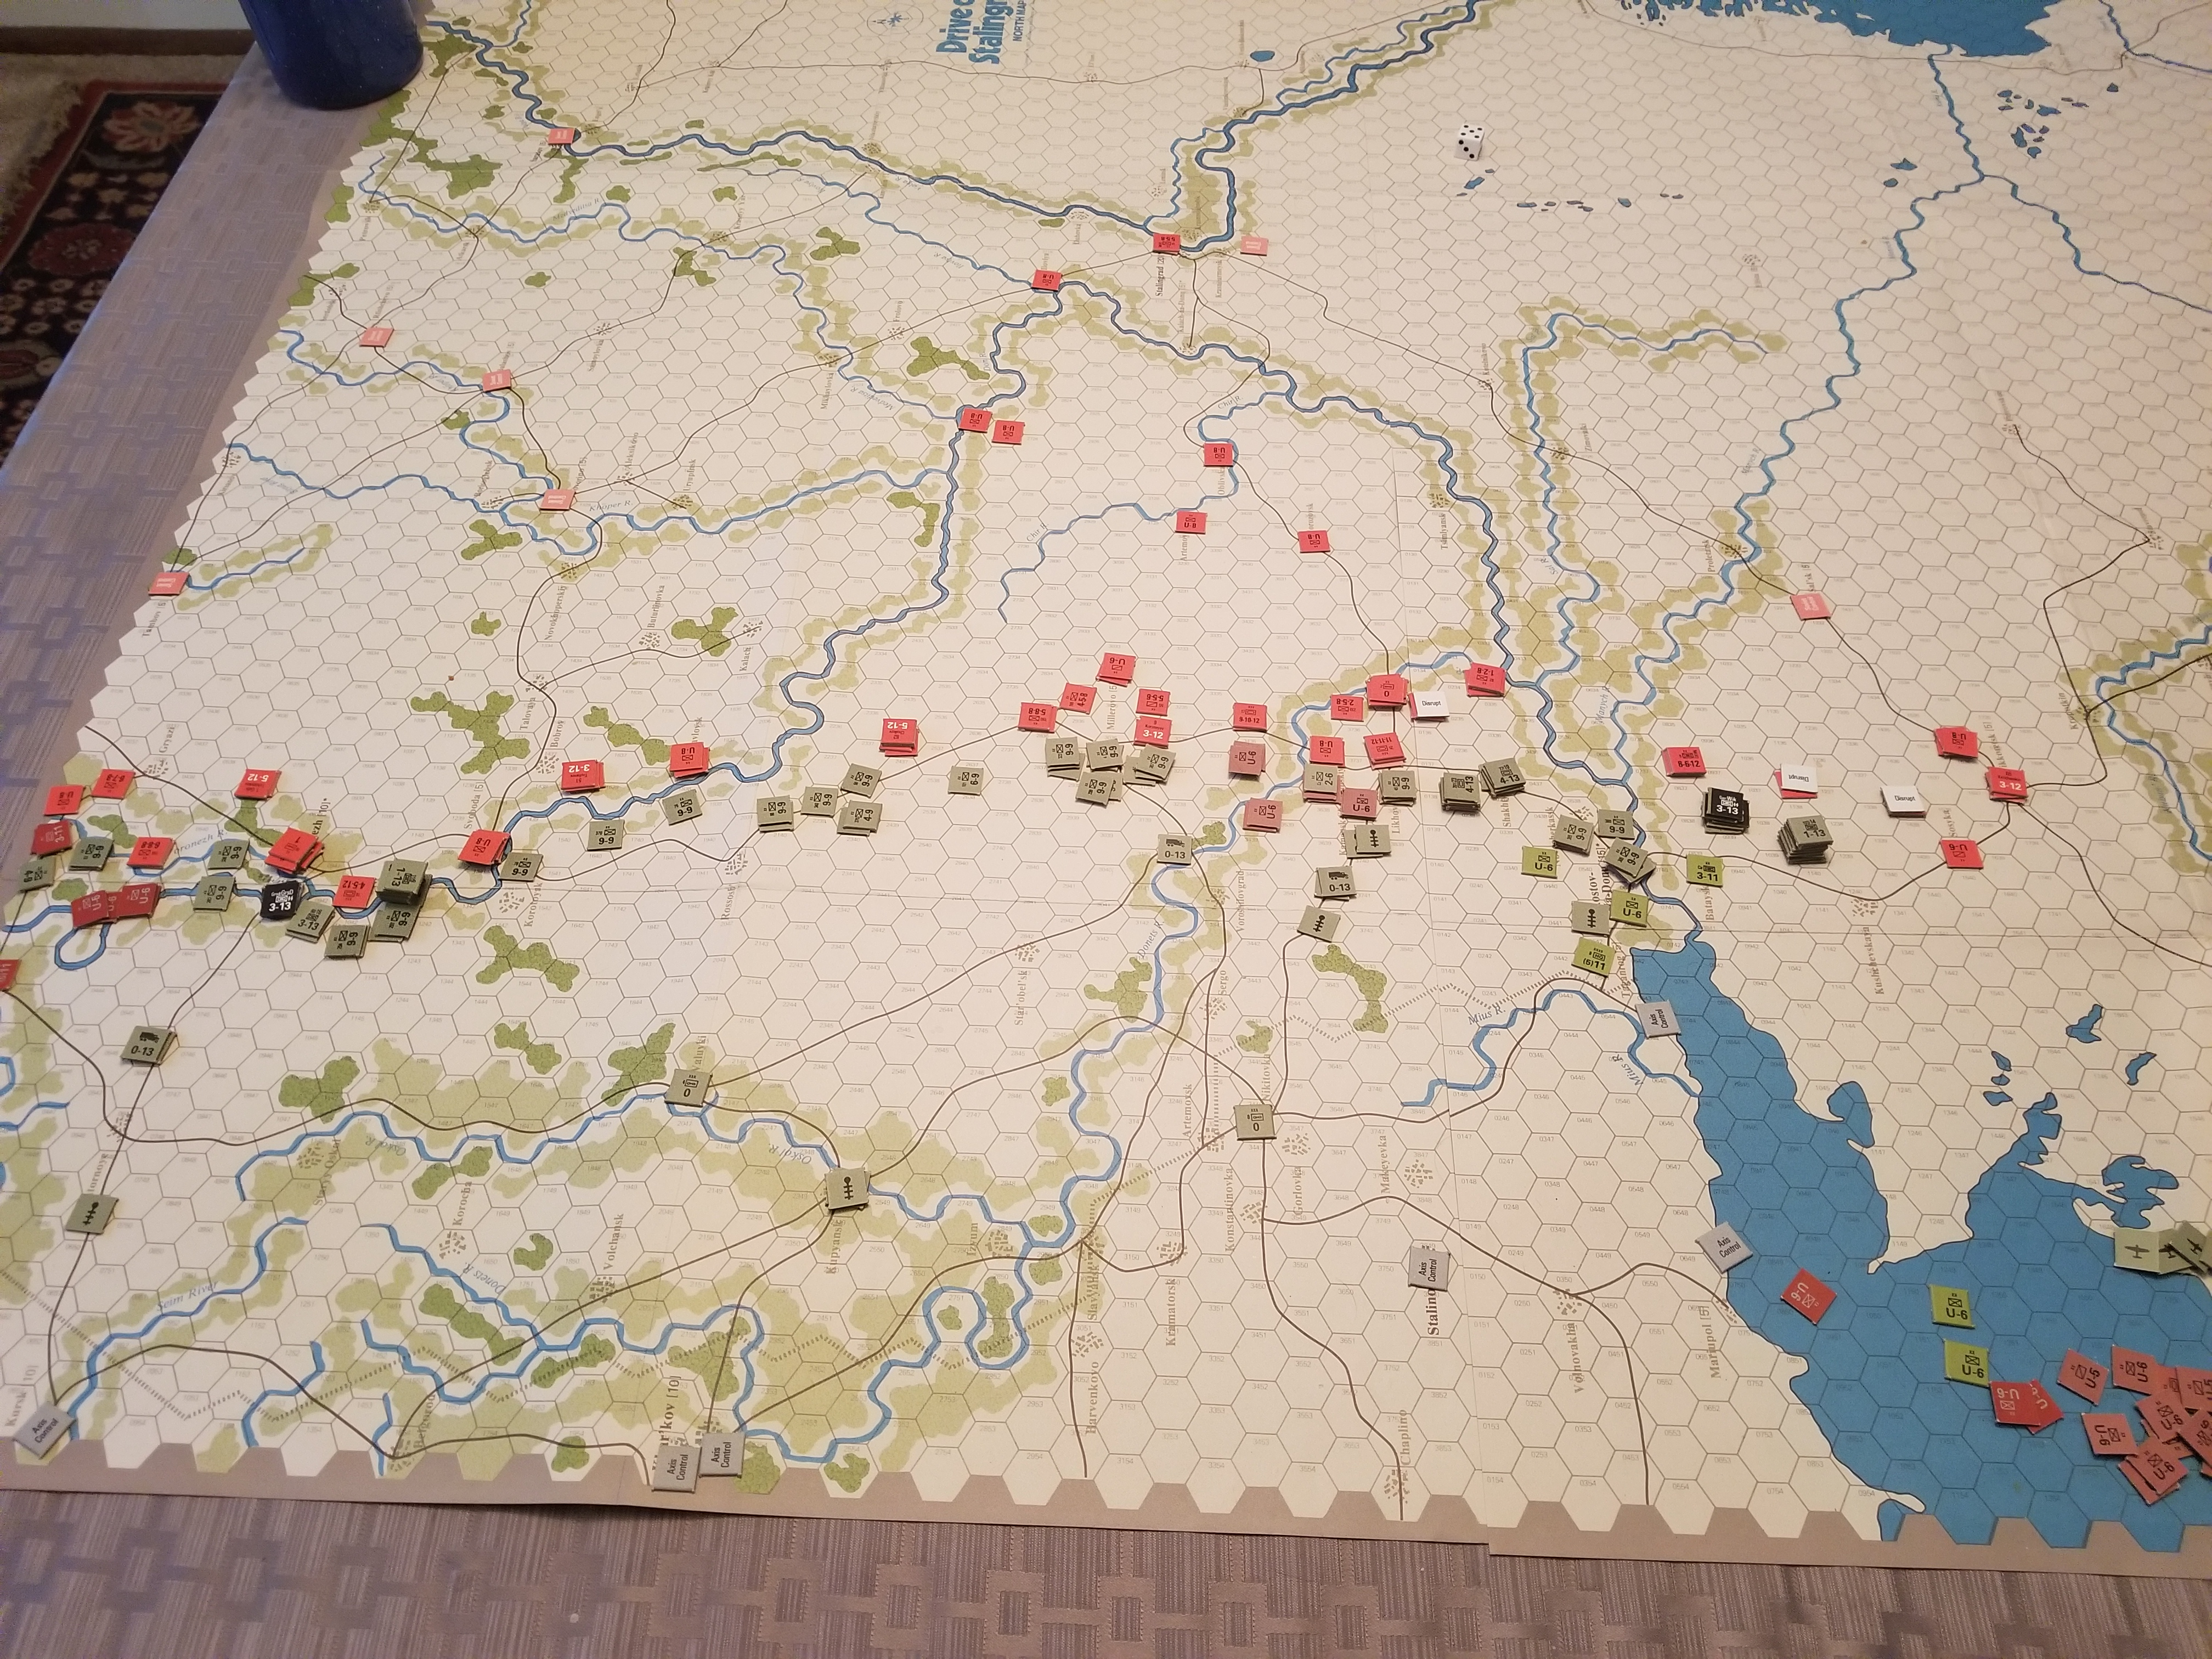
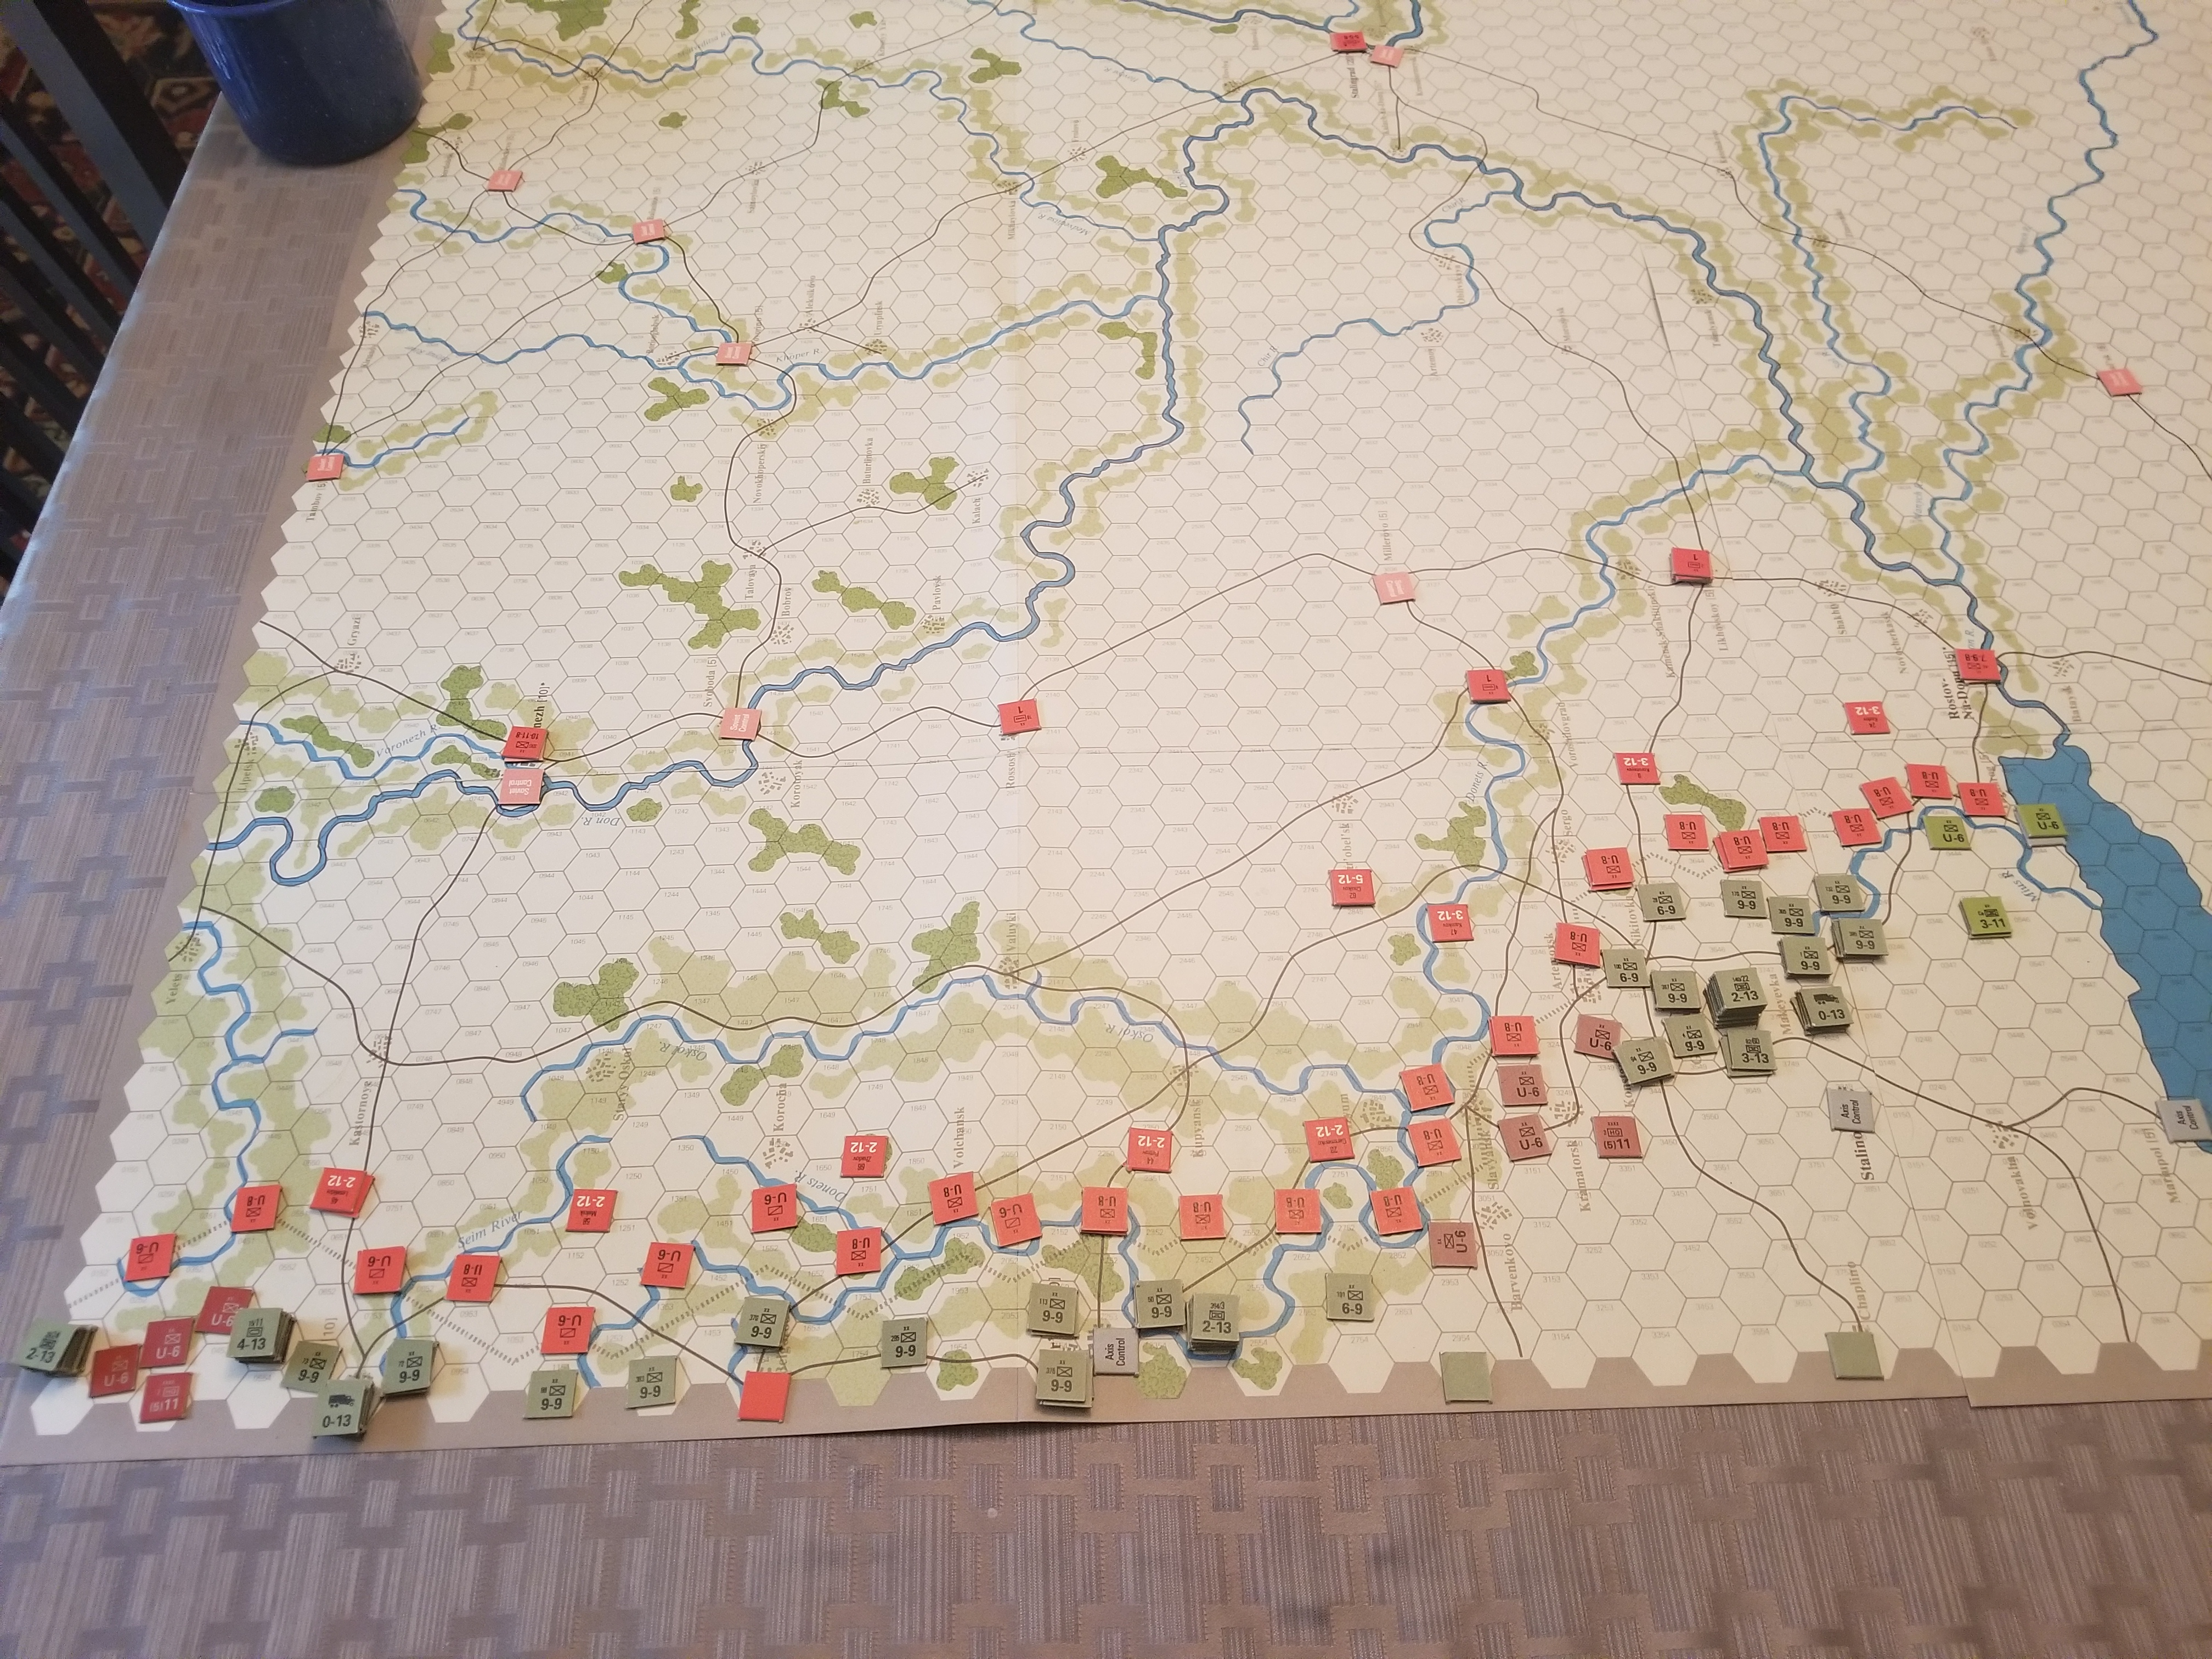
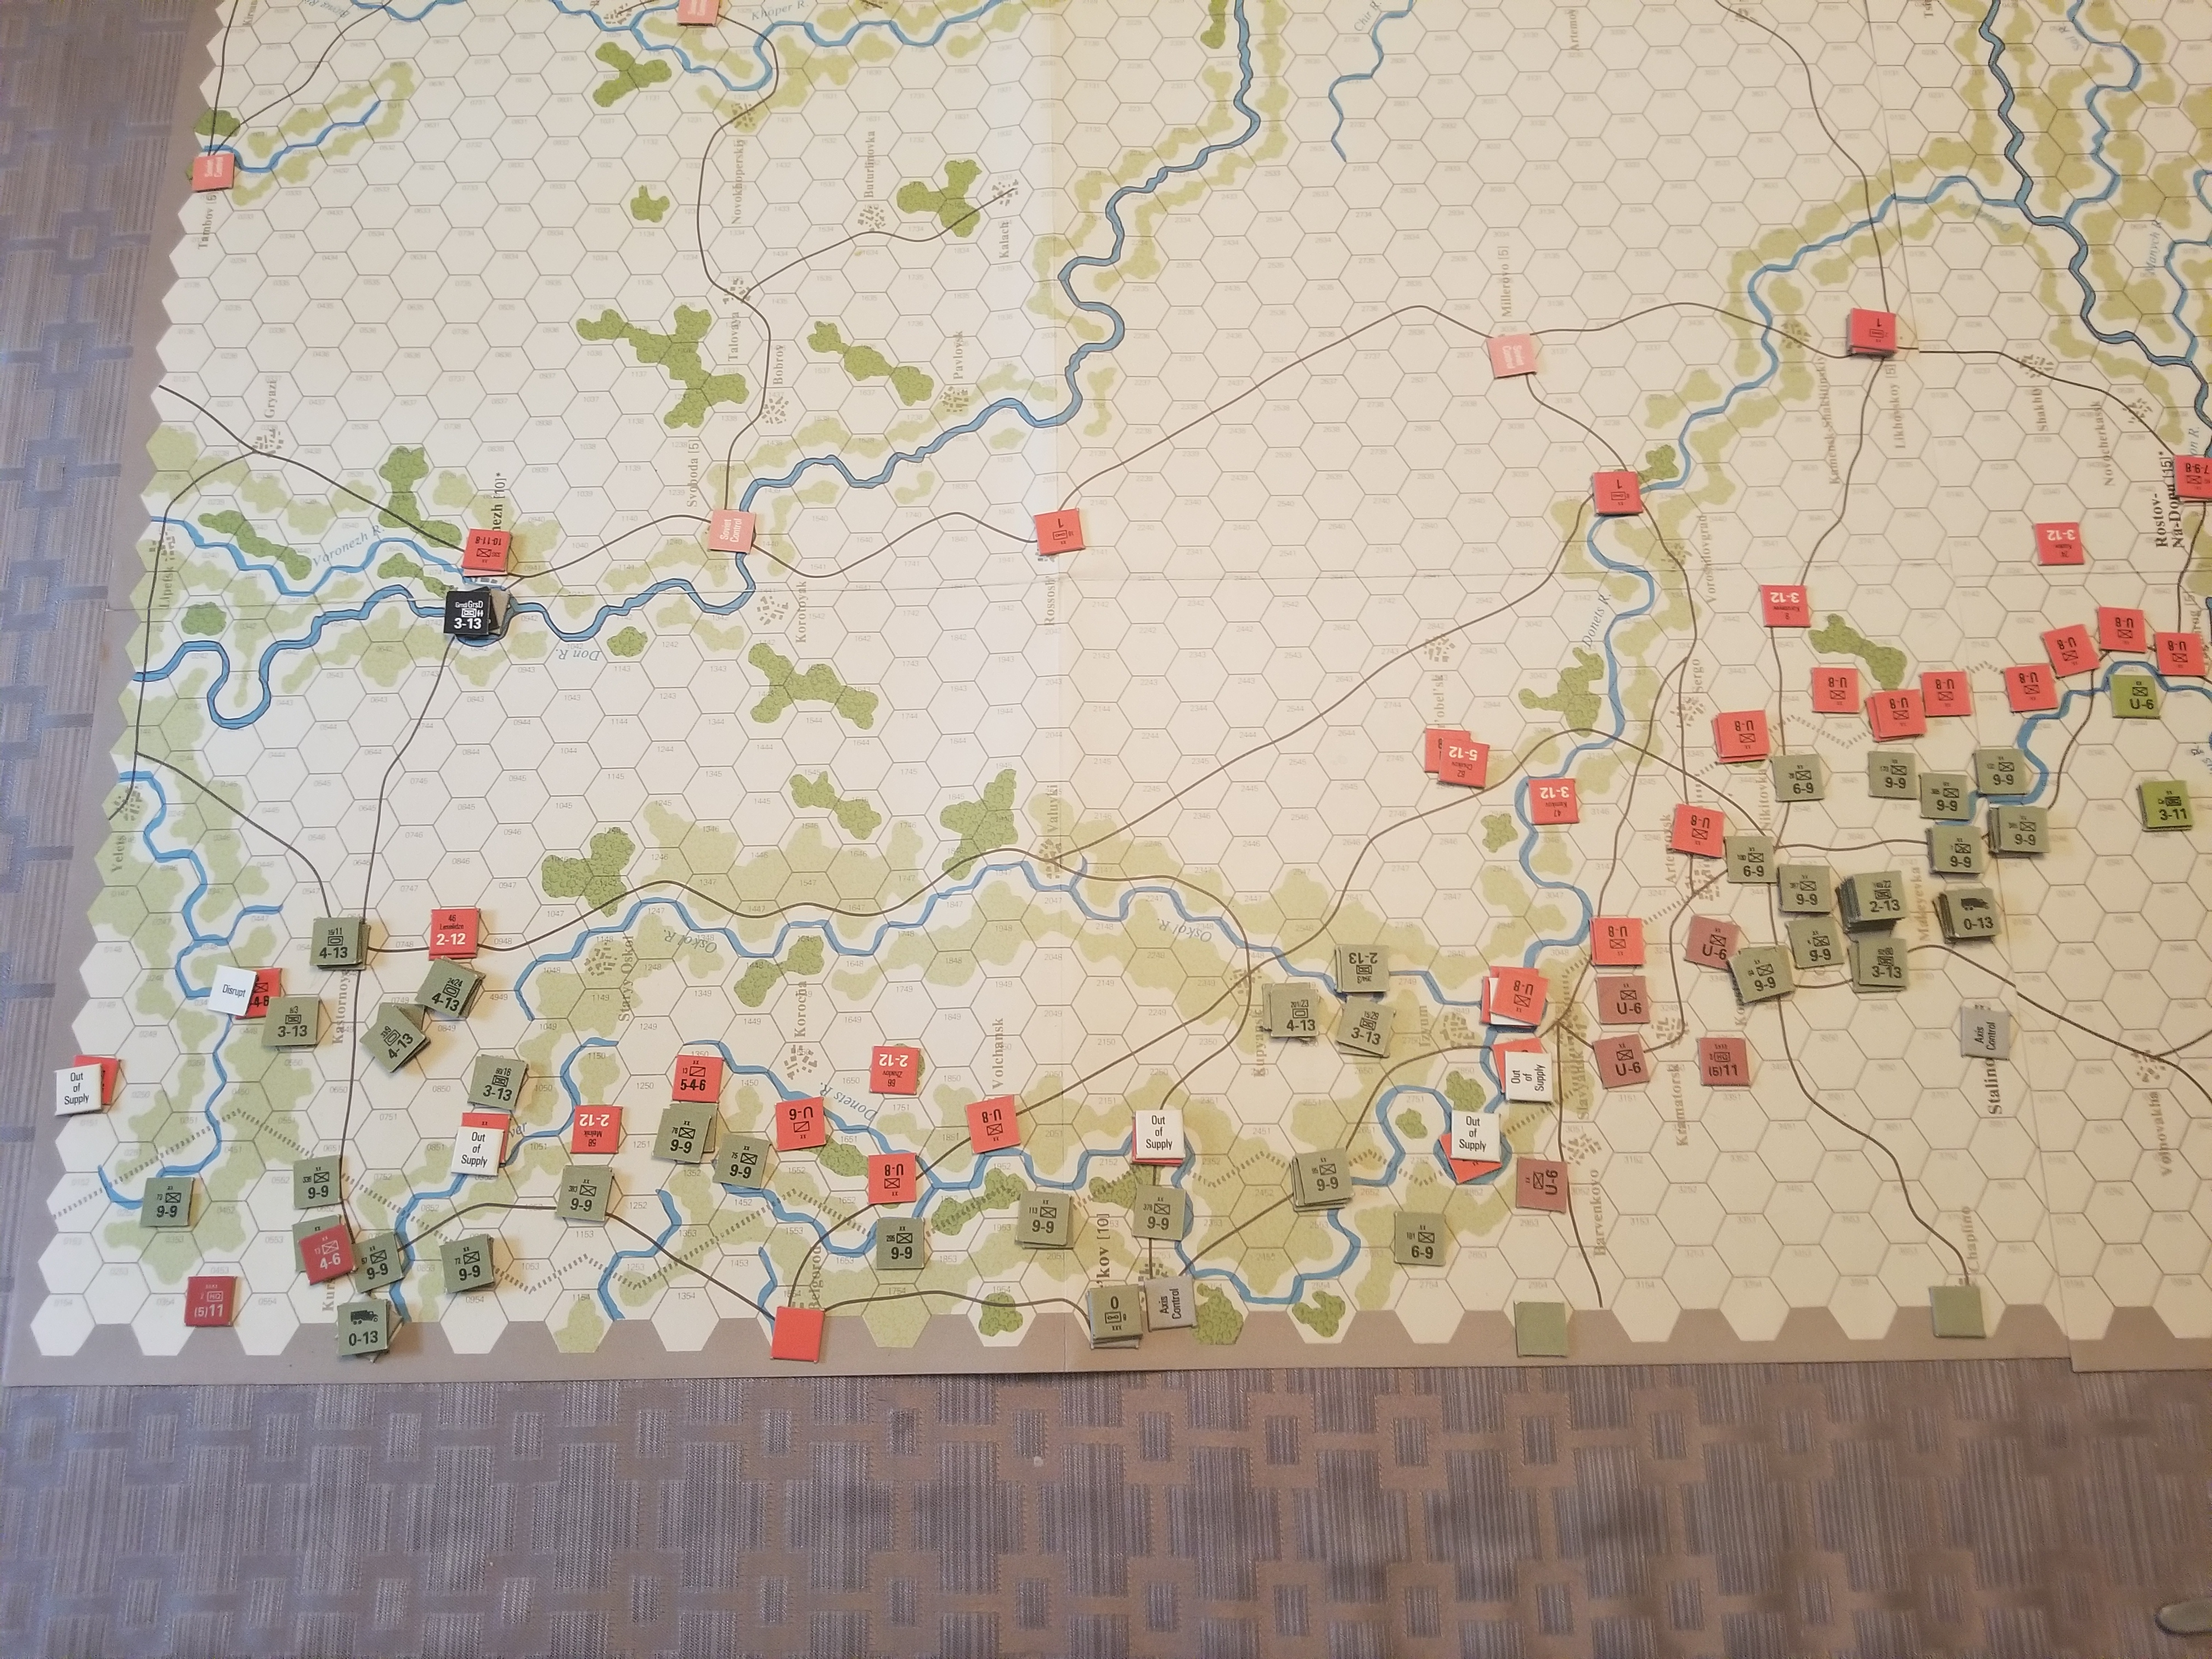
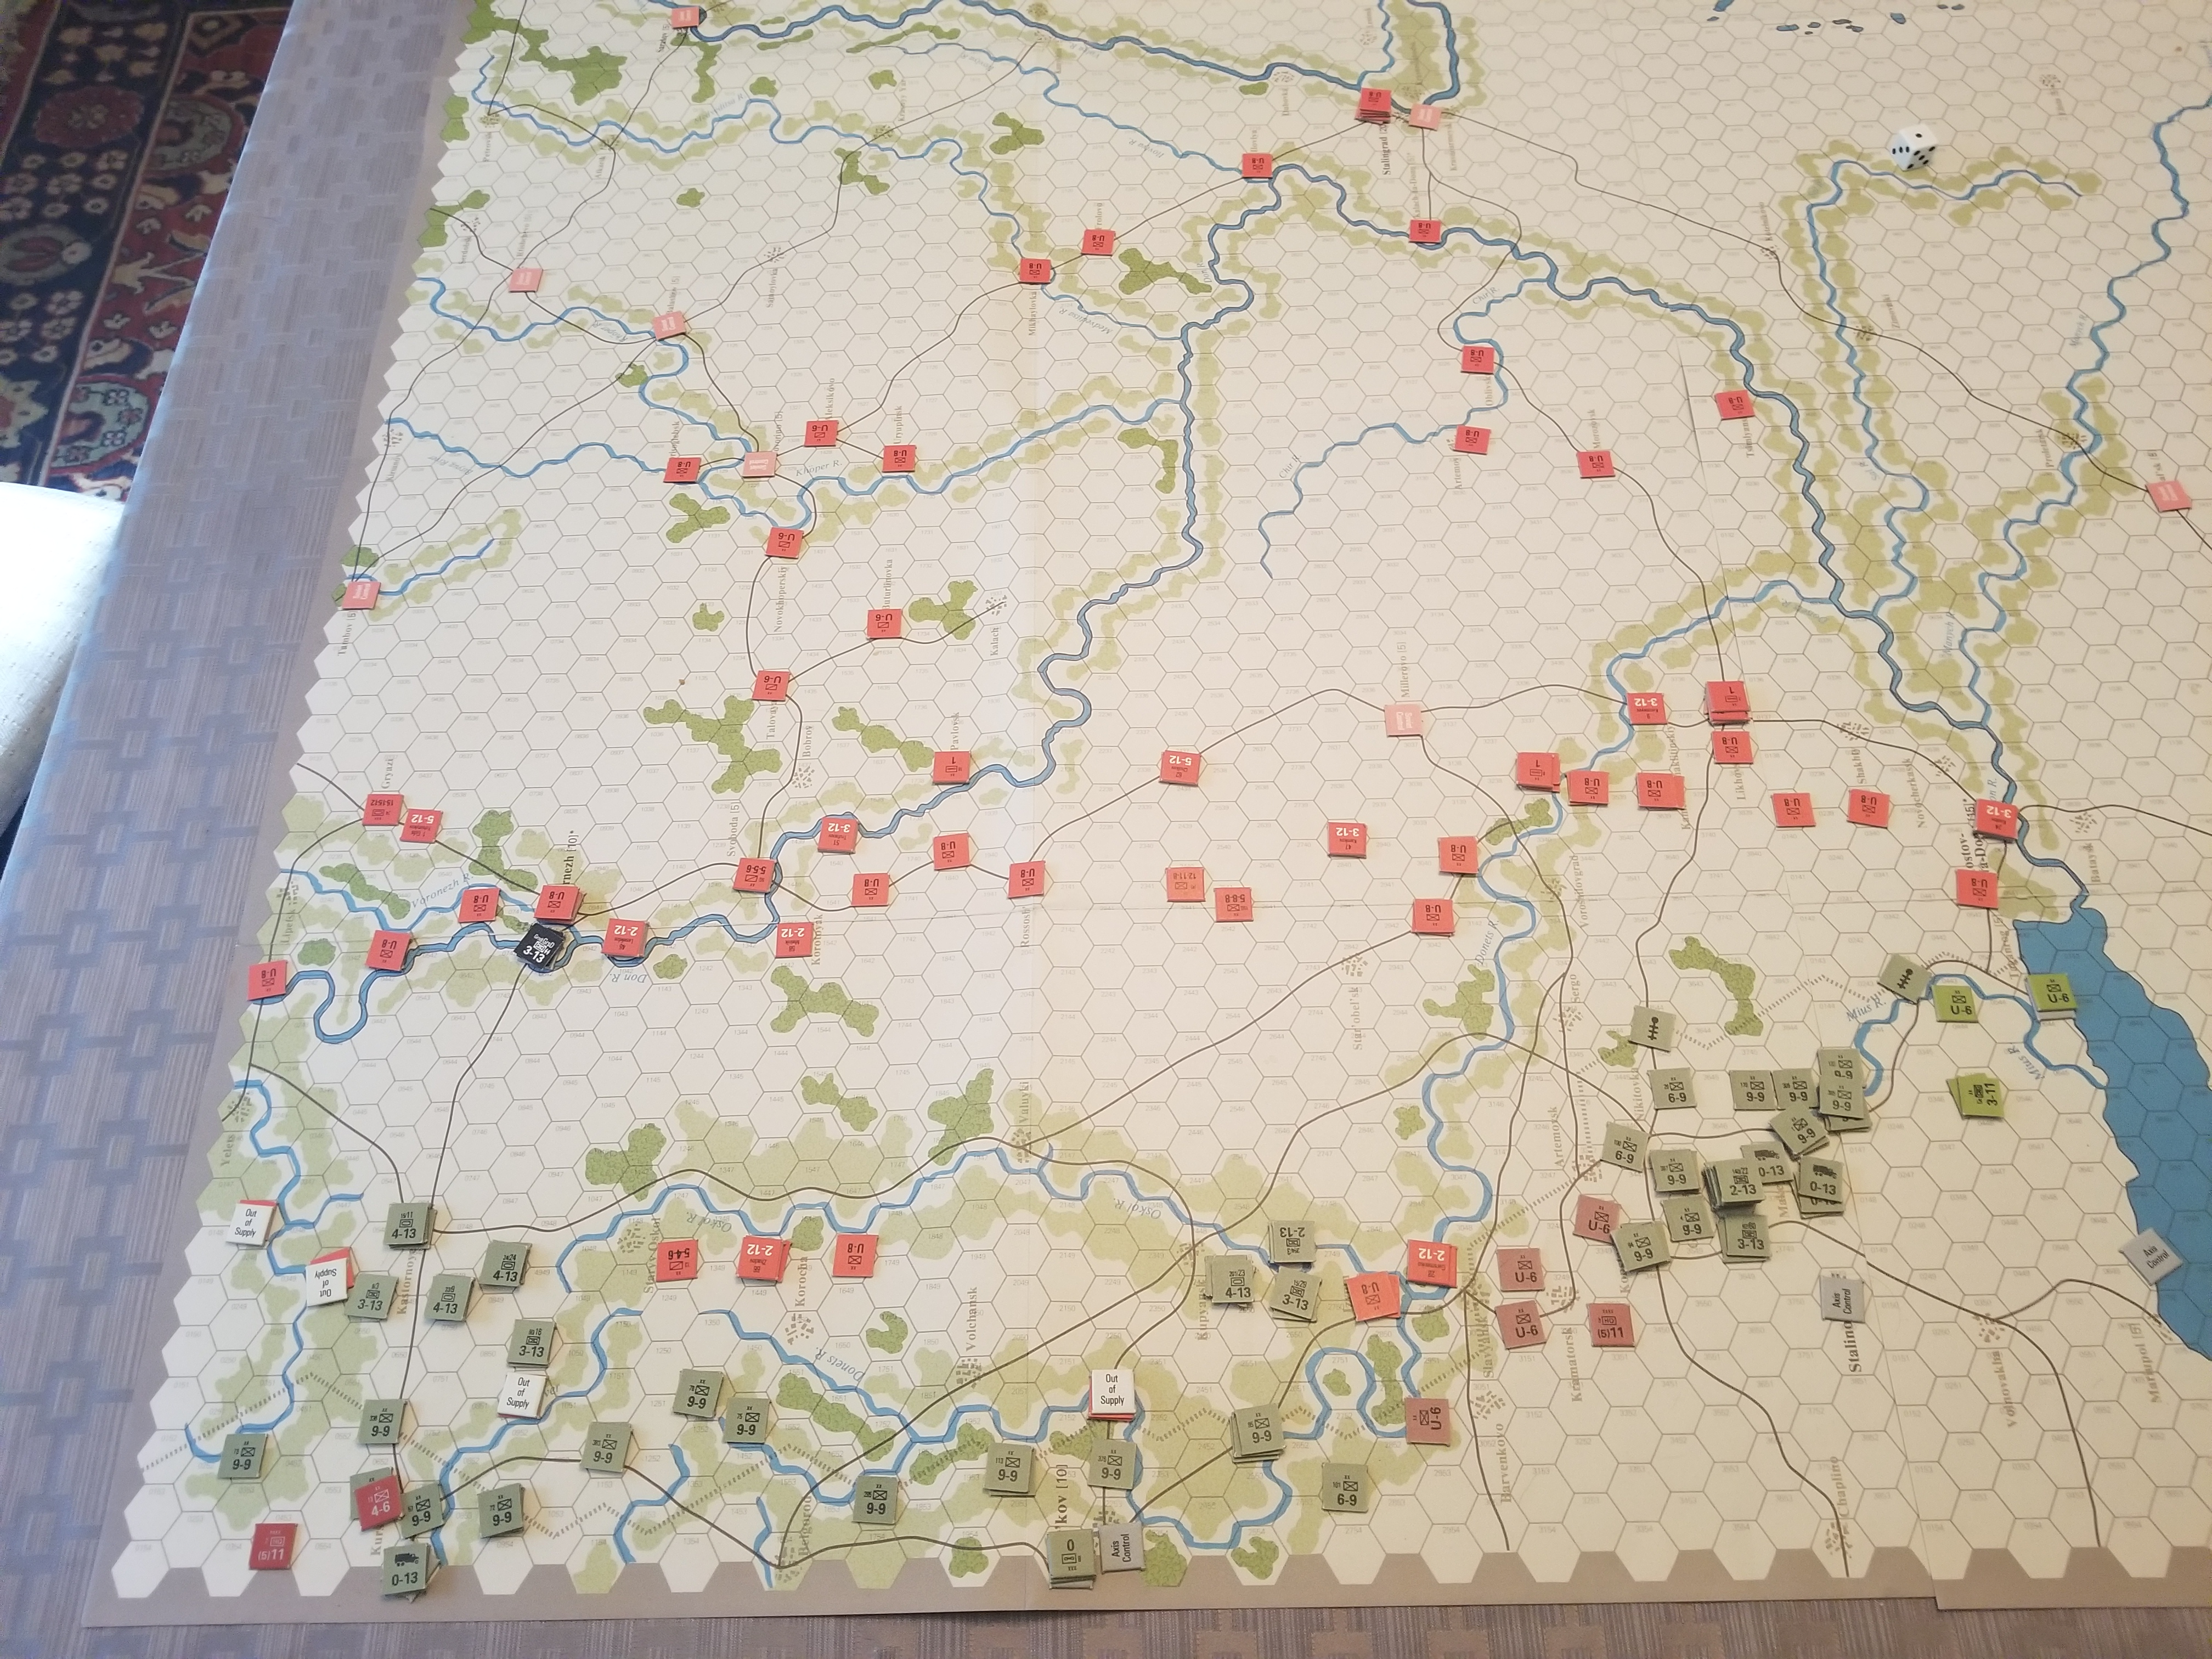
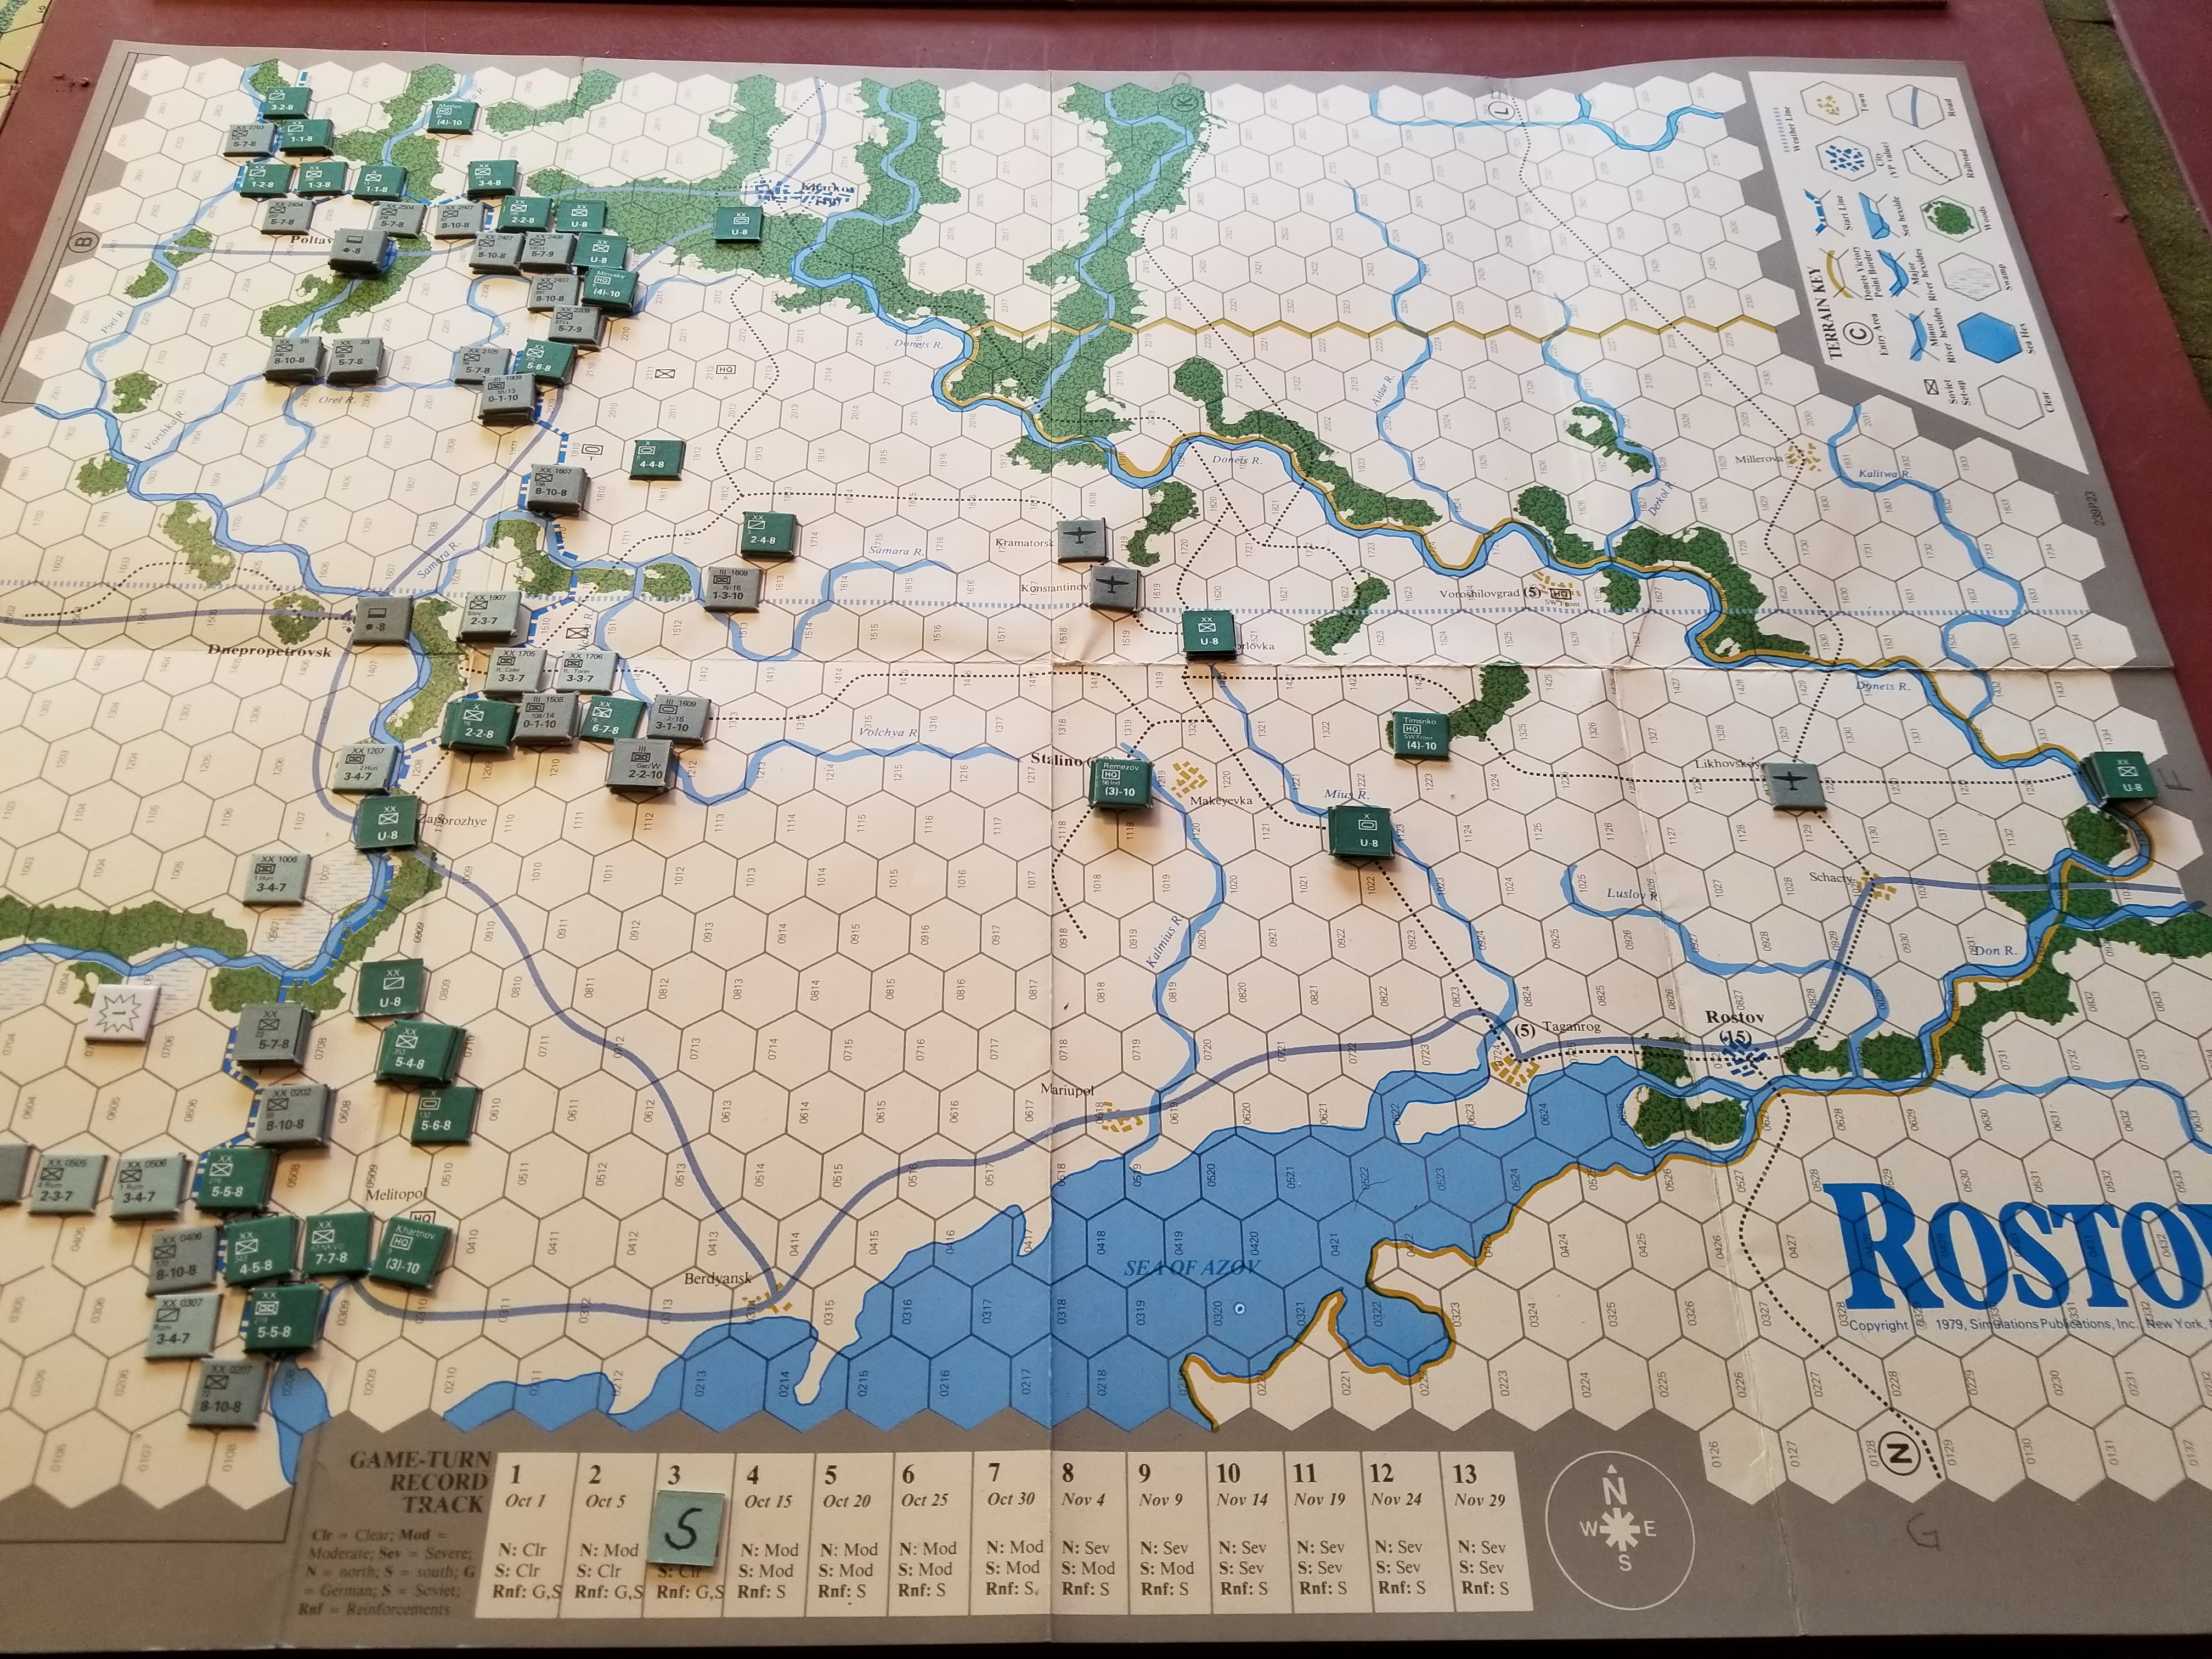
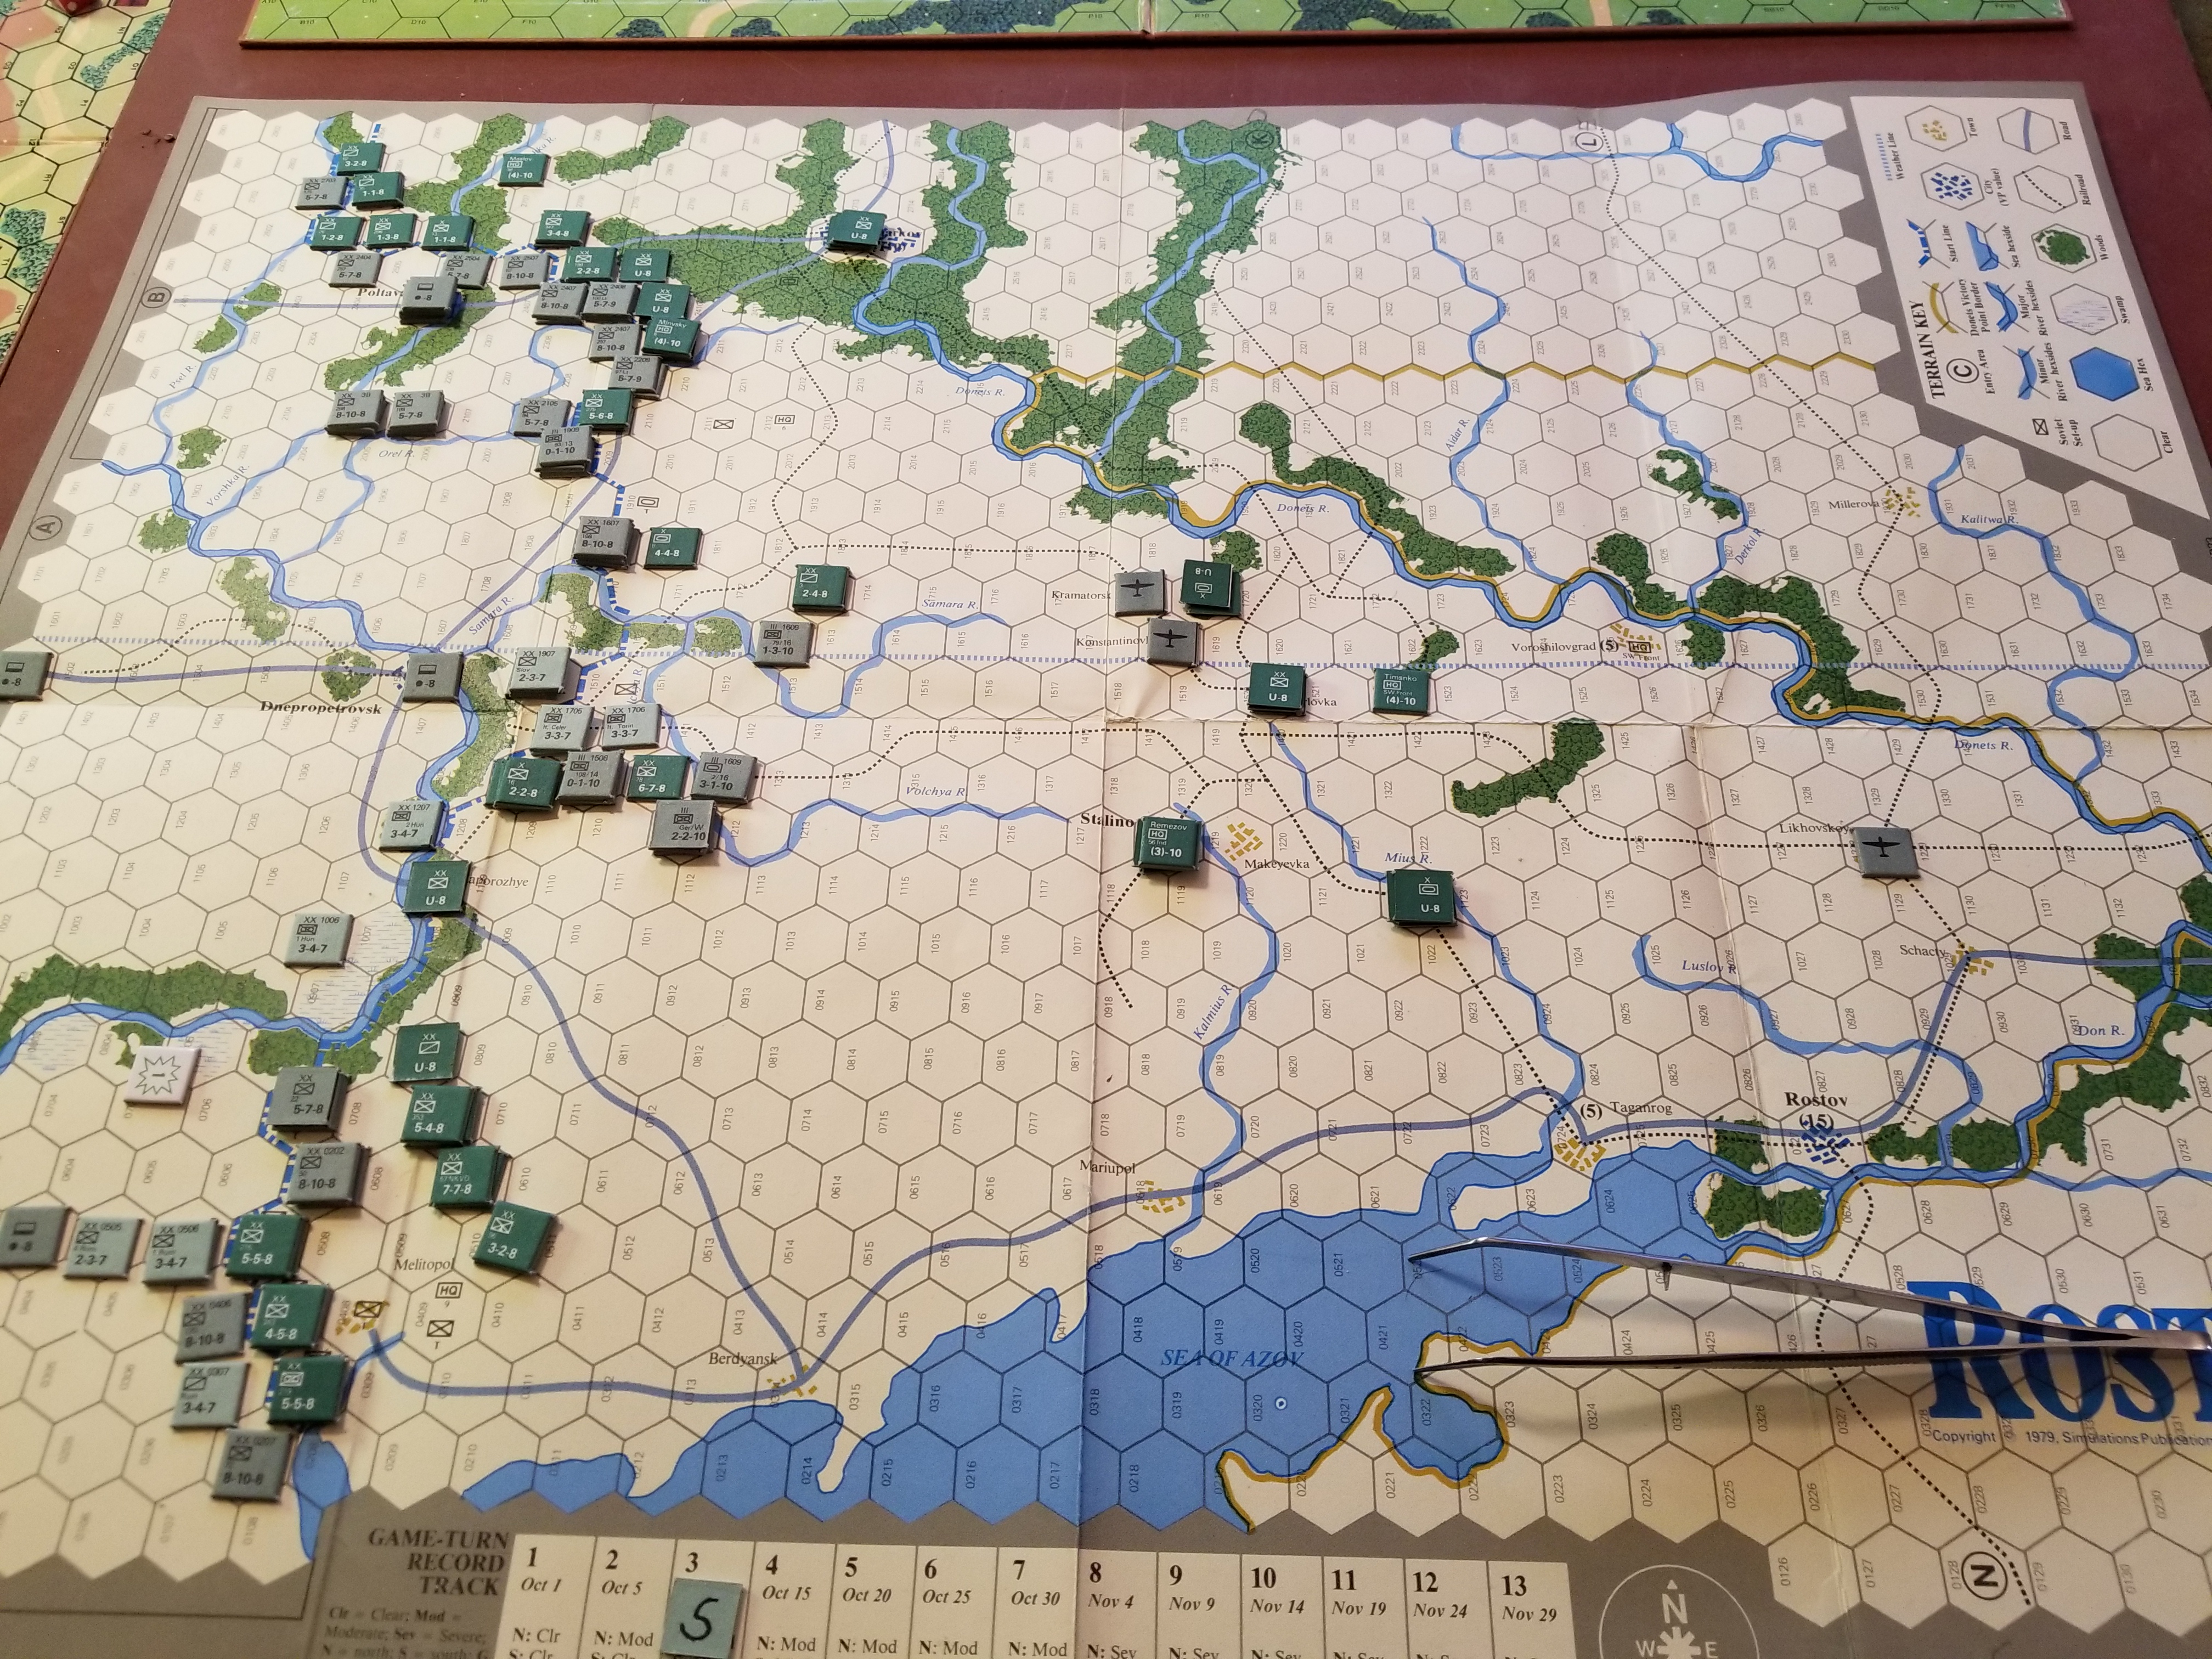
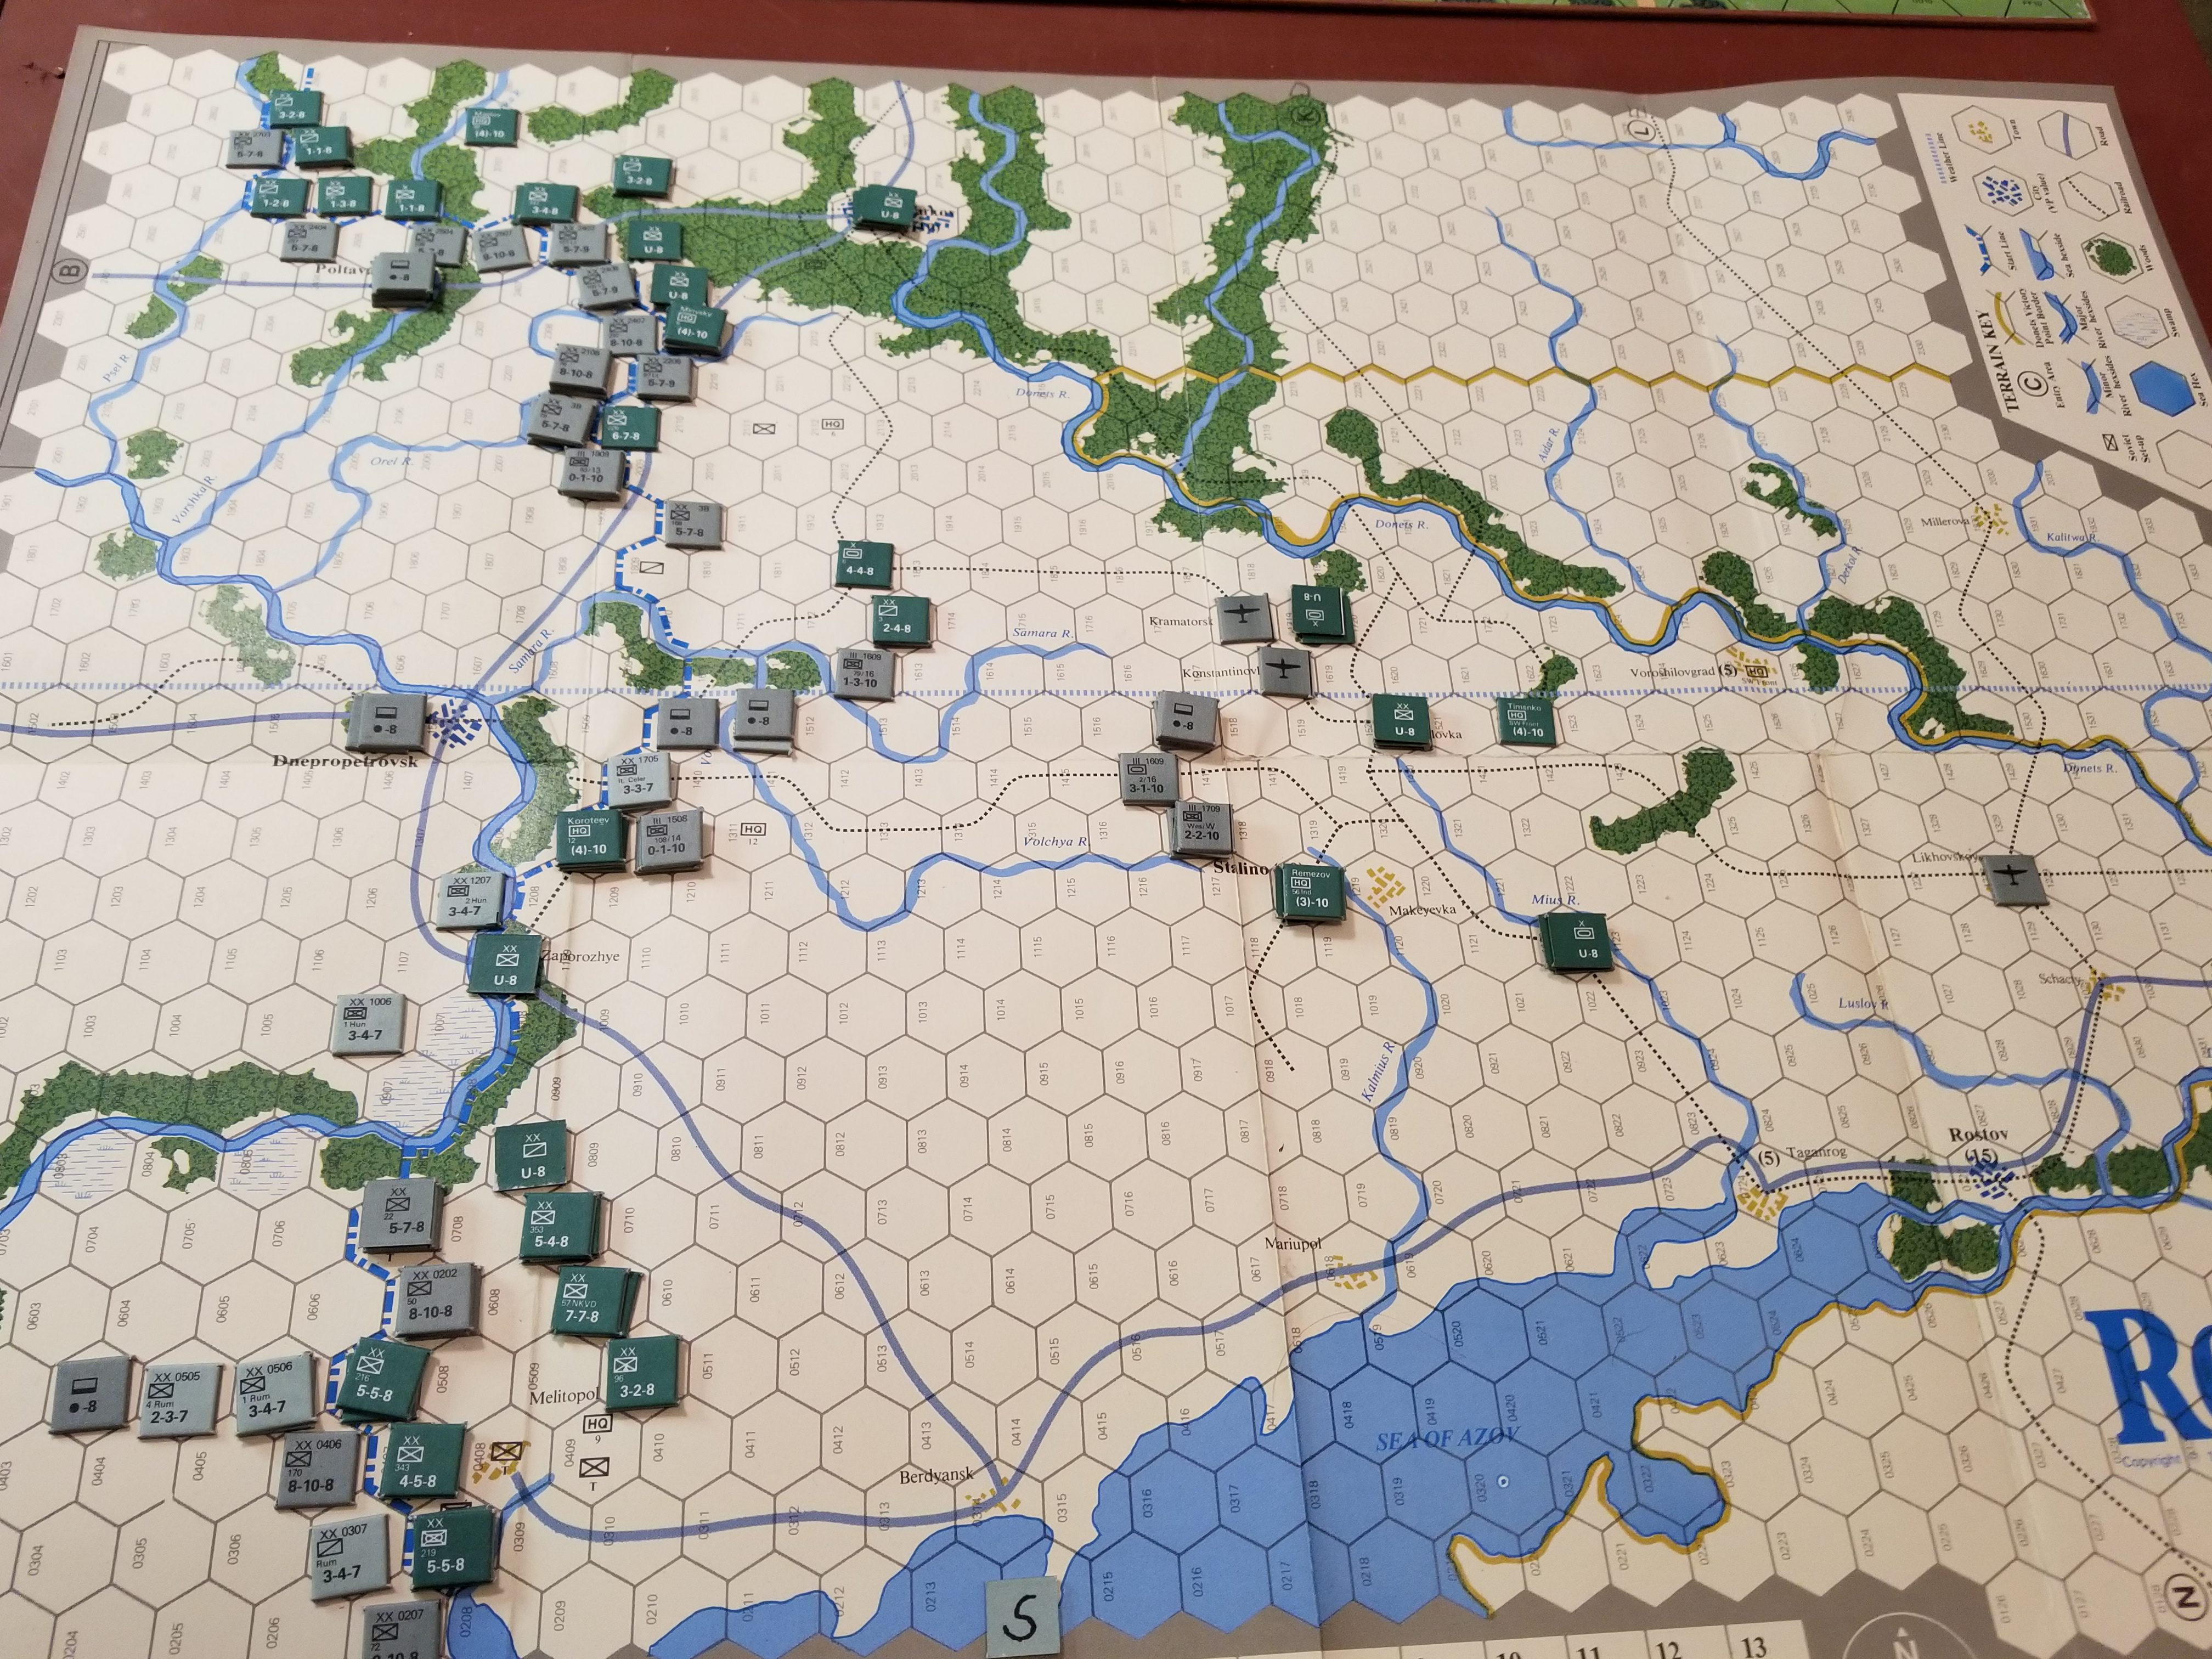
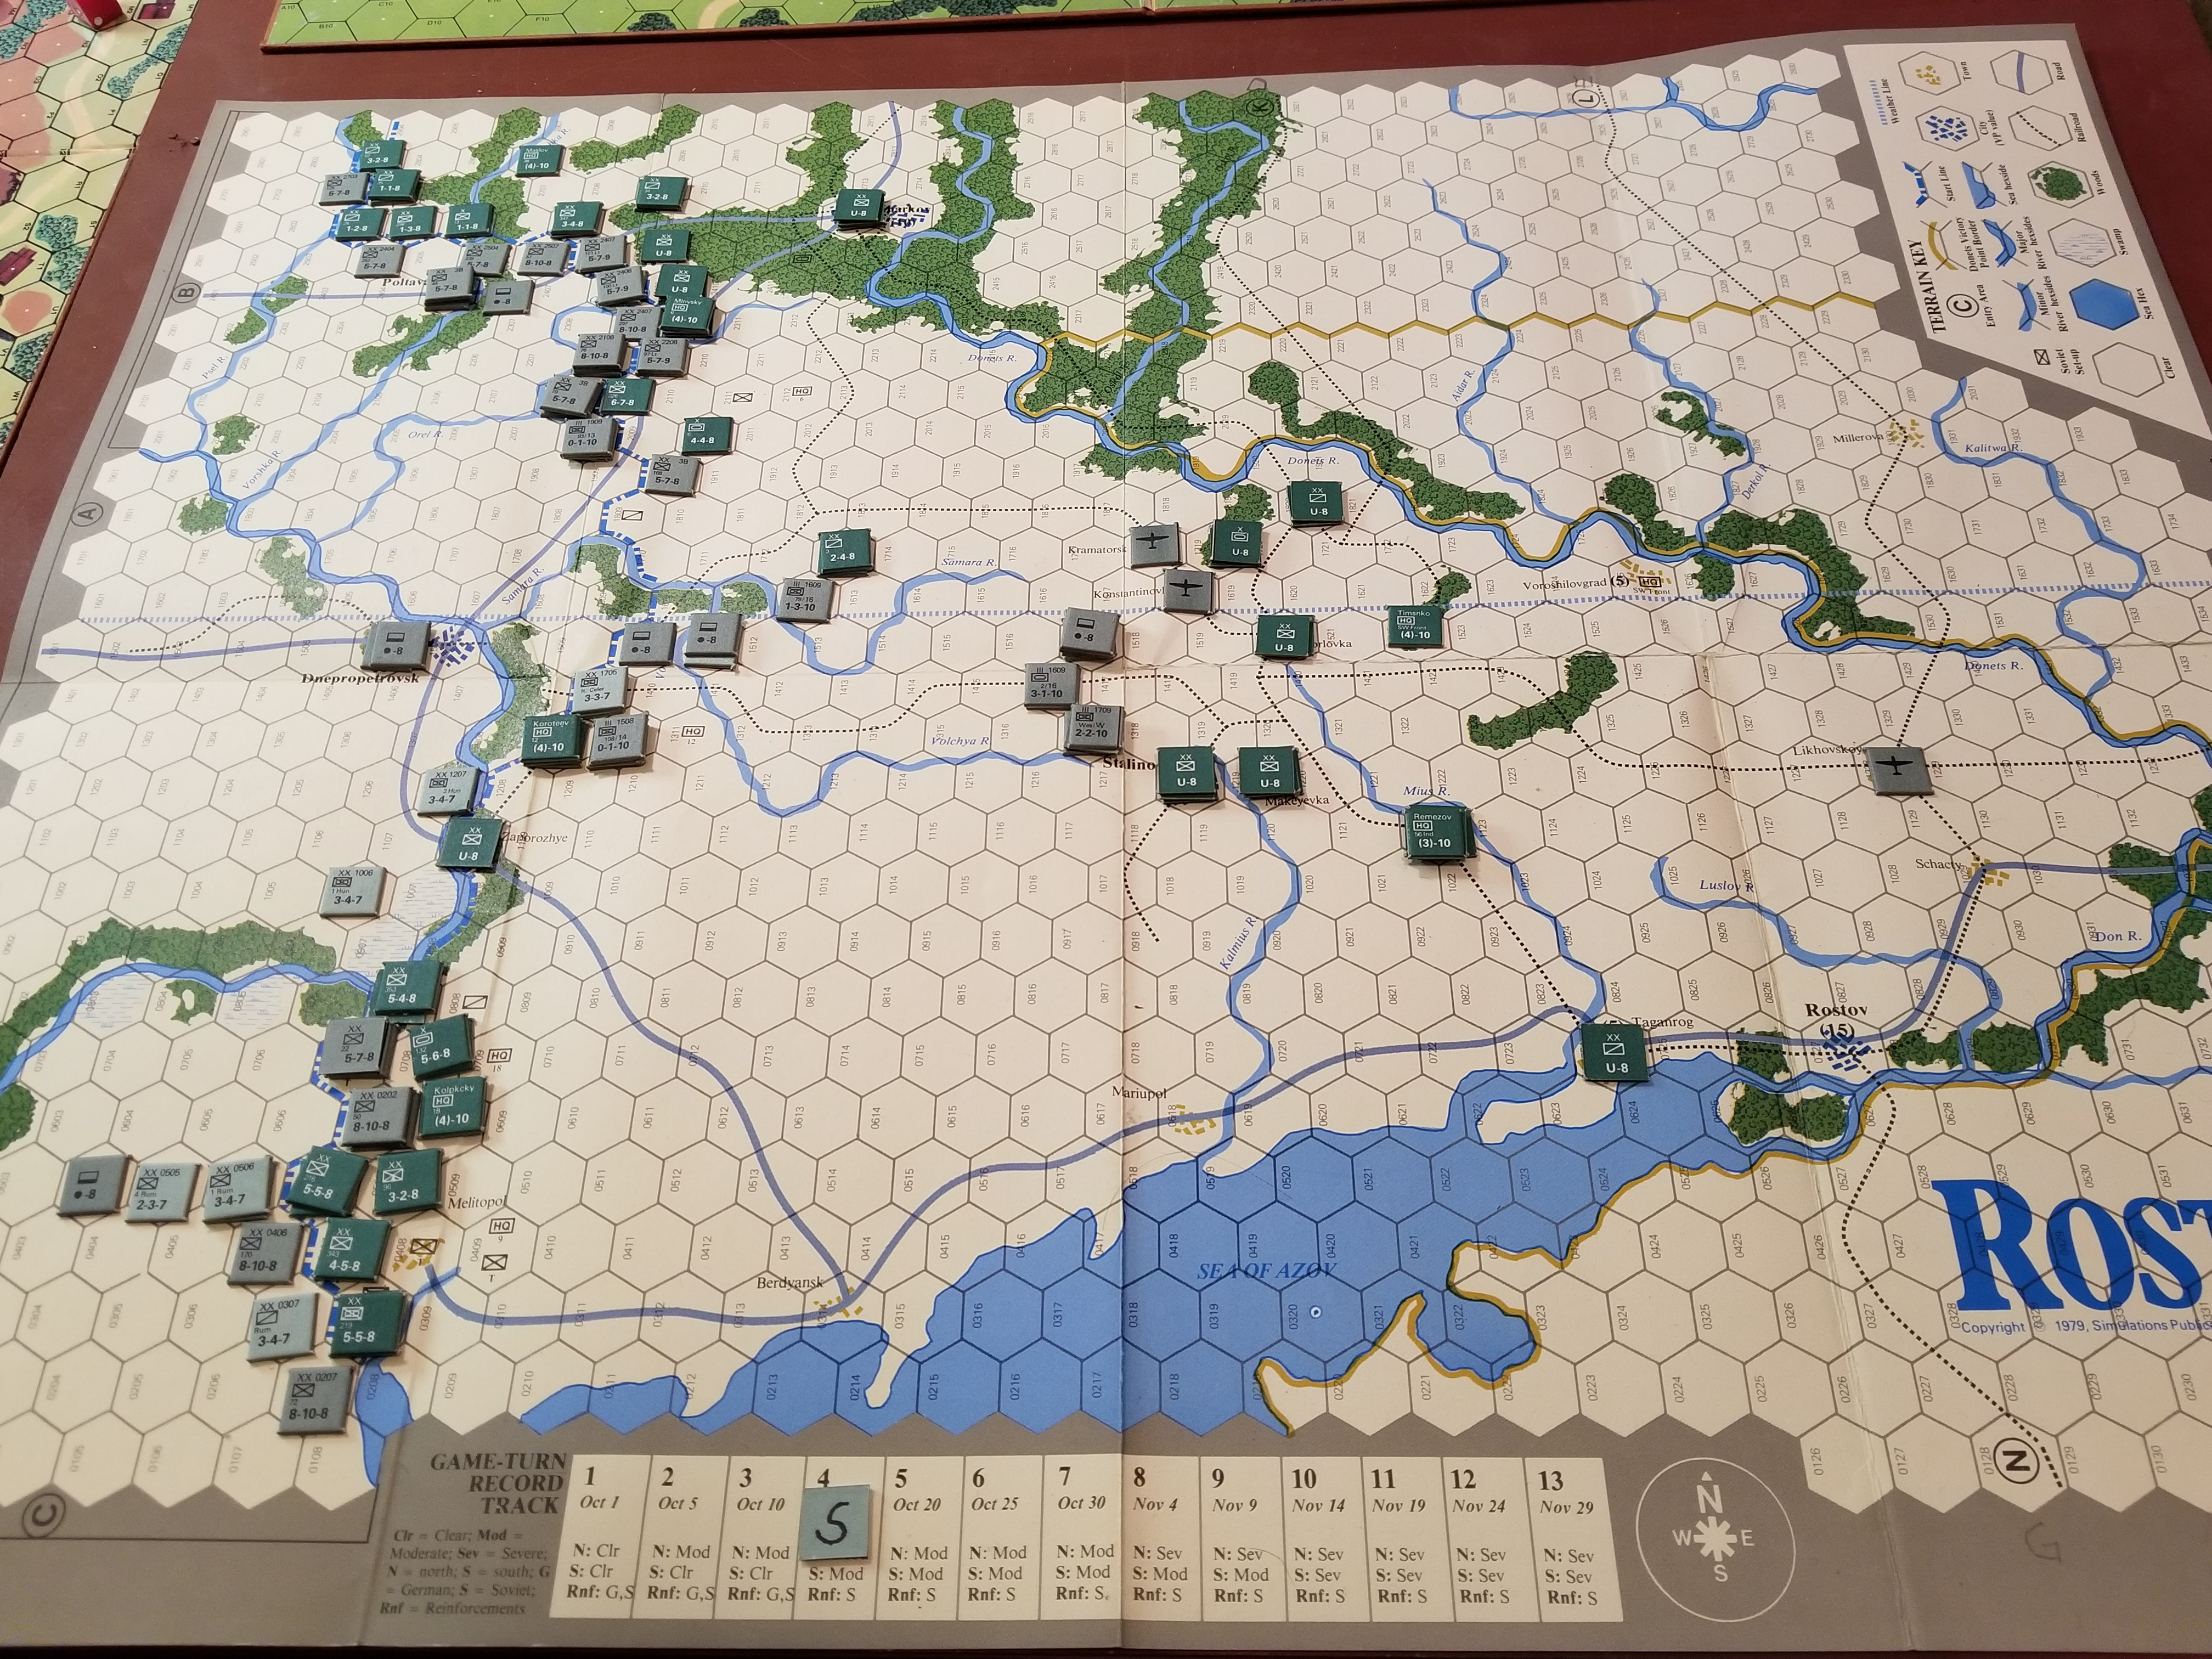
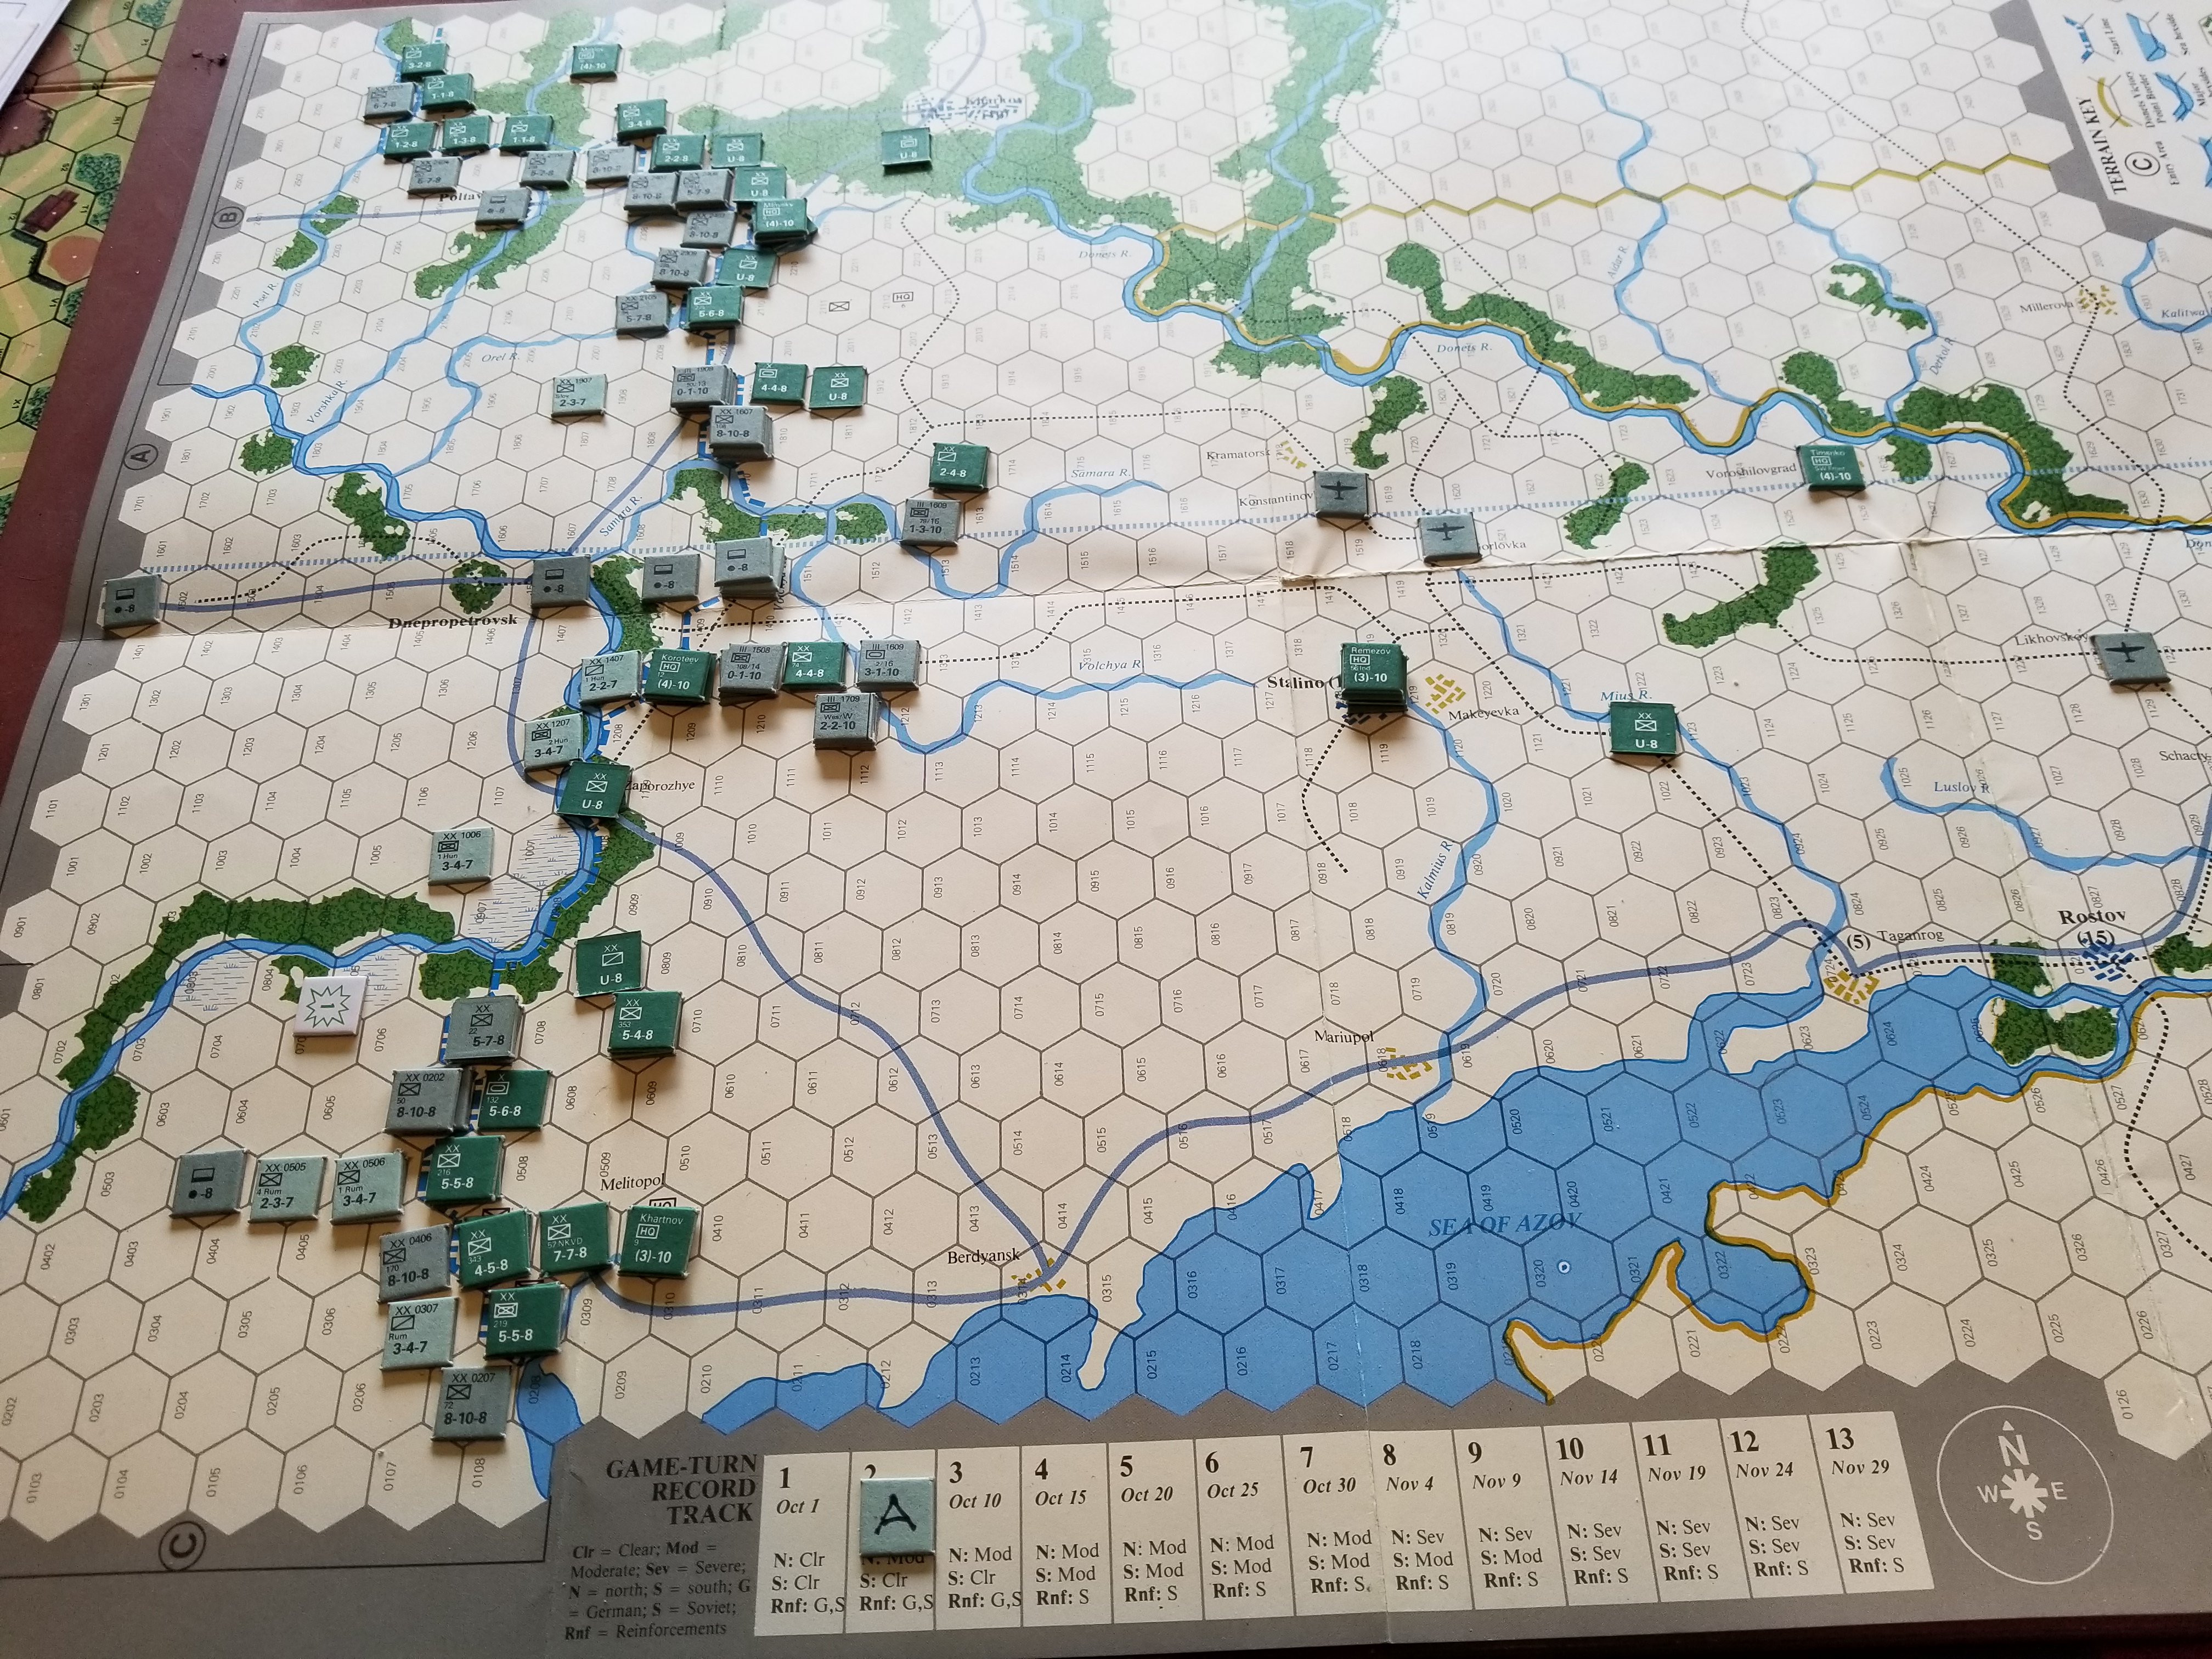
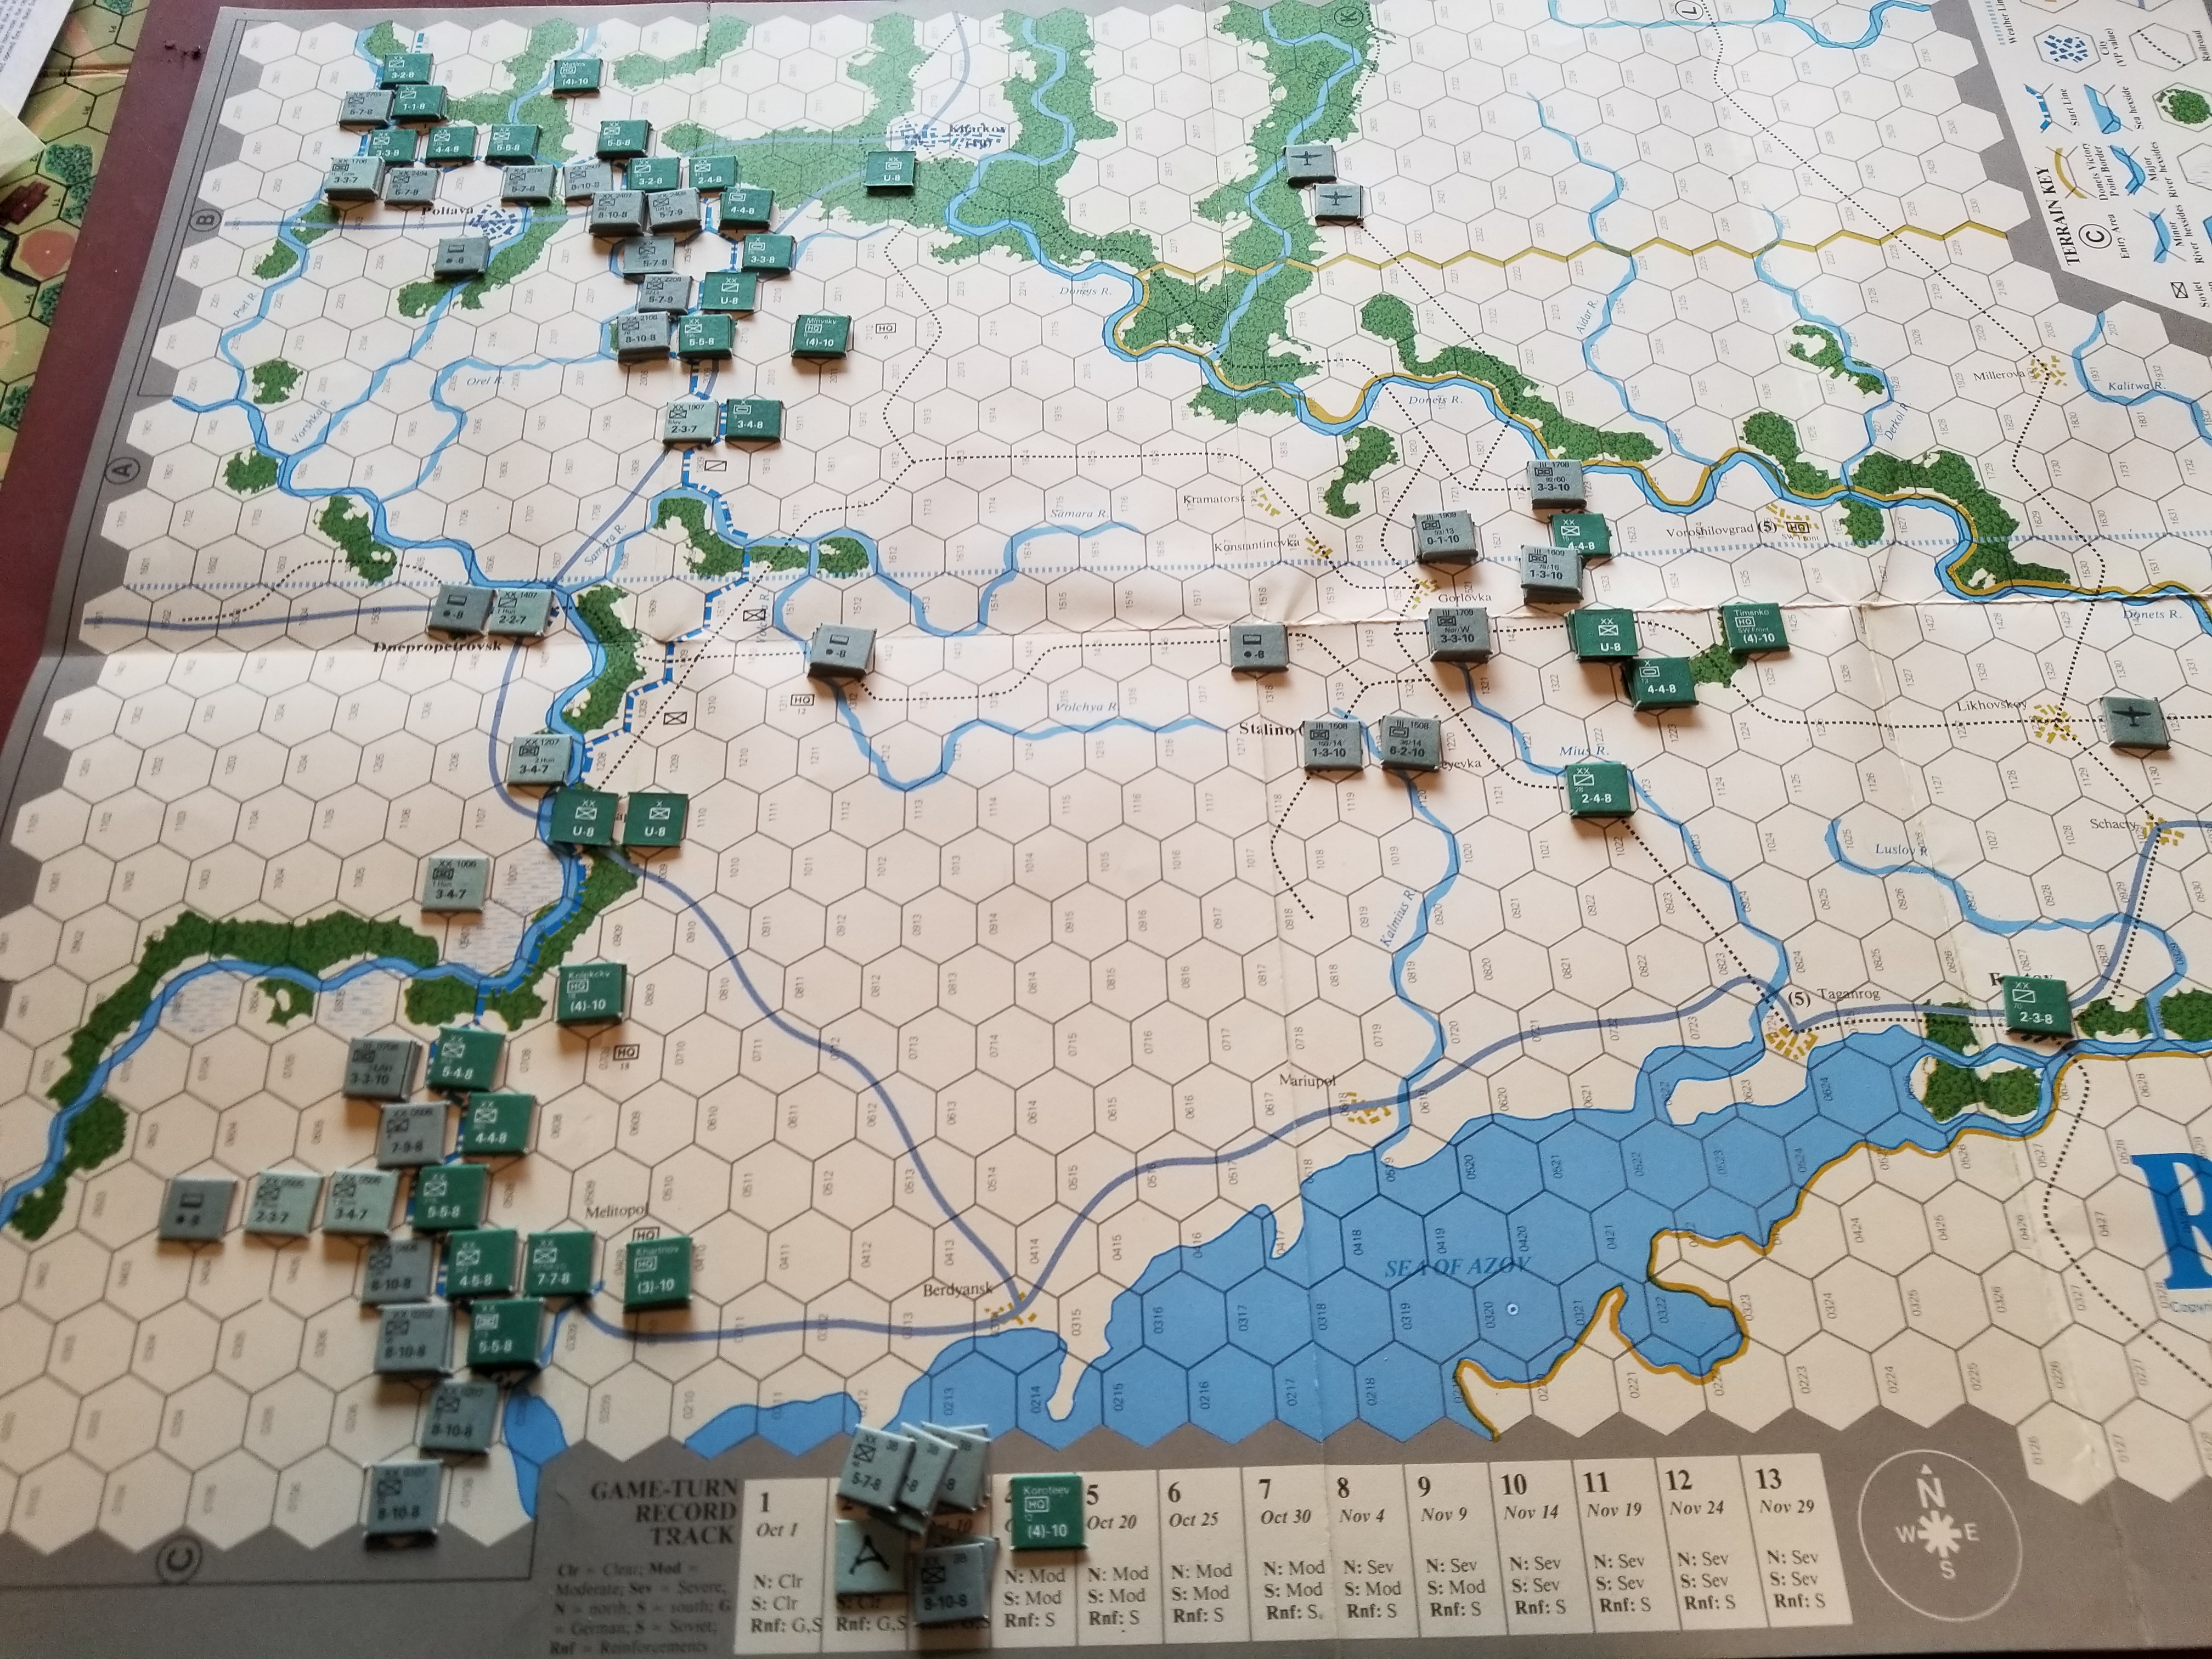
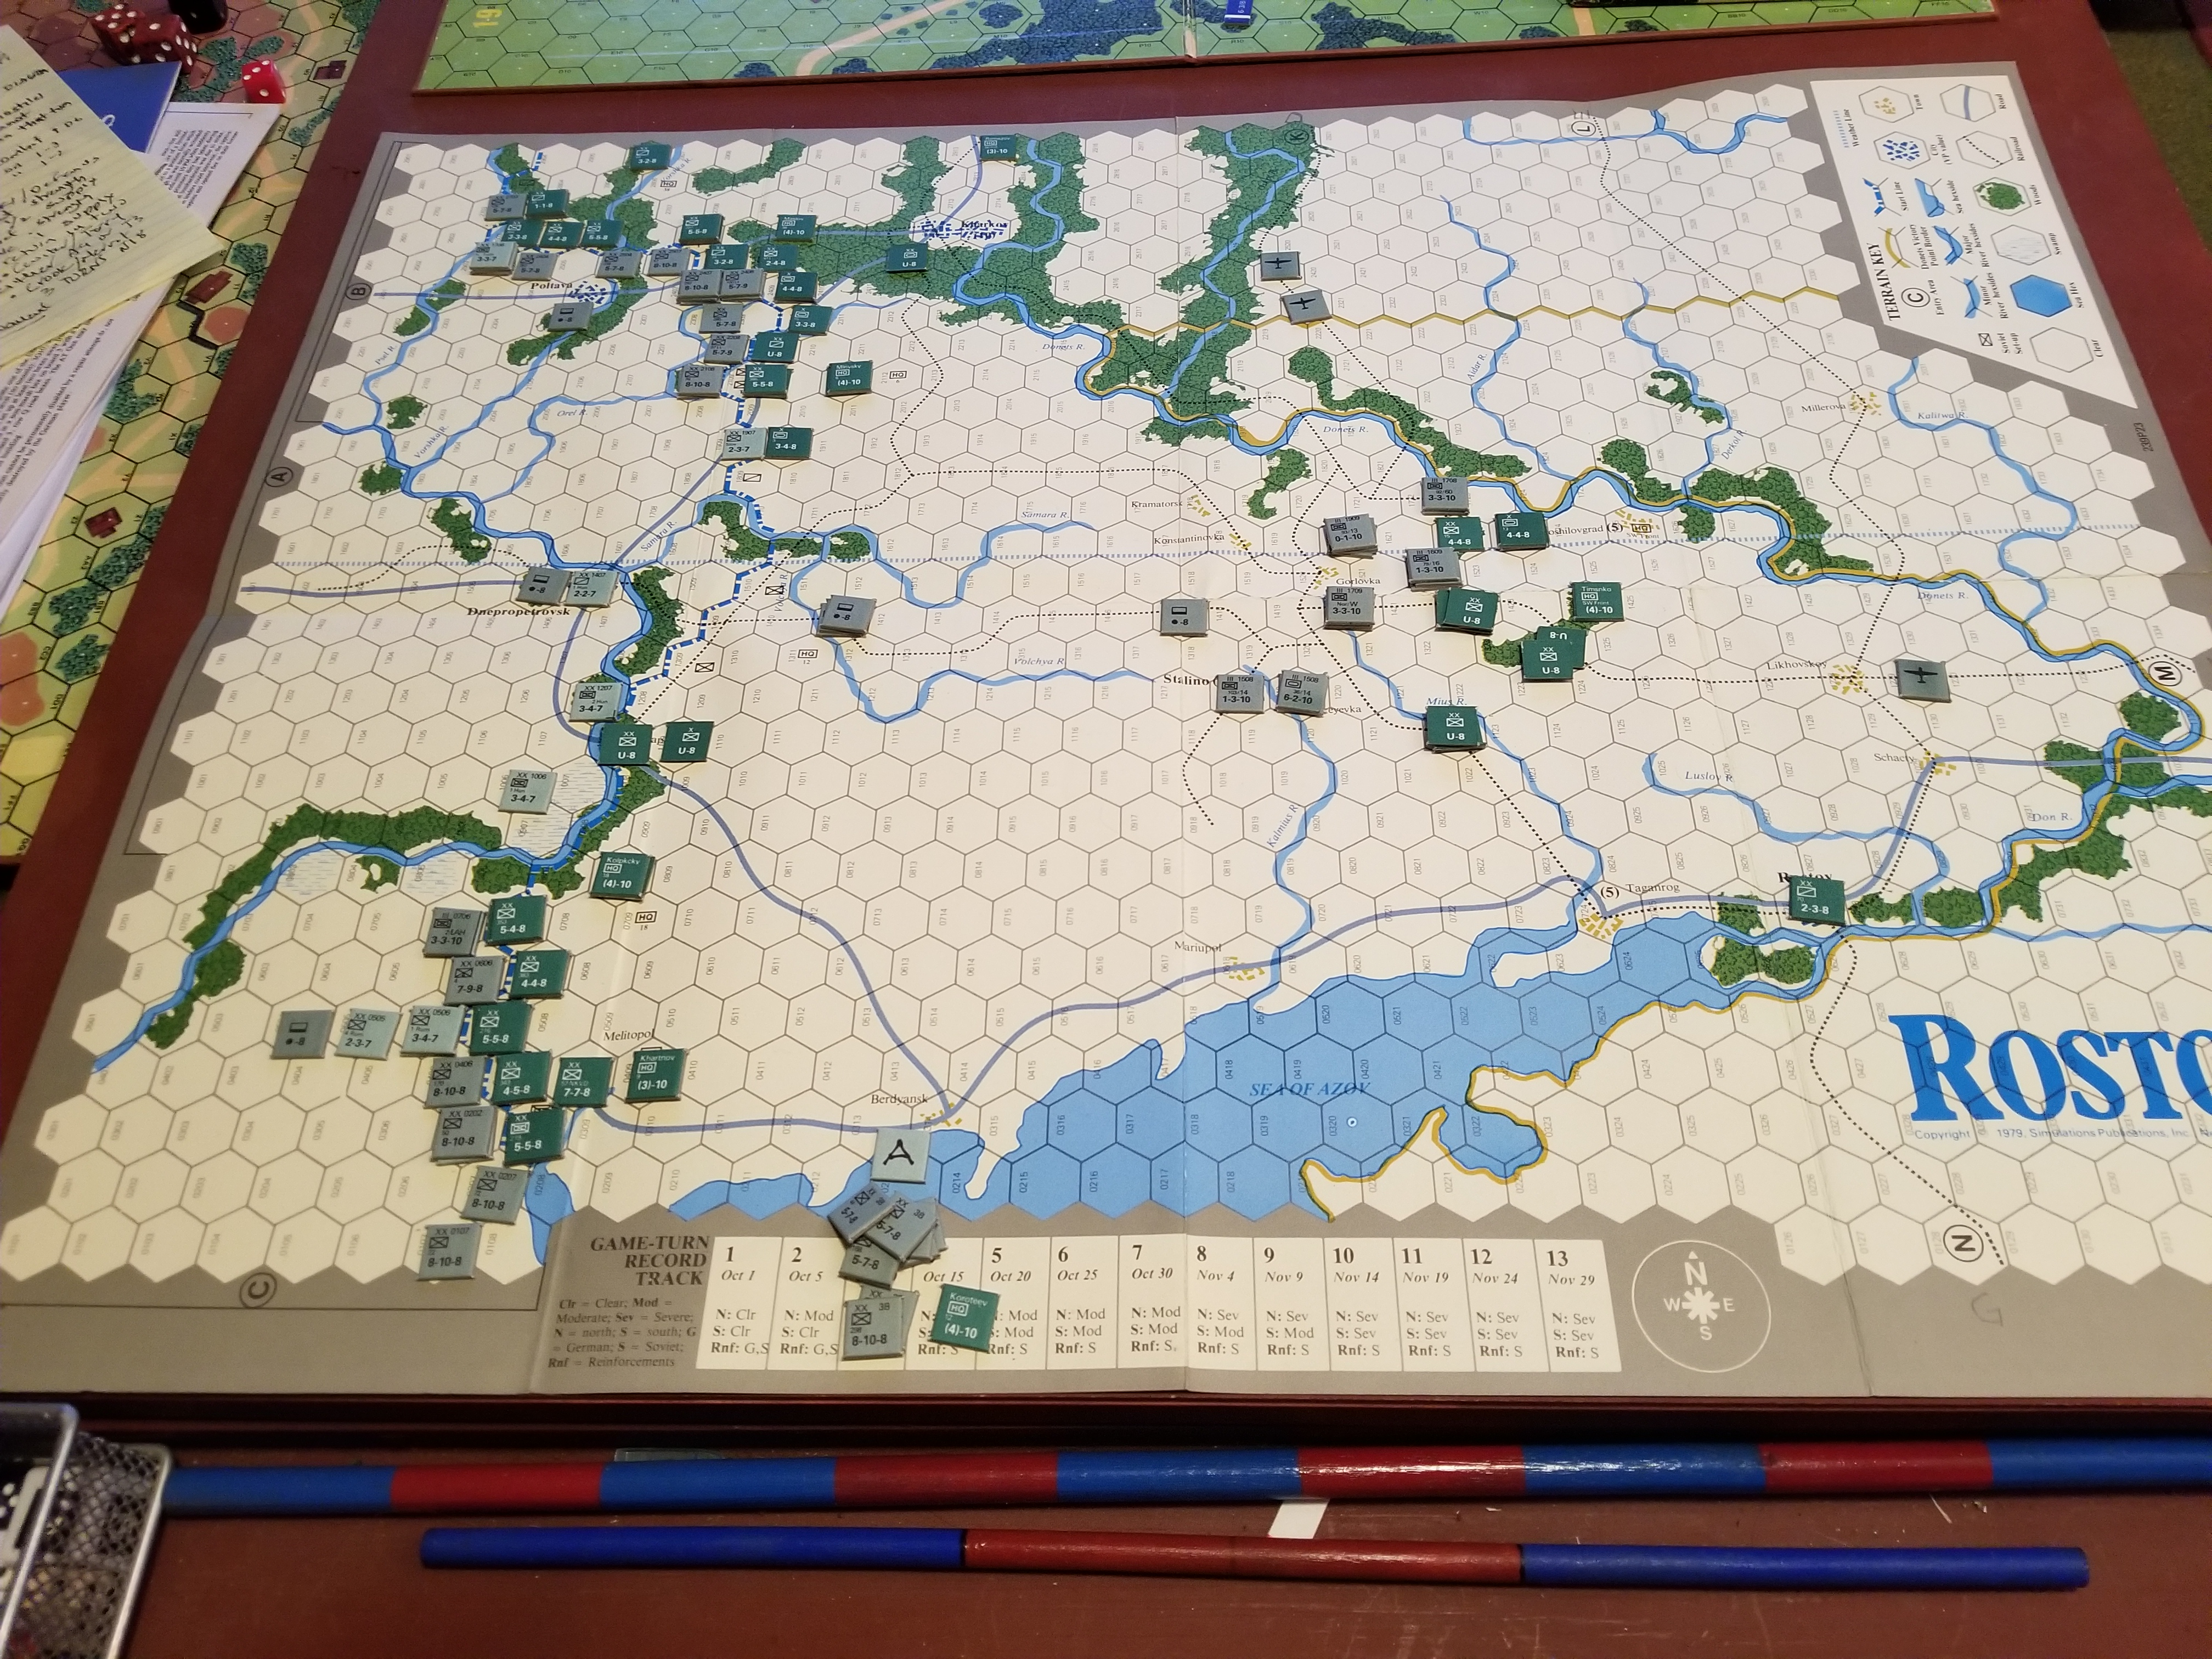
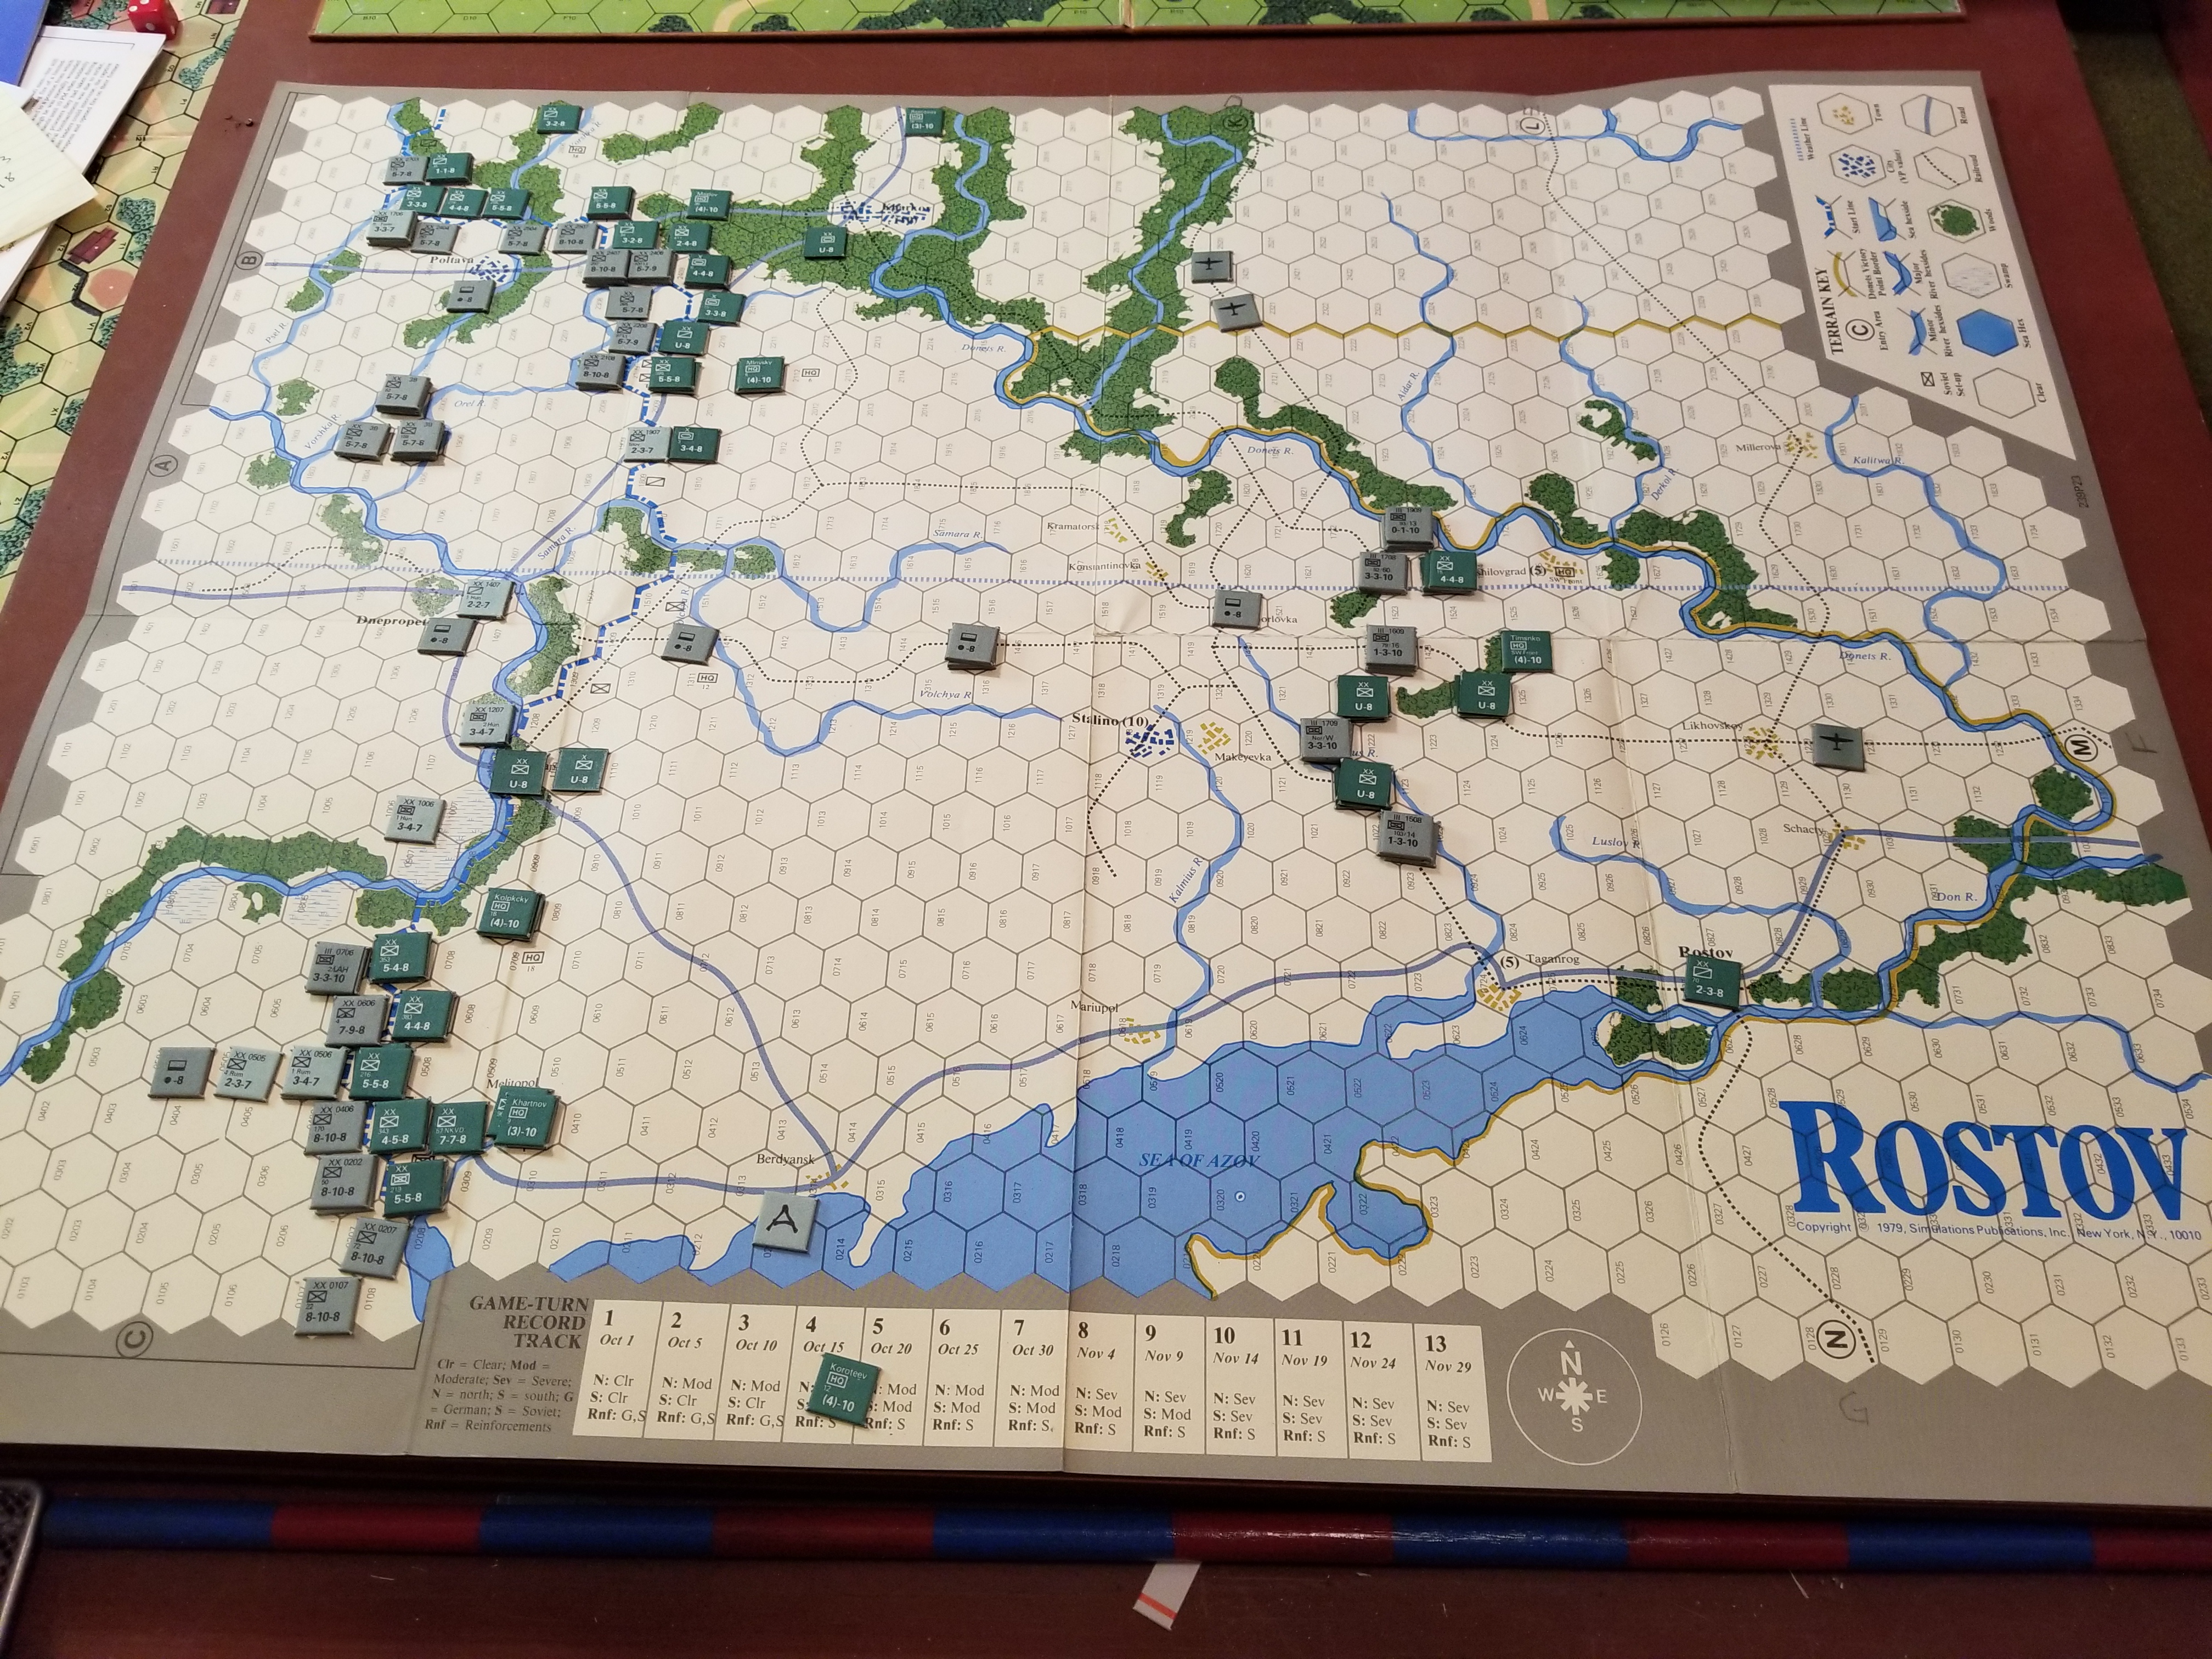
  • I forgot that ZOC’s don’t extend across the Don (even though you reminded me…probably the beer had an impact…).  That explains why I put so much time and effort into that area.  I was trying to extricate a couple of motorized divisions that had gotten ZOC’d up and that I wanted to use elsewhere.  Just like Hougomont at Waterloo, a subsidiary battle took on a life of its own.
  • I belatedly realized that I’d captured Voronezh on turn 2.  There are three hexes of Voronezh and I thought you had to capture all of them to get the VPs for the city…I only needed the two I had captured right away.
  • The Hitler directives do play a role.  I lost a motorized division when I had too many motorized/panzer units in the north and I was reluctant to move units across the Don as I was afraid that a bad die roll would result in them being taken away and sent somewhere else.
  • I enjoyed playing the game and I definitely want to try it again.

Turns 2-5

During Turn 2, the Germans advanced in the north and south, cleaning up Soviet delaying units in the center.  The Soviets pushed reinforcements to conform with the requirement for a continuous line along the Don, as well as in the center.  For the Soviets, the initial crisis has seemed to pass.

End Soviet Turn 2

The Axis continues to develop its attacks in the north and south, while cautiously advancing in the center.

End Axis Turn 3

Soviet reinforcements continue to arrive, with some deploying on the south map anticipating the Axis will “turn the corner” at Rostov.

End Soviet Turn 3

Heavy combat takes place in the north and south, with Axis units now advancing in the center,

End Soviet Turn 4

Intense fighting continues.  The Germans take Rostov and begin moving south.  Soviet forces tenaciously defend in the north, but gaps are appearing in the center.  Fortunately, the bulk of the Axis armor is deployed elsewhere.

End Axis Turn 5

As usual, we had to pick it up just when things were getting interesting.  BTW, this is a 27 turn game…..


Opinions, Rules & Playability

Lots of mixed opinions on this game, with the negative a little on the harsh side.

Special rules make Drive on Stalingrad different from its PGG predecessors. For the Axis player, these rules reflect the overarching goal of securing oil resources in the south, Hitler’s operational interference, and competing manpower requirements at Leningrad. For the Soviets, the rules reflect Stalin’s directives and political considerations. Failure to adhere to these special rules results in either a loss of victory points or units.

Most of the on-line discussion centers around the “Hitler Directives” rules. At the beginning of each turn, the German player roles a single die. On an “odd” result, the Directive Table is consulted. These directives involve operational priorities and troop dispositions. A directive remains in effect until it is superceded by another directive.

Hitler’s impact is also reflected in “No Retreat” orders, and the imperative to capture cities. Failure to adhere to these guidelines results in a loss of victory points.

Another Axis operational constraint is “Divisions Across The Don”. If the number of divisions exceeds those called for by the current Hitler Directive, then those divisions are removed for use on other fronts.

The Axis Commander is also limited in the number of mechanized divisions allowed on the north map. If this number is exceeded, these excess divisions are removed.

Both Soviet and Axis players must maintain “Continuous Fronts” on the South map, in which each hex must be occupied by a unit or a zone of control. If not, victory points are lost.

The Soviet player may withdraw from enemy zones of control during a turn, but loses victory points. And, the Soviet player must defend East of the Don River, or lose victory points.

Sure, these rules effect how the game is played; but they are part of the game. Without these rules, the game wouldn’t exist within any historical context. Frustrating, yes. Maybe in this regard, it can be considered a simulation. Axis and Soviet commanders were influenced by higher leadership, and these influence/interference directly effected operations.

Flawed? That’s always a matter of perspective and, even, taste. For me, its flaws are fewer than many games I’ve played.

Drive On Stalingrad – Getting Started

Had a great experience with Drive On Stalingrad (DOS) this weekend over at Tim’s.  Of course, there was football to view, but we were able to get several turns in after our late Friday afternoon setup and initial play-thru.  As always, the first turn was brutal, so it was a quick re-set for Saturday’s action.

The basic system is taken from Panzergruppe Guderian.  However, there are important differences.  I’ll discuss these as the game narrative progresses.

Victory is determined by cities controlled, each of these has point value.  The Axis player (yes, there are Romanians and Hungarians) automatically wins if his victory point total is three times greater than his opponent.

Each side has constraints to their initial dispositions.  The Soviet player must remain on or within a ZOC of an initial defense line stretching across the northernmost of the two game maps.  The Axis player cannot use all of his units during the first turn.

Here’s the initial setup.  North is to the left.  Only the ten or so hexes to the right are in the South map.

The Soviet player has a very limited ability to start with a defense in depth.  On the other hand, the inability to leave ZOCs slows progress for the Axis player, unless a Soviet unit is eliminated or forced to withdraw two hexes.  However, the CRT is relatively bloodless up to 10:1 odds, with most results requiring the choice between withdrawal or a step loss(es).  Punching big holes for the second movement phase (armor/mechanized units only), takes time.

Tim concentrated his armor in the North and South, aggressively advancing in the North.

The Soviets receive 27 (!) units as reinforcements in Turn 1.  A total of three can be placed in a major city, with one each in smaller cities.  Eleven units can move up to 40 hexes by rail.  All I could do was patch up some type of defense in the North, and start pushing reinforcements eastward as fast as possible, using every city I could.

One terrible mistake was to allow the German SS unit to cut my rail line at Voronezh.  Any reinforcements coming by rail from the north had “to take the long way around.”  As a result, three Soviet units were left as a “forlorn hope” to hopefully slow down an Axis infantry advance in the center.


More Rostov

Cranked out another couple of turns.

Axis was able to make good their deep penetration in the center, as well as develop a flanking attack northwest towards Kharkov. However, the Soviets have built up a defense to counter the panzers, as well as using the rules to “ZOC Up” Axis infantry attacks in the south.

This is the real challenge faced by the Axis Commander.  Soviet units buy time through engaging German units that are unable to exploit tactical success due to the Soviet ability to retreat, perhaps with a one-step loss, but maintain zones of control that limit Axis advances.  Even when there is the possibility for a “ZOC Kill”, a result of less than “2” steps, stops the Axis for an additional turn.  And, in the case of Soviet units with a defense strength greater than “6”, the placement of a step reinforcement.

End German Turn 3
End Soviet Turn 3
End German Turn 4
End Soviet Turn 4

Will develop Axis attack towards Kharkov.

But, for now, off to PDX for Drive On Stalingrad with Tim.

Try It Again – With Charts and Errata

Charts, Errata and  a better understanding of the rules does make a difference.  Shocking!  Been learning and relearning this for decades.

While the actual CRT is somewhat bloodier, the Errata is crucial.  I caught the wrong lettering for the entry areas, but missed the difference in setup for four Soviet units.  Absolutely changes the game.  These units were in the vicinity of Stalino and “V” (see previous post), but now are in the front lines directly opposite the panzer divisions.  This makes a breakout just that much tougher. Here’s a link to the Errata.

Another big mistake on the first game was the assumption that the Germans could automatically withdraw from a ZOC.  Oh No. Soviets can using the withdrawal chart, but the Germans cannot.  This means they are “locked” in ZOCs.  Makes maneuver difficult. This was a topic of some discussion in blogs, but the consensus seemed to be that the system worked just fine with this apparent limitation.

The Germans opened the new game with another attack in the center.  It made limited gains, primarily due to the change in dispositions discussed above.  The panzer units are not that strong, even with the doubling of combat power due to unit integrity. With the center holding, the Soviets had the luxury of shipping their reinforcements to Stalino, with local units building a defense in depth against the immediate panzer threat.

The German used both infantry and armor units to continue the attack in the center during Turn 2, causing Soviet units to pull back. Their second movement phase was used to envelope exposed Soviet divisions.  The Soviets countered by minor shifts in units (their primary units were ZOC’s Up), and building a defensive line running Gorlovka-Stalino-Taganrog.

Situation End Of Game Turn 2 (Ignore the A in the second turn column…..sloppy)

Start-Up

Played four turns of Rostov.  Won’t discuss the rules problems….well it was really a chart problem…..enough.

Here’s an abbreviated account.  Will do my customary re-set after butchering a first playing.

The Germans opened by blasting through the Soviet Center , racing eastward.   The Soviets responded by holding the shoulders of the salient, and rushing reinforcements to a defensive line forming in the vicinity of Voroshilovgrad (to be referred to as “V” from here on out).  The Soviets receive four randomly drawn units each of first few turns, then three.  Rail movement sped the reinforcements westward despite Axis aircraft interdiction.

Both panzers and their supply units continued eastward during Turn 2, with forward elements coming into contact with the Soviets.   A probing attack pushed back Soviet units defending “V”.  The supply units were able to maintain their “chain” of six hexes (roads count 1/2 hex).  Loss of supply halves movement and combat strength.

The Soviets continued to feed troops into the threatened area running from “V” to Rostov.  Attempts to withdraw from their  exposed salient west of Kharkov failed, though without loss.

During Turn 3, the full strength panzers maneuvered to envelope Soviet units, but the attacks failed to inflict any real damage. This was despite a doubling of attack strength for armor and mechanized units due to divisional integrity. Meanwhile, strong infantry units entered from the western map edge.

The Soviets continued to buildup their defenses, now extending their defensive line southeast to Rostov, itself.

The German infantry opened Turn 4 by penetrating the southern flank of the Soviets defending Kharkov.  However, the eastern advanced ground to a halt waiting for reinforcements.

A challenging game.  With the proper CRT and game unique charts covering disengagement of Soviet forces and weather, it should be even better.  Either way, the Axis has its work cut out!


A Month?

Not quite, but damn near.  Eclipses, Family, Friends…..and about 4,000 auto miles.

New game on the table before I launch off again.  A relative of Panzergruppe Guderian – Rostov.  Part of the Army Group South quad game, also released as a single game, and then released much later in S&T,

Same untried Soviet units, but both sides can move armored/mech/cavalry units a second time during a turn.  Lots of exclusive rules.

Have it set up and will start this evening.  Here’s the initial deployment as prescribed by the rules.

I know…….the green Soviet counters just look wrong. Tombstone shot glass has the Soviet reinforcements.