Finished up Wilson’s Creek just before I left for the weekend.
Opted for the rules’ historical Union entry points and task organization. The bulk of General Lyon’s Union army enters from the north, with General Siegel’s reinforced brigade attacking the encamped Confederates from the east. Here’s a map of the historical battle.
The opening of the game is something. As soon as Union units are sighted, each Confederate unit has to pass a morale check. Since many of the Confederate regiments have a morale factor of two (2), and the roll must be equal to or lower in order to pass, things become rather chaotic. Confederate leaders scurry about trying to rally routed troops, and then get them moving towards the two Union threats. The two senior Confederate leaders, McCulloch and Price, cannot cooperate. So, I had Ben’s brigade, which had the better soldiers, take on the Union main body, and Price try to handle Siegel’s smaller force.
Meanwhile, the Union troops were moving slowly towards the Rebels. The entire battlefield is covered in brush, which reduces trail movement to a single hex per movement point, and 1/2 movement point if off trail. No lightning thrust here. Surprisingly, a number of Confederate militia units on pickett duty survived their initial morale check, and did yeoman work delaying the Union main body. On top of it, I failed to read and incorporate the special rule that gave the Union forces two (2) extra movement points per turn. Slowly, and more slowly than they should have, the opposing sides were able to form battle lines and engage.
The game became a series of firefights, with each side feeding in new troops as they arrived. Lyon’s main body had moved in column, and took quite some time to fully deploy in the brush. McCulloch had similar problems, and, given pressure from Lyon’s attempts to envelop, I added some of Price’s regiments to his left flank, even though they could not combine fire against Union targets. Nonetheless, this was a bloody business, with three (3) brigade commanders killed.
I added to my rules transgressions by consistently misreading the CRT, using the less bloody artillery grapeshot results, rather than the small arms results. Also, I misinterpreted the P/R result which does not allow the receiving unit to escape either a Pin or Rout through a favorable die roll. The only mitigating factor was that these mistakes were effecting both sides, and not just one.
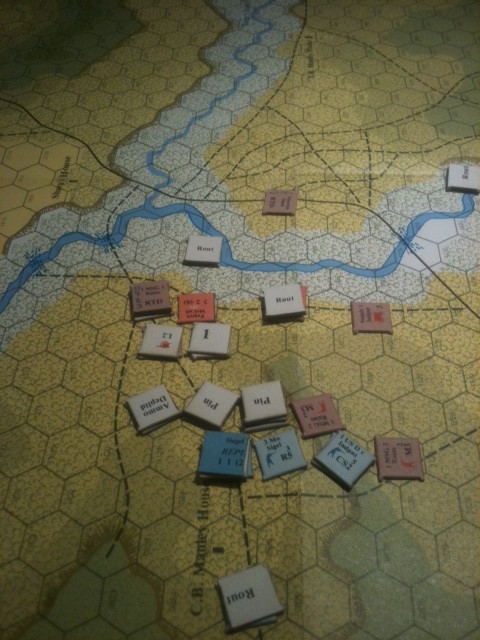
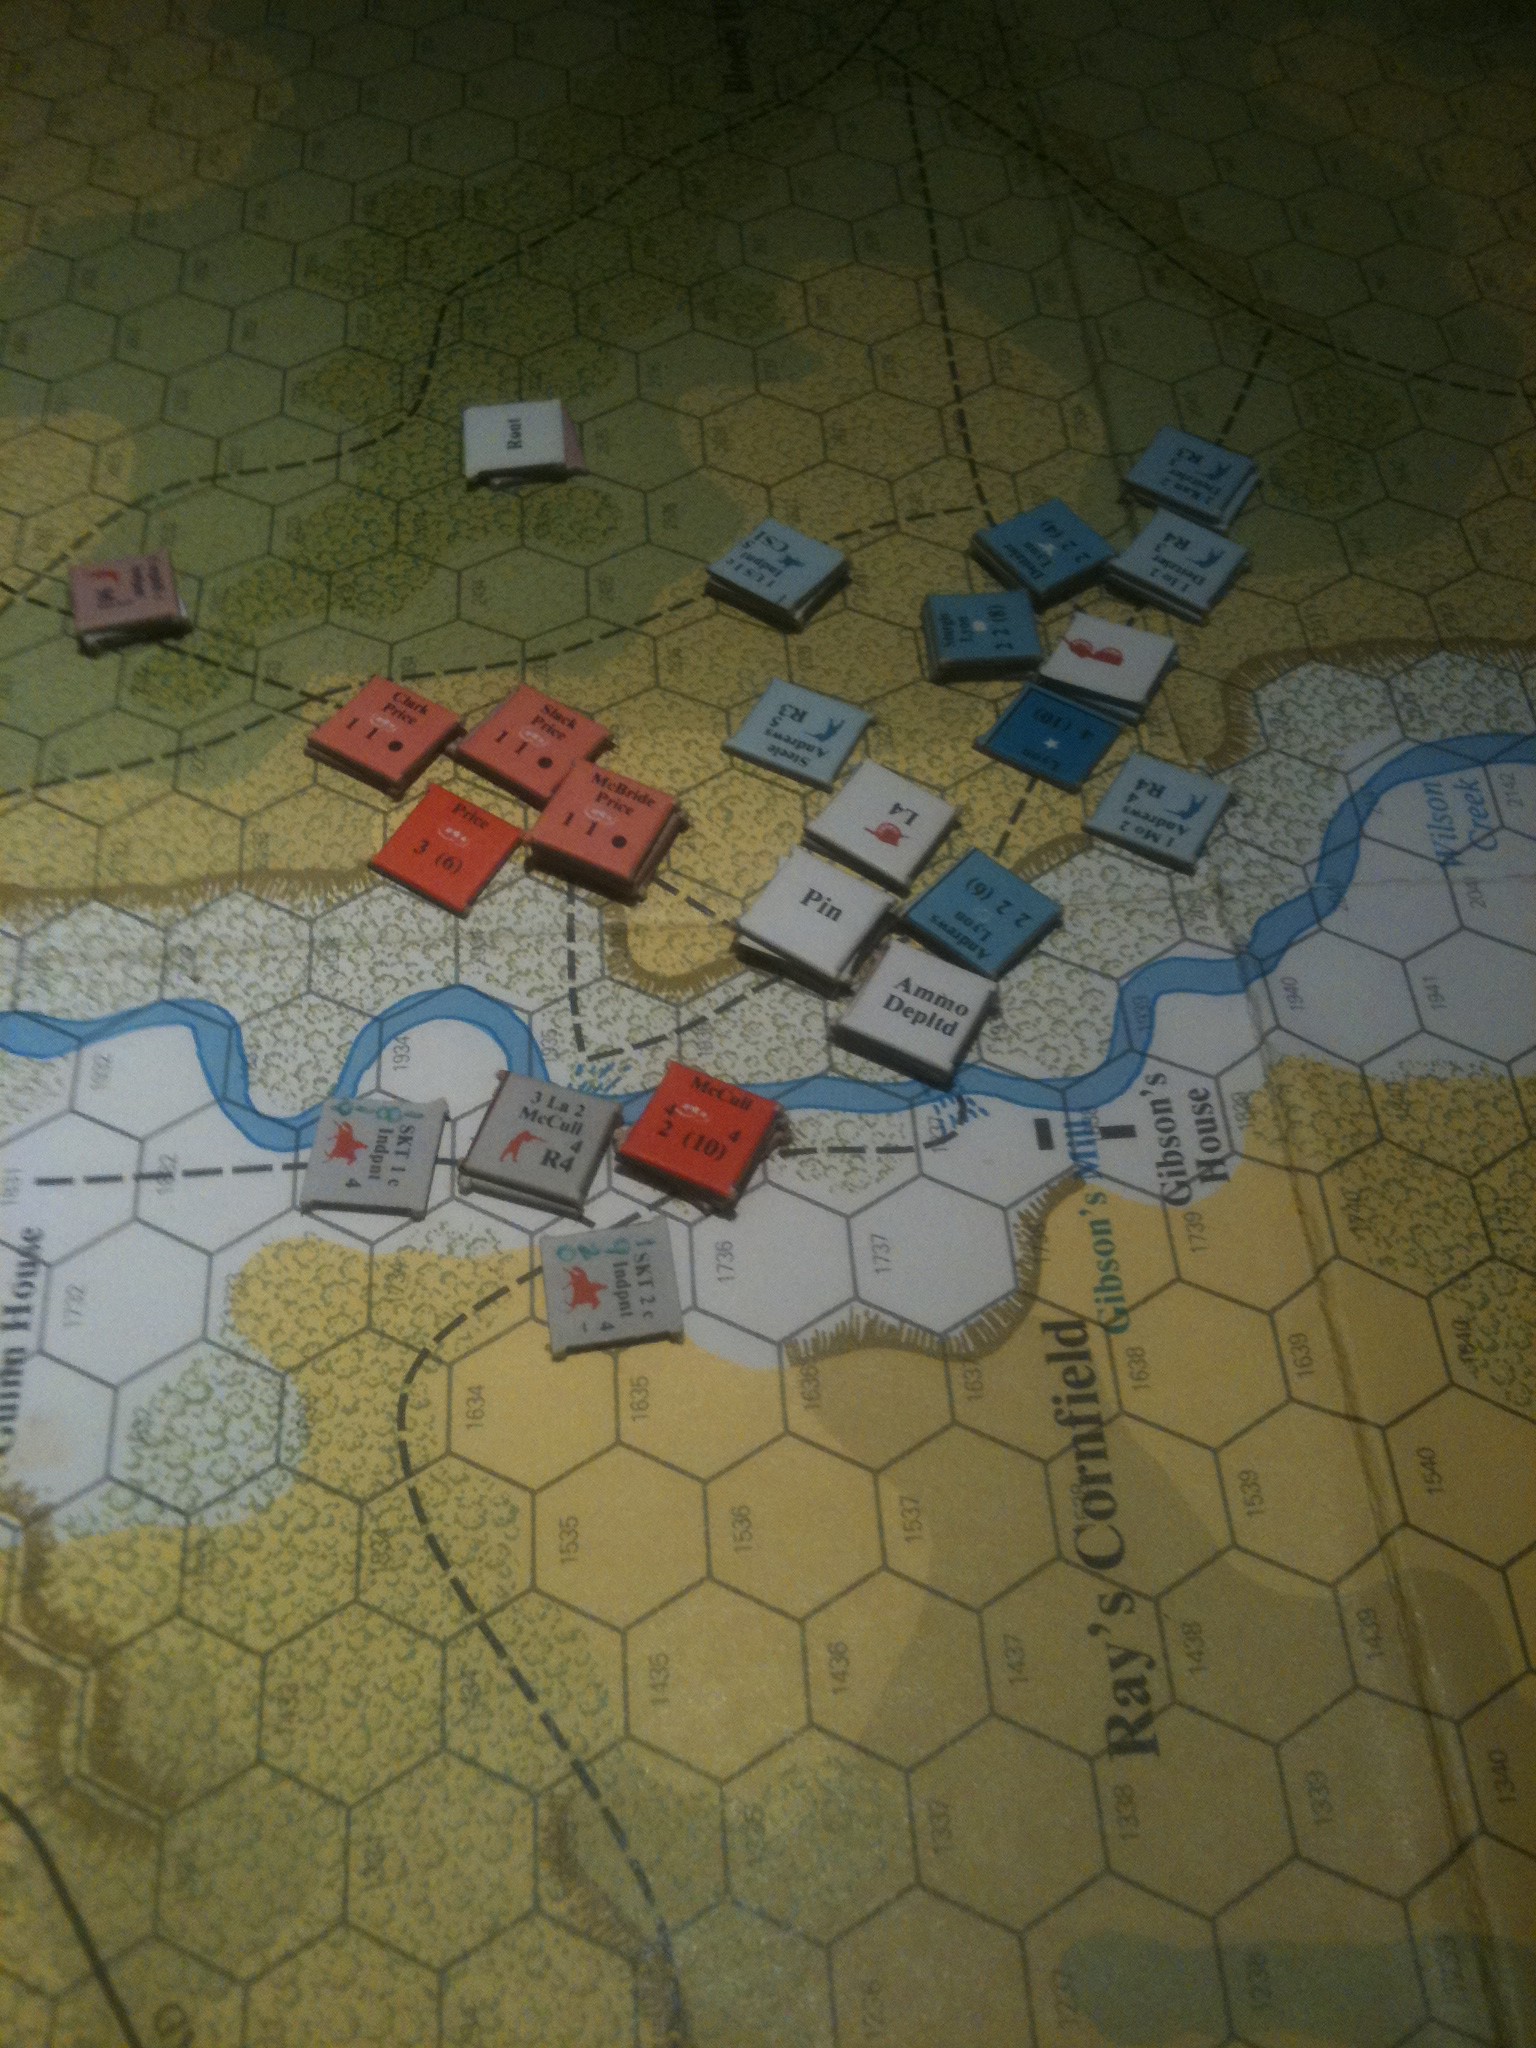
By game’s end, Siegel’s force was withdrawing, but not under any pressure from the battered Rebel units. McCulloch’s brigade was grimly holding the Confederate right, while elements of Price’s forces were slowly giving way on the left.

To top it all off, my reading of the victory conditions was flawed. The Confederates gained VIPs by cutting off Union units from their supply source. As you can (maybe) see in the photo above, I had Confederate cavalry units poised to envelope Lyon’s left. Had I done this, perhaps it would not have been a Union victory.
All these screwups aside, a good game, with plenty of tension and lots of replayability due to the variety of entrance hexes for the Union forces as well as the randomness of the Confederate response after sightings.
An alternative historical setup can be found over at the spi.net website.
I want to play a couple more games in this series. So, once the Airstream unfreezes (temps in single digits here), I’ll get going on Cedar Mountain.