This weekend’s game was an adventure; with unfamiliar rules and daunting operational constraints, not to mention the sheer size of the area of operations. This will be a quick overview. Hopefully Tim will post up. I’ll add some additional observations once I get back into town.
Tim was stalled in the always unpredictable Friday Portland traffic and didn’t arrive until after 1800. We decided to spend the evening familiarizing ourselves with the East Africa specific/pertinent rules (we also decided to forgo all the optional rules as this was our first time through the game) and watching the NCAA Men’s Basketball Tournament. That was an adventure, too.
While we have been playing Europa for way too long, this game was something different, particularly the use of attack supply, and for the Italians, the need to convert limited attack supply resources to general supply. Without general supply, the Italians, who do not have any general supply sources (only limited ones), had their attack strengths quartered, movement halved, defense halved, and lost all armored effects. Their limited aircraft assets were subject to similar constraints when out of supply. In fact, each mission was a crap shoot. With bad rolls on the success table, the mission never occurred, or worse, the aircraft went into the aborted box. And with only one ARP, that meant it was gone. To make things even better, any use of SMPs reduced the remaining pool of SMPs, with Italian capabilities becoming even more pathetic as the game wore on.
However, the Italians weren’t the only ones handicapped by logistics. Even though the British are in general supply, they have limited attack supply resources and have to move them across East Africa before they can come to grip with the Italians. While the British can assemble divisions, their use is limited as they are withdrawn from use relatively early in the game.
As you can see from the previous post, the area of operations is huge. The impact of size is compounded by the low movement rates of most units. There are very few mechanized units, and those that are in the OB have little combat power. Truck assets are worth their weight in gold. Not only can they increase an infantry’s units movements, but can also take advantage of exploitation movement. Once again, the combat power of a transportable unit (1 RE) is minimal, especially when halved if out of attack supply.
Rail capacity is low, and the amount of trackage limited. Tim will probably expand on this, but neither of us did a very good job of working with what we had.
To make even more fun, there are about 8 weather zones, and any and all of them can go from clear to grind-to-a-halt mud in a single turn.
Given all of these factors, events unfolded slowly.
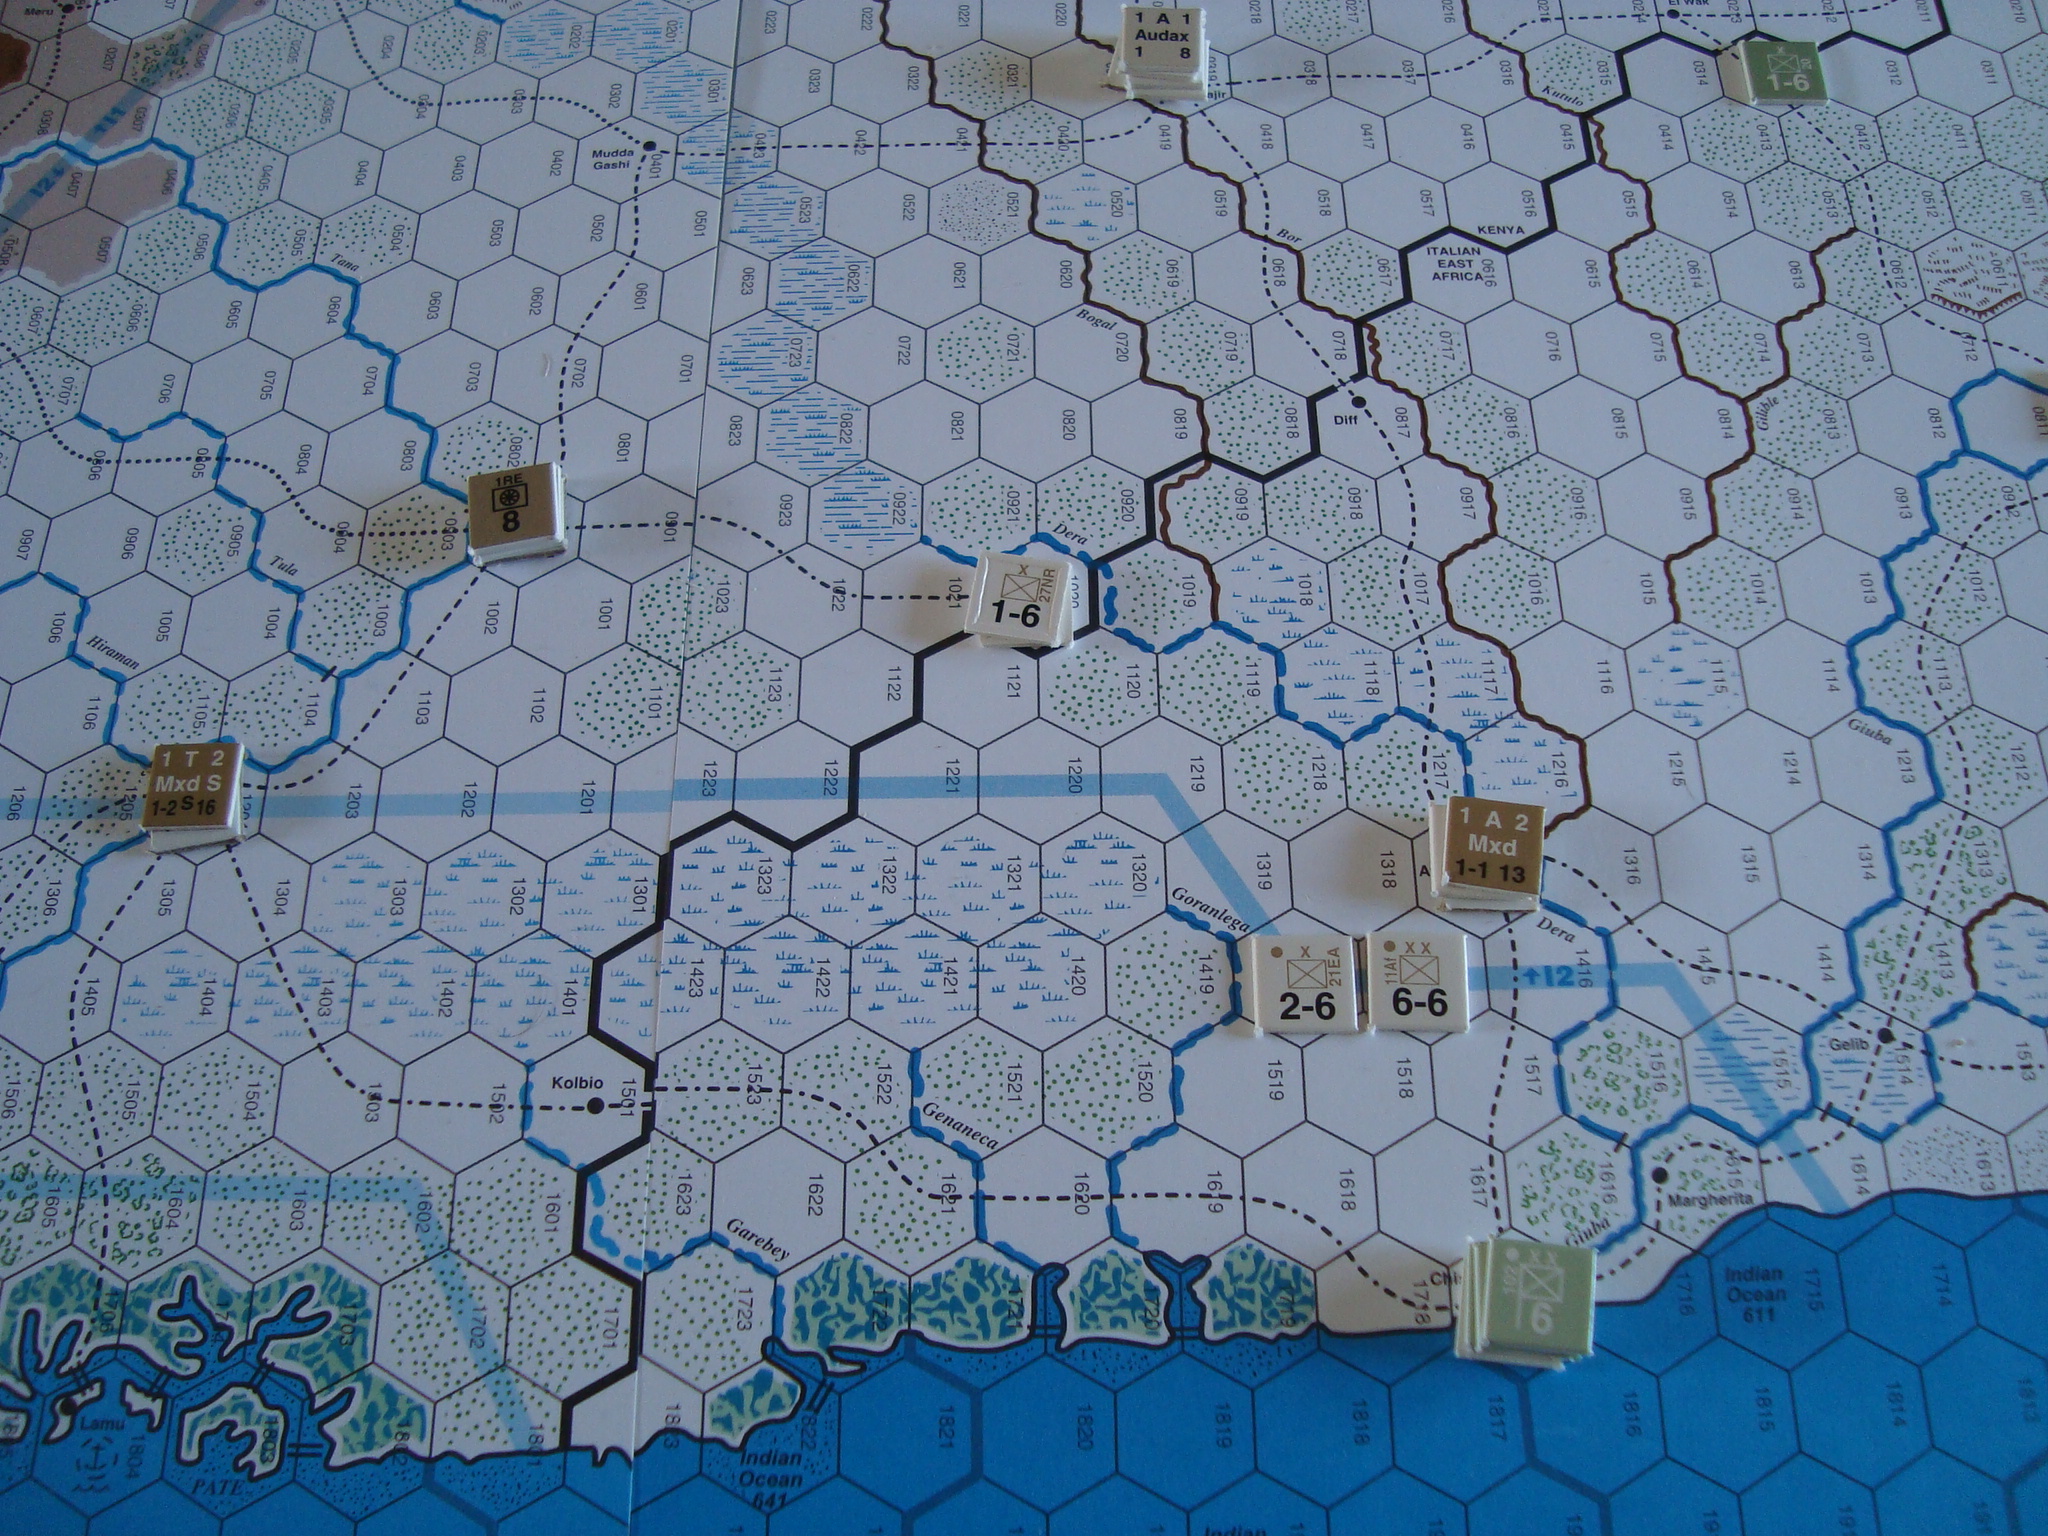
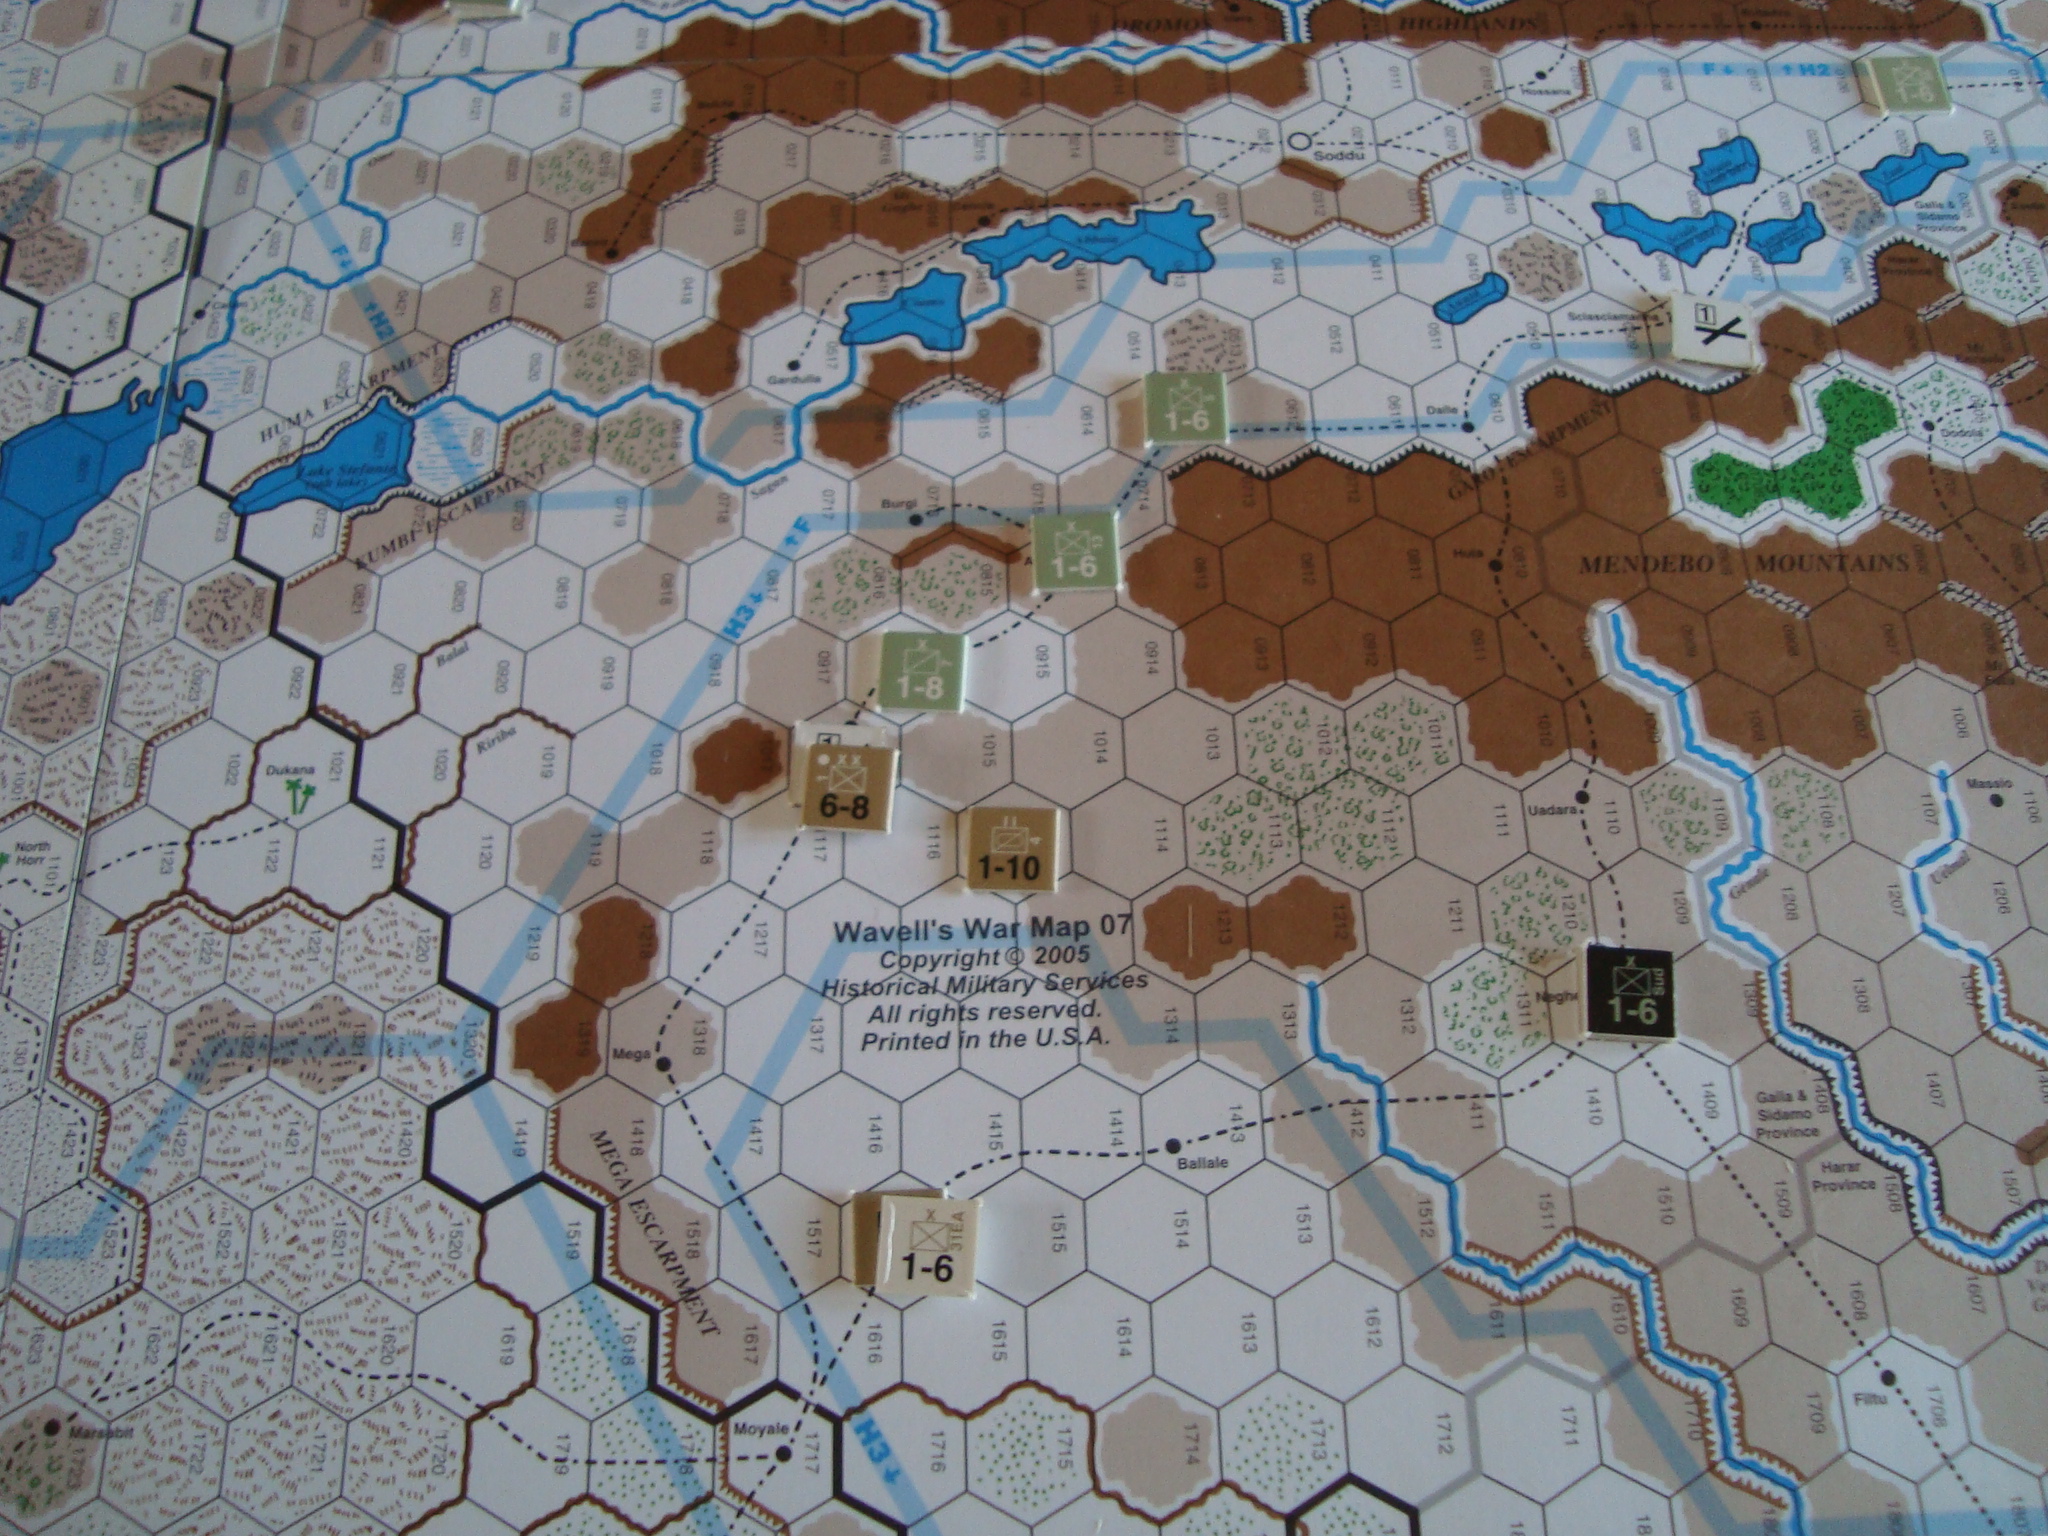
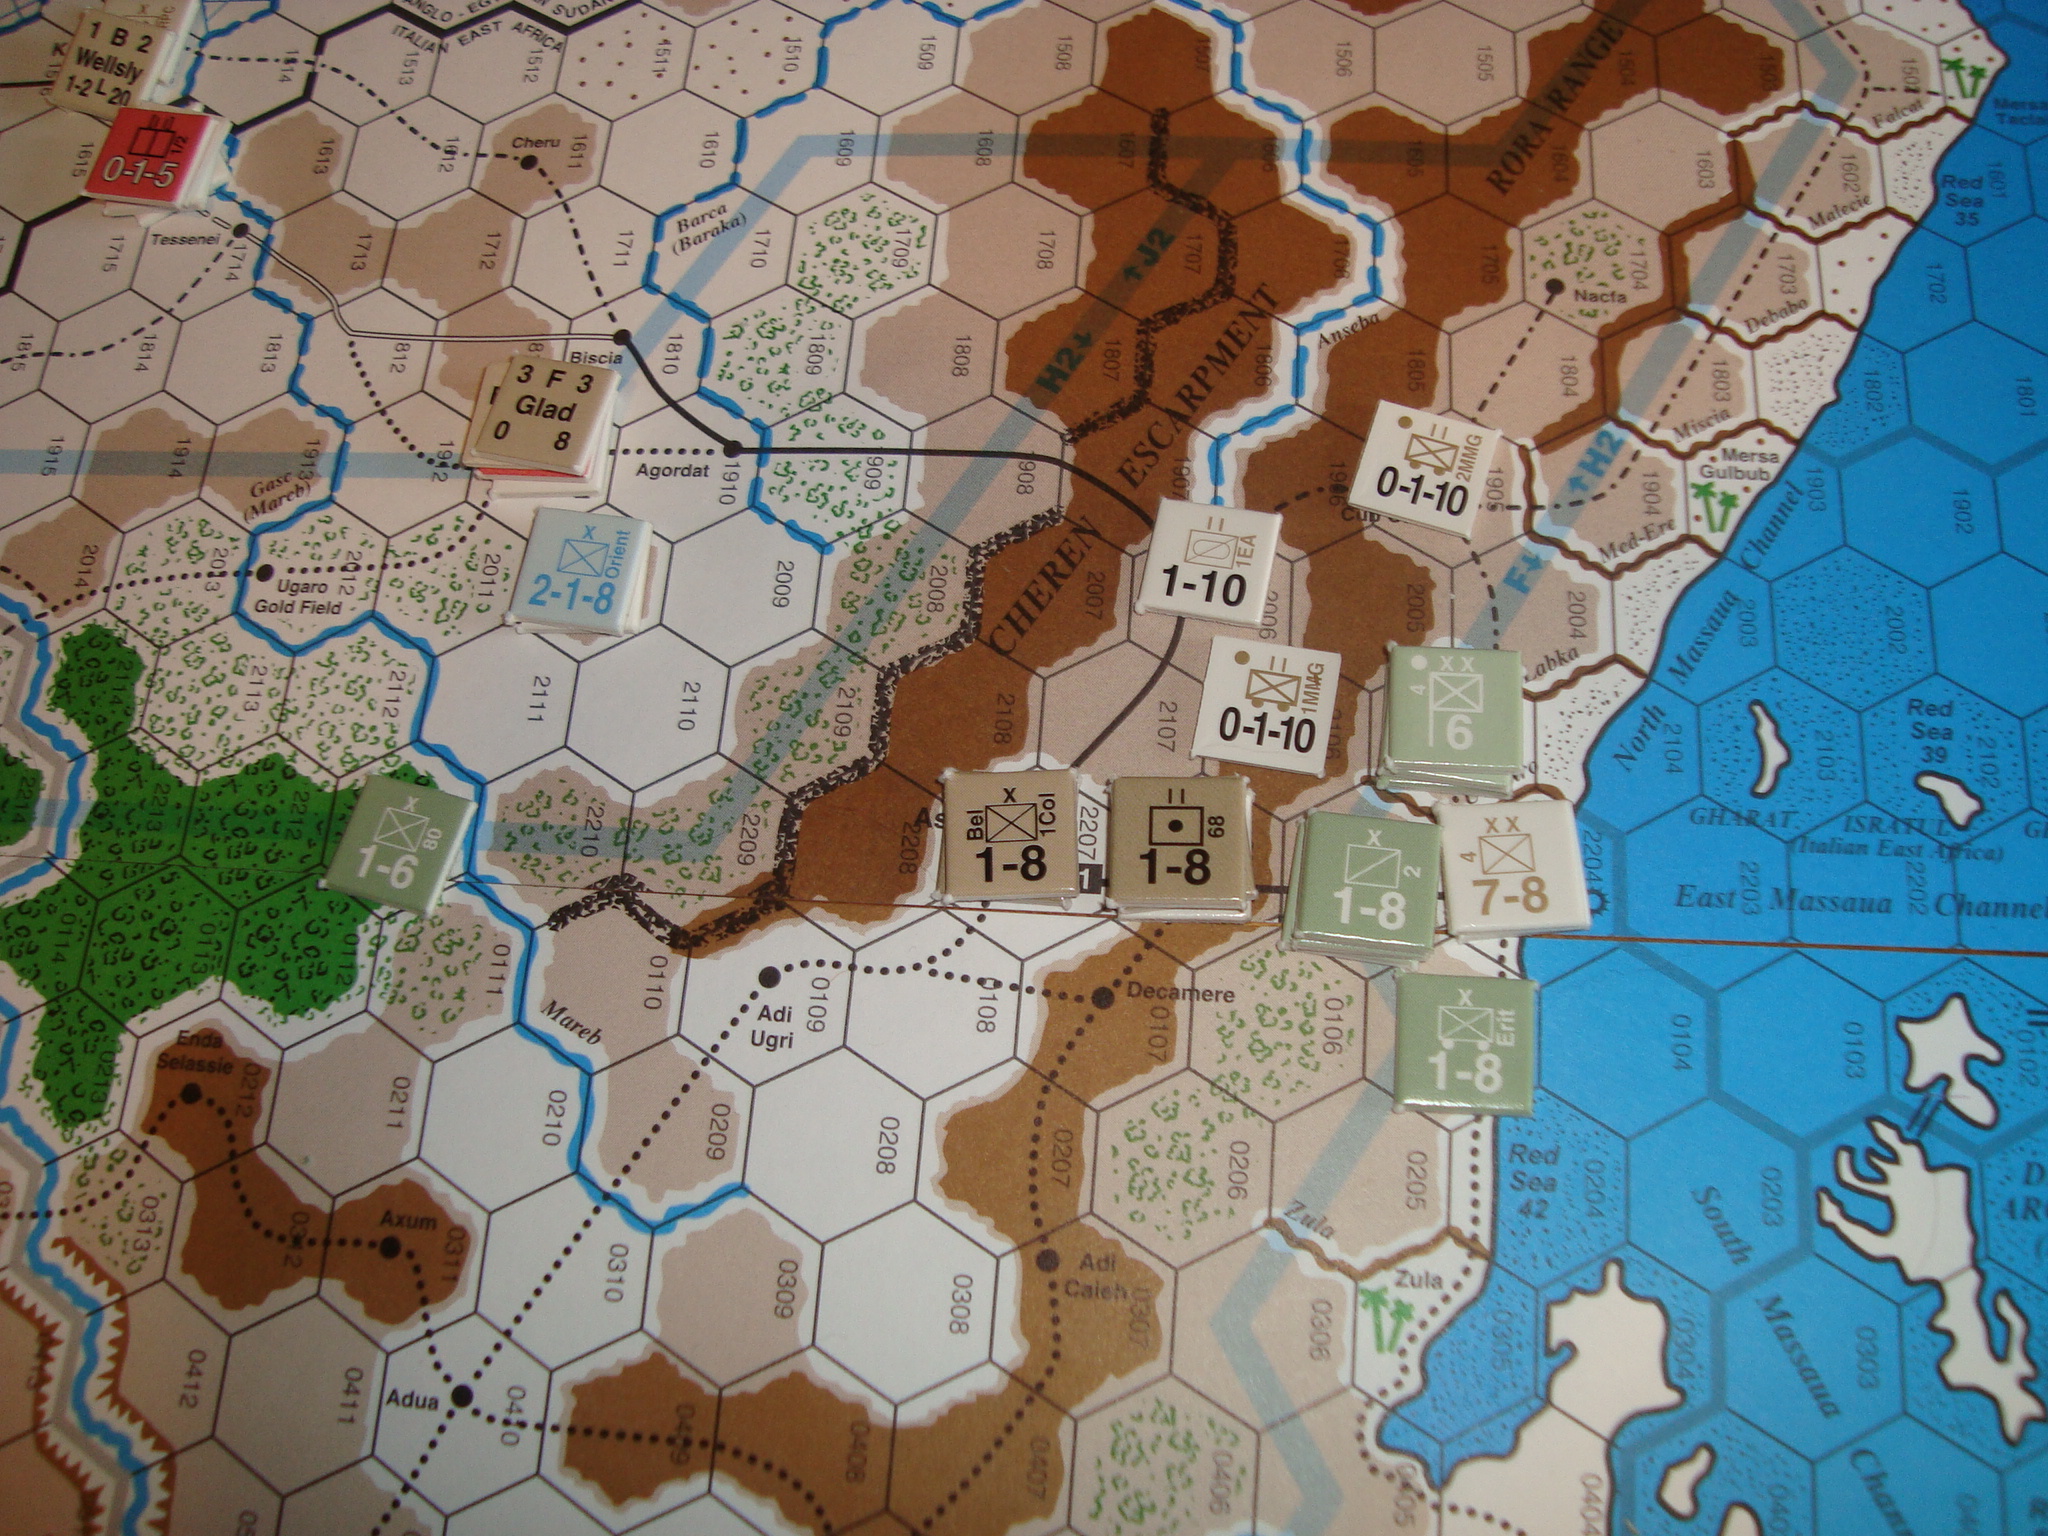
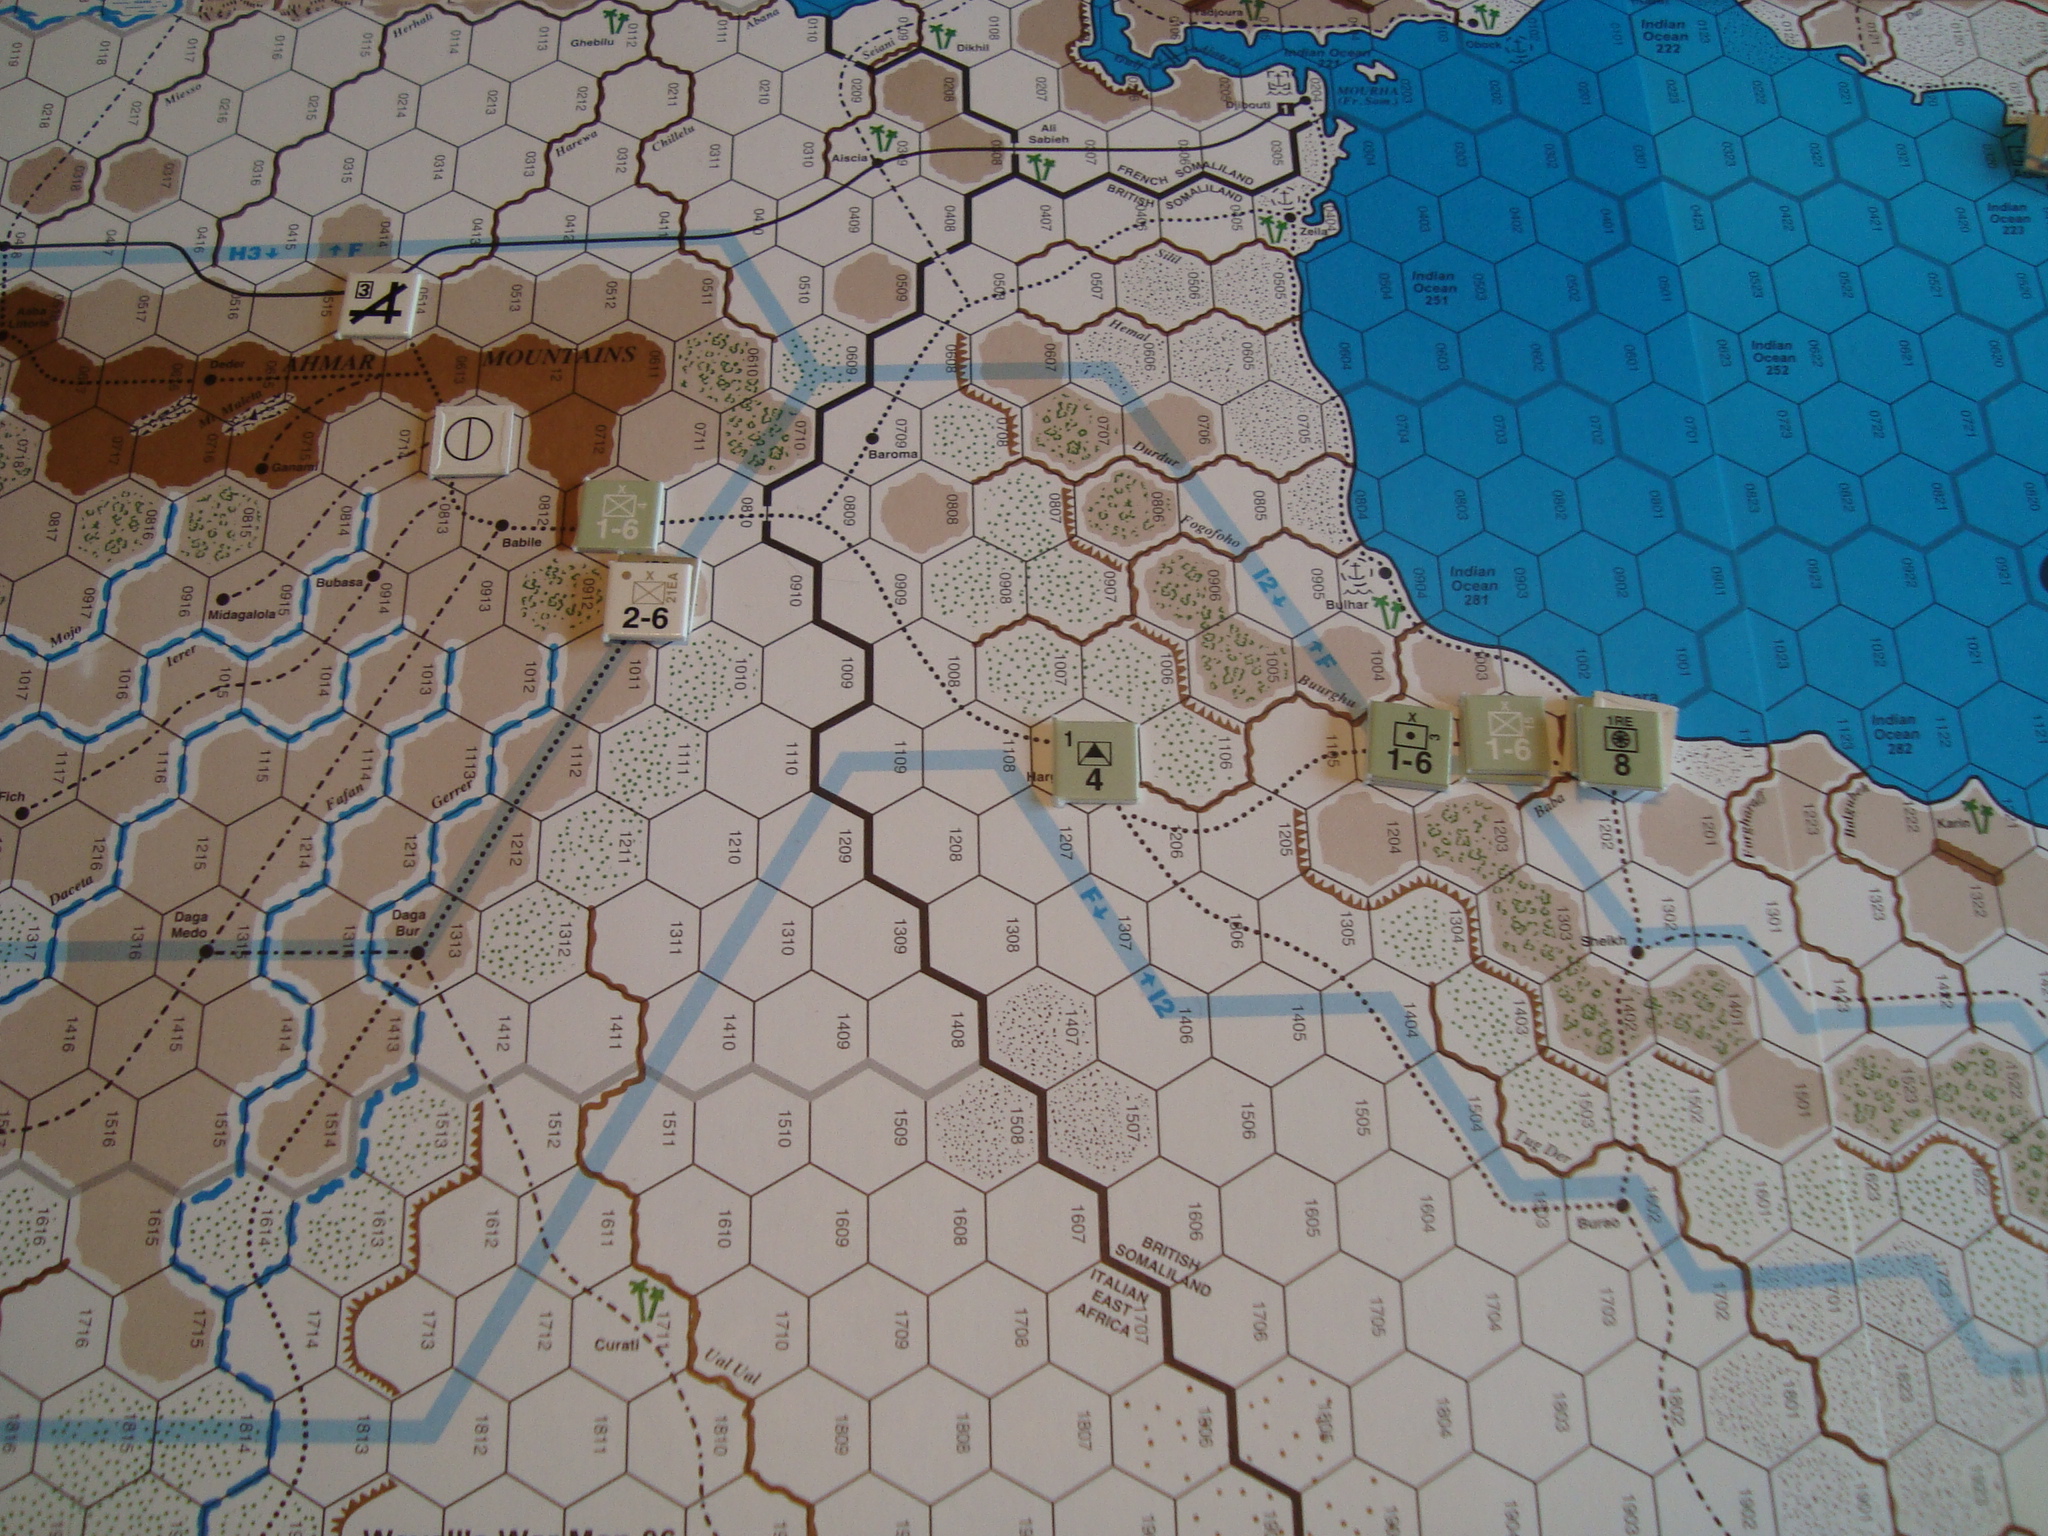
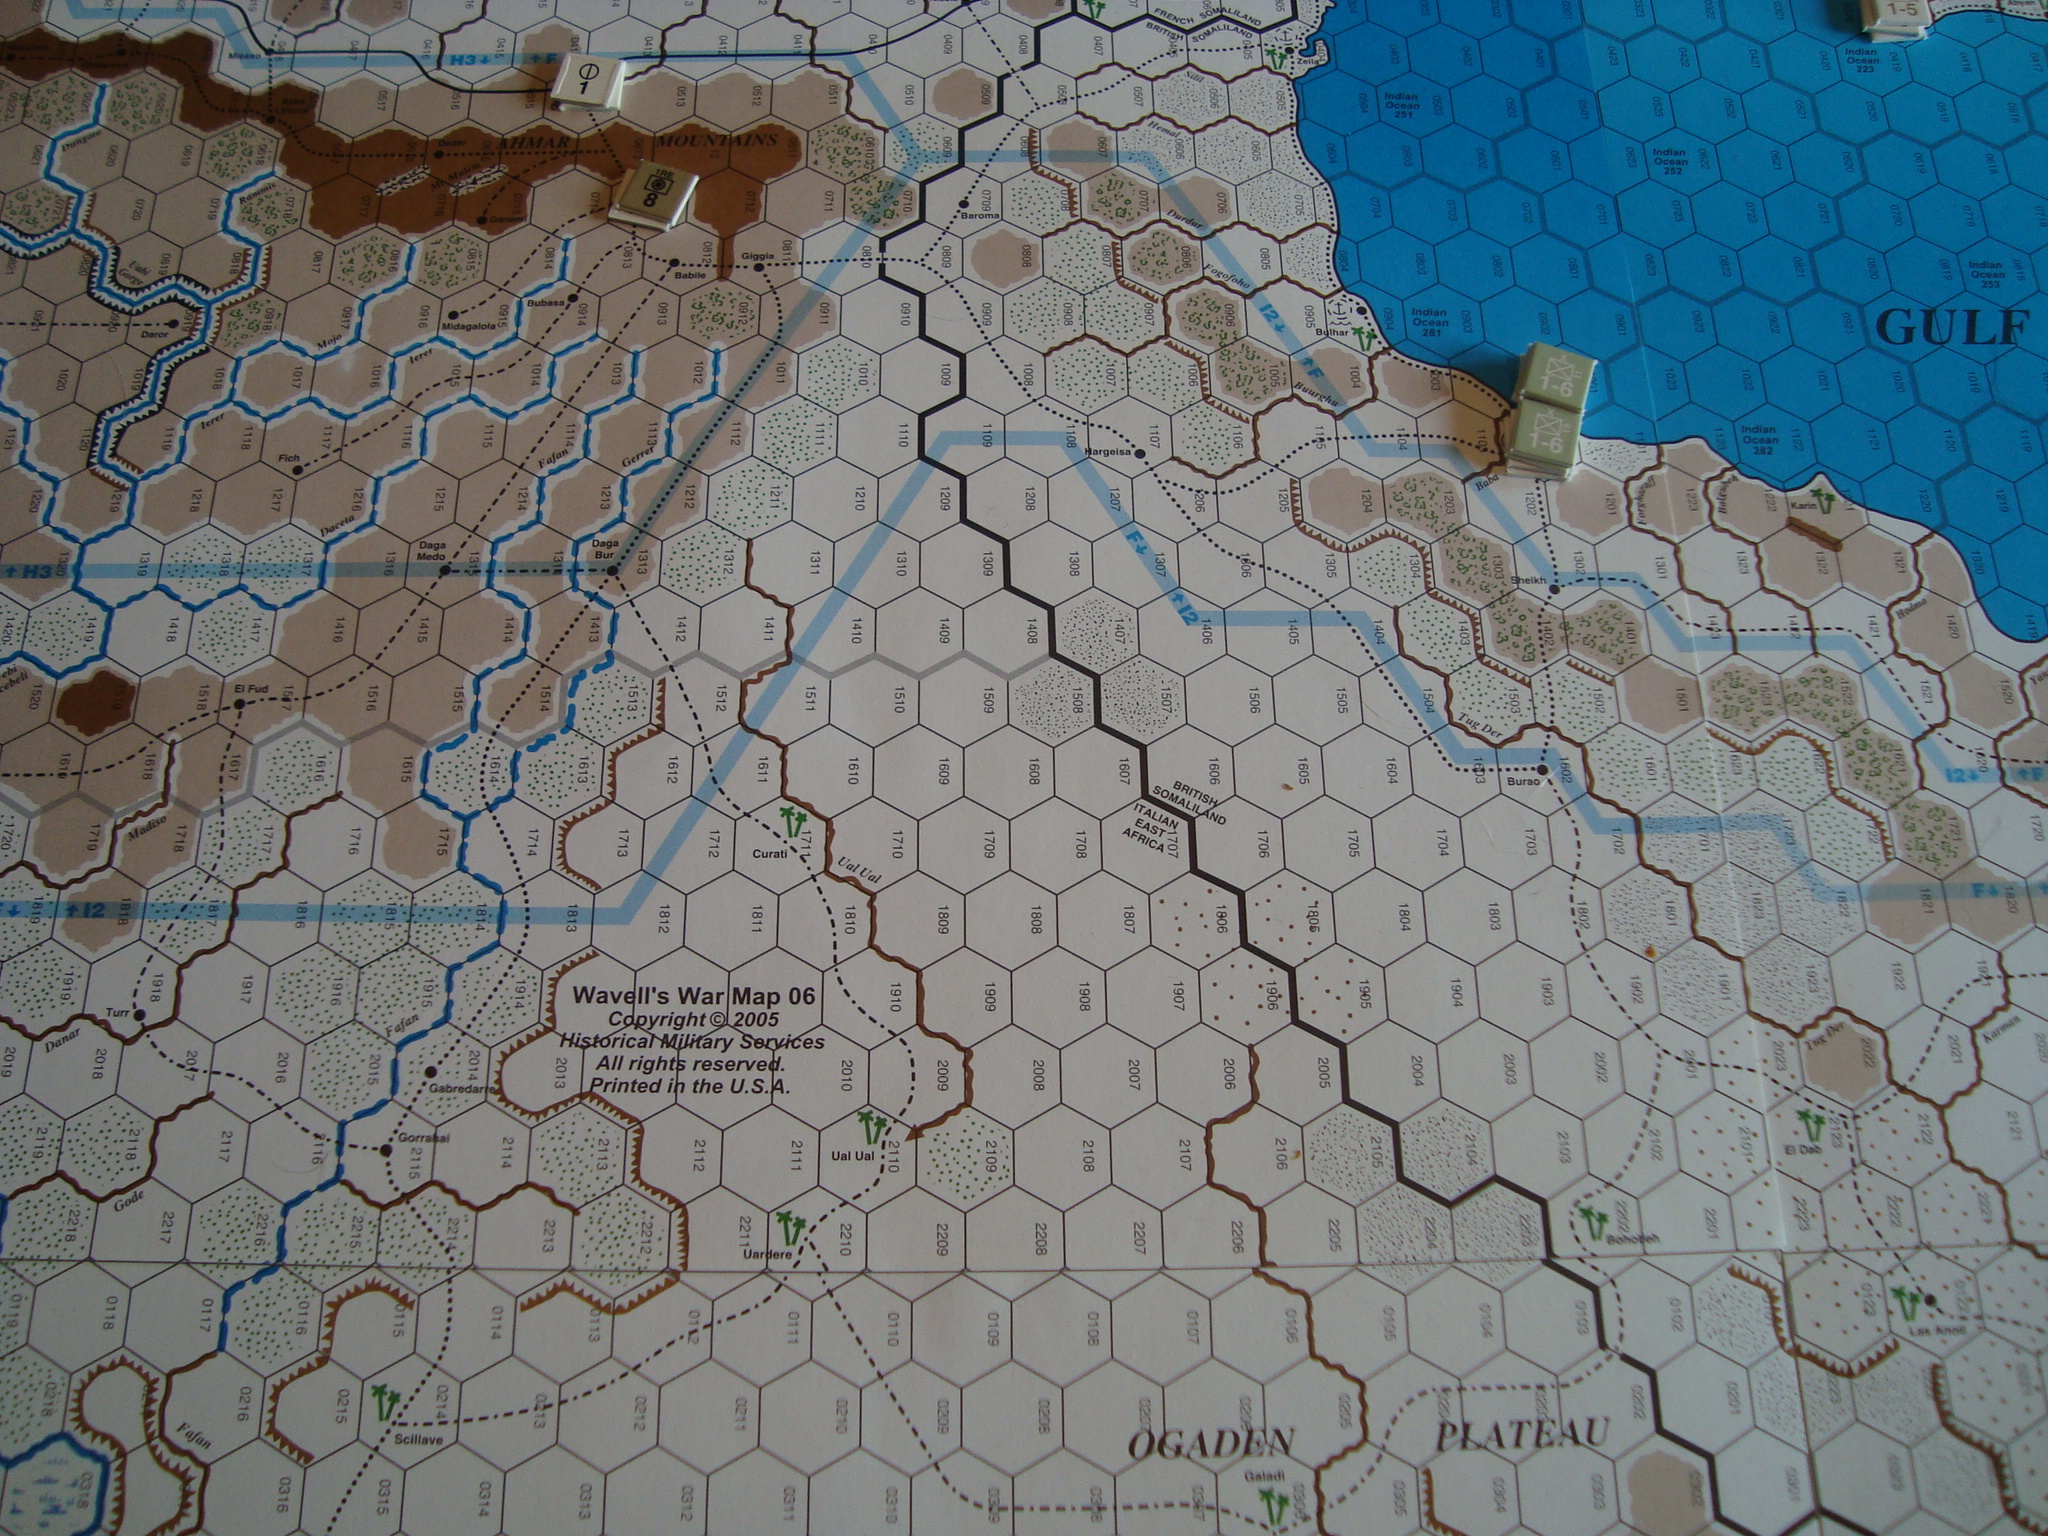
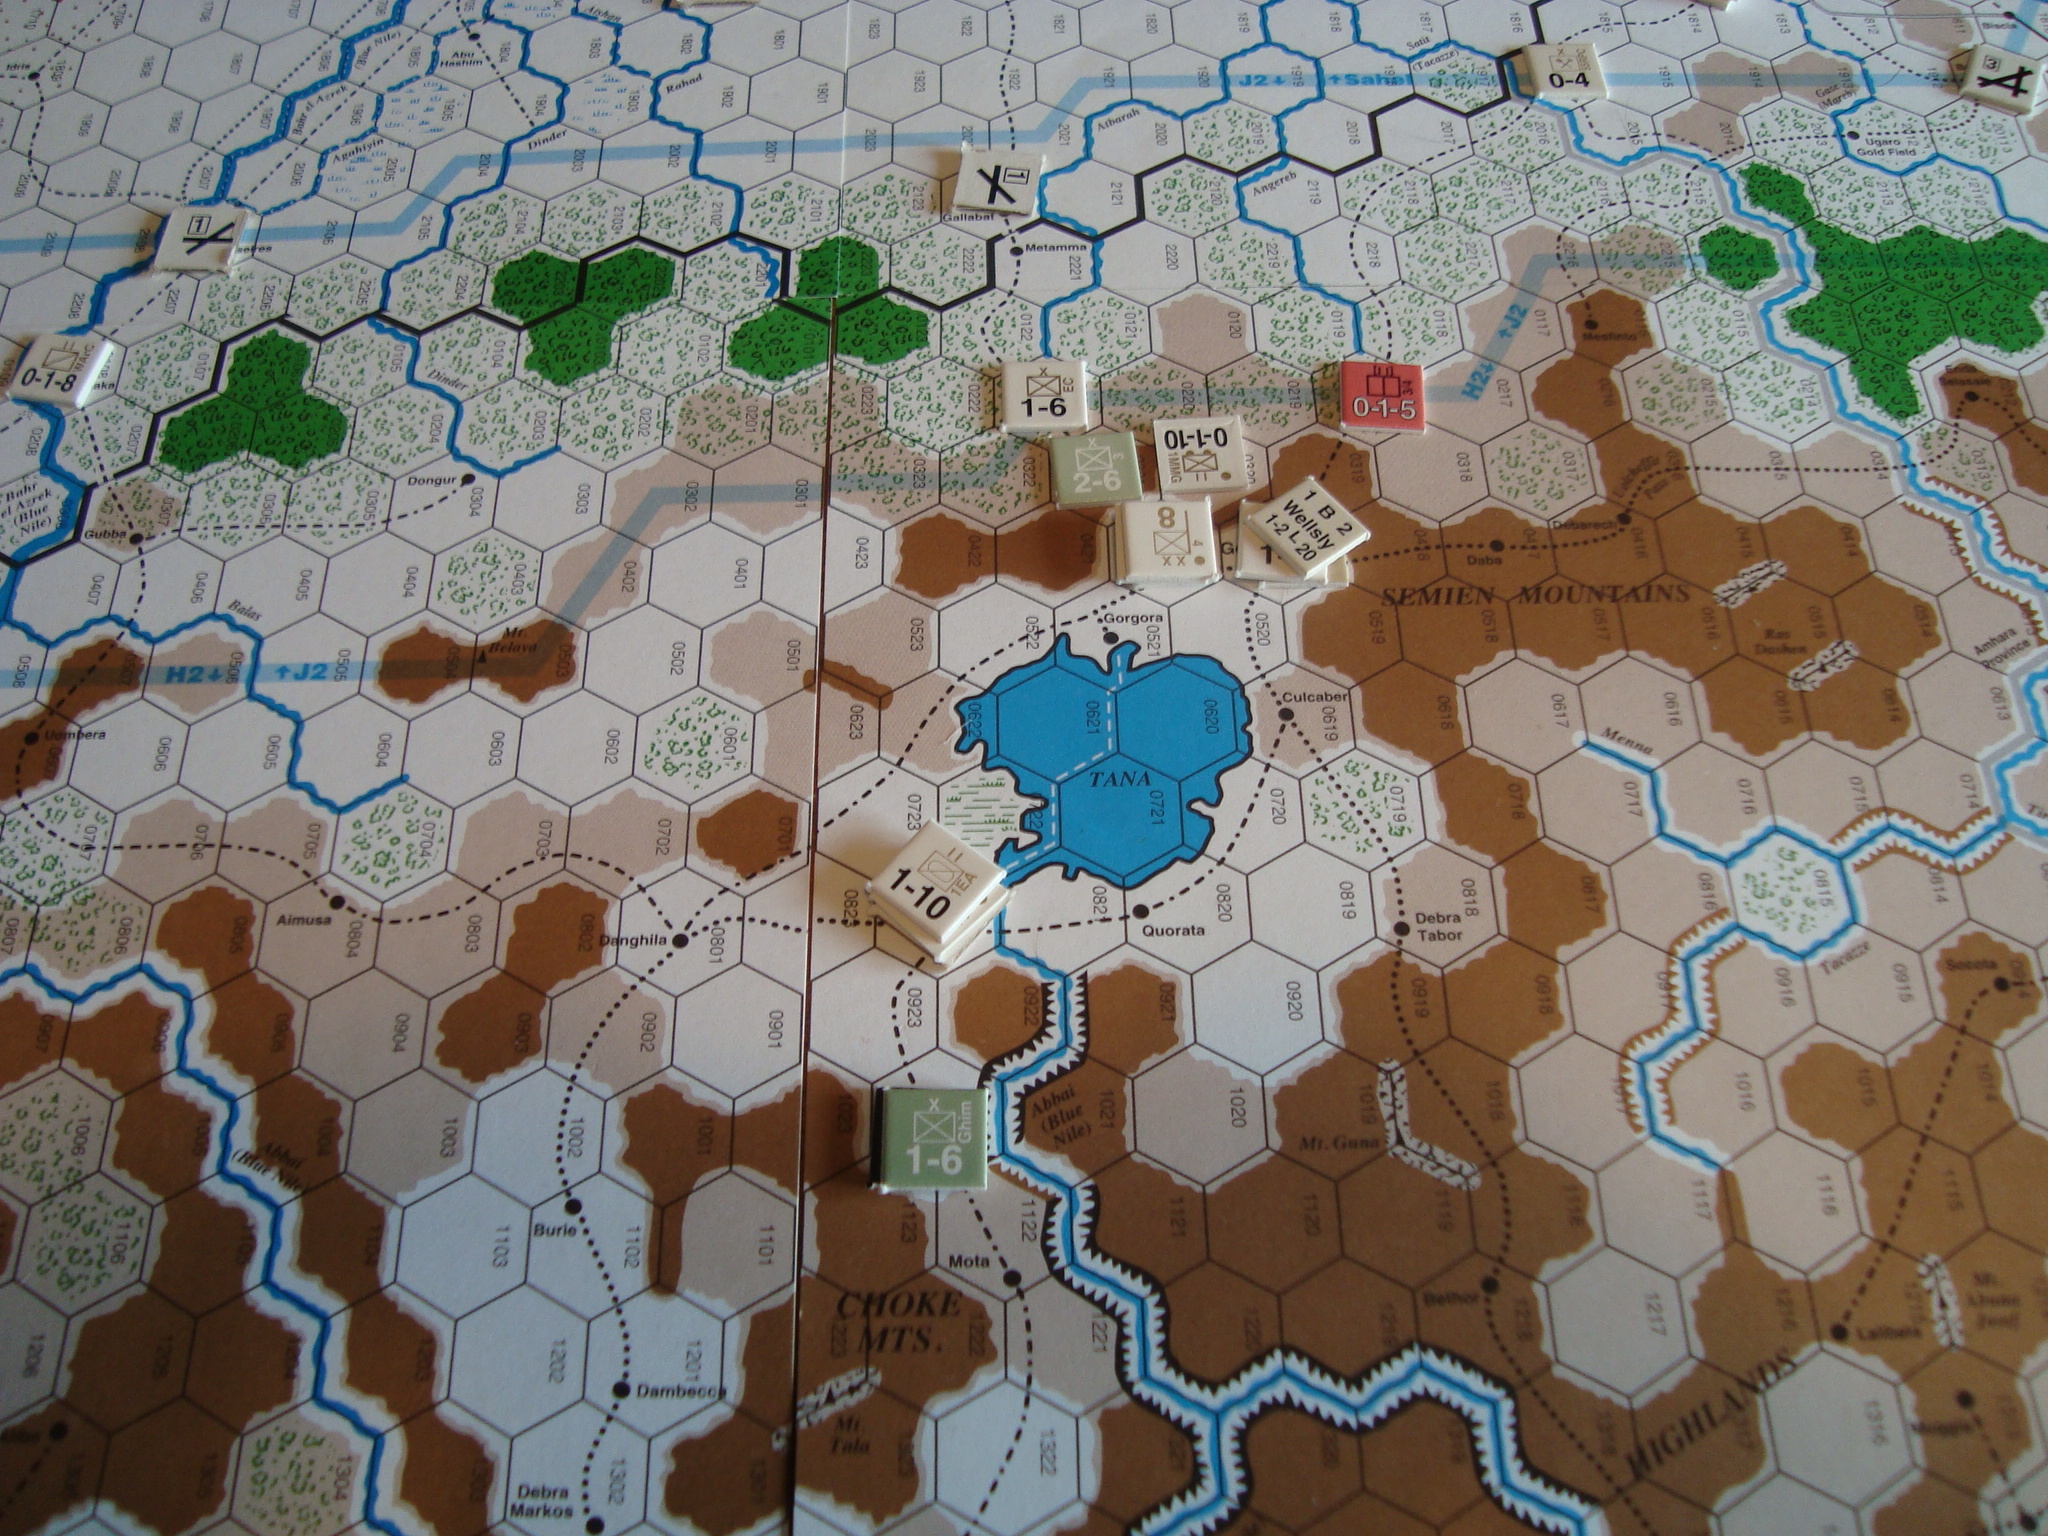
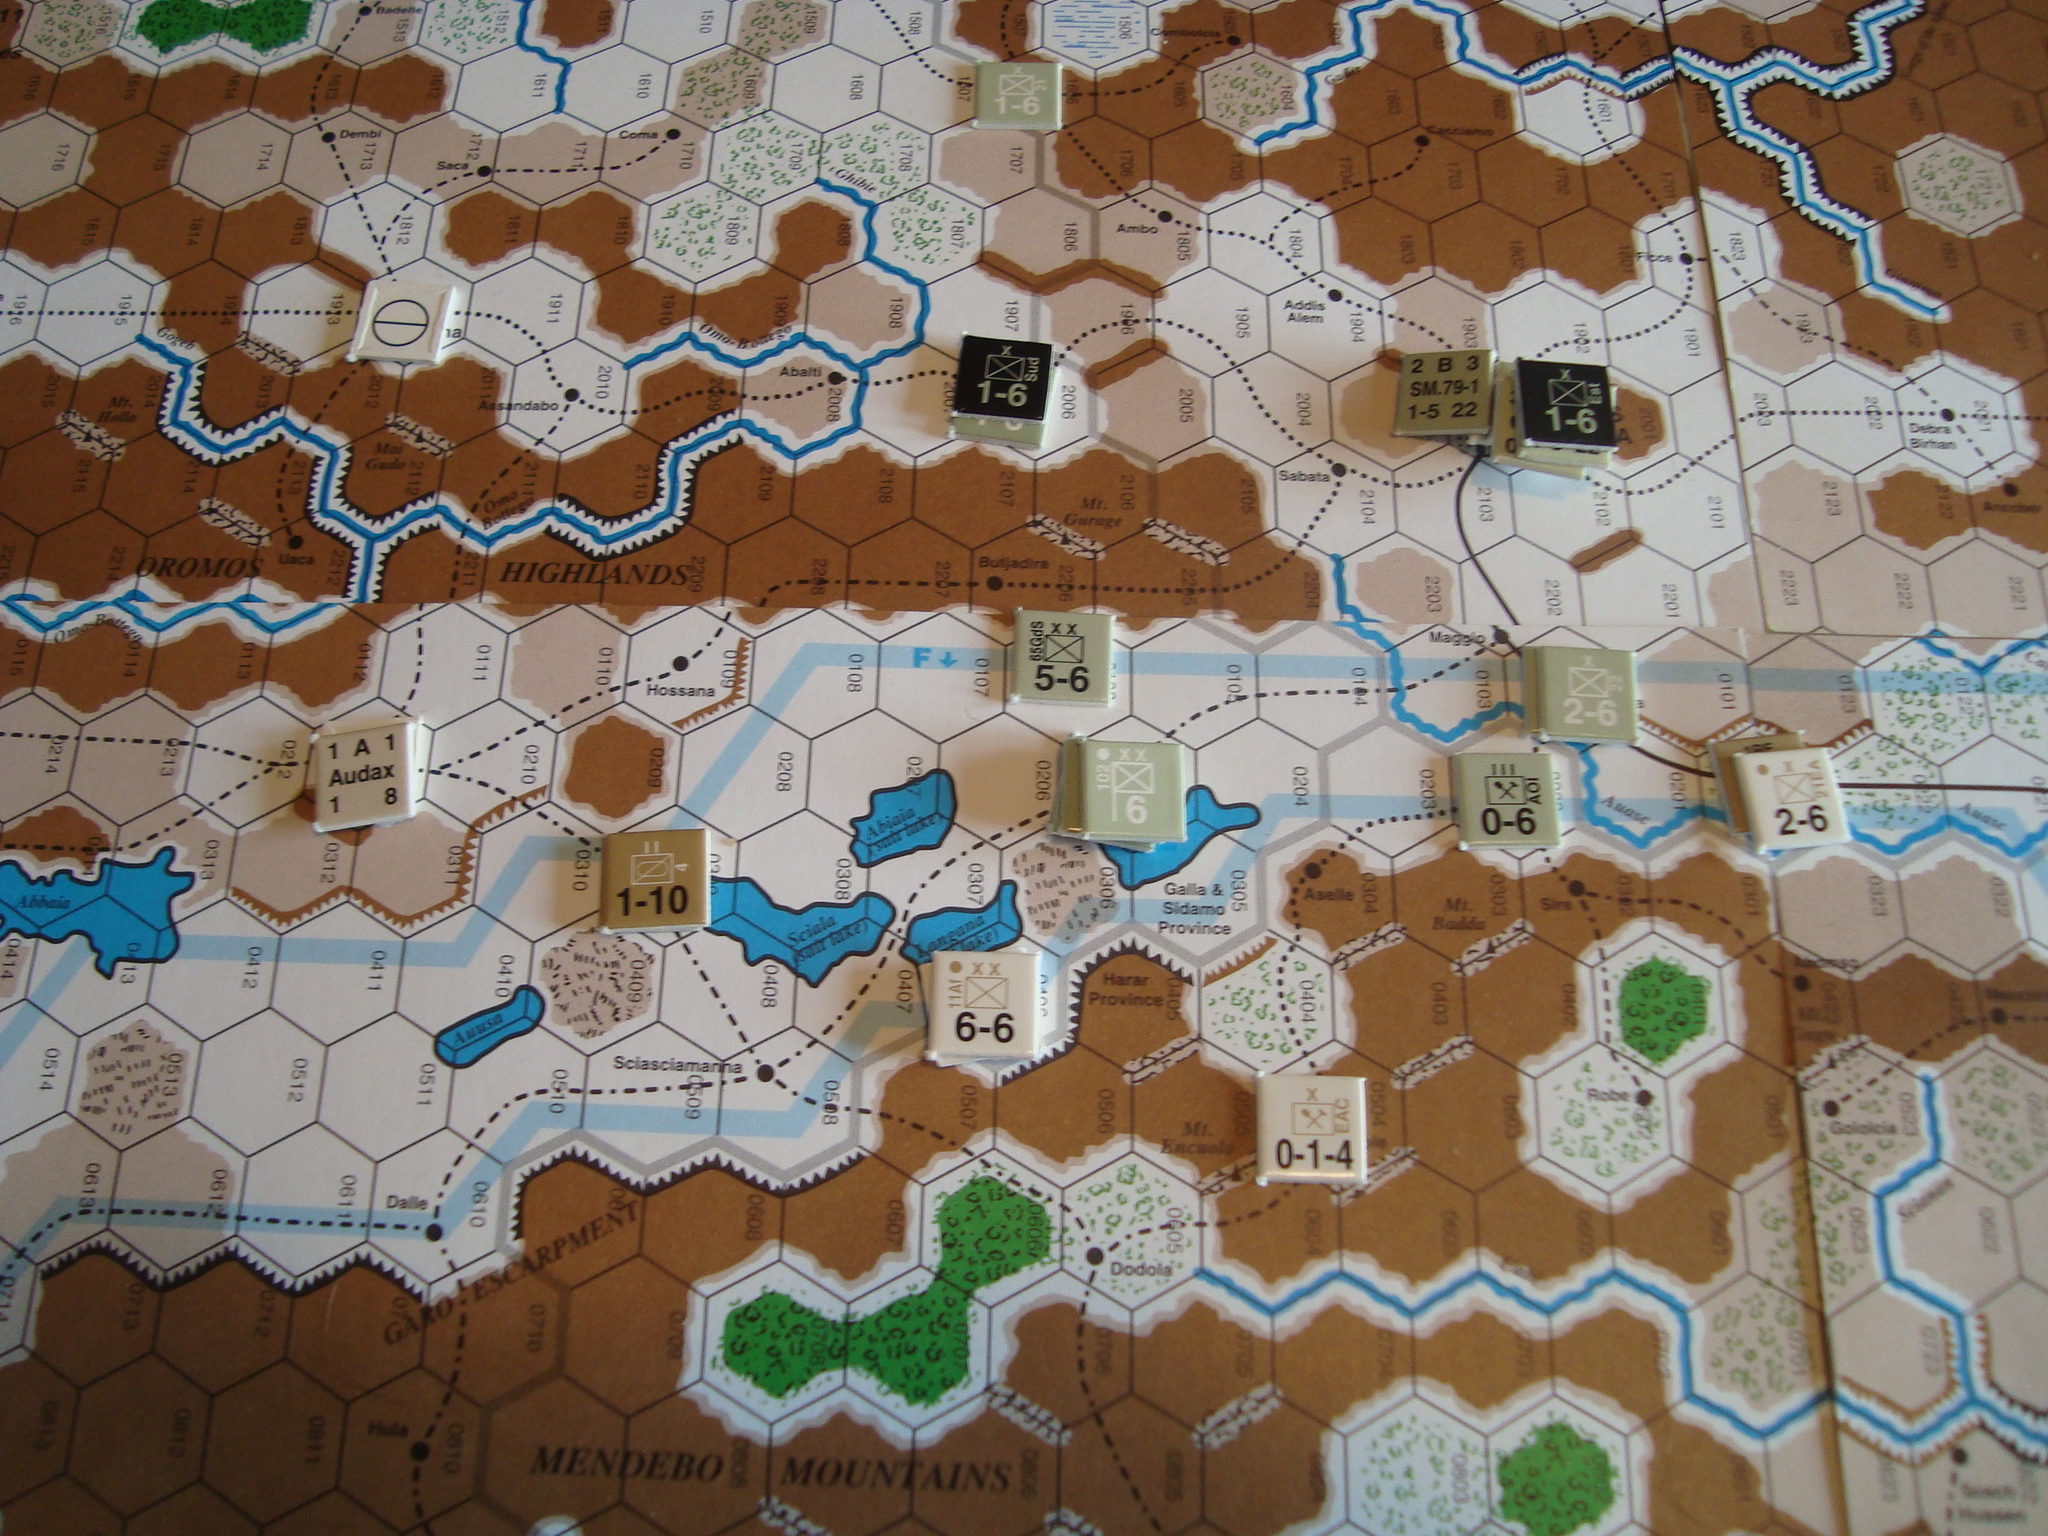
Play began early Saturday. Tim had the Allies. He used three axis’ of advance. The first was down the Red Sea Coast from Sudan towards the port of Massaua (all spellings are from the maps), the second from Kenya to the southeast to secure the ports of Mogadiscio and Chismaio, with the third northeast from Kenya towards Addis Abbada. The first was aimed at gaining victory points before April II, while the second aimed at denying the Italians victory points as well as possible supplies. The third was to liberate the Ethiopian capital.
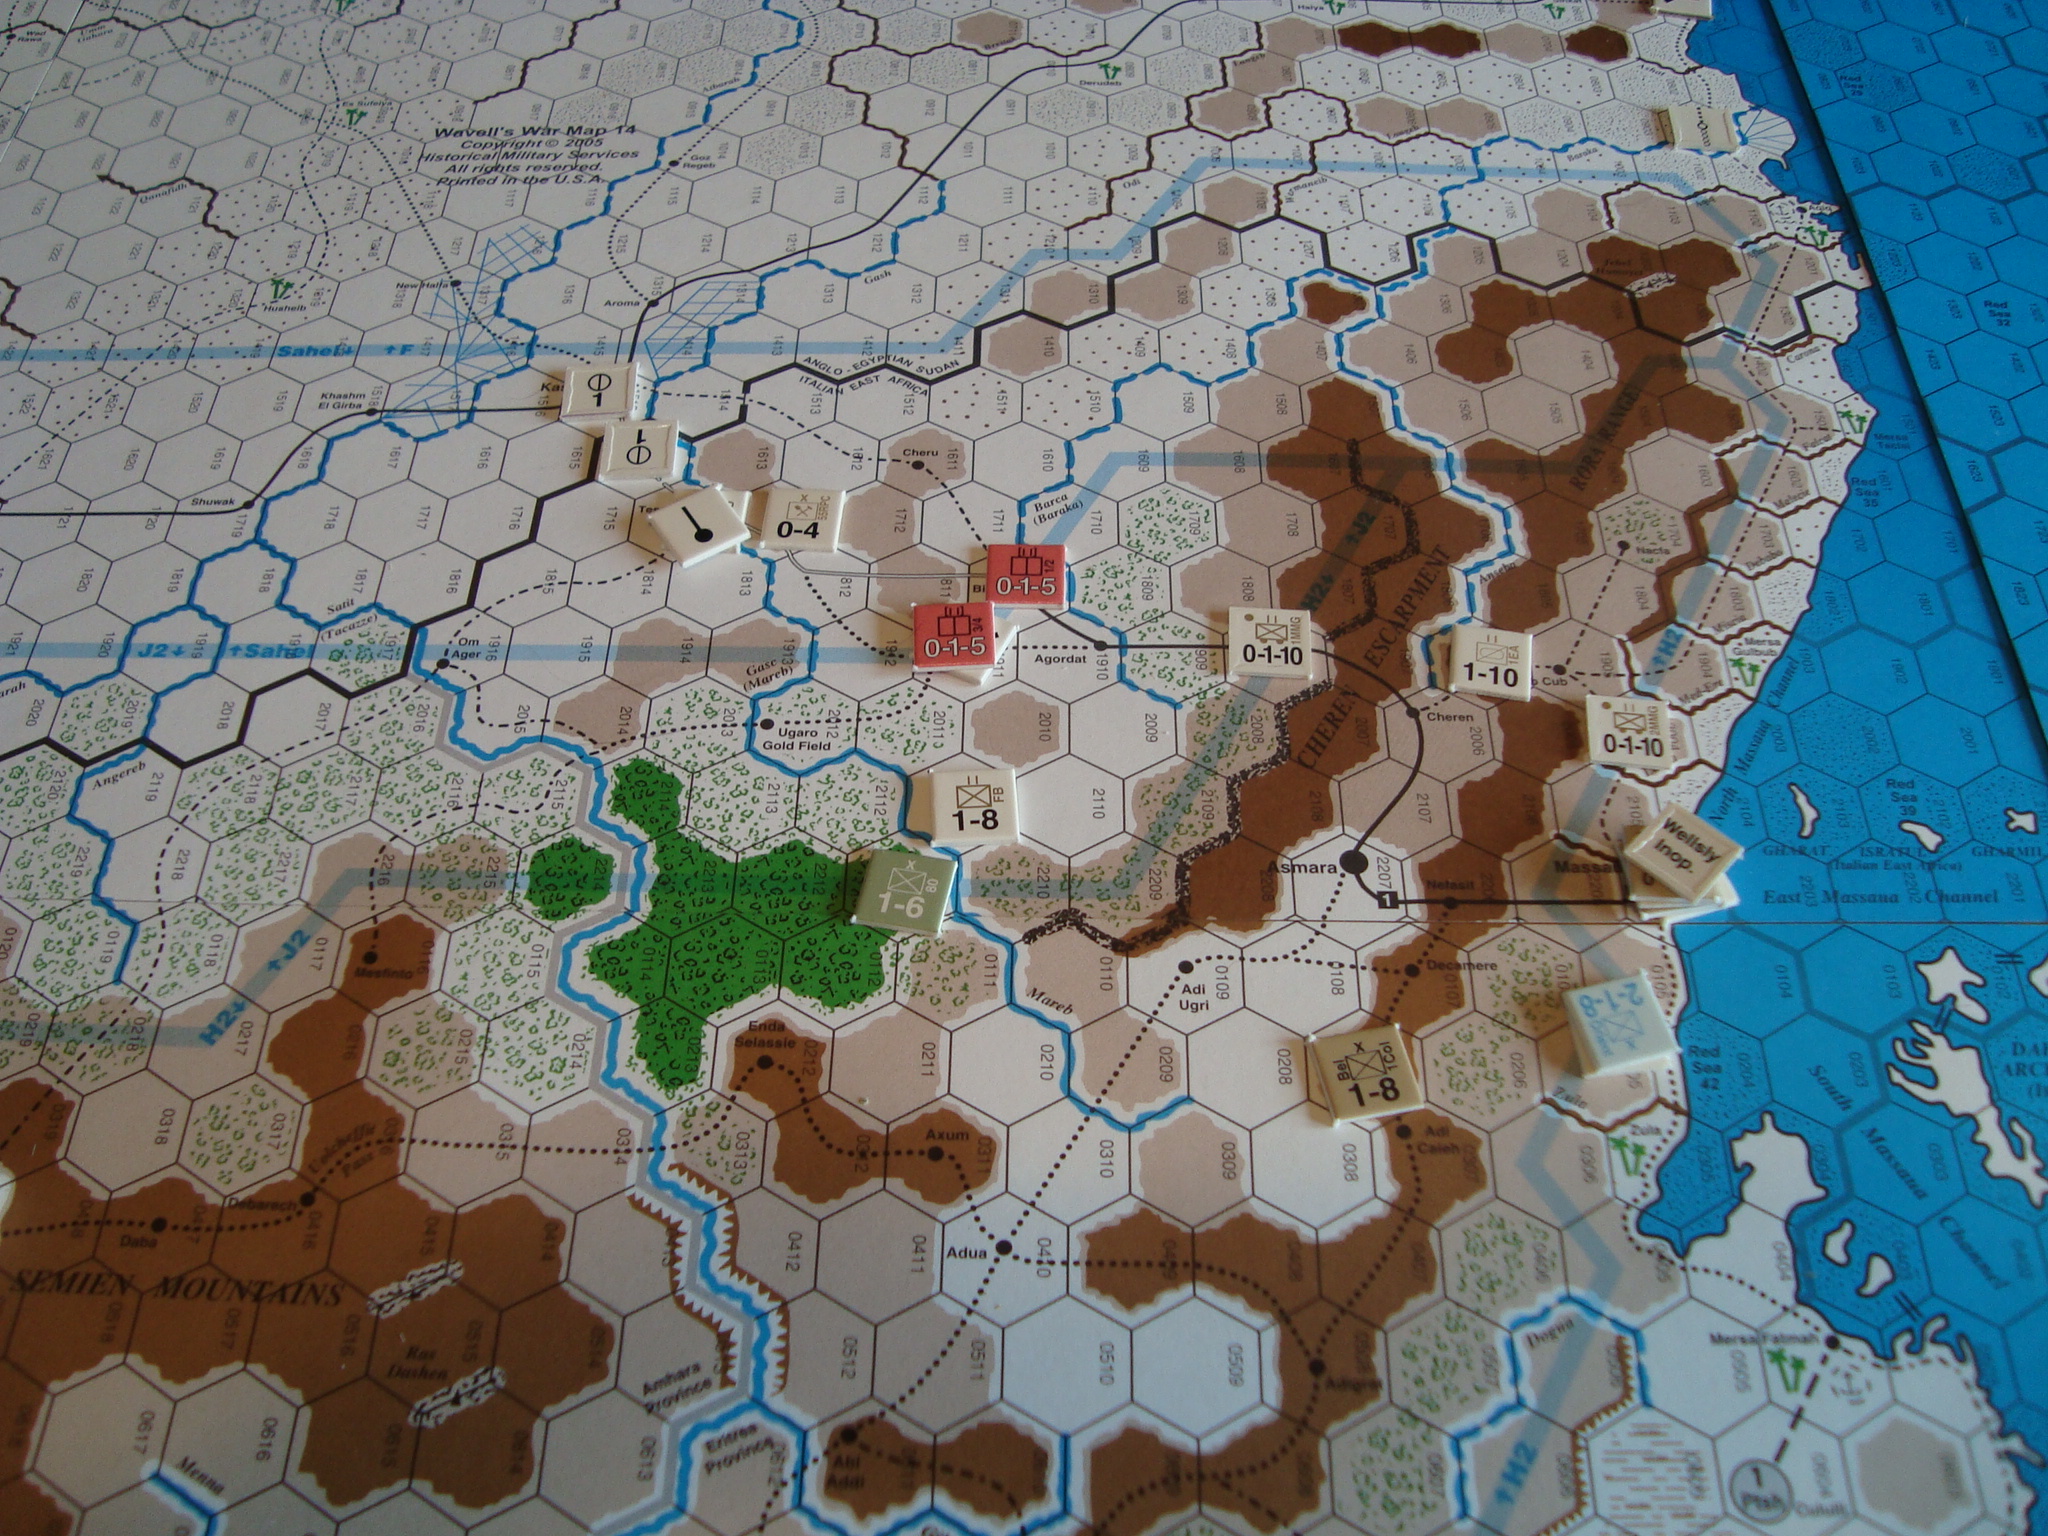
Tim made good progress on his first two axes of advance. Chismaio and Mogadiscio fell early, the Italians unable to muster more than a token defense, not helped by my unwillingness to convert a factor of attack supply into general supply. While the attack towards Massaua took more time to develop because Tim took the time to form divisions, by mid-game he was able to exploit a blunder on my part and take the city without loss. At this point, however, a combination of bad weather and sacrificial use of Italian regiments slowed the British.
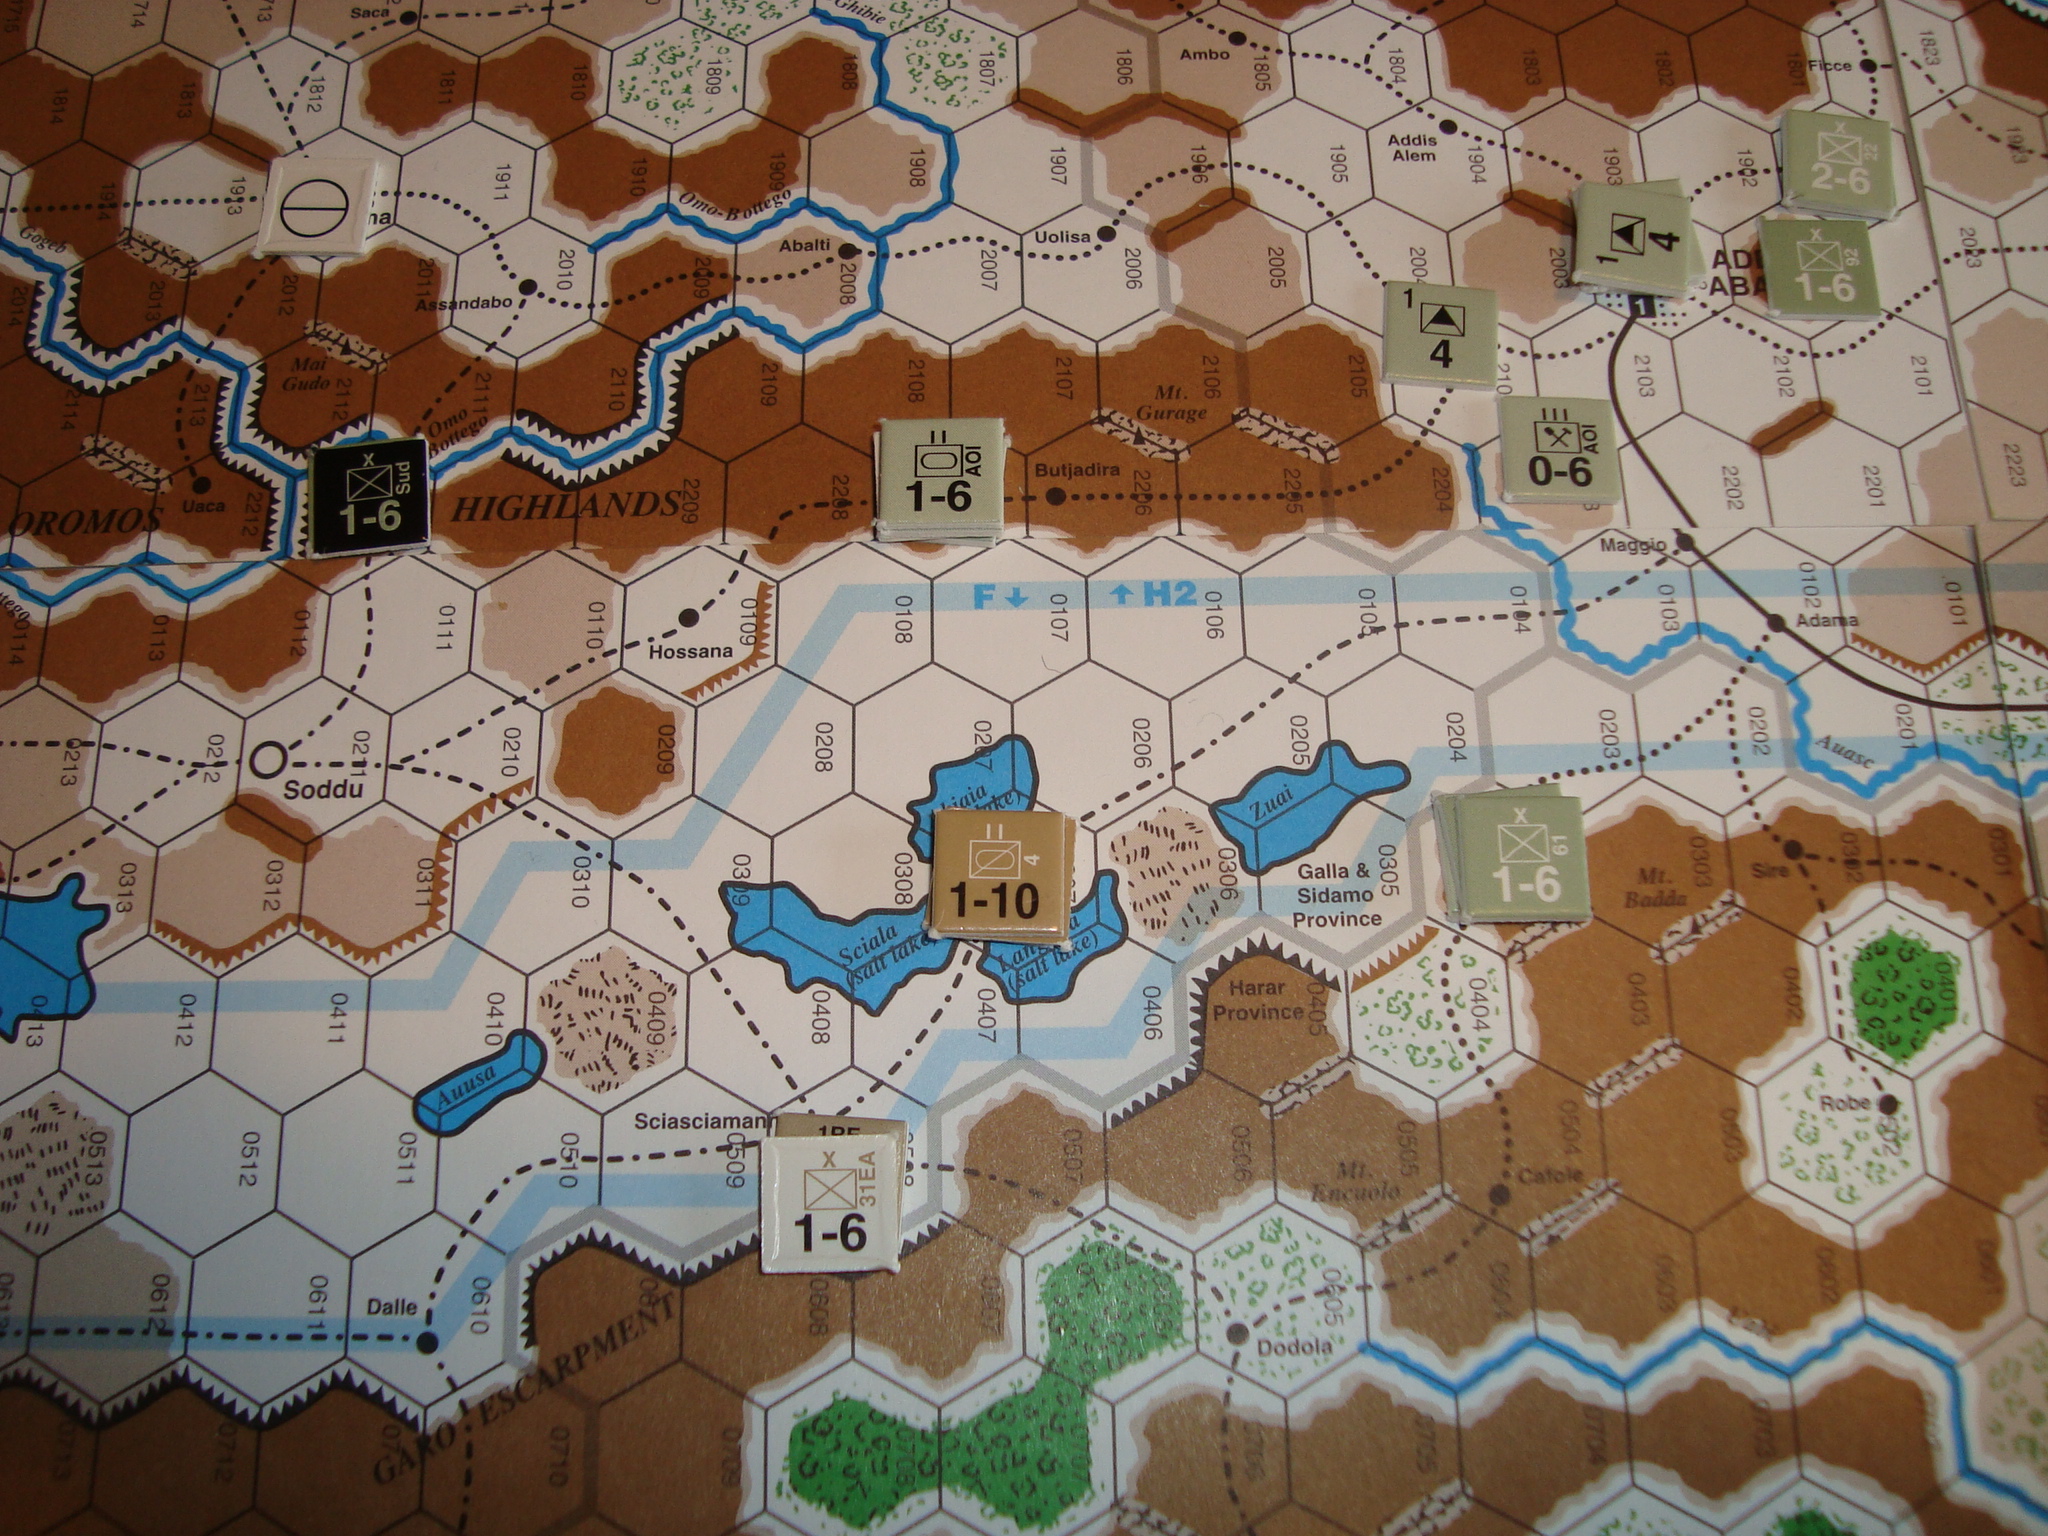
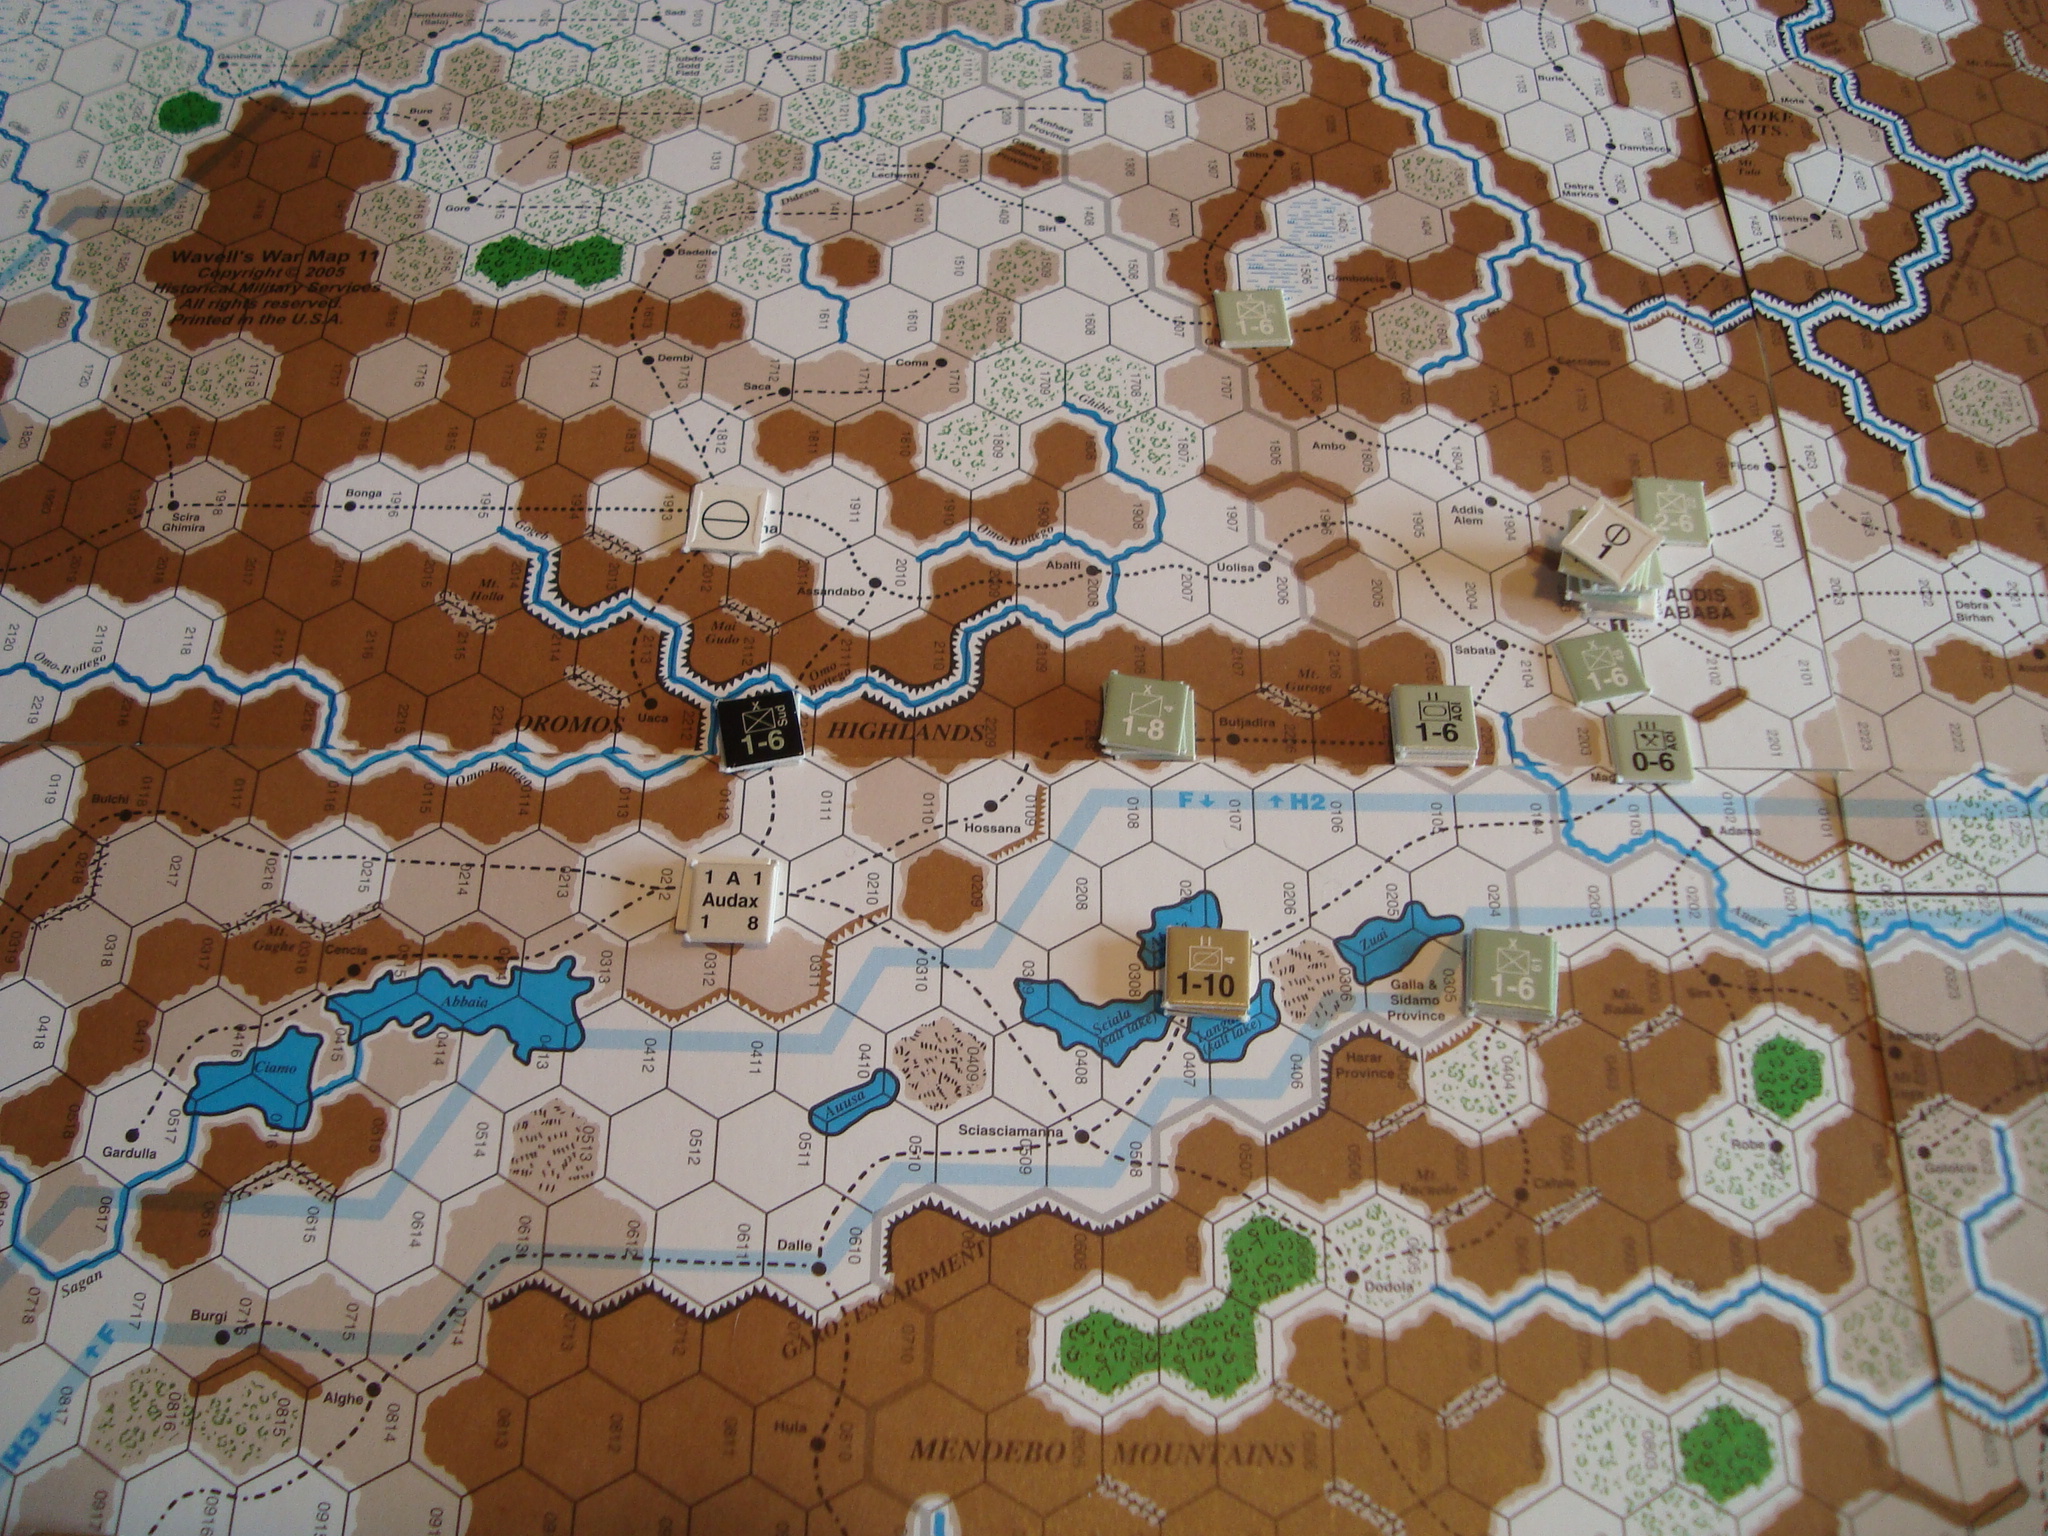
The next day, Tim continued his attacks, but suffered an Exchange setback outside of Addis Abada. This, along with the need to remove some of his more powerful units for redeployment elsewhere in the Middle East, slowed his momentum and allowed me to cobble together a defensive cordon to stop his new advances towards Addis Abada from the north.
Although taking breaks to watch the tournament, our game focus was so great, we missed one the classic NCAA tournament meltdowns of all time.
By the May II turn, we decided to devote ourselves to beer drinking and game viewing. Here’s a few photos to illustrate the course of the game. I’ll post up some other observations later.