Thunderstorm activity forced the cancellation of today’s lake fishing expedition. So, up at 0530 with nowhere to go.
Gloomy, rainy weather was the perfect motivation to start working on the Renaissance Skirmish rules and scenarios.
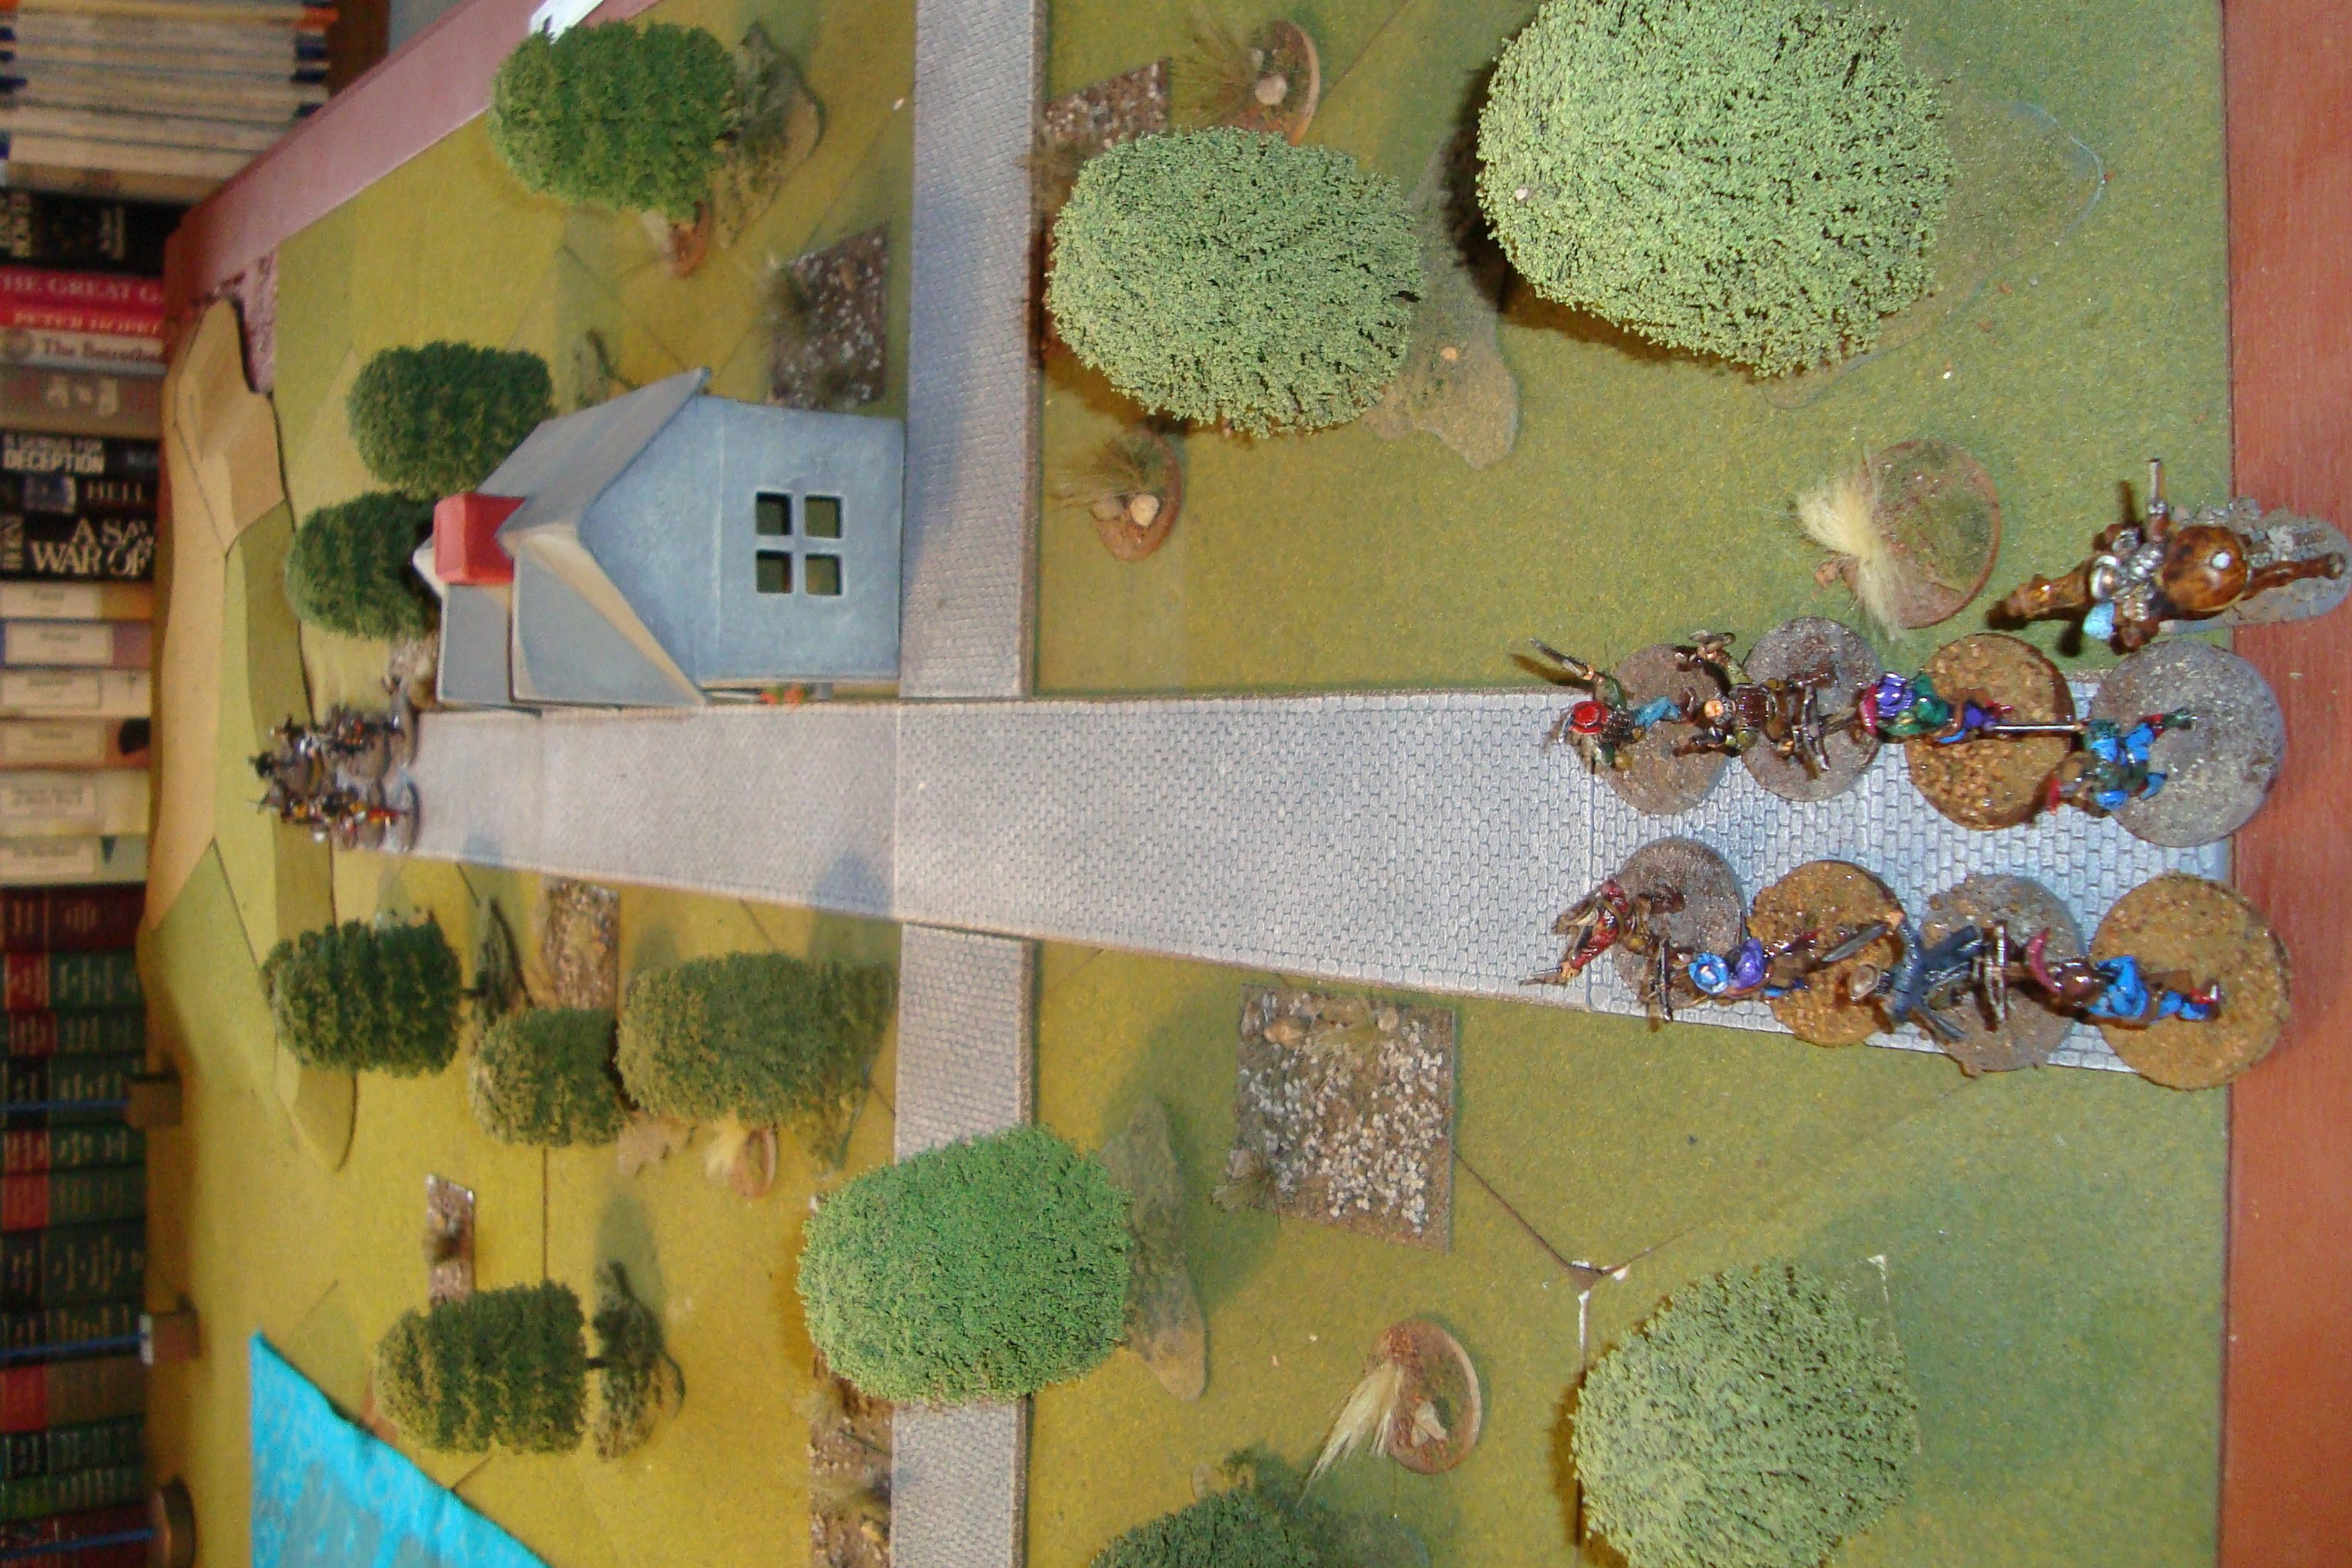
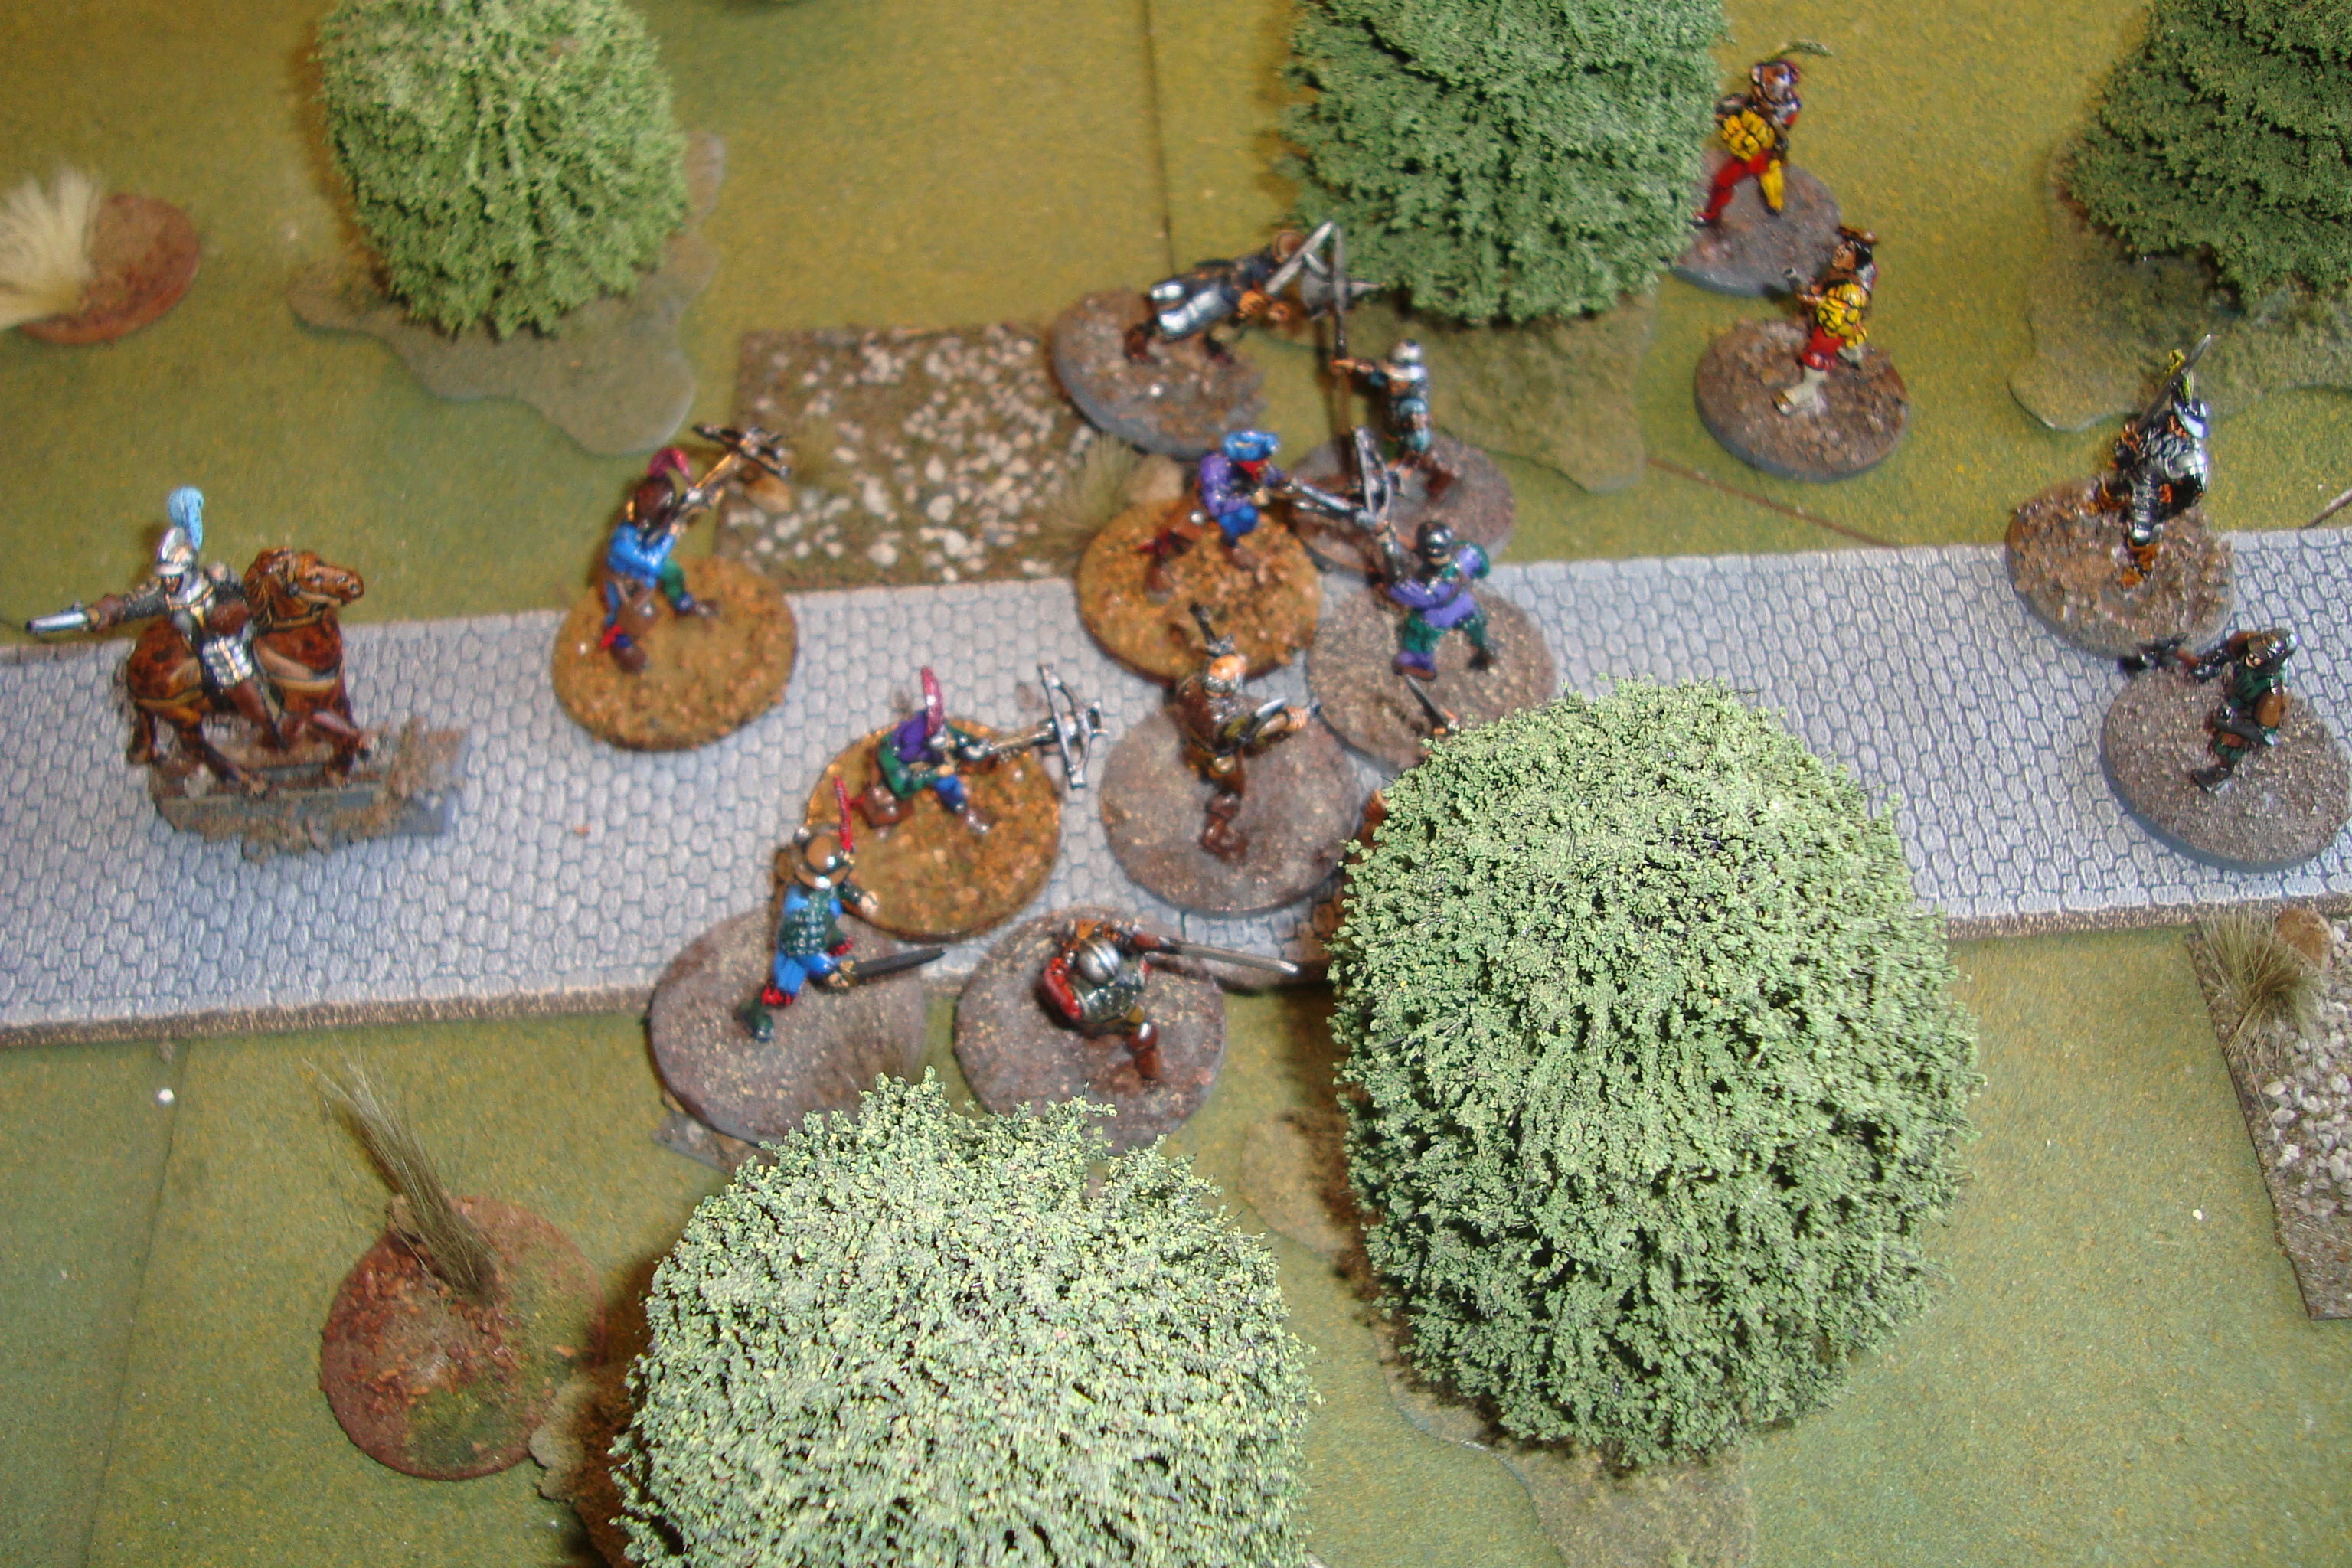
Set up an encounter scenario using the same forces as last game, but with only a small building at a crossroads. I added an on-foot leader for Red, and a mounted leader for Blue.
Really had to resist promiscuously adding chrome to the On The Seven Seas rules. However, given the scenario, I had to use something for sight and spotting. Used 24 inches for unobstructed sighting, 12 inches into brush/rough and six inches into heavy cover (woods/forests). Roll for spotting at end of turn. Once within range, use the trusty Y/N/M dice to find out result. Once again, if result was a “Maybe”, then percentile dice above 50 percent for “Yes”, under for “No”.
For shooting, a D10 of 10 was a kill. Saving throw per RAW only if in cover or wearing armor.
Both Red and Blue forces assigned Greed and Fear ratings of 7 and 6, respectively. Rolled for alertness, and neither side was alert. This meant administrative formations moving down the road. Red from the North, Blue from the South. Red has three Arquebusiers, with Blue having three Crossbowmen.
Turn 1: Both sides move down the road.
Turn 2: Both sides move down the road. Red sights Blue.
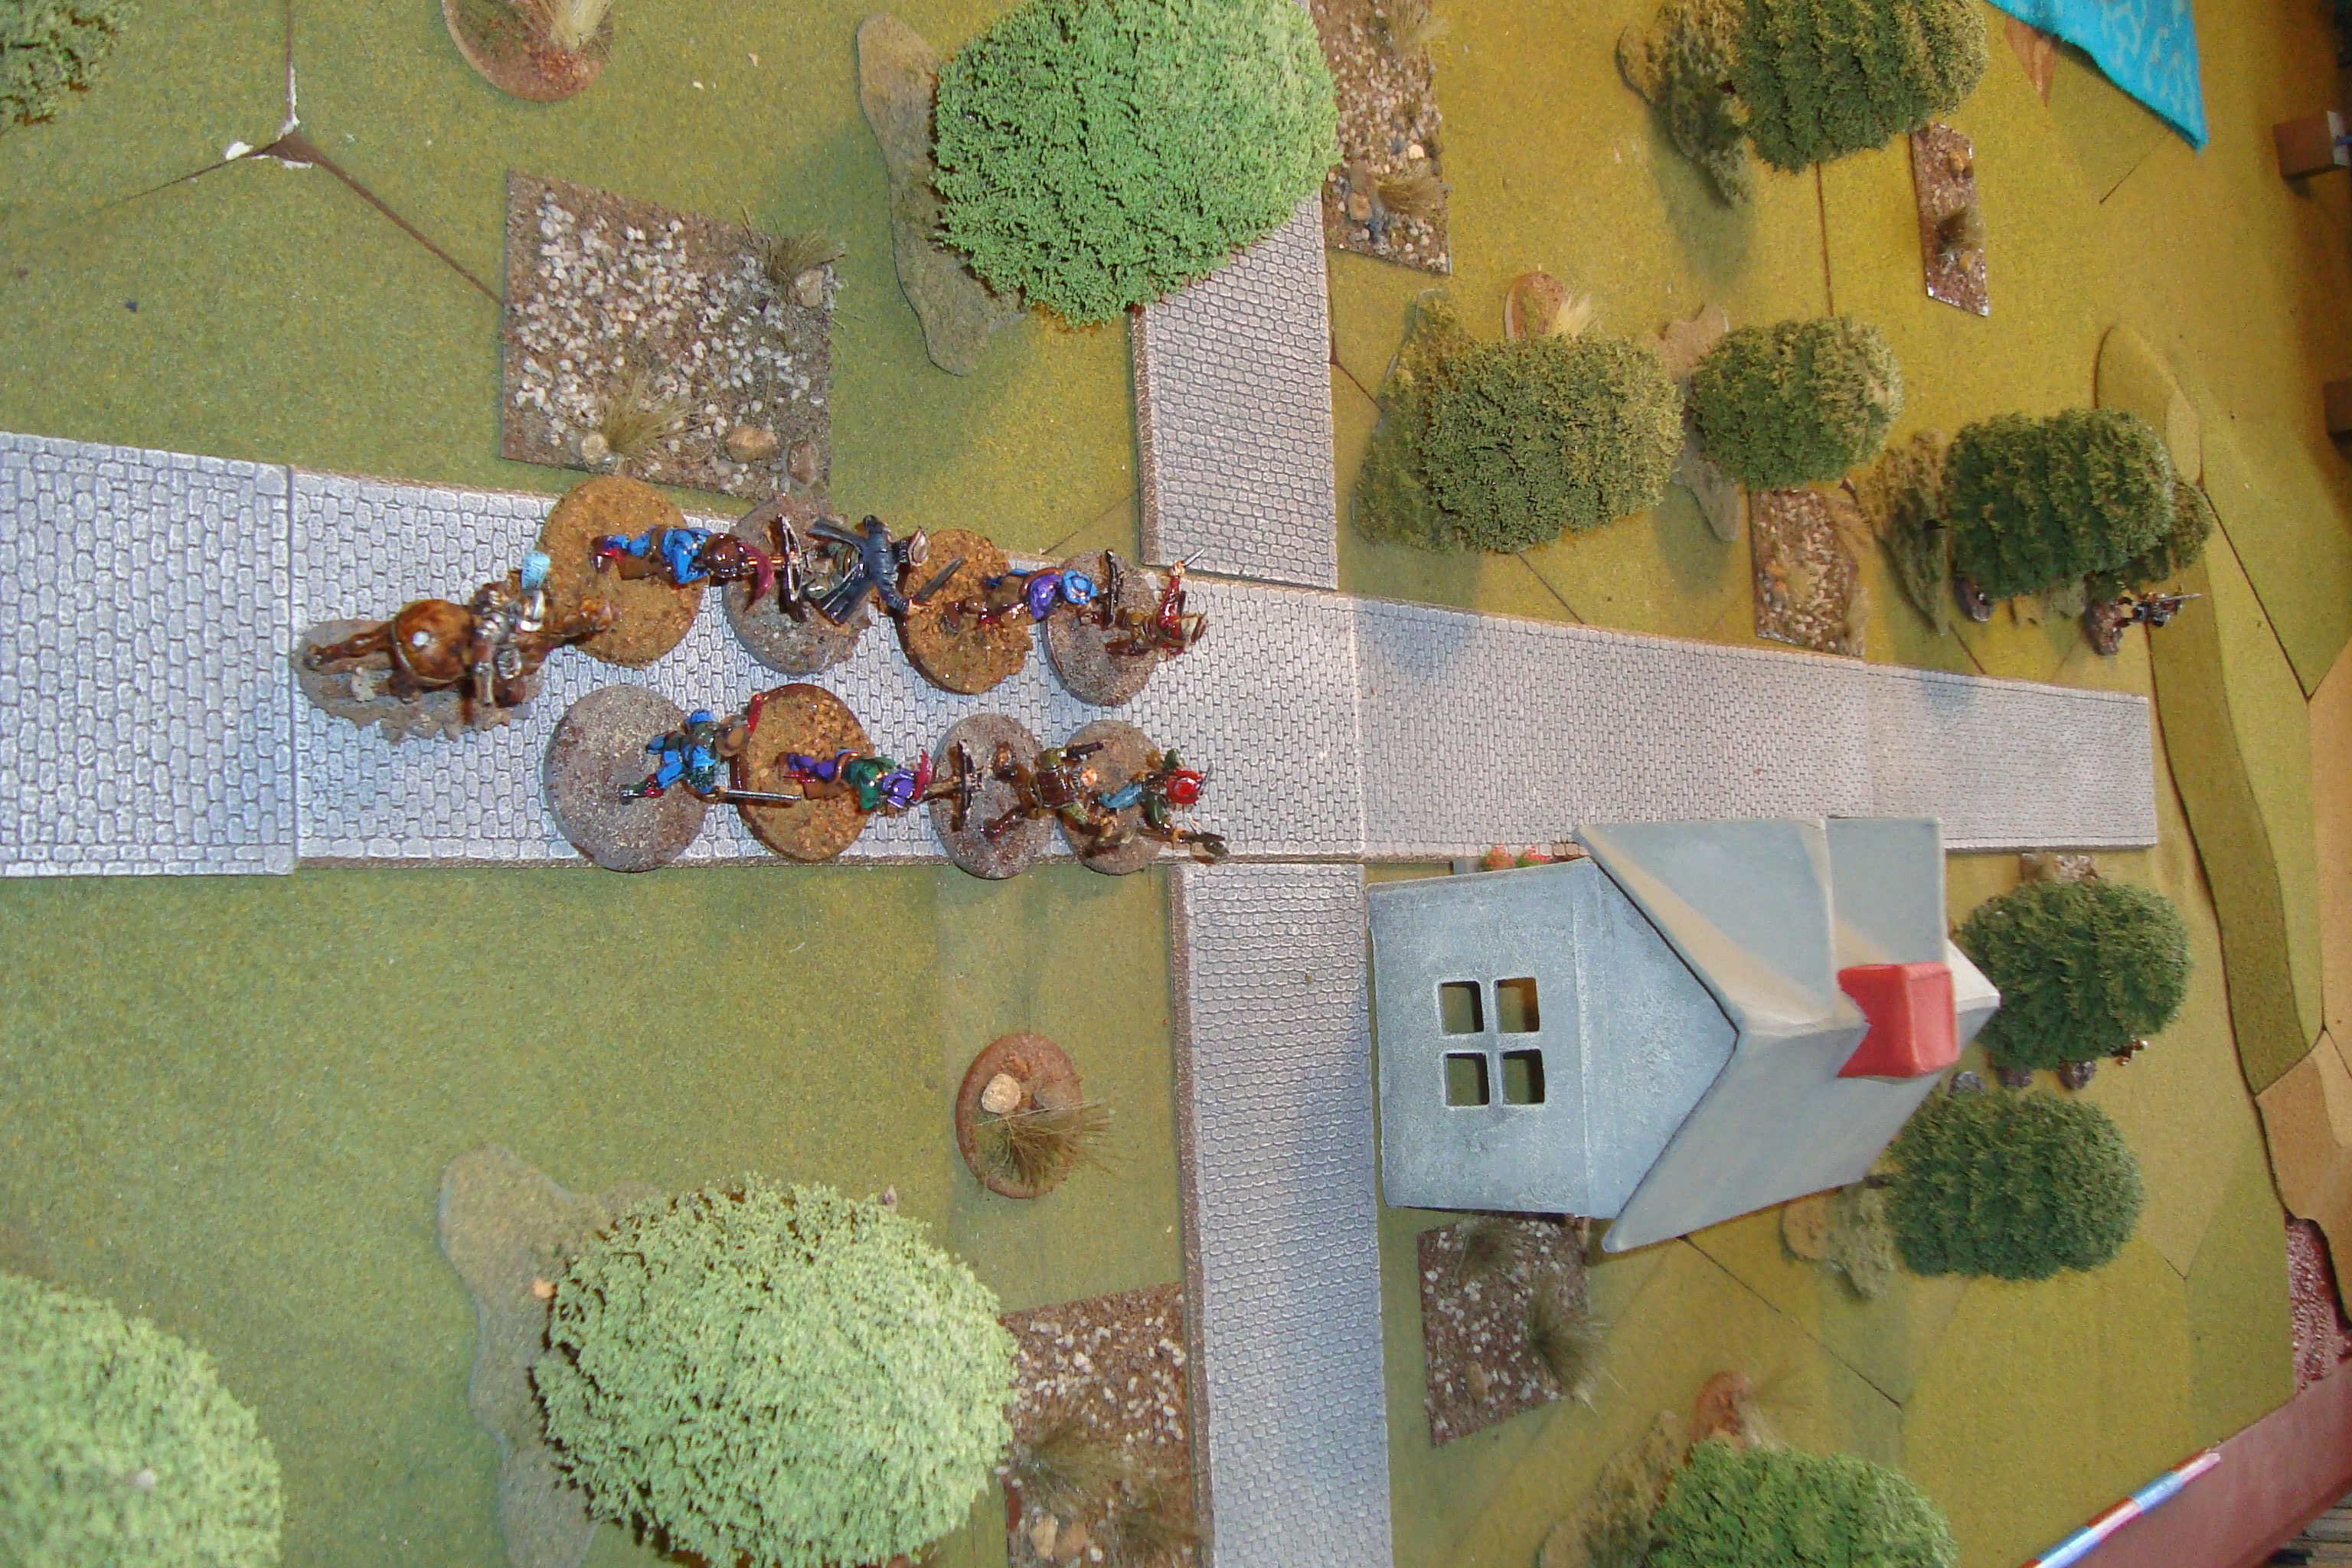
Turn 3: Red has I (Initiative). Red takes cover, Blue moves down the road.
Turn 4: Blue has I, moves down the road. Red Arquebusiers move into firing ambush position.
Turn 5: Red has I, lies chilly. Blue sends two men to loot the house, remainder keep moving down the road.
Turn 6: Red has I. Stays in ambush position, Blue moves (luckily) just outside of firing range (6 inches for Arquebusiers).
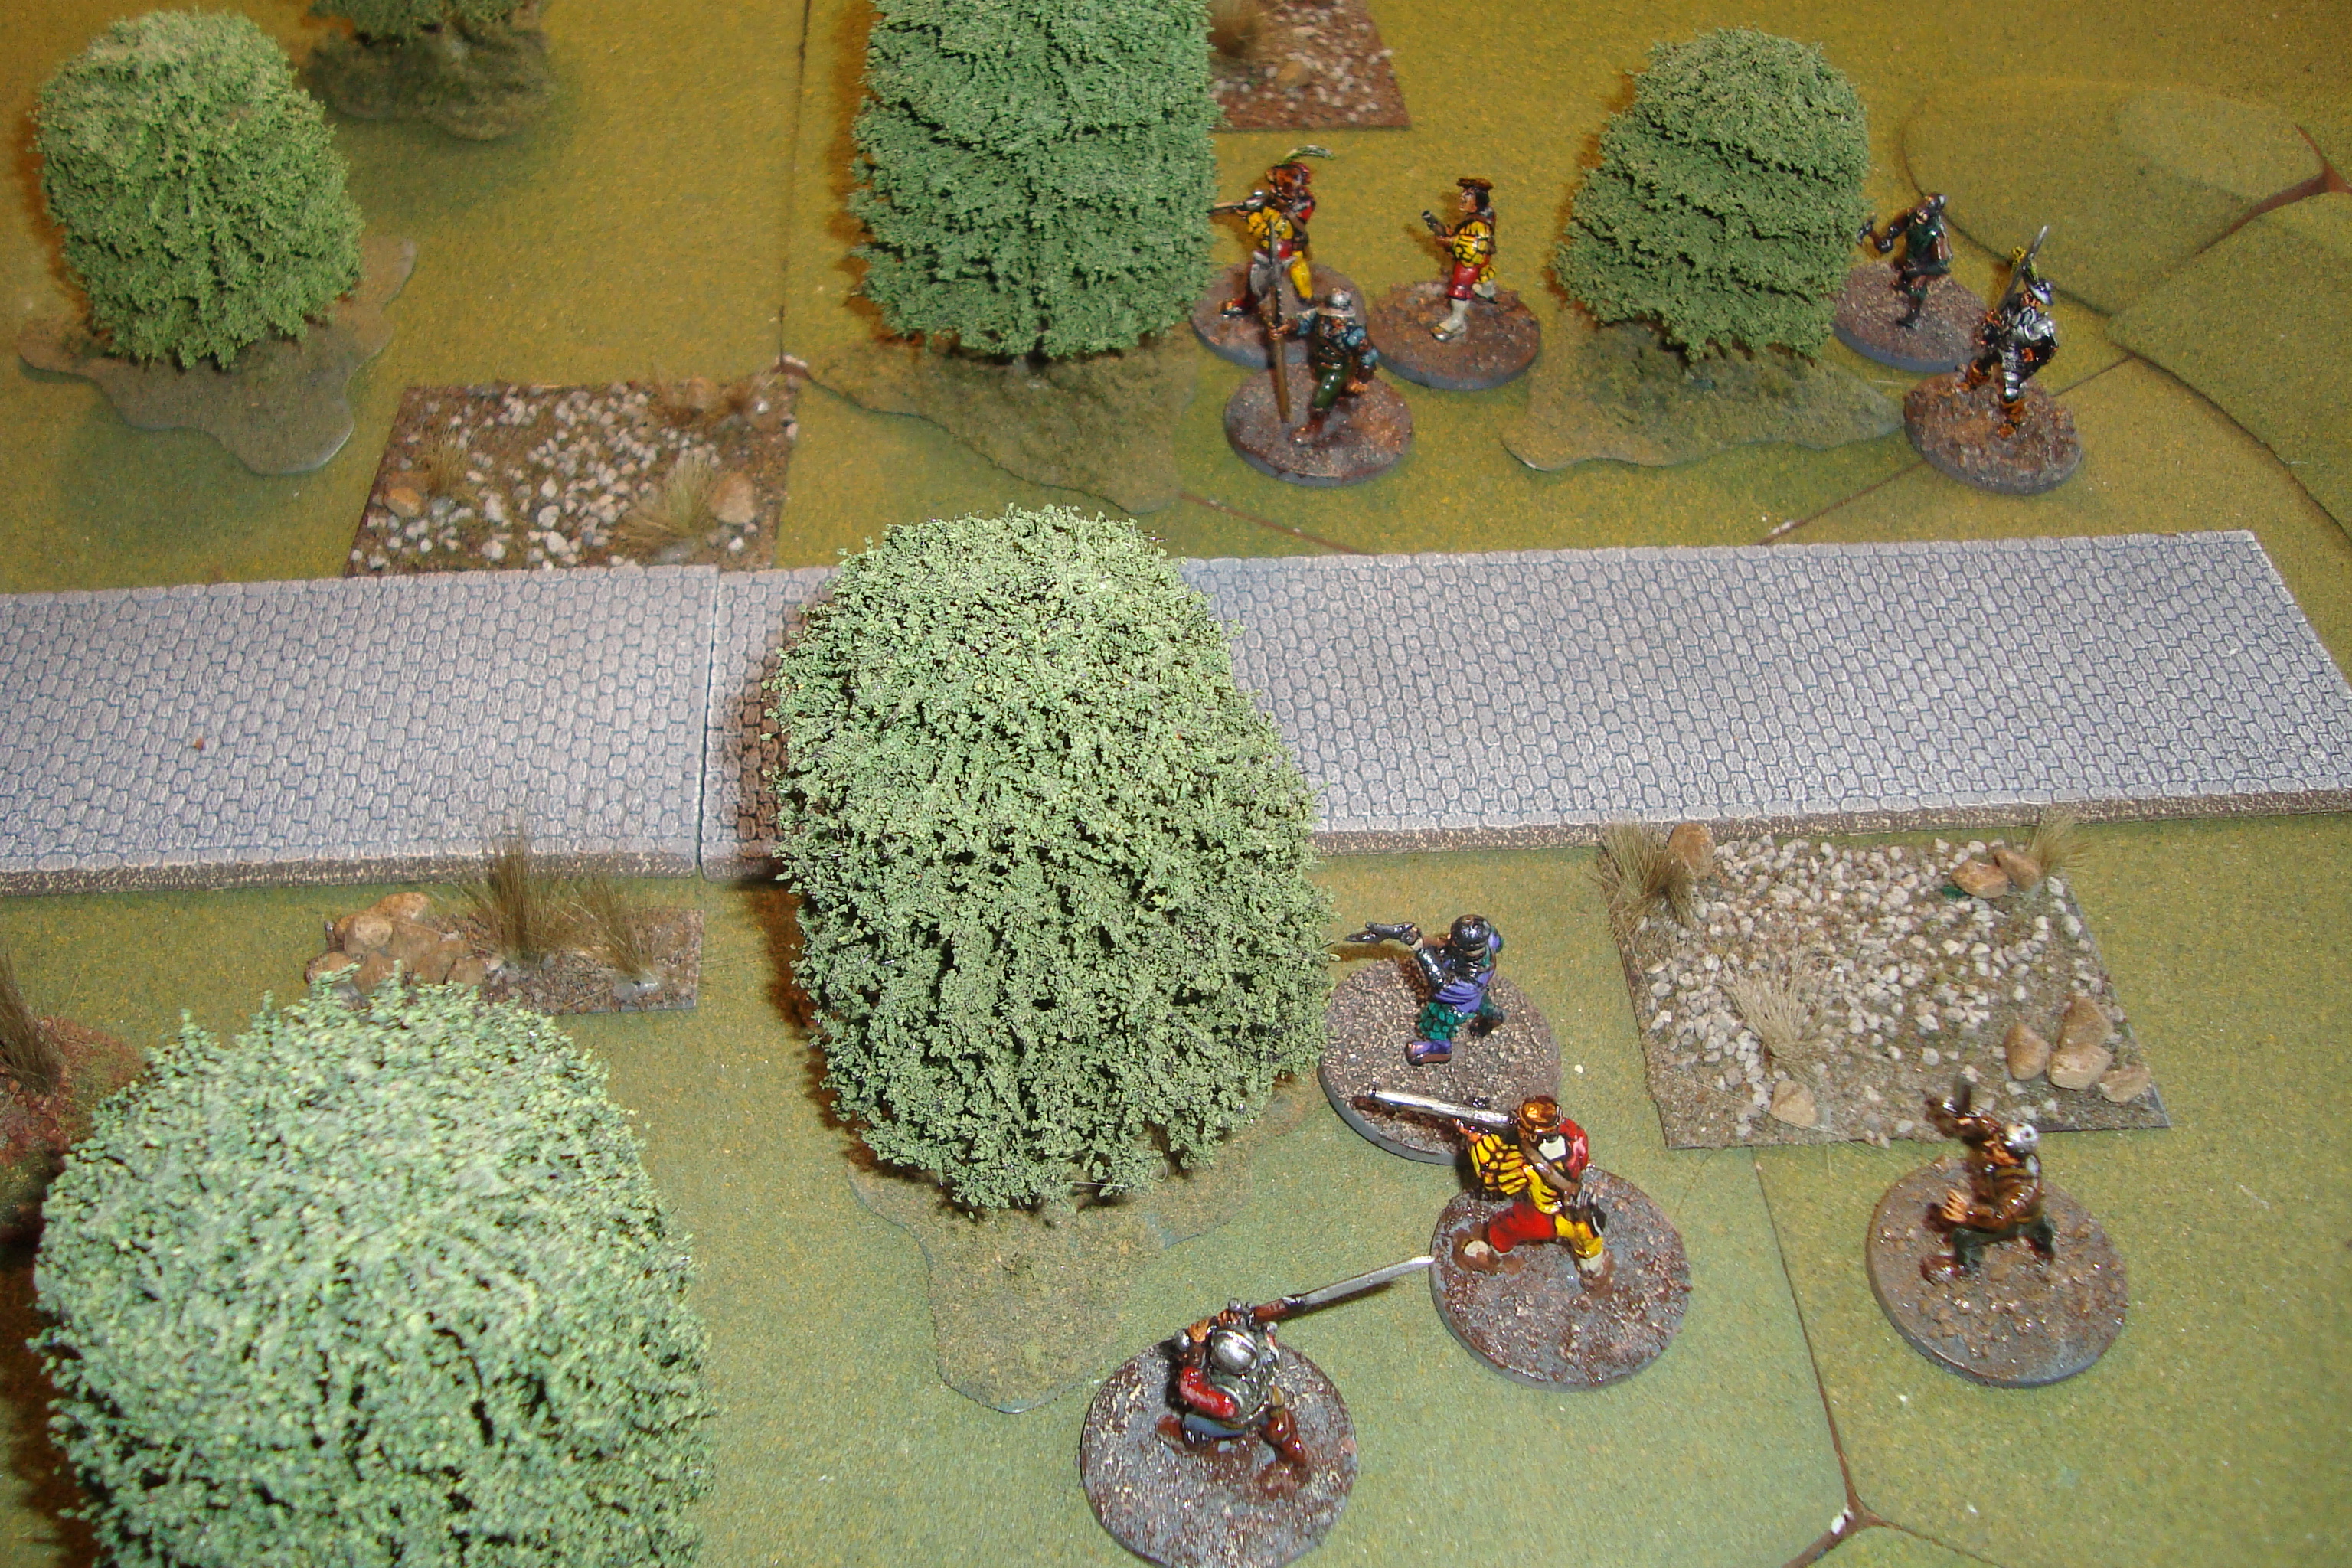
Turn 7: Red has I. This is very bad luck since they cannot shoot at Blue, and Blue can move within 6 inches and potentially spot the Red ambush, before being shot at. And, of course, Blue moves in and spots.
Turn 8: Red has I. Both sides exchange fire. No hits. Red moves into melee. Blue loses a Crossbowman and Swordsman. Red loses a Two-Handed Swordsman.
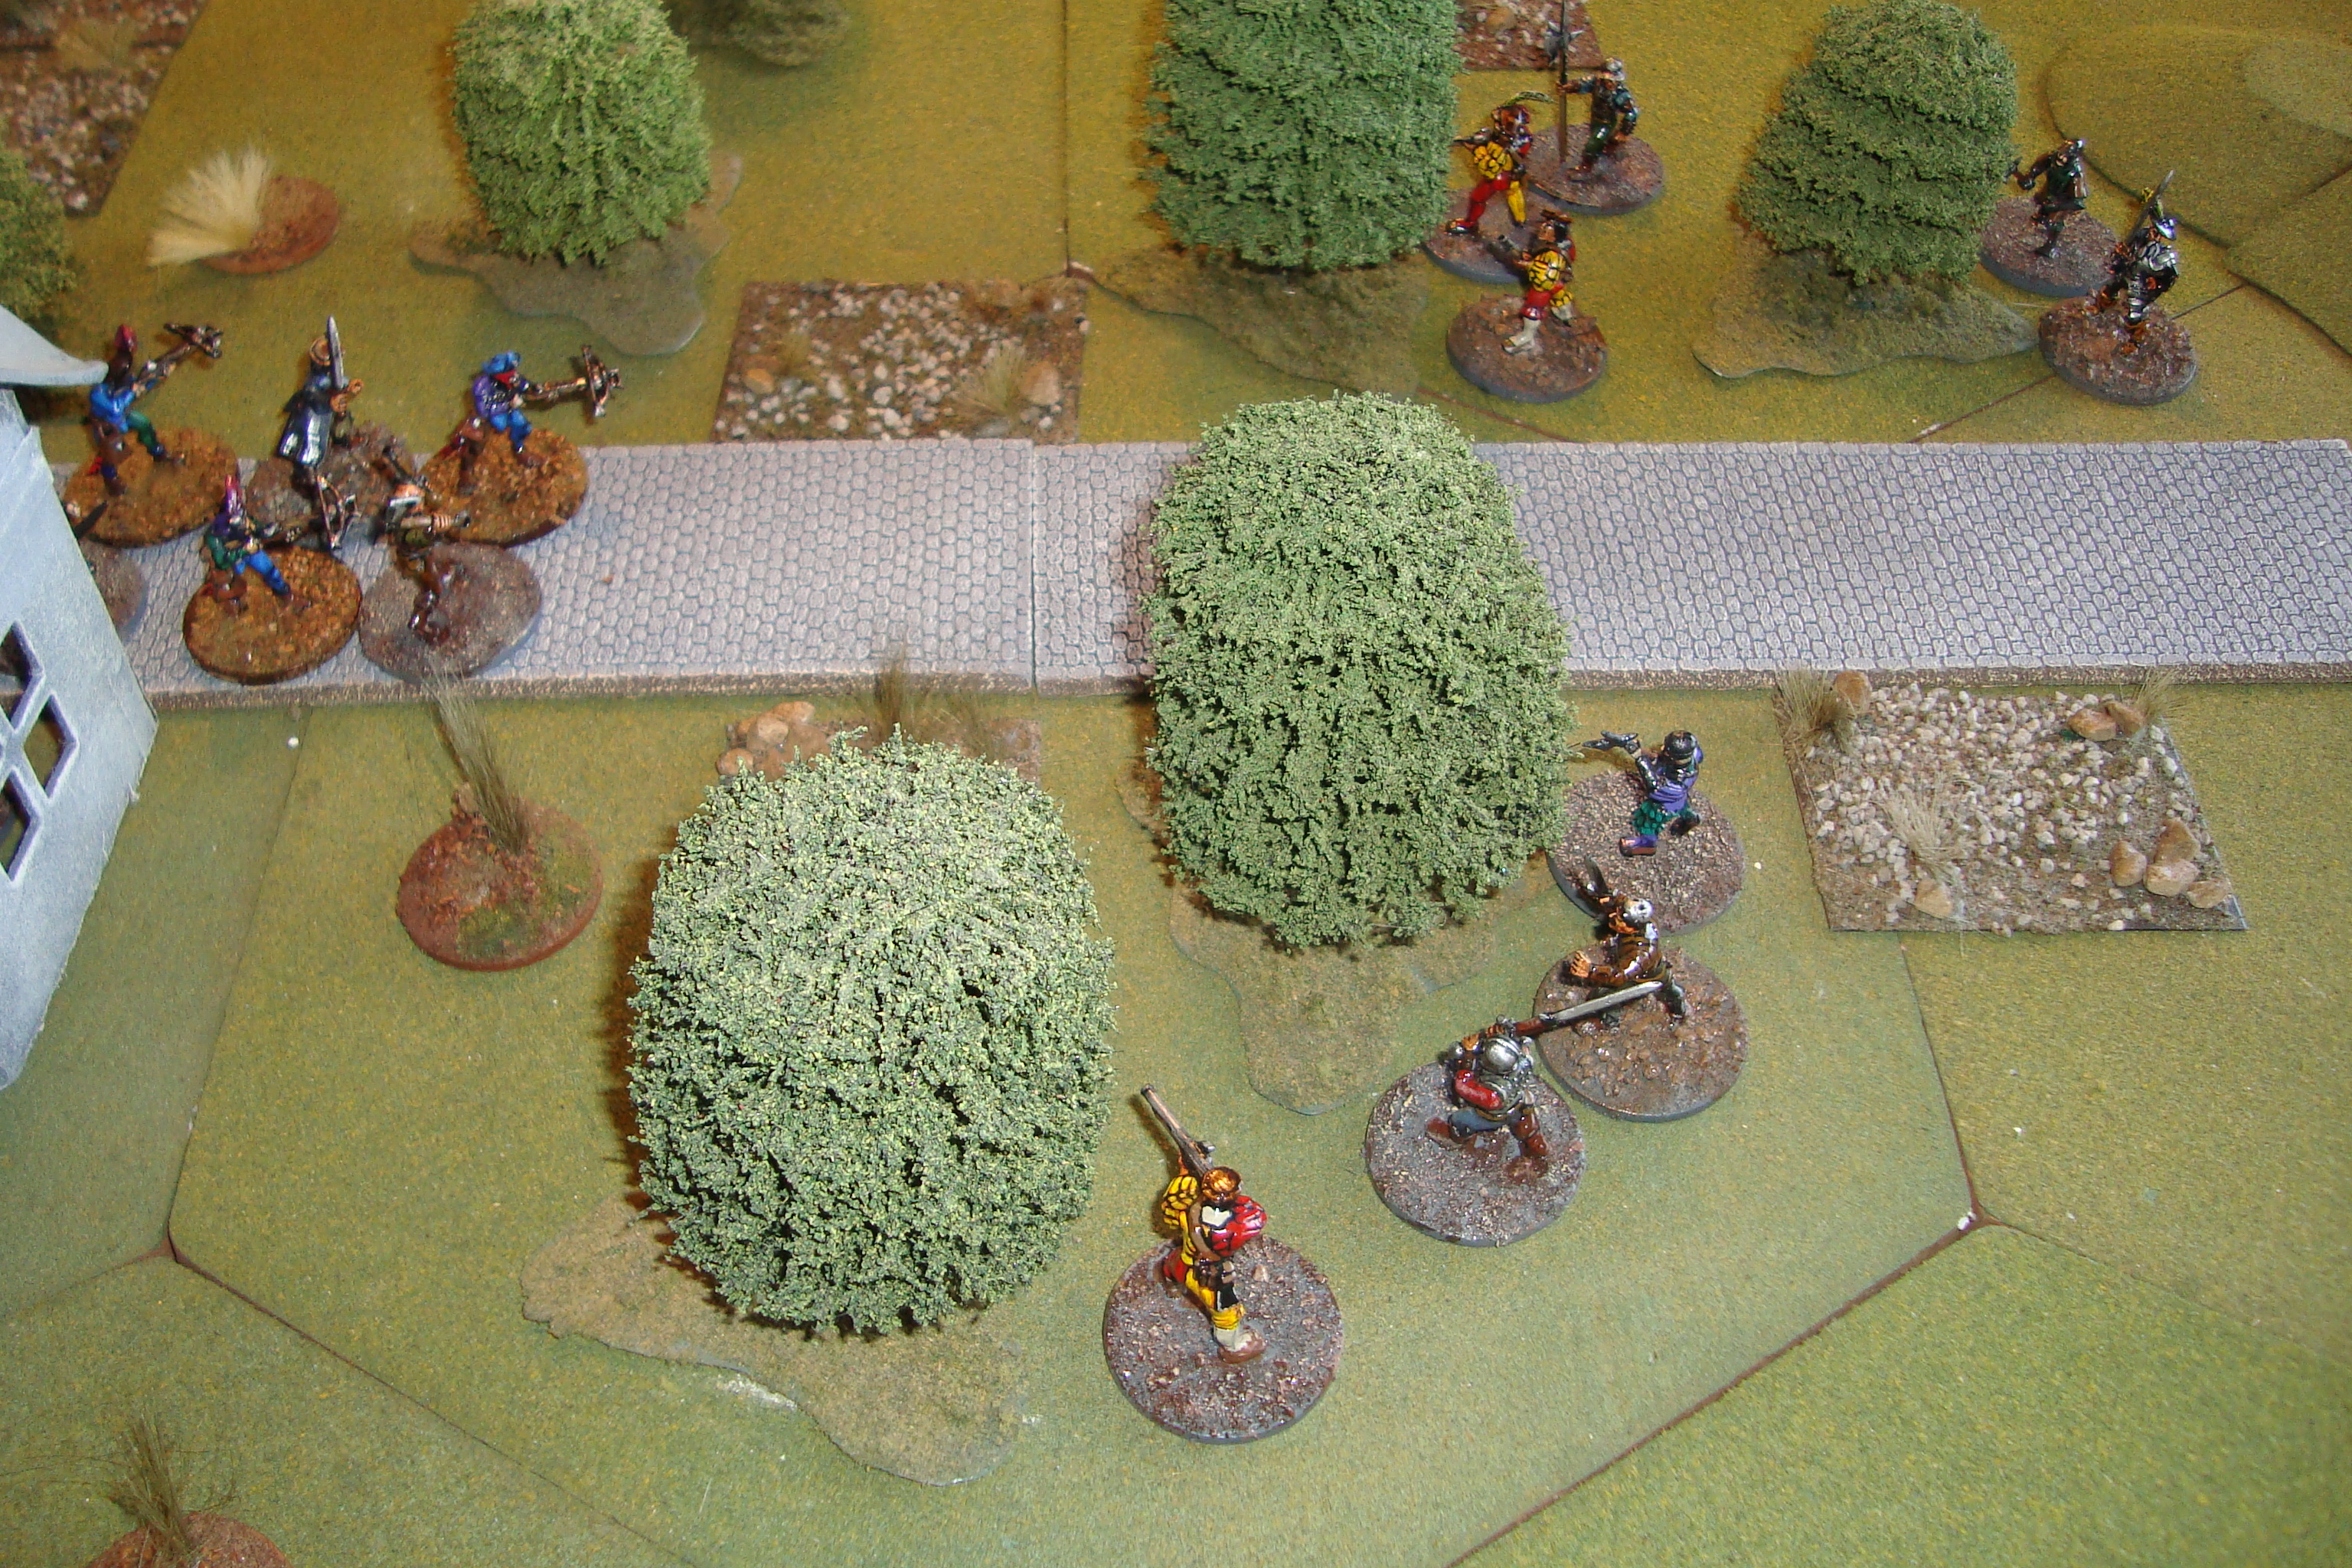
Turn 9: Blue rolls D10 four times (one each for casualties, two for ambush), no change in Fear rating! Red rolls once, no change. Blue has I. Melee continues as more Blues join the fray. Blue looters move out of the house advancing towards the melee. Blue loses one Swordsman.
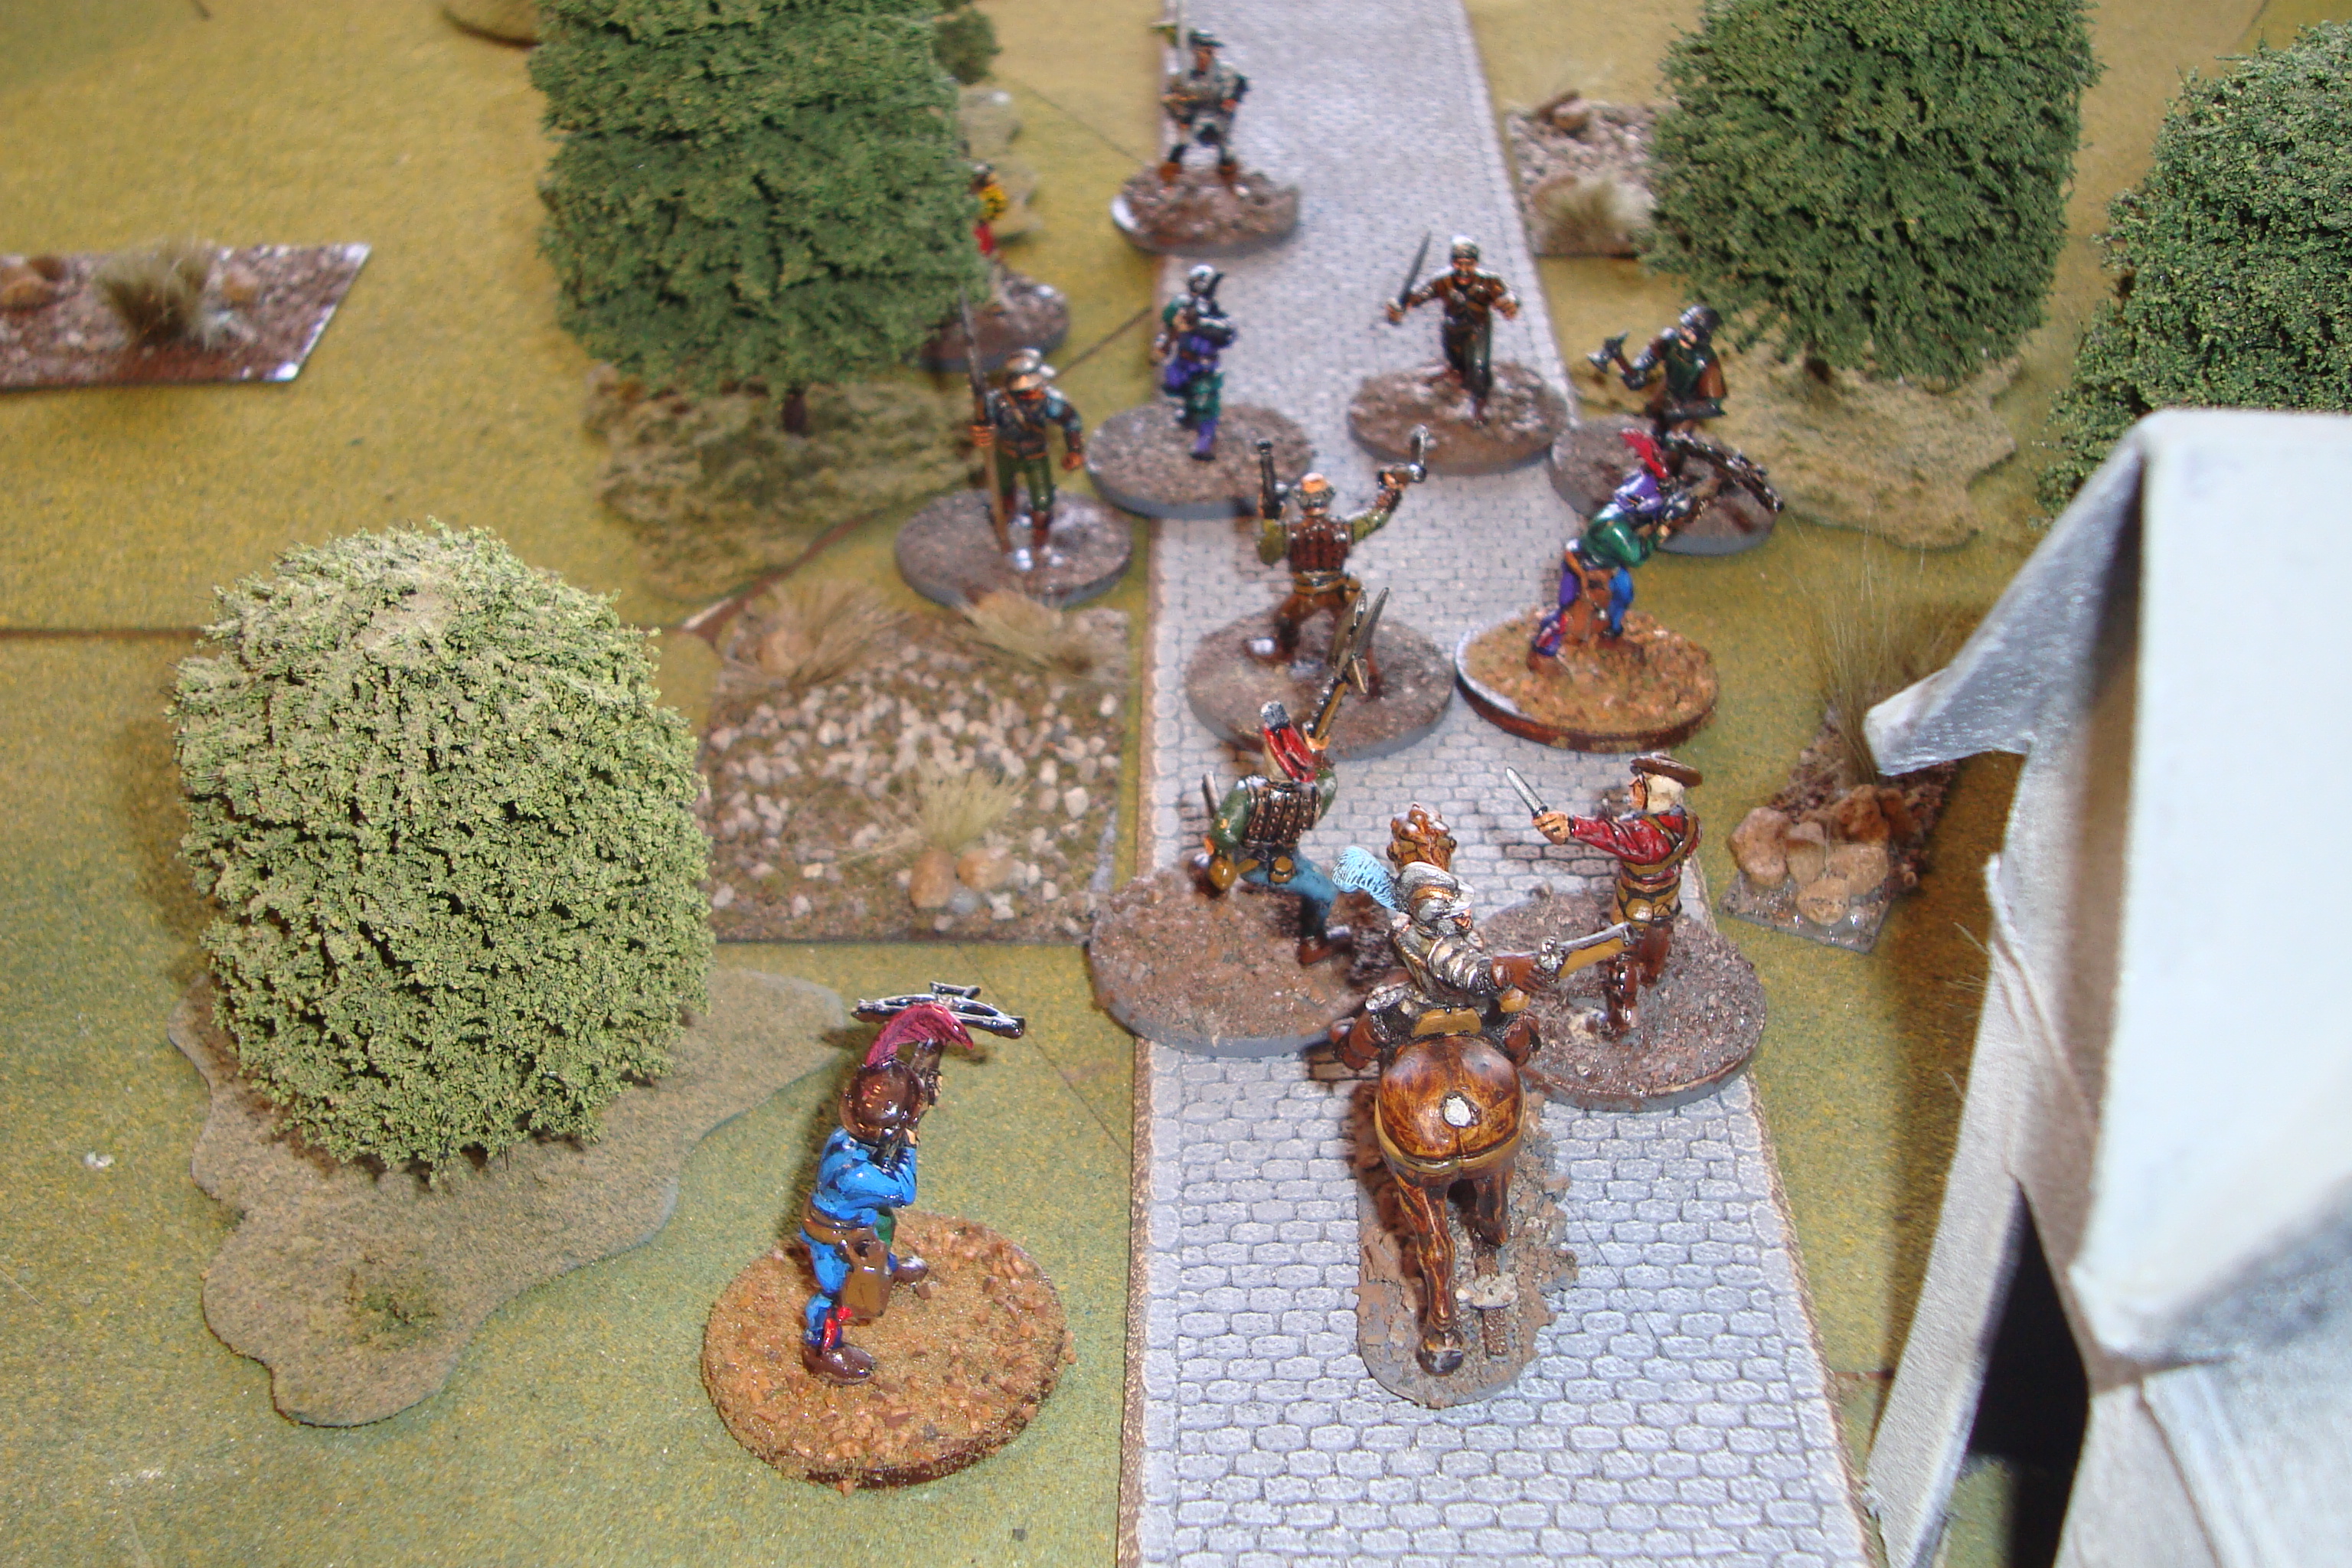
Turn 10: No change in Blue fear. Looters and Blue Leader join the melee. Blue Crossbowmen kill a Red Halbadier, and (with saving throw) force a Red Arquebusier back into the cover of the woods.

Turn 11: Red fear increases by one. Shooting ineffective. Red leader joins melee. No casualties.
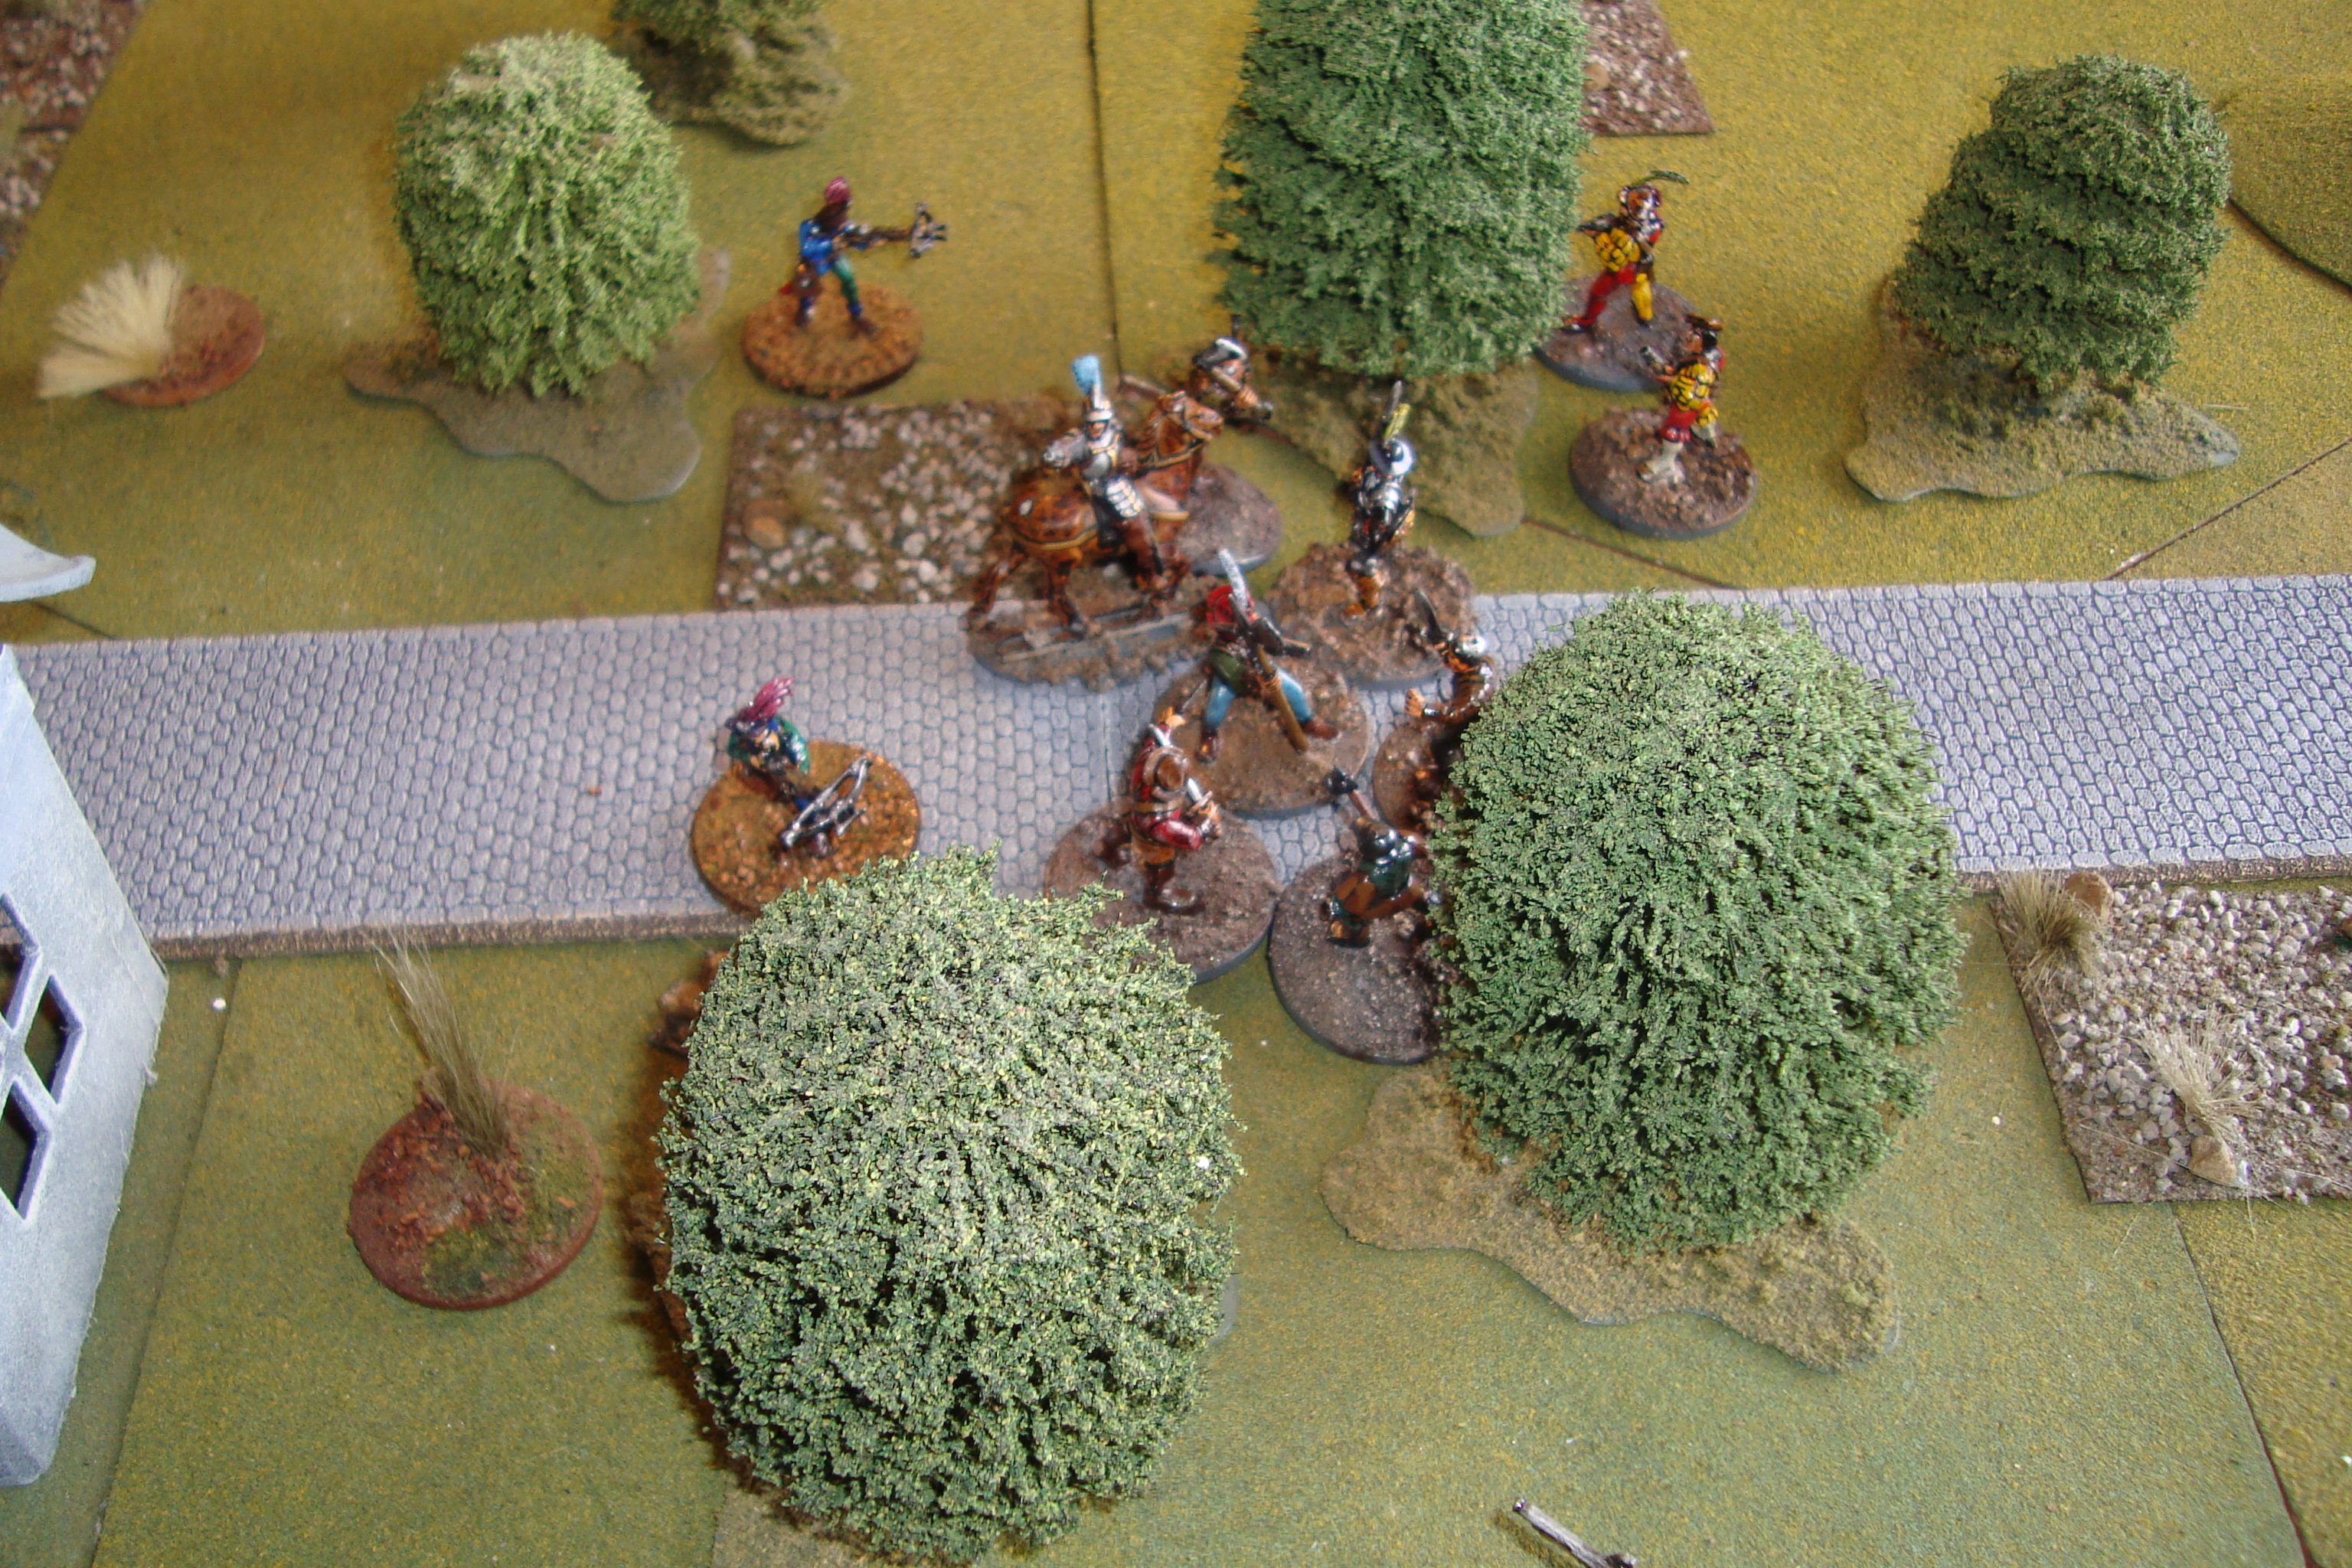
Shut it down at this point because it will be nothing but a Dice Fest. Blue has survived the ambush and it more than holding its own in the melee. So, what mechanism to break off contact?
Will run the same scenario again, but add rules for running, horse galloping, and use of pistol in melee. Have to consider the ineffectiveness of shooting despite the two “tens” rolled in Turn 10. Also, some type of reaction to orders/situations might be needed.
Regardless, a fun and quick game.