Tag Archives: Bloody Buna

A Little Bloodier

Was able to get through about 12 turns of Bloody Buna before I left for latest elder-care iteration.

It’s easy to understand why the response to this game was muted. Supply is everything, and there isn’t enough of it. Unlike many games where new supply counters are generated every turn, or MSRs linking supply sources to units are lengthy and developed, this game has short MSRs (2-4 hexes), and a very limited number of supply counters.

The result is the need to accept attrition die rolls as the cost of conducting business. While Allied units can huddle in defensive positions near supply sources, they will have to conduct operations far from these sources in order to win. The Japanese face a dwindling level of supply as the campaign progresses, and will have to hold on to their gains in order to eke out at least a marginal victory.

This isn’t the Western Desert. No booming and zooming.

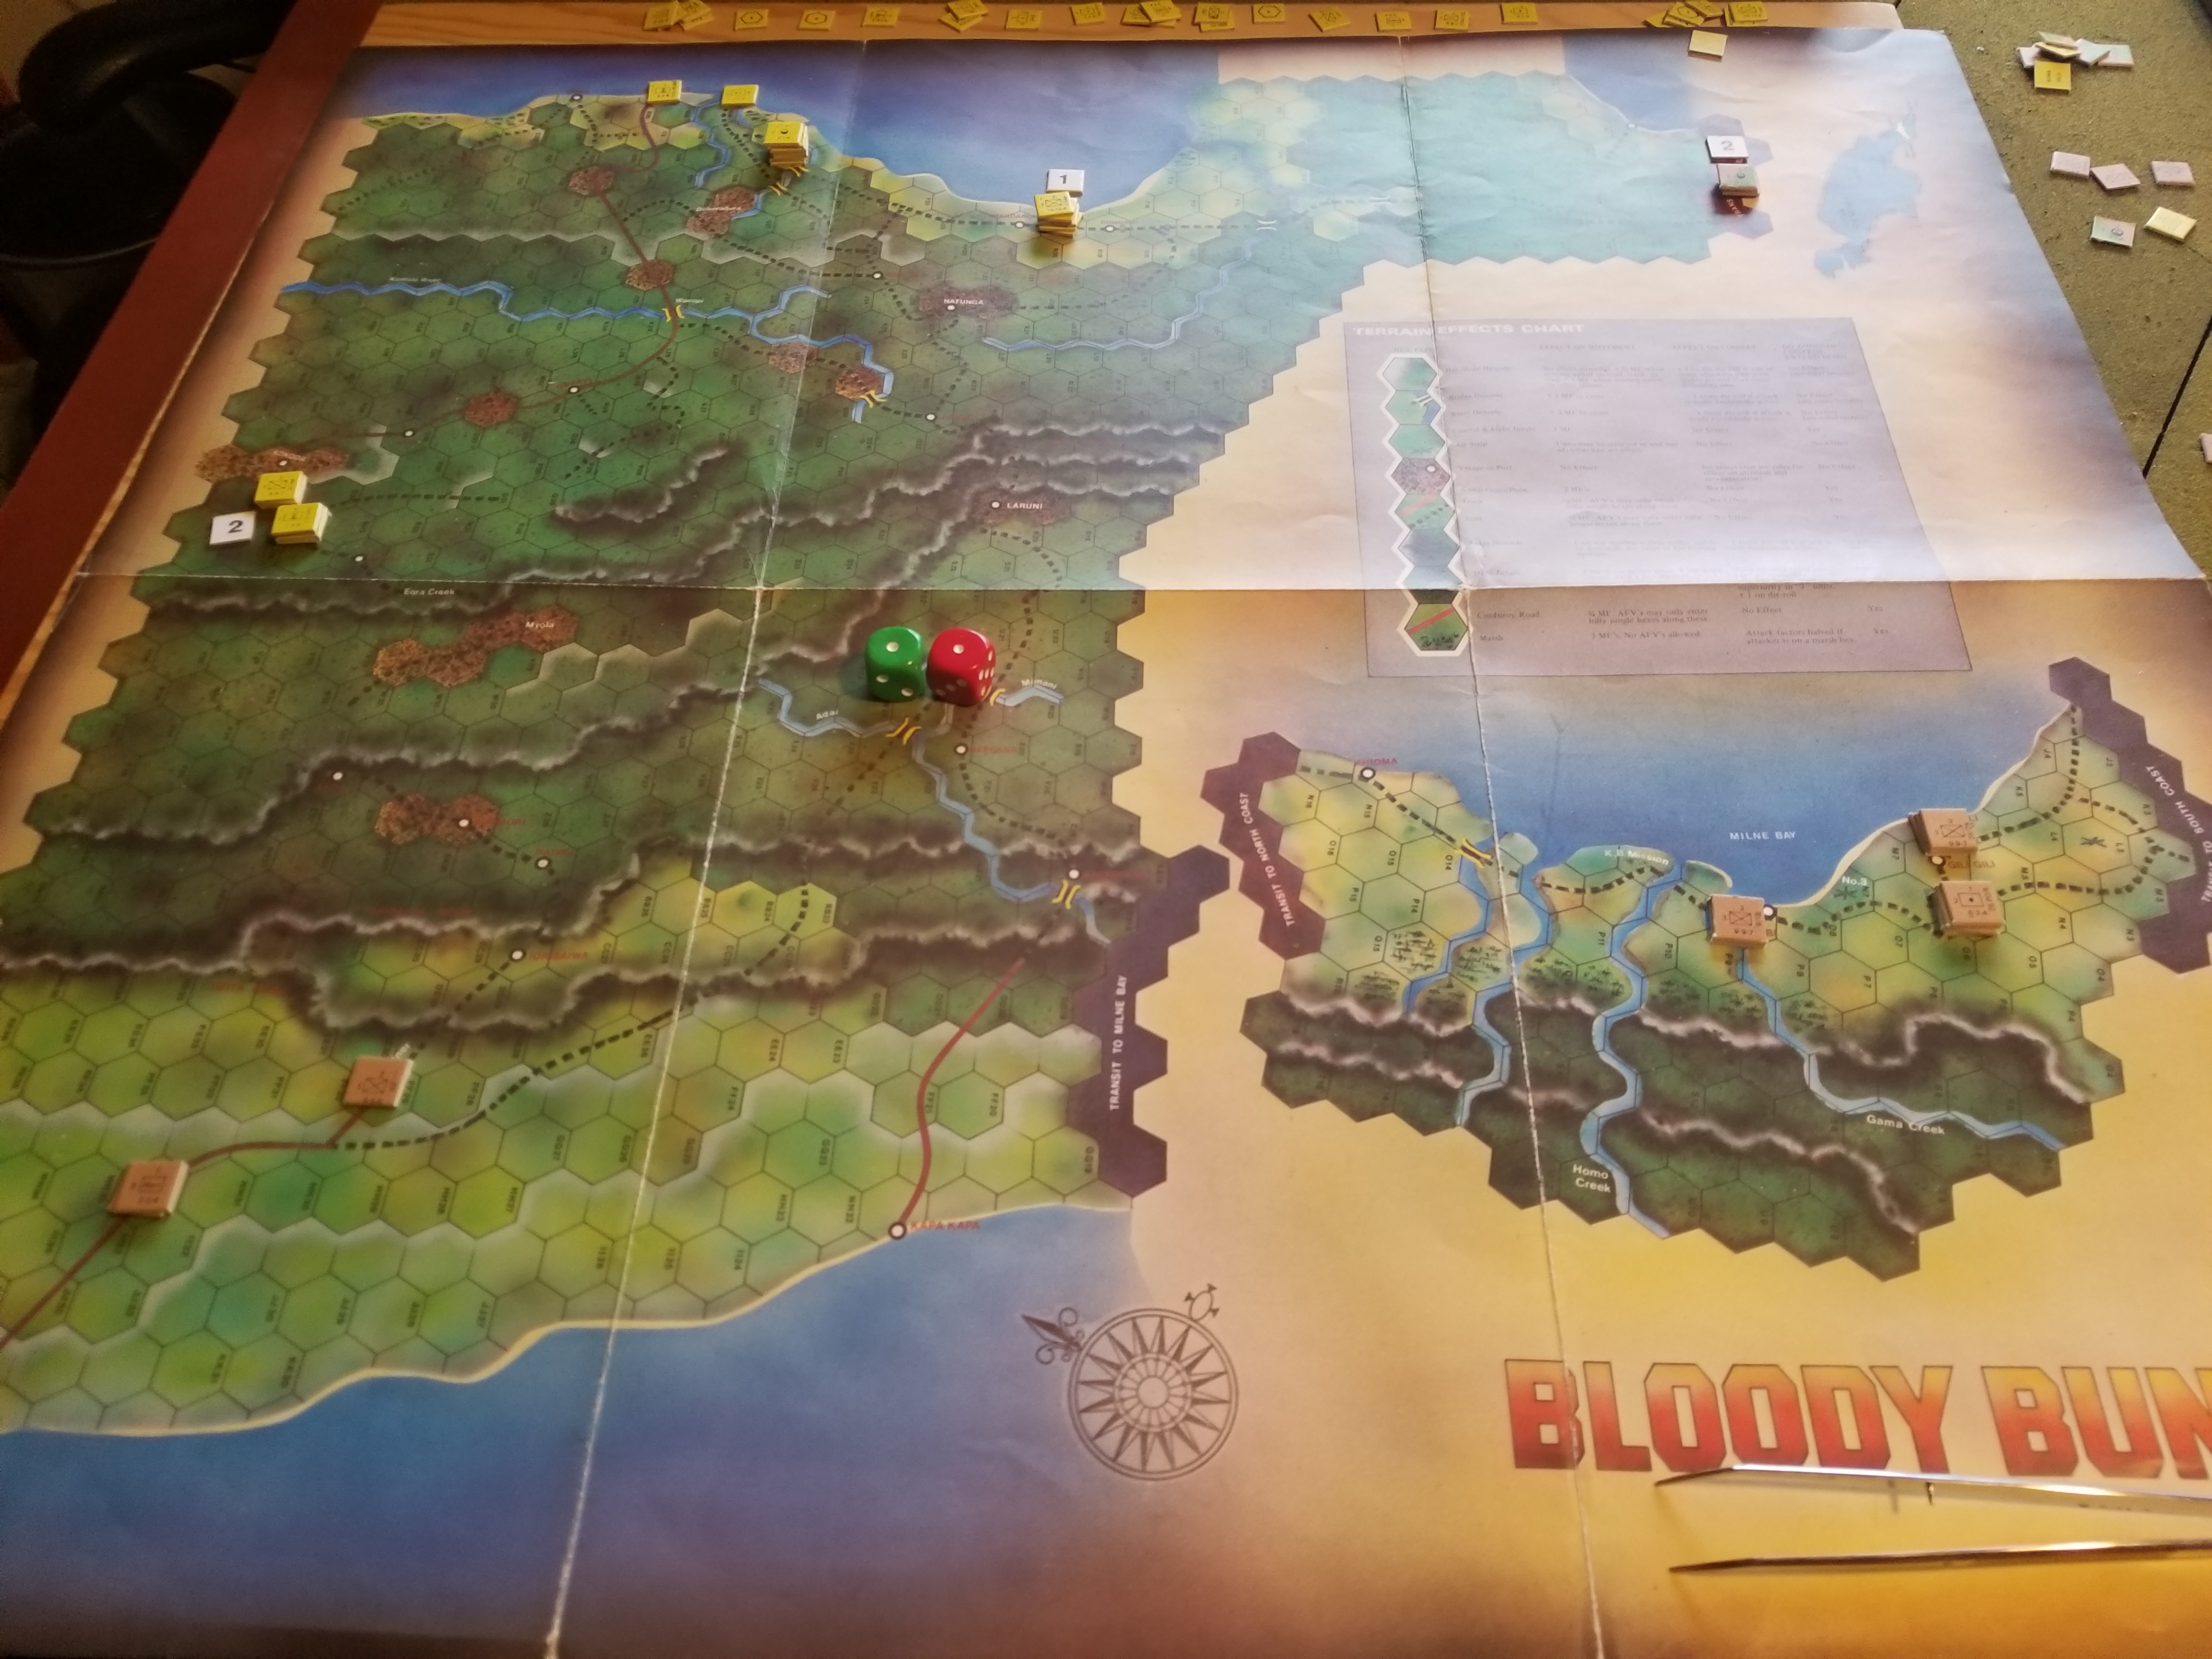
So far, the Japanese were able to advance to Kokoda, eliminating Australian units that were tasked with a delay/defend mission. However, the Japanese are now on half-supply.

Another Japanese force moved east of Buna to cut off Allied forces that had moved west from Milne Bay. Again, both sides will soon be out of supply and subject to random attrition and accompanying loss of combat power.

I’m charmed by this game, if only because of the limitations created by factors taken for granted in so many other games.

Here’s a couple of bad pics depicting the Japanese attack on Kokoda, and the situation when I left.  Number chits indicate supply turns remaining.


Slow But Not Yet Bloody

Back to playing the Campaign game for Bloody Buna.  Not for the time challenged, as it extends for 43 turns.  The game develops slowly, just like that Sloth/Pictionary commercial that is thankfully off the air now.

The potential for unit attrition dictates modest rates of advance and husbanding of supplies.  Units are battalions or companies, so it is ant-tastic.  But, these can be powerful ants, with the ability to generate high-odds attacks even in unfavorable terrain.

The Japanese have some interesting victory conditions that allow them to not have to take Port Moresby or Milne Bay, but simply threaten it.  This puts the onus on the Allies to contain the Japanese advance, and then roll it back literally to their start point in the vicinity of Buna.

Will post up game summary soon.


Grinding Again

Have also set up Bloody Buna. This treatment of the New Guinea Campaign appeared in The Wargamer Magazine way back in 1979. The game has a primary map covering the main area of operations, and then a secondary map covering the Milne Bay area. Units can move between the two utilizing Transit Boxes.

The rules address the salient characteristics of the campaign: horrendous terrain and weather. Supply and movement are defined by both.

Each time a unit attempts to move more than one-half of its allowance, it must take an Attrition Check. On a die roll of 1-4, everthing is fine. However, roll a D5, the unit loses a strength (or “hit” according to the rules), but can proceed. Roll a D6, lose a “hit” and no more movement. In addition, during rain turns, units add a +1 modifier. Only jungle qualified units receive a -1 modifier when attempting an Attrition Check.

Supply is also limited by terrain and weather. Supply line length varies by type of supply unit, and whether at full or half strength. Supply units can provide support for a limited number of turns. Units operate at full strength for three turns, supporting a maximum of 5 combat units per turn, and then at half strength for another three turns, with, again, a maximum of 5 combat units supported.

Artillery can attack alone using indirect fire, that strength varying by range but limited by line-of-sight.

There are also rules for air support, airlift and amphibious landings. Haven’t dug into those yet.

There are three scenarios, as well as a full campaign game. I’m trying the smallest, which focuses solely on the Japanese advance on Milne Bay.