Tag Archives: Europa

A New Mess

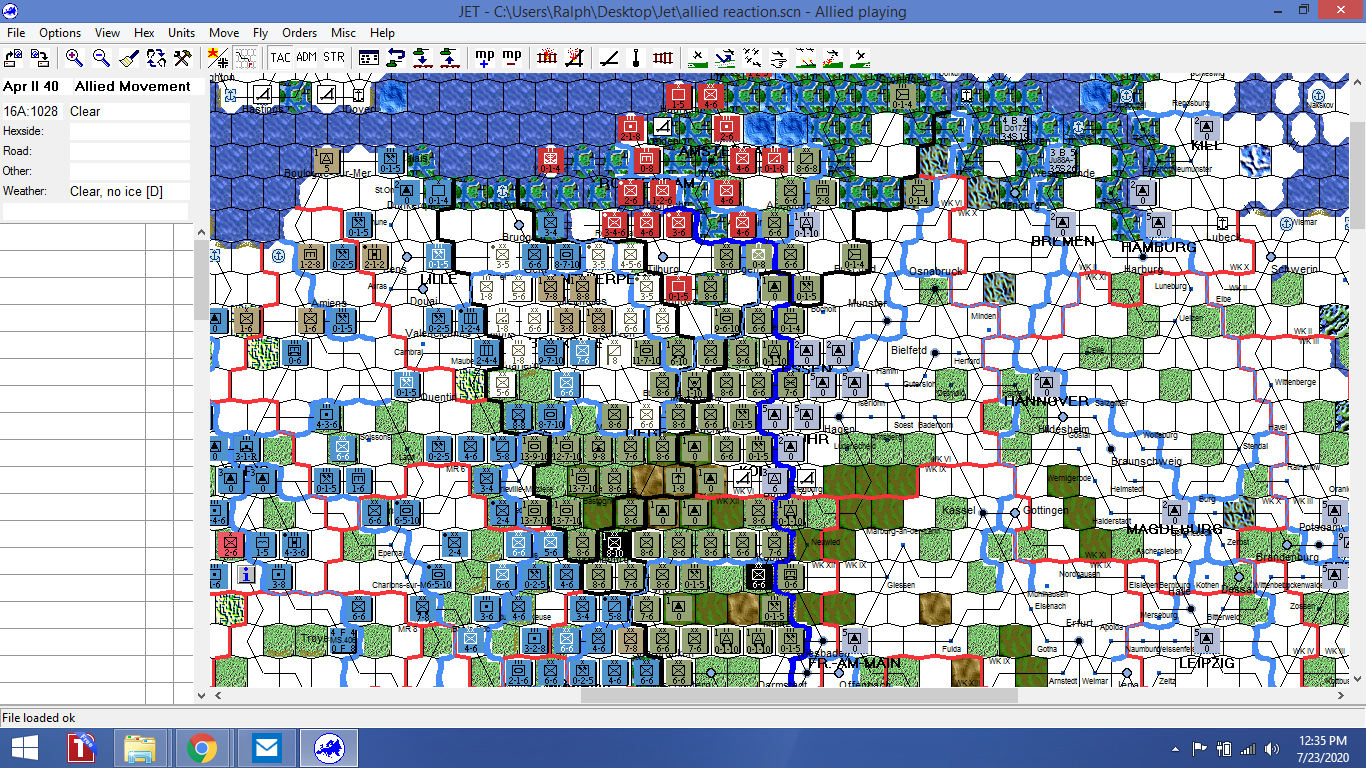
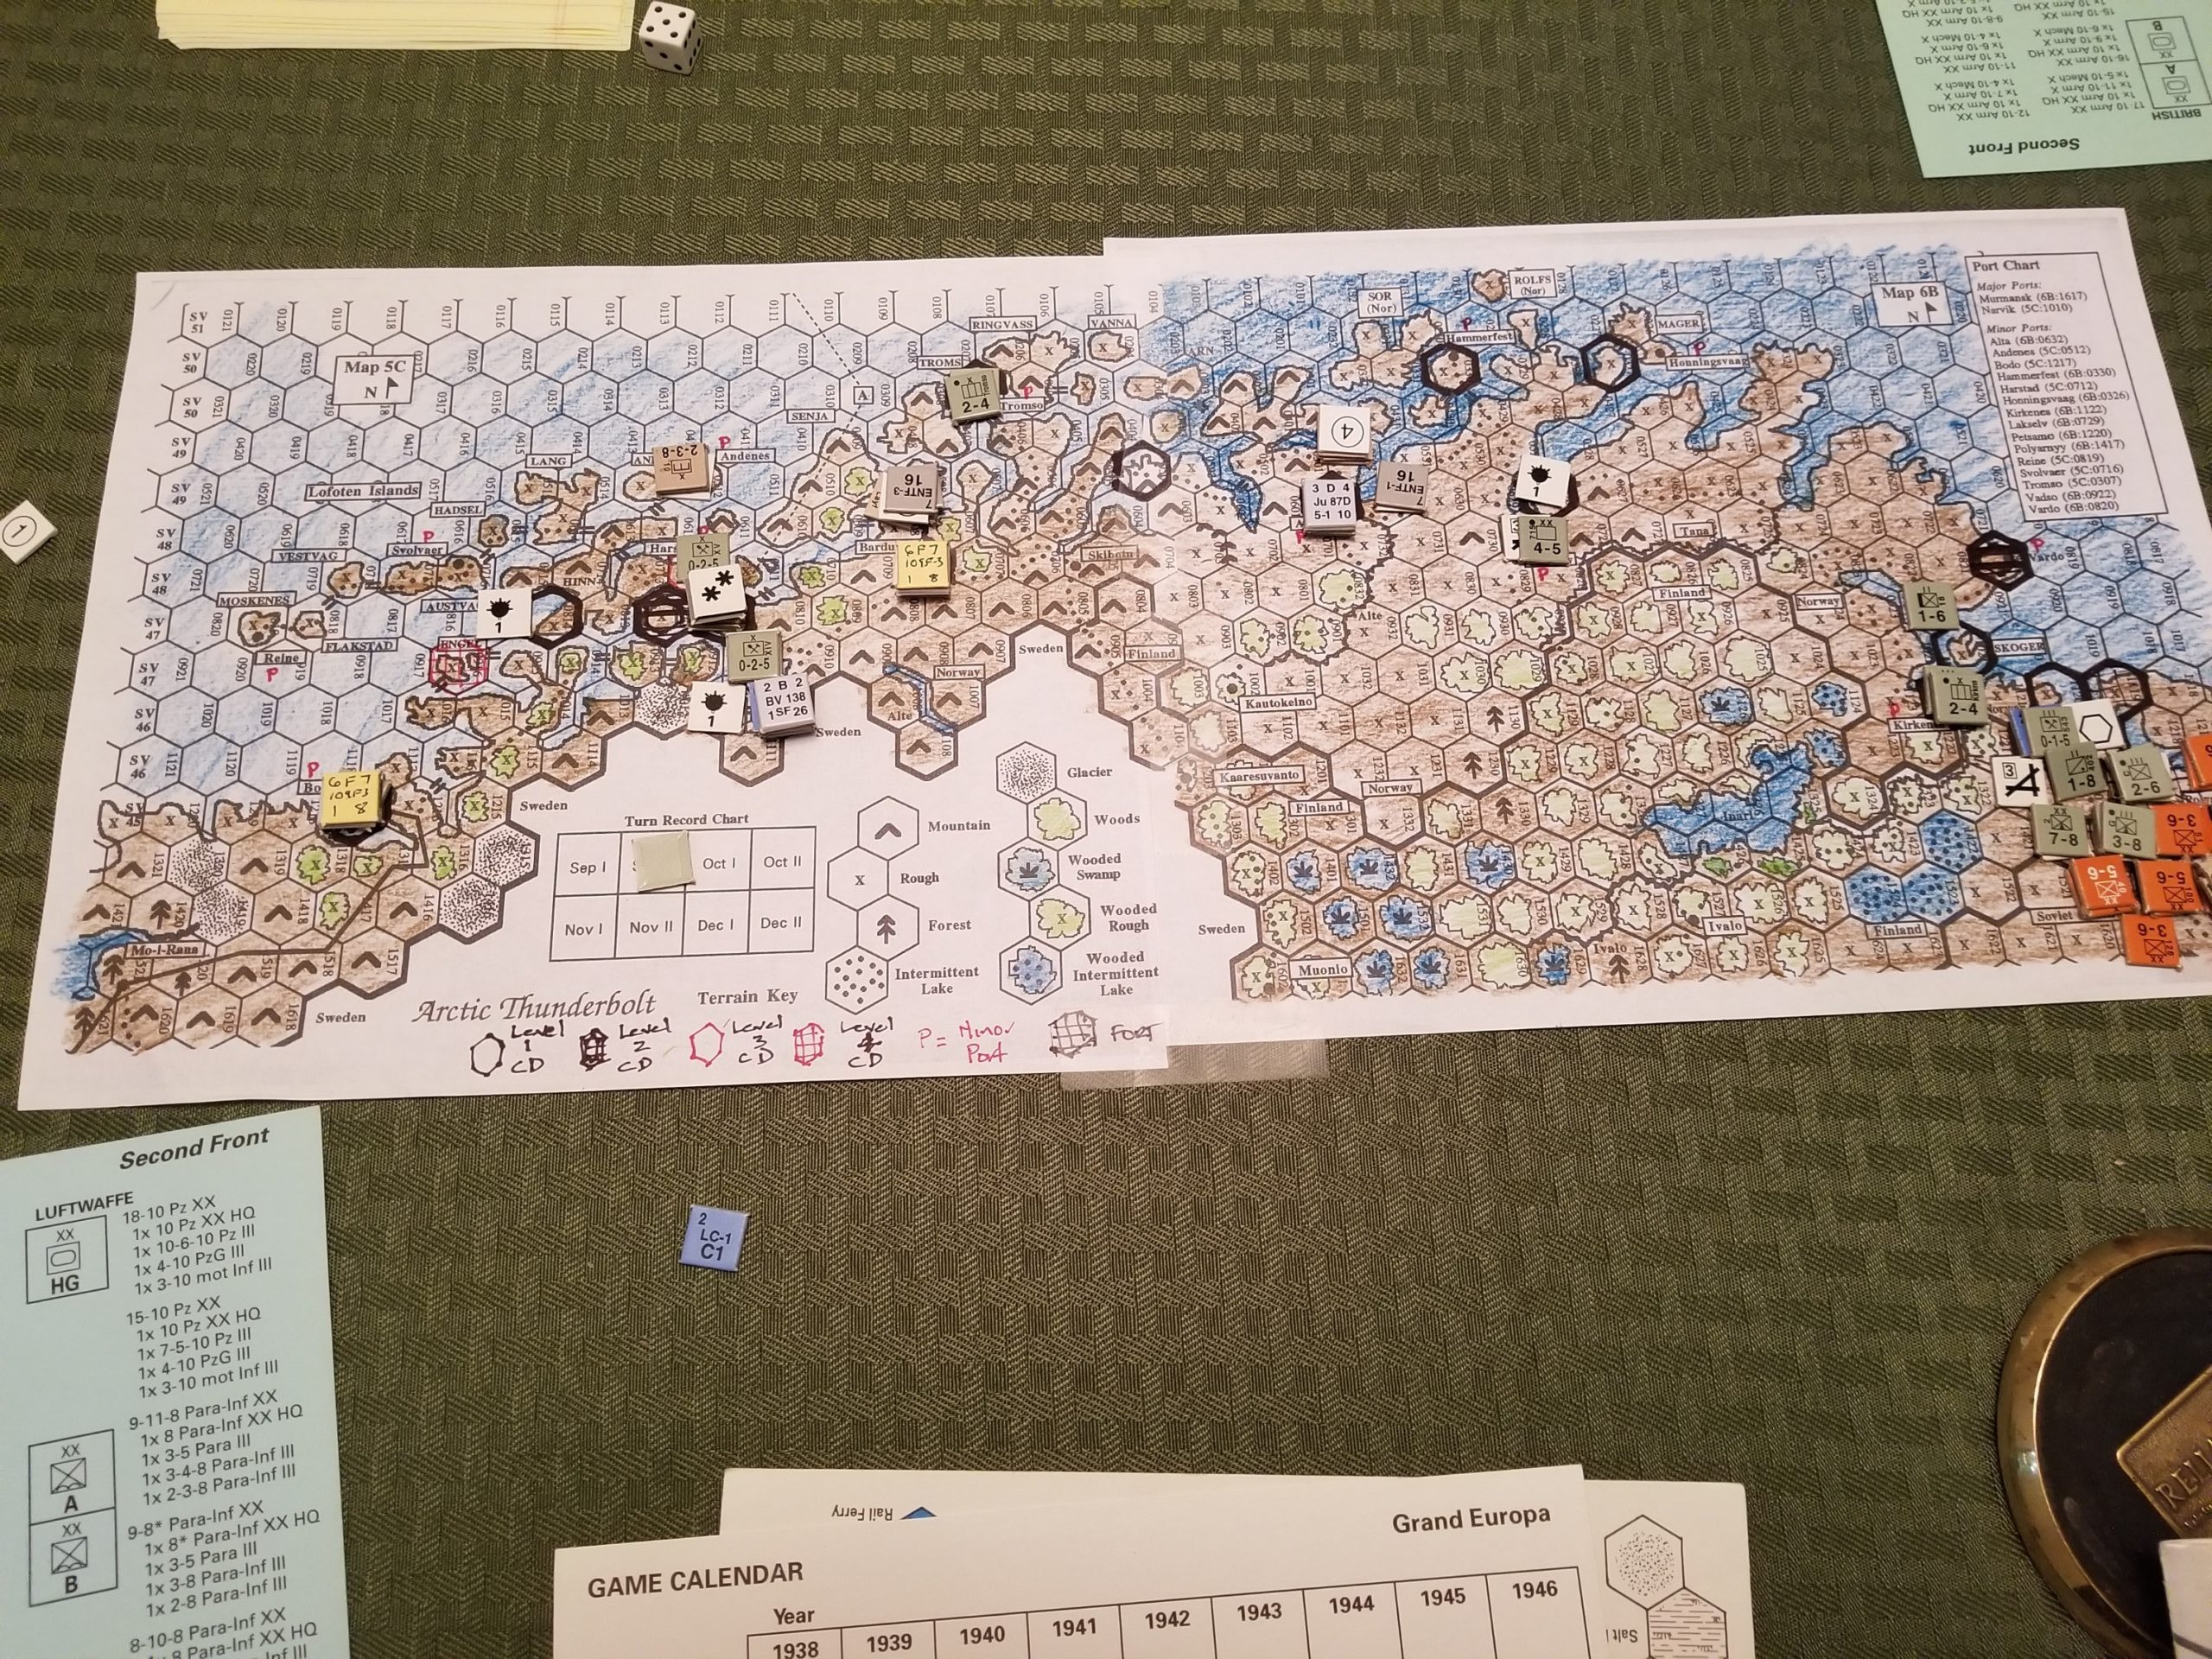
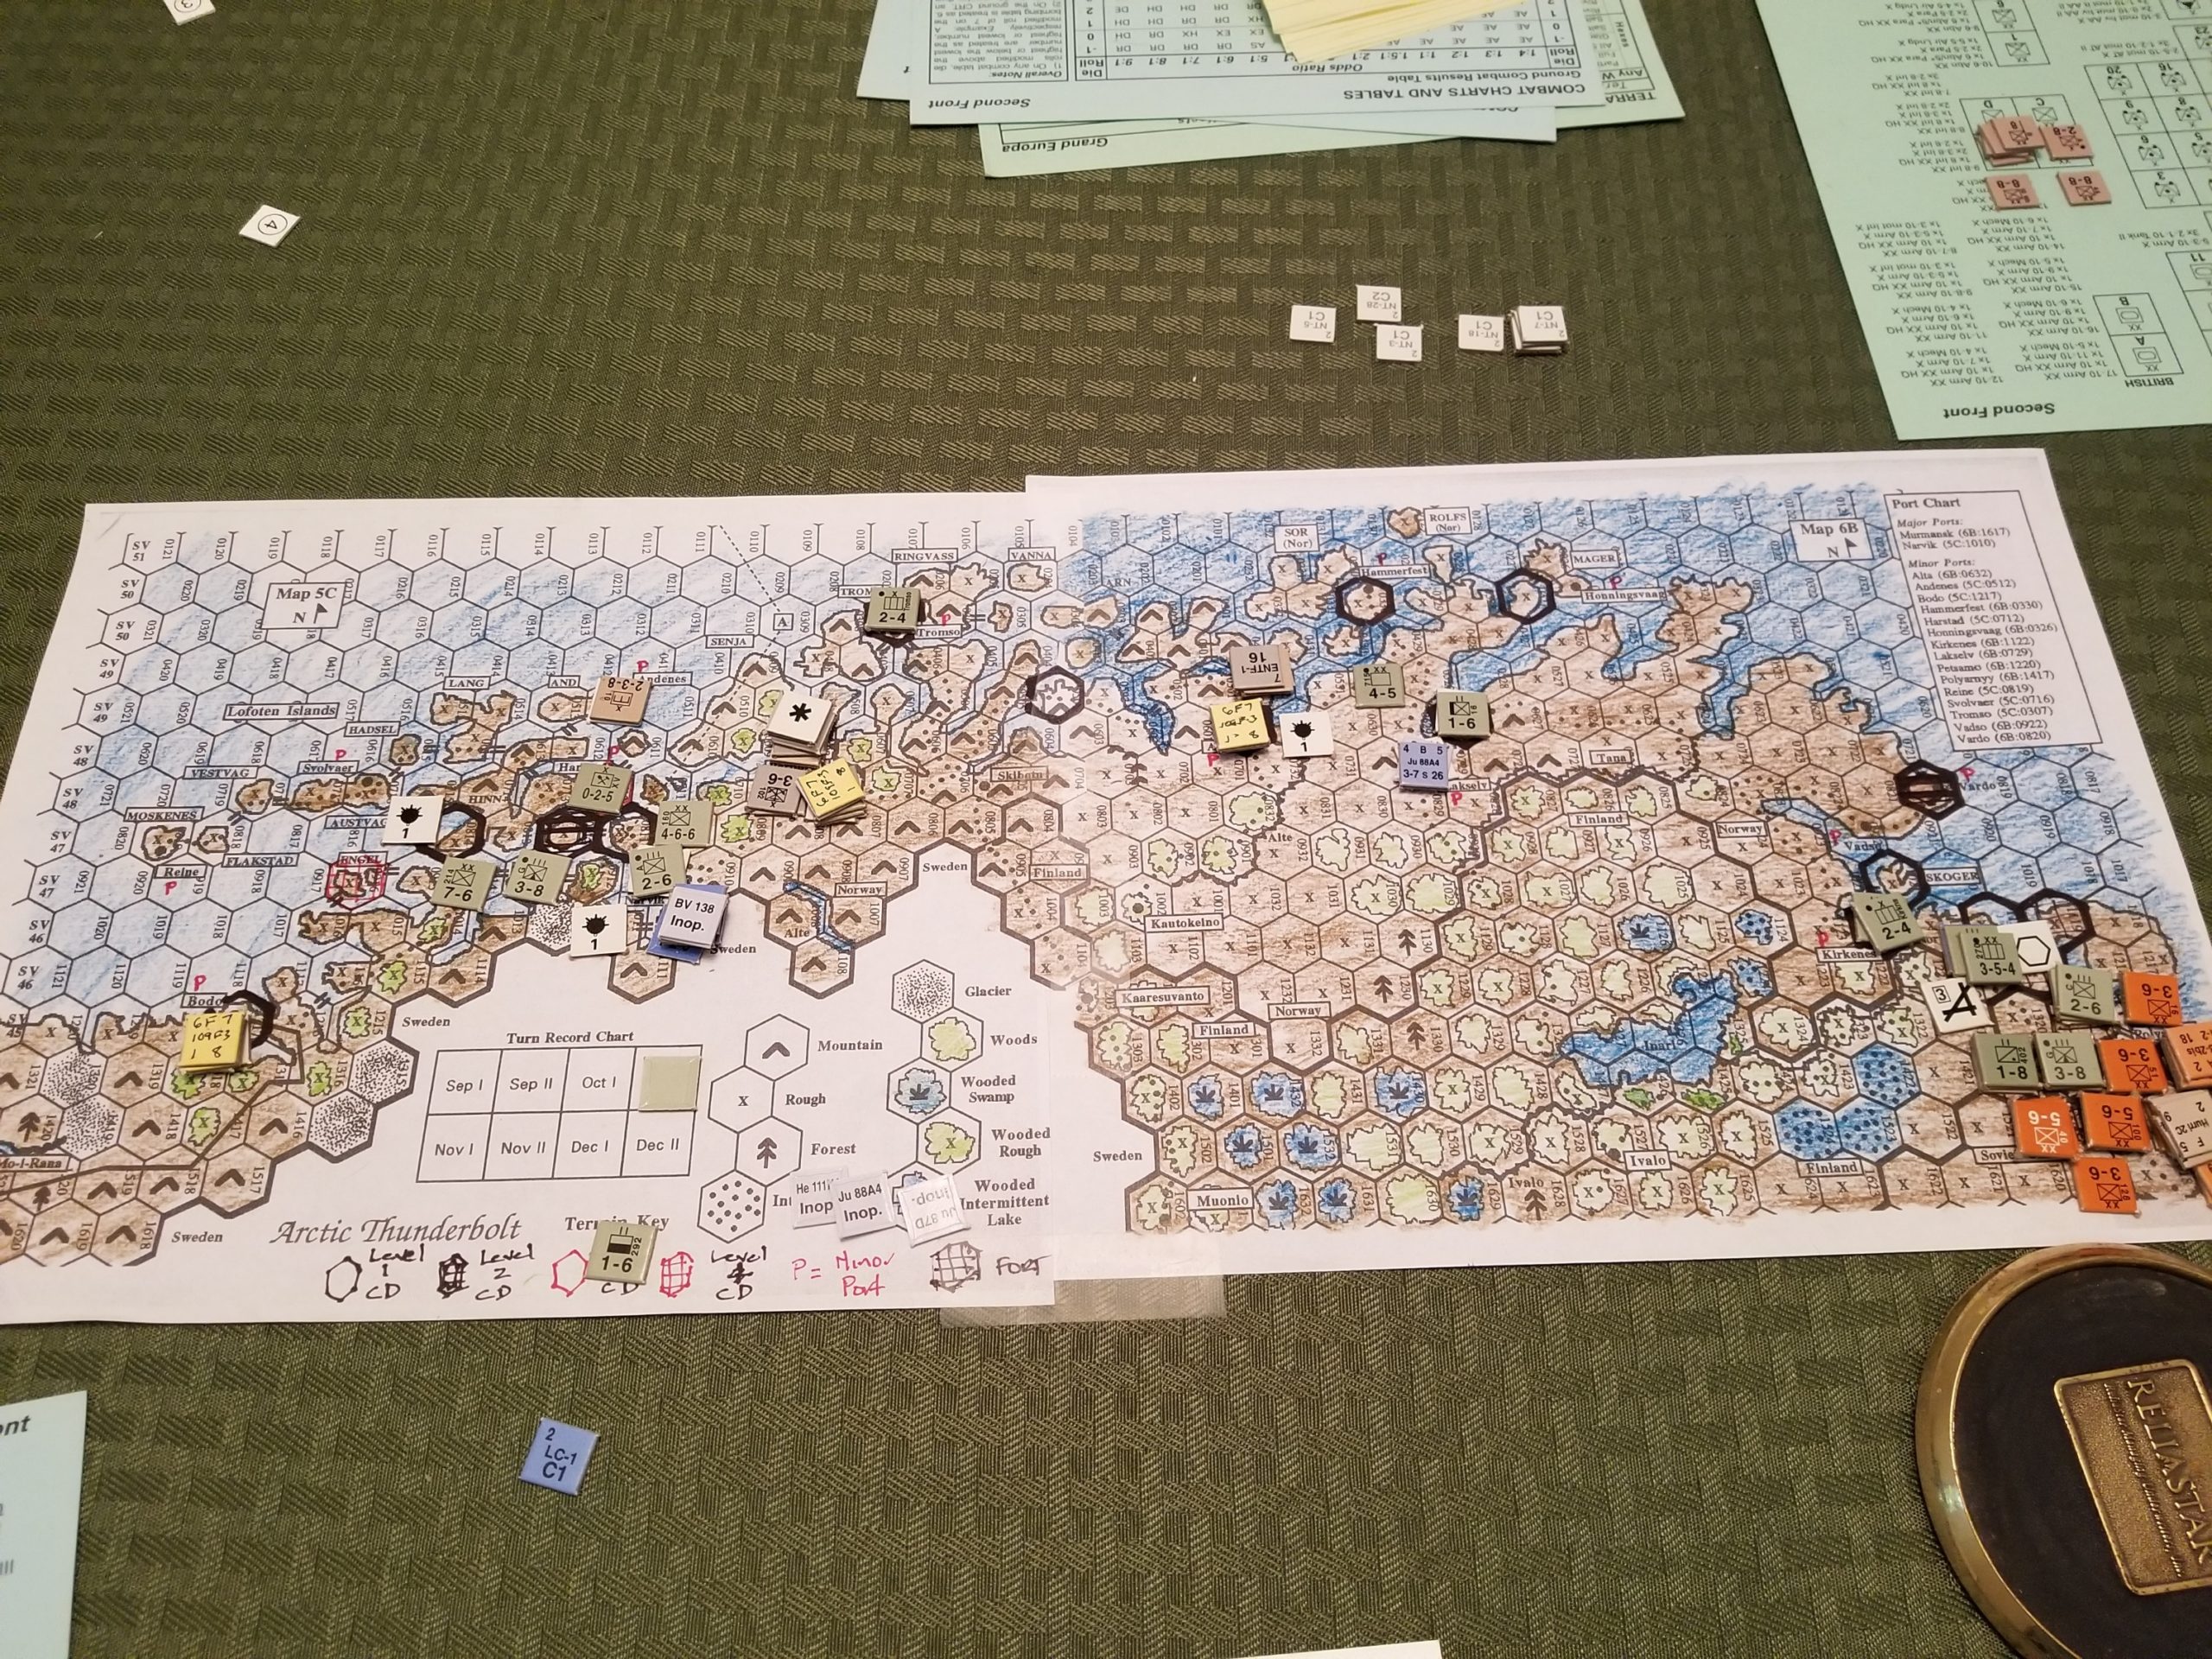
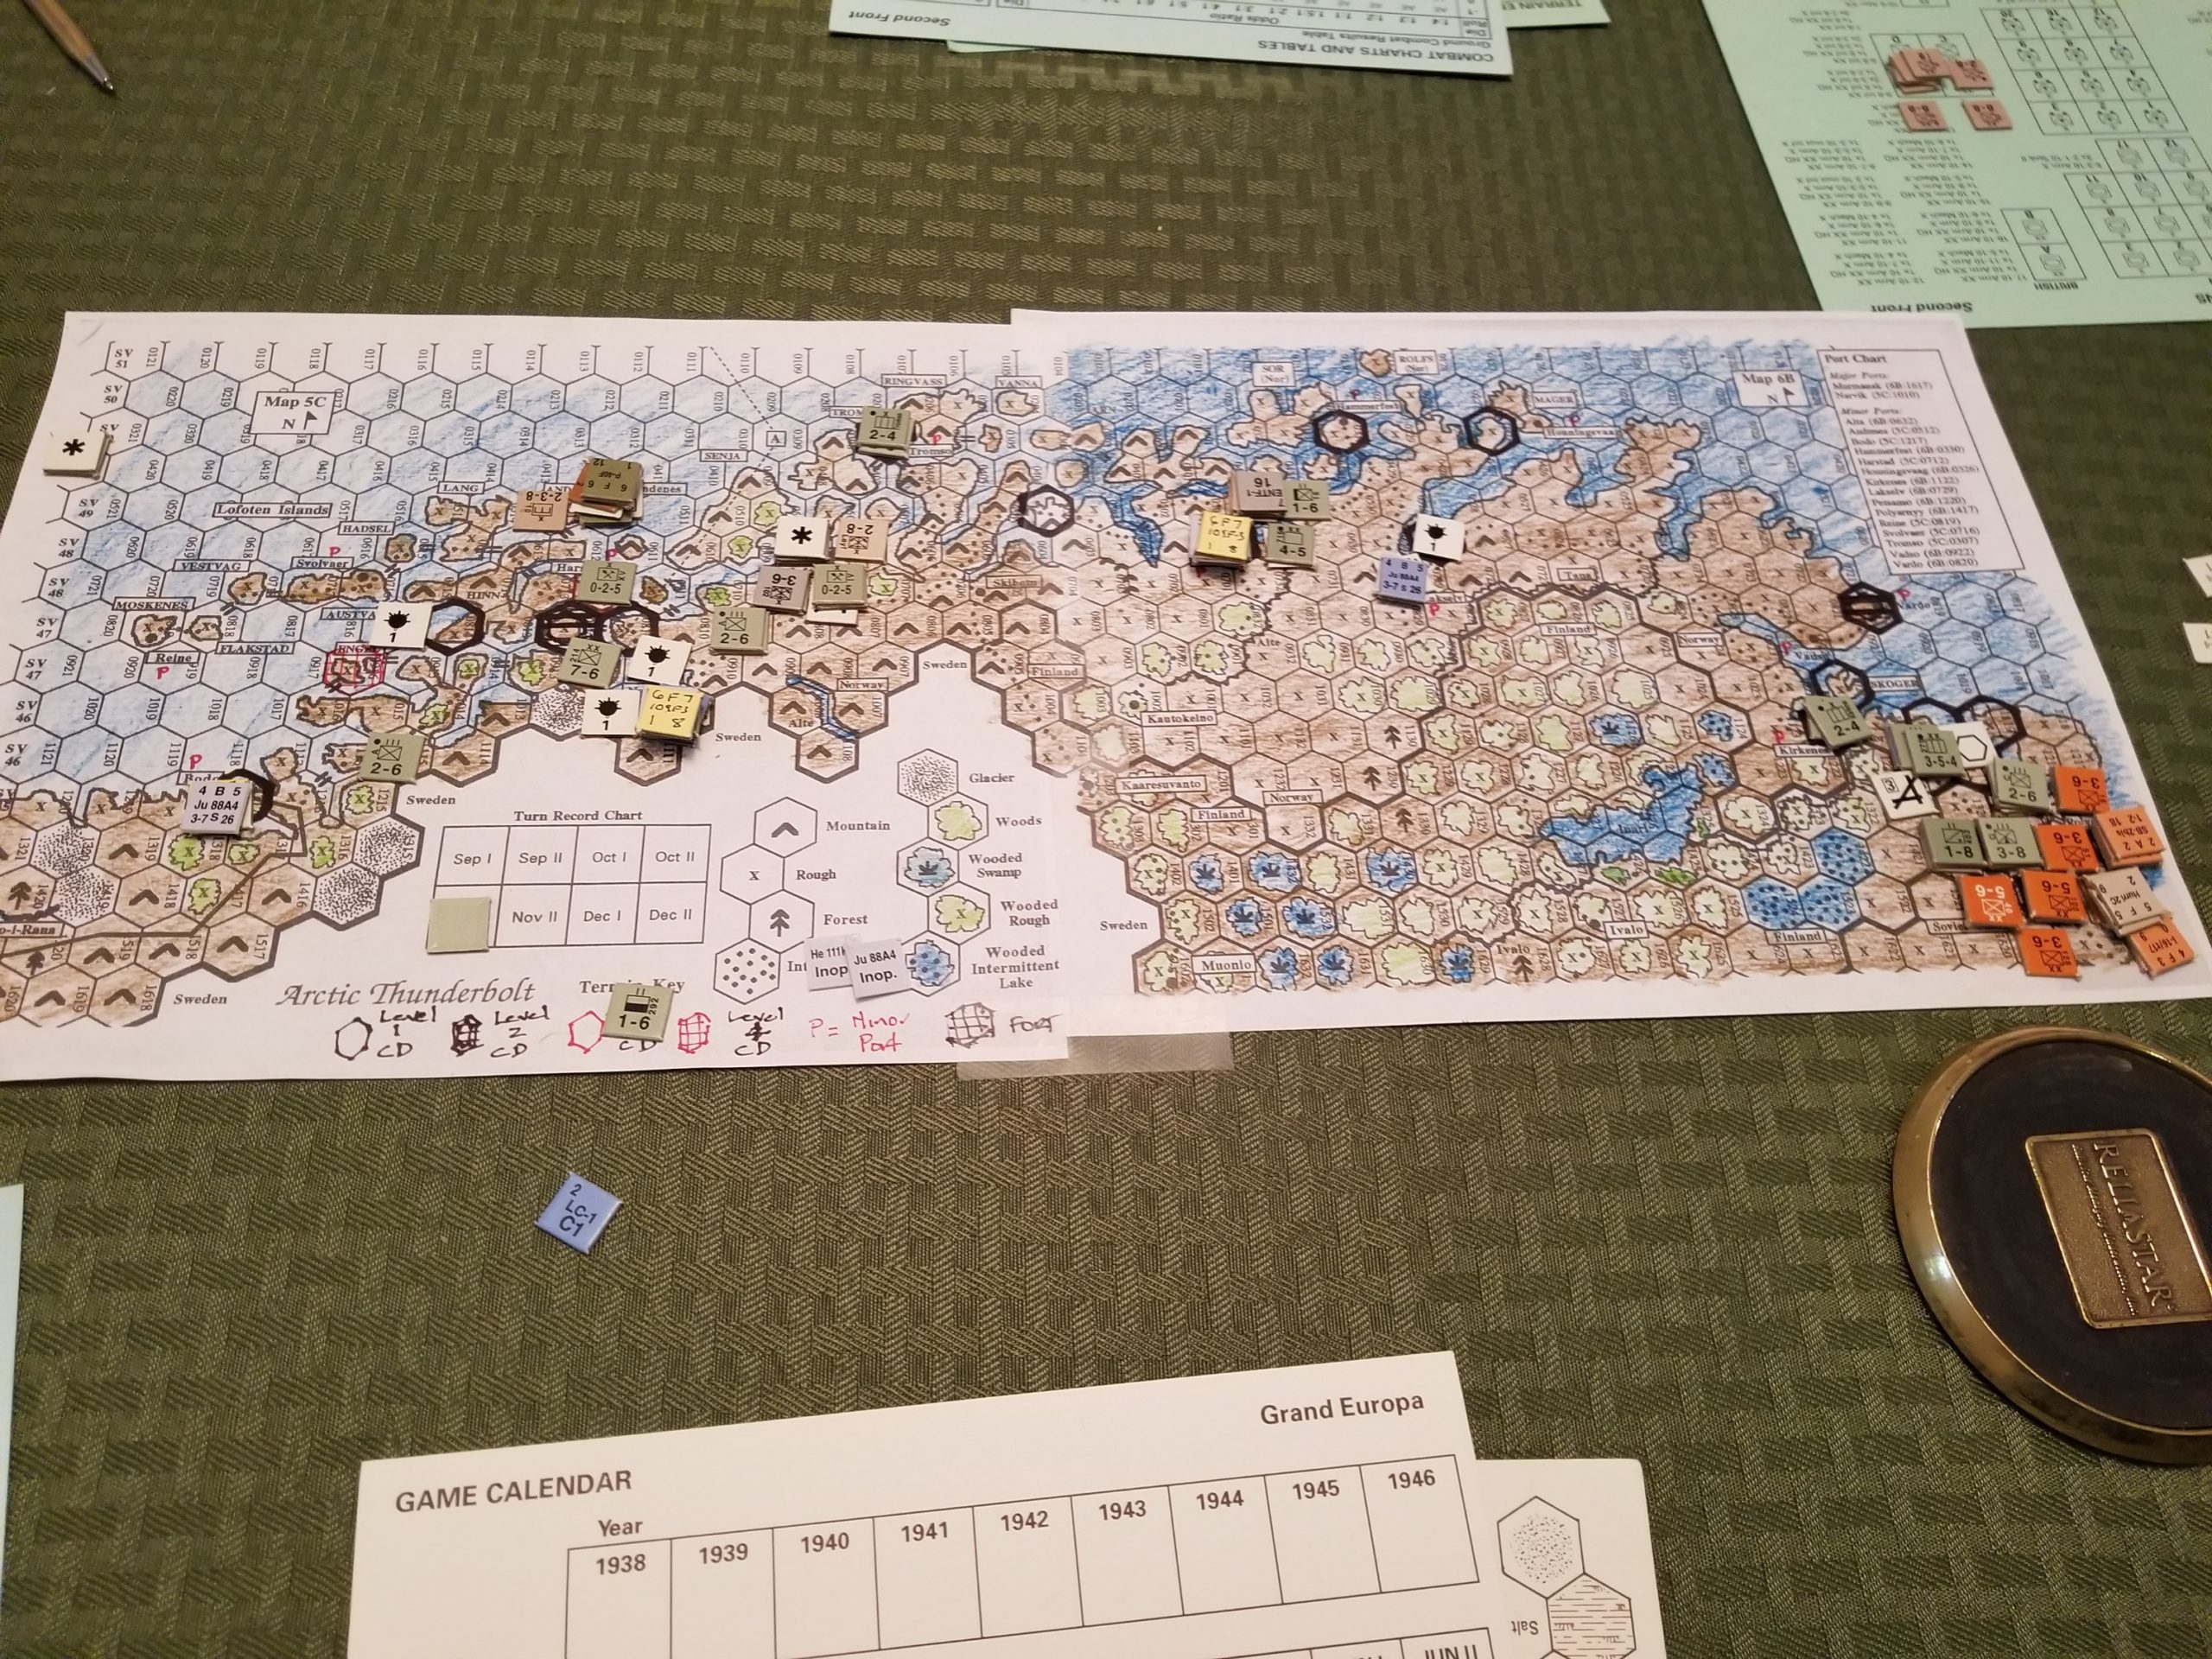
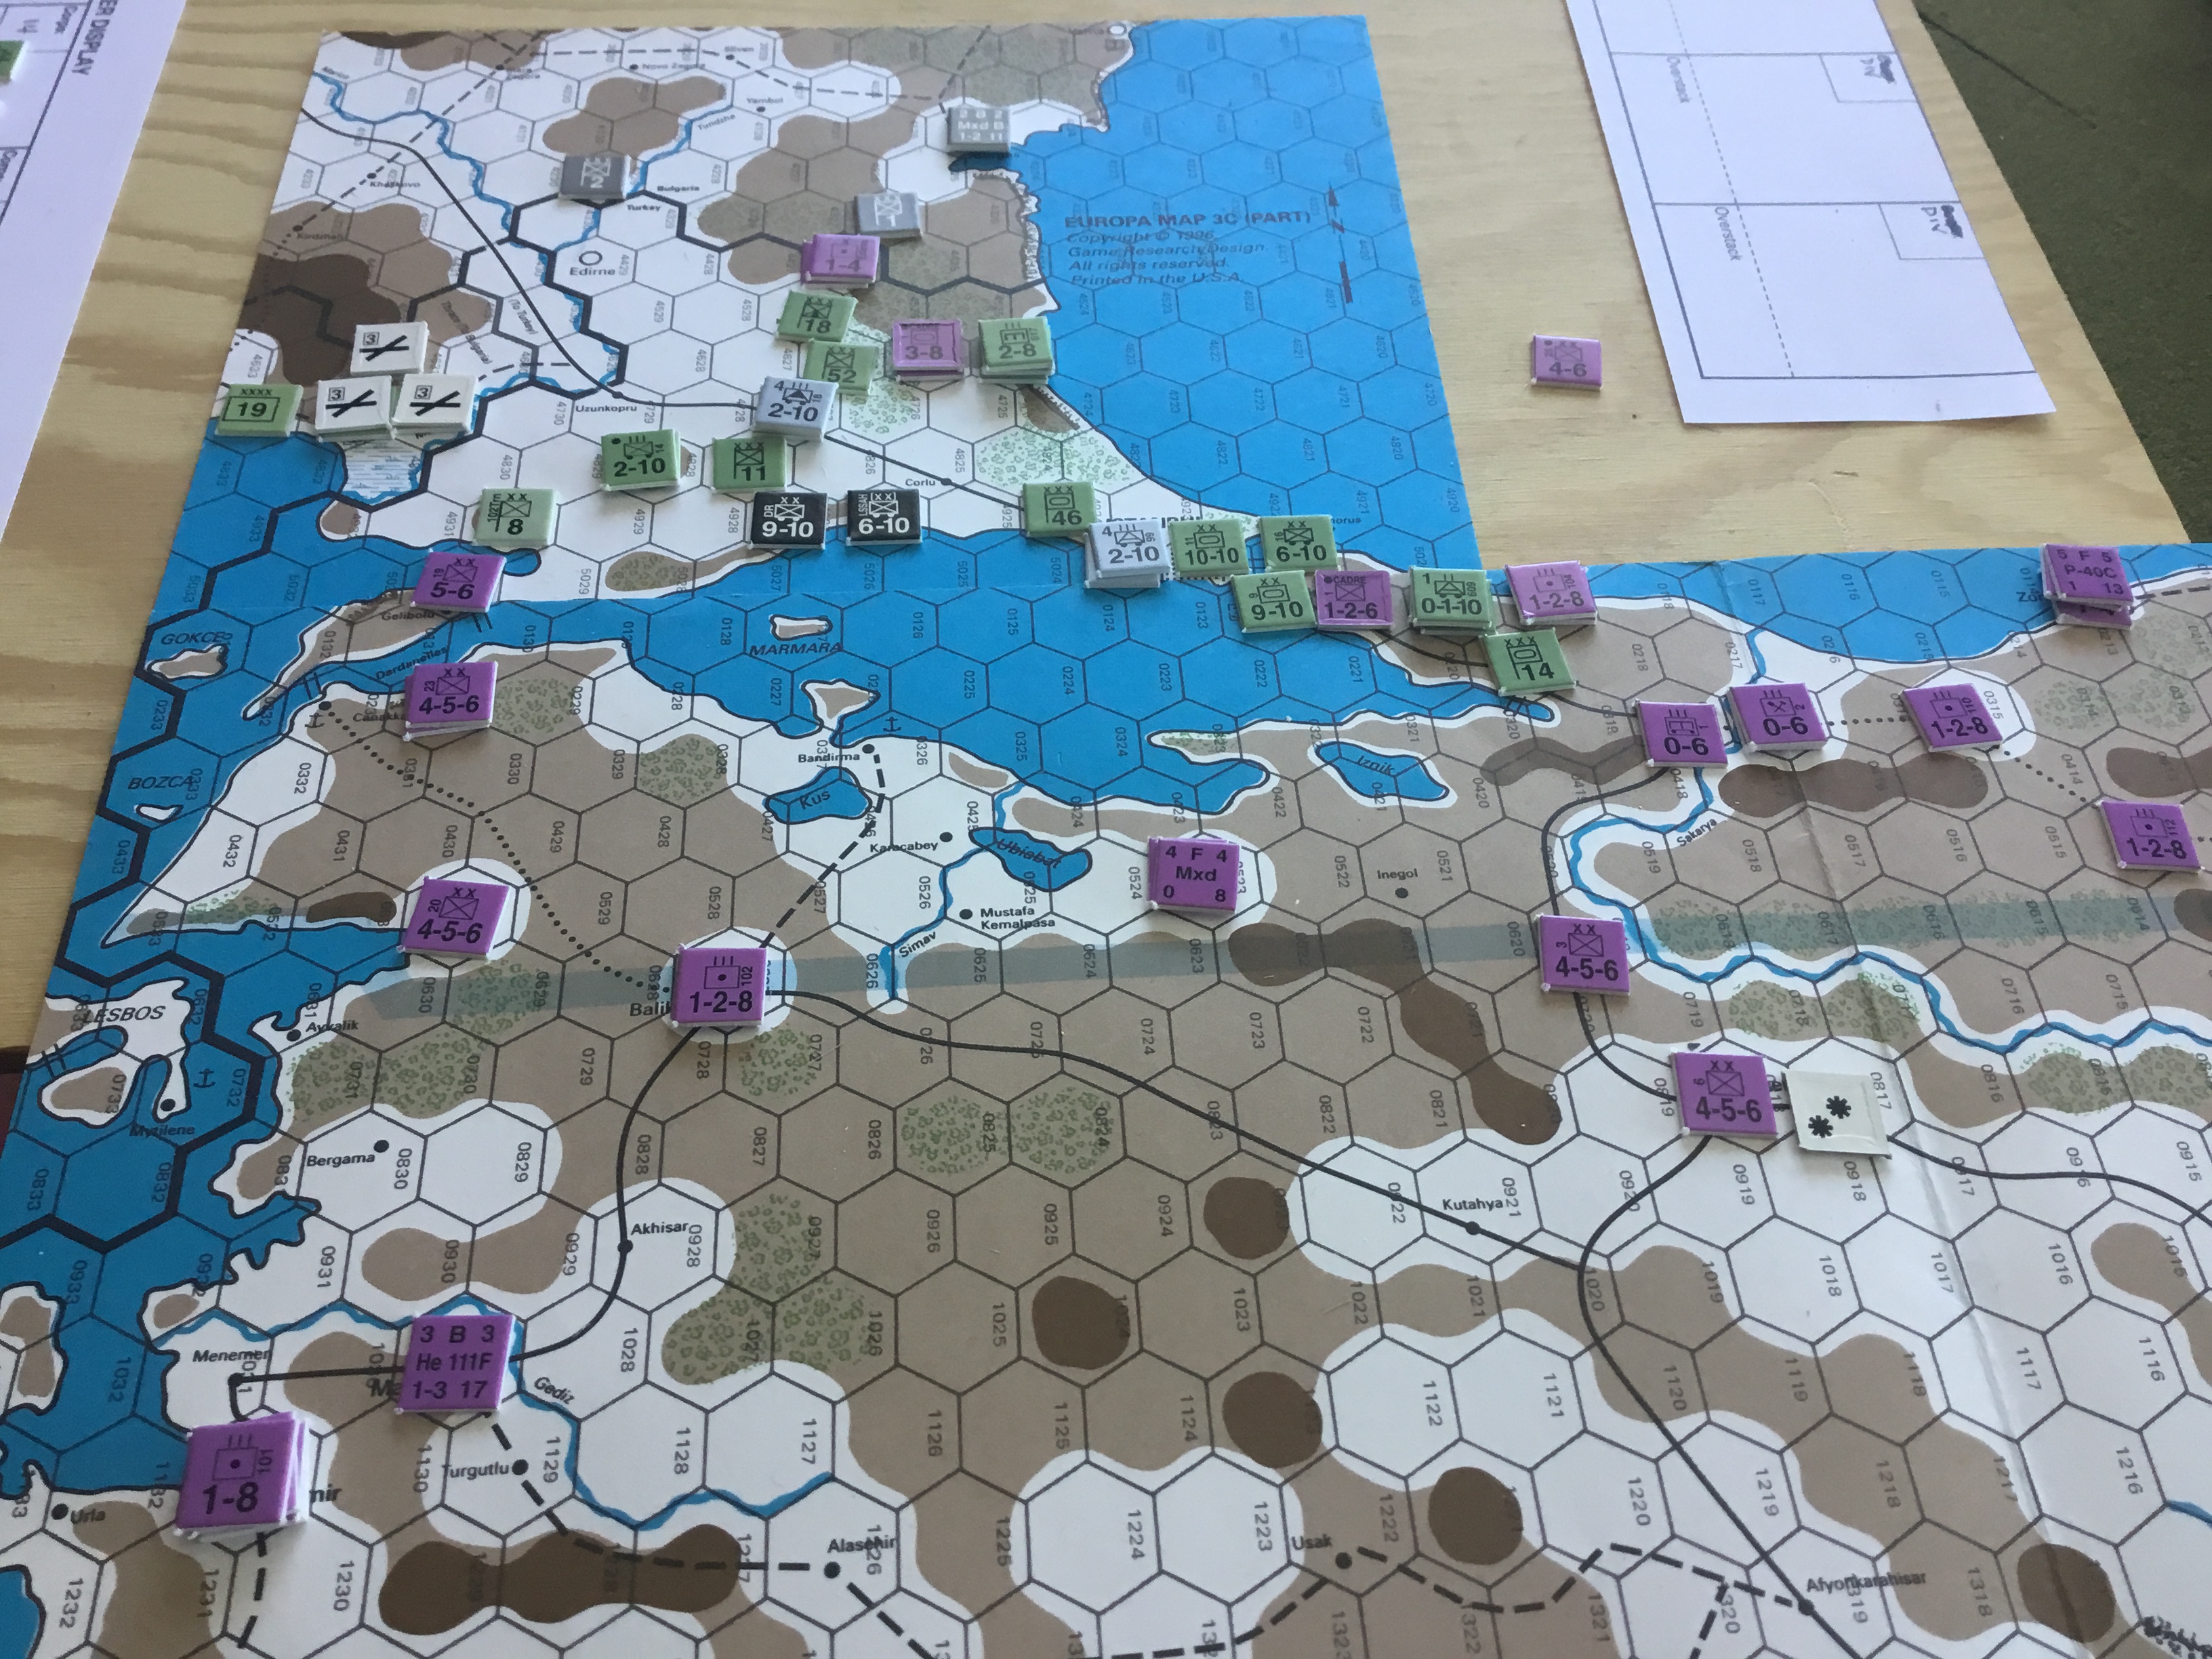
Getting close to covering all household horizontal surfaces with wargame related items.

Europa Purists may not want to read any further.

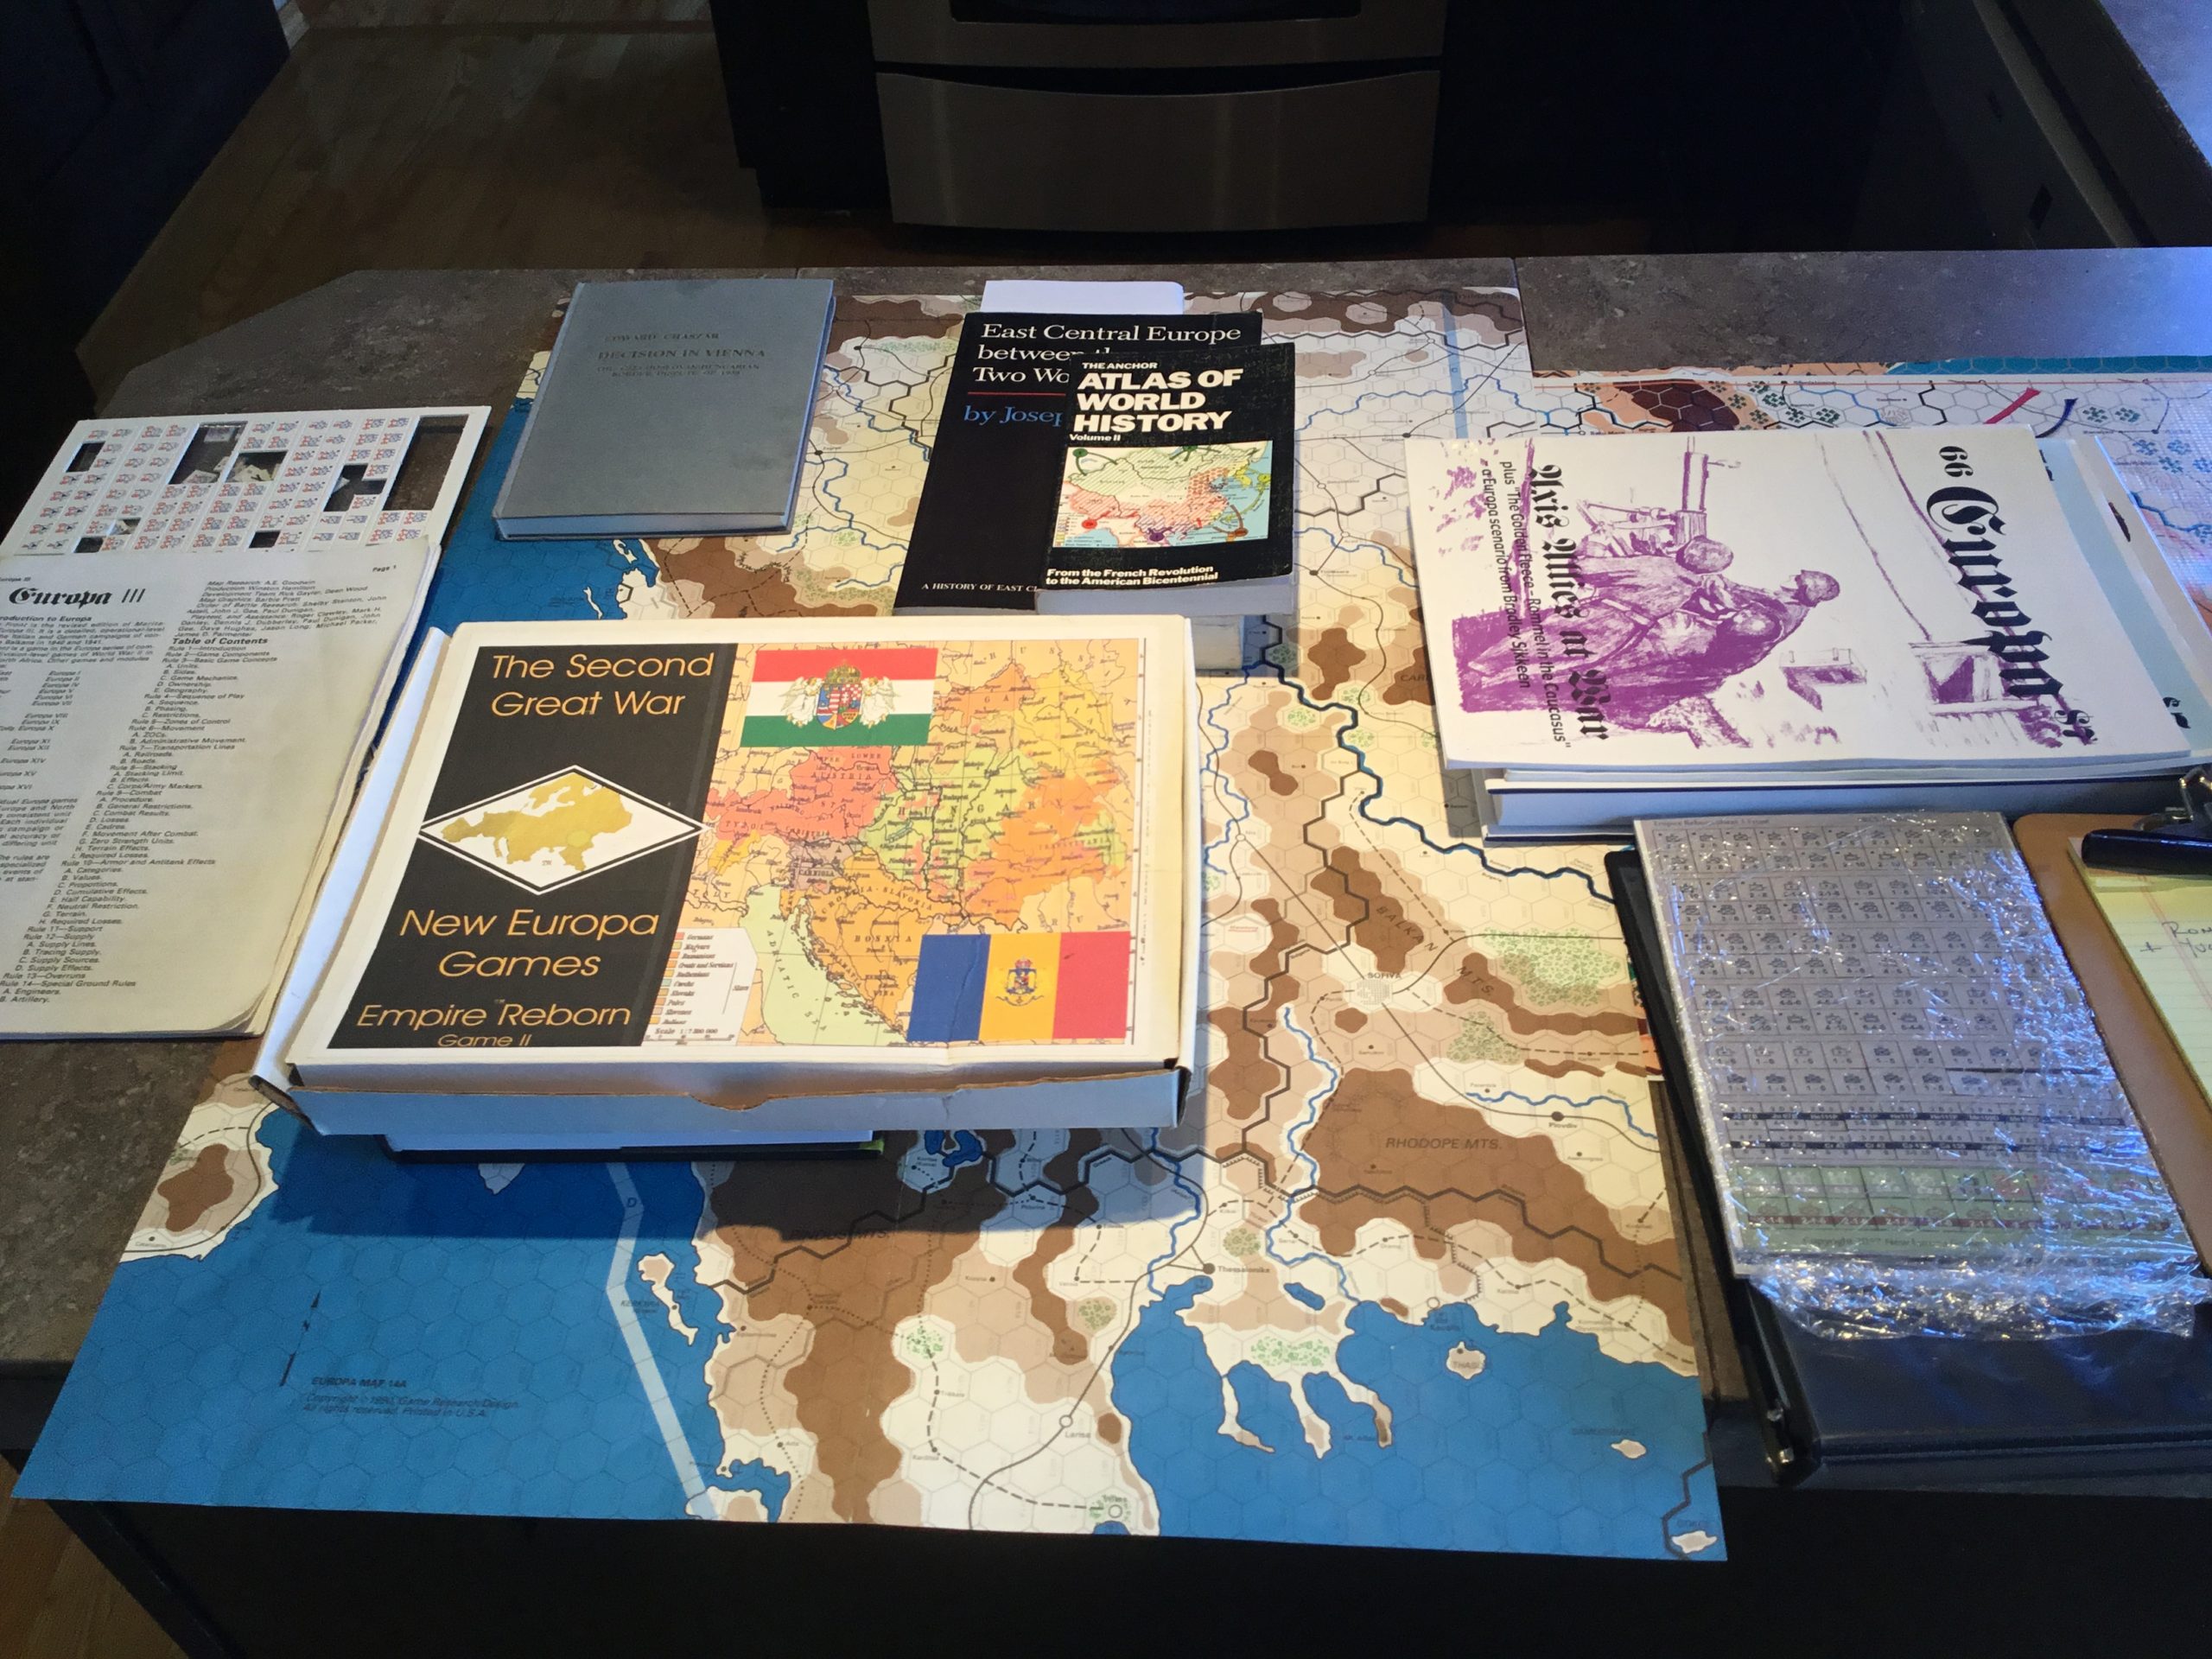
The  is the resource hodge podge assembled for my latest foray into out of kilter Europa scenarios, following in the steps of Fall Gertrude and the “Switzerland Must Be Swallowed” scenario pre-dating this blog.

As with any catastrophe, this one has several causes.  They are, in no particular order, an email exchange with Tim Davis, the publisher of Fall Grun and Empire Reborn, a chance encounter with The Europa Magazine (TEM) #57, and glance at my copy of East Central Europe Between The Two World Wars.

Empire Reborn posits a Romanian-Hungarian conflict in the wake of the Munich Pact.  TEM #57 contains a Macedonian War scenario developed by Frank Watson, portraying a 1940 Bulgarian invasion of Yugoslavia.

Both scenarios are based on ethnic/cultural/geographic grievances which (although centuries old) were the immediate products of the Balkan Wars and World War I.   It is a long and twisted story resulting – as best I can figure – in the following.

Hungary wanted to regain Transylvania from Roumania, and the Backa and Prekmurje regions from newly created Yugoslavia.  Bulgaria wanted much,if not all, of Macedonia from Yugoslavia, and to regain Dobruja from Roumania.

Hungarian revanchism was a result of the Treaty of Trianon (1920), which stripped the country of  land, ethnic Hungarians and resources.  This desire to regain what was lost led  to the creation of the Little Entente between Czechoslovakia, Yugoslovia and Roumania.

Greece, Turkey, Roumania and Yugoslavia reacted to Bulgaria’s territorial grievances by signing the Balkan Pact (1934).  The Pact was intended to maintain the region’s territorial status quo and peacefully solve any differences.

So, I am now ready to begin what Mr. Watson characterized  as “wandering in the Balkan darkness….” in explaining why he limited the scope of his Macedonian scenario.

I will, however, take his guidance and set my scenario in 1940, as “(it) provides a convenient way to do away with great power meddling.”

The shortest distance between two points is to assume a Hungarian and Bulgarian alliance (whatever form that might take) aimed at Yugoslavia and Roumania, all that was left of the Little Entente.

Most available order of battle information begins in 1941, but there are enough  fragmentary sources to take a pretty good guess at 1940.  In each case, the combatants were modernizing and reorganizing their armed forces.

What the hell….it’s worth a try.

Terminally Serious

Our Fall of France game ended during  the recent posting hiatus.  Here’s a screen shot of situation when I conceded.  Ugly.

Tim did a great job of applying unrelenting pressure on a broad front.  He might argue this pressure was too dispersed, but, in the end, his operational approach worked.  Yes, I held out longer than my historical counterpart(s), but the end result was still the same; a French defeat.

This broad, sustained pressure precluded any  concentration for a decisive counterattack, given the Allies’  slender armor and tactical air resources.  Every unit was needed to plug the recurring holes in a shallow defensive line.  The combination of tactical air, armor and strong infantry divisions capable of absorbing punishment was just too great.

A strategic withdrawal in the south would have been an option.  But, a passive surrender of French territory would be politically unthinkable, even though not a real game consideration in terms of victory points lost.

On second thought, maybe the end result wasn’t “the same”.  The British Army is still on the Continent.  No Dunkirk, no evacuation to fight another day.  With this outcome, the entire course of the war changes.  Negotiated settlement?   An interesting “what if” that has started a soft and gentle Siren’s Call to start up a session of A World At War or Blitz.

Now is a good time to replace those entryway lights…………


It Gets Serious: May II Turn

These screenshots summarize the May II Turn.


German armor sweeps past the weak ad-hoc French defenses and advances towards the Marne.  Also, the German commander turns loose “Ants” to disrupt the Allied rear areas.  To the north, German forces grind up the Dutch and Belgians,  advancing to the Dyle Line.

The Allies rush armored/mechanized units to contain the Ardennes penetration, while withdrawing from the Dyle line, using Belgian forces in support.  The Dutch attempt to consolidate their defense in order to tie down German forces for as long as possible.

Painful. But It Must Be Done! Fall of France Through May I Turn

I’ve bitched about my Fall of France (FoF) game with Tim, but I am now compelled to report it.

As usual with this site, the graphics will be less than ideal, a condition due in equal parts to my ambivalence towards pushing the boundaries of computer literacy and reliving a wargaming hell.

I was able to figure out how to get screenshots on my ancient Dell Windows 8 machine.  However, the screen shots of the JET board are just that; a shot of what is on the screen.  The JET mapboard takes up more than the screen, so the graphic evidence of this debacle will be from north of Frankfurt.  That’s  OK, because that it is where most of the carnage occured and is continuing to occur. We are now in the Allies Jun II turn, and things are looking very grim for the Allies.  But….. we must start at the beginning.

The Germans have  extremely powerful air and ground units.  The screenshots show only the top unit in the hex.  But, below that scary surface, lies even more panzer divisions, supported by motorized units, lots of motorized flak and artillery.

One revelation was how tough the German infantry stacks were.  Three 8-8 infantry, paired with artillery represents a lot of combat power.

Allied units are solid, but lack  mobility, flak and supporting units.I shudder when I think about the German’s powerful ground attack air assets used to support these armored and infantry forces.

Then, there are the historically based operational rules.  They create a difficult framework for the Allies to work within.

The Germans start off with an invasion turn, which includes all normal Europa turn phases except the exploitation phase.

The Allies do have a reaction phase. However, this is scripted because most northern French units and those of the BEF must enter Belgium  to occupy the Dyle River Line, setting up the historical “Sickle Cut”.

While Dutch and Belgian units can move during this Allied reaction phase, they cannot enter enemy zones of control.

With the Allies sucked into Belgium, the Germans start the regular  May I  turn.During the Allied player May I turn,  no unit in an enemy ZOC (Zone of Control) can move, and all British or French units have their movement factors halved.

The Allies are further hampered by the inability of their combat / motorized units to attack a full-strength or move using full movement during their exploitation phase until the beginning of the June I turn.   This reflects a lack of mechanized doctrine.

To make things even worse, during the May I turn any French  non-mech/motorized unit has to retreat two hexes rather than one if it has fought  an attacking German force with at least one panzer division.

One other note about the graphics.  As I mentioned, JET is a real marvel.  However, it cannot do several things within the rules as written Europa framework.  The result is that you have to tweak things, and the file you forward may have a heading (found in the upper left hand corner of the screen) that isn’t quite accurate.  An example:  You cannot fly CAP (Combat Air Patrol) during the Initial Phase.  You have to cheat, and “fool” the machine by forwarding to your Movement Phase, where it is allowed.  So, on the files shown, the heading on the screen may show “German Movement Phase”, when in fact the file really reflects the Allied Initial Phase.  Confused….good…..misery needs company…..and  the weight of Tim’s advance has had me in a daze since early May.

Allied Setup
Allied Exploit – Move To The Dyle Line
You can see the German penetration through the Ardennes.  Now, the Allies must avoid being enveloped.  Will post up later with more carnage….after I do a better job of figuring out the screen shot sequence.

Don’t Want To Look

Playing Fall of France (it’s that time of year) with Tim using Jet (JET?) software.  He finally talked me into it after years of cajoling.

Jet is quite an accomplishment.  While the graphics are rudimentary, and the program has its quirks, in the final analysis it is quite an accomplishment.  I marvel at how it eliminates much of the cardboard and paper drudgery.

I have the results of his German May II combats downloaded to the computer, but I can’t open it.  I’m playing the French side.  I have gained new insights as to how General Gamelin must have felt.  Nothing but bad news.  Wake up in the morning, look at the situation map and go right back to bed.  I almost did that last week after I received his May I turn combats.

I feel the same way about opening this file as I do when I hear a loud 3 AM Thump downstairs.  I would prefer not to investigate and am loathe to get the shotgun.

What makes it worse is that his well intended informational snippets contained in the body of the email are, to me, not informational but loaded with ill portent.

This apprehension  is so acute that I promised to watch a movie with my Wife this evening………


Nordic Saga – Part II

An even later post to complete the account started in an already late post.

The game followed the standard Europa sequence, with the Axis phase first during the September I turn. Tim made some adjustments to his defenses, especially in the vicinity of Narvik. Regardless, the Allied landings went smoothly, with German air accounting for only one transport lost as well as one landing craft. Unfortunately, the lost transport contained the Headquarters for the 78th Division. In Europa, without a supporting headquarters, a regimental/brigade sized unit fights at one-half strength. The engineer unit was able to land at the port of Andennes, but would not be able to start work on the airfield next turn.  By turn’s end, this was the situation.

The September II turn went badly for the Allies. The weather turned, with stormy seas and mud creating rains. In this weather, beach landings are prohibited, ground movement is slowed, and engineering tasks take twice the time. This effected the Allied airfield construction and efforts to land reinforcements and supplies. Worse, the Germans were able to take advantage of the withdrawal of several Allied naval units from Narvik and overrun the leaderless and unsupported 78th Division.  No photographic record remains of this debacle.

The weather remained muddy, but with stormy seas continuing  The German units continued to pressure the Allies, but did not attack due to low odds.  The Allies were able to evacuate the remaining Narvik survivors, despite Axis bombing attacks.  The British were able to attack and destroy a German Penal Battalion at Bardufoss, but that was the limit of Allied successes.  The situation looked very grim for the Allies at the end of turn.

Things got worse with the weather roll at the beginning of the Oct II turn:  Snow.  Sea conditions became marginally better, with rough conditions.  Allied air units landed at the new Andennes airfield, but ground forces were unable to make any real progress against the German defenses.

The Nov I weather roll for snow and stormy seas effectively ended the game, as the Allies were now unable to resupply their forces over beaches and movement was severely restricted.

This was a painful experience.  The Europa naval rules are tortuous, especially when coastal defenses, danger zones and minefields are involved.  The game becomes a slog, and because of this, no longer is a “game”, but a simulation.

The  simulation makes it clear obvious why Operation Jupiter never happened.  The dependence on good weather beginning in October is enough to make the entire proposition marginal at best.  Add into this demands for naval resources that require the withdrawal of units that provide significant naval gunfire support, as well as critical landing craft for troop buildup and resupply, add to the “options of difficulties”.

Churchill wanted to do it and Hitler thought he would do it.  Reason prevailed on the Allied side, but significant resources were still poured into Norway’s defenses.  Was this irrational, or did Hitler’s fixation prove to be a deterrent?

I hope Tim will post up with his thoughts.  But here, briefly, is what we discussed right after I threw in the towel.

I have circled the northern part of the map to represent the positions of Soviet troops.  They are too few, the German positions to well fortified, to do anything more than tie down assets that could be used against the landings to the south.

The Narvik landings could have taken place to the west, with the forces crossing the narrow straits.  This would slower, but might allow a greater buildup of troops using minor ports.  Again, with time of the essence, I chose a more direct approach.

Me, I’m just glad the game, and these posts, are done.  OOFTA!

Nordic Saga – Part 1

Another late post.   This time it’s about the Operation Jupiter game played with Tim several weeks ago.

The lead-up to this game was a comedy of errors even by our broad standards.  The scenario is in The Europa  Magazine (TMO)  #41, entitled Arctic Thunderbolt, simulating  a late 1942 invasion of Norway.  The magazine contains special rules, orders of battle, and a map for the scenario.  We decided to play this game during a phone conversation back in October.

This is where the fun started, because, the scenario was re-done in the boxed game Storm Over Scandinavia (SOS).  I studied the scenario as presented in the game.  Tim used the scenario in  TEM.

We set up the SOS maps and started to play.  But….nothing matched up.  The OBs, locations on the map, special rules were all different.  The game was out of phase, and we were losing our minds.  The only thing to do was stop, settle on using the TMO rules, maps, etc, and start again in December.

As the Allied commander, I spent the next few weeks in a funk, grappling not only with the involved Europa naval rules, but also the challenges of the invasion.  Things were just too depressing struggling with these “options of difficulties” and staring at a soul less black-and-white magazine, so I copied and garishly colored the map.

This was a very tough mission.  Suitable landing sites were limited, weather could disrupt the landings at any time, and the invasion fleet(s) would have to run a gauntlet of German aircraft.  To top things off, the Allies had a very aggressive schedule for the withdrawal of naval assets after the initial turn.

We played a couple of days before Christmas, squeezing in a session  between a visit to other friends in Portland and football viewing.  The SOS maps proved so cumbersome we used my little map.  Even with my invasion plans completed, we managed just a single turn.  Lots of naval movement, naval patrol , danger zone and mine field roles.  After this session, I re-did the little map, which is shown below.

map

For the new game, my amphibious forces would land at Alta, Narvik, Bardofuss and Andenes.

I realize the following illustration sets a new low in media crudeness for this site, but it’s a matter of communicating effectively, and spending my time gaming, rather than focusing on developing media presentation skills.

Landing # 1  – Narvik (United States):   6 Pt WNTF-1, 6 Pt WNTF-2, CG-1 (F4F & SBD), NTPs and LC for 85th Div. 1x 2-8, 1×3-8 & HQ, along with 4 SPs at Hex 0811.

Landing # 2  – Andenes (British):  4 NTPs & LC for 102 RM 3-6 & 10 Eng 2-3-8 along with 4 SPs at Hex 0512

Landing #3  – Alta (British):  16 Pt ENTF-1, 8 Pt ENTF-2, CG-1 (with Sfire, F4F & Albacore) & CG-2 (with Sfire, & Fulmer) , NTPs and LC for 46th Div.  1x 2-8, 1x 3-8 & HQ, along with 4 SPs at Hex 0532.

Landing #4  – Bardofuss (British): 8 Pt ENTF-3, NTPs & LC for 2x 3-6 RM (101,103), 2-8 Layforce along with 4 SPs at Hex 0608.

Landing #2 was scheduled for the Exploitation Phase when – it was hoped – all German air assets had been used for naval patrol or strike missions.  The engineer unit  build an airfield.

Fall Gertrude – Botched……..And Boxed.

To borrow from Christopher Shores….a “Bloody Shambles.”  And as bad as the TV Show.

Axis forces now in a cul-de-sac.  I’m sure there is a way out of this (desperate airborne divisional drop?), but lack the time and patience.

So, where did it all go wrong?  Feel like Jeff Goff looking at Super Bowl film.  I’m so Kubler-Ross.

Think this sequence sums it up……

Ready to Break Into Asia

Too Many Units Mopping Up

Go South, Not East!

Instead of East, I should have moved the Panzers South and East, to the Anatolian Plateau, and tank country.  Needed to either quickly eliminate,  or mask,  the by-passed Turks west of Istanbul, and move the bulk of the infantry east  to maintain pressure there.  Too much reliance on speed and luck.

Still, it was way too much fun getting the Turks on the Europa Table, and exploring a might-have-been scenario.  Persia next?  I think there is a Europa Scenario for that…………

Fall Gertrude – Axis Turn 5 Movement and Combat

Axis armored units contined to move east into the teeth of the Turk defenses.  Slower moving infantry units moved to the southeast.

Overall View End Of Axis Movement. Air Units Shown Near GS/DS Hexes

The attack on Hex 0619 was at 49:8, or 6:1, -1 for Rough Terrain.  A “6” was rolled, for a DE result.

Infantry Attacks Hex 0619

The riskier, but necessary armored attack at Hex 0513 was at lower odds, or 4:1.  The Turk mixed fighter unit did abort an He-111 unit, but a roll of “6” makes up for that kind of setback.  This was a DE result.

Armor Advances After Successful Attack On 0513