Had another flash of insight while painting the battle mats. Maybe it was the olfactory stimulus from the spray cans.
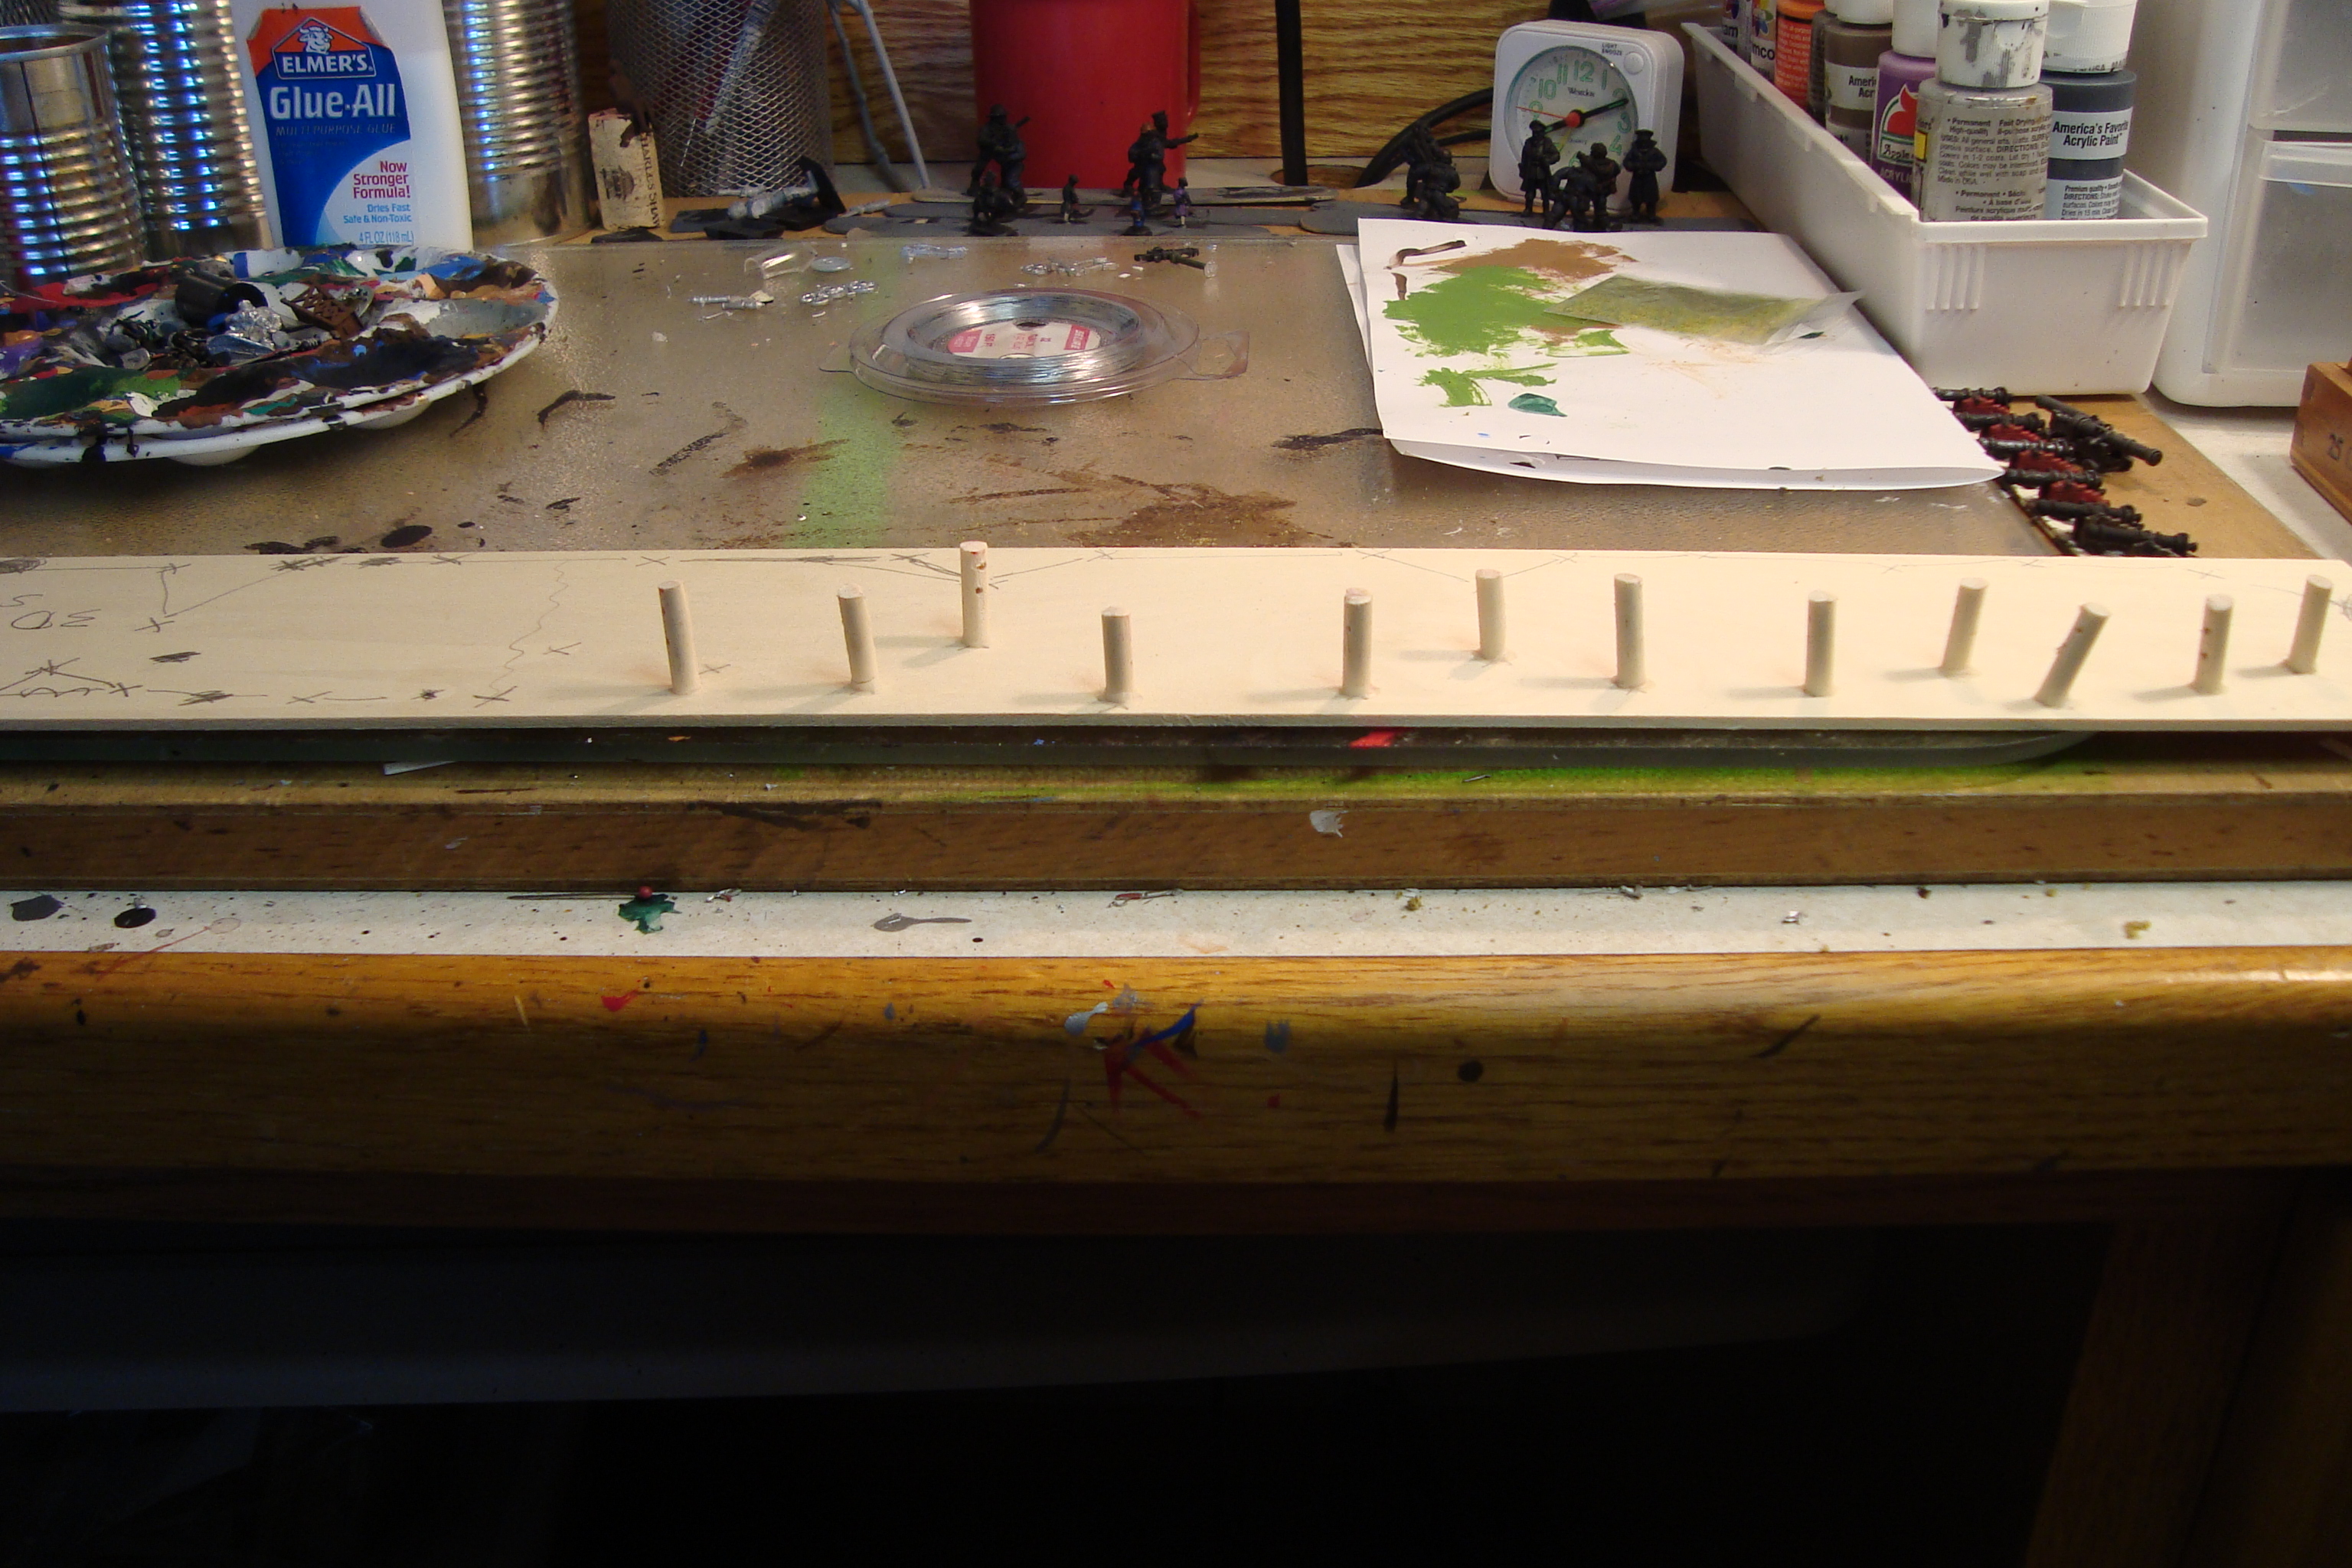
Was getting ready to start cutting up card for terrain bases when I realized……why not use beer mats? They are thin, come in a variety of sizes and are a good match for 15mm vehicles. Fantastic! One of the things we have plenty of here at The Lodge is beer mats.
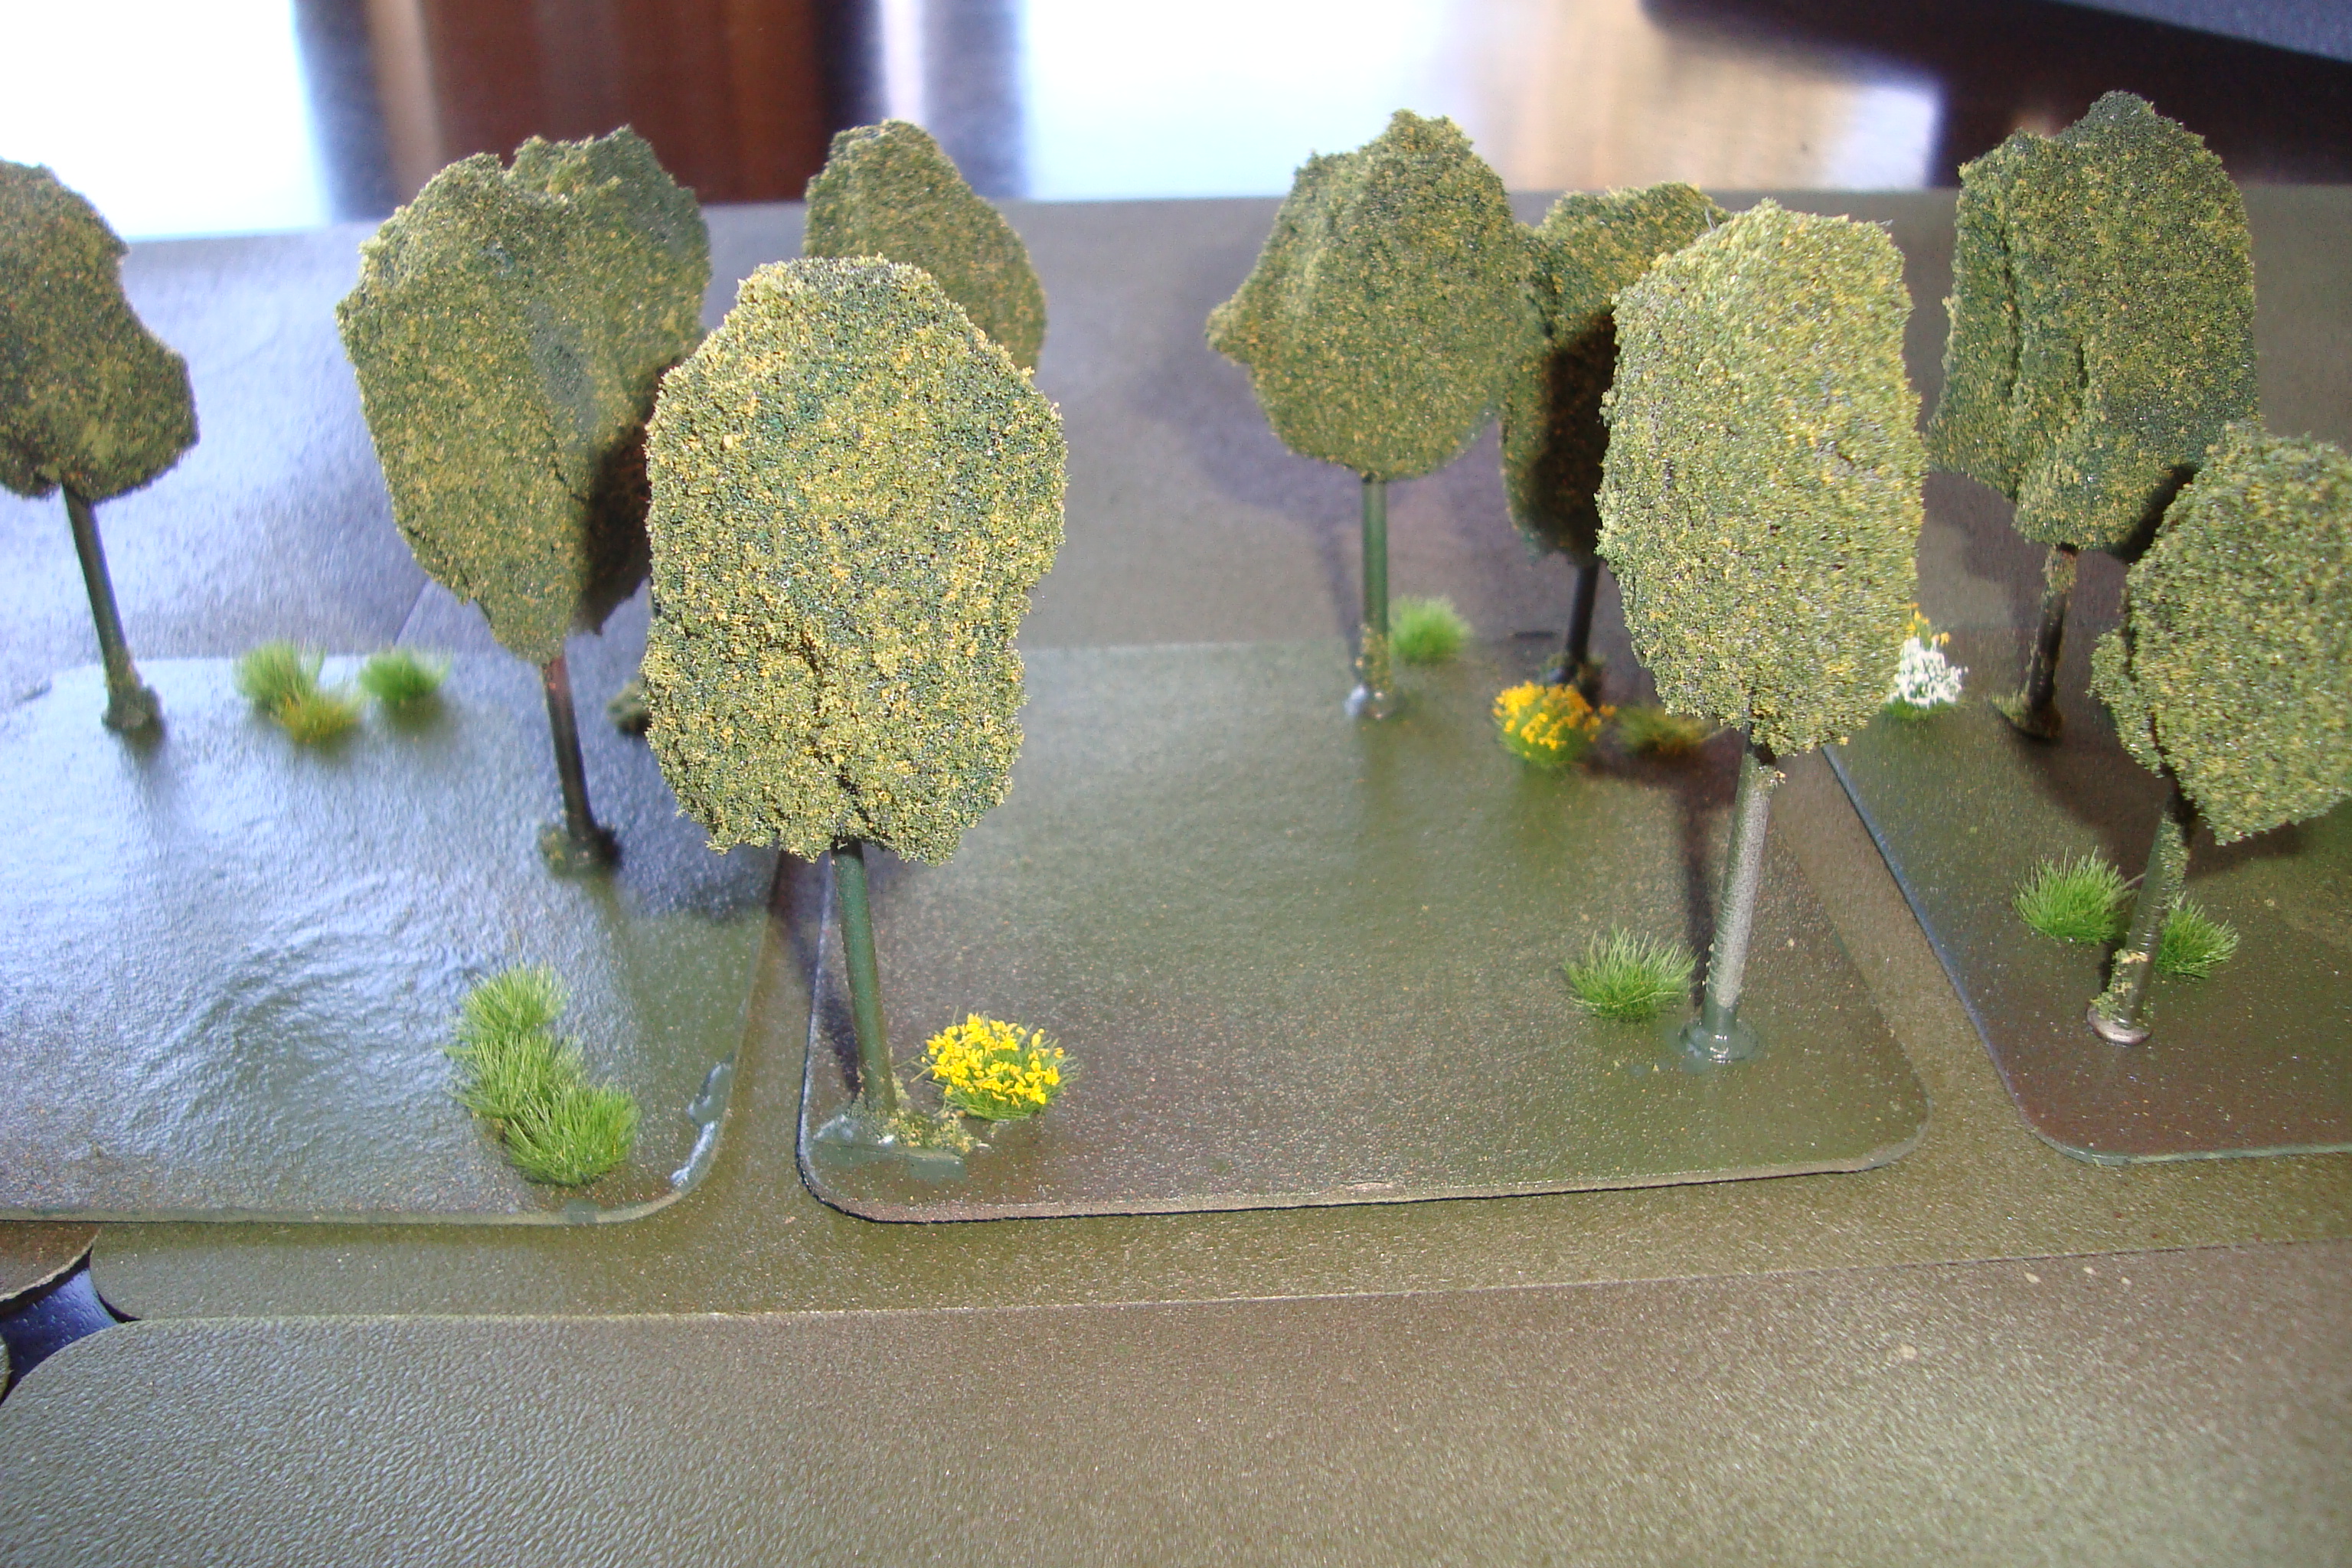
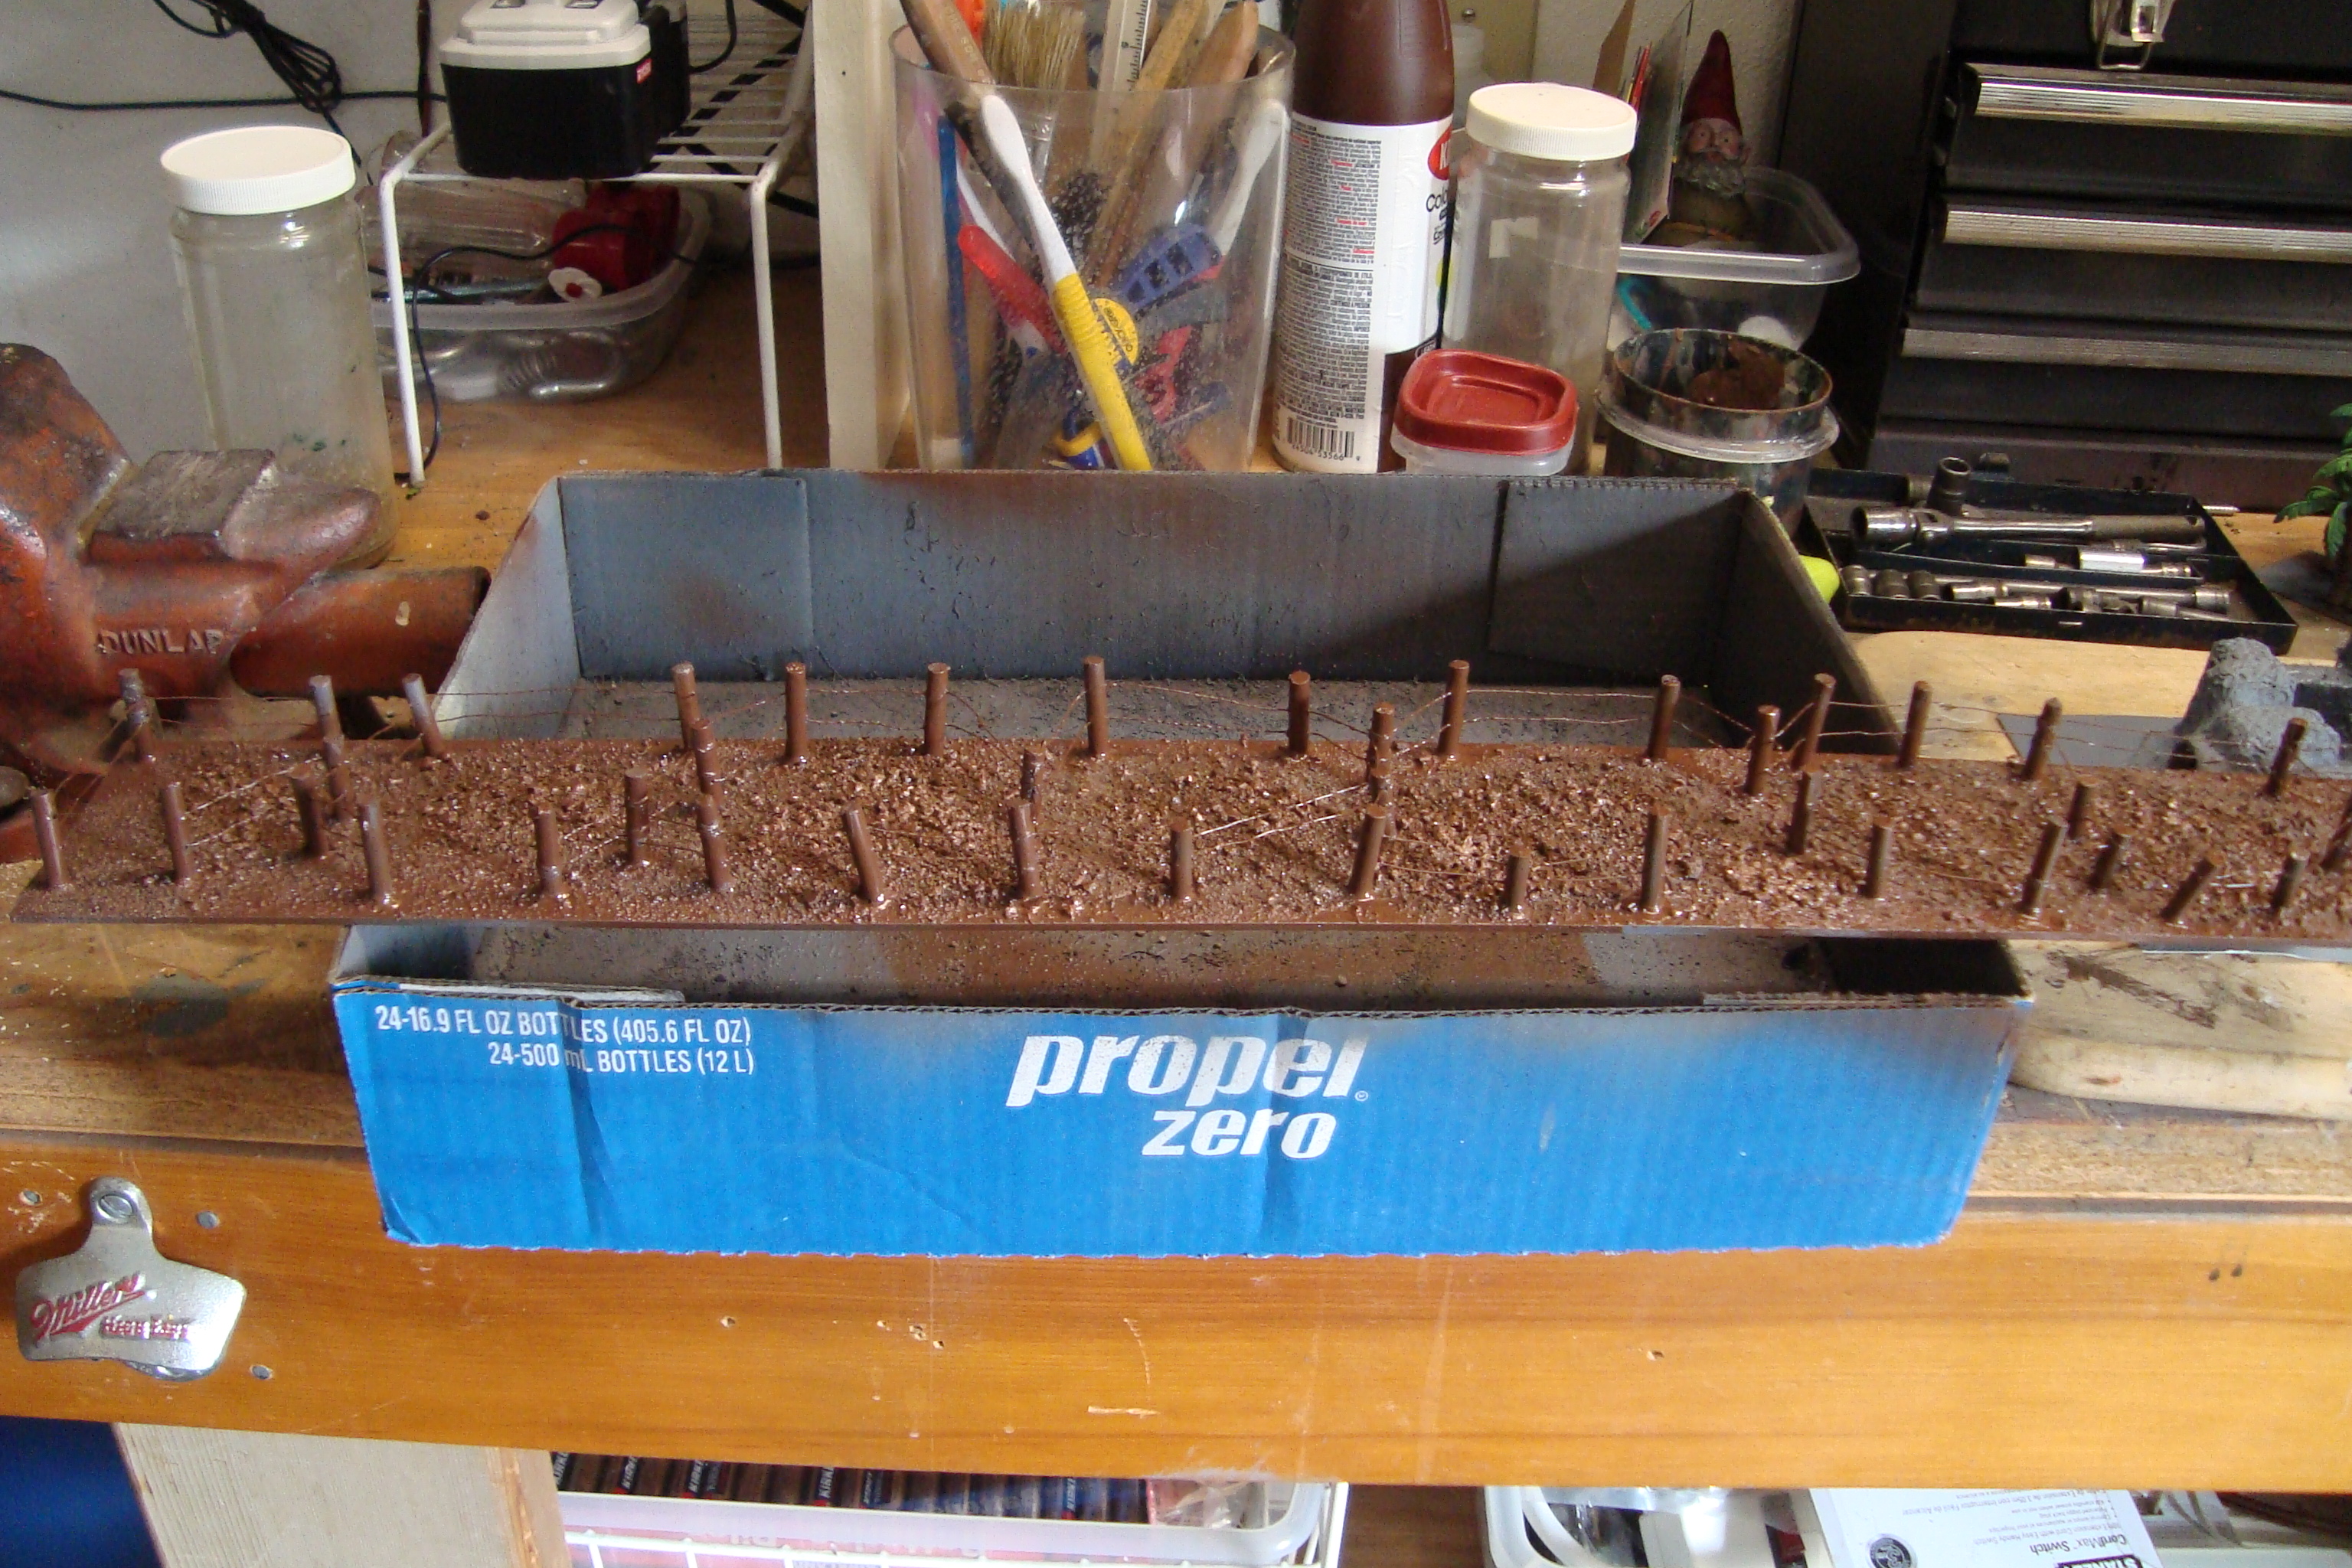
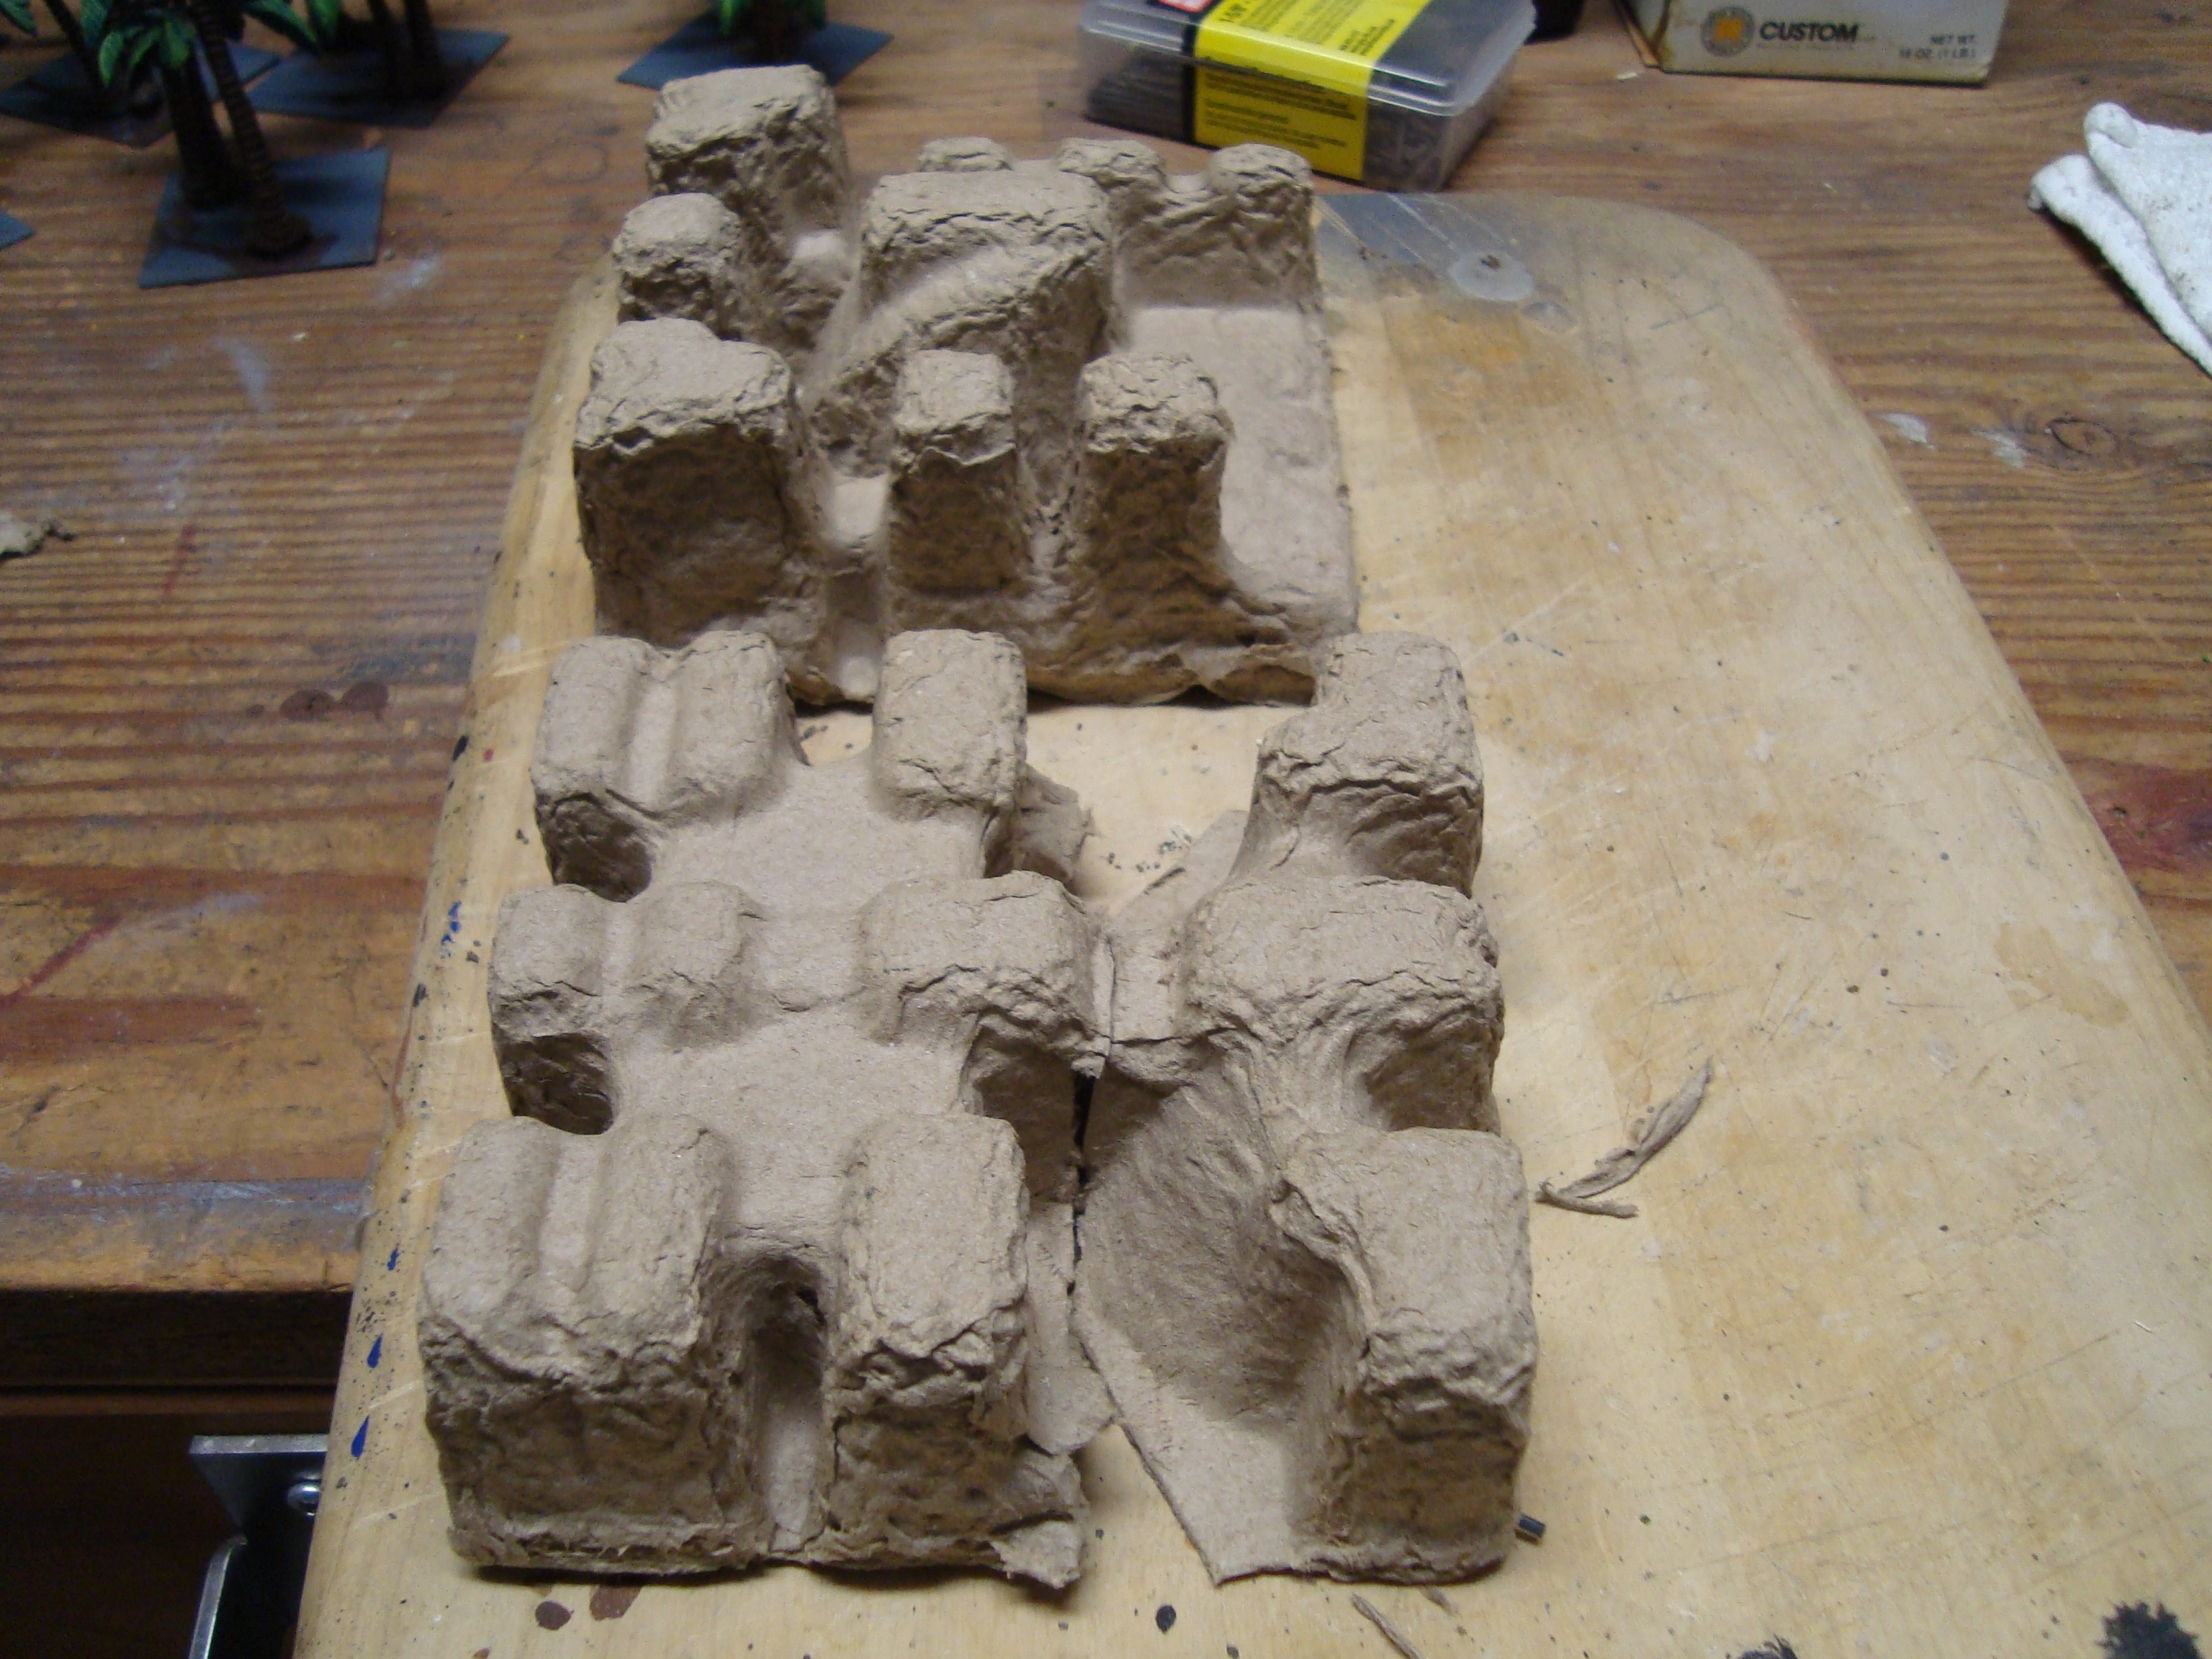
The next step was to go out to the shed and dig out the old foam and nail trees made decades ago, having accompanied me during countless moves, just for this day. The scrounged foam had been cut, glue sprayed and rolled in green flock. The painted nails made excellent trunks.
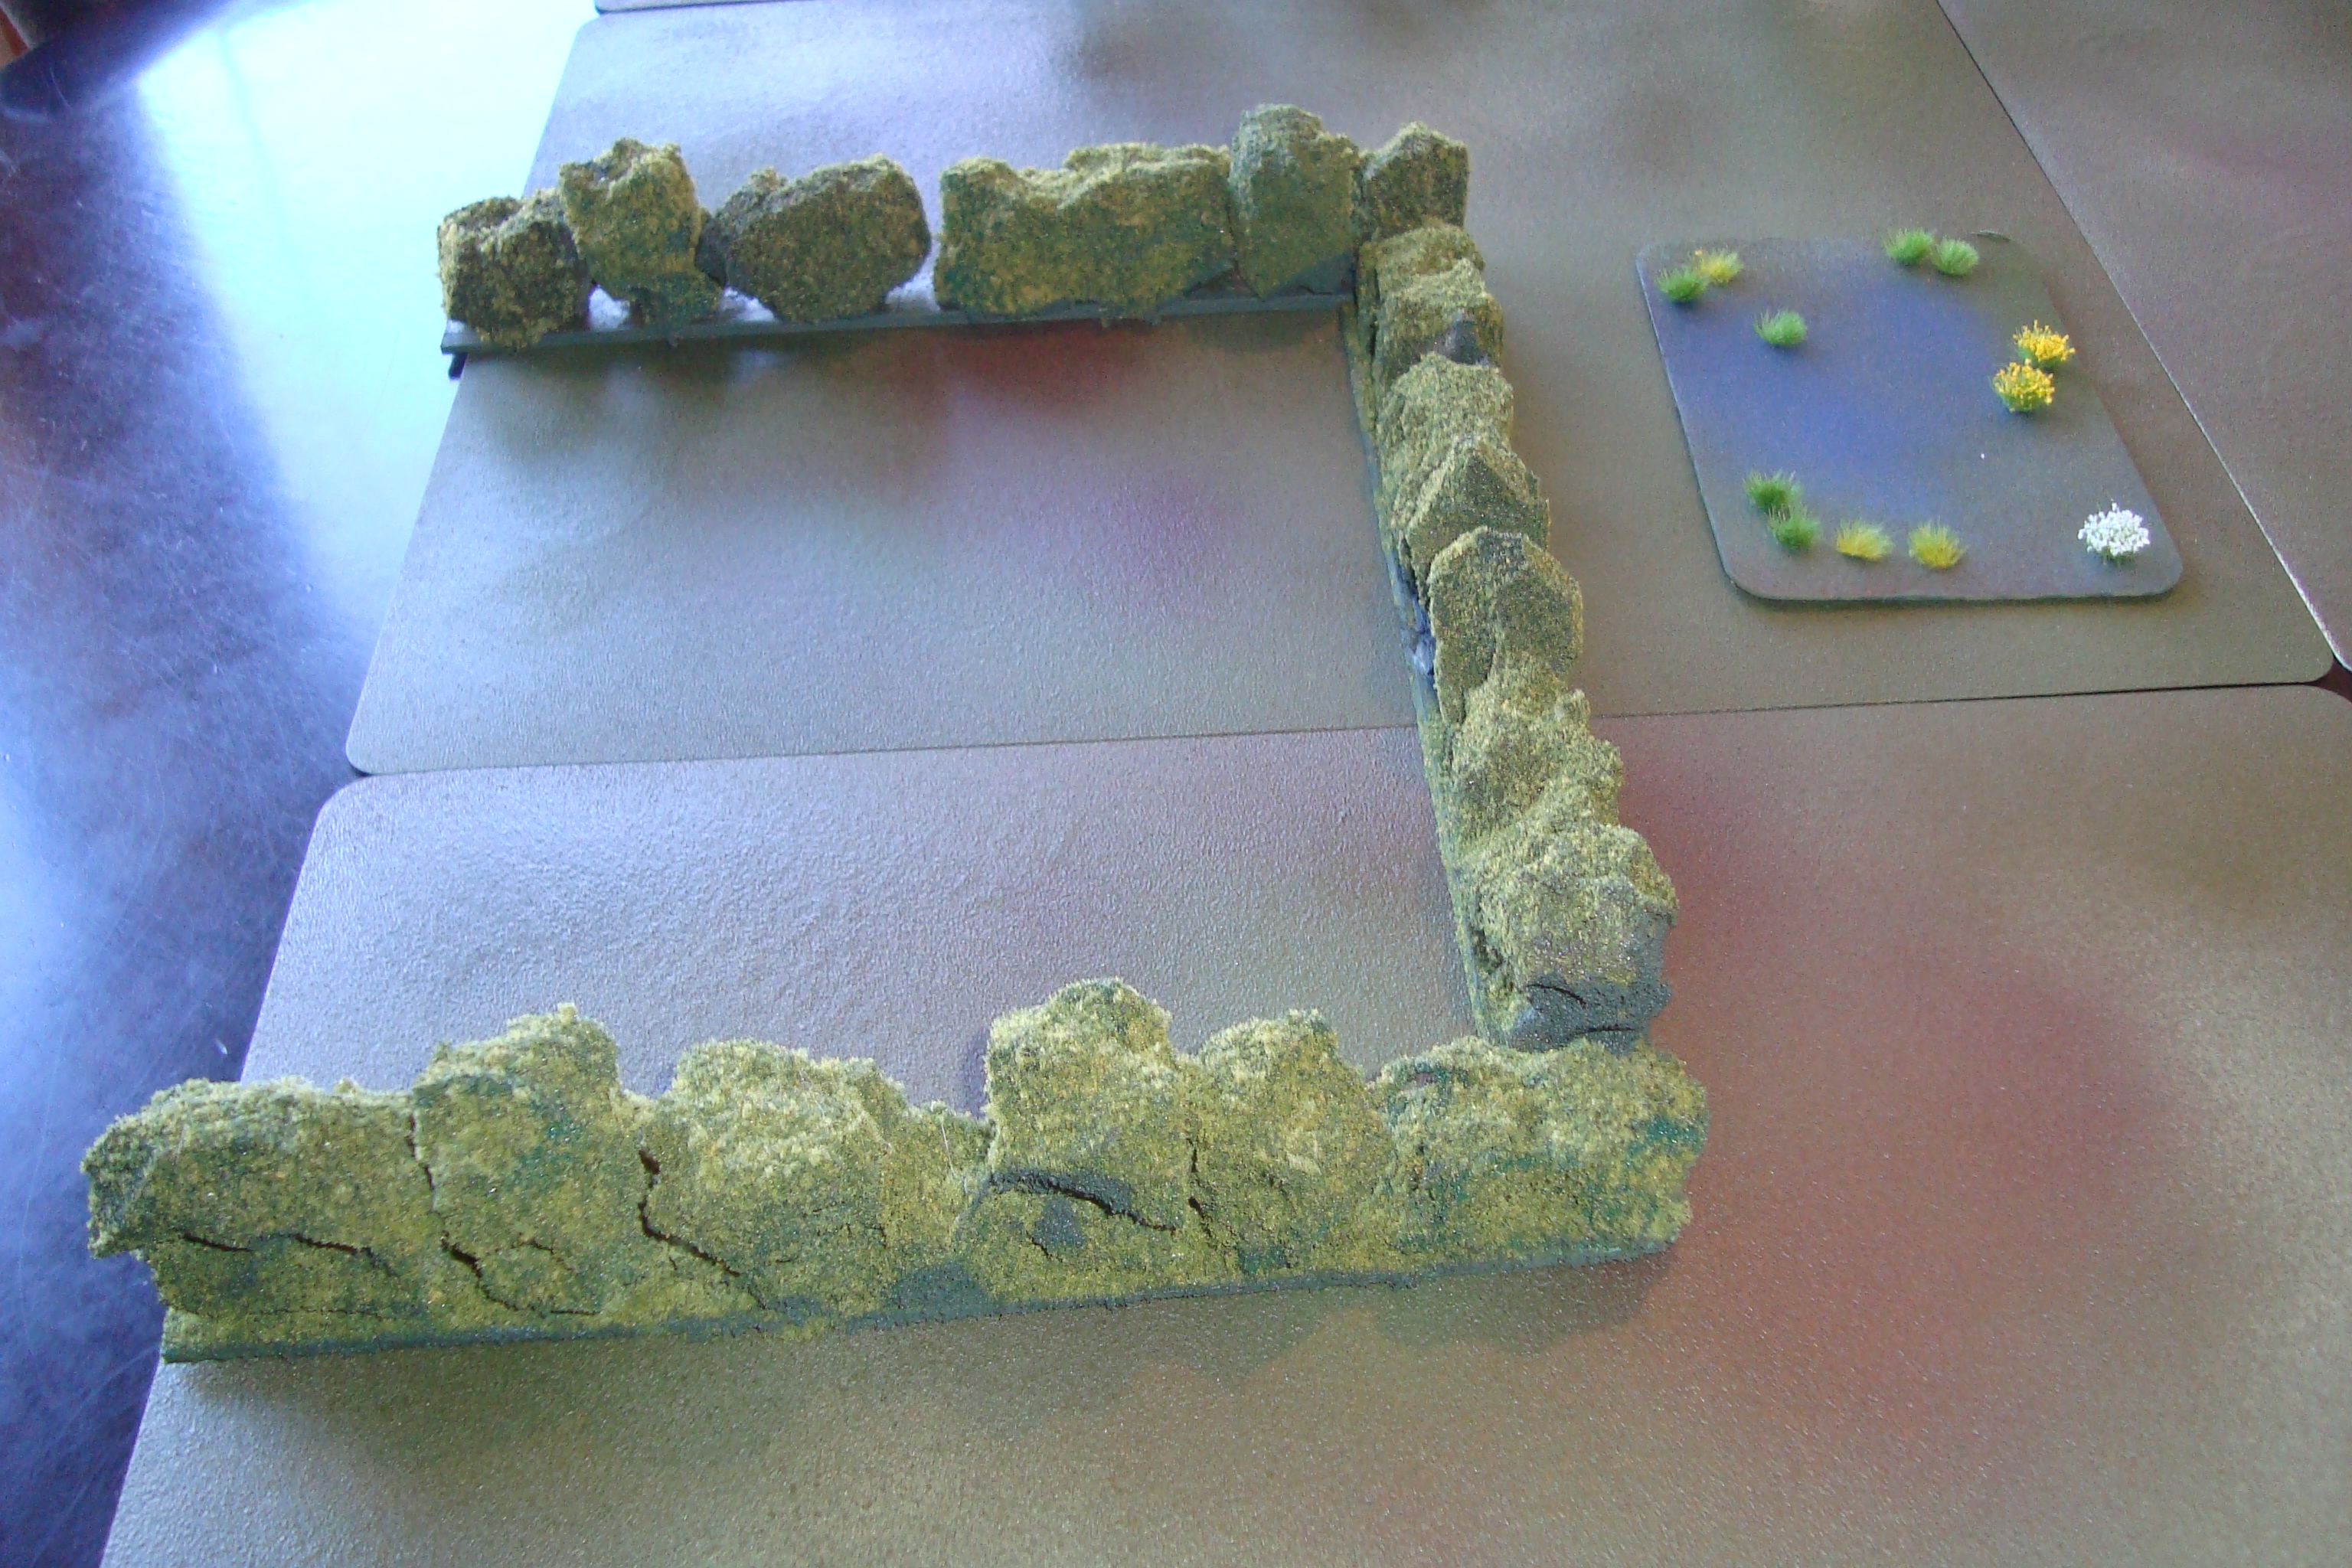
When I opened the box I also found – ready to go with minimal work – rows of bocage just right for Normandy scenarios. Yes!
I painted the beer mats using the same techniques/colors as the battle mats. The Panther tank served as a template for placing trees and shrubs so a tank could actually occupy the terrain piece. How many times has elegant terrain been incapable of properly “holding” a figure or vehicle base? That type of terrain looks realistic, but doesn’t “work” all that well.
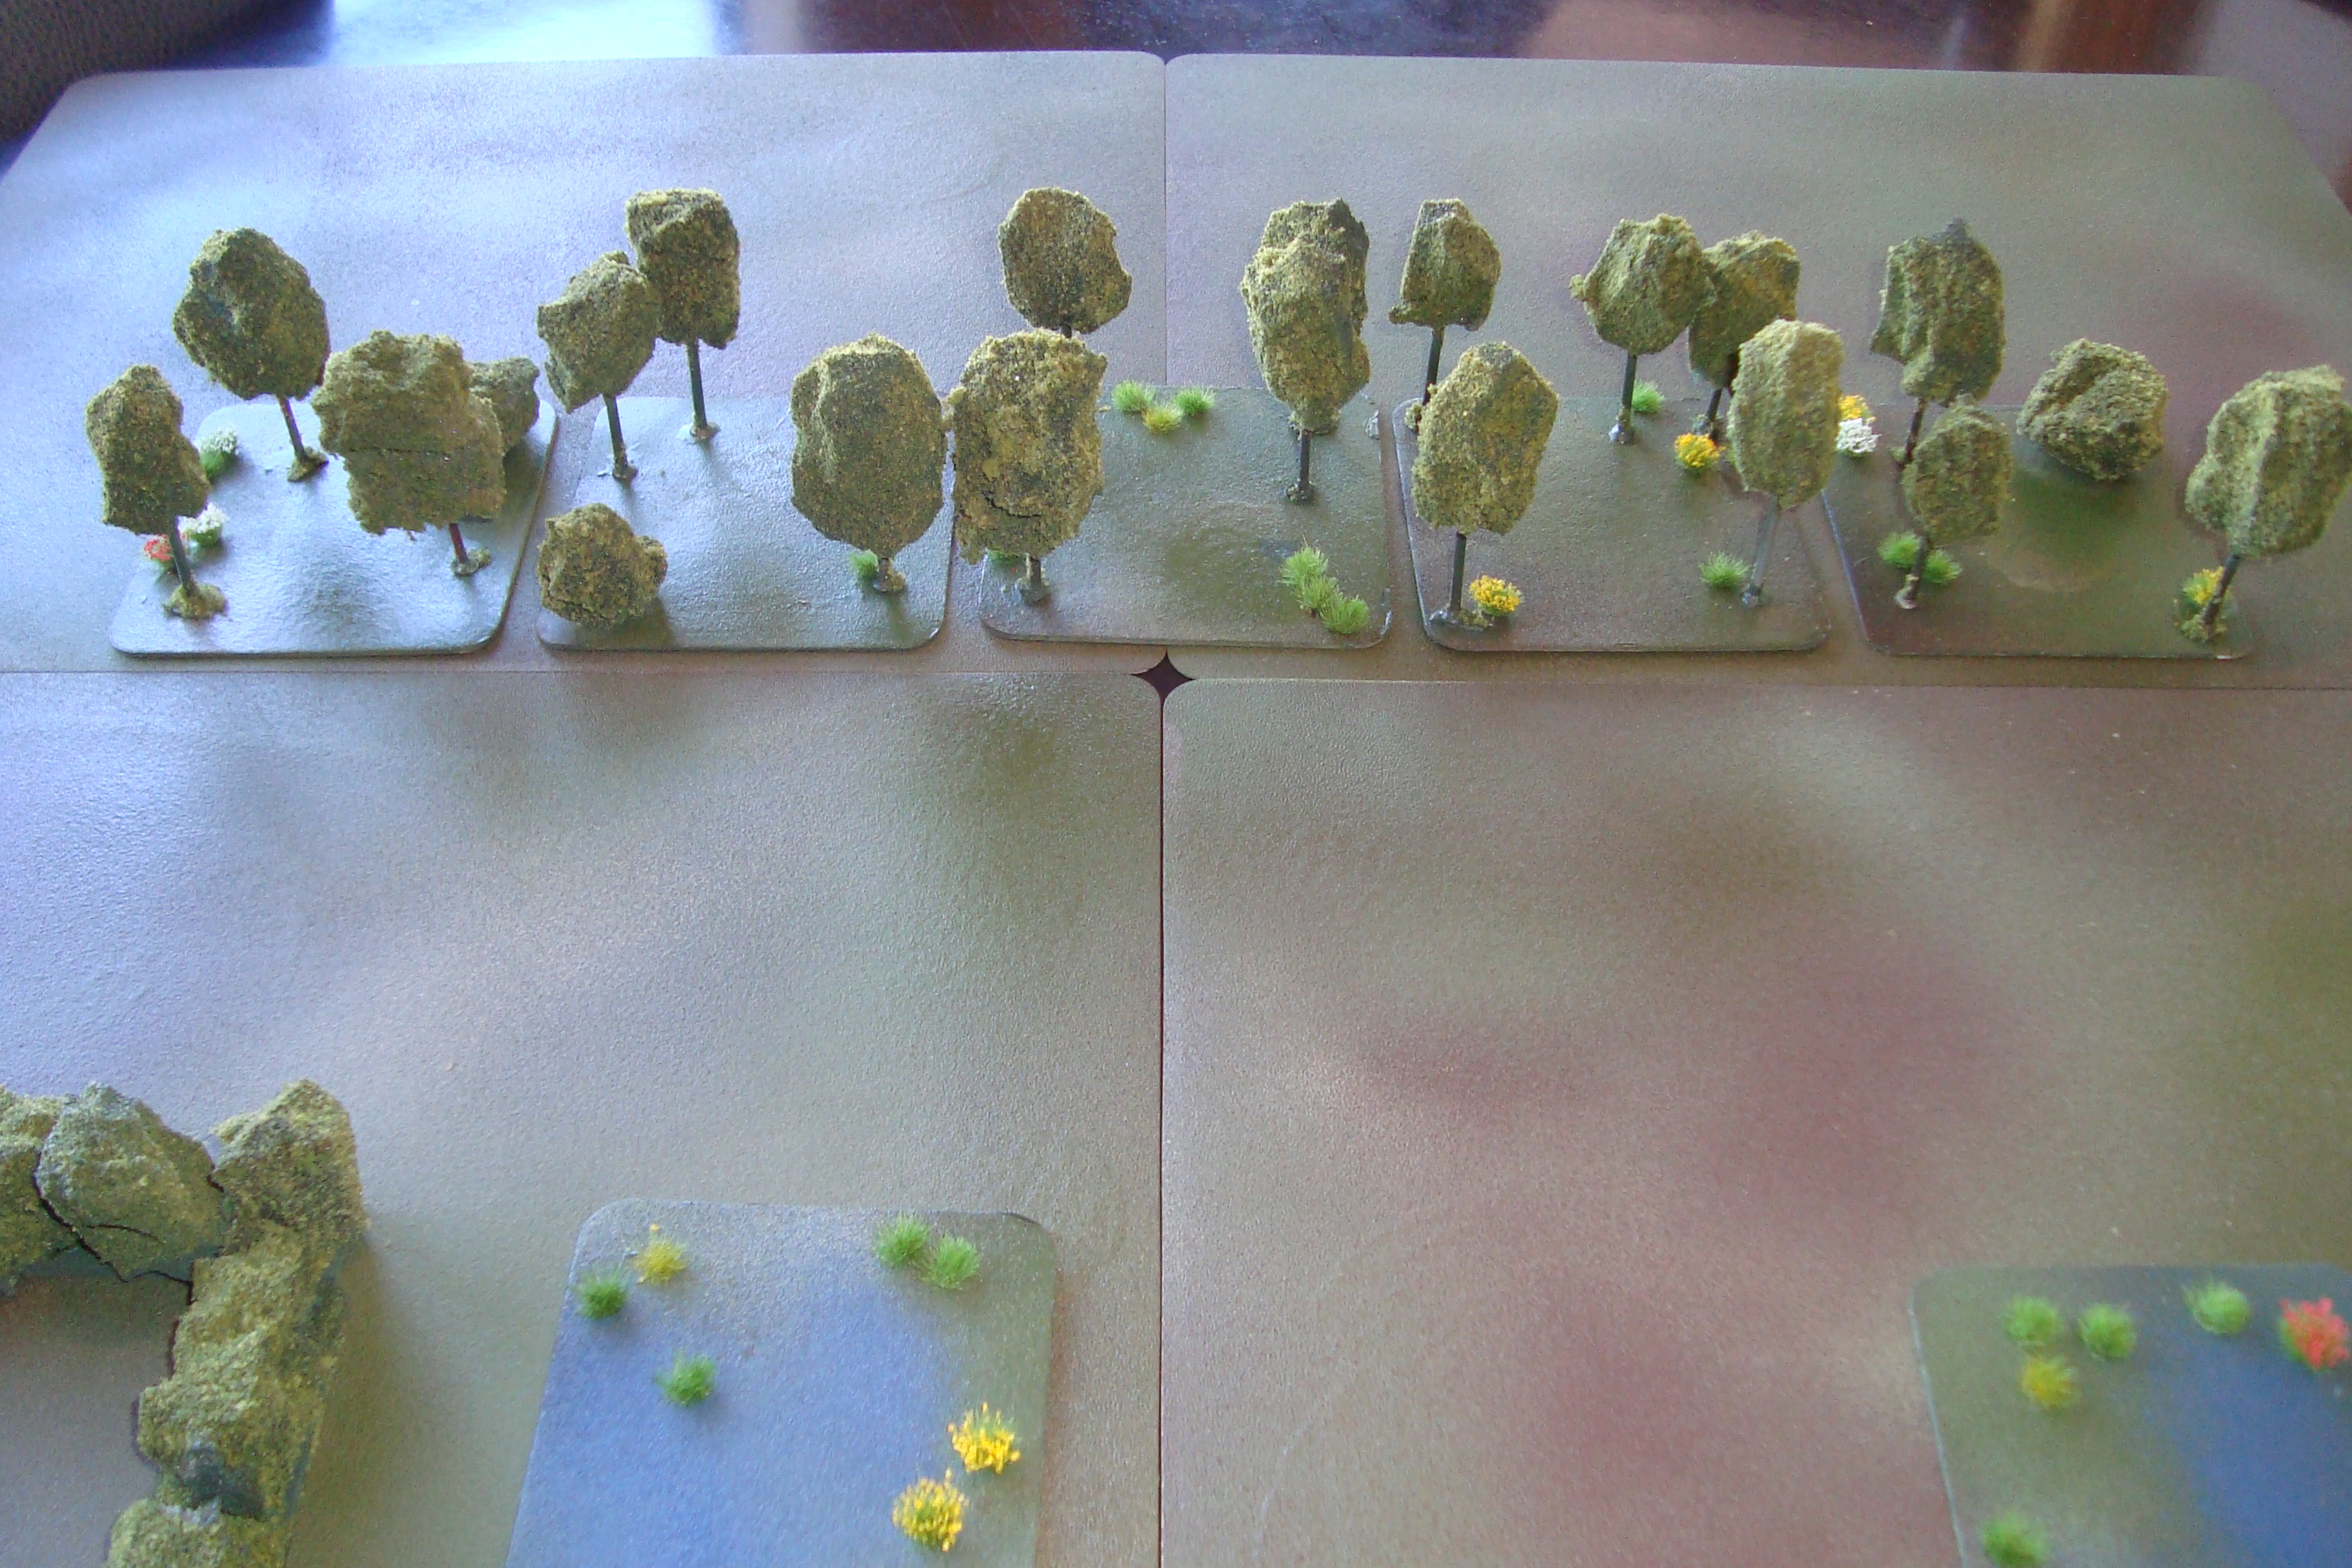
Used a couple of larger mats for wet/swampy/bog ground. Just sprayed a little dark blue over the battle mat mix.
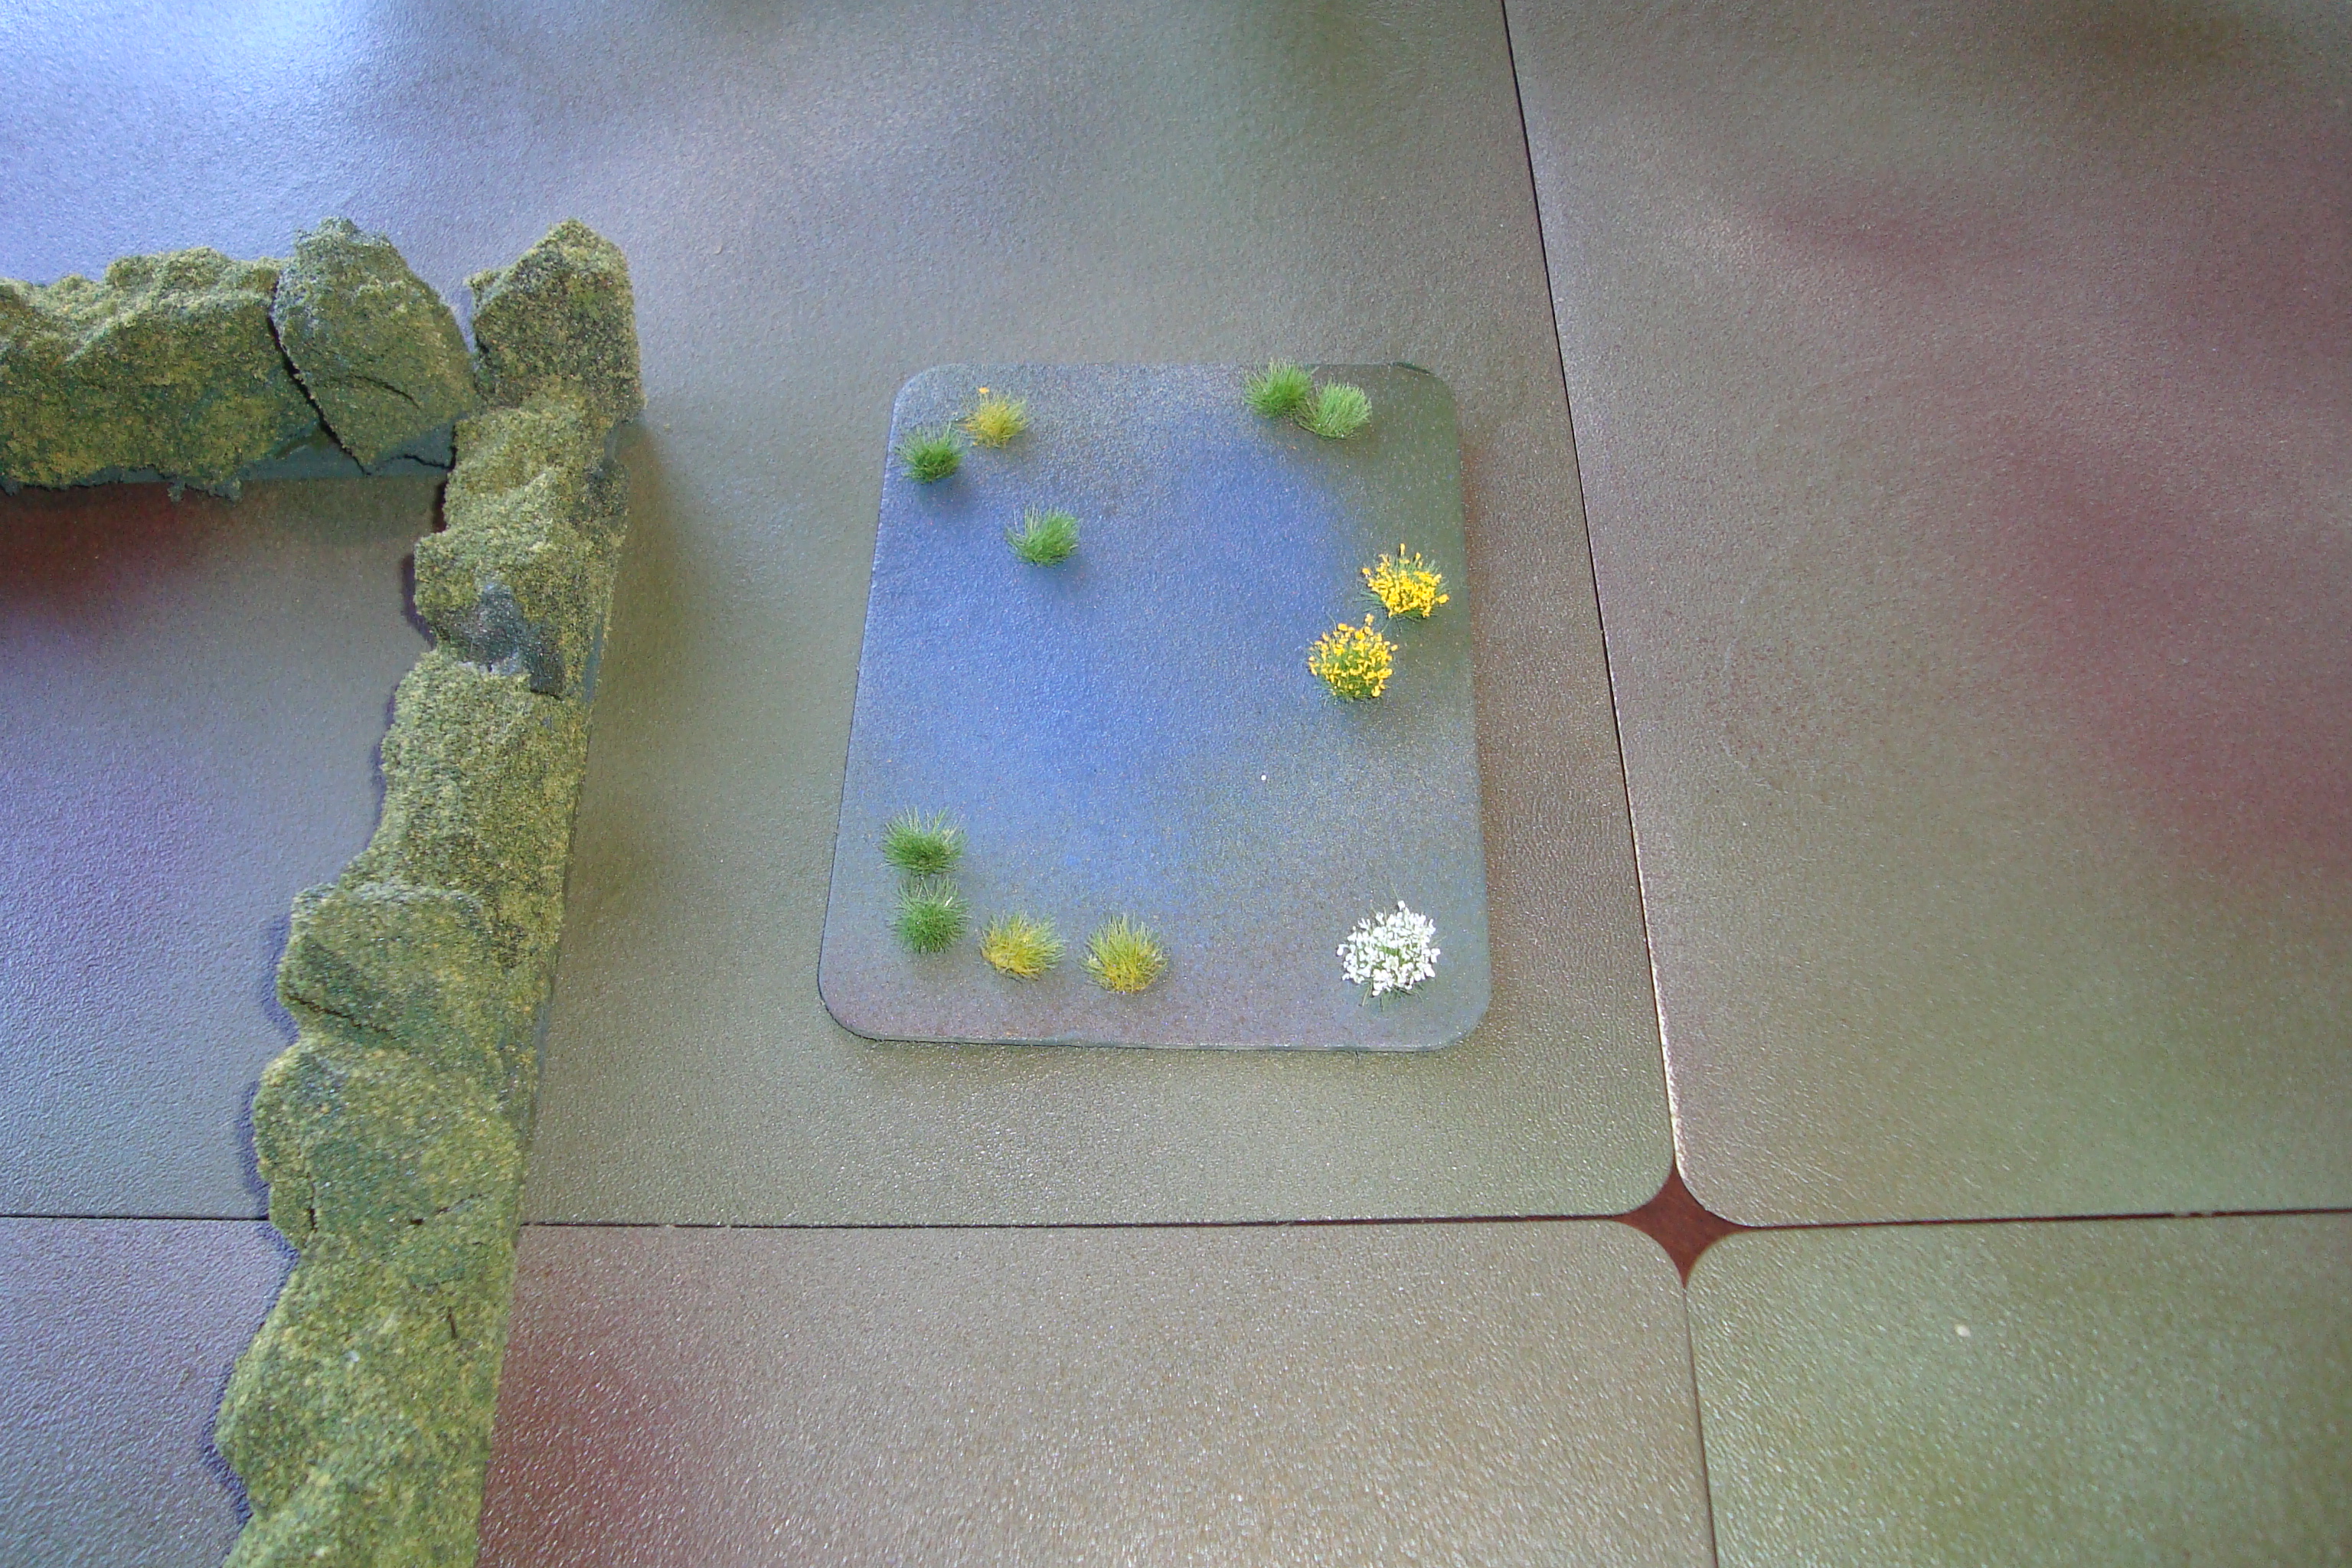
After the paint had dried, super glued the trees onto the mats, as well as adding some plants and flowers to PUB.
Added a couple of 9-inch sections of bocage using stray balsa and trees without trunks.


