Monthly Archives: February 2021

Culling The Herd

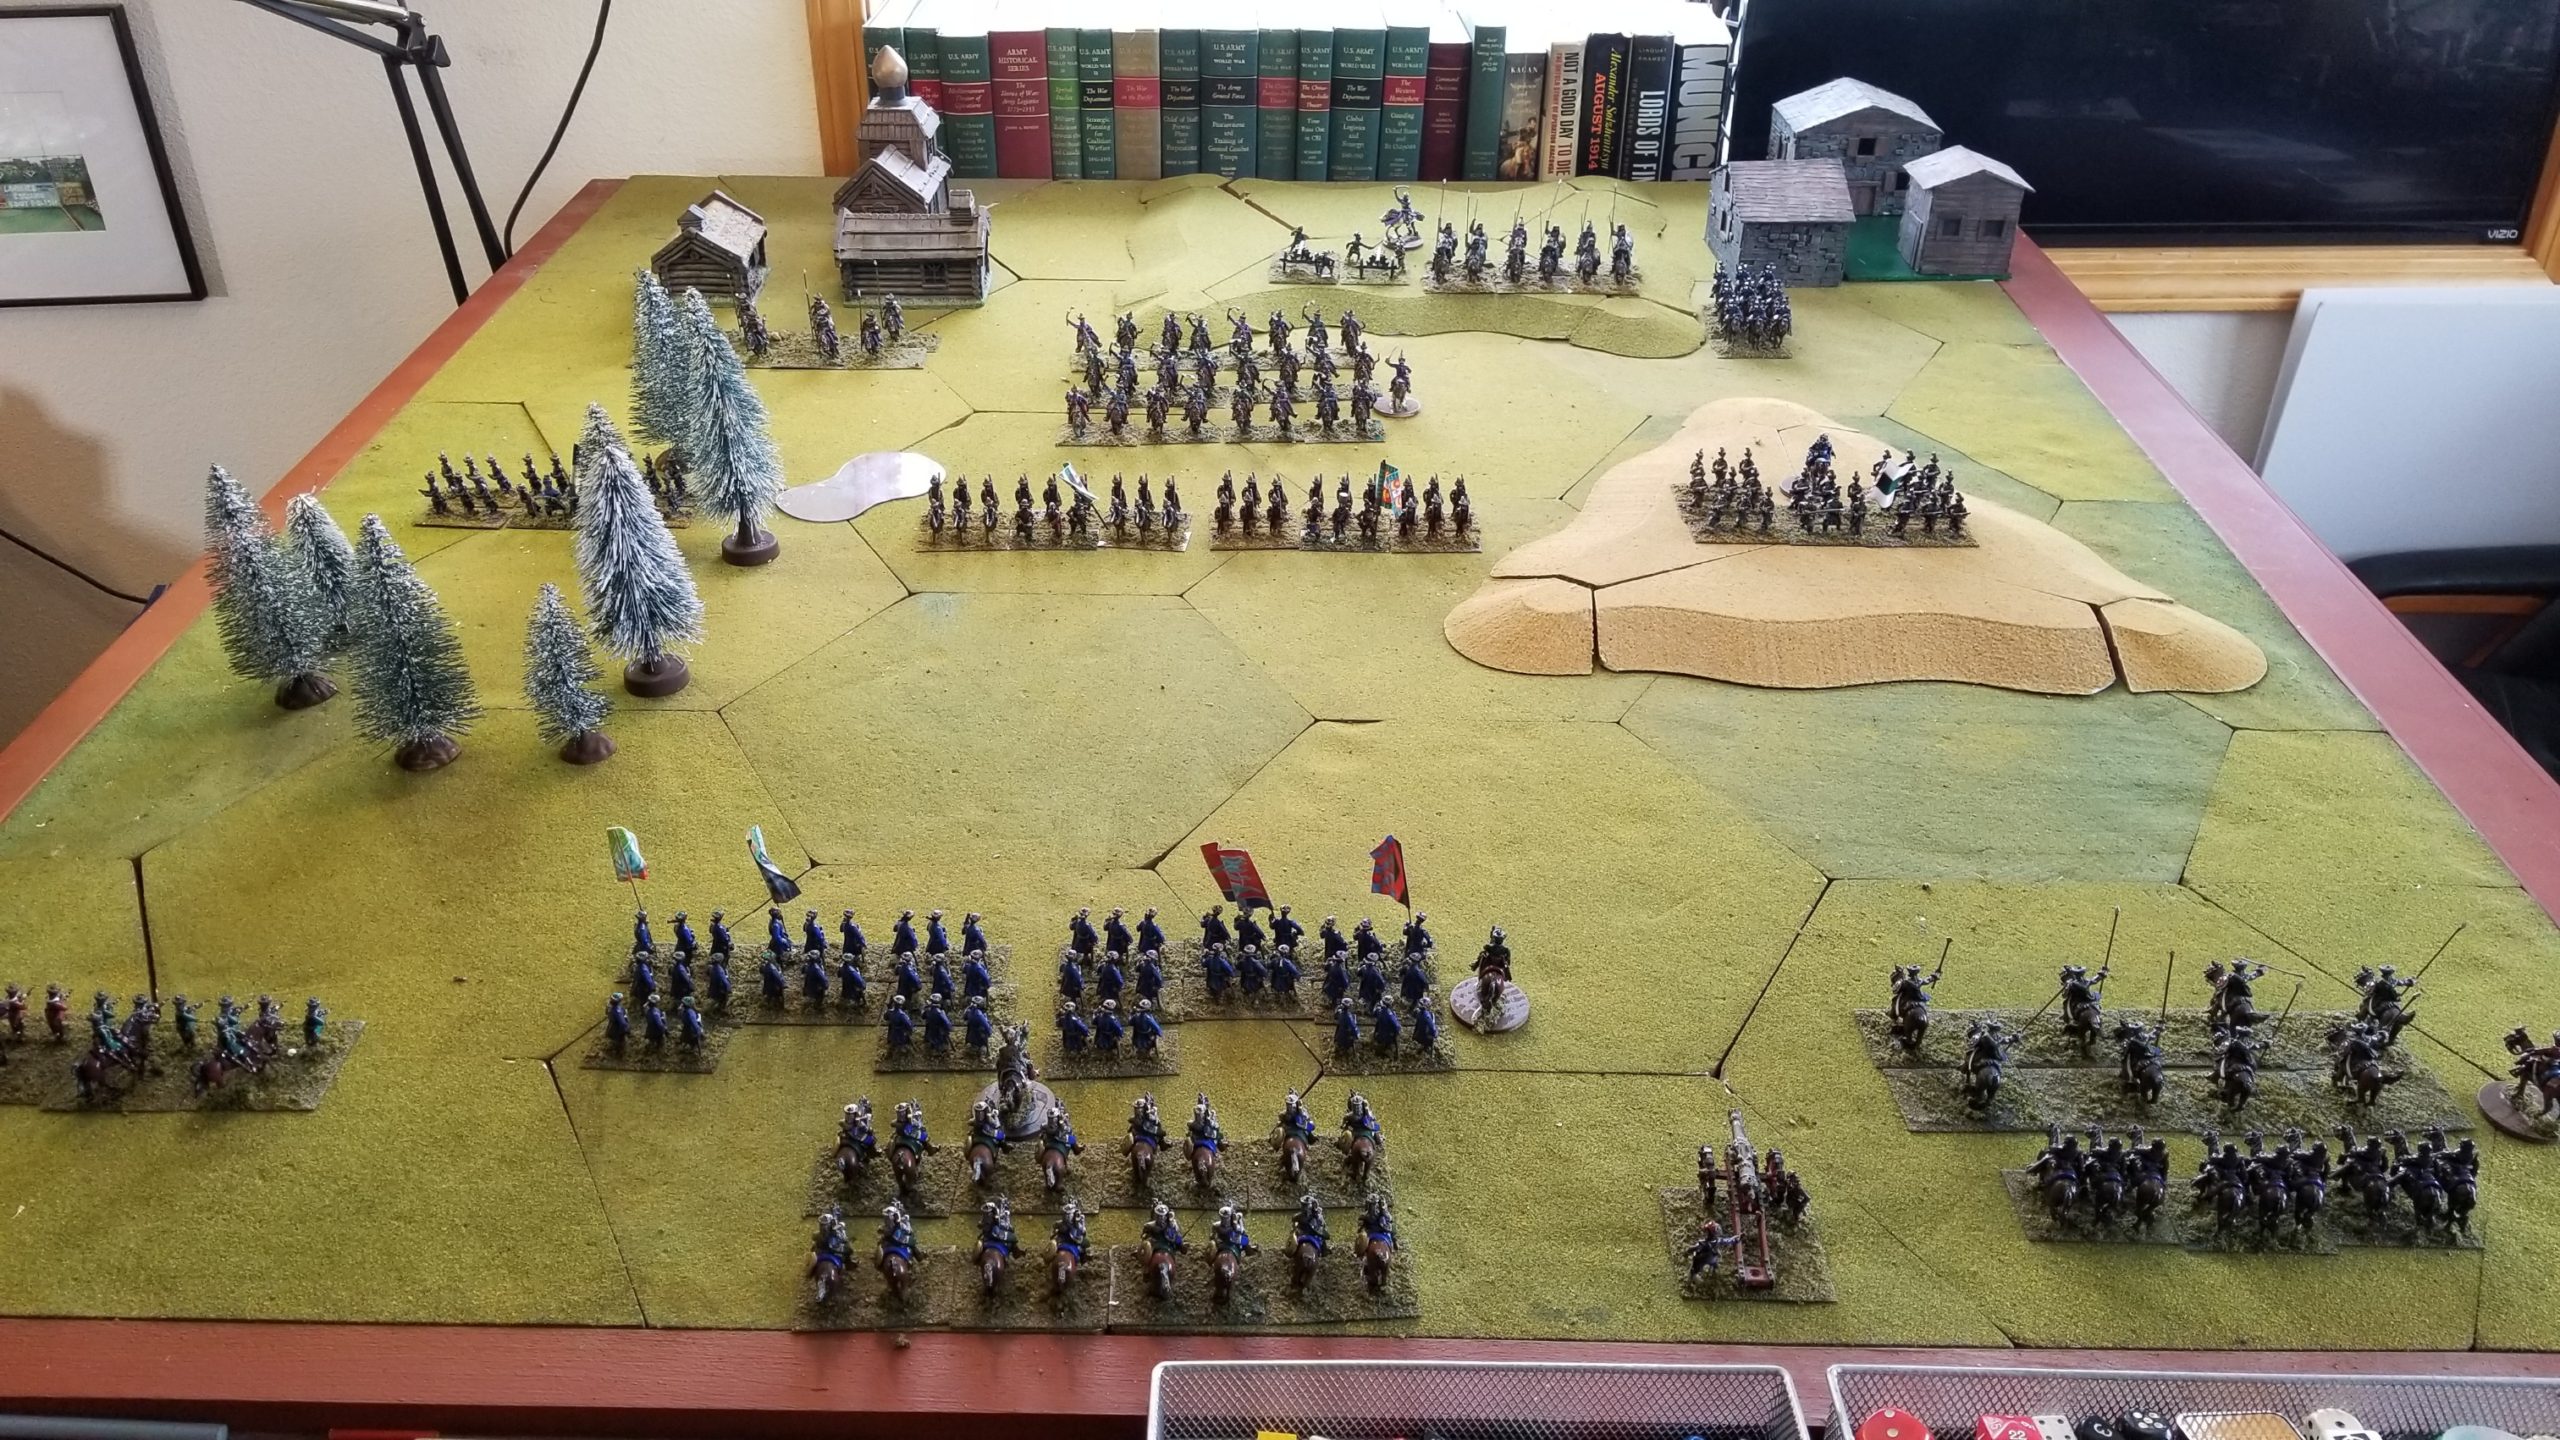
Just about finished homogenizing my miniatures collection.

The ongoing subtractions and anticipated additions are all related to scale.  As we all know, not all 15mm and (especially) 25mm figures are the same size.  I’ve whined about this in the past.

And, as we all know, the selection and quality of castings has dramatically improved over the past (gulp) 35 years.

I attempted to take advantage of that while expanding my existing forces and creating new ones.  But, what I wound up with was a hodgepodge of units.  25mm Hinchcliffe, Essex and Ral Partha figures just don’t look right on the same table.   Old Glory 25mm figures vary dramatically in size, with some not 25mm but large 28mm figures (looking at you Wars of Religion and Persian lines).  15mm Alternative Armies  (Tabletop) medieval and ancients do not work with 15mm Essex.

The only solution was to add and subtract.   I have purchased some new Essex 15mm Late Medieval/Early Renaissance figures, and will be purchasing some new Old Glory Italian Wars figures.  The results will be:

15mm WRG Ancients  –  Alternative Armies

15mm Late Medieval/Early Renaissance  – Essex

15mm Age of Exploration – Essex and Eureka

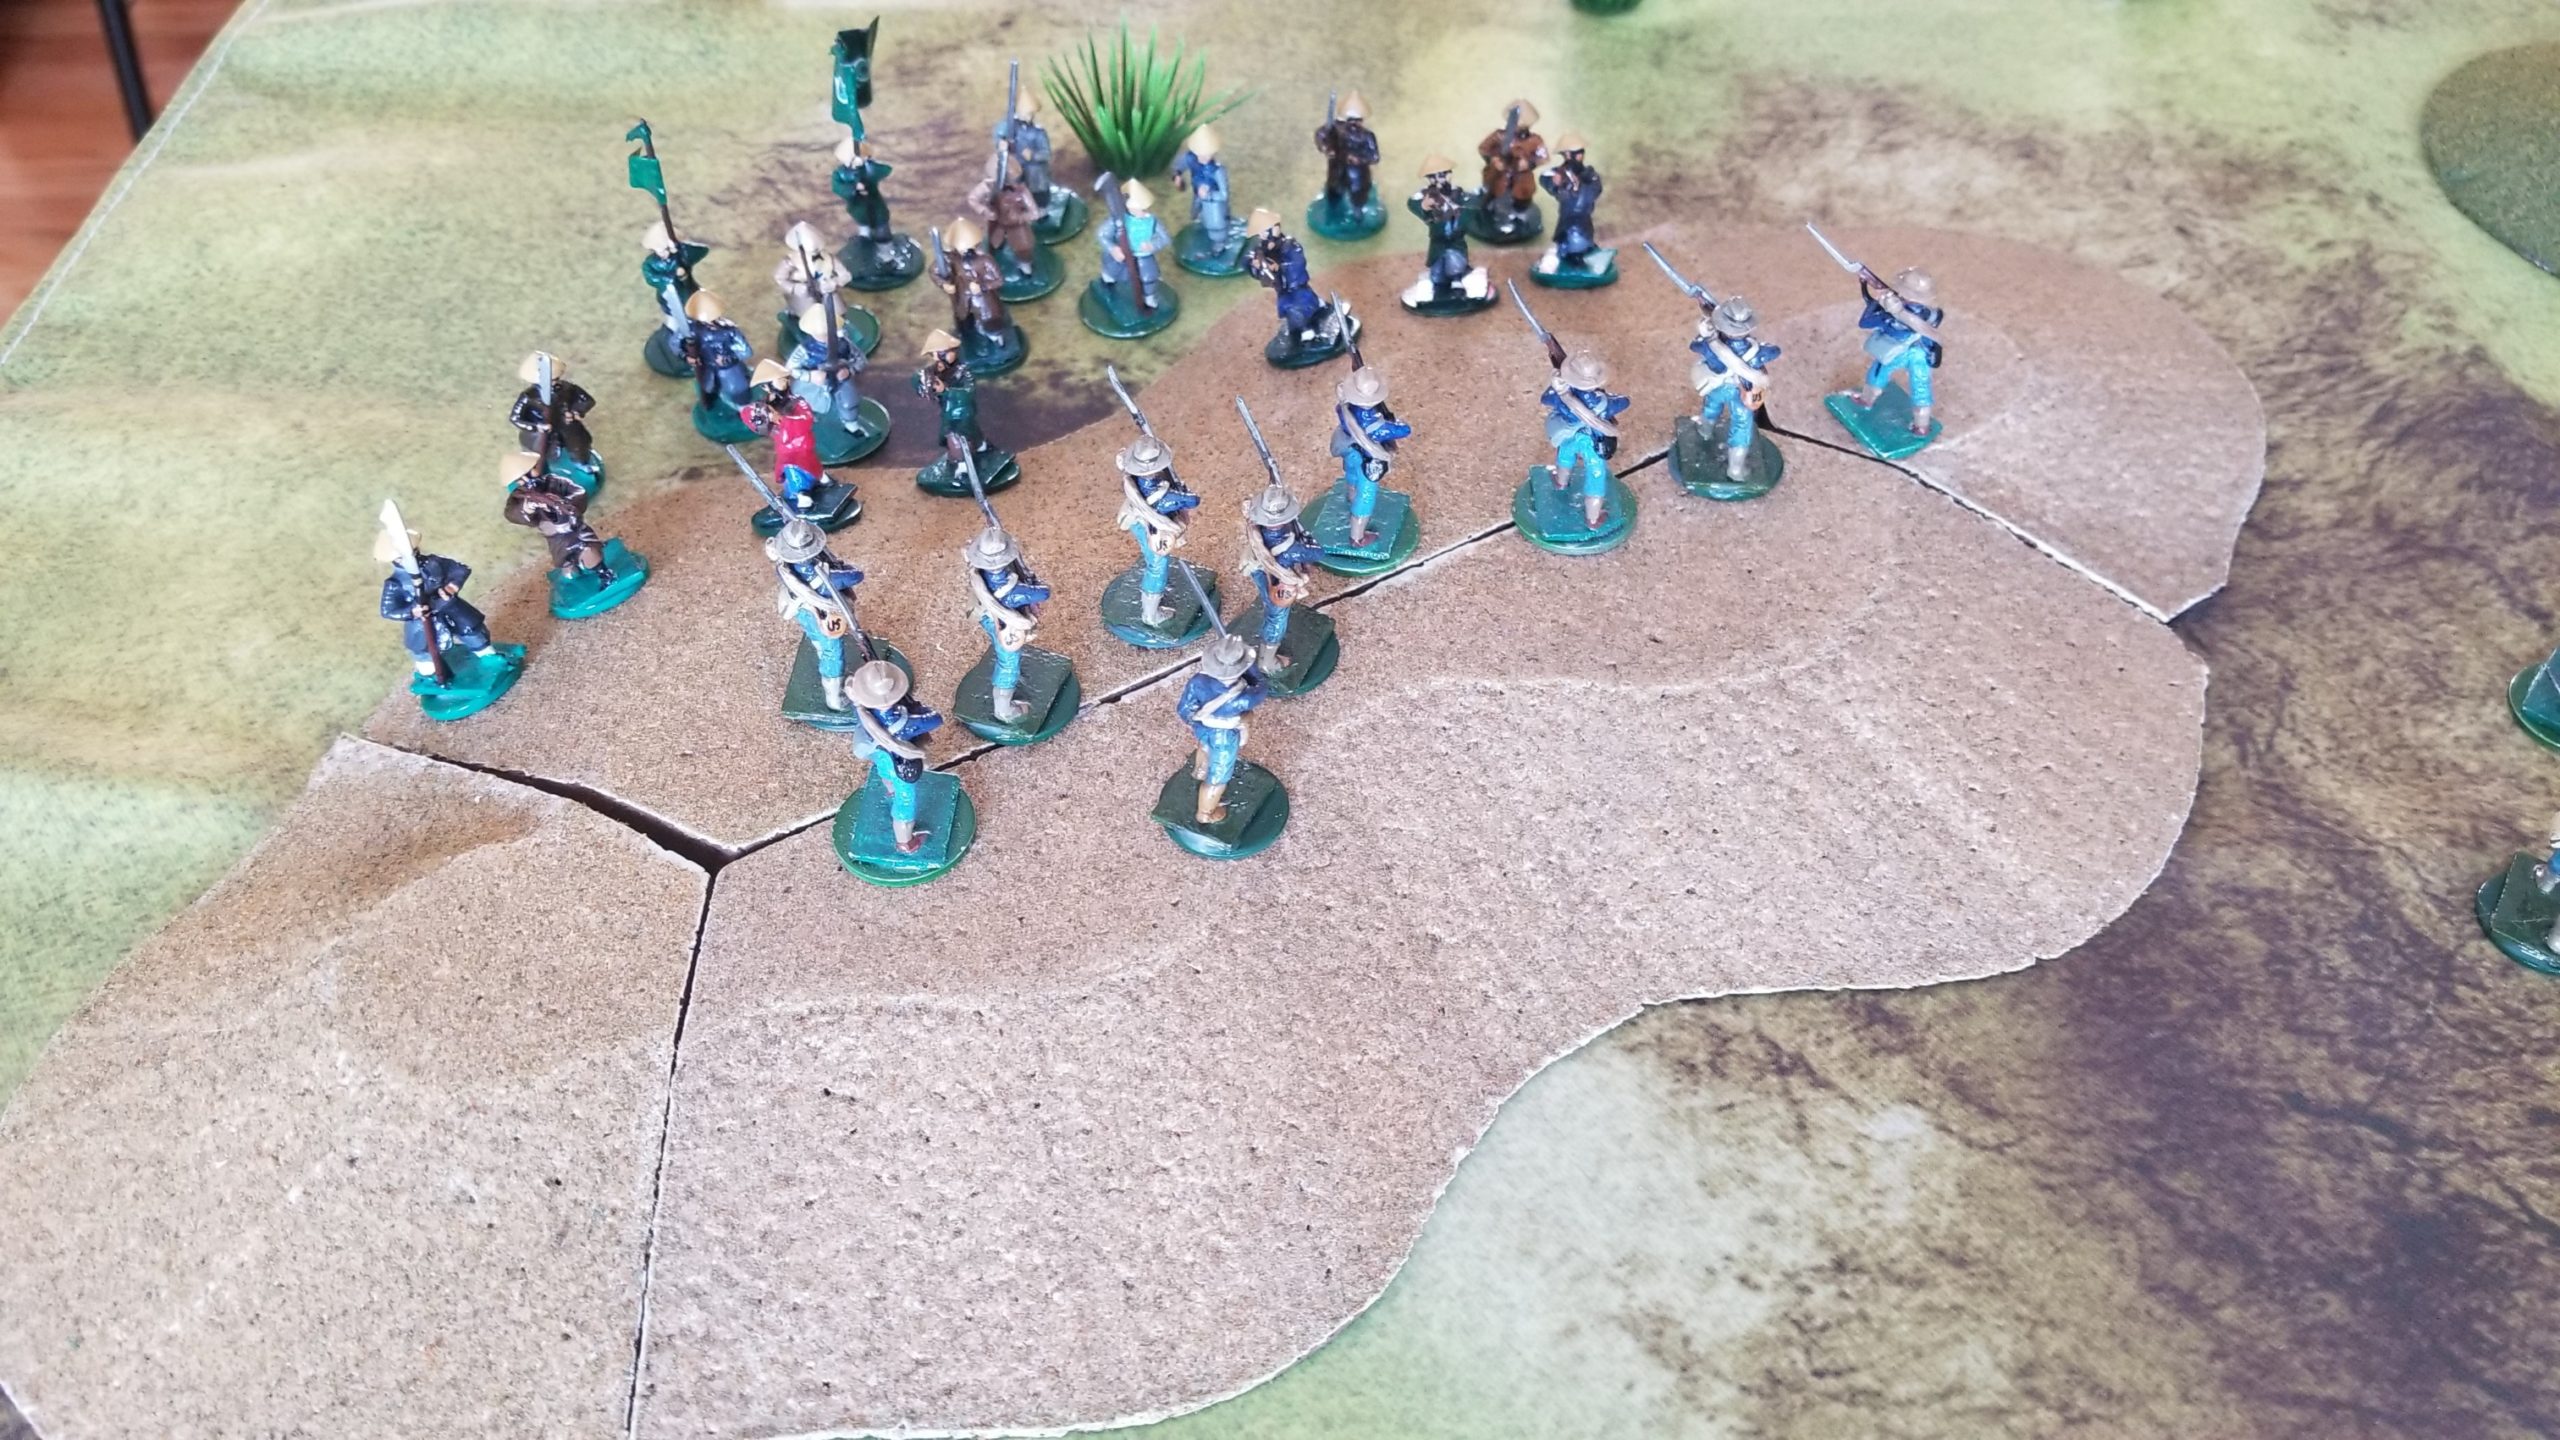
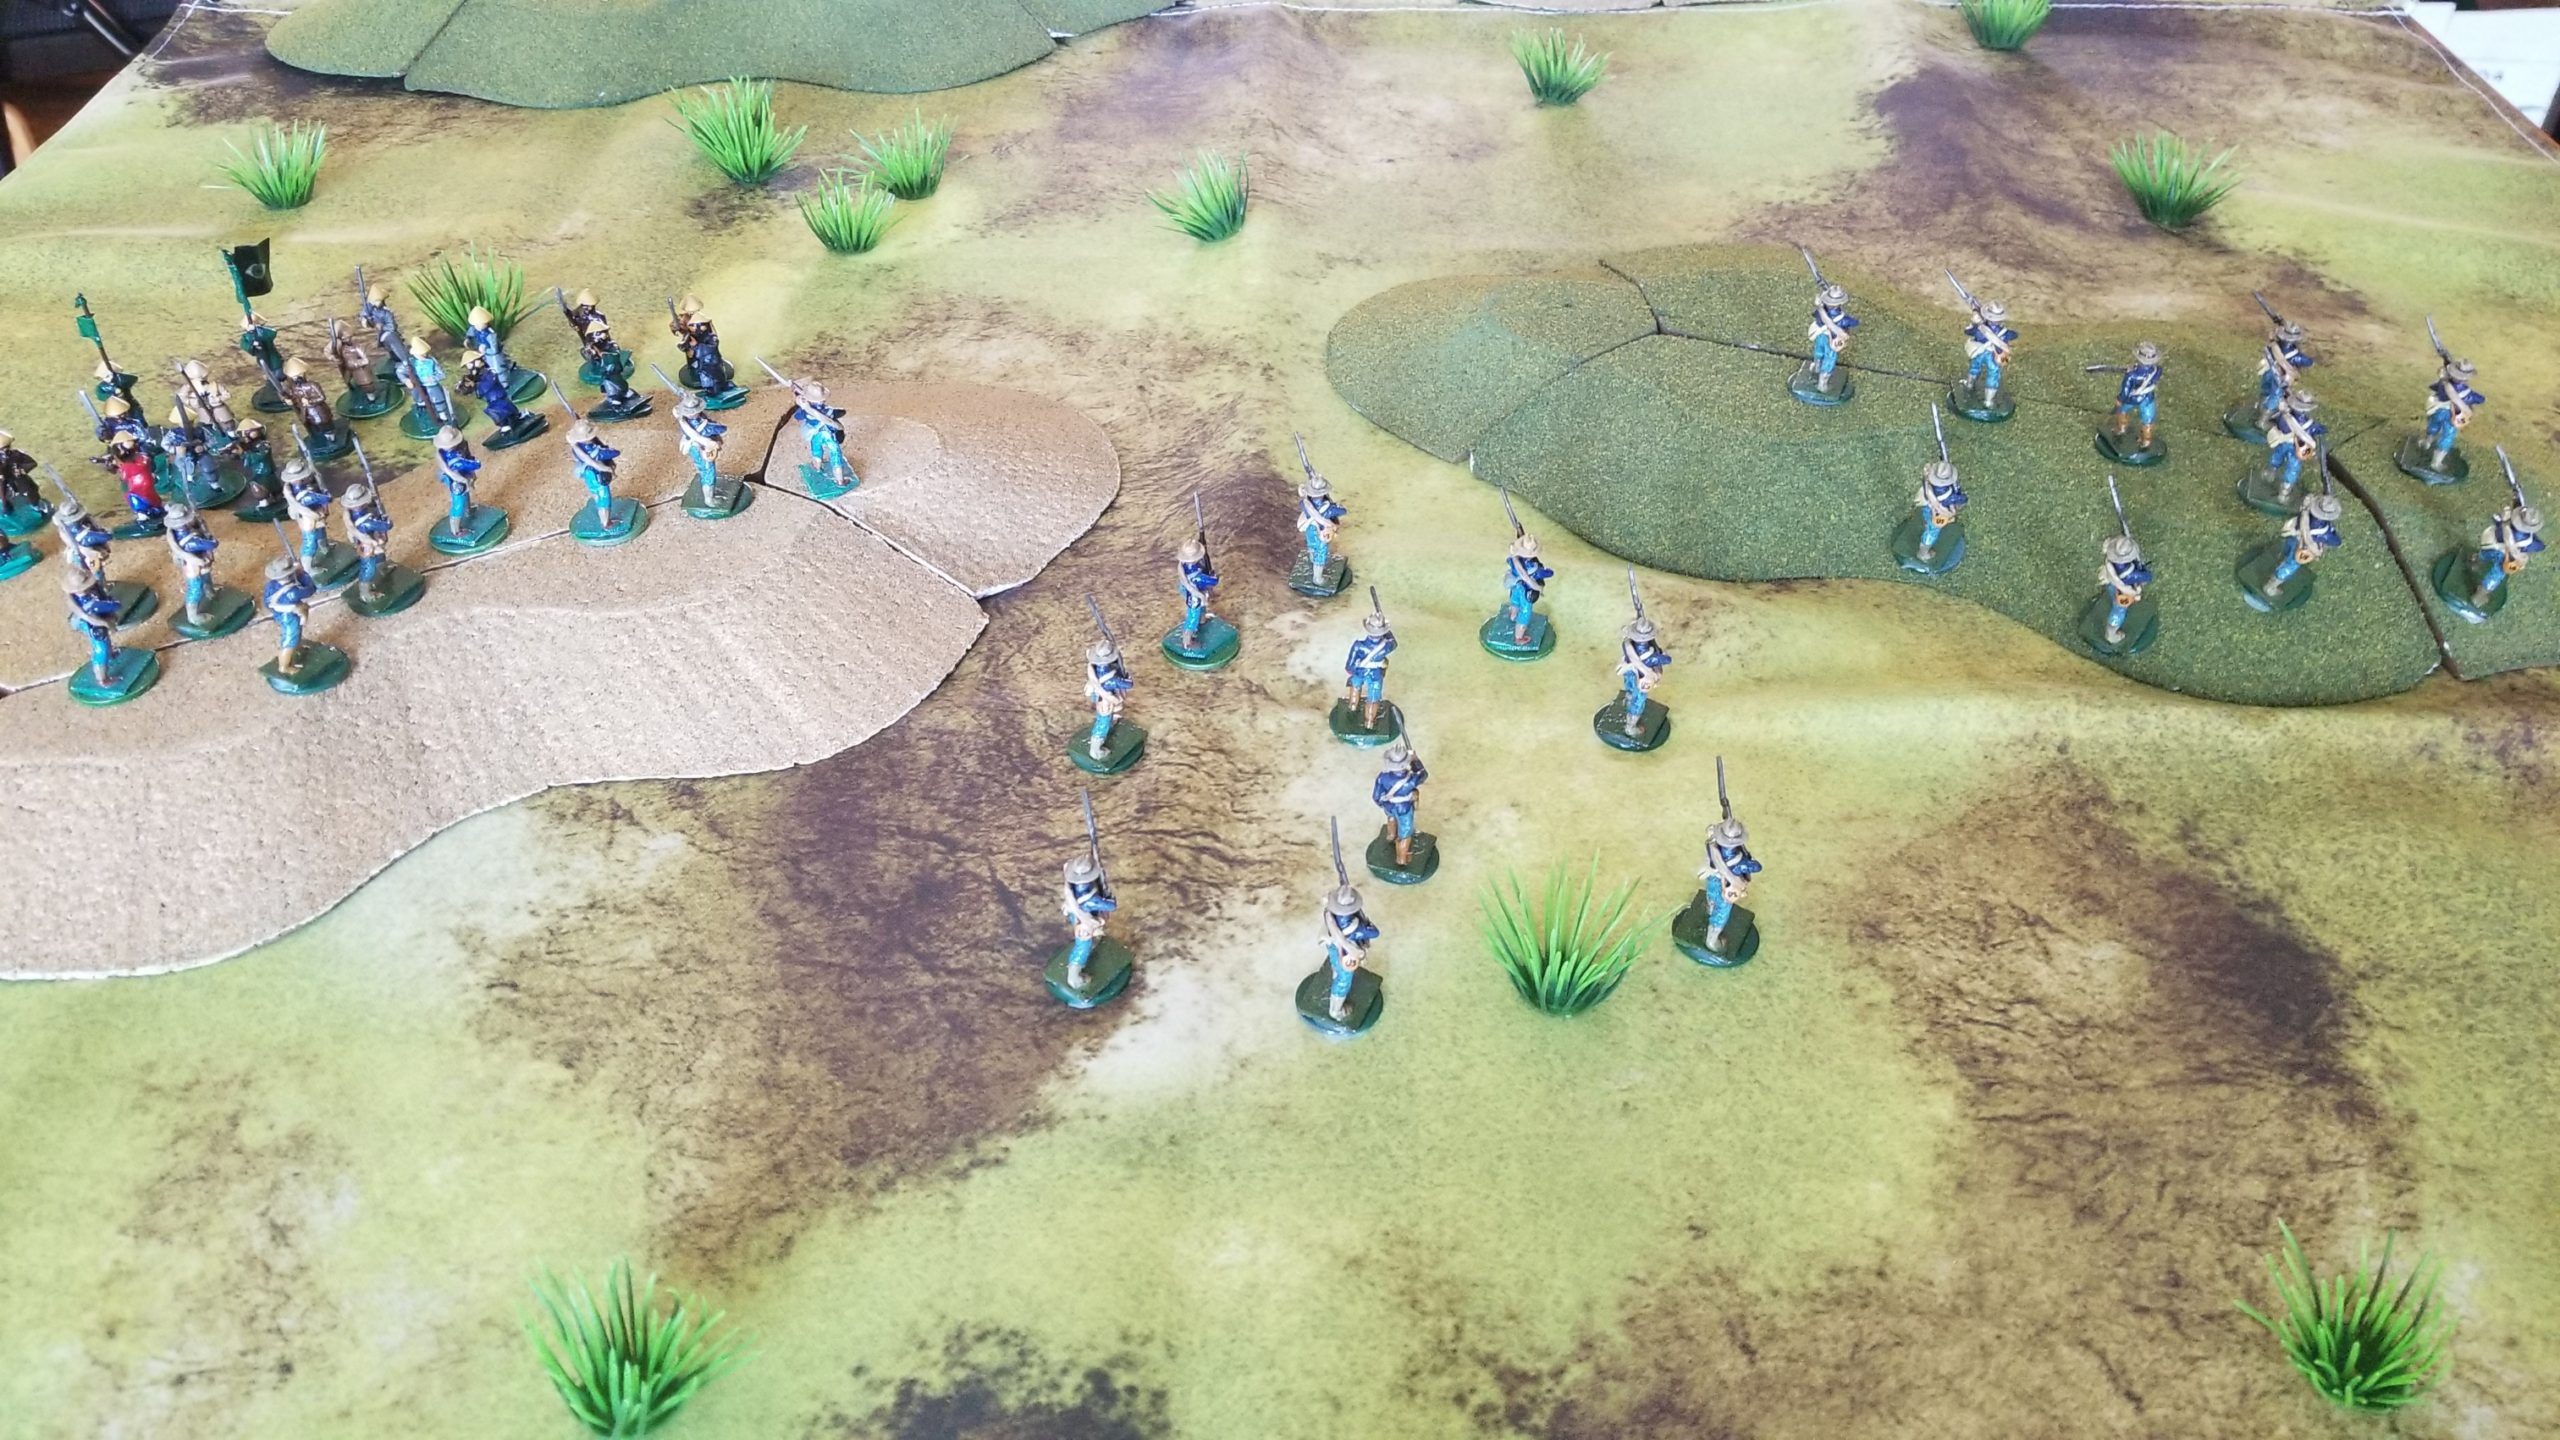
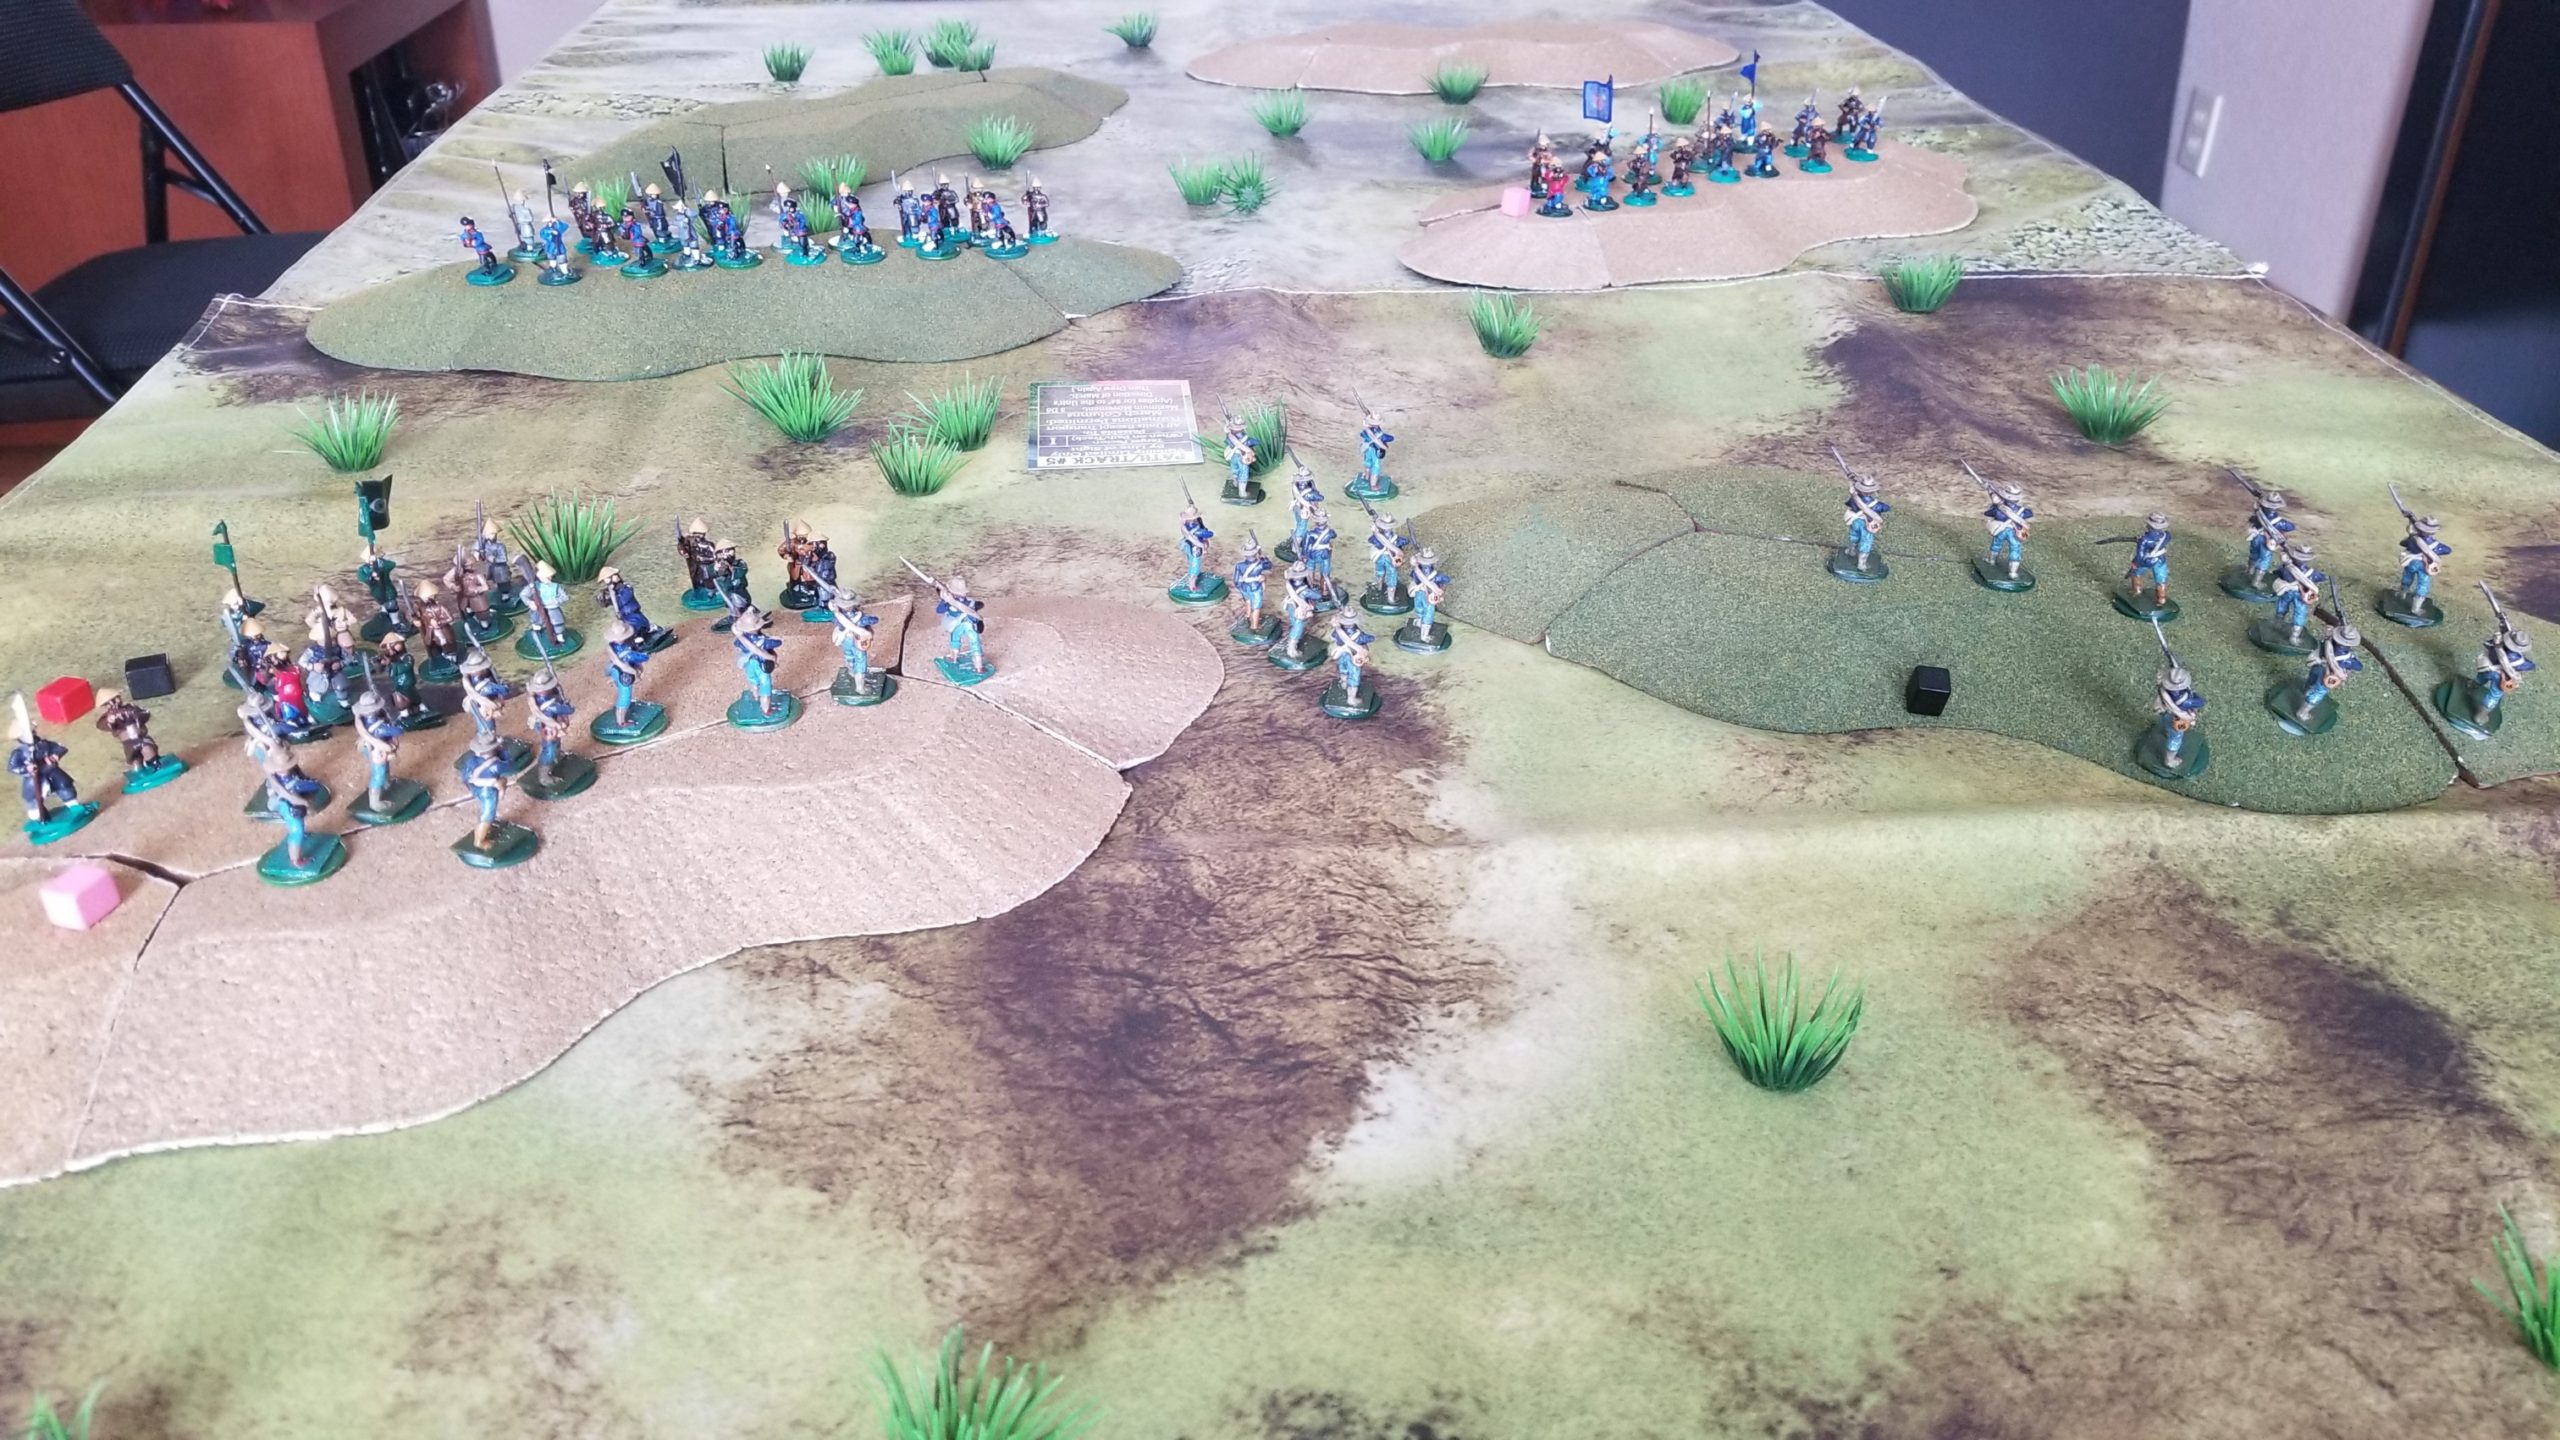
15mm Colonial – Miniature Figurines augmented by the Age of Exploration figures

25mm Italian Wars – Old Glory, with very few smaller Essex

25mm Eastern Europe – Hinchcliffe, with very few smaller Essex

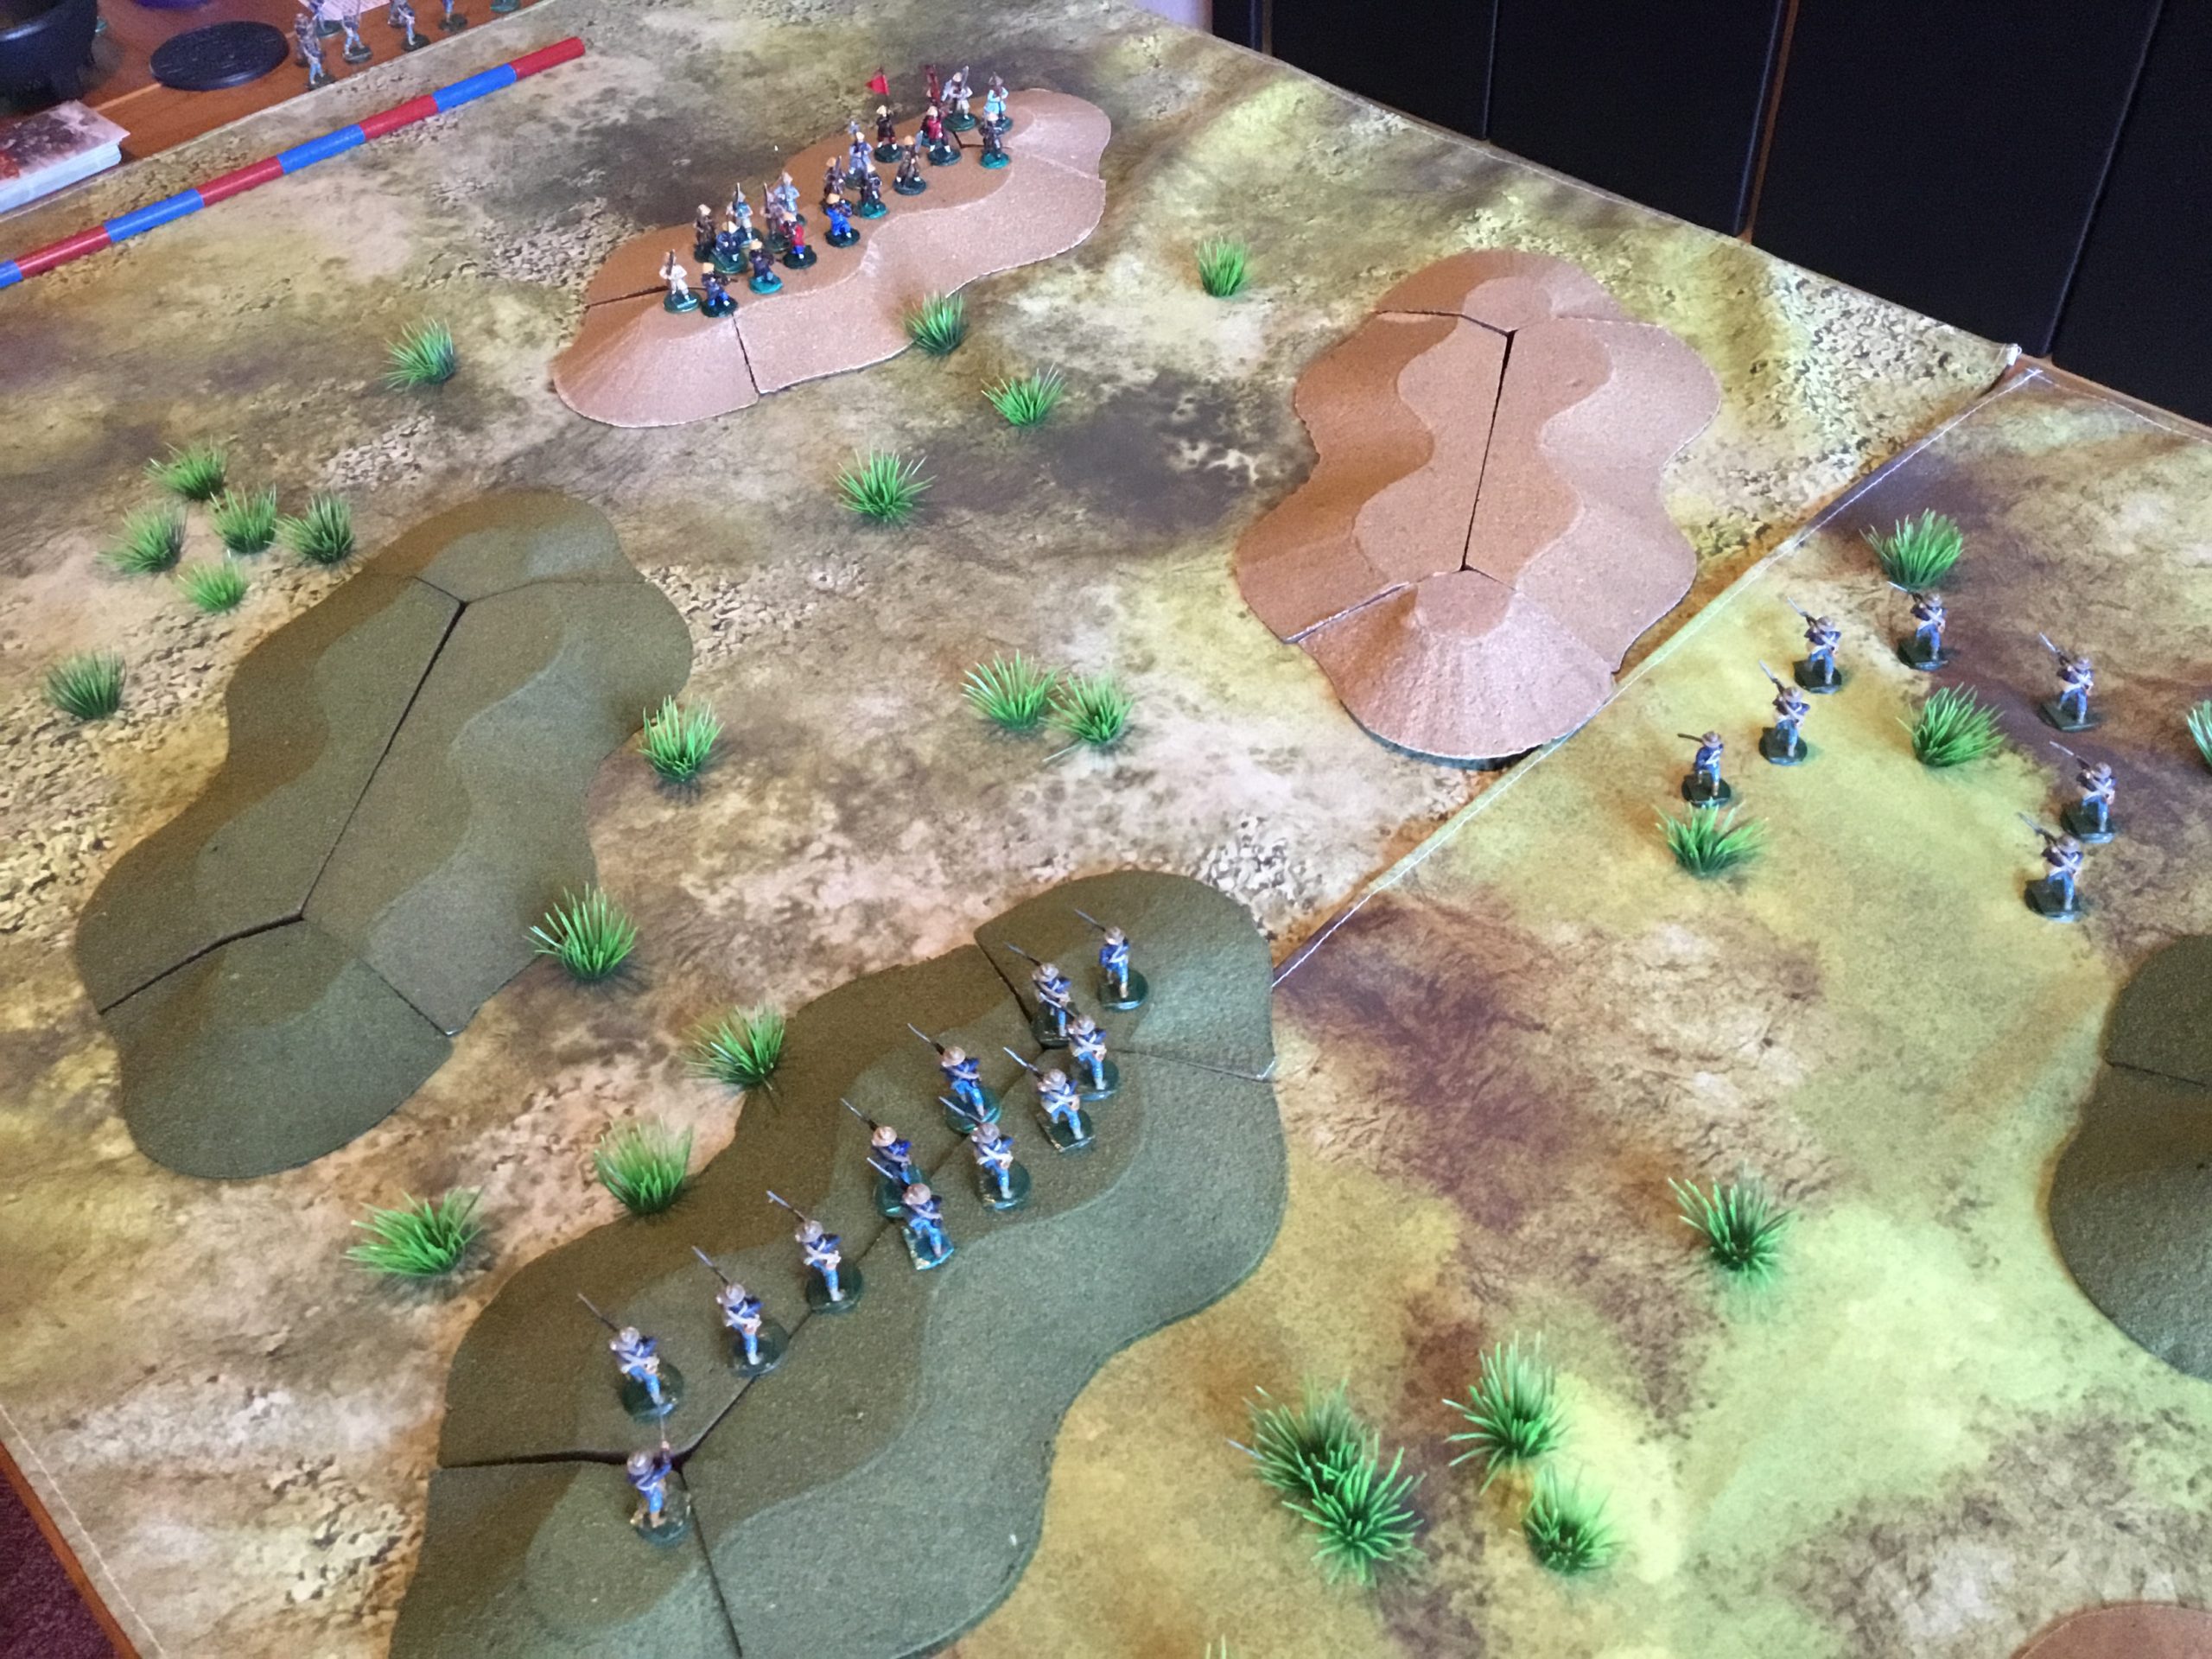
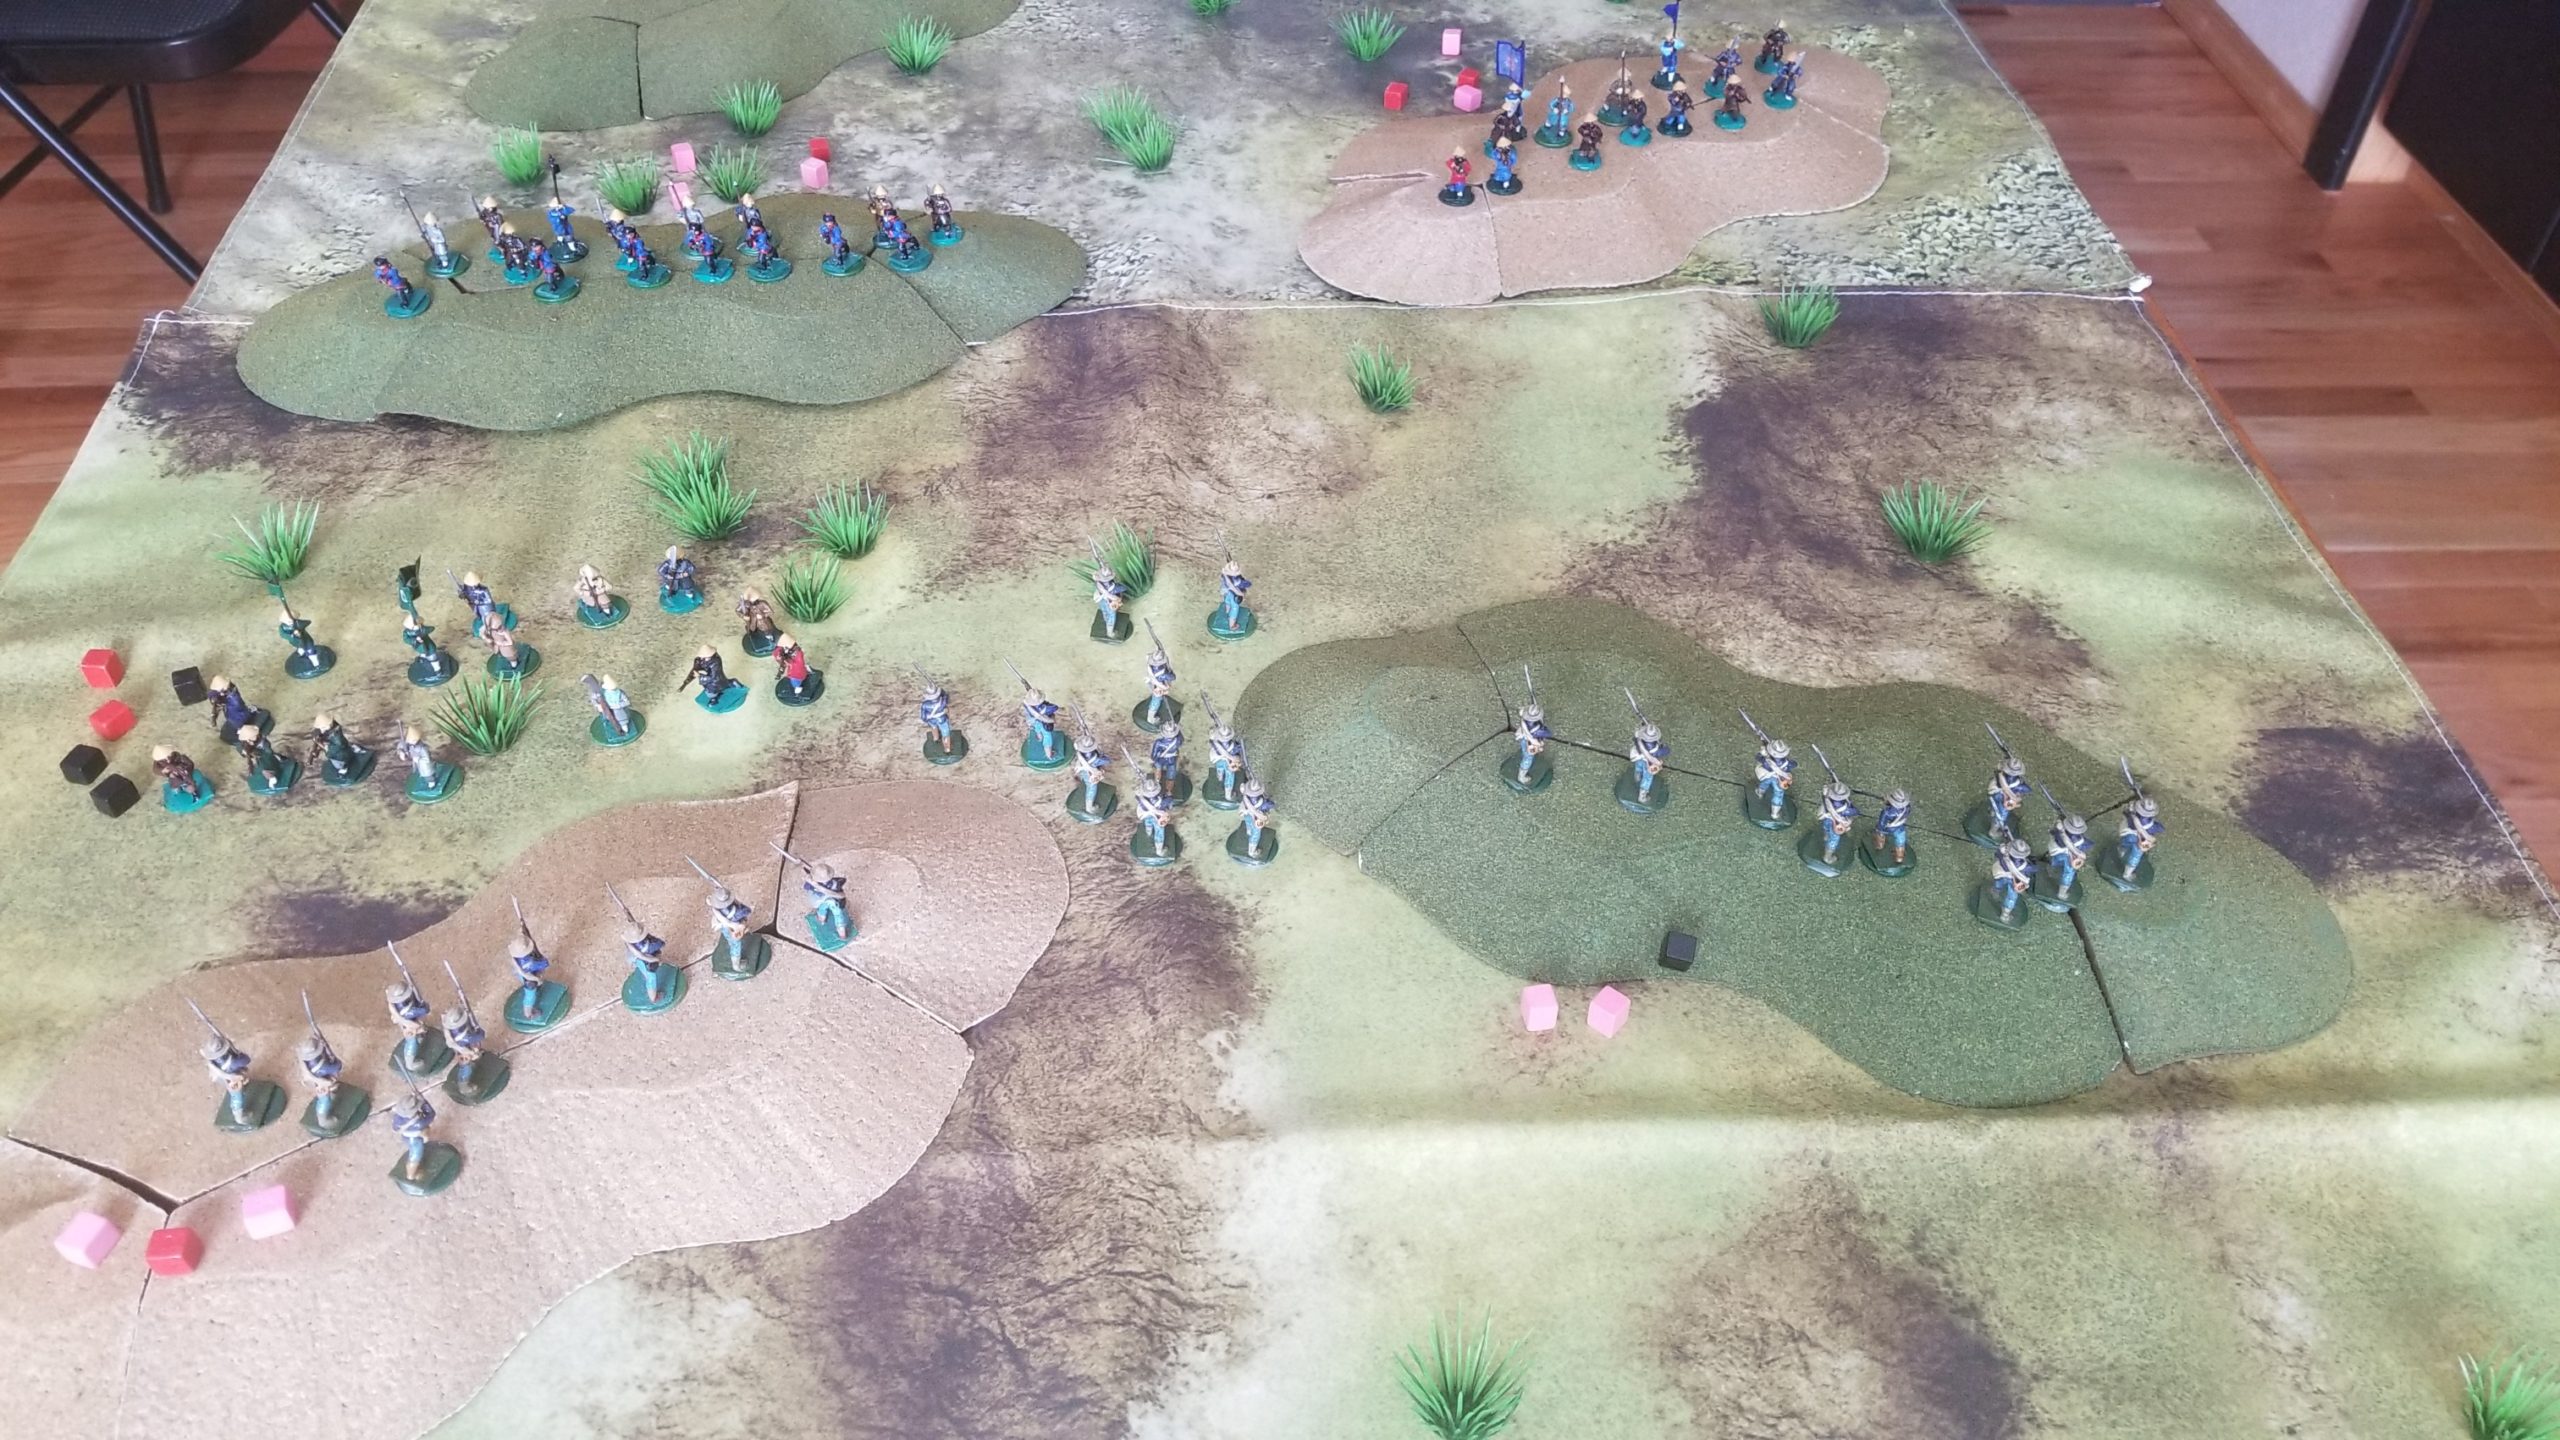
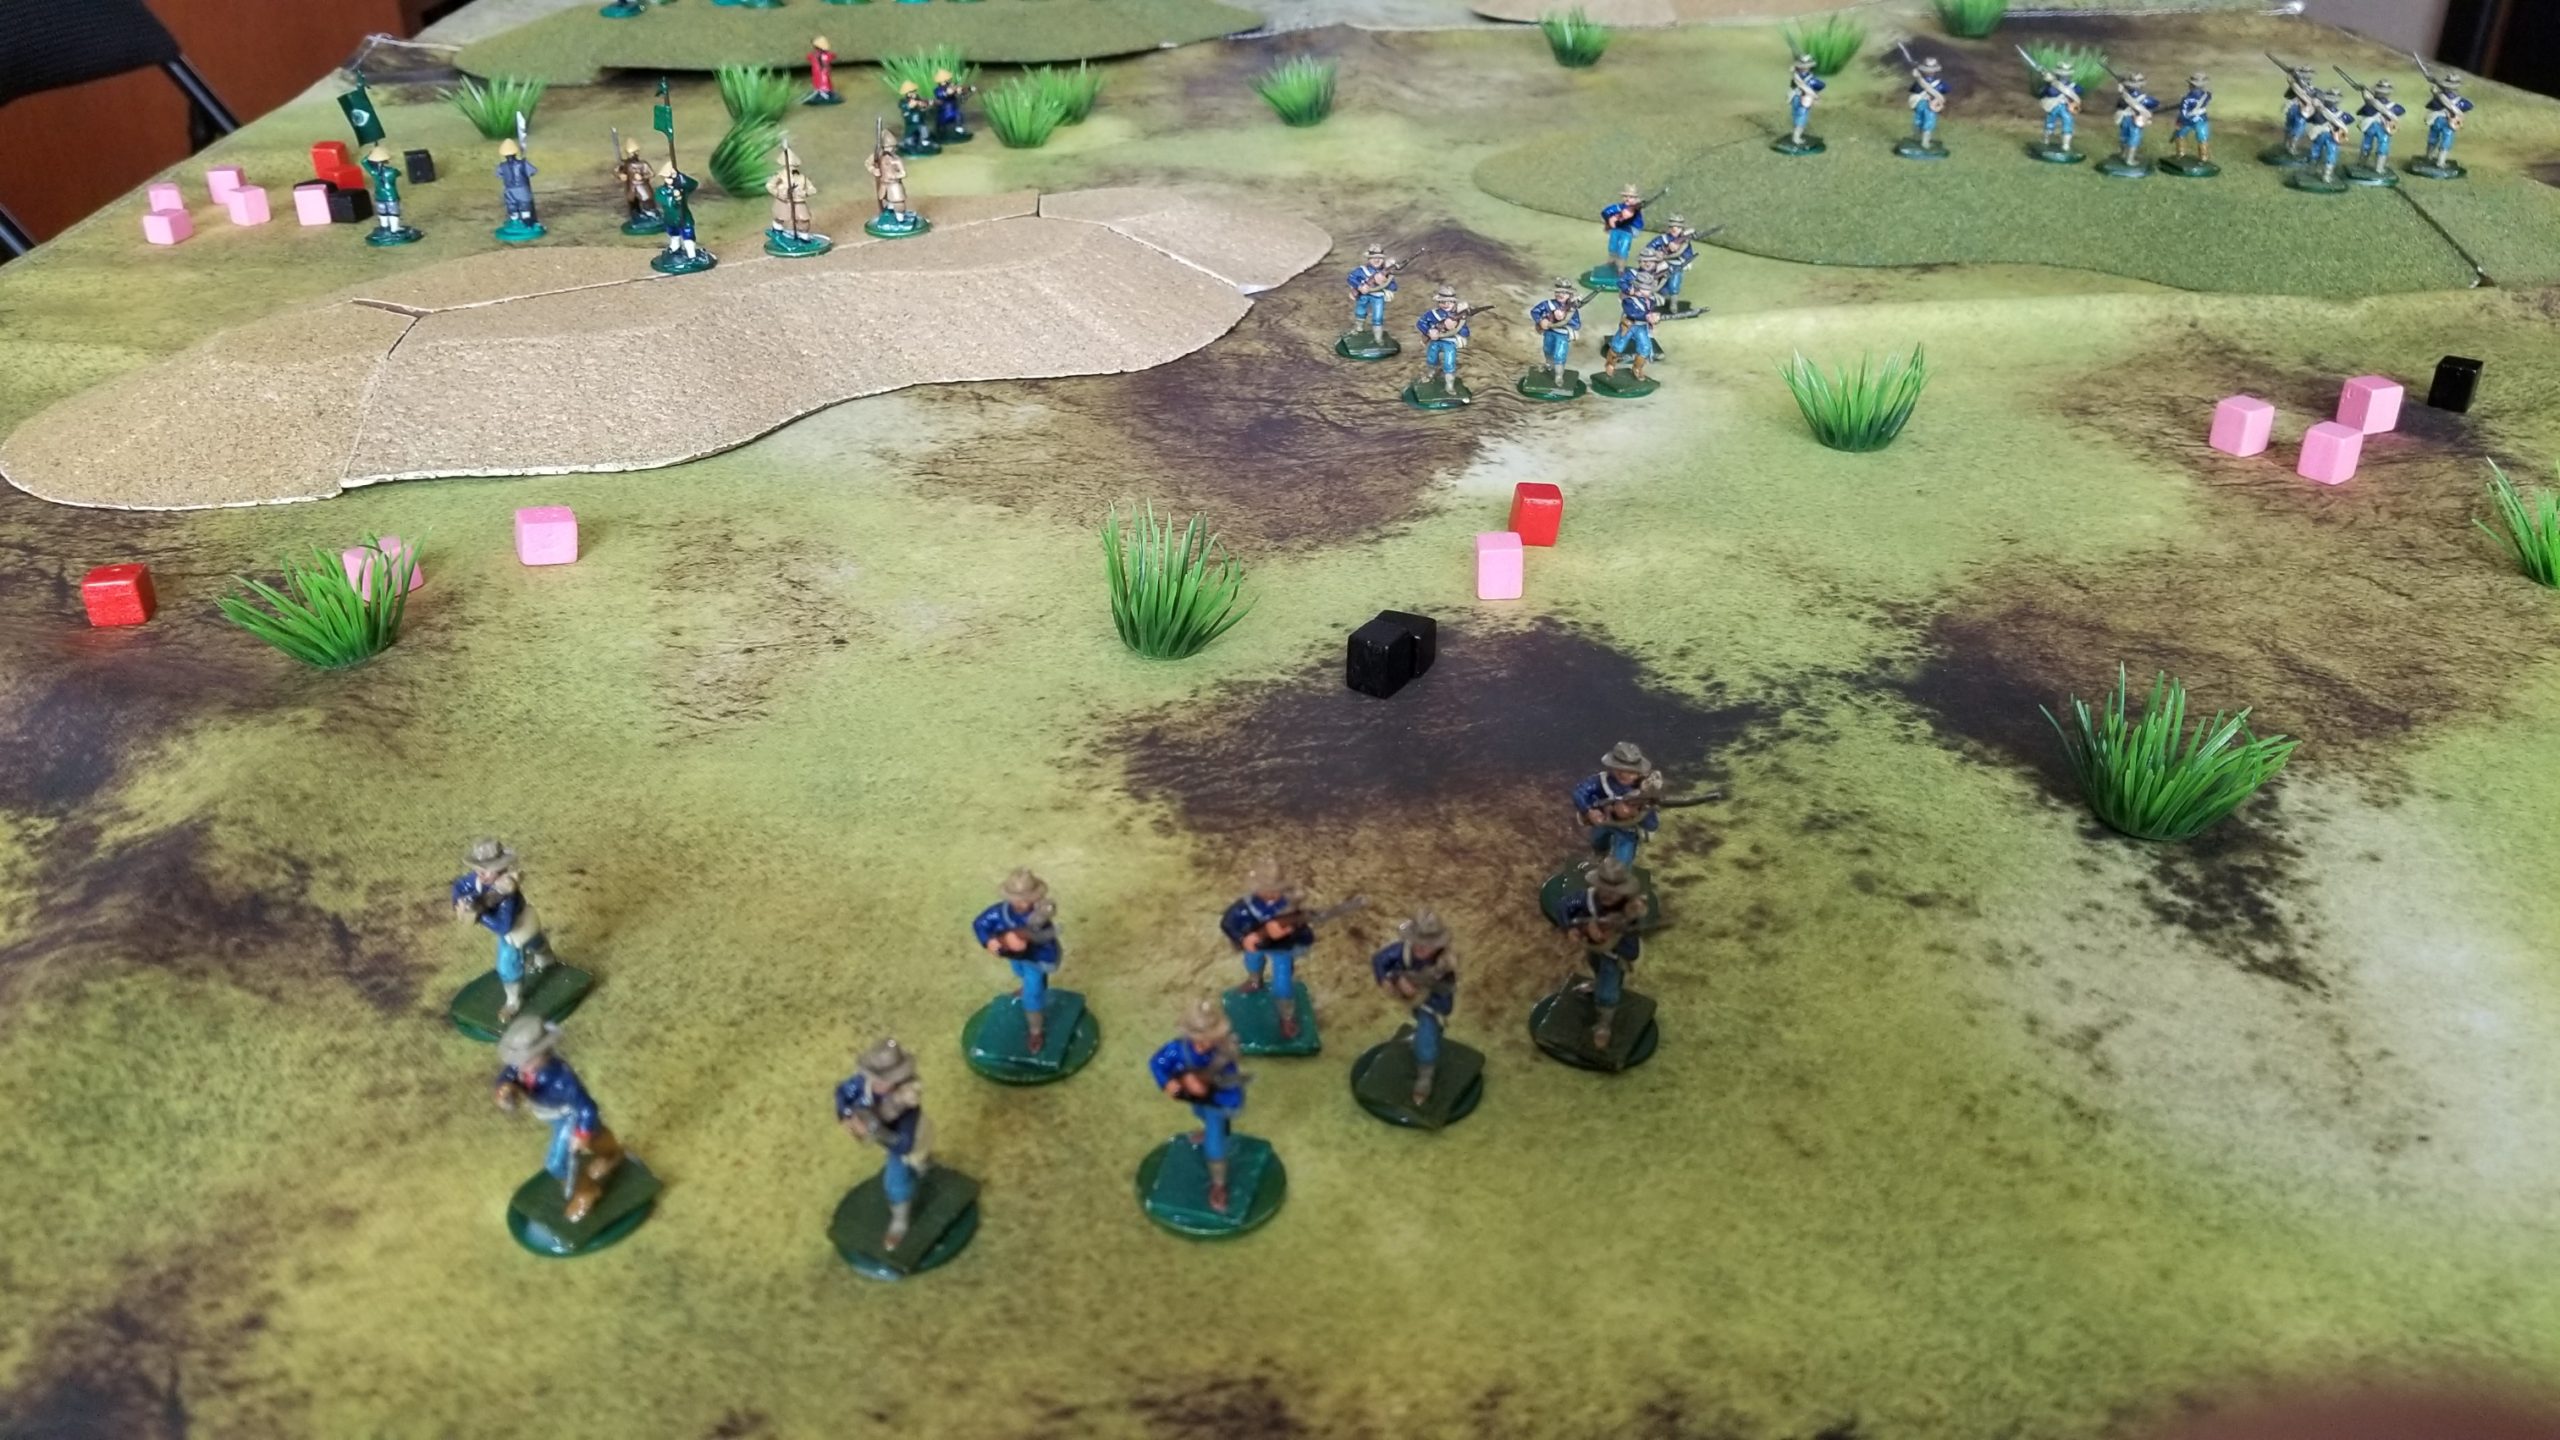
25mm The Sword And The Flame – Miniature Figurines

I’ve been selling outliers this month, and will apply those funds to the 120 or so Old Glory additions necessary for the Italian Wars.  Those and the 100 or so Essex 15mms purchased late last year should just about do it.  I will have enough armies for enough periods to keep me busy for quite awhile.

But,  I am committed to painting up some strays before I embark on painting up the new arrivals.  Boring, but necessary.

TSATF – Last Move

Rolled for Boxer resistance on the last two ridges.  None on one ridge, and one, passive, unit -with only four riflemen, on the other.

Don’t need to play this out.  Marines will simply engage at a distance, and force them off.

This game turned out well.  I’m fairly satisfied with my solo adjustments for Boxer placement, strength and aggressiveness.

I did roll for Marine casualties.  Four of the eleven lightly wounded are now considered seriously wounded.  Add those to the four KIA and other three seriously wounded, and the Marines took roughly 1/3 casualties.  High price.

Well, time to put them back in their cabinet and start playing Husaria.

A New Mess

Getting close to covering all household horizontal surfaces with wargame related items.

Europa Purists may not want to read any further.

The  is the resource hodge podge assembled for my latest foray into out of kilter Europa scenarios, following in the steps of Fall Gertrude and the “Switzerland Must Be Swallowed” scenario pre-dating this blog.

As with any catastrophe, this one has several causes.  They are, in no particular order, an email exchange with Tim Davis, the publisher of Fall Grun and Empire Reborn, a chance encounter with The Europa Magazine (TEM) #57, and glance at my copy of East Central Europe Between The Two World Wars.

Empire Reborn posits a Romanian-Hungarian conflict in the wake of the Munich Pact.  TEM #57 contains a Macedonian War scenario developed by Frank Watson, portraying a 1940 Bulgarian invasion of Yugoslavia.

Both scenarios are based on ethnic/cultural/geographic grievances which (although centuries old) were the immediate products of the Balkan Wars and World War I.   It is a long and twisted story resulting – as best I can figure – in the following.

Hungary wanted to regain Transylvania from Roumania, and the Backa and Prekmurje regions from newly created Yugoslavia.  Bulgaria wanted much,if not all, of Macedonia from Yugoslavia, and to regain Dobruja from Roumania.

Hungarian revanchism was a result of the Treaty of Trianon (1920), which stripped the country of  land, ethnic Hungarians and resources.  This desire to regain what was lost led  to the creation of the Little Entente between Czechoslovakia, Yugoslovia and Roumania.

Greece, Turkey, Roumania and Yugoslavia reacted to Bulgaria’s territorial grievances by signing the Balkan Pact (1934).  The Pact was intended to maintain the region’s territorial status quo and peacefully solve any differences.

So, I am now ready to begin what Mr. Watson characterized  as “wandering in the Balkan darkness….” in explaining why he limited the scope of his Macedonian scenario.

I will, however, take his guidance and set my scenario in 1940, as “(it) provides a convenient way to do away with great power meddling.”

The shortest distance between two points is to assume a Hungarian and Bulgarian alliance (whatever form that might take) aimed at Yugoslavia and Roumania, all that was left of the Little Entente.

Most available order of battle information begins in 1941, but there are enough  fragmentary sources to take a pretty good guess at 1940.  In each case, the combatants were modernizing and reorganizing their armed forces.

What the hell….it’s worth a try.

TSATF Skirmish Continues

Well, maybe not that interesting at first, but later the situation became too interesting for the Marines.

The Boxers failed the morale check needed to charge the Marines occupying the west ridge line;  ran off the ridge and went prone/pinned.  Elsewhere the firefight continued, with both sides sustaining casualties.  Surprisingly, the retreating Boxer unit rallied on a die roll of “1”.

Here’s photo of the situation.

The riflemen of the rallied Boxers turned to engage the Marines moving through the saddle, while the remainder charged and closed with the Marines to their front.  The Marines moving through the saddle, in turn, charged the detached riflemen.

Both Marine units were pushed back!  In TSATF, hand-to-hand combat is simply a comparison of die rolls, and the Boxers were rolling well.  Despite losses, the Boxers  held the west hill.

However, the Boxers unit losses were now greater than fifty percent.  The detachment on the hill failed the required morale check and fled (final turn phase after shooting). The riflemen, however,  passed their check and remained in place.

In the following turn, the two Marine squads rallied and moved back towards the west ridge, staying in defilade. The Boxer riflemen focused on the remaining Marine unit, but their fire was ineffective.  Here’s a photo of the situation at the end of this turn.

Quick Note:  I’m keeping the casualty cubes in-place for an end-of-game count.  Red indicates a serious wound, pink a light wound, and black for death

The Marines regained the crest of the west ridge and engaged the Boxers to their front.  The Boxers literally fought to the last man.  The Boxers holding the east ridge drew an event card reducing their effective firing range to only 12 inches, or not far enough to engage the Marines to their front.  They wisely withdrew to the reverse slope.

The Marines advanced through the open ground to take the east ridge.  Here, the  Boxers emerged from defilade, but retreated after taking casualties and failing  their morale check.

While this action was taking place, Marines occupied the west ridge.  Here’s a photo of the current situation.

Lots of wristage before next turn’s action.  Have to determine who and what will be on the final two ridges.  I will also inventory all losses, clean up the casualty cubes, and maybe die to see which of the lightly wounded Marines can no longer continue.

Two Ring Circus

High winds with rain turning to snow.  Focus at a time like this?  Just TSATF?  Why not get the Husaria re-set going?

I have the roster sheets filled out, and the armies deployed.  All I need to do is annotate each unit’s initial orders.

Very curious to see the impact of the additional generals,  new light horse units, and a  morale upgrade  to veteran status for selected units will have on the game.

A couple of marginal photos to document preparations.

This marginal shot is looking north.

The Muscovites now have Cossack infantry instead of Dragoons in the woods, with Kalmuck light horse in support.  Ratjars will support the Cossack infantry deployed on the east hill.  Also, there are two medium guns emplaced on the hill between the villages.  Streltsy infantry, supported by cavalry, hold the center.

The Poles have fewer dragoons facing the woods, only one heavy gun (instead of the multiple batteries in the previous game), and Cossack cavalry – supported by Ratjars – on their right flank.  Again, the Hussars are off-table and situated to the rear of the Pancerni (now upgraded to Veteran status) supporting the Haiduks in the center.

Skirmish Adjustments

Making adjustments in my search for appropriate solo randomness  for The Sword And The Flame (TSATF).

The most pressing problem was the reaction of Chinese forces placed on reverse slopes.  After playing through a couple of turns decided to go with dicing for passive, aggressive and fanatic designations for all Chinese units when placed on the table.

Passive will hold in place until enemy is  no more than six (6) inches away.  Aggressive units will move as the situation dictates, and Fanatics will move to contact towards the nearest enemy unit regardless of situation, distance, etc.  A percentage die roll of 10 or less (0 =0) results in a passive designation, with 20-70 creating an aggressive unit, and fanatics at a higher roll.

Given the high number of Boxer riflemen  (probably higher than historical), any lightly wounded Marine casualties are recorded, but the figure stays in the fight.

The Marines encountered resistance while approaching the ridge to the west.  The ridge to the east was unoccupied.

The passive Boxers emerged from the reverse slope, and engaged the Marines with firearms.  Their next move will be into melee.

The other two Marine squads continued to advance, occupying the east hill and advancing through the saddle between ridgelines.

Force composition die rolls were made as  both units were within twelve (12) inches of the next two ridges.  The results were not pretty, with two aggressive units, each equipped with a high number of firearms,  are now situated on each ridge crest.

Tomorrow’s  turns should prove interesting.

Skirmish Mission

Rhonda’s enjoying Palm Springs weather, so I’ve set up The Sword And The Flame (TSATF) on the dining room table.

The scenario calls for the Marines to clear a series of ridges.

I’m considering all ground to be rough ground for shooting, so there is a -1 DRM for all firing.  However, the ground will be considered clear for movement, so without penalty.

Visibility is twelve (12) inches from ground to crest, unlimited from crest to crest, and crest to base of next hill.

The challenge is coming up with some solo-friendly randomness.  Here’s a quick and sketchy overview.

My initial stab at this problem is to use the Action, Event and Terrain cards published by The Virtual Armchair General.

An Event will be triggered by a die roll of six (6), and confirmed by a Yes/Maybe die roll.

Whether or not a terrain feature is occupied will be determined by a 10 sided  die.  A roll of four (4) or less means the feature is unoccupied.  A roll of five (5) to eight (8) means a Boxer force is occupying the crest.  A roll higher means the Boxers are on the reverse slope.

Another percentage die roll determines force composition.  A roll of four (4) or less means Regulars.  Another outcome results in a Boxer force.  For the Boxers, another roll gives the number of figures with firearms.  All Regulars carry rifles.

Terrain cards will be drawn when Marines enter a “new” terrain feature – either a slope or the “new” ground beyond a ridge line.  These cards will indicate if movement is slowed.

Any casualties are considered to be out of this game.  Wounded figures will be diced for at the end of the game, anticipating a follow up contest.

Tabor

Found these wagons adrift in the bottom of a box.

This rediscovery brought back feelings of shame and inferiority.  I had carefully constructed them, but made the fatal error of using DBR base width for the exterior and not interior measurements.  Typical.

I quickly realized I simply had to remove the end boards from two wagons, creating space for the based figures.  Had watched Vertigo just a couple of days before and this discovery was a real Barbara Bel Geddes moment.

Anyway………they are now ready for use in Husaria games.