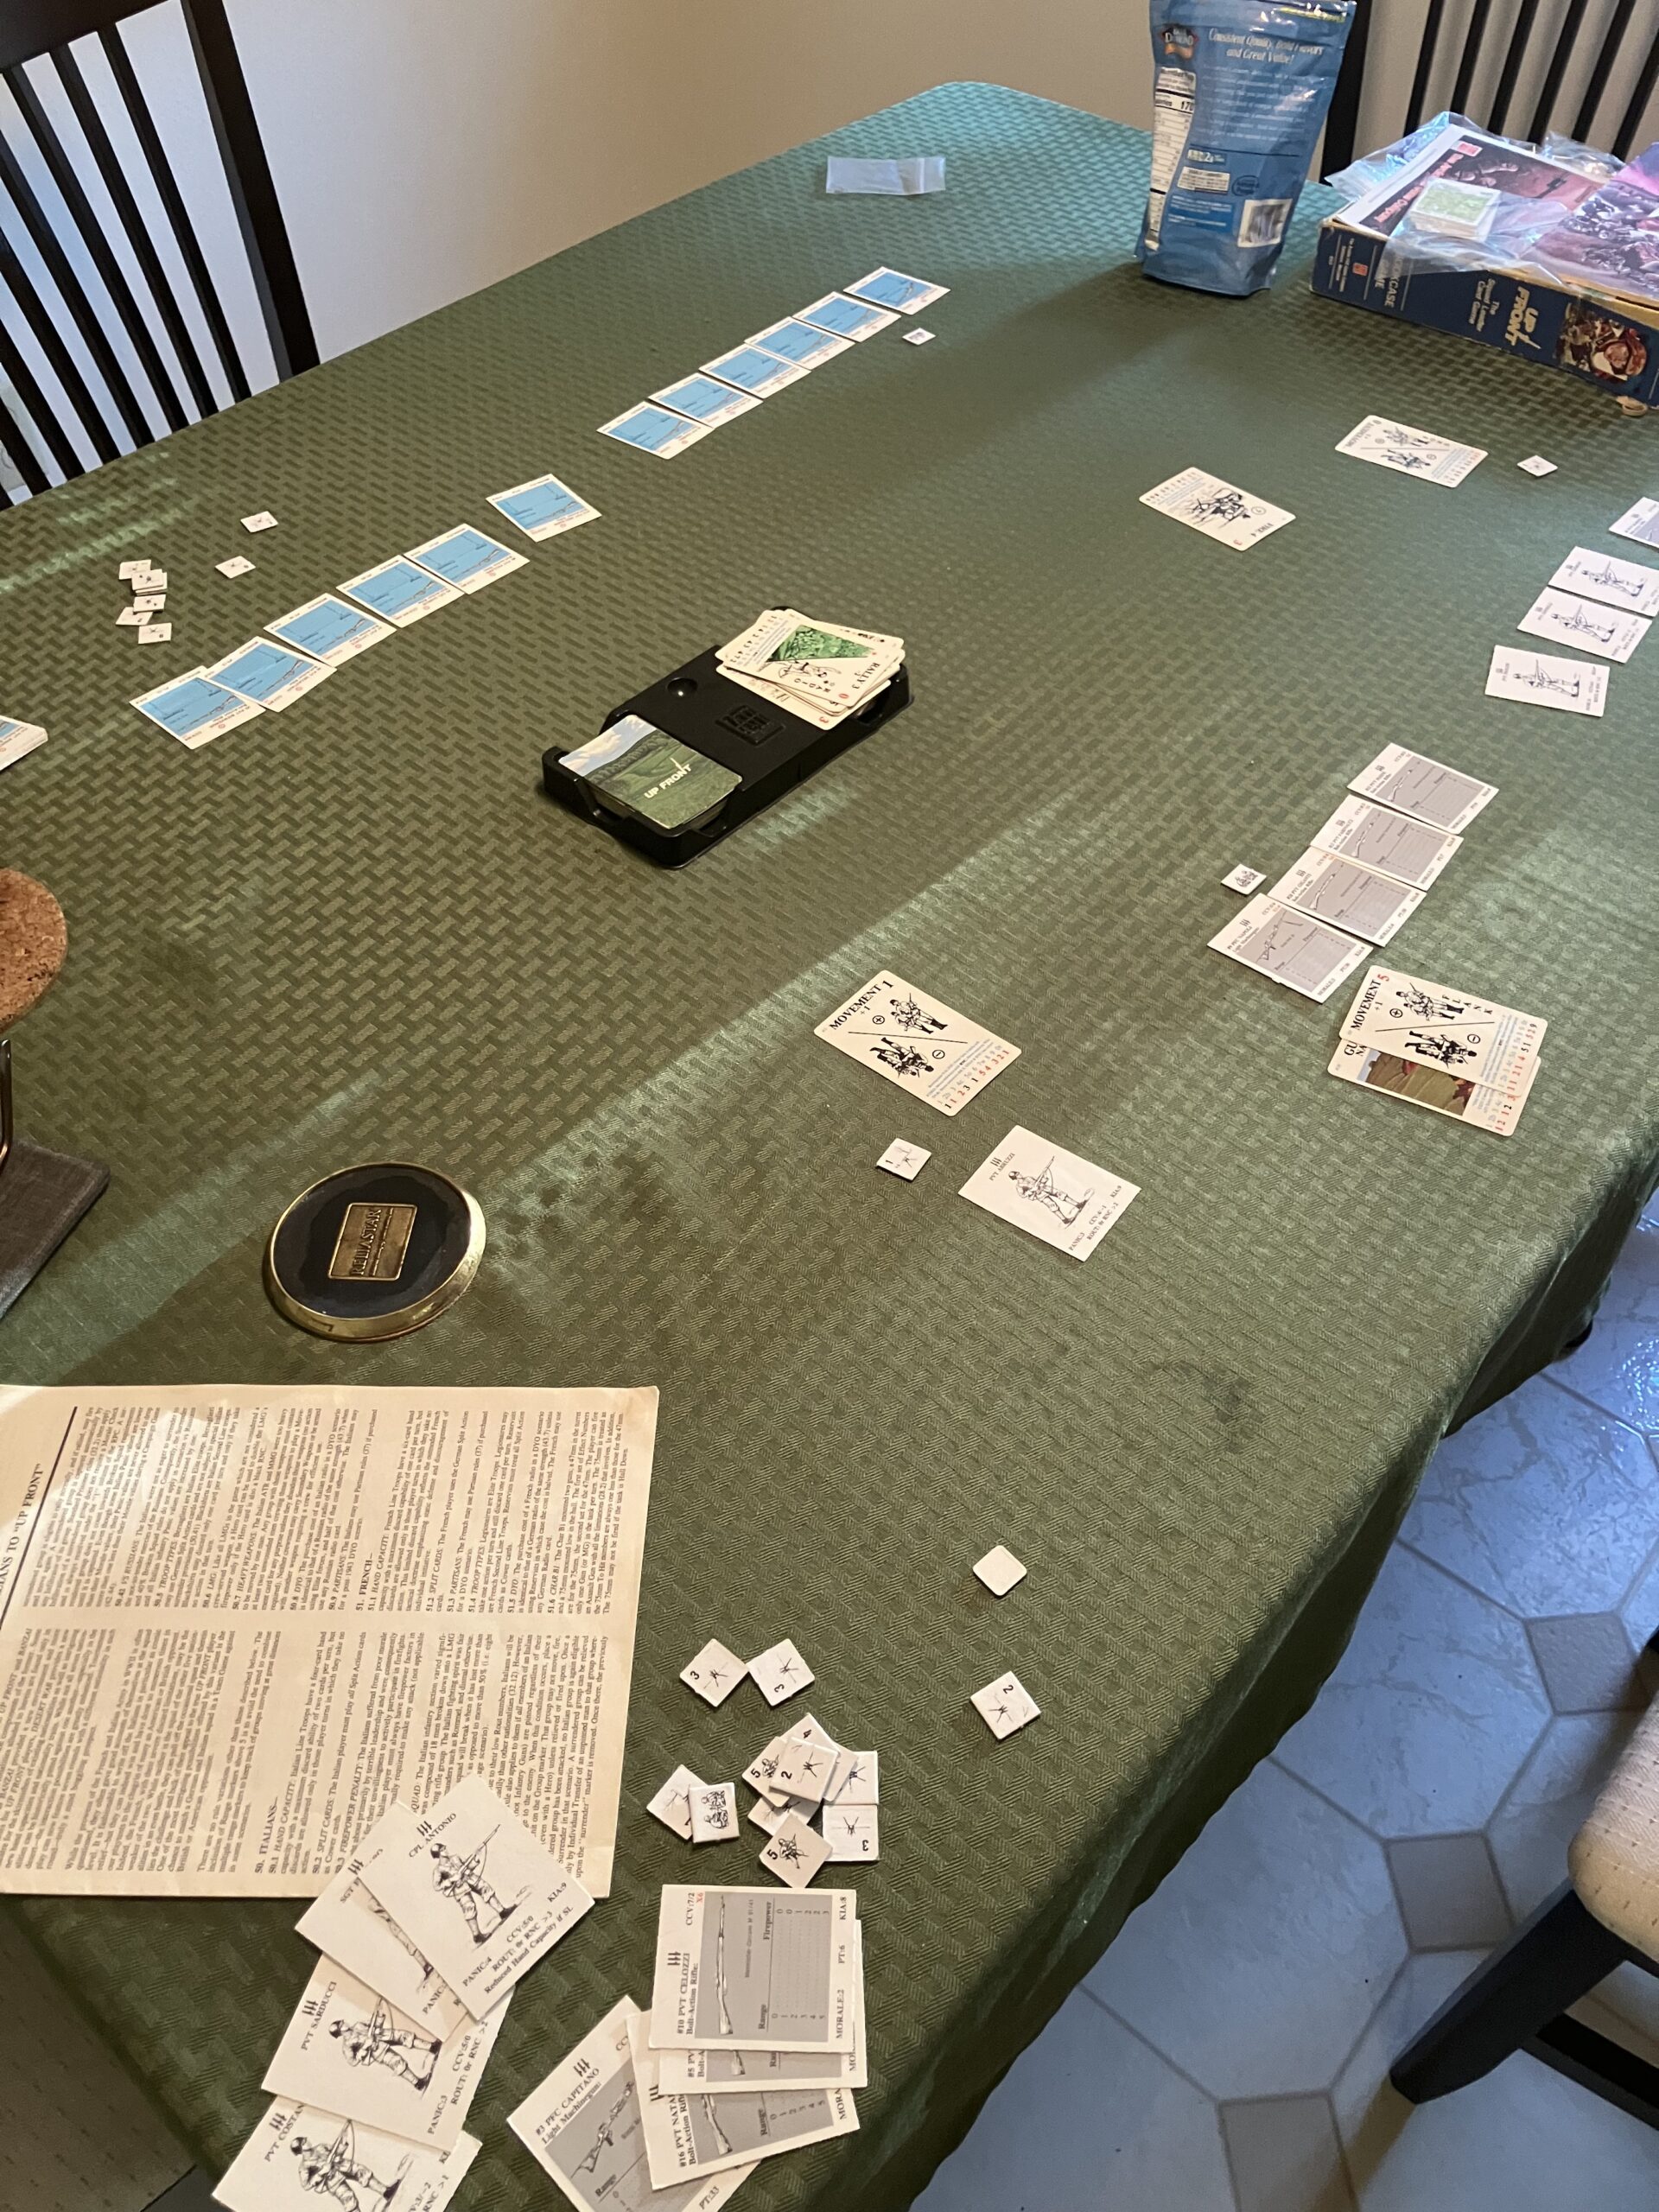
Had left my Warfighter scenario set up on the dining room table, so I picked up where I left off….with a tough decision to make.
The decision was whether or not to play the “Stronghold” card as my fourth location, and the last card before activating and engaging the scenario’s objective.
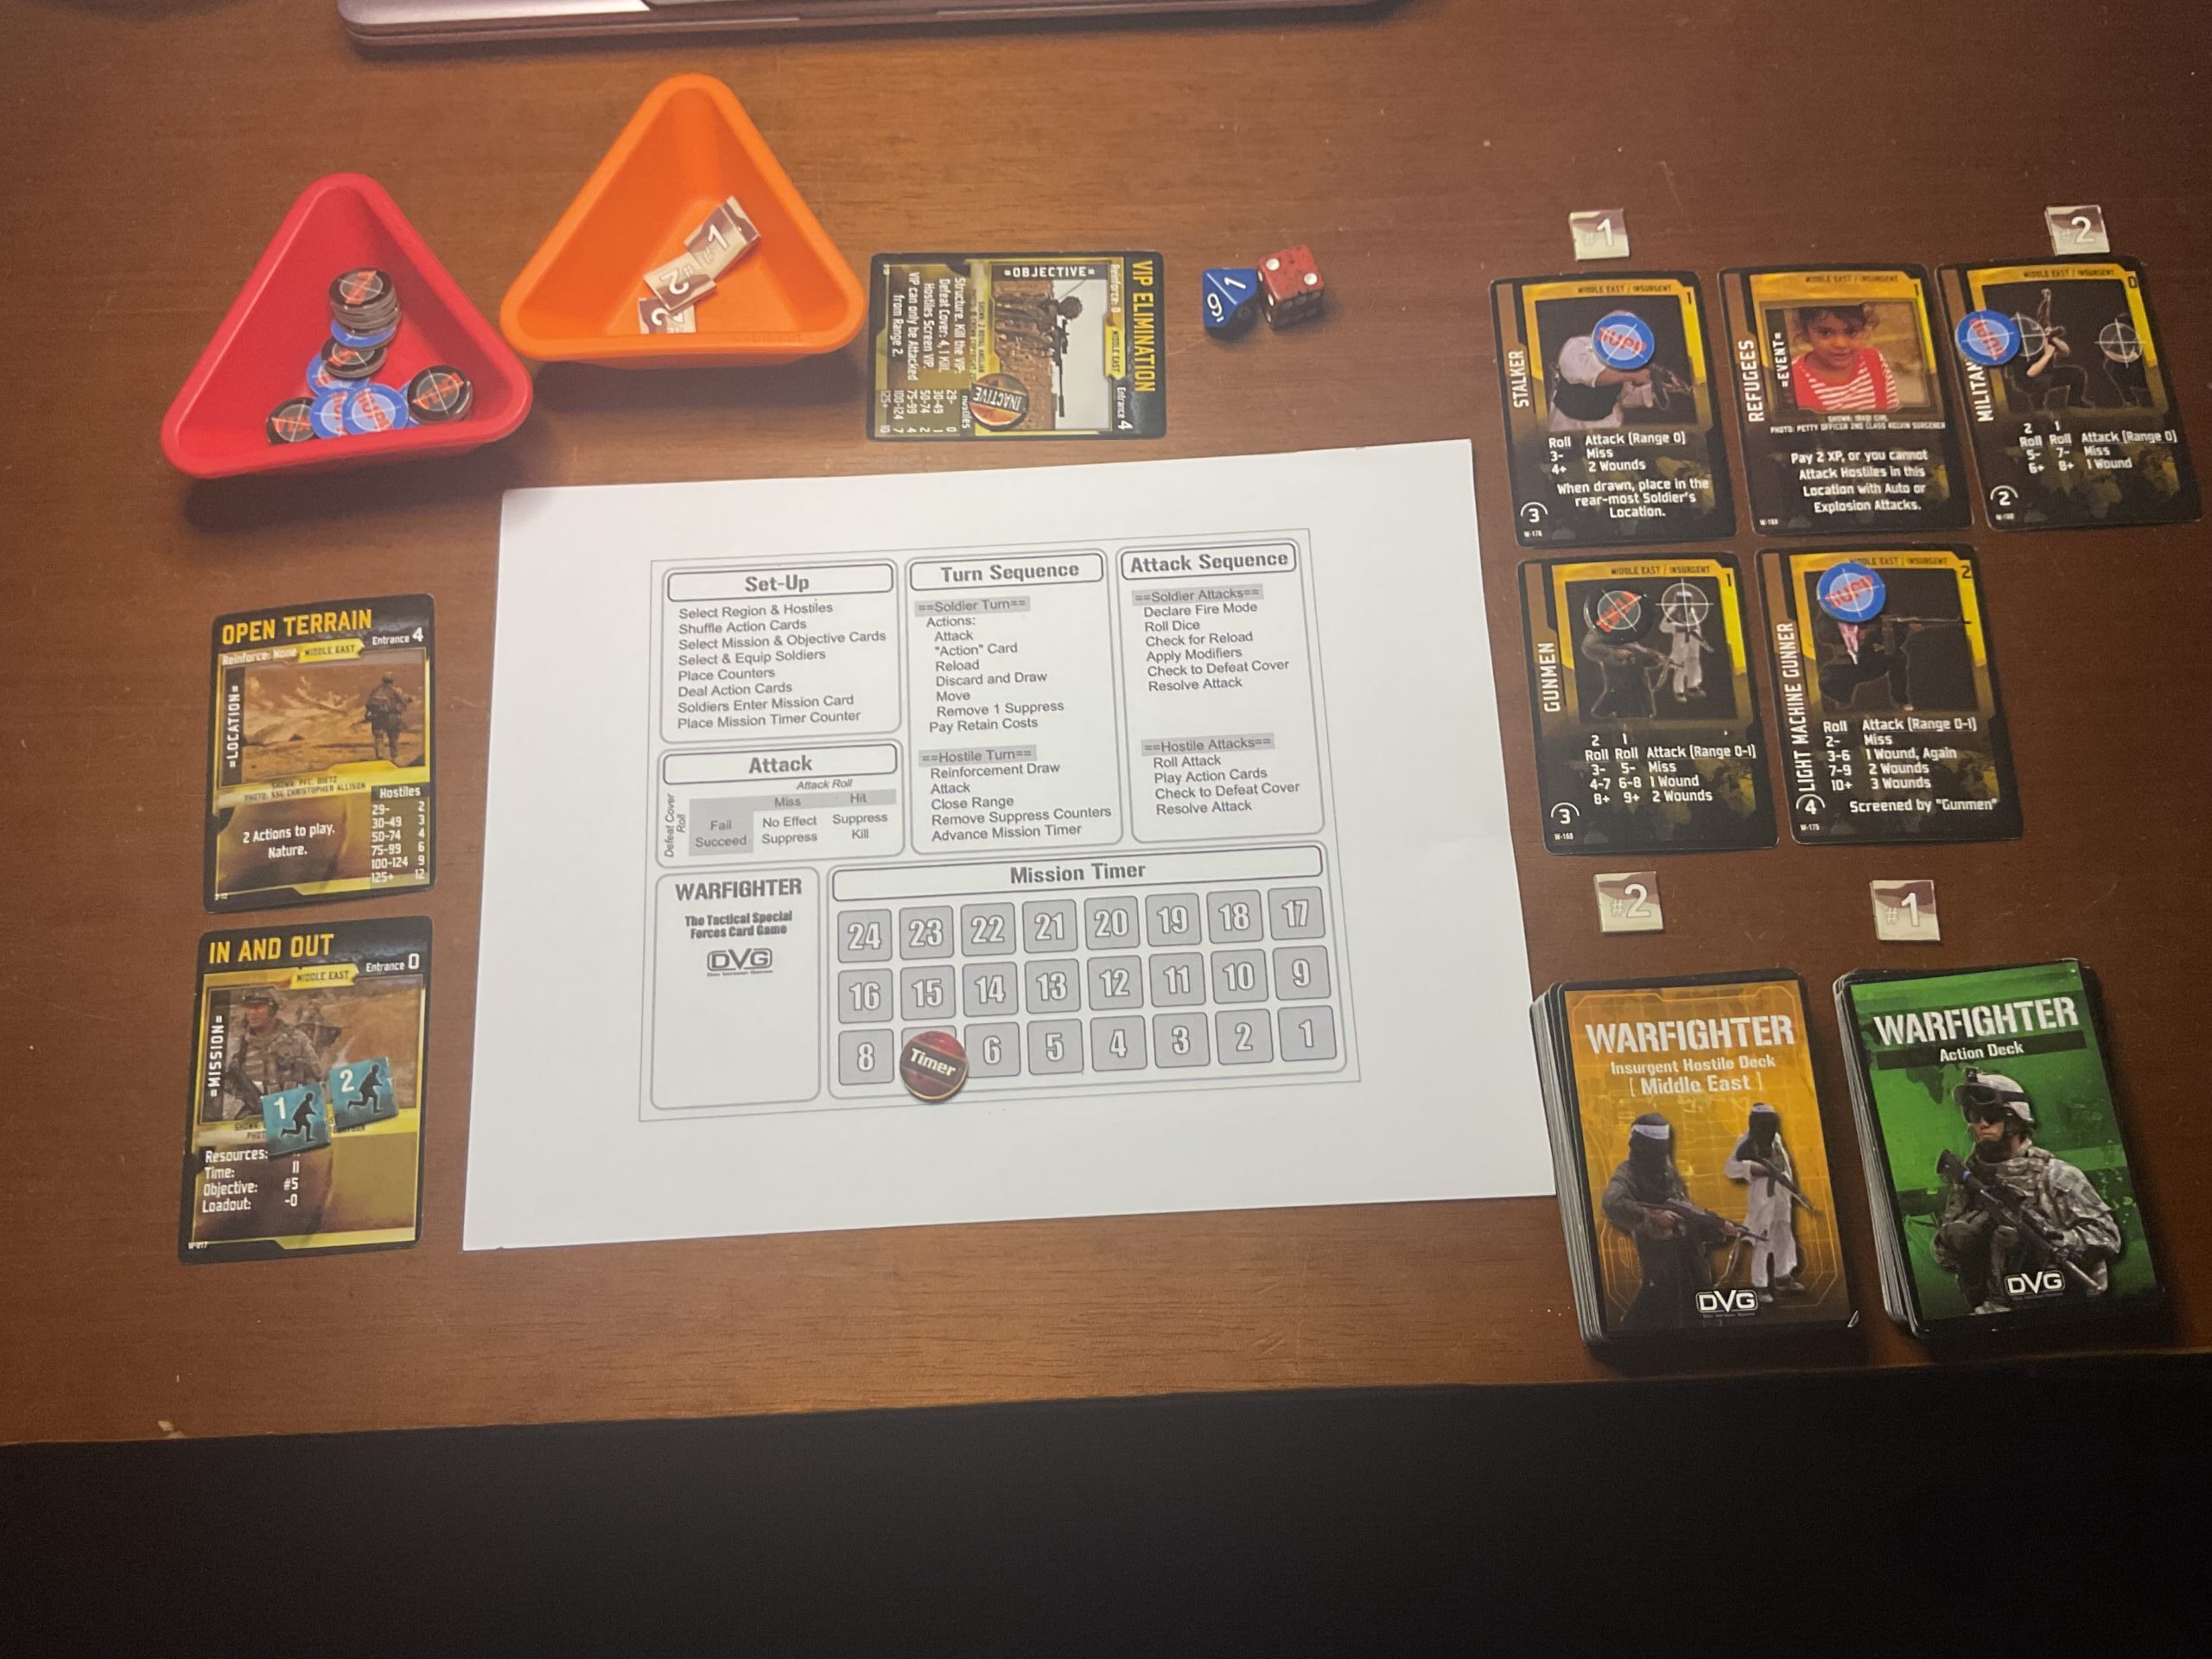
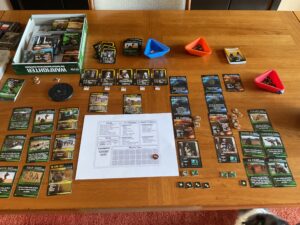
Here’s a photograph with lots of information….along with a semi-coherent account of what happened.
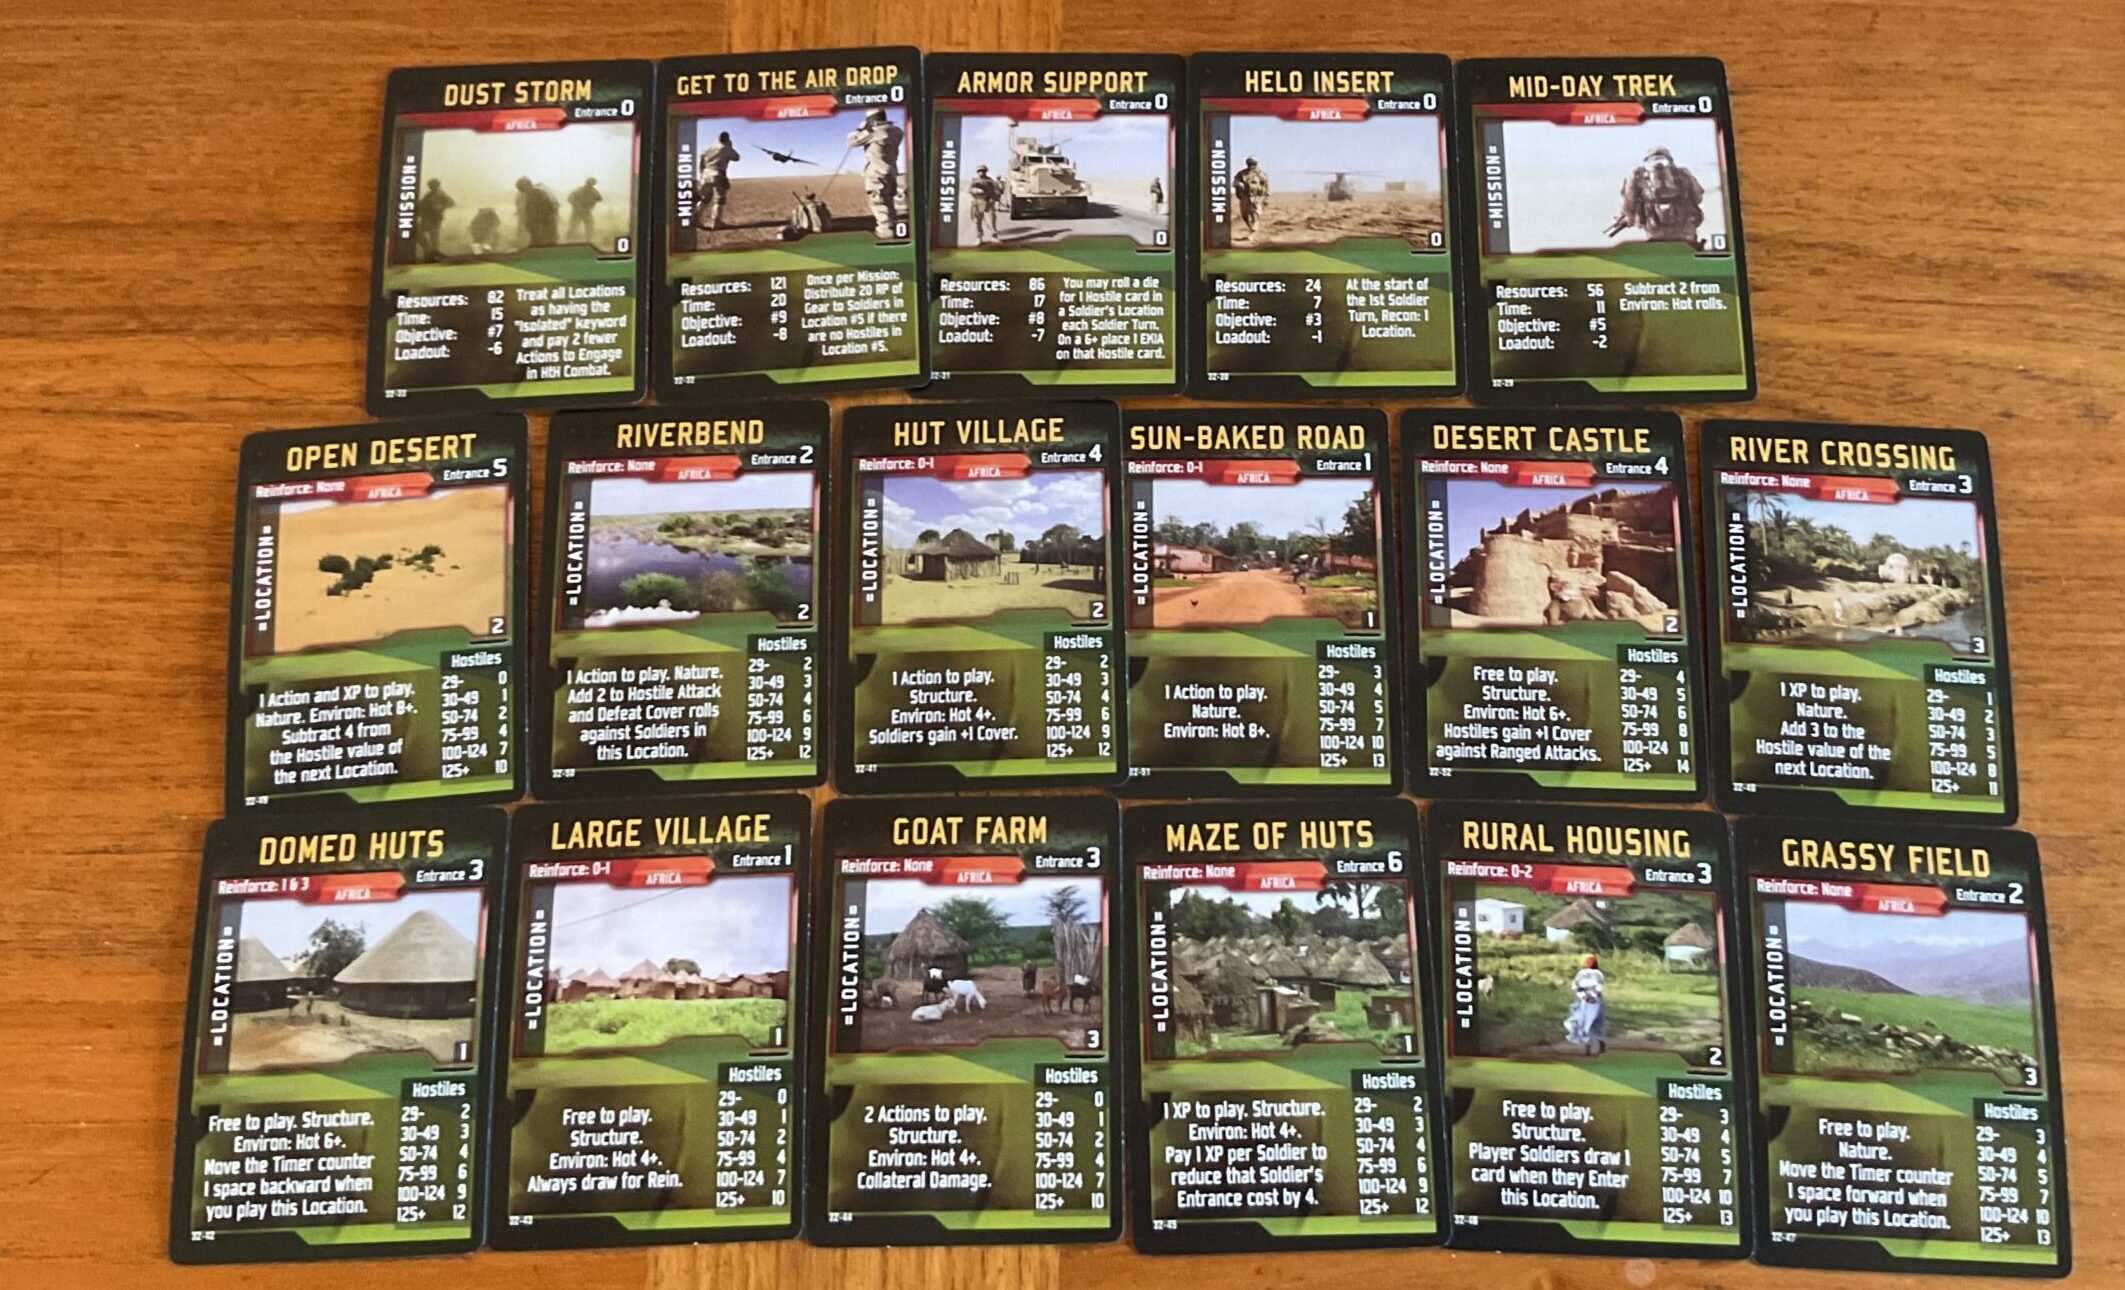
The team’s mission is to eliminate a VIP from Range 2. But, in order to do this, the objective has to be activated, and this requires a soldier entering the adjacent location (card).
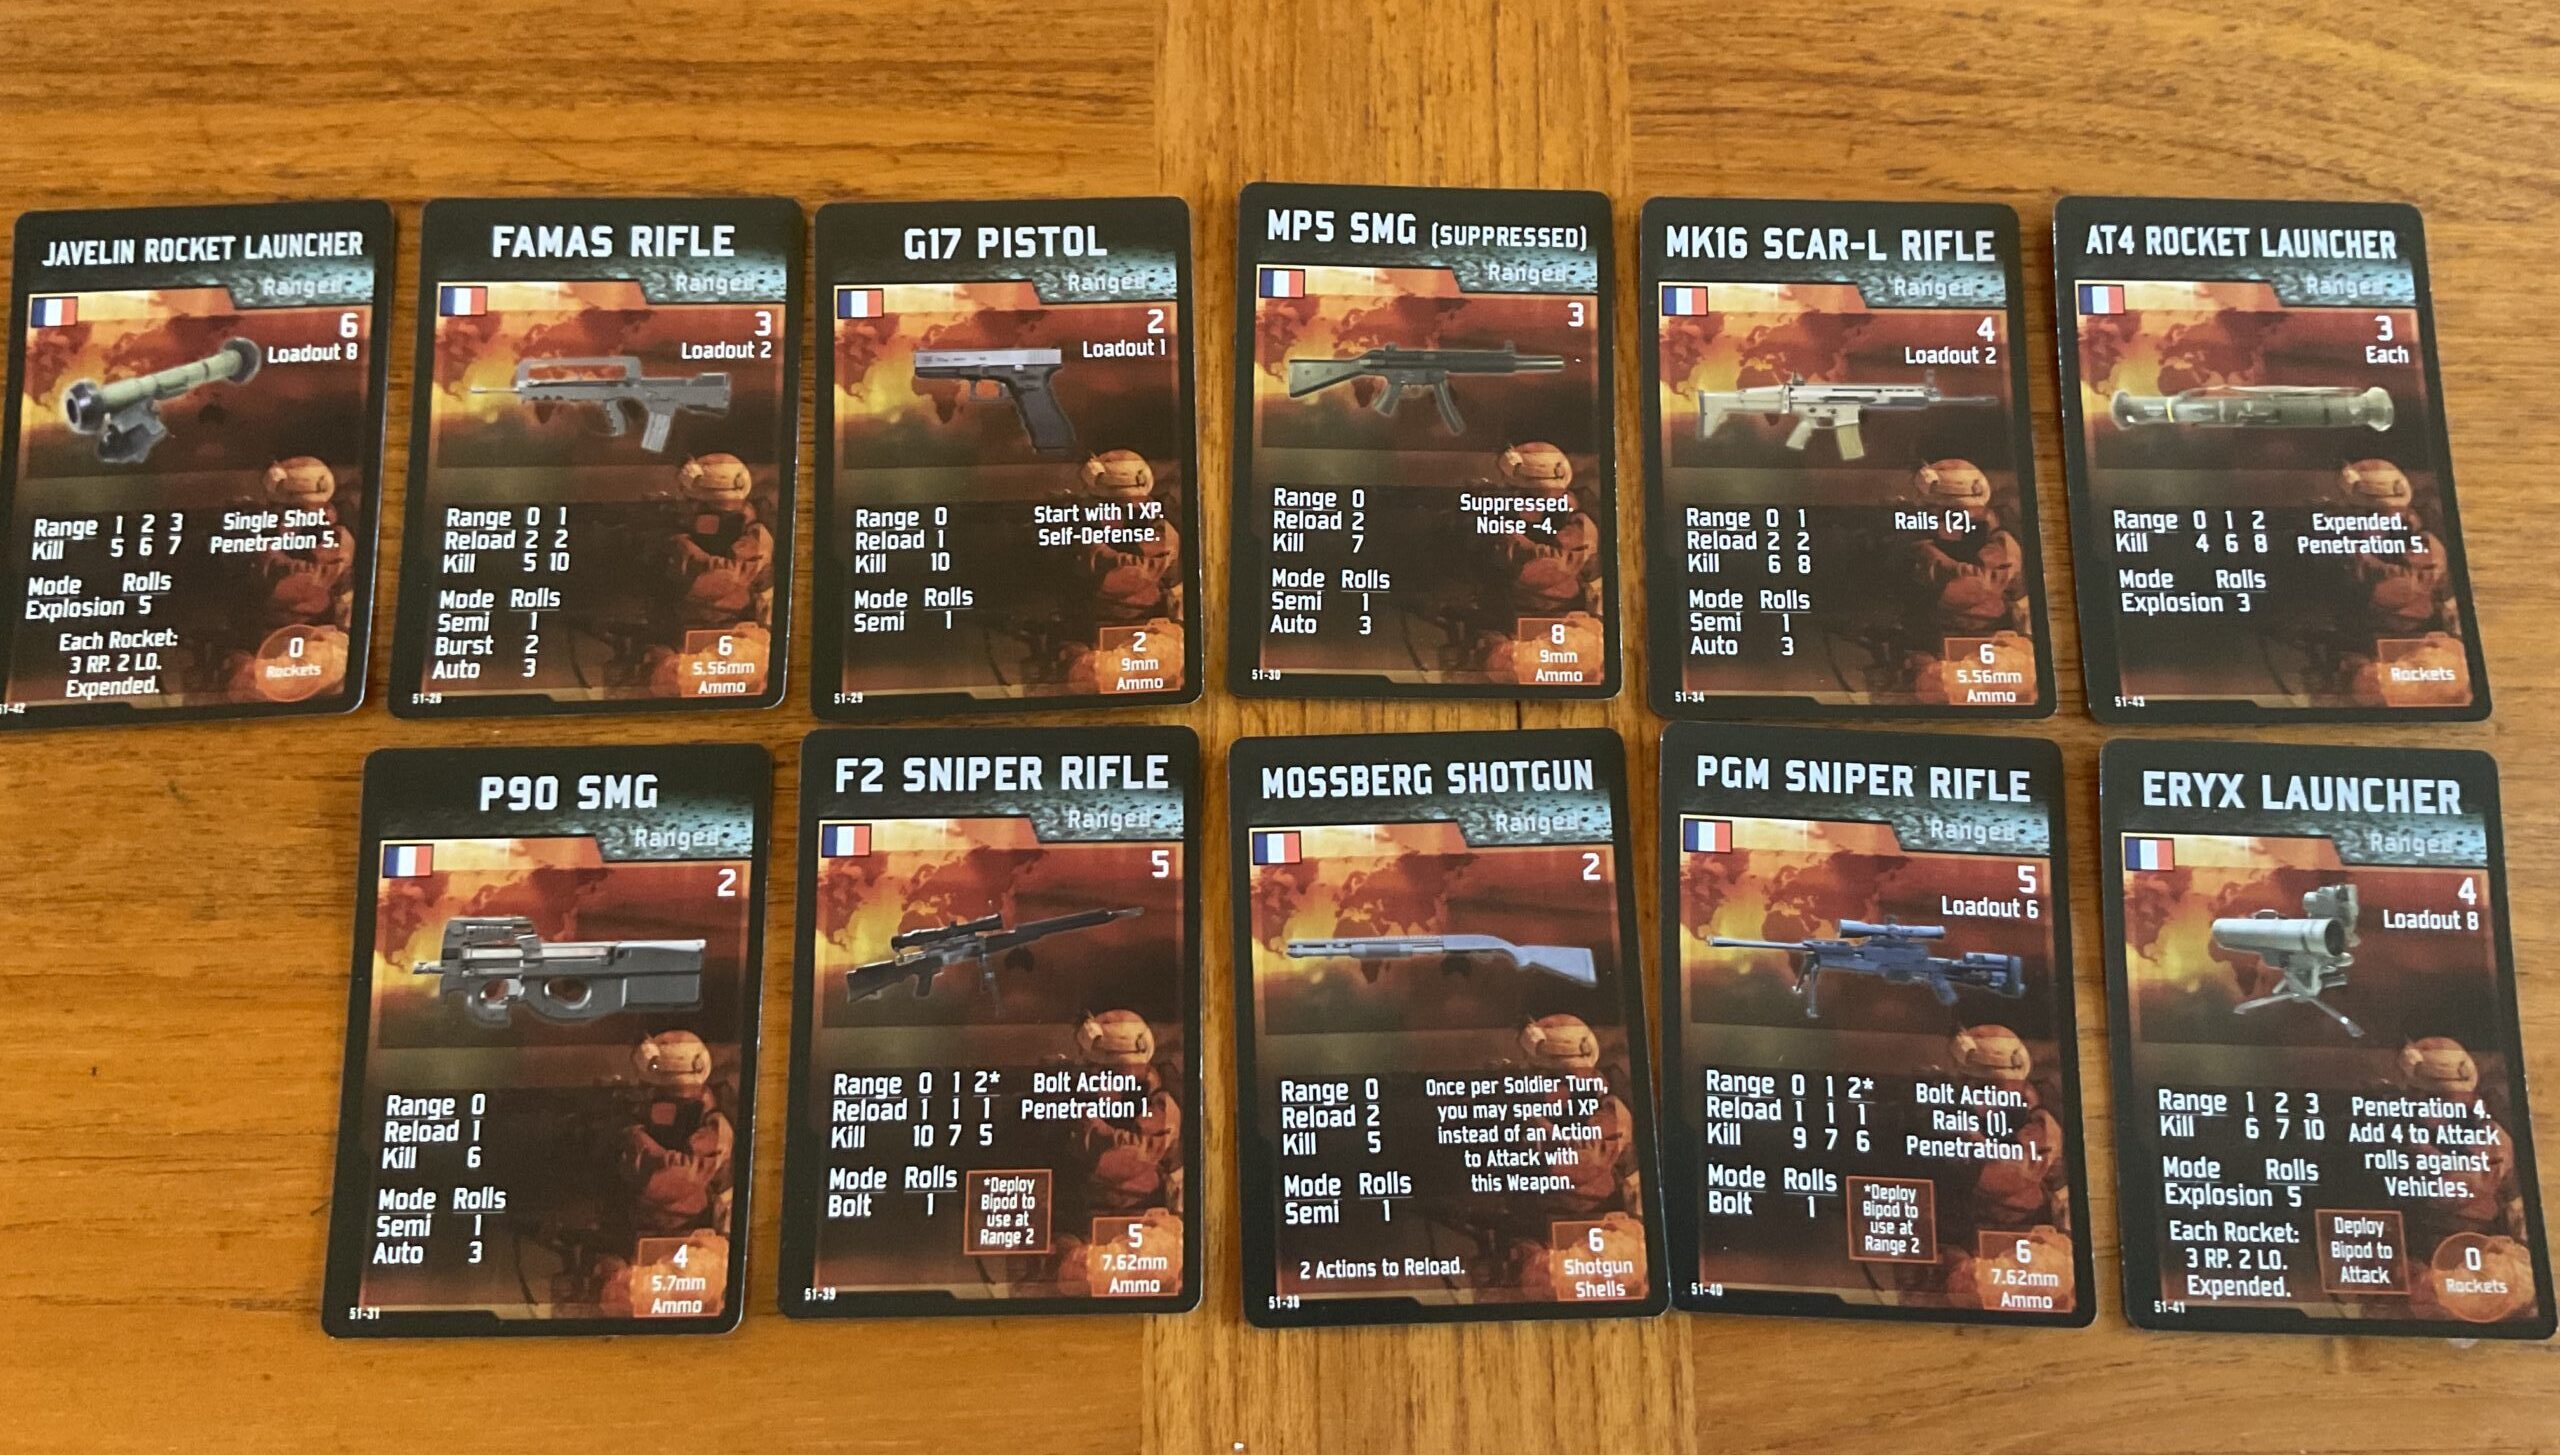
The team consists of Minyard (action cards to left of play aid, weapons and equipment above his personality card to the right of the play aid) with a M4 carbine, and Seitz (action, personality, weapons and equipment to the right of Minyard) with an M203 carbine (M4 plus grenade launcher). The plan is to use Seitz’s grenade launcher to eliminate the VIP. In Warfighter, each soldier gets two actions per Soldier Turn. Some cards allow the soldier to perform without using an action.
There is plenty of time left, and good cards to play. No reason to discard in order to discard and draw for an alternate location card…..or was there? I decided to go for it, even though activating the Stronghold location triggers the placement of at least seven points of hostiles.
Minyard held the card and used one action to place it.
Well, I drew what you see at the top of the photo. Two Gunmen, a Radioman, a Leader and an RPG team. The Gunmen have to be killed first as they screen the other bad guys. Yikes!! I considered calling it quits, but decided to give the cards a chance.
So…..I used a Move Out card (no action) for Seitz to enter the Stronghold location. This activated the Objective, which calls for a hostile fighter card draw. My reward was a Martyr Bomber! That dark cloud did have a silver lining. A Martyr must move towards the nearest soldier during the Hostile Turn. So, he would leave the objective ocation, and not serve as a screen for the VIP. Well, that’s my interpretation. And, in desperate times, researching Rules As Written (RAW) is not necessarily a priority.
Seitz then engaged one set of gunmen with a hand grenade, using a Snap Shot (again no action) card, killed them both, and moved back – using another Move Out card – to his previous location. Seitz engaged the Gunmen with his M203, and after they were eliminated, suppressed the RPG team with another M40 grenade. Minyard then suppressed the Radioman, but couldn’t harm the Leader.
Suppressed Hostiles will not be able to attack or move during the upcoming Hostile Turn. However, the Leader can take action.
Will finish the turn tonight, and hopefully write up the outcome tomorrow.