Tag Archives: Der Weltkrieg

From Set-Piece To Re-Set

Set up another Gaza scenario.  This one covers Allenby’s 1918 campaign.

Yes, more set-piece battle action, but with the enhanced possibility of a decisive  Allied breakthrough.

Why?  A special rule for one turn.  The Allies can ignore the effect of enemy entrenchments, and add a +2 to their D6 roll if supported by two factors of artillery,  to an attack using at least 20 factors.  Also, any cavalry not involved in the attack can “exploit” (after combat is completed) up to their full movement allowance and launch an attack (no special modifiers) of their own.

Later That Same Day

Reread the scenario rules.  The special rules cited above hold for any attack (with at least 20 factors) during one turn, just not “an” attack.

How typical.  An error of omission.  I will avoid descending into a public display of self-castigation.

So, here’s the result of my misguided efforts.

The breakthrough took place along the coast, with two cavalry units exploiting.  An opportunity, but probably not as good as one generated by two attacks with these favorable modifiers.

Also, an additional cavalry unit is hiding under a headquarters situated along the coast.  Jeez! Sloppy staff work!

I may play this one out for another turn or two, but will set it up again to take full advantage scenario rules to see if I can completely “unhinge” the Ottoman defenses.

Der Weltkrieg – Osmanli Harbi – The Ottoman War 1914-1918

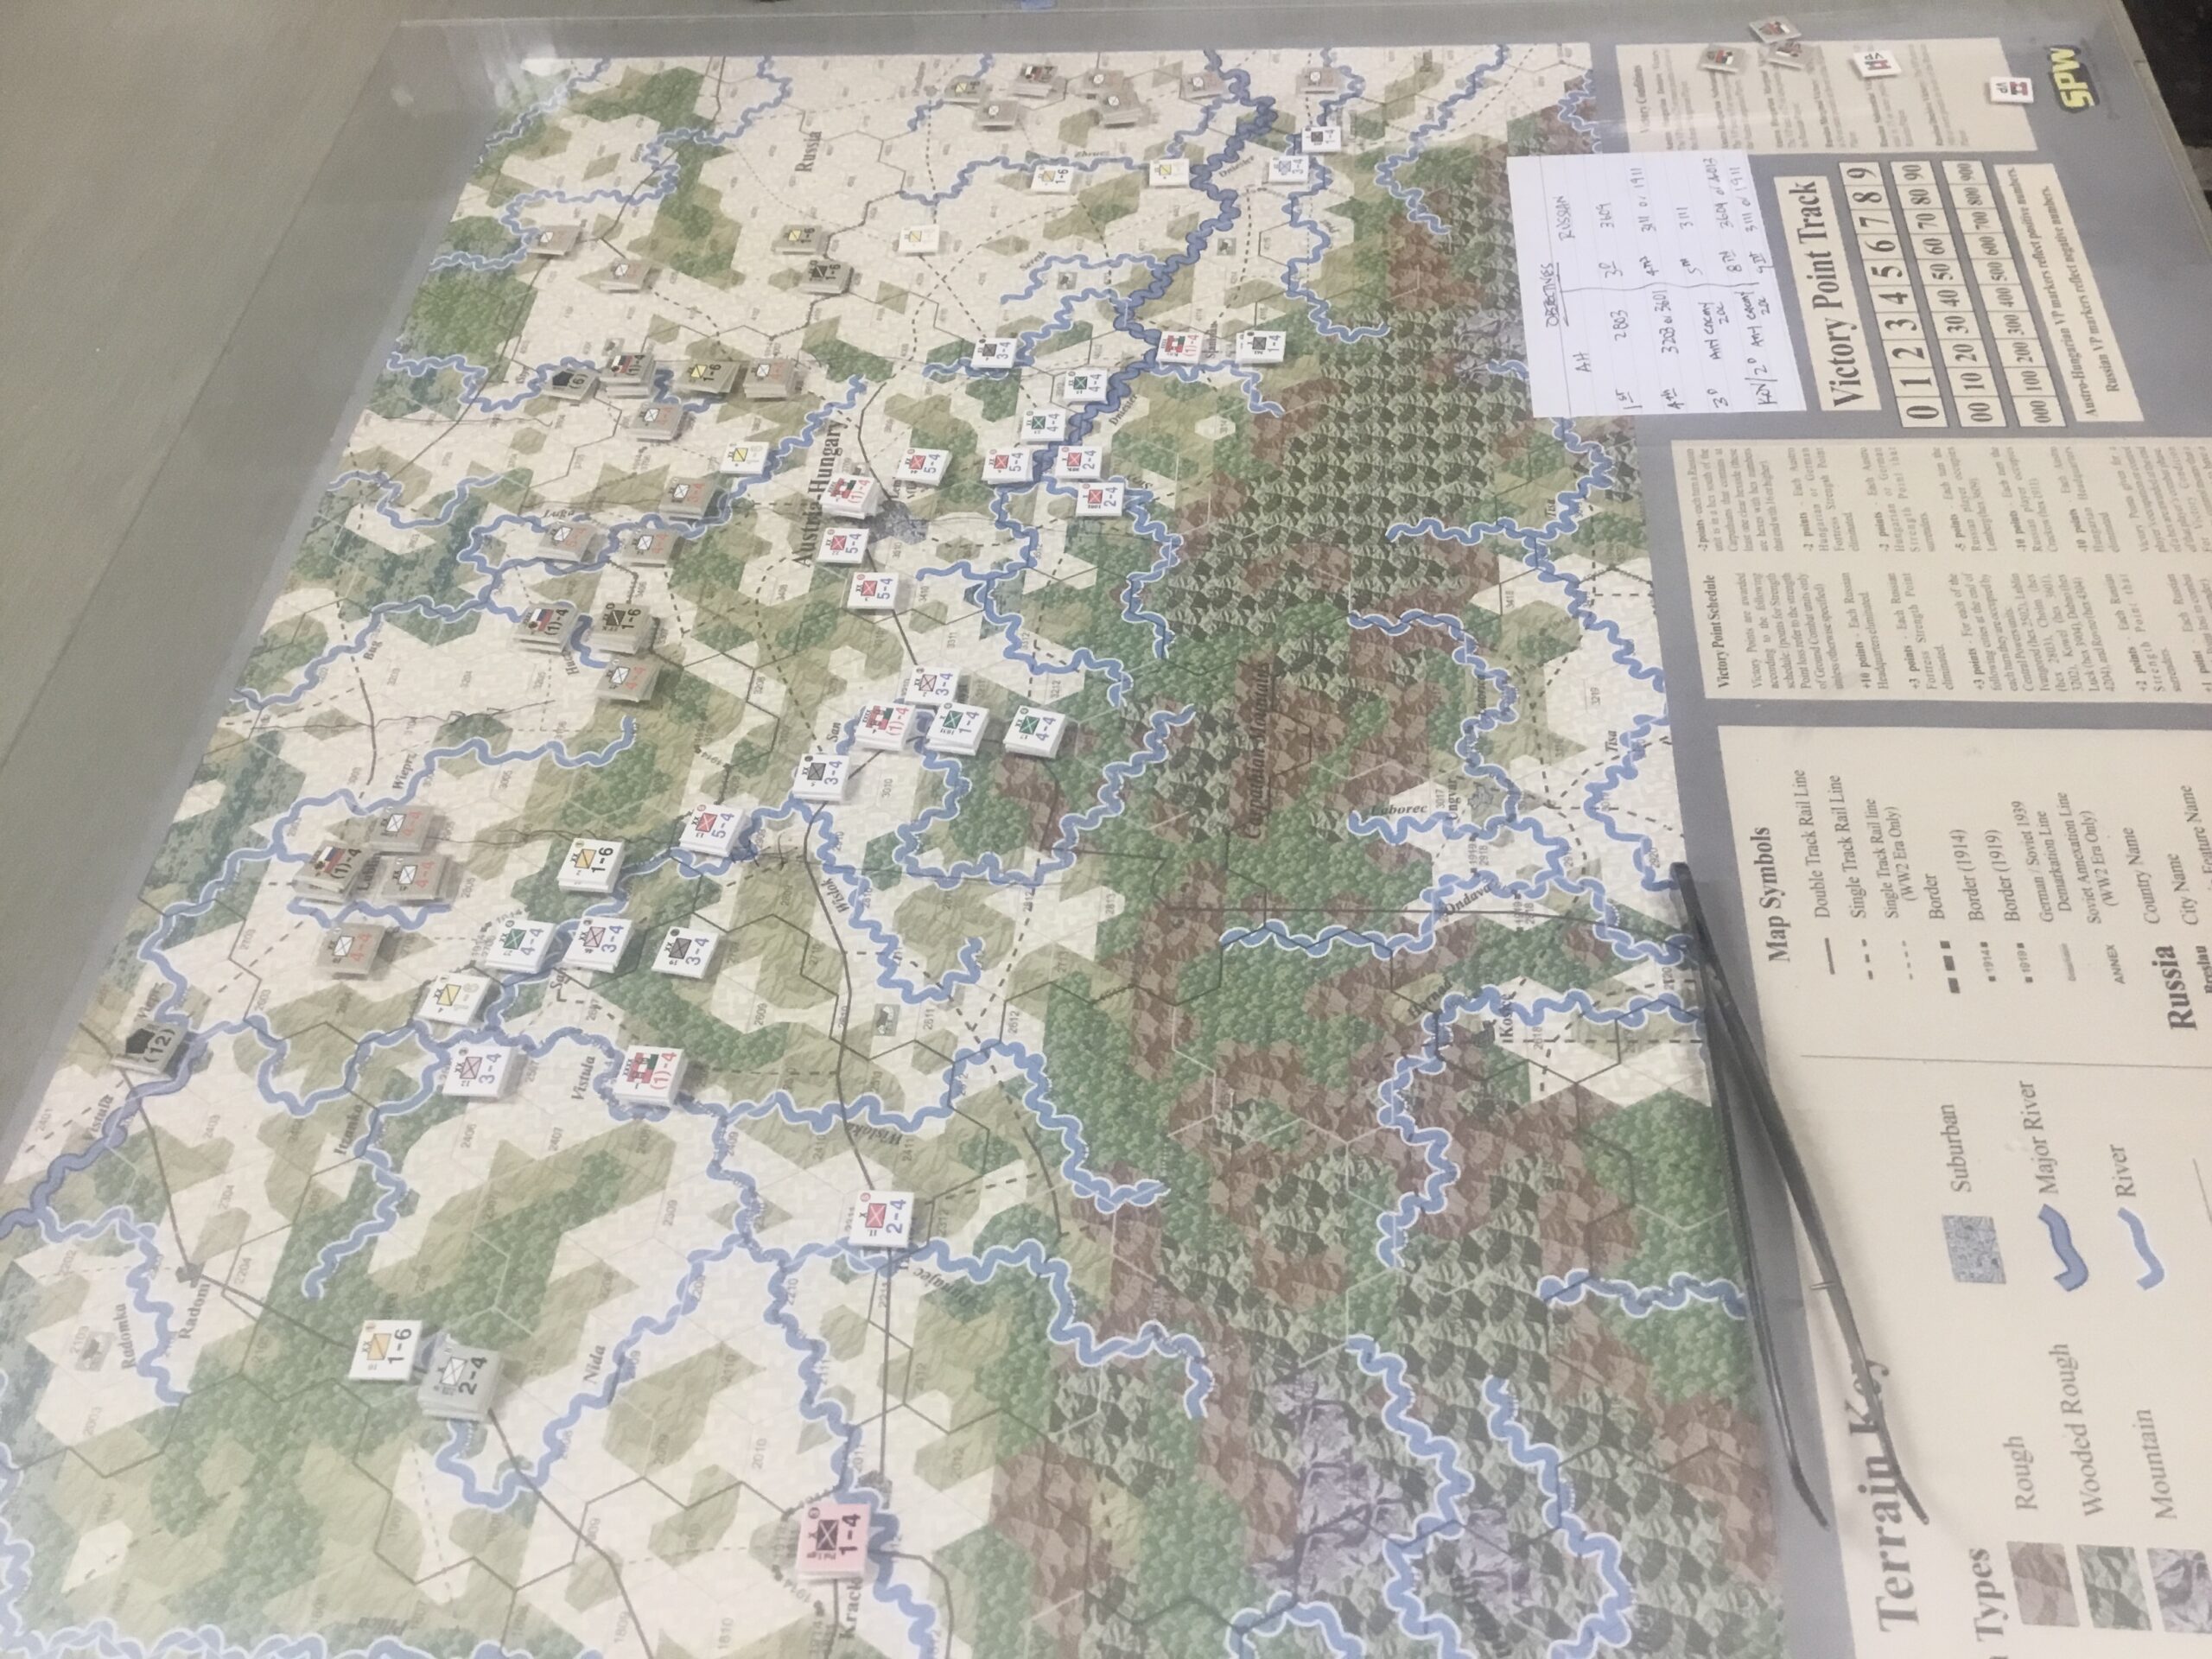
Finally finished up Galacia after more than a year on the table.  Yes, that long.  Pathetic is too kind a description.

Shamed, I had no other option But to set up another Der Weltkrieg offering, Osmanli Harbi.  Much lower counter-count, but some very interesting scenarios and rules.

The module’s scenarios cover the Caucasus, Macedonia, Iraq, Sinai and Albania theaters.  Just the names bring back memories of these regions bedeviling me while playing Pursuit of Glory.

Each theater has separate battle scenarios, as well as a campaign, which the system refers to as “Duration Game Scenario(s).”

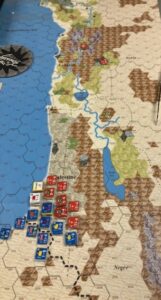
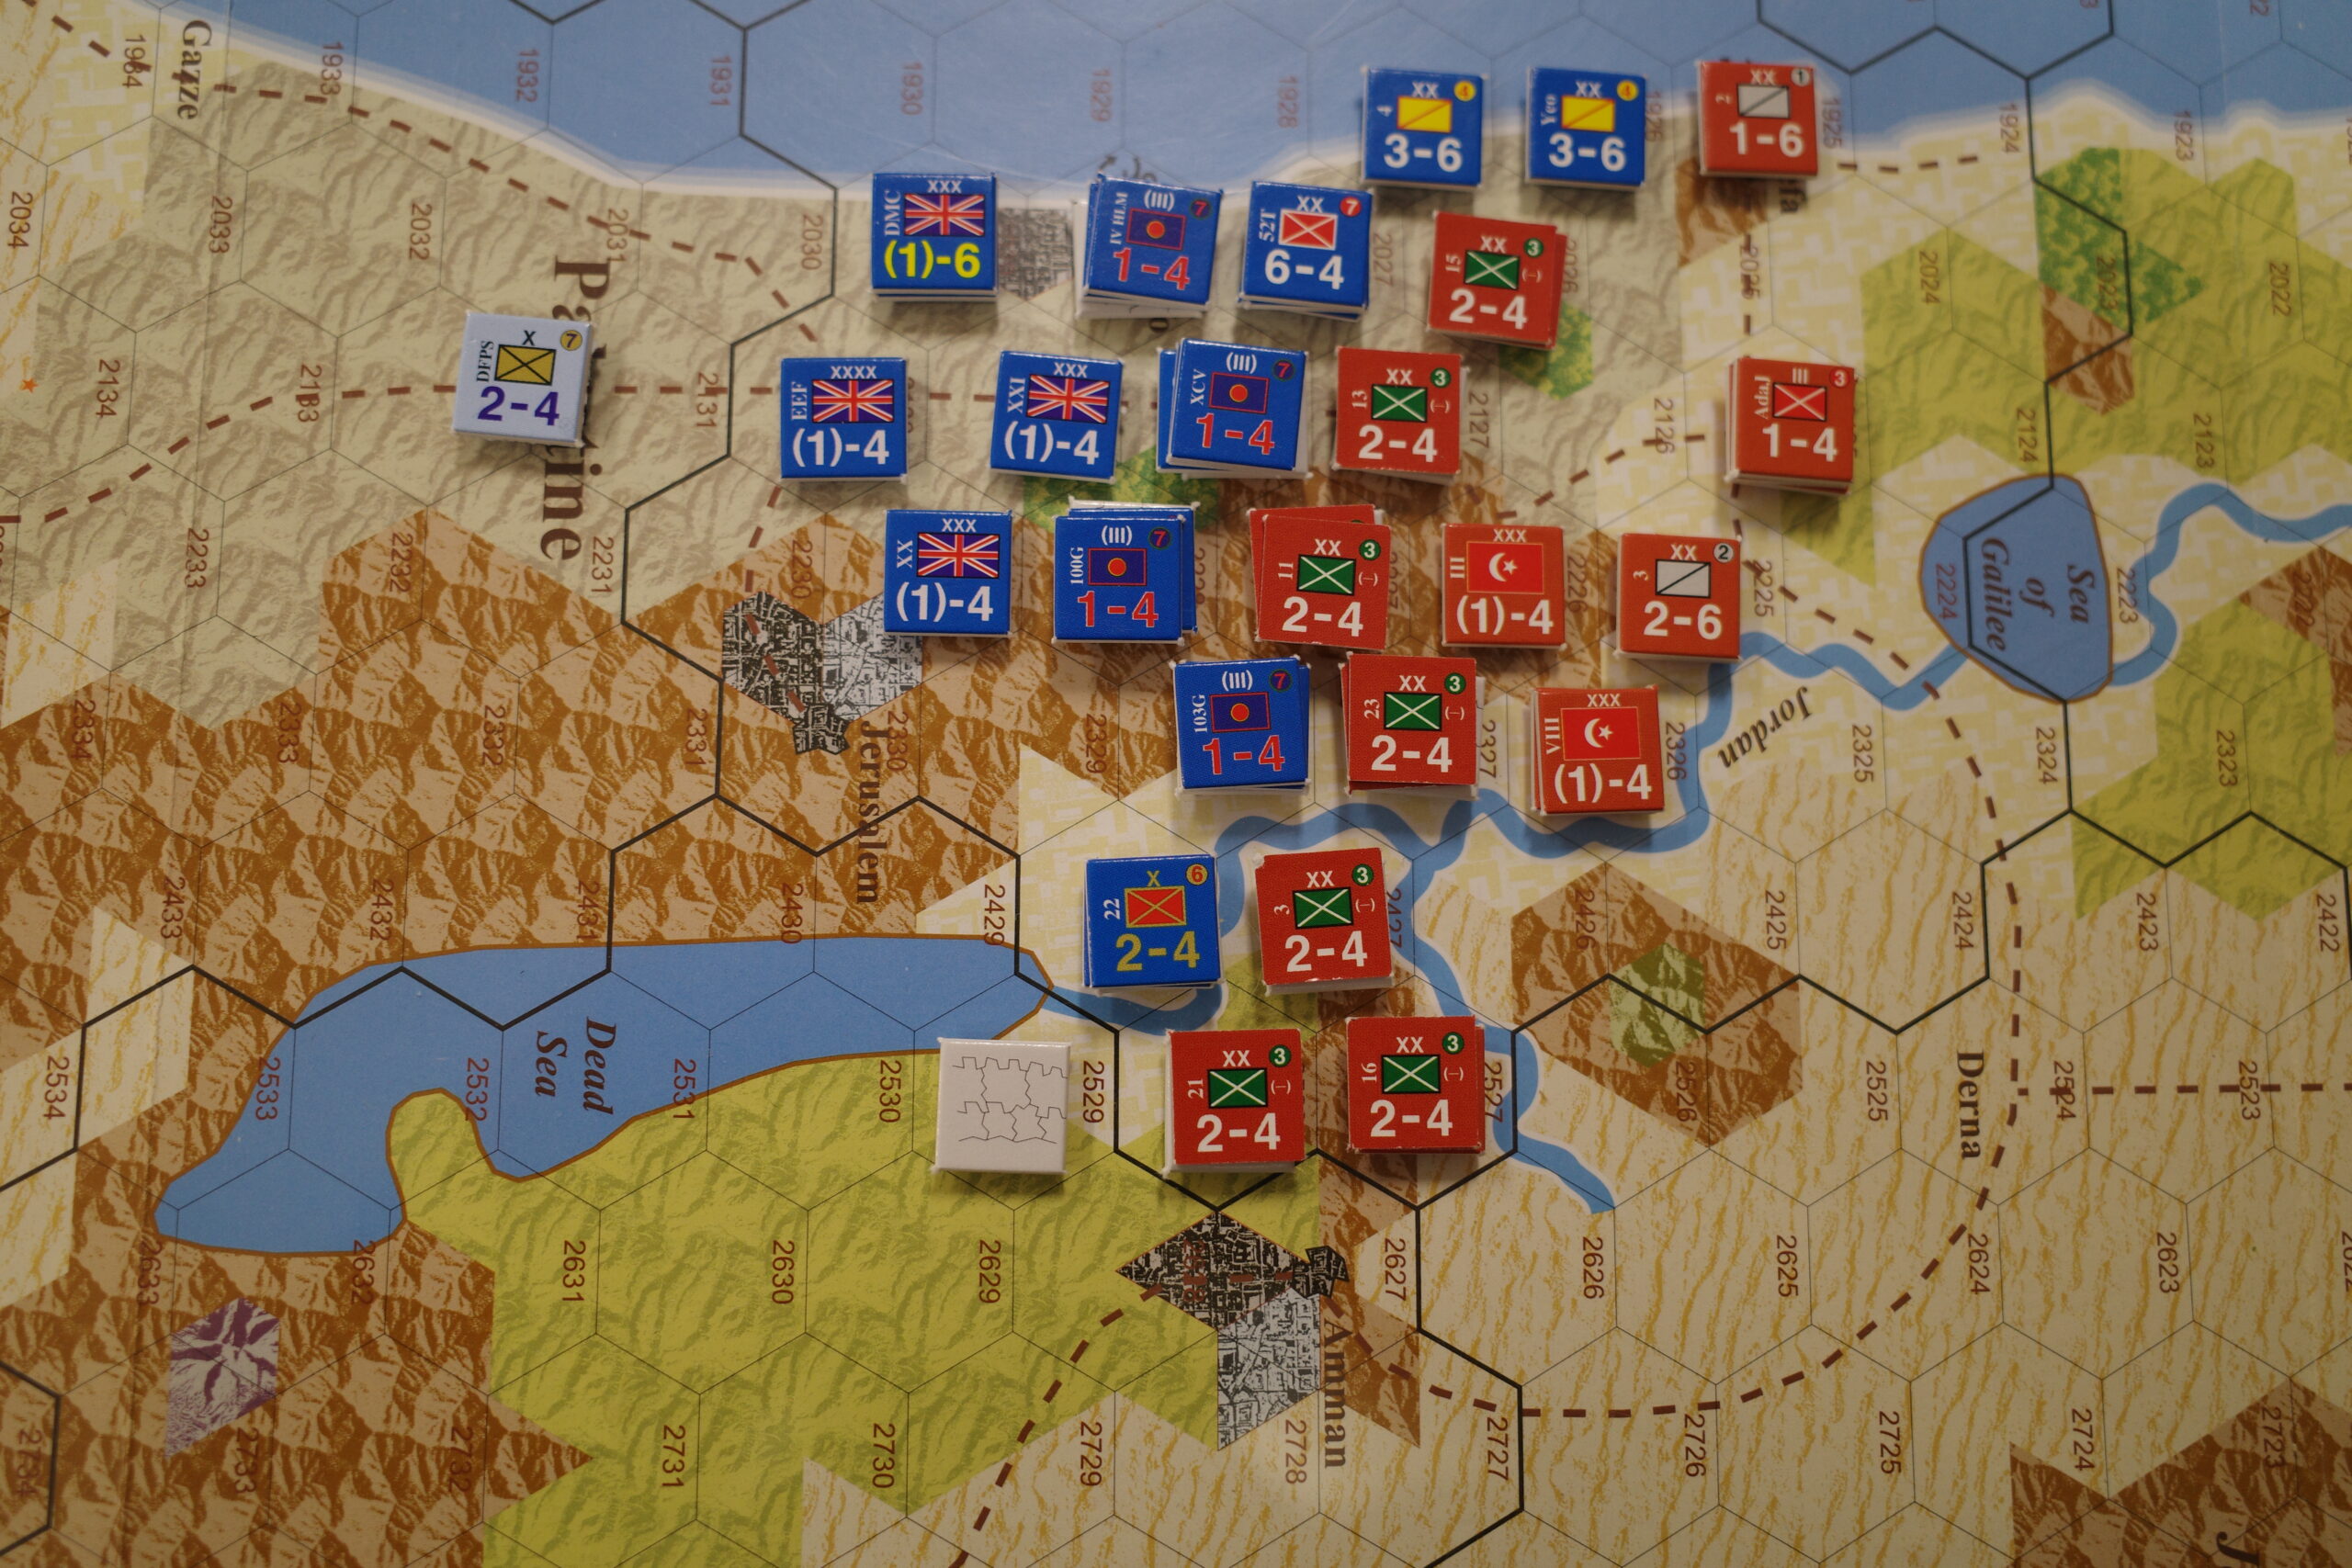
Decided to play a Sinai scenario involving the Third Battle of Gaza , and covering the period October through December 1917.

The game’s rules have some significant differences/additions from/to the Der Weltkrieg Standard Rules.

The overarching changes for  Osmanli Harbi address the differences between fighting in Europe and the game’s theaters.  These focus on the harsh environmentss, with its effects on operations as well as logistics.

Desert hexes have reduced stacking limits; roughly half of that allowed in the standard rules.  Units crossing desert hexes also lose one movement point.  An attacker suffers one additional loss when attacking into a desert hex.  Operations during Summer turns involve further reductions in movement allowances as well as increased mandatory combat loses.

Lines of Communications (LOC) and Supply Depots are introduced to reflect the lack of transportation networks in these remote theaters.

LOCs are required for a unit to remain in supply.  LOCs must be traced to a rail line, port, headquarters or depot, with a maximum length of two hexes in the desert.  The headquarters or depot must be within two hexes (in the desert) from a rail line or port.  You cannot “daisy chain” headquarters units.  So, in the desert, a unit risks out-of-supply effects if it is more than two hexes from a rail line, or four hexes with an intervening headquarters.    The effects are attritional, either losing one (1) strength point if moving more than half of its allowance – in any terrain, and/or having to roll for attrition during the Special (first) Phase of a monthly turn.

Other scenario-wide rules involve reduced rail construction and capacity.

The impact of these changes pale in comparison to the rule that allows  Ottomans to mount counter-attacks at maximum strength without infantry or cavalry units being supplied.  In the series rules, a unit can only counterattack at full strength with the expenditure of two (2) supply points per strength point.  If not supplied, the unit attacks at half-strength.  This is a significant factor, with the designer explaining  this rule reflects the Ottoman’s ability to put together scratch forces (much like German Kampfgruppes) to respond to Allied operational successes.

Each set of  scenarios also has its own special rules.  For Gaza, these include rail capacities, German and Austria-Hungary support units, the requirement(s) to maintain garrisons, and special attack rules for the 1918 Meggiddo scenario.

I am also using an alternate Combat Results Table (CRT).  This CRT is recommended for low counter density scenarios.

The 3rd Gaza scenario is a stand-up slugging match, with the British assaulting an entrenched Ottoman force.  It’s a good solo scenario since the Ottoman player simply using his limited reinforcements to plug gaps created by British attritional attacks.  Maneuver is limited by desert and mountain terrain.

Victory is determined by capturing/defending cities and combat losses – which are accounted for as “Demoralization Points”.

The first play-through resulted in a Central Powers (Ottoman) Decisive Victory, as the British (Entente) suffered significant casualties while seizing just one of three cities required for a Substantial Victory.

I’ve set the scenario up again, and am giving it another try.  Here’s shot of the game.


No Nuance

Grinding away at Galacia: The Forgotten Cauldron.

Taking a “historical” approach, with both sides aggressively attacking, with little finesse.  At this point, the Russians are the most successful aggressors.  Their successes were helped by the requirement that Austro-Hungarian units must attack early in the game.  These attacks had limited success, but with heavy loss.

One tactic has emerged in this session.  The Der Weltkrieg rule set calls for mandatory retreats if losses represent one-half of a combat force.  In this particular scenario, the threshold is reduced to one-third.

The operational area has a wide frontage, so most stacks are in the 12-16 (3-4 divisions) factor range, with 8 factor stacks often used to plug gaps.  A two hex attack can typically generate a 3-4 factor loss, which not only attrits the defenders, but also forces a retreat.  The Russians have been very successful at this, albeit aided by some favorable d6 rolls.

In attempt to avoid the odd angle/glare influenced photo in my recent game report, I tried shooting these in half-light.  Further explanation is senseless.

This is the  Austro-Hungarian (white counters, with some Germans in gray) left flank.  Russian progress is limited.

Not so on the center/ right flank, where the A-H right  (bottom right of photo) is under some real pressure.

Interesting game, and I’m now fairly fluent with the rules.

Let Me Count The Ways

Started play on Galacia: The Forgotten Cauldron.

Turn One featured both sides maneuvering towards their scenario objectives.  There was even a bit of screening cavalry skirmishes.

Thought I had finally figured things out.  No.

While flipping through the scenario booklet anticipating reinforcements, I found that each Army had a specific mobilization turn, and that very few units could move initially.

Massive reset and just another in a seemingly endless number of ways of fouling up the rules.

New game is now (literally) moving forward.  There will be Army level contact next turn.

And yes, the perspective for the picture is strange, to say the least.  Map is covered with a plexiglass advertised as “non-glare”.  No.  Well, unless the garage fluorescent fixtures have superpowers.  Best I could do.  And, I can’t just turn the lights off.  Motion activated.

Austro-Hungarians in white, Russians brown.

Where was I? Why worry? – Part II

Reached a stopping point at Serbia The Defiant.   And yes, I made a hash the rules.

The new combat results table (CRT) worked just fine. Once again, operator error. Well, the new CRT is based on column shifts, as opposed to die roll modifiers.  But, the die roll modifier for attacking across  rivers still holds. Well, I didn’t grasp that pesky detail, and since the Austrian avenues of approach to Belgrade cross rivers, their attritional successes are now suspect.

Rather than the classic re-do,  I’ll pick it up and continue playing the series.  This is a topic I’ve brought  in the past:  Play a game/system and then move on to another game/system, or focus on getting better at one particular series of games.

In this case I’m not going to be an omnivore, but focus on Der Weltkrieg.  So, it’s time to set-up Galicia:  The Forgotten Cauldron.

Where Was I? Why Worry…

Sat down with the “Serbia The Defiant” module of Der Weltkrieg last night.

Hadn’t played for quite some time.  In fact, the chits for the turn/phase record appeared to have no connection with the positions of the counters.  Reset?  Synapses started firing off in hyper-mode.

Hell No!  Just start playing.  I’ll make a hash of it anyway since my rules knowledge is shaky, at best.

It worked out fine.  Had an enjoyable hour or so pushing counters and listening to the perpetually offensively challenged Seattle Mariners.

I started using an alternate Combat Results Table (CRT) advertised as being better for lower counter density/fewer attack factor games/scenarios.

While many gamers take issue with the system’s unique depiction of terrain, I have no problems.  However, I do take exception to the very faint lines used to outline hexes.

As to the game, I’m being very aggressive with the Austro-Hungarian units and attempting to attrit the Serbs.   However, I’m not going to go “All Conrad“.

No Wonder It Seemed So Easy…….

Finally got around to continuing my play of  Romania – The Transylvania Gambit. 

As previously posted, the Romania Army’s plan was badly flawed, and the scenario certainly reflects that.   The availability of German reinforcements to bolster the Austro-Hungarians effectively stops any offensive across the Carpathians.

Despite the slow operational tempo of mountain fighting and Romania’s desperate-from-the-start prospects,  I was settling down for another session when a  casual glance at the rule book moved the game from the possibly forgettable to another memorable rules gaffe.

Tim’s been on me to compile and post a list of our grotesque errors of rules omissions and commissions.  I have consistently demurred.  Not out of personal shame, but because the compilation would be a very lengthy and time consuming process.  So Tim, here’s one in real time.

All those German reinforcements hustled south using the Austro-Hungarian rail network, which has a capacity of three units per turn phase.  It took a few phases, but the Romanian attacks were quickly blunted.  Well, that was too quickly.  While the entire rail capacity is three units, the capacity for any one rail line in that network is only one unit per phase.  Whoops………..

The poor Romanians were not only fighting a flawed initial deployment and the mountainous terrain, but also some very tough units that should not have been there – at least not so quickly.

Well, that put paid to the game.  It was going to be some time before the  operational tempo accelerated past “slog” speed, especially with Winter just around the turn track corner.  My current impatience is not the best mood to enjoy a scenario which accurately represents the time and resources required to build up combat power in this theater of operations.

So, despite my high regard for the system, I decided to pack it up, and move on to another game.

Here’s a photo taken right before it all went back in the box.  Note all those gray German units in the North Central portion of the map.


Romania: The Transylvania Gambit

This treatment is included with Serbia The Defiant and covers Romania’s August 16 entry into World War 1.

Rather than cooperate with Entente forces in Salonika and attack Bulgaria, the Romanians opted to limit operations against Bulgaria and focus on regaining Transylvania.

This threat was quickly matched by  Austro-Hungarian (A-H), German, Bulgarian and even Ottoman forces.

A-H troops offered stiff resistance  in Transylvania, while a composite force of the latter three nations,  under the command of the redoubtable General Von Mackensen, attacked Romania from the south.  Romanian reverses on both fronts forced the already hard-pressed Russians to send reinforcements to bolster their new ally.

Romanian resistance collapsed, with an Armistice signed in April 1917.

The game is set up and ready to go.  I’ll start pushing cardboard this evening.


Serbia The Defiant – Pt. 2

Finished up with the August turns; all seven of them.  That makes for a long month! Scenario extends into December, but I want to move onto something else, and stalemate is imminent.

The A-H forces have made progress in the south (unlike their historical counterparts), and are threatening to envelope the Serbians.  Nothing subtle about the A-H advance.  Just kept pounding away, but there are supply problems looming.  Unsupplied units attack at half strength, and both sides have problems mustering overpowering attacks.

The northern A-H advance has stalled at the Kolubara River.  Serbian defenses will exact a -2 DRM because all A-H units must attack across the river.

Neither side will have much in the way of reinforcements, so the prospects of a breakthrough are fairly low.

Enjoyed this one  It’s a good learning scenario with a variety of terrain and low counter density.

Here’s a photo of the situation at the end of September.

I’ve convinced Tim to play this during our next get-together.  The “Transylvania Gambit” scenario looks fun.  It has Greeks, Germans, Romanians, Bulgarians, A-H and Serbians!

Serbia The Defiant

Started a new SPW module and scenario this week.  It’s the August-December 1914 scenario covering the initial fighting between Austro-Hungarian (A-H) forces and Serbia.  One BGG commentary summed it up; “weak units, bad terrain”.

Still, with a low counter density and few special scenario rules (except for the A-H  2nd Army which must re-deploy to attack the Russians), it is a quick and enjoyable play.

Once again, the rules mandate aggressive A-H moves during the first two turns.  The results so far have been relatively bloodless.  The terrain is very rough, with the only clear terrain found near Belgrade to the north of the map sheet.  However, the (universally criticized) historical deployment has the main A-H effort attacking through the mountains in the west, and river networks in the northwest.    This terrain provides excellent defensive opportunities for the outnumbered Serbs.

In this game, A-H forces are concentrating on the northwest sector of the Serbian defenses, and simply tying down Serbian and Montenegran units in the western mountains.

Here’s the situation after two turns, at the beginning of the August 5th turn.  Most of the units lying north and west of the Danube are with the 2nd Army, shortly to be recalled to the west to fight the Russians.  Montenagran units have a cranberry (?) color.

And, here’s a closeup of the northwest area, where A-H forces have been able to cross the Drina River.