Monthly Archives: December 2020

Husaria – Another Day, Another Summary Sheet

Continuing the (now seemingly unending) set up for the battle between 1650ish Poles and Muscovites.  Decided I needed to utilize the back side of the play sheet included in my last post.

This new effort, or Part 2, continues the rules summaries covering armor classes, combat, firing, formation changes, causes of disorder and reforming from disorder.  Hopefully, this reduces the number of lists to consult, although the remaining number is still somewhat daunting.

Troops have been pulled from the garage.  I still need to set up the terrain and annotate my army rosters.  Something to do this afternoon or tomorrow morning.

Tonight’s New Year’s Eve festivities include a version of truth or dare, with the dare being the consumption of inedible food randomly presented on a Lazy Susan.  Oh My……

Here’s a link to Part 2 of the Summary Sheet.  Again, click to make it full sized.

Leaning Further – Husaria Rules Summary Part 1

Note:  The summary sheet has been updated 

As noted in my previous post, Husaria is very chart and modifier heavy.

I decided to drill down and put together a summary sheet providing an overview of the turn sequence, and serving as a reference for the appropriate charts and modifiers.

The process was reminiscent of my second stint in college.  Yes, I received an undergraduate degree the first time, but I was not a good student.  We’ll just leave it at that.

During that second go-around, I discovered  I did much better on tests when I typed up my notes before studying them.

Here’s a link to the Part 1 PDF.  Once again, click on the little image to get the big image……………

End Game – WRG 6th

The Arabs were driven from the field.  The Byzantine Extra Heavy Cavalry (EHC) rallied from their pursuit of the broken infantry units unmolested, and used their ability to shoot (bows and darts) and charge to inflict just enough casualties to break the Arab Heavy Cavalry (HC).

This bad photo’s perspective is from East to West representing (in a crude manner) the penultimate stage of the battle.  The Persians EHC are at the bottom of the shot;  the Byzantine Super Heavy Cavalry (SHC) engaged in the center, with two Byzantine EHC units to the North.  One is engaged and the other waiting to wheel into a flank attack .

The Arab HC shown to the top of the preceding photo is now flanked, with the center Arab HC broken and pursued by the Byzantine SHC. The Arab Commander-In-Chief, along with his Bodyguard is waiting to aide one of his units, while the poor bastard manning the bolt thrower is standing slack jawed, immobilized by the spectacle.

The former Arab HC unit will break and outdistance its pursuers, while the Persian EHC will fight  their Byzantine counterparts to a standstill.

At this point the Arab Commander-In-Chief ordered a general withdrawal, saving himself , his bodyguard and his cavalry for another battle.

Will post up final thoughts, observations, and other inane musings in a follow up before setting up Husaria.

Leaning In – Husaria Initial Impressions

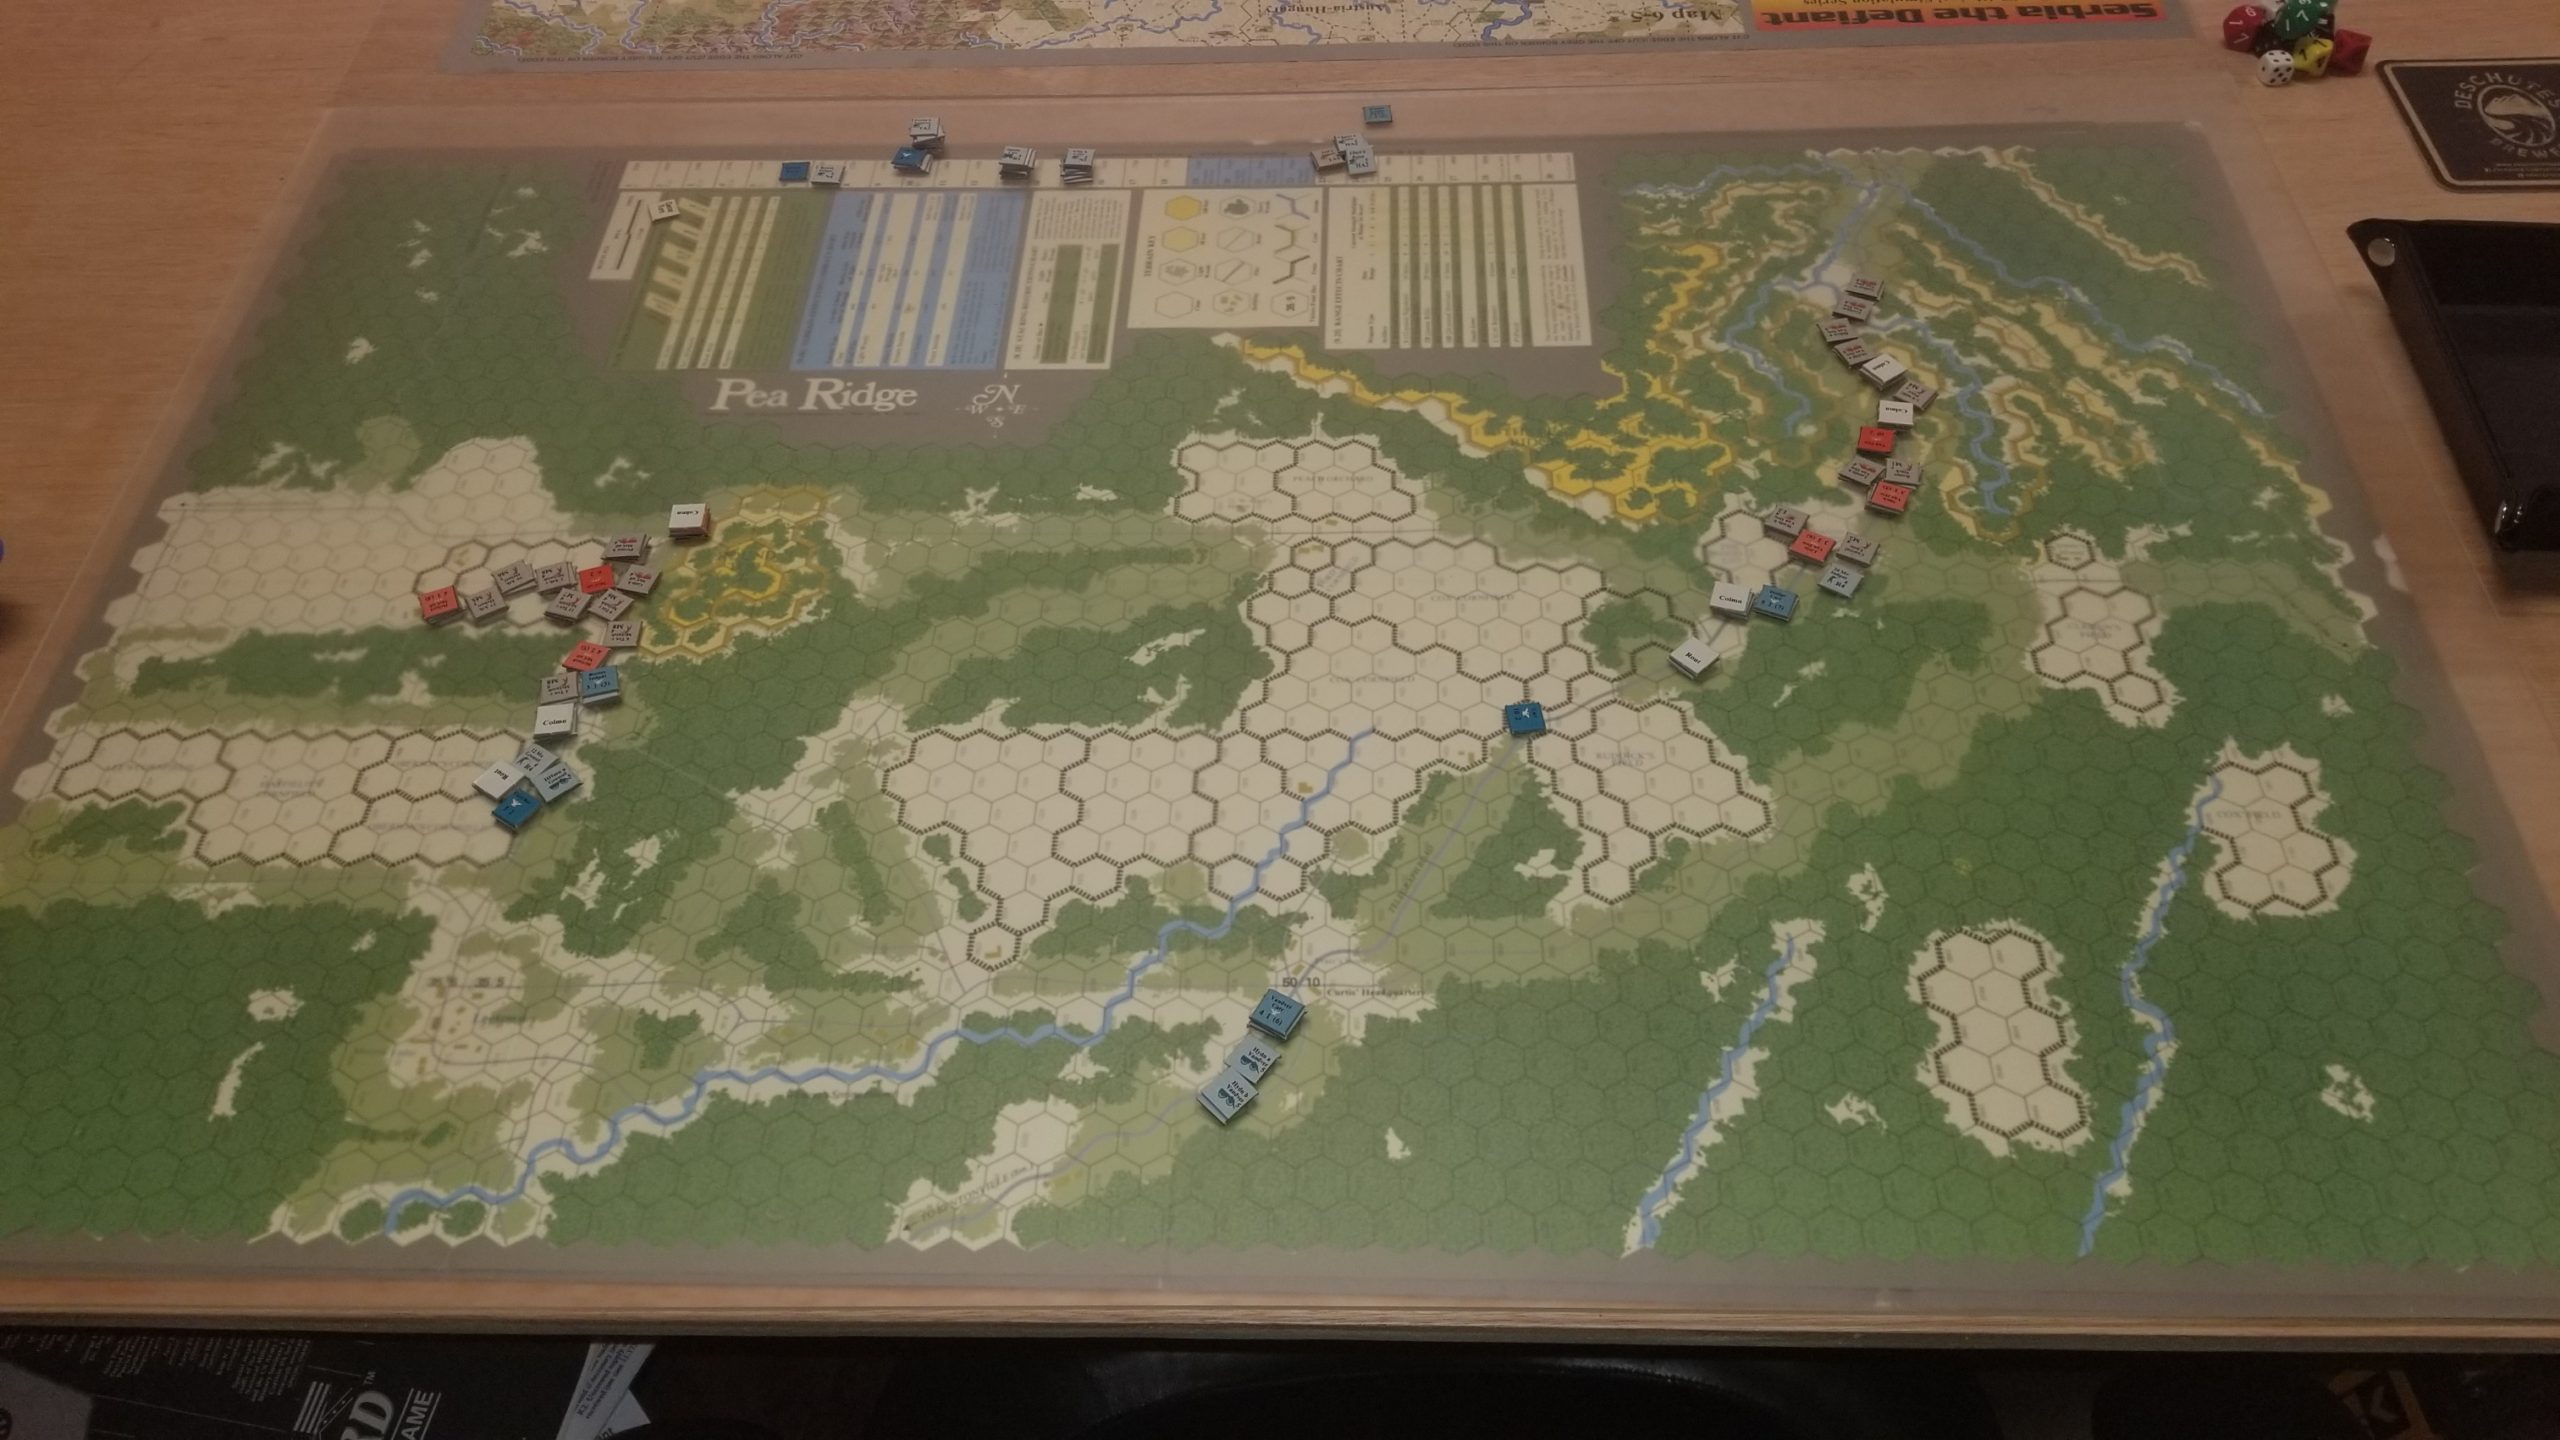
Had enough of WRG 6th for the time being.  Still have to finish the game today, but I’ve started reading a  new set of late Renaissance rules.

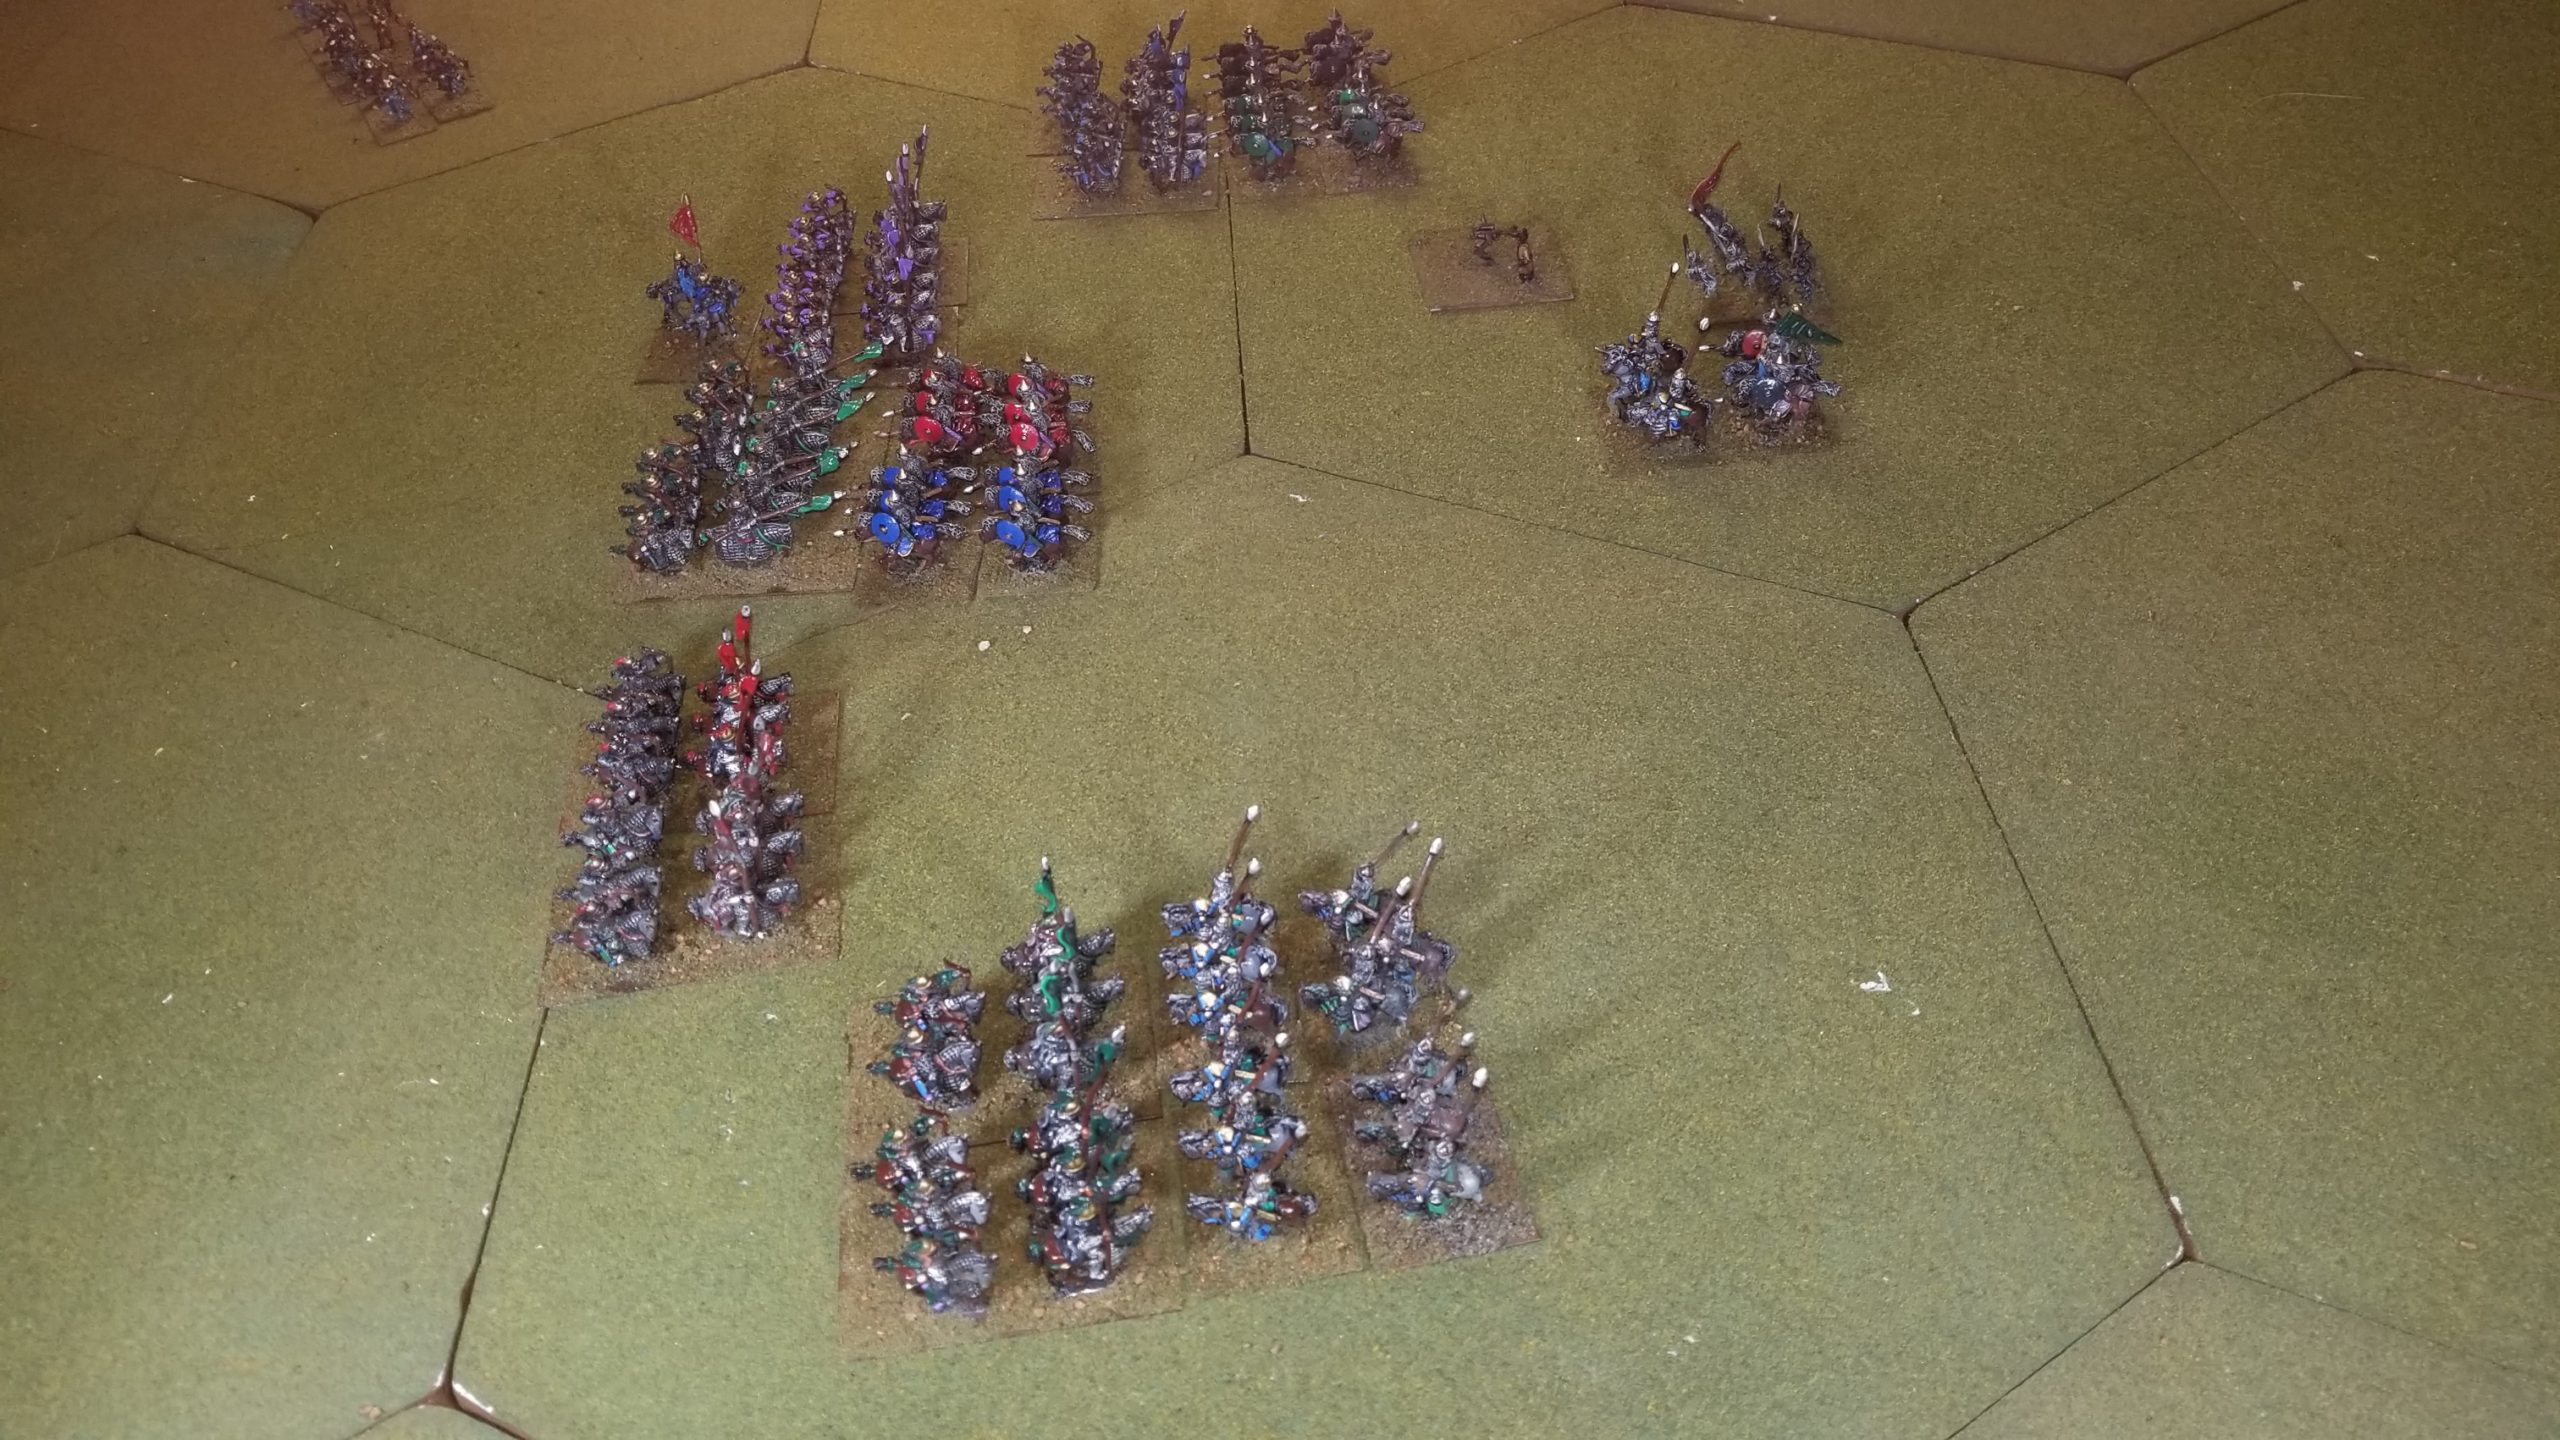
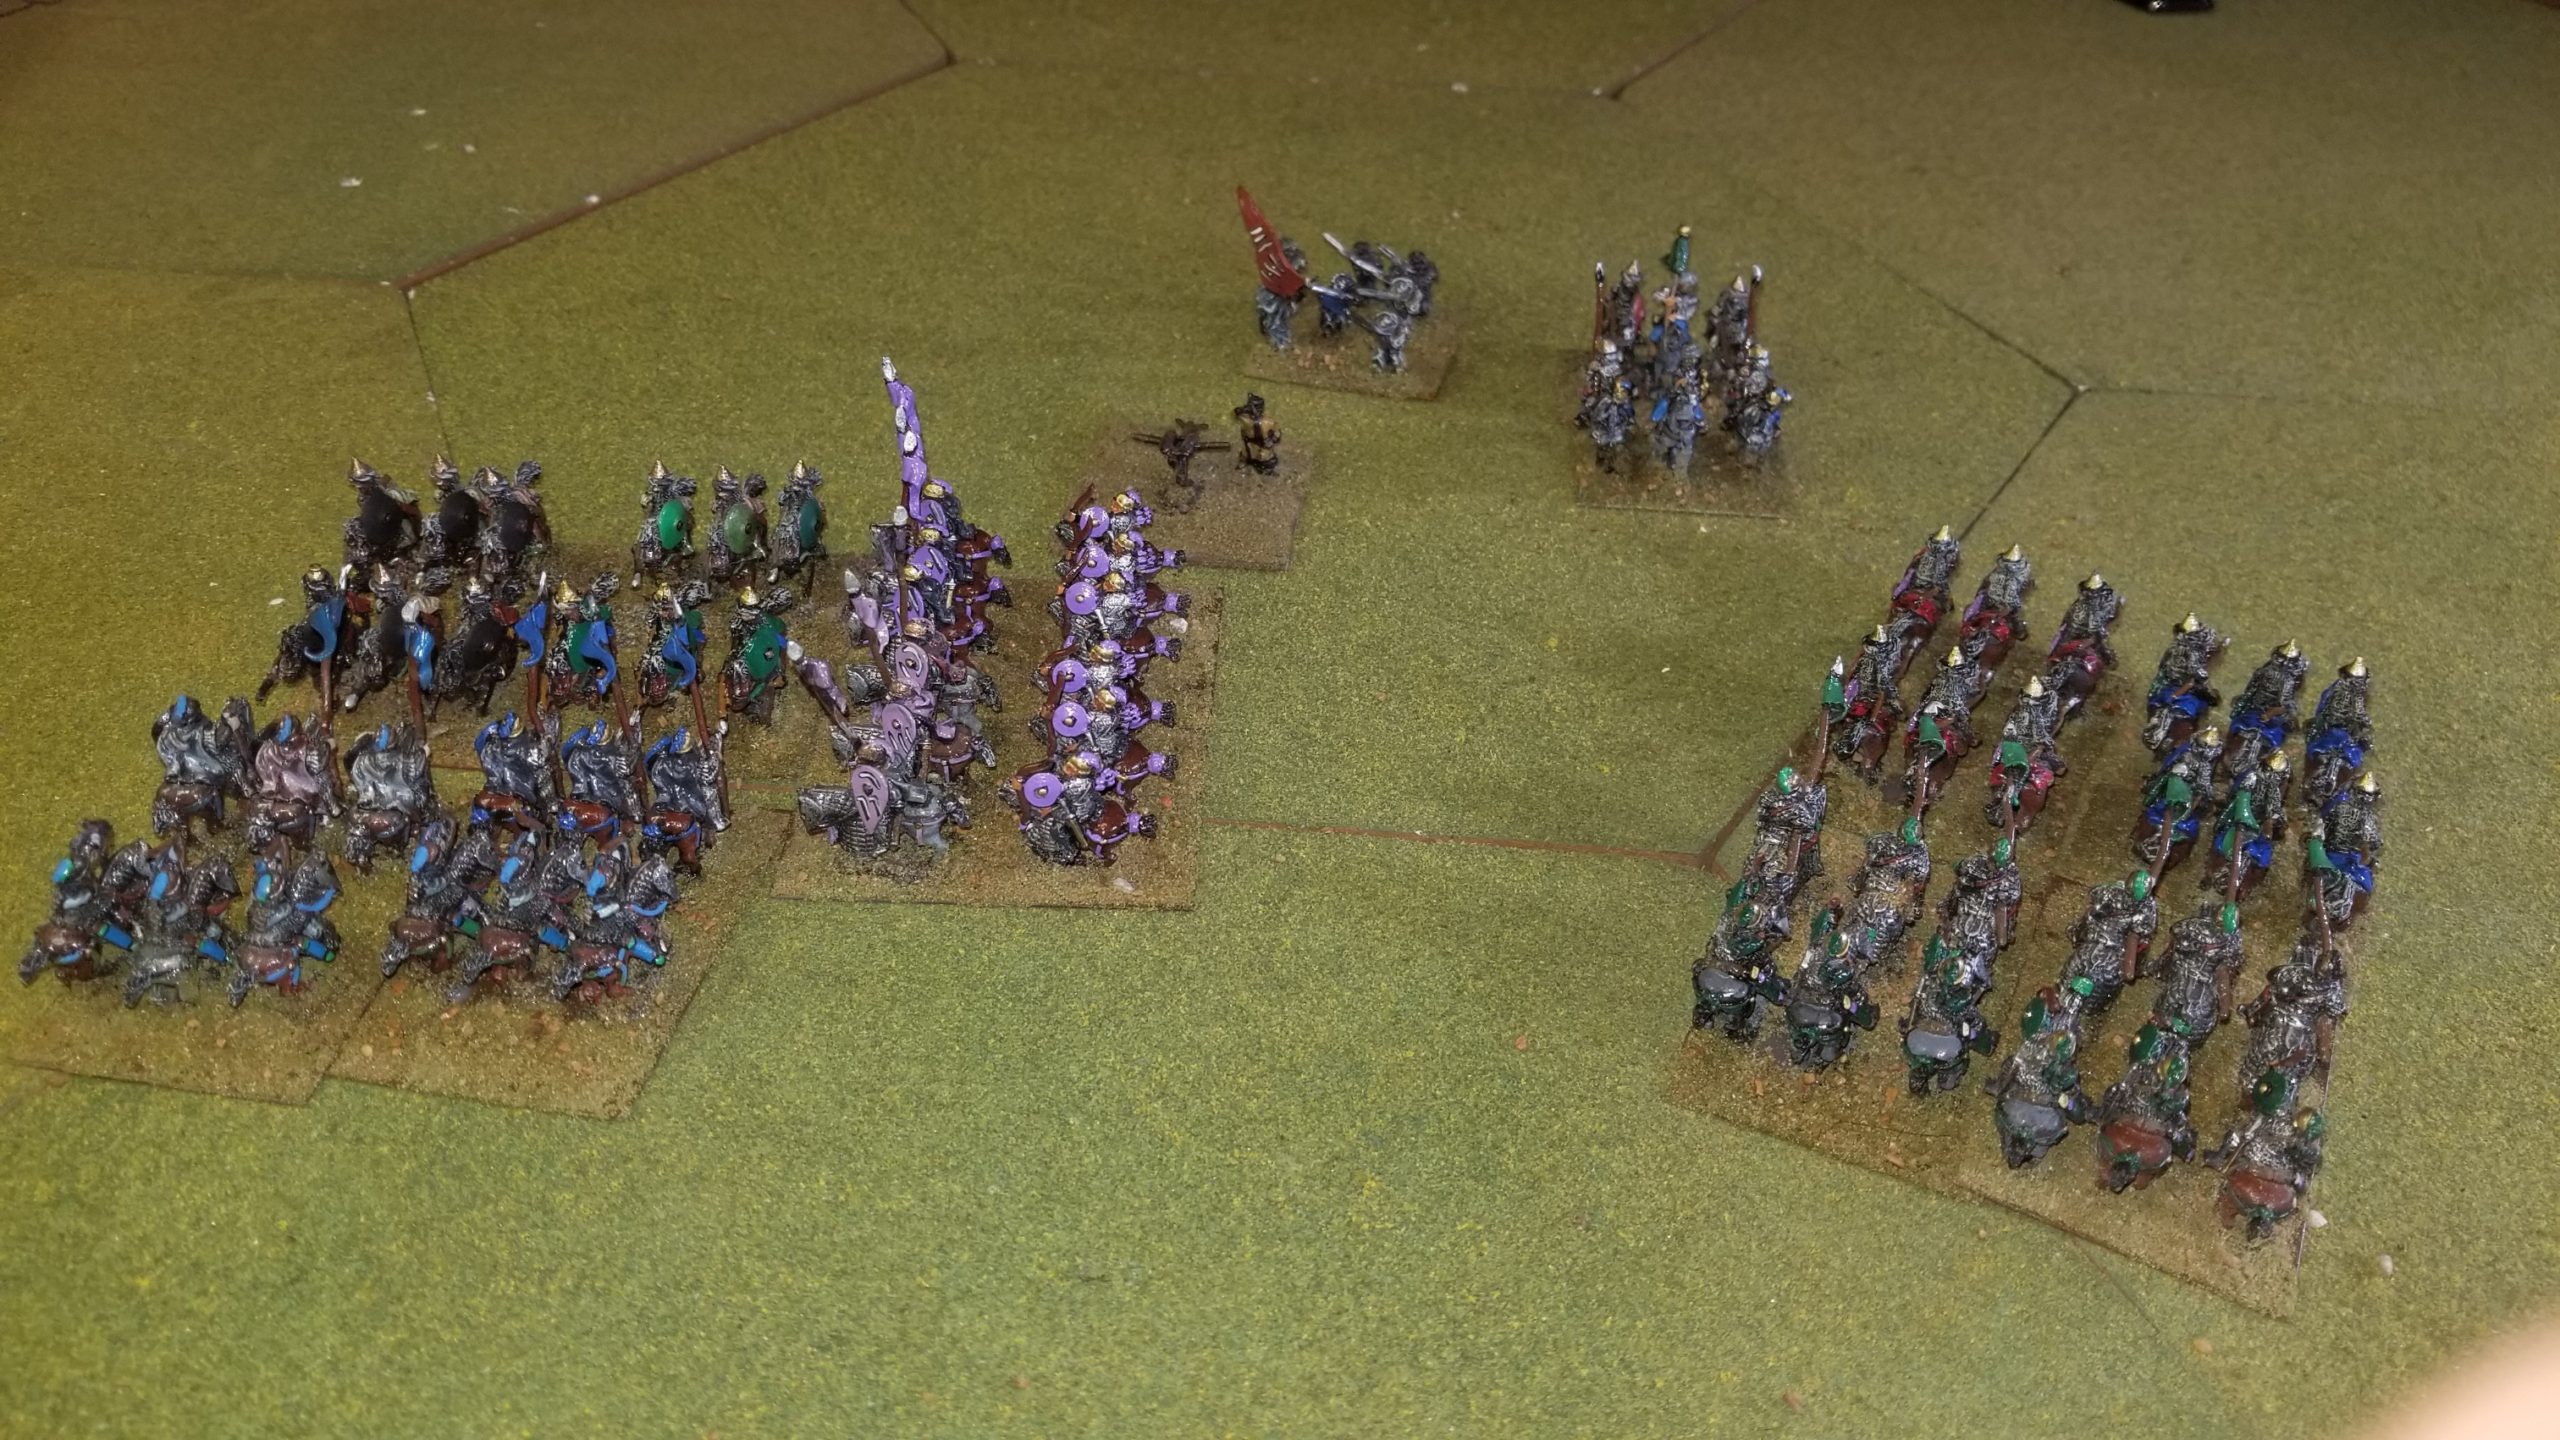
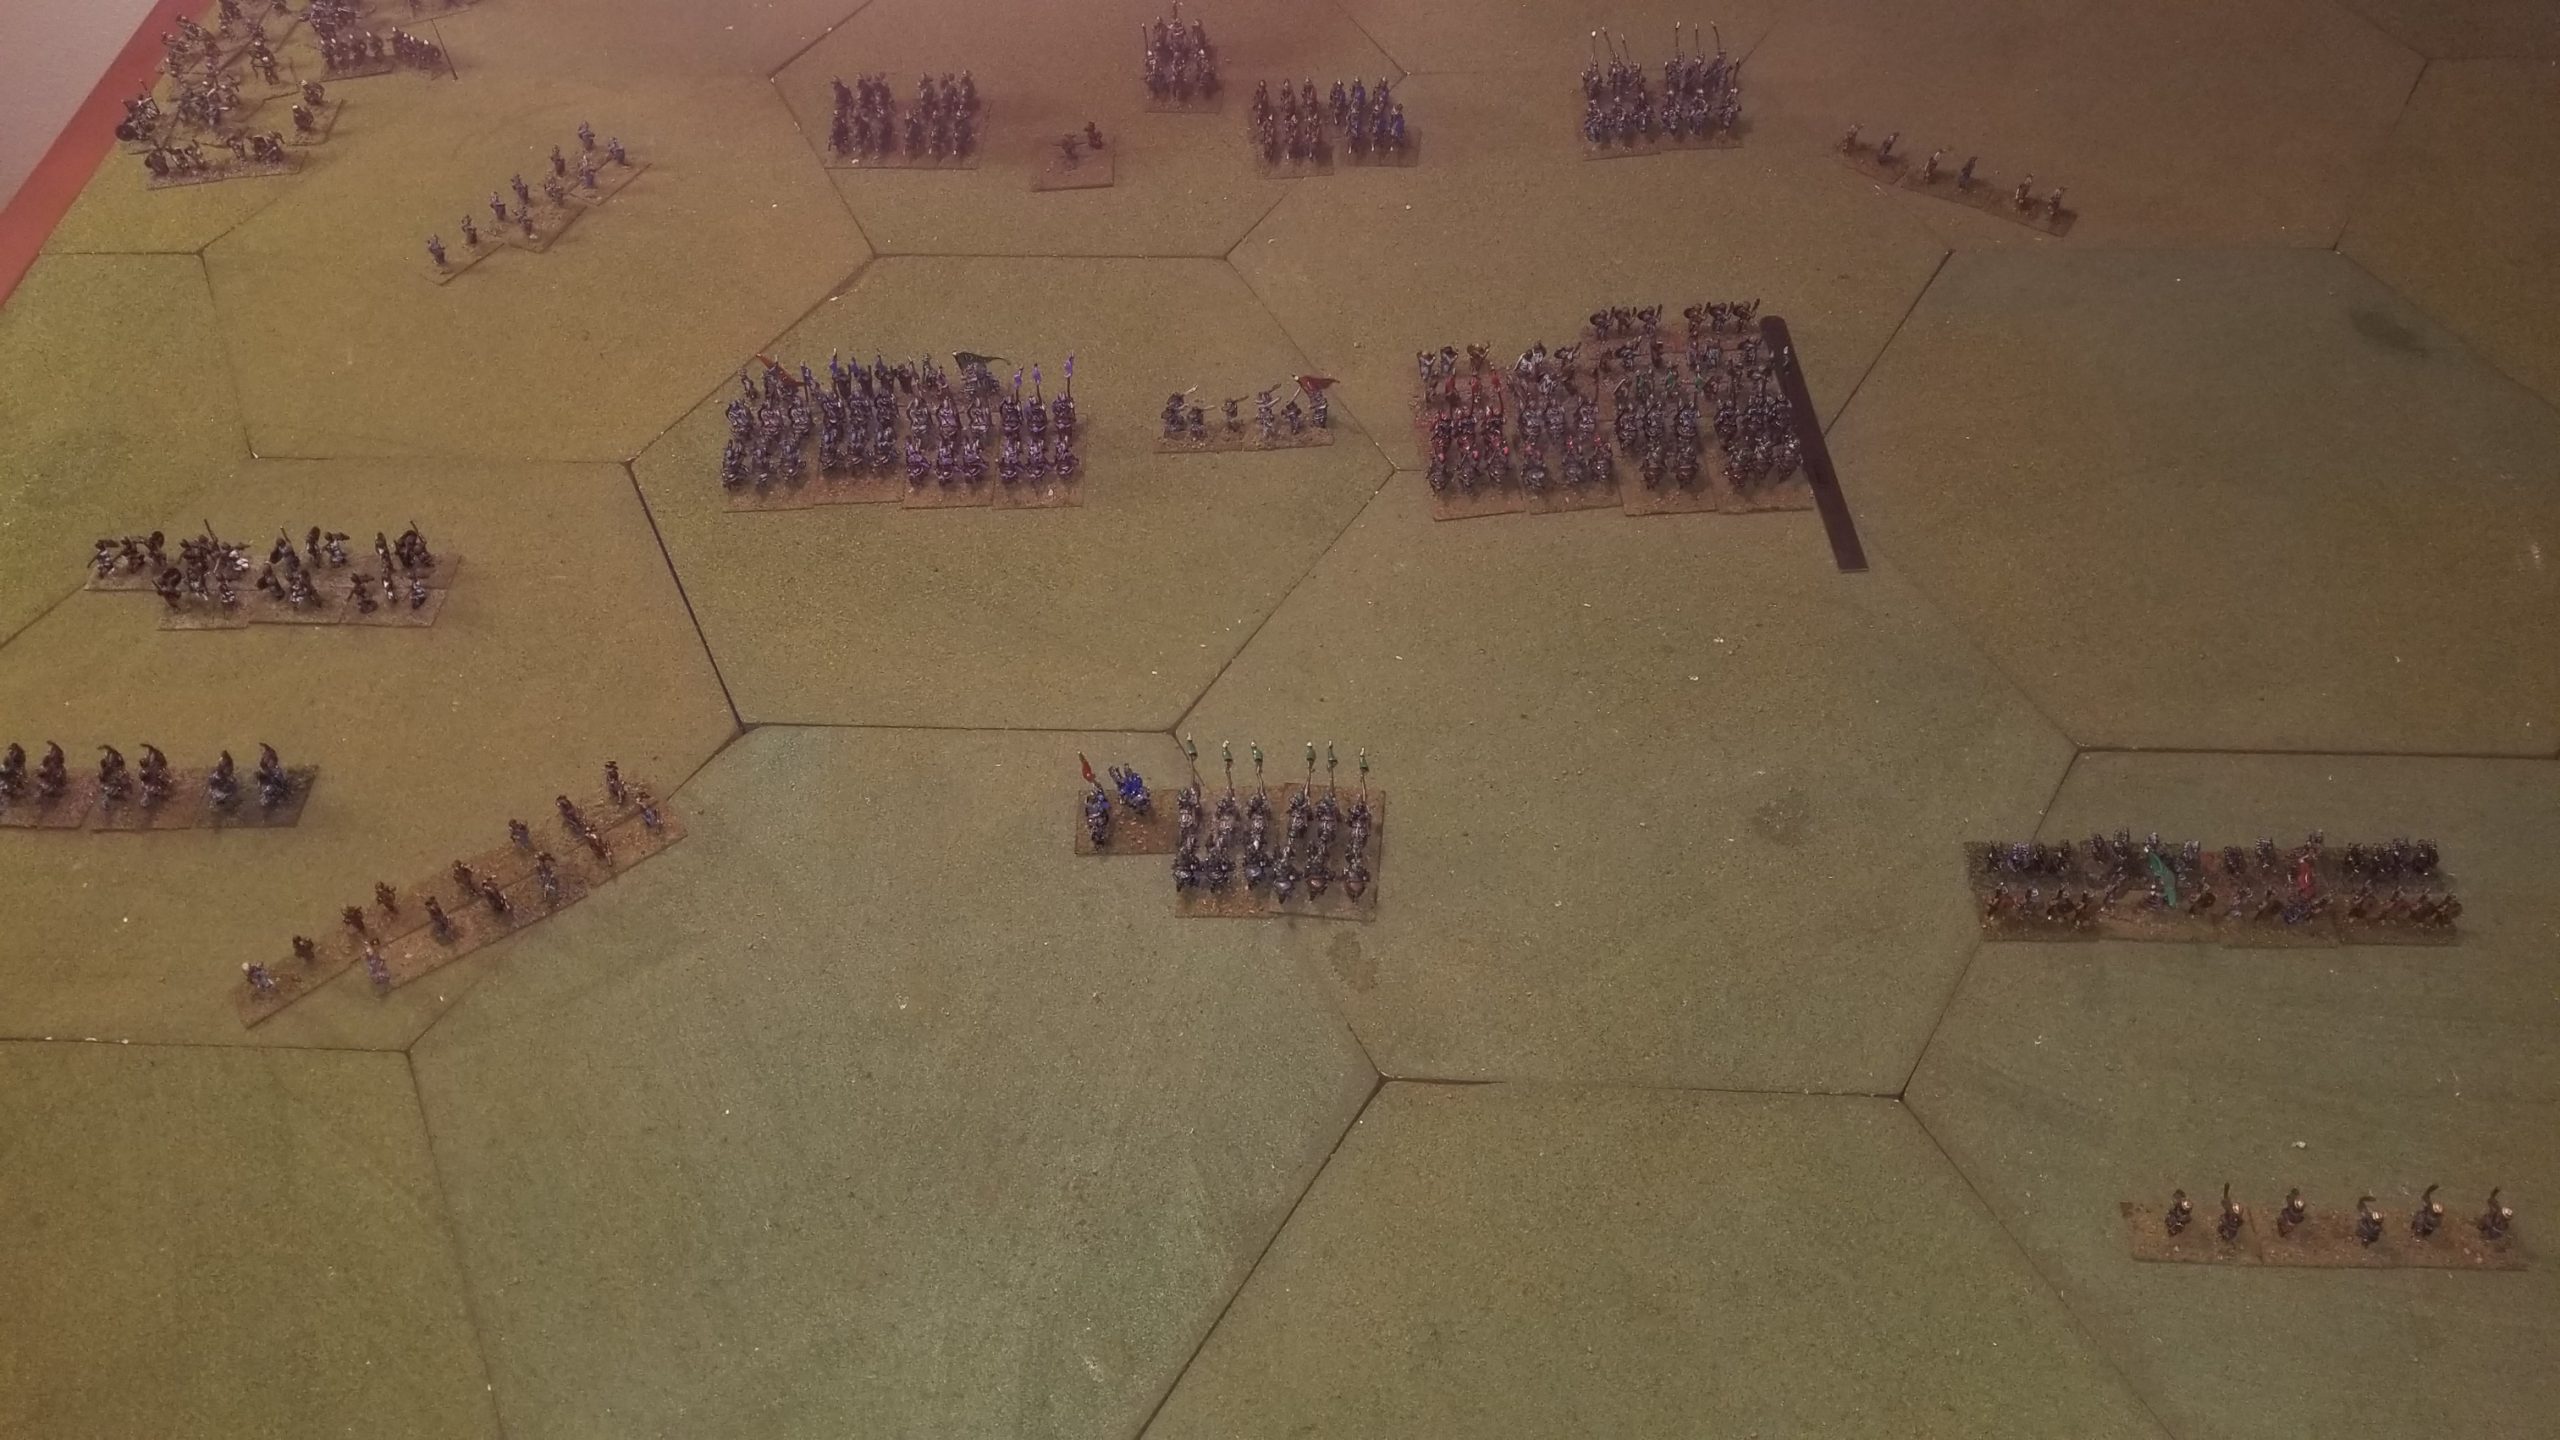
Husaria was written by Ian Wilson, and published by The Pike and Shot Society in 2003. Past tense is used because Husaria is no longer in print.  The exact circumstances are now fuzzy, but I snagged a copy some months ago after reading complimentary reviews, and thinking that they could work well for my 25mm Ottomans, Russians, Cossack, Poles and Transylvanians.

The rule set addresses combat in Eastern Europe from 1558 to 1699.  It is specific in that regard because, according to the author’s introduction,  combat in that region differed from Western Europe (and I paraphrase), in that the Military Revolution had stalled;  the predominant cavalry was still lance armed and prepared to charge home, with gunpowder weapons extensively used, but unable to dominate the battlefield.

Troops are categorized as Elite, Veteran, Professional, Experienced and Raw.  Fanatics can be added to the troop mix when deemed appropriate.

The turn sequence is straight-forward:  Roll for who moves first, movement, combat, second side movement, simultaneous firing, response, and new orders (dispatched by messenger).

Initiative and Response Checks are used to reflect morale.  Initiative is checked when a unit must do something “different”, and Response as a result of an action taken against the unit.  There are many, many, many circumstances for which a check of some type is necessary.  One circumstances that promises to be interesting is the Initiative Check required for the first time a unit attempts to move or fire during the game.   Chaos!

Each unit has a Firing Ability Rating (FAR) as well as Close Combat Rating (CCR).  These ratings are applied, along with modifiers and 2xD6 roll, with results determined by a Combat Results Table (CRT).

There are also rules to reflect unit orders,  risk to the general, disorder, and terrain effects.  In short, the usual suspects.

The rules set includes army lists.  Each army has a core group of 6-8 units.  Additional army capabilities and units are added through die rolls.  This promises some variety for each army.  My hope is that this variety does not lead to additional lead purchases.  I’ve started lead mountain again (on that in another post), and I want it to remain a foothill.

There is one glaring omission!  Each unit is assigned a CCR reading something like this:  CCR 4/3/3, with dividing slashes.  There is nothing in the rules that explain these slashes.  I’ve read the bloody rules about ten times (only 24 pages) and cannot find a bloody explanation.  Ugh!  Will probably wind up sending a bloody message to the bloody Pike and Shot Society to see if someone can explain it.  My guess is that each number refers to a round of close combat.

These rules seem to occupy the middle ground between Gush’s Renaissance Wargaming’s super detailed approach and the more abstracted De Bellis Renationis (DBR).  Should be interesting.

Contact!

The Byzantine Extra Heavy Cavalry (EHC) have gone to work, breaking the Arab infantry units to their front.  Problem is, when the EHC tried to rally, they went impetuous.  No stopping them now, that is until the infantry’s movement rate goes to zero.  Then the EHC can try another rally attempt.

That’s what the Arab cavalry is waiting for.  Their best chance is to hit the Byzantines while rallying and disordered.  However,   the Byzantine Heavy Cavalry (SHC) are in reserve and moving forward with their general.

Unfortunately for the Arabs, there’s  no help from their flanks.  These infantry units either broke (right flank), or became shaken (left flank)  after seeing their companions in the center of the line break.  The remaining Byzantine light troops continue to pressure these flank units, forcing them to take reaction tests under unfavorable conditions.

It will be quite the scrum in the center.  A quick ugly pic of the situation.

Dead Pile In The Upper Left Hand Corner

I’m A Strong Person…Yes I Am….Really

In the latest WRG thread, I whined about not being strong enough to put together a workable synopsis/cheat sheet for the rules I find most challenging (read obtuse).

I channeled a TardMuse, and put one together.  Here are  the links to this work in progress.   Any corrections, other ideas are welcome.

Page 1       Page 2

Just click on the small(ey) images and the normal ones will appear.  Jeez… another thing to figure out.


Pea Ridge

Set this one up a few days ago.

A meeting engagement, regiments arrive piecemeal, with the Confederates having to negotiate constricted roadways in order to attack and reach their victory objectives.

I always tussle with whether or not to read about a battle before I play it.  I tend to not consult a reference so to avoid any pre-conceived notions about my approach for my first play-through.  After that, I’ll take a look, especially since I am fortunate enough to have the original two volume West Point History of American Wars.

Here’s a bad shot of the situation after five turns.  Top of picture is North.  The Confederate victory objectives are, for all intents and purposes, at the south end of the board.  Union victory objective is to hold in-place at their present position (Elk Tavern) to the East.

The game’s characteristics are interesting.

Union forces are outnumbered, but most Confederate units are armed with short ranged (one hex) muskets.  But, using fire and melee tactics is complicated by the need for Confederate units to be stacked with a leader in order to melee.  This rule is intended  to reflect the high historical casualties among Confederate brigadiers.  It also makes a two hex melee attack very difficult.

Many regiments’ morale is unknown.  A die roll the first time a check is necessary determines their rating.  Units keep that rating for the rest of the game.  This differs from TSS, which calls for a new roll for each check.   There is also a night turn, when both sides have an opportunity to regroup.

Managing the movement to contact is difficult.  Command radii are limited, there are lots of artillery units to clog roads, with very little room to deploy from column – necessary for movement at any pace through the heavily wooded areas – to line.  This makes coordinating attacks difficult, especially when time is of the essence for the Confederates.

All-in-all, an interesting challenge.  Here are close ups of the west and east flank’s action.  Notice at east flank (2nd photo), that the Confederates have to move through heavy woods (which effectively limit movement to one hex per turn) in order to envelope the Union blocking force at Elk Tavern.


More 6th Edition

Now in Turn 10 of my latest WRG 6th Edition game.  As hoped for, the going is smoother.  Not just rules knowledge, but my tactical sequencing has improved.

By this I mean the staged use of troop types.  Light infantry is given time to skirmish, heavier infantry deploys methodically and, most importantly, the cavalry (especially the Byzantines) wait for the proper time to advance and charge.  I know, basic stuff, but that’s what I lose sight of when grinding through a new rules set.

This sequencing seems especially important with WRG 6th Edition.   If you miscalculate distances between those three troop types, you wind up with units stacked up, without room to maneuver.  The results are ugly and, to paraphrase Dean Wormer “Disordered, Shaken, Burst Through and Routed is no way to go through a WRG 6th game.”

This crummy photo from my first game illustrates what can happen.

I kept the ruler in the photo (all how-to-do-it references for wargame photos stress not to leave game paraphernalia out of any shot – which I don’t get because any table I’ve played on is covered with rulers, dice, tables, charts and rule books) spatial reference.

The Arabs are at the top of the photo, Byzantine cavalry at the bottom.  The light infantry has evaded through the heavier infantry and cavalry , with the infantry now blocking any cavalry response without disruption, either by a countercharge or rout.  And, what the hell will the body guard at the very top of the photo do?

For better or worse, 6th Edition RAW (Rules As Written) won’t let you just slide units all over the battlefield.  No “fast and furious” here.  Sloppiness has its consequences.

As mentioned in my earlier posts, these rules are difficult.  At this point on my learning curve the big problem is that answers to tabletop situations are often spread out through two or three rules sections.  This is especially true for rout, pursuing, and rallying.  While there are sections focused on each topic, the nuance is buried in movement, or dicing for arrival or some other sections.  If I was a stronger person, I’d track all of this down and consolidate into a situation-specific write-up.

Anyway, I’m fortunate that I can enjoy the game at a leisurely pace and not pressed to finish in, let’s say, an afternoon.

Details, Details

Now in my 12th turn of my first real WRG 6th game. This is where all the shortcomings become apparent. Rules problems effecting play, various combinations of errors of omission and commission, bad tactics, a record keeping system that is not effective, and the creeping feeling that I’ve had enough and need to either reset or try something else.

The latter is, to me, the real challenge in wargaming. Who wants to slug it out, pay attention to logistics, grind through an attritional slog, go to the rulebook one more damn time? Too much like real life.

But, right now, is when you really start learning a game. You have to dig through those rules and read them very, very carefully; looking for nits, buried fractions, lengths and percentages.

Hopefully, this will all make the next game a lot more fun. Because, this one is now dragging

Regardless of this low pitched whining, it is a fun game. Light units have skirmished and scattered, the Byzantine Heavy Cavalry is blasting through the enemy infantry, just about to come into contact with their Arab counterparts. Their Super Heavy supports lagging behind, with Arab light cavalry lurking on exposed flanks.

It’s mayhem that should end in about four turns.

Here’s a representational photo.