Category Archives: Review + Session Report

Groza (Finally)…The Basics

Quick note:  If you are viewing this on an IPad or IPhone, scroll down to the bottom of your page.  This is where you will find the tags for Operation Groza and Europa.

Yes, it’s been a year since I  posted up about Operation Groza.  Why?  Sheer indolence.  But recent announcements about Europa provide new motivation.

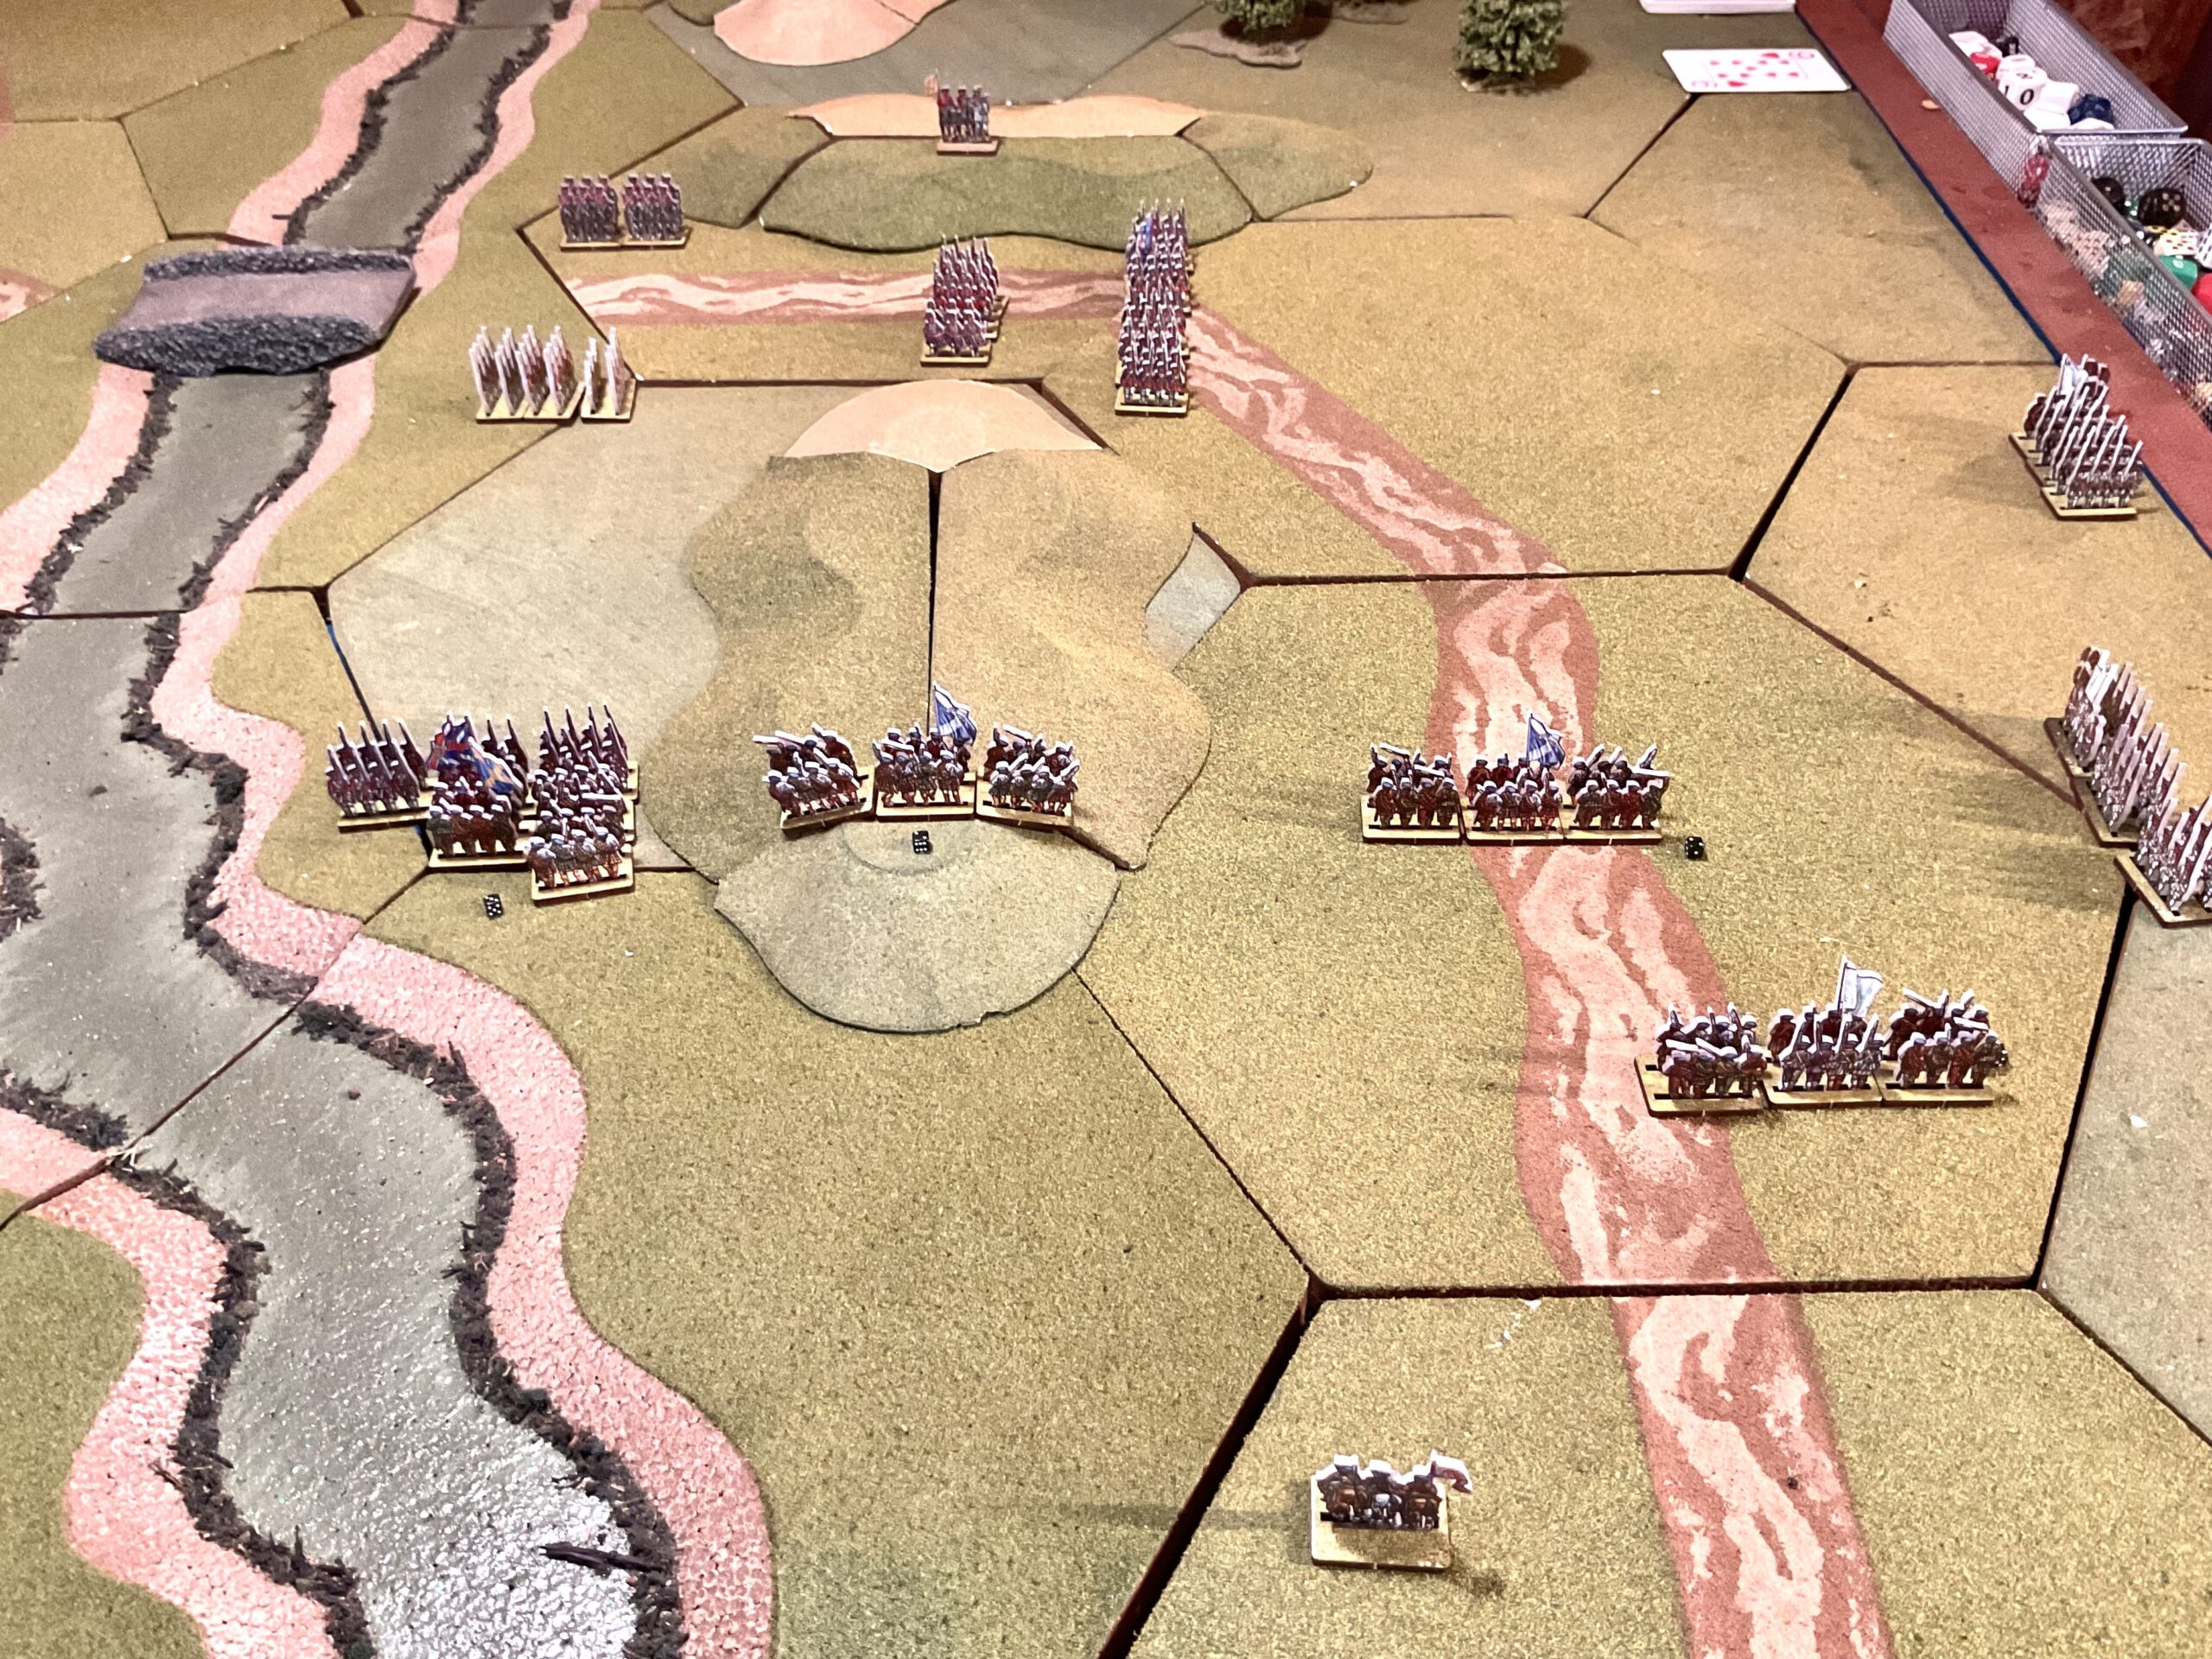
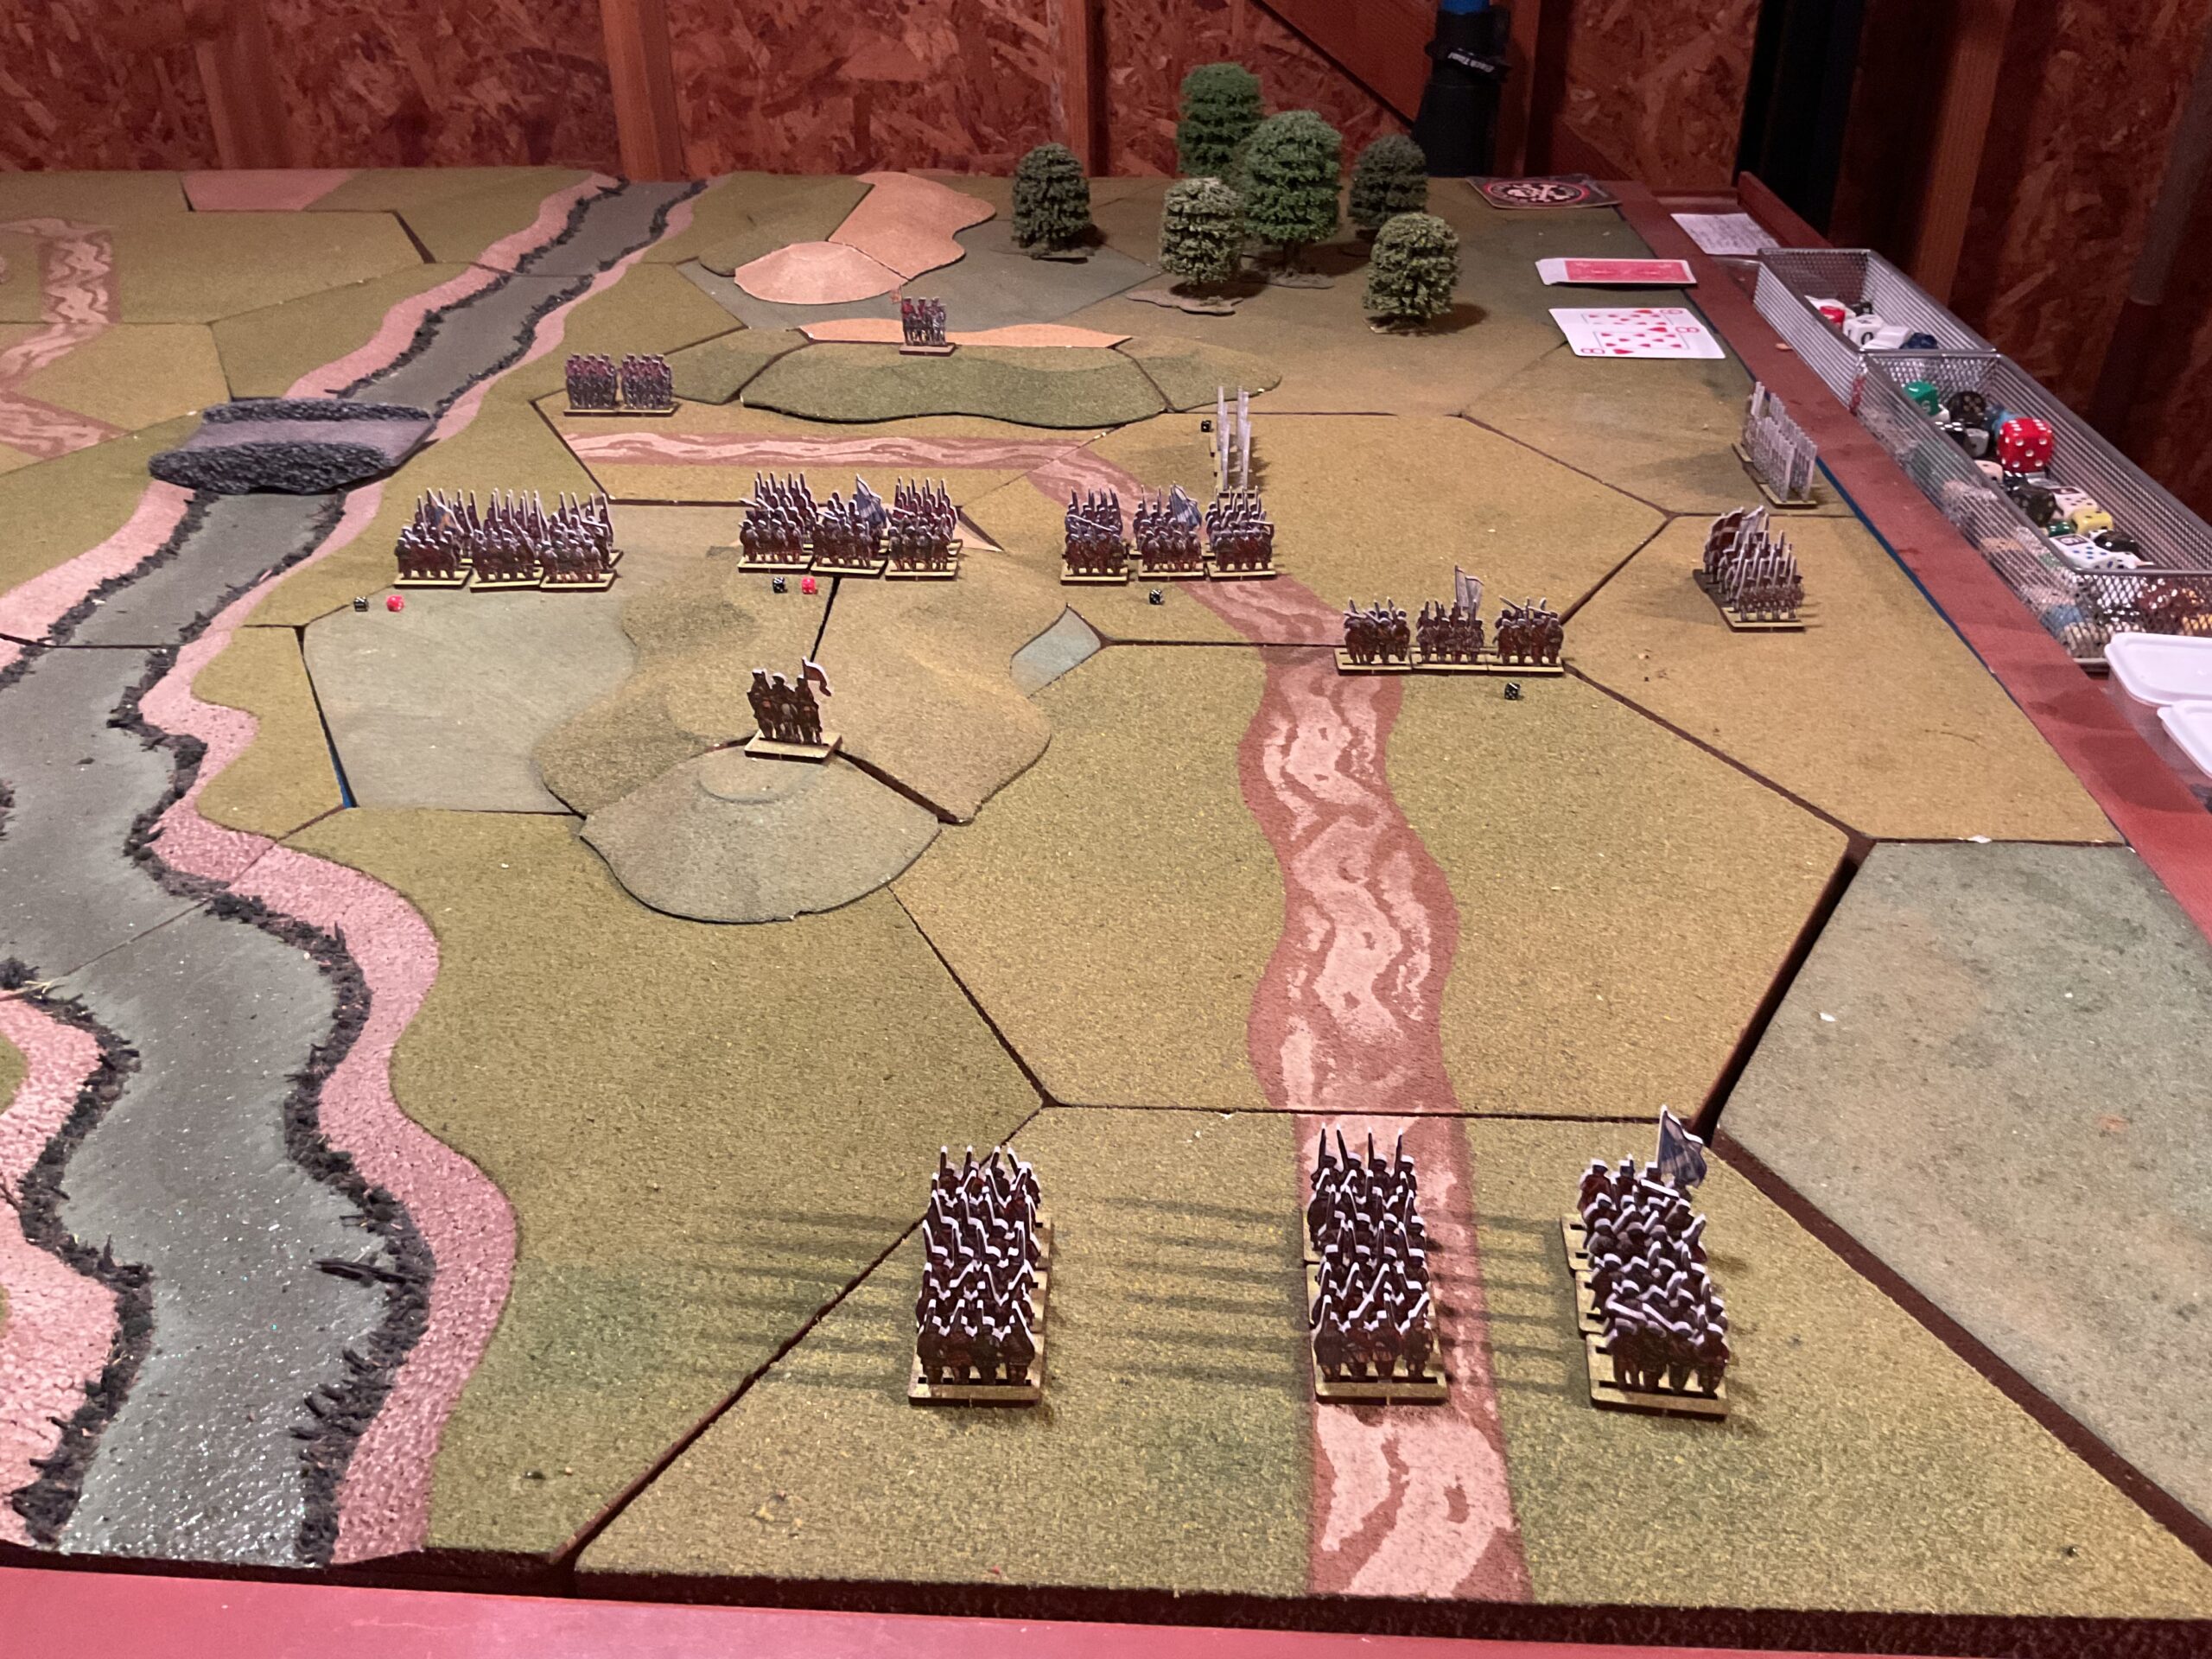
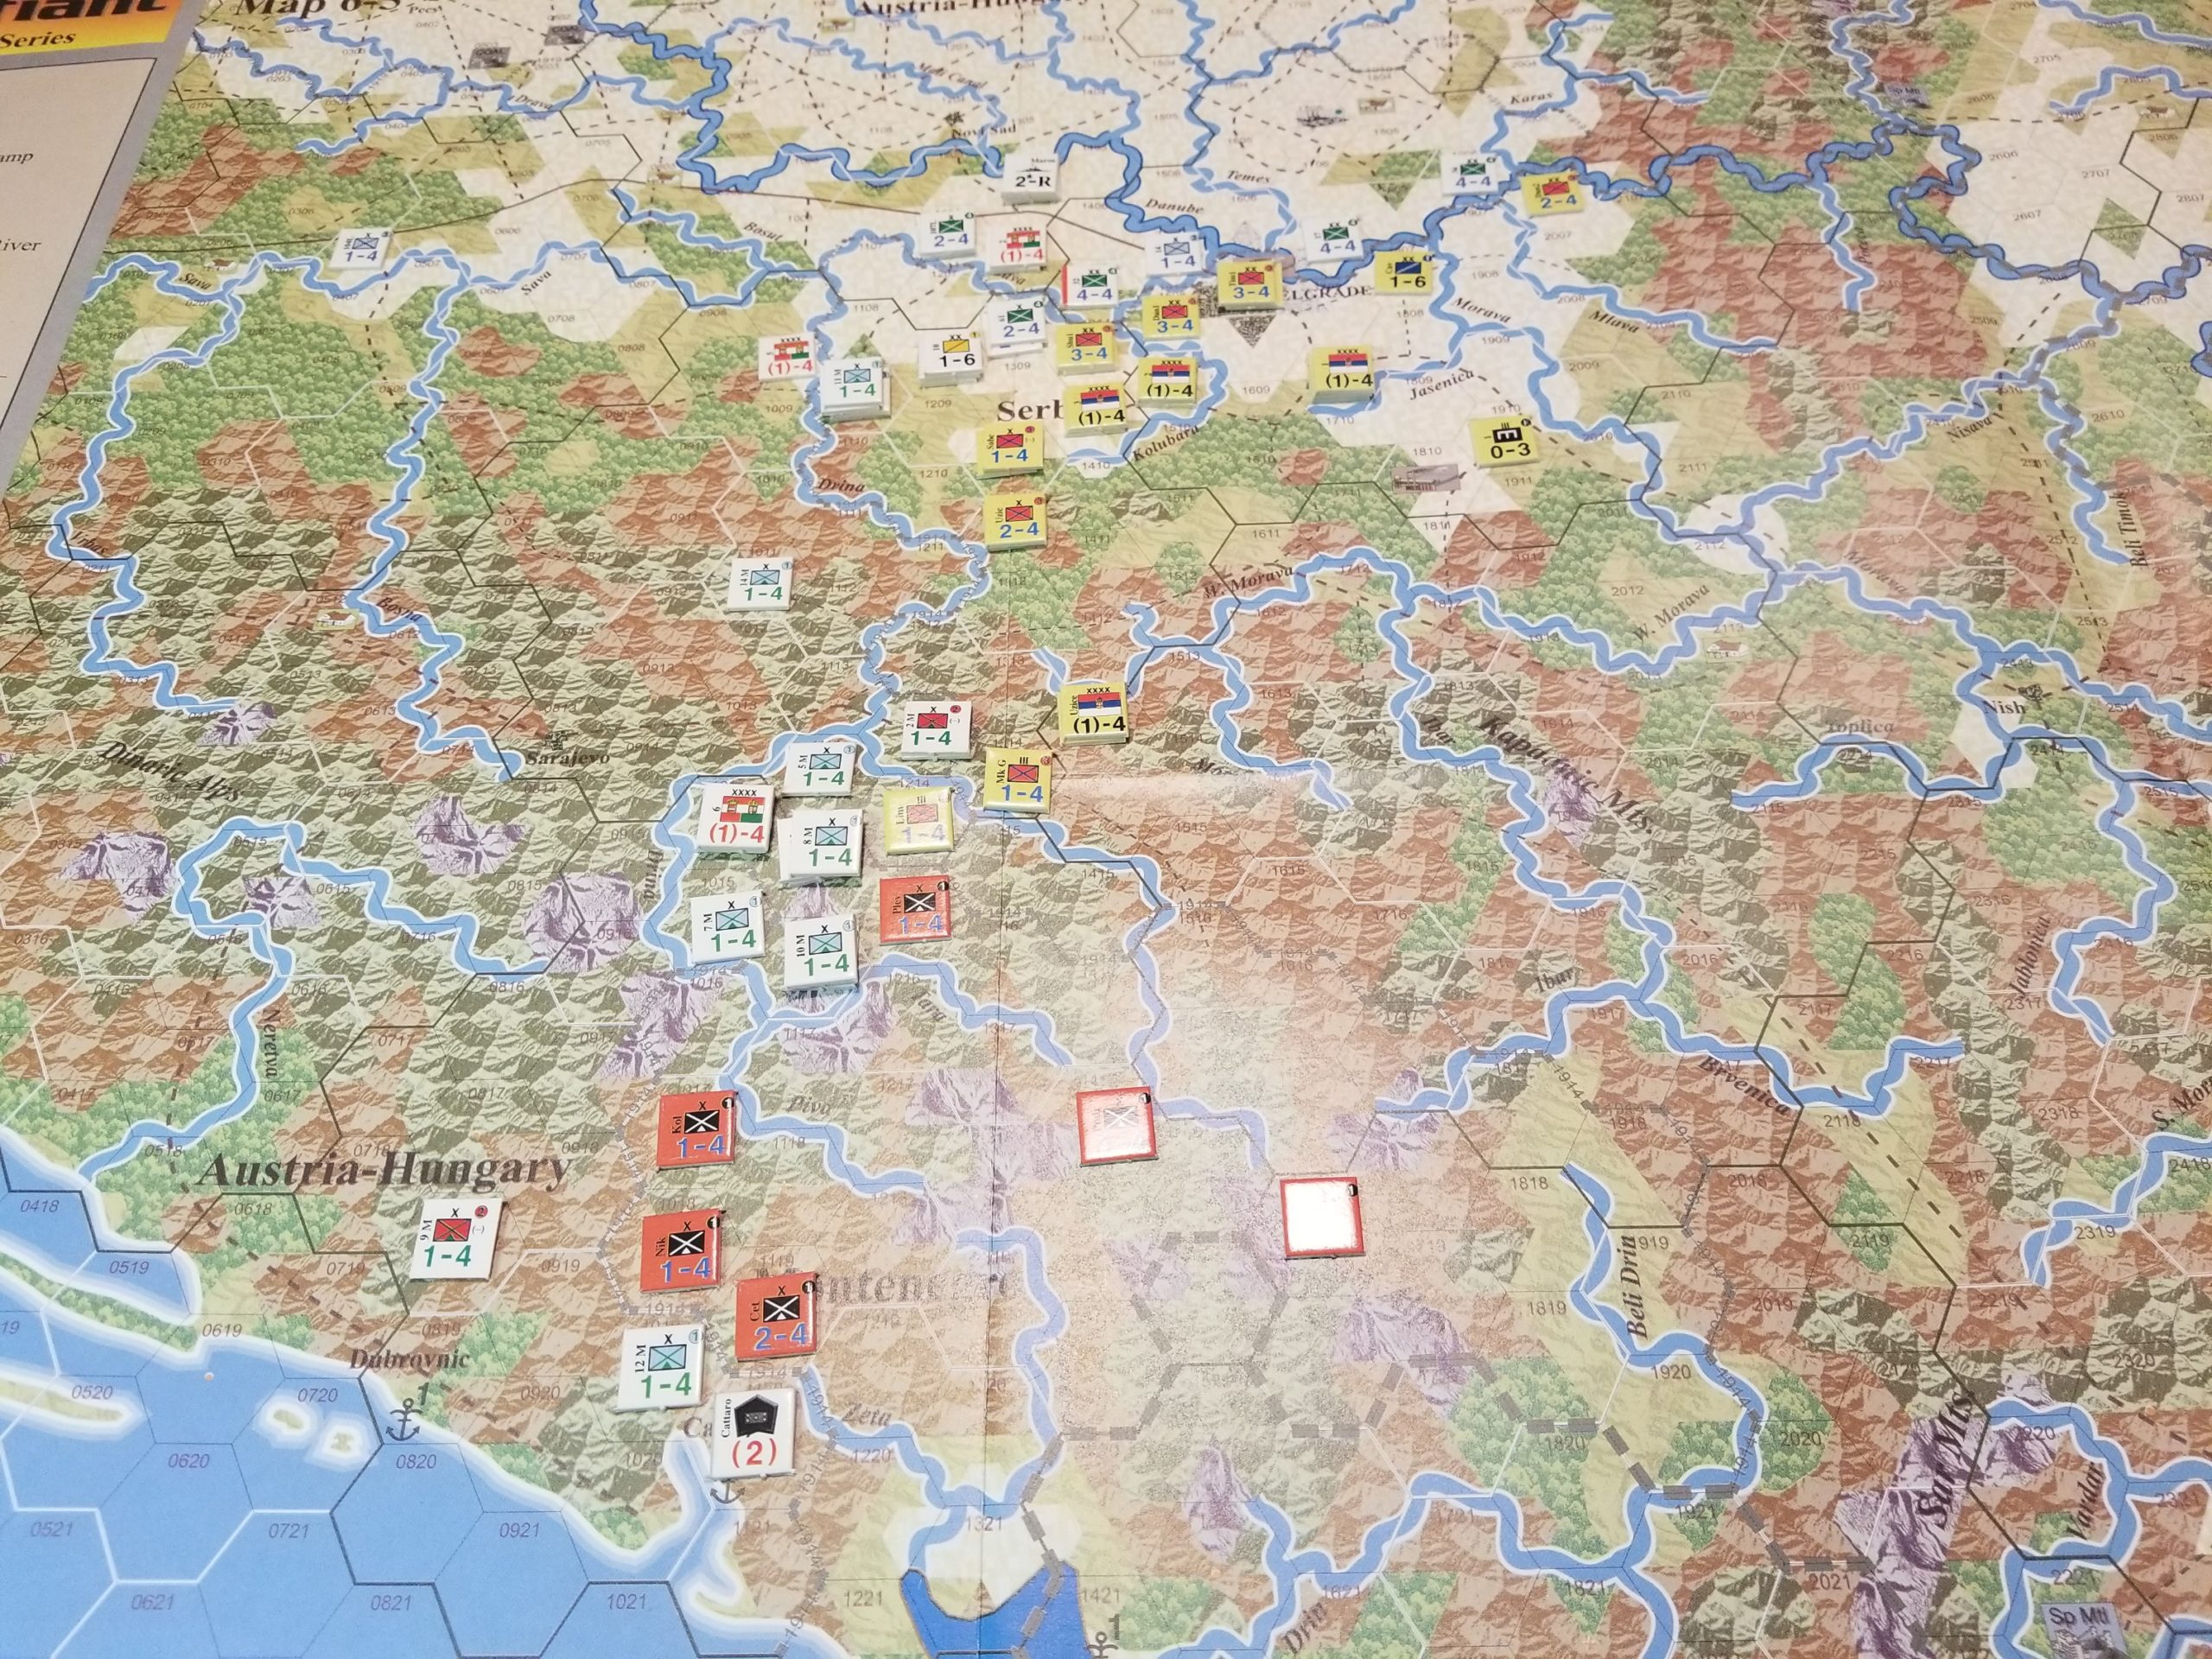
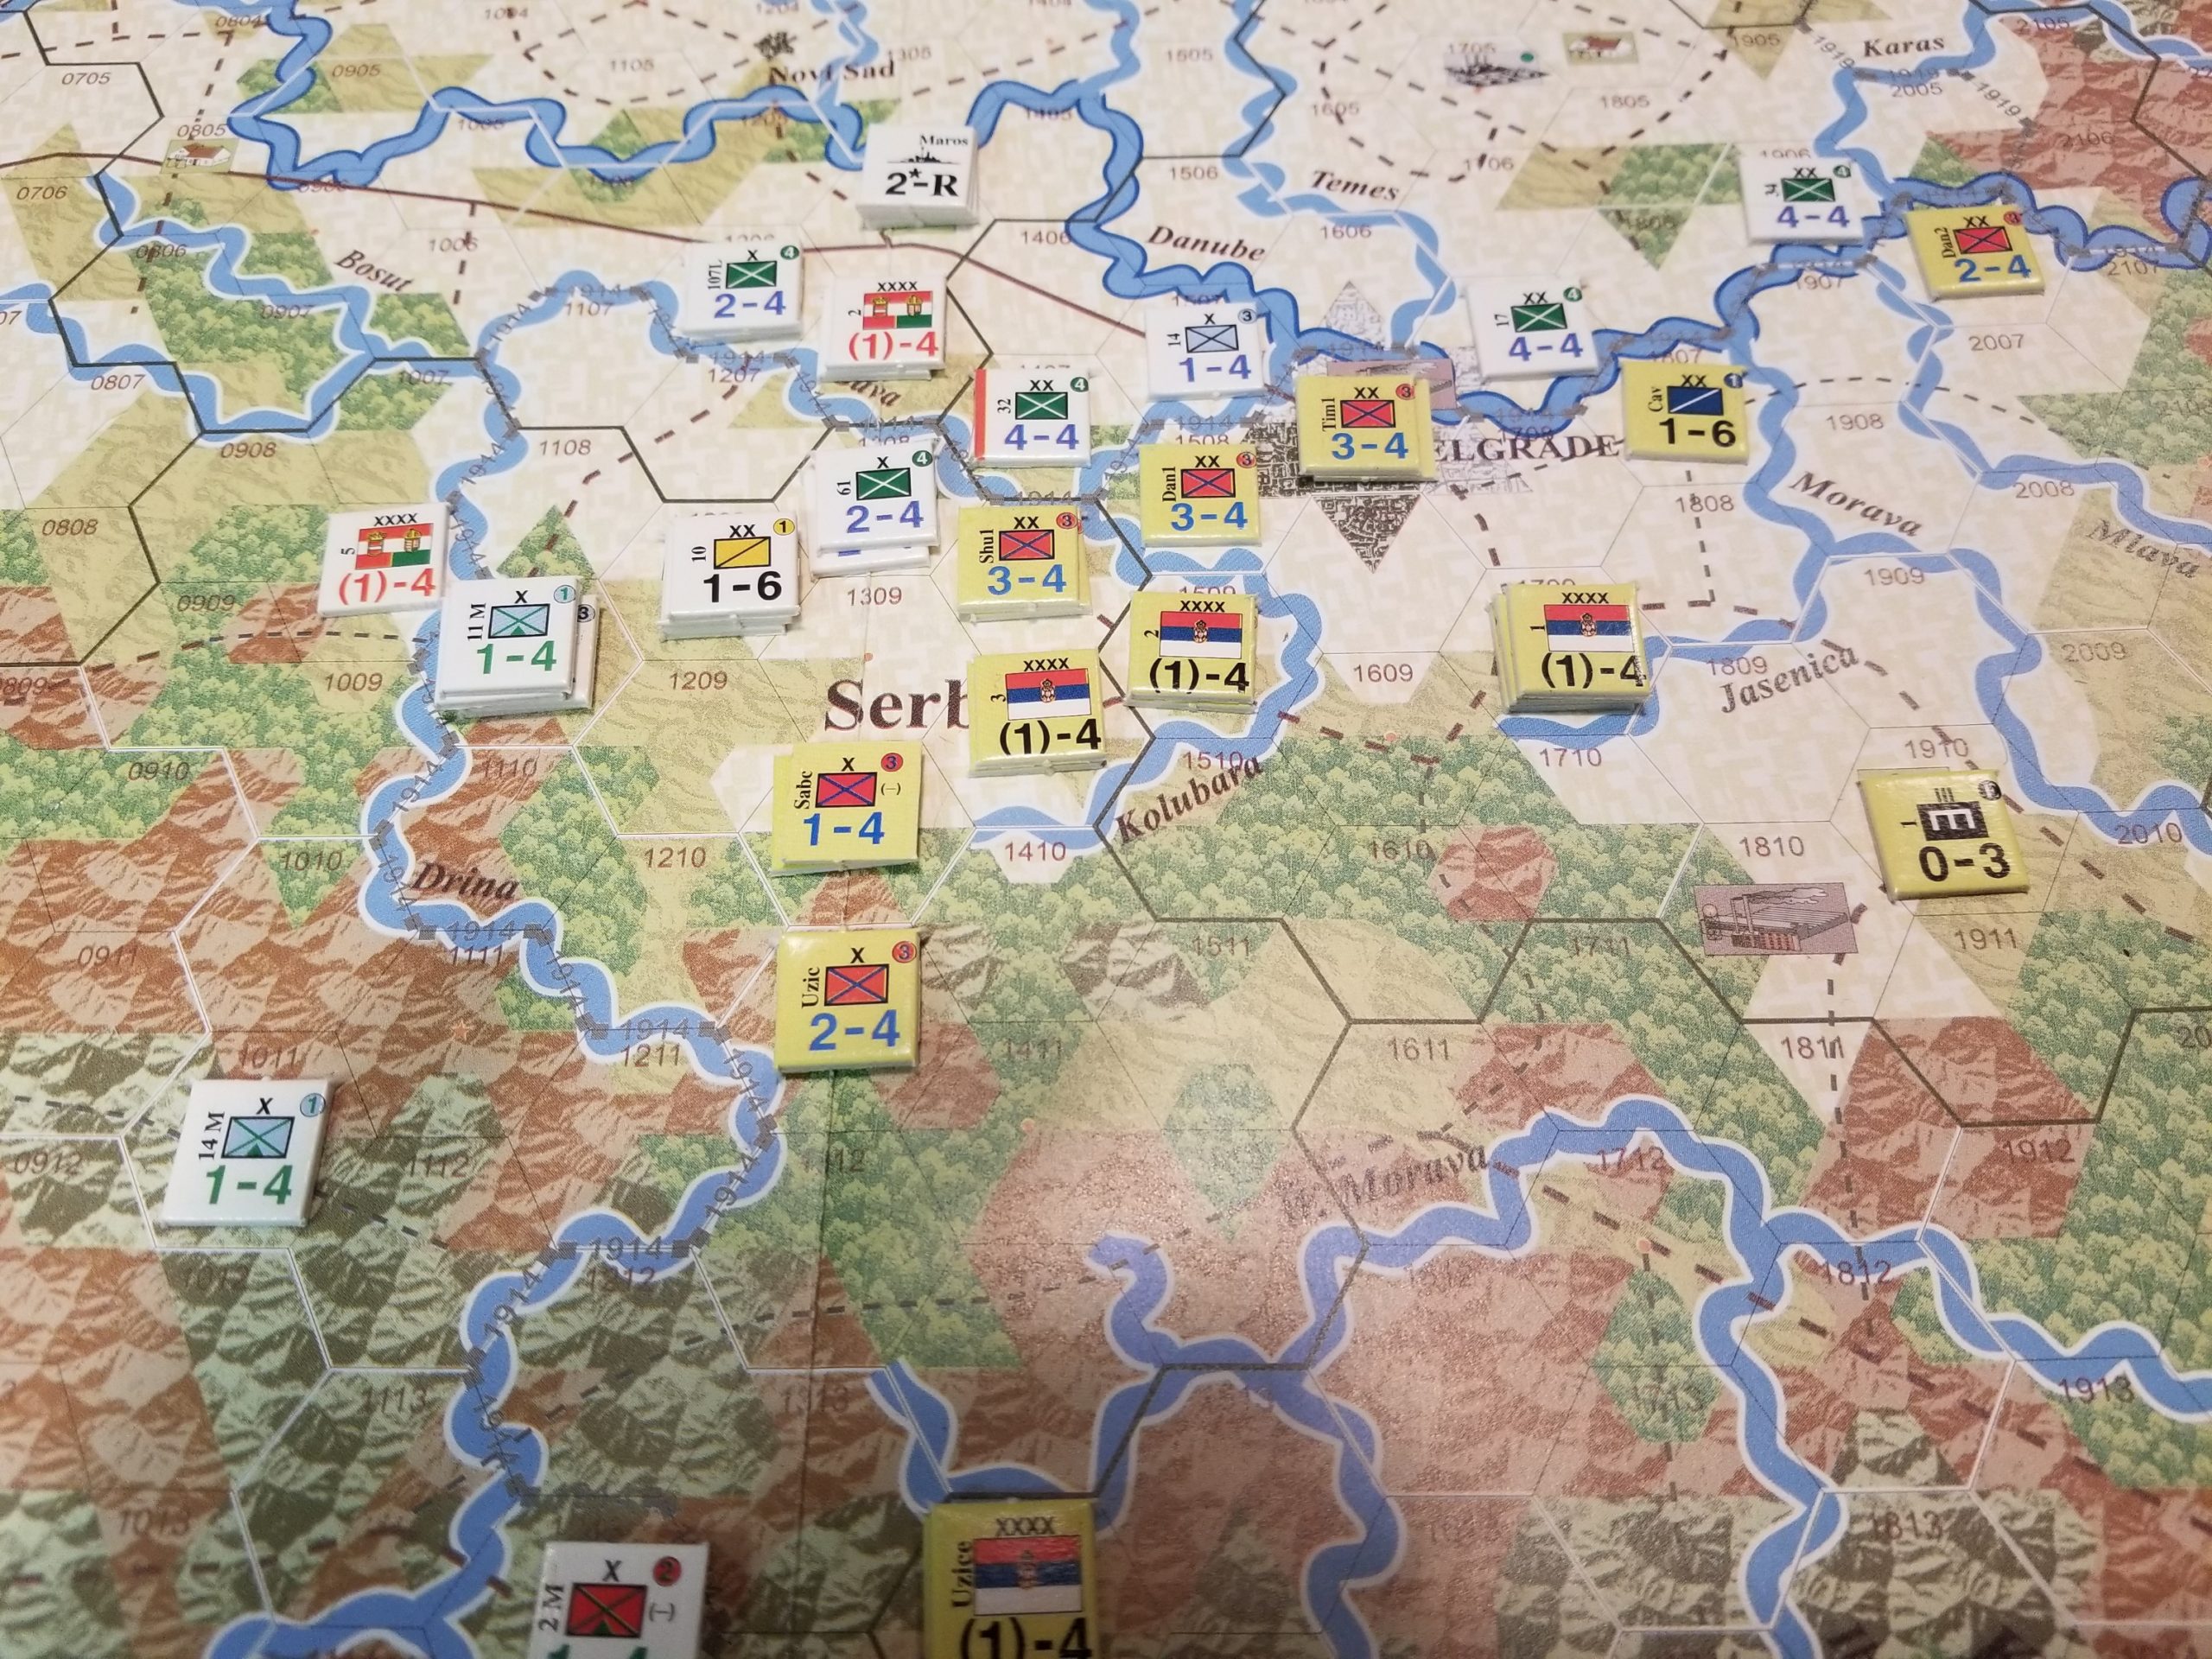
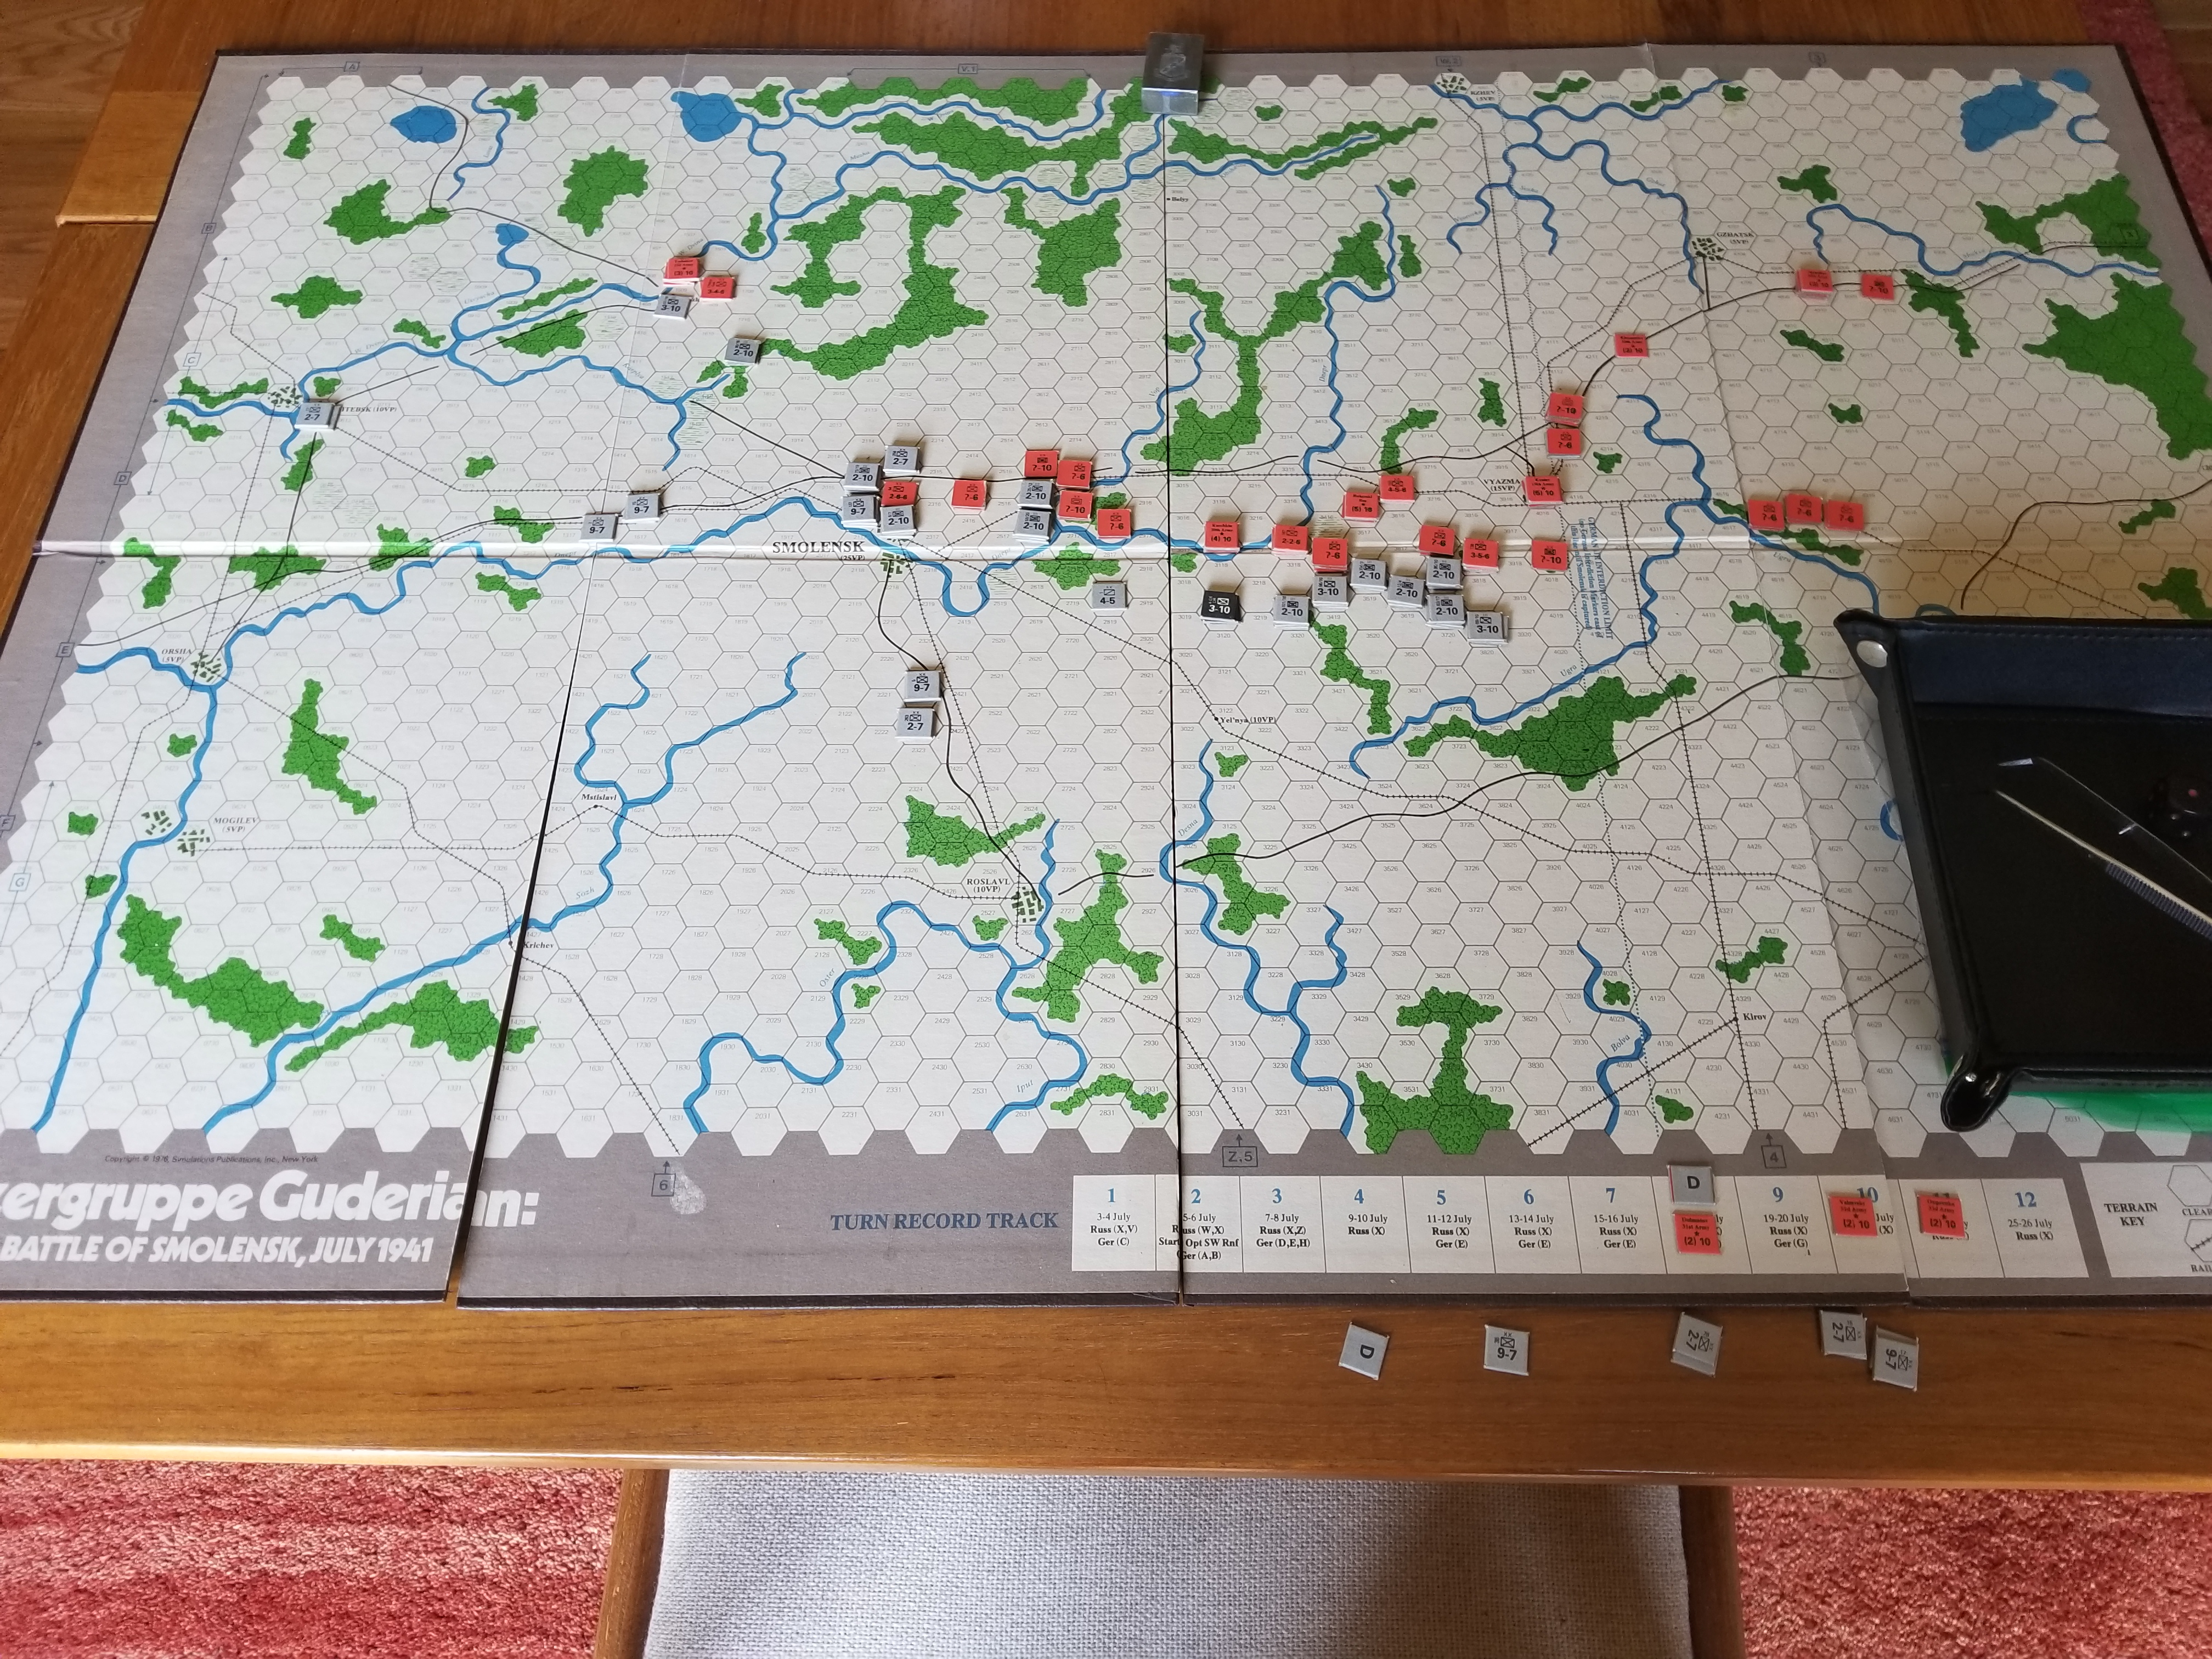
To recap:  The Groza scenario was published in The Europa Magazine #23, with many special rules and modifications to the Orders of Battle (OBs) found in the Scorched Earth module.   Tim and I wanted to play Europa, were intrigued by the scenario, and anxious to try out the Barbarossa Unleashed draft rules published by John Astell.  Tim took on the herculean task of adapting the elderly, but still very serviceable (let’s just leave it there), JET Scorched Earth module for Groza.  This involved merging maps and creating supplementary counters.  We started play in late Winter 2025.

Might all of this involve confusion, numerous operator errors, and low levels of frustration?  Not to mention the usual screwing up?  Yes! So, here we go, starting with a summary of special rules with subsequent posts describing game play, observations about the rules, and lessons learned.

BTW…..We have reset, and are in the process of starting a new game.  But, back to old business.

The game begins with the Jun II 41 (Soviet) turn.  There are several significant factors affecting each side’s initial deployments.

Axis Player –

Deploys air and ground units first, with each Army having designated zones of deployment.  Units deployed include reinforcements for the Jun II and Jul I turns.  This placement simulates their movement during those turns the Axis player cannot move units.

Every hex along the Greater Germany (including occupied Poland) and Romanian borders must be either occupied by, or in the zone of control of, an Axis unit.

Note:  Hungary is neutral.  However, Axis units can overfly Hungary and use that country’s rail lines.

Soviet Player –

Deploys initial air and ground forces, with special modifications for each Military District (MD).  Again, each Army has deployment zones.

Can change four (4) combat/motorized (c/m) cadre units to full strength, and all 3-4 infantry cadre units to their full strength sides.

Places Jun II reinforcements on the map reflecting mobilization.

Game Play –

The Soviet player conducts a special Jun II turn limited to movement and exploitation phases (no combat).  For those  unfamiliar with Europa, c/m units may move during the exploitation phase. Movement is limited to within the Soviet Union (not occupied Poland).  Air units may move in either, but not both, phases.

The Soviet may designate NKVD units as Spetsnaz.  Ahhhh….Chrome!

After all Jun II movement/exploitation is finished, the Soviet Player begins a “normal” Jul I turn.  But, “normal” applies only to turn sequence as their are several special, and very significant, “benefits” ( per scenario designer) to be used during this turn, only.

The Soviet Player 1) ignores border river hexsides for purposes of combat and overruns (not movement).  2)  increases the attack strength of his artillery units by 50 percent.  3)  c/m units at full strength have full,  not limited, exploitation capabilities.  4)  conducts movement as though each Axis unit has a reduced zone of control (ZOC).  5)  Spetsnaz units are treated like commando units, and have an attack strength of “1” when used in conjunction with other units. Ahhhh…..Chrome!

The special Jun II move combined with the Jul I rules and inability of Axis forces to react simulates Groza’s surprise attack.

Next up…the game.

Good System = Enjoyable Game

Finished up  my first attempt at Valour & Fortitude (V&F).  Enjoyable.

Of course, after all of the pre-game preparation, I was inconsistent (at best) in using the commander characteristics and army orders I had created, and forgot to draw Fate Cards at the beginning of each and every turn, or playing those I had drawn.  Typical omissions once I get playing.

But why let all that get in the way of some fun?

The Fire and Action phases are straightforward, with a minimum of moving parts.  Likewise for the Melee phase.  In the Action Phase, a unit can move either in column, in line or double time (always allowed one facing change (Reform)); Rally by rolling to remove Tenacity “hits” (more on this later), or Assault.

For me, the tricky part of play was when to implement the Valour and Fortitude morale tests.  However, a quick and handwritten “if this, then that” cheat sheet solved the problem.

What really intrigued me was the lack of chrome involved in failed tests.  Units simply are taken off the table, with neighbors  affected only when their brigade fails a Fortitude check.  I’m used to a whole series of movement and impact gyrations for neighboring units when a  rout occurs. This is a welcome and effective change.

Also, the (almost) universal use of a six-sided die roll of “4” as the minimum roll to score a hit on an opponent during fire and melee, as well as pass morale checks, greatly reduced chart checking.

Speaking of charts, I did put together a Terrain Effects Summary which I glued to the back of the cheat sheet included in the rules.

Along with my failure to consistently employ characteristics and cards, I also did a spotty job of documenting the entire affair.  And the depictions of what I did capture are, as usual, less than stellar.

The British mission was to defend the river bridge.  Their programmed plan was to position units on  both intervening hills, with a reserve of grenadiers and cavalry across the river, but ready to support either the first hill’s brigade of Regulars, or second hill’s Militia defenders.

The Jacobite Highlanders assaulted the first British hill position, with a small brigade of French troops bypassing the hill, and moving to flank the second British hill position.  Roughly 40 percent of the Jacobites were held in reserve (as dictated by the programmed scenario).

The Highlanders “went right at ’em”, using their high melee ratings to clear the British position.  However, they suffered significant losses and were close to Shaken status.

Jacobites Capture First Hill

A quick (well , maybe not so quick) rules note…..each unit has a Fire, Melee and Tenacity ratings.  Tenacity reflects their ability to take casualties.  When a unit’s casualties equals their Tenacity rating, they become Shaken.  Any casualty taken by a Shaken unit  exceeding their Tenacity rating prompts a Valour Test (one for each casualty above their  rating), with an immediate D6 roll of 4+ required to pass each required test.  If failed, the unit routs and simply goes away.

A unit rout  triggers a brigade Fortitude  Test at the end of the current turn phase.  Again, a D6 roll of 4+ is required to pass.  If failed, any Shaken units in the brigade rout, and any Brigade unit within 6 inches of an enemy takes one loss.  The brigade also suffers a defeat (defeats are used to determine winners/losers, with terrain objectives designated at the beginning of the game also considered defeats if lost).

One additional melee note.  A unit that wins a melee (suffers fewer losses than the opponent) does not have to take a Valour Test.  On hills, the up-hill side wins ties.

And…yet another note.  Reducing Tenacity hits is an iffy business.  A D6 roll of “6” is required to remove one.  Hard to do – at least in this battle.

The British response was to deploy the Grenadier brigade to stop the Highlanders and to order the Militia off their hill position to stop the flanking French.

Highlanders Assault British Grenadiers As Jacobite Reserves March Forward

The Grenadiers did stop the Highlanders, but were overwhelmed by the Jacobite reserves.  The Militia succumbed to French musketry.

Surviving Grenadiers And Militia Face Jacobite Reserves (L) and French (R)

At this point, the loss of the bridge position was inevitable.  I would consider it a marginal Jacobite victory, as their losses were significant and it took a long time to take the bridge.

I’m going to play this one again, but put together definite Defeat parameters, which will include not only geographical positions, but turns necessary to take the bridge.

More Fun!

Der Weltkrieg – Osmanli Harbi – The Ottoman War 1914-1918

Finally finished up Galacia after more than a year on the table.  Yes, that long.  Pathetic is too kind a description.

Shamed, I had no other option But to set up another Der Weltkrieg offering, Osmanli Harbi.  Much lower counter-count, but some very interesting scenarios and rules.

The module’s scenarios cover the Caucasus, Macedonia, Iraq, Sinai and Albania theaters.  Just the names bring back memories of these regions bedeviling me while playing Pursuit of Glory.

Each theater has separate battle scenarios, as well as a campaign, which the system refers to as “Duration Game Scenario(s).”

Decided to play a Sinai scenario involving the Third Battle of Gaza , and covering the period October through December 1917.

The game’s rules have some significant differences/additions from/to the Der Weltkrieg Standard Rules.

The overarching changes for  Osmanli Harbi address the differences between fighting in Europe and the game’s theaters.  These focus on the harsh environmentss, with its effects on operations as well as logistics.

Desert hexes have reduced stacking limits; roughly half of that allowed in the standard rules.  Units crossing desert hexes also lose one movement point.  An attacker suffers one additional loss when attacking into a desert hex.  Operations during Summer turns involve further reductions in movement allowances as well as increased mandatory combat loses.

Lines of Communications (LOC) and Supply Depots are introduced to reflect the lack of transportation networks in these remote theaters.

LOCs are required for a unit to remain in supply.  LOCs must be traced to a rail line, port, headquarters or depot, with a maximum length of two hexes in the desert.  The headquarters or depot must be within two hexes (in the desert) from a rail line or port.  You cannot “daisy chain” headquarters units.  So, in the desert, a unit risks out-of-supply effects if it is more than two hexes from a rail line, or four hexes with an intervening headquarters.    The effects are attritional, either losing one (1) strength point if moving more than half of its allowance – in any terrain, and/or having to roll for attrition during the Special (first) Phase of a monthly turn.

Other scenario-wide rules involve reduced rail construction and capacity.

The impact of these changes pale in comparison to the rule that allows  Ottomans to mount counter-attacks at maximum strength without infantry or cavalry units being supplied.  In the series rules, a unit can only counterattack at full strength with the expenditure of two (2) supply points per strength point.  If not supplied, the unit attacks at half-strength.  This is a significant factor, with the designer explaining  this rule reflects the Ottoman’s ability to put together scratch forces (much like German Kampfgruppes) to respond to Allied operational successes.

Each set of  scenarios also has its own special rules.  For Gaza, these include rail capacities, German and Austria-Hungary support units, the requirement(s) to maintain garrisons, and special attack rules for the 1918 Meggiddo scenario.

I am also using an alternate Combat Results Table (CRT).  This CRT is recommended for low counter density scenarios.

The 3rd Gaza scenario is a stand-up slugging match, with the British assaulting an entrenched Ottoman force.  It’s a good solo scenario since the Ottoman player simply using his limited reinforcements to plug gaps created by British attritional attacks.  Maneuver is limited by desert and mountain terrain.

Victory is determined by capturing/defending cities and combat losses – which are accounted for as “Demoralization Points”.

The first play-through resulted in a Central Powers (Ottoman) Decisive Victory, as the British (Entente) suffered significant casualties while seizing just one of three cities required for a Substantial Victory.

I’ve set the scenario up again, and am giving it another try.  Here’s shot of the game.


At Sea

Had a nice visit with Tim the other weekend.  We set up the South Pacific scenario for Empire Of The Sun.  This scenario is included in the latest edition, and also published separately in C3i Magazine.

We played the Plan Orange variant, also published in C3i, a few months ago.  Plan Orange posits an early 1930’s conflict and focuses on surface combat, with very limited air assets.  It’s a great way to “lean into” the system and did whet our appetite for more.  Good marketing.  There’s also a Burma variant, which just doesn’t appeal to me (as one BGG Comment contributor put it “just play the 1943 scenario on the big map” .

The South Pacific scenario has its own small map,  relatively low counter density and limited scope.  It’s perfect for a fun weekend and our proclivity for multiple resets.

And reset we did.  Were able to get three “games” in, none played to conclusion, due to rules and/or strategy miscues.  It’s always a learning experience.  In fact, our we did our first attempt “by the numbers” reading through each step using the Play Aids.

There are plenty of reviews out there, so I’ll focus on my personal lessons learned (that I can remember).

  1.  Read And Understand The Damn Cards:  Lots of information to digest and implement.
  2. Airfields Are Really Important:  Should be obvious, especially if one has read about the Bismarks Campaign.  They are focal points for operations, and extremely valuable for staging air assets to a Battle Hex.  Fundamental but sometimes forgotten.
  3. Understand The Sequence Of Assigning “Hits”:  Escort your carriers with plenty of surface vessels as they will absorb most, if not all, of the damage inflicted.
  4. Remember You Can Attrit Ground Units With Only Air Power:  You can’t kill them, but air attacks (CV or Land-Based) can flip them to the reduced side.  A possible strategy before an amphibious assault.
  5. Be Cool With the Air Naval Combat  Results Table:  Shown at the upper right hand corner of the link.  This is my least favorite part of the game.  So….you meticulously craft your offensive, are mindful of terrain etc and have the odds you want, but then have to roll on this bastard.  Roll a “One” and Blammo!, now at 50 percent strength. Ugh!!!
  6. Remember Inter-service Rivalries:  A big part of the game.  Both sides can rarely use both naval and army assets in the same offensive.

Back to Item 5.  I think I understand the rationale.  Take Midway (please).  Only a fraction of the US naval air even found the Japanese fleet.  And, when they did, the attacks were uncoordinated.  So, a reduction in combat effectiveness due to the unforeseen is not unreasonable at all.

Tim and I were so fired-up we’ve decided to play on Vassal.  I’ve started that process and……it’s a process.

Islamic State – Libya War

This  game is published by One Small Step Games (OSS) in  Counterfact Magazine.  I downloaded it from Wargame Vault.  It is solitaire, the contemporary topic is of some interest, and the format seemed to lend itself to download and DTP construction. The forum section of the game’s  Boardgamegeek page is essential reading as are the revised rules found at OSS’s game page.

The map printed out fine and looks good.  The counters were difficult to cut because the colors of the various factions’ units are similar shades of drab and lack visible guide lines.  The result was a grotesque lack of uniformity.  I decided to use Risk blocks in lieu of some of the counters/chits.  This improved appearances.

The game’s topic is the war against Daesh in Libya.  Allied forces are tasked with controlling key cities and oil fields as portrayed on the point-to-point map.   Each of the game’s eight turns is broken down into five (or six based on a turn-end roll), IGO-UGO action rounds.  Victory is determined by how many areas Daesh controls, number of active leaders, negative press coverage (due to collateral damage) received by the Allies, and hostages and downed pilots executed.

Allied forces can perform any one of several actions during their phase.  These are conventional unit movement into a Daesh controlled hex which triggers combat, “snatch and grab” operations using special forces to seize Daesh leaders for interrogation  or hostages, landing (amphibious) operations, heli-borne assault, reconnaissance, and strike missions with aircraft.

Daesh actions are generated using a table listing ten possible actions including kidnapping, terrorist attacks, and sabotage.

Combat is performed on a display arraying  Allied units against a Daesh counterpart randomly drawn from the Daesh force pool.   Each Allied unit can be supported by aviation, drone or artillery assets.  Allied forces never eliminate their opponents.  A positive combat result will have the Daesh unit ineligible to be activated again during the current turn, or unable to return to the Daesh unit pool until after the next game turn.  Intelligence concerning the whereabouts of hostages or Daesh leaders can also  result from combat.  Any Daesh force that survives an attack  “fires back” at their opponent and, in certain situations there is a combat modifier due to special weaponry. These units are returned to the force pool.

Here’s an imaginatively framed shot of the game in-progress.

I used traditional blue and red blocks to identify friendly and Daesh controlled areas instead of counters.  At bottom right is the combat display.  Both types of Allied units (combat on top and support at bottom) can fire at Daesh units.  The Allied force pools are located above the combat display.  The red lozenges are for Daesh leaders.  I substituted pink blocks for the hostage counters, blue lozenges for pilots and a yellow block for media.  These were placed on a hand scribbled holding area card, which also had the turn phase track.  Daesh victory points were tracked by a red block, allied casualties by a blue block and collateral damage by a black block.  Turns were marked with another green block, along with stacks of destroyed Daesh counters by a result calling for their re-entry to the force pool sometime later in the game.   The containers were used to hold conventional Allied units not on the map, and the Daesh force pool.  Support units can be used only once per game turn.  In the absence of specific guidance I treated parachute and special forces units as support units since it would take some time to re-brief, re-organize these types of specialized units.

The rules were criticized in a now-deleted post over at Boardgamegeek.  I would say that the layout could be better, perhaps more along the lines of the solitaire Destruction of Force Z, which presented the rules and, most importantly, charts in  game turn sequence.  After flipping back and forth between Islamic State’s eight pages, I did a cut-and-paste to reduce the rules to a manageable, more sequential  and flippable four pages.  Unlike the redacted reviewer, I cannot see playing the game in 60 minutes or less.  Not a bad thing, but there are  too many moving parts. Still, the pace is brisk with plenty of decisions and actions in every turn.

In my game the  Allies lost by Turn 5, probably due to my misreading of the collateral damage rules.  The Combat rules section indicates that collateral damage should be checked after combat – but is that individual combat or turn phase combat?  The Collateral Damage table indicates after all turn phase combats have been completed.  The latter significantly reduces the potential point gain for Daesh.

I enjoyed the game, and don’t regret the cost of purchase, time taken to construct the components, and understand the rules.  It is an intriguing system.  For me, on a cost-benefit basis, the returns on investment seem marginal.  I don’t imagine replaying it right now, or in the near future.  For someone else, this might be a go-to game, but not for me.

Destruction of Force Z – Overview

Downloaded this  awhile ago over at Wargame Vault, based on reviews at Boardgame Geek.  It’s a Minden Games solitaire offering  originally published in Panzerschreck Magazine #16.

As is the case with most solitaire games, there are  lots of charts and wristage.  I skimmed the rules and decided to just start playing.  The rules are laid out in turn phase sequence, so I just set up the IPad beside the game and went at it.

Each turn consists of up to eleven phases.  These are:

  1. Weather – Roll 1d6 for either clear or overcast conditions.  Overcast is a +1 modifier for Japanese Search.
  2. Radio – British player can break radio silence.  In doing so loses a -2 drm during Japanese Search.  But, gains possibility of Air Cover to help attrit attackers.
  3. British Ship Movement – Can move up to 4 squares (cannot move diagonally) three times a game, or one-three squares.  Damage reduces movement.  During movement British ships can be attacked by minefields and/or submarines if in same hex.
  4. Random Events – Dictates appearance of Japanese transports, cruiser or battleship units.  Can also effect movement of Japanese submarines, shore landings or allow “shadowing” which is a -1 drm for Japanese Search.
  5. Japanese Ship Movements – Ships on map roll 2d6 for random one to two square movement.
  6. Japanese Search – Rolls 1d6 (3 or less) to sight British ship(s).
  7. British Air Cover – If Radio silence is broken, presence of air cover over British ships determined by die roll.  If present, roll 3d6 for number of fighters.
  8. Japanese Bomber – Includes both level bombers and torpedo bombers.  Roll 1d6 for contact.  If contact make separate 1d6 roll for number of level and torpedo bombers.
  9. Combat Phase – Roll 1d6 for individual attacks by Air Cover, then 1d6 Anti-Aircraft fire to eliminate/abort/or effect aim of bombers.  Then roll 1d6 for success by individual level bombers and torpedo bombers.
  10. Surface Battle – Takes place when opposing force ships in same square.  Roll 2d6 for hits and then 2d6 for effect(s).
  11. Bombardment – British in same hex can shell Japanese landing sites, automatically gaining victory points.

There are 18 different situations where wristage and charts are involved,  in addition to  Air Cover attacks, Anti-Aircraft, and Bombing attacks handled on an individual aircraft basis.

Having Second Front air phase flashbacks and may need this to get through a session.

Serbia The Defiant – Pt. 2

Finished up with the August turns; all seven of them.  That makes for a long month! Scenario extends into December, but I want to move onto something else, and stalemate is imminent.

The A-H forces have made progress in the south (unlike their historical counterparts), and are threatening to envelope the Serbians.  Nothing subtle about the A-H advance.  Just kept pounding away, but there are supply problems looming.  Unsupplied units attack at half strength, and both sides have problems mustering overpowering attacks.

The northern A-H advance has stalled at the Kolubara River.  Serbian defenses will exact a -2 DRM because all A-H units must attack across the river.

Neither side will have much in the way of reinforcements, so the prospects of a breakthrough are fairly low.

Enjoyed this one  It’s a good learning scenario with a variety of terrain and low counter density.

Here’s a photo of the situation at the end of September.

I’ve convinced Tim to play this during our next get-together.  The “Transylvania Gambit” scenario looks fun.  It has Greeks, Germans, Romanians, Bulgarians, A-H and Serbians!

Serbia The Defiant

Started a new SPW module and scenario this week.  It’s the August-December 1914 scenario covering the initial fighting between Austro-Hungarian (A-H) forces and Serbia.  One BGG commentary summed it up; “weak units, bad terrain”.

Still, with a low counter density and few special scenario rules (except for the A-H  2nd Army which must re-deploy to attack the Russians), it is a quick and enjoyable play.

Once again, the rules mandate aggressive A-H moves during the first two turns.  The results so far have been relatively bloodless.  The terrain is very rough, with the only clear terrain found near Belgrade to the north of the map sheet.  However, the (universally criticized) historical deployment has the main A-H effort attacking through the mountains in the west, and river networks in the northwest.    This terrain provides excellent defensive opportunities for the outnumbered Serbs.

In this game, A-H forces are concentrating on the northwest sector of the Serbian defenses, and simply tying down Serbian and Montenegran units in the western mountains.

Here’s the situation after two turns, at the beginning of the August 5th turn.  Most of the units lying north and west of the Danube are with the 2nd Army, shortly to be recalled to the west to fight the Russians.  Montenagran units have a cranberry (?) color.

And, here’s a closeup of the northwest area, where A-H forces have been able to cross the Drina River.


Galacia – The Forgotten Cauldron

Have worked my way through August and into early September.  Each month has seven turns.  This scenario will end in mid-September 1914.

Both sides are starting to go at it hammer and tongs.  The CRT is bloody, with the unique counterattack option making even what in most games would be high odds attacks difficult for the attacker.  In other words, an attacker with three times the strength points of the defender is really only working at one-to-one odds if counterattacked.

One rule I overlooked in my first post was supply point usage.  Each headquarters has an allocated number of supply points to support attacks and counterattacks.  An attack costs one supply point per four attacking factors, rounding fractions up.  A counterattack costs one supply point per two counterattacking factors.  Most headquarters start the game with either 30 or 40 supply points.  They can receive replacement supply points and may transfer points between headquarters (one use for rail networks).  Without supply, units function at one-half strength, except artillery, which cannot counterattack if out of supply.  Supply lines are four movement points in length, with the attacking strength of a unit reduced by one for every hex beyond four movement points.

In this scenario, each army has an objective.  These objectives reflect the historical initial plans of each country and  help make the game solo friendly.

And then there are the scenario specific rules, which I won’t recount here except for the one I just realized I missed.  The Austrians cannot reduce their losses if they choose to retreat.  This reflects their extremely aggressive tactics which led to horrendous losses.

This box contains both Tannenberg and Galacia scenarios.  These two scenarios can be linked, as well as linked with the separate introductory scenario/game The Schlieffen Plan.

Here’s a quick pic of the game currently in progress.  I’m having fun with it…..a lot more fun than that damn Drive on Stalingrad fiasco.

Finally…….

Finished off a long and torturous session with the venerable and highly rated Panzergruppe Guderian.

Getting it on the table was a lengthy process.    Purchased on E-Bay eons ago.  Arrived in fetid condition, probably stored in a basement in Missouri for the past 20 years.  No slur on The Show Me State, as  I lived there for 10 years, and had a number of games go bad in the humidity.

Game spent about 6 months in a car freshener laced garbage bag along with some really smelly Osprey Men At Arms books.  Rules had to be copied since the originals were falling apart.  Lucky the copier didn’t succumb.

It is a fun play, until the German player has to get involved in (I think unavoidable) attritional showdowns at or east of Smolensk.  

Opening


The unknown Soviet unit strengths make it a very good solo game.  The Soviets keep throwing units into hasty defensive lines, while the Germans try their best to outflank them, and wait for their infantry to appear,  sew up the pockets, and get the ZOC kills.  Unfortunately, the infantry units are a little late in getting on the map. 

My mistake was to leave armored units to seize Smolensk, rather than push them east.  Again, if I’d been more patient, the infantry would  eventually  have arrived.  But, time is of the essence in this game.

Also, once a unit is in contact, it is committed and  can only  leave its opponent’s ZOC through victory or an unfavorable combat outcome.  Panzer losses reduce the ability to attack at doubled strength.

So, why long and torturous?  Just couldn’t bring myself to get muddy and bloody east of Smolensk once the Soviet defenses had really coalesced.  Kept looking at the game table and finding beer to drink and/or  chores to do.

The key to this last defensive line was using Soviet commanders – who have a command radius allowing units to use full movement – as “shepherds” to help units into action quickly.  Rail movement is limited, and the German interdictions drastically reduce rail movement.  So, getting everyone moving west is a Soviet priority.

The Soviets also have a limited interdiction capability.  This is limited to twice a game, but given the German line of communications bottleneck, an interdiction  reduce literally all German units east of Smolensk to half strength during that turn.  Timing here is critical for Soviet success.  

By Turn 8, it was coming down to one turn of die rolls for the Germans.  Without a breakthrough, stalemate.  Rolled them, and the Germans remained locked up, with only a limited reserve  too weak to continue east.  

End Game

A marginal victory for the Germans.