Monthly Archives: January 2021

And Another…..Another

Strange Symmetry.  Sounds like a Prog Rock album title.  But, in this case the title refers to my The Sword And The Flame (TSATF) Boxer Rebellion project.

Just one year ago (give or take a week or so) I posted this up.  Well, it’s never over until its over.

Was not happy with my unit and unit size composition for TSATF.  I ordered more figures this Summer to “complete” this decades-old endeavor.

I now have “full sized” twenty (20) figure Chinese units.  These include two (2) Regular units (well, one full and one nineteen (19) figure unit because Caliver Books – which markets MiniFigs – botched my order and shorted me one regular figure), and four (4) Boxer units.  One of the latter units includes seven (7) Chinese regulars (repainted “Christian” Chinese cited in my 2020 post).

The Caliver mistake bothered me for a bit, but I shrugged it off – proof that I am not all that compulsive.

My German unit is now ten (10) strong, and can be used to augment an Allied contingent.  Again, the core of the Allied force is  United States Marines.

In conjunction with the latest purchase, I ordered a copy of Osprey’s Imperial Chinese Armies 1840-1911.  According to this, “modern” units were outfitted in westernized uniforms and straw “boaters”.  Their appearance is shown to be similar to the Chinese Weihaiwei Regiment raised by the British.  I have some of these figures.  They might be “repurposed” to represent local Chinese troops resisting Western forces.  A possibility.

The dining room table will be pressed into service for a game this coming week.

Hyper Brain

Spending way too much mental energy on the Husaria rule set.

Decided on the following – that is for the moment until another random thought stumbles through the cortex.

Reset Incorporating The Changes Shown Below:   Will use the original scenario and initial dispositions/orders.  This should help with the evaluation of the changes.

Add One General Per Side:    A Commander, as well as two subordinate/other nationality generals, should help on the vexing Initiative and Response tests.  However, this will involve some re-basing because I have to scrounge through  already based figures.

Use Open Order (Light) Cavalry:   These are included in the Husaria lists.  I did not use them because they are based one per stand as per various iterations of the  Wargames Research Group (WRG) Renaissance Rules.  Rather than rebase, I will just use them in a two deep formation.  The figures will be staggered but fight, as according to the rules, if as in one rank.

Change Casualty Calculations:  Both forces were built to fight using WRG rules.  In order to meet the Husaria lists’ cavalry unit numbers, the size of the units put on the table were reduced from ten (10) to eight (8).  The percentages used for the calculation of casualties taken for Initiative and Reaction tests will be based on ten (10) figures.  Fighting, however, will use actual numbers (bases).

Will try to get the reset up and running by Monday.

A Sputtering Broken Record

Game is sputtering along, with my bleatings about Initiative and Response checks a broken record , especially with the Experienced level units  forming the bulk of both armies.

Sat down last night and worked my way through these problems.

Experienced units need a modified Initiative percentage die  roll of 40 or lower to charge or respond to a new order (not to mention fire or move for the first time in the game).

Without command figures in close proximity, the chances of passing are pretty low.

Response tests are also problematic, especially for units with over ten percent casualties (that’s the loss of only one (1) figure for most units).   This test involves a base Morale Value Against Percentage Losses Suffered, added an average die roll, then modified.

Once again, the proximity of a unit’s General and unengaged friendly units is helpful.

An example:  An Experienced unit with ten percent casualties has a base morale value of 5.  In order to remain “Steady”, in response to an event,  it must have a modified score of eleven (11).  Assuming a die roll of three (3), it still needs a net of three positive modifiers to remain “Steady”.

The lesson learned is to increase the number of generals per army, and keep troops close proximity to one another.

If this doesn’t happen, most units will refuse to charge or hold, instead retreating or routing after absorbing a limited number of casualties.

In this game, the Cossacks continue to march up “their” hill, come into contact (or threat of contact), and retreat back down.  Same for the Muscovite cavalry in the center.  They absorb a casualty loss from Haiduk musketry, and then fall back.

Very tempted to reset.  On the other hand, I’d like to get my Transylvanians on the table.

More Progress

The daily game playing momentum has slowed. Surprising, because once I get going, the game’s very enjoyable.

Interesting set of rules.  Despite the many charts and modifiers, the play is quick, and far less procedural than Wargames Research Group (WRG)  6th  Edition.  Husaria’s narrative allows some latitude in application.

For example: How far does a unit retreat? Is it full move, move modified for formation changes, does the unit deduct for turning 180 degrees, or what? Not complaining because it allows for applying some common sense.

Another puzzler is what happens when a unit fails its Charge Initiative Test? Does the target unit still have to take a Response Test. The answer is “Yes” in WRG 6th .  Here, I’m not so sure. I’ve tried it both ways and have decided that if the unit fails its Initiative Test, the target does not have to test. An outcome of both units retreating is, while possible, not that plausible.

This game is full of frictions. First off, it is very difficult for “Experienced” units (which make up the bulk of units in this game) to pass the Initiative Test to charge and also difficult for them to roll for positive Response Test outcome. As a result, and I’m sure this was intended, plans do not go as anticipated.

This breakdown has caused both generals to scamper around the battlefield changing orders. The order changes are not formulated until the last phase of the turn, communicated during the next turn’s movement phase, and take effect the following turn. By that time, events may have rendered the new order moot or even counter-productive.

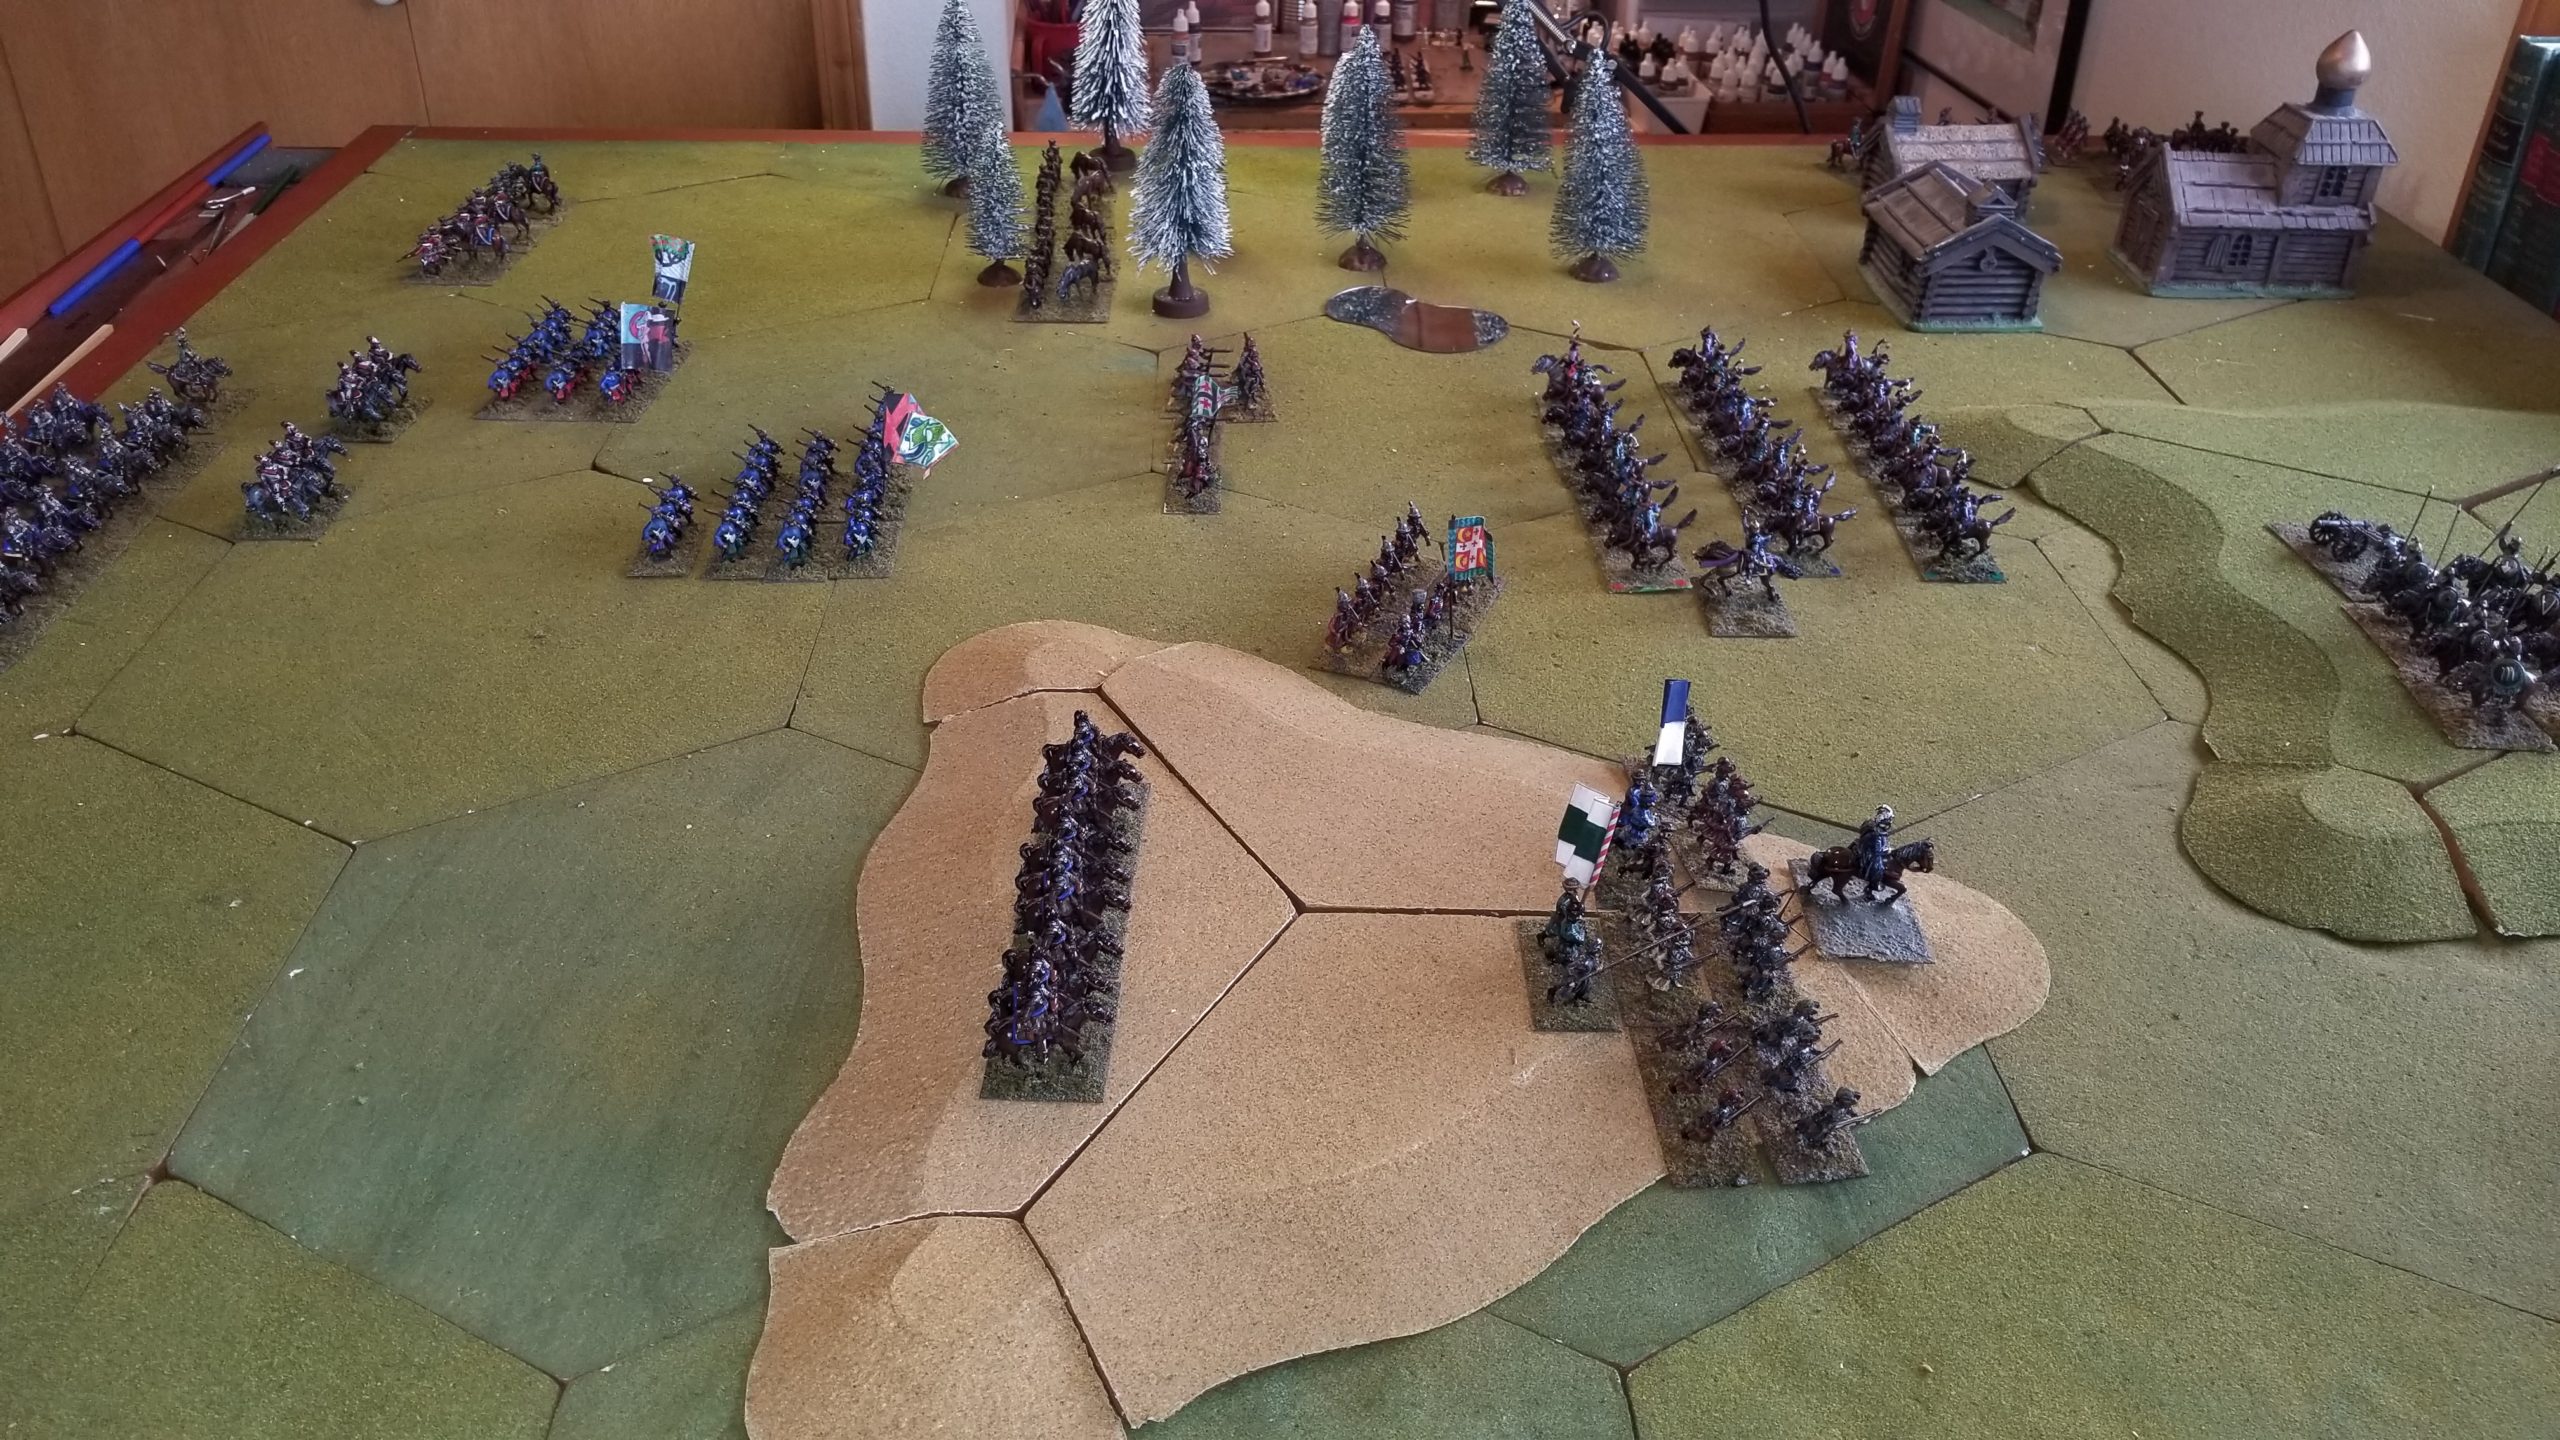
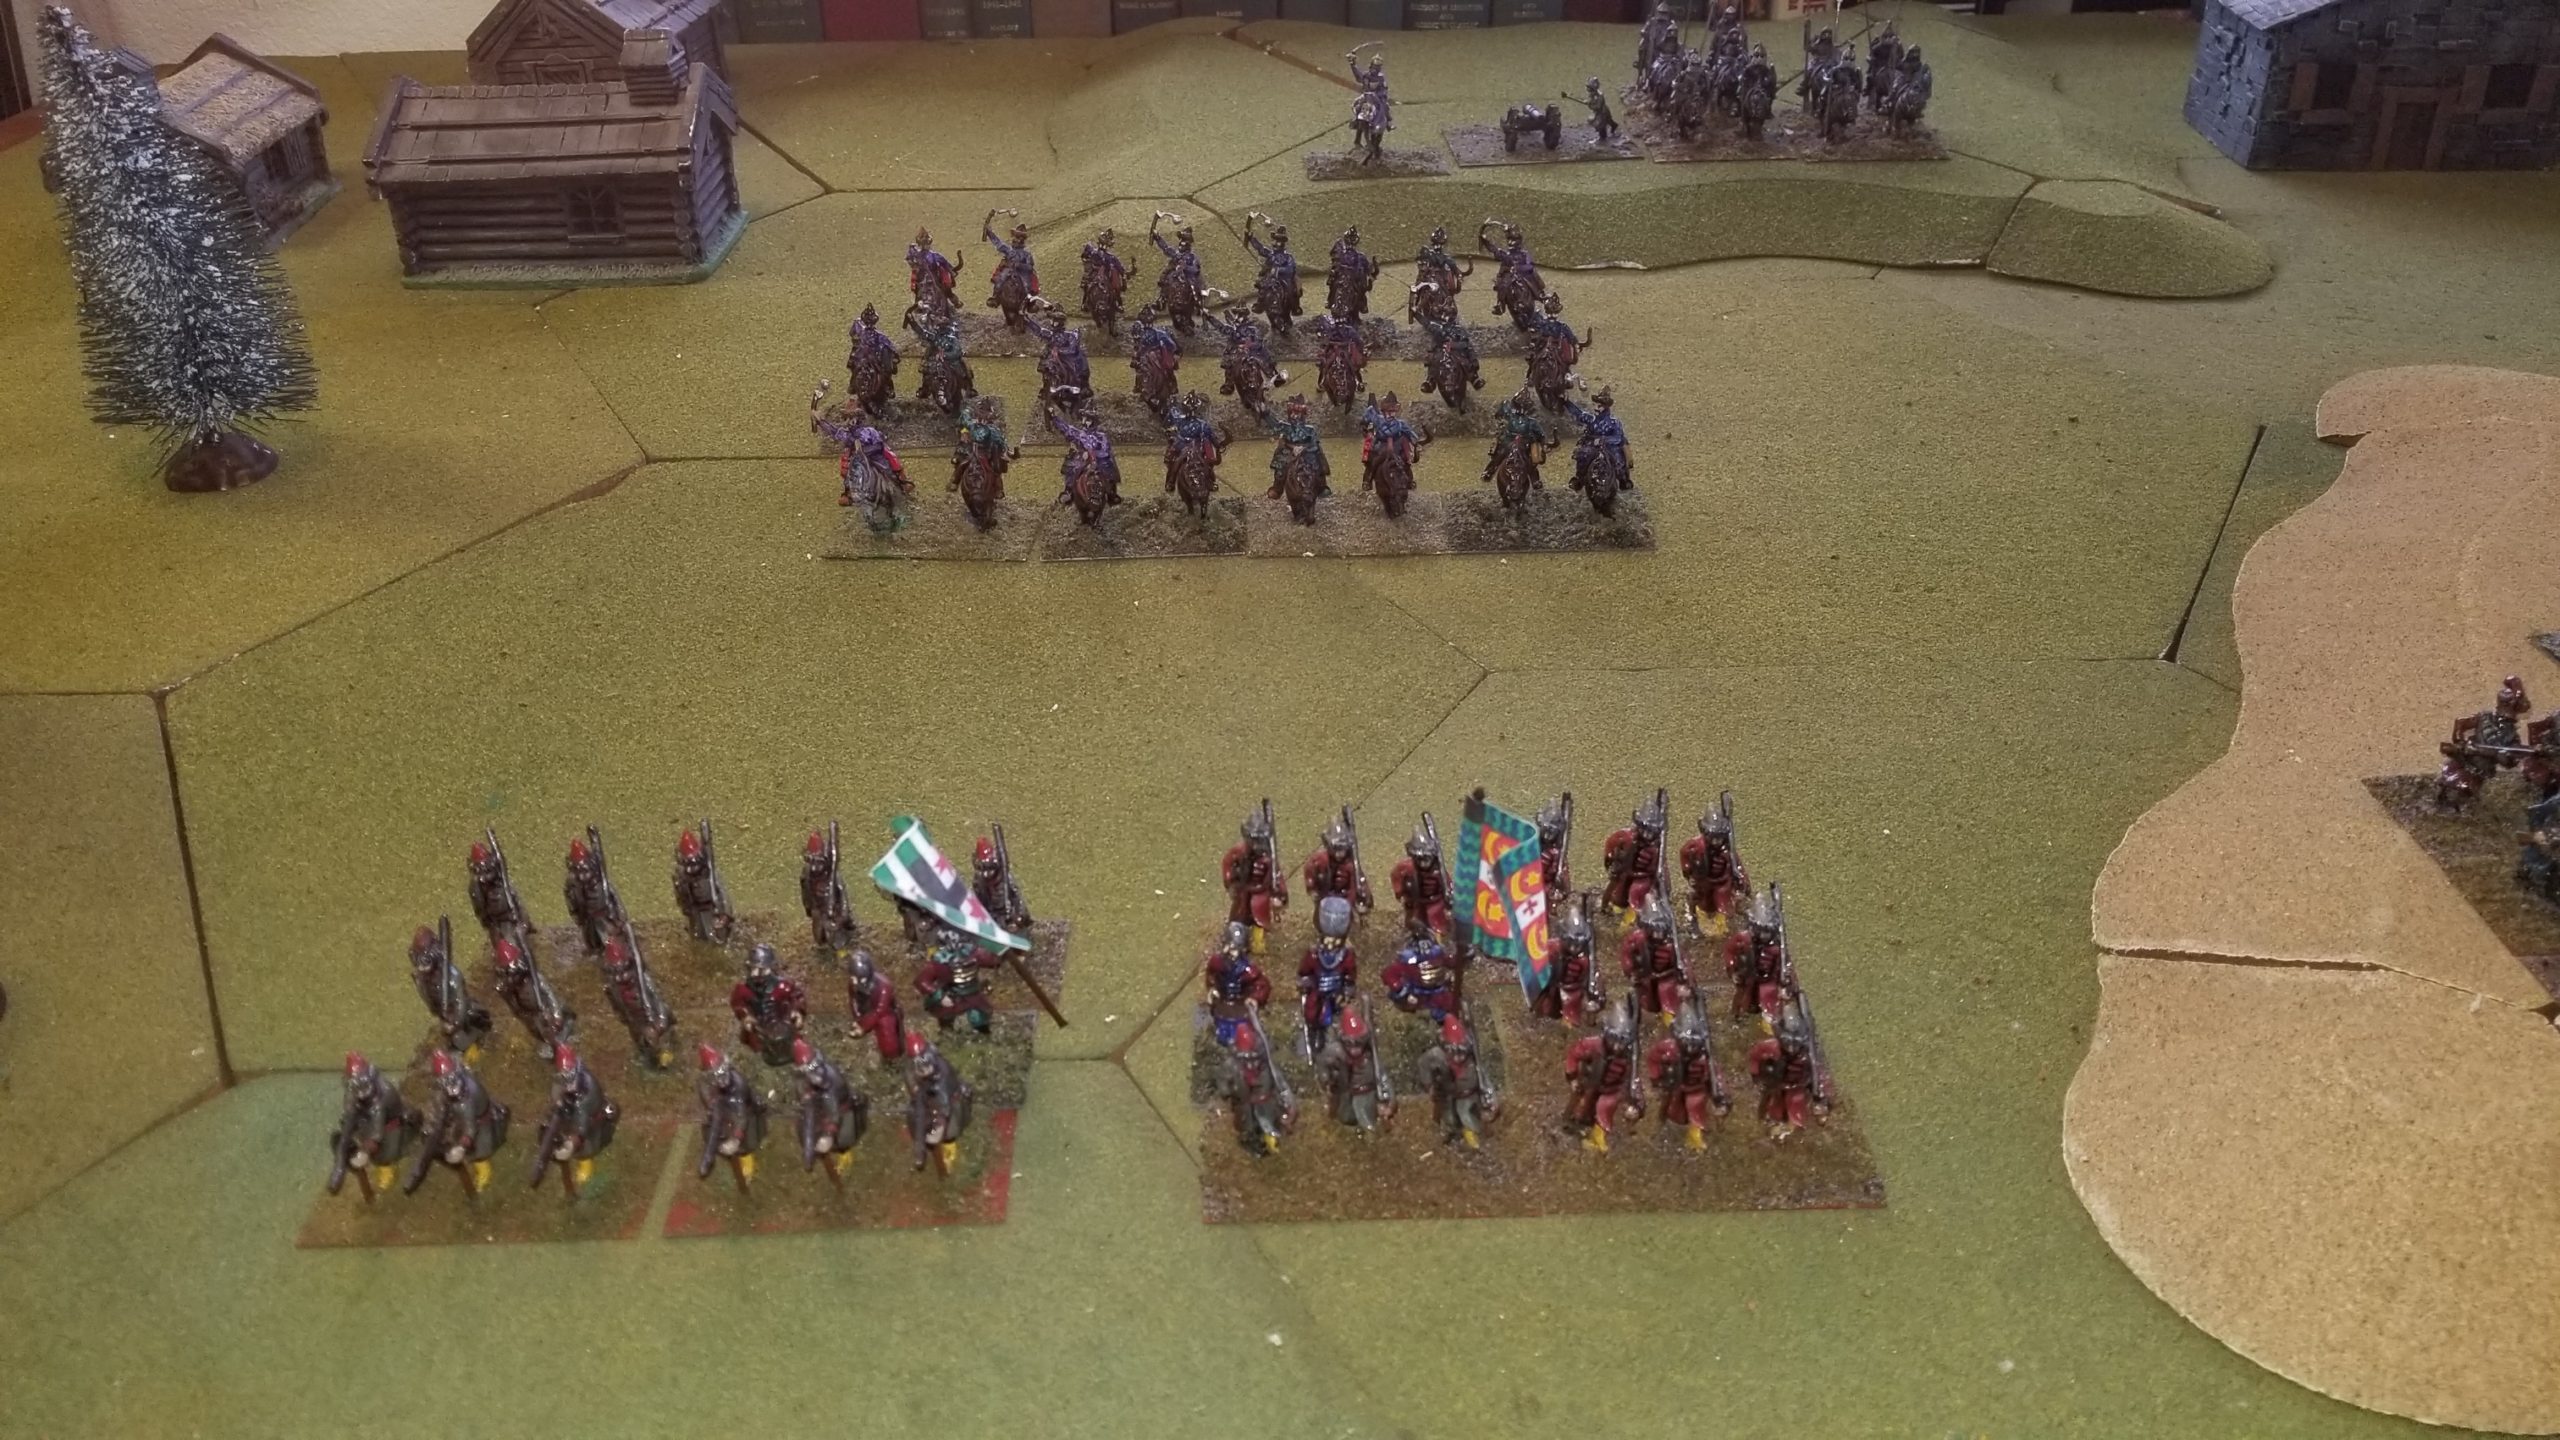
One interesting rule involves following up a unit that “gives ground” after losing Combat (melee). The victorious unit can only follow if it has the distance needed remaining from its charge movement allowance. If not, the victorious unit must charge again the next turn. This happened to the Russian cavalry in the center. They failed the subsequent charge test, remained stationary, and were then forced to retreat as a result of Polish musketry.

If you enjoy some chaos in your gaming, this rule set provides it. For me, especially playing solo, this is not a bad thing. And, I don’t mind working within a relatively loose framework. Again, this is after playing the very scripted WRG 6th Edition Rules.

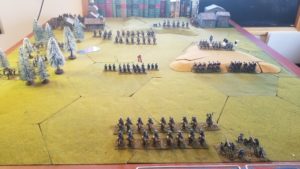
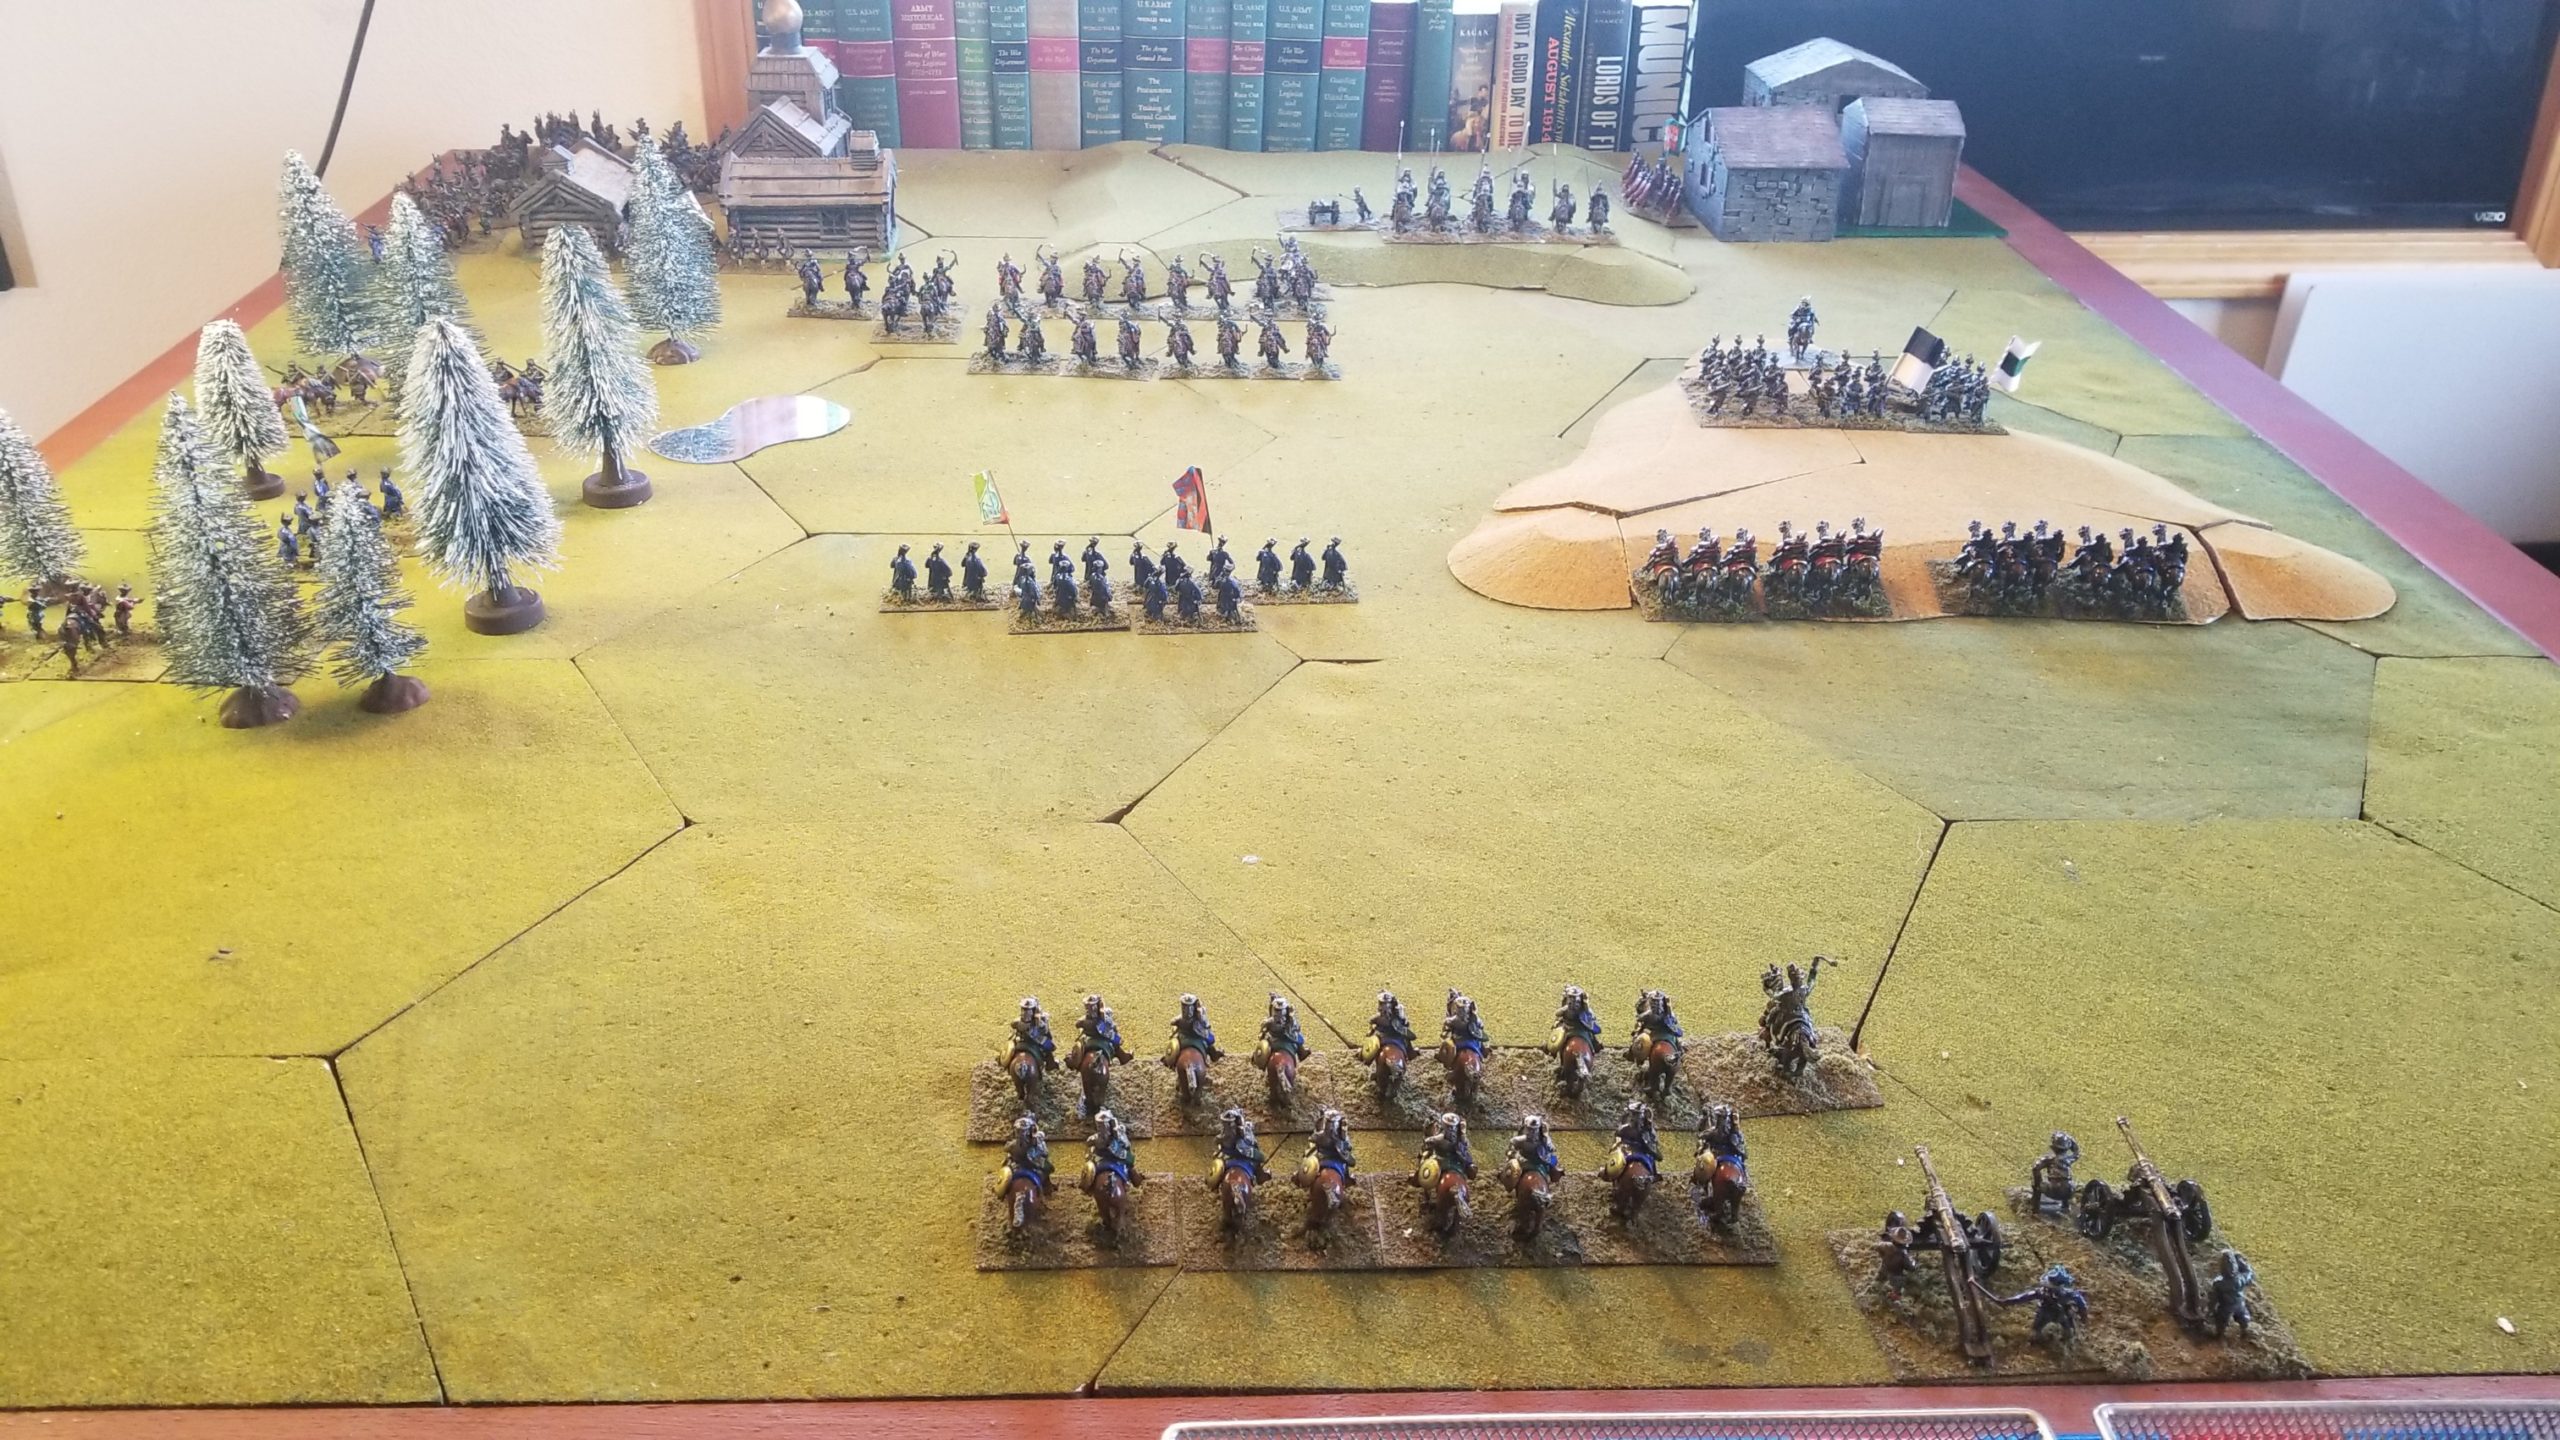
Here’s a summary of the past five (5) turns.

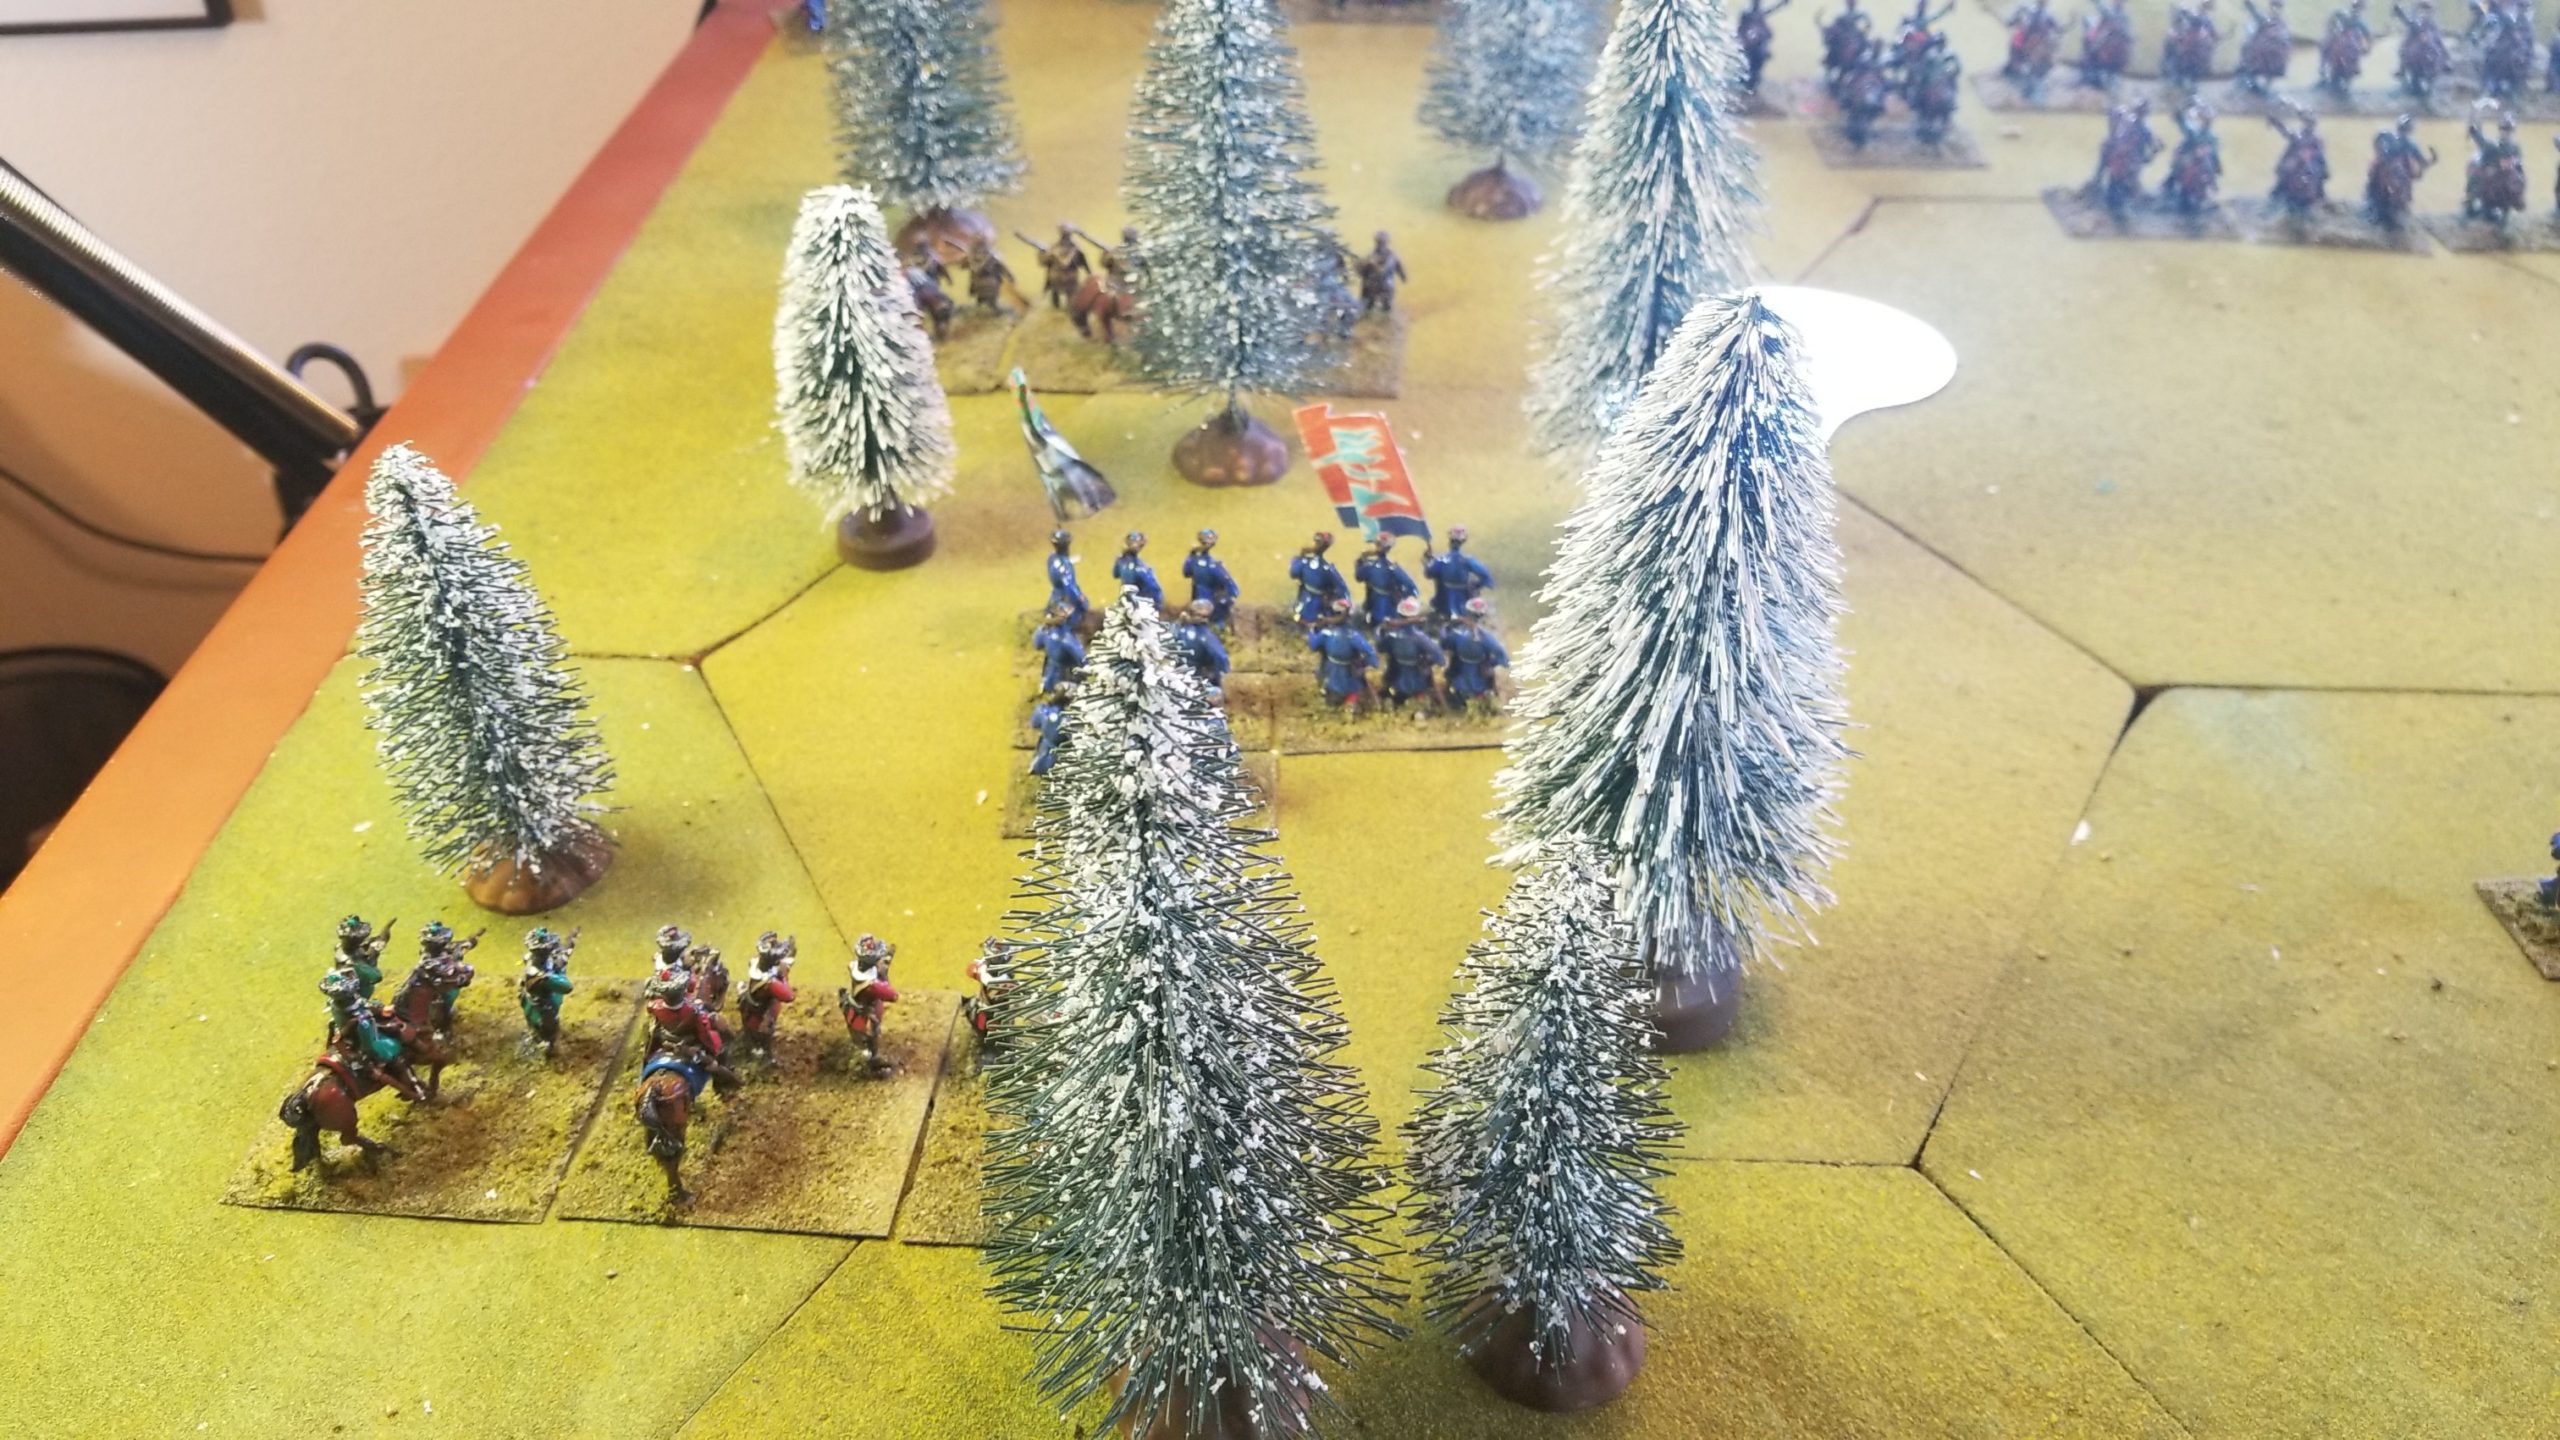
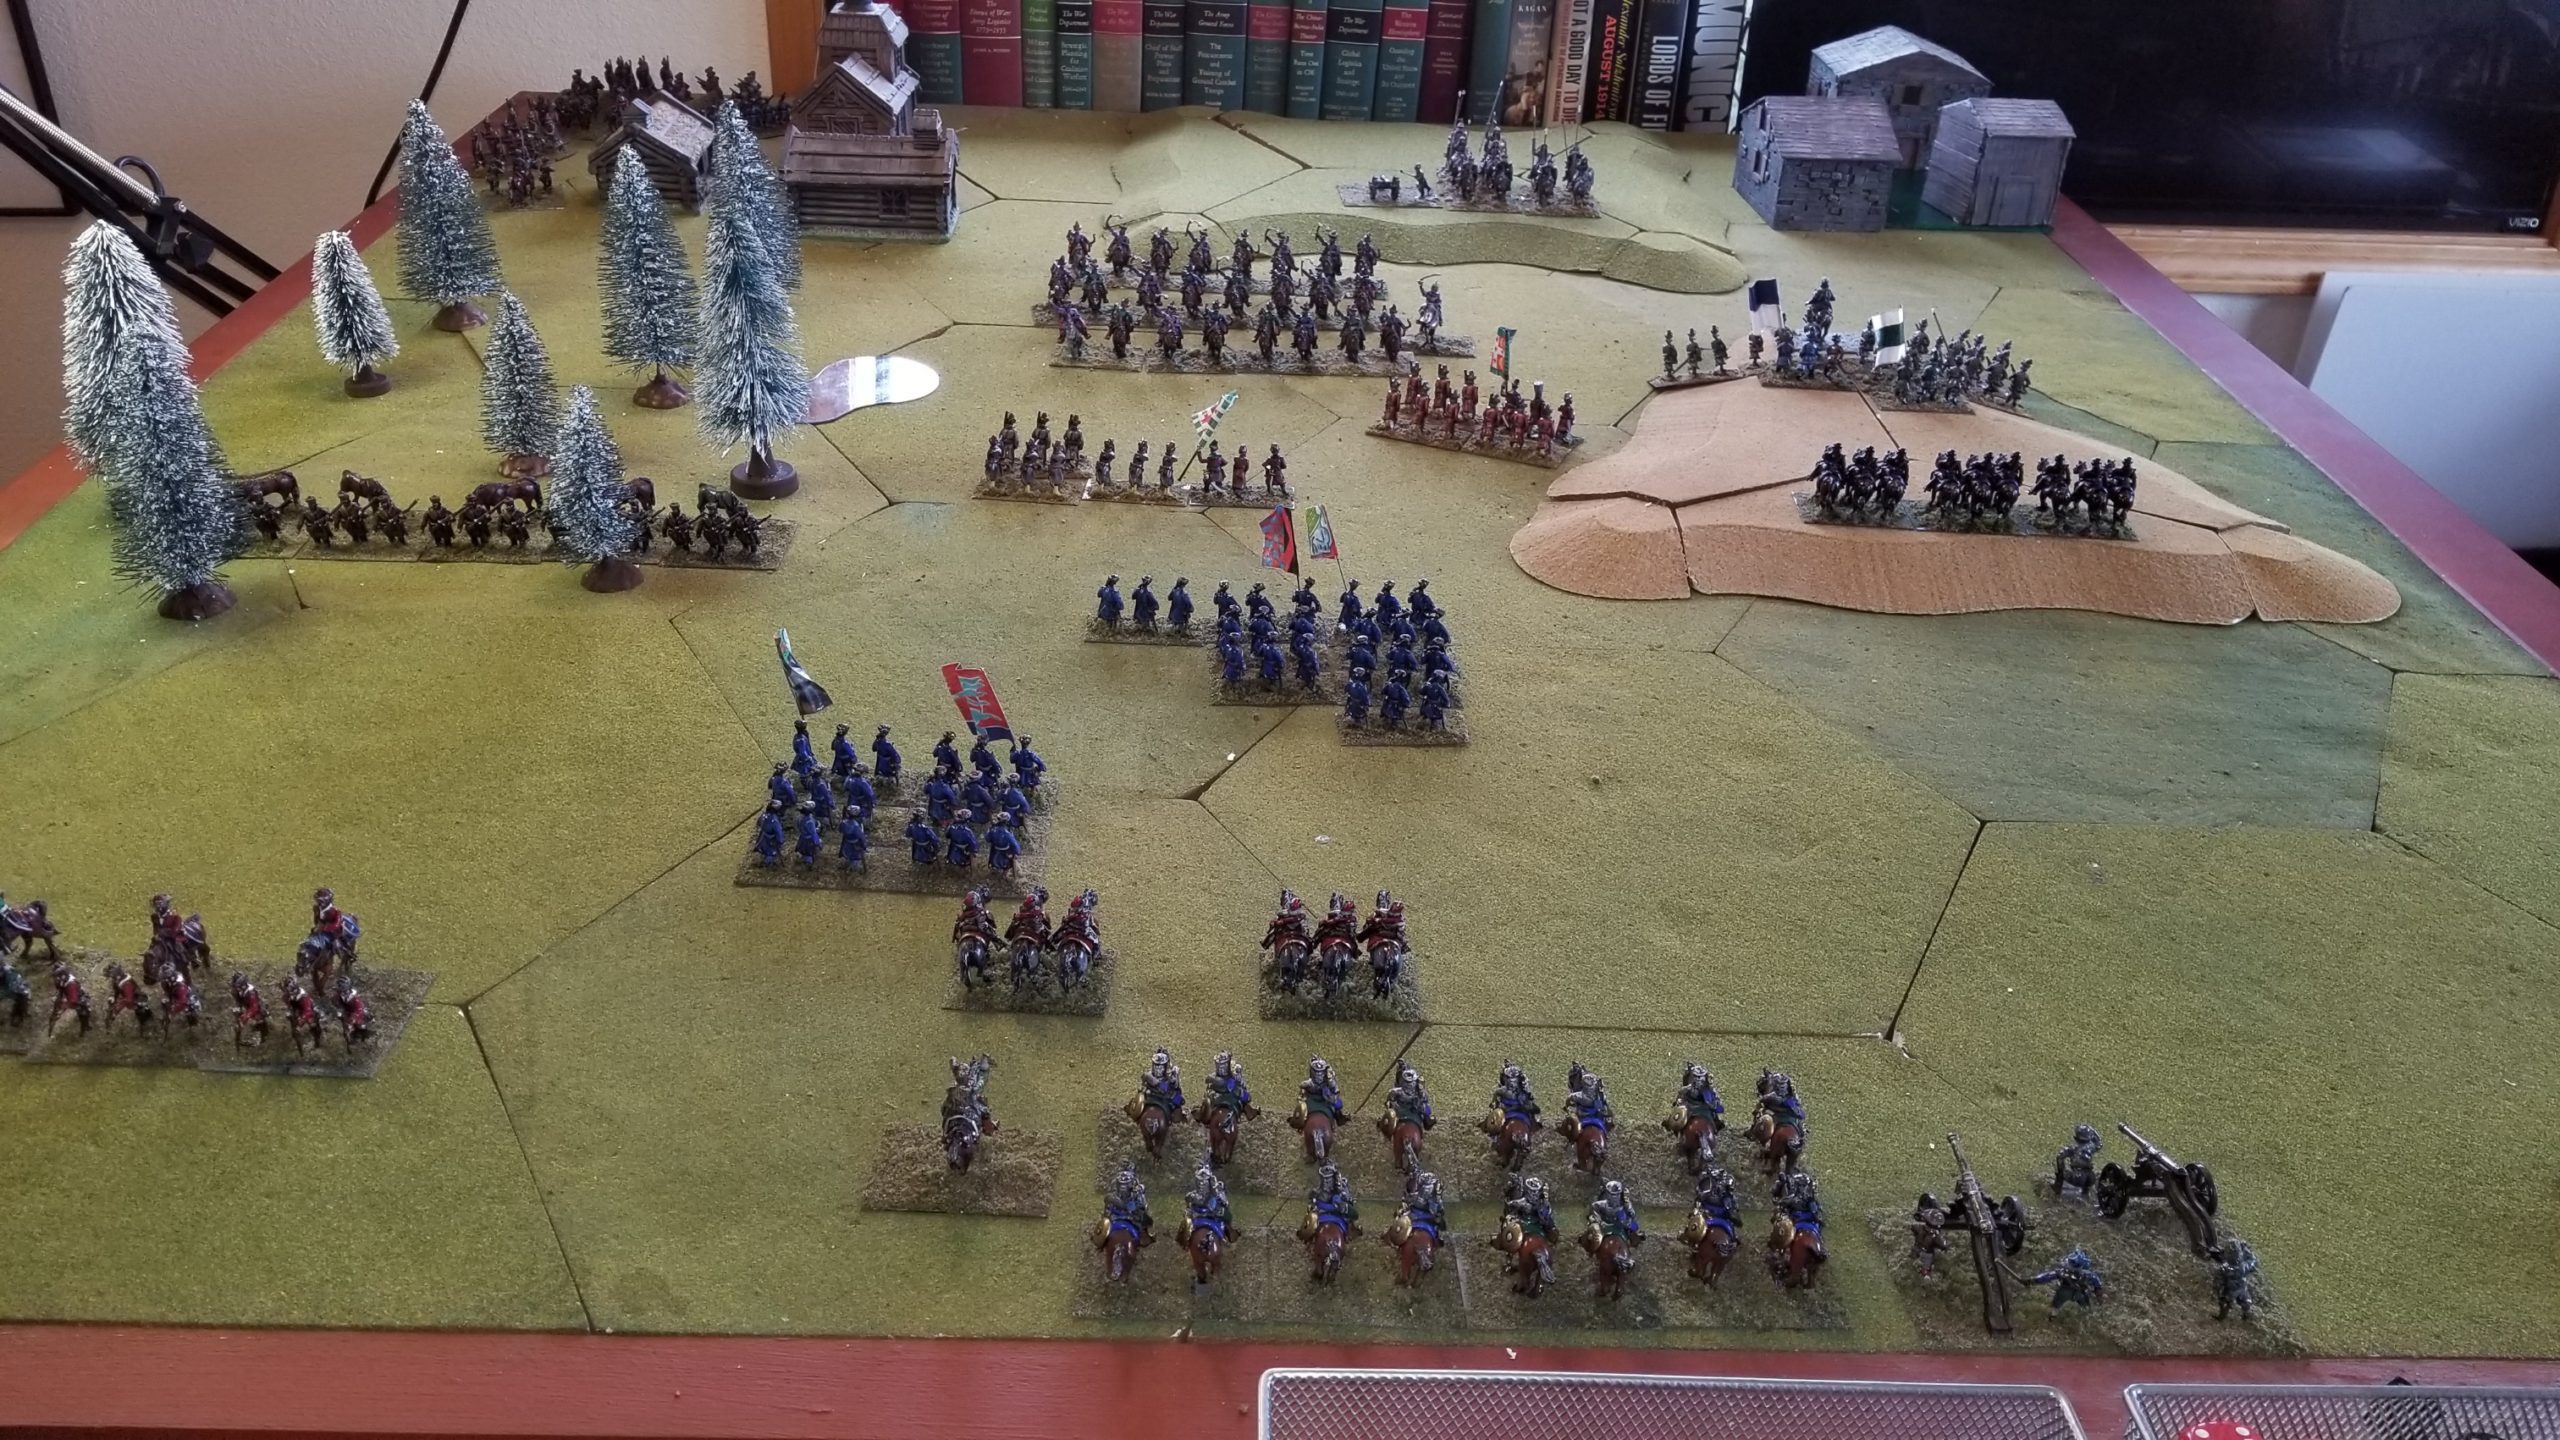
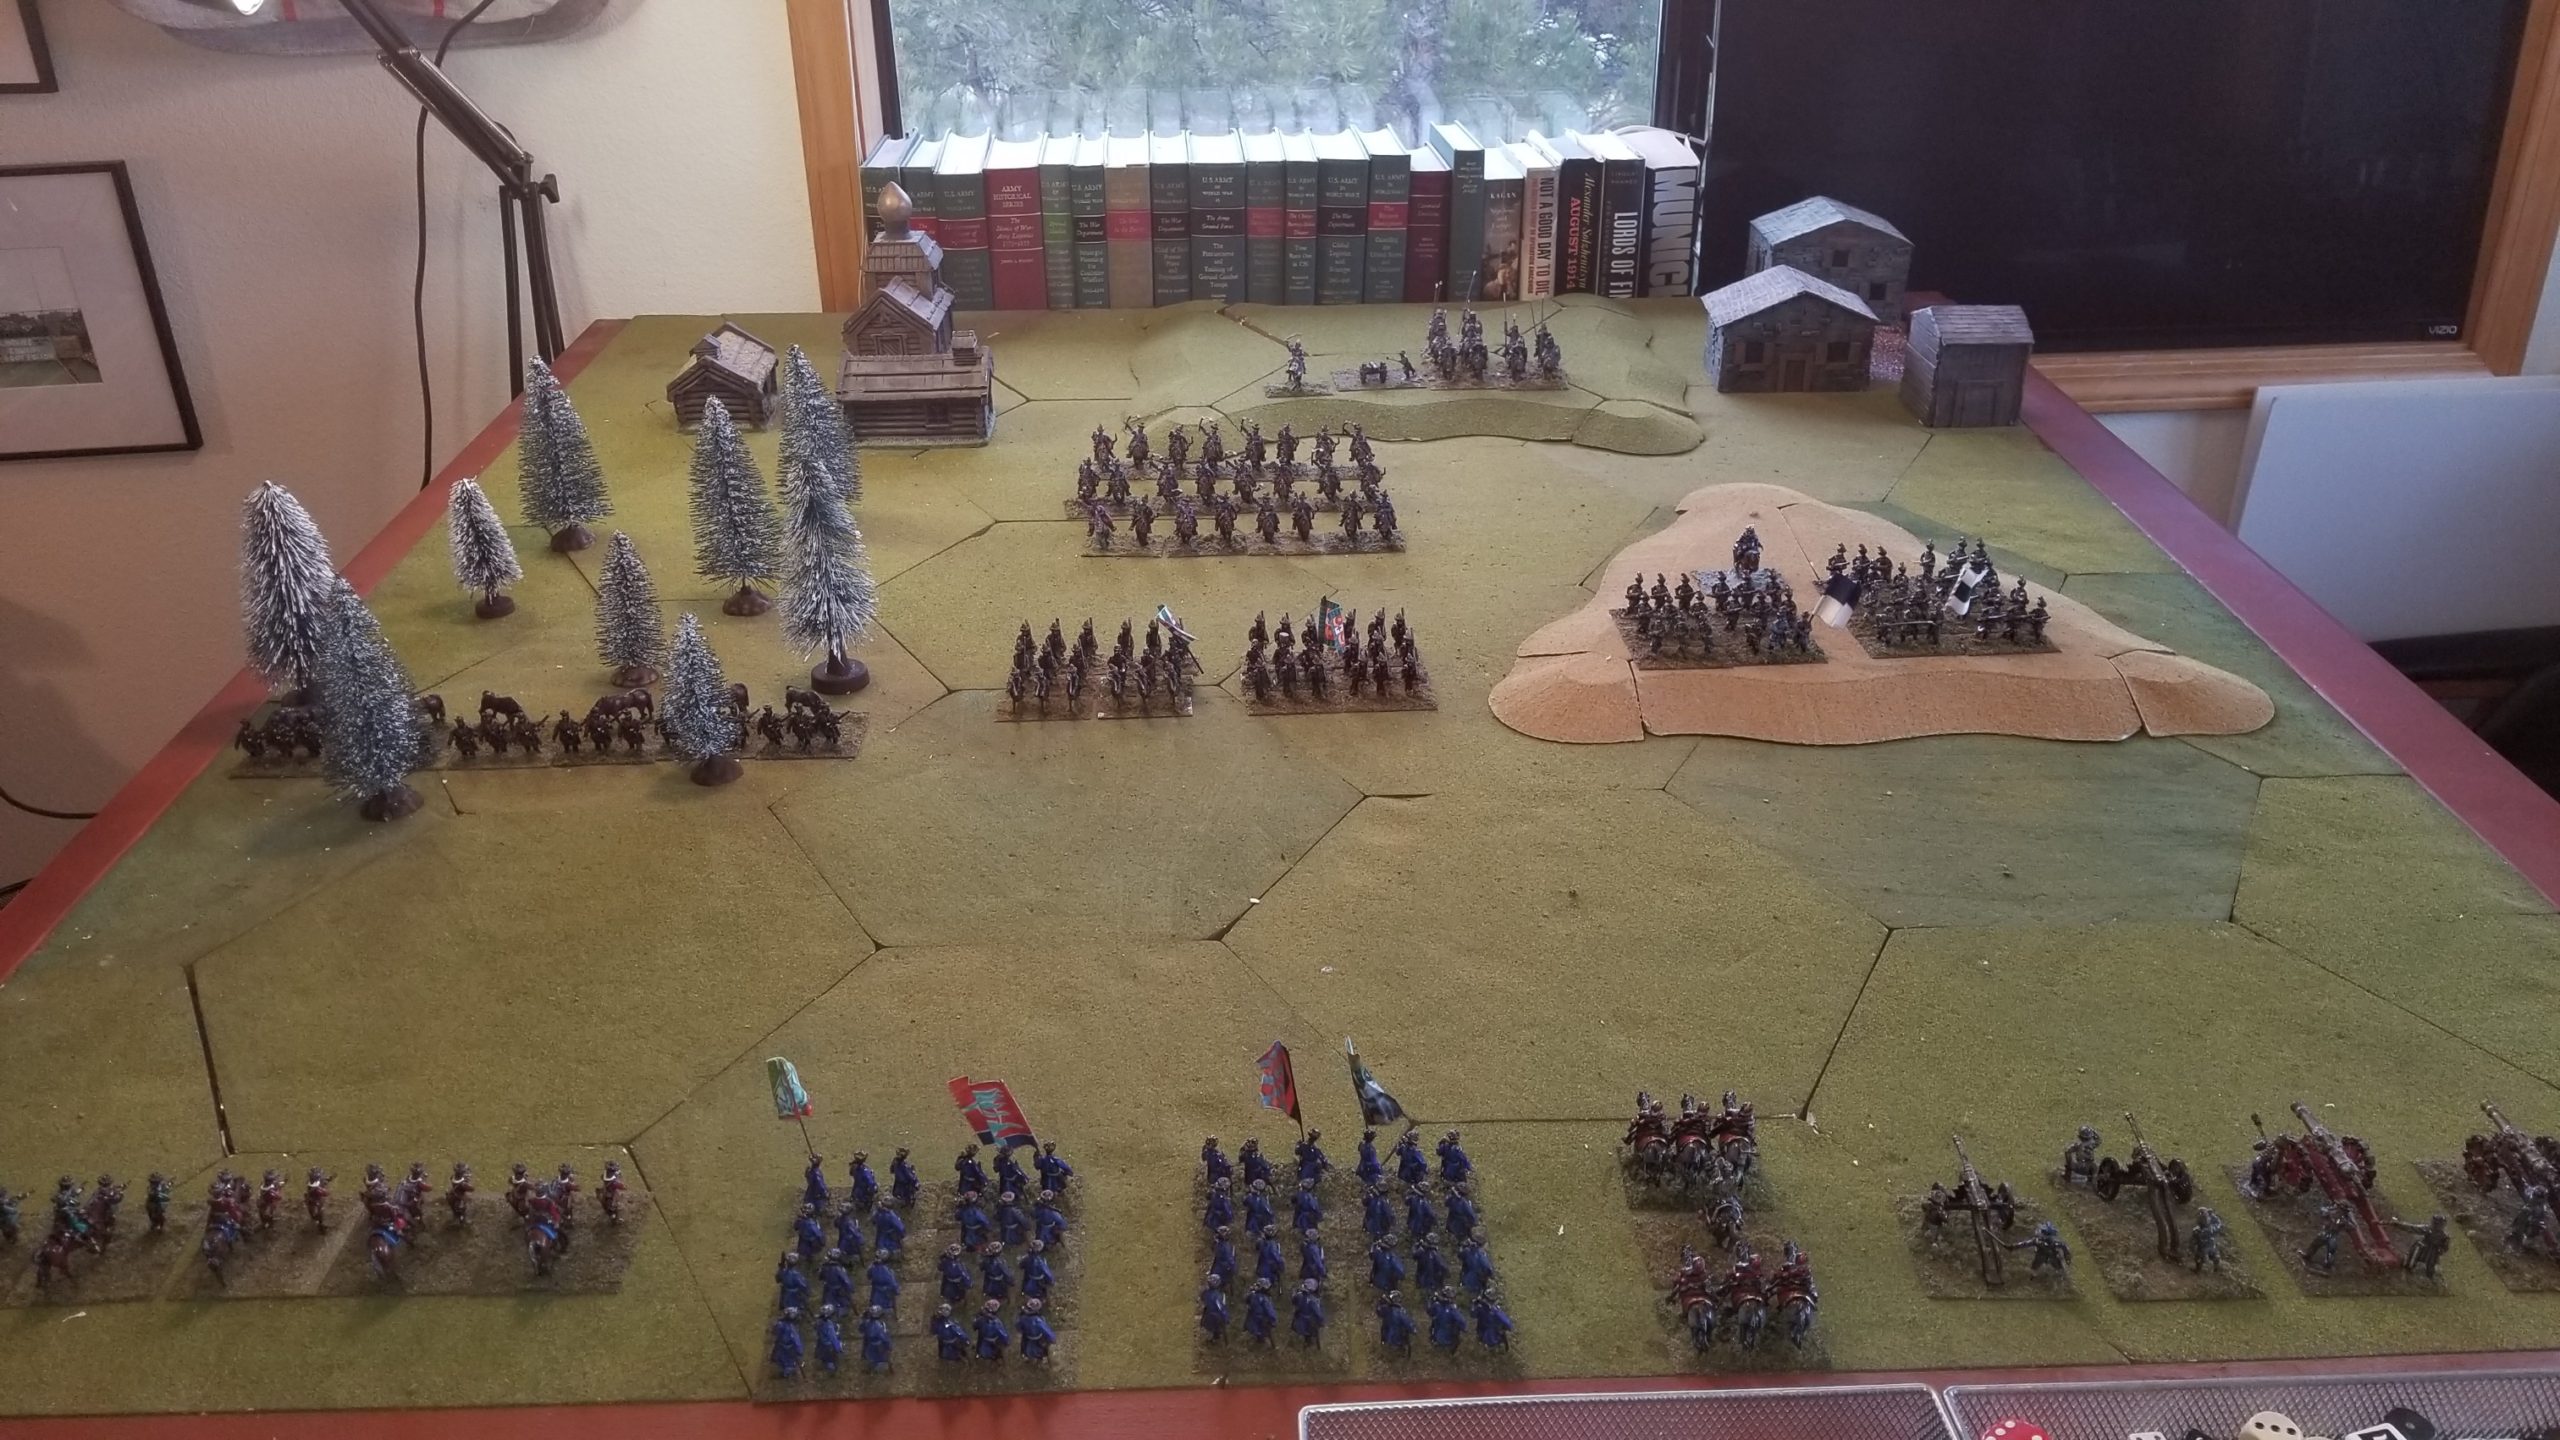
The Polish attempt to hold the east hill using Ratjars failed. However, the Cossack Infantry also withdrew (see comments about mutual failed tests, above). The Cossacks are now working their way back up the hill, but staying on the reverse slope to avoid artillery bombardment. The Polish commander has sent his remaining Ratjars to drive off the Cossacks.

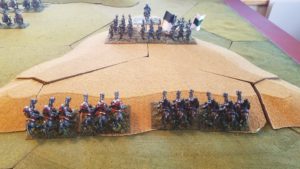
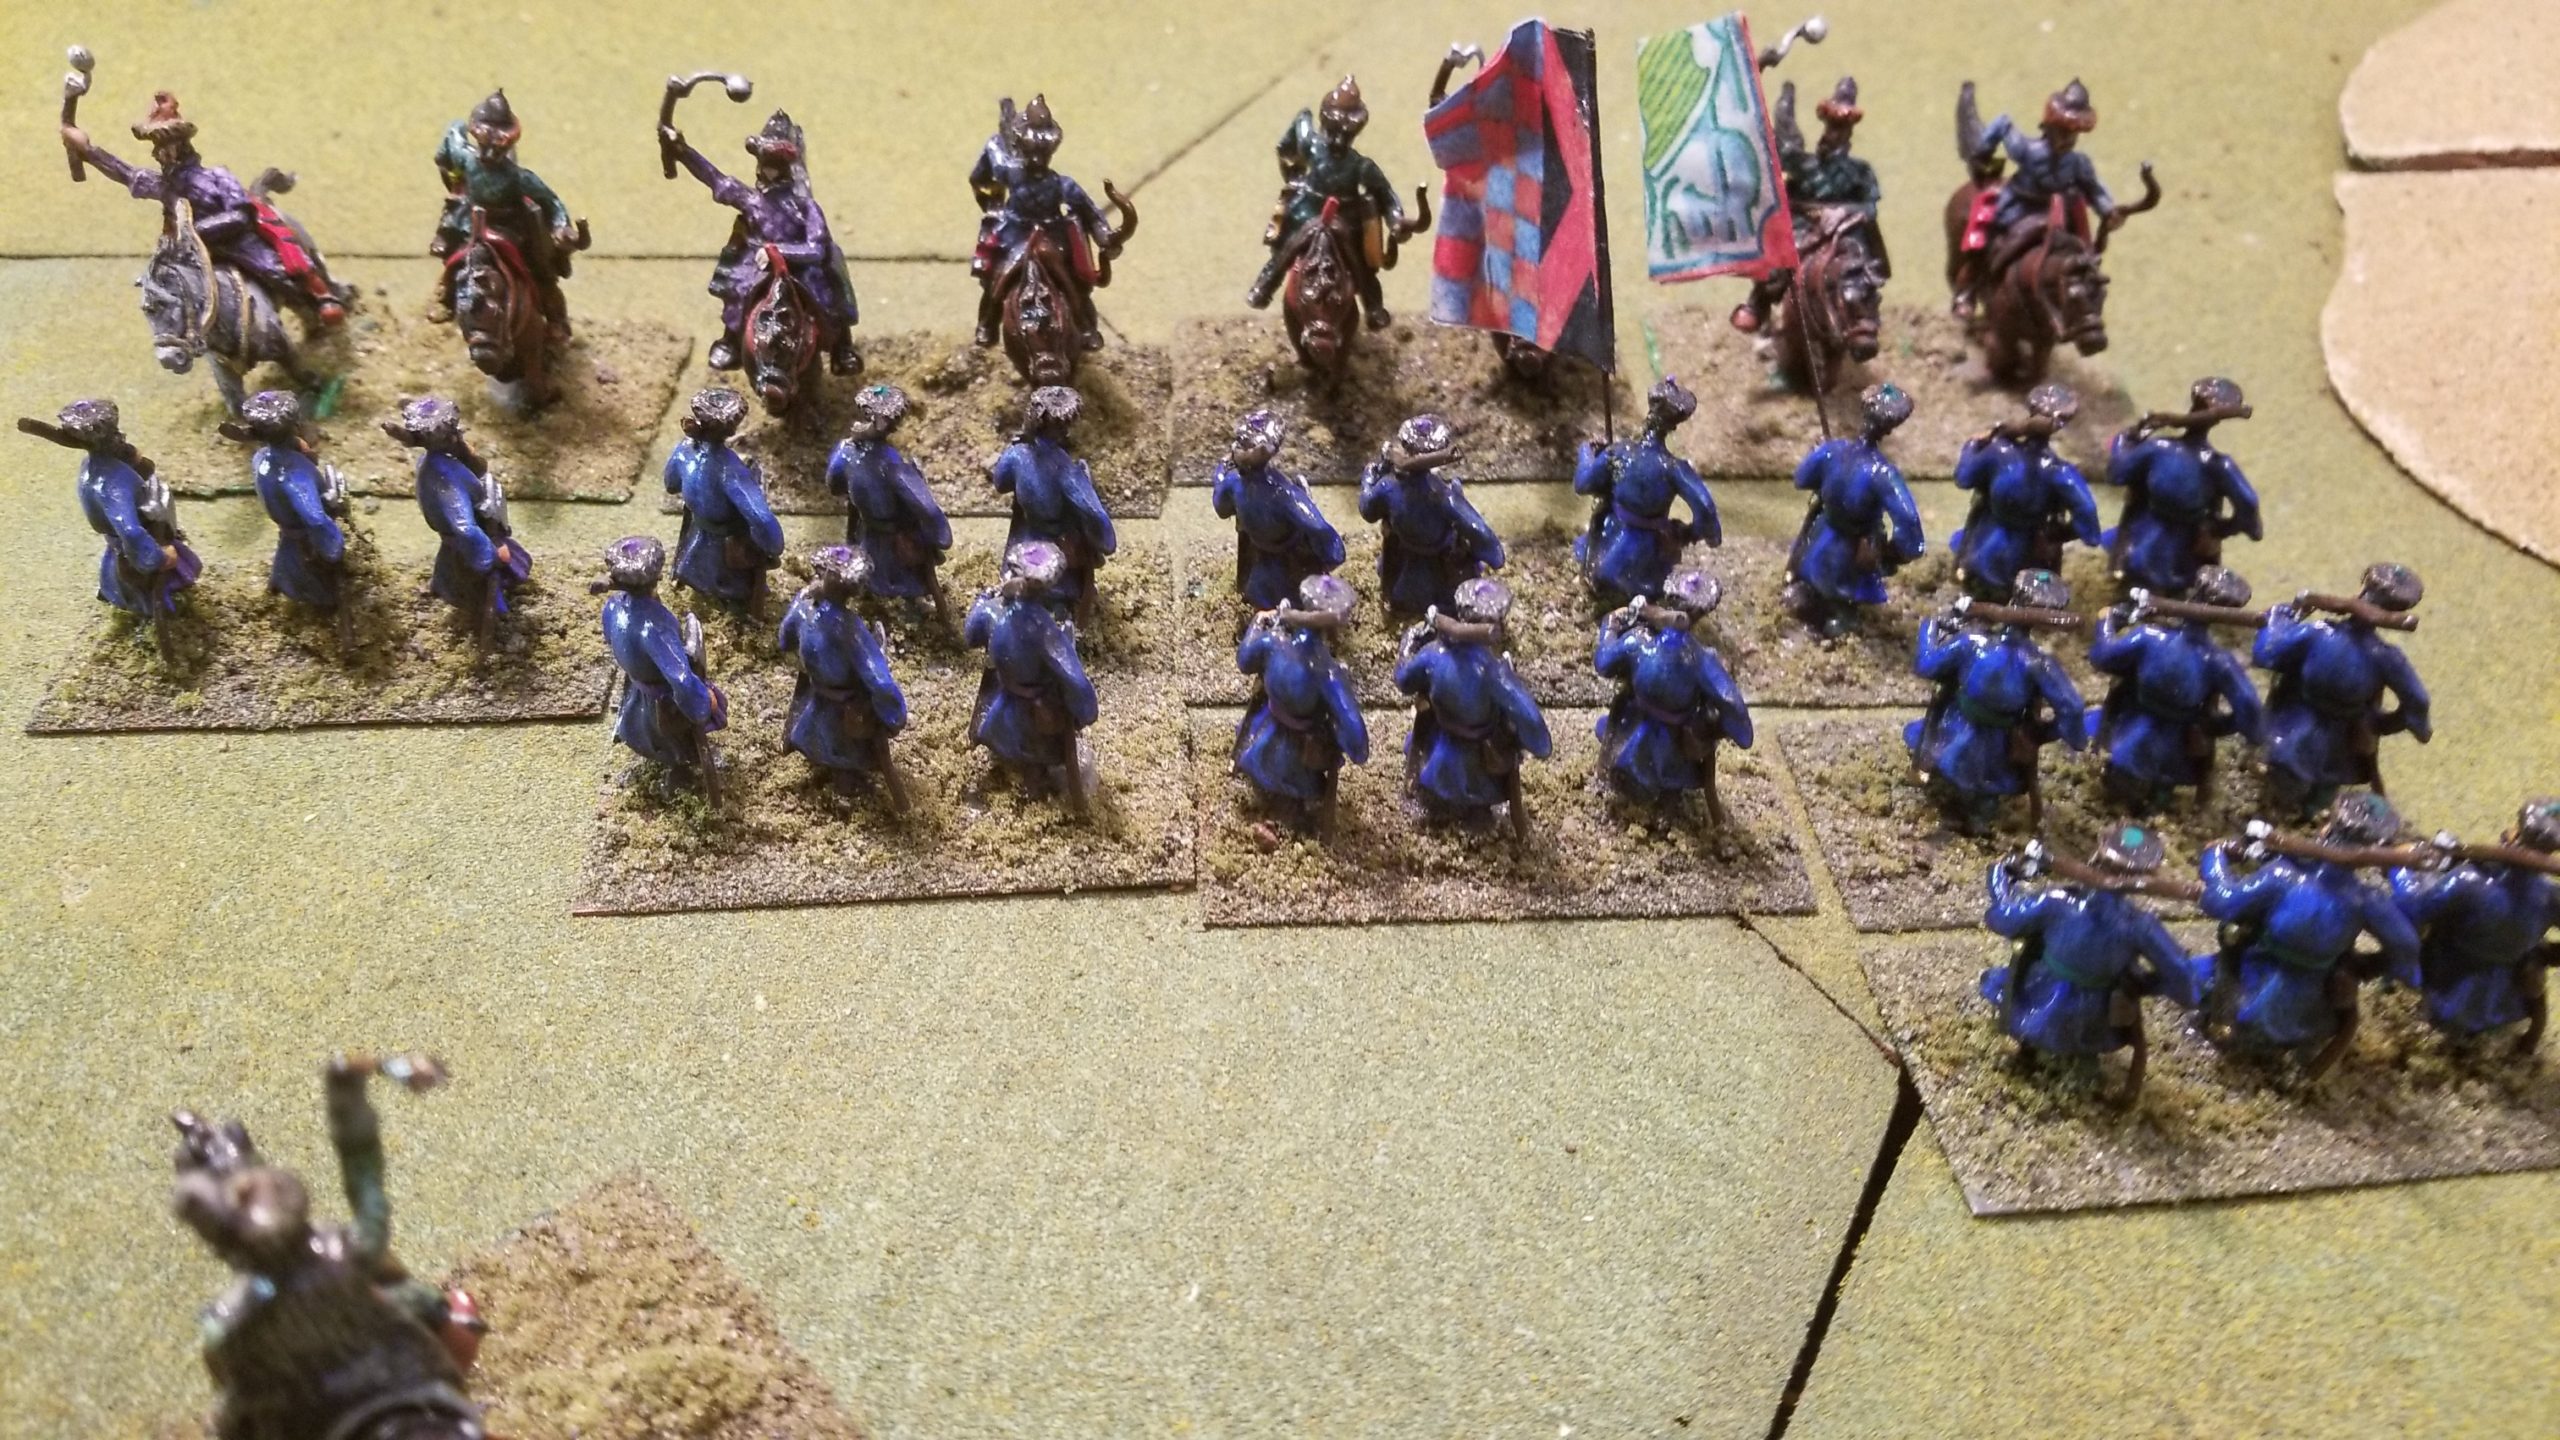
The Haiduks drove off the first wave of Russian cavalry, and holds the center. The Polish Pancerni remain uncommitted, with the Hussars still to their rear and off the table.

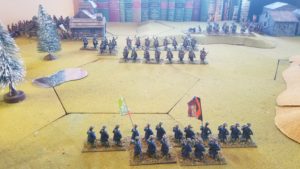
The Russian Dragoons holding the forest have been forced to withdraw, with Polish Haiduks advancing through the forest towards the East village.

The Russian Streltsy have retreated to the villages, with orders to defend. The Russian heavy cavalry is beginning to deploy to support another attempt to break the Haiducks holding the center.

Progress Report

Into Turn 10 now.

Artillery fire has driven off the Cossacks. Seemed too easy. But it doesn’t take too long for a unit to have a 10% casualties morale check. And, the morale chart is unforgiving, especially for the Experienced units that constitute each side’s infantry.

Same for the musketry in the center. Strelsky now retreating, with Haiduks following up even after being pushed back for one turn by gunfire.

Recovering from retreat is different. No rallying, just turning around. However, most units will take two turns to do so, with 90 degree turns each turn. I like it. No markers, easy to see a unit’s status on the table.

Command is another adjustment. Not from a rules standpoint, but from a player’s perspective. Orders are given at the end of a turn, carried during the Movement Phase of the following turn, and communicated at the end of that following turn.

A Solo player must demonstrate a more than usual sense of discipline here. Looser rule sets allow more latitude. In this case, as with WRG 6th, you have to force yourself to stick to the rules – well, within the spirit of the rigorous rules, and really anticipate.

The Muscovite Commander has ordered his cavalry to attack the advancing Polish Haiduks. The Polish Pancerni are now in support. To their flank, the Cossacks have rallied, but are now facing a unit of Ratjars, under orders to hold, and not be drawn into a charge. It will be interesting to see how they respond to musketry.

Here are a couple of low-light photos from the Second Story Game Cave.

Starting Husaria….Finally

Finally started the game last night. The usual inertia compounded by senseless Sunday Night Football viewing, and then the last minute completion of Unit Rosters, searching for appropriate dice, etc., etc.

The Polish Army is running low on foodstuffs. To replenish they must attack and seize the two villages to the North of their current position. To accomplish this, they must clear the high ground situated between the two small villages. Intermediate objectives are the woods lying to the West, and high ground lying South and East of the villages.

The Muscovites also need these villages to feed their Army. The army’s mission is to defend and hold the two villages.  Their deployment has dragoons in the woods, and two Cossack infantry units on the high ground South and East of the villages.  Two Streltsy units are positioned in the center, between the woods and high ground.  Three cavalry units are to the rear and in support of the Streltsy, with a heavy cavalry unit in general reserve, located on the high ground between the two villages.  The Muscovites also have a light artillery piece co-located with the heavy cavalry unit.

Here’s a low grade photo of the battlefield looking North.

And the Muscovite’s center

The Polish commander’s intent is to pin both Muscovite flanks, attrit the Streltsy infantry positioned in the center by musketry, with the Hussars and Pancerni assaulting and destroying any remaining infantry, while charging to melee with and destroying the enemy cavalry. 

The Polish dragoons have orders to advance and clear the woods to their front (I’ve been waiting to use these cheesy Wal-Mart Christmas trees for a year now. They were originally purchased for use with my 7 Years War flats, but that exercise has not taken place, yet), with the strong Polish artillery (two heavy and two medium guns) ordered to bombard the Cossack infantry positioned on the hill to their front. These guns are supported by a unit of Rajtars (heavy, pistol/saber armed cavalry) in case the Cossacks are goaded into an assault, or move to support the Streltsy.

The Polish cavalry is being held off-table, due to table size. They will work their way forward as the Haiduks’ advance towards the Muscovite center develops.

One turn in, I remembered units have to check Initiative before their first move of the game. Immediate Reset!

Other than that, fairly smooth first few turns, especially since the Muscovites have orders to hold and defend their current positions.

Very curious to see how effective the artillery is.  The hill positions are considered  Soft Cover, providing a -2 die roll modifier (drm) to any Fire Attacks. Artillery has aggressive modifiers for both long and short range (-4 and +2 drm, respectively). My table is roughly 51/2 feet by 5 feet, so setup places the two forces in relatively close proximity. This soft cover adjustment mitigates the artillery short range firing drm, effectively making fire from the artillery’s current position a medium range attack.

I’ve also tried to off-set the Polish advantage in artillery by giving the Muscovites a Cossack General.

Cold and very windy here today. I’ve finished manning the paperwork/bill paying bilge pumps, so there’s a good  chance to really get into it this afternoon.