Unlike the Central Powers, the Allies have no limitations effecting their Turn 1 Mobilization Phase. Italian, French and British armies are mobilized (cannot enter until Turn 2), and a US army with Pershing’s headquarters, already mobilized, is sailing to France. This will all cost victory points, but the situation in Italy is bordering on the desperate, and additional units are needed for operational flexibility (that’s a nice euphemism for “jeez I have no idea what might happen next”).
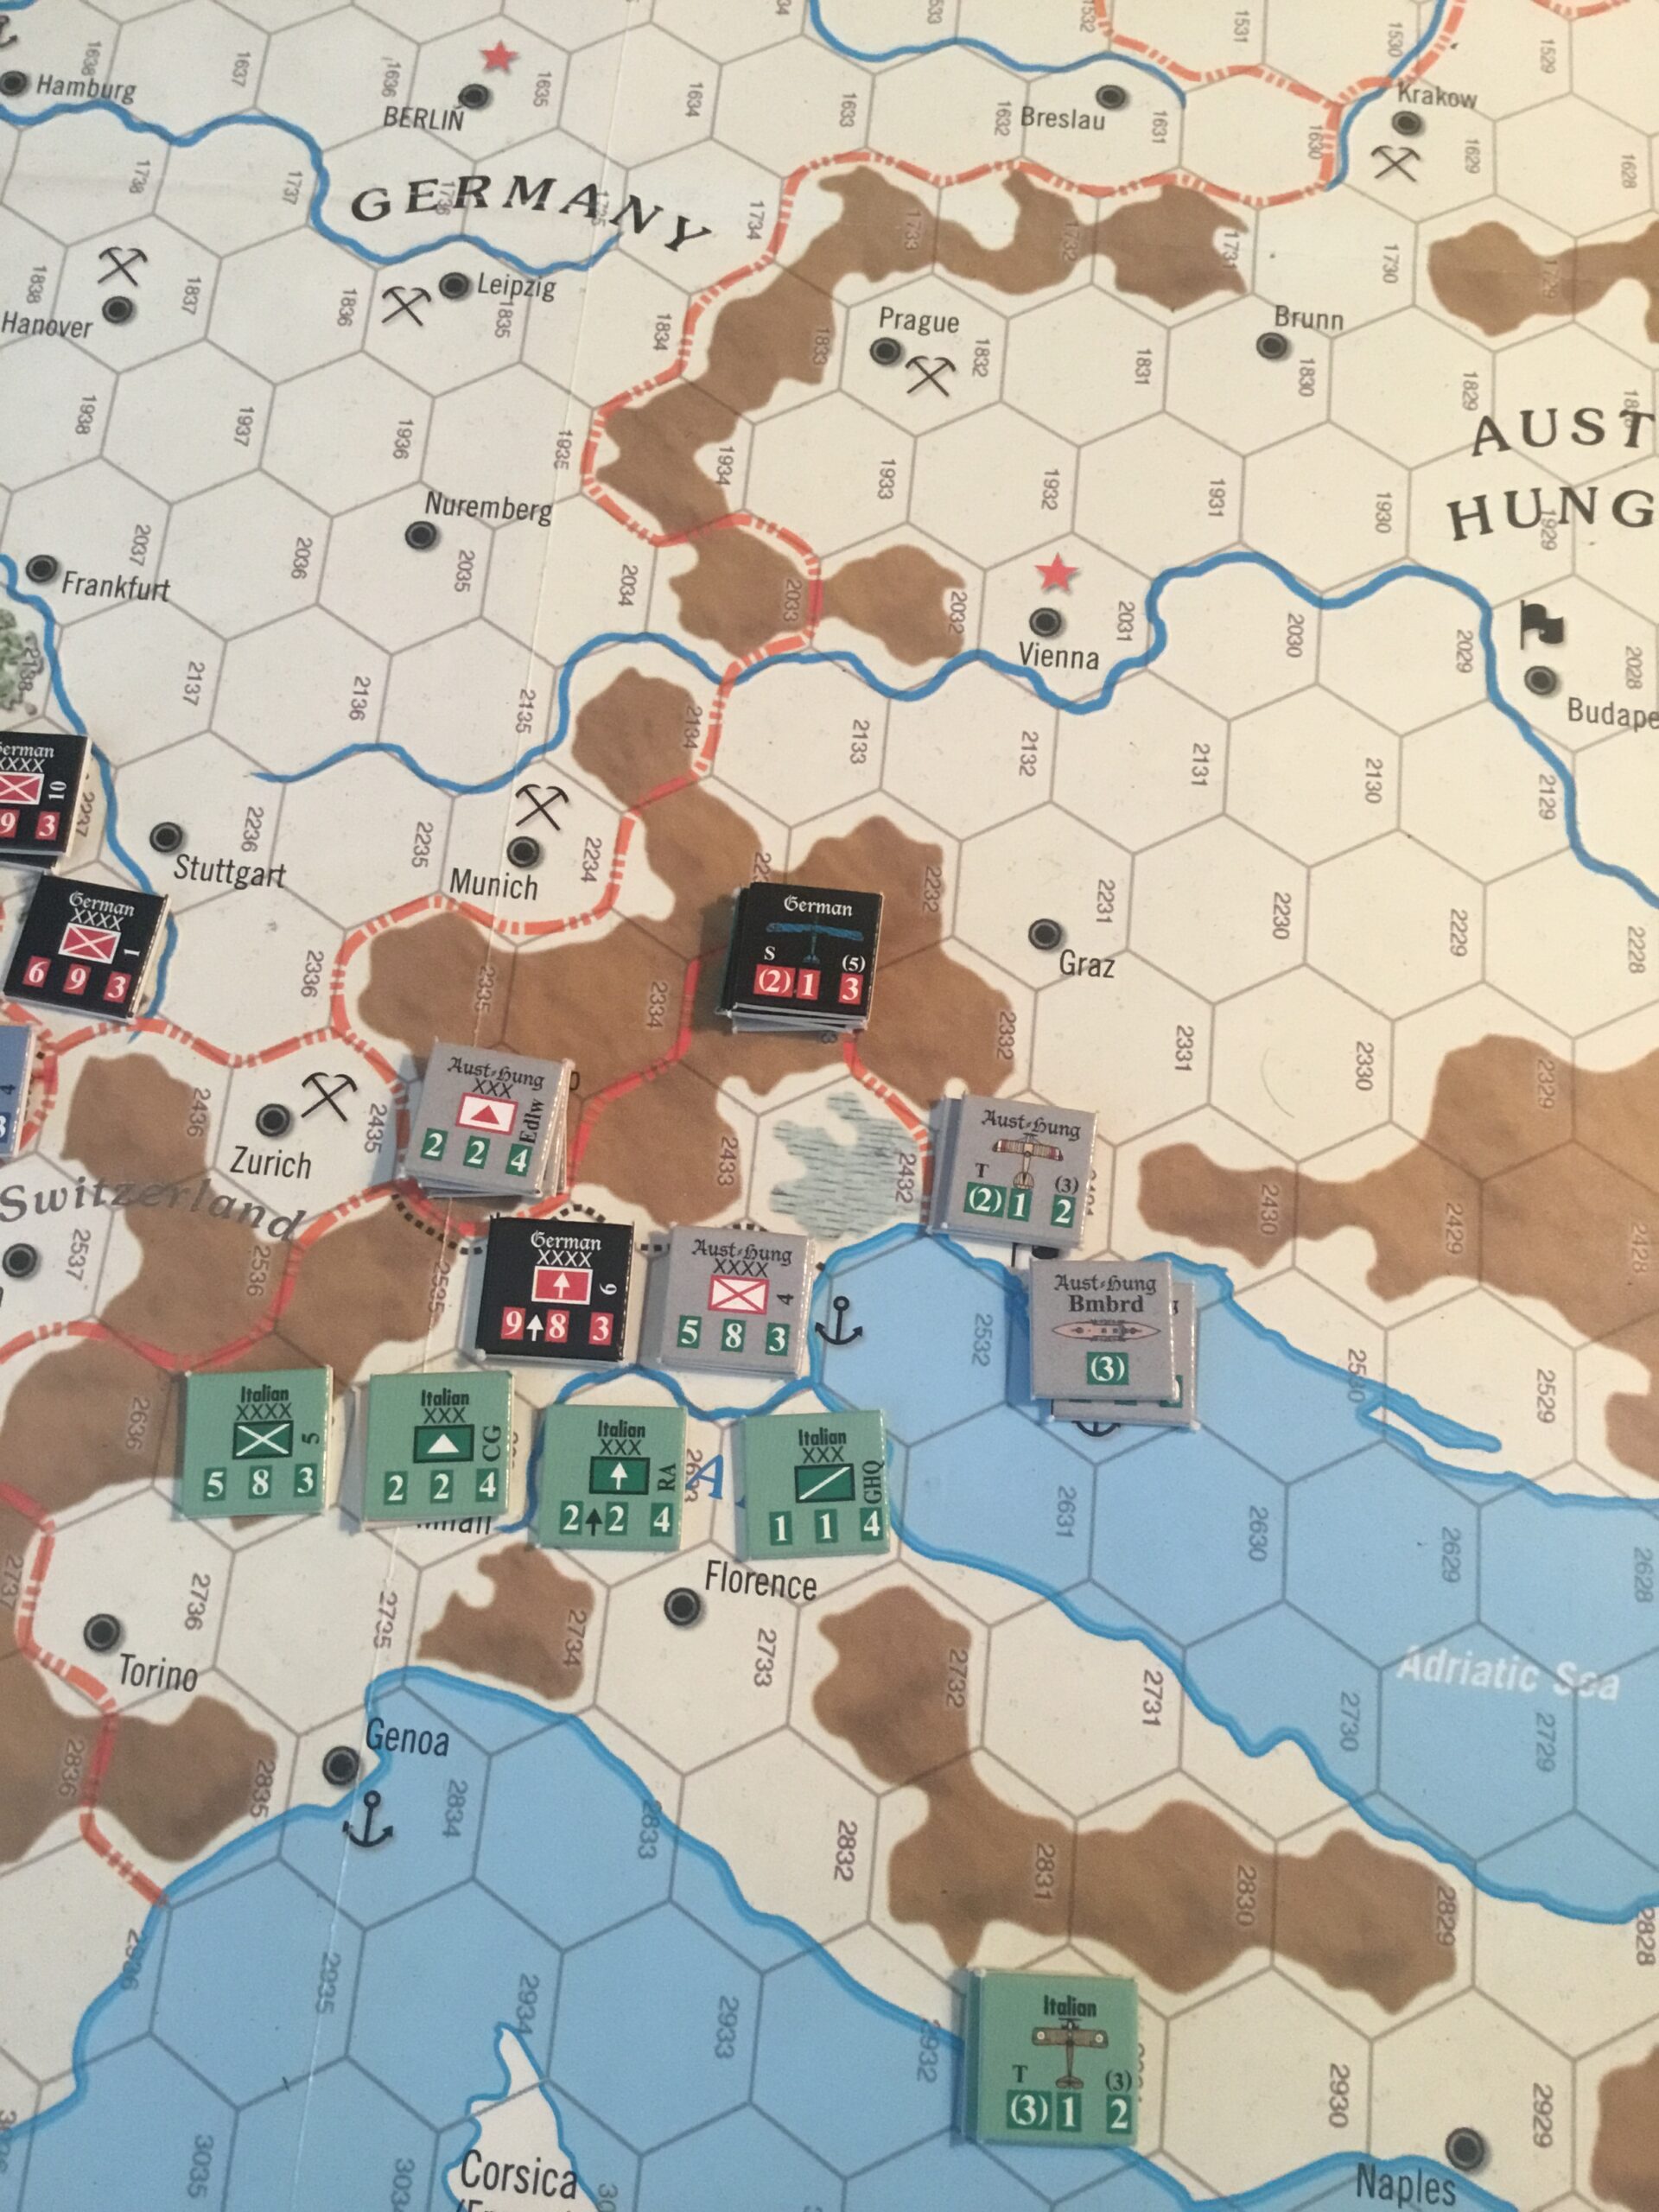
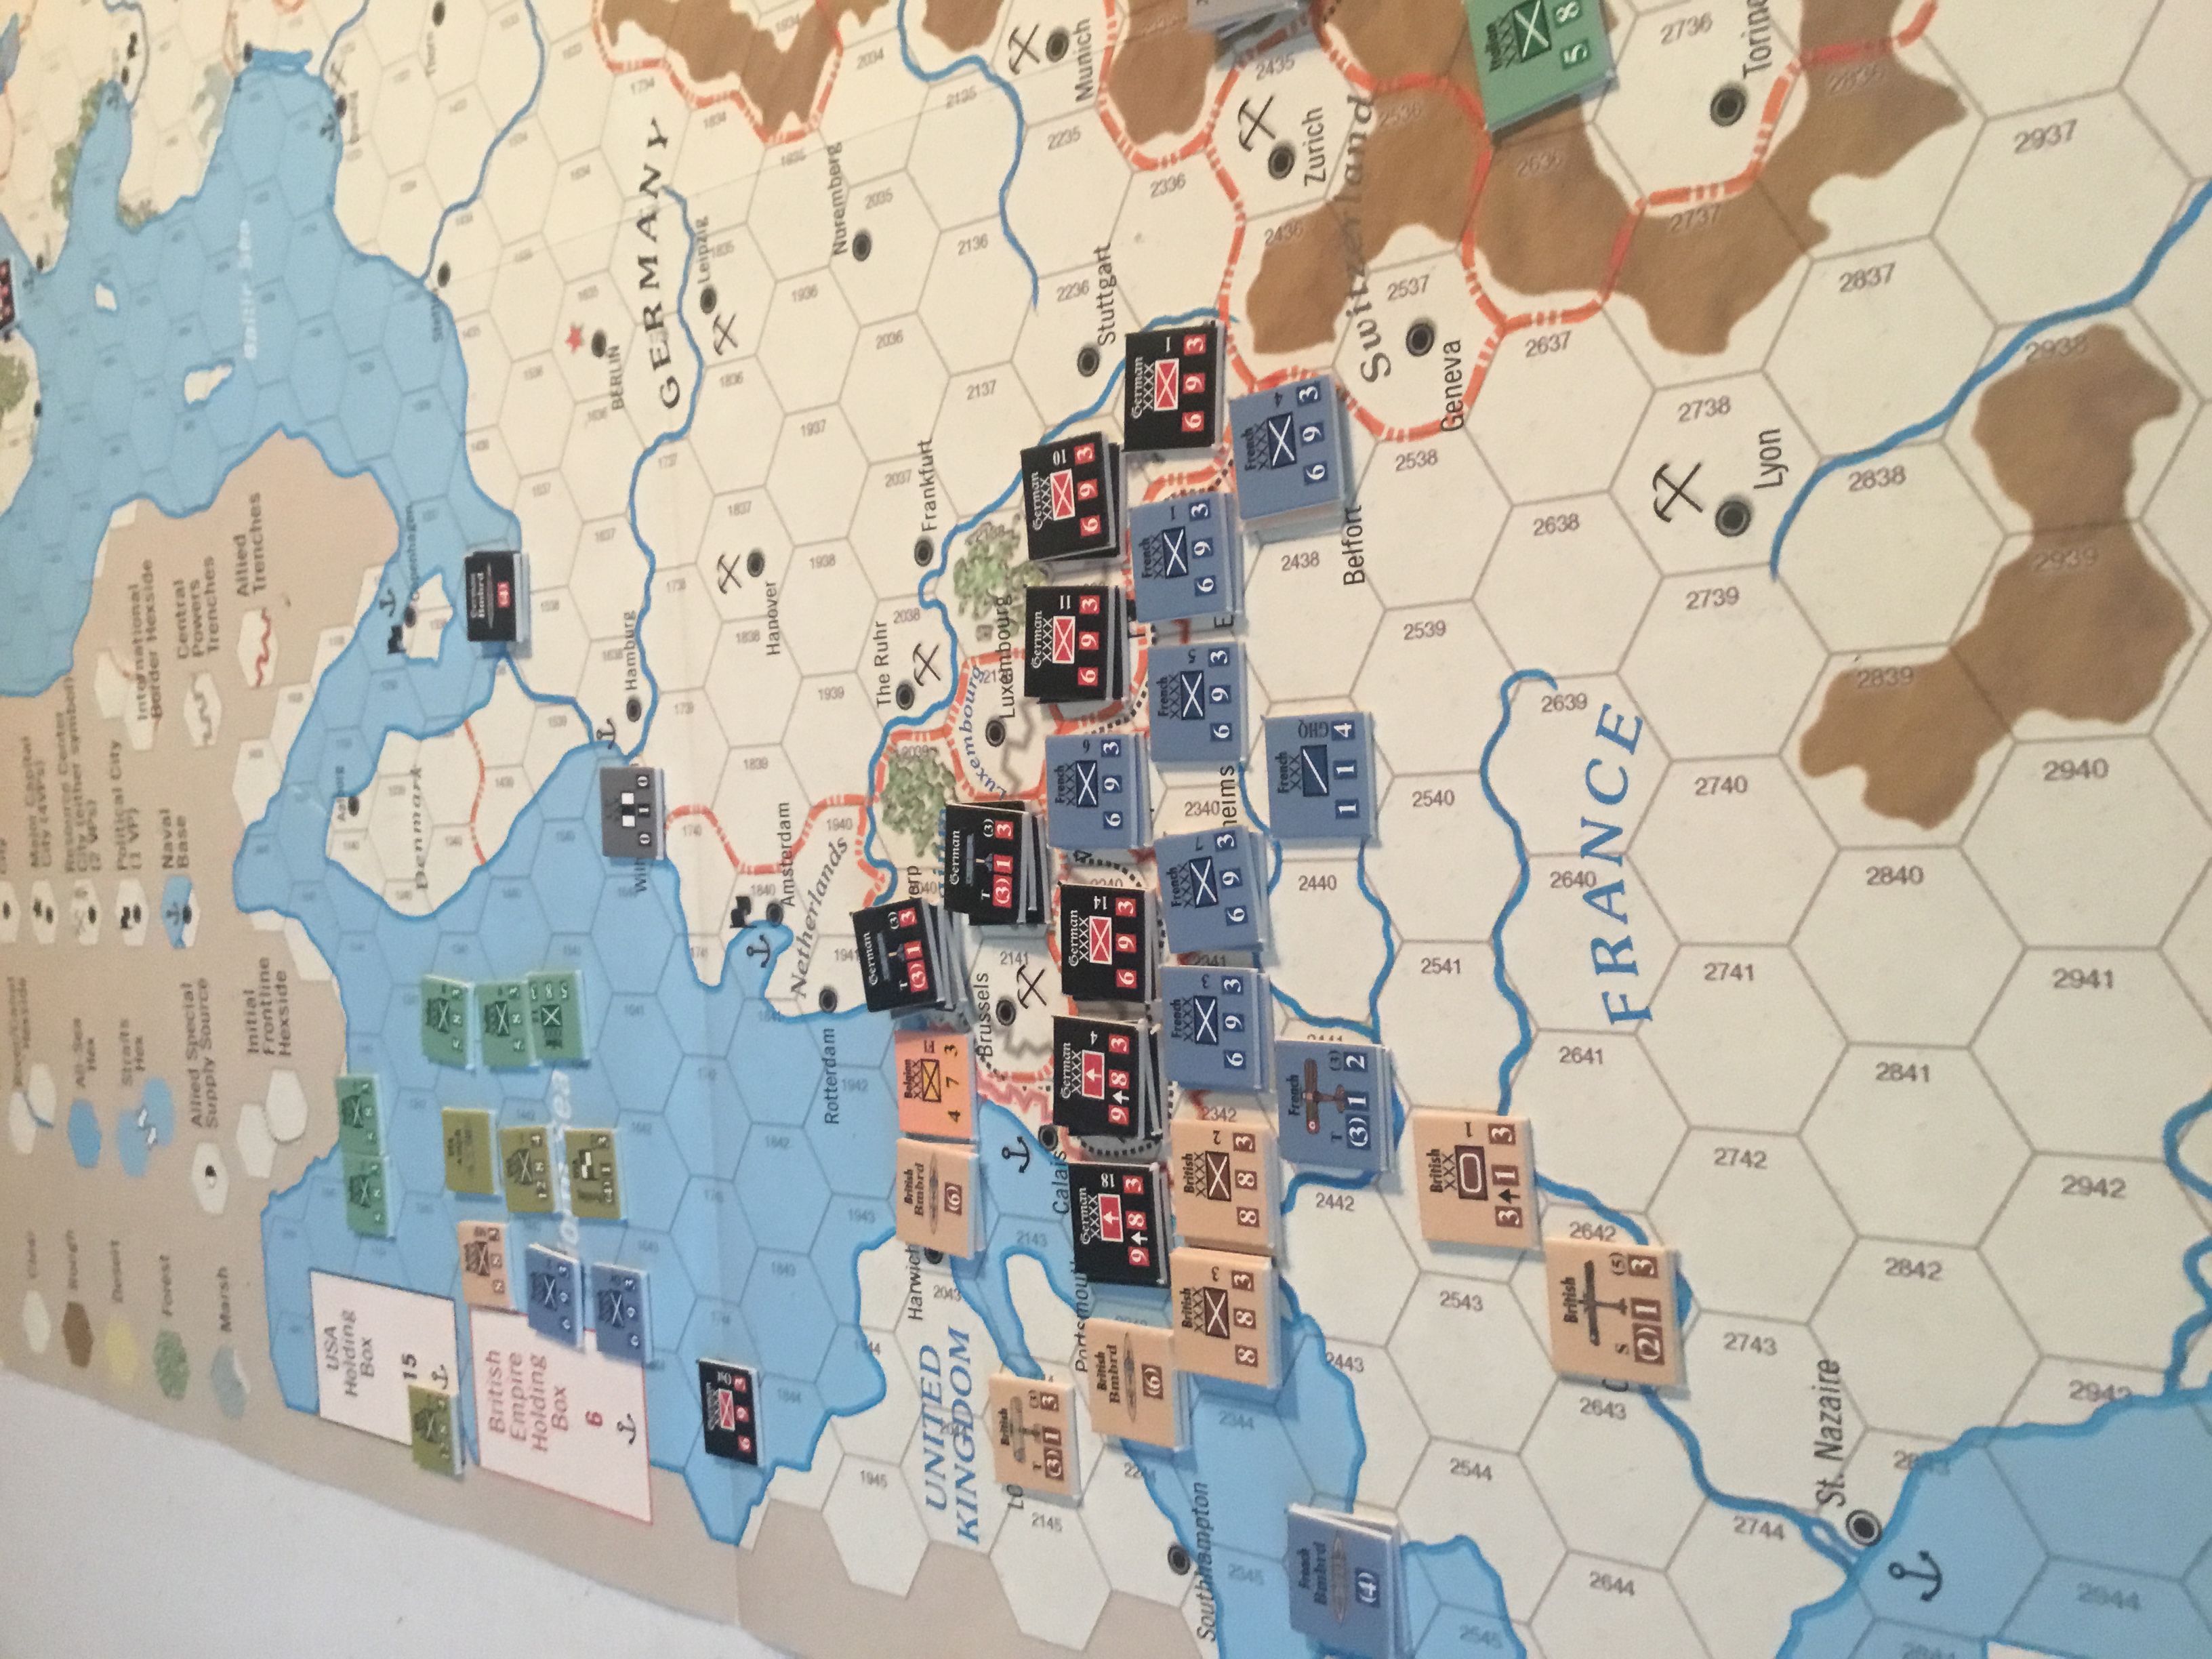
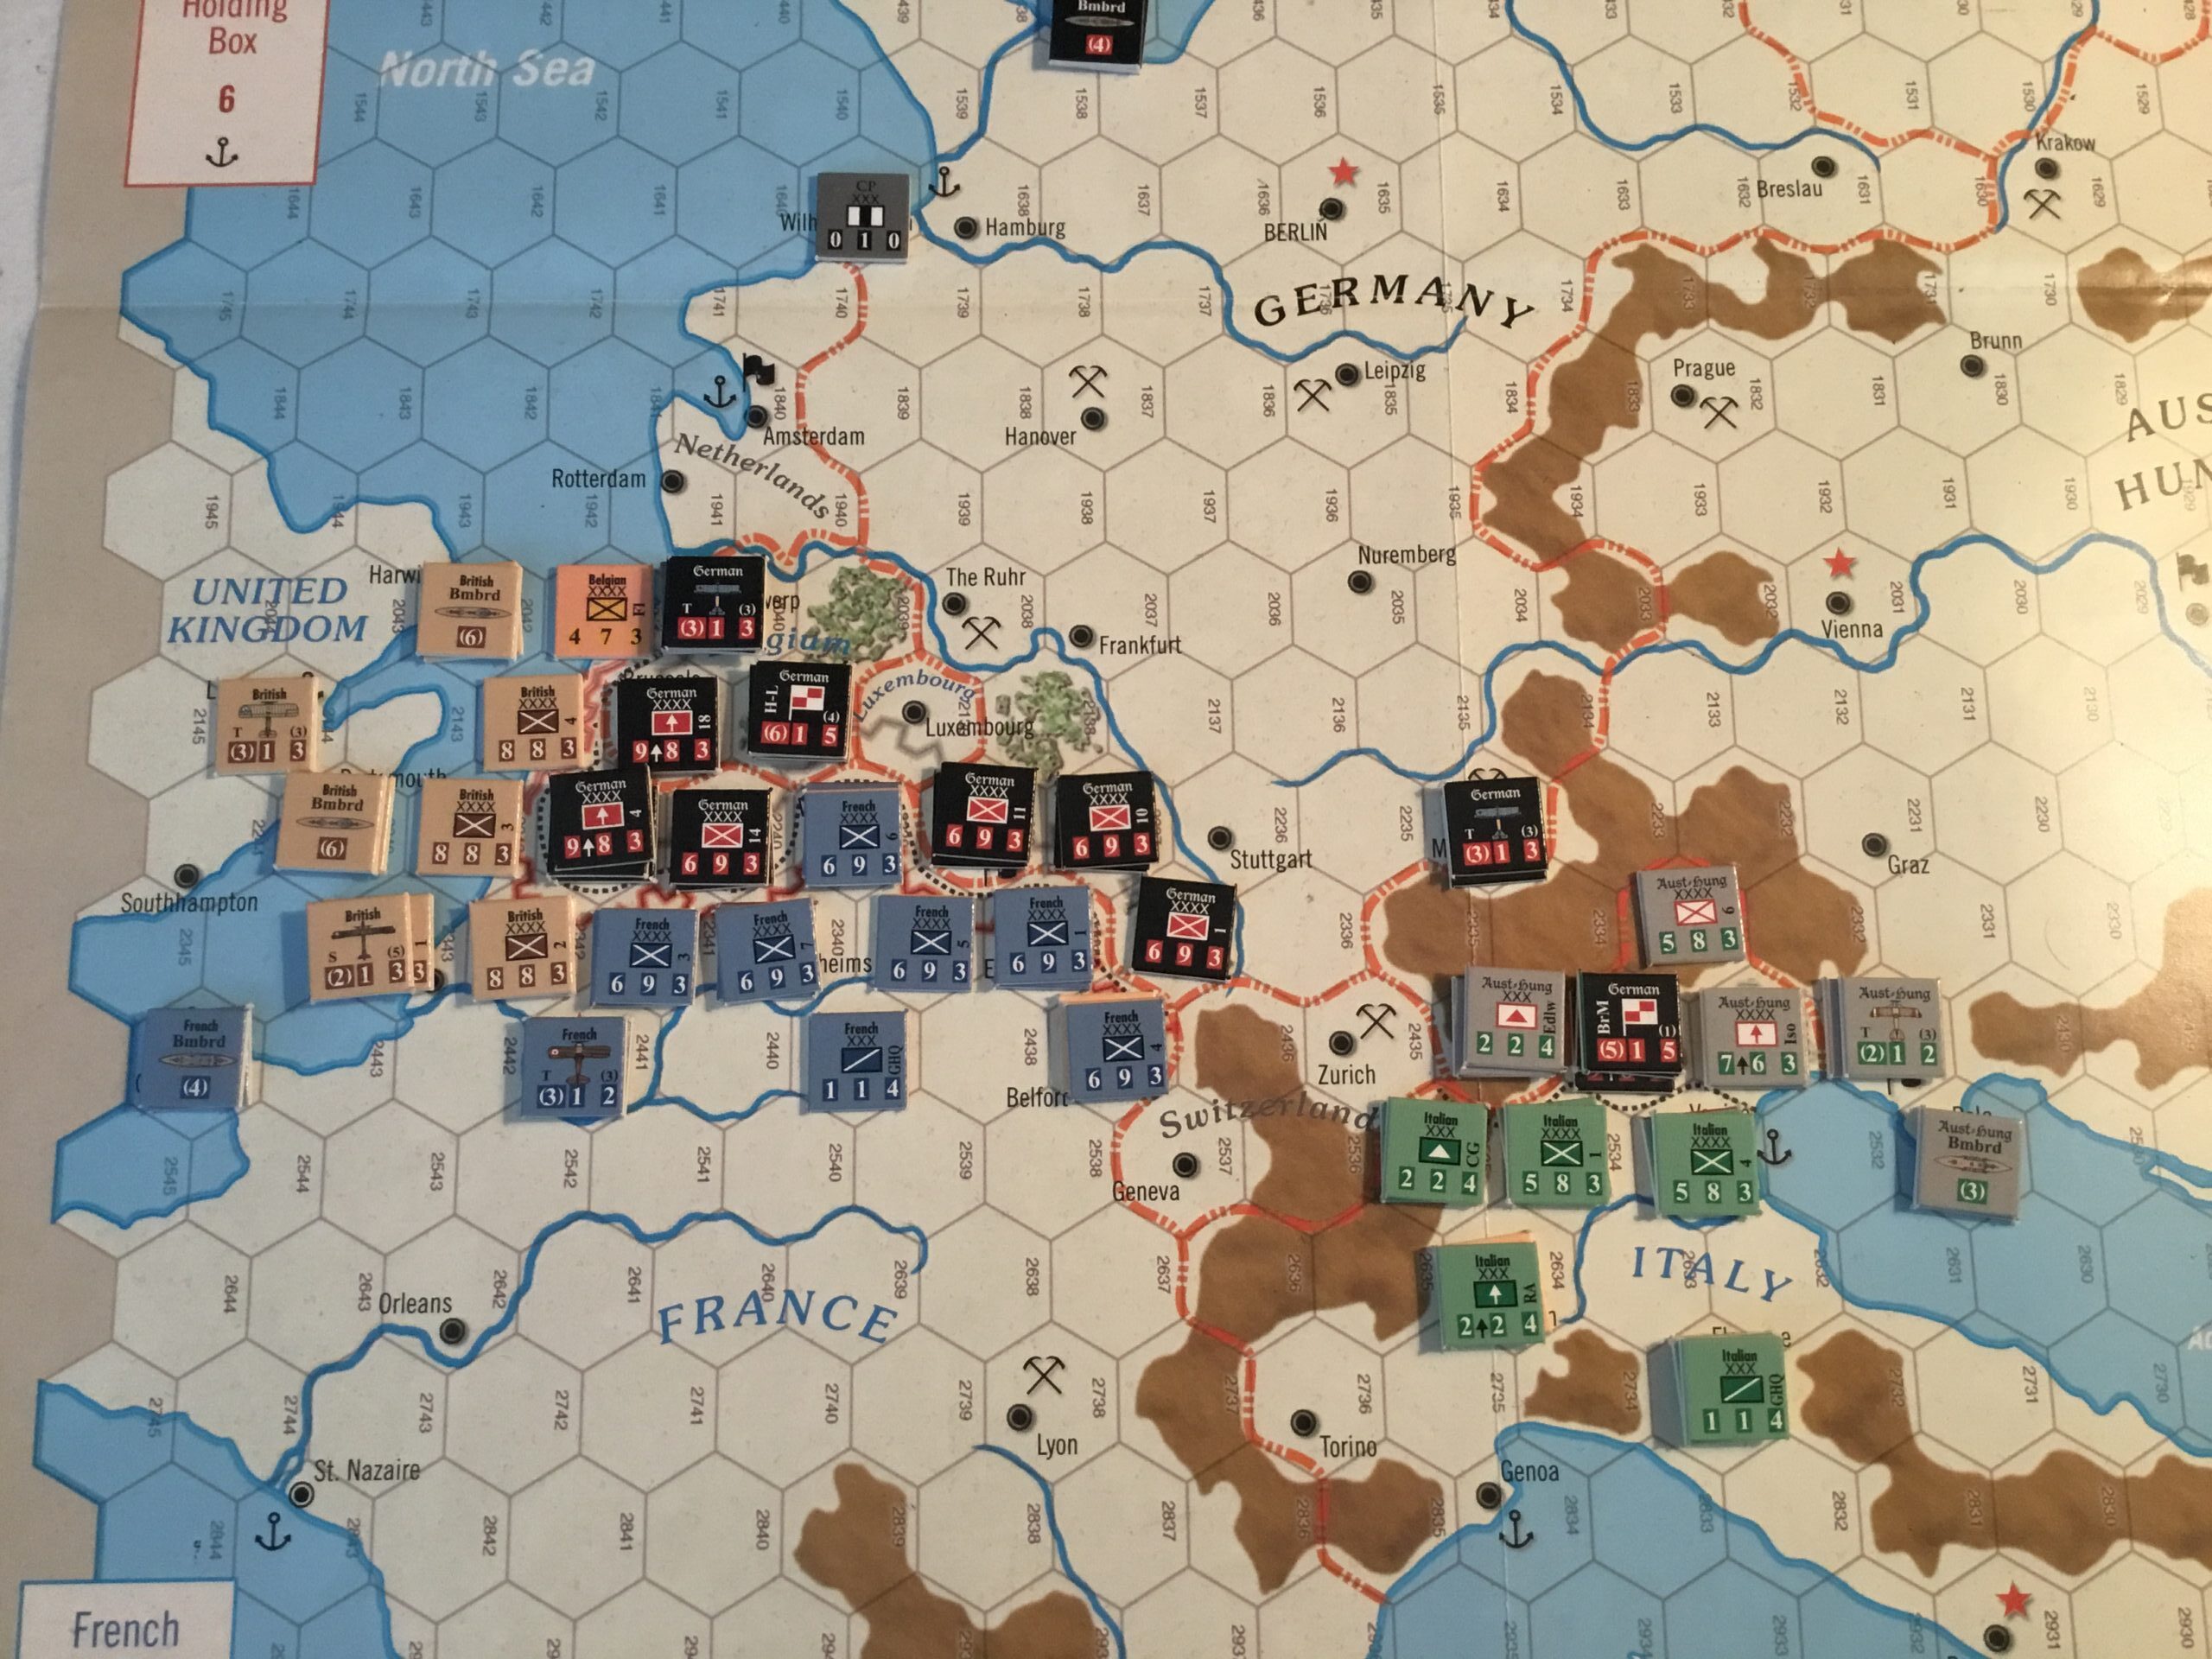
In Italy, a very weak defense has been strung out to (hopefully) delay the Central Powers until reinforcements arrive. In the West, a fairly strong defense has been established north of Paris. British forces are advancing towards Beirut and moving west of Baghdad.
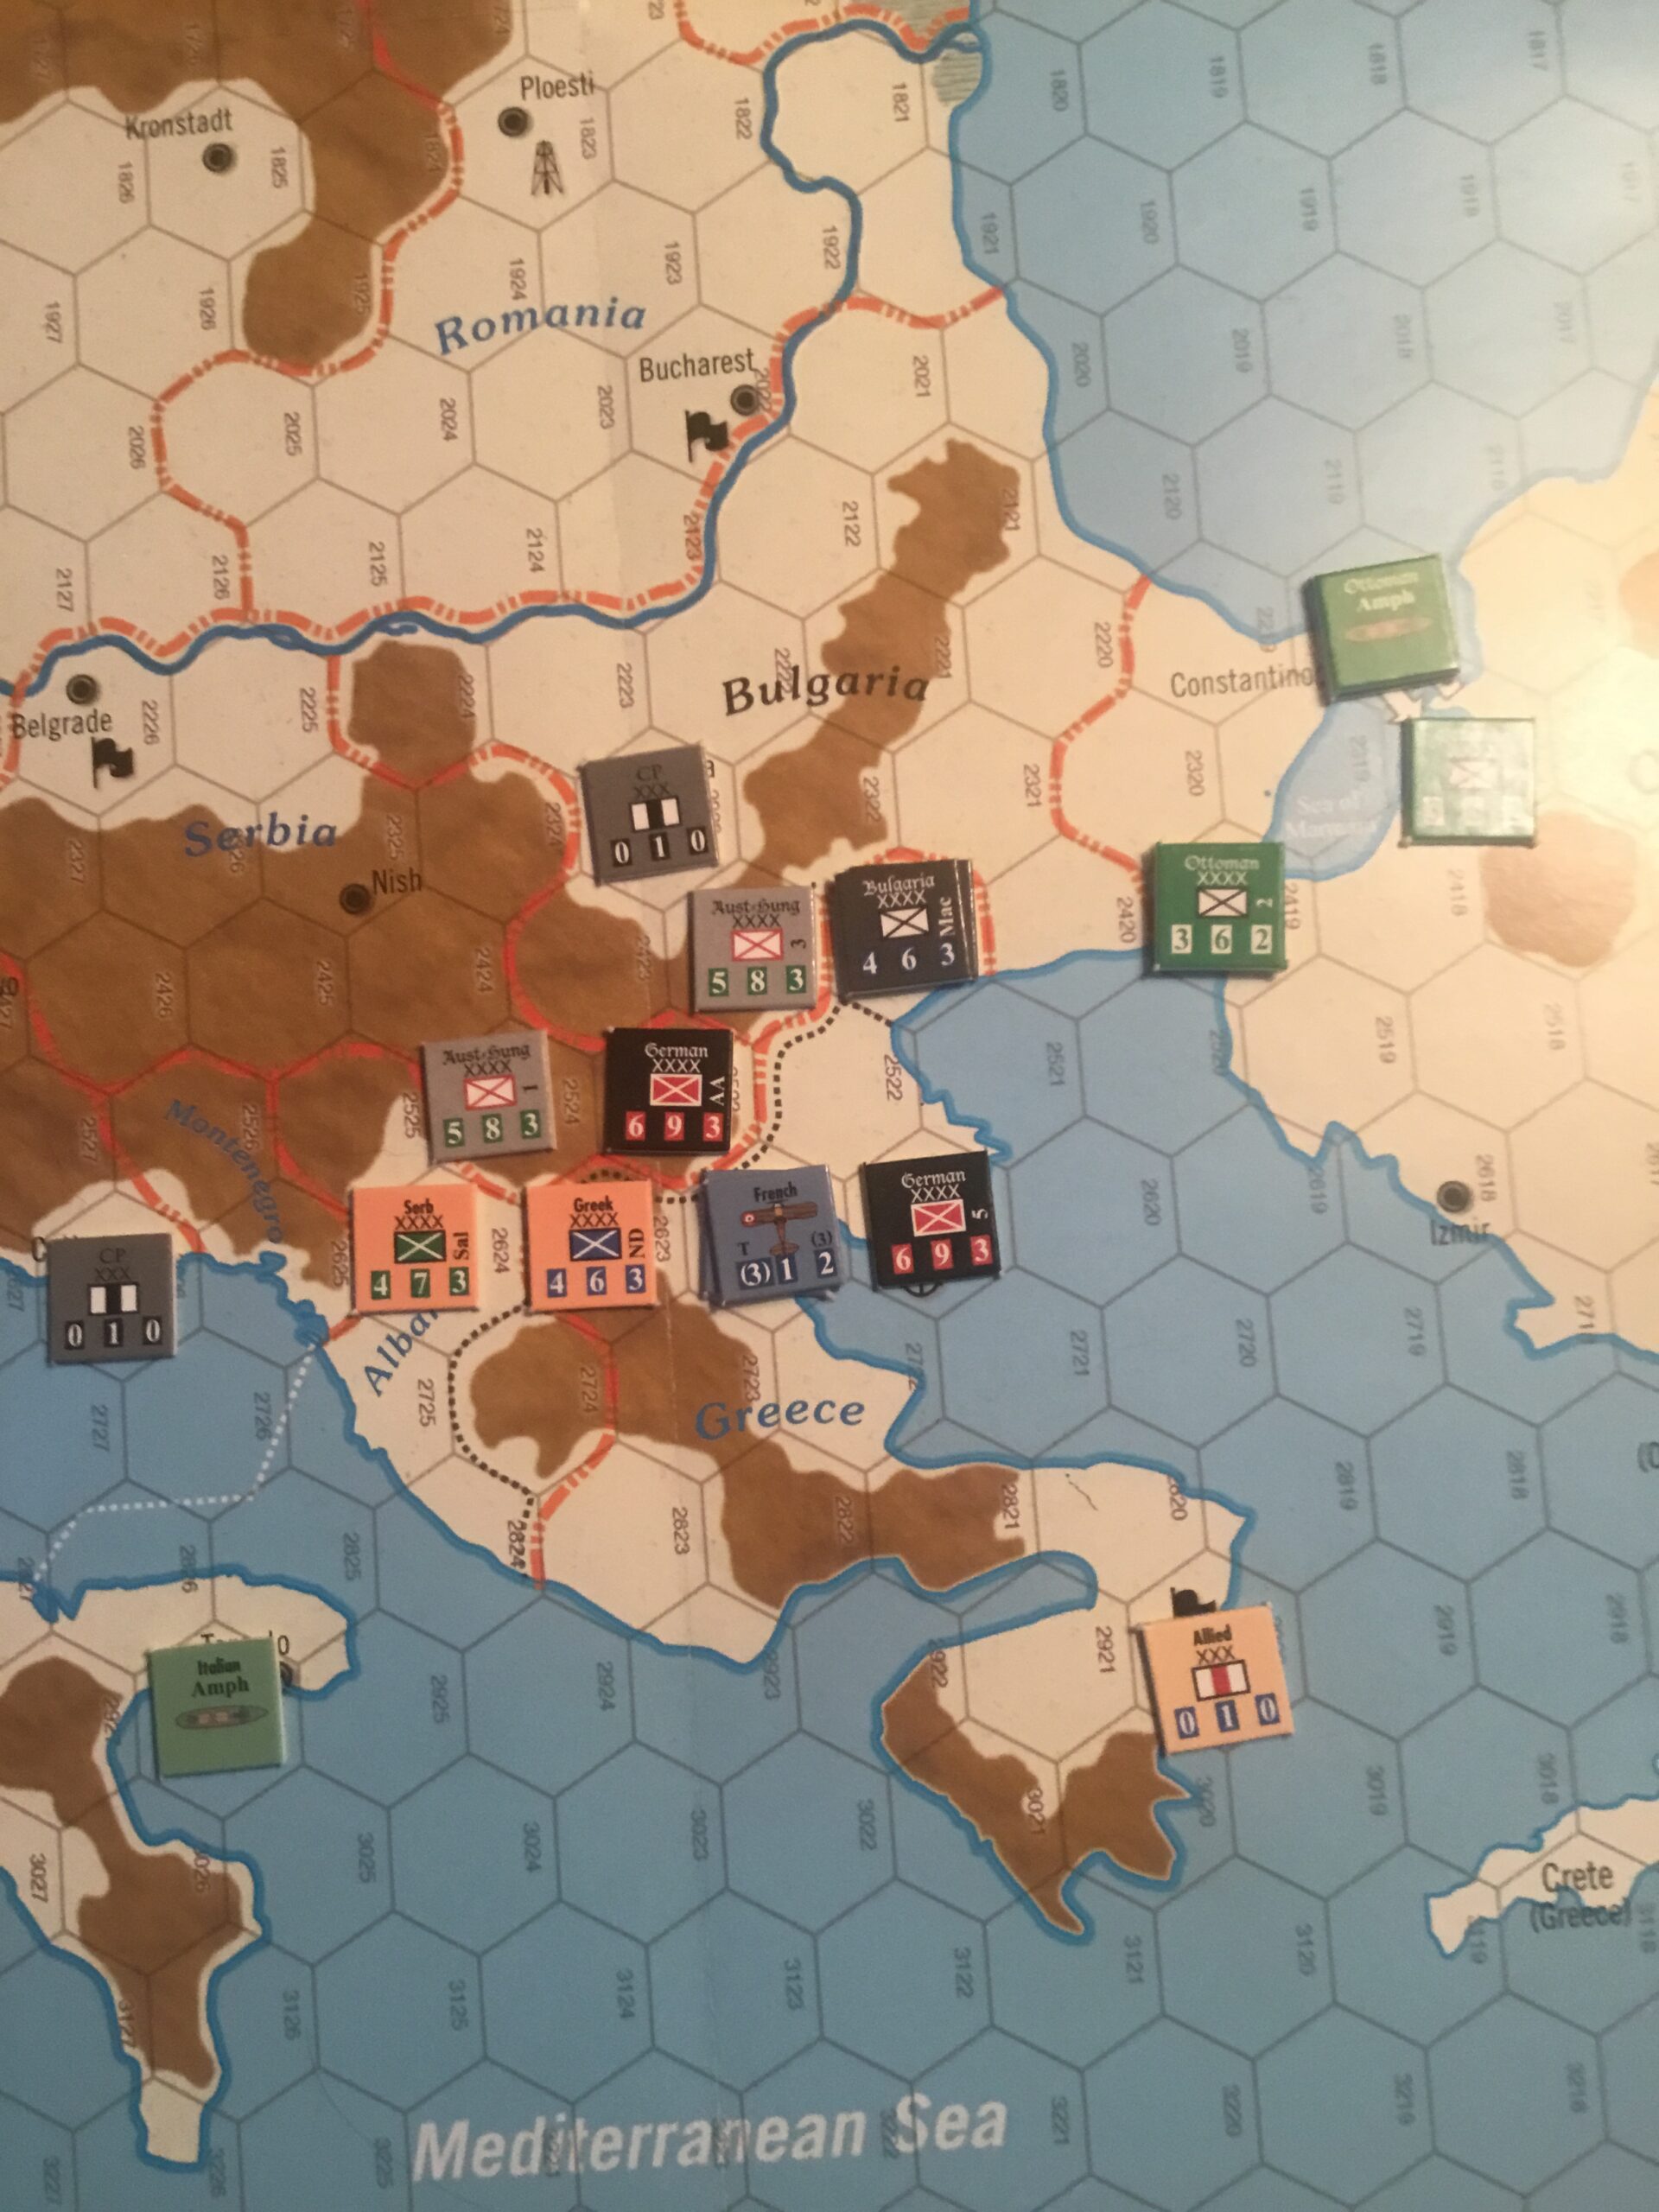
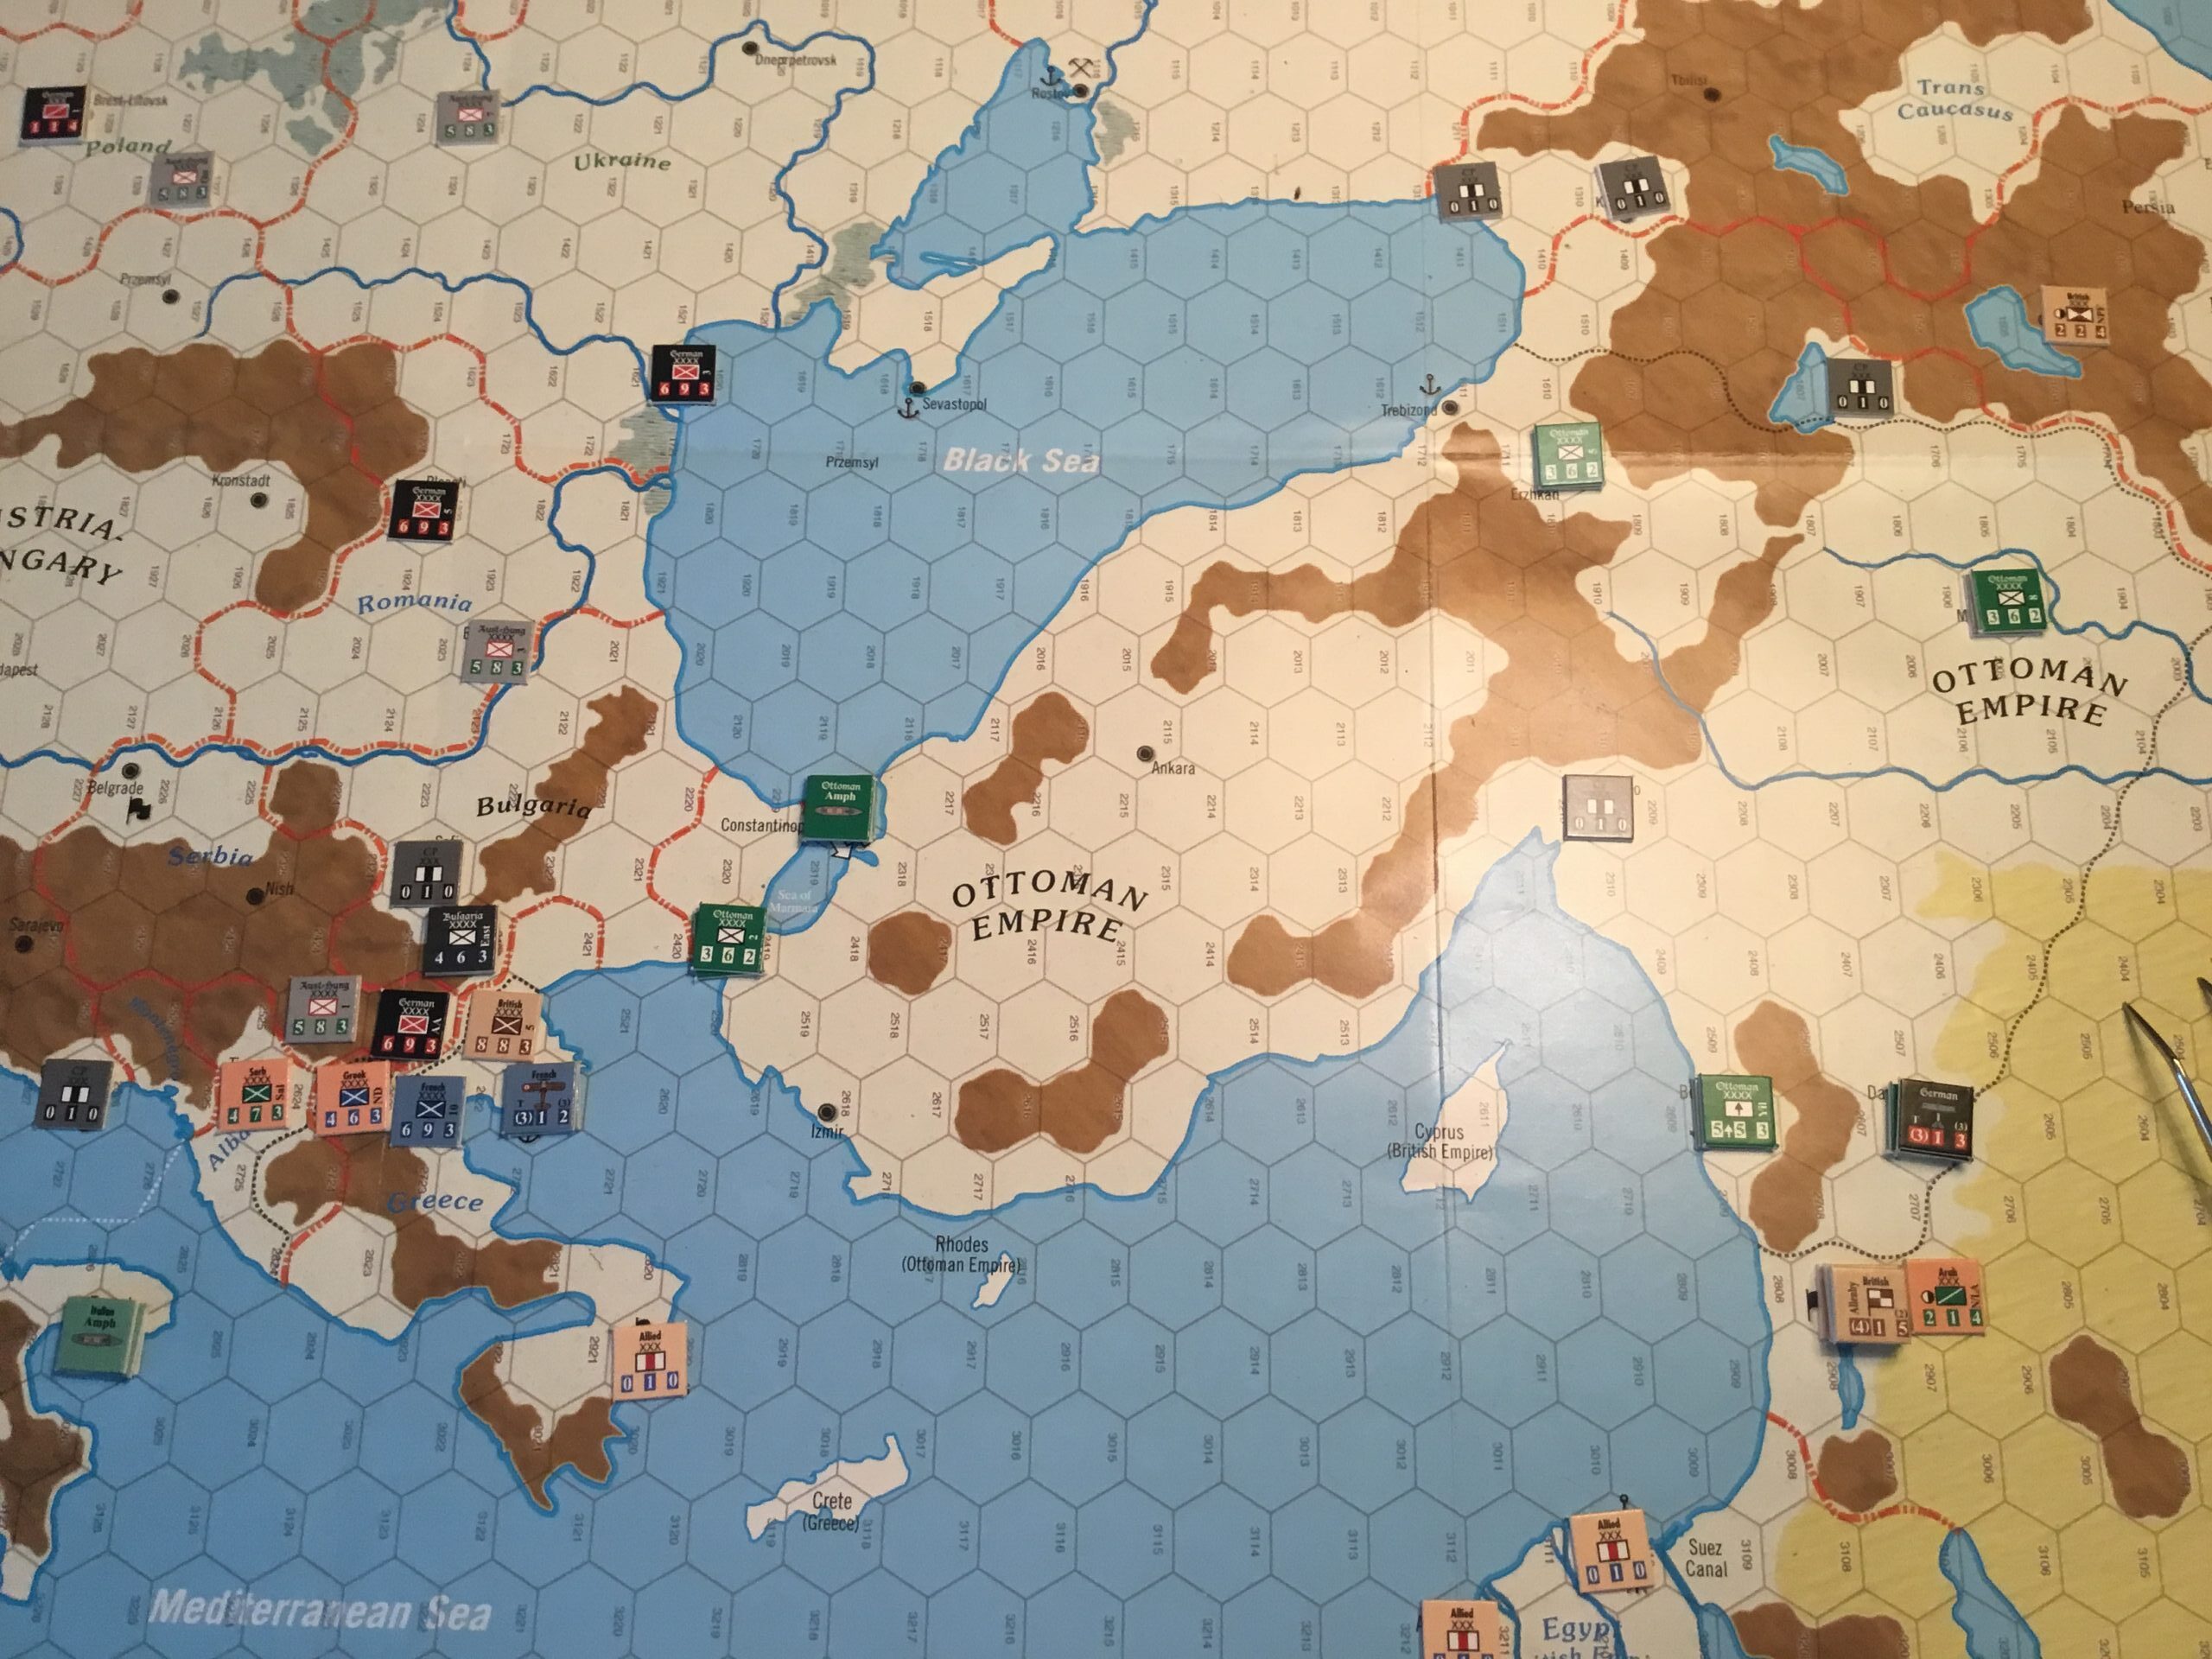
Here’s the situation in Salonika, Italy, and Western Front
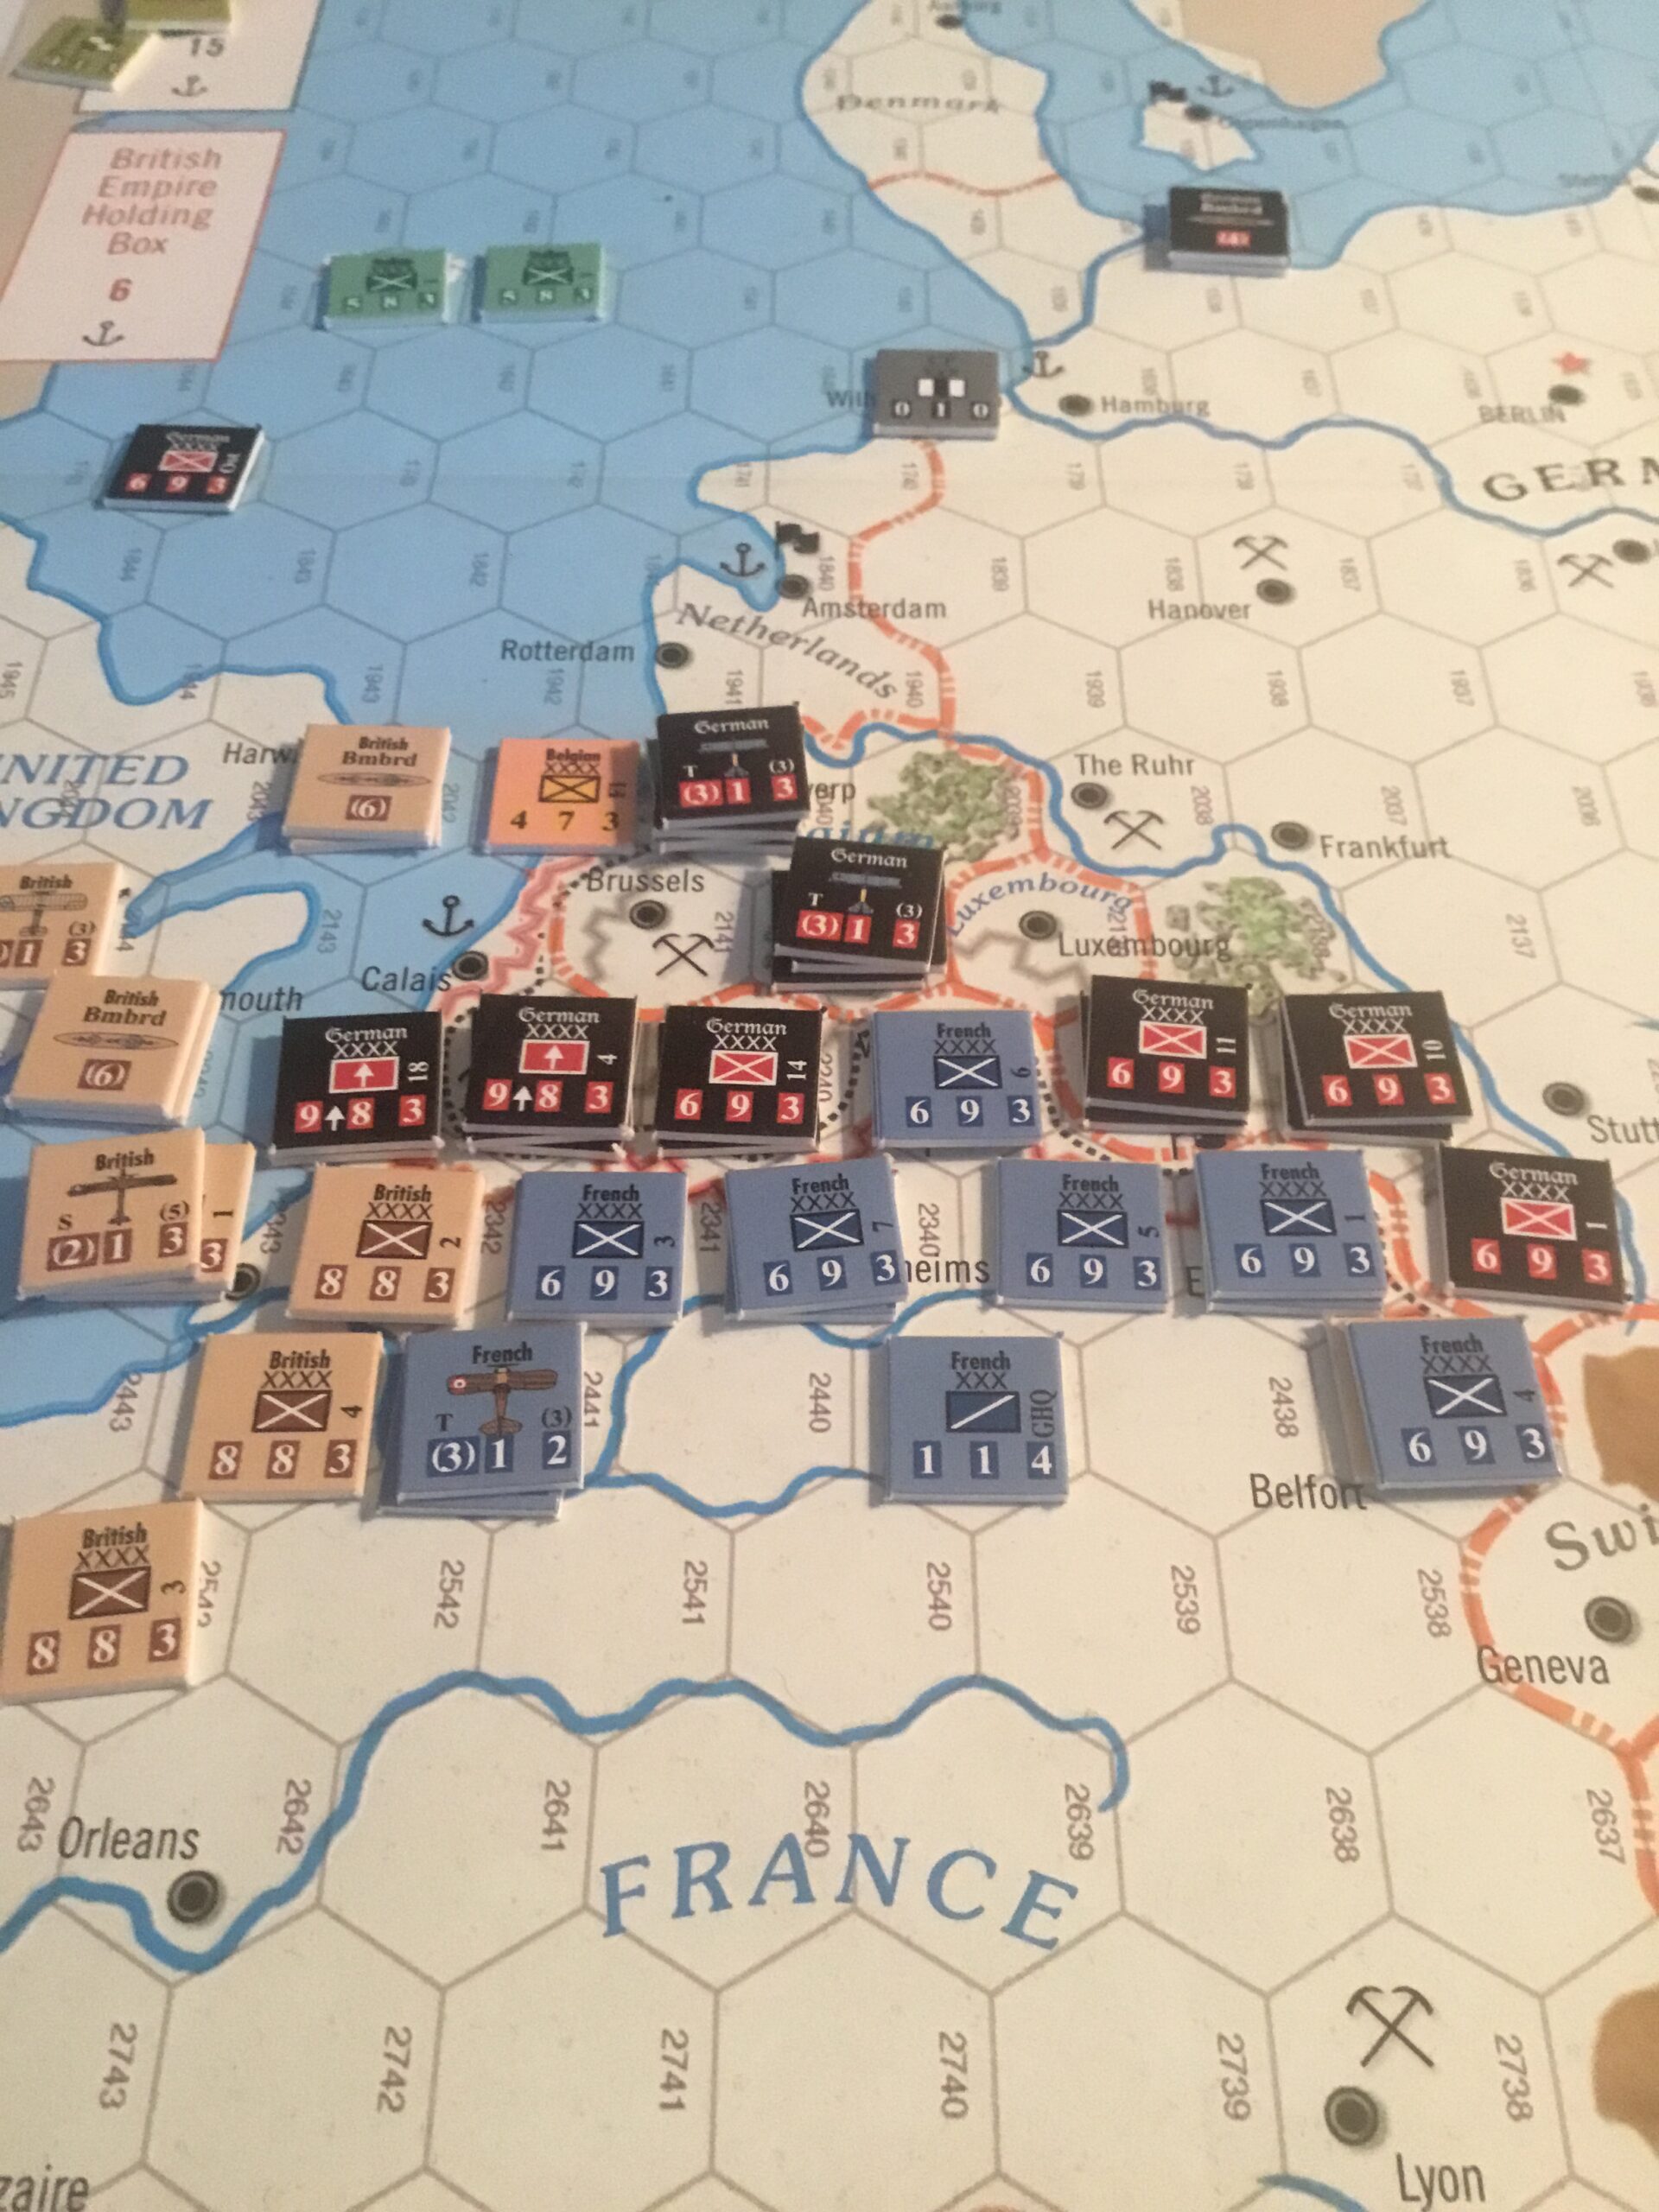
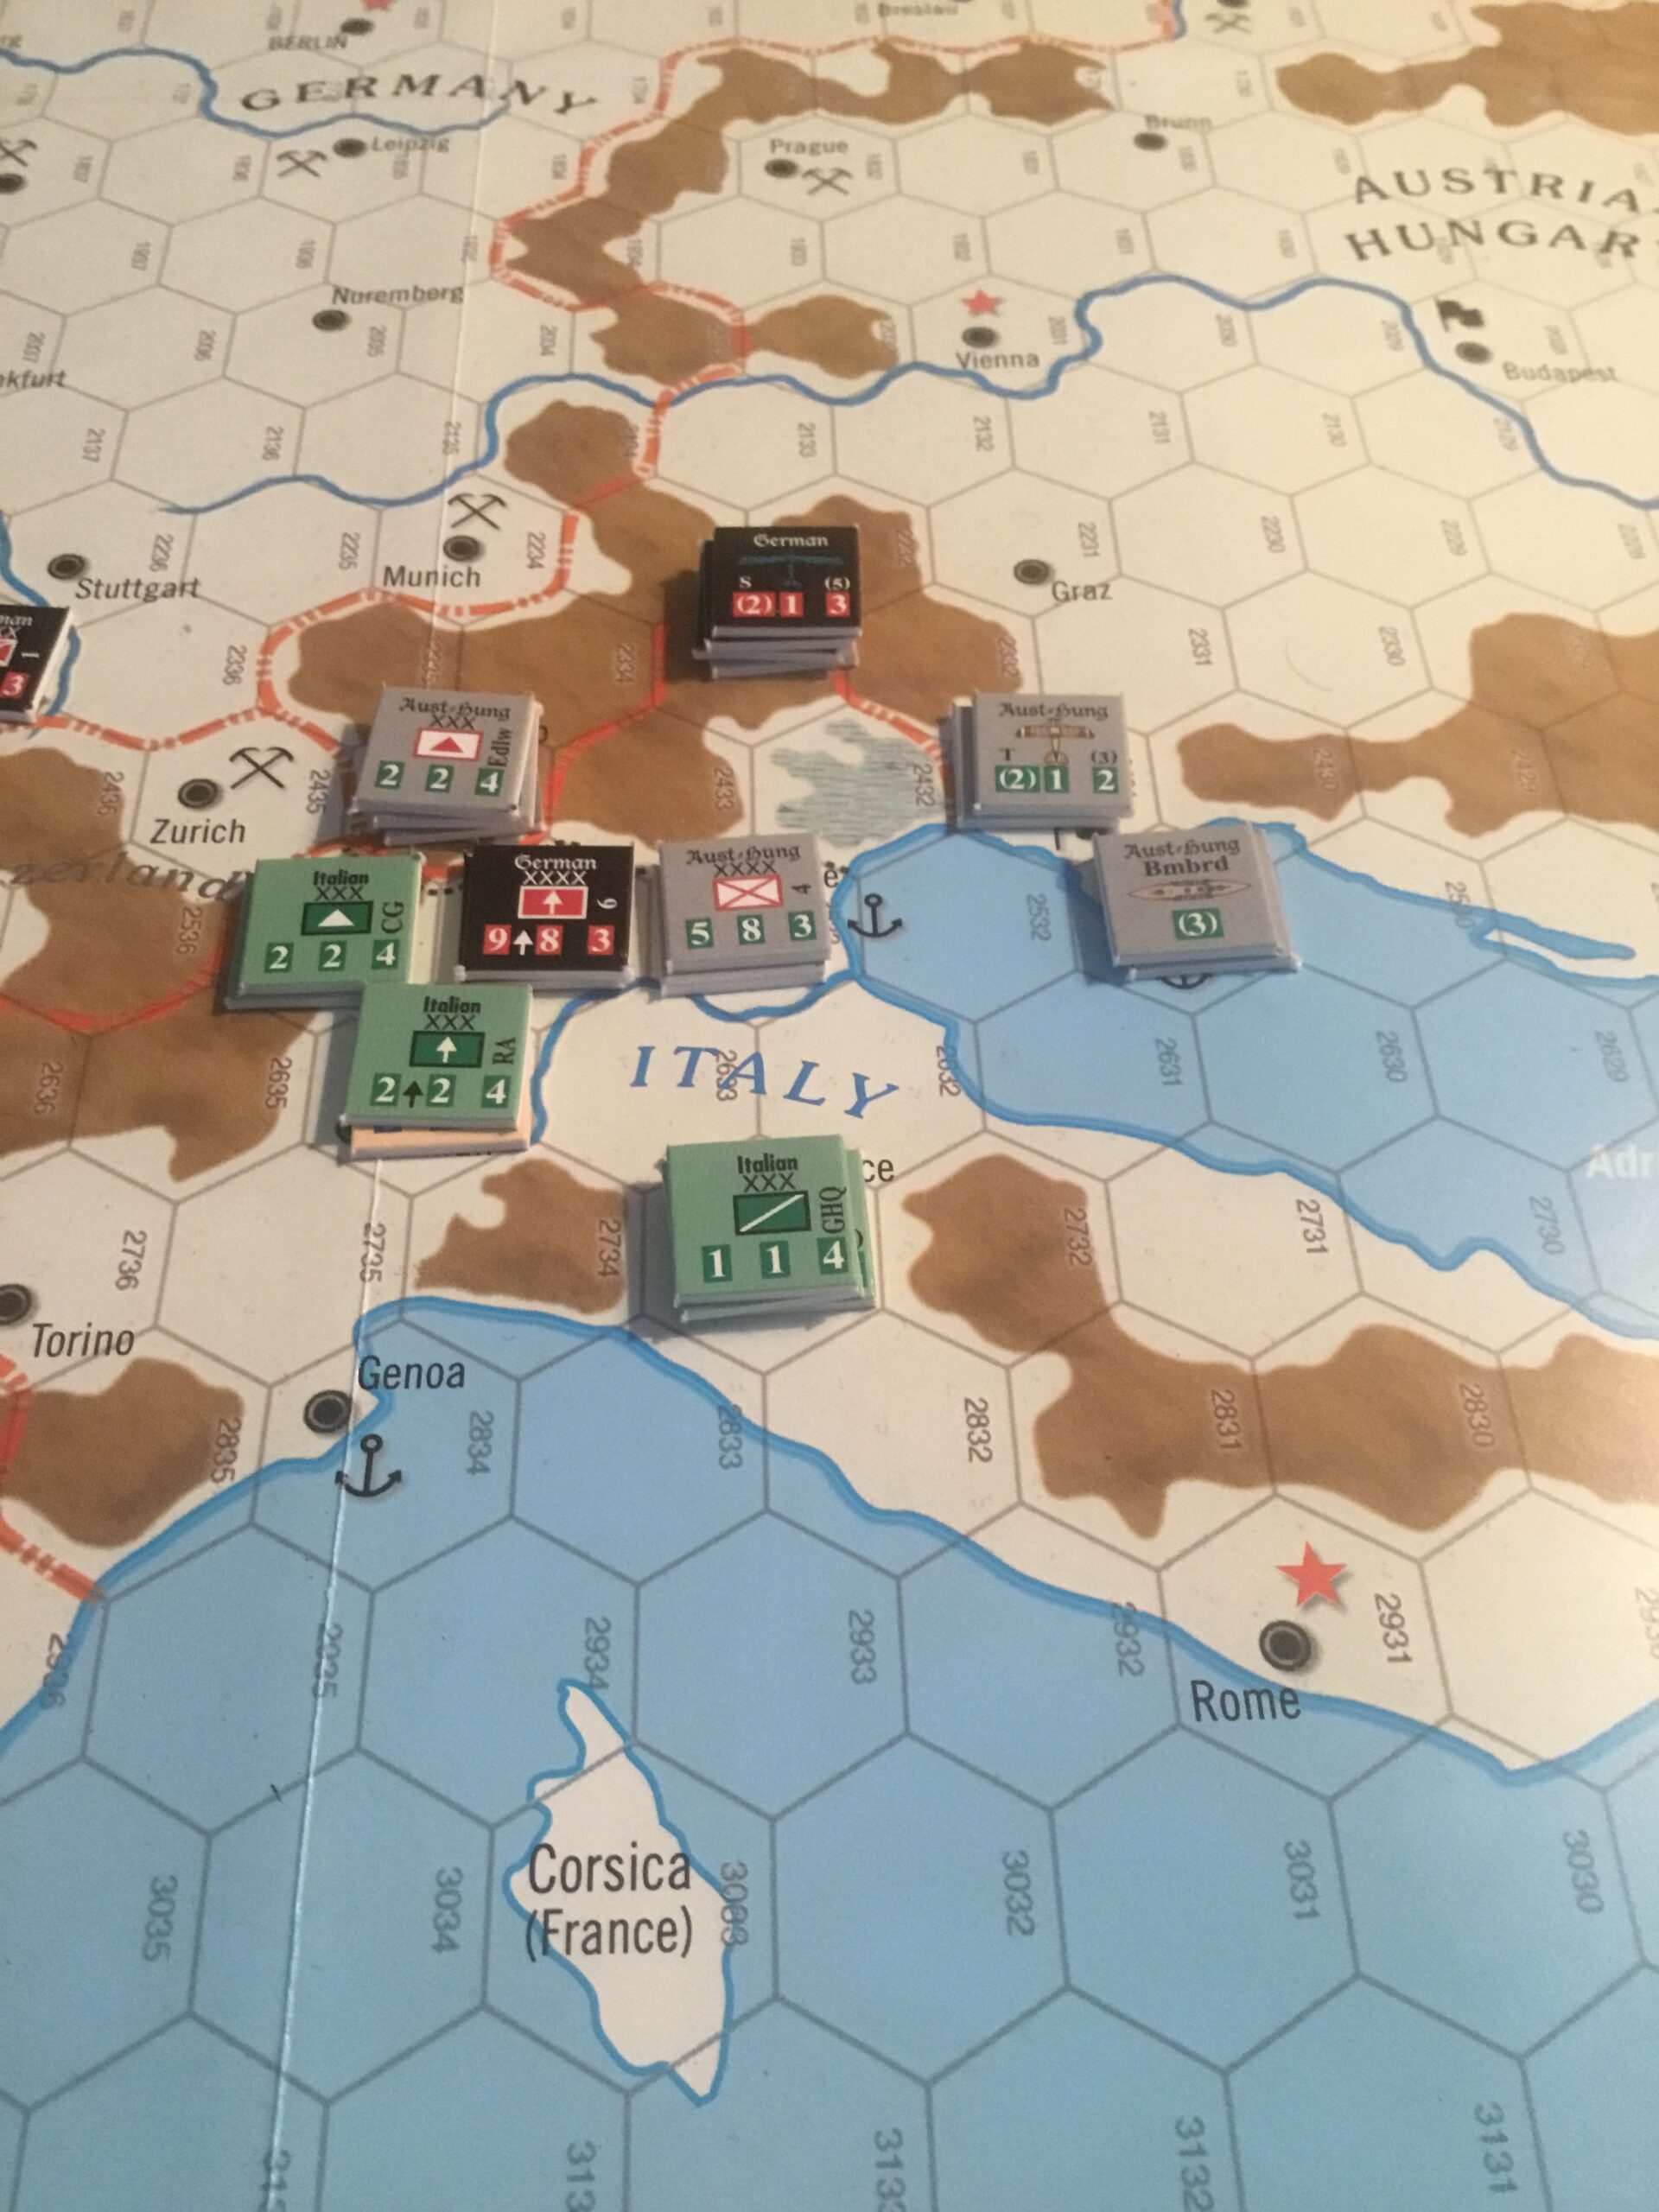
Finished up the Central Powers’ turn. Went all-in for both the Western and Italian Front offensives. Used up victory points to provide Maximum Attack Supply (which doubles unit attack values) in order to get odds of 5:1.
Each side has two combat phases (consecutive) per turn where any units can attack. With a Defender Panic combat result the defenders are eliminated if they roll a D6 greater than their movement allowance (most units have a movement allowance of “3”). If not eliminated, they must retreat a number of hexes equal to that die roll.
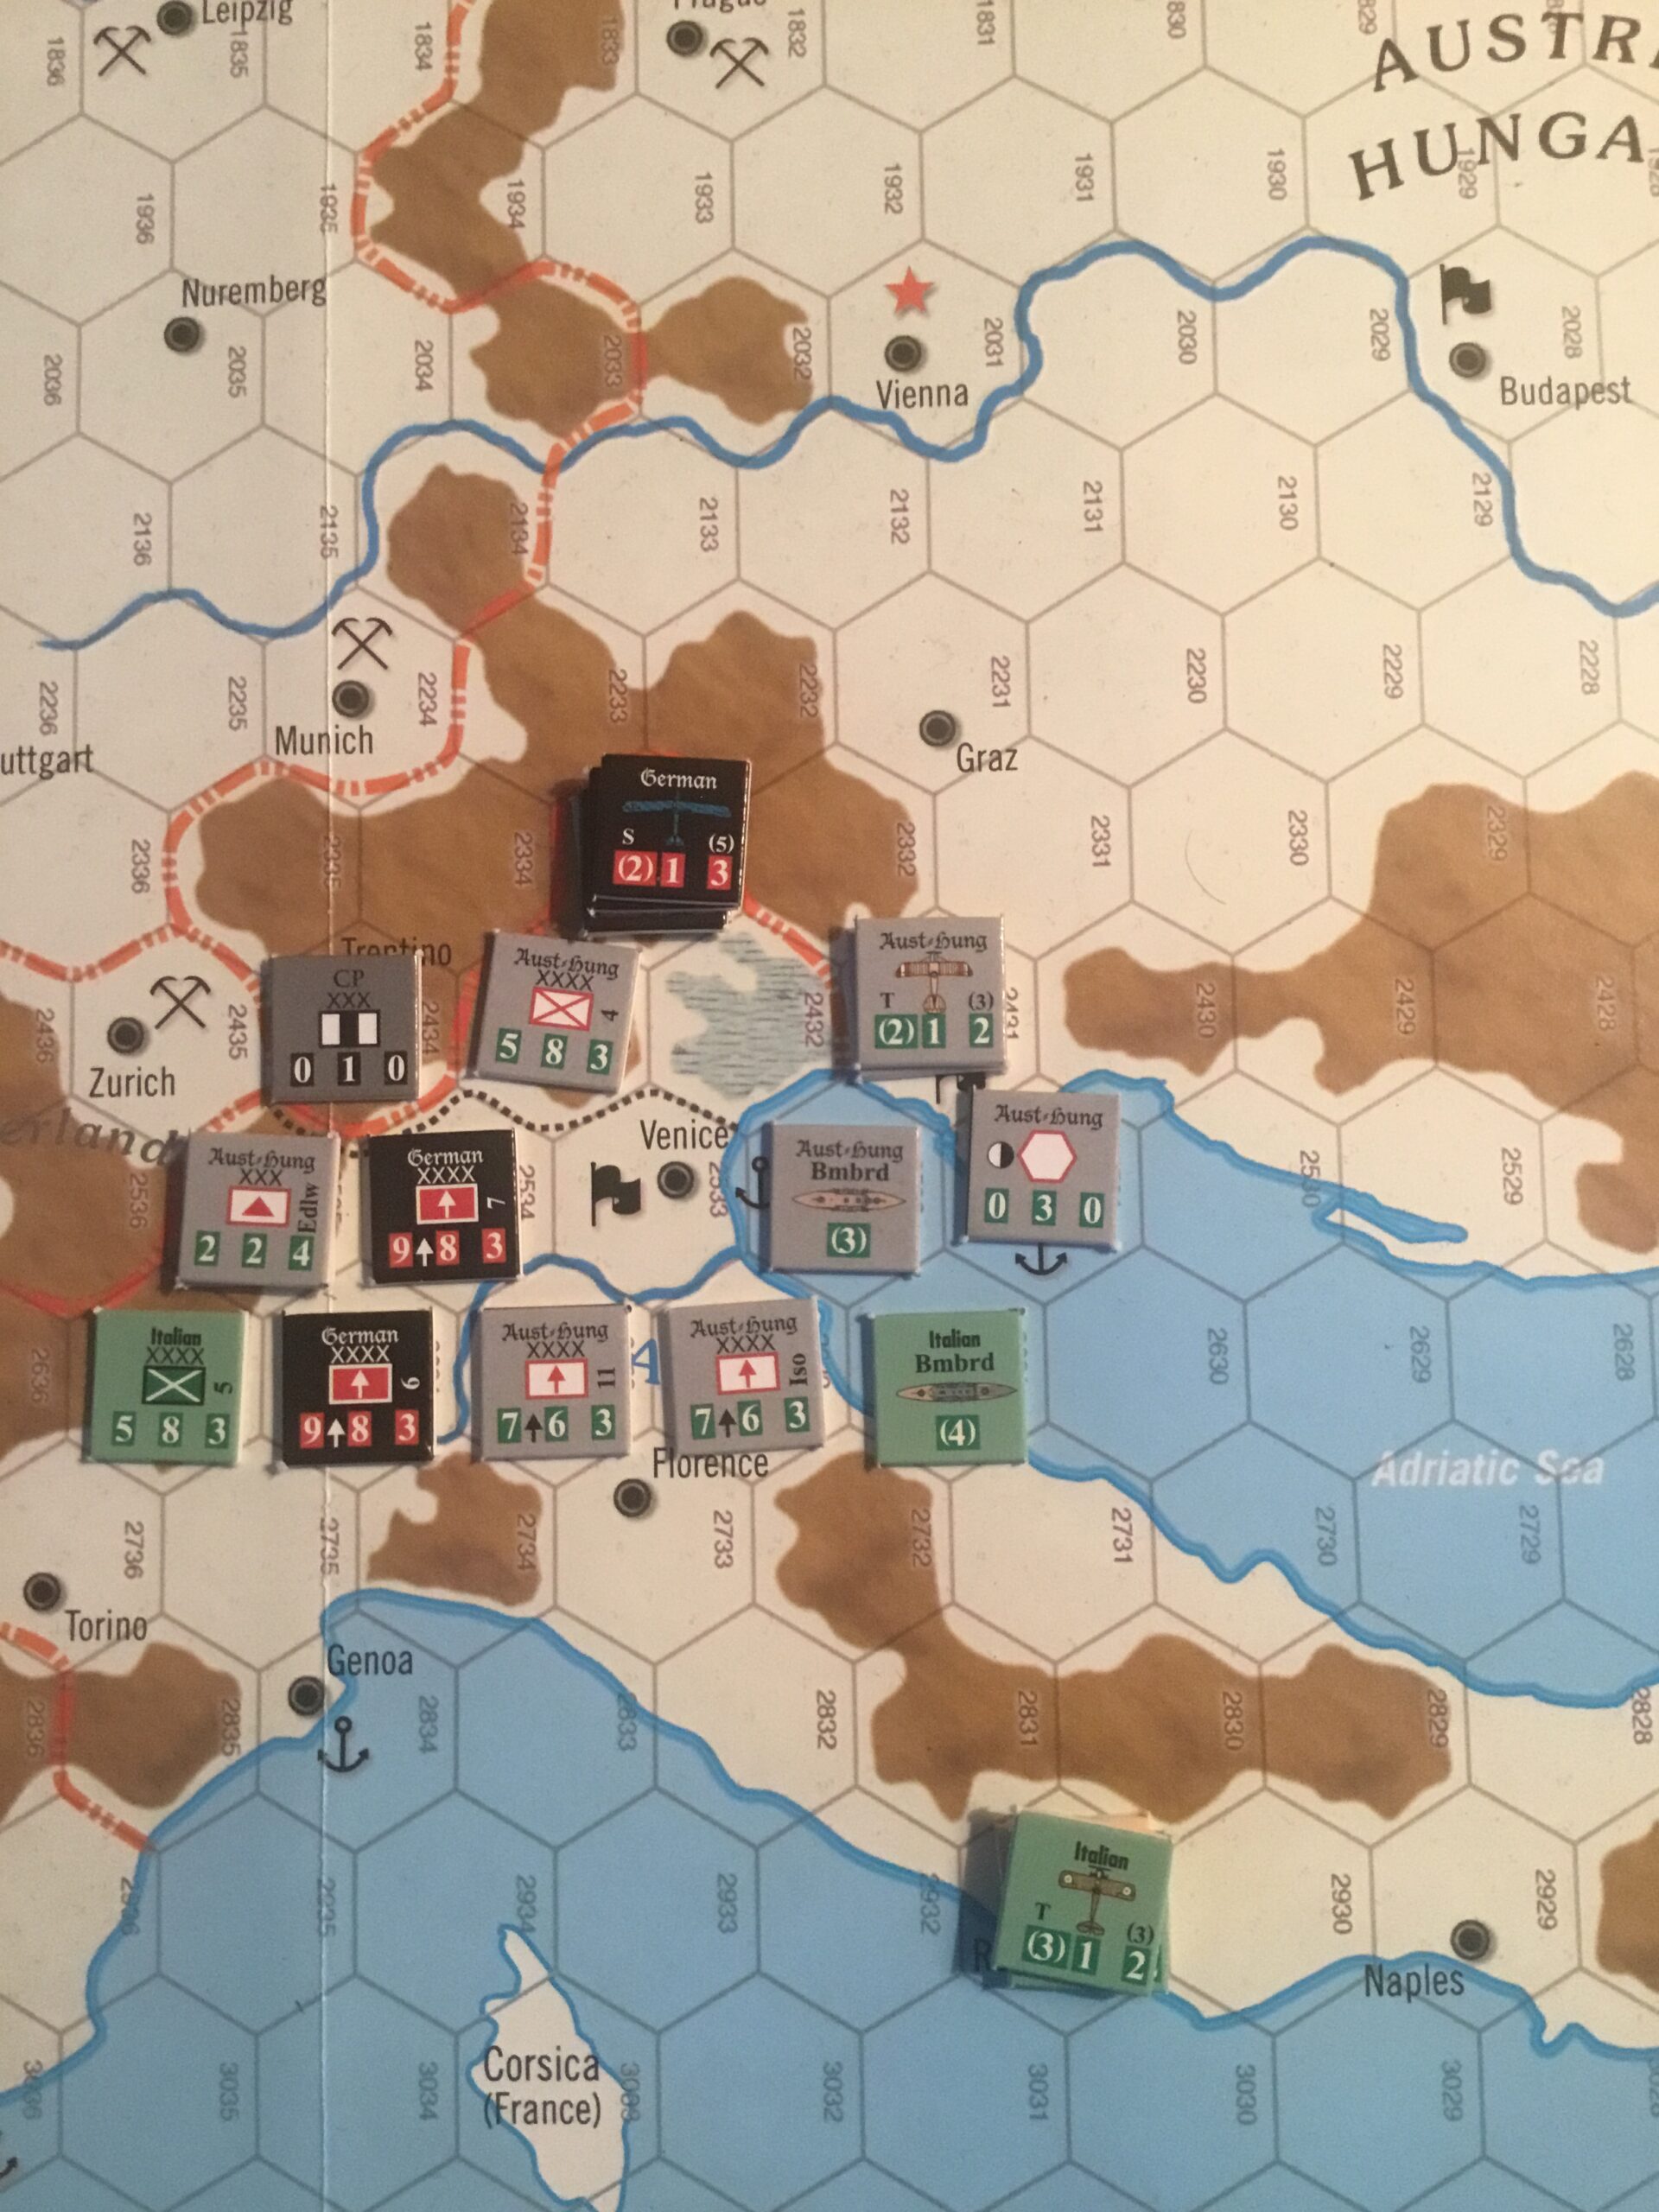
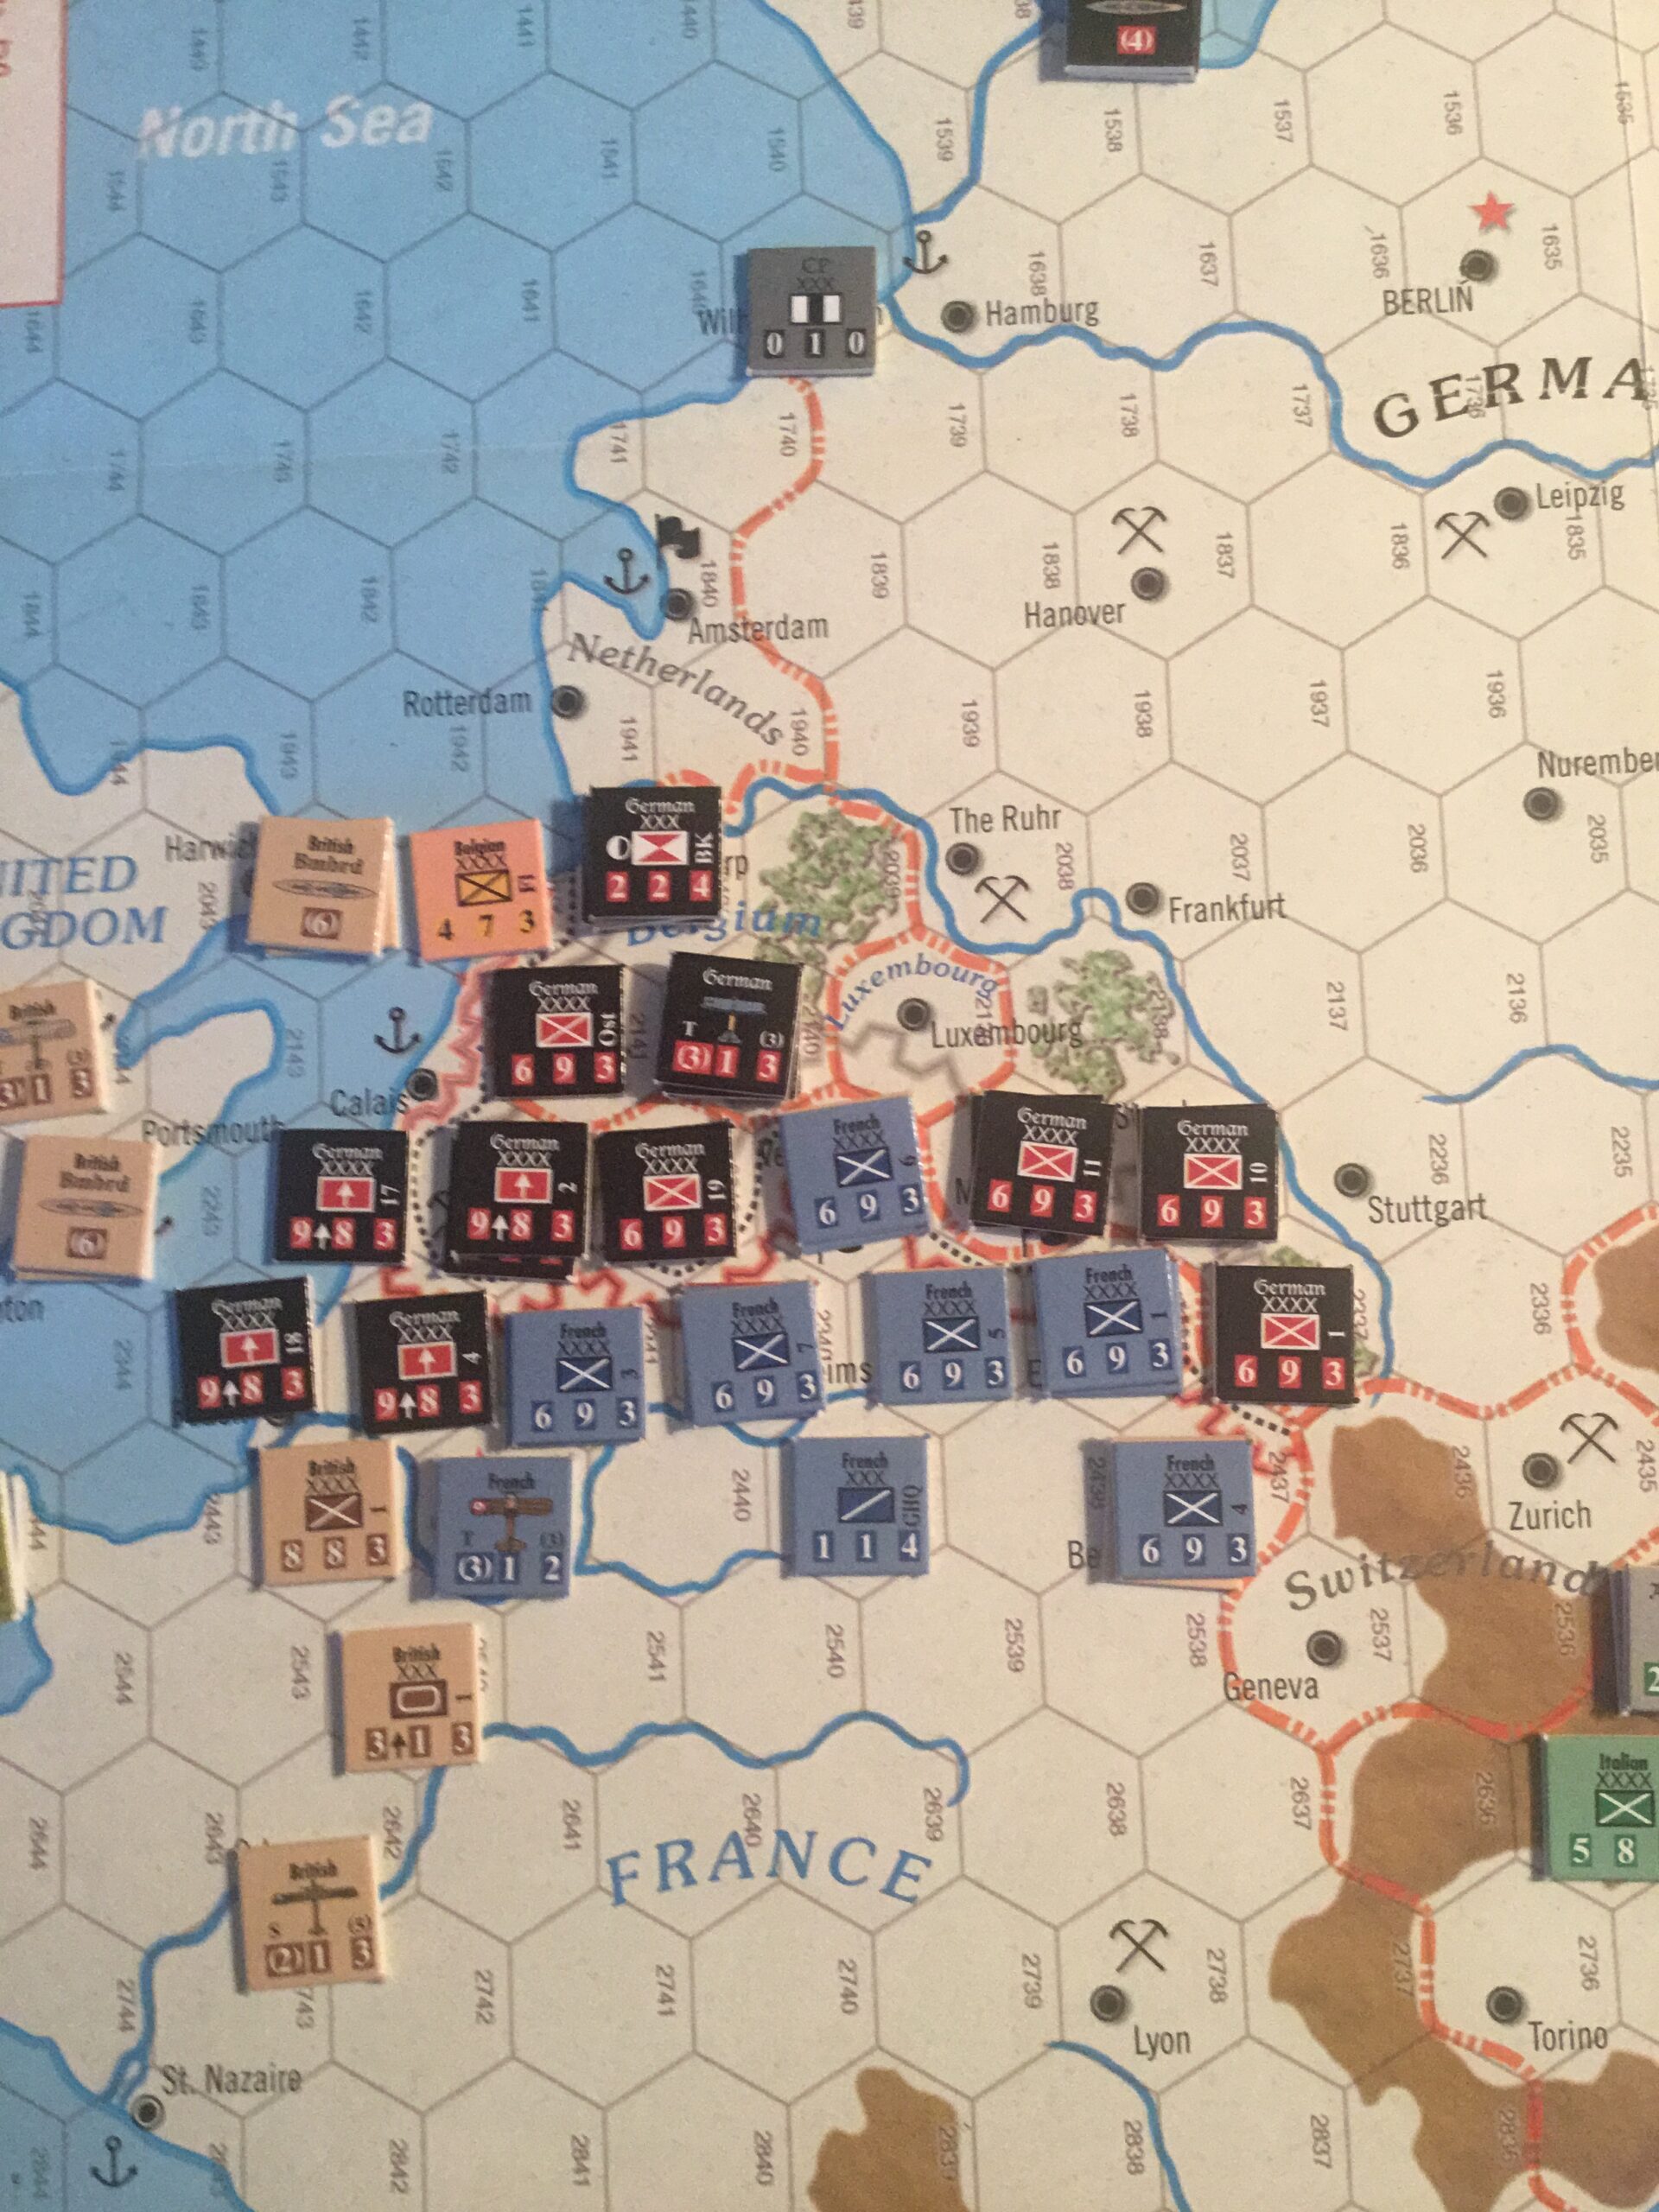
The results were mixed. In the West, the attacks were successful in forcing the engaged British units to retreat. However, they did so in good order and were not eliminated. A different story in Italy, where two Italian units were destroyed and a gaping hole opened (Caparetto).
Further east, Central Powers armies are massing along the Salonika Front.
Here are a photographs of the Western and Italian Fronts, respectively.
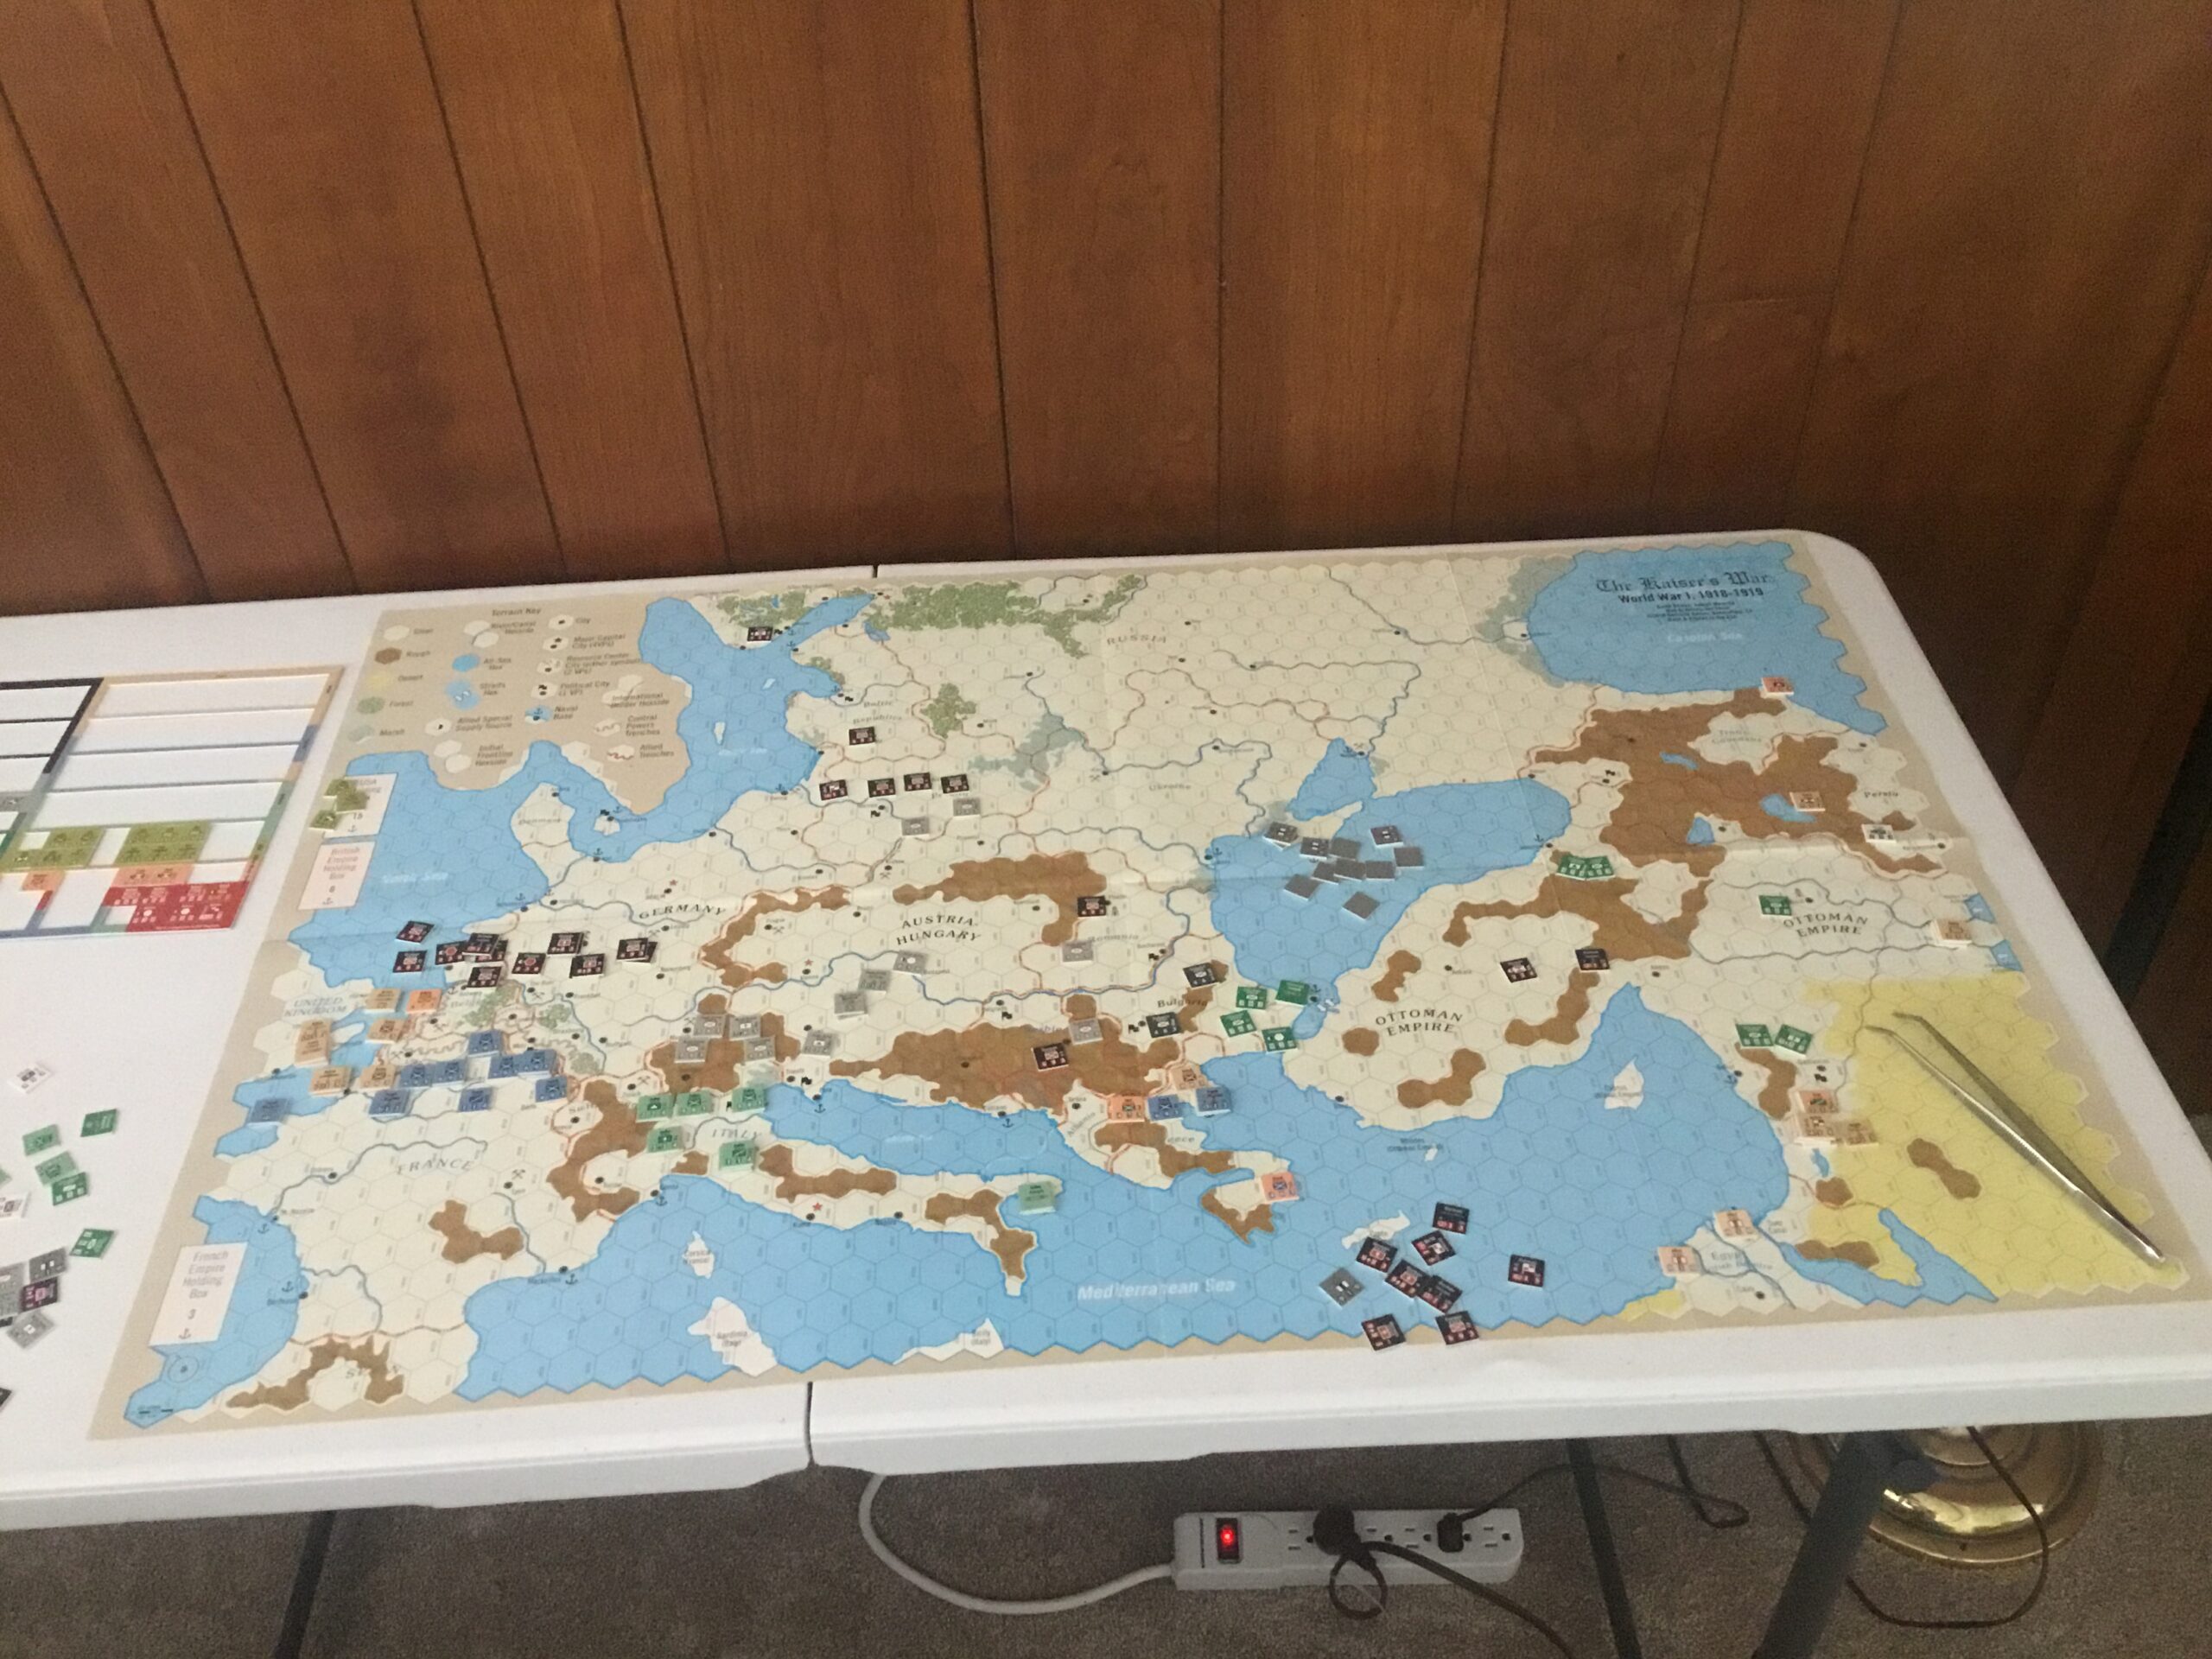
My resolve remains high. Set up and ready to play.
With my usual lack of imagination, the Central Powers (CP) focus is on The Western Front and Italy. No ahistorical play right now.
The rules highly incentivize the CP player to attack in the West. Tempting bonuses for using Storm units and occupying Allied (A) trenchlines at the end of Turn 1.
Here’s the situation in the West, followed by that in the East. Play starts tomorrow…..I mean it!
Boardgame Geek has a wargame forum thread entitled something like “What’s Your Table Look Like”.
Well, my table here in the Sunfish Capital of the World has been dipped in amber. I’ve had The Kaiser’s War: 1918 on a card table for well….this is the third calendar year. I think the initial map placement was in Fall 2022.
I’m setting it up now. All credit to the dreary, rainy, windy weather of the past two weeks. Yes, the forecast for the next several days is good, but it is now a matter of pride.
So, what approach to take? Option Number One is a well thought out consideration of the strategic situation and painstaking referrals to the rules. Option Number Two is just play the damn game. I’m going with Option Number Two.
Not that I have something else lined up, but I’m genuinely curious how this system will play, especially since it has – by definition – many of the same “option(s) of difficulties” encountered in Paths of Glory and Pursuit of Glory, but using a traditional hex and counter approach without event cards or even random events.
Here’s a quick shot of the map with sorted counters and the beginnings of the Allied set-up.
I’ll finish the set-up tomorrow and get at it….really…..I mean it this time…..
Quick Comment: This game was played using the First Edition, not the recently published Second Edition which, from what I gather, contains some significant rules modifications.
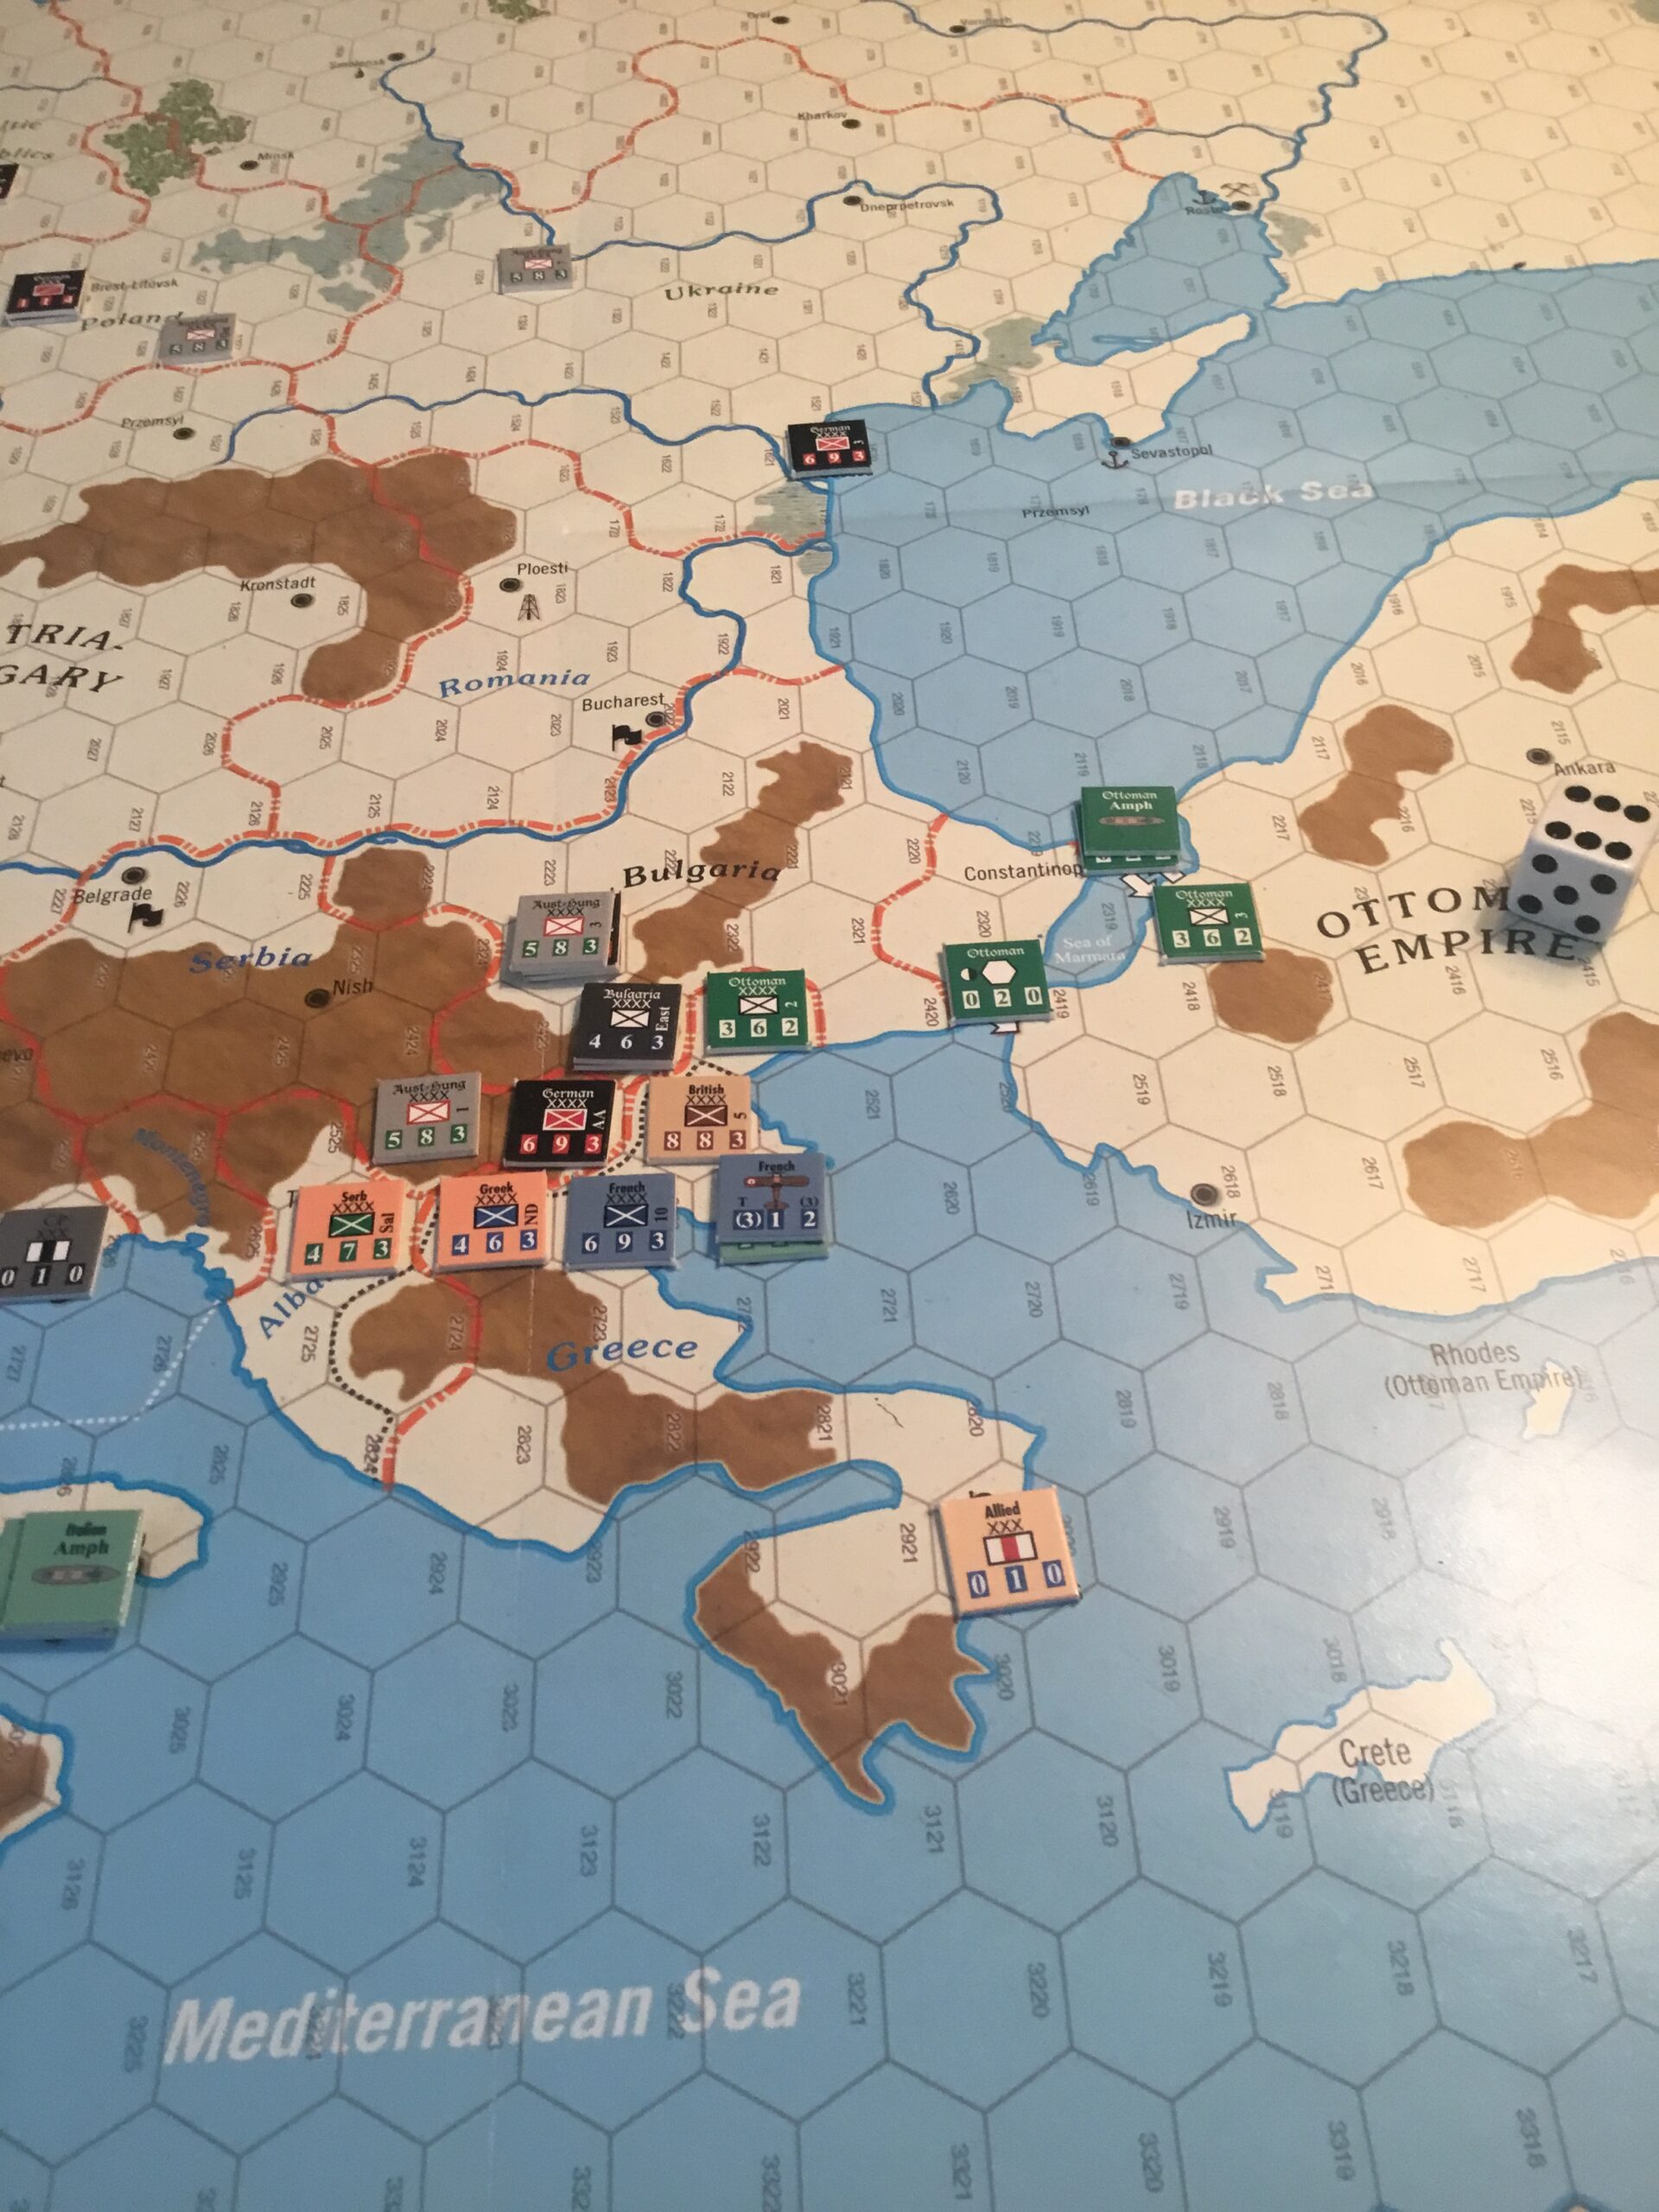
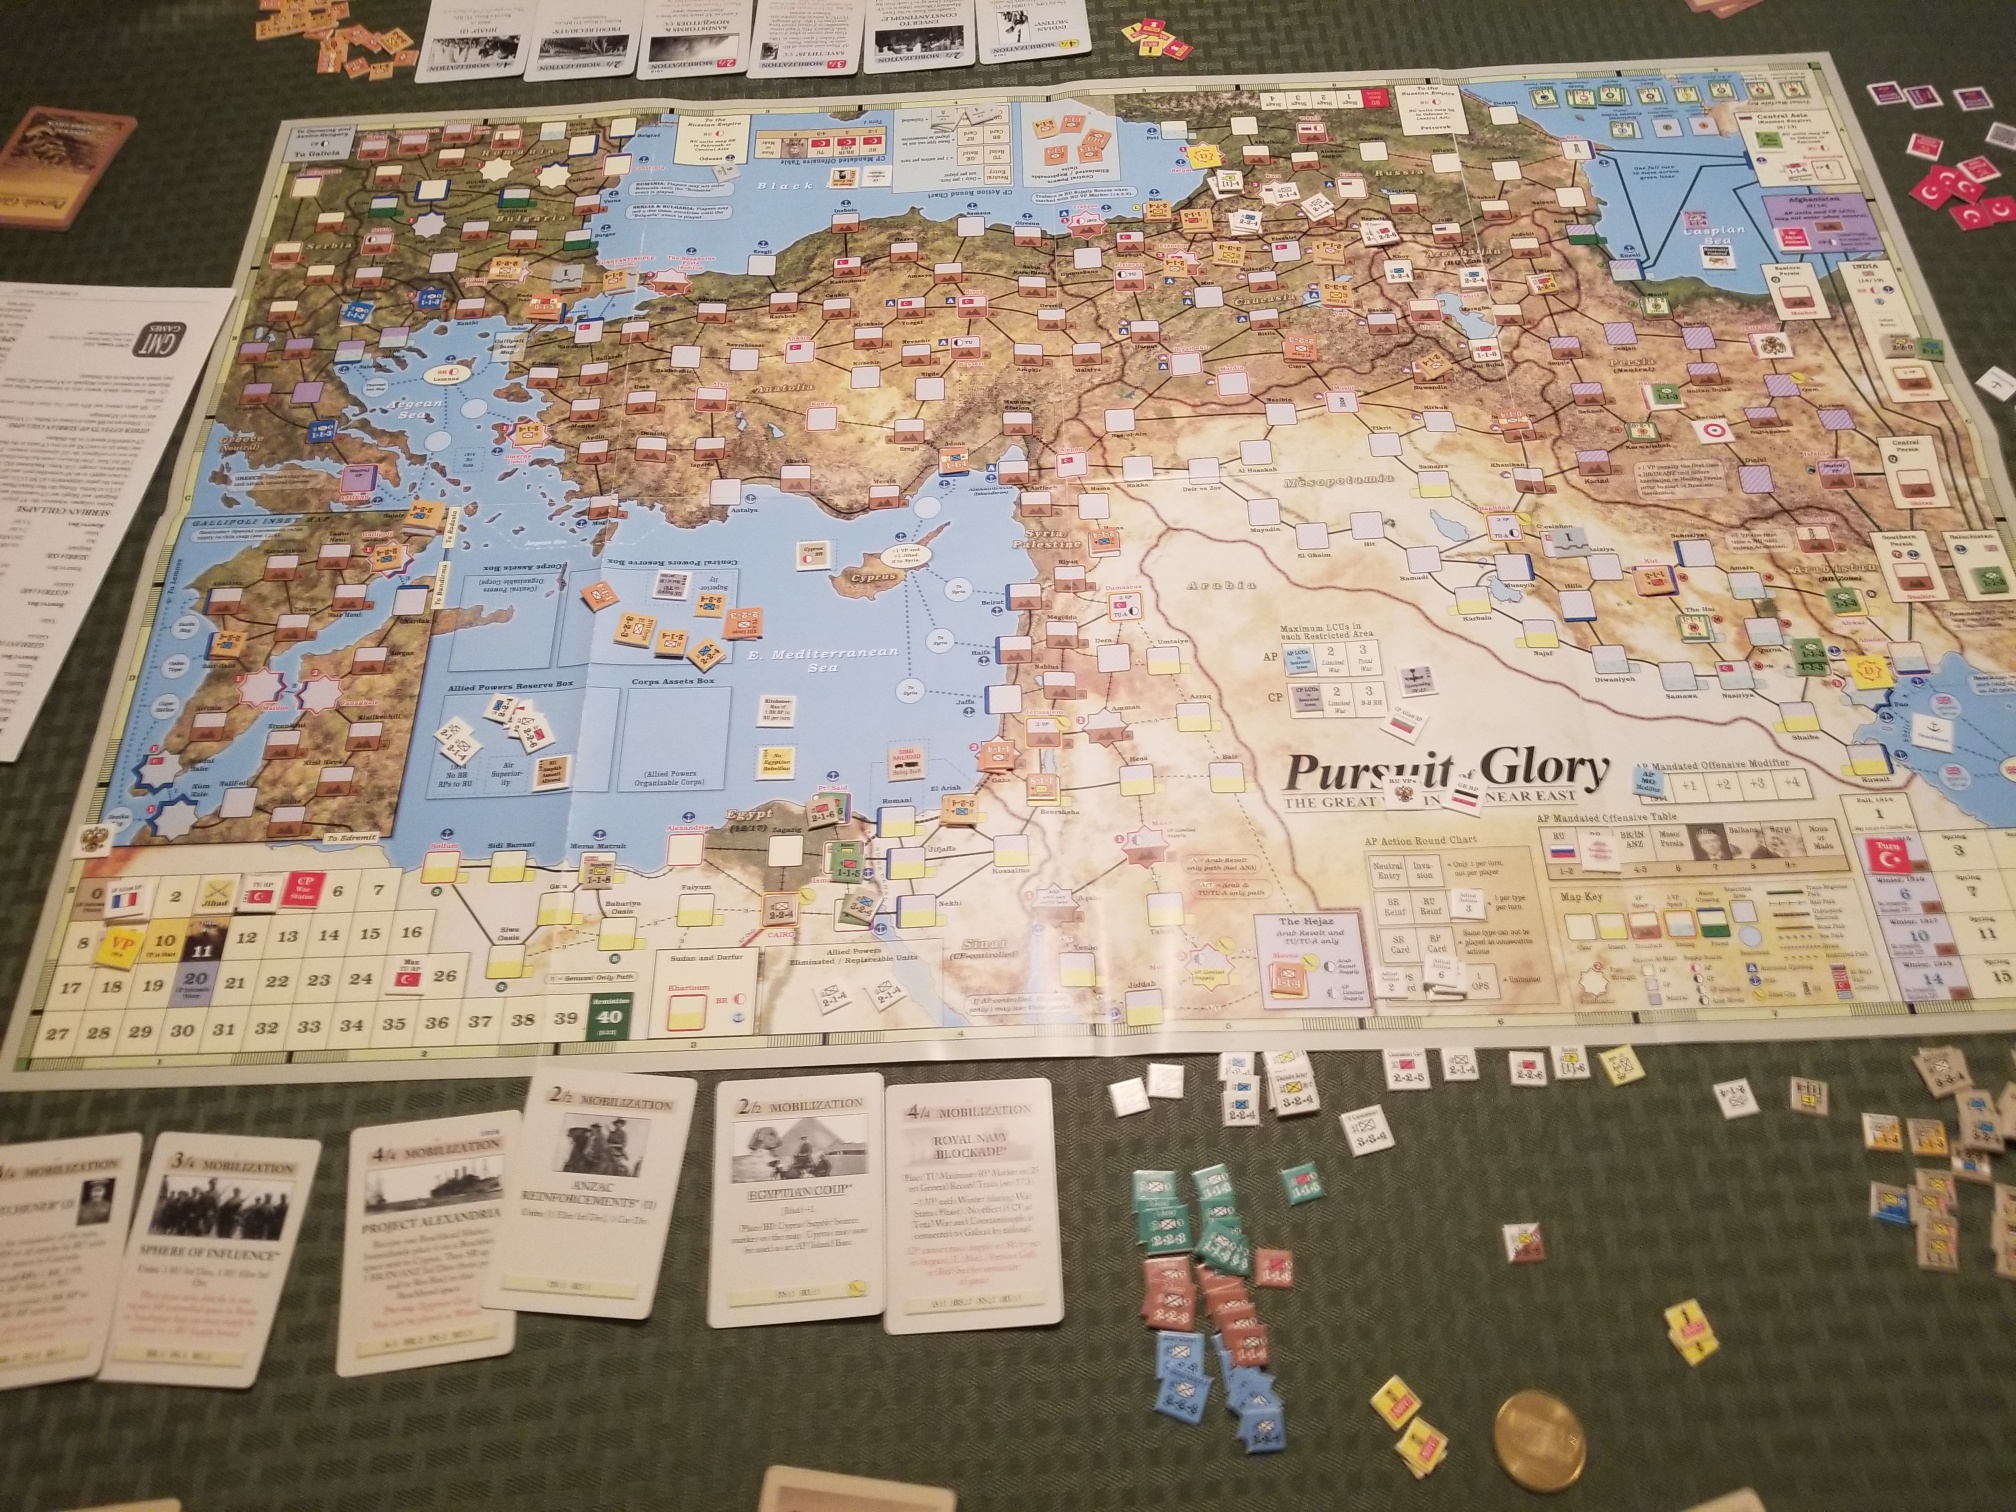
And now….Wargame Forensics. Why? I forgot to include the cards played in my map photo. So, here’s a stab at what happened during the Summer 1915.
The major development was the Allied invasion at Gallipoli and accompanying Central Powers response. It was business as usual in Caucasia – with more attrition – and a lack of activity on other fronts. At this point, the Ottoman replacement pool is dangerously shallow.
During the Fall 1915 turn, the Allies shifted focus to Mesopotamia, eyeing an undefended Baghdad. The Marsh Arabs tribe frustrated the Allied advance, buying time for the Central Powers to deploy forces to the threatened city.
The Romania Enters The War card was played in error. Tim noticed that the pre-conditions had not been met (Allies in Salonika), so the forces involved were taken off the table and Tim used the card for operations.
The Central Powers were in reaction mode, trying to cobble defenses together in Mesopotamia and Caucasia, attempting to build up the replacement pool, as well as maintaining some momentum in their effort to “Set The East Ablaze” using dissident tribes.
Our final turn was Winter 1916.
The Allies played the Russian Winter Offensive card, reducing the negative effects on winter attacks, and so maintaining the momentum of their push towards Anatolia. The Asquith-Lloyd George card allowed an increase in British aid to Russia in the form of replacement points. These positive developments would help Russia delay the beginning of the revolution.
The Central powers gained Bulgaria as an ally (forces cannot be set up until the end of the turn), and the Ottomans were able to stabilize both the Mesopotamian and Caucasian fronts. For how long is anybody’s guess.
As usual, just when things were getting good, or dicey depending on one’s perspective, it was time to pack it up.
One overarching observation is how both of us shied away from any significant effort(s) outside of the Caucasian front. Yes, Tim did invade both Mesopotamia and Gallipoli, but with limited assets. Neither of us showed any interest in the Sinai or Egypt. The historical Allied invasion at Salonika did not occur in this game.
My other impressions from the Central Powers’ perspective are:
Is it worth pursuing a peripheral strategy focusing on Jihad and tribal actions?
How quickly Ottoman forces are reduced.
Given this attrition, is there a more defensible series of positions in Caucasia that will not provide the Russian player with the ability to further delay the revolution?
Outside of Bulgaria (and perhaps the peripheral strategy) what are the opportunities for the Central Powers to be pro-active?
My head is starting to throb. Time to play something less taxing.
The first rule of Blogging an After Action Report (AAR) is to blog right after the game. The second rule of Blogging an AAR is to……you know the rest
I’ve let two weeks pass since Tim and I sat down for a session with the game that gives both of us headaches. So many situations, so many theaters, and so few cards
We managed to get through the Winter 1916 turn, and left it with Bulgaria entering the game. Tim had a definite advantage at that point, as my Ottomans were badly attrited, and barely hanging on in Caucasia. But, that situation had stabilized to some degree and his Commonwealth forces had bogged down in Gallipoli. On the other hand, my situation in Mesopotamia was not the best, with only a corps between him and Baghdad. Still, I now had the Plucky Bulgarians along with their powerful German friends ready to go.
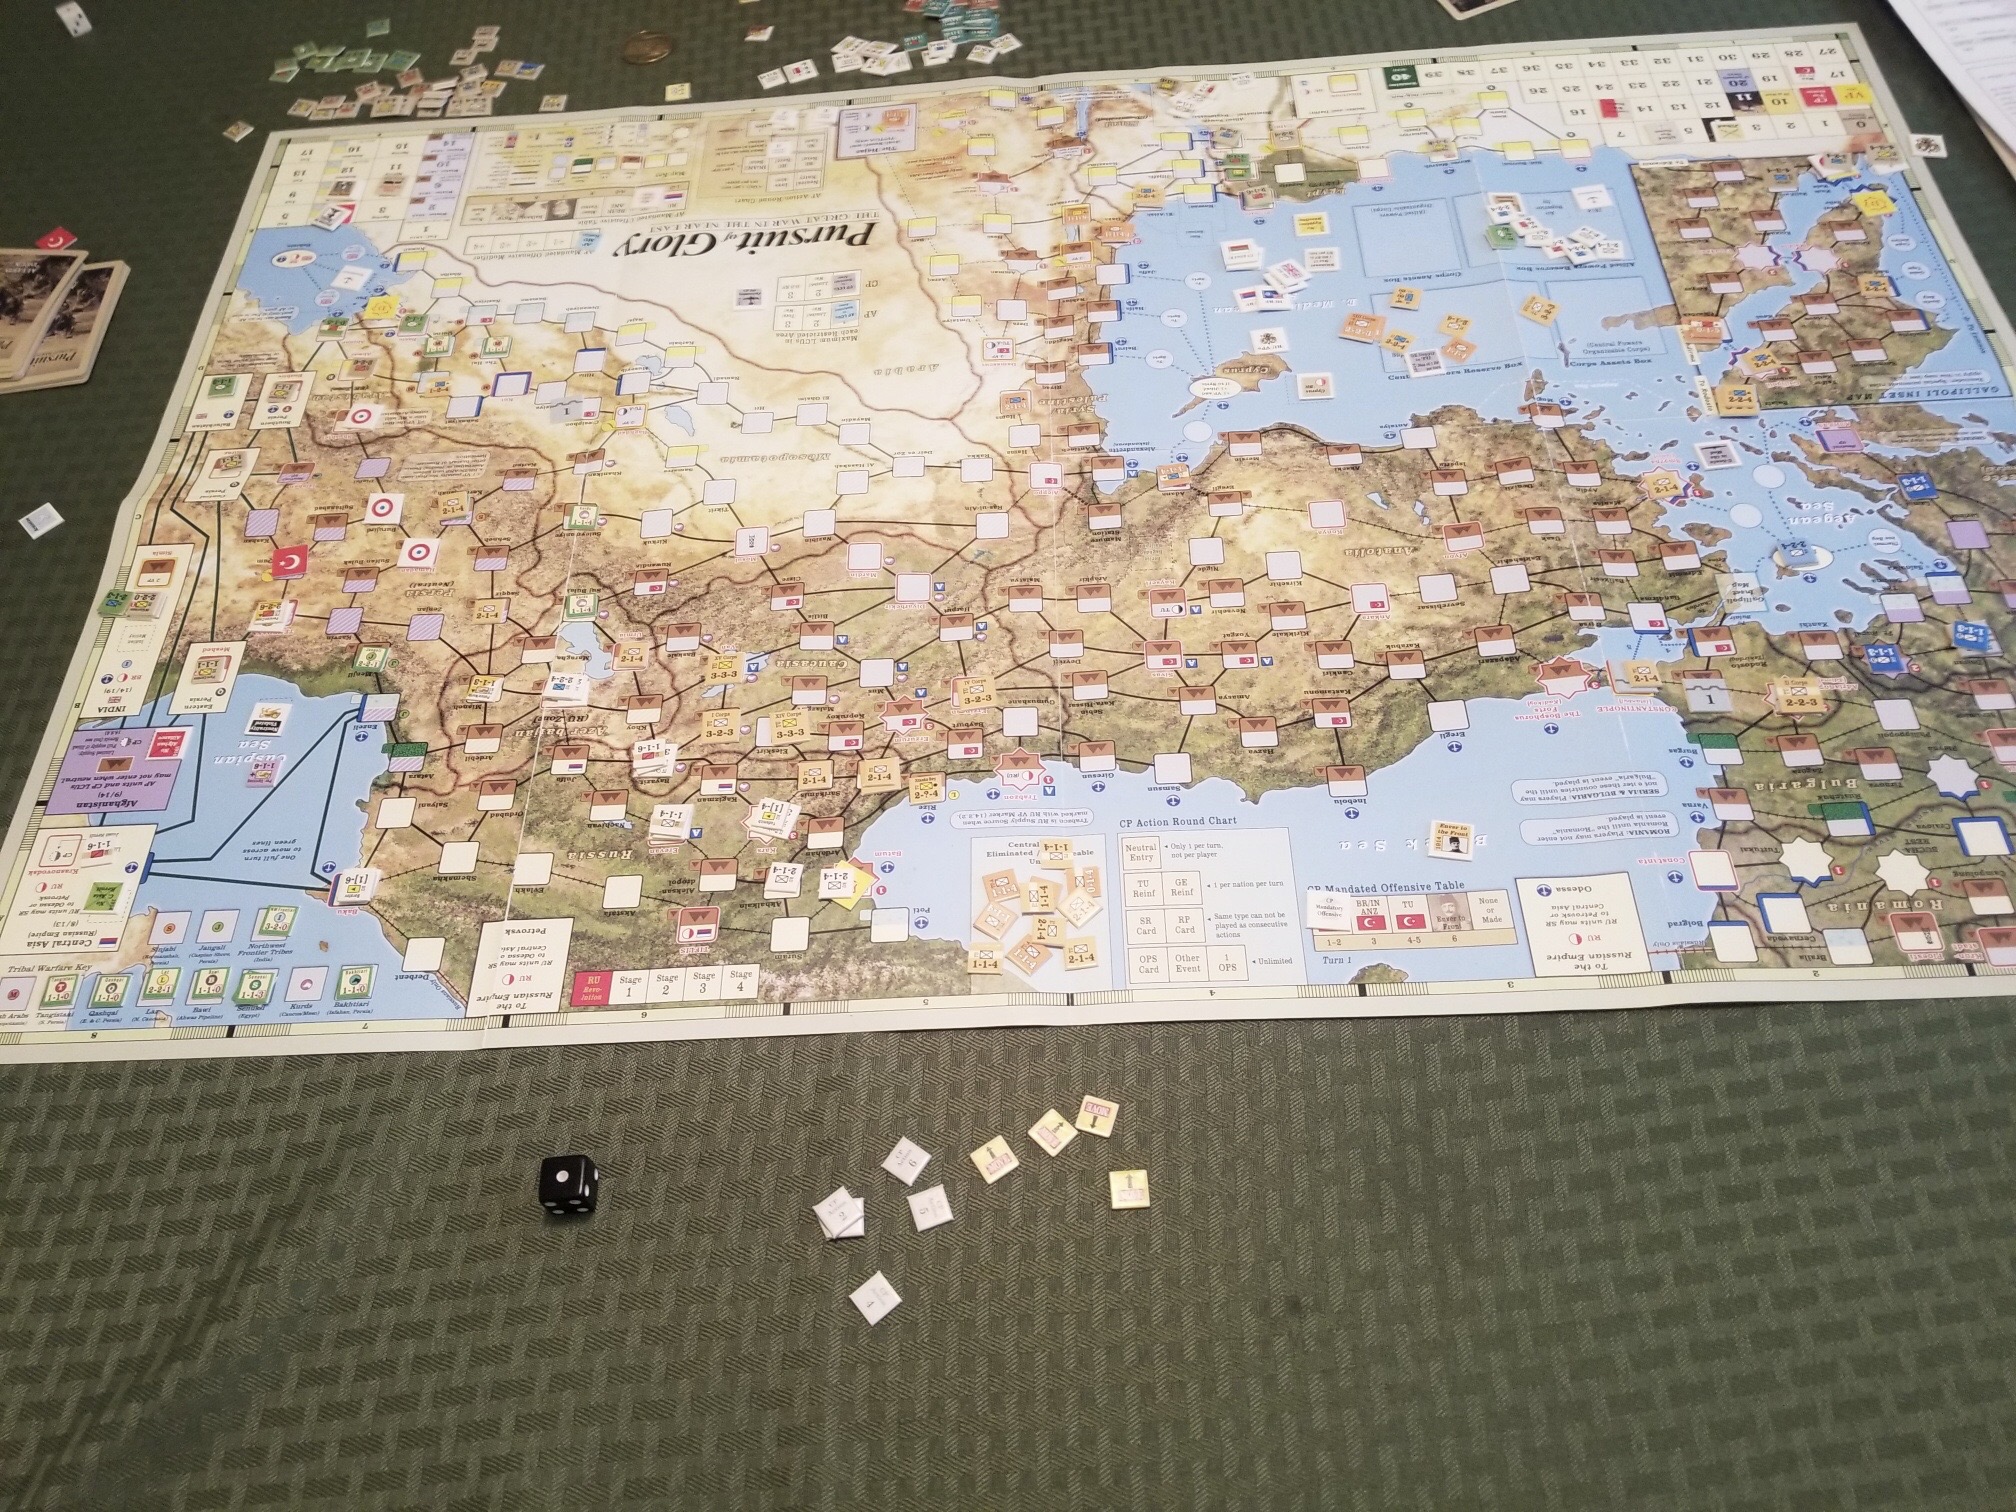
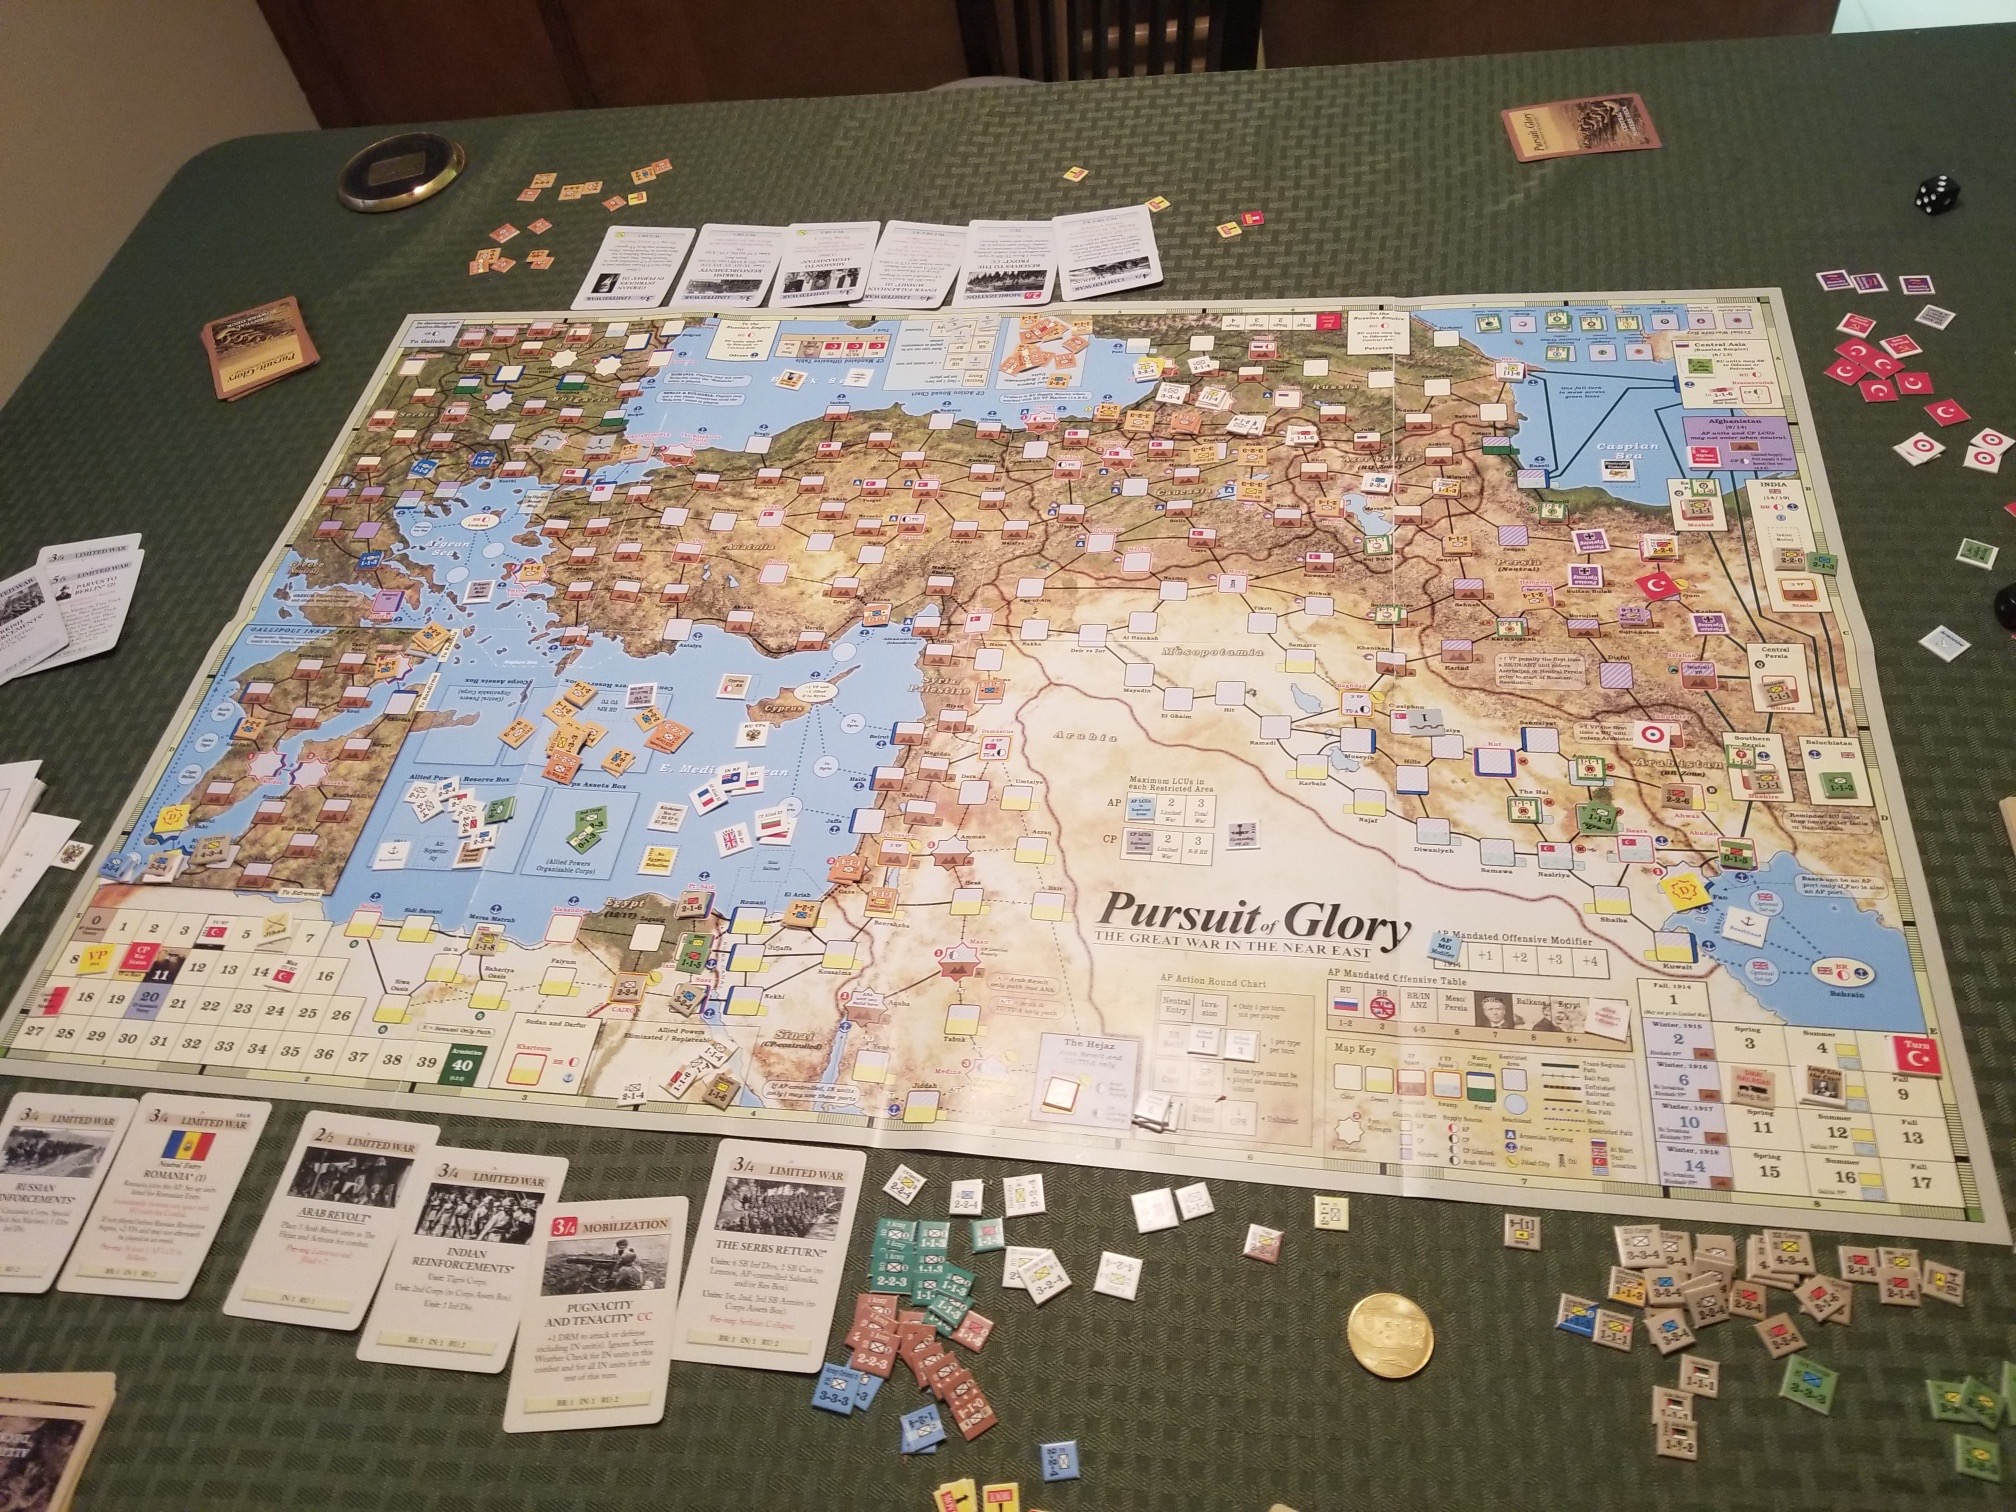
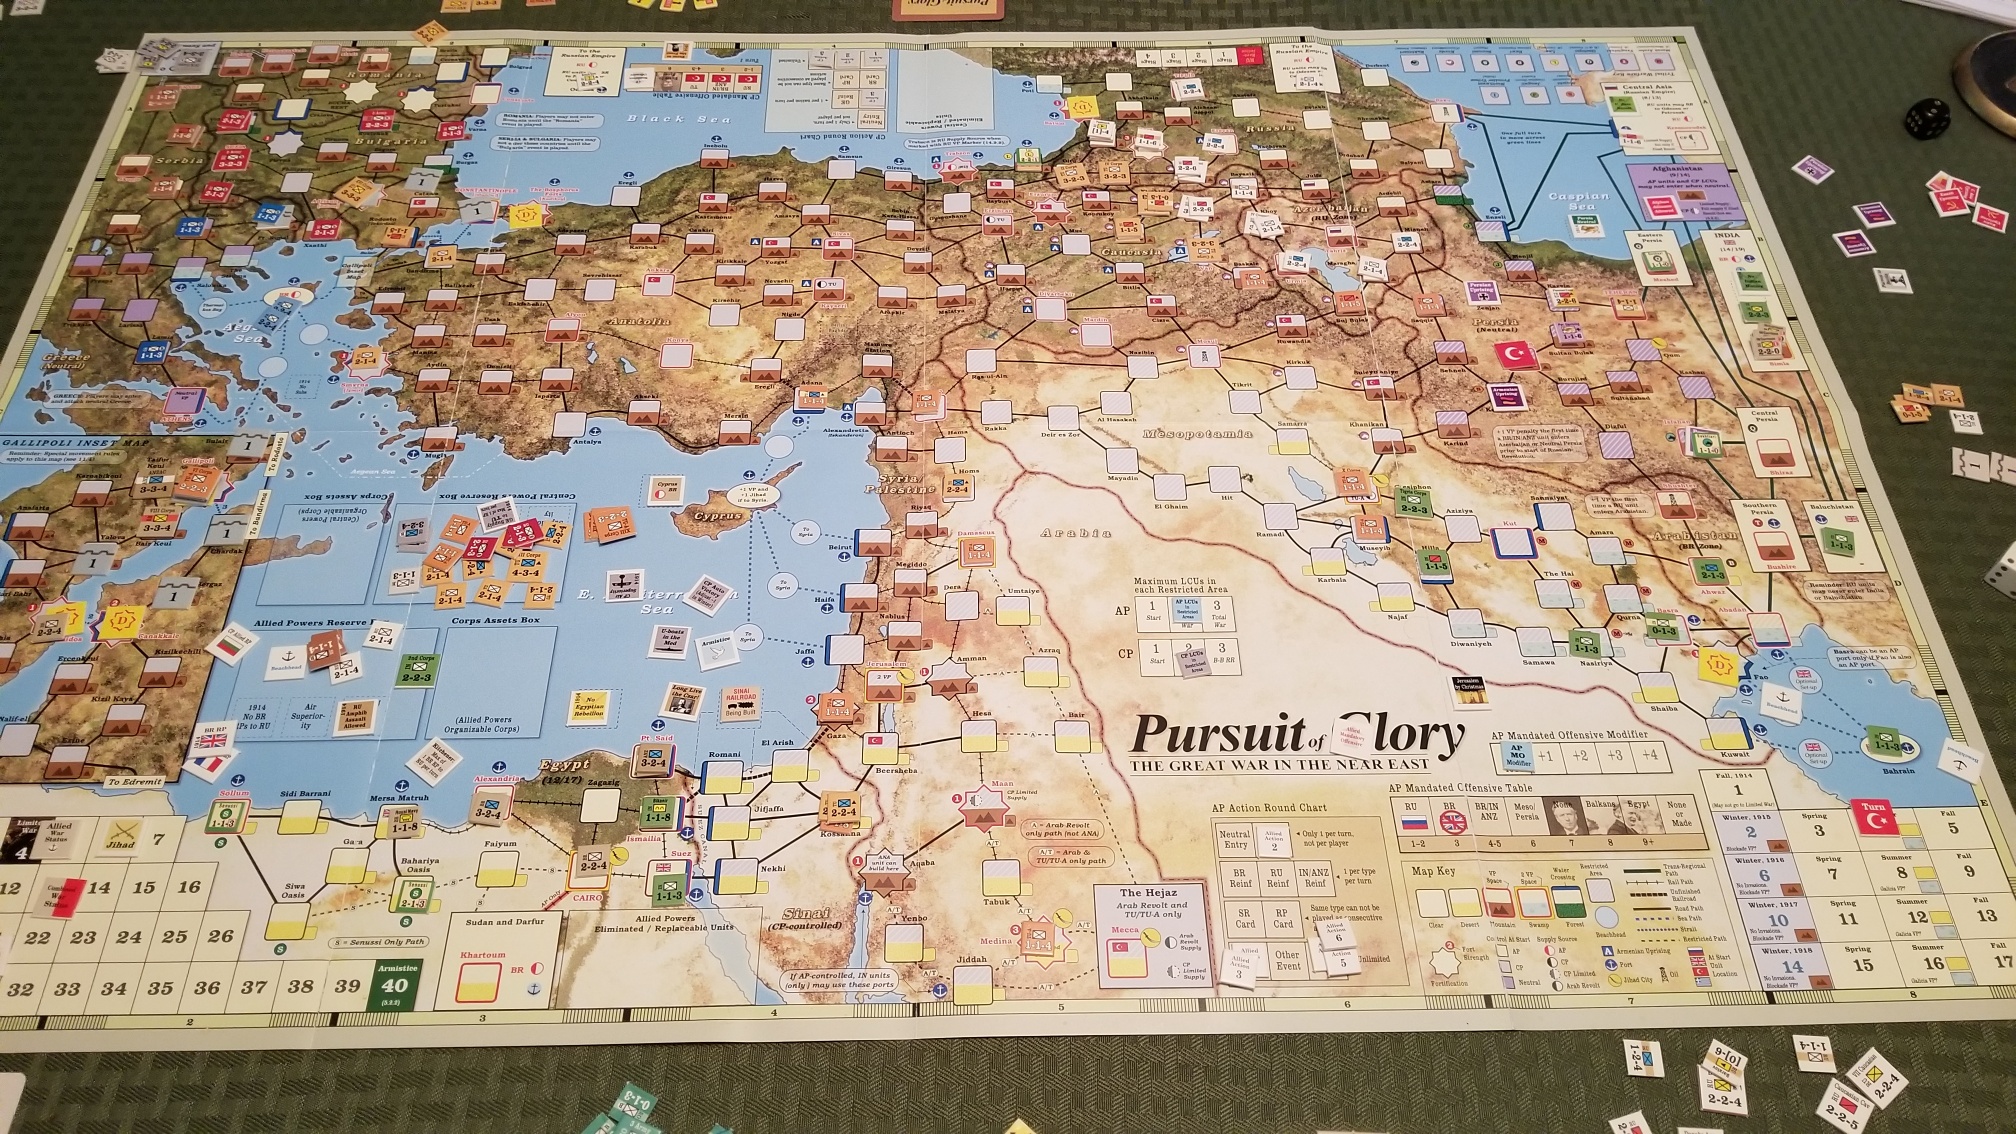
Here’s a shot of the situation at the end of the (first) Fall 1914 Turn. Plot Spoiler: These photos are up to my usual (sub) standard.
I failed to capture the cards played in this photo and, as you will see, it happened again in the Summer 1915 turn. Lack of attention to detail.
My strategy from the outset was to increase the Jihad level as quickly as possible by playing event cards and capturing Jihad cities. Of course, starting the time track towards the Russian Revolution was a priority. I needed the “Parvus To Berlin” card on the table as quickly as possible. From an operational standpoint, I wanted to actively defend my victory point cities in Caucasia. Any loses would delay the revolution. I kept a relatively strong force in Western Anatolia to act as a reserve, especially to counter an Allied amphibious invasion of Gallipoli. One challenge for the Ottomans if reserves are kept there is their rudimentary rail system, limiting their ability to shift troops from one theater to another.
I’ll ask Tim to provide some comments on his strategy and operational intent. From my perspective, he was aggressive in Caucasia, and did an excellent job of wearing down the Ottomans. This is important as the Turks have limited and dwindling replacement opportunities as the game wears on.
During the turn I played the “Goeben”, “Persian Push” and “Pan-Turkism” cards. I was able to destroy the fort at Batum, and the latter two cards started jacking up the Jihad level, and my ability to place dissident tribal units on the map. These tribes can take isolated victory point cities and delay/defend Allied moves in Persia and Mesopotamia.
Tim enjoyed playing the “Enver Goes East” card, forcing me to undertake mandatory attacks at time I wasn’t quite ready for them. He also opened up the Mesopotamia theater by playing the “Russo-British Assault” event. Surprisingly, he played the “Churchill Prevails” (more on this later) event for replacements.
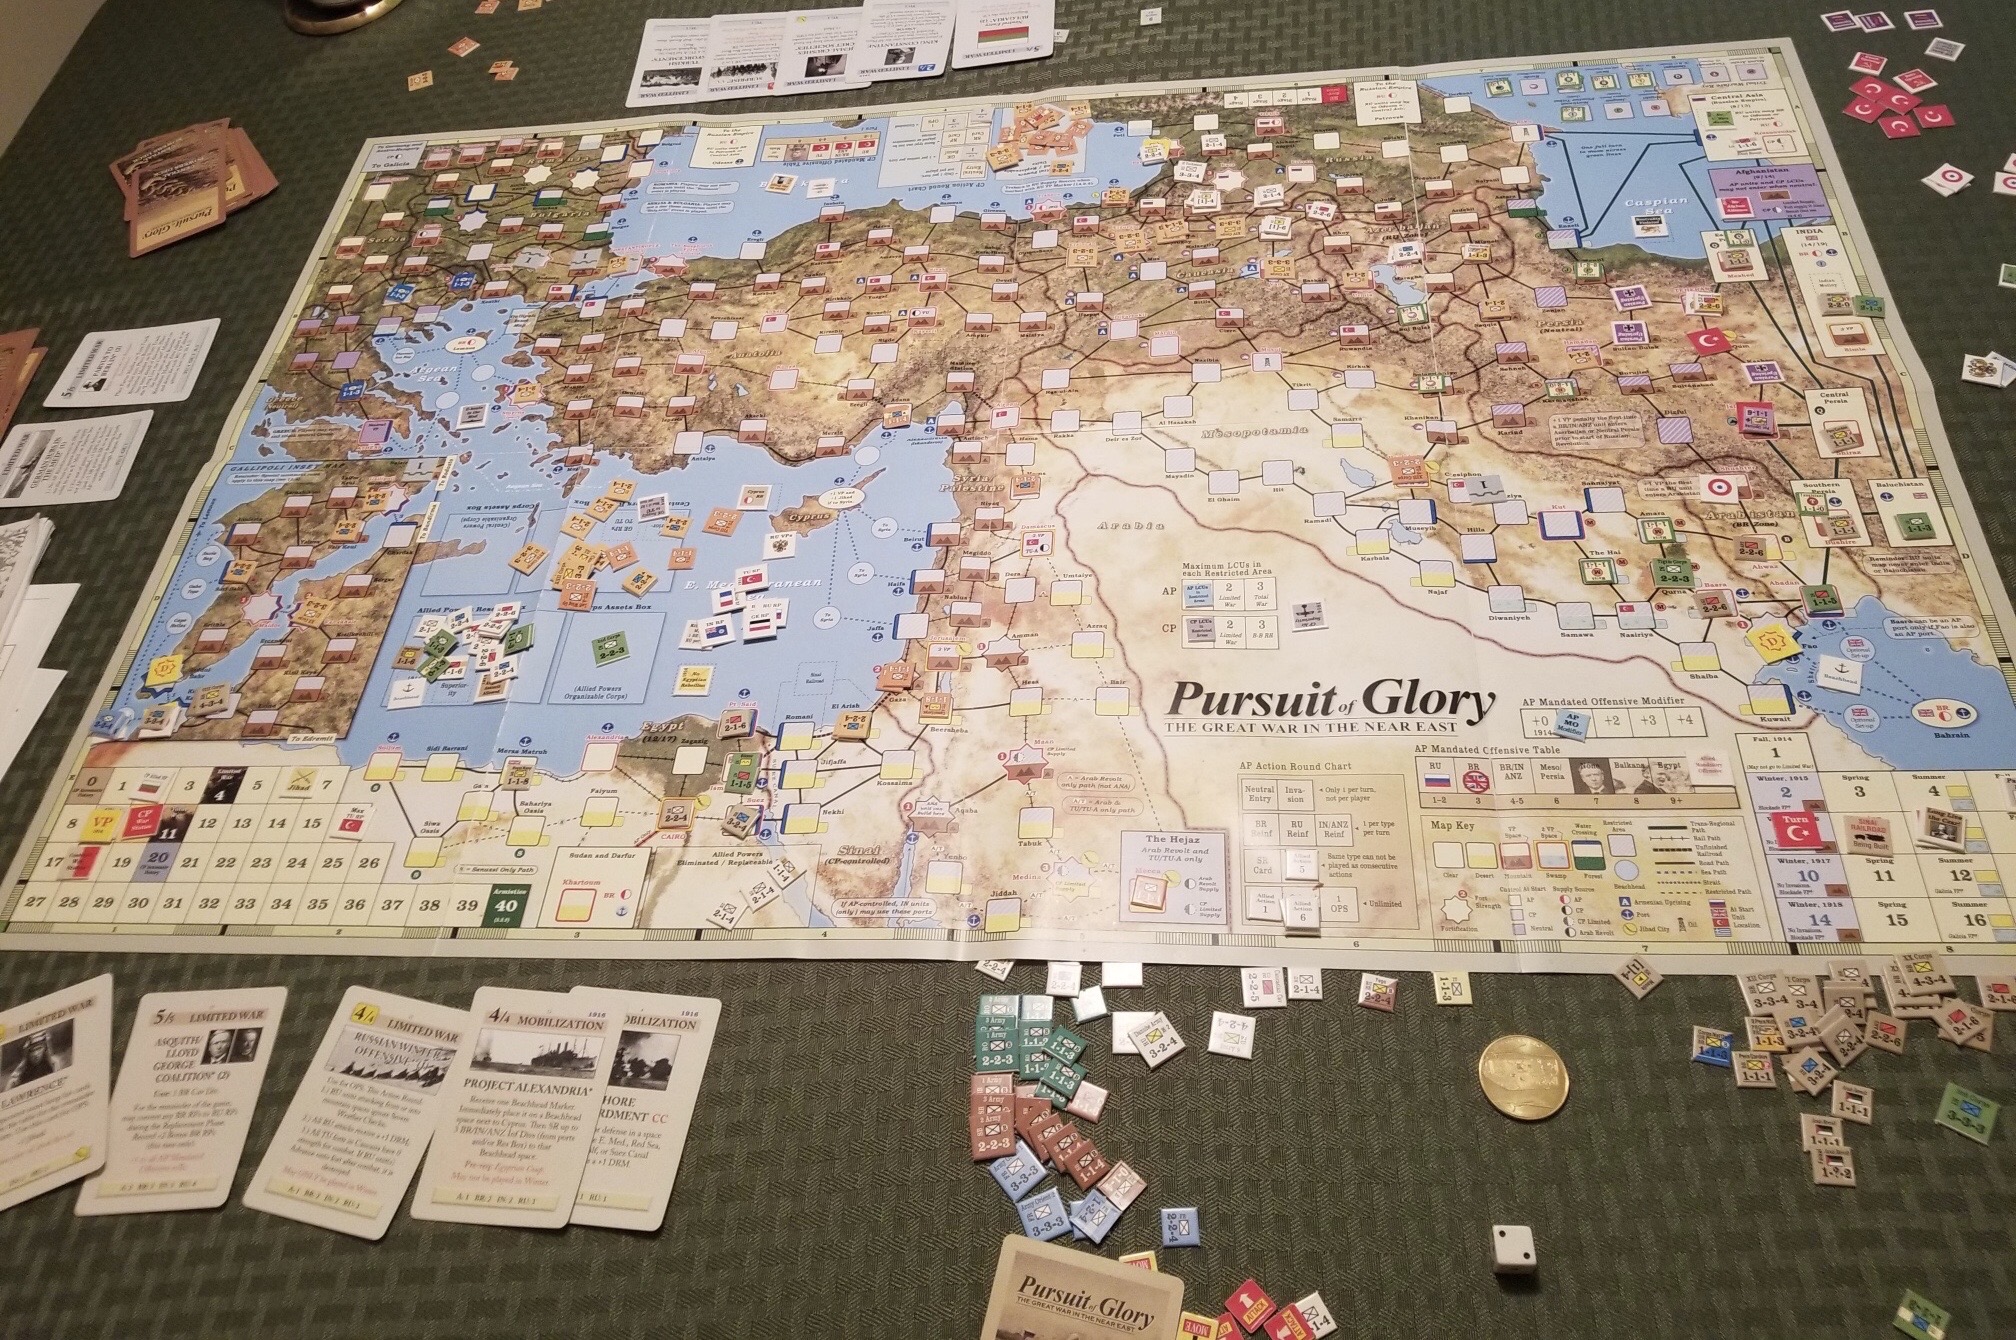
Here’s the situation at the end of the Winter 1915 turn.
The Allies began the turn by playing the “Kitchener” card. This allows the British player to provide the Russians with replacement points. The “Project Alexandria” initiated a build-up of forces in the Aegean. And, it got worse for the Central Powers. The “Royal Naval Blockade” event was played. It “caps” the Ottoman replacement pool at 25 points, with each point taken reducing those available and with a -1 Victory Point (VP) adjustment each winter.
The Central Powers used their cards for operation points to undertake less than successful mandatory offensives and taking advantage of victory point opportunities in Persia.
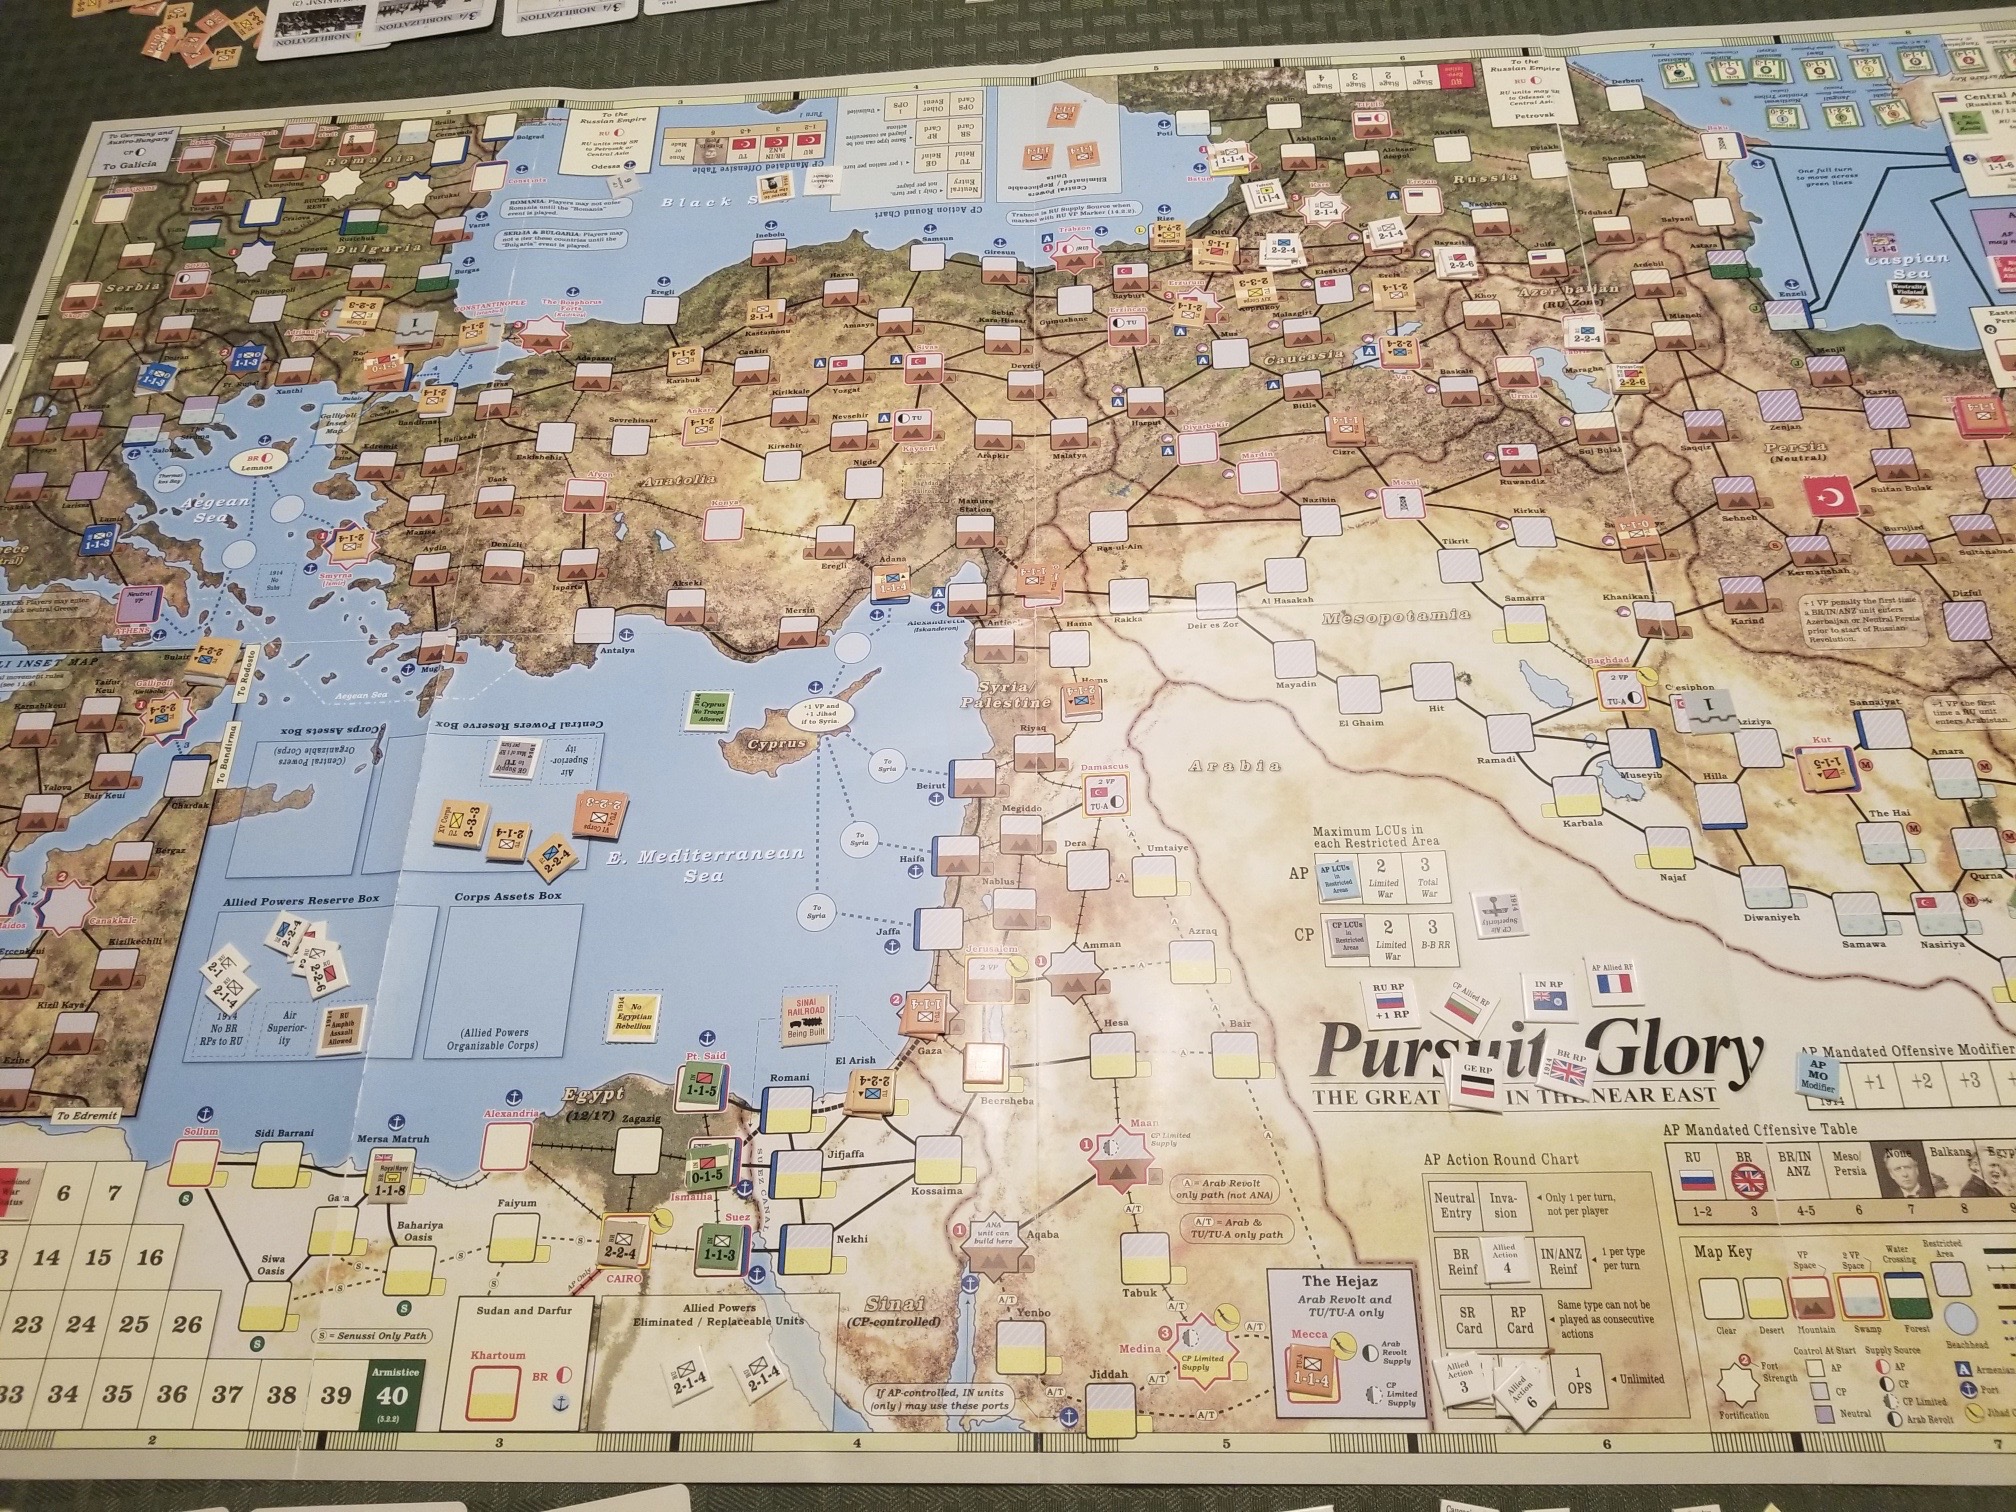
The situation at the end of the Spring 1915 turn is shown below:
During this turn the Allies played the “Churchill Prevails” card, bombarding forts guarding the entry to the Bosphorus. Fortunately, for me, only two forts were destroyed. The “Murray Takes Command” card was also played. This card initiates the construction of the Sinai Railway, required for an Allied corps size unit to participate in any regional offense/defense.
Again, the Central Powers concentrated on operations in Caucasia and Persia, launching a corps eastward into Persia, while playing the “Enver To Constantinople” to reduce the havoc that rascal plays on operational planning.
I’ll leave this fragmented account for now, with a follow-up post later this week.
Back to Portland for a long-awaited replay of the new version of Red Star/White Eagle (RSWE). This Deluxe Edition is published by Compass Games.
Tim and I played the old GDW version several times (follow the tag) and always enjoyed it, despite some serious rules screw ups. We started playing the new version back in early February, but ran afoul of the Super Bowl and some accompanying wackiness.
The Compass edition of this classic Polish-Soviet War game is improved in every way, with a better map, thicker and larger counters (too large for our tweezers), as well as very functional set-up and reinforcement displays. These displays, combined with counters that include campaign set up designations, really help the set-up.
One aspect that hasn’t changed is the very bloody Combat Results Table (CRT). The CRT also allows the attacker to advance multiple hexes after combat. With good die rolls, an aggressive attacker can generate plenty of operational movement with opportunities for deep and wide envelopments.
But, these envelopments must be judiciously evaluated, since they also provide an opponent with opportunities to sever exposed supply lines or cutoff extended units.
Another game element that hasn’t changed, and one that significantly effects (maybe “shapes” would be a better term) play is how zones of control (ZOC) are treated. In RSWE, passing through the ZOCs costs additional movement points. The exact costs are shown on the unit’s counter. Also, enemy ZOCs cut supply lines, and the presence of friendly units doesn’t offset the effects of enemy ZOCs.
The attractive and functional map is divided into Soviet South and Southwest Fronts. The central area is heavily wooded, while the topography to each side is both sides is open, but with river barriers, especially in the South Front. Soviet units must remain in their respective fronts, and cannot be transferred from one front to another.
The game abstracts concurrent Soviet operations against White Russian forces. The primary tool for this is a mandatory “stand down” for the South Front units. During this stand down, these units cannot attack Polish forces unless Polish attacks occur, and then, only on a one-for-one basis. There are also mandatory unit withdrawals representing other developments during the Russian Civil War.
April IV (1920) the first of the weekly campaign turns. The Soviet player conducts his reinforcement/replacements, movement and combat first (except for the April IV turn!).
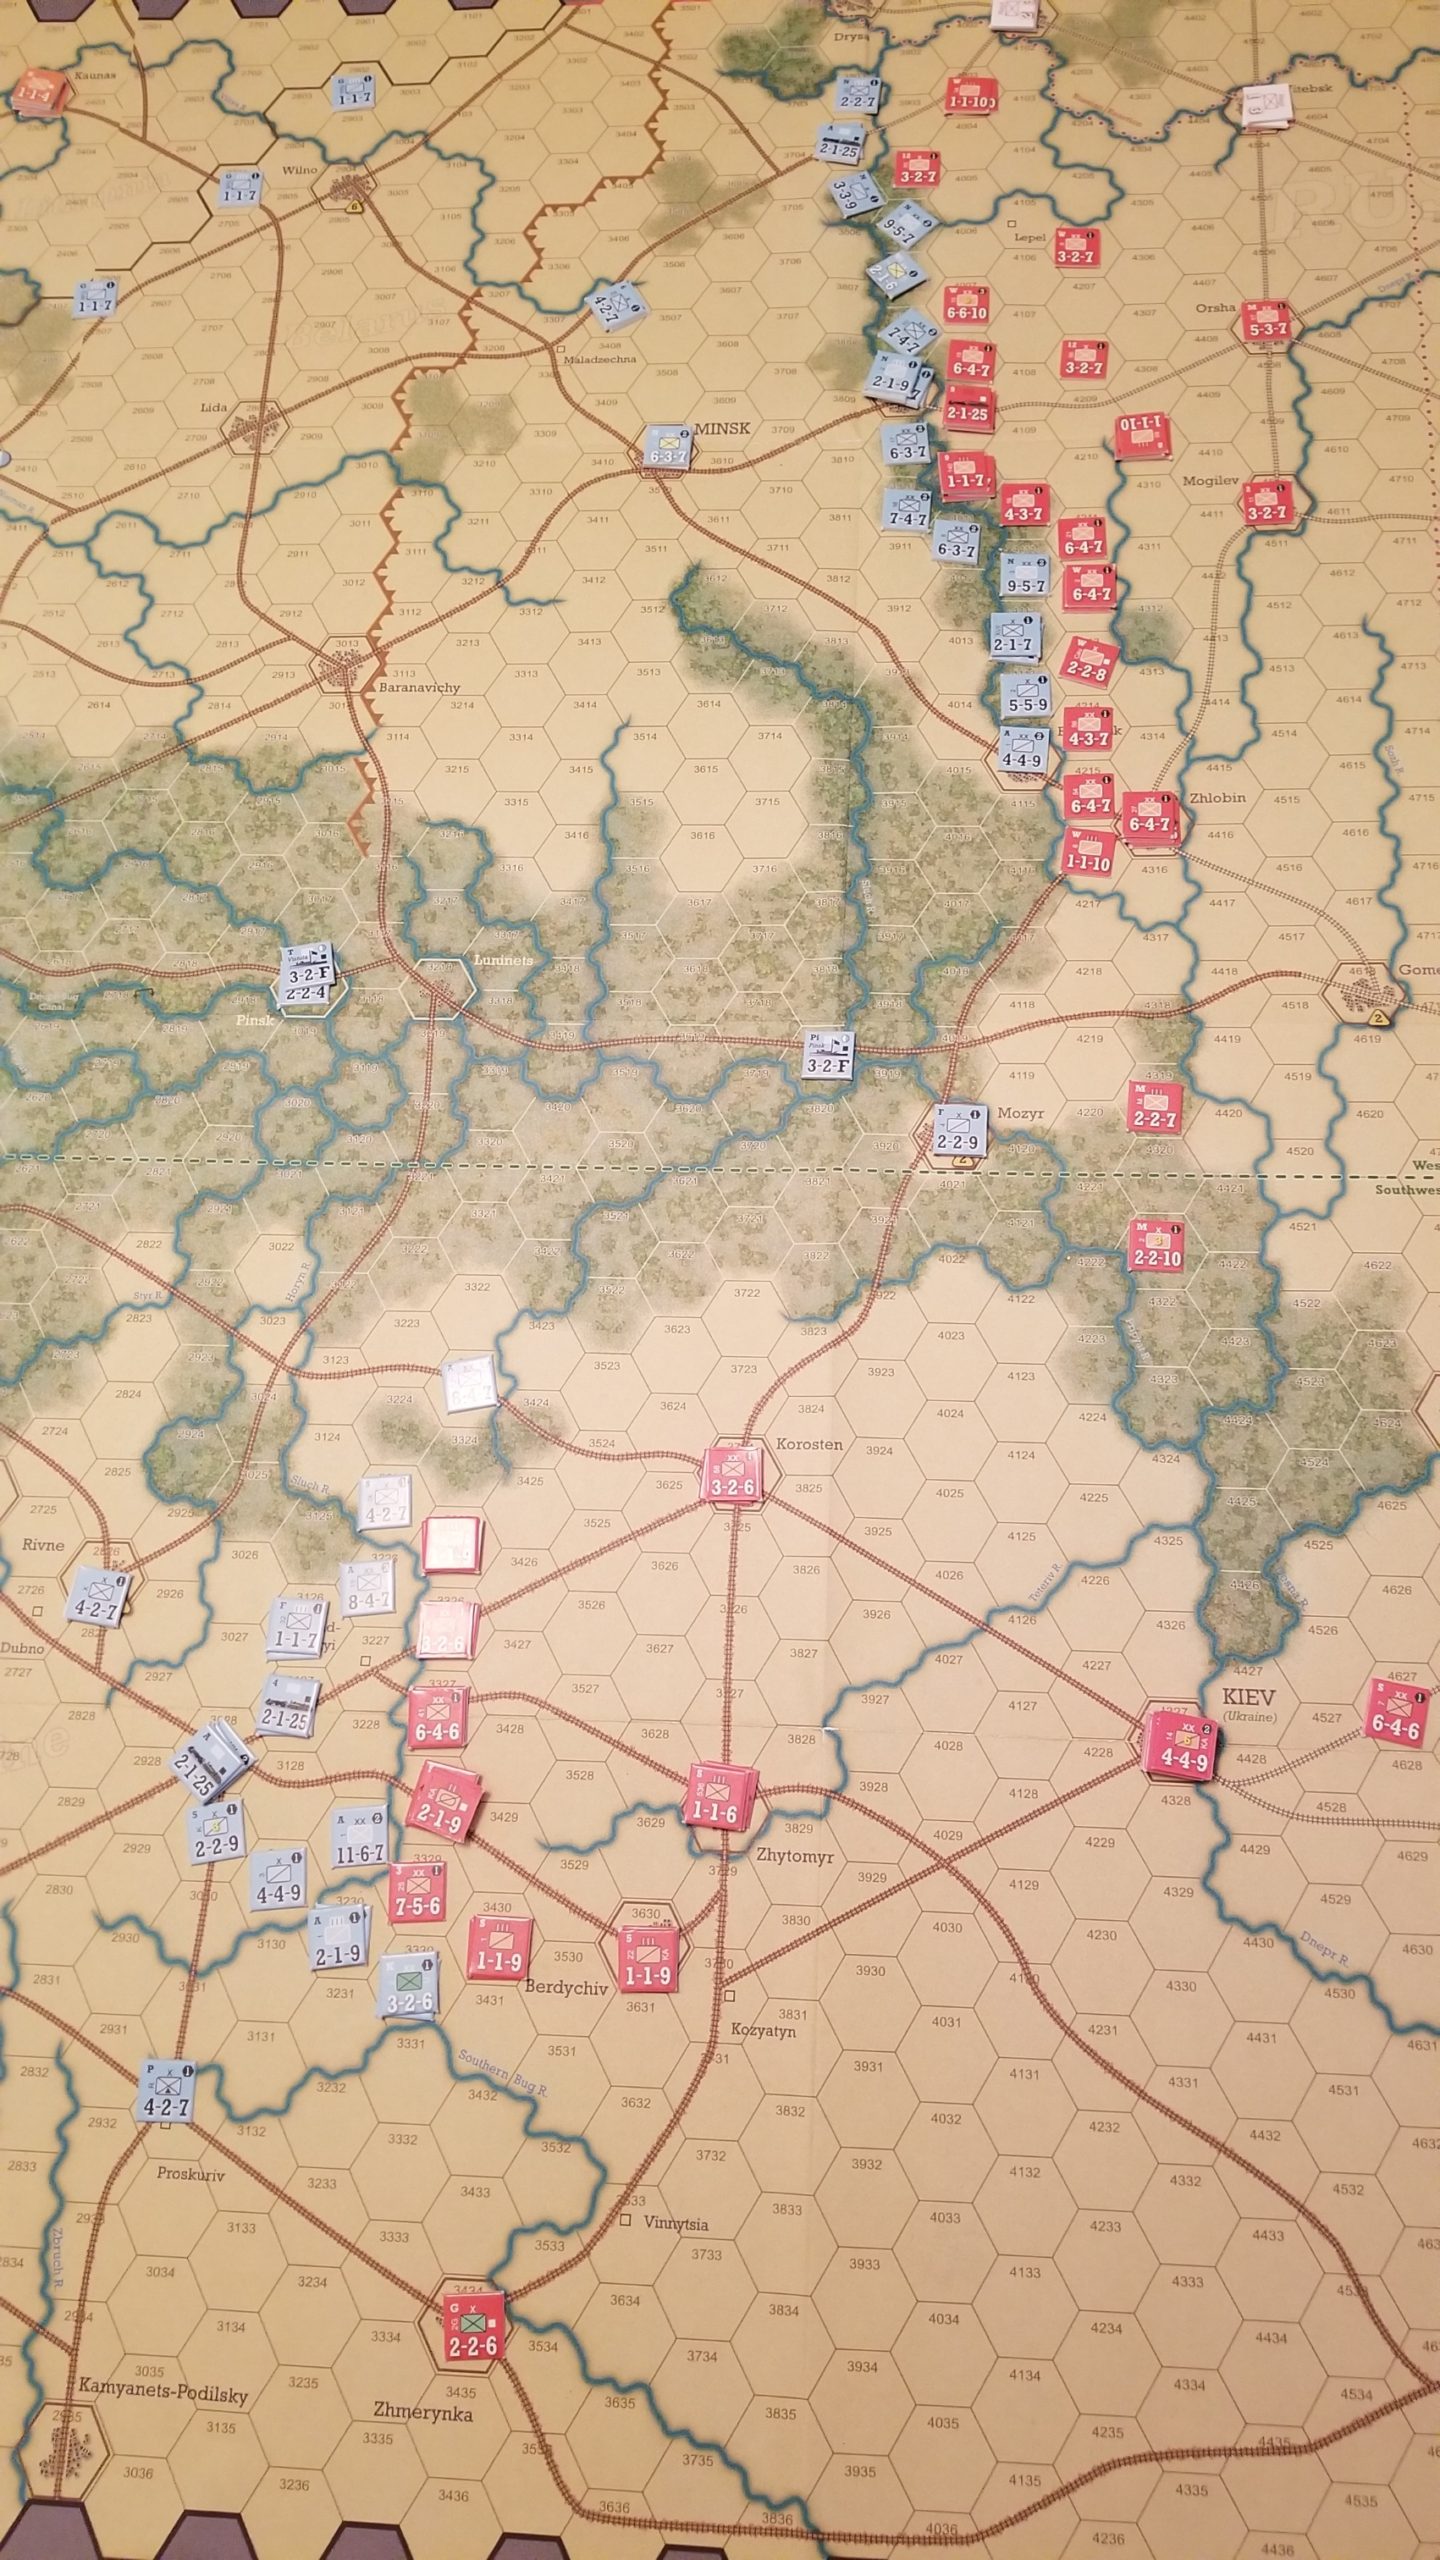
The Polish player has the initiative for the first few turns. The Soviet player must initially cover each hex along both fronts with either a unit or a ZOC; a very real Thin Red Line. The Poles set up last and can pick and choose where to attack. This creates several opportunities, especially around Kiev in the Southwest. Taking Kiev produces victory points as well as Ukrainian reinforcements. But any advance beyond Kiev faces a flood of Soviet replacements and reinforcements.
The management and placement of these replacements (within their assigned Front) is a critical aspect of the game, allowing the Soviet player to not only stabilize the Southwest Front, but also counterattack, especially after the arrival of the First Cavalry Army (Konarmia).
Replacements arrive as generic units placed either on the map, to rebuild reduced (divisions and some brigades have full strength and reduced combat values) units, or held off map to recreate eliminated units during the next turn.
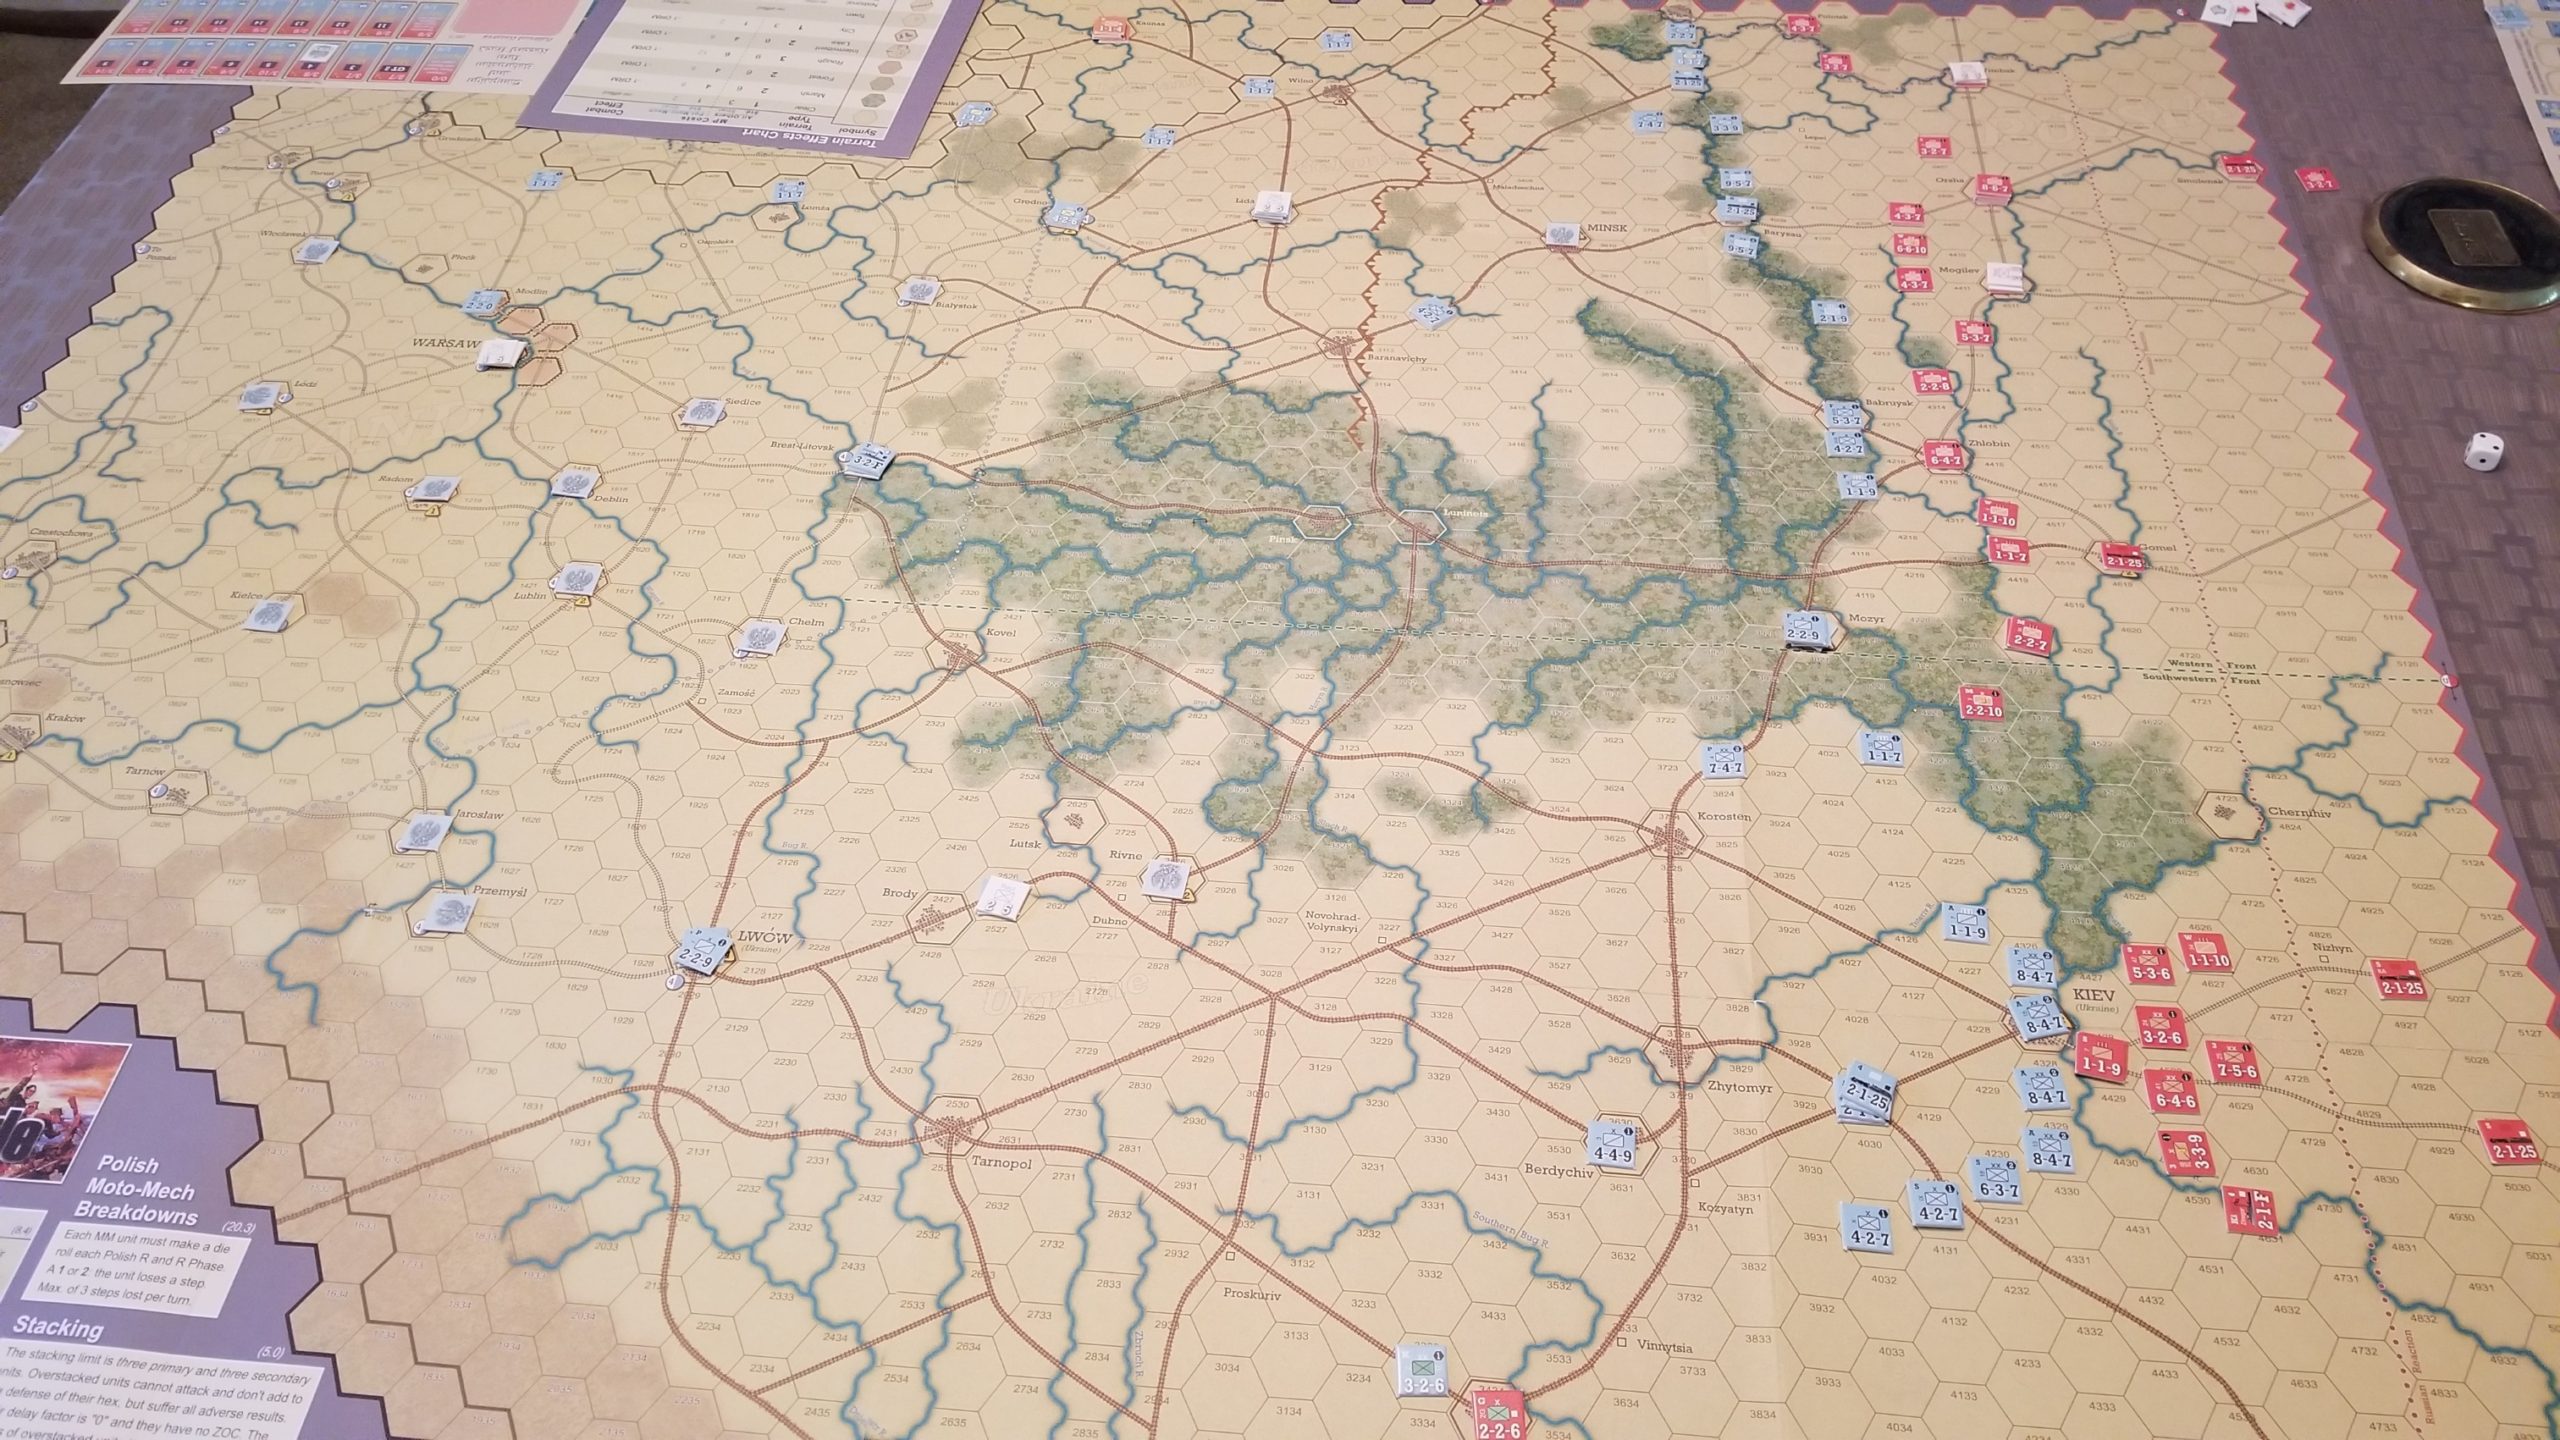
Here is a quick visual summary of our game.
End May 3 Turn
The Poles are in Kiev (lower right hand corner), with the Soviets cobbling together a cordon defense.
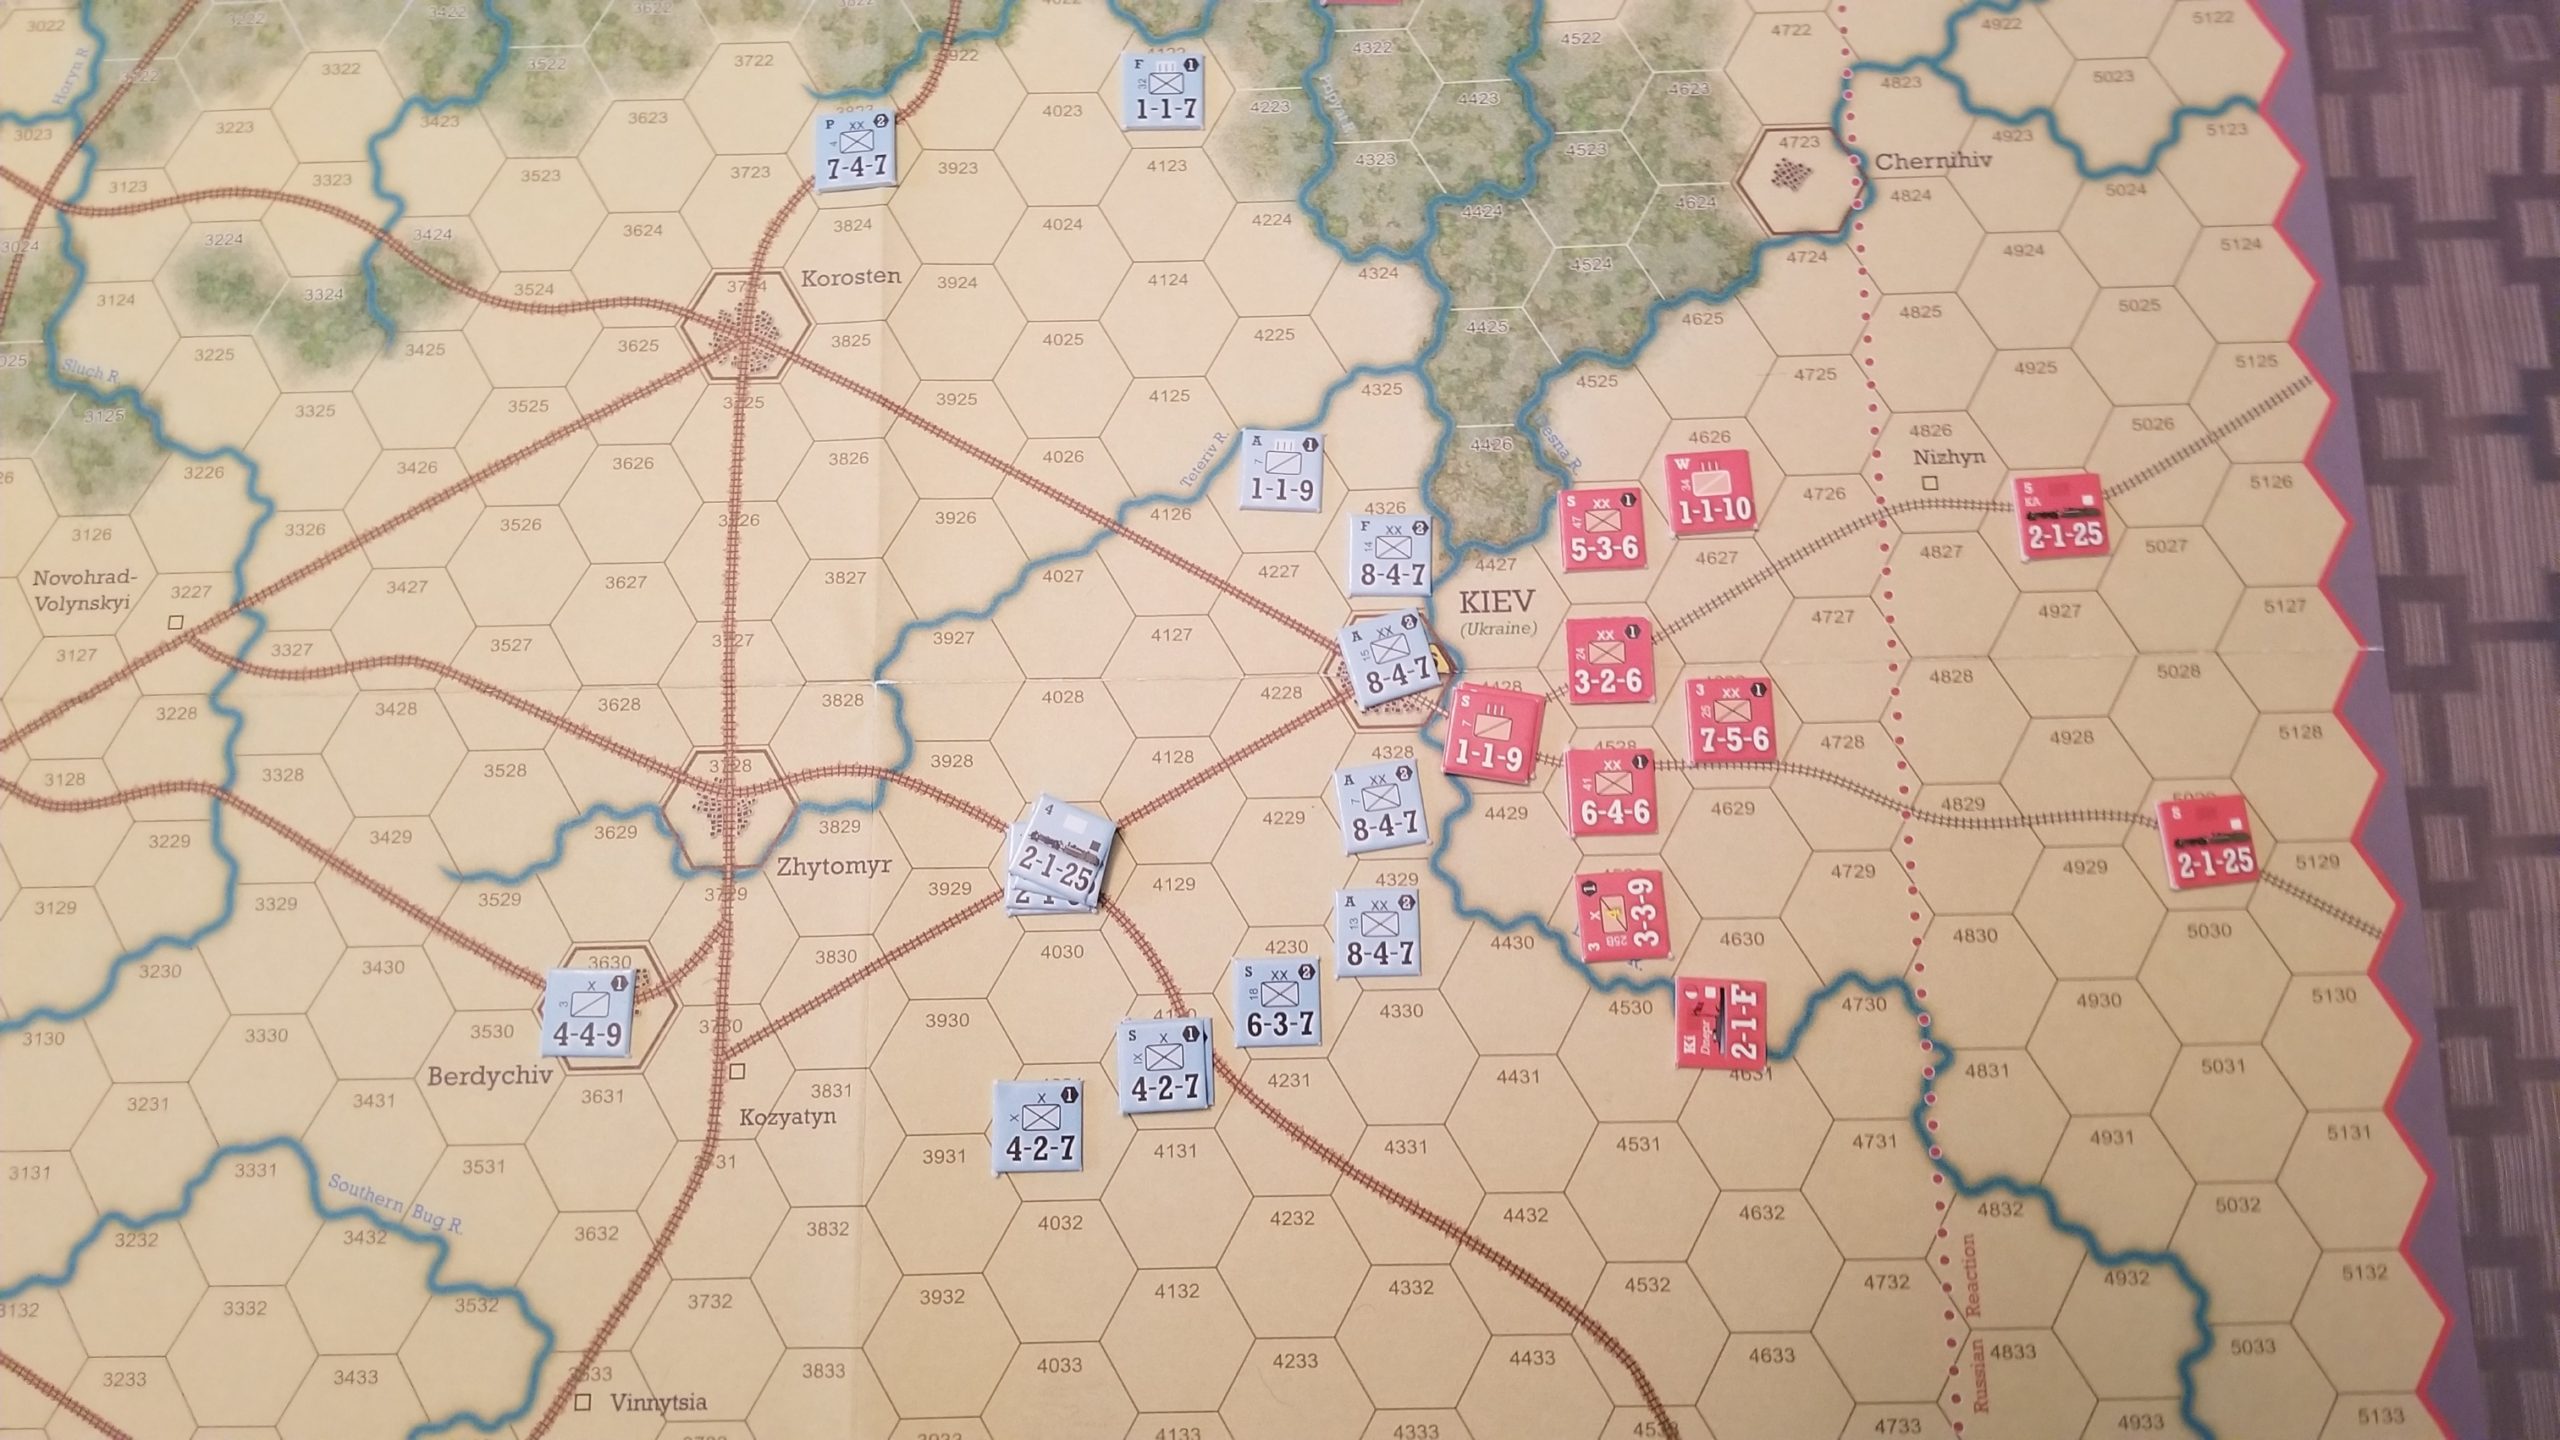
End May 3 Turn – Southwest Front Only
Armored trains cannot be rebuilt and are kept out of harm’s way until they can be productively used.
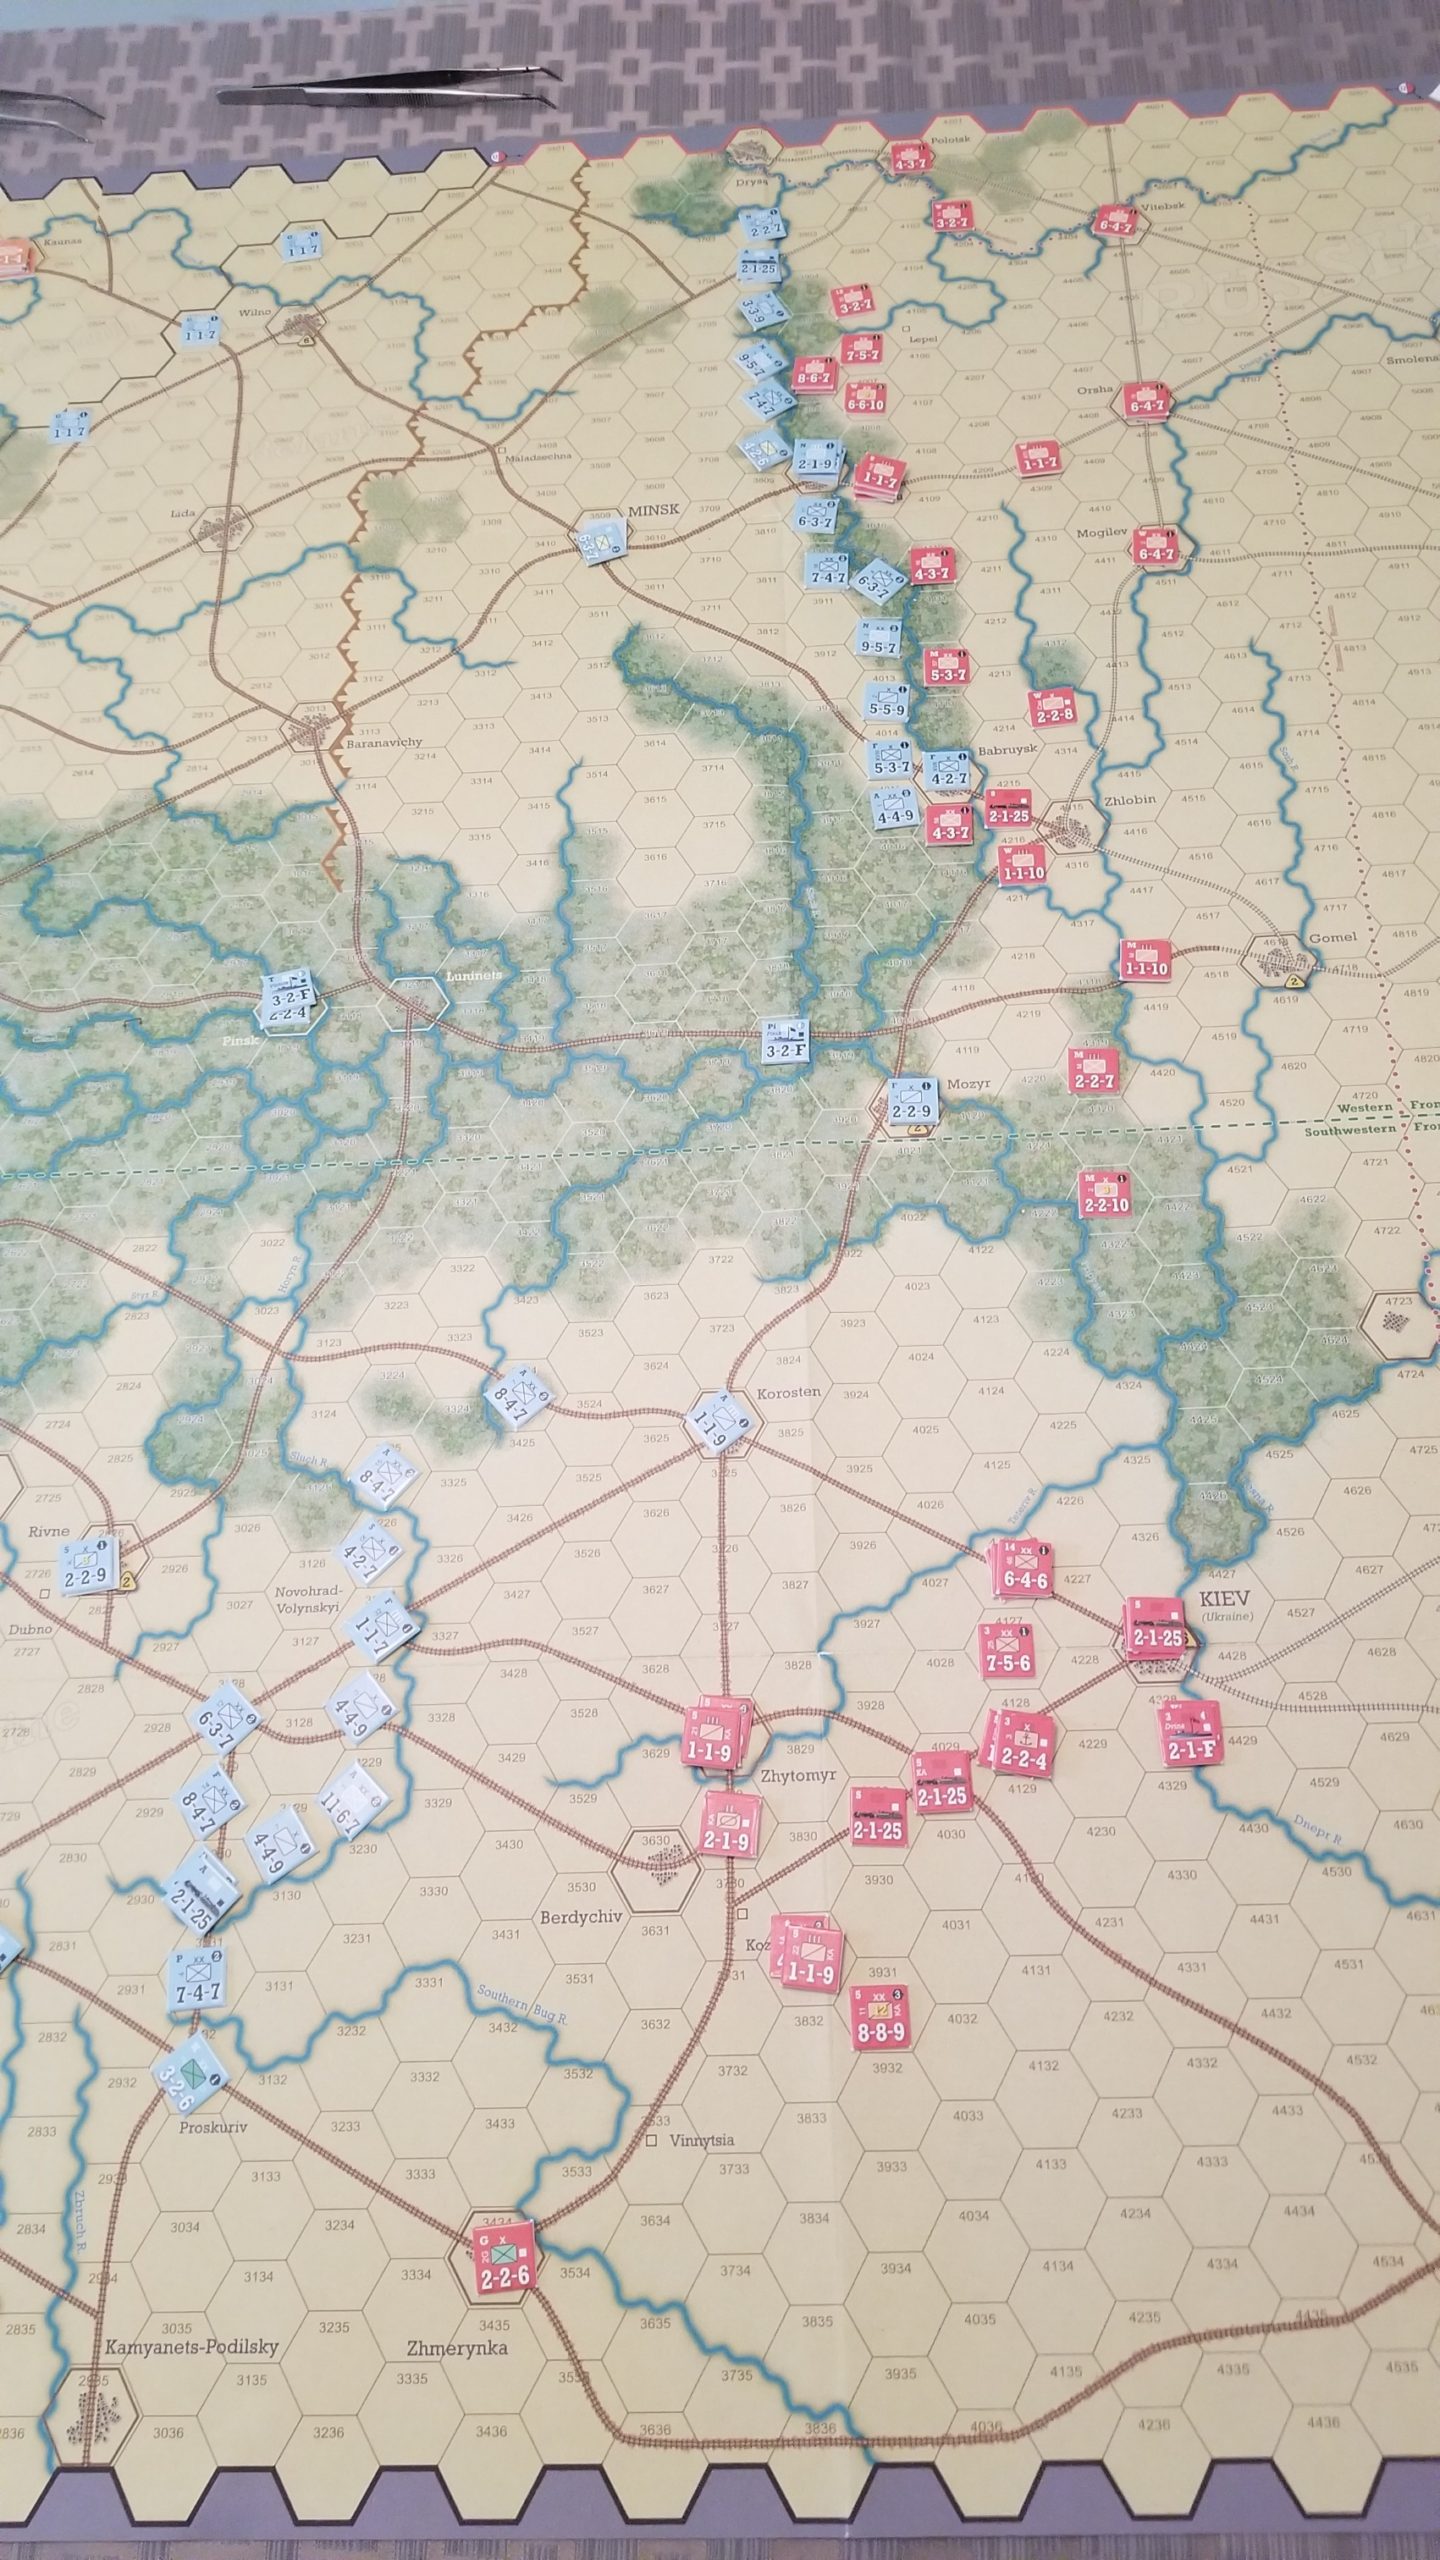
End June 1 Turn
The Poles have pulled back from Kiev, anticipating the arrival of the First Cavalry Army.
End June 3 Soviet Turn
Fighting now taking place along the river lines. The Soviet player now has the First Cavalry Army on the map.
A big meal and a tendency to bullshit led to an early end of play. A rematch is scheduled for the second week in June.
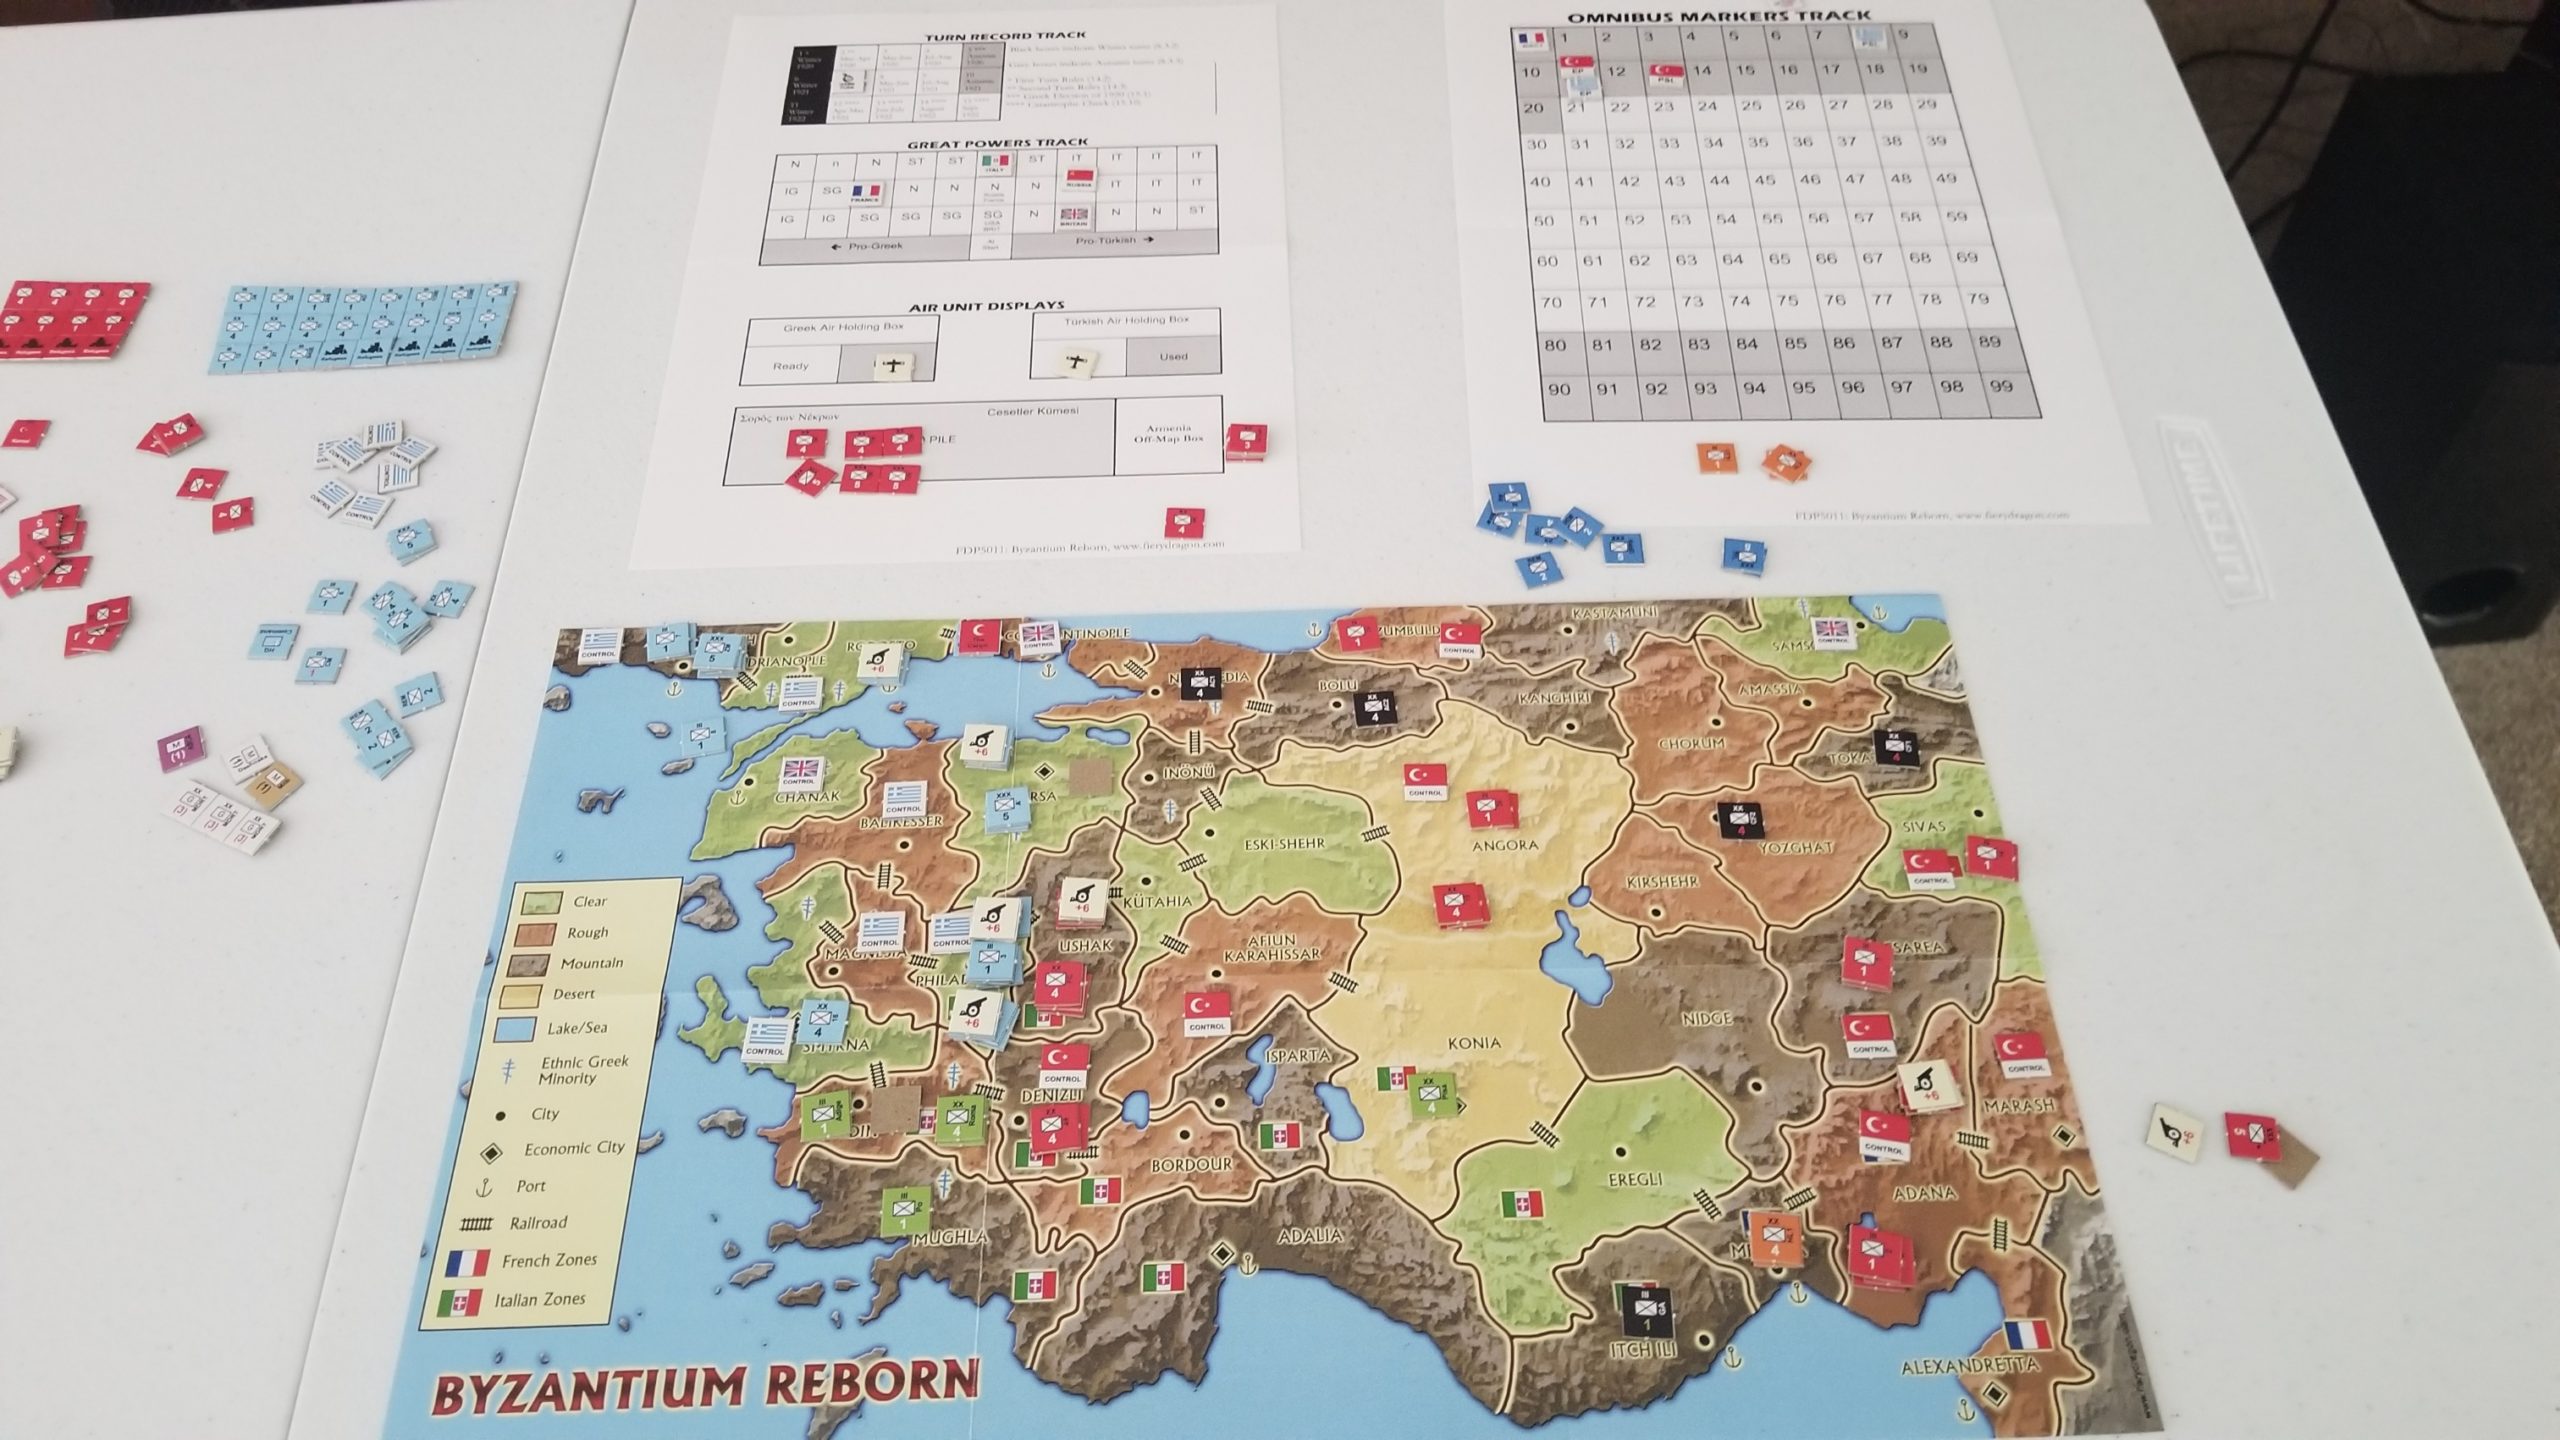
This “mini-game” published by Fiery Dragon covers the 1920-21 fighting between Greece and Turkey. The game was originally published by Micro Game Design Group. Here’s link to the BGG page: https://boardgamegeek.com/boardgame/13290/byzantium-reborn
This interesting R. Ben Madison design lends itself to solitaire play. Small footprint, not many counters, but real breadth to the rules. Well, maybe not breadth as much as layers of chrome. But it is good chrome. The examples of play are done in a narrative style. I prefer procedural examples.
It is a different type of system, and although the rules are laid out in game turn squence, there is quite a bit of page flipping early on to get comfortable with terminology, minor pieces of chrome, and general game flow.
The game isn’t as much about combat, but resource and allies management. Combat is a means to increase your resources through occupying regions (Vilayets), but the real challenge is to gain allies that will intervene in the conflict and/or deny your opponent this support. Your allies provide Equipment Points (EPs) used for the purchase of combat units/assets.
Each turn consists of a Random Events Phase, Political Phase, Greek Player Phase – which includes Battlegroup Step, Strategic Movement Step, Movement Step, Combat Step and Recovery Step. There is a Second Random Events Phase, Strategic Phase, and then the Turkish Player Phase, which repeats the Greek Player’s steps.
Random events influence potential Ally behavior and the ability to gain/lose Political Support Points (PSPs) and EPs. During the Political Phase, players can expend PSPs to “buy” increased support, or reduce their opponents political support. Again, this support influences the ability to gain EPs which can be used to build or rebuild ground units, or bid for Asset Points (APs), represented by air and artillery units which serve as force multipliers during combat.
This purchase of APs is done on a bidding basis which I initally had trouble with. Likewise, the increased allocation of PSPs can be used to enhance the chances of moving one of the European powers involved in the conflict (Italy, Great Britain, France, Soviet Union and, to a much lesser extent, The United States), from Neutrality to Support and finally to Intervention. Support and Intervention generate different levels of EPs
The Battlegroup step is simply organizing one’s forces for combat in each of the Vilayets (regions) controlled. Strategic movement involves rail or naval movement, and Movement is between Vilayets to either occupy for resources or to set up combats. Combat is a dice fest, without the use of a Combat Results Table (CRT). The Recovery step involves rallying unit disrupted in combat.
As pointed out in an earlier review, the game does involve a significant amount of luck, as embodied in the Random Events table. But, the events are based on historical actions or probabilities/possibilities, and for solitaire play that’s not a bad thing.
As you might sense from my description of the game, it took some time to grasp the differences between PSPs, APs, and EPs as well as the methods for their use. The bidding for assets and use of dice for combat also involved a learning curve.
However, the effort was worth it. This is a good game, with an interesting system, that provides an enjoyable gaming experience.
Here’s a picture of it on a card table. Gives a sense of size.
Finished up a weekend session with Tim. We made it to Summer 1917 (I think), and then packed it up. While my Central Powers armies were not defeated, we certainly weren’t in good shape.
For some reason, I couldn’t get the Caucasus Theater figured out, and Tim’s Russians were able to grab some crucial victory points, stalling the Russian Revolution. That event is critical for the Central Powers’ fortunes, as it will knock Russia out of the war, and the Ottoman Empire’s dwindling resources can be used to stop the British Empire.
The Empire got off to a good start Its naval units ran the gauntlet of forts guarding the approaches to Constantinople, destroyed them and even bombarded the city. Tim followed this success up with a landing, and prevailed in a long series of battles in and around Gallipoli.
Although I was able to knock Serbia out of the war, and open a rail connection to Germany’s resources, I couldn’t capitalize on this success, or maintain any pressure along the eastern periphery of the British Empire. My revolts in Persia and approaches to Afghanistan never amounted to much, and Tim was able to deploy sufficient Russian units to turn that into a strategic cul-de-sac.
Here’s a quick situation picture before the wheels started coming off.
By the way, although he and I have played the game several times, I’ve never posted up about it. Here’s a link to this highly regarded game’s page.