I’m now in the Belly Of The Beast.
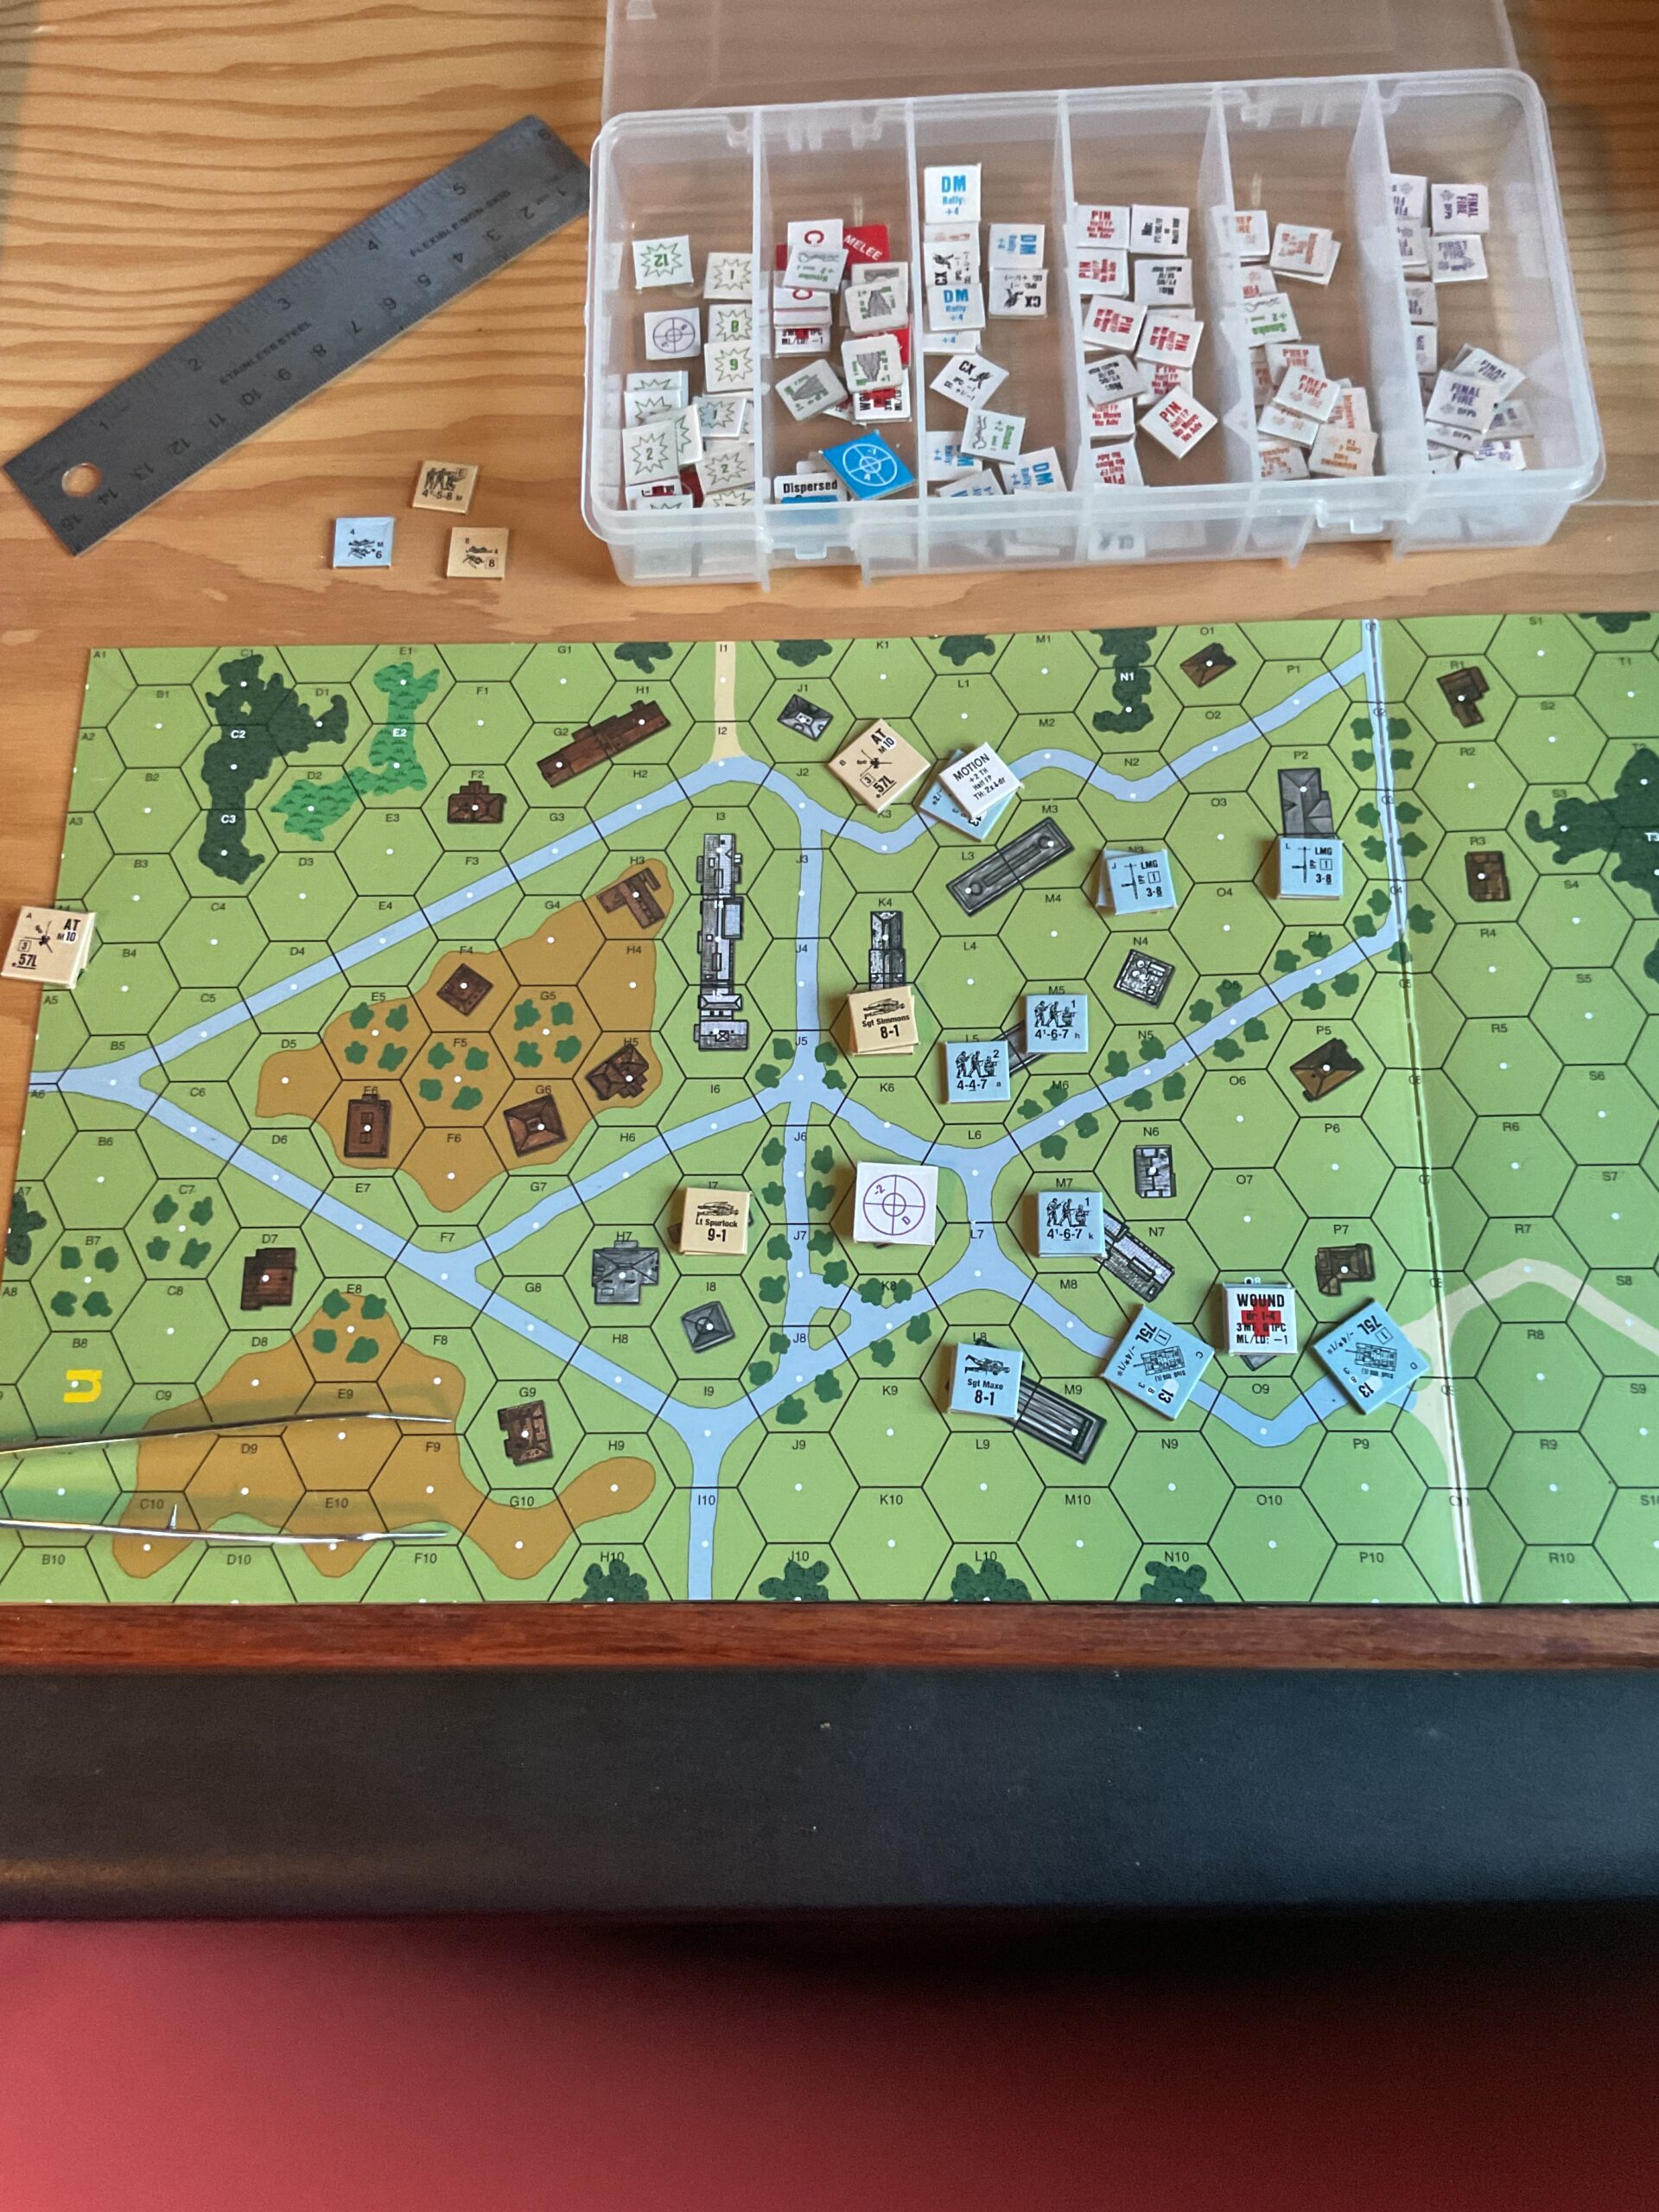
Had my first “real” armor encounter since really (yes, really) reading the rules. Painful. All the new acronyms, modifiers (24!), with counter clutter beyond belief. Yes, the counters do contain a lot of information, but how to remember/decipher it all? That will take time, and time, and time, and time. I now truly understand why some Gamers (See Grumble Jones) play literally nothing but ASL/ASLK. It’s self preservation. Too many rulesets at once melt the brain.
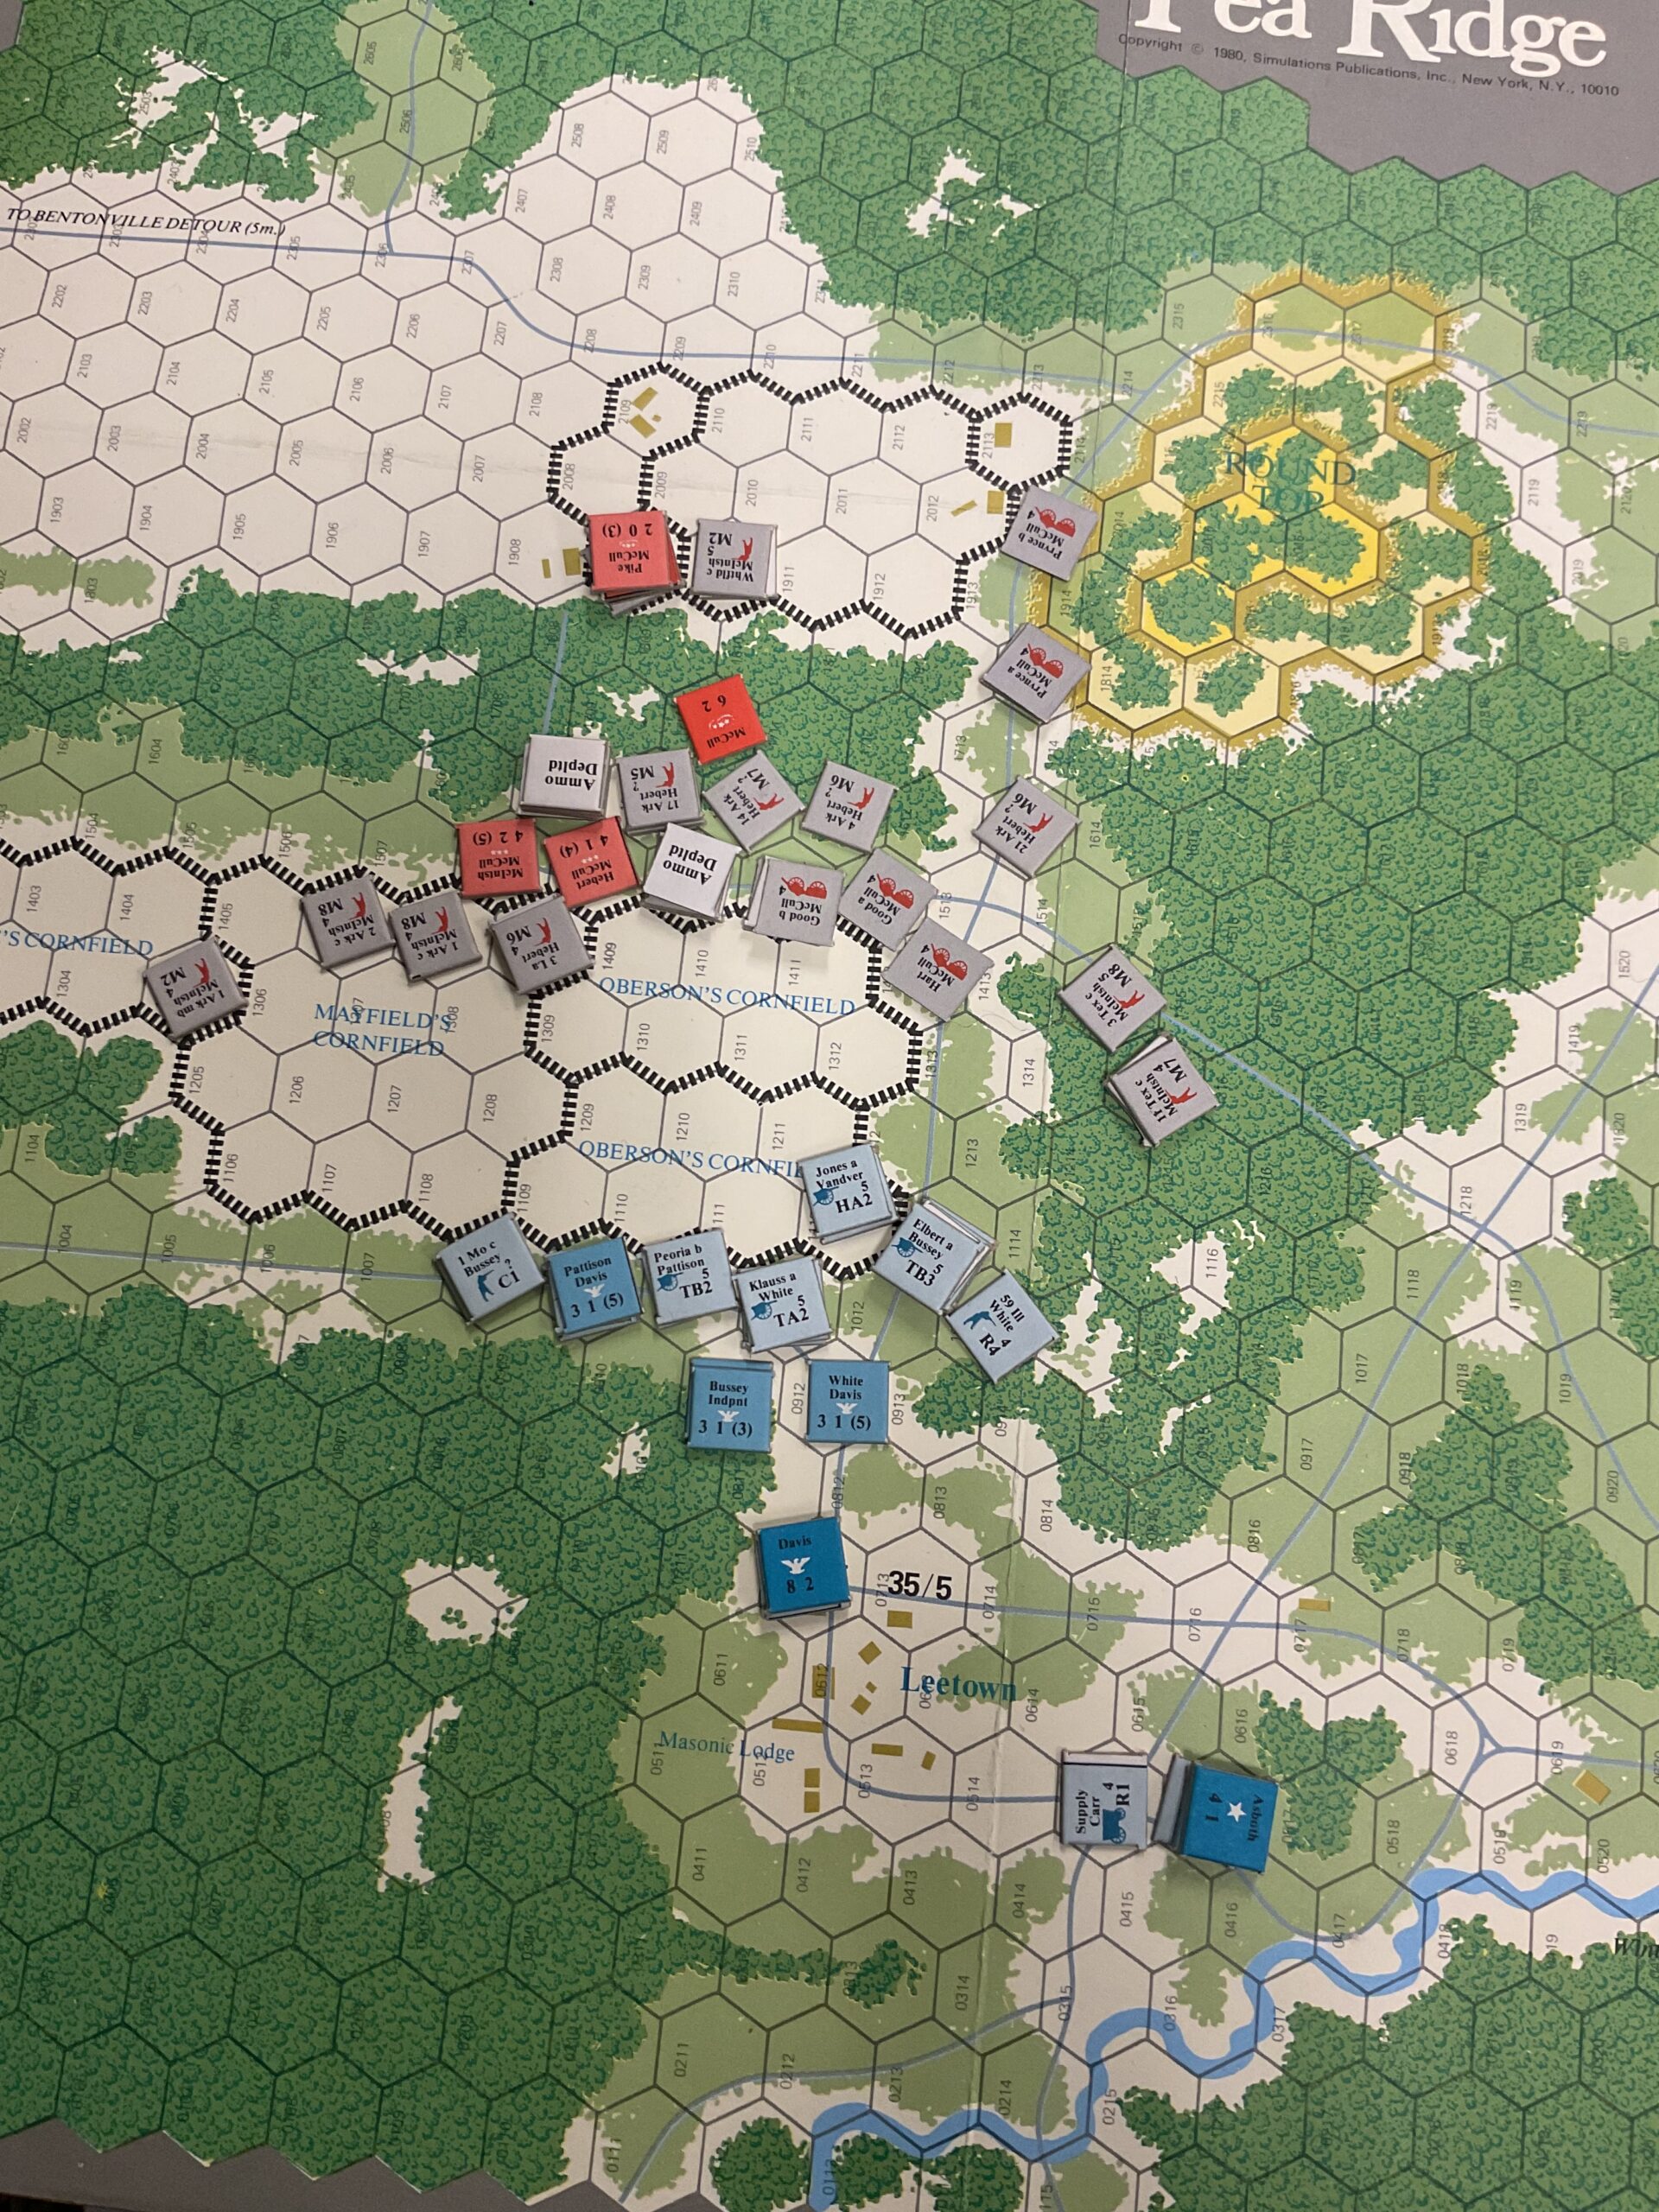
Going to wrap up “Monty’s Gamble” (S23). Made it to last turn for each side, and the Germans can’t win. The Scenario Archive indicates it’s a tough go for them regardless of who’s playing.
One German AFV has exited the board, with another having a fair chance to do so. However, that represents only 14 of the 17 VPs necessary for a victory. There’s no way two squads can make get off-board since they can’t go CX (Exhausted) for consecutive turns.
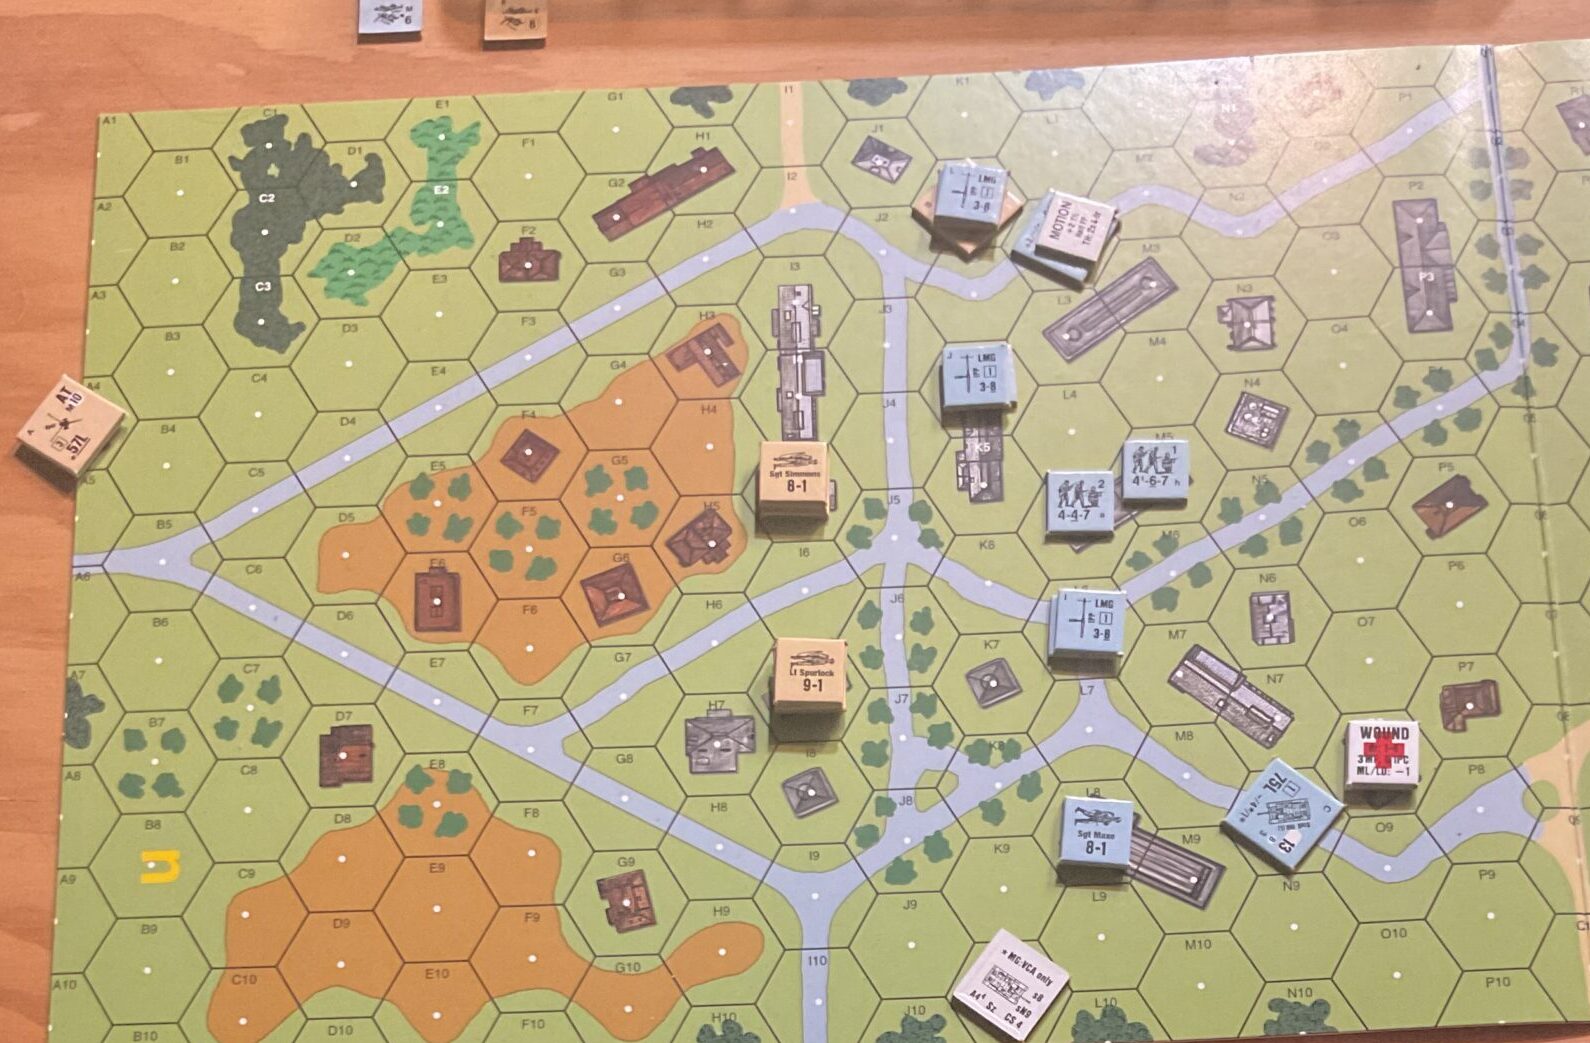
Here’s a shot at the end of Turn 3.
Oh….why not? Play it out to gain more experience with armor/ordnance.
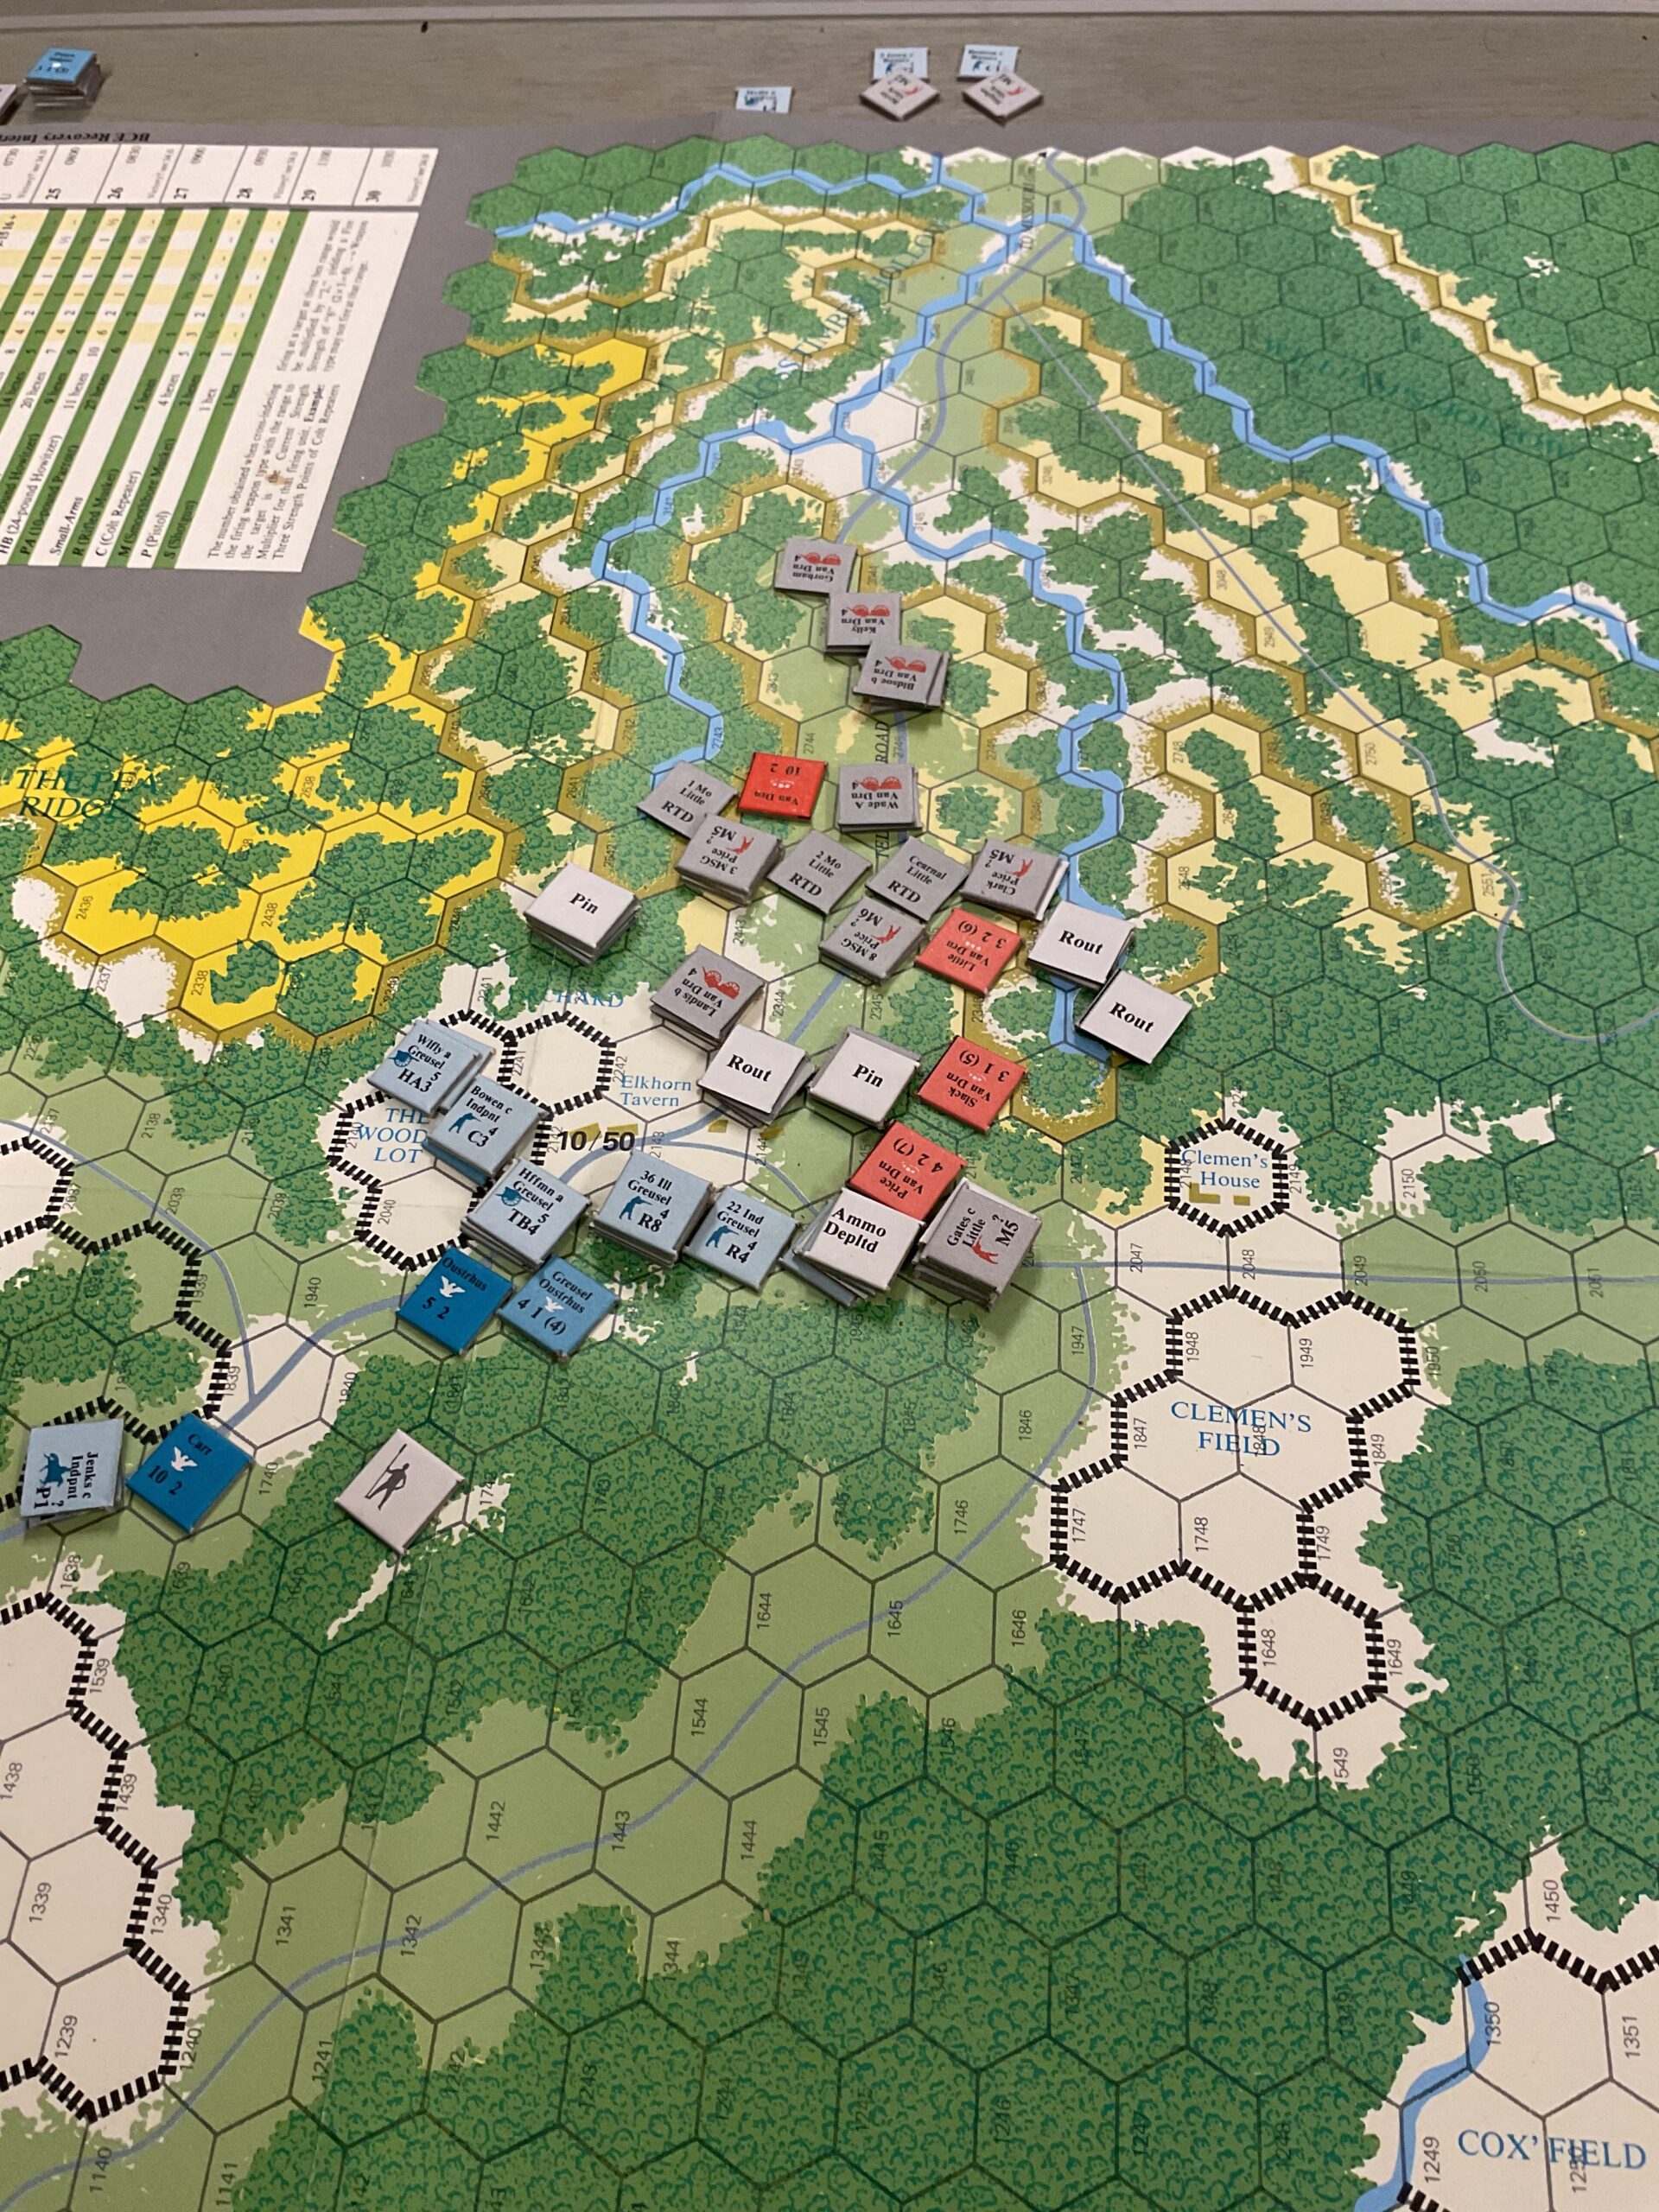
In Turn 4, the German AFV at top of the board successfully exits after surviving both Defensive First Fire and Intensive Fire from the anti-tank gun located in the woods at the board’s edge. The AFV at the bottom of the screen maneuvers to avoid the British PIAT to be in position for a run to the board’s edge. One German squad attempts to exit the board, with the British making countermoves.
Here’s a shot at the end of Turn 4
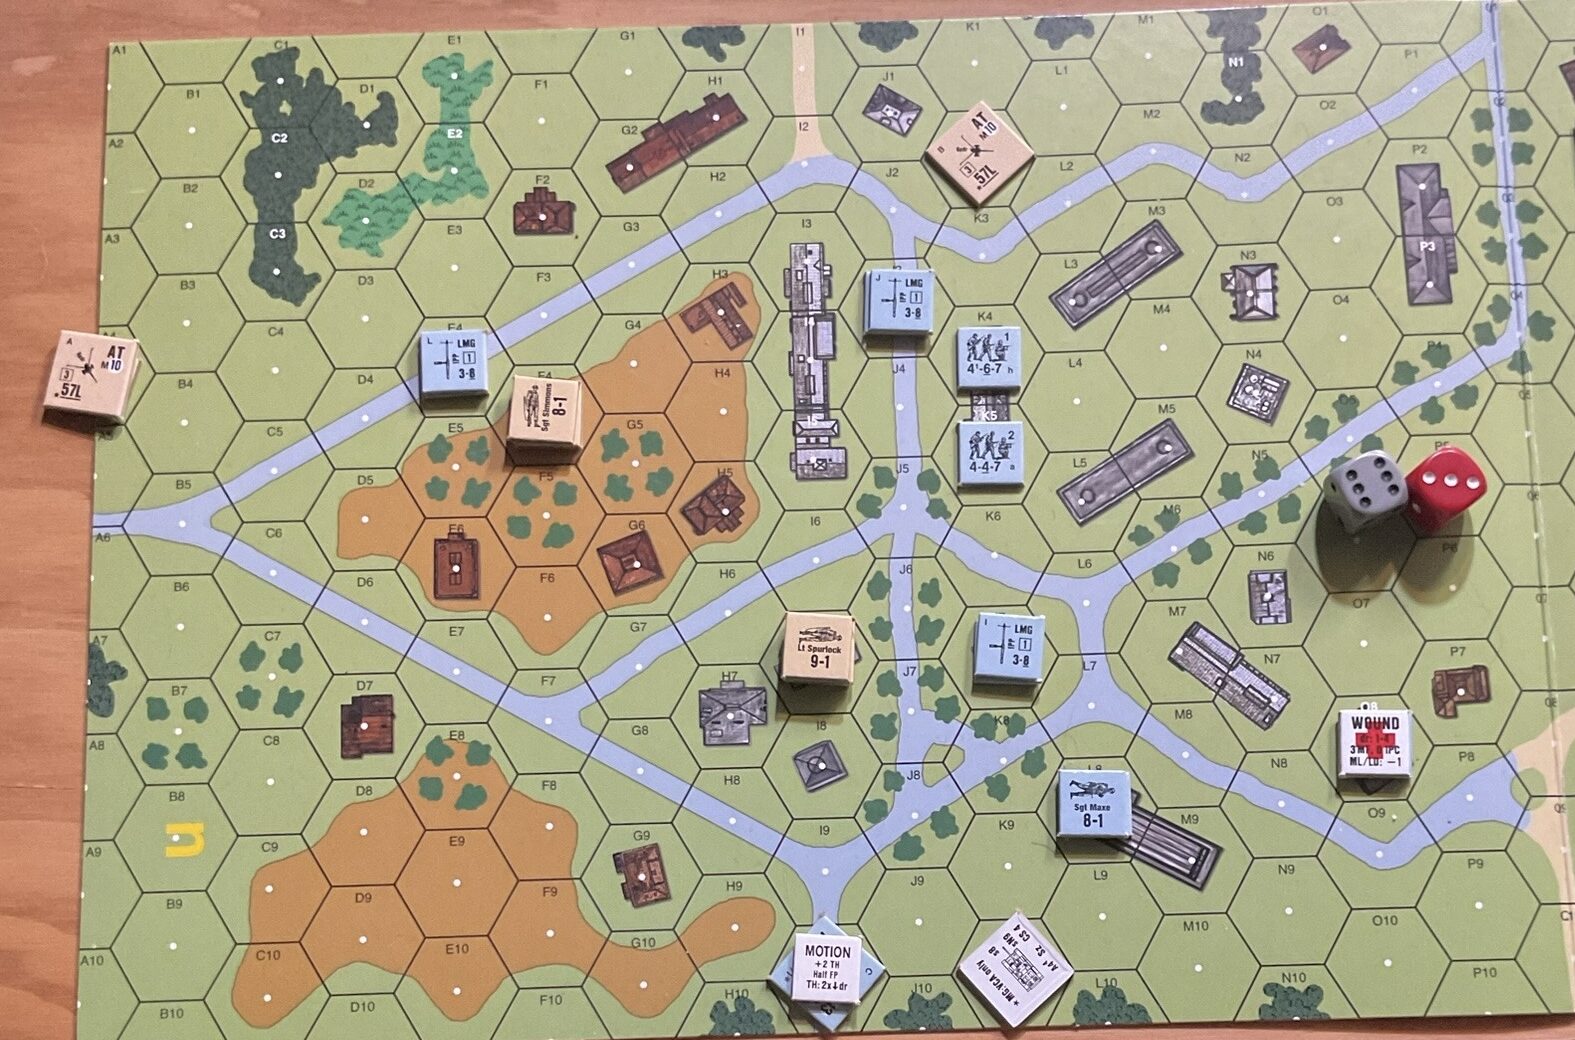
Turn 5 is for the Germans only. The remaining AFV uses the hill as cover until just before exiting the board. It survives both Defensive First Fire and Reaction Fire, and exits. The infantry squad attempts to exit, but is routed during its move.
Try it again, or a new scenario?