Category Archives: Review + Session Report

Islamic State – Libya War

This  game is published by One Small Step Games (OSS) in  Counterfact Magazine.  I downloaded it from Wargame Vault.  It is solitaire, the contemporary topic is of some interest, and the format seemed to lend itself to download and DTP construction. The forum section of the game’s  Boardgamegeek page is essential reading as are the revised rules found at OSS’s game page.

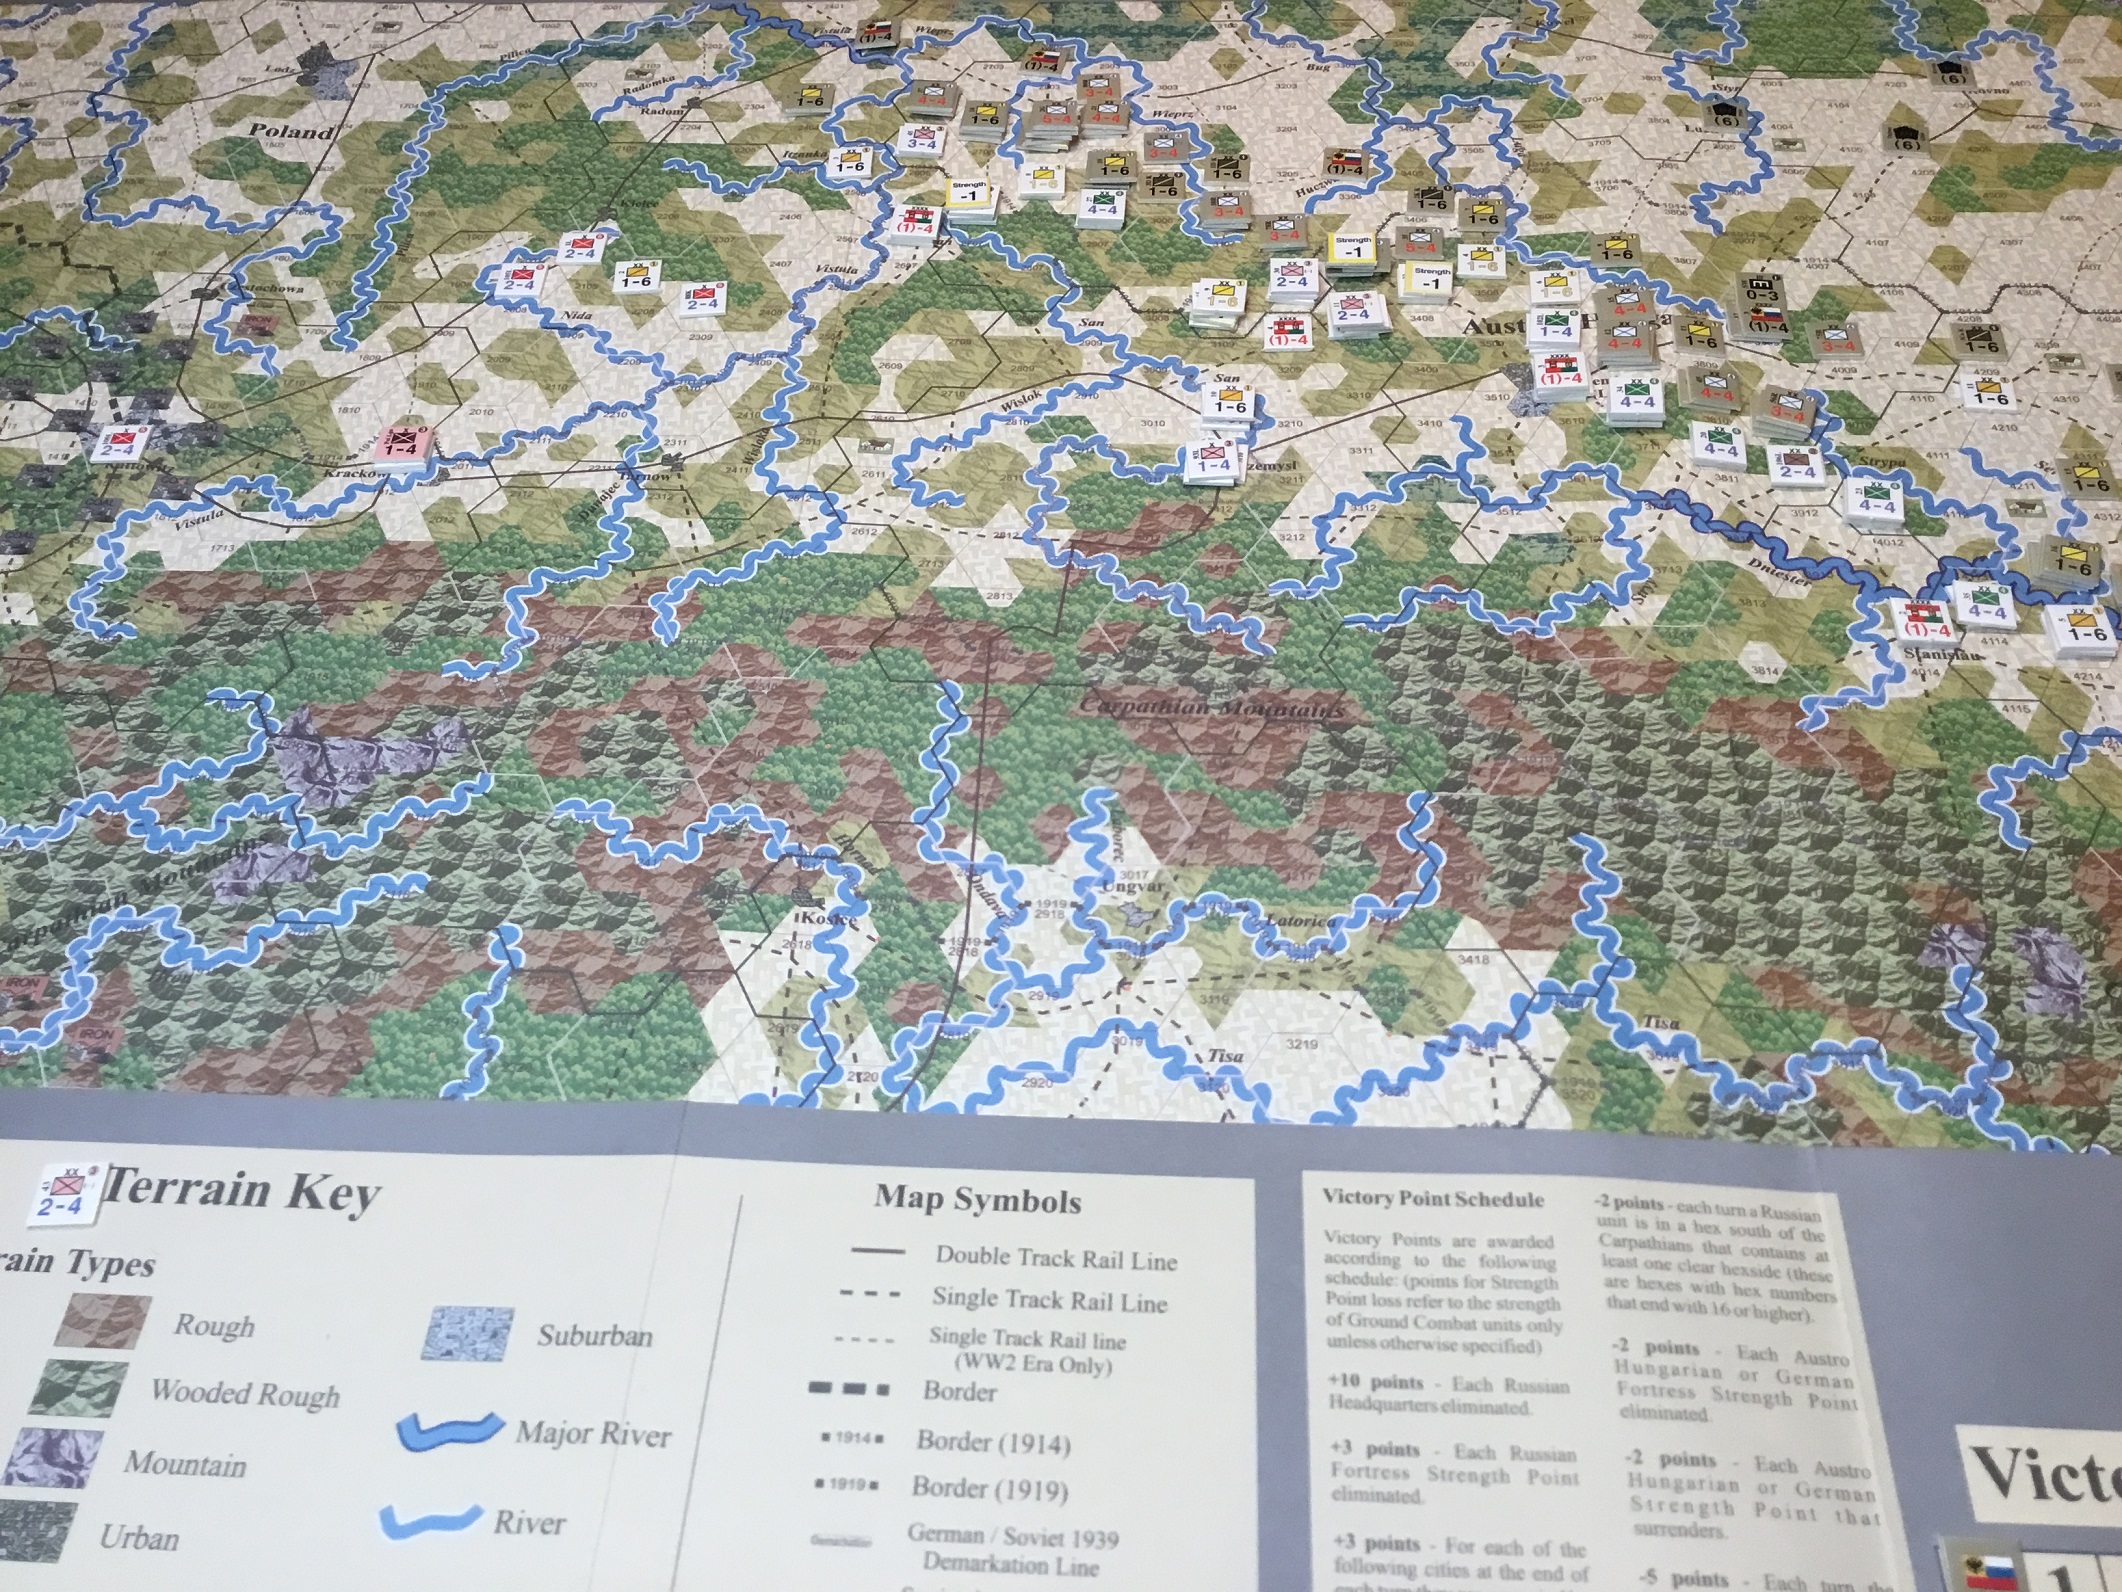
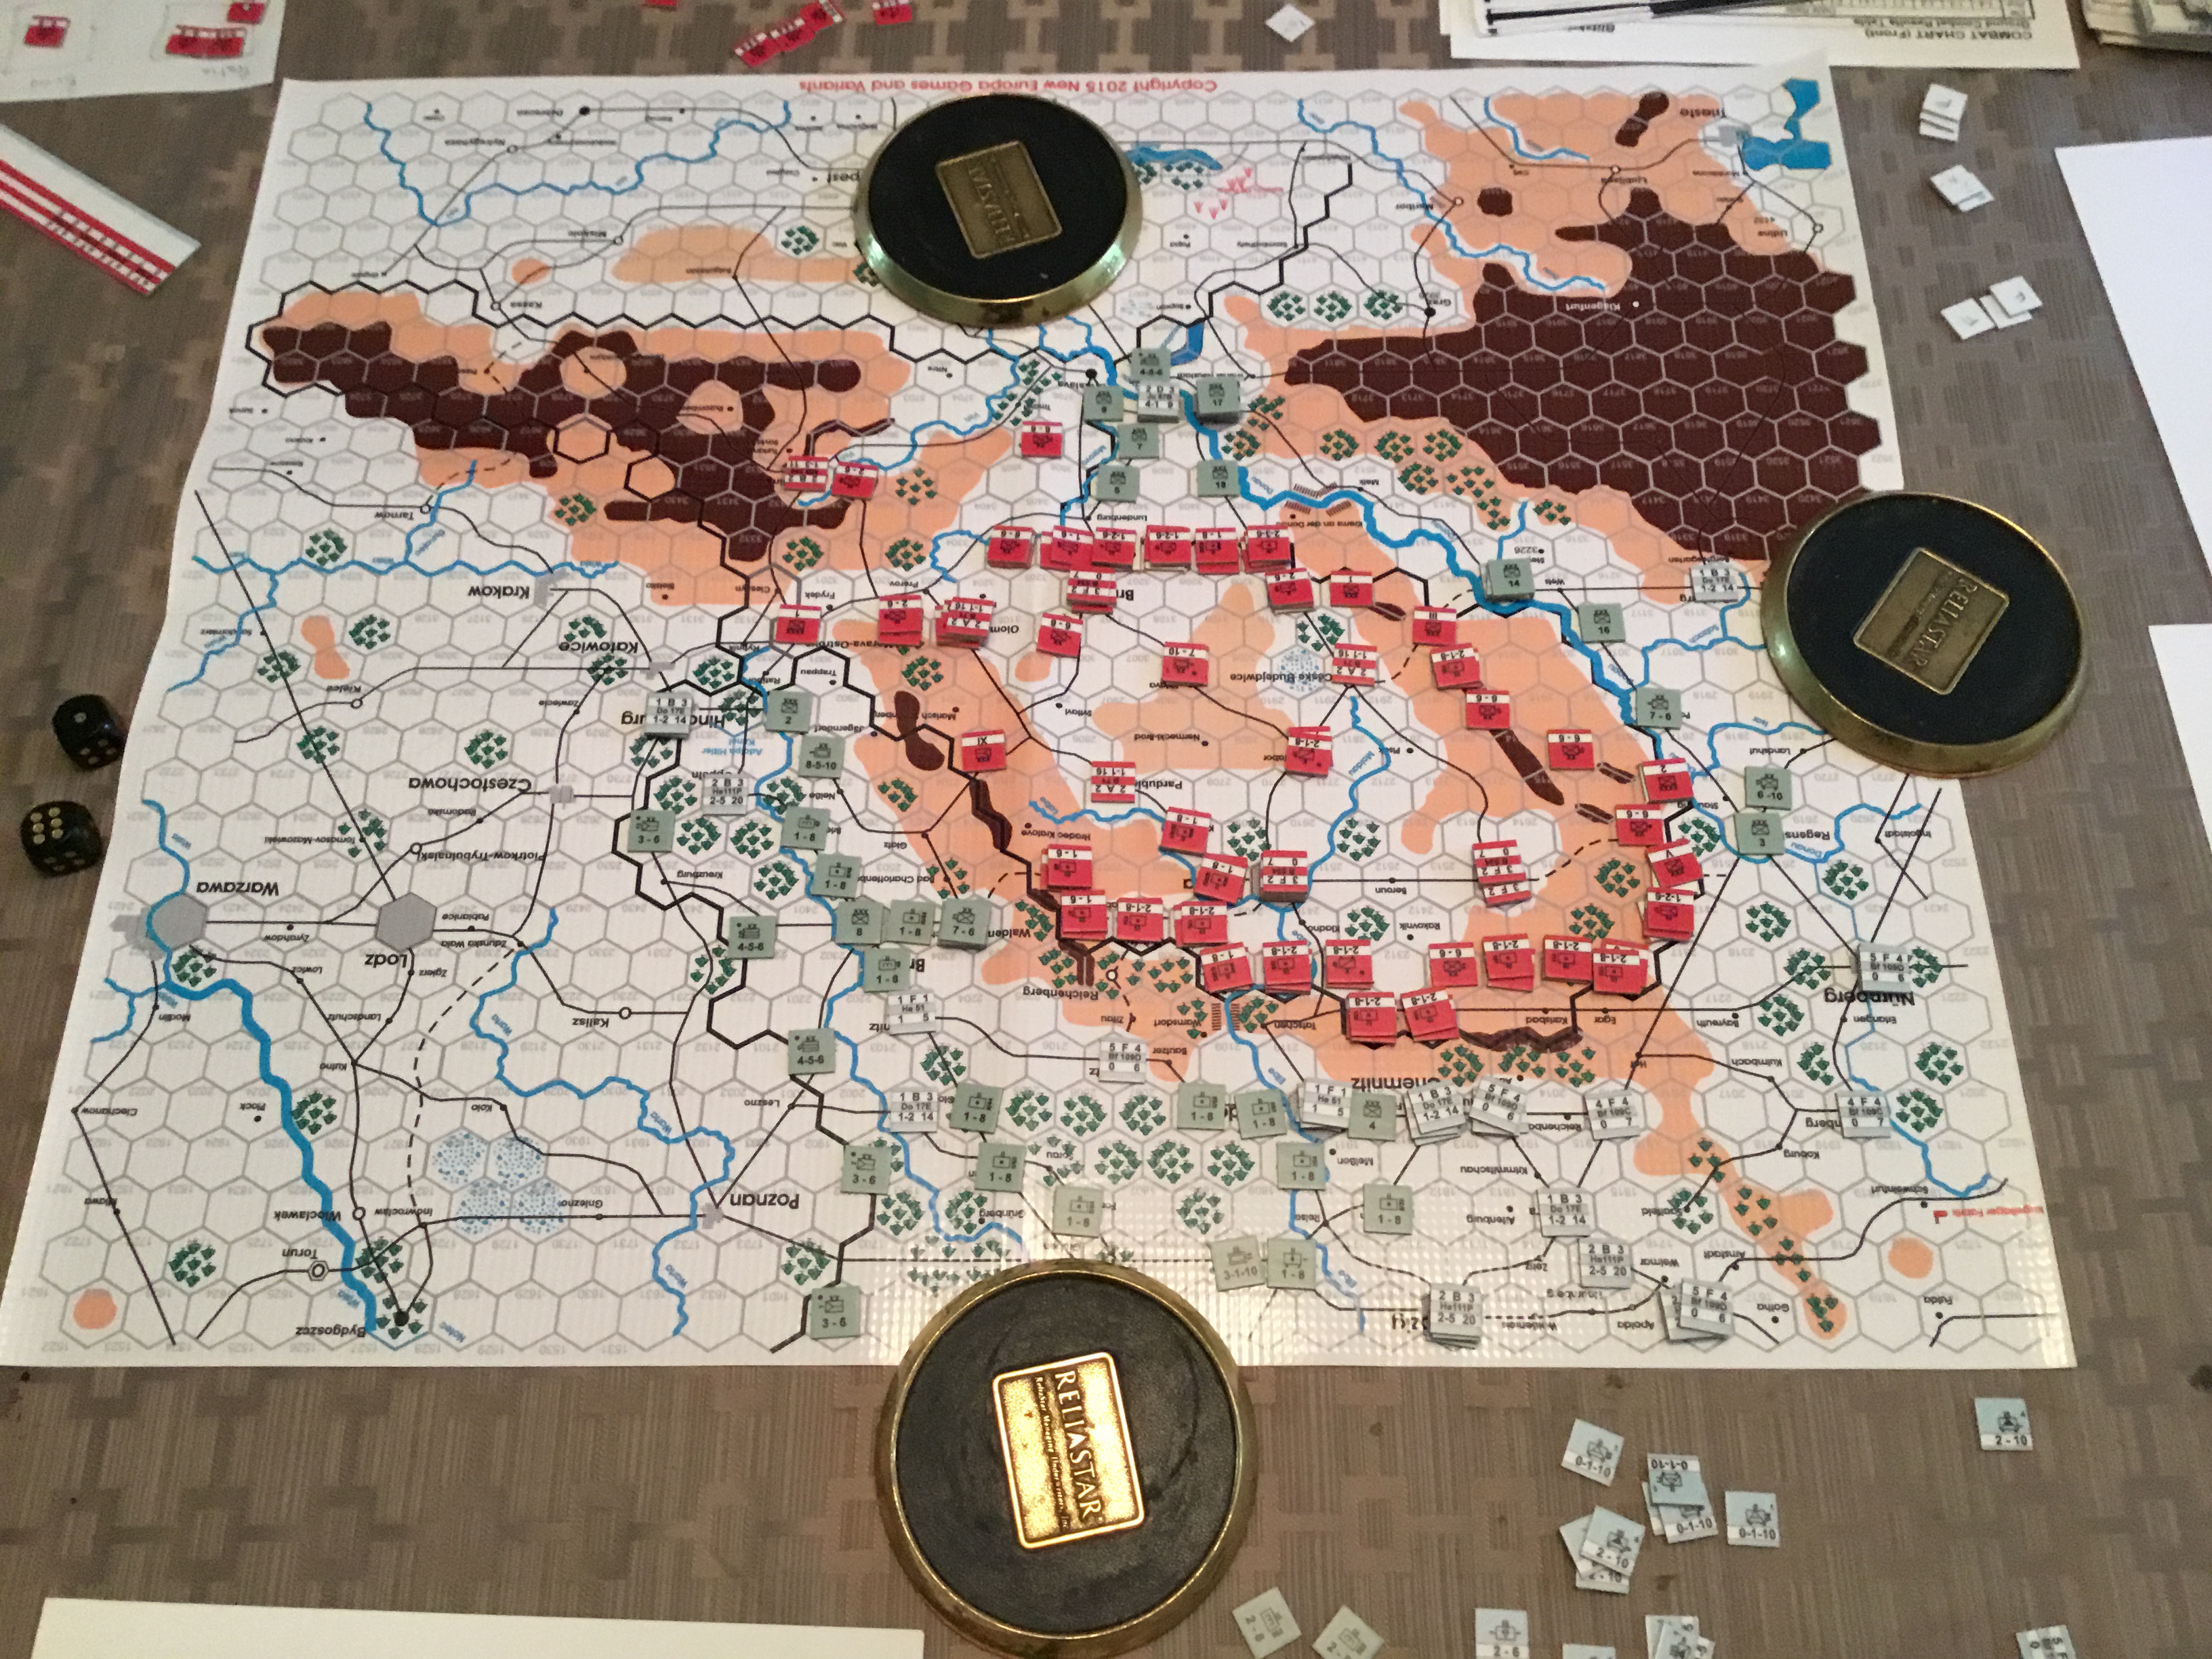
The map printed out fine and looks good.  The counters were difficult to cut because the colors of the various factions’ units are similar shades of drab and lack visible guide lines.  The result was a grotesque lack of uniformity.  I decided to use Risk blocks in lieu of some of the counters/chits.  This improved appearances.

The game’s topic is the war against Daesh in Libya.  Allied forces are tasked with controlling key cities and oil fields as portrayed on the point-to-point map.   Each of the game’s eight turns is broken down into five (or six based on a turn-end roll), IGO-UGO action rounds.  Victory is determined by how many areas Daesh controls, number of active leaders, negative press coverage (due to collateral damage) received by the Allies, and hostages and downed pilots executed.

Allied forces can perform any one of several actions during their phase.  These are conventional unit movement into a Daesh controlled hex which triggers combat, “snatch and grab” operations using special forces to seize Daesh leaders for interrogation  or hostages, landing (amphibious) operations, heli-borne assault, reconnaissance, and strike missions with aircraft.

Daesh actions are generated using a table listing ten possible actions including kidnapping, terrorist attacks, and sabotage.

Combat is performed on a display arraying  Allied units against a Daesh counterpart randomly drawn from the Daesh force pool.   Each Allied unit can be supported by aviation, drone or artillery assets.  Allied forces never eliminate their opponents.  A positive combat result will have the Daesh unit ineligible to be activated again during the current turn, or unable to return to the Daesh unit pool until after the next game turn.  Intelligence concerning the whereabouts of hostages or Daesh leaders can also  result from combat.  Any Daesh force that survives an attack  “fires back” at their opponent and, in certain situations there is a combat modifier due to special weaponry. These units are returned to the force pool.

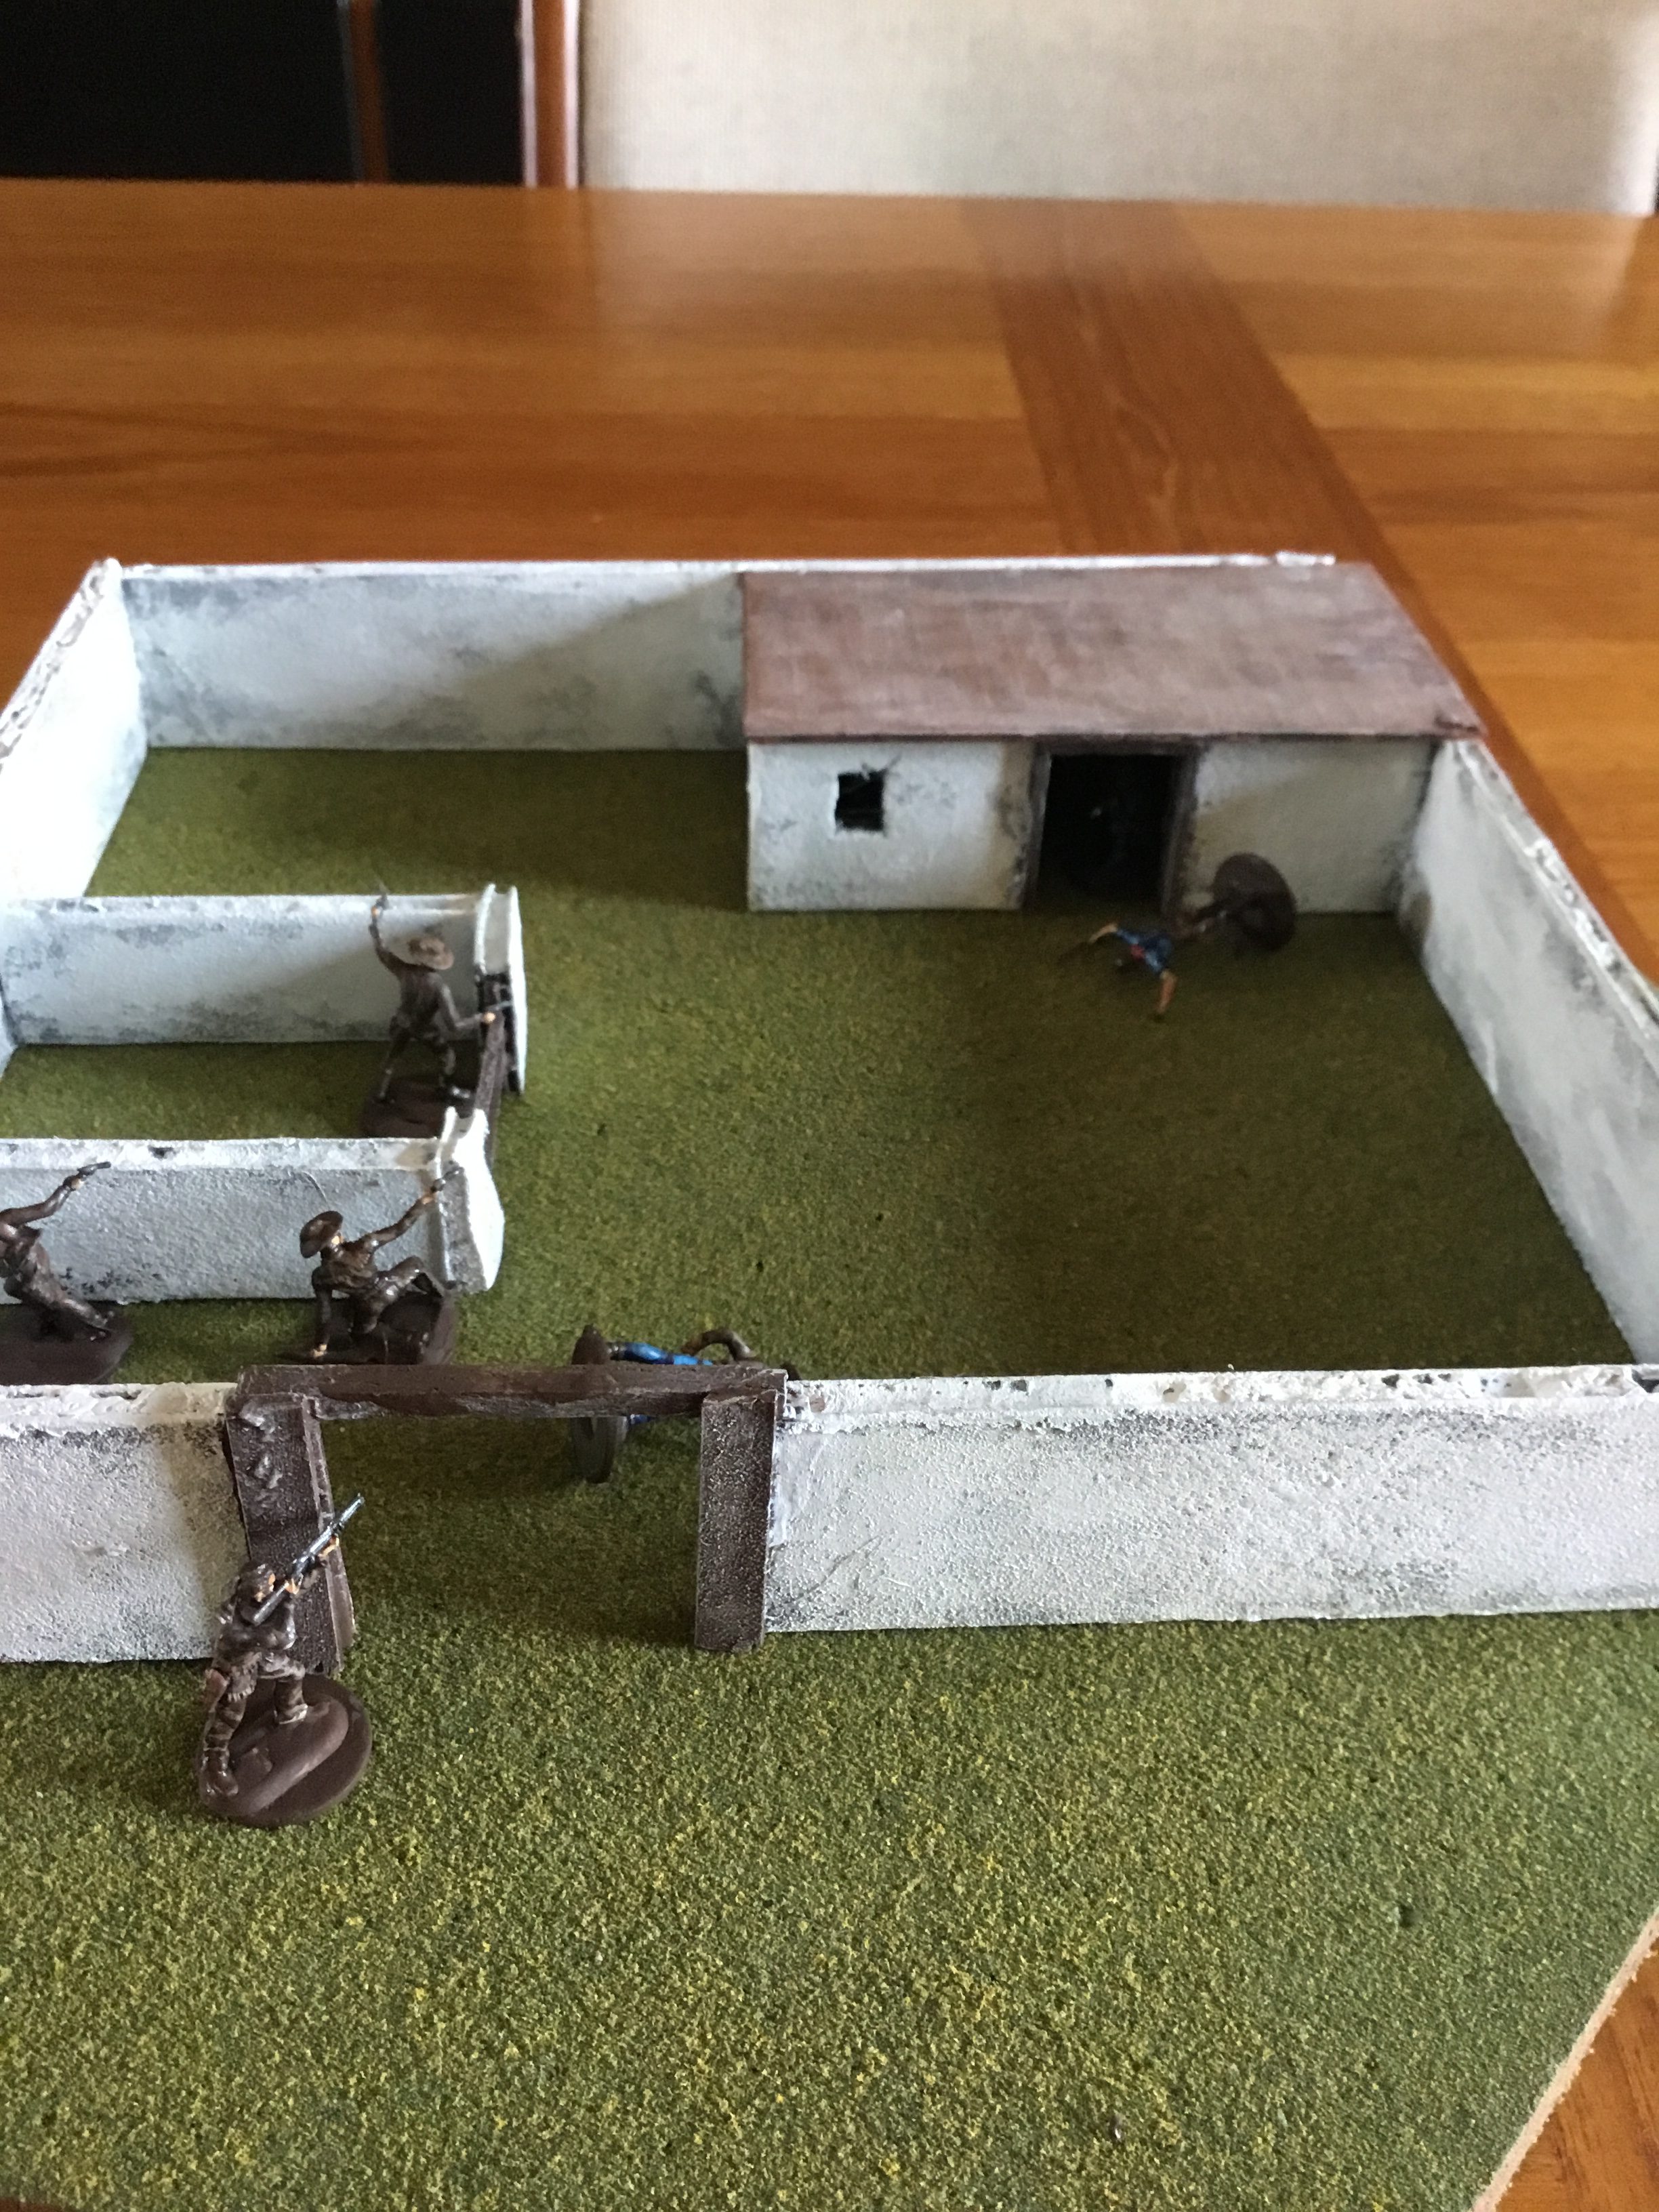
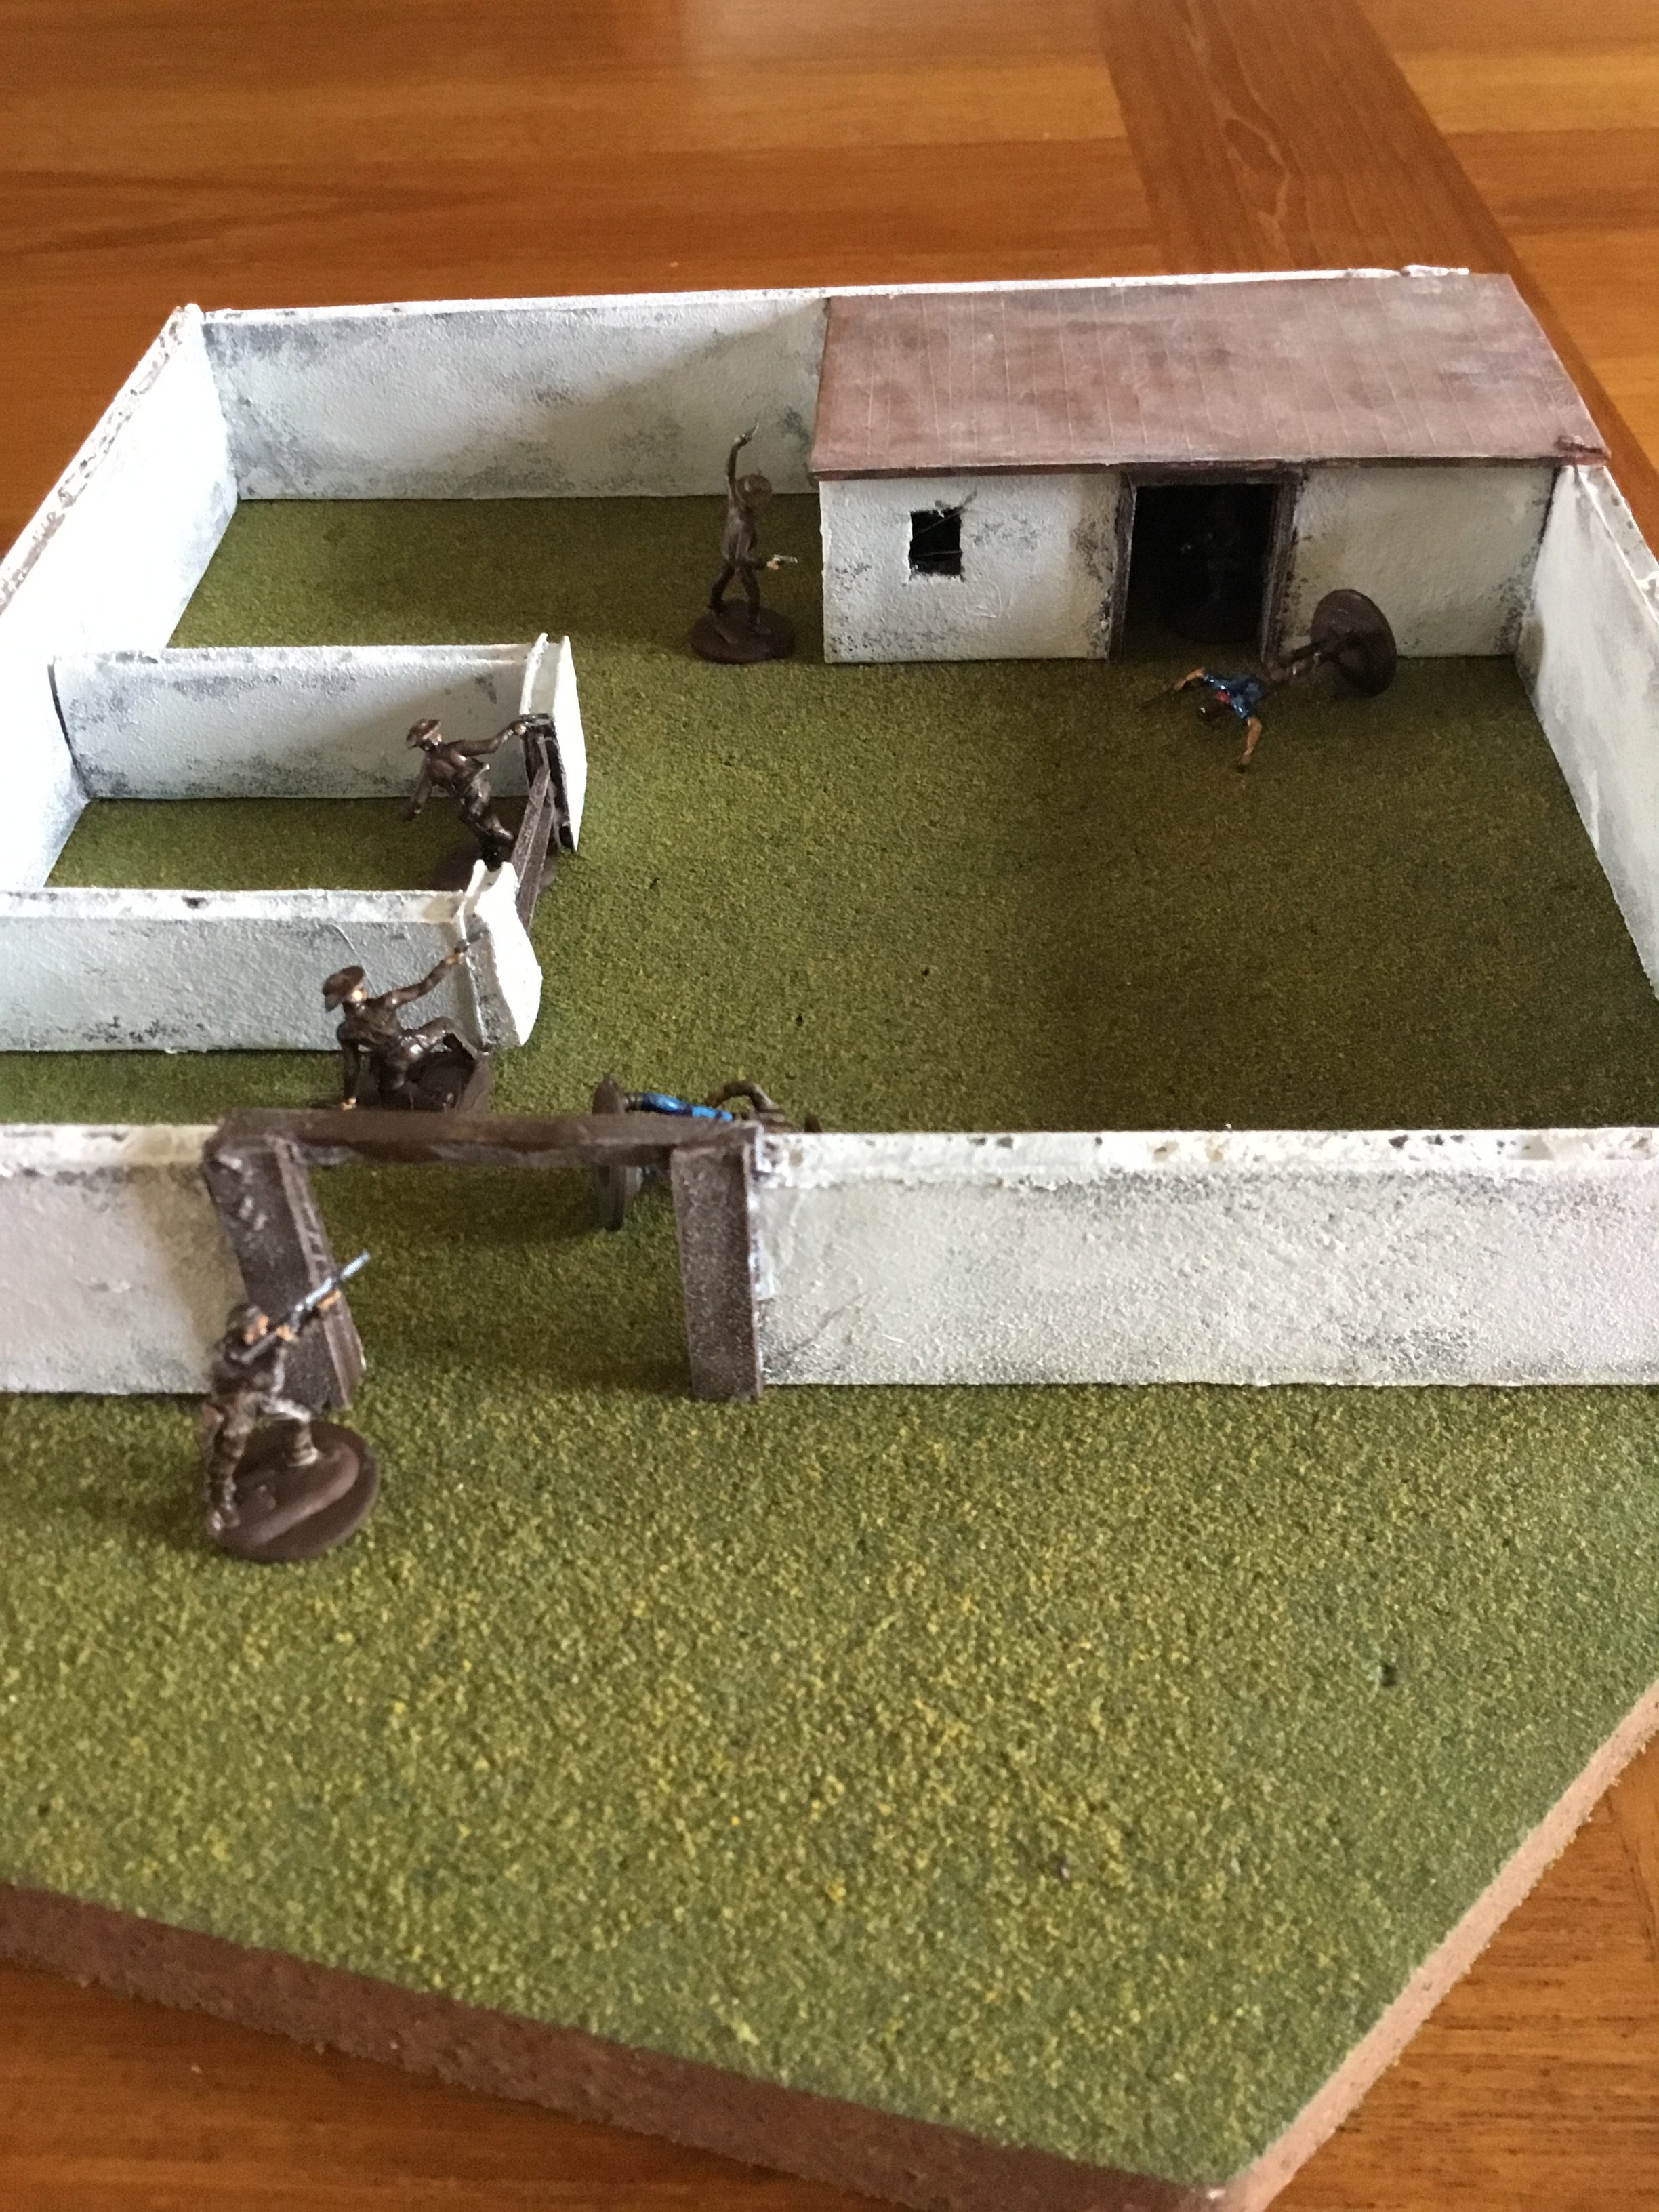
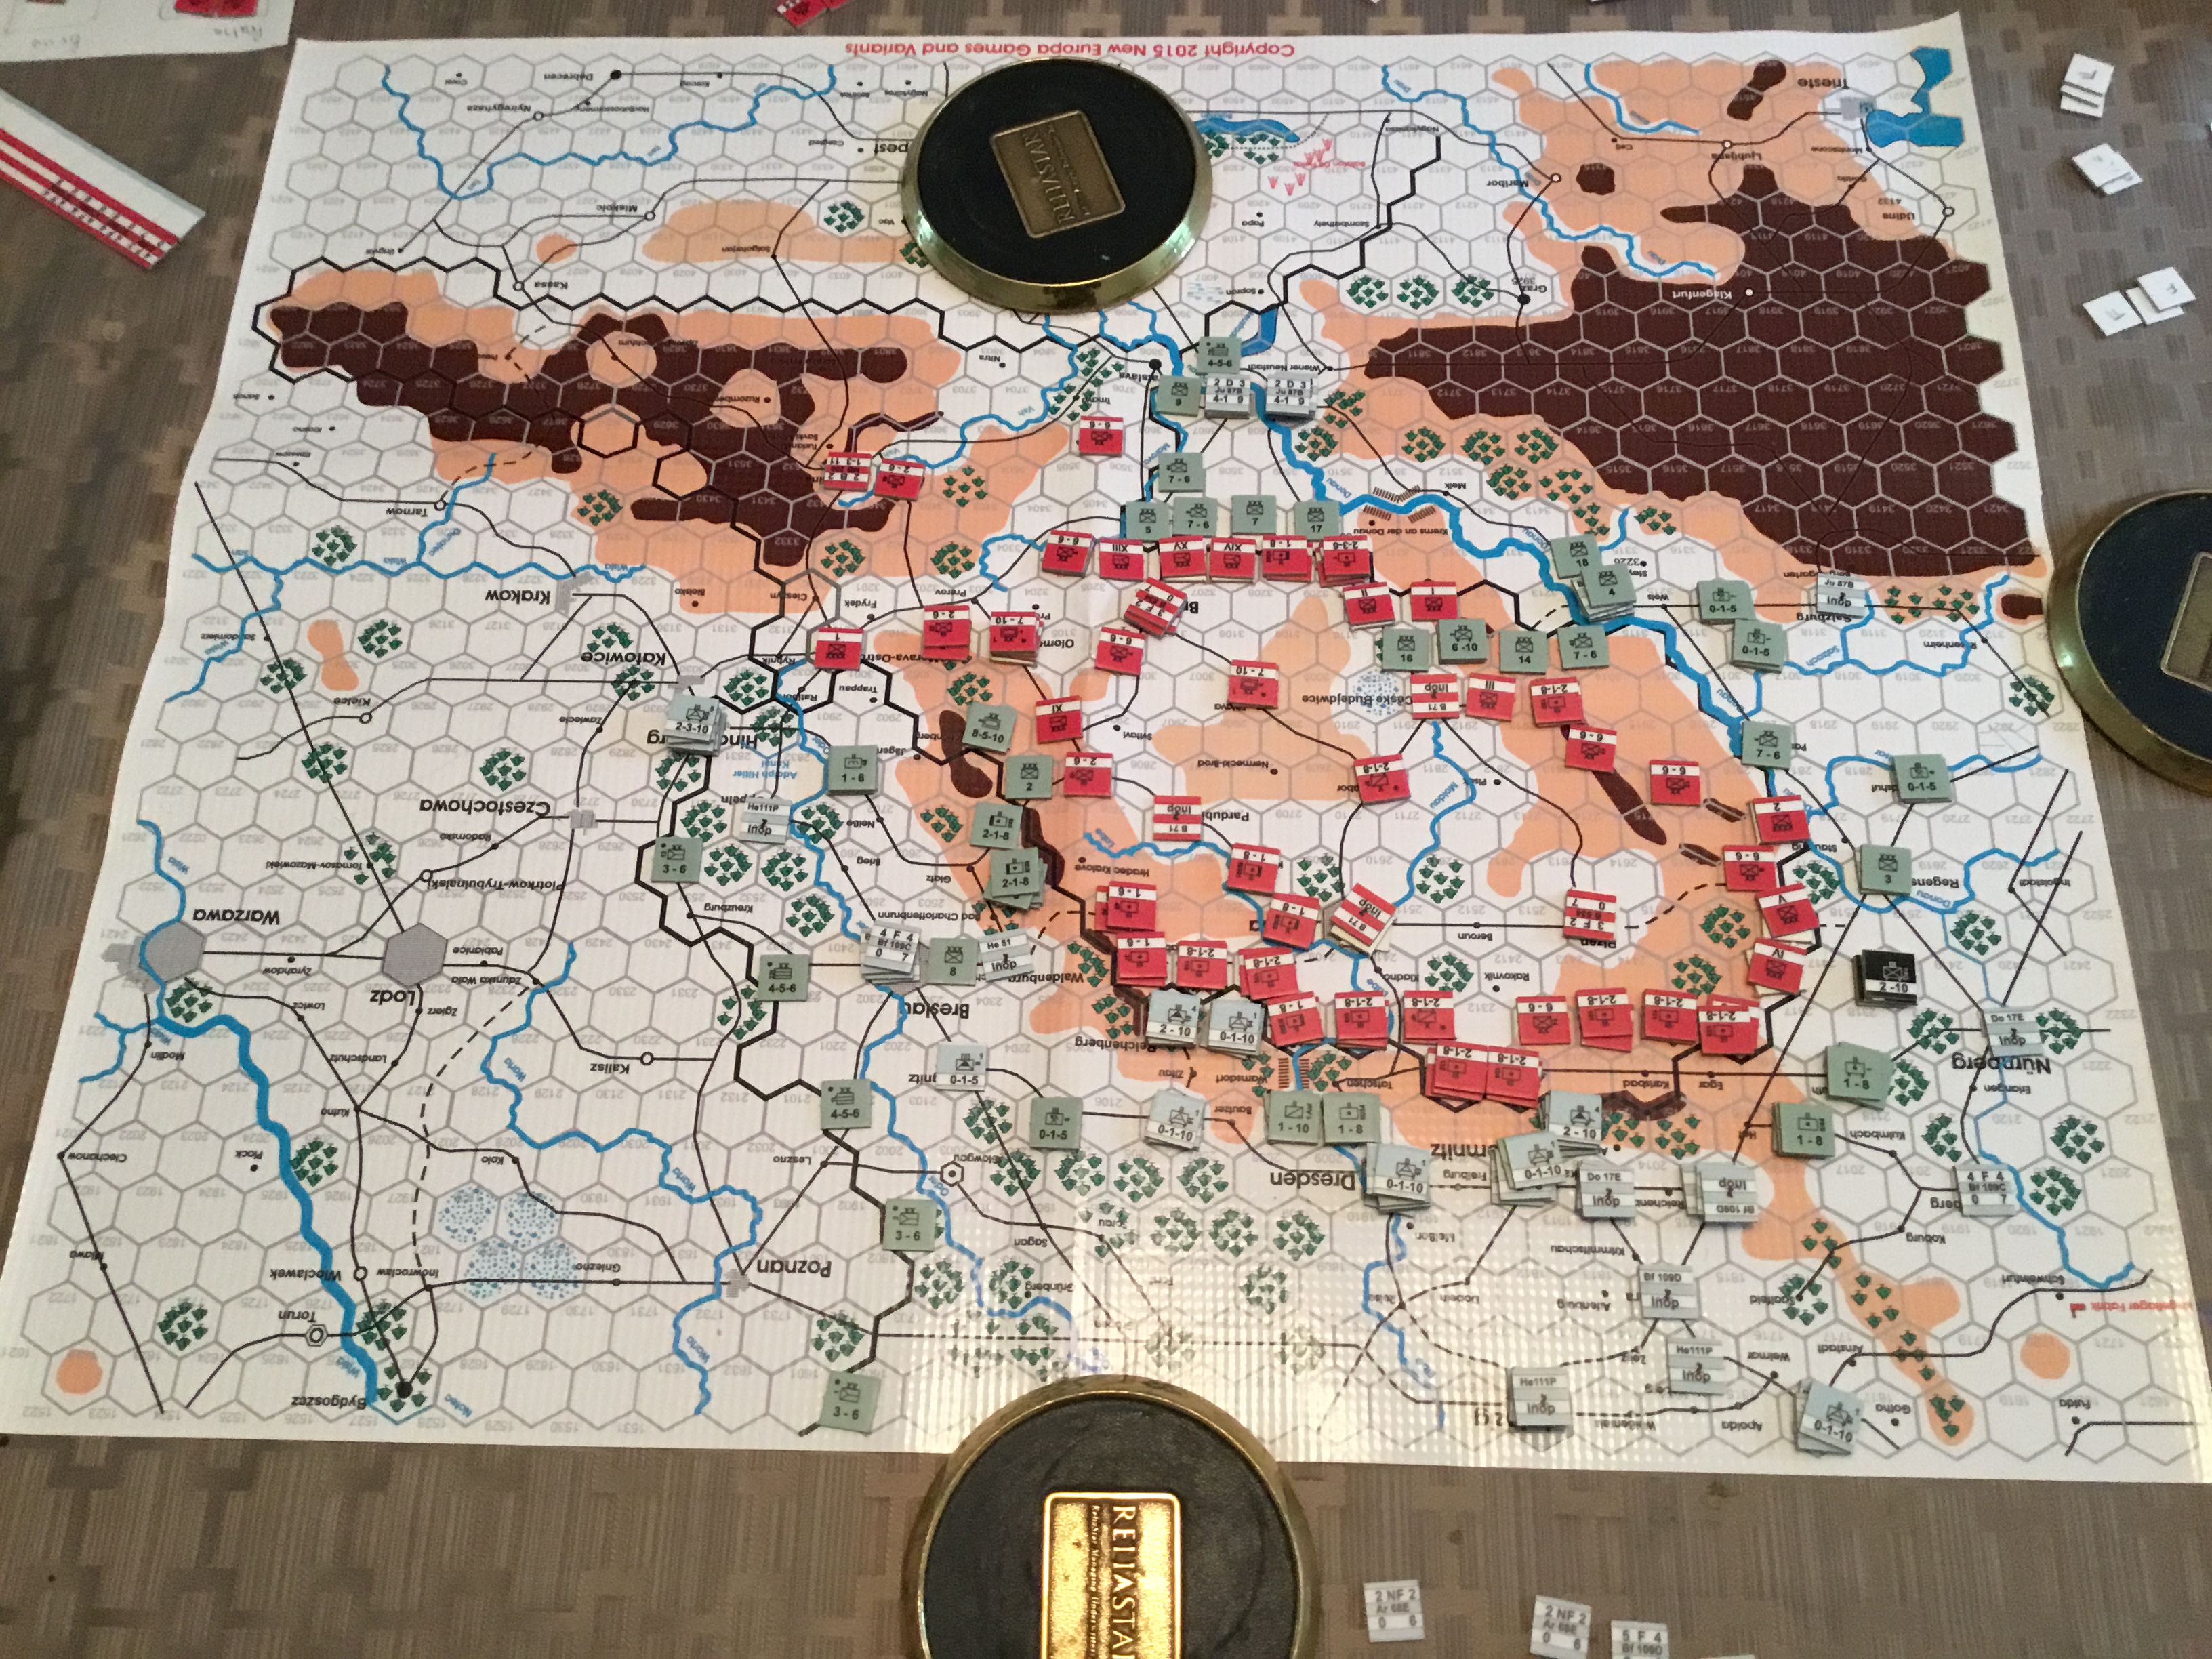
Here’s an imaginatively framed shot of the game in-progress.

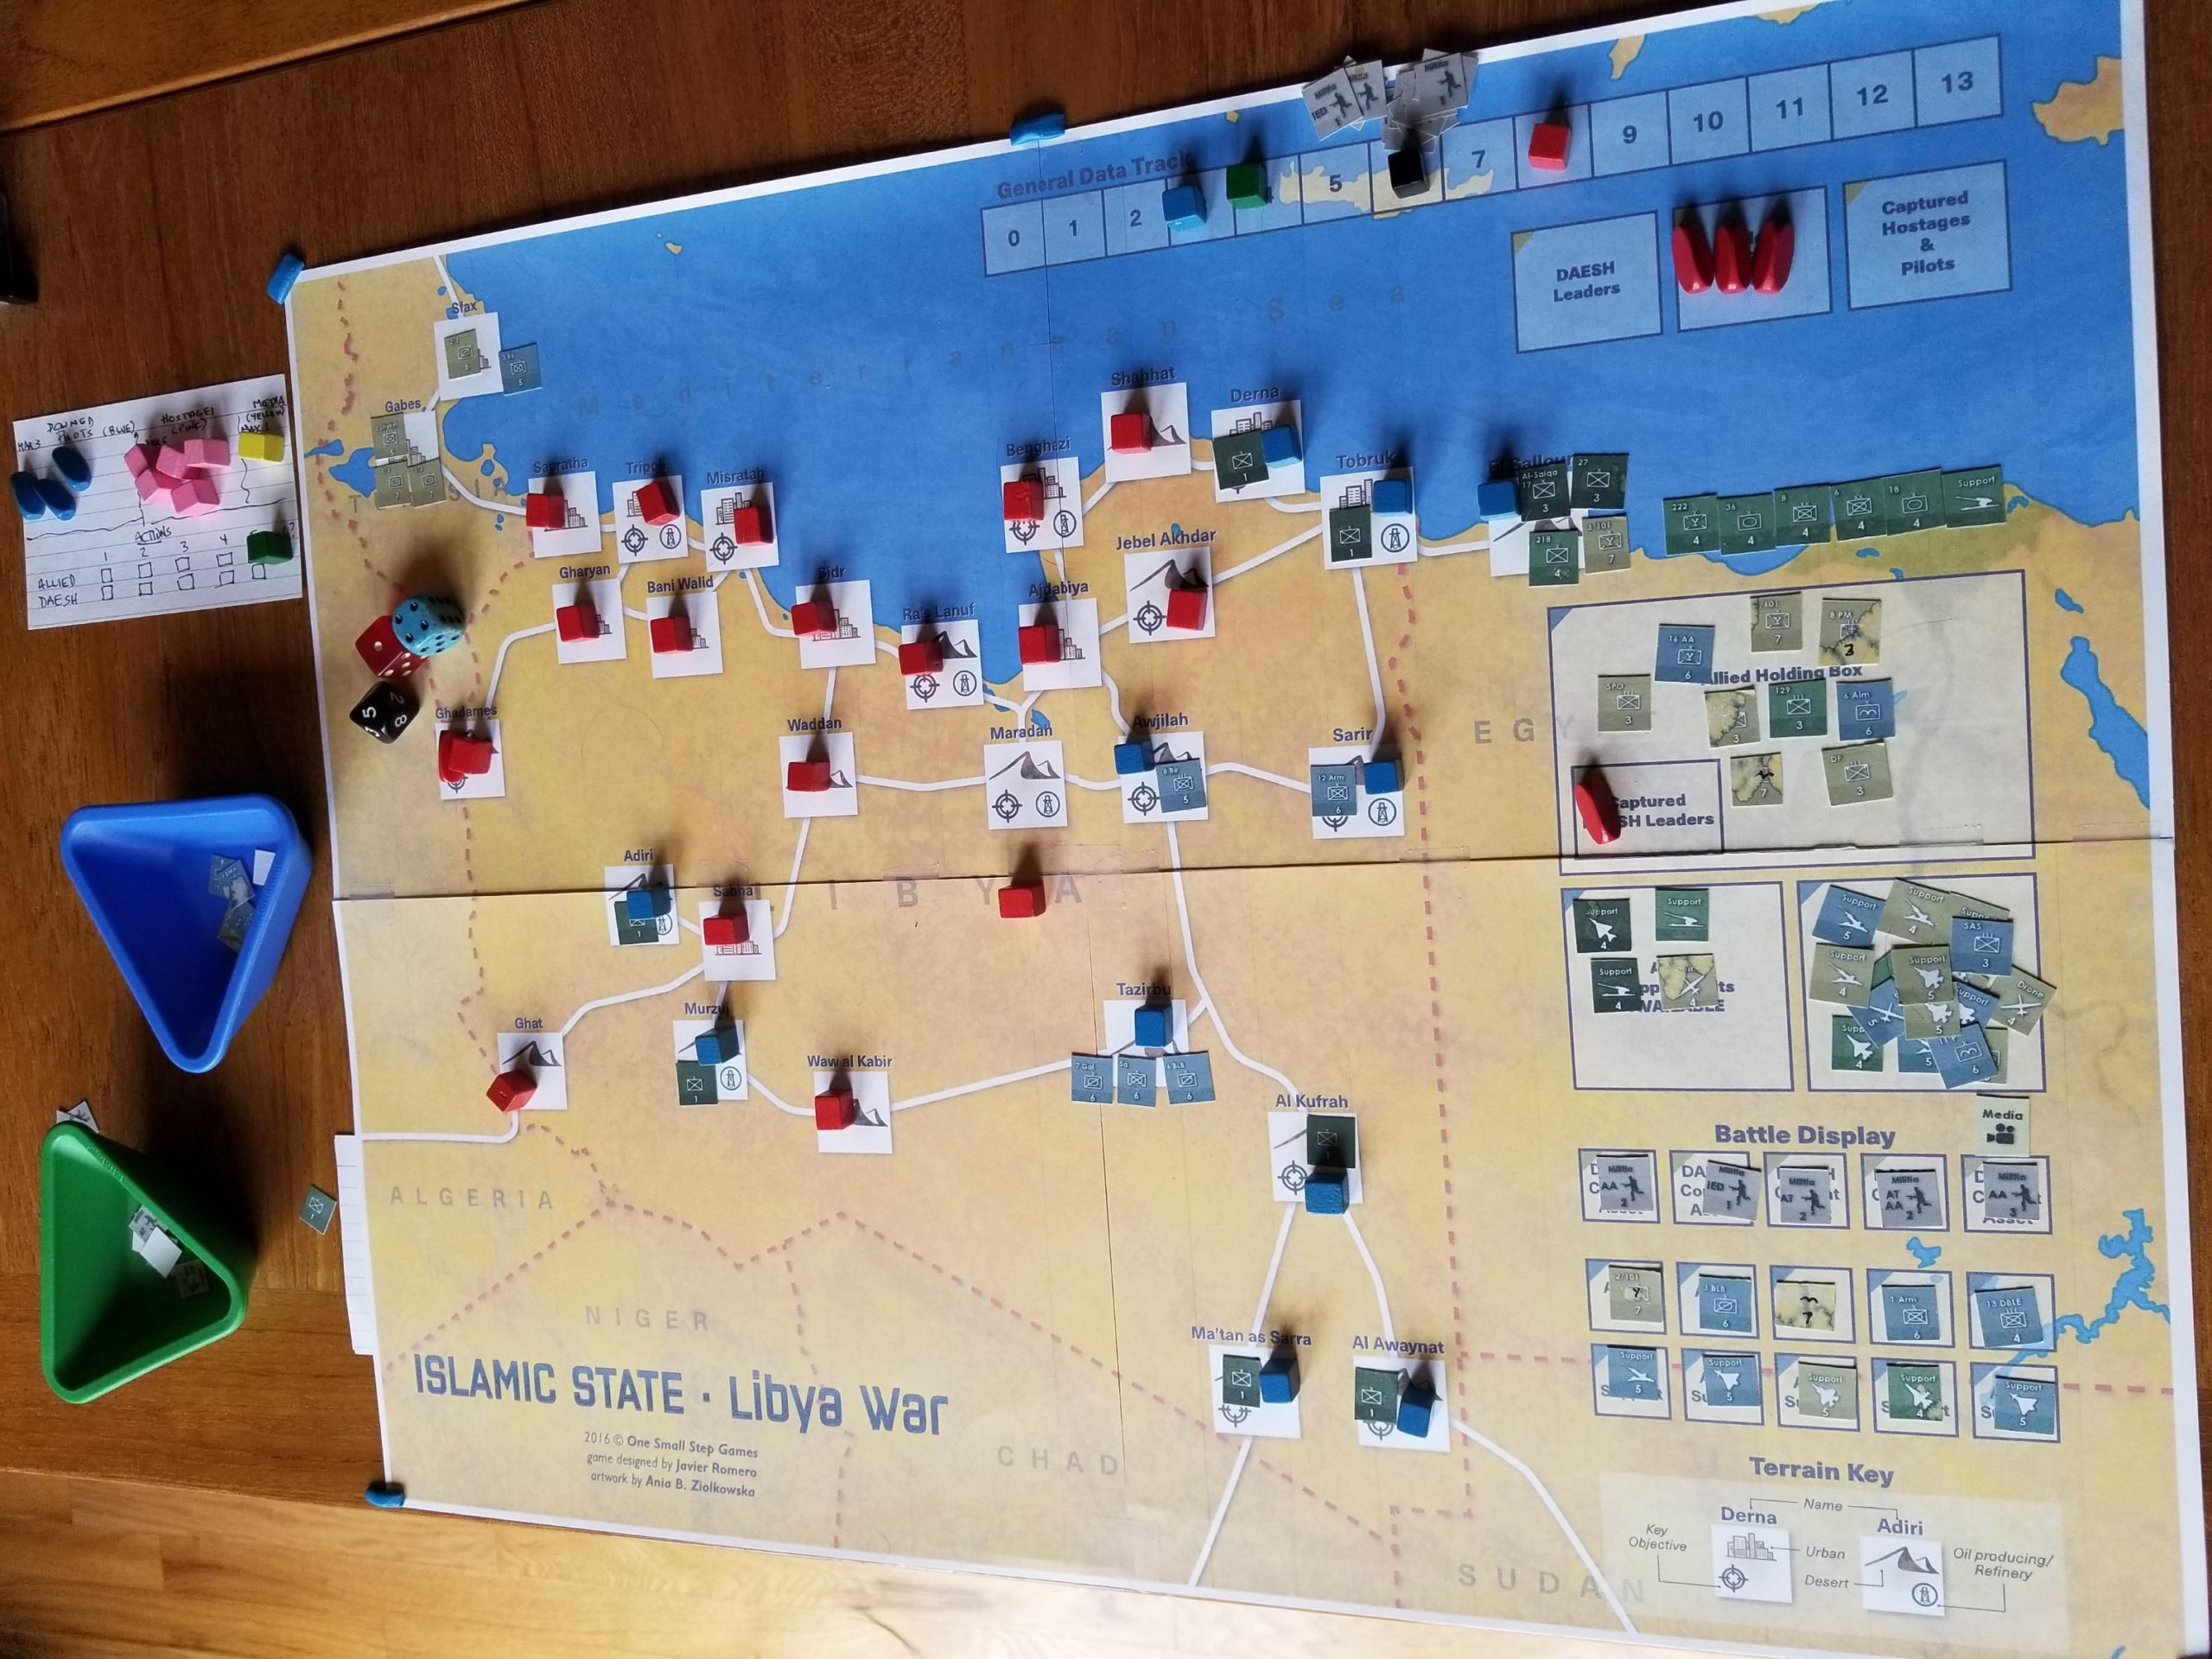
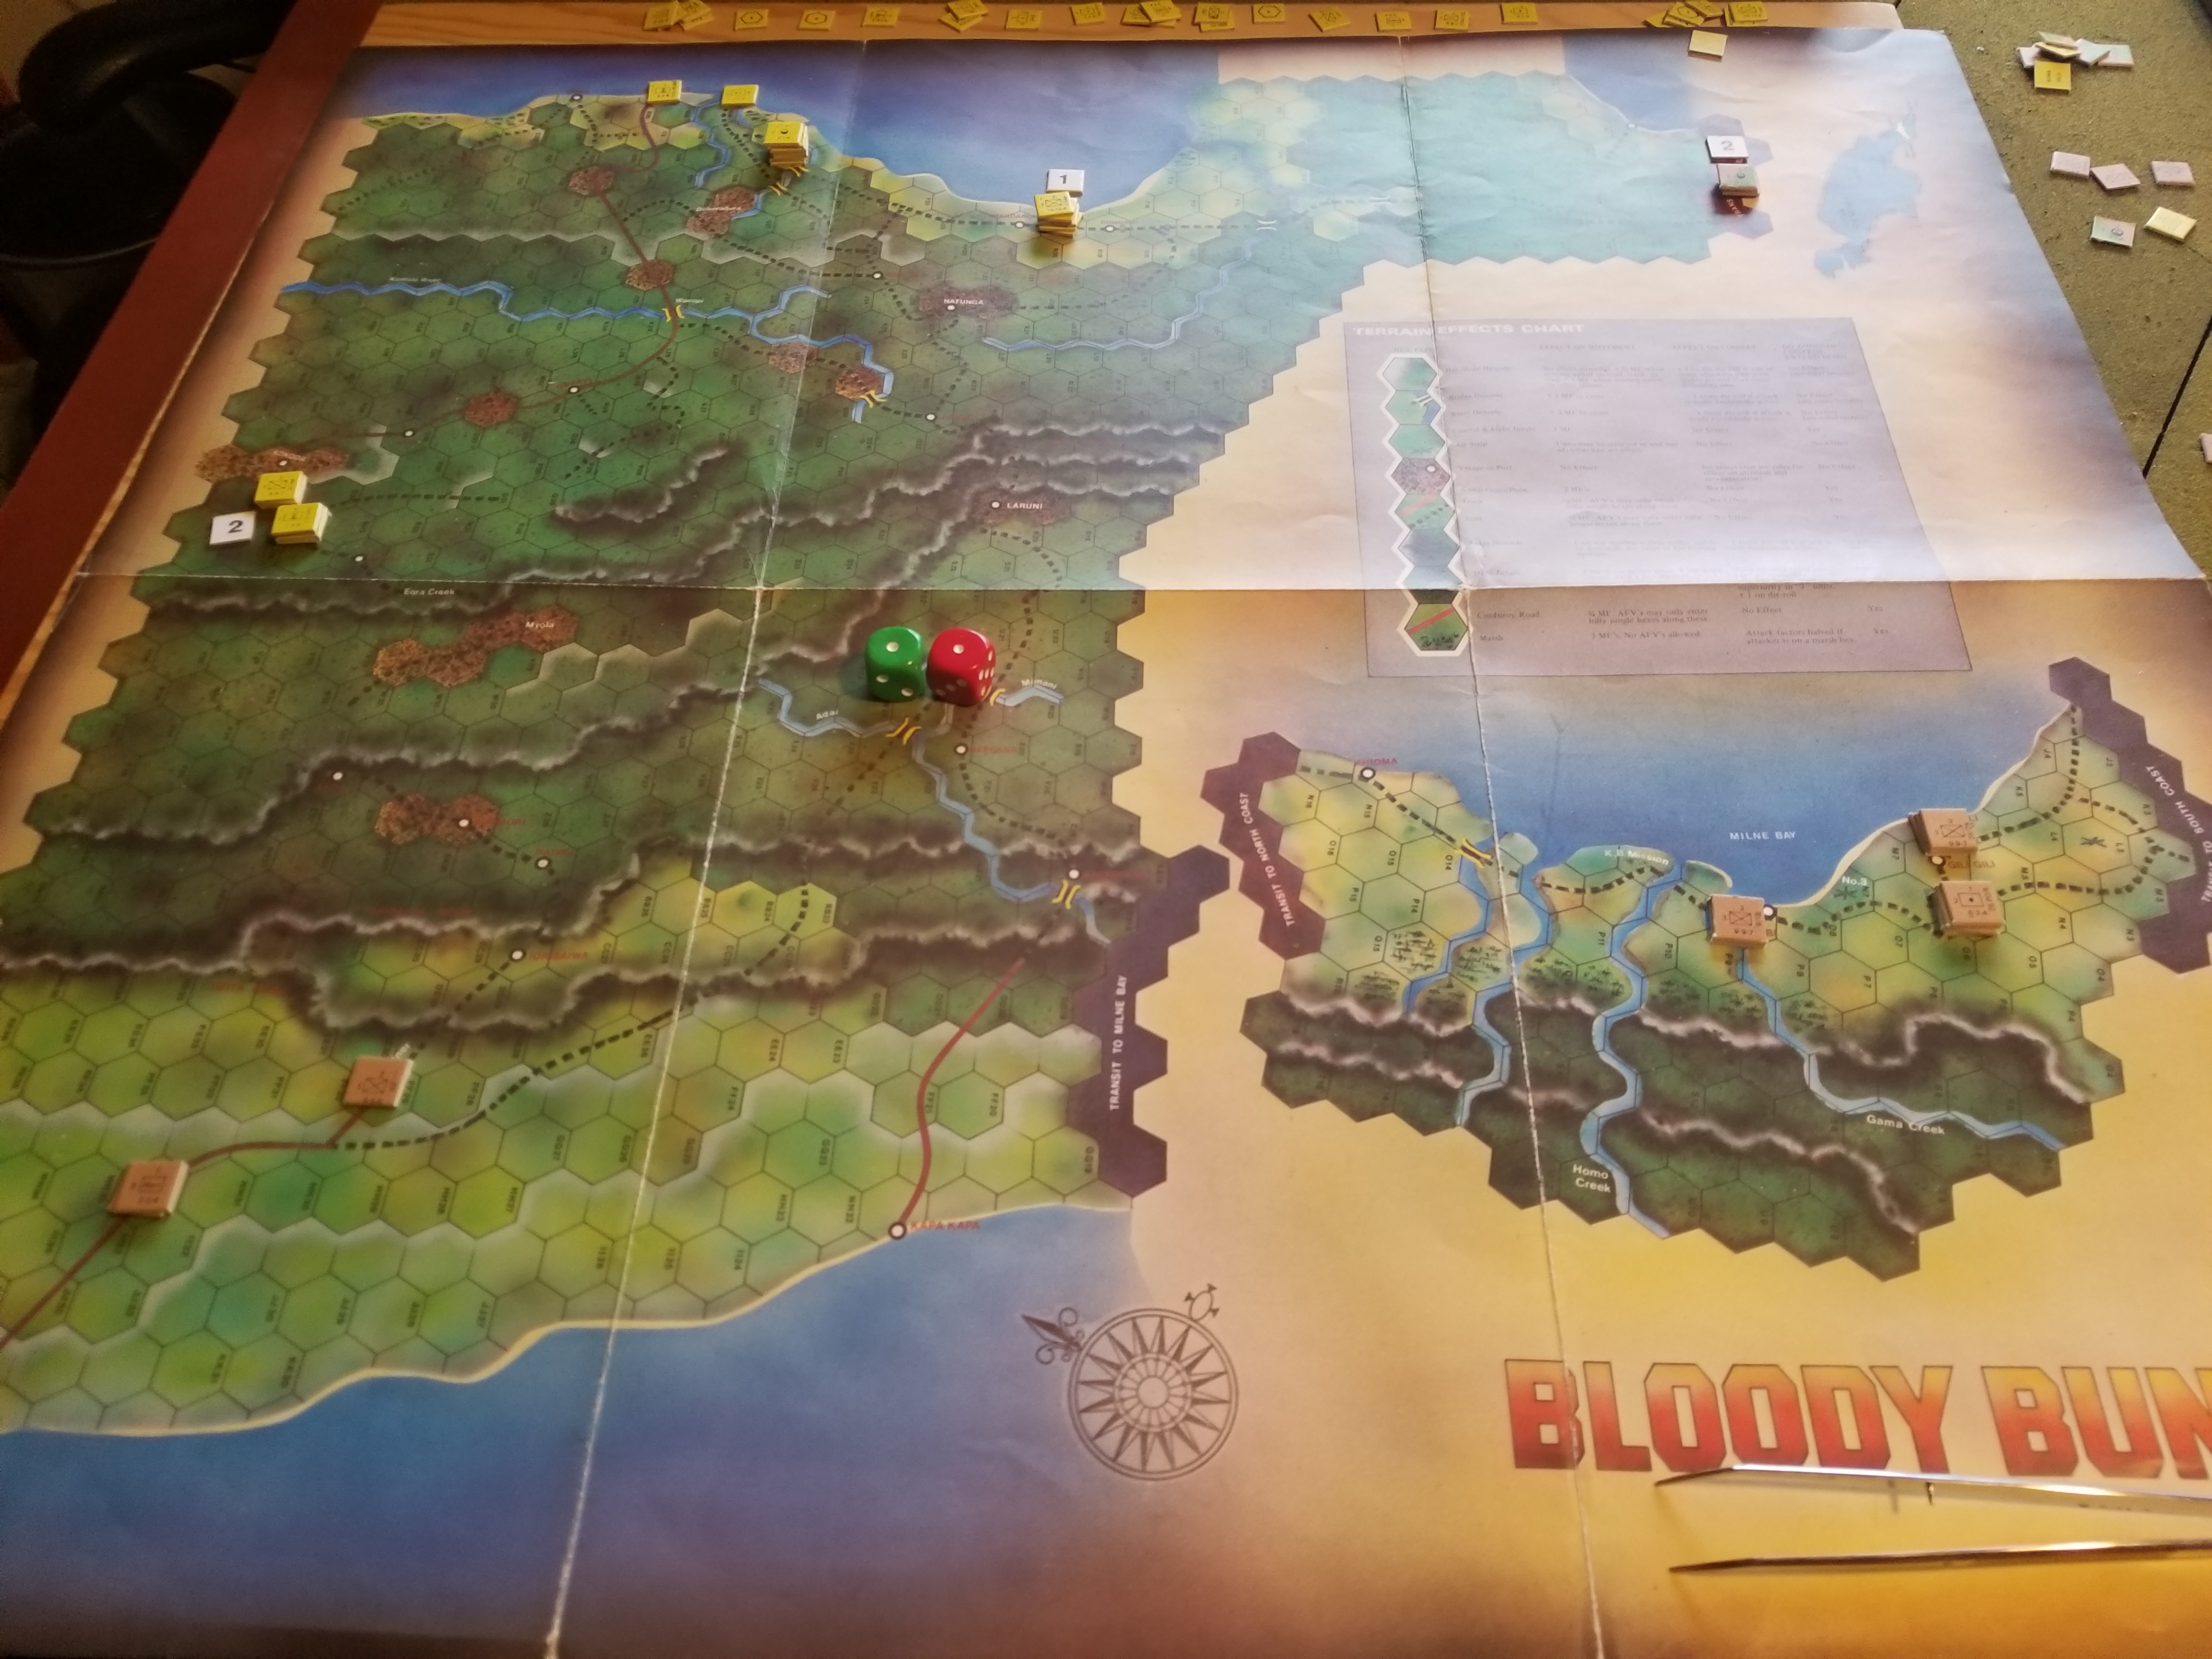
I used traditional blue and red blocks to identify friendly and Daesh controlled areas instead of counters.  At bottom right is the combat display.  Both types of Allied units (combat on top and support at bottom) can fire at Daesh units.  The Allied force pools are located above the combat display.  The red lozenges are for Daesh leaders.  I substituted pink blocks for the hostage counters, blue lozenges for pilots and a yellow block for media.  These were placed on a hand scribbled holding area card, which also had the turn phase track.  Daesh victory points were tracked by a red block, allied casualties by a blue block and collateral damage by a black block.  Turns were marked with another green block, along with stacks of destroyed Daesh counters by a result calling for their re-entry to the force pool sometime later in the game.   The containers were used to hold conventional Allied units not on the map, and the Daesh force pool.  Support units can be used only once per game turn.  In the absence of specific guidance I treated parachute and special forces units as support units since it would take some time to re-brief, re-organize these types of specialized units.

The rules were criticized in a now-deleted post over at Boardgamegeek.  I would say that the layout could be better, perhaps more along the lines of the solitaire Destruction of Force Z, which presented the rules and, most importantly, charts in  game turn sequence.  After flipping back and forth between Islamic State’s eight pages, I did a cut-and-paste to reduce the rules to a manageable, more sequential  and flippable four pages.  Unlike the redacted reviewer, I cannot see playing the game in 60 minutes or less.  Not a bad thing, but there are  too many moving parts. Still, the pace is brisk with plenty of decisions and actions in every turn.

In my game the  Allies lost by Turn 5, probably due to my misreading of the collateral damage rules.  The Combat rules section indicates that collateral damage should be checked after combat – but is that individual combat or turn phase combat?  The Collateral Damage table indicates after all turn phase combats have been completed.  The latter significantly reduces the potential point gain for Daesh.

I enjoyed the game, and don’t regret the cost of purchase, time taken to construct the components, and understand the rules.  It is an intriguing system.  For me, on a cost-benefit basis, the returns on investment seem marginal.  I don’t imagine replaying it right now, or in the near future.  For someone else, this might be a go-to game, but not for me.

Destruction of Force Z – Overview

Downloaded this  awhile ago over at Wargame Vault, based on reviews at Boardgame Geek.  It’s a Minden Games solitaire offering  originally published in Panzerschreck Magazine #16.

As is the case with most solitaire games, there are  lots of charts and wristage.  I skimmed the rules and decided to just start playing.  The rules are laid out in turn phase sequence, so I just set up the IPad beside the game and went at it.

Each turn consists of up to eleven phases.  These are:

  1. Weather – Roll 1d6 for either clear or overcast conditions.  Overcast is a +1 modifier for Japanese Search.
  2. Radio – British player can break radio silence.  In doing so loses a -2 drm during Japanese Search.  But, gains possibility of Air Cover to help attrit attackers.
  3. British Ship Movement – Can move up to 4 squares (cannot move diagonally) three times a game, or one-three squares.  Damage reduces movement.  During movement British ships can be attacked by minefields and/or submarines if in same hex.
  4. Random Events – Dictates appearance of Japanese transports, cruiser or battleship units.  Can also effect movement of Japanese submarines, shore landings or allow “shadowing” which is a -1 drm for Japanese Search.
  5. Japanese Ship Movements – Ships on map roll 2d6 for random one to two square movement.
  6. Japanese Search – Rolls 1d6 (3 or less) to sight British ship(s).
  7. British Air Cover – If Radio silence is broken, presence of air cover over British ships determined by die roll.  If present, roll 3d6 for number of fighters.
  8. Japanese Bomber – Includes both level bombers and torpedo bombers.  Roll 1d6 for contact.  If contact make separate 1d6 roll for number of level and torpedo bombers.
  9. Combat Phase – Roll 1d6 for individual attacks by Air Cover, then 1d6 Anti-Aircraft fire to eliminate/abort/or effect aim of bombers.  Then roll 1d6 for success by individual level bombers and torpedo bombers.
  10. Surface Battle – Takes place when opposing force ships in same square.  Roll 2d6 for hits and then 2d6 for effect(s).
  11. Bombardment – British in same hex can shell Japanese landing sites, automatically gaining victory points.

There are 18 different situations where wristage and charts are involved,  in addition to  Air Cover attacks, Anti-Aircraft, and Bombing attacks handled on an individual aircraft basis.

Having Second Front air phase flashbacks and may need this to get through a session.

Serbia The Defiant – Pt. 2

Finished up with the August turns; all seven of them.  That makes for a long month! Scenario extends into December, but I want to move onto something else, and stalemate is imminent.

The A-H forces have made progress in the south (unlike their historical counterparts), and are threatening to envelope the Serbians.  Nothing subtle about the A-H advance.  Just kept pounding away, but there are supply problems looming.  Unsupplied units attack at half strength, and both sides have problems mustering overpowering attacks.

The northern A-H advance has stalled at the Kolubara River.  Serbian defenses will exact a -2 DRM because all A-H units must attack across the river.

Neither side will have much in the way of reinforcements, so the prospects of a breakthrough are fairly low.

Enjoyed this one  It’s a good learning scenario with a variety of terrain and low counter density.

Here’s a photo of the situation at the end of September.

I’ve convinced Tim to play this during our next get-together.  The “Transylvania Gambit” scenario looks fun.  It has Greeks, Germans, Romanians, Bulgarians, A-H and Serbians!

Serbia The Defiant

Started a new SPW module and scenario this week.  It’s the August-December 1914 scenario covering the initial fighting between Austro-Hungarian (A-H) forces and Serbia.  One BGG commentary summed it up; “weak units, bad terrain”.

Still, with a low counter density and few special scenario rules (except for the A-H  2nd Army which must re-deploy to attack the Russians), it is a quick and enjoyable play.

Once again, the rules mandate aggressive A-H moves during the first two turns.  The results so far have been relatively bloodless.  The terrain is very rough, with the only clear terrain found near Belgrade to the north of the map sheet.  However, the (universally criticized) historical deployment has the main A-H effort attacking through the mountains in the west, and river networks in the northwest.    This terrain provides excellent defensive opportunities for the outnumbered Serbs.

In this game, A-H forces are concentrating on the northwest sector of the Serbian defenses, and simply tying down Serbian and Montenegran units in the western mountains.

Here’s the situation after two turns, at the beginning of the August 5th turn.  Most of the units lying north and west of the Danube are with the 2nd Army, shortly to be recalled to the west to fight the Russians.  Montenagran units have a cranberry (?) color.

And, here’s a closeup of the northwest area, where A-H forces have been able to cross the Drina River.


Galacia – The Forgotten Cauldron

Have worked my way through August and into early September.  Each month has seven turns.  This scenario will end in mid-September 1914.

Both sides are starting to go at it hammer and tongs.  The CRT is bloody, with the unique counterattack option making even what in most games would be high odds attacks difficult for the attacker.  In other words, an attacker with three times the strength points of the defender is really only working at one-to-one odds if counterattacked.

One rule I overlooked in my first post was supply point usage.  Each headquarters has an allocated number of supply points to support attacks and counterattacks.  An attack costs one supply point per four attacking factors, rounding fractions up.  A counterattack costs one supply point per two counterattacking factors.  Most headquarters start the game with either 30 or 40 supply points.  They can receive replacement supply points and may transfer points between headquarters (one use for rail networks).  Without supply, units function at one-half strength, except artillery, which cannot counterattack if out of supply.  Supply lines are four movement points in length, with the attacking strength of a unit reduced by one for every hex beyond four movement points.

In this scenario, each army has an objective.  These objectives reflect the historical initial plans of each country and  help make the game solo friendly.

And then there are the scenario specific rules, which I won’t recount here except for the one I just realized I missed.  The Austrians cannot reduce their losses if they choose to retreat.  This reflects their extremely aggressive tactics which led to horrendous losses.

This box contains both Tannenberg and Galacia scenarios.  These two scenarios can be linked, as well as linked with the separate introductory scenario/game The Schlieffen Plan.

Here’s a quick pic of the game currently in progress.  I’m having fun with it…..a lot more fun than that damn Drive on Stalingrad fiasco.

Finally…….

Finished off a long and torturous session with the venerable and highly rated Panzergruppe Guderian.

Getting it on the table was a lengthy process.    Purchased on E-Bay eons ago.  Arrived in fetid condition, probably stored in a basement in Missouri for the past 20 years.  No slur on The Show Me State, as  I lived there for 10 years, and had a number of games go bad in the humidity.

Game spent about 6 months in a car freshener laced garbage bag along with some really smelly Osprey Men At Arms books.  Rules had to be copied since the originals were falling apart.  Lucky the copier didn’t succumb.

It is a fun play, until the German player has to get involved in (I think unavoidable) attritional showdowns at or east of Smolensk.  

Opening


The unknown Soviet unit strengths make it a very good solo game.  The Soviets keep throwing units into hasty defensive lines, while the Germans try their best to outflank them, and wait for their infantry to appear,  sew up the pockets, and get the ZOC kills.  Unfortunately, the infantry units are a little late in getting on the map. 

My mistake was to leave armored units to seize Smolensk, rather than push them east.  Again, if I’d been more patient, the infantry would  eventually  have arrived.  But, time is of the essence in this game.

Also, once a unit is in contact, it is committed and  can only  leave its opponent’s ZOC through victory or an unfavorable combat outcome.  Panzer losses reduce the ability to attack at doubled strength.

So, why long and torturous?  Just couldn’t bring myself to get muddy and bloody east of Smolensk once the Soviet defenses had really coalesced.  Kept looking at the game table and finding beer to drink and/or  chores to do.

The key to this last defensive line was using Soviet commanders – who have a command radius allowing units to use full movement – as “shepherds” to help units into action quickly.  Rail movement is limited, and the German interdictions drastically reduce rail movement.  So, getting everyone moving west is a Soviet priority.

The Soviets also have a limited interdiction capability.  This is limited to twice a game, but given the German line of communications bottleneck, an interdiction  reduce literally all German units east of Smolensk to half strength during that turn.  Timing here is critical for Soviet success.  

By Turn 8, it was coming down to one turn of die rolls for the Germans.  Without a breakthrough, stalemate.  Rolled them, and the Germans remained locked up, with only a limited reserve  too weak to continue east.  

End Game

A marginal victory for the Germans.

Wild Wild West With Fistful of Lead

Finally played a game after my earlier in the month misadventures with scale.

Scenario borrowed from the Butch & Sundance final fight.  Had four figures each for the “Blue” Gang and “Brown” Posse.  Blue Gang hiding in small ranch complex, when Posse approaches and dismounts.

First random actions were to determine if the Blue’s sentry spotted the Posse before the first turn started and at what distance.  He did, at a distance of 12 inches.  There’s no running in the Rules As Written (RAW), only walk (5″) and crawl (2″).  I use a run move of 7 inches.

A card is dealt for each figure.  The card values (face etc) are called out in sequence with the highest card going first.  For solo play, I just lay them out, and then pick in the appropriate order.

Turn 1:  The outlaws are warned and get the first three plays.  The sentry runs to the house to give the warning.   One gets out of the building, rushing to the gate, and another moves to the corral wall.   The posse shoots down the cowboy at the gate, and takes cover behind the ranch wall.

Turn 2:  One outlaw runs out of ammunition (firing roll of “1”).  The posse’s rifleman shoots down the outlaw at the corral.  The remaining outlaws are now in the building.

Turn 3:  The outlaws have the first two turns and both miss aimed fire (one action to aim and one action to fire).  One of the outlaws is then pinned by gunfire.  A posse member moves next to the house, anticipating a rush.

Turn 4: The two posse shooters at the corral run out of ammunition.  A bold attempt to rush the building leaves the one posse member wounded.

Turn 5:  The outlaws manage to kill two posse members despite partial cover.

At this point, I had to shut the game down.

As advertised, Fistful of Lead is “fast and furious”.  You can nitpick the rules, particularly the inability to shoot at a moving target, but you can’t dispute this is a fun skirmish game.

Posse shoots down one of the outlaws at the front gate. Another outlaw is outside the house using the corral wall’s partial cover.
Two outlaws down!
One member of the posse ready to rush the house.

Old Itch Scratched

One of the lost games that I have fond memories of is SPI’s Oil War.  Don’t know where it went, but probably in a late 70’s purge along with the also lamented World War I.

Been looking for both on E-Bay but the high prices were off-putting.  Recently found a reasonably priced folio game and snapped it up.

Fairly quick to set up, moves along at a brisk pace, but there is one problem.  The Western nations have to really screw it up to lose.  Why?  Airpower.  Air attacks simply crush the combined Arab forces.  It will take time….but  victory conditions will be attained.

My approach was to establish airheads in southern Saudi Arabia, reducing logistical demands, snap up the Saudi oil fields, then gradually move north.  Yes, Kuwait has to be captured to assure a substantial victory, but that is an eventuality.

Arab forces need to defend airbases to deny the West their logistics benefits, and to give ground grudgingly, hoping that the game will end before losing the 25 oil fields signifying a substantial Western victory.

At the time, it was a challenging and fun game, dealing with a very current topic.  Now…..not so much, but I enjoyed playing it, and that’s the main thing.  Here’s a couple of photos.

First Time Through: Aggressiveairlanding  on the coast. Air units staged to savage Saudis defending oil fields. Significant assets attacking Qatar.
First Time Through: Too aggressive. Coastal unit just before ZOC kill.
Second Time Through: Slow and Steady.  No distractions and no sudden moves.


Fall Grun – What Was He Thinking?

After two gratuitous posts, here’s (hopefully) something of substance, and very late getting to the blog.

A couple of weeks ago, Tim and I played Fall Grun, a Europa game covering the proposed German invasion of Czechoslovakia in 1938.  The hypothetical conflict was previously covered by both Command and Strategy and Tactics magazines.  In each of our three “games”, Tim had the Czechs.

This iteration is published  by New Europa Games, using John Astell’s Blitzkrieg Unleashed rules.  Mr. Astell’s involvement with the Europa system goes back to, I think, the inception.  The rules closely follow the Europa template, but involve some interesting changes to ZOCs and Overruns.

The New Europa website is apparently dormant, but has been an excellent source for variant counters.  Also, a game anticipating a Hungarian-Roumanian war in wake of the Czech conflict is supposedly in the making.  That would be fun.

The game components are of high quality, however the lack of comprehensive charts presupposes ownership of other Europa games.  The map is vinyl.  Apparently this is cheaper to produce than a paper map.  The only downside is that the creases are more obstinate than  paper, requiring some improvisational and forceful re-shaping

The Germans have their work cut out for them.  The Czech’s have a quality army that receives strong infantry and armored reinforcements very early in the game.  The German initial deployment is rather “even”, without any real point of main effort.  Many German units, especially valuable engineers and artillery regiments, are placed some distance back from the Czech-German border, and require time to assemble or move to contributory locations.  There is also the possibility of Soviet intervention of the Czech side, with also a desulatory appearance by the anti-Czech Poles obsessing over three hexes.

The real German strength is their airforce.  Many units, well suited to ground support, but with fighter cover that lacks range and (initially) limited airfields close to the Czech border.  Also, Astell’s latest rules (early war) allow positive combat modifiers for an armored mix as low as 10 percent of the attacking forces.

After setup, we played the initial two turns.   I dutifully went through the Blitzkrieg playbook using the first turn to annilihate the Czech airforce and mass units for border attacks.  Tim countered, and my attacks stalled.  And, that was that.  A learning experience.  Reset for Saturday.

Well, Friday was a learning experience, but not a good one for me.  Still allocated aircraft to airfield attacks, but this time I had deployed my engineer units to quick construct airfields, or move into positiion close to the border to construct them on Turn Two.  I concentrated my attacks to the southeast and southwest of Prague, hoping to isolate Prague from the strong Czech units facing Vienna.

Initial Setup. That Vinyl Map Needed Anchoring
Germans Attempt To Isolate Prague
Limited Gains

Weather.  Why worry about it, right?  Never a thought.  It’s October…….crisp fall weather.  Oh…….then just roll on the weather table  for …..MUD.  Ugh…..bad, bad amateur move.  It stings even three weeks later.

OK, give it one more try.  Another set up after dinner.  Same bloody result.  This time, more aggressive, greater gains.  But, again, MUD.

New Game….Same Result….Stalled

No wonder the General Staff was ready for a putsch.  Tough army, difficult terrain, limited mechanized advantage, and an untried airforce lacking airfields.  And, also, MUD.

I don’t know if Tim is ready for it, but I’d like to switch sides and see what he can do.  He’s good, very good.  But this is quite a challenge.

Good game in the tradition that is all best about the Europa system.  And, given the strange and terrible saga of this system, it’s best to remember the good.

A Little Bloodier

Was able to get through about 12 turns of Bloody Buna before I left for latest elder-care iteration.

It’s easy to understand why the response to this game was muted. Supply is everything, and there isn’t enough of it. Unlike many games where new supply counters are generated every turn, or MSRs linking supply sources to units are lengthy and developed, this game has short MSRs (2-4 hexes), and a very limited number of supply counters.

The result is the need to accept attrition die rolls as the cost of conducting business. While Allied units can huddle in defensive positions near supply sources, they will have to conduct operations far from these sources in order to win. The Japanese face a dwindling level of supply as the campaign progresses, and will have to hold on to their gains in order to eke out at least a marginal victory.

This isn’t the Western Desert. No booming and zooming.

So far, the Japanese were able to advance to Kokoda, eliminating Australian units that were tasked with a delay/defend mission. However, the Japanese are now on half-supply.

Another Japanese force moved east of Buna to cut off Allied forces that had moved west from Milne Bay. Again, both sides will soon be out of supply and subject to random attrition and accompanying loss of combat power.

I’m charmed by this game, if only because of the limitations created by factors taken for granted in so many other games.

Here’s a couple of bad pics depicting the Japanese attack on Kokoda, and the situation when I left.  Number chits indicate supply turns remaining.