Tag Archives: Destruction of Force Z

Destruction of Force Z – Wrap Up

My immediate interest in the game was triggered while reading The Royal Navy in Eastern Waters:  Linchpin of Victory, 1935-1942 by Andrew Boyd.  This is a very interesting and well researched examination of the events leading up to the Force Z debacle.  The author dispels many of the convenient myths surrounding the event.  Well worth the time and effort, especially if you can pick it up when on Kindle sale for $1.99 or so.

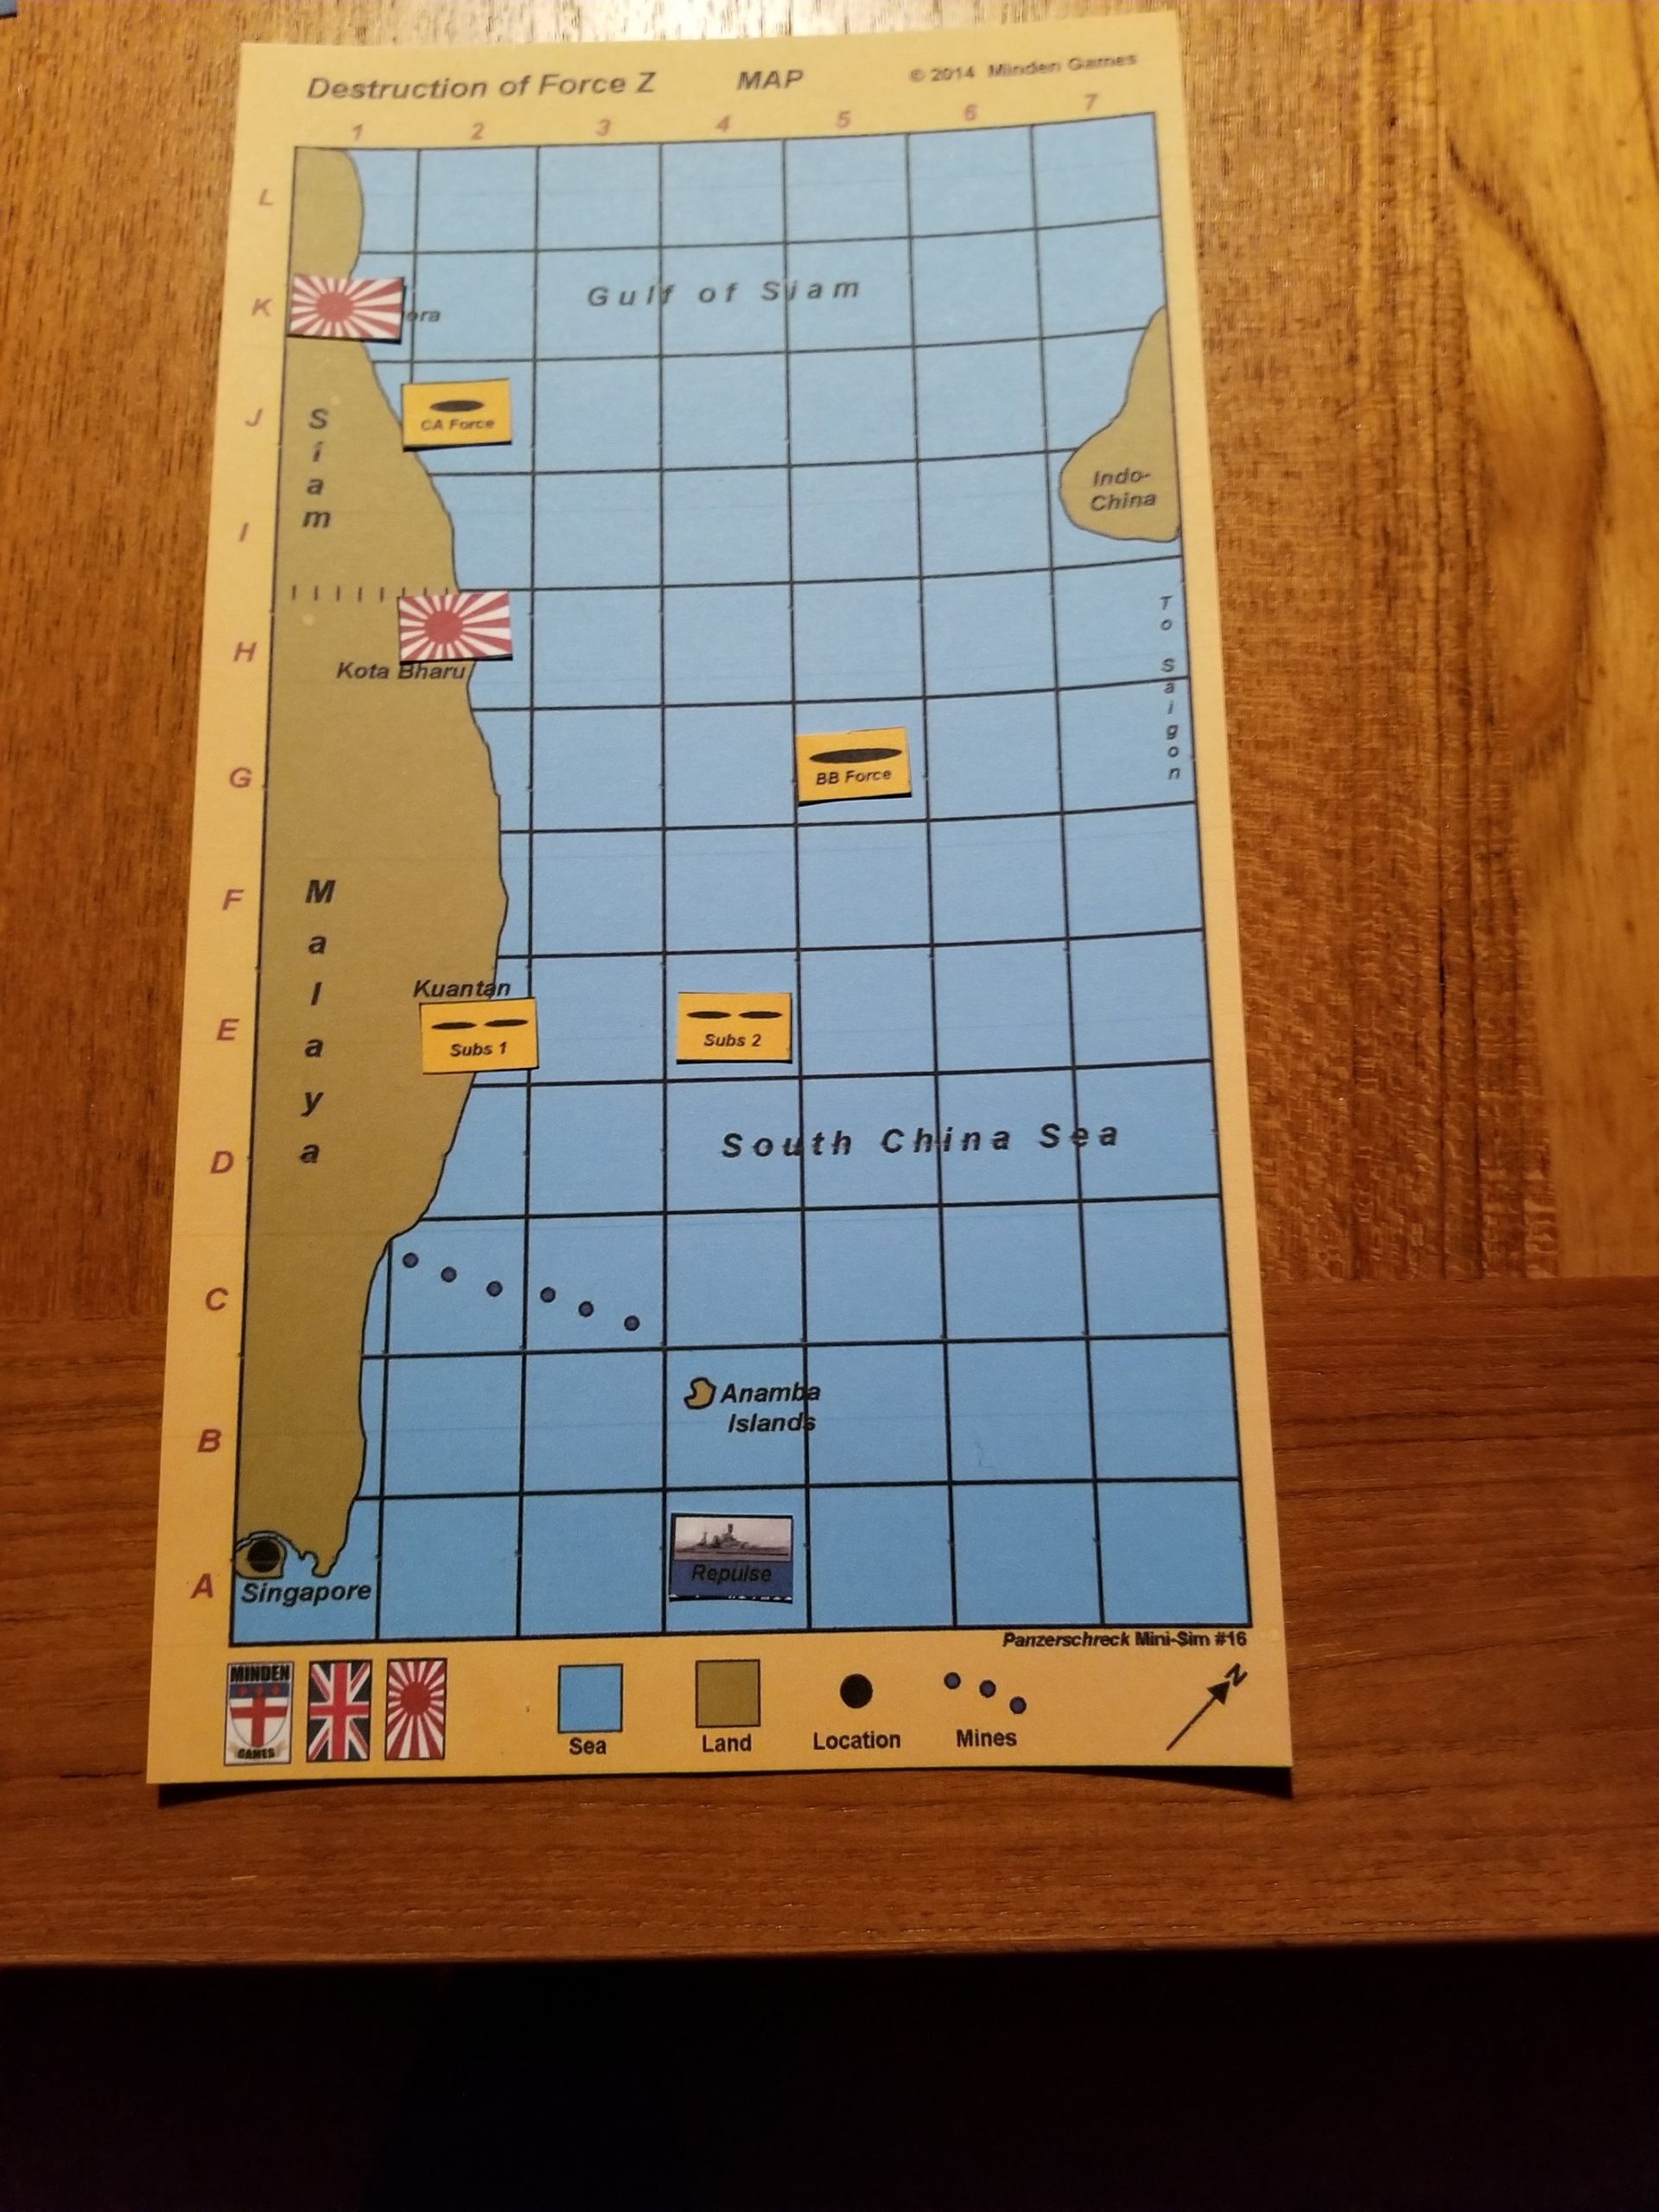
The game reminds me of In Magnificent Style, where you have to push your luck to the limit in order to achieve the intent of Force Z’s sortie.  I did this, especially when I reversed course and sailed towards the Japanese battleships, rather than “game” the system and eek out a minimal victory of just a few points.

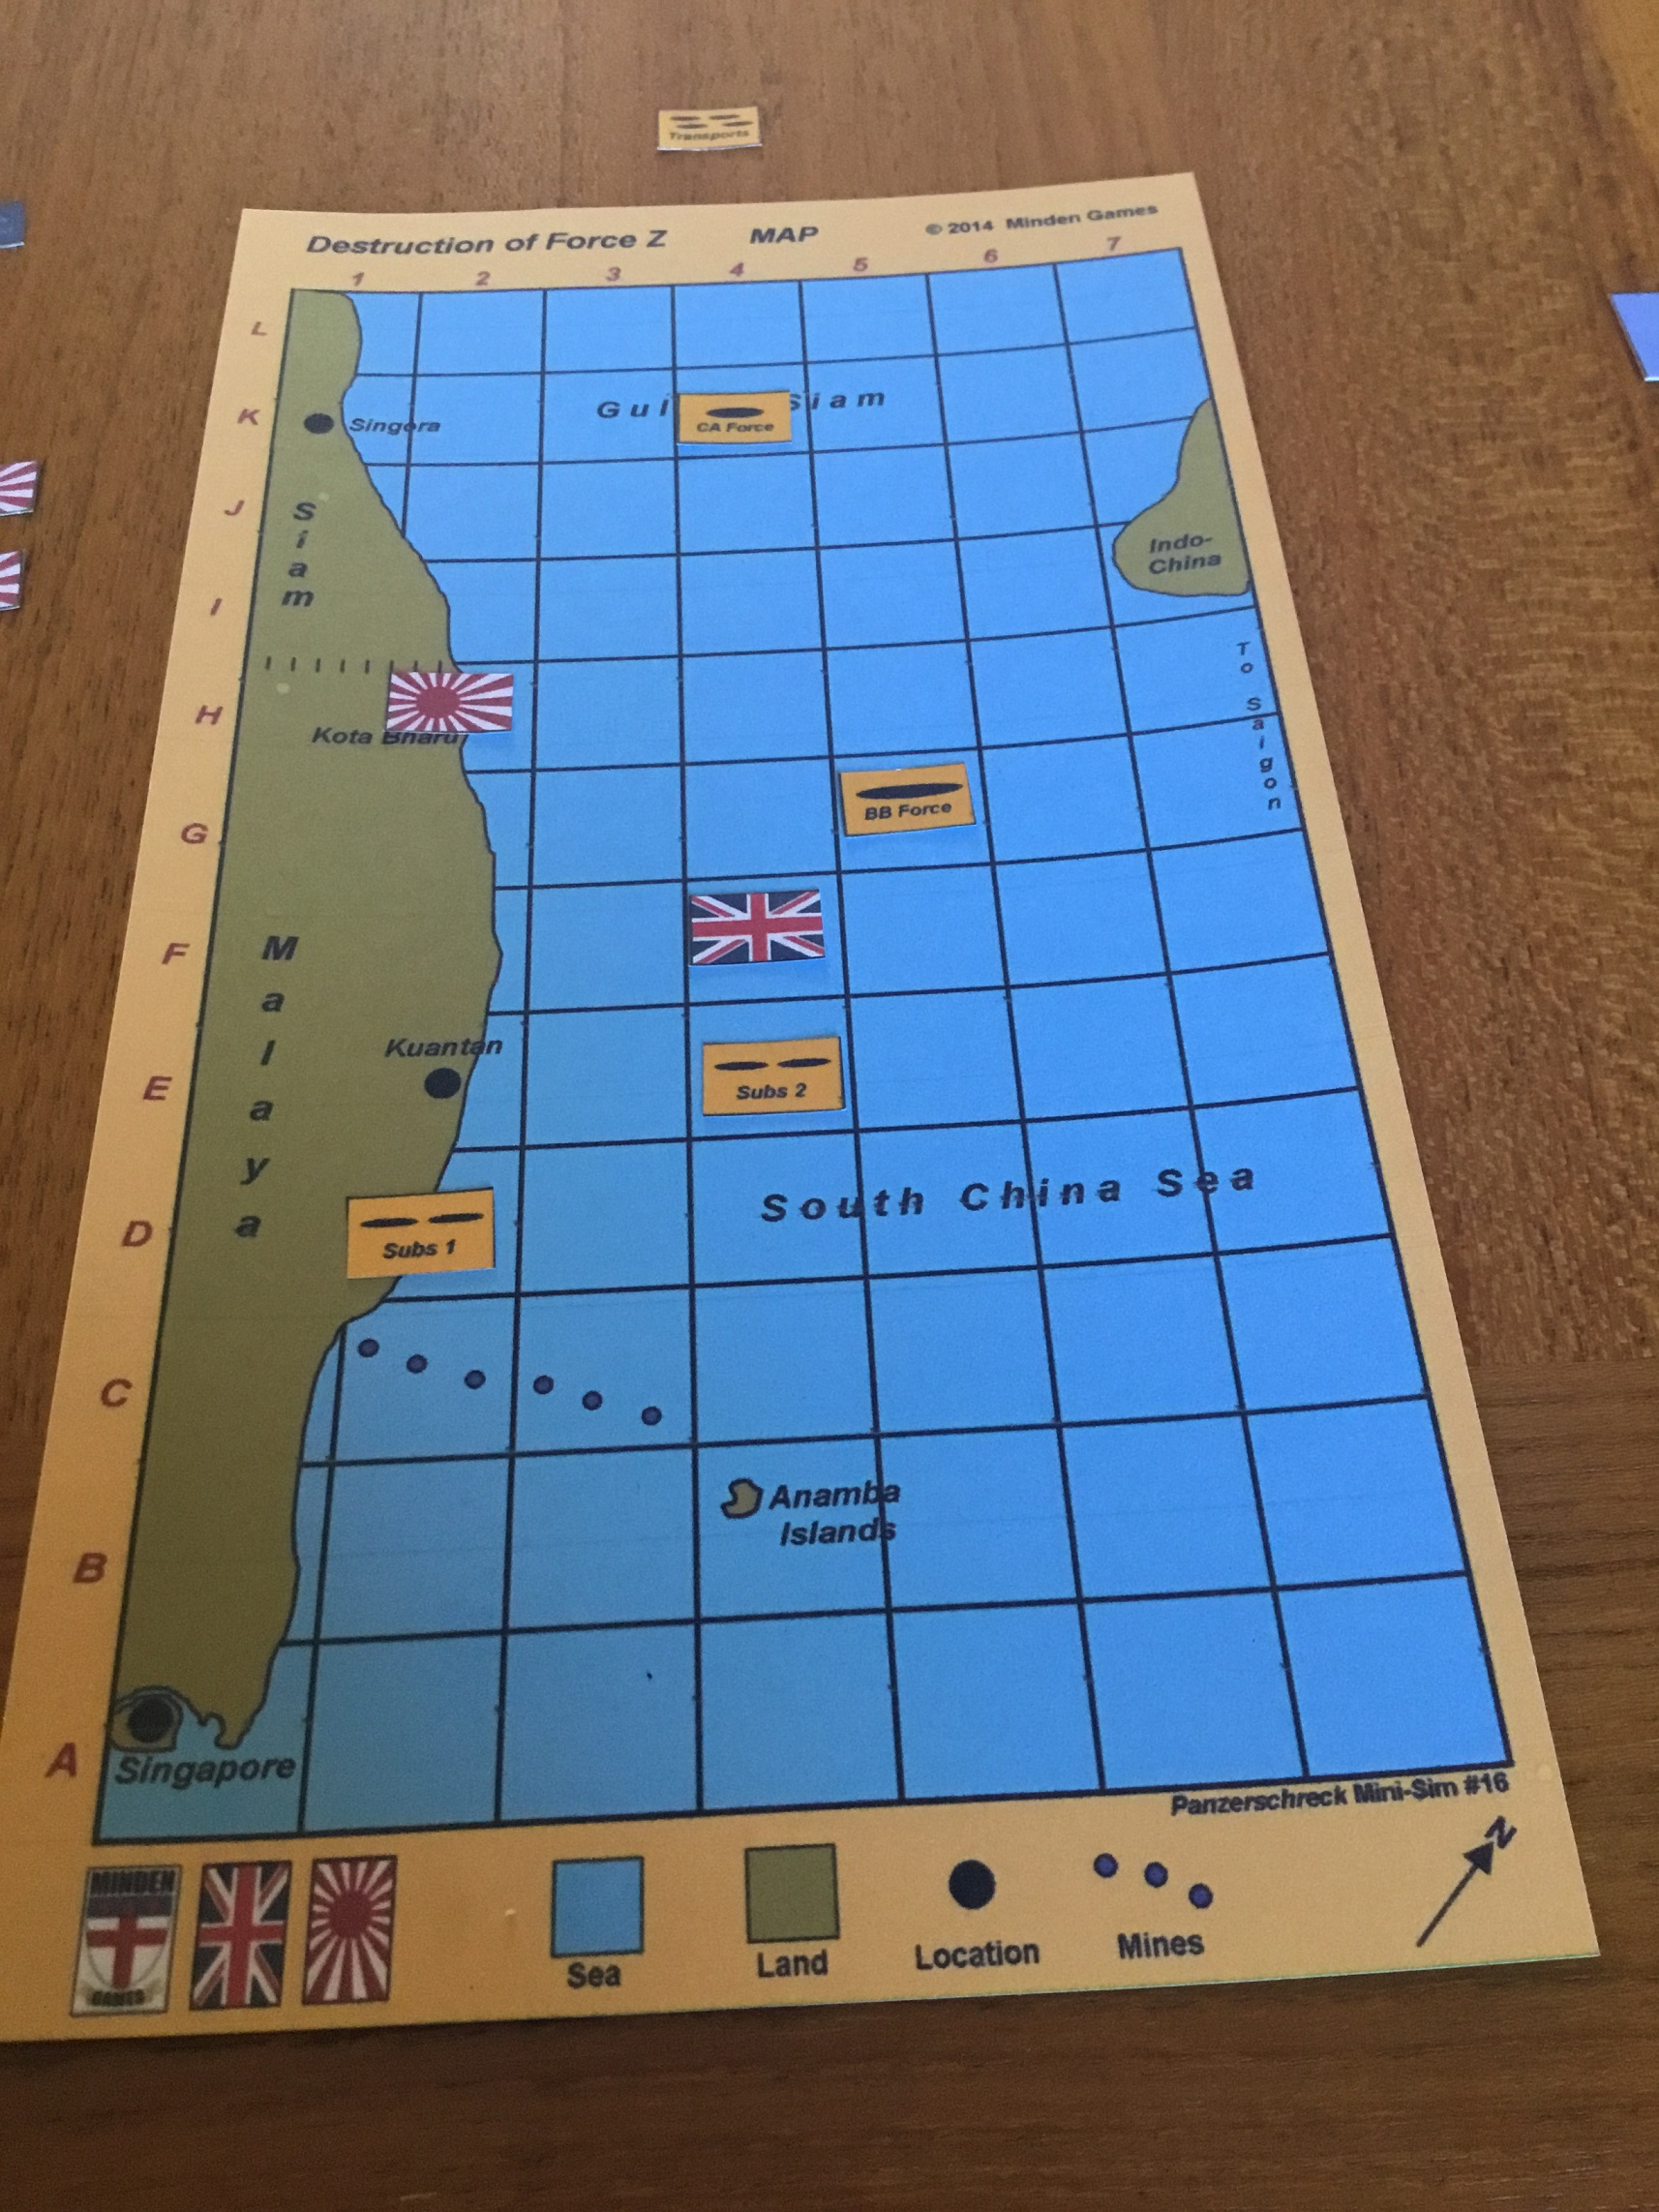
To compound the British player’s problems, the chances of sinking the Japanese battleships is fairly low, and seemingly not worth the risk, despite the lucrative victory points.  Also, the odds of fighter cover actually materializing is relatively low, and anti-aircraft fire is fairly ineffective.  In this regard the game reflects the operational and tactical  factors leading to Force Z’s destruction.

The optional rules allow the British player some relief; limiting Japanese bomber availability on a per day basis, increasing the Repulse’s capability to avoid torpedoes, and including the carrier Indomitable to provide available and increased air cover.  I would consider a house rule making British surface attacks more effective and, perhaps, increasing the victory points awarded for bombarding the Japanese landing sites, since this was the mission of Force Z.

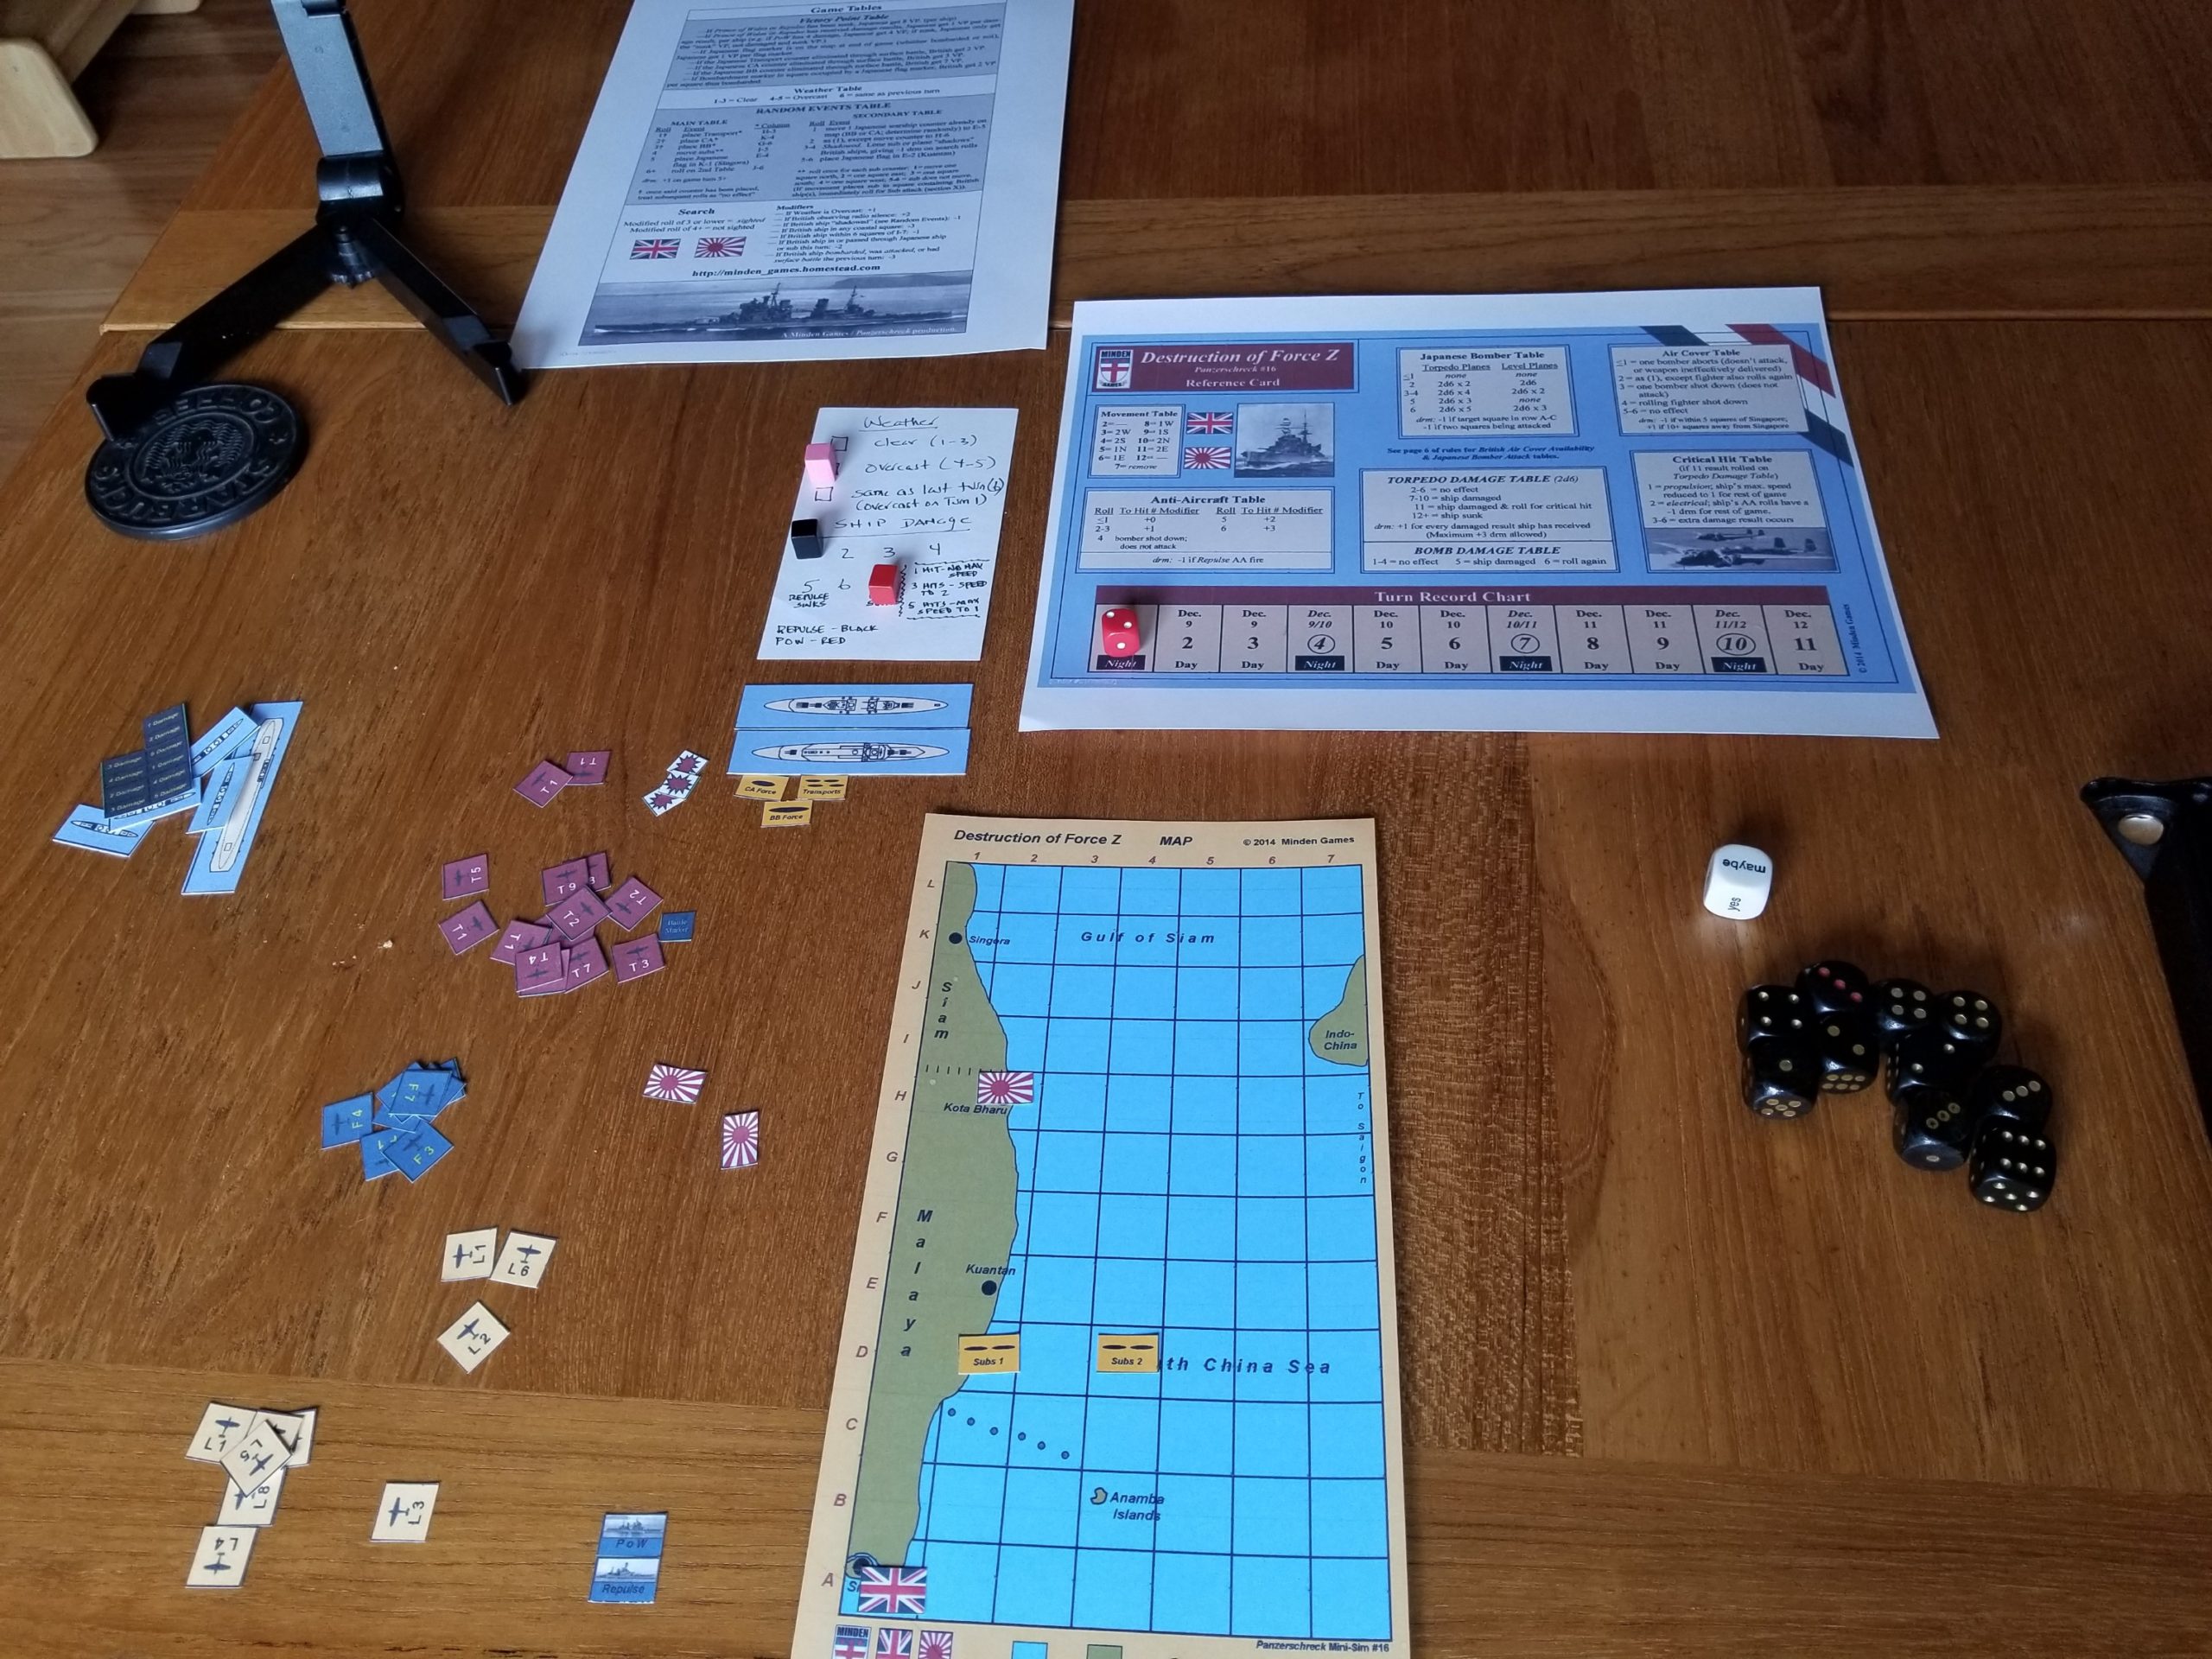
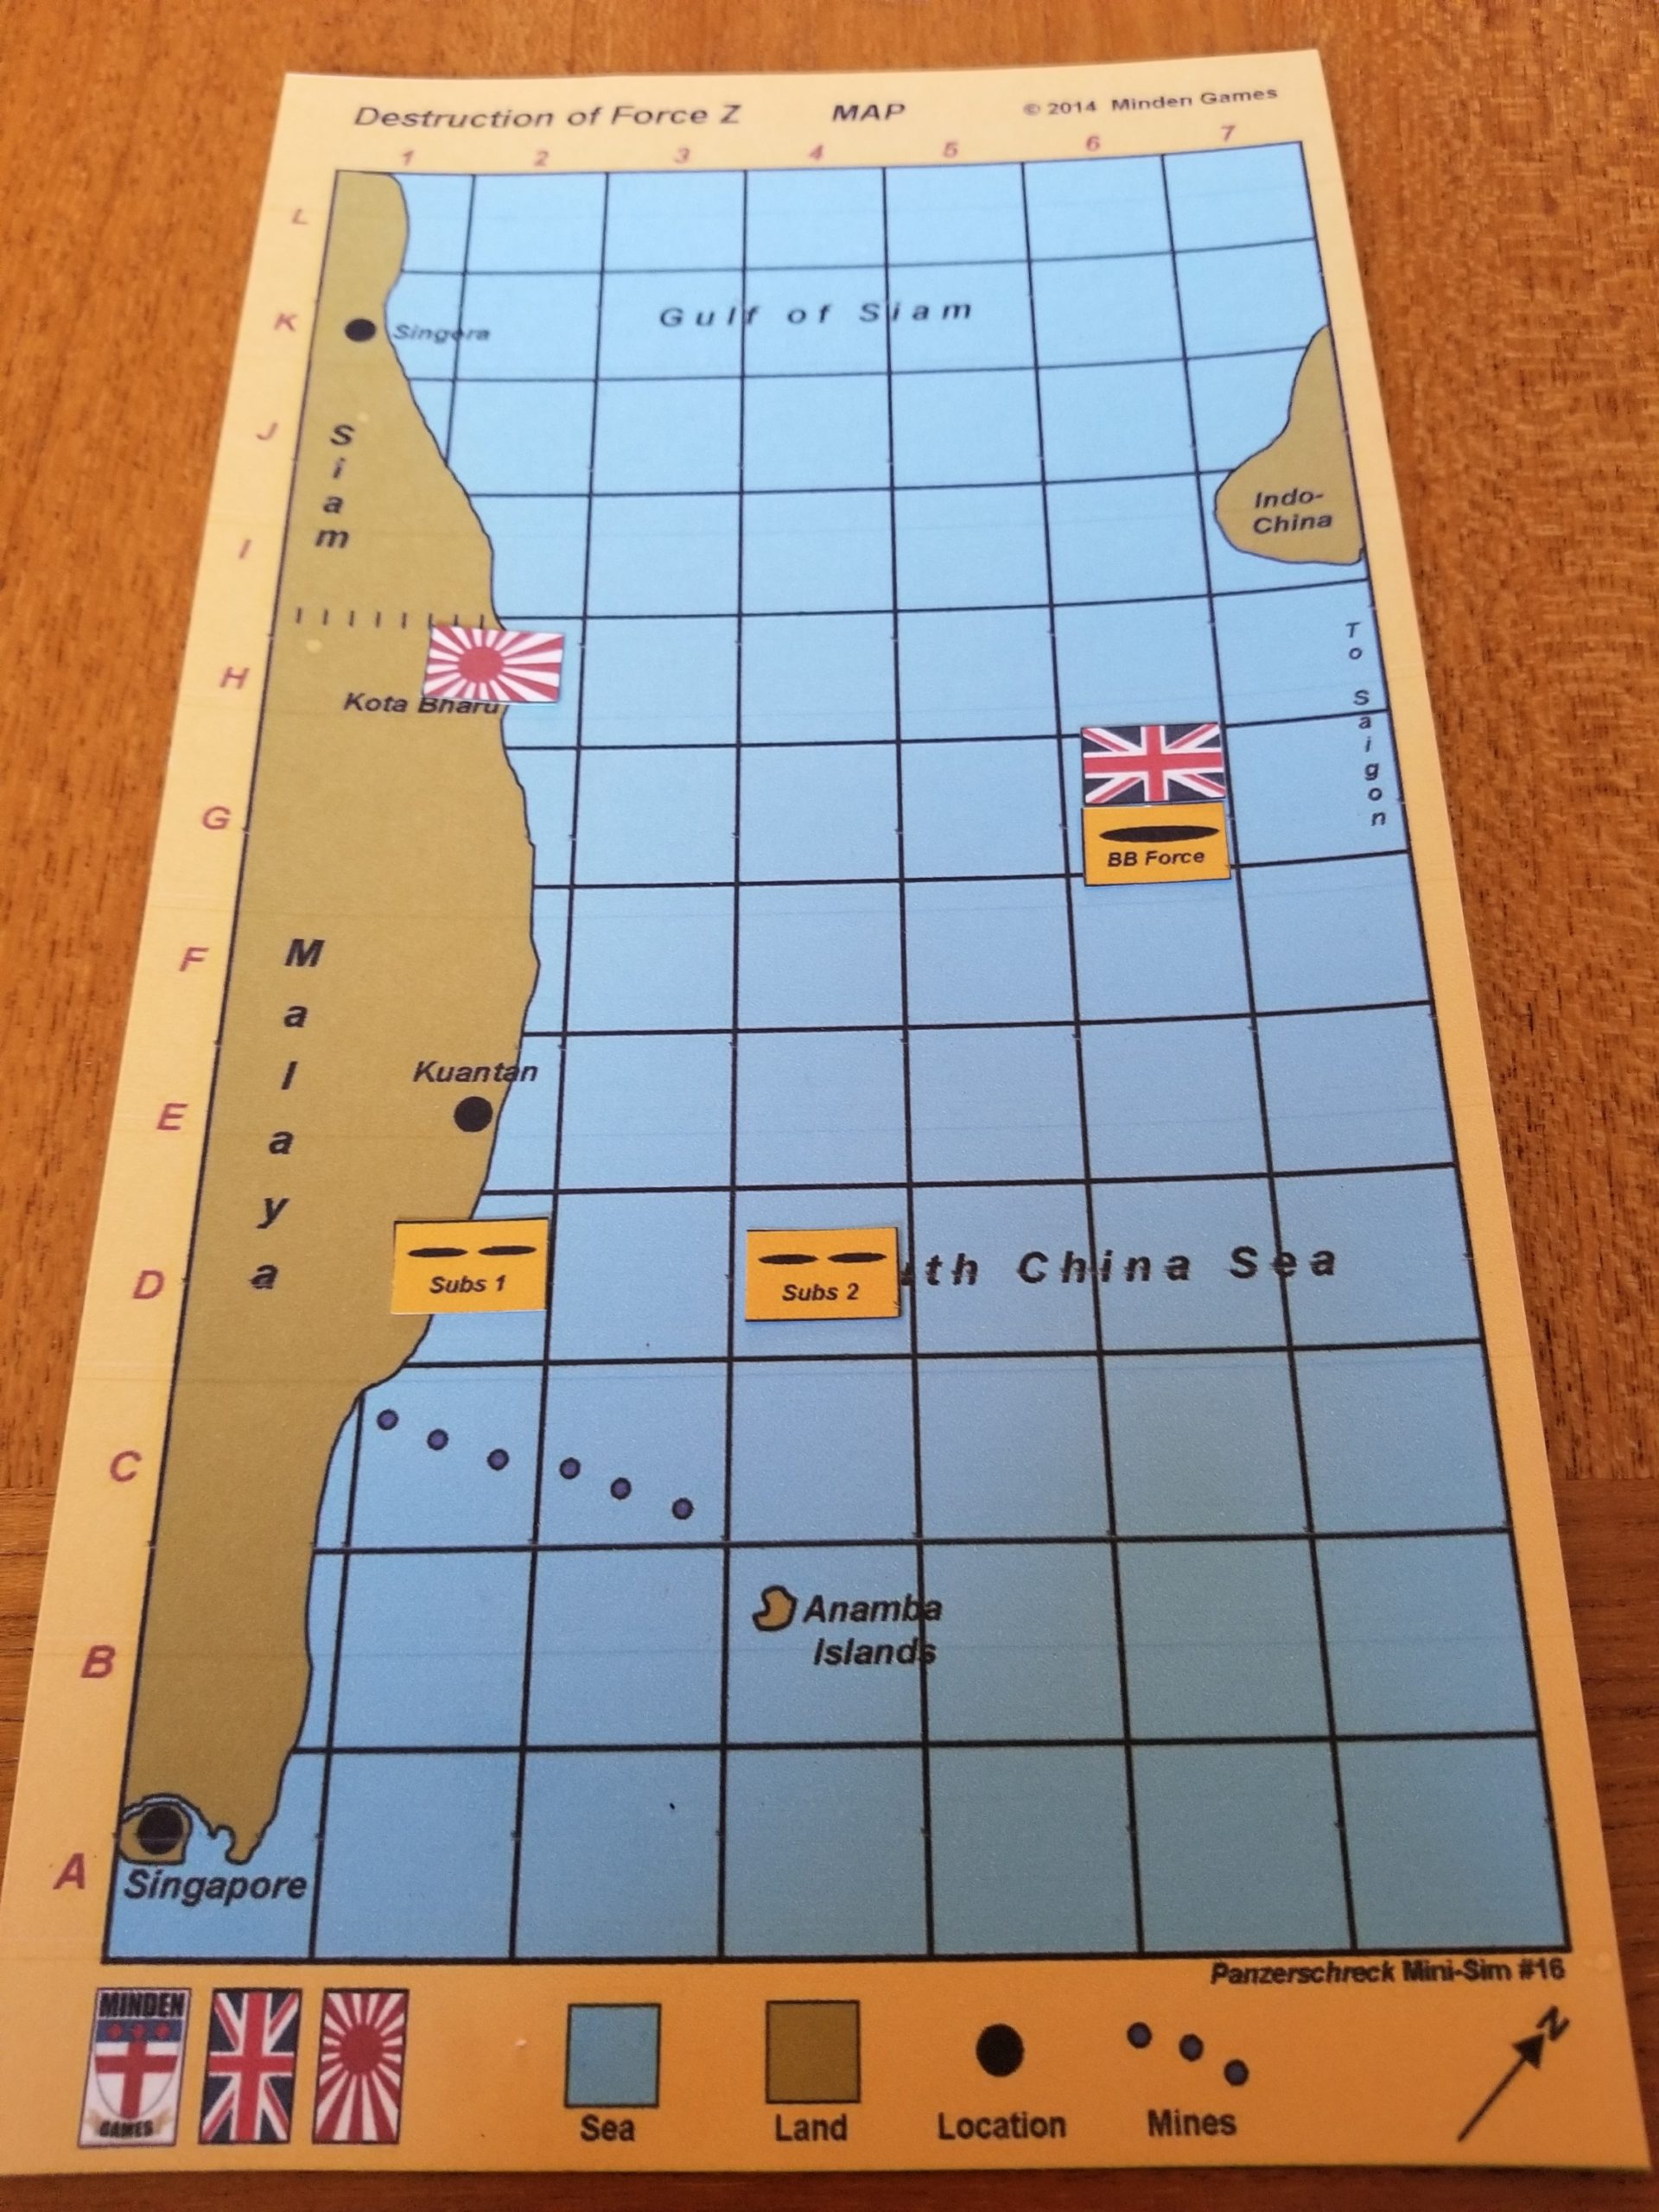
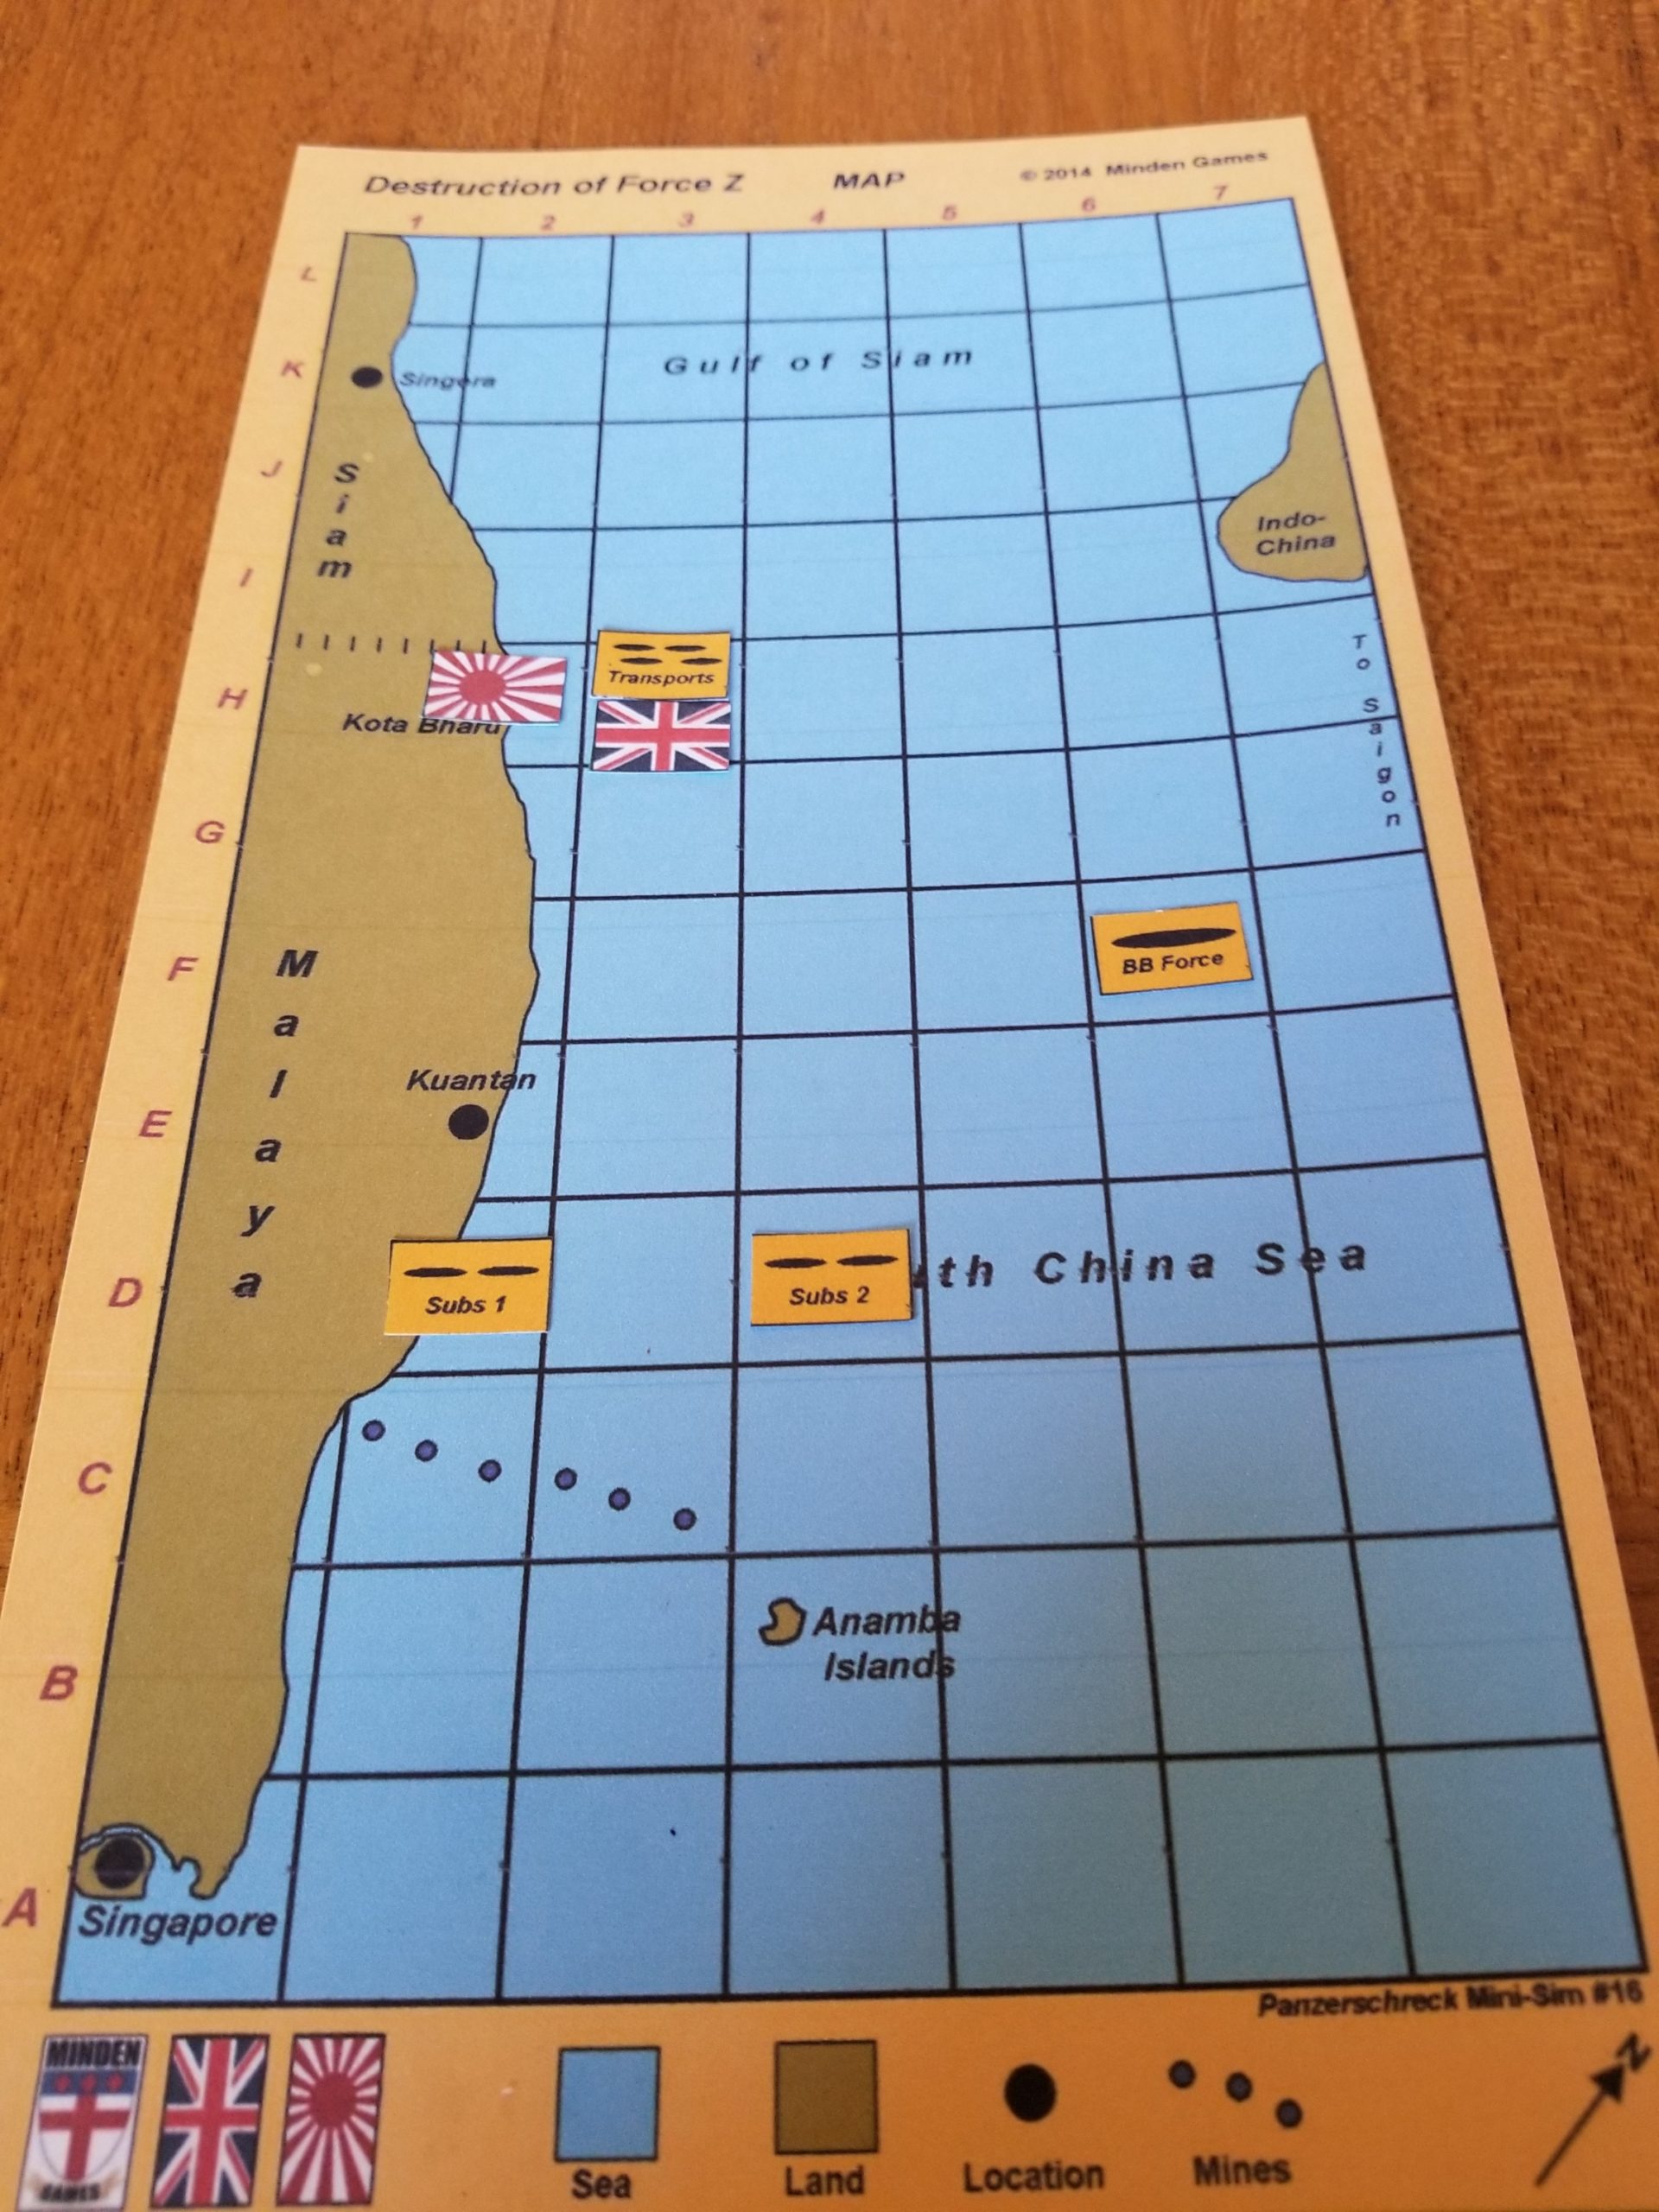
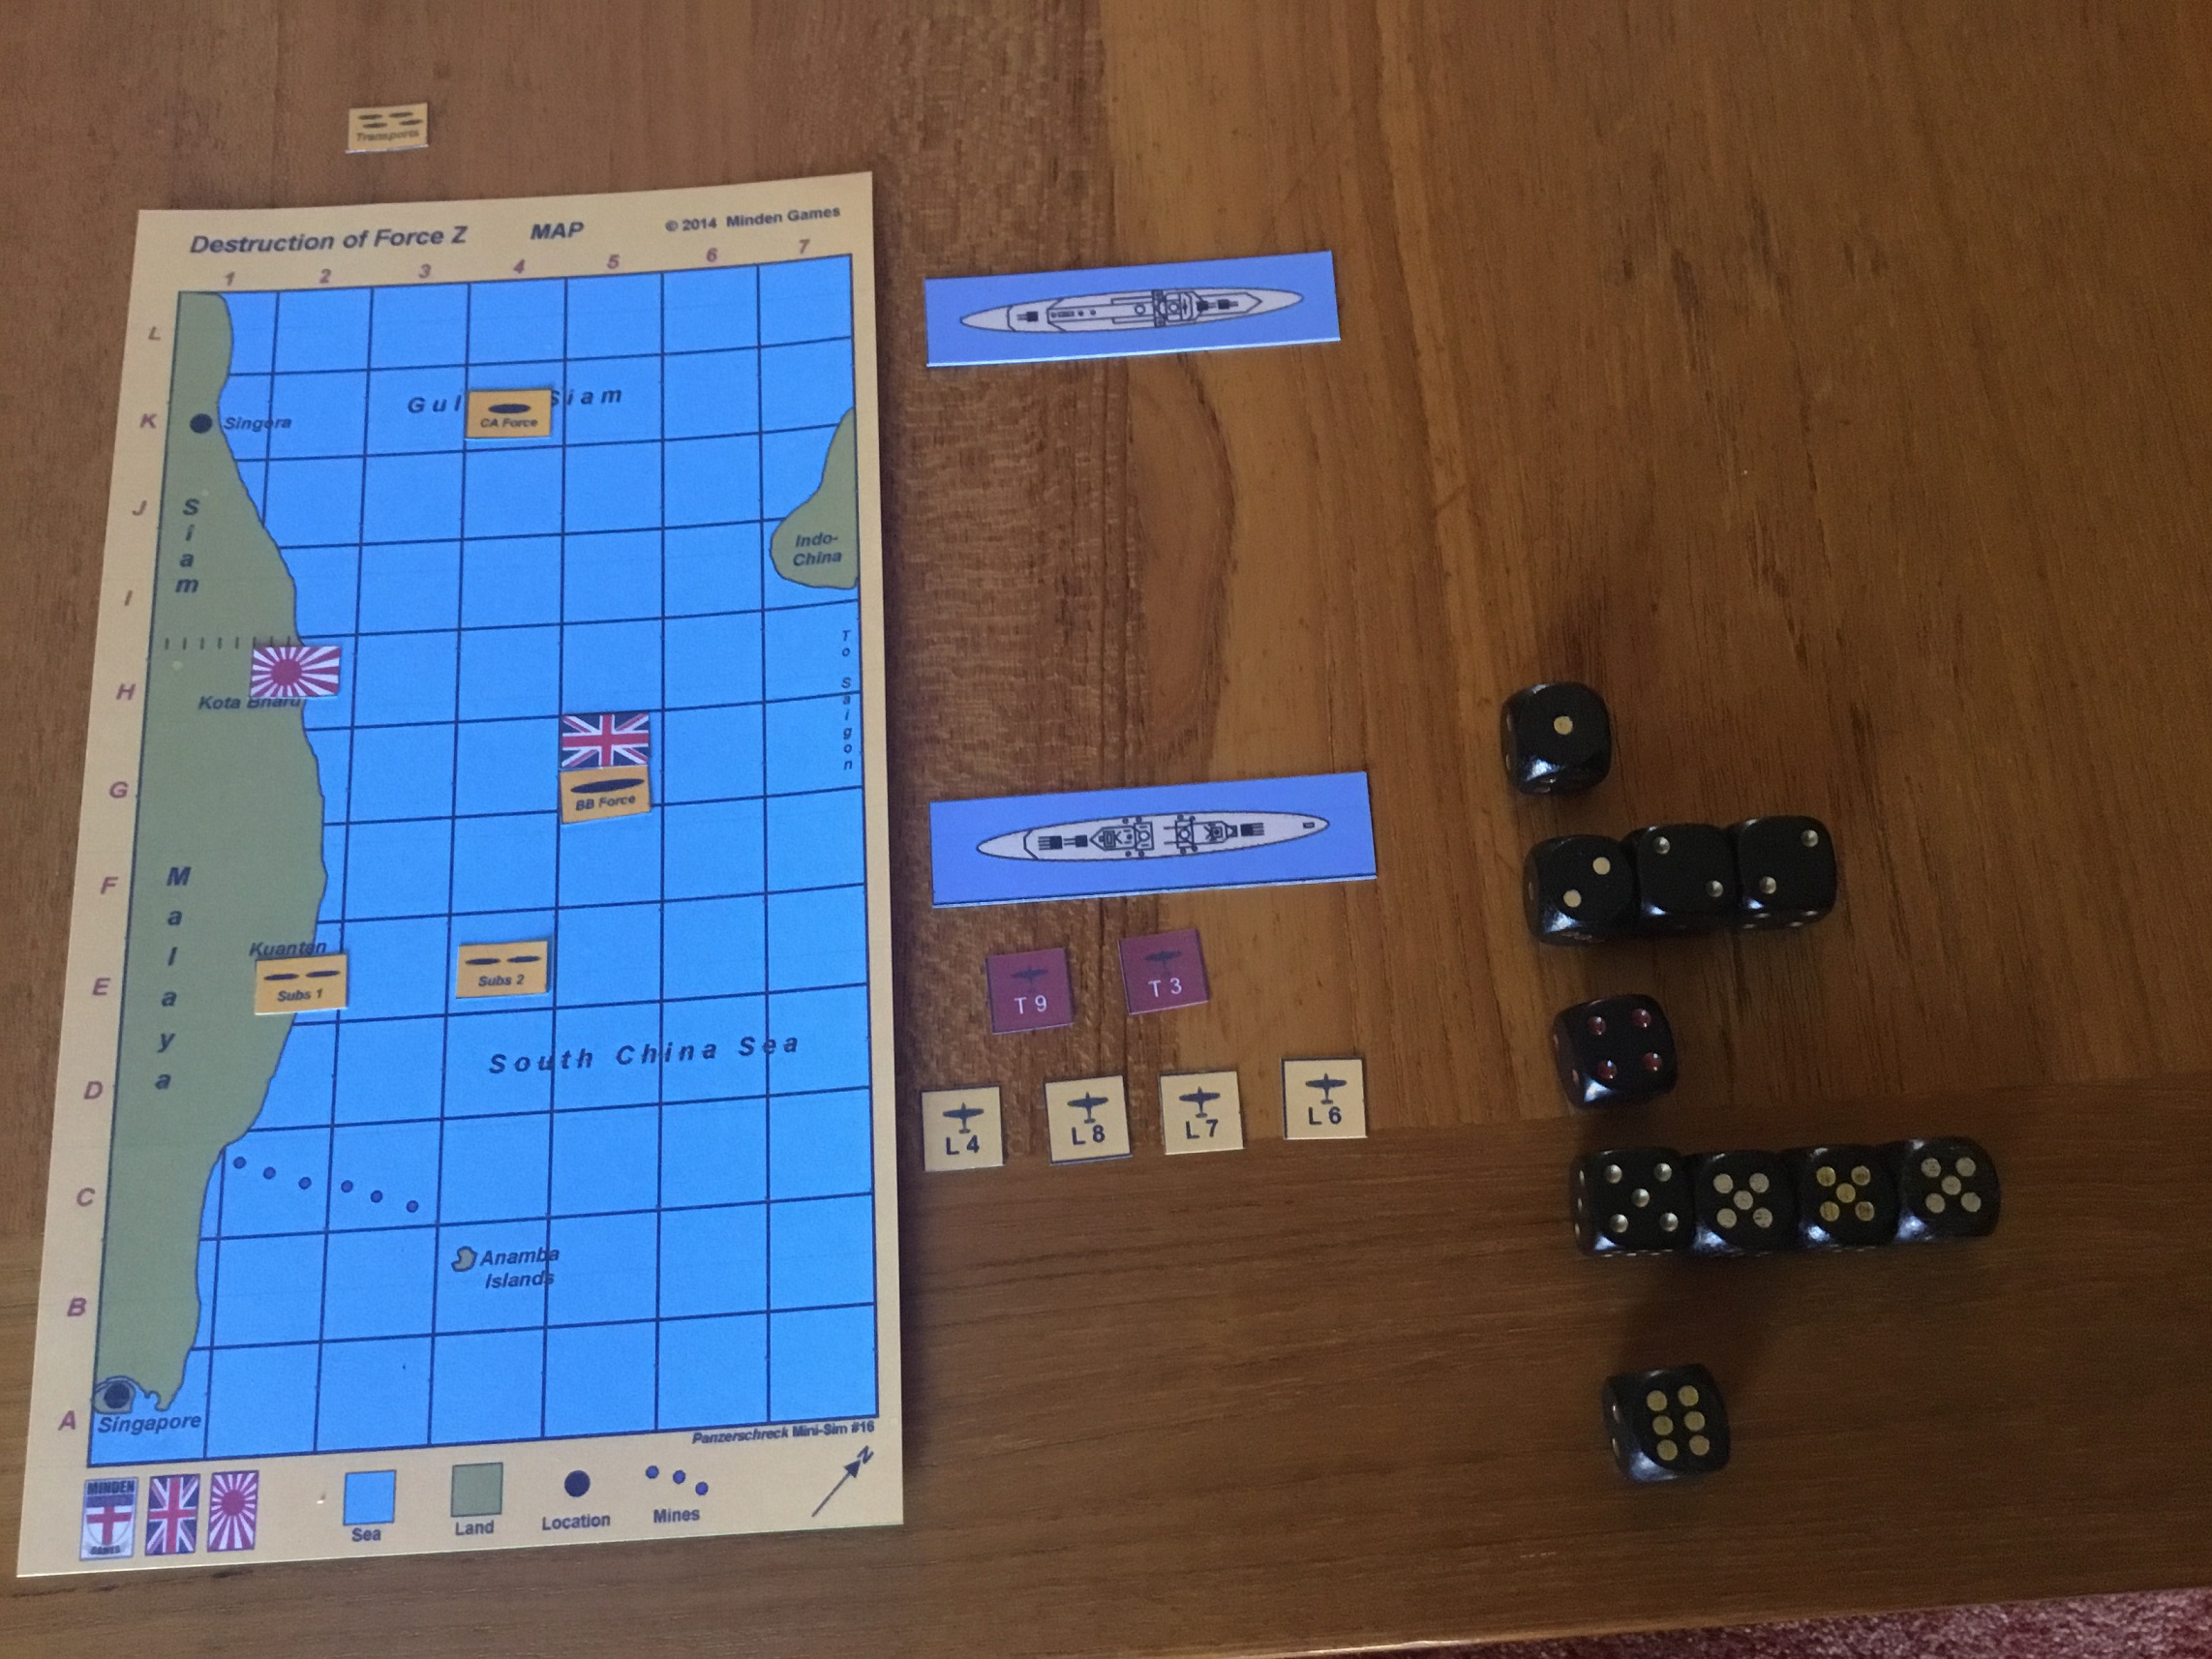
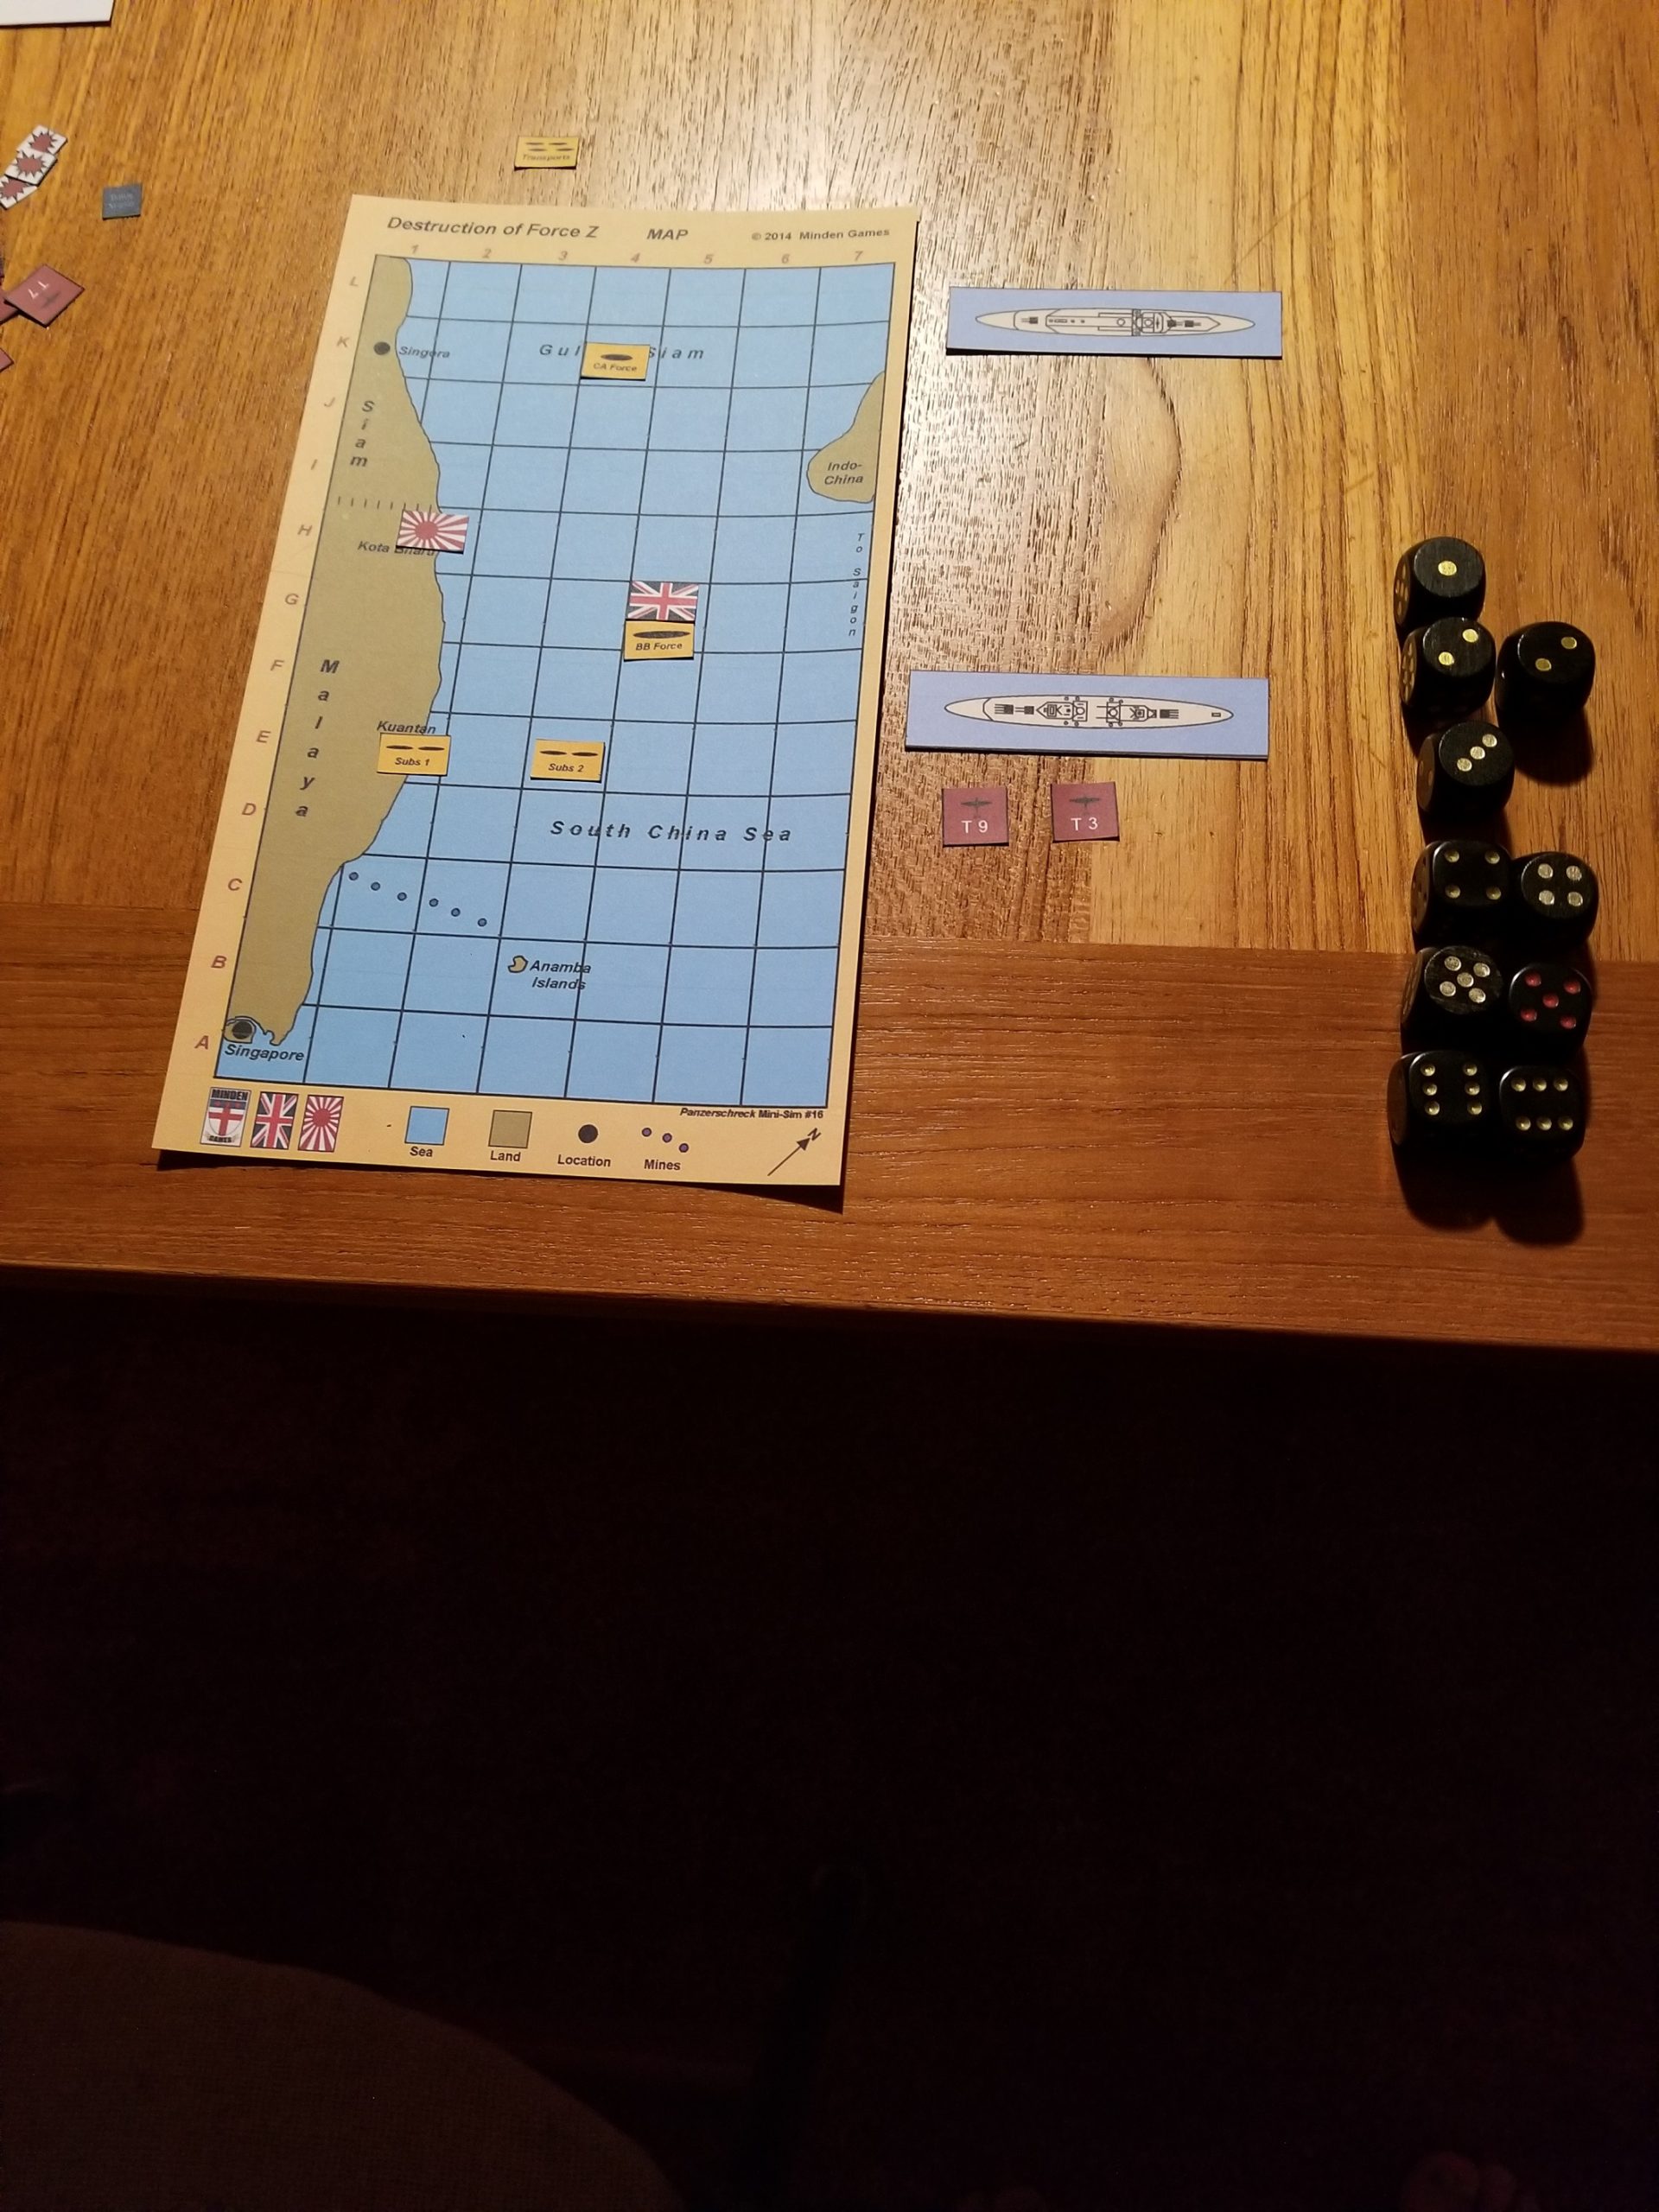
The rules are comprehensive and structured to guide the player.  This is good as there are simply too many charts and die rolls to remember.  This also enhances replayability because the player can just break out the game, dial up the rules, and start grinding through each turn’s eleven phases.  On the other hand, this grinding slows game play.  But, a typical game will probably not last too long if Japanese searches are effective.  In my instance, the British enjoyed ideal conditions (overcast weather, radio silence, and poor search rolls) and still had little success.

I like the random events and movement charts, and plan to use  variations  in other gaming situations.  The tactical display was fun because it reminded me of playing Midway back in (as it was called then) Junior High.

I’m now thinking about breaking out Avalanche Press’ Strike South and work through the scenario with more detail to reflect the different operational options historically explored by the British before 1942.  A comparison of the two systems will be interesting.

In summary, this is an engaging game providing excellent value and replayability.


Destruction of Force Z – Session Report

The game set up, along with the initial dispositions of both forces, is shown in the following photo.  The Japanese flag represents the amphibious landing at Kota Bharu.  Placement of the Japanese convoy, battleship and cruiser squadrons is determined during the Random Events Phase.  Force Z is represented by the British flag in Singapore.   The index card and colored blocks are used to keep track of weather and ship damage.

For the first three turns, Force Z moved east of the Anamba Islands,  then turning north towards the landing.  The Japanese were unable to locate Force Z, which was maintaining radio silence in the overcast weather, until it attacked the Japanese battleships (7 VPs) at night (Turn 4).  I couldn’t find anything specific in the rules, so I decided  Japanese surface units appearing during a turn couldn’t move, also.  Despite hitting the Japanese ships, no damage was inflicted.

After this inconclusive encounter, the British sailed at flank speed towards Kota Bharu to bombard the the landings.  The Japanese were still unable to locate Force Z, and could not prevent the destruction of  their offshore convoy which had appeared off Kota Bharu during the Random Events Phase (Turn 5).

After this success, the British steamed south towards Singapore, breaking radio silence to request RAF air cover (Turn 6).

At this point, the Force Z commander decided take advantage of darkness (Turn 7),  steaming north to again engage the  VP-rich Japanese battleships.  The Japanese cruisers entered the northern part of the map during the Random Events Phase.

Force Z moved into the Japanese square, forcing a surface engagement.  It was here that British luck ran out, as the Japanese search was a success, and no RAF fighter cover appeared to help fight off a massive level bomber and torpedo bomber attack.

The following photo shows how I handled the “tactical” aspect of the game.

Both British ships were in the square, so each can be attacked by bombers.   D6 rolls determine the number of attackers and what ship(s) they attack.  The rolls indicated a mixed force of 12 torpedo and 25 level bombers, all of which  concentrated on the Prince of Wales.  The first attack was by the level bombers.  Each ship has a maximum of 10 d6 anti-aircraft rolls.  These rolls either eliminate attackers, or are indicate to hit modifiers.  Bombers need a modified roll of 10 to score a hit.  A further damage die roll is made for each hit.  The rolls are shown below.  I use the dice, rather than the tally sheet included with the game to record rolls, and then use the result to determine hits.  A die that “hits” is then placed above the “tactical display”, as a reminder of the rolls needed for determine damage.

The torpedo bombers were handled in a separate series of rolls.

The Prince of Wales somehow survived, taking five hits, two less than the number to sink. Five hits reduced its movement rate to one square per turn.  After this mayhem, a surface action occurred.  The Japanese battleships and Prince of Wales were unaffected, but the Repulse took one damage hit.

The Repulse was ordered back to Singapore, while the stricken Prince of Wales could only hope for a failed Japanese search, or the intervention of the RAF.  The ship was located and the RAF again failed to provide air cover.  The level bombers did not find the Prince of Wales, but the torpedo bombers did.   An attack by 27 aircraft sank the ship.

The Repulse continued south during the night (Turn 10), while the Japanese made another landing at Singora.

Repulse was able to return to Singapore before the Japanese Turn 11 Search Phase.  This ended the game.

The Japanese victory point total breakdown was:

  • +8 Points for sinking Prince of Wales
  • +1 Point for one hit on the Repulse
  • +1 Point for each Japanese landing
  •  -2 Points for the sunk convoy

The net is  9 Japanese victory points.  The historical total was 18 points.

Wrap-up in the next post.

Destruction of Force Z – Overview

Downloaded this  awhile ago over at Wargame Vault, based on reviews at Boardgame Geek.  It’s a Minden Games solitaire offering  originally published in Panzerschreck Magazine #16.

As is the case with most solitaire games, there are  lots of charts and wristage.  I skimmed the rules and decided to just start playing.  The rules are laid out in turn phase sequence, so I just set up the IPad beside the game and went at it.

Each turn consists of up to eleven phases.  These are:

  1. Weather – Roll 1d6 for either clear or overcast conditions.  Overcast is a +1 modifier for Japanese Search.
  2. Radio – British player can break radio silence.  In doing so loses a -2 drm during Japanese Search.  But, gains possibility of Air Cover to help attrit attackers.
  3. British Ship Movement – Can move up to 4 squares (cannot move diagonally) three times a game, or one-three squares.  Damage reduces movement.  During movement British ships can be attacked by minefields and/or submarines if in same hex.
  4. Random Events – Dictates appearance of Japanese transports, cruiser or battleship units.  Can also effect movement of Japanese submarines, shore landings or allow “shadowing” which is a -1 drm for Japanese Search.
  5. Japanese Ship Movements – Ships on map roll 2d6 for random one to two square movement.
  6. Japanese Search – Rolls 1d6 (3 or less) to sight British ship(s).
  7. British Air Cover – If Radio silence is broken, presence of air cover over British ships determined by die roll.  If present, roll 3d6 for number of fighters.
  8. Japanese Bomber – Includes both level bombers and torpedo bombers.  Roll 1d6 for contact.  If contact make separate 1d6 roll for number of level and torpedo bombers.
  9. Combat Phase – Roll 1d6 for individual attacks by Air Cover, then 1d6 Anti-Aircraft fire to eliminate/abort/or effect aim of bombers.  Then roll 1d6 for success by individual level bombers and torpedo bombers.
  10. Surface Battle – Takes place when opposing force ships in same square.  Roll 2d6 for hits and then 2d6 for effect(s).
  11. Bombardment – British in same hex can shell Japanese landing sites, automatically gaining victory points.

There are 18 different situations where wristage and charts are involved,  in addition to  Air Cover attacks, Anti-Aircraft, and Bombing attacks handled on an individual aircraft basis.

Having Second Front air phase flashbacks and may need this to get through a session.