Here are Tim’s observations. Lots of great insights.
A few thoughts about the game, in no particular order.
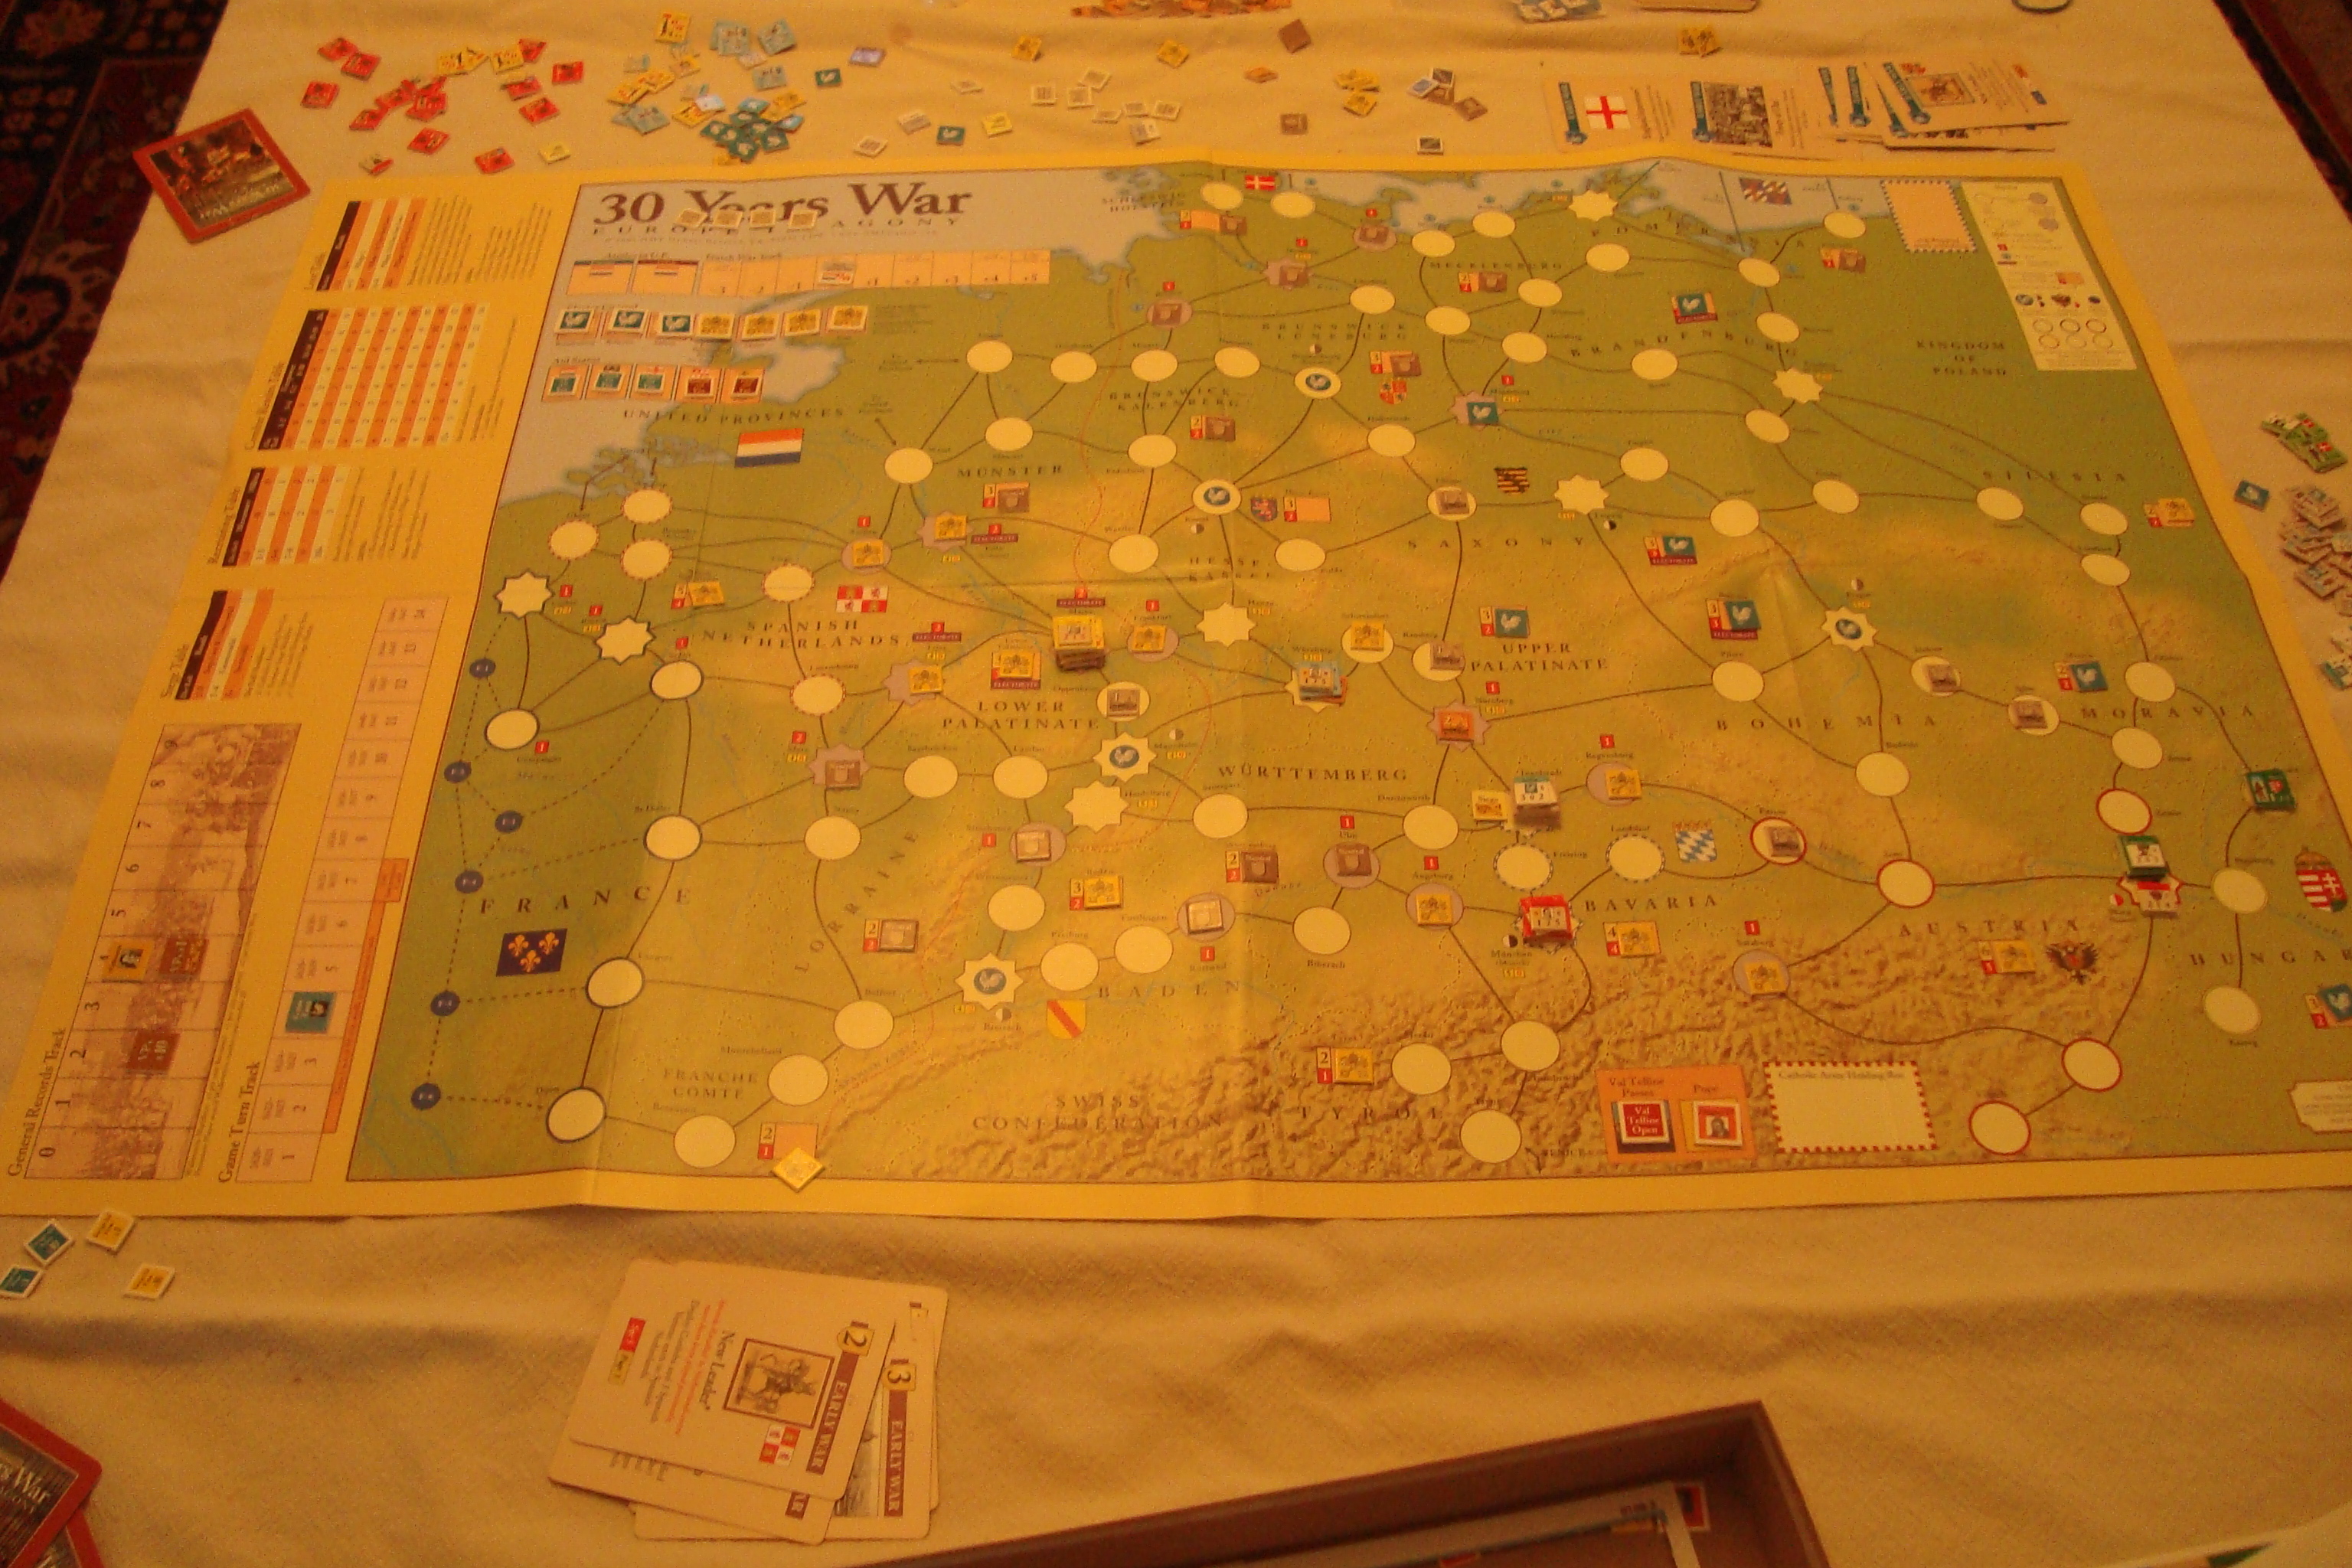
I wish I’d found that chart with the nationalities information during the game and not afterwards…
We had made a few mistakes including: the imperials can’t recruit in Bavaria and the Danes go home if Christian is killed (which he was during his first battle).
There was a different chart that went over the foraging rules– I know I forgot that units removed due to foraging losses are out of the game…oops.
Those LOC rules are pretty important. Without them, armies are free to go pretty much wherever they please. With them, protecting bases becomes much more important, especially for the protestants since their big advantage in the early game is that they can pay most of their units.
You remarked more than once that it is hard to get a good handle for what strategy each side should use in the game. I think both sides should concentrate on grabbing electorates, which pay off big in victory points.
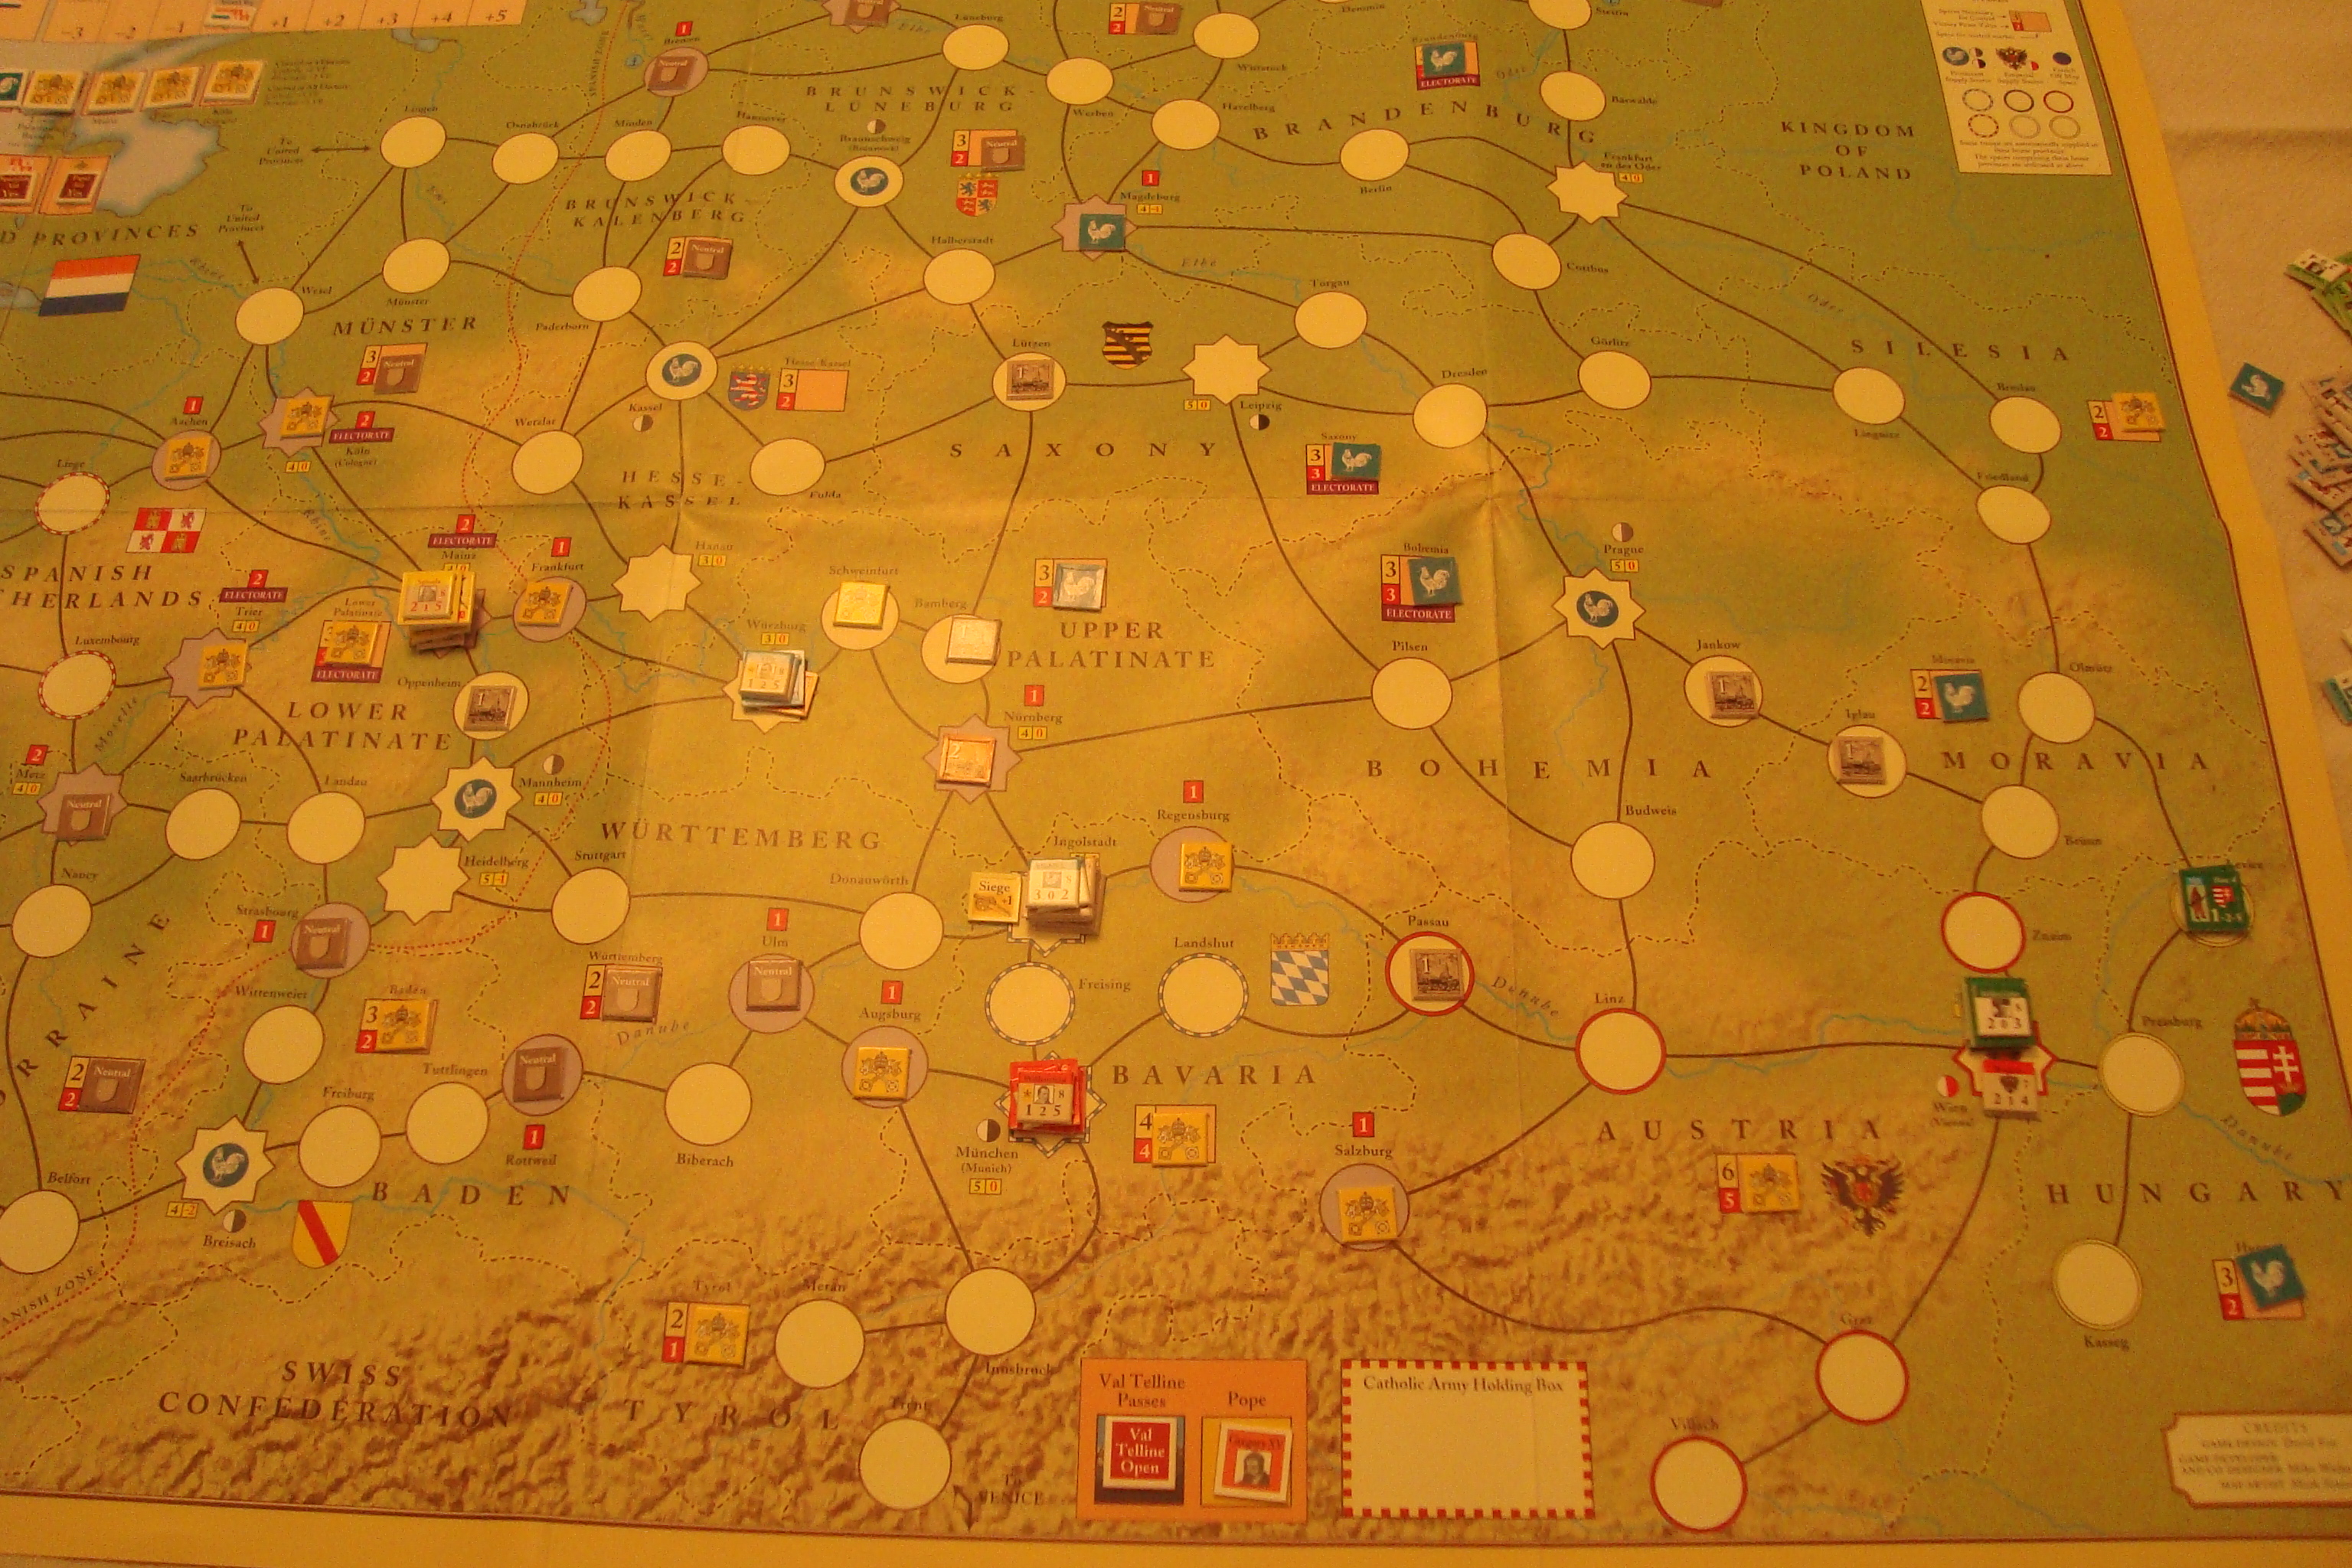
I think in the early game the protestants are just trying to stay alive, although I had pretty good luck in grabbing saxony. I think the Imperials should move hard into Bohemia. When you tried that in the last game, I wasn’t able to stop you.
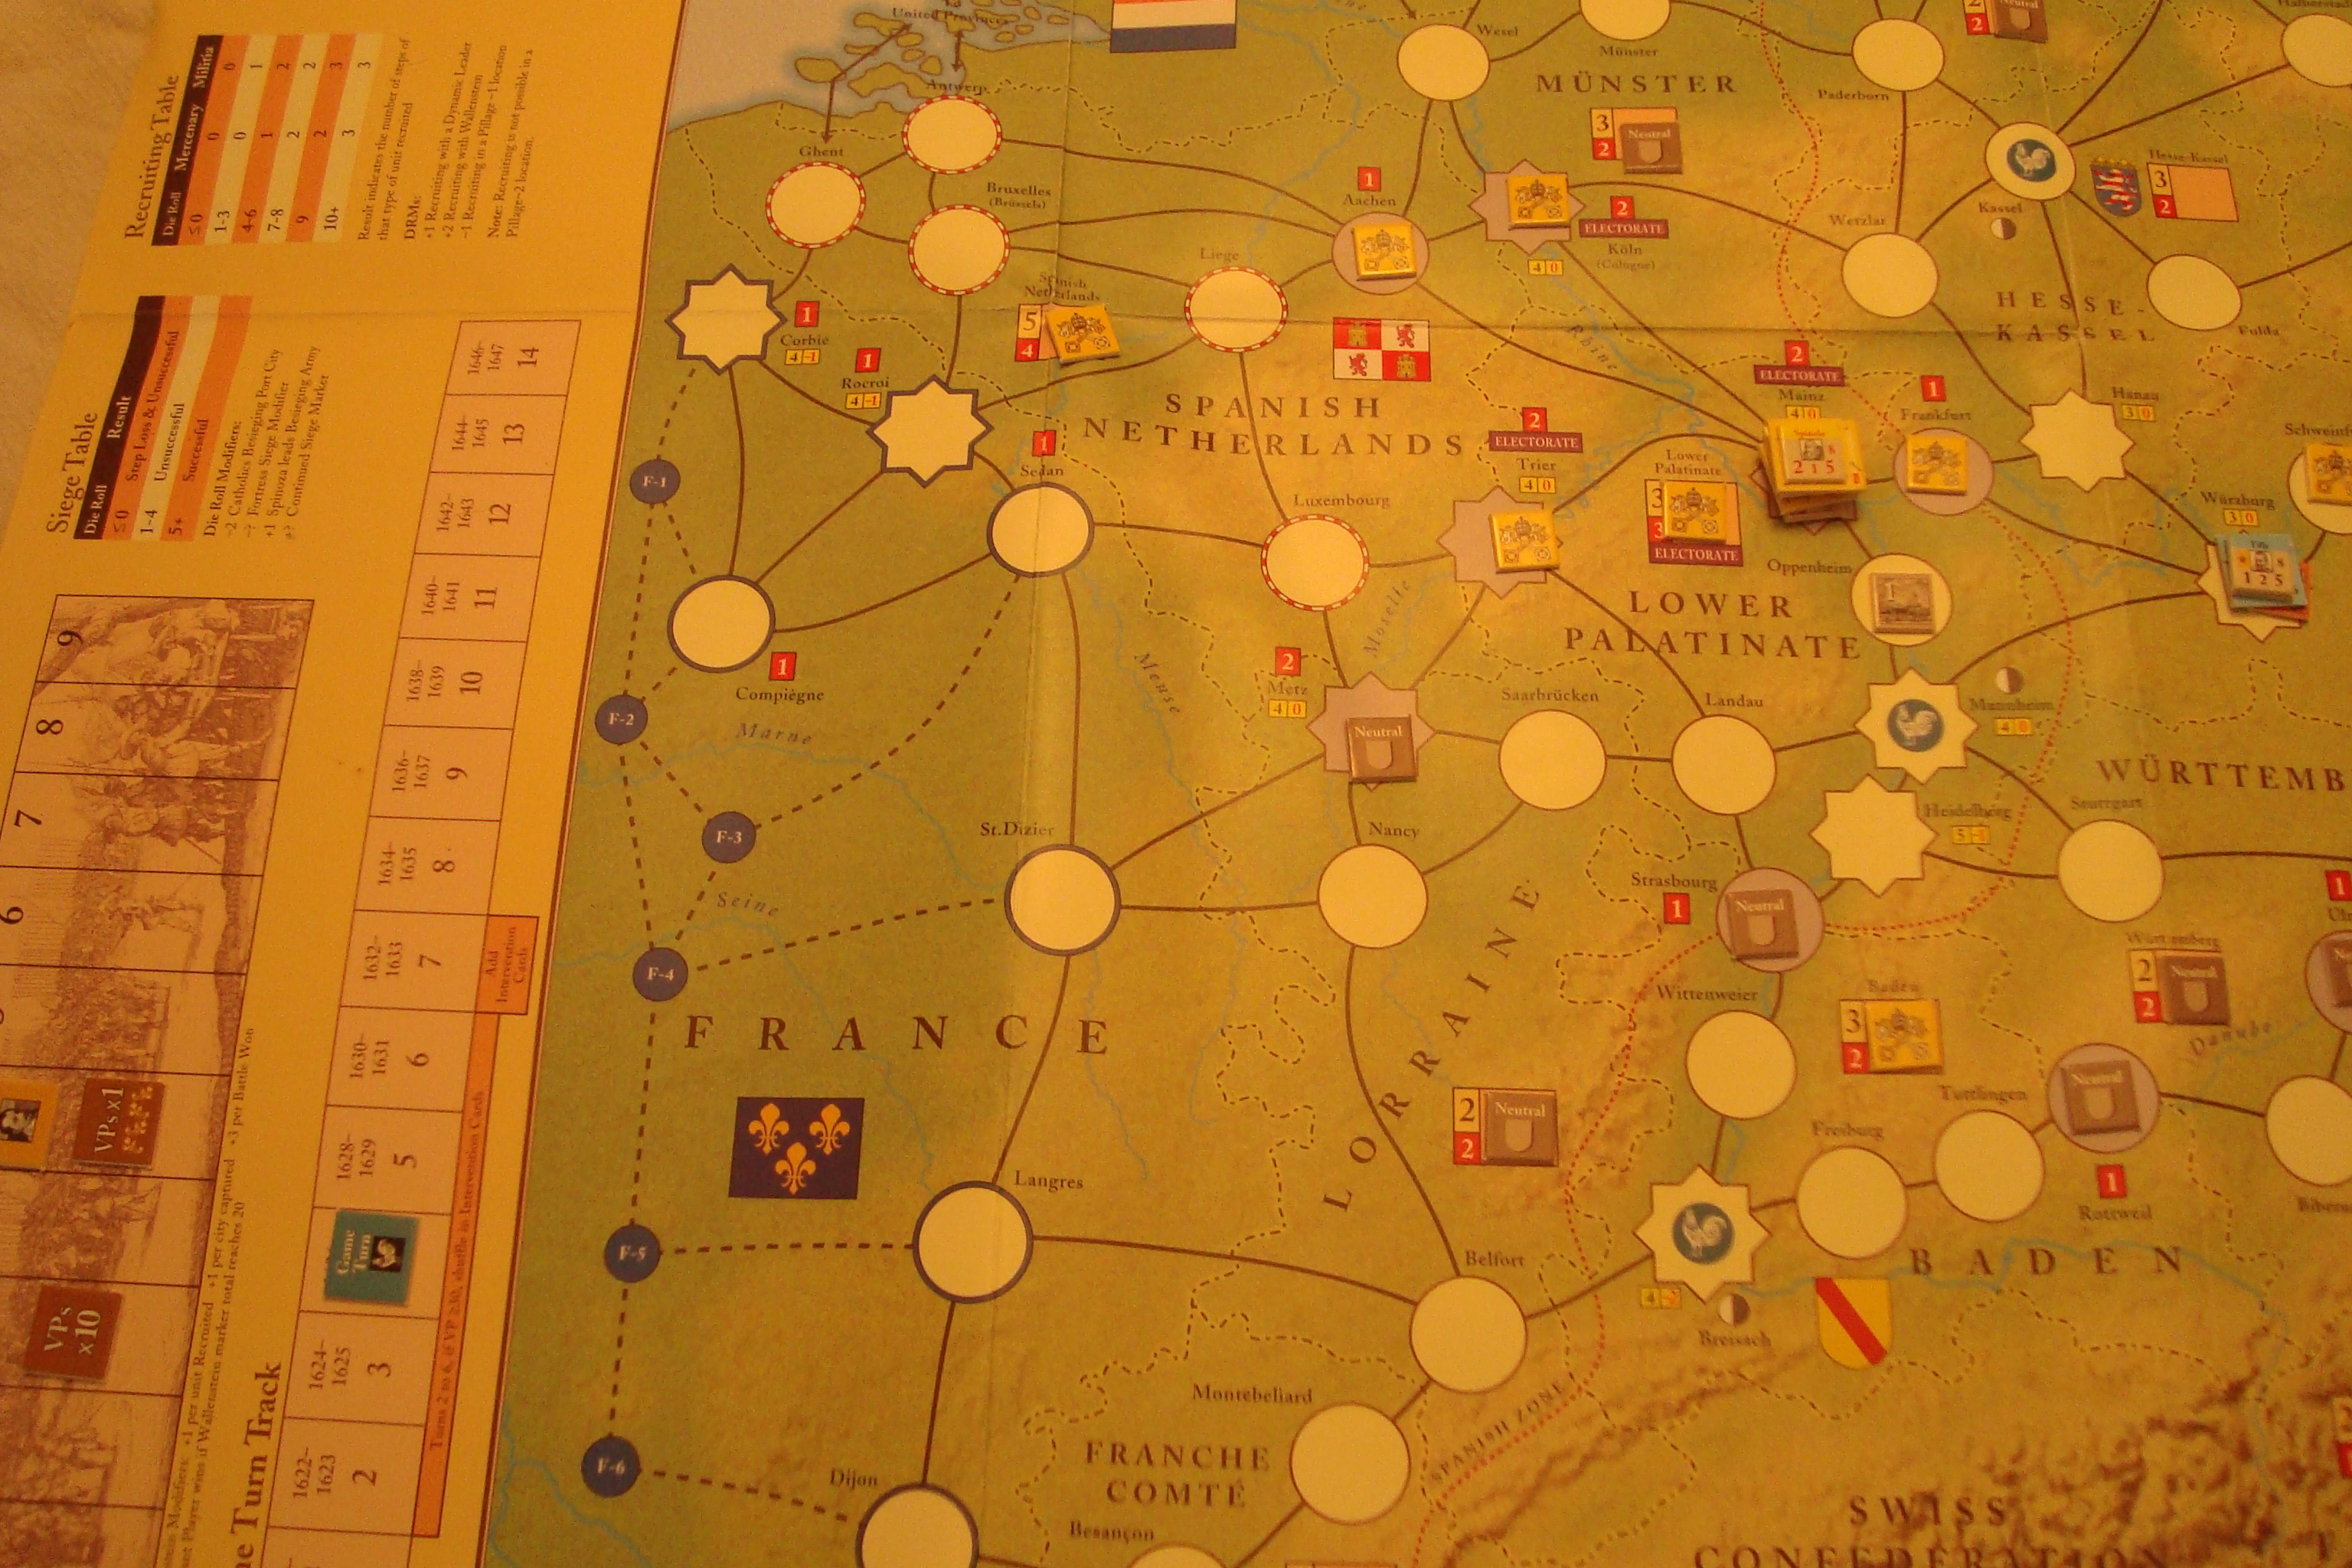
I had mixed luck in getting armies to the Netherlands. Most of the ways of getting their involve moving through neutral territory, with the loss of victory points or through the lower palatinate (aka the valley of death). As long as the spanish are on the map in force, its probably better to move through neutral territory. I guess it goes without saying that knowing whether a particular city is or isn’t in the Spanish zone is pretty important…minor details like that can have a major impact on game play.
Had a couple of sessions this GMT game with Tim over the weekend.
It’s been awhile since we played it, so there was some fumbling and stumbling at first, as though that has never happened before. We had agreed to play a few turns, then reset for a second go-through.
Both sessions were different.
This is a card-driven game, with point-to-point movement, and like its GMT siblings, cards can be used for a number of purposes including triggering events, activating leaders so units can move and fight and receiving funds to pay units.
The turn sequence involves alternating play (rounds) of six of the seven cards in your hand (and subsequent movement/combat), paying units and then determining what attrition occurs to those units you cannot pay. Units are either veterans, mercenaries and militia, each of which have slightly different capabilities and costs to pay. When larger armies move, they reduce the ability of a selected point to support subsequent moves. The effects of this pillaging can be reduced in a subsequent “recovery” phase, which is actually the first phase of a game turn.
There are only a few charts, all of which are printed on one side of the map. I was able to really improve my ability to read charts upside down during both sessions. This is a skill I would have preferred not to have developed.
In the first session, cards were played for their event, not as much to activate leaders, get foreign aid to pay troops, or recruit. In the second session, both of us focused on the operational aspects of the cards.
This can be attributed to card flow. In some cases you must play one event in order to trigger other events. And, it is in your best interest to play them successively, not wait a turn or two before playing the second or third card in a sequence.
On the other hand this can be attributed to not really knowing what the hell you’re doing. Between sessions I asked Tim, “What’s the strategy for this game?”
Since troops weren’t being recruited in the first session, the opposing forces were rather small and the effects of looting (when not paid) were minimized. These effects not only ravage the countryside, reducing the chance of living off the land without pay, but also ravage your units. In the second game, my victorious Bavarian contingent was decimated because they were without pay, and in an area that had been previously looted and couldn’t support them.
We agreed that the Catholic forces had better leaders (fewer points to activate), but that the funding for the Protestants allowed them to avoid having to roll as many times for attrition of units.
The second game featured far more action. The Upper and Lower Palatinate was the scene of most of the fighting, but with the Protestants coming very close to taking Vienna. We shut it down to have dinner and, after celebrating Tim’s birthday at Gustav’s (fitting given the game), we returned in no condition to continue.
In conclusion, a very good game with – once you get it – accessible mechanics, excellent game flow, and plenty of strange twists due to the effects of attrition.
The Map Illuminated in the Soothing Glow of Tim’s Dining RoomSpanish Veterans Cower In Their Area of OperationsAction In Palatinate & Hungarians Threaten ViennaThe Other Dog of War
Had to take both games down Monday morning. Reasons aren’t worth going into.
Put Thunderbolt/Apache Leader back up and made it through one turn. Limited myself to cannons & rockeyes in order to simply things concerning line of sight rules. Just grinding without any regard for results, just grasping the rules.
Speaking of rules, plowing through Dambuster’s flight rules. Will get that up on the table again.
Finally put down the rules and started to play last night. Heavy lifting. The download mentioned in the previous post was absolutely necessary. Do not start playing this game without it. Why?
When I went through my teacher training early in the millenium the rage was about learning styles. There were seven of them. Each learning style was to be used (if possible) in the lesson plan because each student has different ways of accessing the material presented in the lesson.
Well, my learning style(s) certainly did not mesh with the RAW for Enemy Coast Ahead. I’ve been cutting back on the booze, so I think I have my wits about me, but discerning game flow was damn near impossible.
It took a few days to figure out that the BACK of the scenario contained important set up information, especially as to where on the map to place critical counters.
The game-aid cards (with one each for the planning, flight and attack portions of the game), have all kinds of information not accessible (at least to me) in the rules.
As a result, the first play through involved juggling the rules, scenario, attack player aid card, and the download on my IPad. Again, get the damn download!!!
I think I have it now, and it is fun once you struggle through it.
What a difference from the Thunderbolt/Apache rules. With these rules, you can start reading and play right up to the primary attack phase. There things get a little stickier, but the introduction is easy and painless.
Earlier this month I set up Thunderbolt/Apache Leader. Made it through part of one turn before it came down for the Wavell’s War East African Campaign.
Set it back up the other day and started going through the rules. Short term memory is shot.
However, competition arrived in the form of Enemy Coast Ahead: The Dambuster Raid. This is a solitaire, GMT game, with great looking components and programmed rules. I am working on Scenario 5, which is the “newbie’s” scenario.
Had a nice talk with Tim last night about our recent Wavell’s War game and, especially, his posted comments.
I had some real second thoughts about the validity of using scrapped unit replacement points to build new headquarters. Big sigh of relief when I checked the rules this morning and confirmed it is OK.
We also talked about the low level of victory point (VIP) totals in the game, especially since they are calculated, for the most part, in January and July, only. This makes the status of Massua absolutely critical. This city is worth three VIPs per initial phase on or after April I/II ’41 for the side that controls the city.
With this in mind, Tim’s analyses of his attack supply and railroad construction challenges are very pertinent to successful Allied play.
I think we agreed to try it again. The when is TBD.
Back from Spring Training. Tim forwarded his observations while I was in Arizona. Here they are:
I like your idea of using your RPs from scrapping units to buy back HQs. Clever!
Having no SMPs in the Sudan really hurts the British. Once I moved forward from my railheads, I couldn’t use my attack supply. My logistics problems were of distributing attack supply, rather than the Italian problem of not having any. It didn’t help that I didn’t know that I only had to build two hexes of rail line. It wasn’t until I read the appendix on transportation lines that I found out that the rest of that rail road connecting the Sudan and Eritrea had been built. Being able to rail supply into Eritrea would have really helped the British.
I was pleased with my use of the motorized SDF battalions. Those guys saved my butt more than once!
I didn’t read the OB as closely as I normally do, which hurt me. I missed the Blen 1 unit in Aden and could have built a light armored battalion several turns sooner than I actually did. I’m embarrassed as I normally carefully read the OBs, which always pays off.
I think I dispersed my forces too much. In retrospect I probably should have used both divisions together in the Sudan and moved some non divisional units down the coast (in my defense, I didn’t realize how bad those ravine hexsides were– they really help the defense). The same applies in the south where I should have stacked some colonial units with the South Africans since I had lots of colonial RPs.
I wonder if I should have taken festung Berbera and then moved into the interior…
That exchange on the South Africans really hurt! That attack came to a halt until I could bring up another division from the coast, which cost me at least a month when I really couldn’t afford it. I had a couple of other exchanges and they all hurt, especially once I had to start withdrawing units.
I didn’t use my amphibious landing ability. I wonder if I should have tried taking some of the ports from the sea or landed next to Massawa…
The weather was a real headache. In most games its pretty predictable but in this one, it wasn’t.
There are a lot of Italian ants. I’m sure from the Italian point of view, it feels like you’re getting wiped out but from the British point of view, it felt like the ants were getting ready to overwhelm the anteaters. Once the Italians can concentrate their units it gets harder to destroy them.
This weekend’s game was an adventure; with unfamiliar rules and daunting operational constraints, not to mention the sheer size of the area of operations. This will be a quick overview. Hopefully Tim will post up. I’ll add some additional observations once I get back into town.
Tim was stalled in the always unpredictable Friday Portland traffic and didn’t arrive until after 1800. We decided to spend the evening familiarizing ourselves with the East Africa specific/pertinent rules (we also decided to forgo all the optional rules as this was our first time through the game) and watching the NCAA Men’s Basketball Tournament. That was an adventure, too.
While we have been playing Europa for way too long, this game was something different, particularly the use of attack supply, and for the Italians, the need to convert limited attack supply resources to general supply. Without general supply, the Italians, who do not have any general supply sources (only limited ones), had their attack strengths quartered, movement halved, defense halved, and lost all armored effects. Their limited aircraft assets were subject to similar constraints when out of supply. In fact, each mission was a crap shoot. With bad rolls on the success table, the mission never occurred, or worse, the aircraft went into the aborted box. And with only one ARP, that meant it was gone. To make things even better, any use of SMPs reduced the remaining pool of SMPs, with Italian capabilities becoming even more pathetic as the game wore on.
However, the Italians weren’t the only ones handicapped by logistics. Even though the British are in general supply, they have limited attack supply resources and have to move them across East Africa before they can come to grip with the Italians. While the British can assemble divisions, their use is limited as they are withdrawn from use relatively early in the game.
As you can see from the previous post, the area of operations is huge. The impact of size is compounded by the low movement rates of most units. There are very few mechanized units, and those that are in the OB have little combat power. Truck assets are worth their weight in gold. Not only can they increase an infantry’s units movements, but can also take advantage of exploitation movement. Once again, the combat power of a transportable unit (1 RE) is minimal, especially when halved if out of attack supply.
Rail capacity is low, and the amount of trackage limited. Tim will probably expand on this, but neither of us did a very good job of working with what we had.
To make even more fun, there are about 8 weather zones, and any and all of them can go from clear to grind-to-a-halt mud in a single turn.
Given all of these factors, events unfolded slowly.
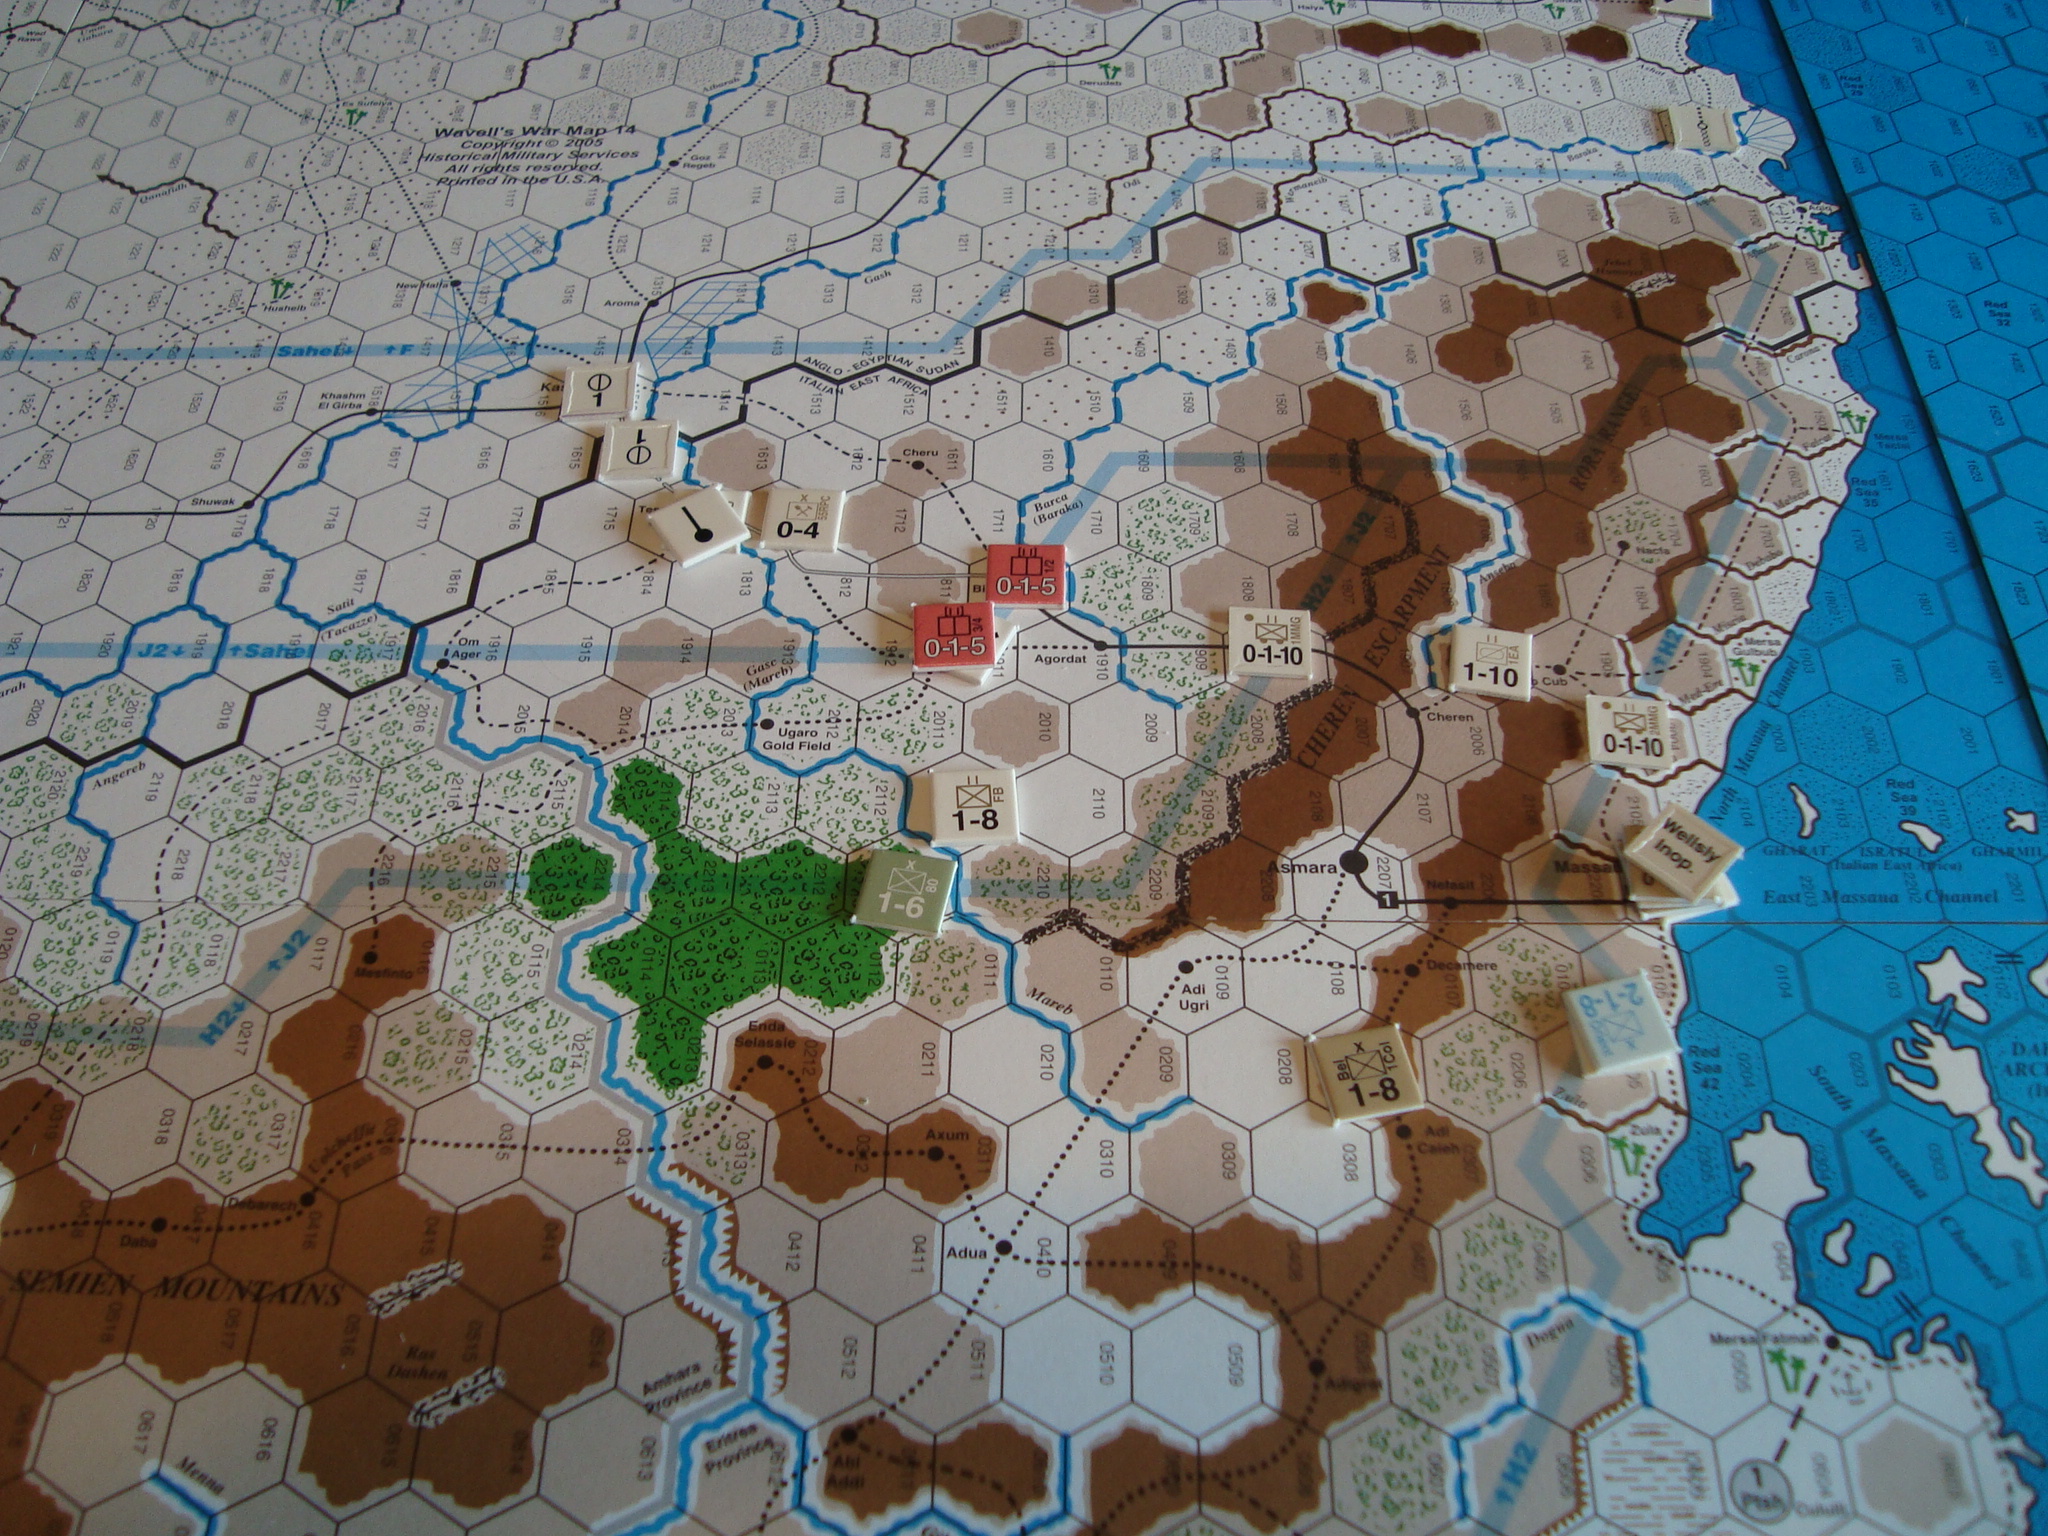
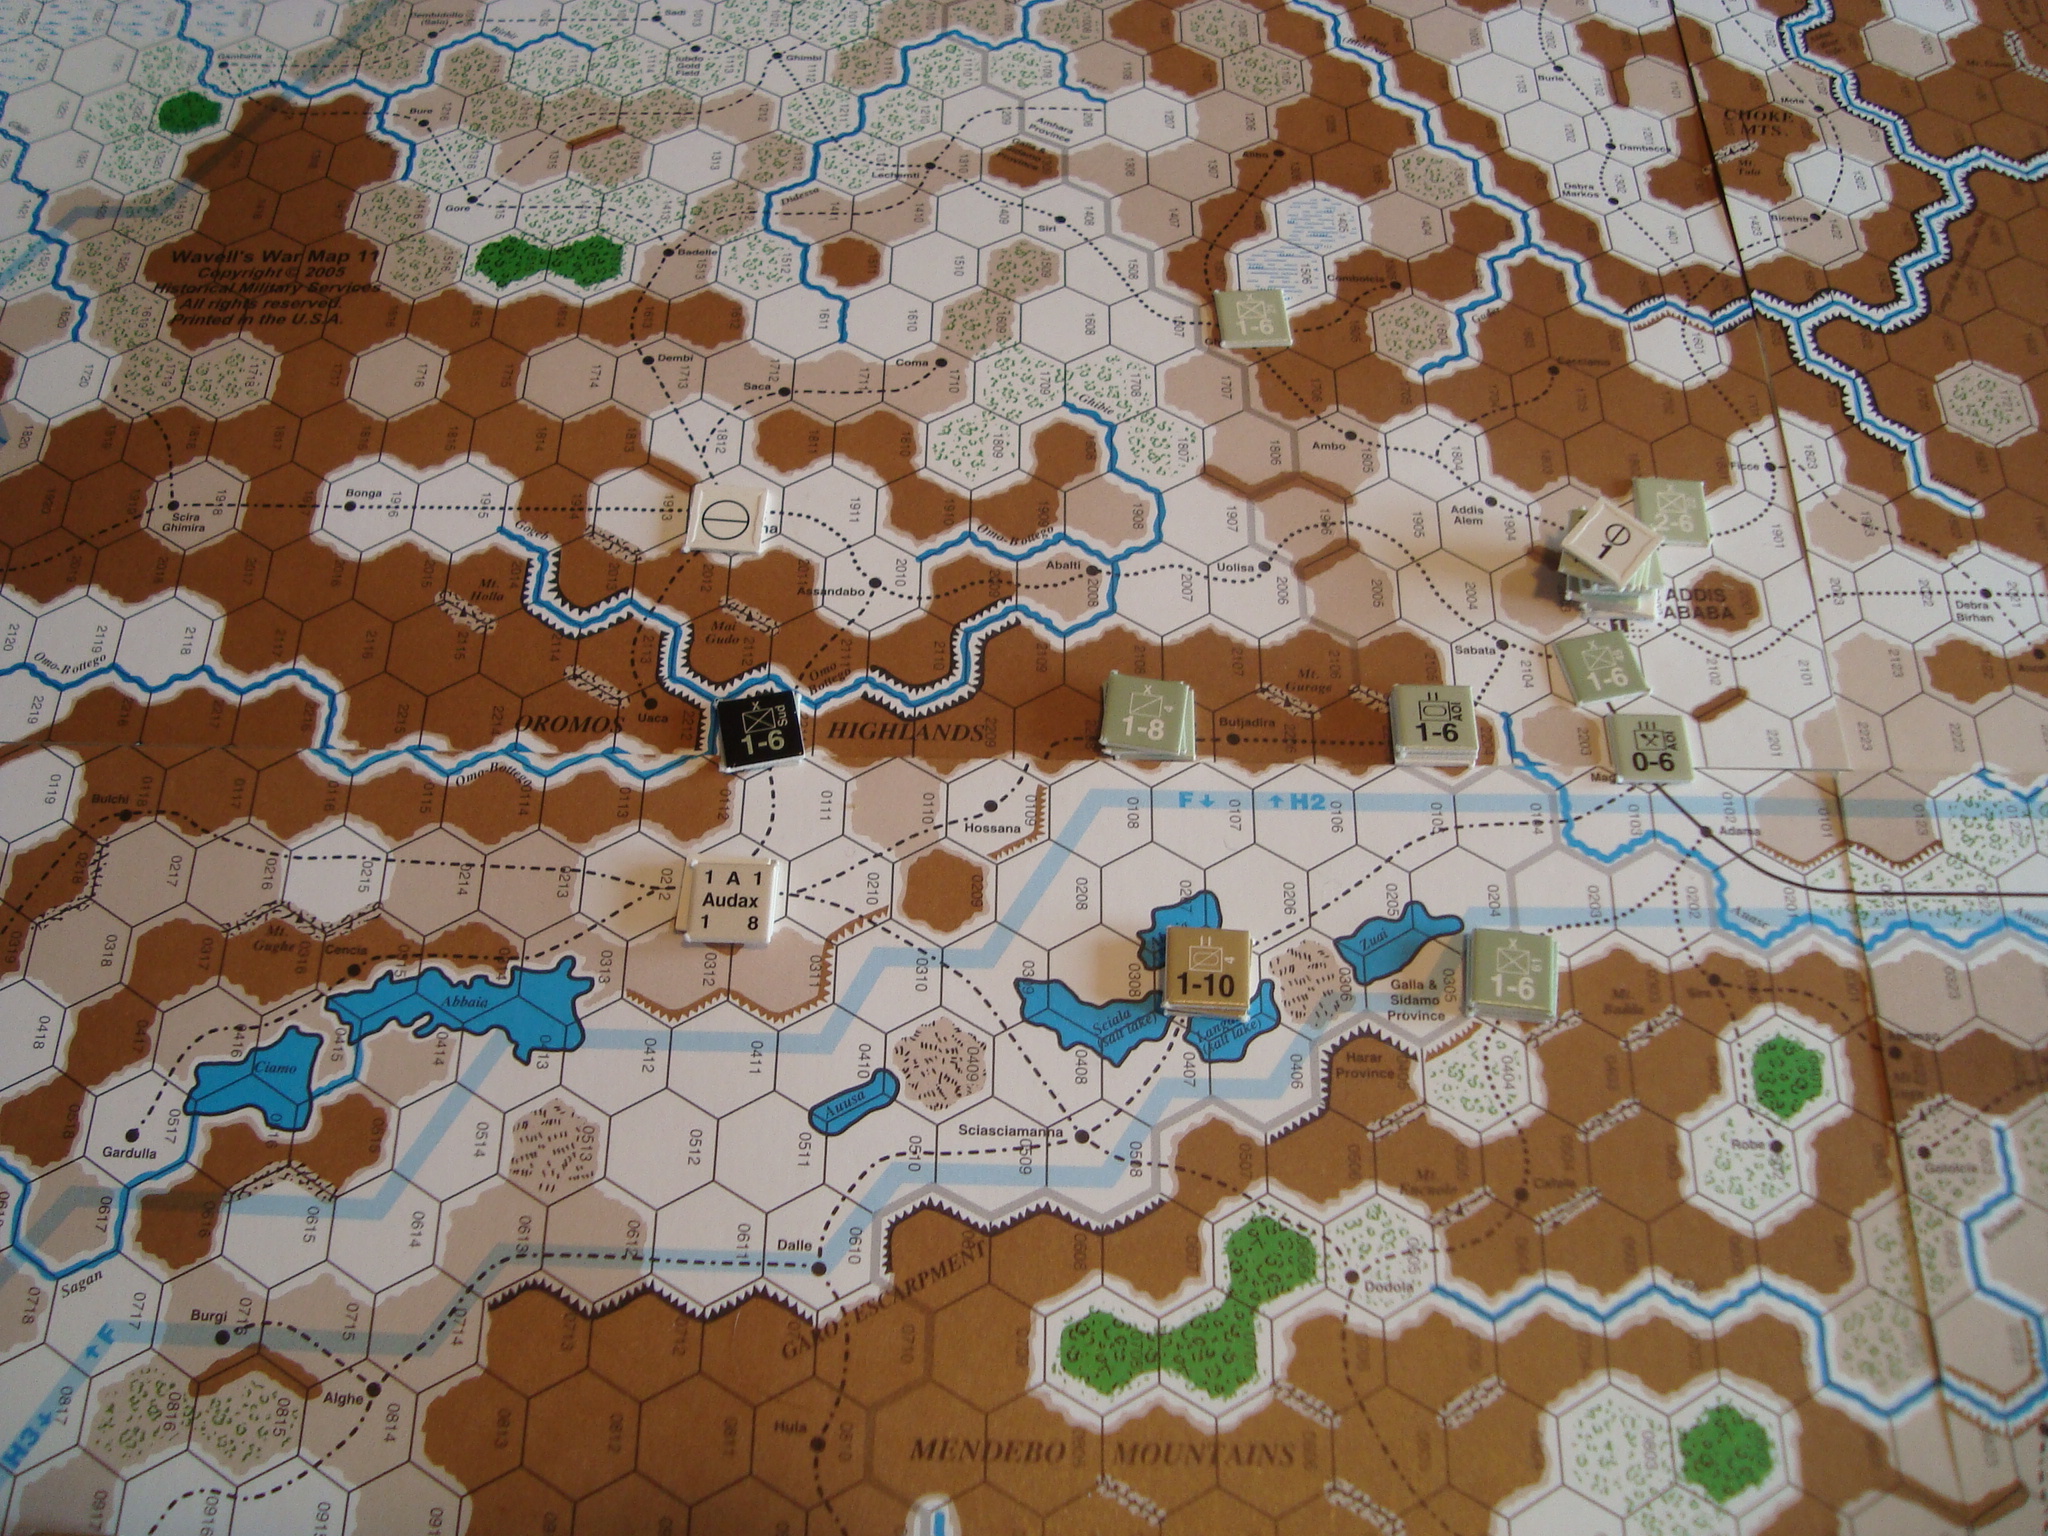
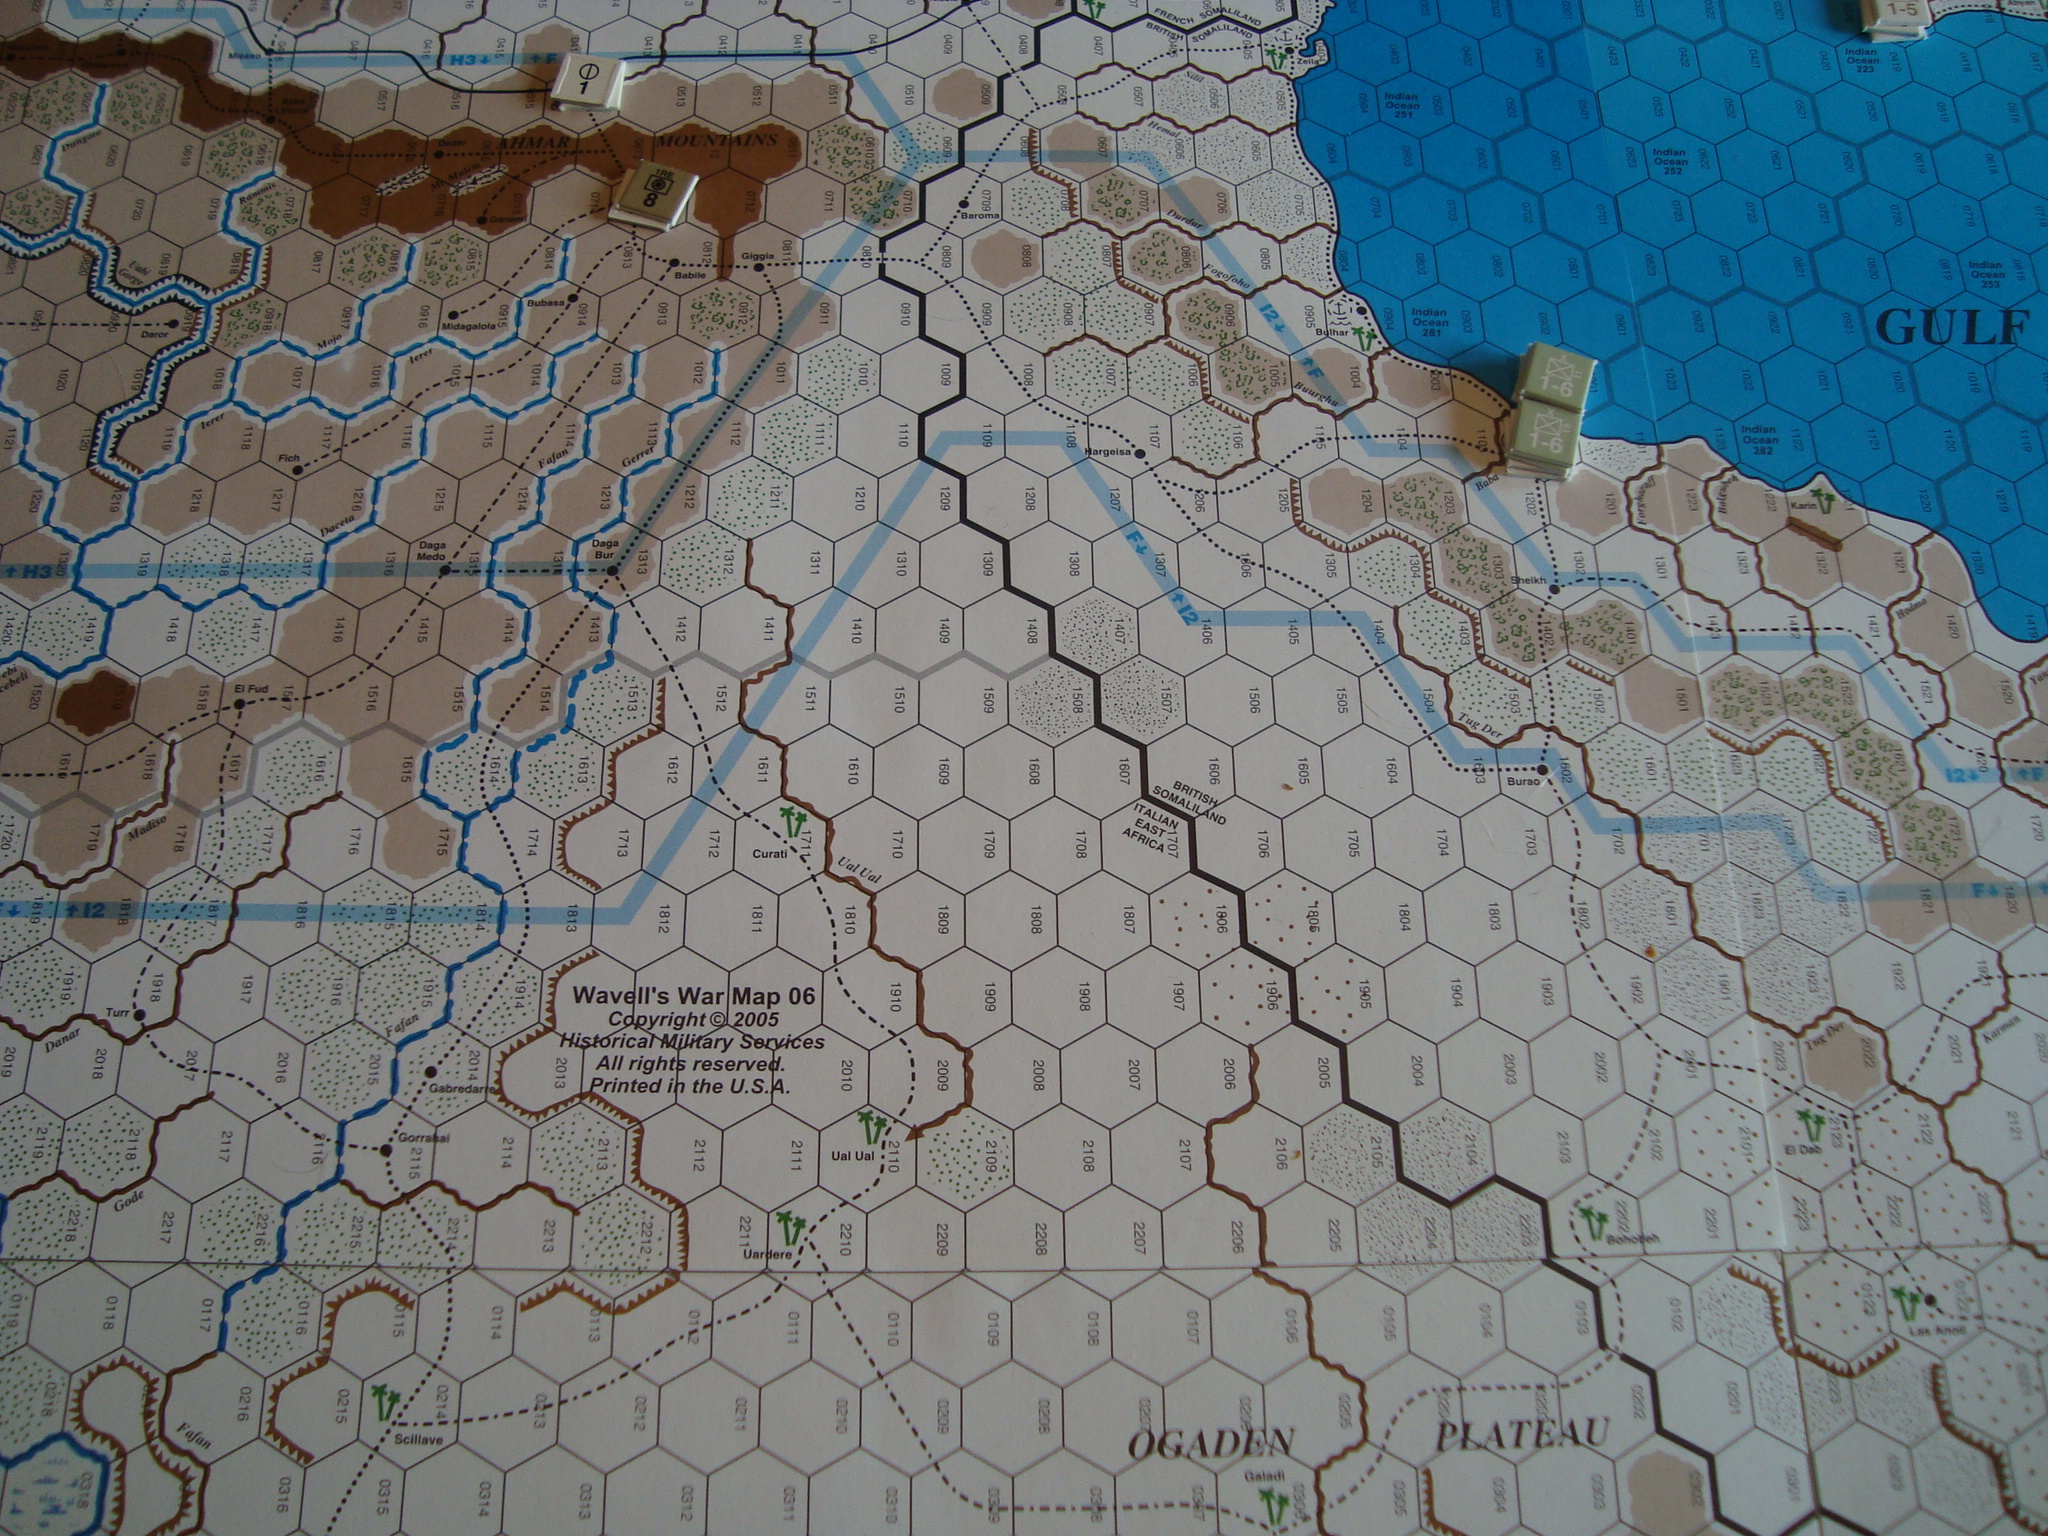
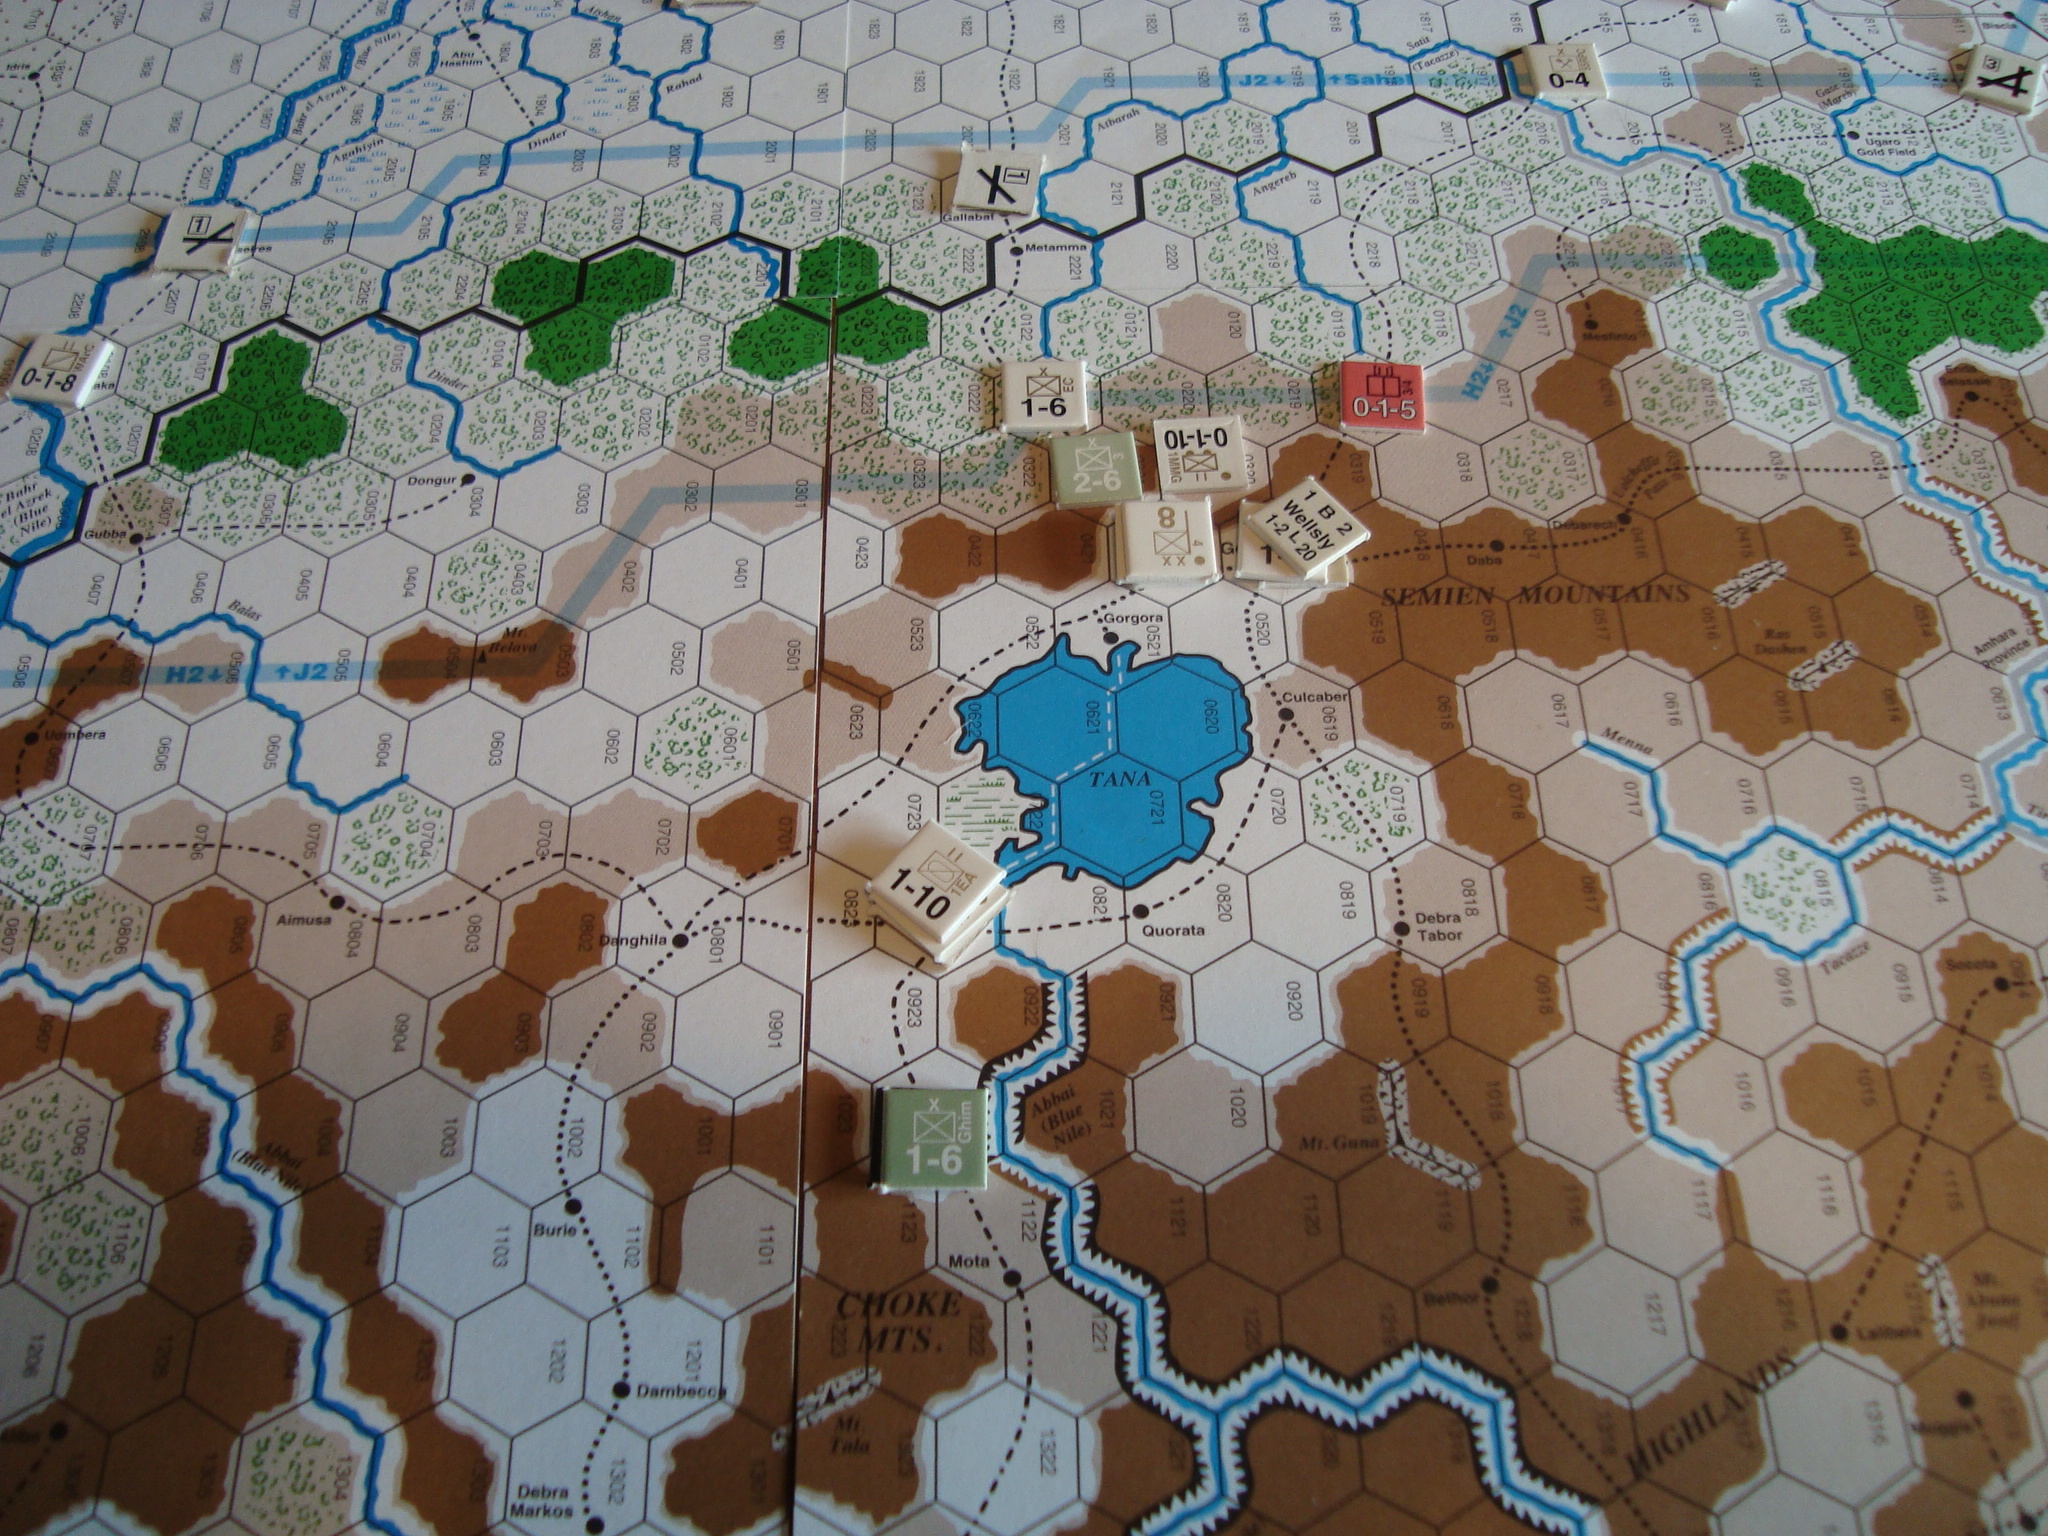
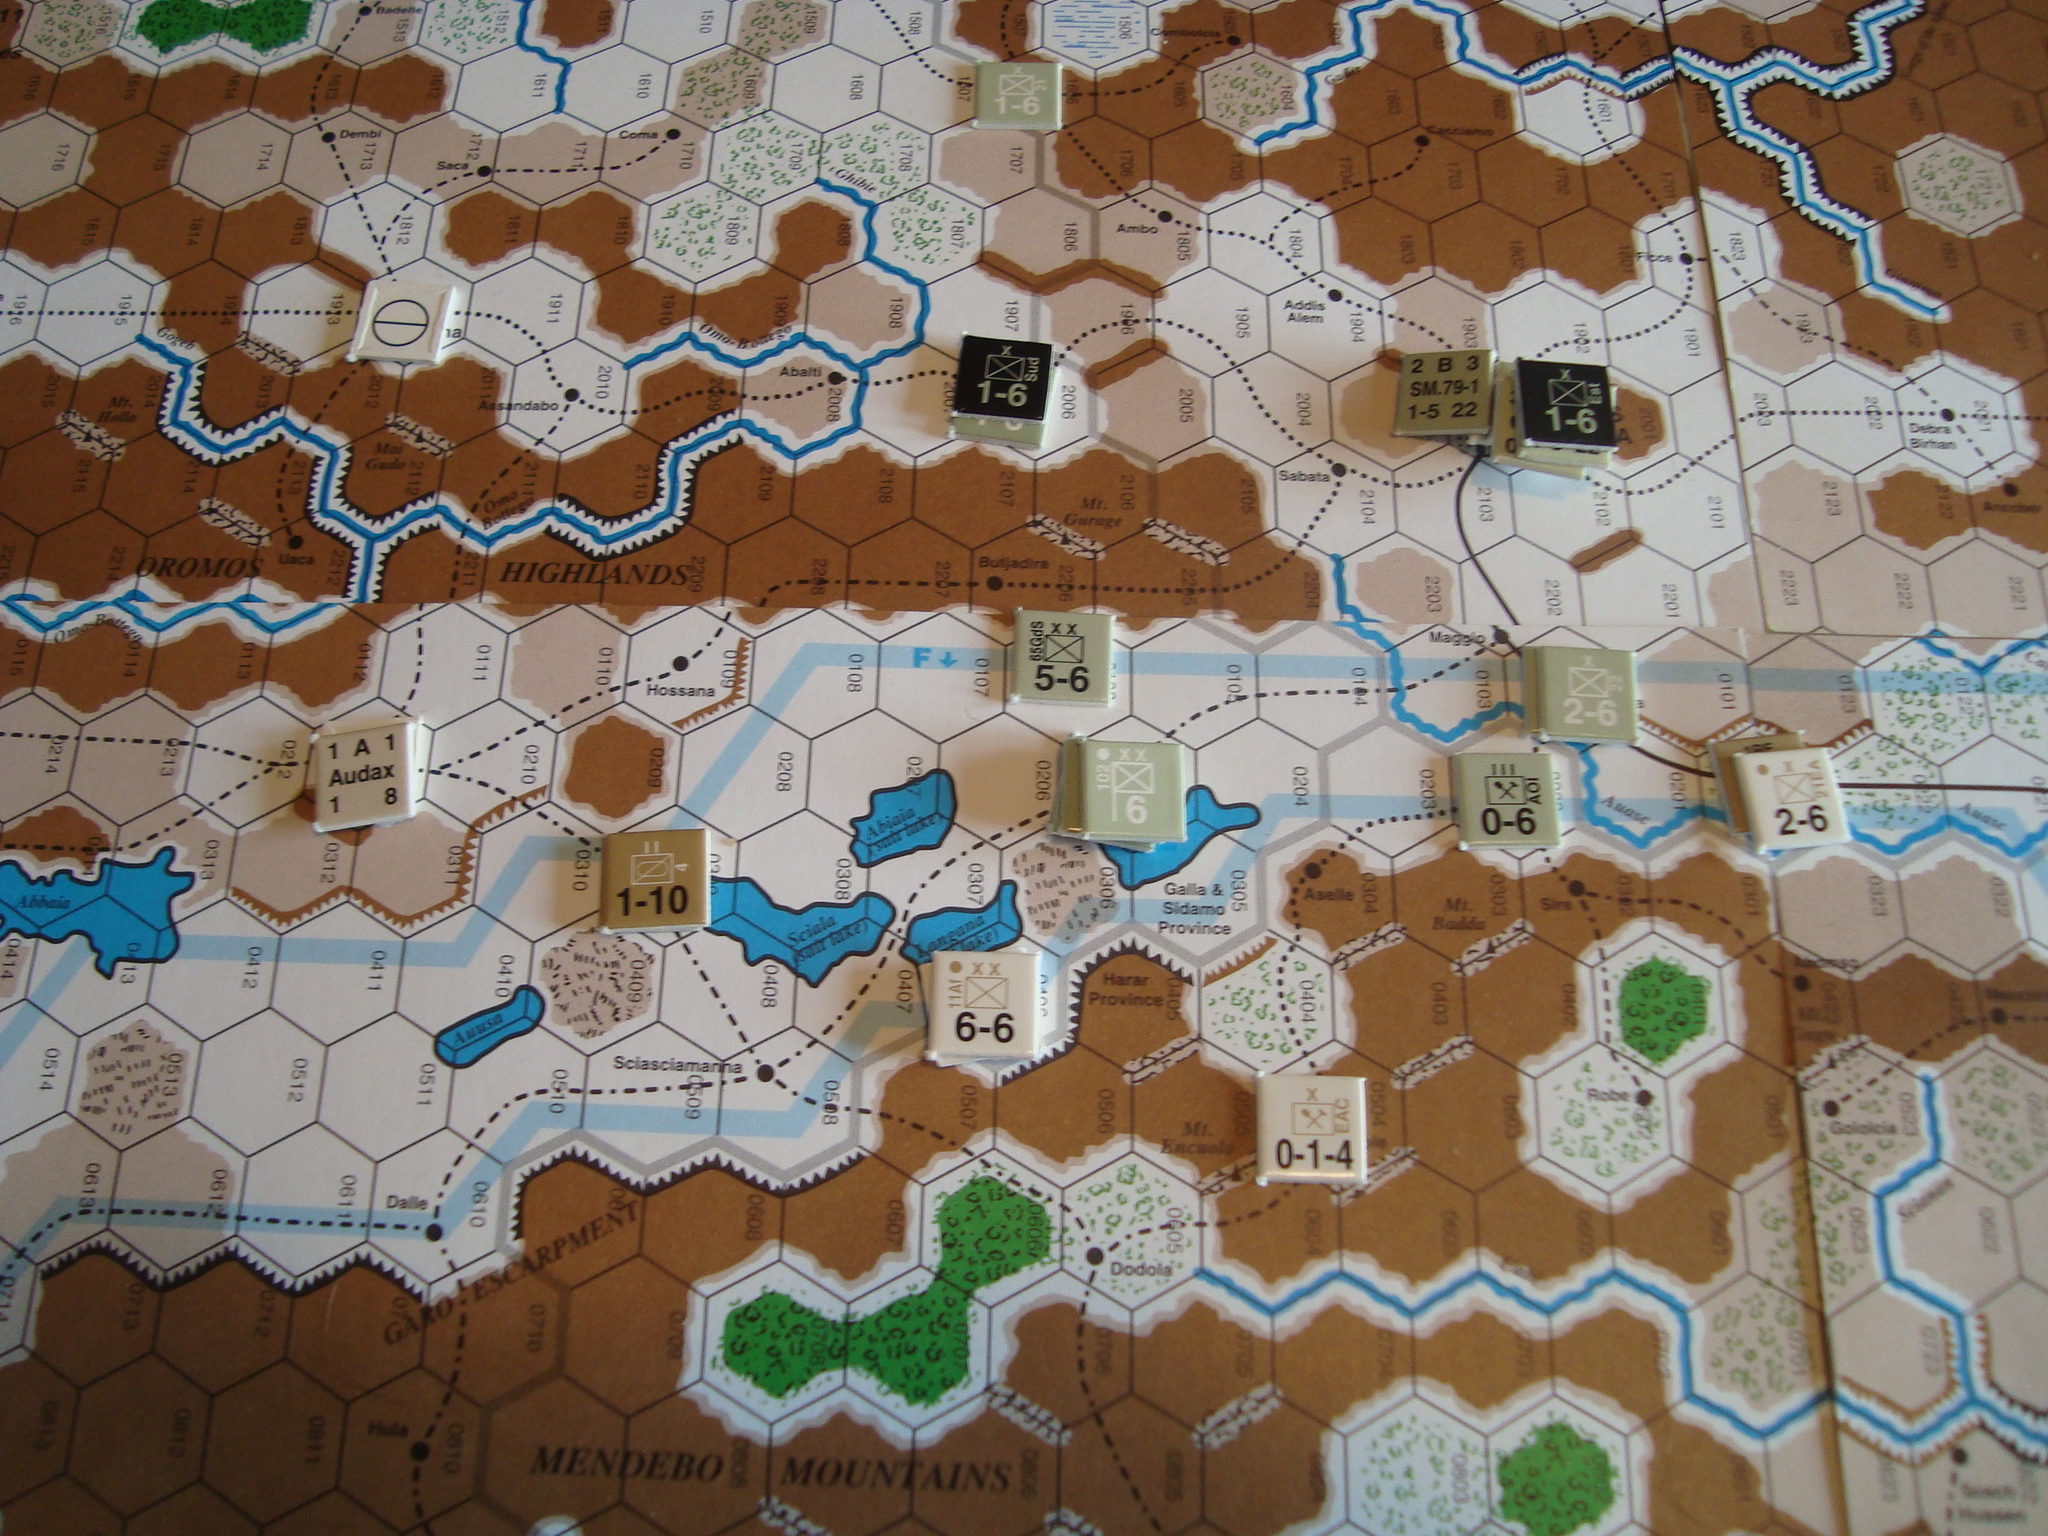
Play began early Saturday. Tim had the Allies. He used three axis’ of advance. The first was down the Red Sea Coast from Sudan towards the port of Massaua (all spellings are from the maps), the second from Kenya to the southeast to secure the ports of Mogadiscio and Chismaio, with the third northeast from Kenya towards Addis Abbada. The first was aimed at gaining victory points before April II, while the second aimed at denying the Italians victory points as well as possible supplies. The third was to liberate the Ethiopian capital.
Tim made good progress on his first two axes of advance. Chismaio and Mogadiscio fell early, the Italians unable to muster more than a token defense, not helped by my unwillingness to convert a factor of attack supply into general supply. While the attack towards Massaua took more time to develop because Tim took the time to form divisions, by mid-game he was able to exploit a blunder on my part and take the city without loss. At this point, however, a combination of bad weather and sacrificial use of Italian regiments slowed the British.
The next day, Tim continued his attacks, but suffered an Exchange setback outside of Addis Abada. This, along with the need to remove some of his more powerful units for redeployment elsewhere in the Middle East, slowed his momentum and allowed me to cobble together a defensive cordon to stop his new advances towards Addis Abada from the north.
By the May II turn, we decided to devote ourselves to beer drinking and game viewing. Here’s a few photos to illustrate the course of the game. I’ll post up some other observations later.
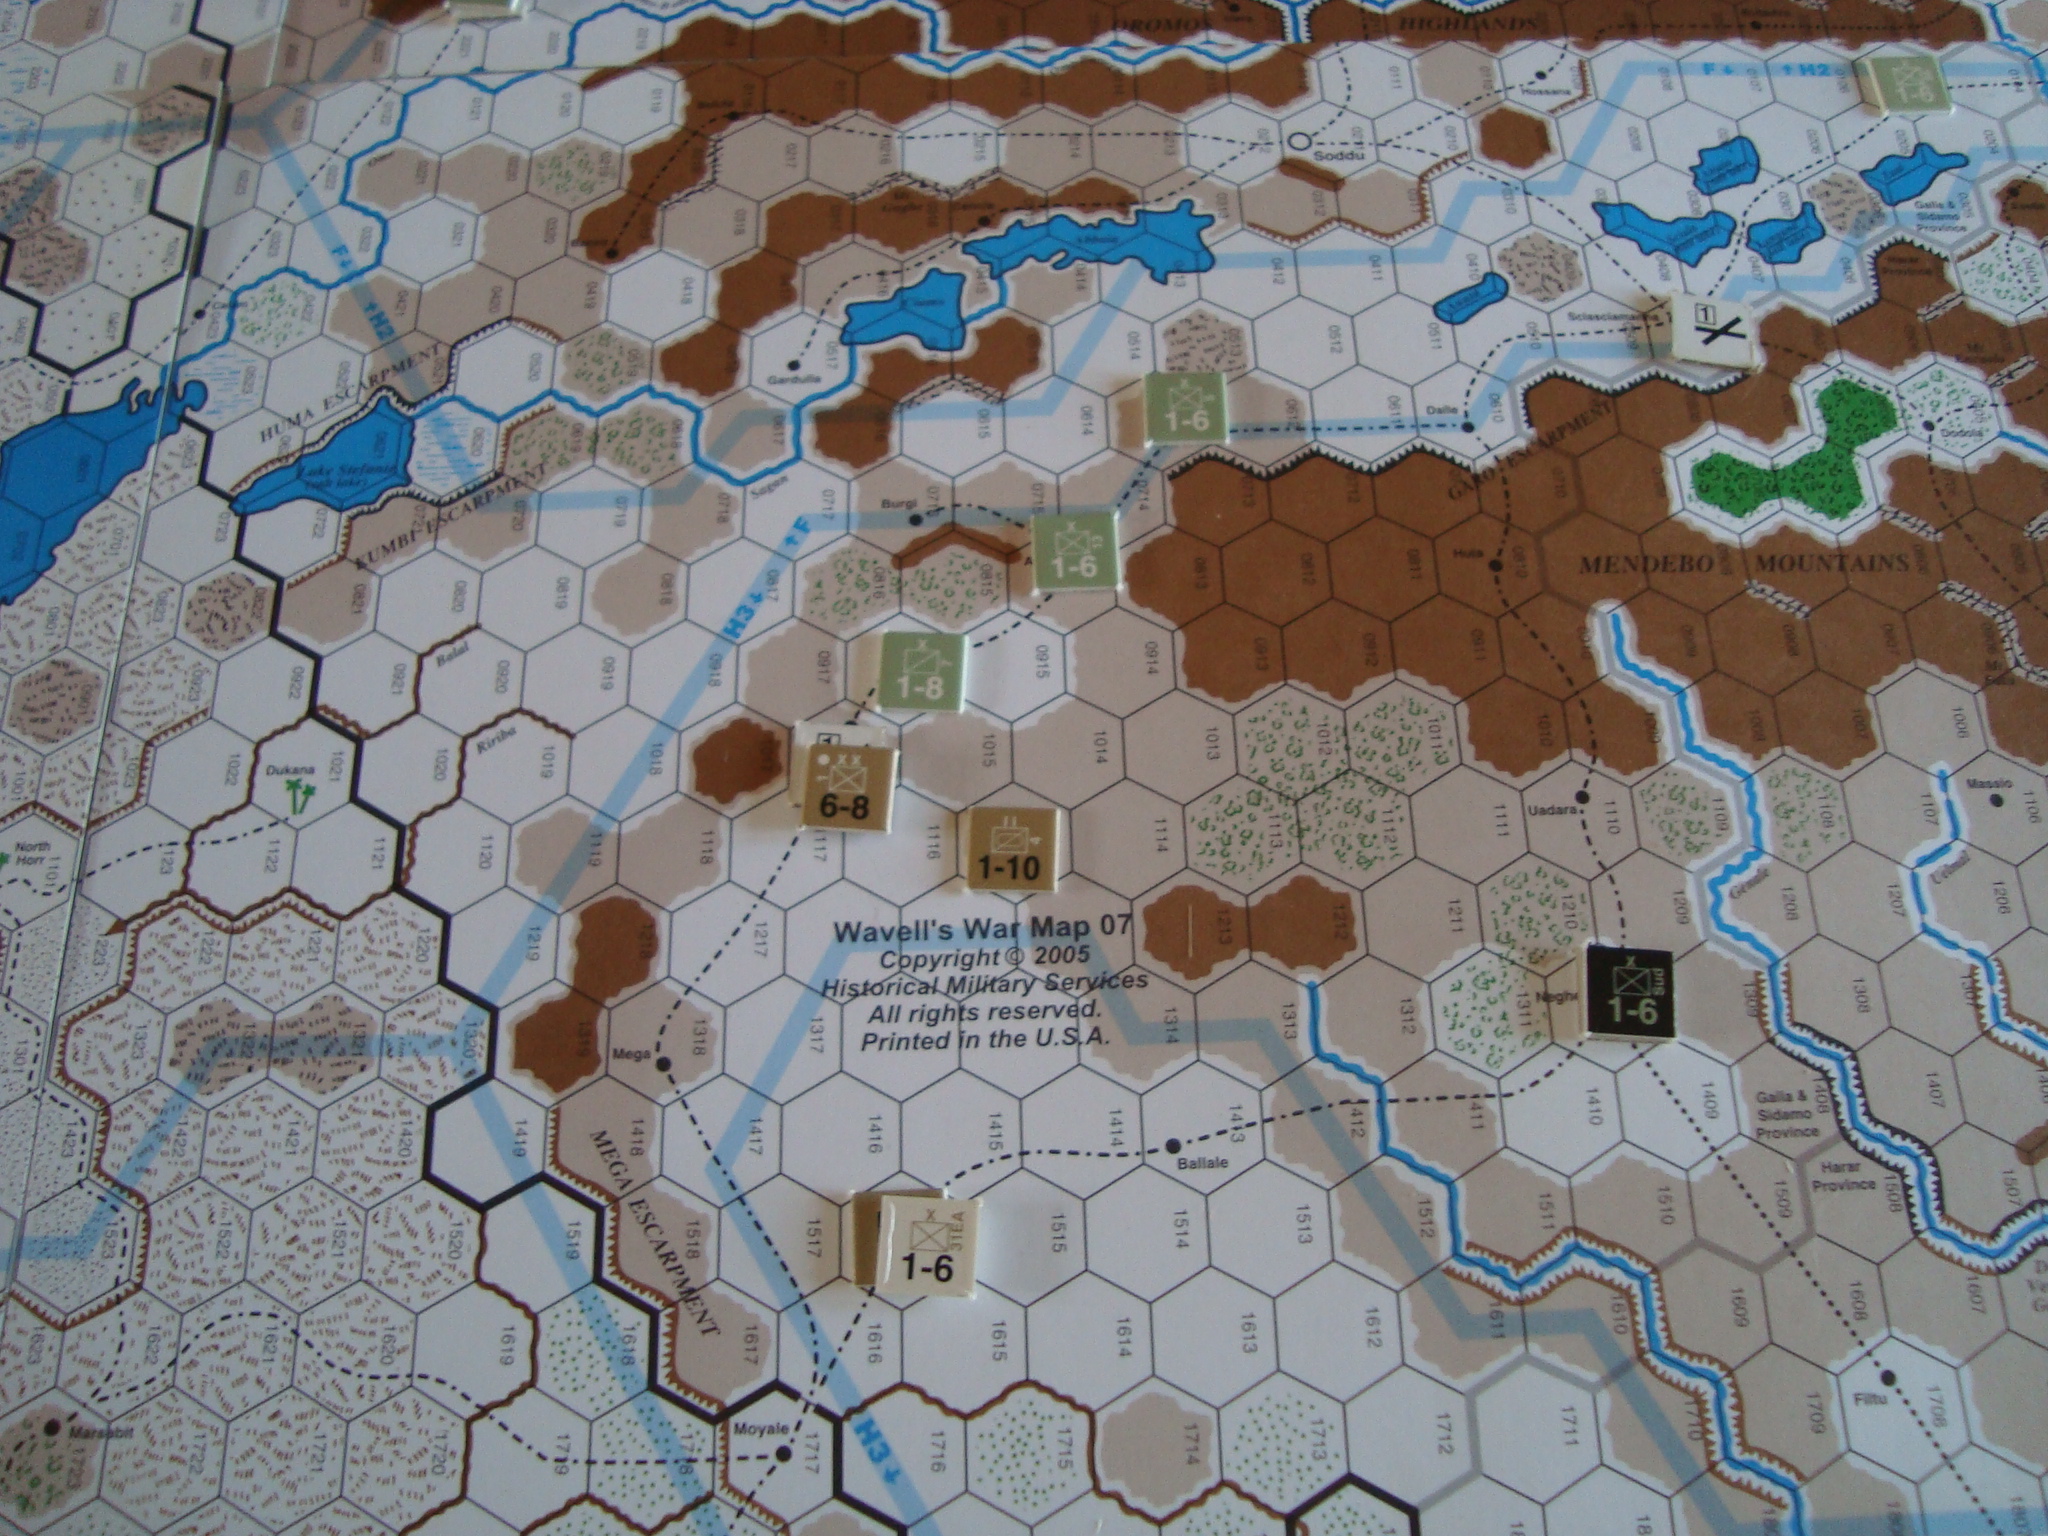
Early Game: British Advance Towards Chismaio
Early Game: British Advance North
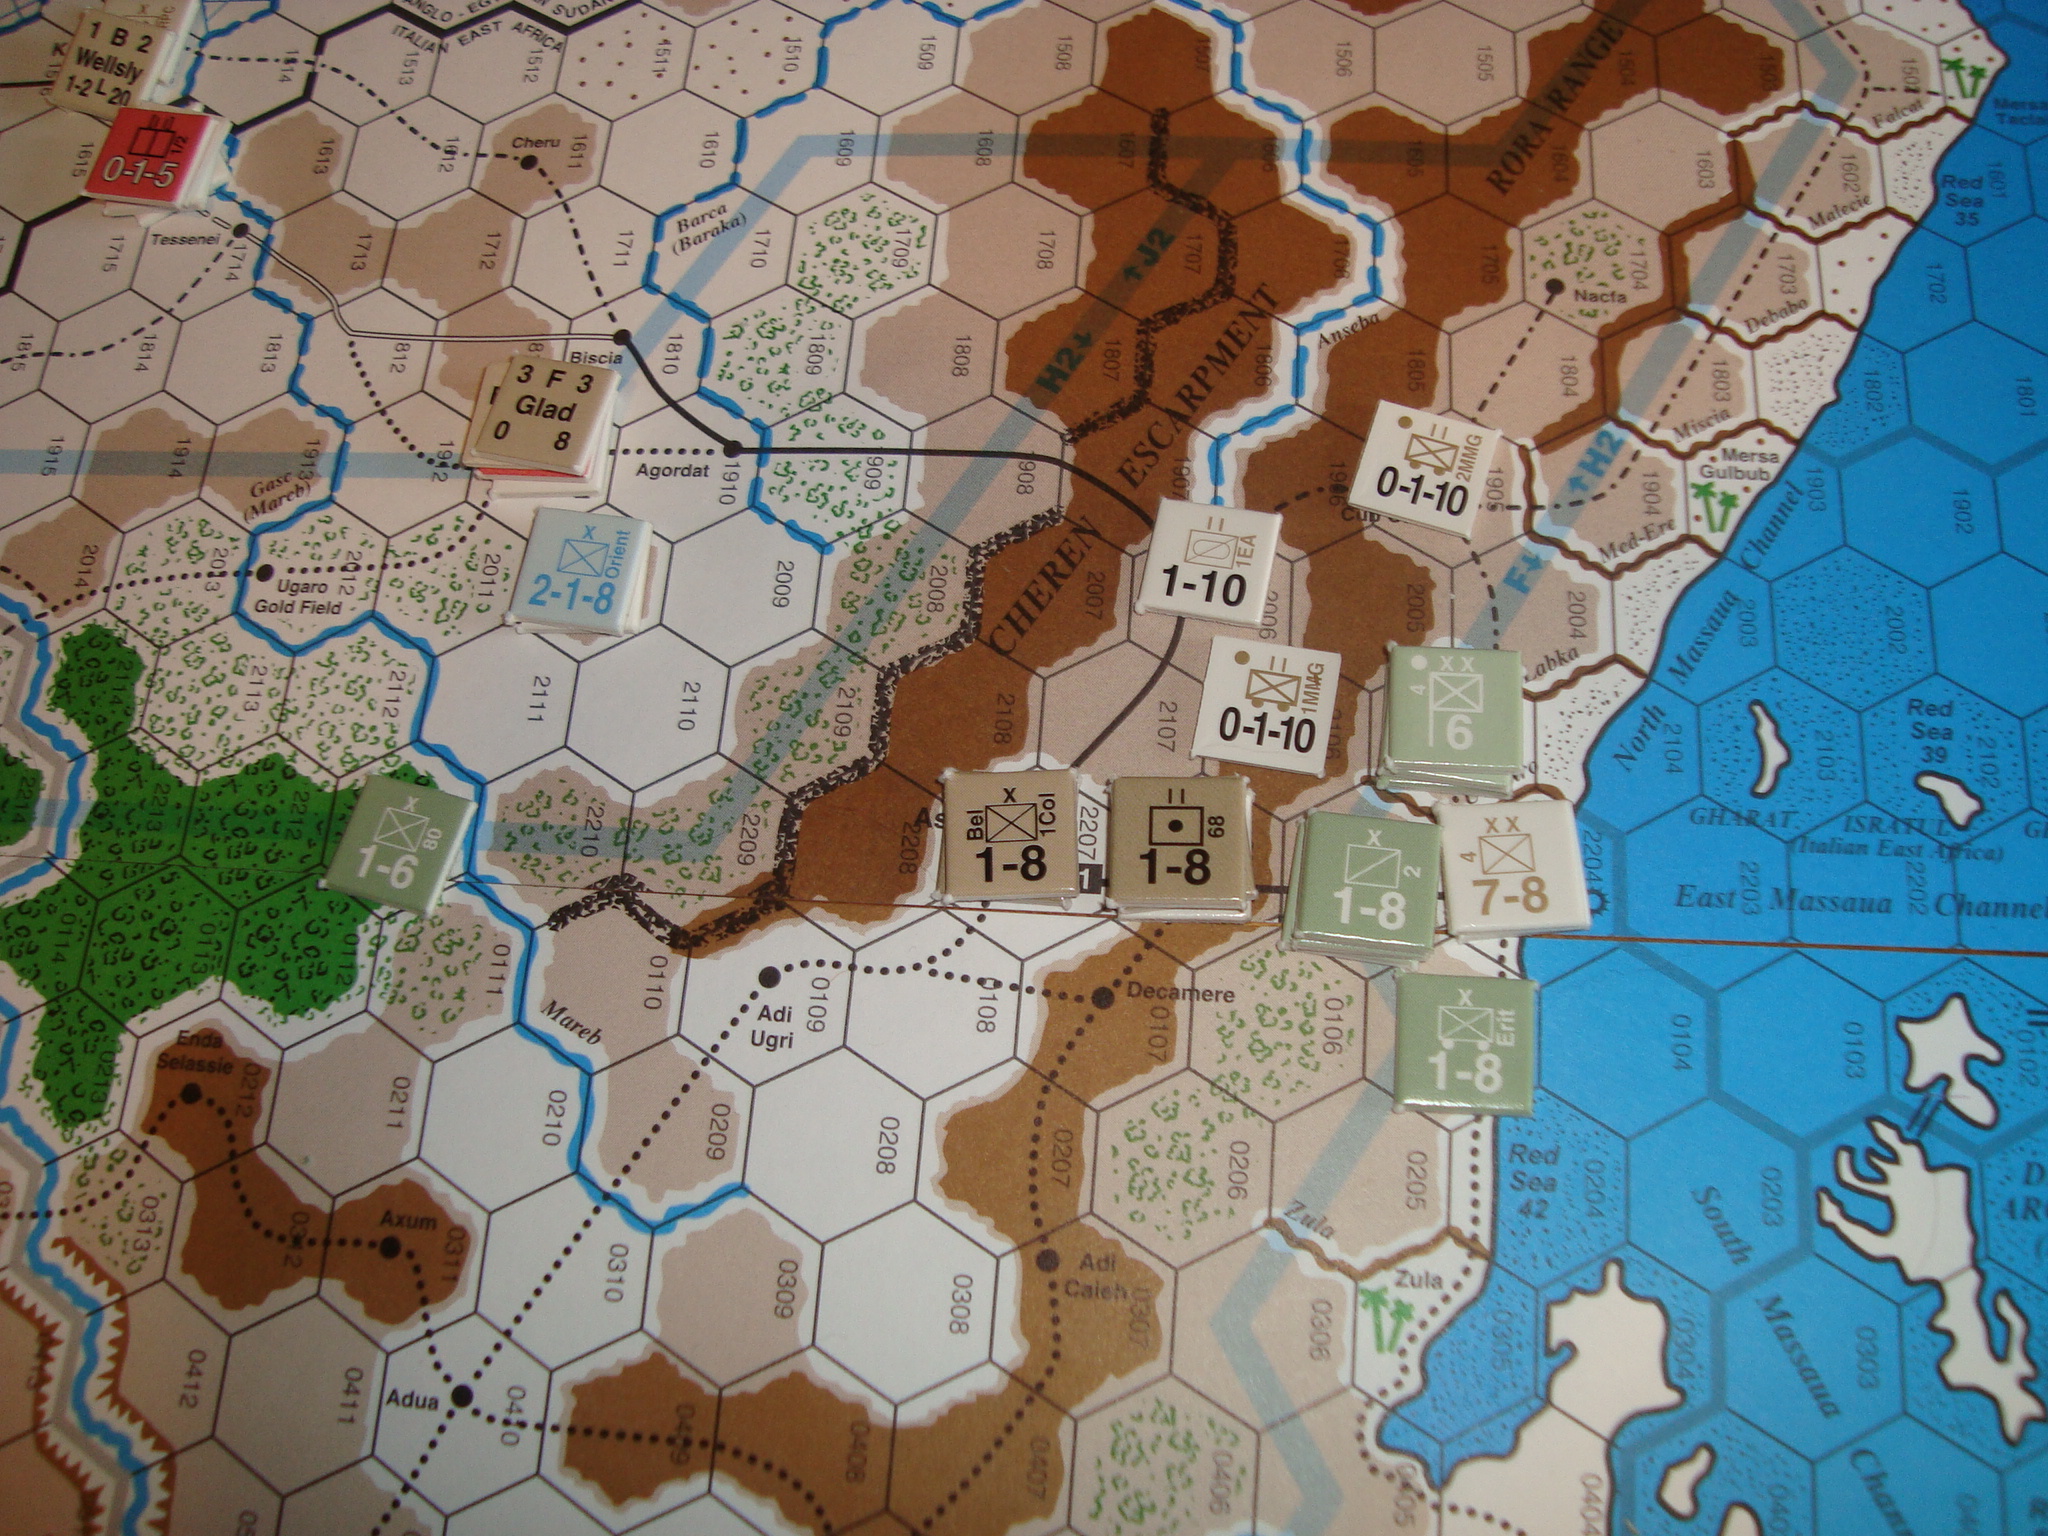
Mid Game: Exploiting Gap, British Take Massaua and Cut Off Italian Perimeter Defense
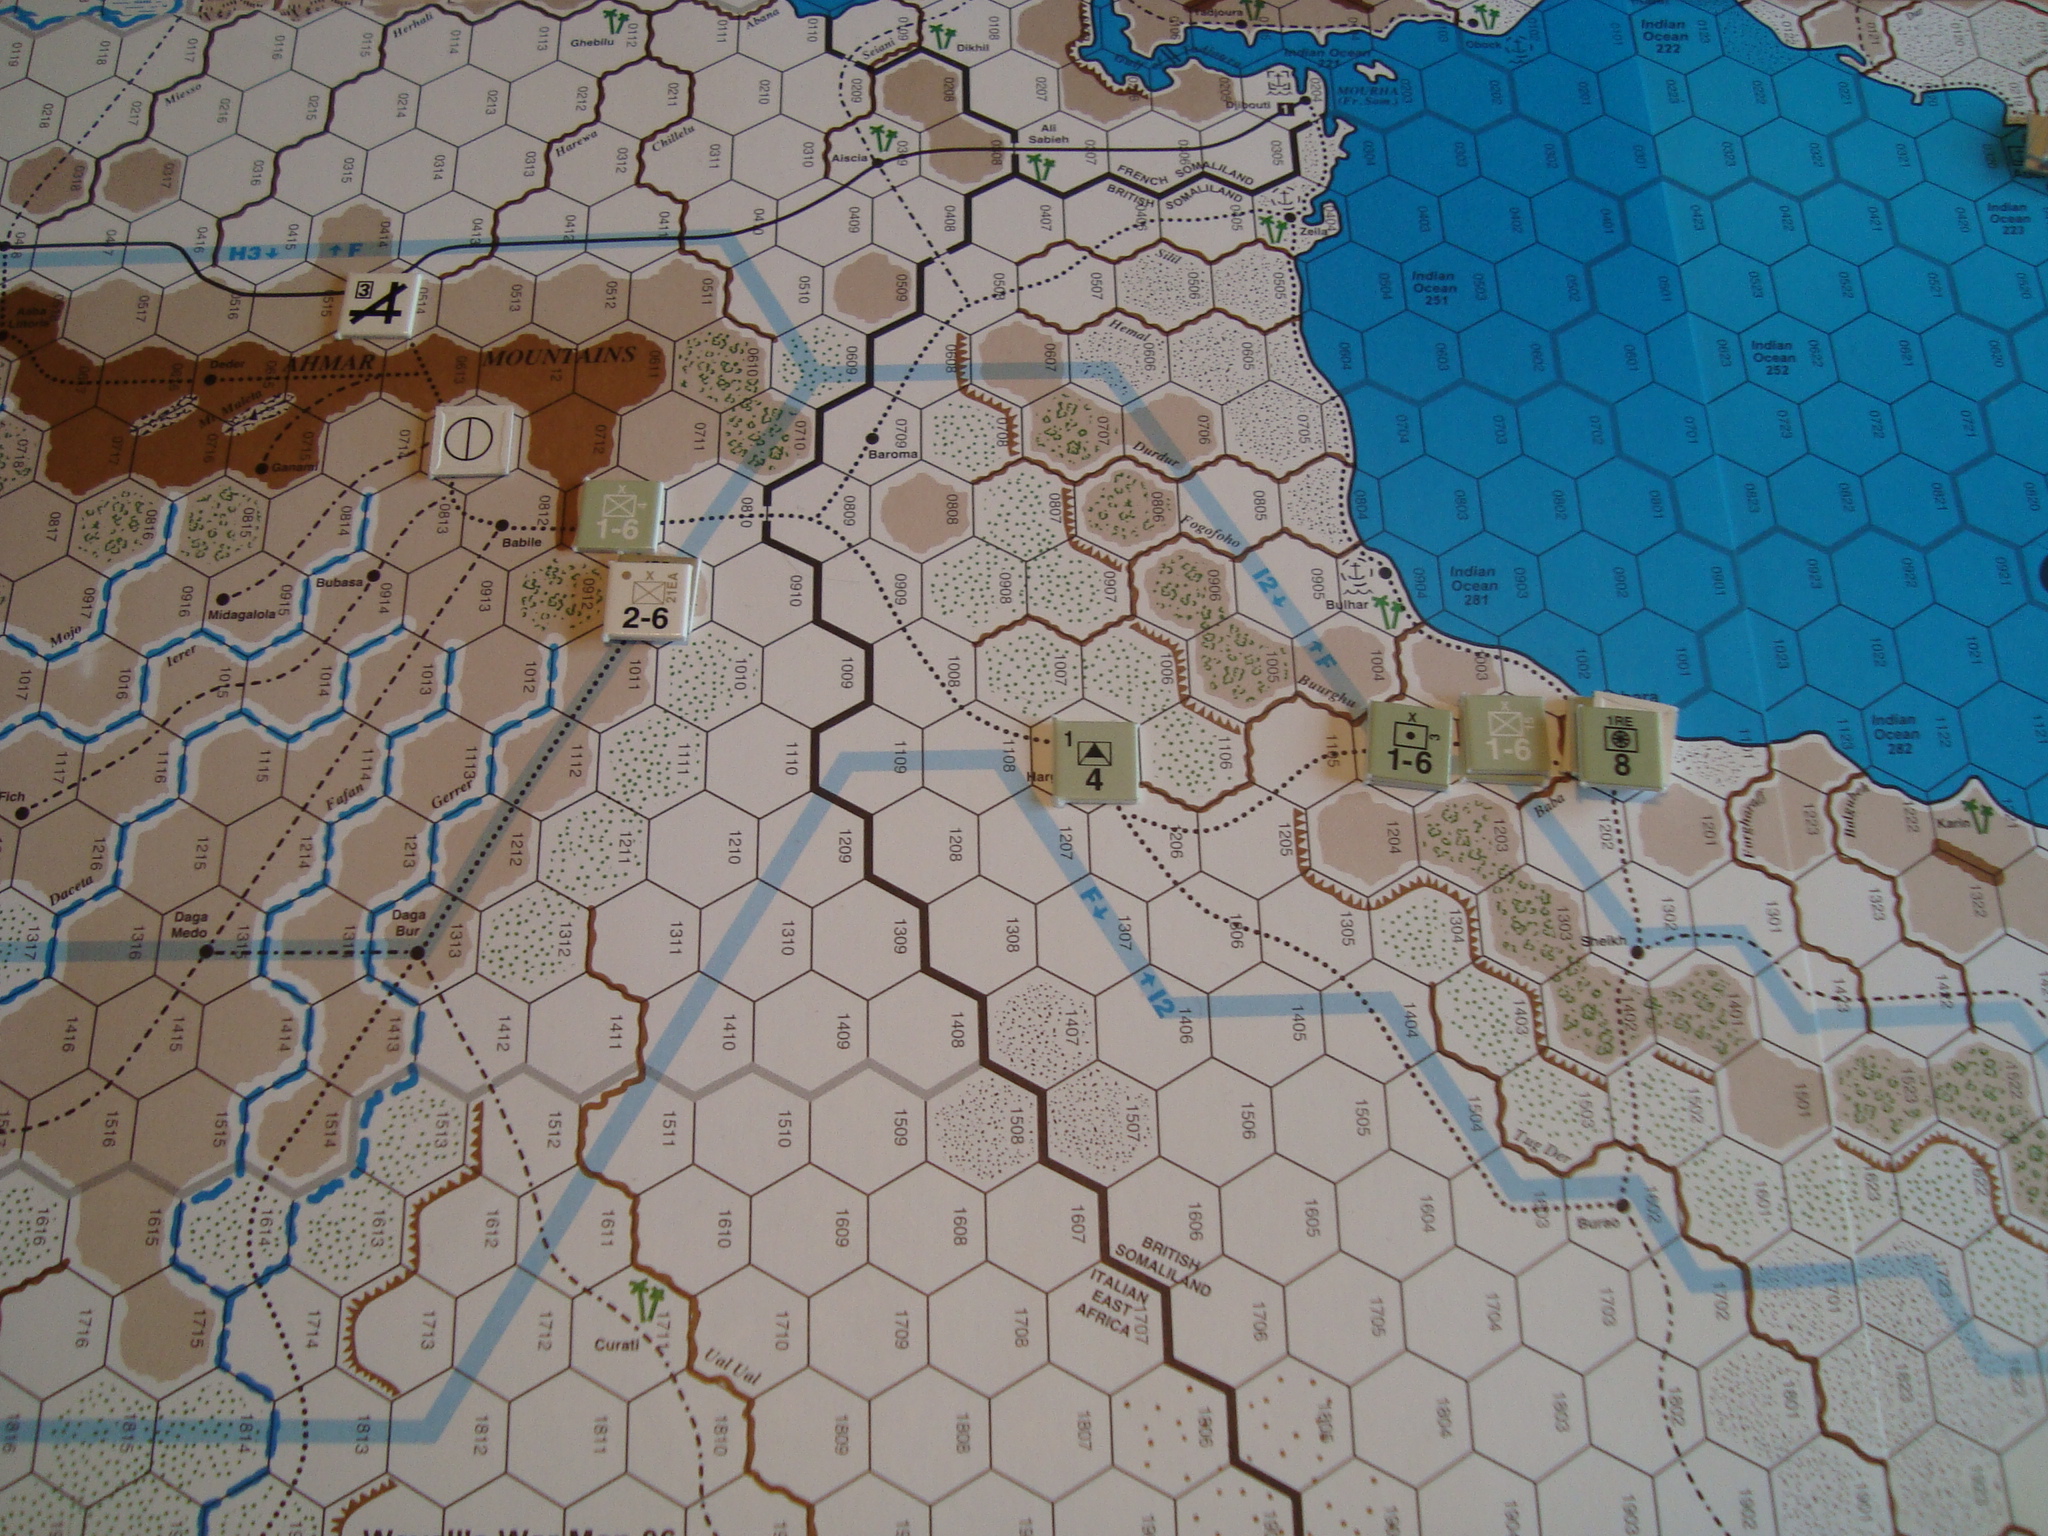
Mid Game: British Approach Addis AbadaMid Game: Italians Retreat Into SomalilandMid Game: British Advance South From MassauaMid Game: British Threaten Addis AbadaEnd Game: British Somaliland Still Held By Italians
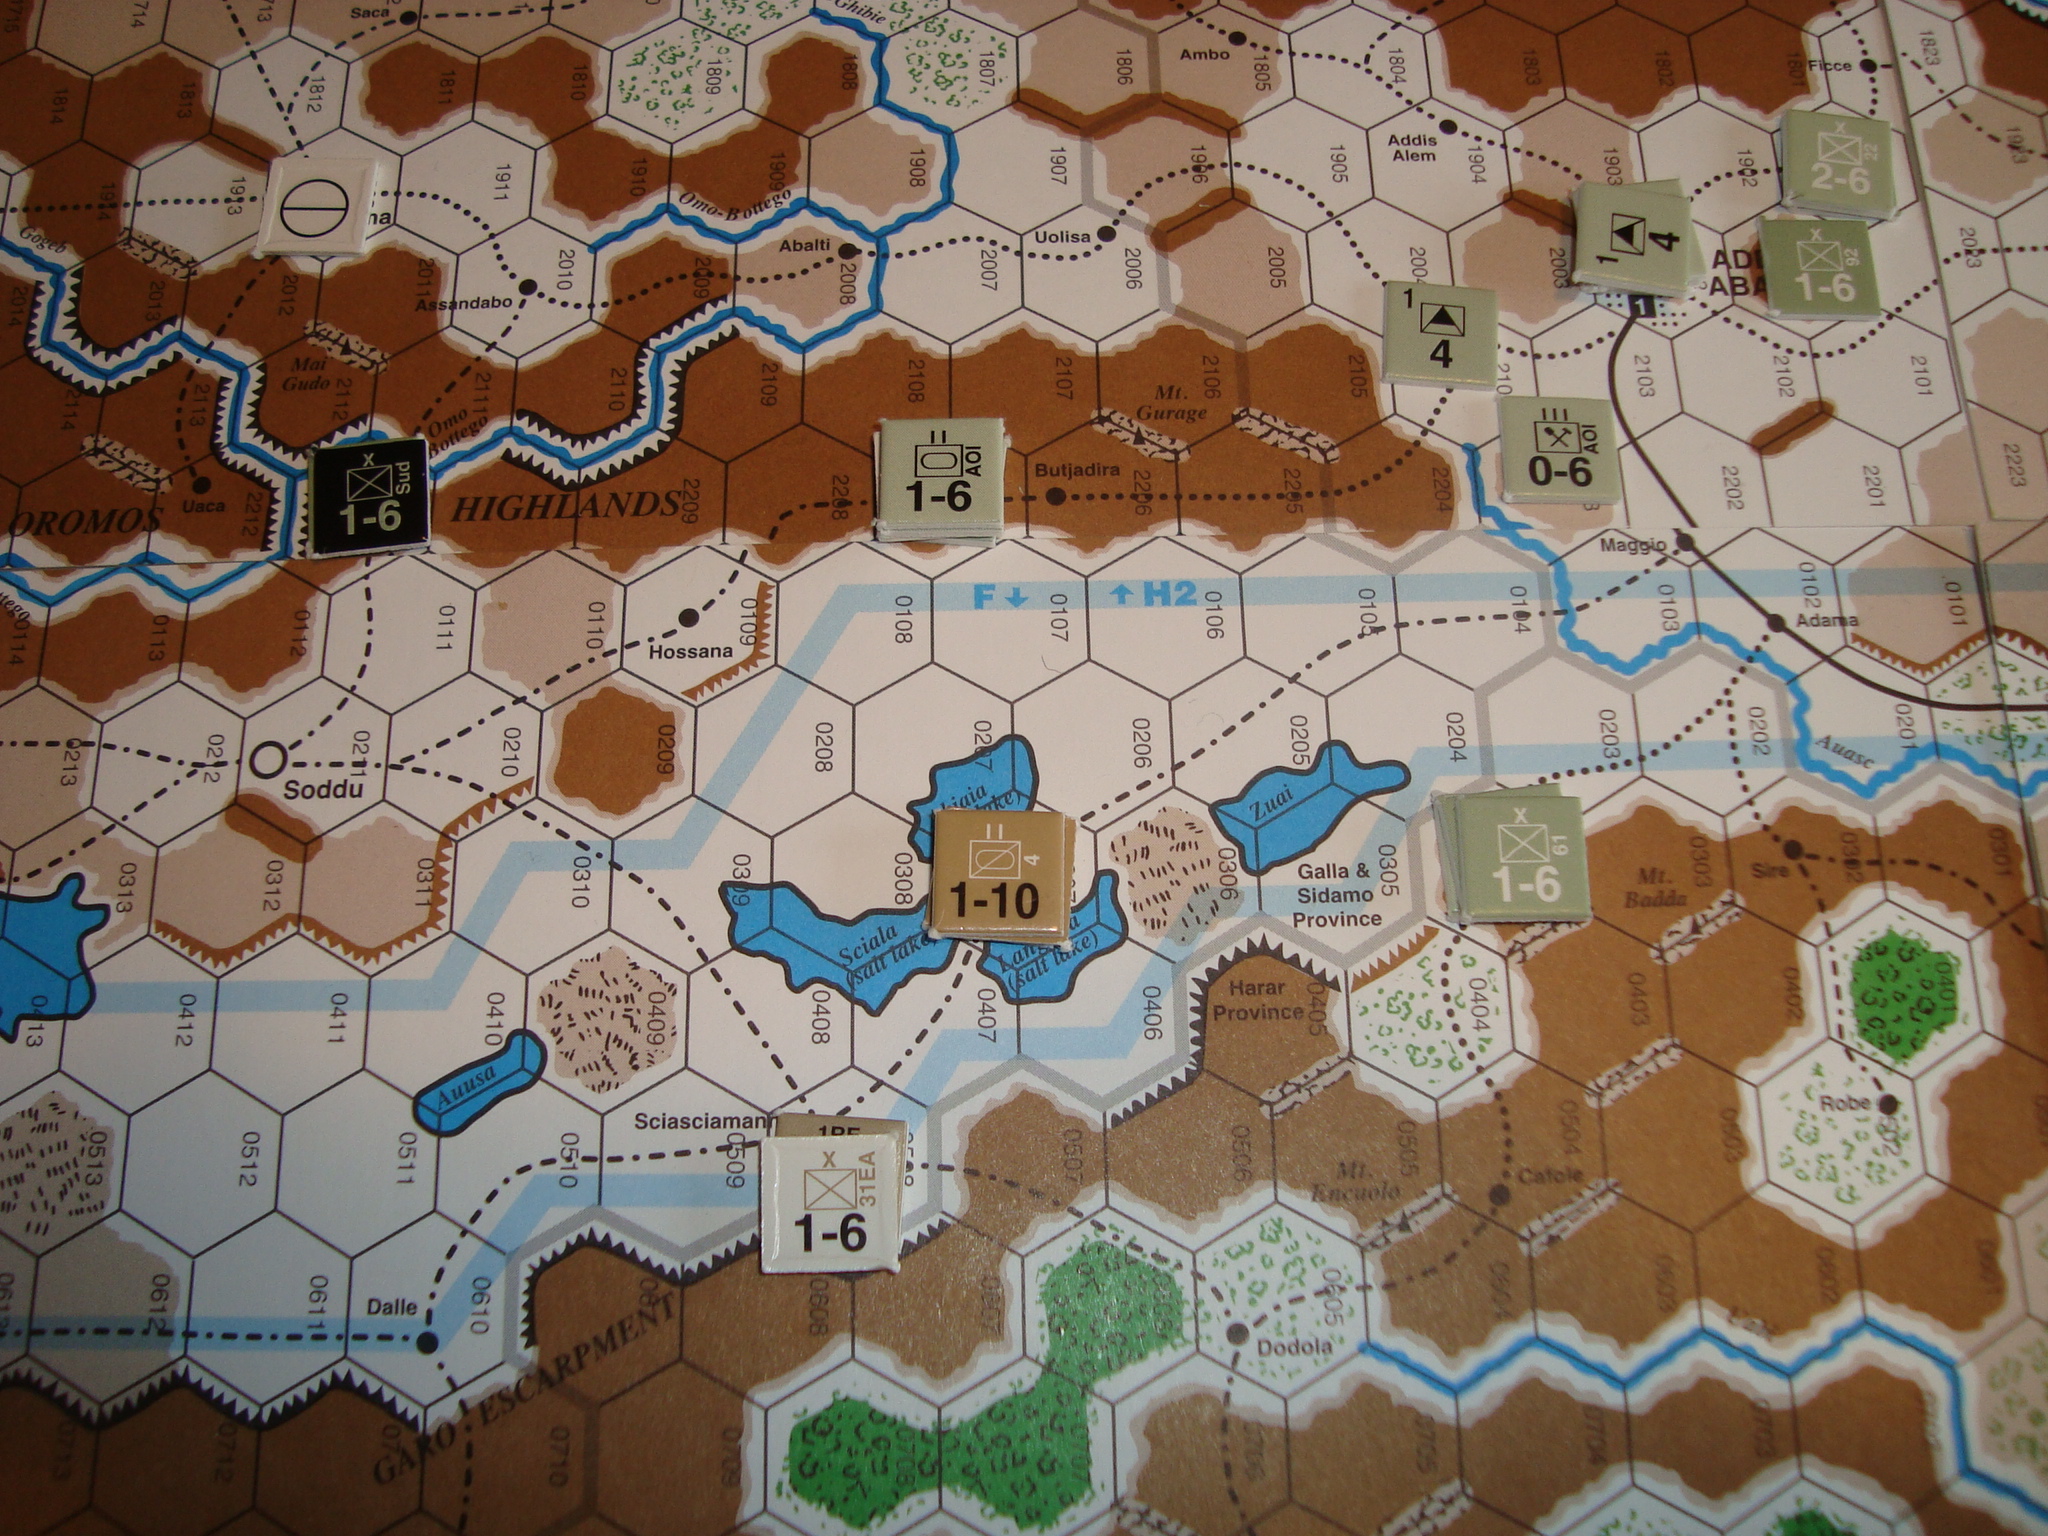
End Game: British Advance Towards Addis Abada From The North
End Game: Italians Defenses Around Addis Abada
End Game: All Cleaned Up. Dogs of War Wonder What’s Next
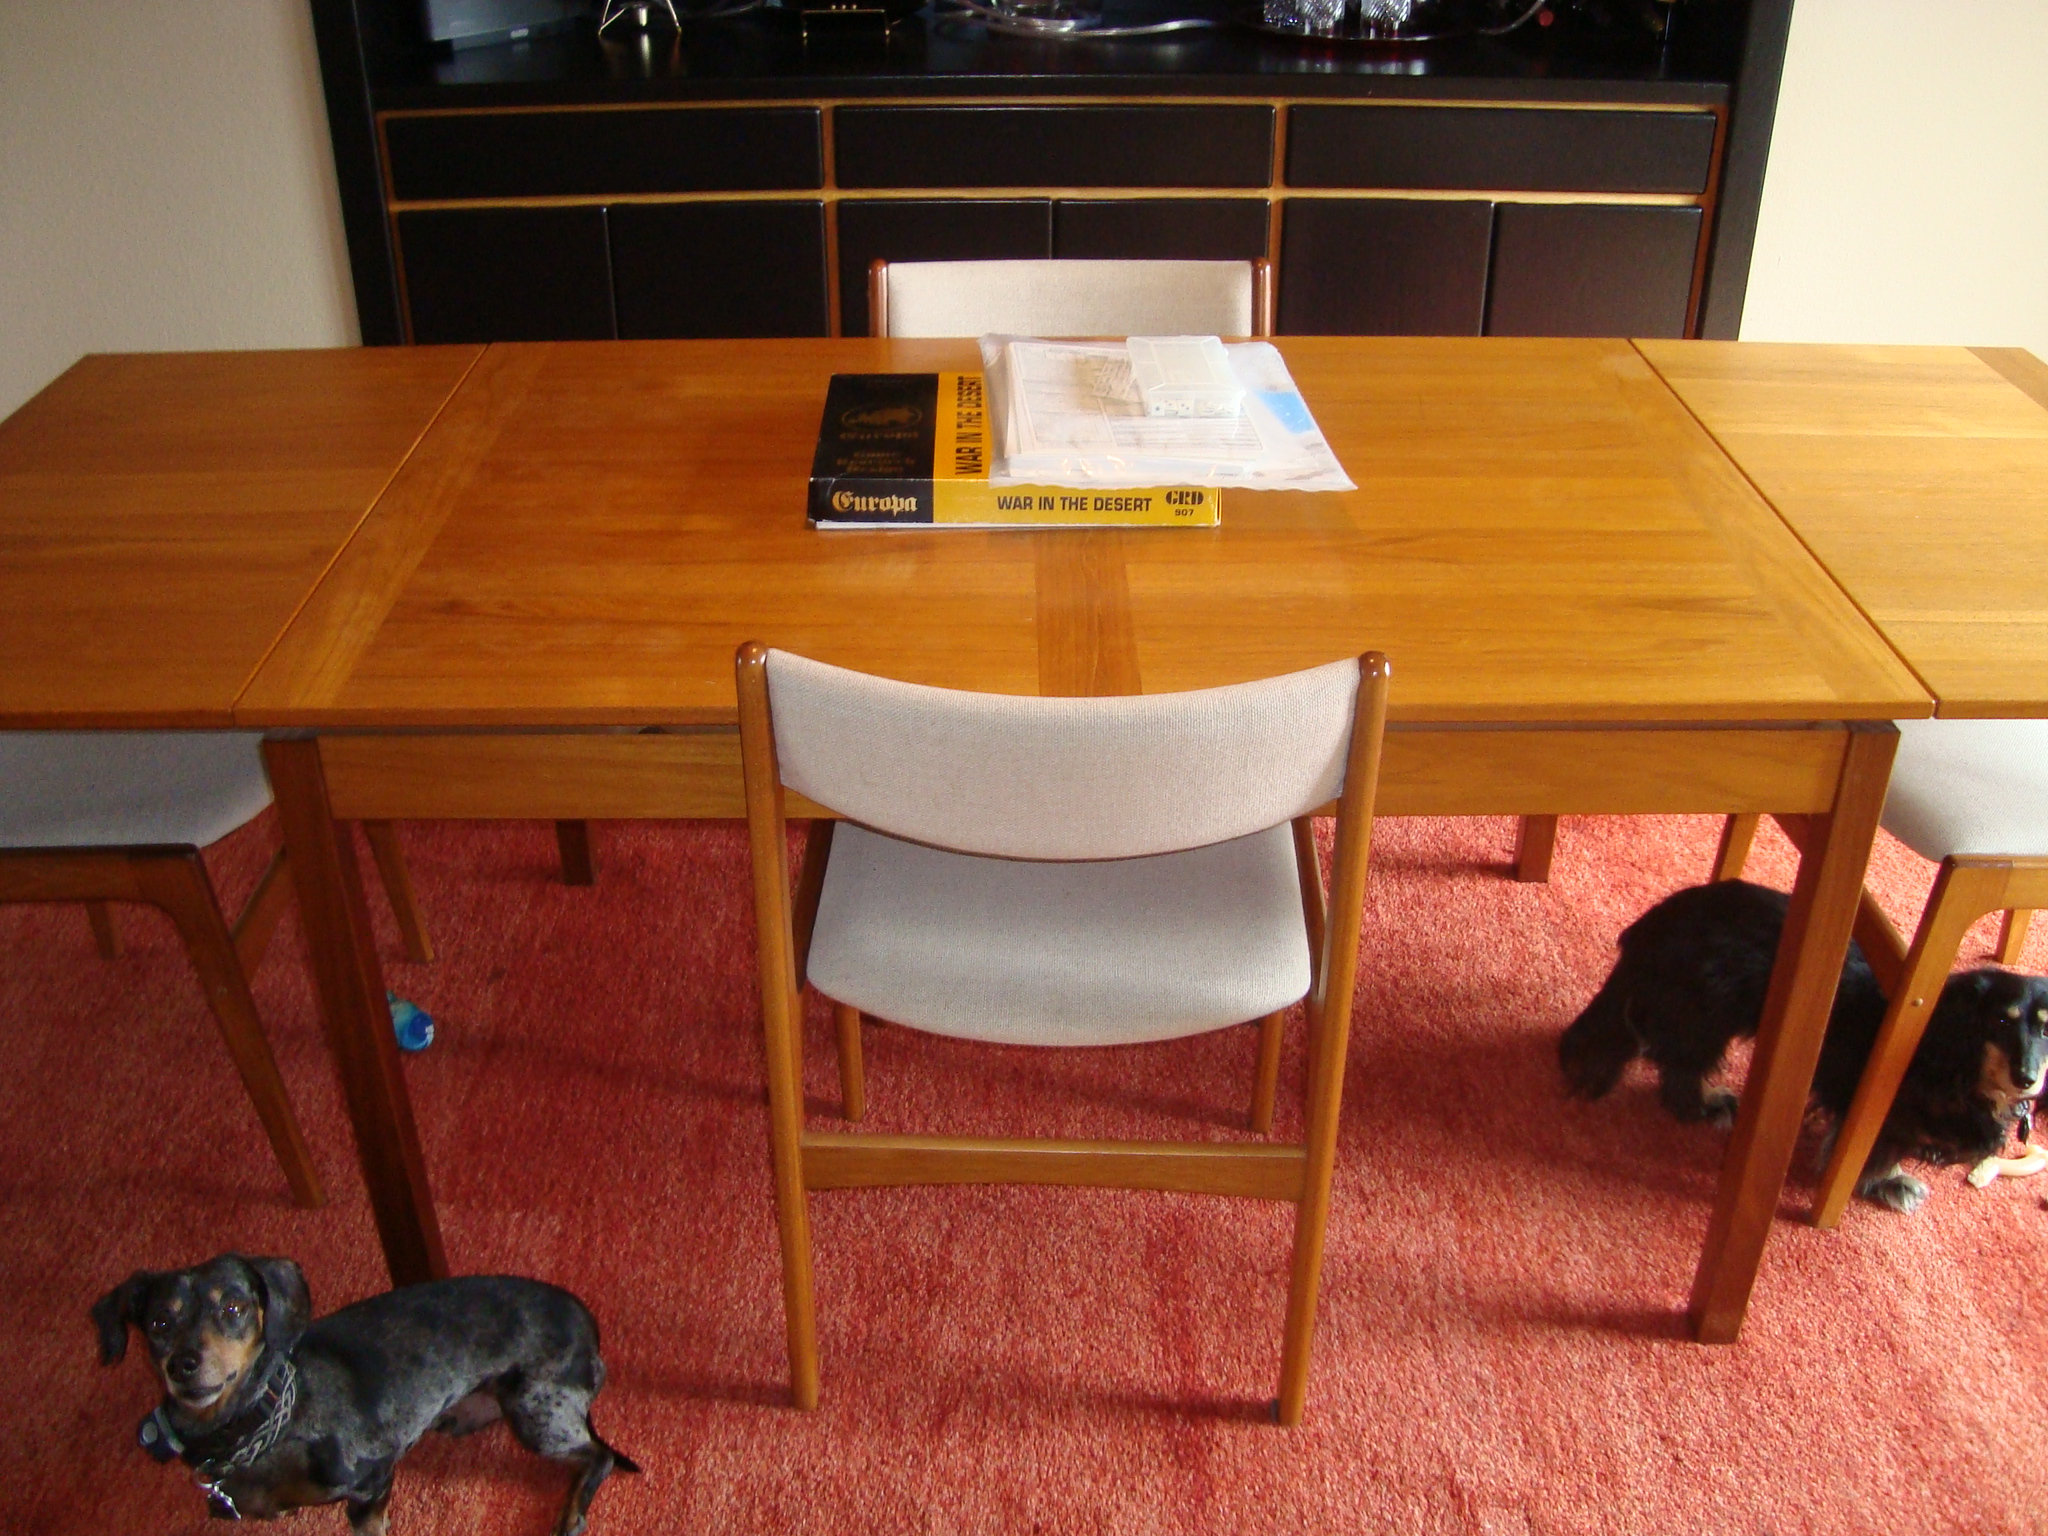
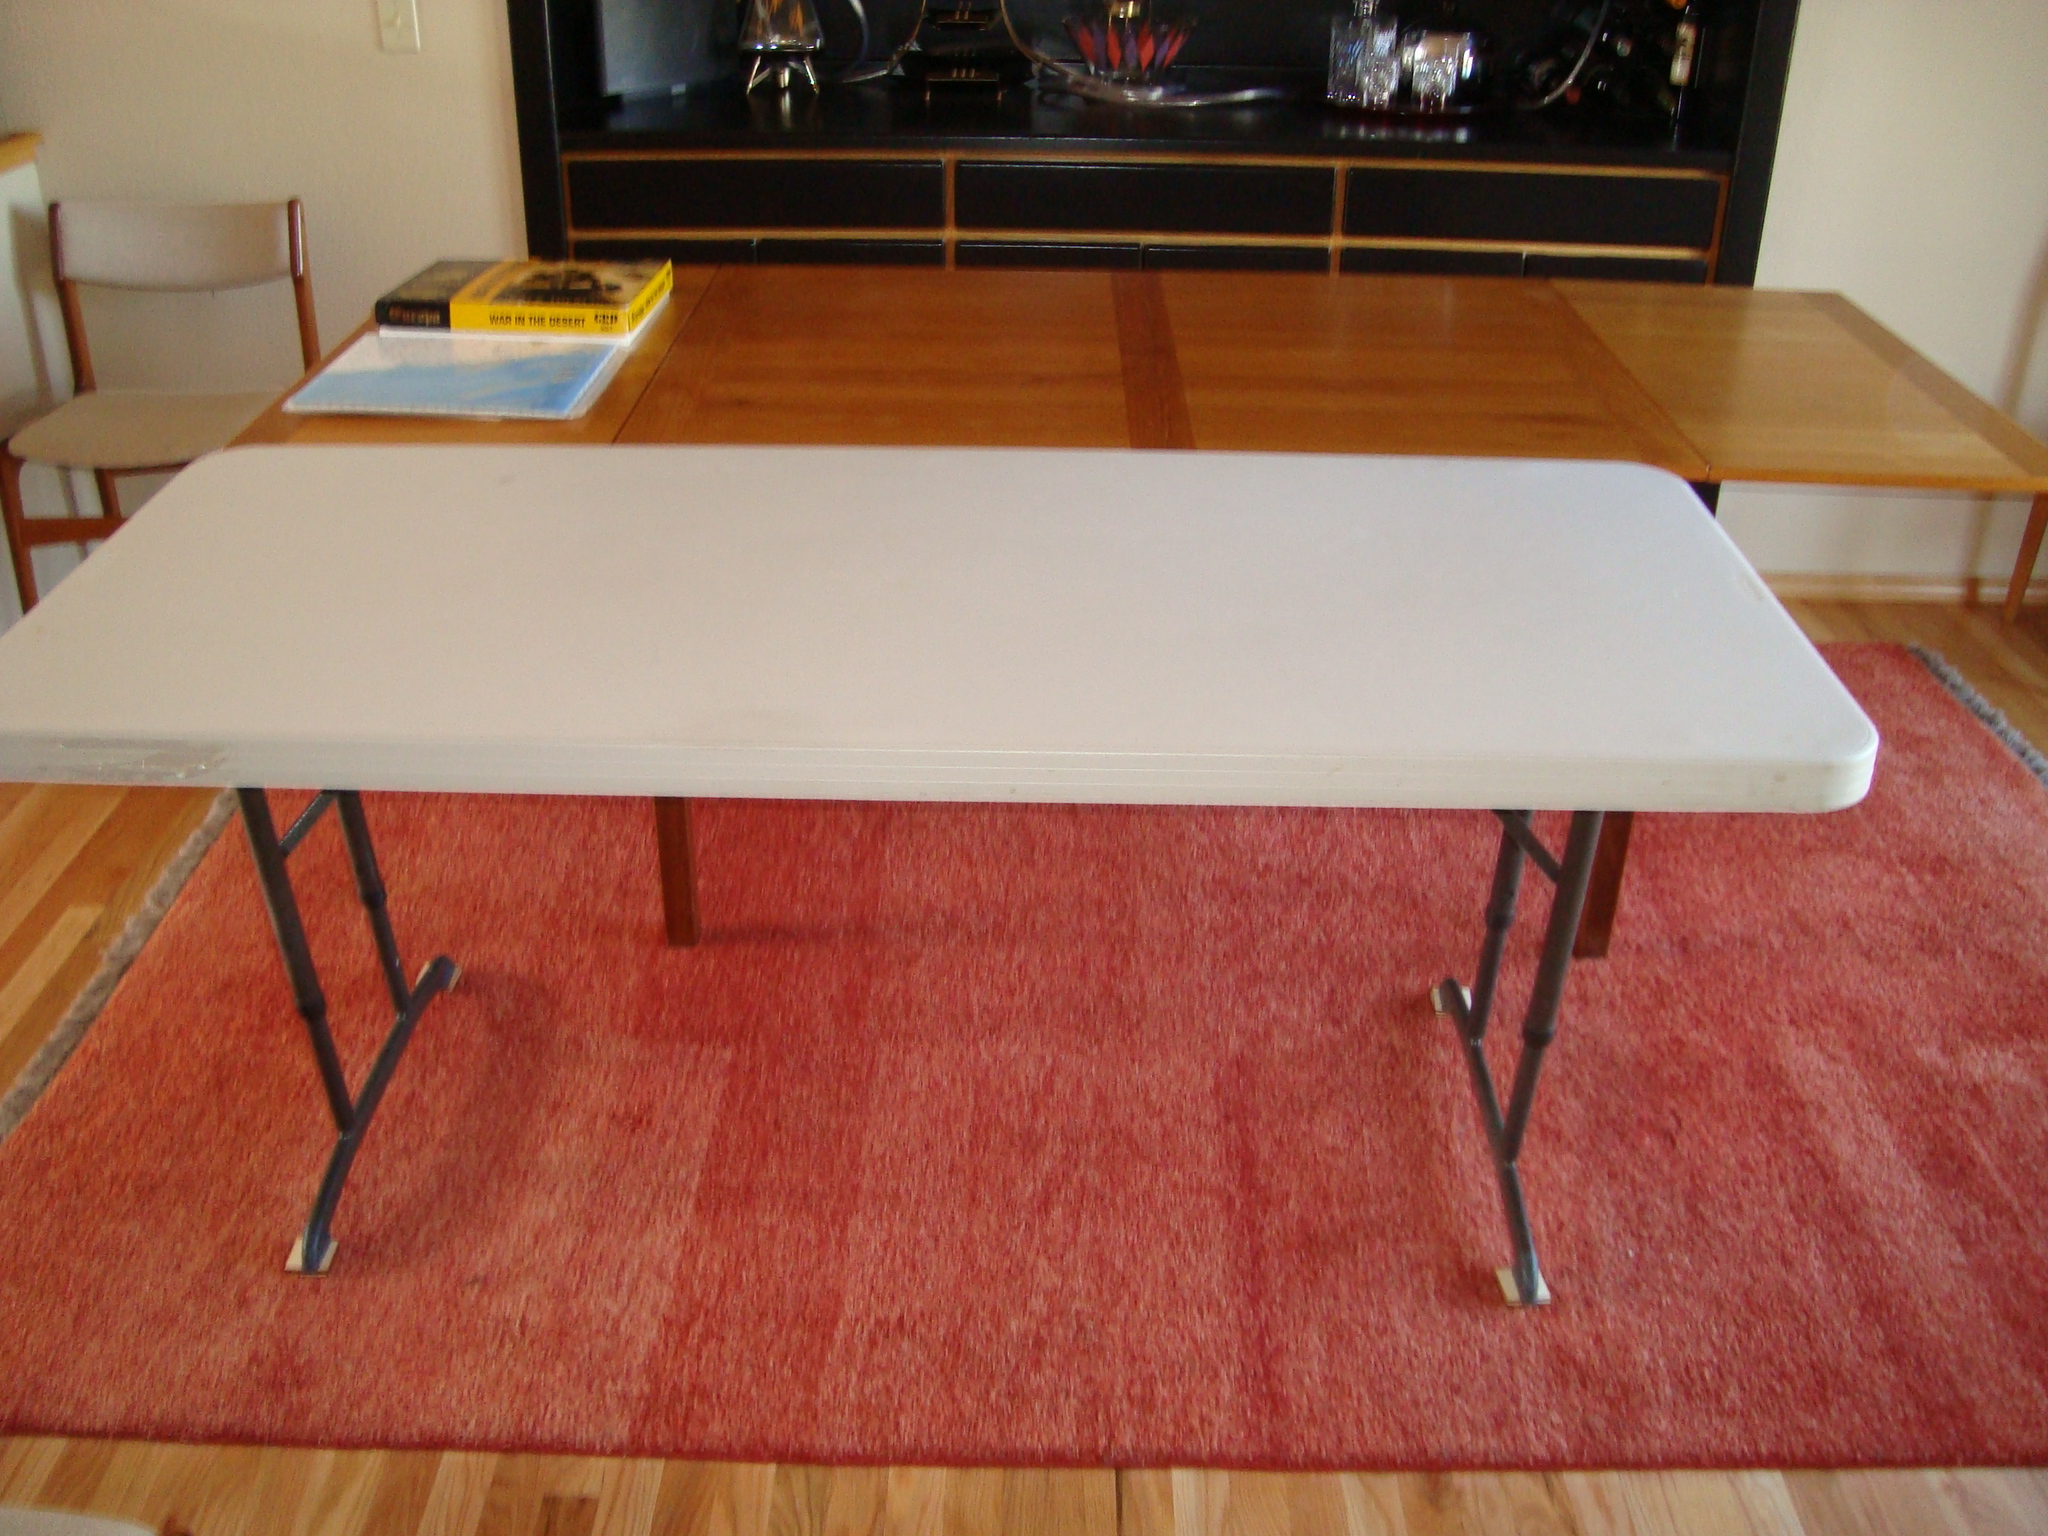
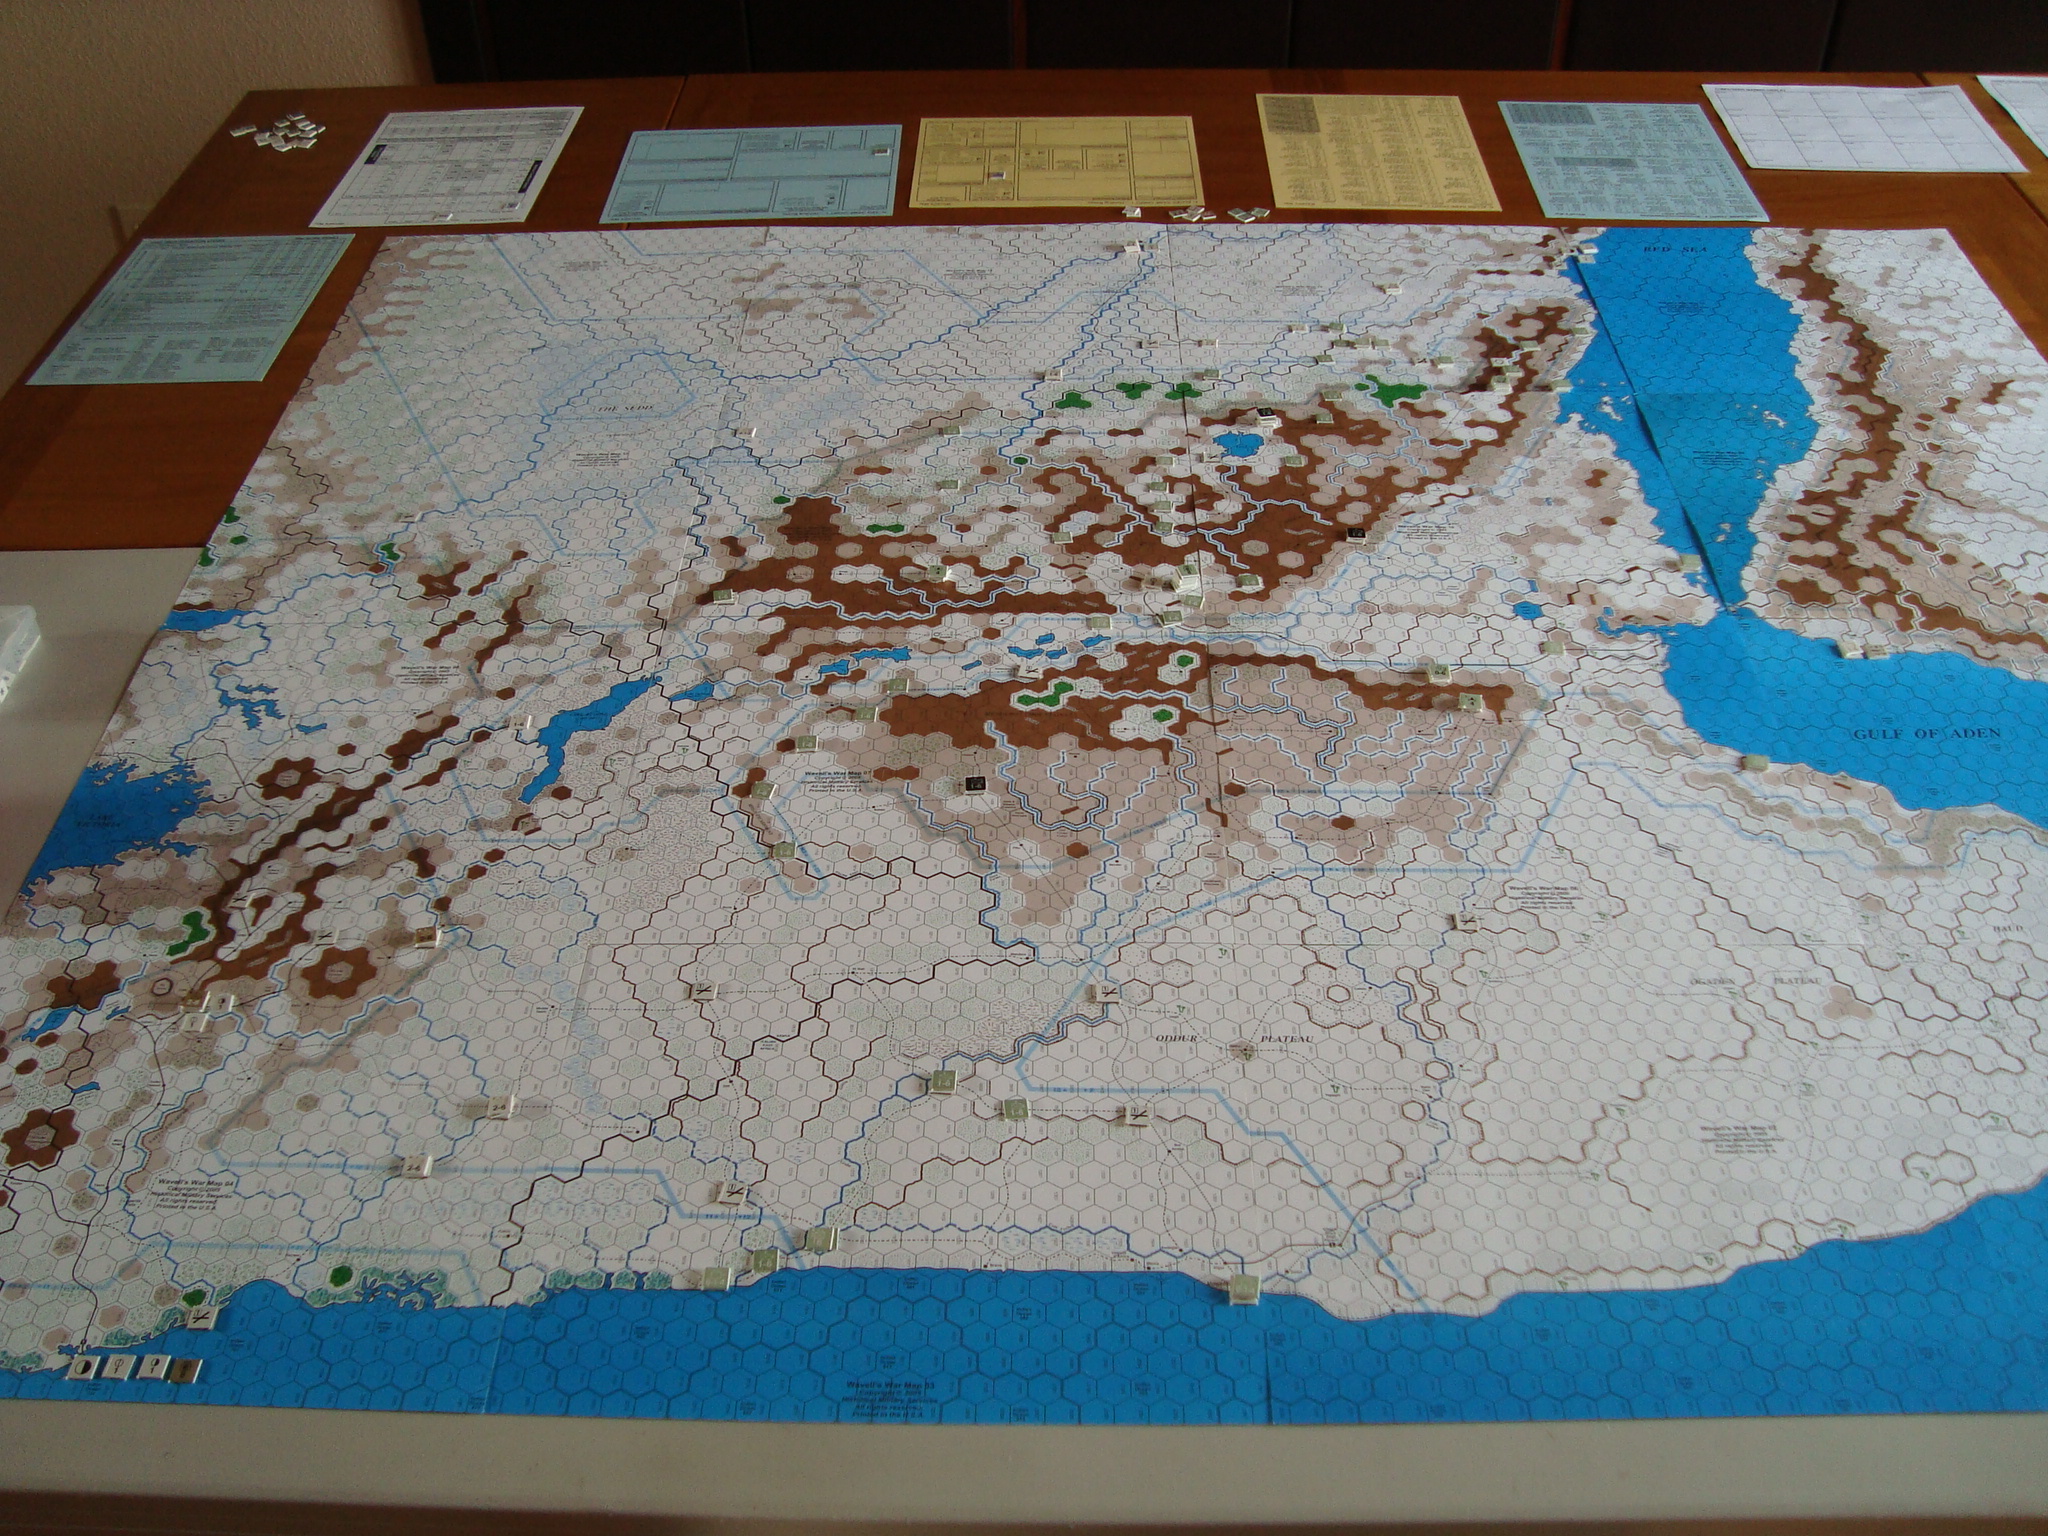
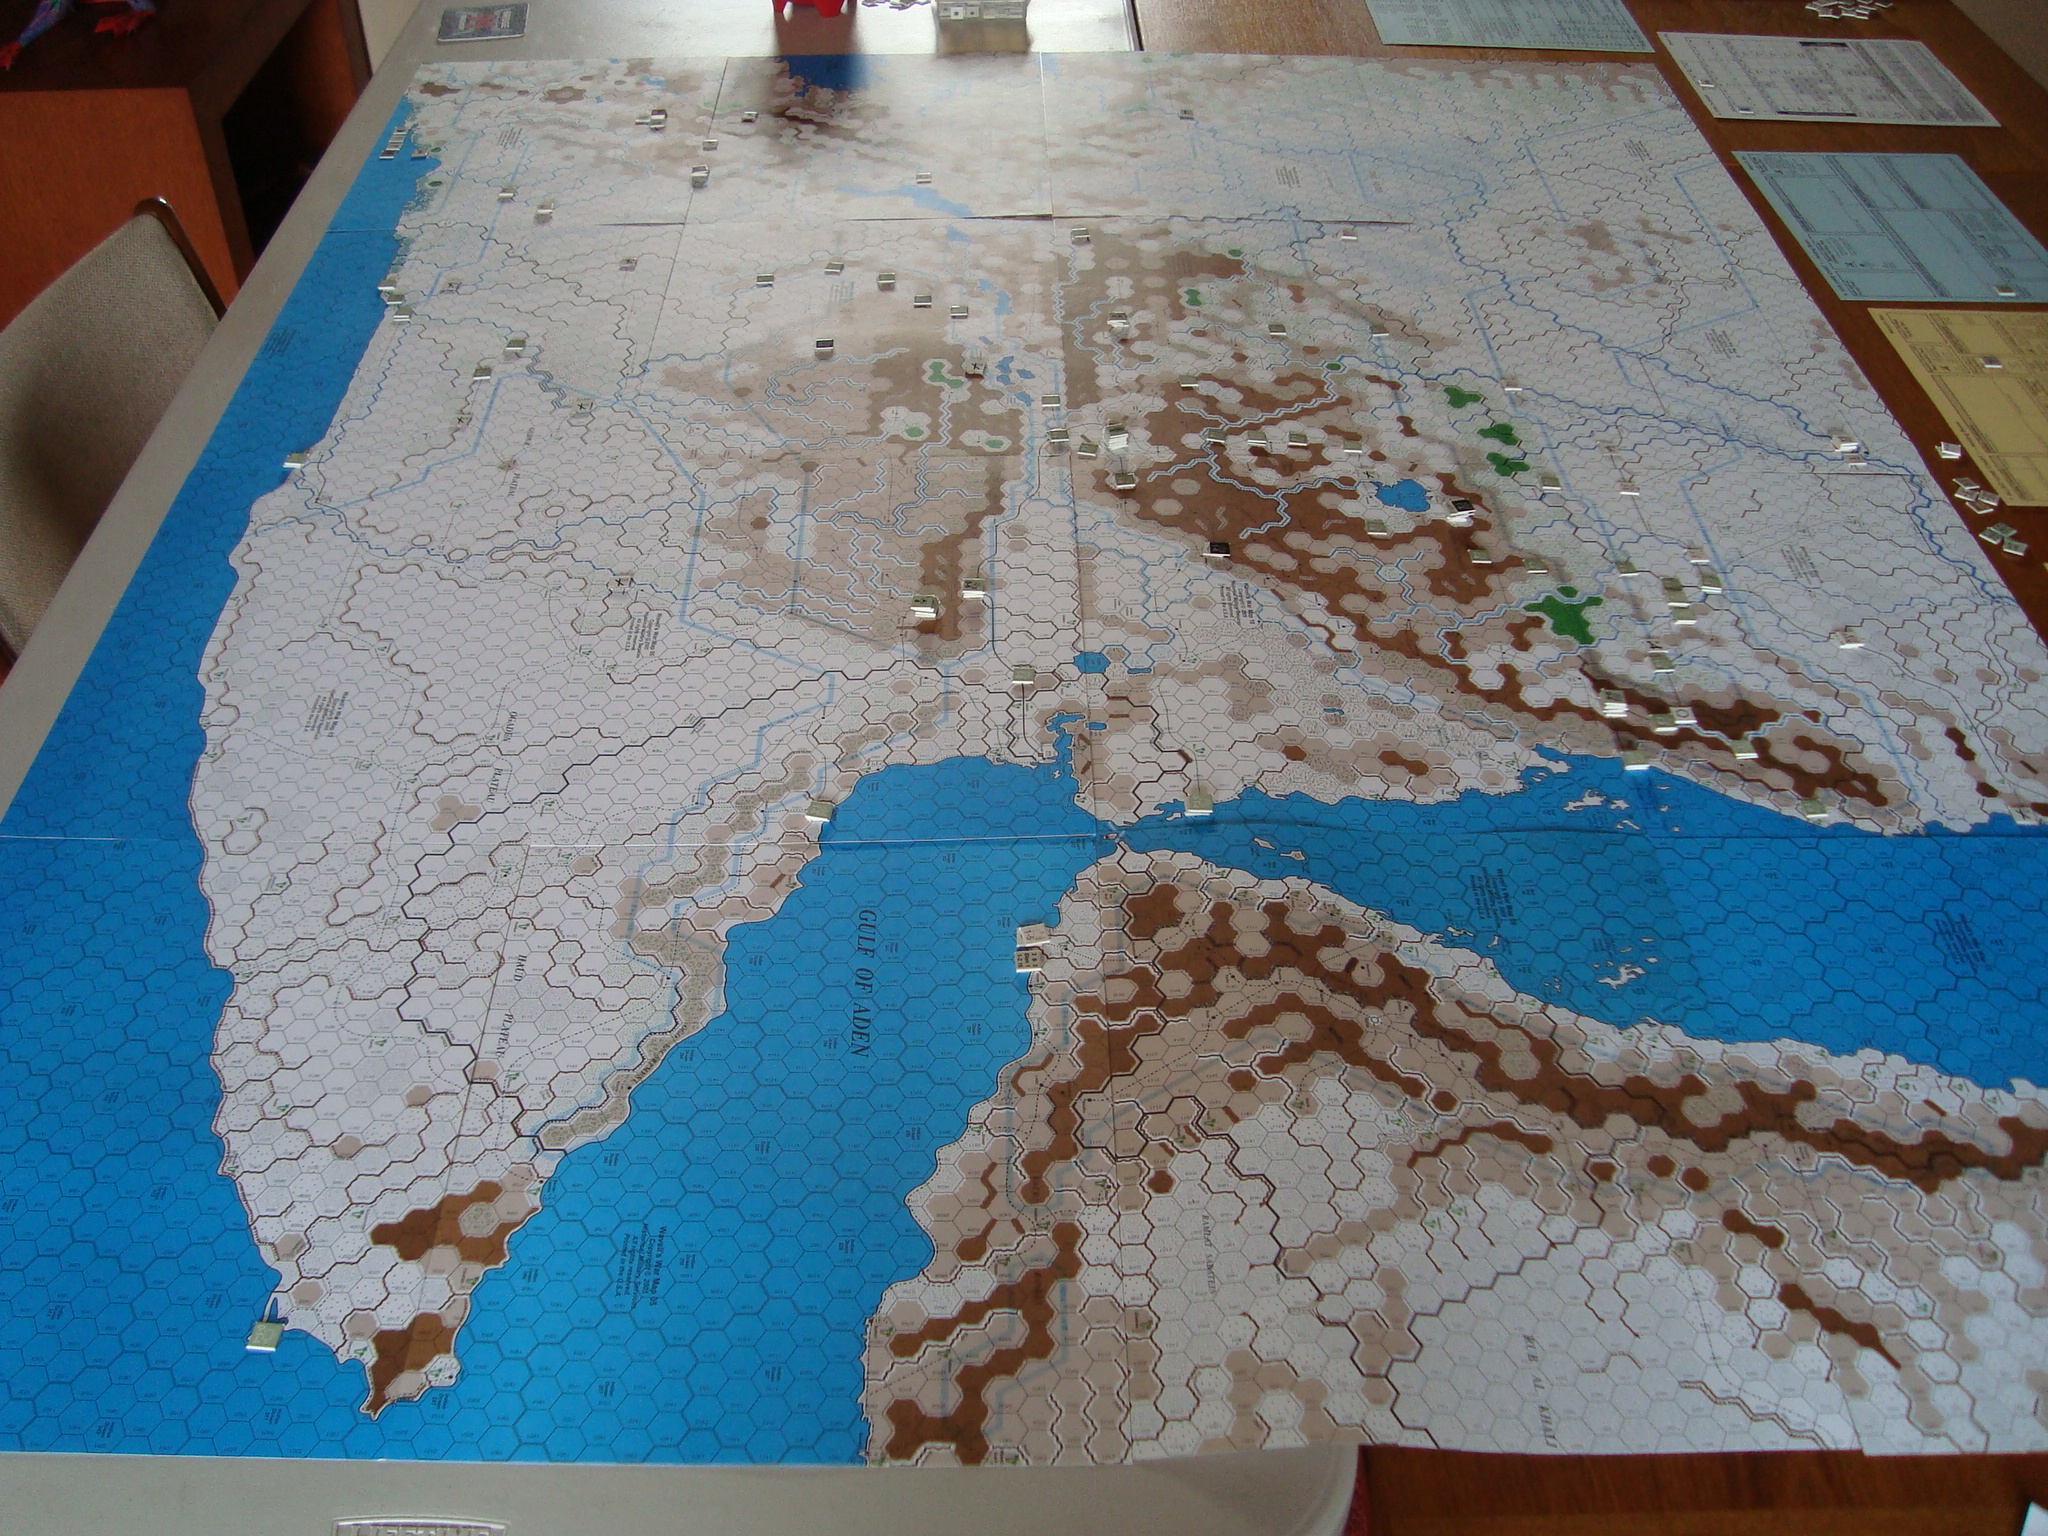
Set it up last night and this morning. Used stencil tape to keep the small map sheets from shifting around. Had to shim the utility table to get it to match up (kind of) with the dining room table.
Big map, lots of ants. Italians have limited supply sources, which severely effects both offensive and defensive capabilities, and very few steps of attack supply to compensate. Air support for colonial units is also limited.
This will be very interesting.
The TableMap Looking North. Where Are The Ants?Map Looking West
Will start playing Thunderbolt/Apache Leader tonight. Decided to stay with solo aviation games. I’ve messed around with this one before, but never quite got comfortable with it. Time for another try. BTW, this is the original, not the updated version that came out a couple of years ago. This will be a time-filler until Tim shows up Friday night for our long-awaited Wavell’s War East Africa Campaign game.