Category Archives: Miniatures

New Project – Pt 1

Crummy weather, bad sports TV,  and an injured leg made for a busy wargame weekend here at The Pine Cone Lodge.

Focus was on my Tanks board and scenery.  As previously discussed, the game comes with a few quality 2-D terrain and building pieces. However, I wanted to go 3-D, but on a budget.  Battle Mats can be expensive at $30+ a throw for a 3×3 foot piece.

Last Thursday, I realized that a mat could be fabricated using thin, plastic, kitchen cutting mats.  I couldn’t find any at the Dollar Store, but Freddies had them at $4.99 for two 12×18 inch mats.   Needed six, so I shelled out the $15 bucks, then bought a can of green textured spray paint for another $5 or so.  Not quite the required 3×3 playing area, but close enough (which should be/is the motto of my wargaming efforts).

I had some other spray paint lying around that could be used, so economically this project made sense……if it didn’t degenerate into another Gunboat fiasco.   While cruising Freddies discovered that Krylon is making camouflage paints – marketed using the Duck Dynasty crew of all things.  Limited colors, but much much cheaper than shelling out $6+ bucks for a small can of green Model Master paint.

By Saturday morning the garage looked and smelled like a Spray Booth.  I started out with some brown “primer plus paint”.  Let that dry for about 2 hours, then started working with gray and green textured paint.  Let that sit, then started random sprays from stray cans of medium and dark green flat modeling paint, along with a few shots of an almost empty can of Krylon khaki.


Speaking of Vortexes – Pt 3, or Vortex Subsiding

The photos at the end of the post sum up my latest gaming efforts.  Finished the initial batch of tanks, and getting deeper and deeper into Advanced Squad Leader (ASL).

Managed to find a helpful article for painting the late war Pz IV and Pz V.  Also picked up a tip here on gloss coating the painted tanks, and then applying a black wash to bring out the camouflaged model’s highlights.

The early war Pz IVs were a piece of cake, with most of the effort involved in dry brushing mud and dirt.  I’m looking forward to this low effort painting for the early-war German and Russian tanks that are on the way.  I really like the Zvezda tanks.  They have some detail and are easy to assemble.  The plastic Flames of War/TANKS are great, but a little more fiddly then initially reported.

Not content to simply play the damn game, I downloaded a bunch of David Graffam’s  paper buildings over at WargameVault.  At a buck each, it’s money well spent, and there’s a free guide to help with assembly.  Never worked with this medium before, so another learning curve.

Speaking of learning curves, the TANKS page over at Boardgamegeek has a tank card template file for download.  Works with the “GIMP” graphics program, which always get me thinking about Pulp Fiction.  Haven’t got that up and working just yet….kinda afraid.

The best part is that the whole project has calmed down and I can start enjoying it rather than spinning around.


Speaking of Vortexes….

Last post I described the descent into ASL.  Not content to stop there, am in a controlled free-fall into another gaming vortex.

Just like the aircraft fetish described earlier, I have developed one about armor skirmish games using interwar/early WW2 tanks. This has been about 6-12 months in the making.  First thought about ASL, but that was too complicated.  The Infernal Machines module for Landships has interwar armor, but it is also a complicated board game.  The old SPI Kampfpanzer has flaws and can be spendy.  I really wanted miniatures, not cardboard.

Then I started messing around looking at  Shapeways’ 3D models, which come in a variety vehicles and scales, but are not cheap.  Here’s a link to one provider. Lots of possibilities, but I was having trouble finding rules that were fast, fun and in no-way -shape-or-form like Tobruk.

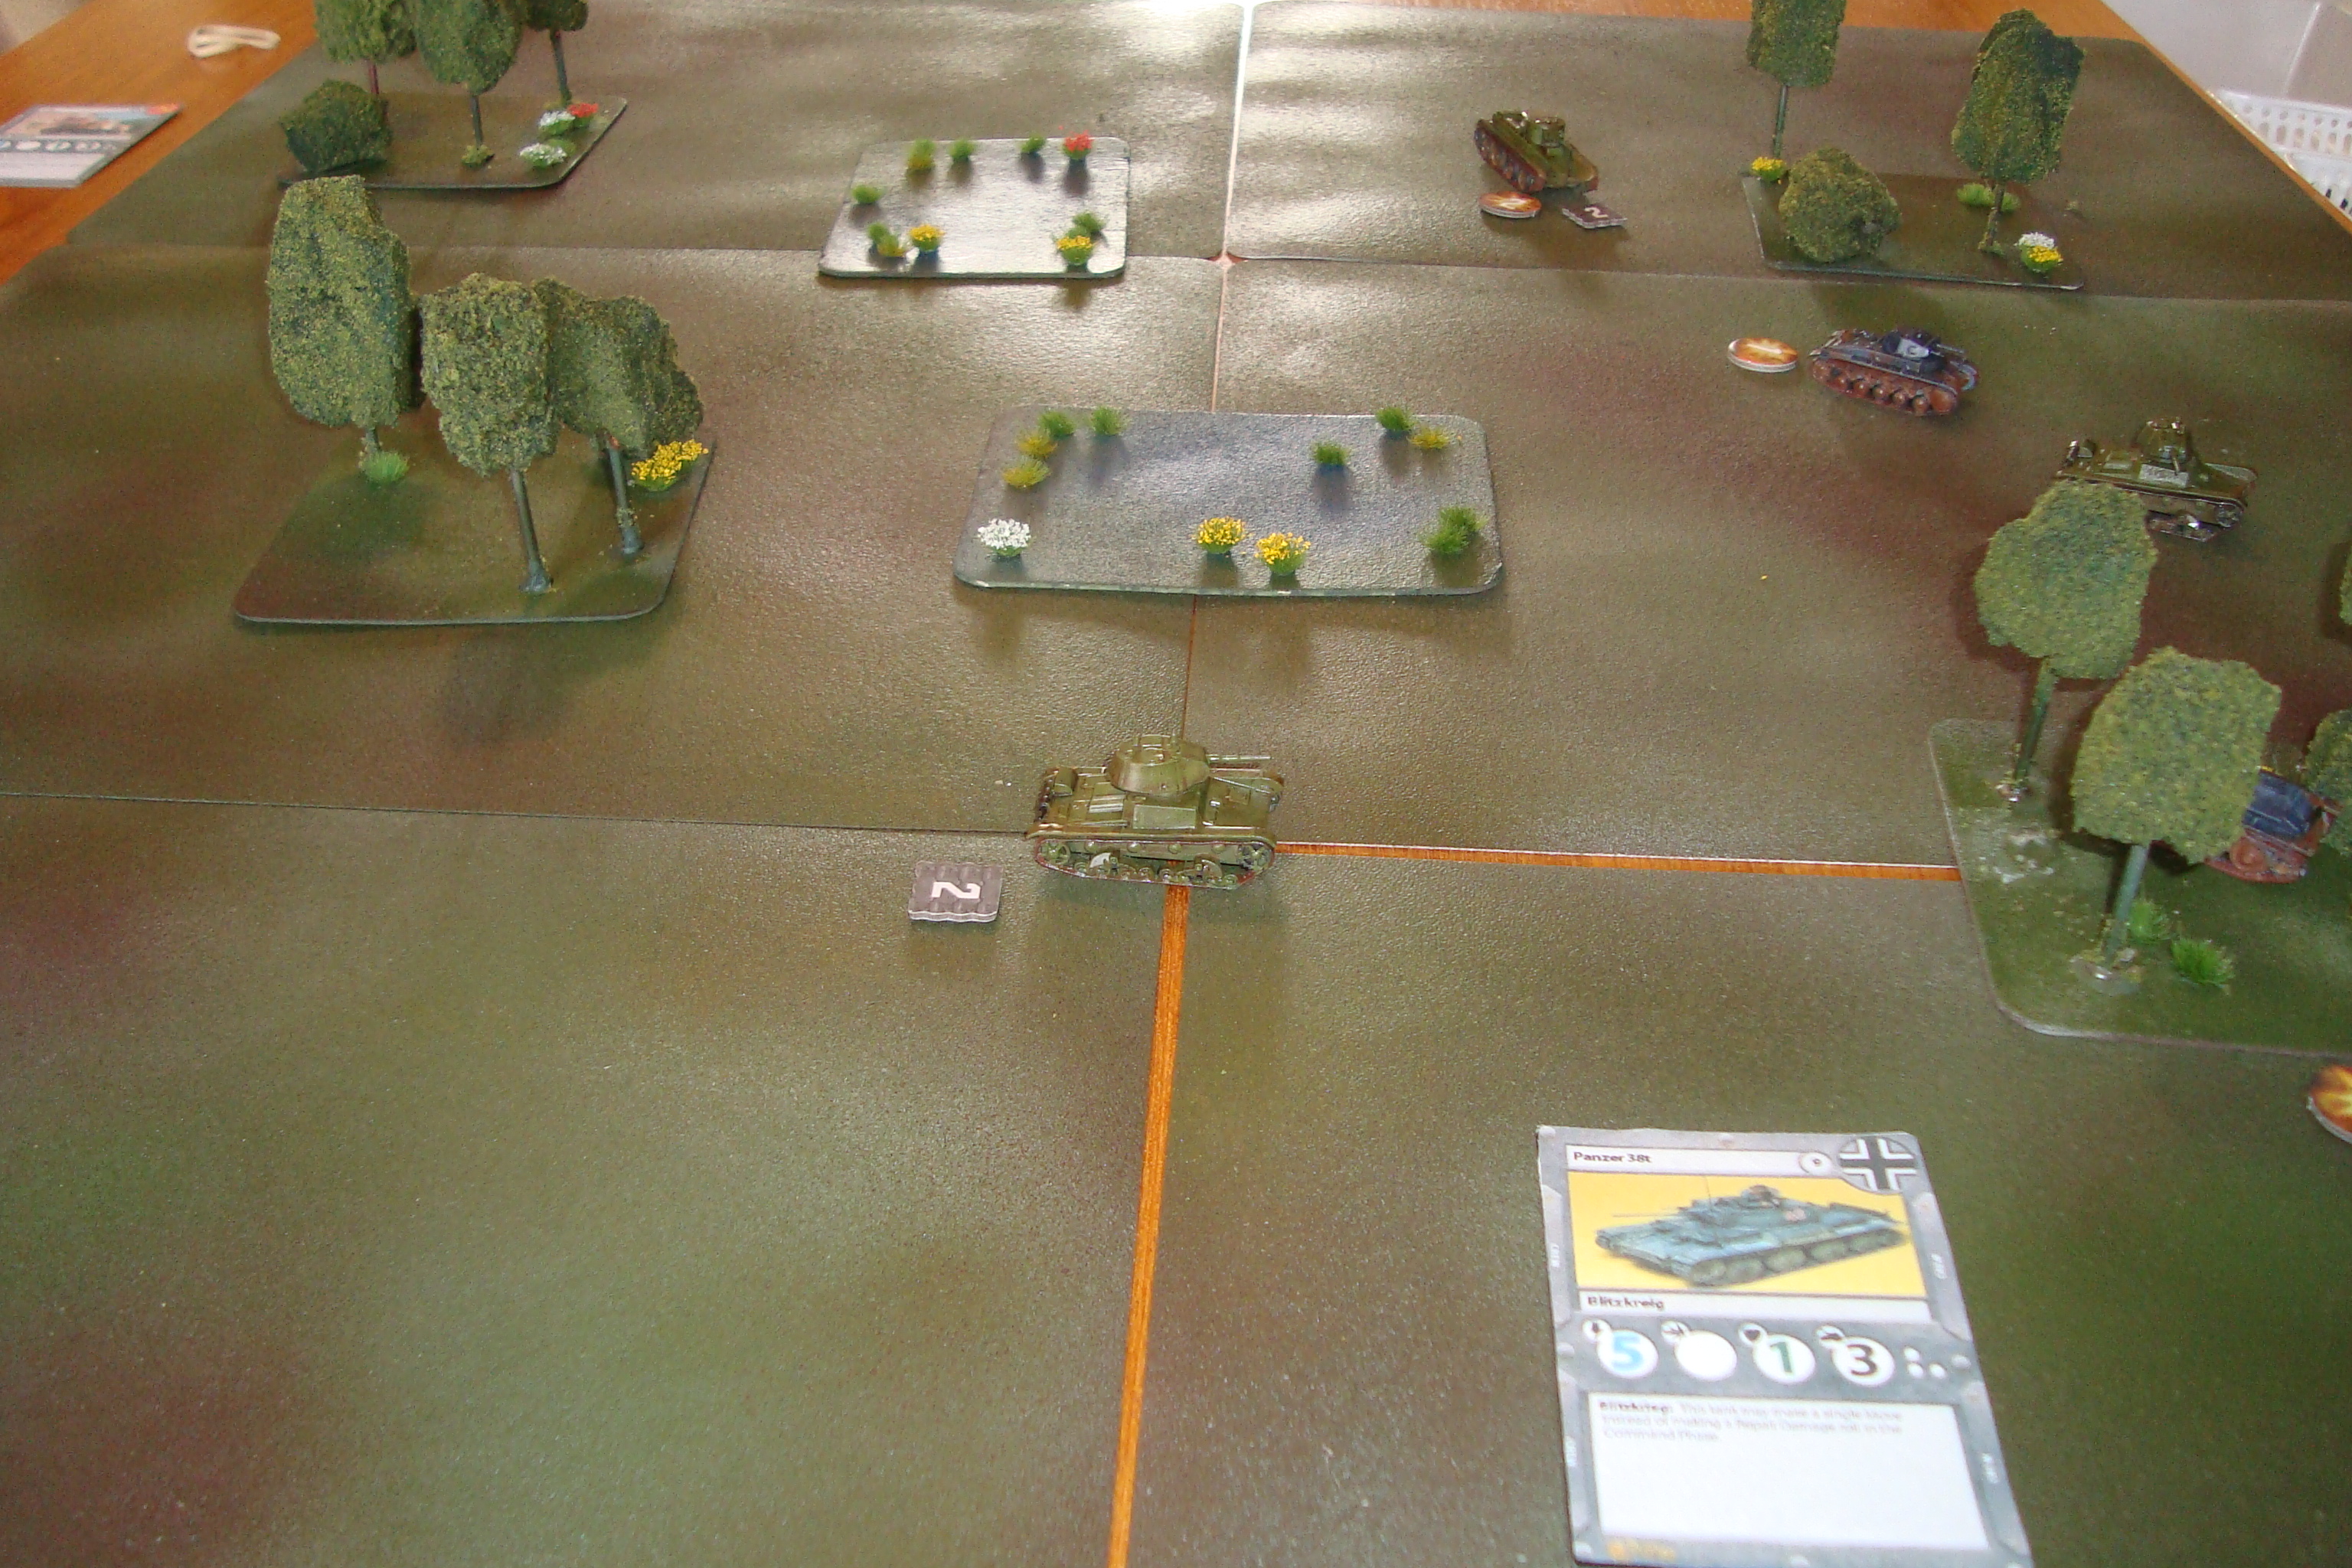
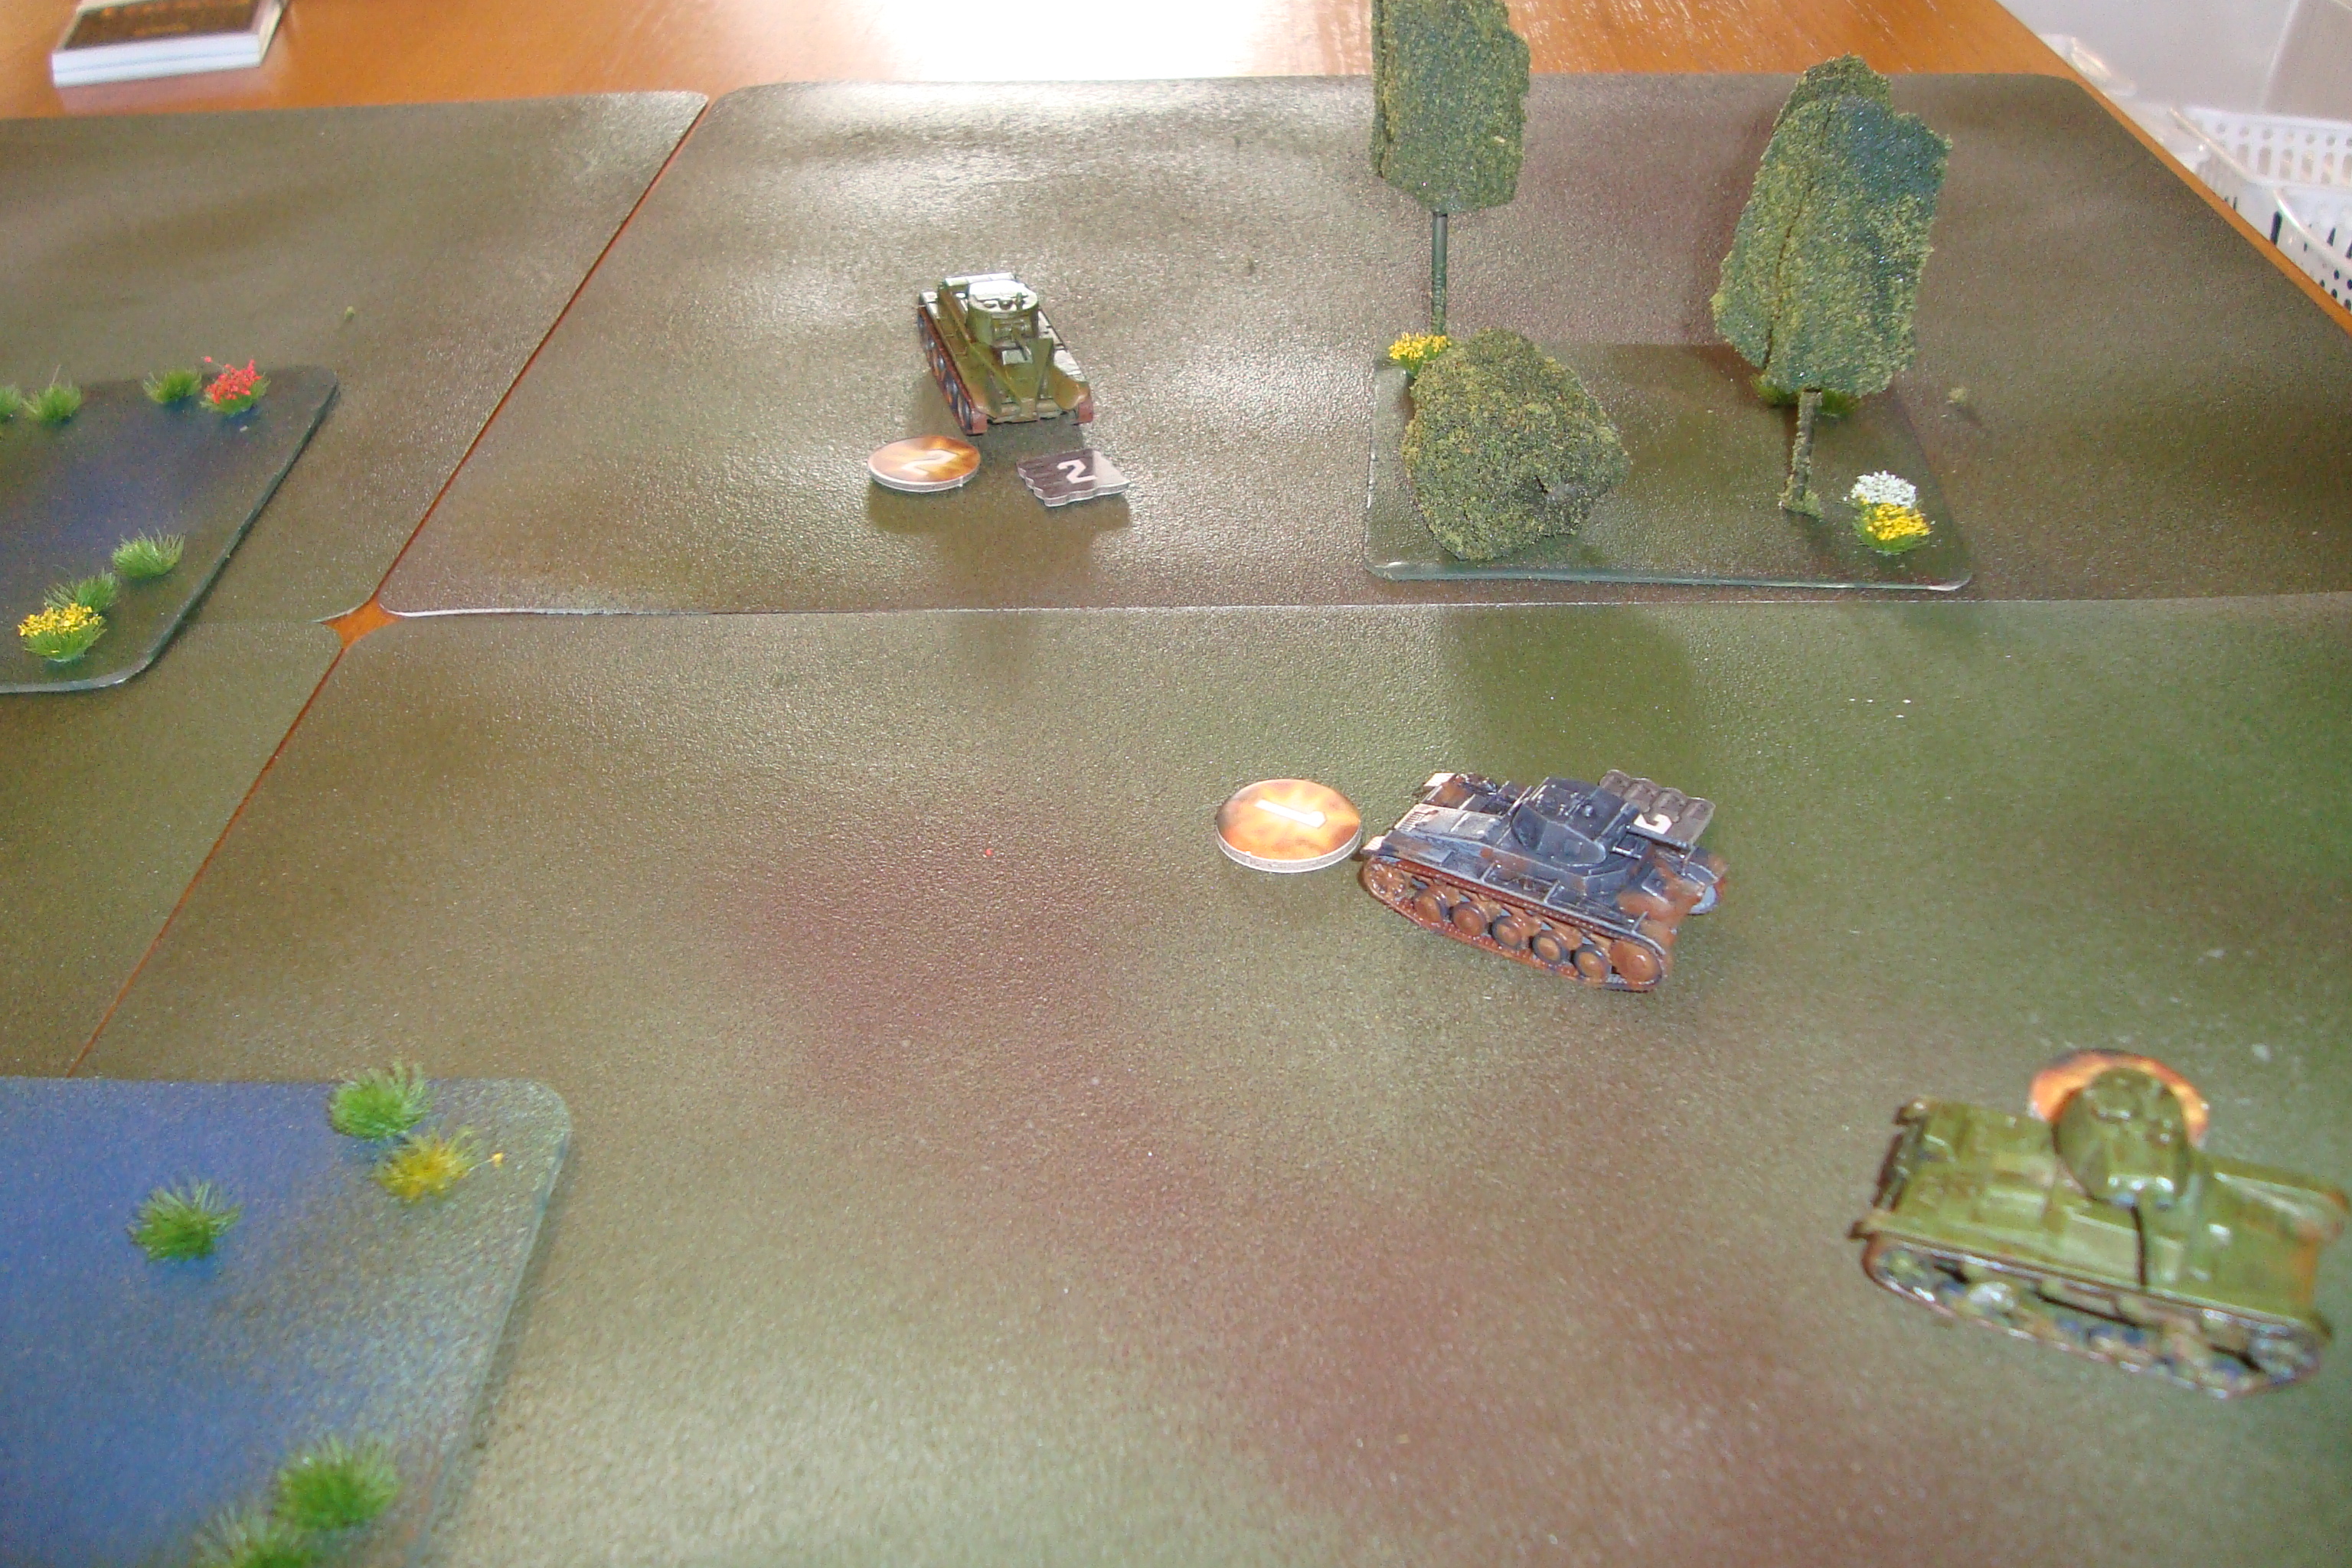
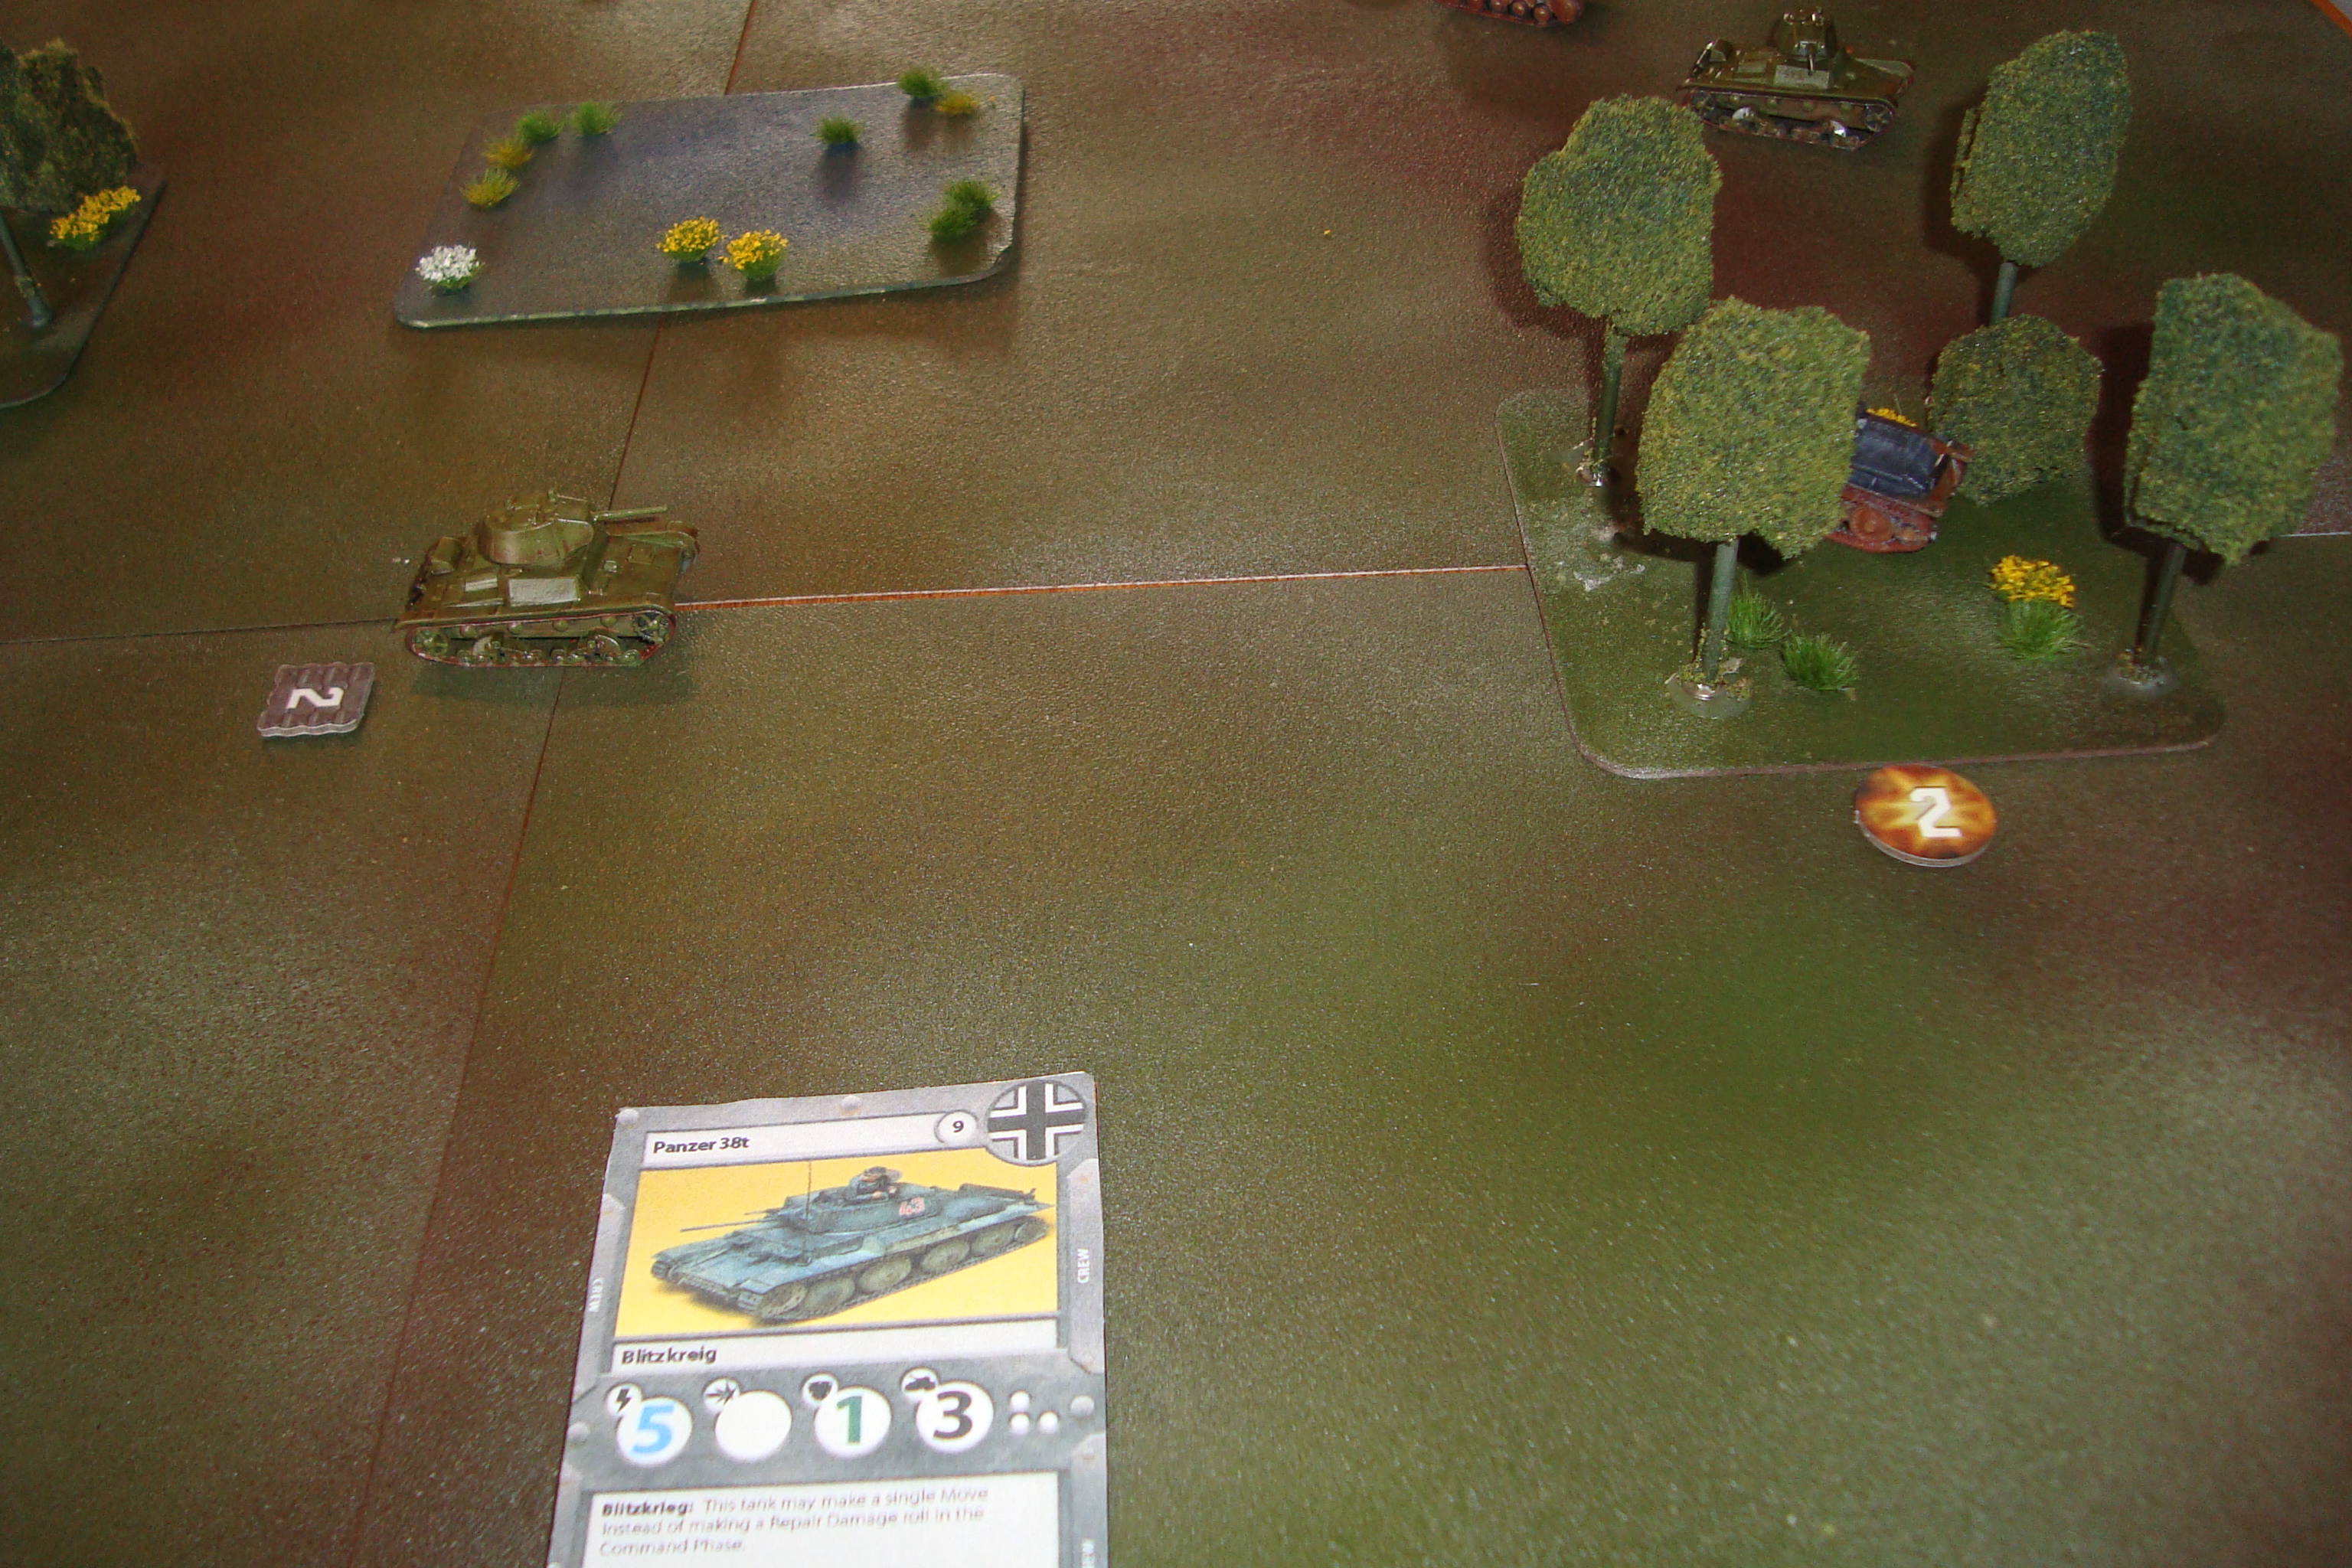
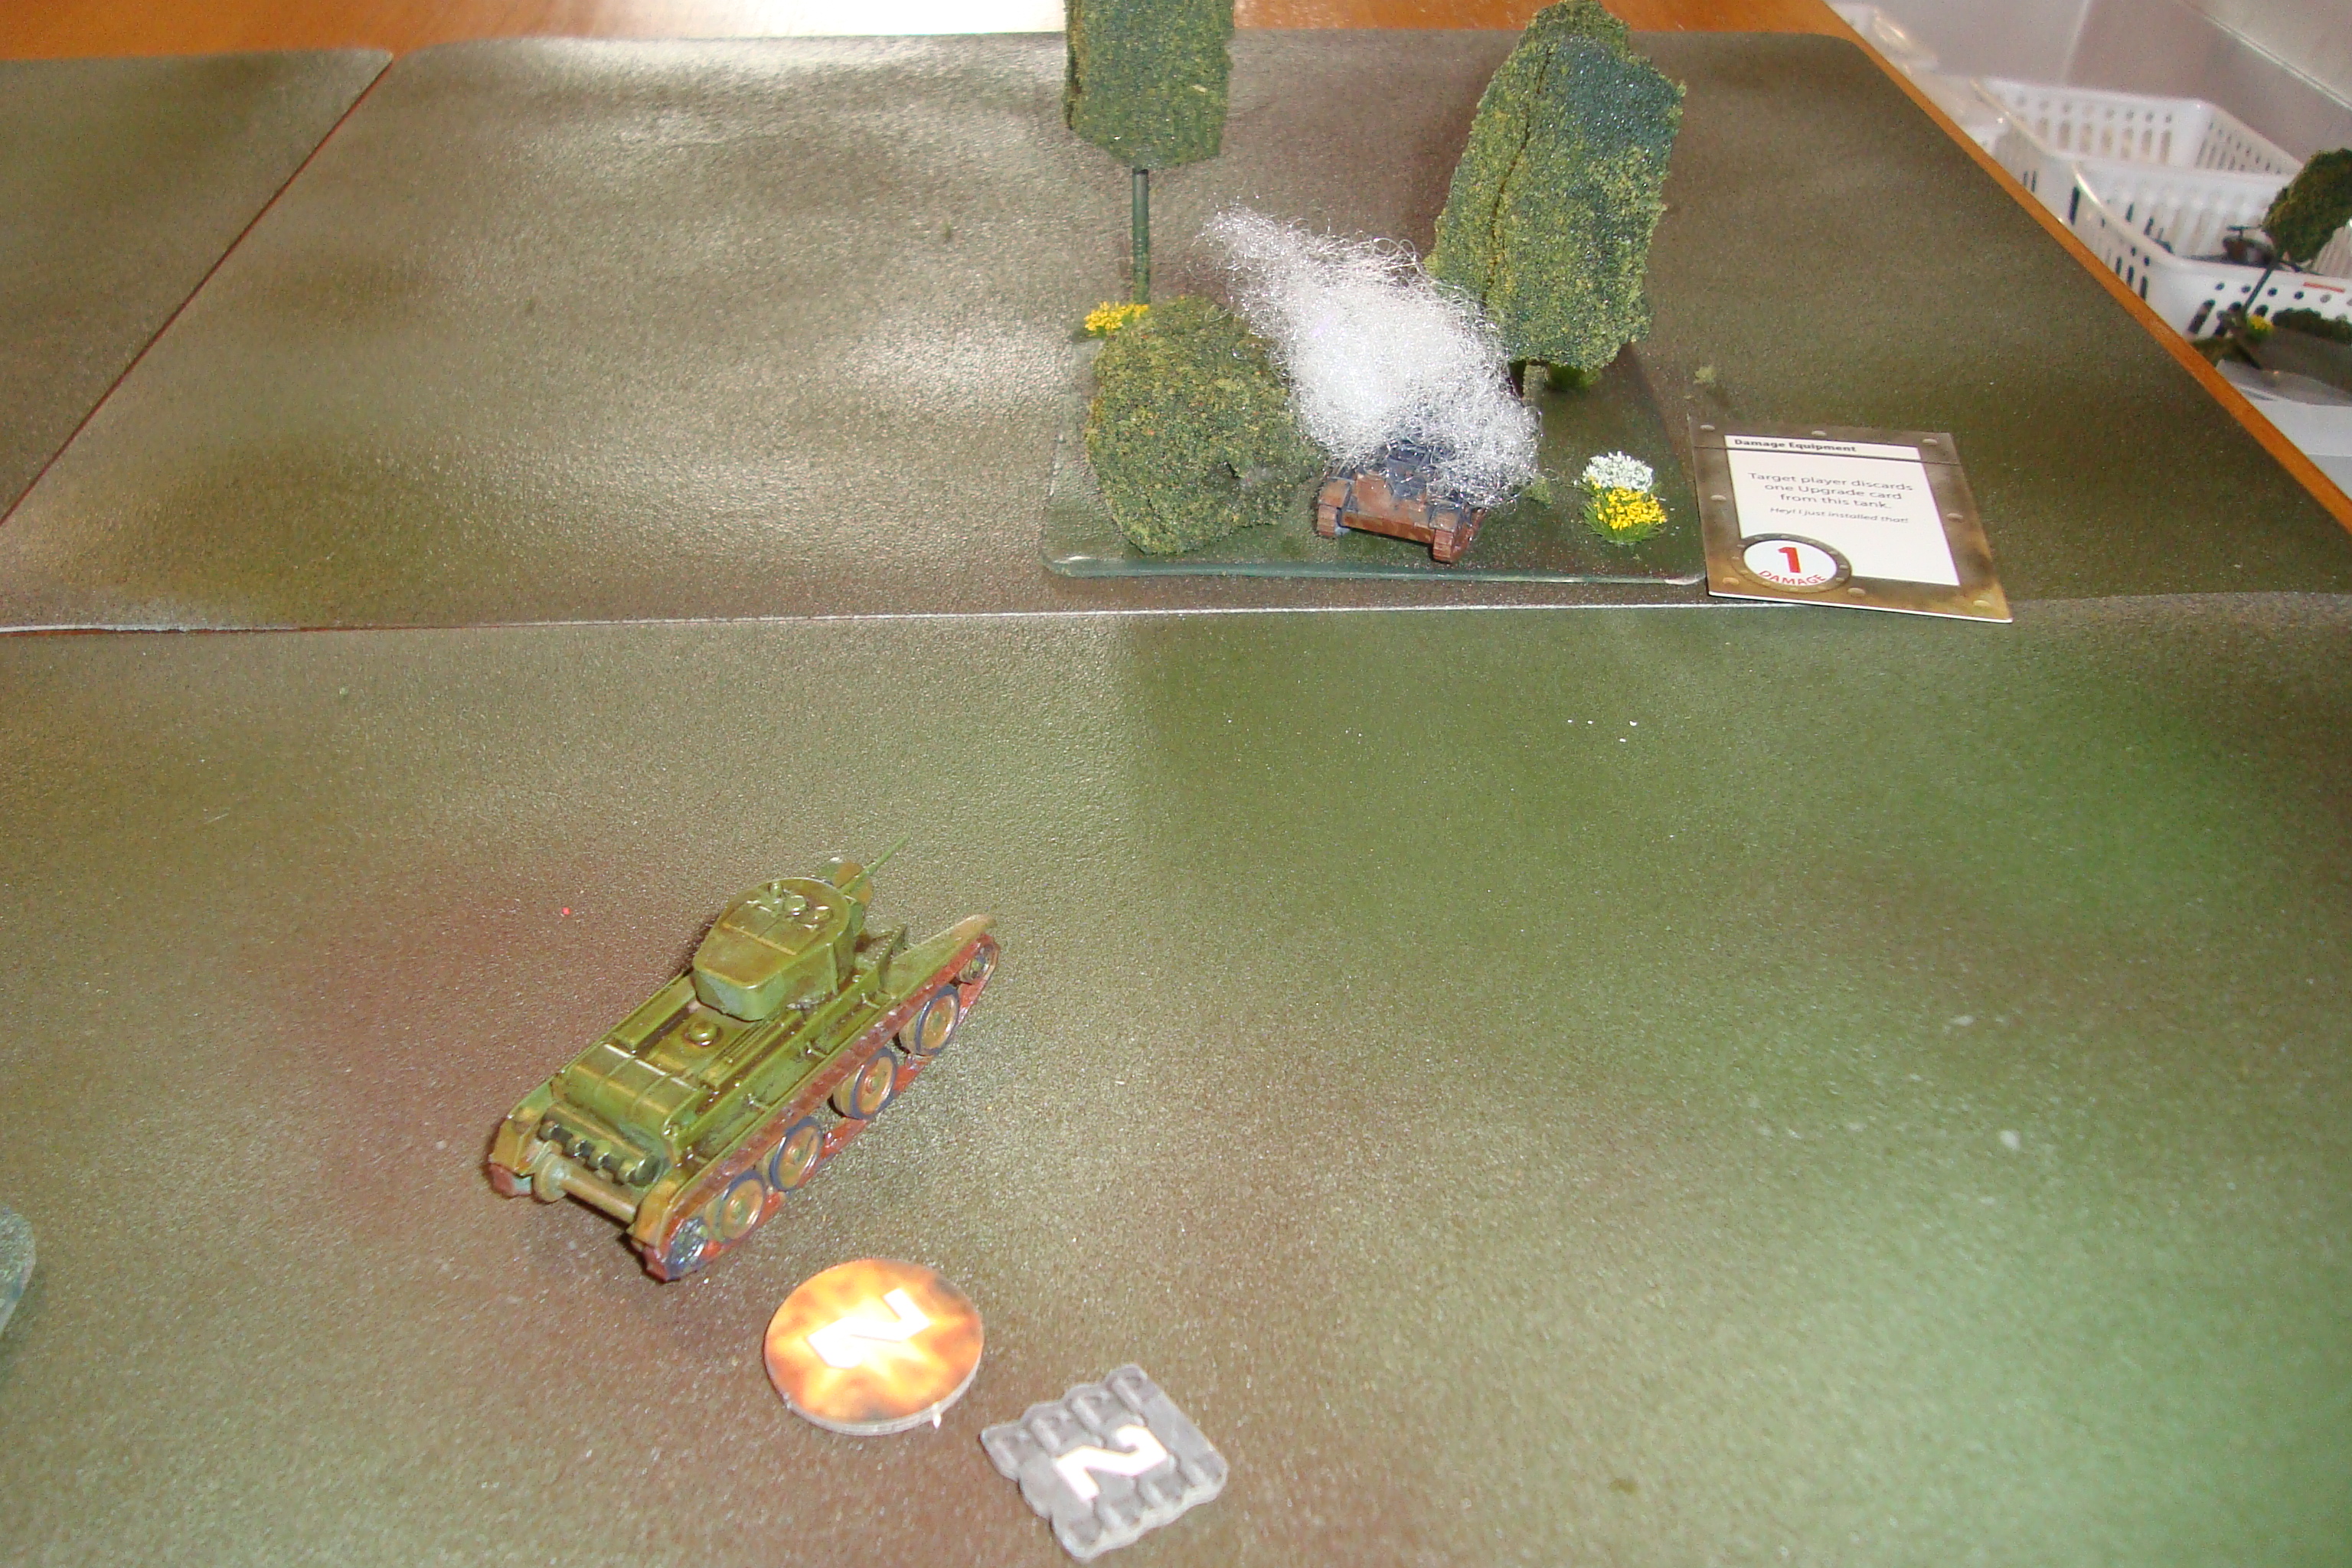
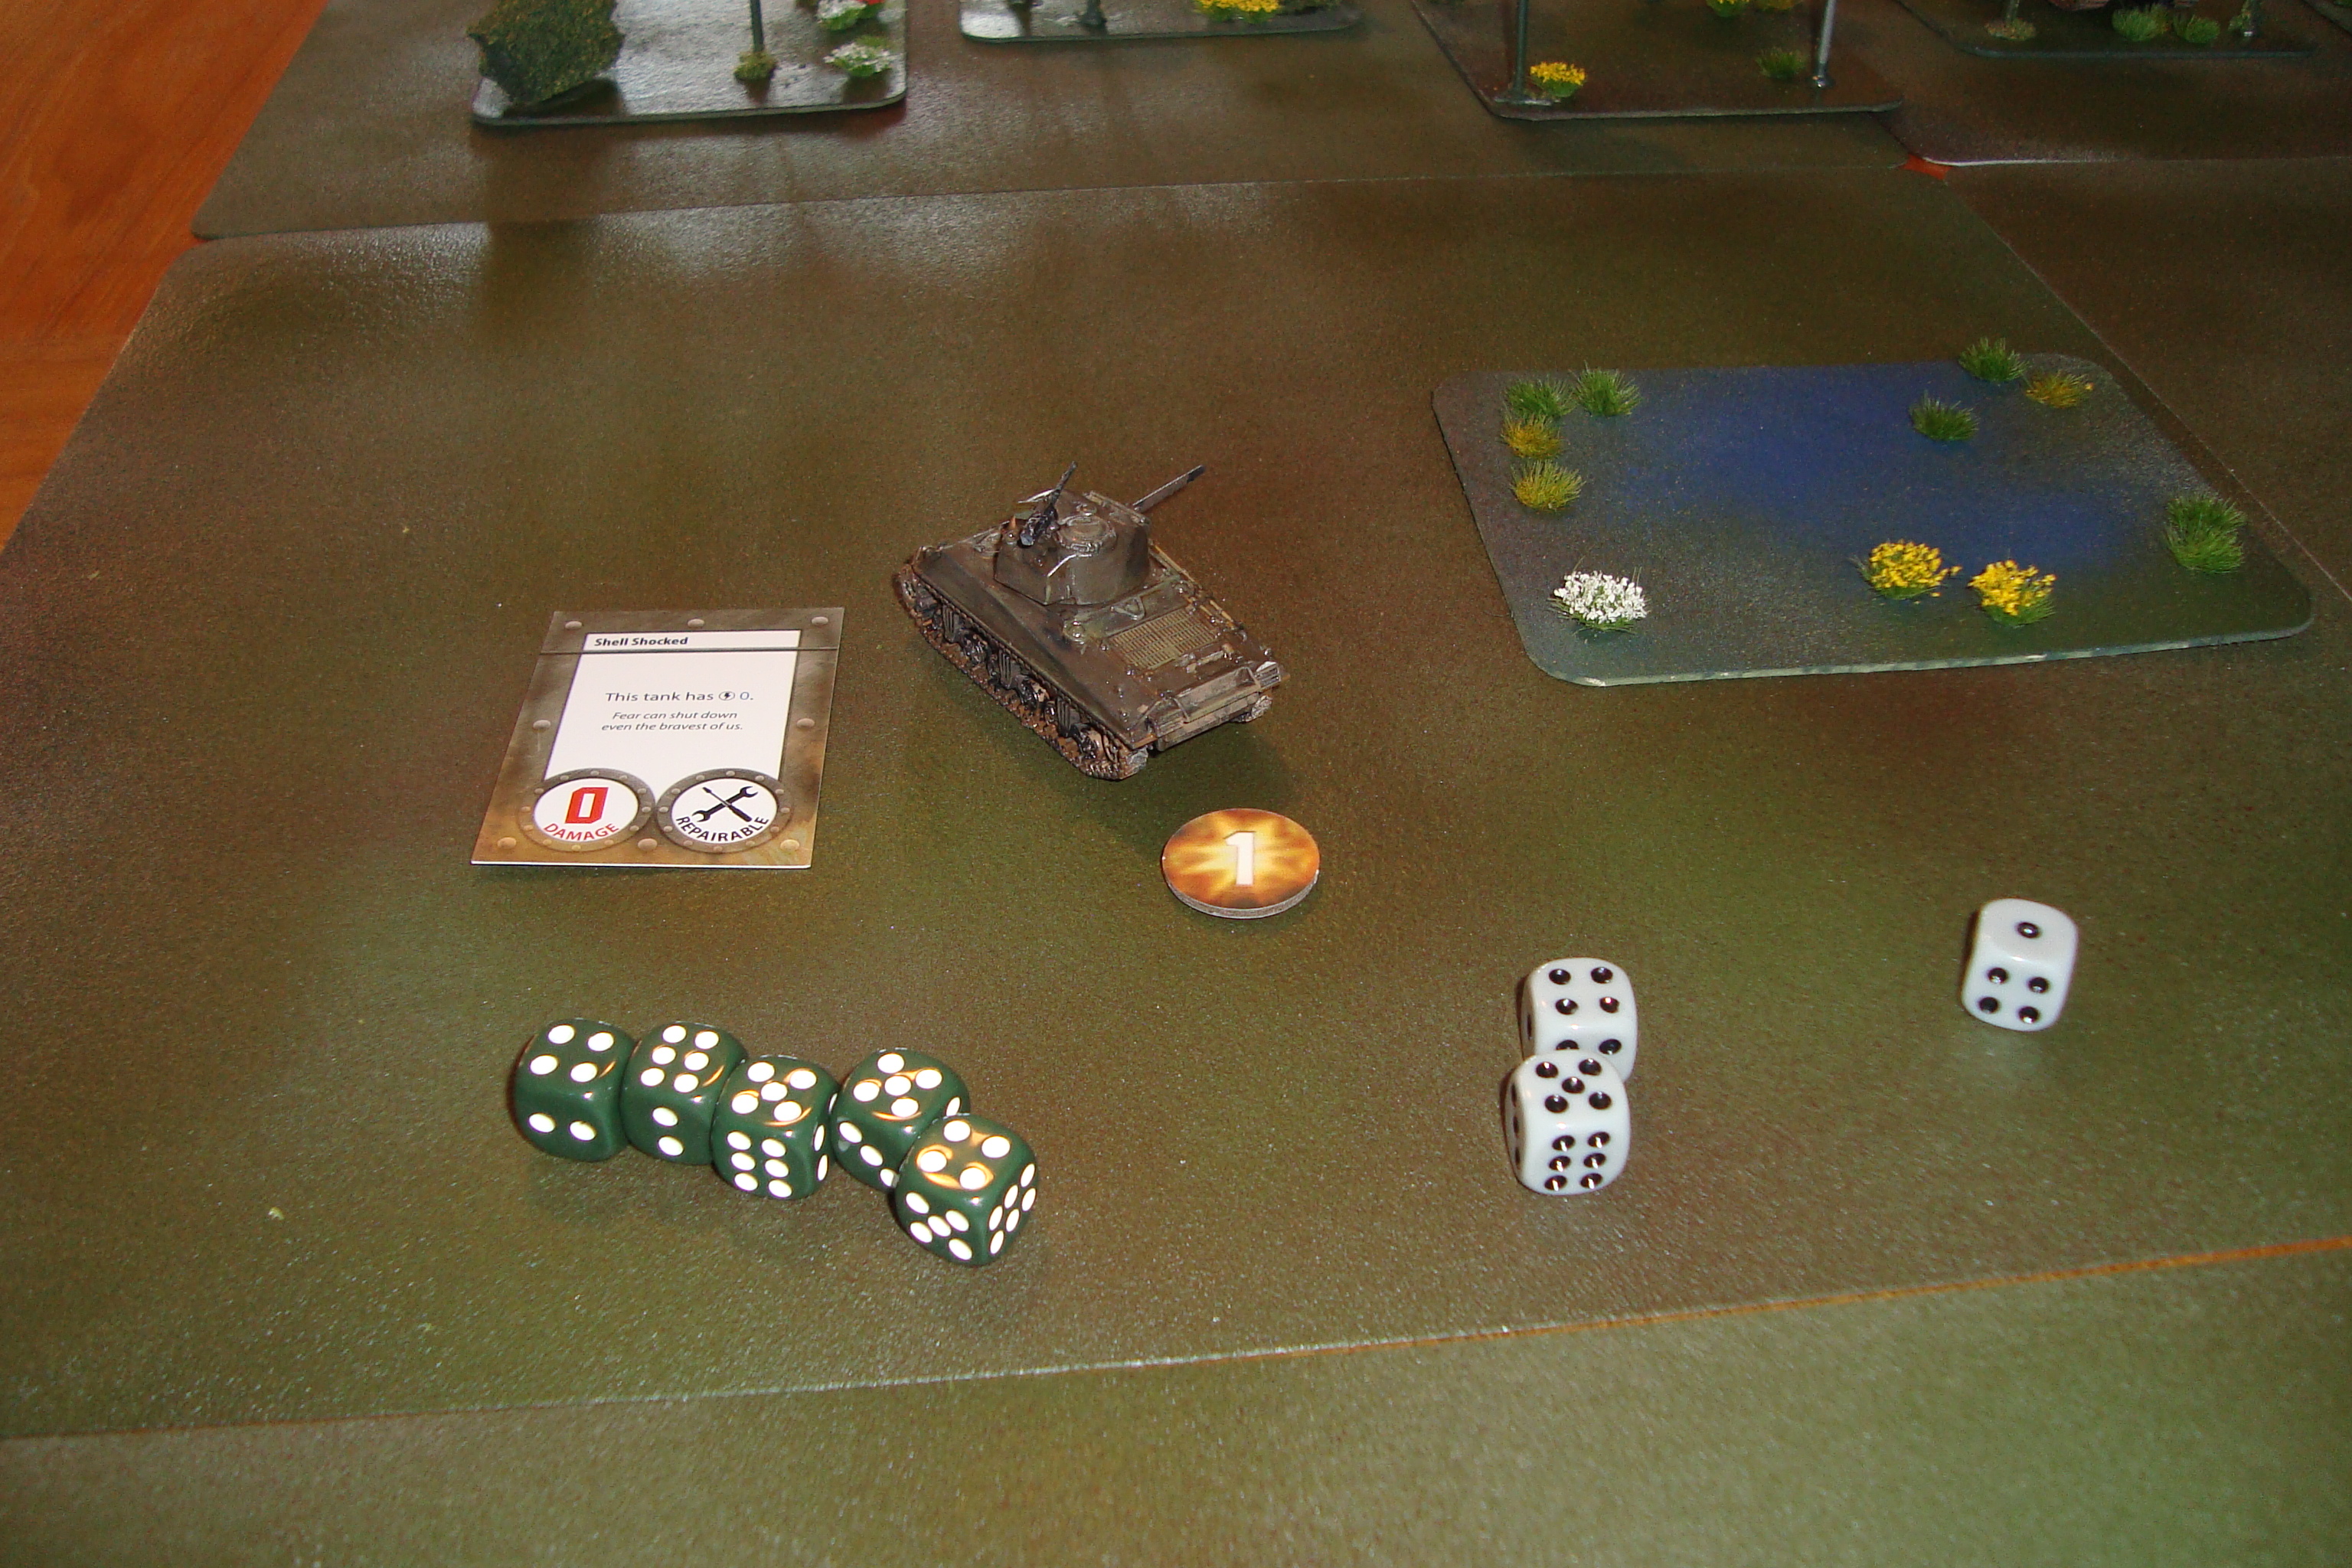
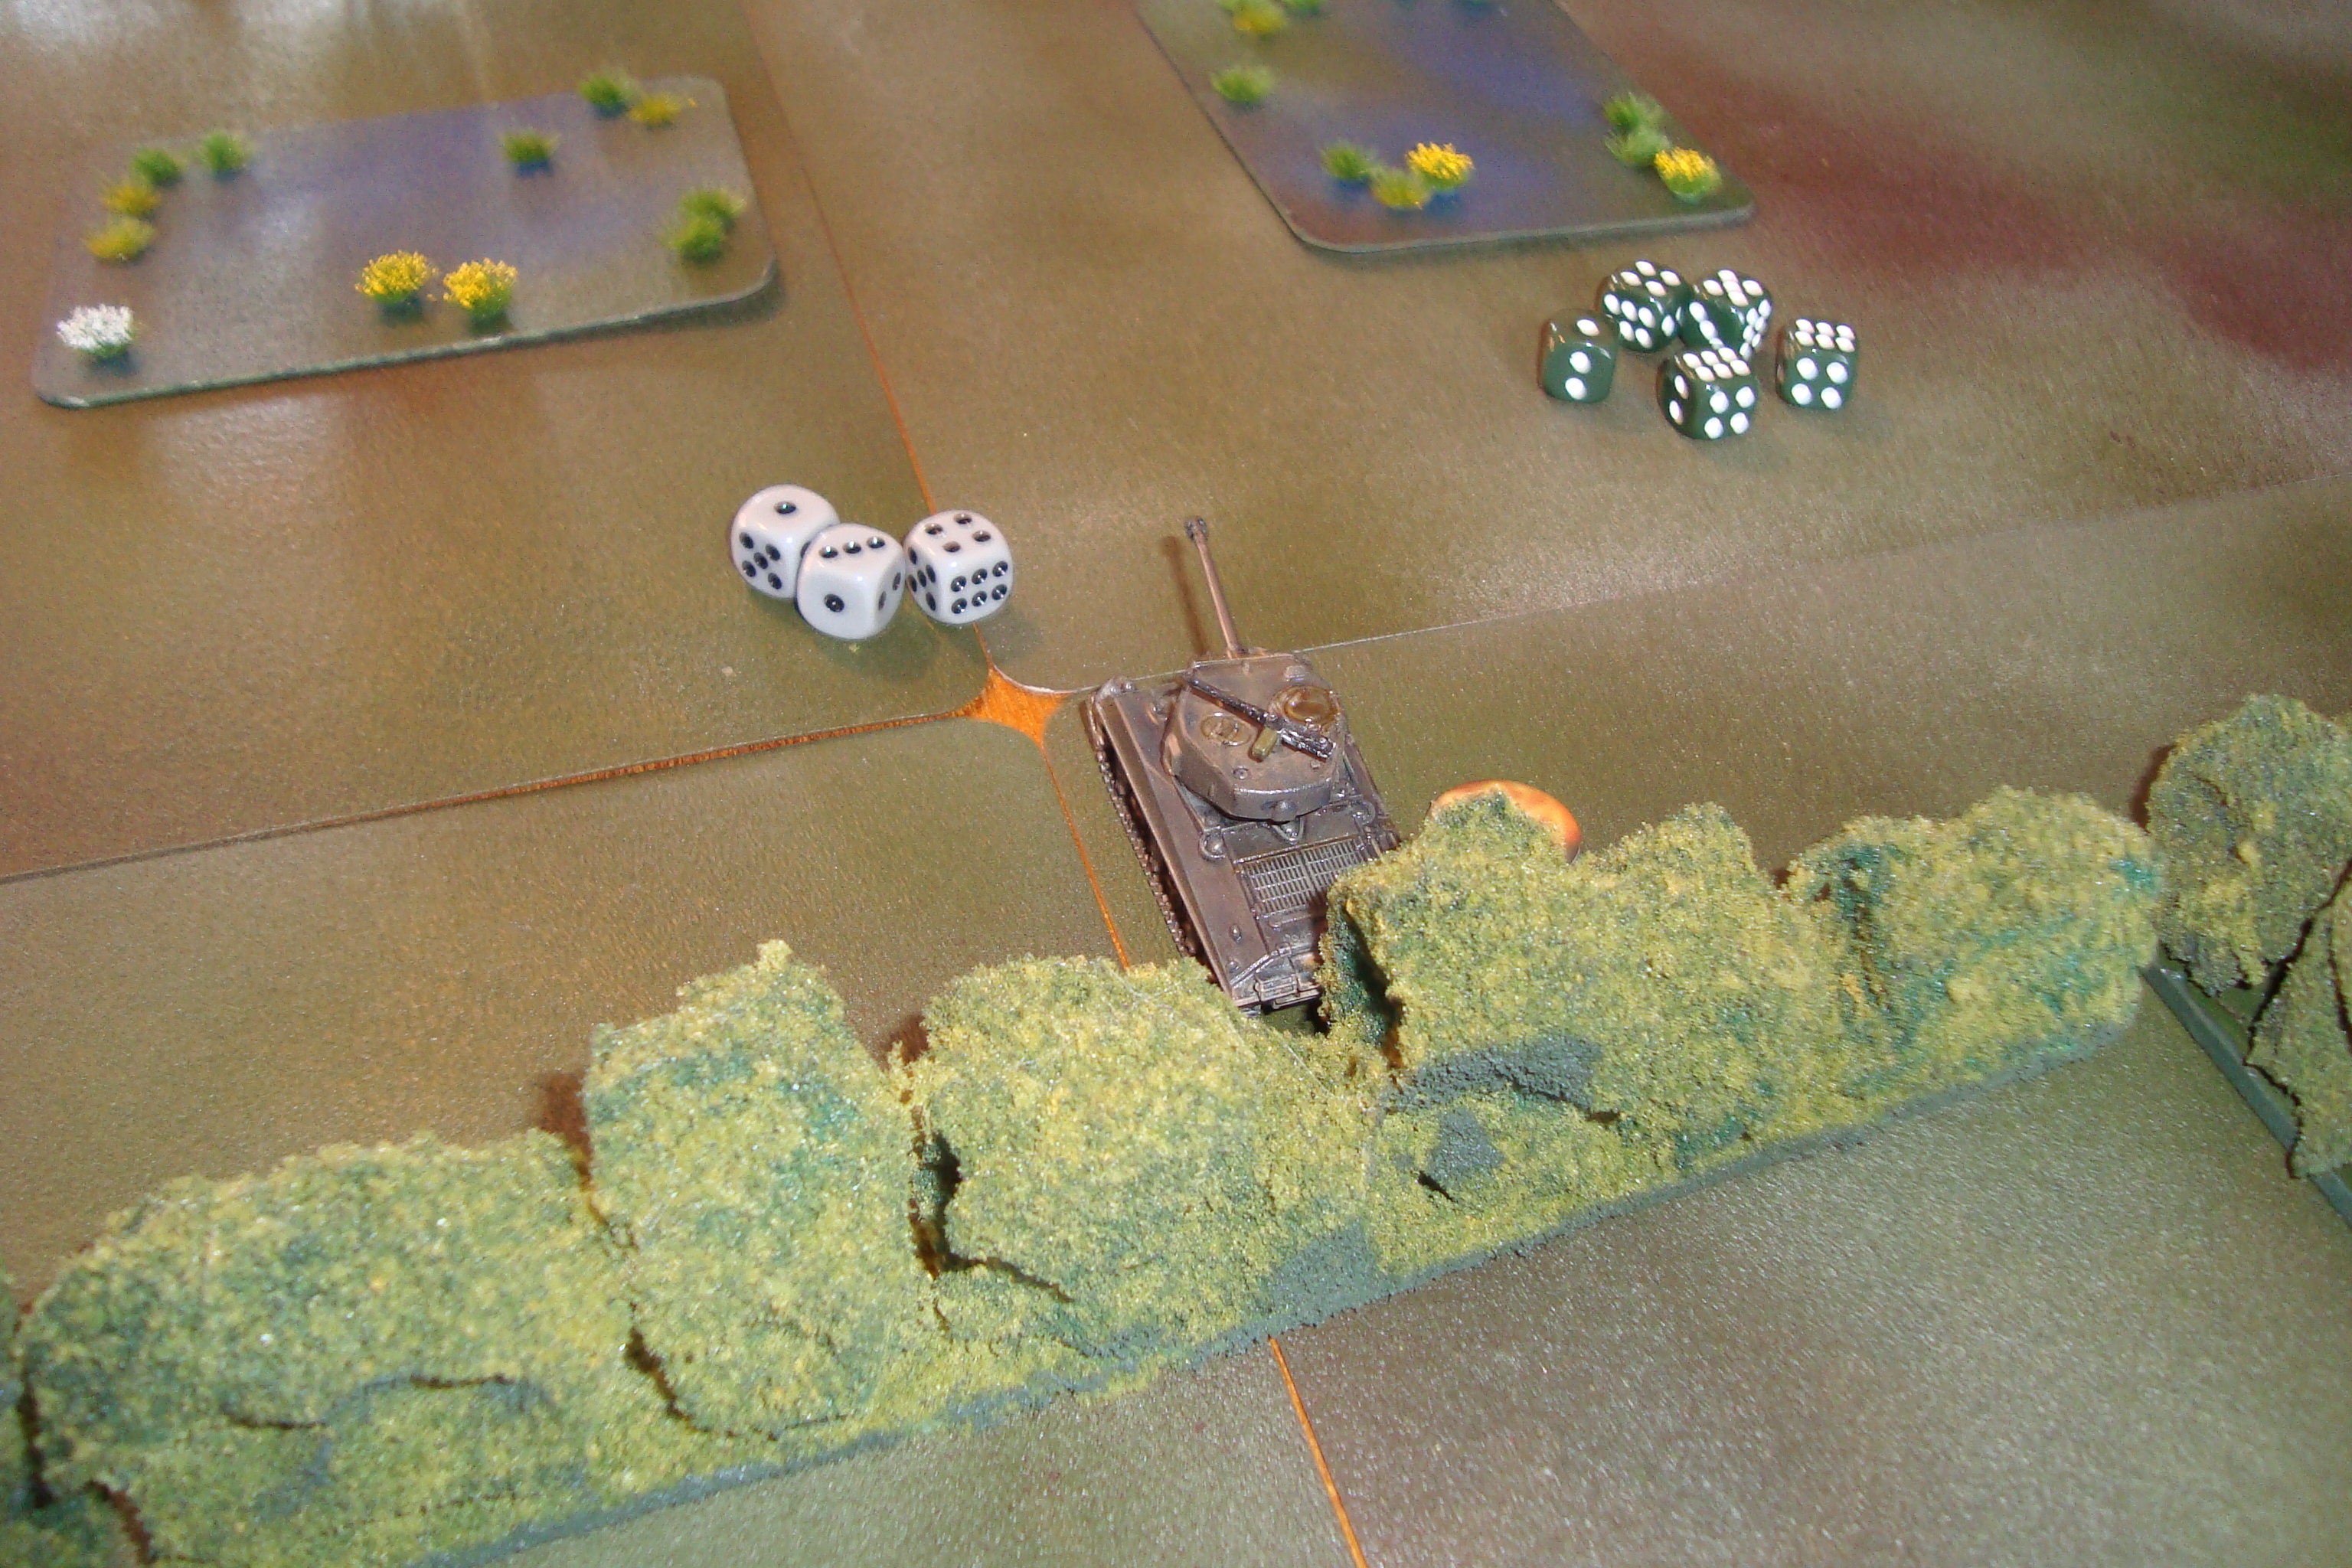
Somehow, someway I found Tanks.  The game is a late war, 15mm,  skirmish-game offshoot of Flames of War (FOW), but uses plastic models that are easy to assemble.  The starter pack is relatively inexpensive, and you can even read download the rules from their website. Also, the scale (more about that later) is compatible with all the FOW stuff that’s out there.  Here’s the Boardgamegeek page with reviews. I’d summarize it as a miniatures, tank skirmish, version of Heroes of Normandie (HON), without some of the hyperbole.

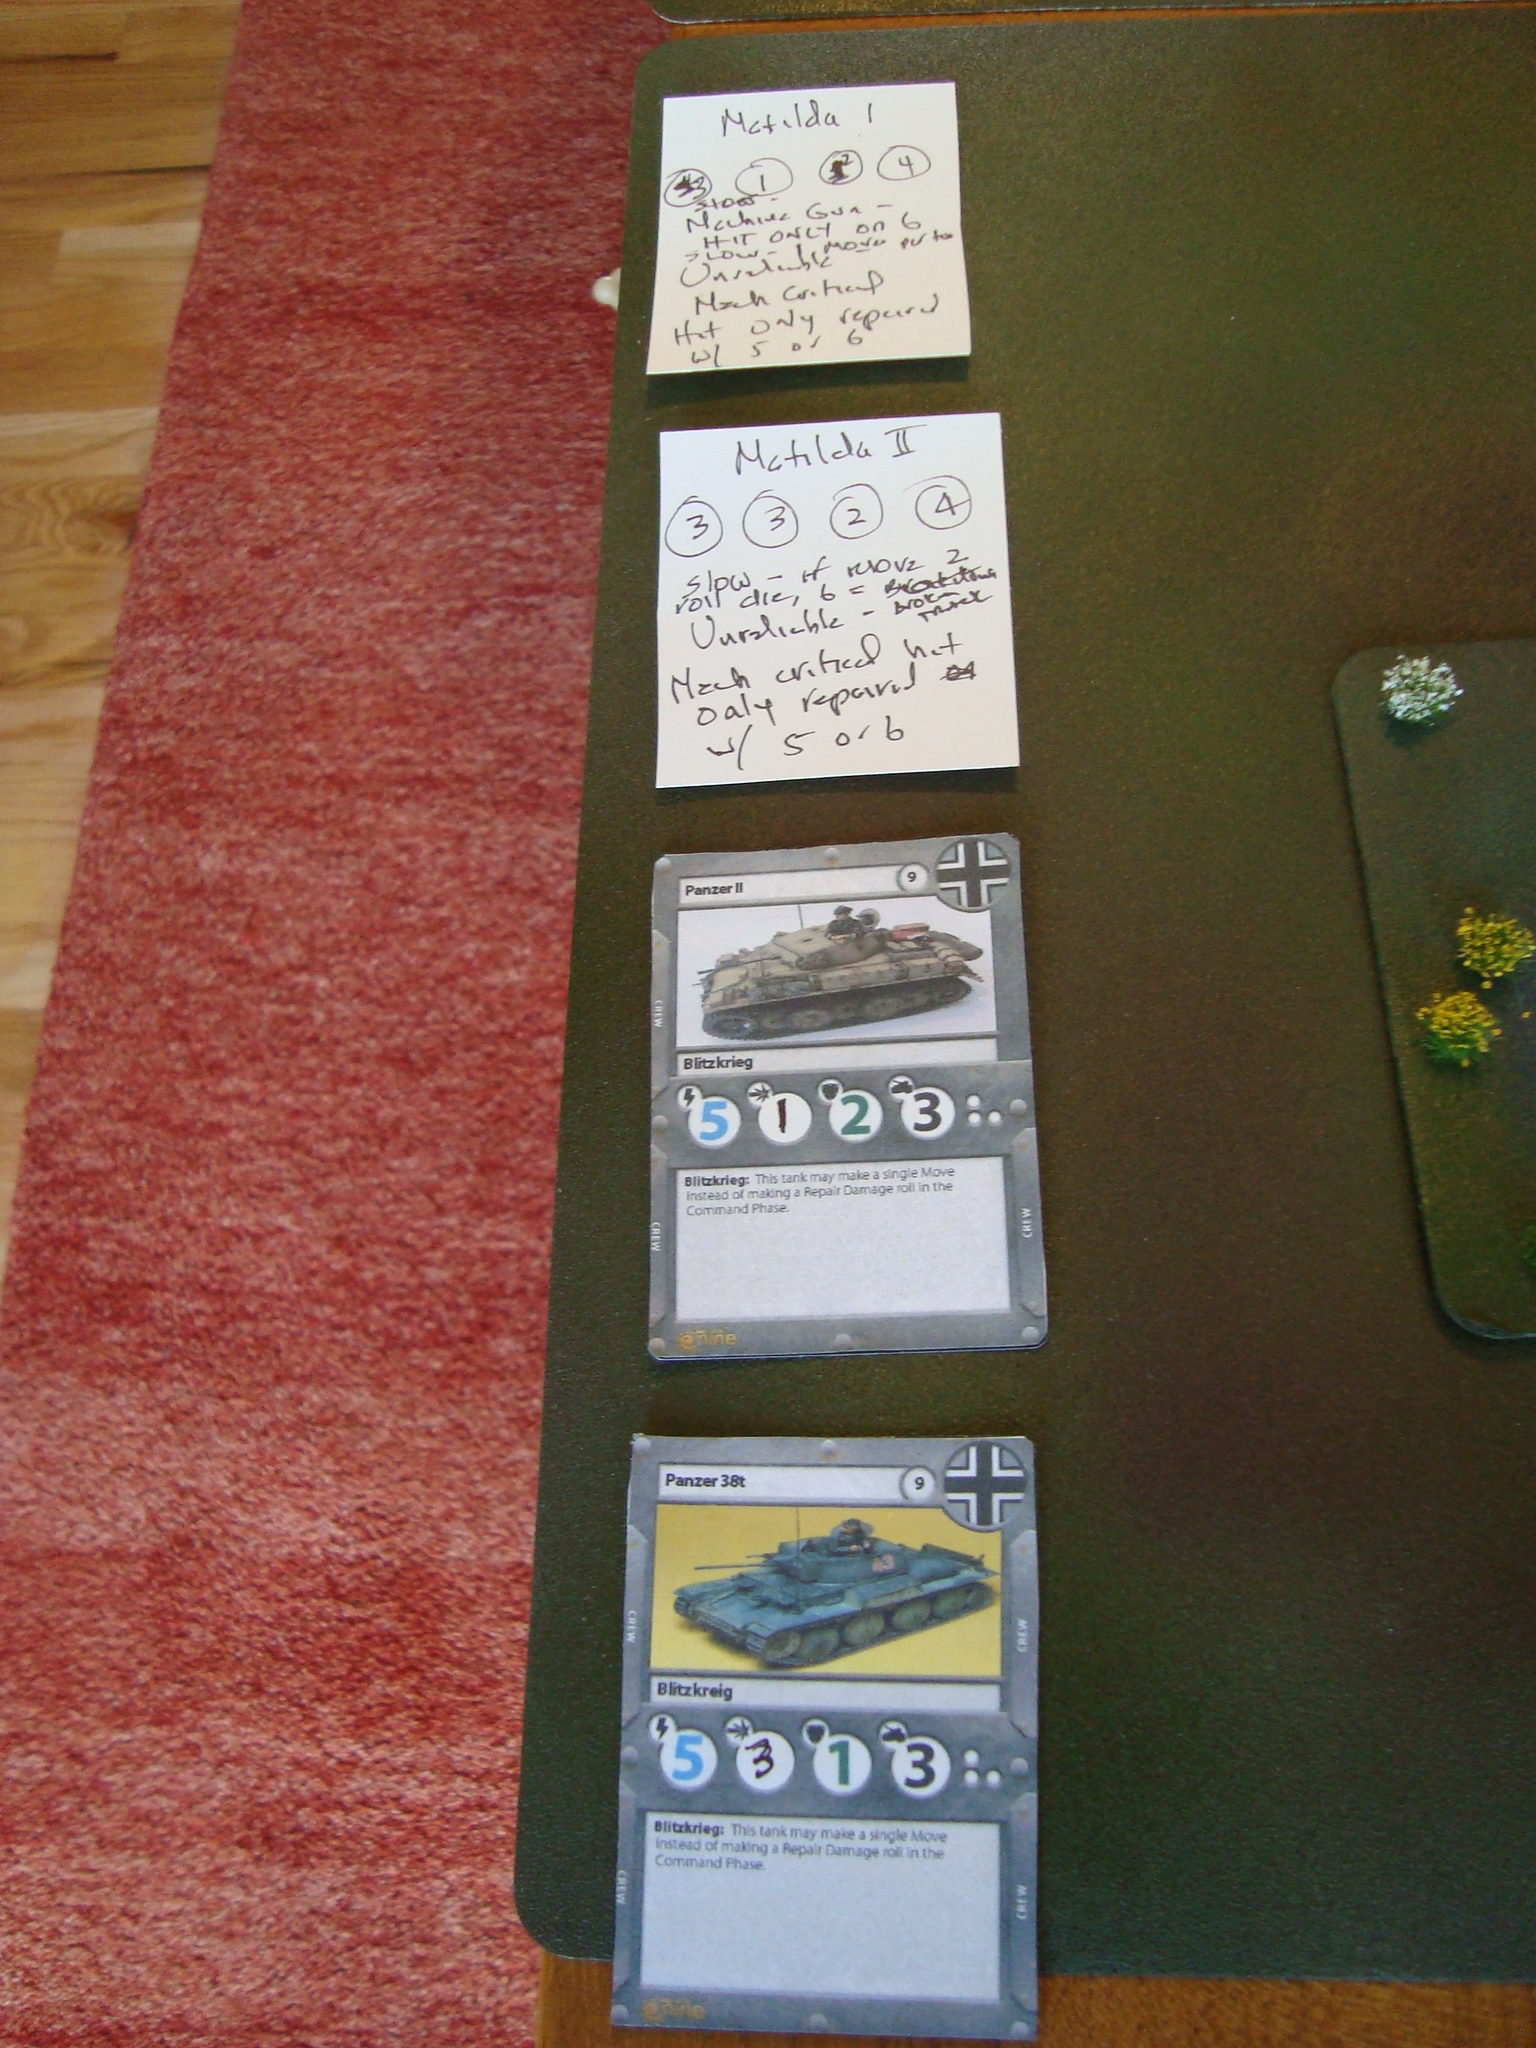
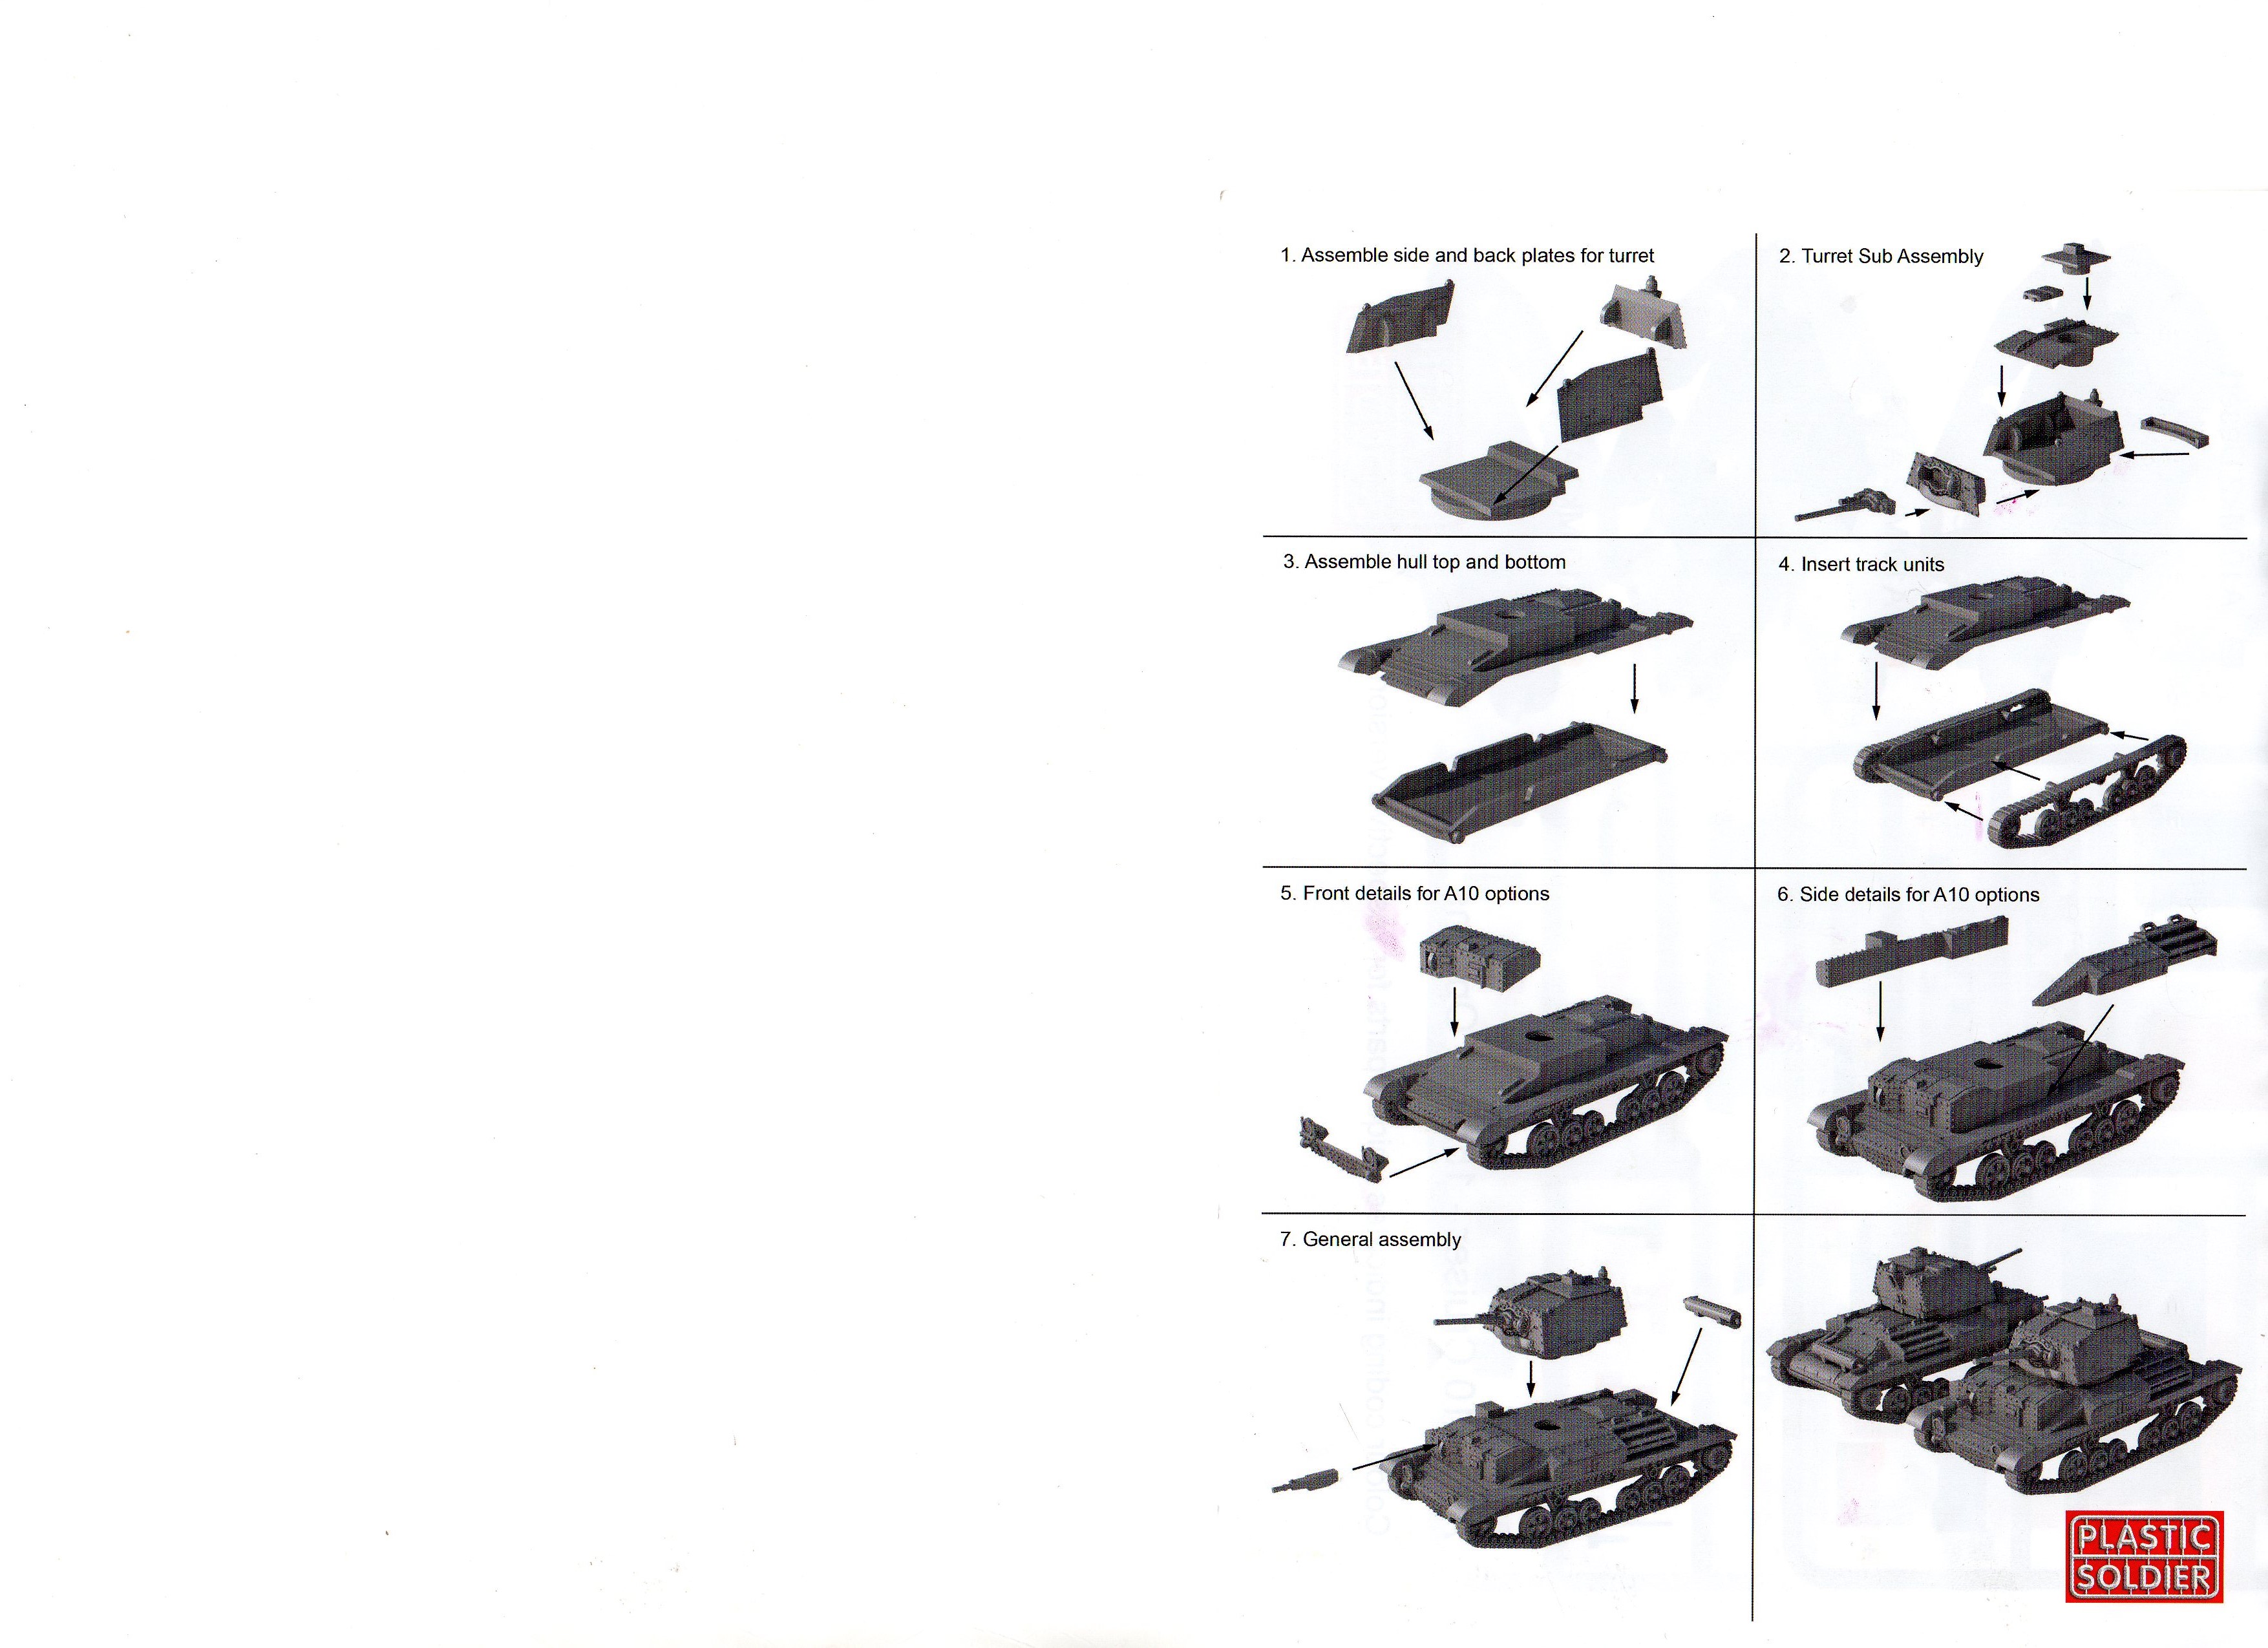
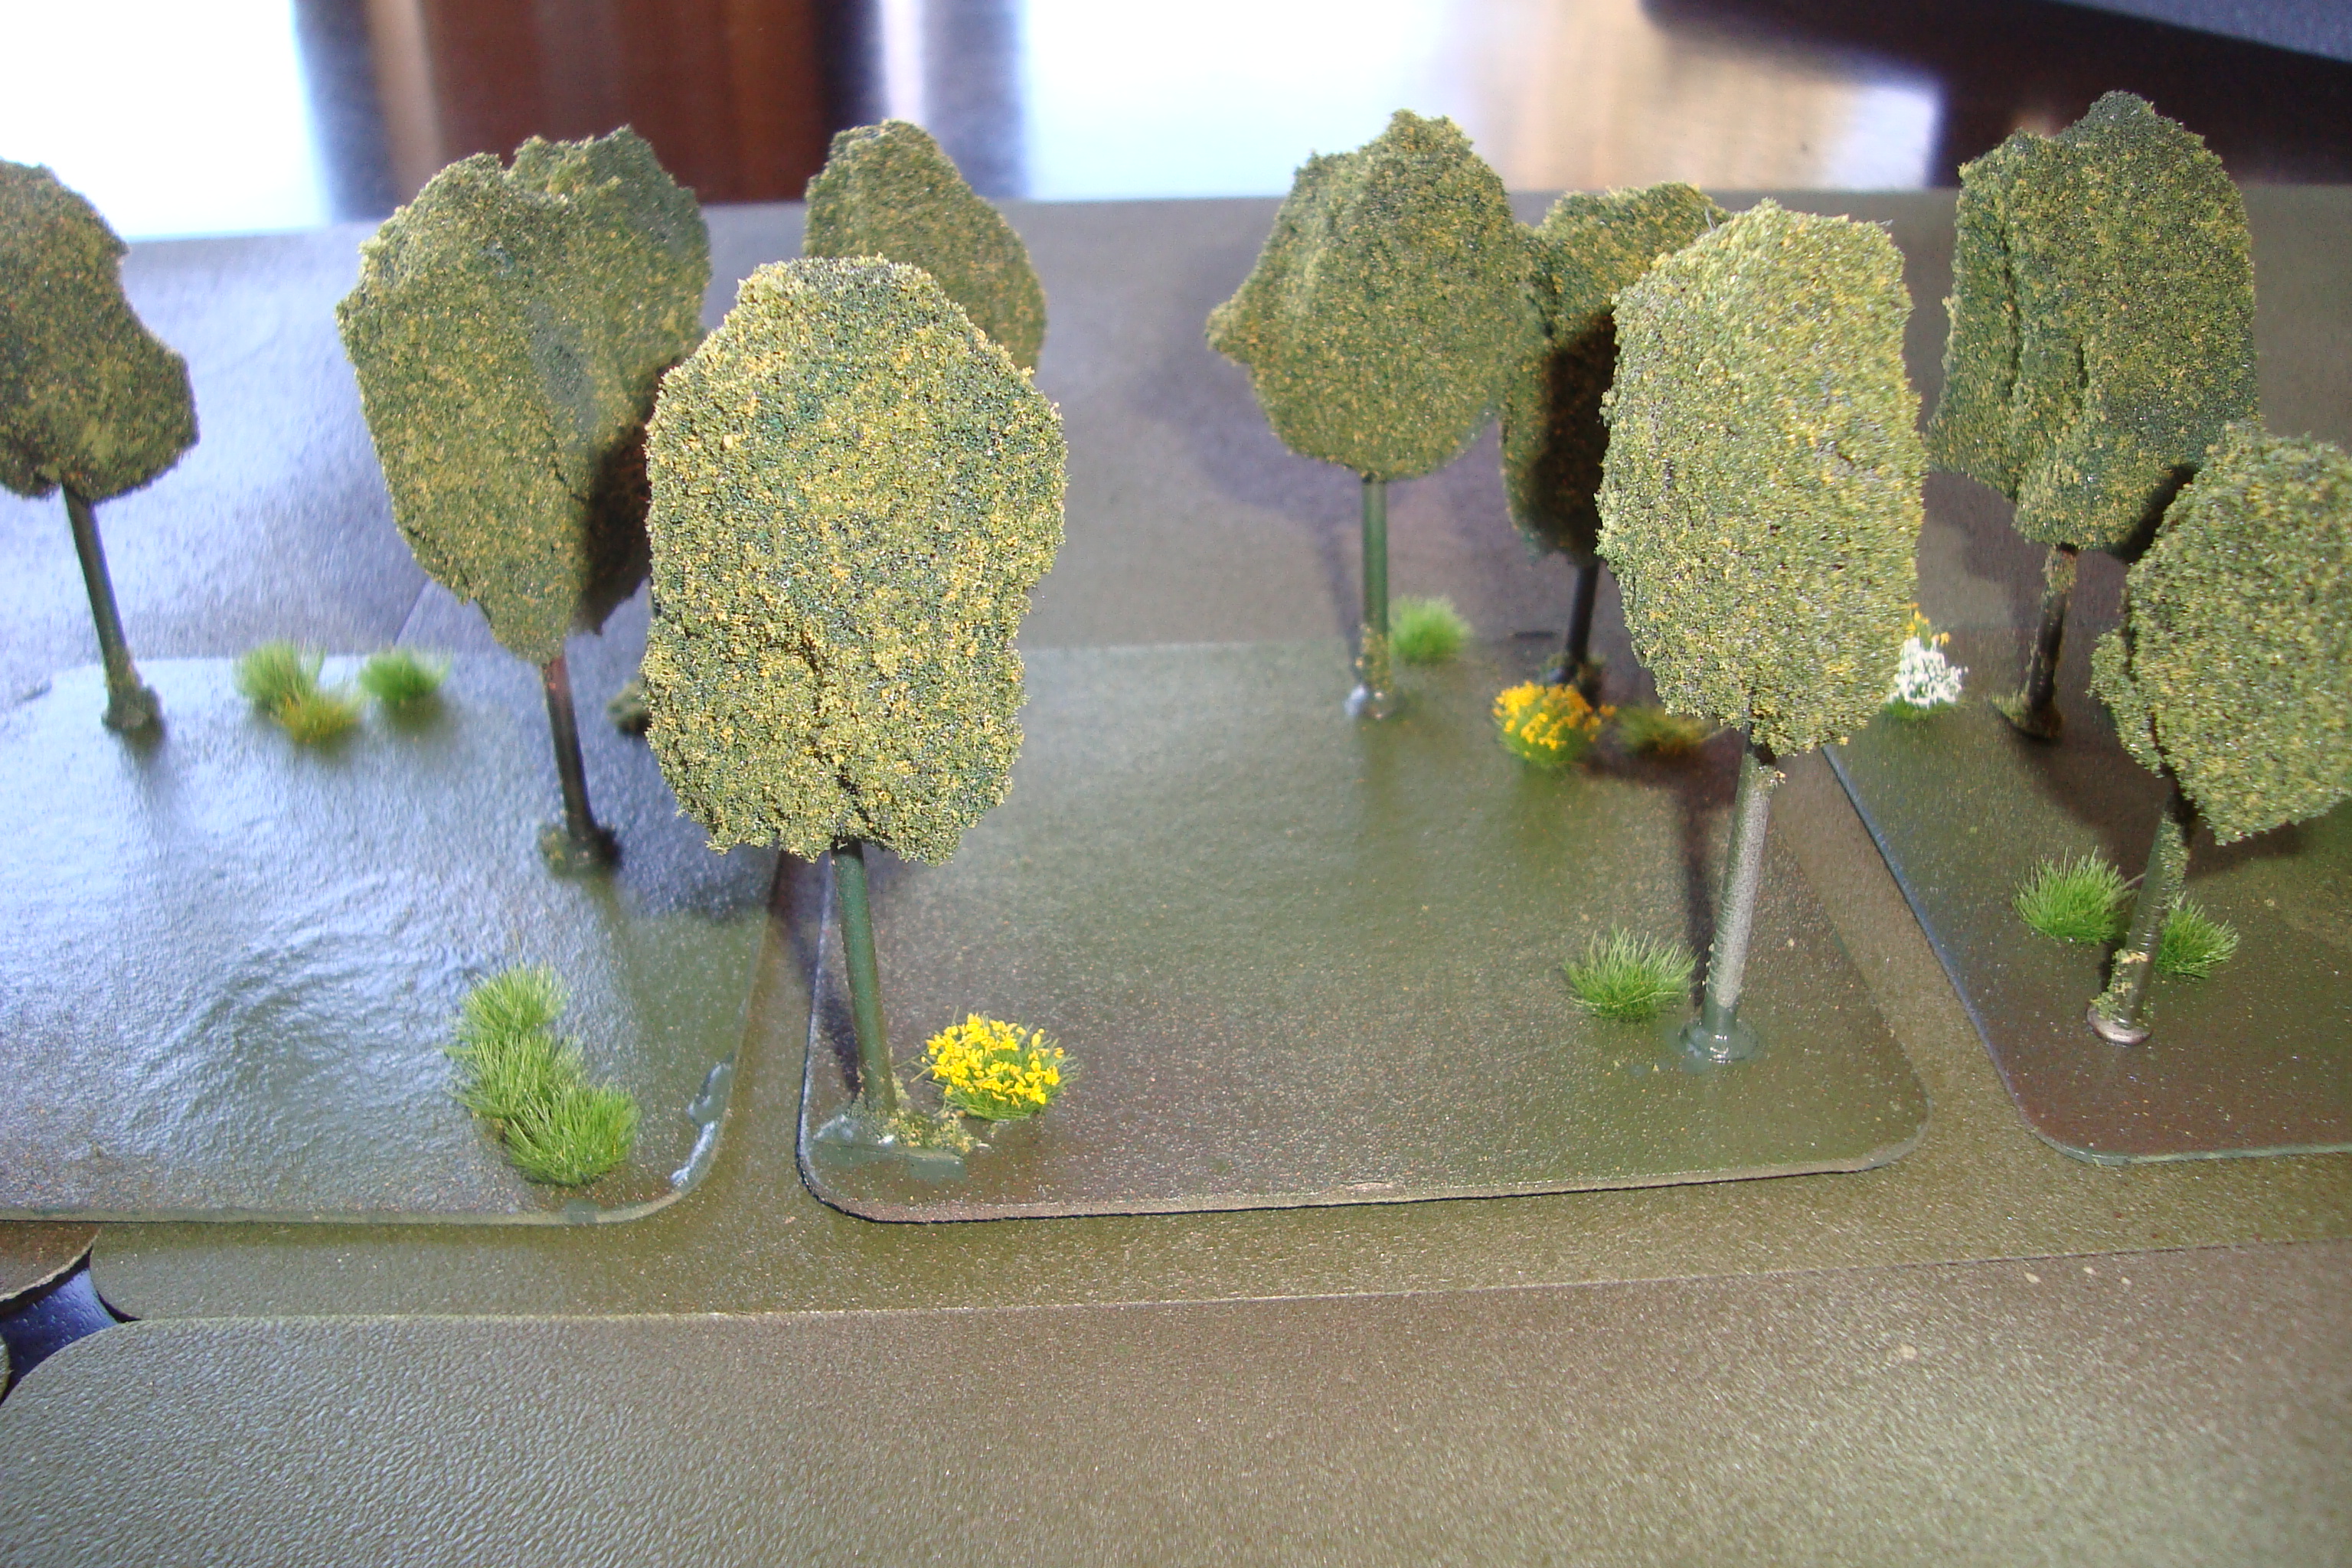
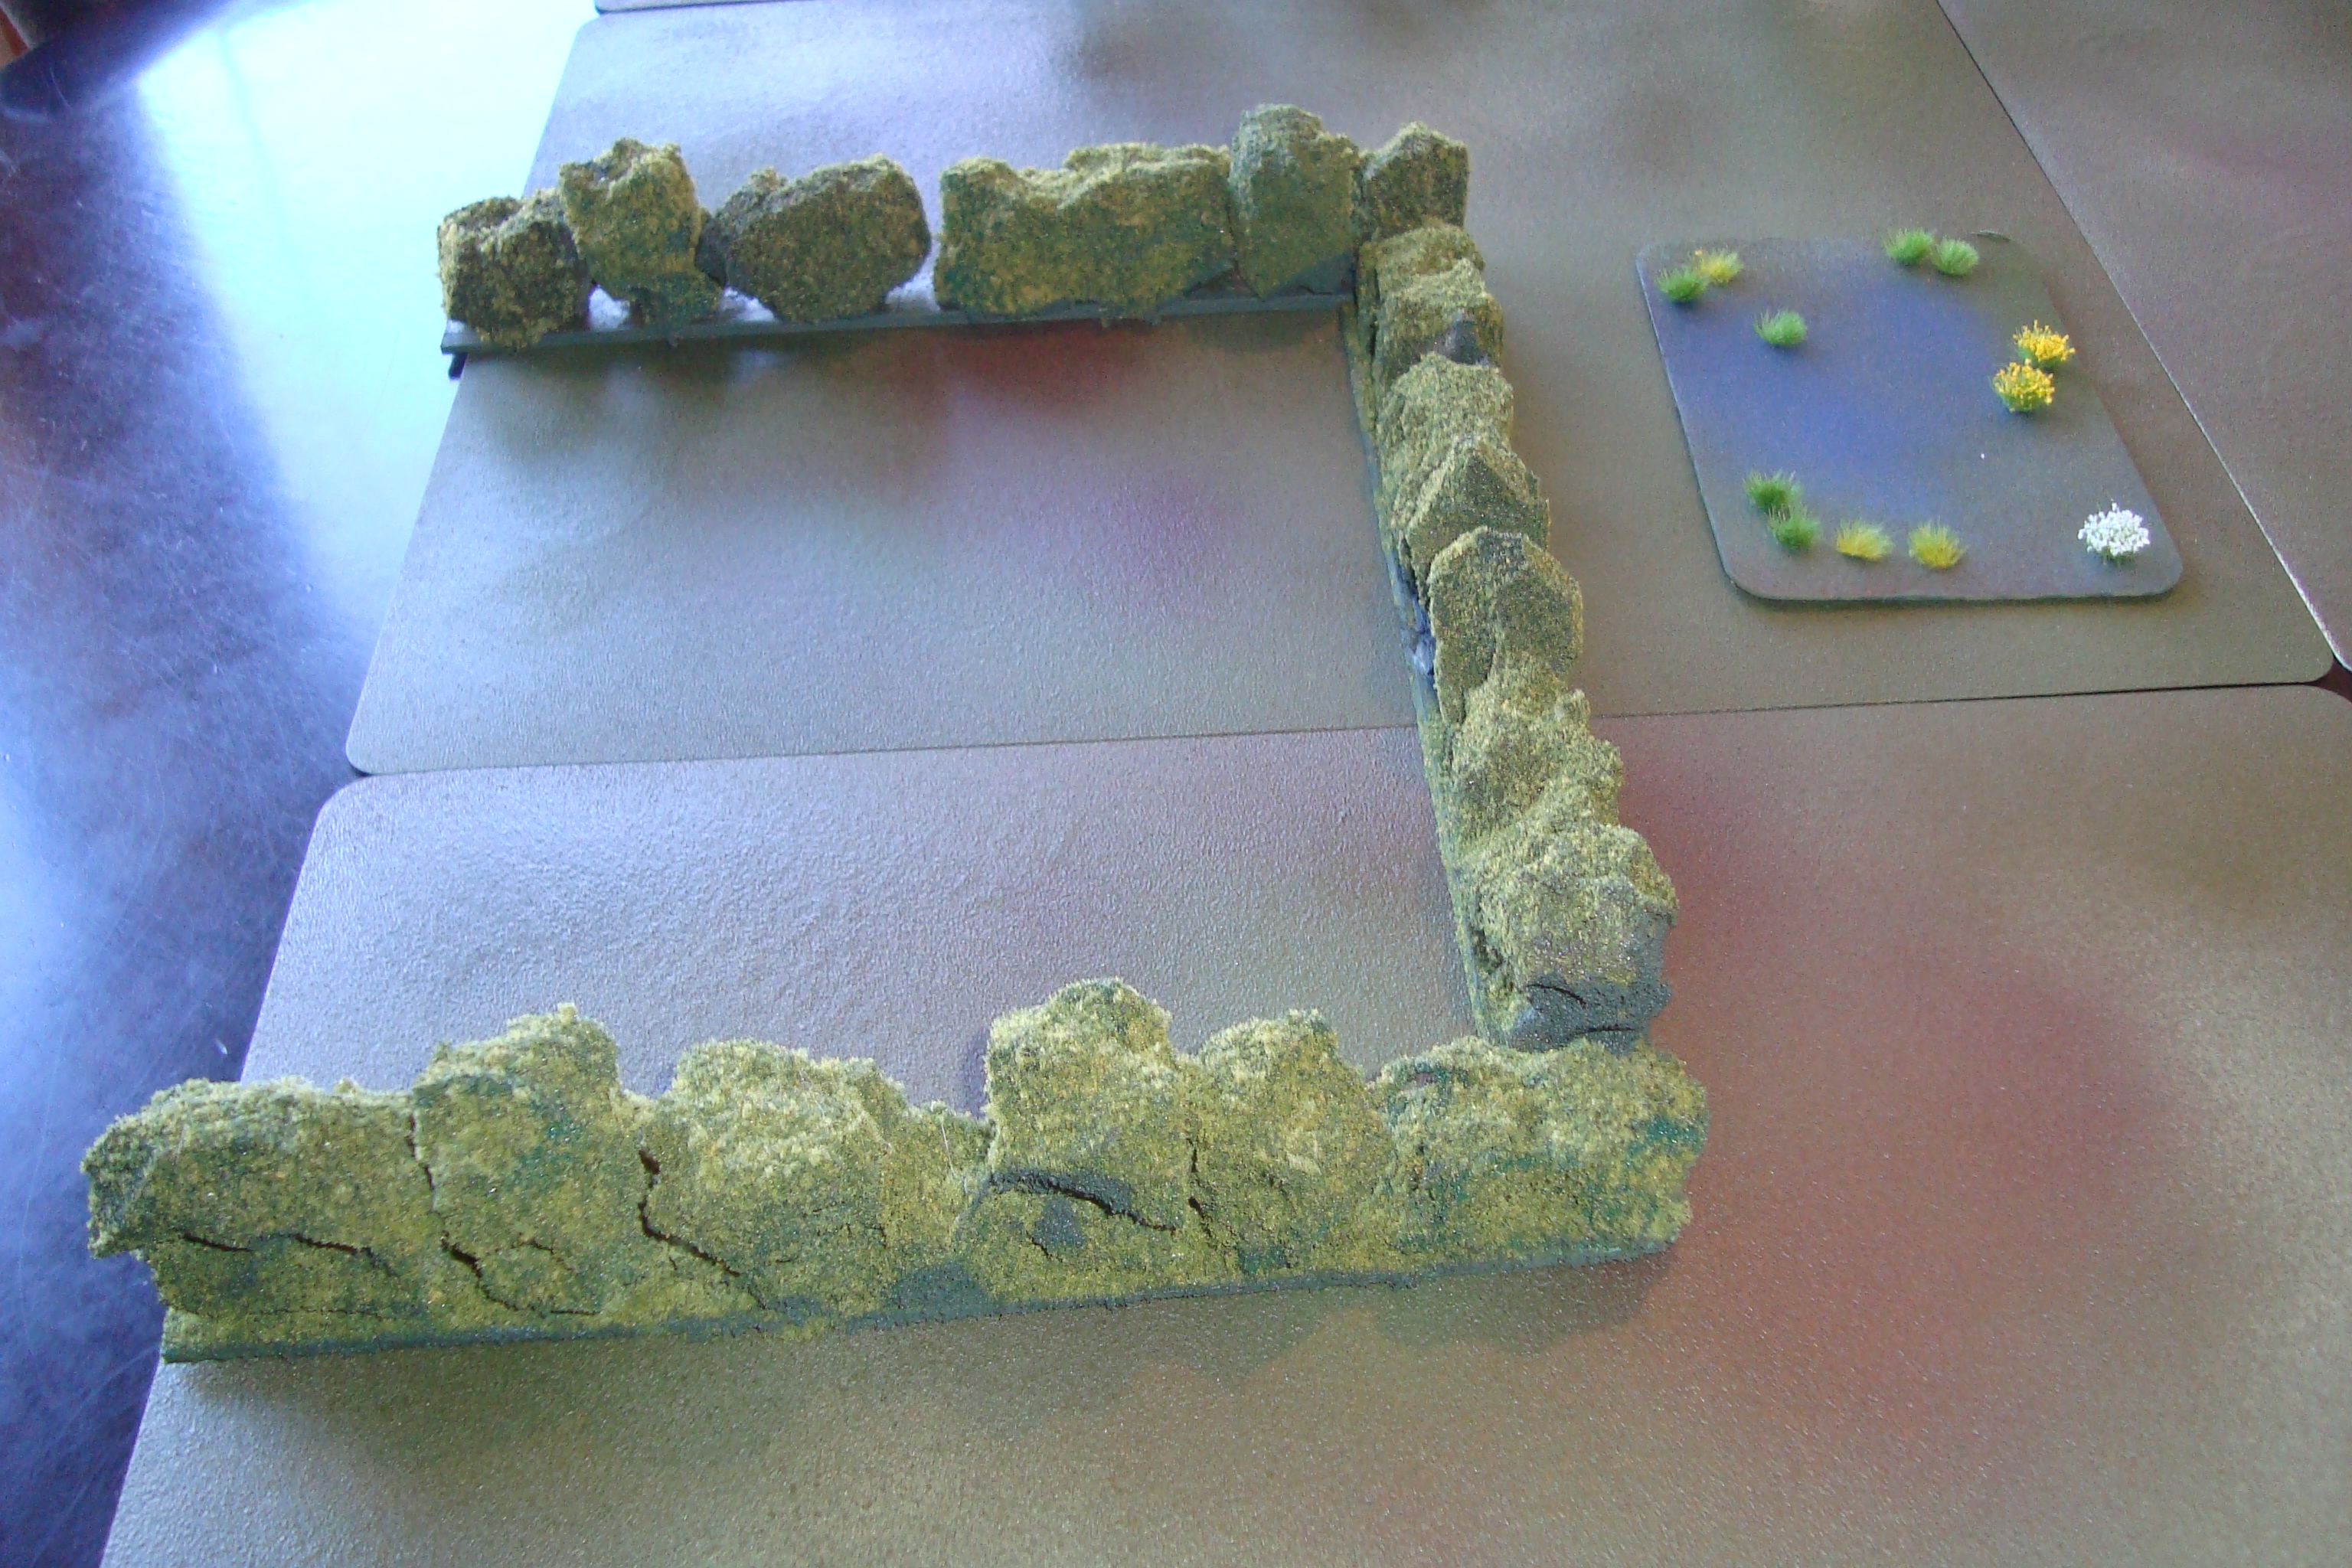
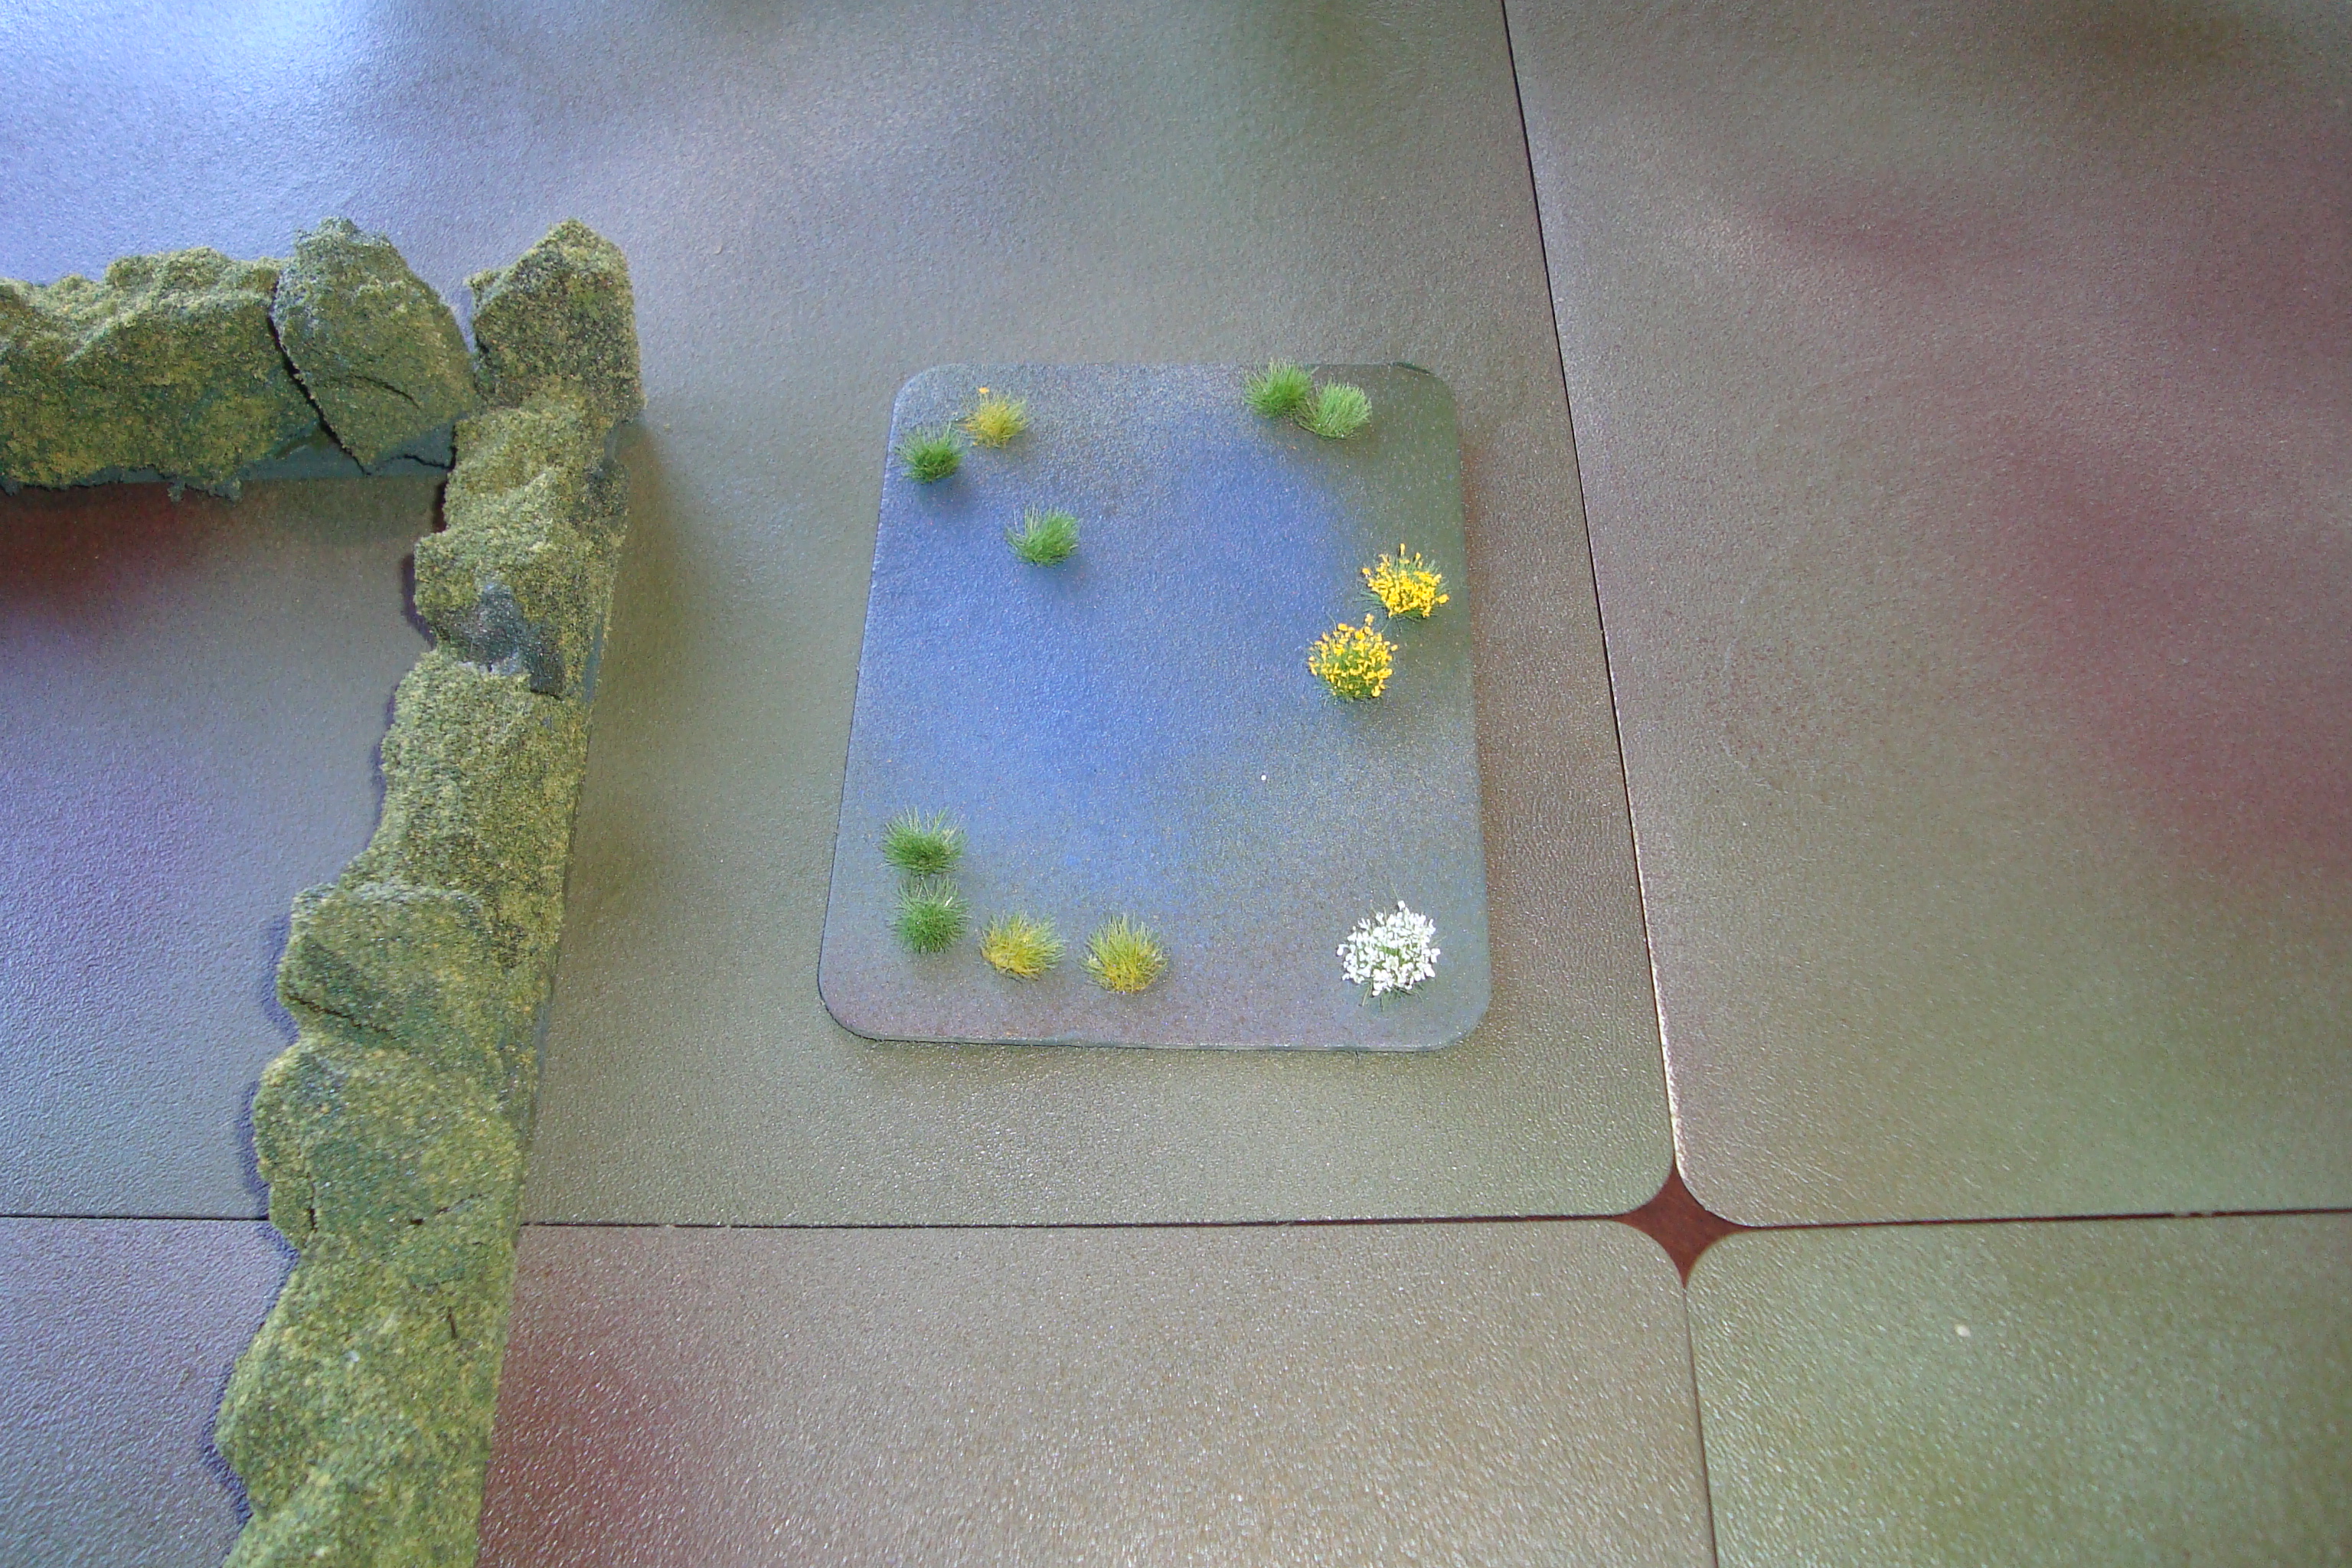
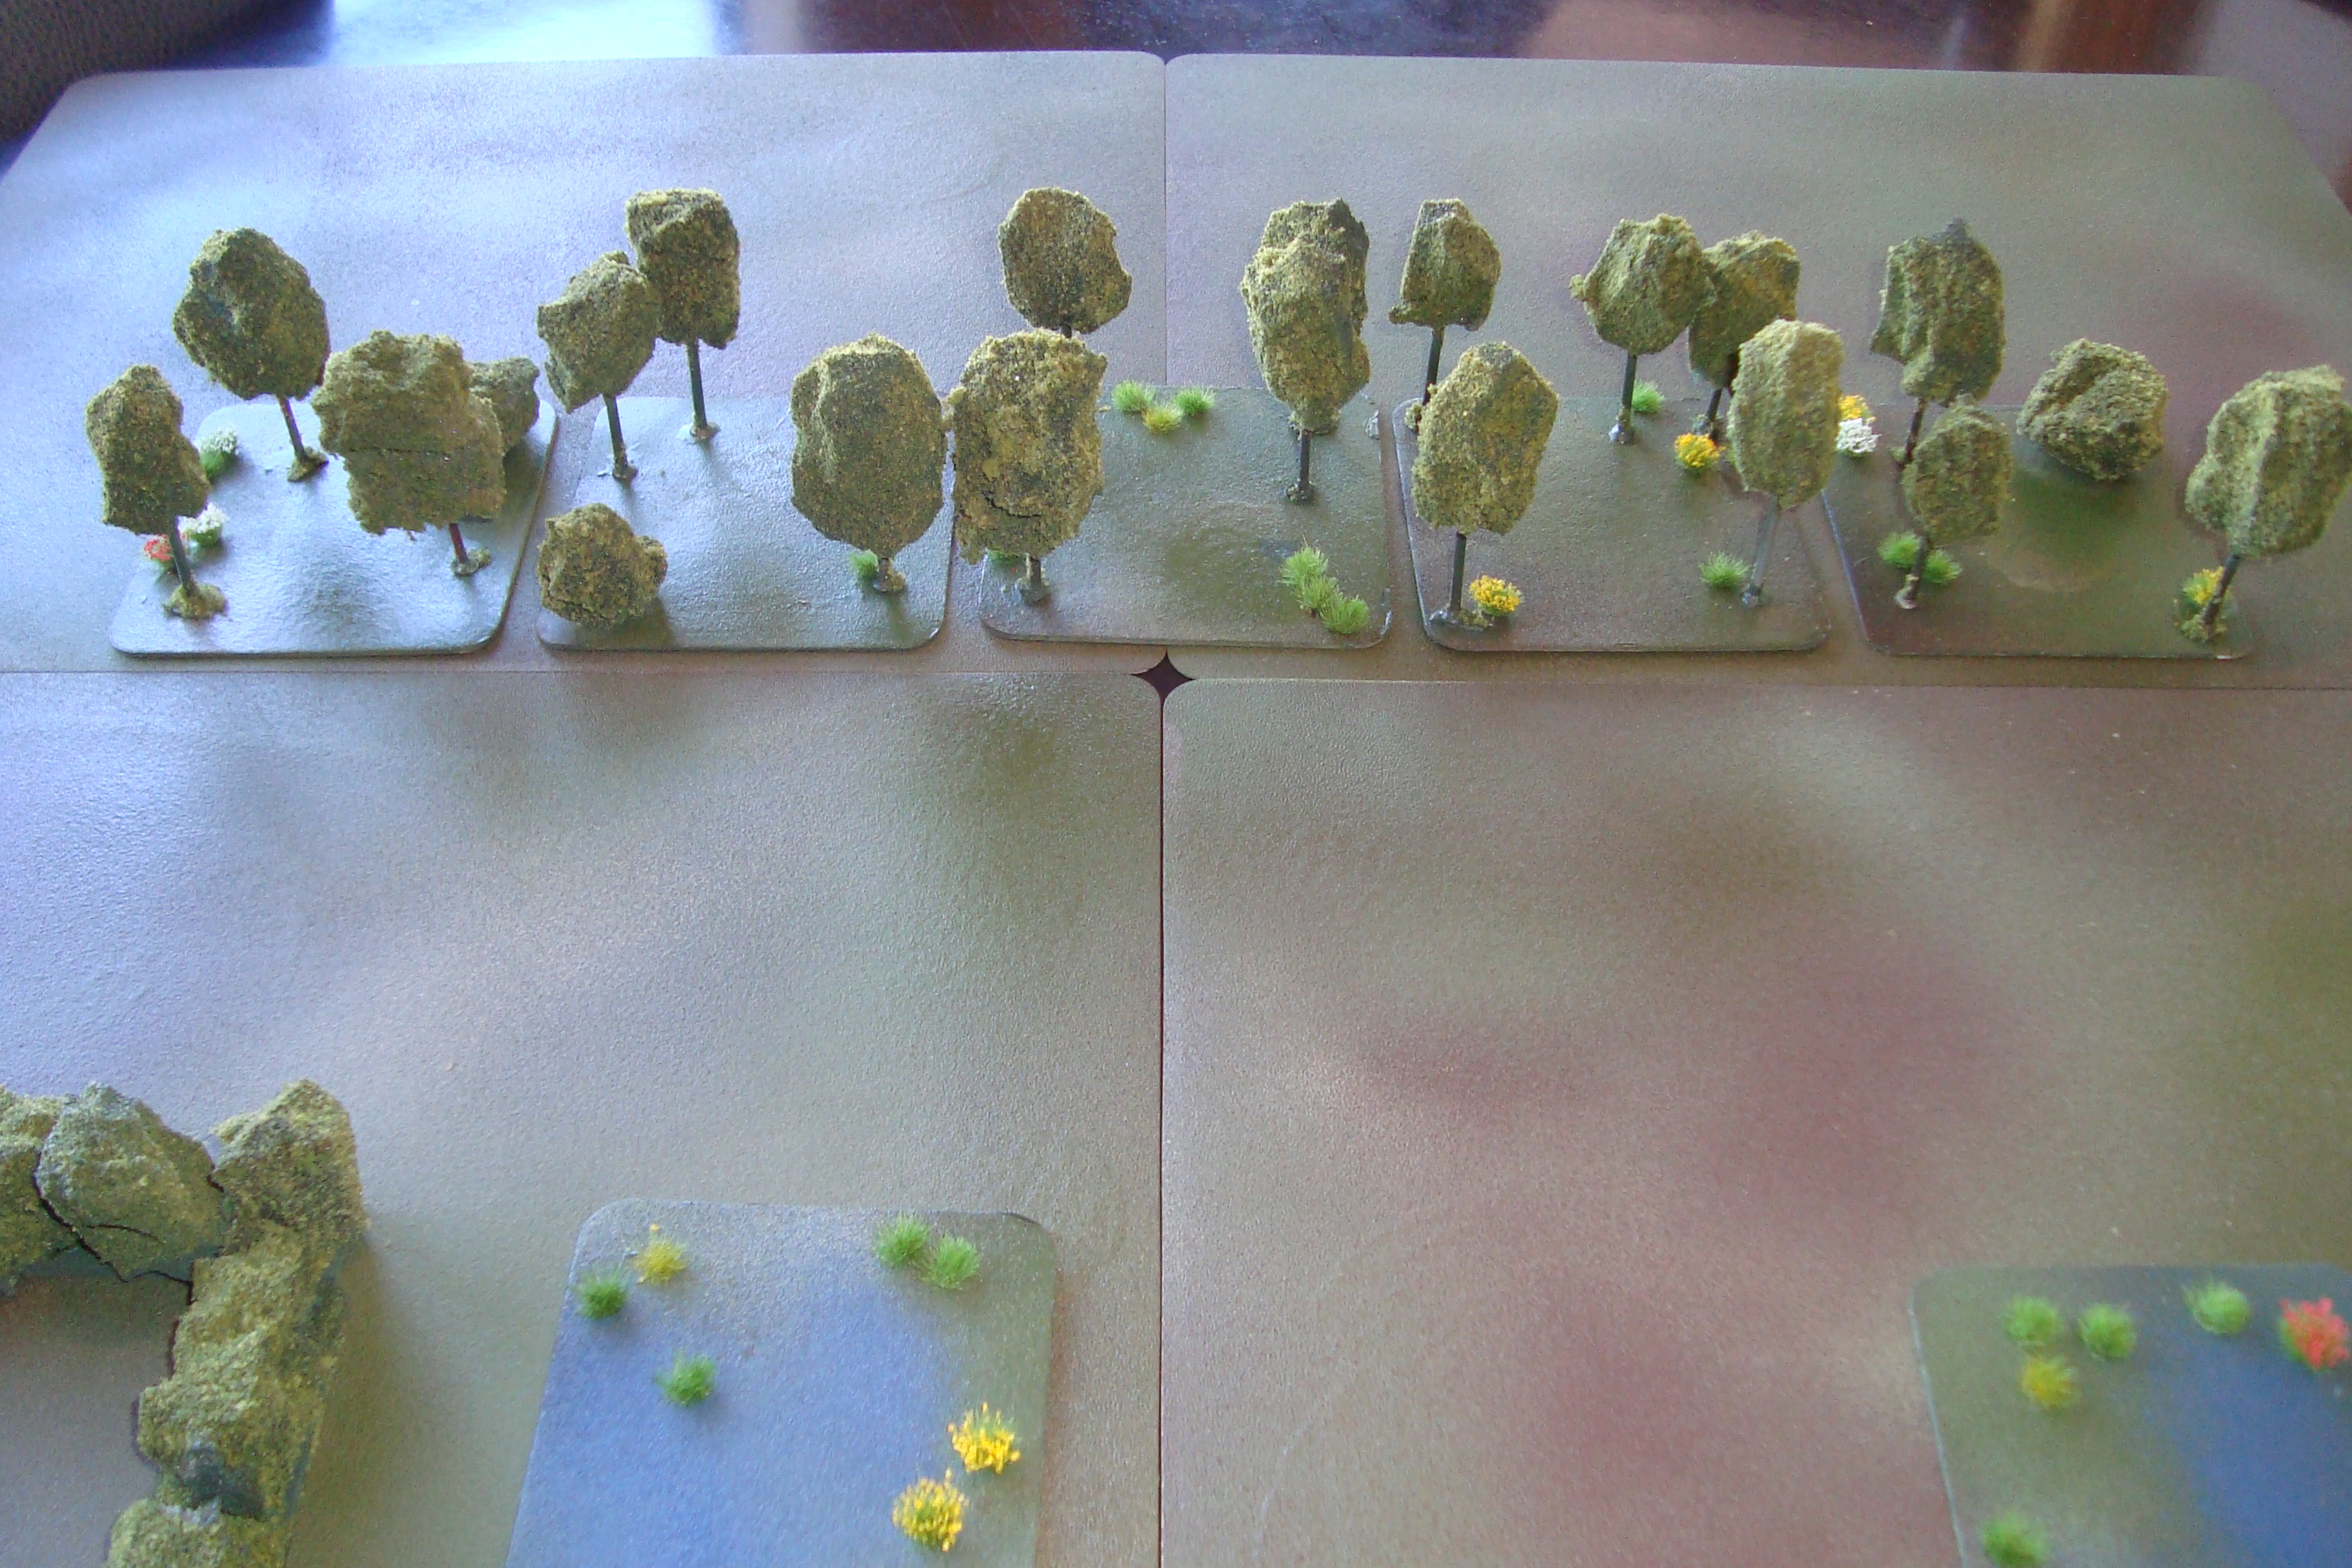
Each tank has a capabilities card, which can be augmented by crew-members with varying skills.  The components are first class, and even include some good quality (again, think HON) 2D terrain pieces.  As earlier mentioned, I found assembly very easy, with plenty of painting guides at the Tanks homepage.   You can even build different versions of each tank.  The Sherman was a little more problematic.  I wound up going over to the FOW website for more , especially when in comes to peripheral items.  The basic instructions are, well, basic.

For earlier tanks it will be a matter of making up my own cards.

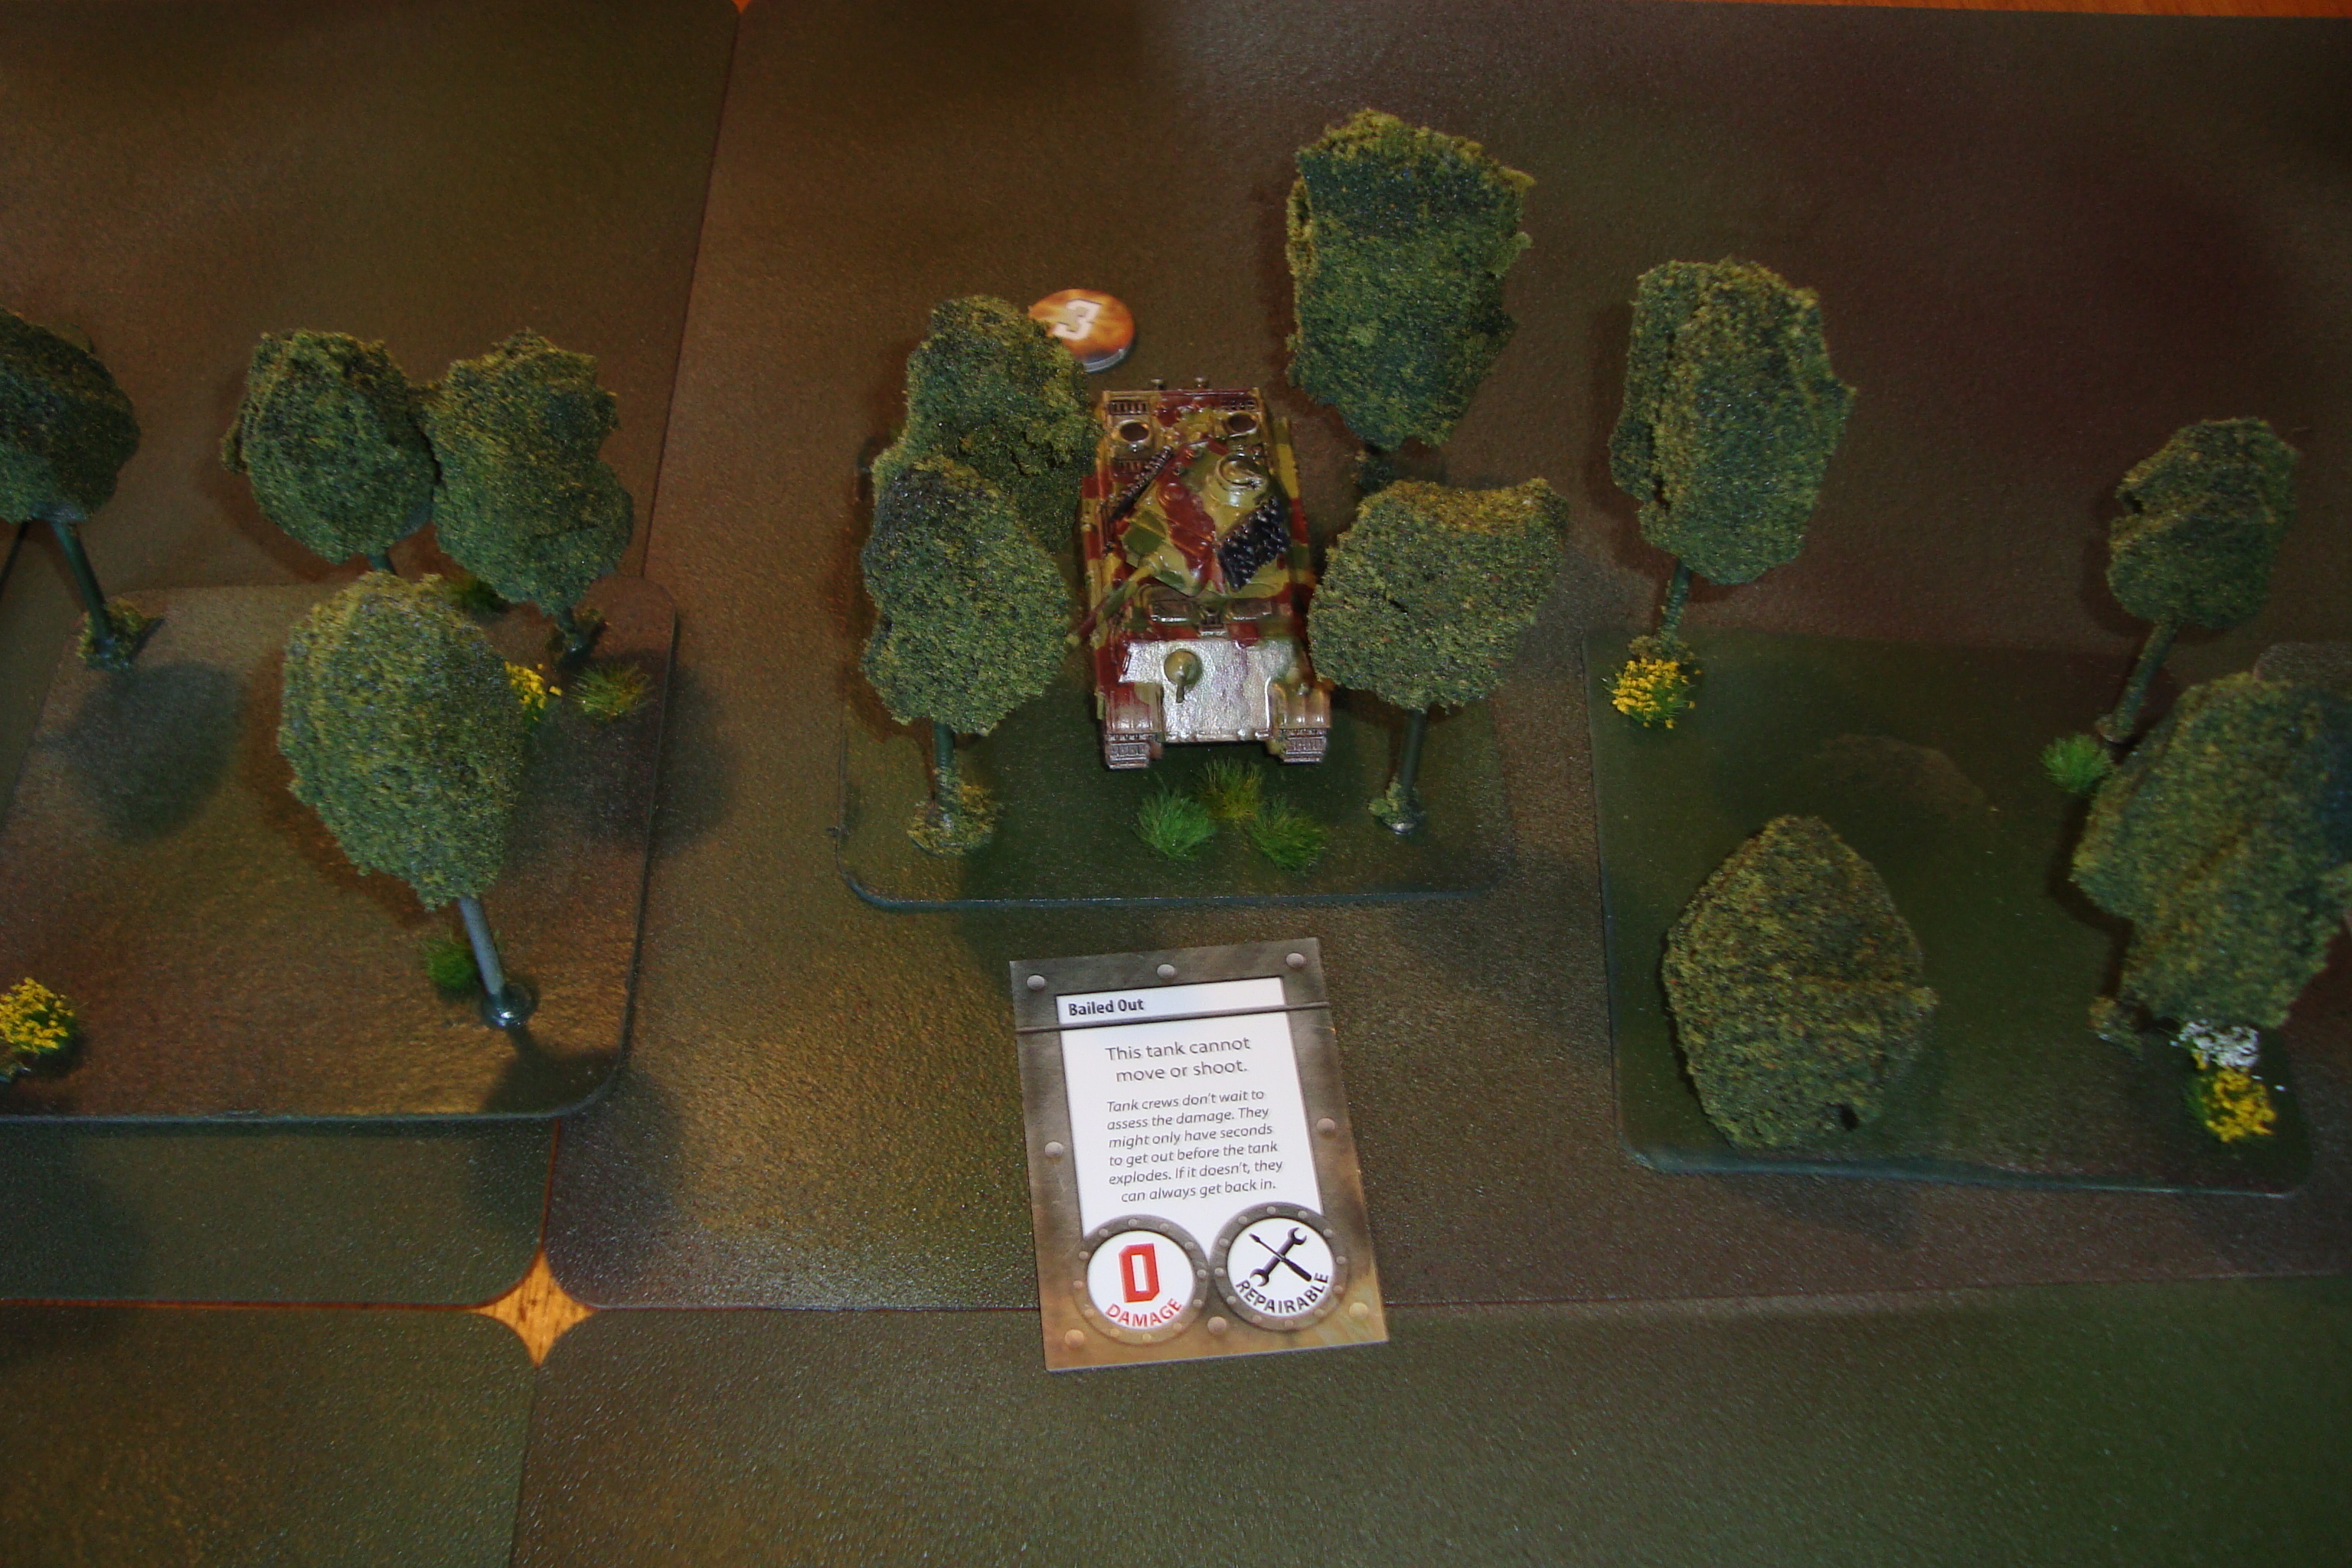
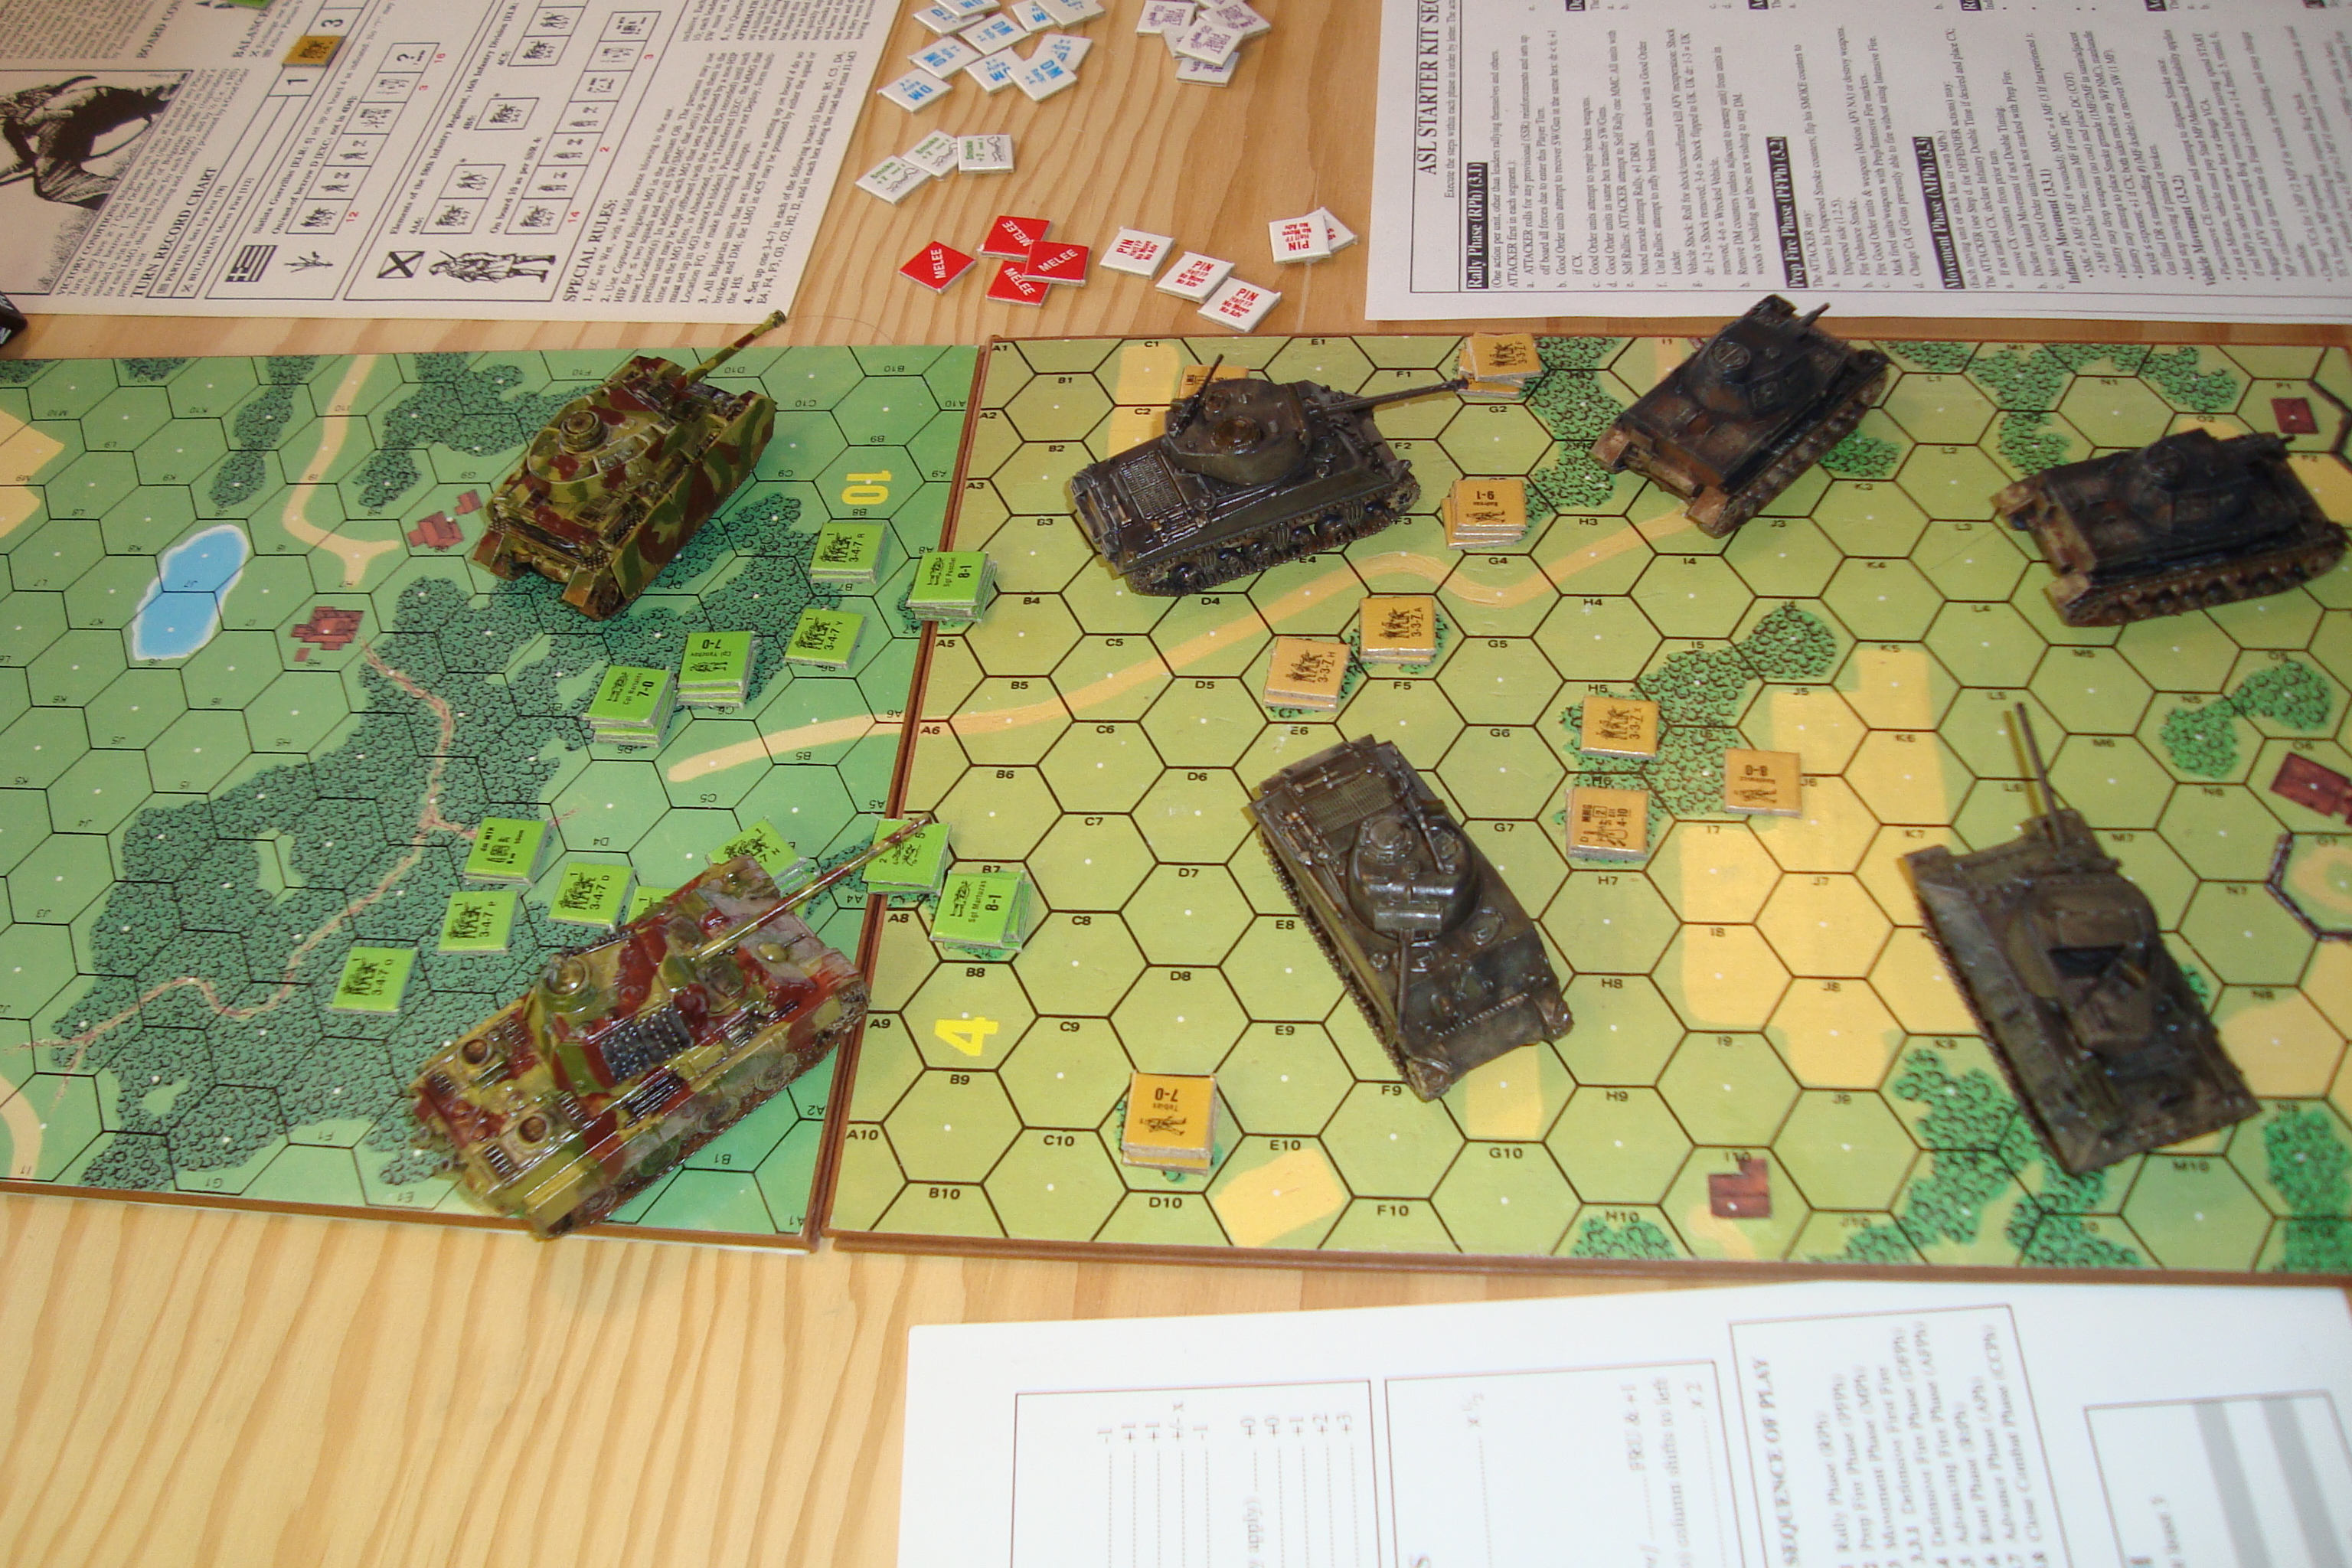
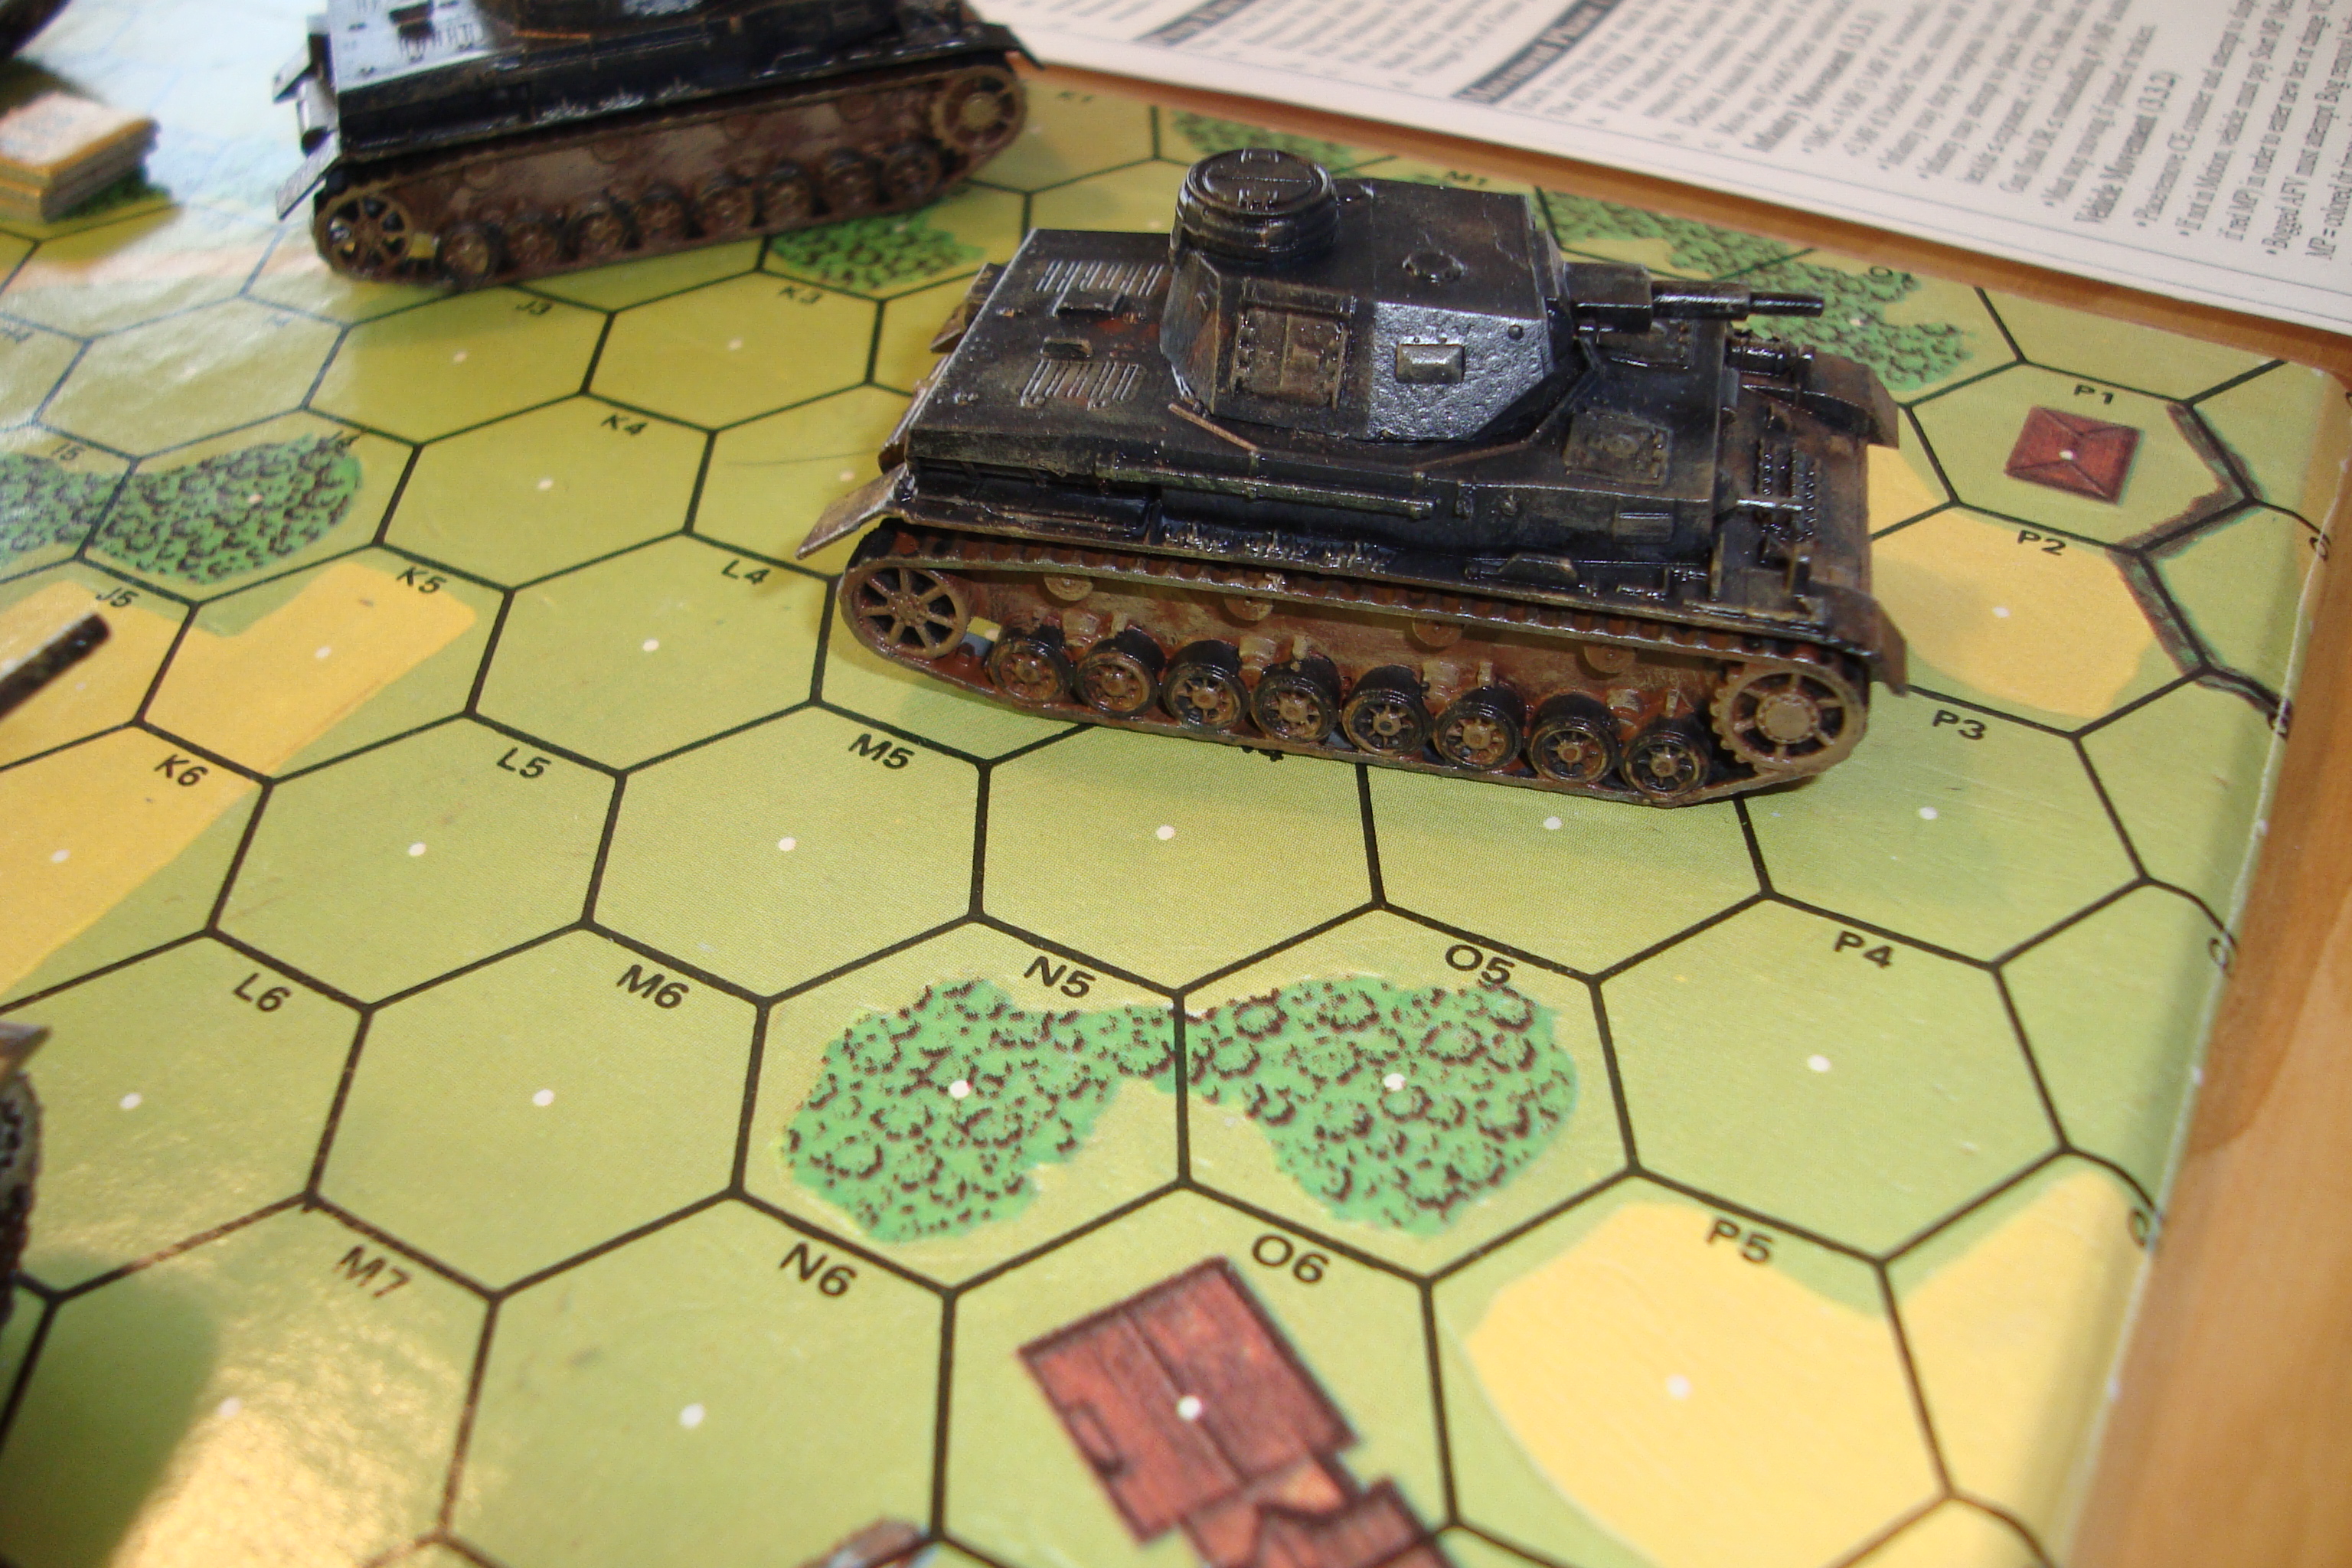
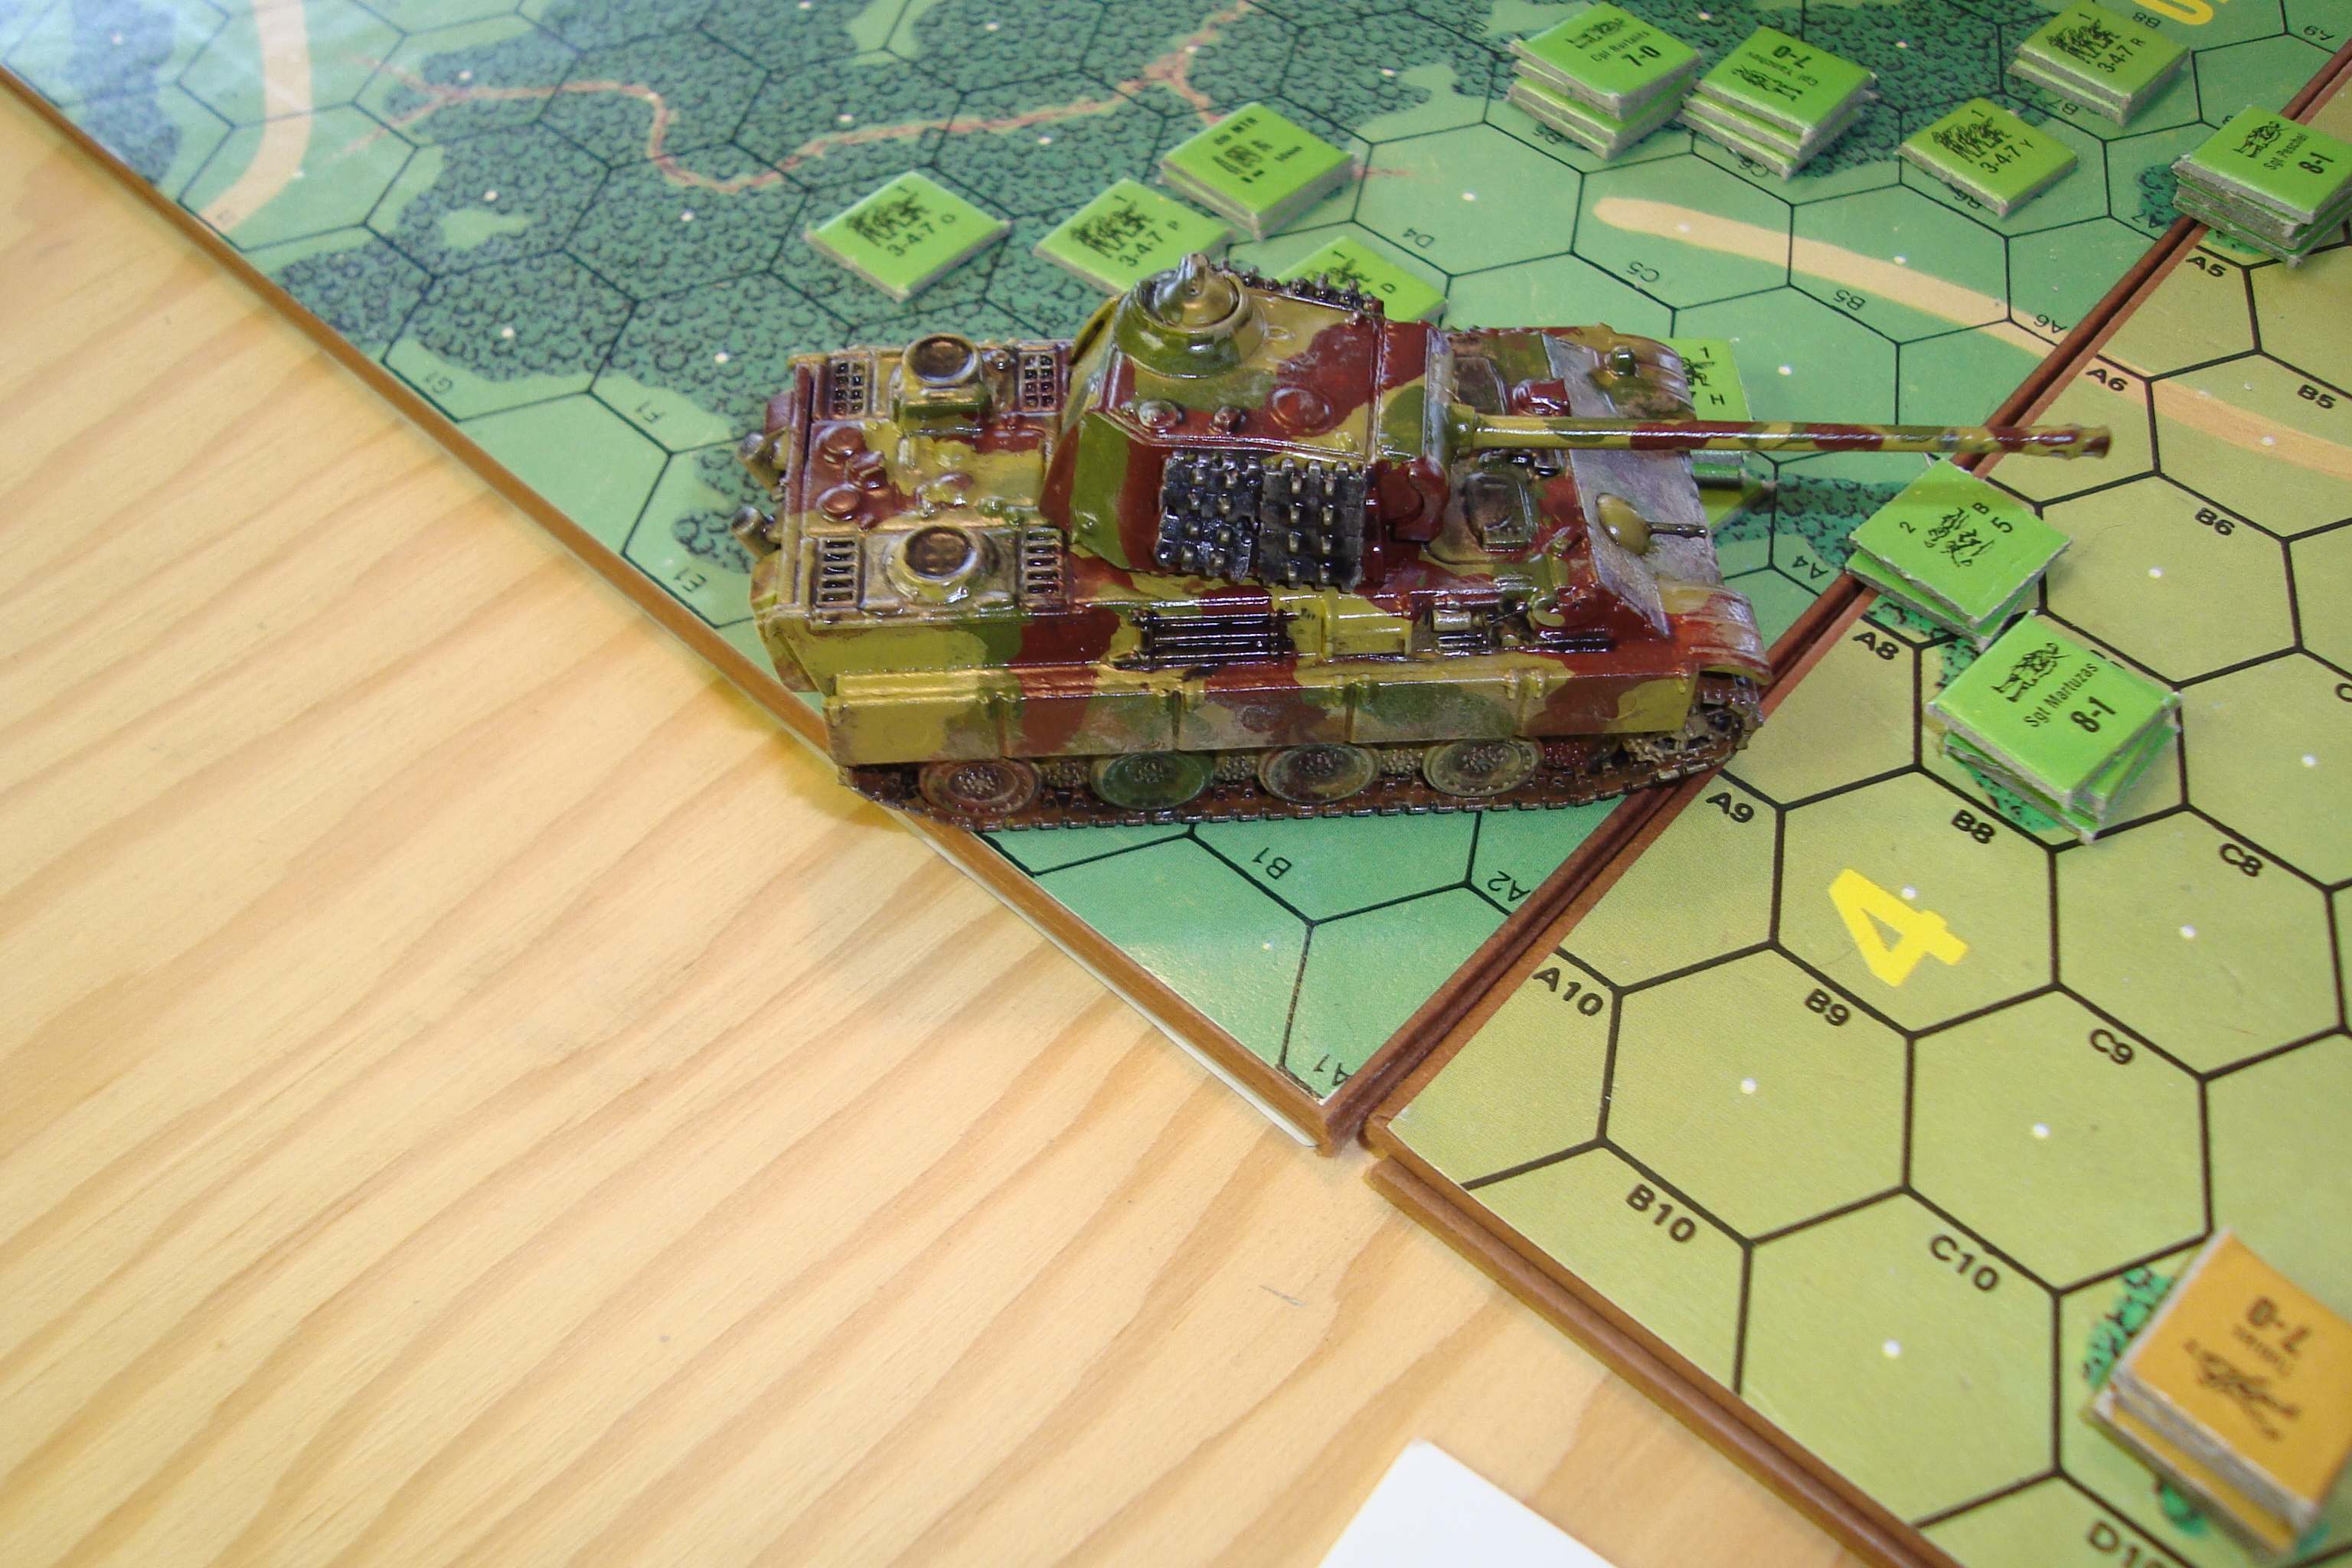
My initial purchase included the Starter Set, which has two Shermans and a Panther, as well as a M10 Tank Destroyer and PZ IV. The individual tanks (which come with cards) are about $10.00 each.  The folks at Amazon offered Zvezda PV IVs at $4.95 each, so I grabbed a couple.

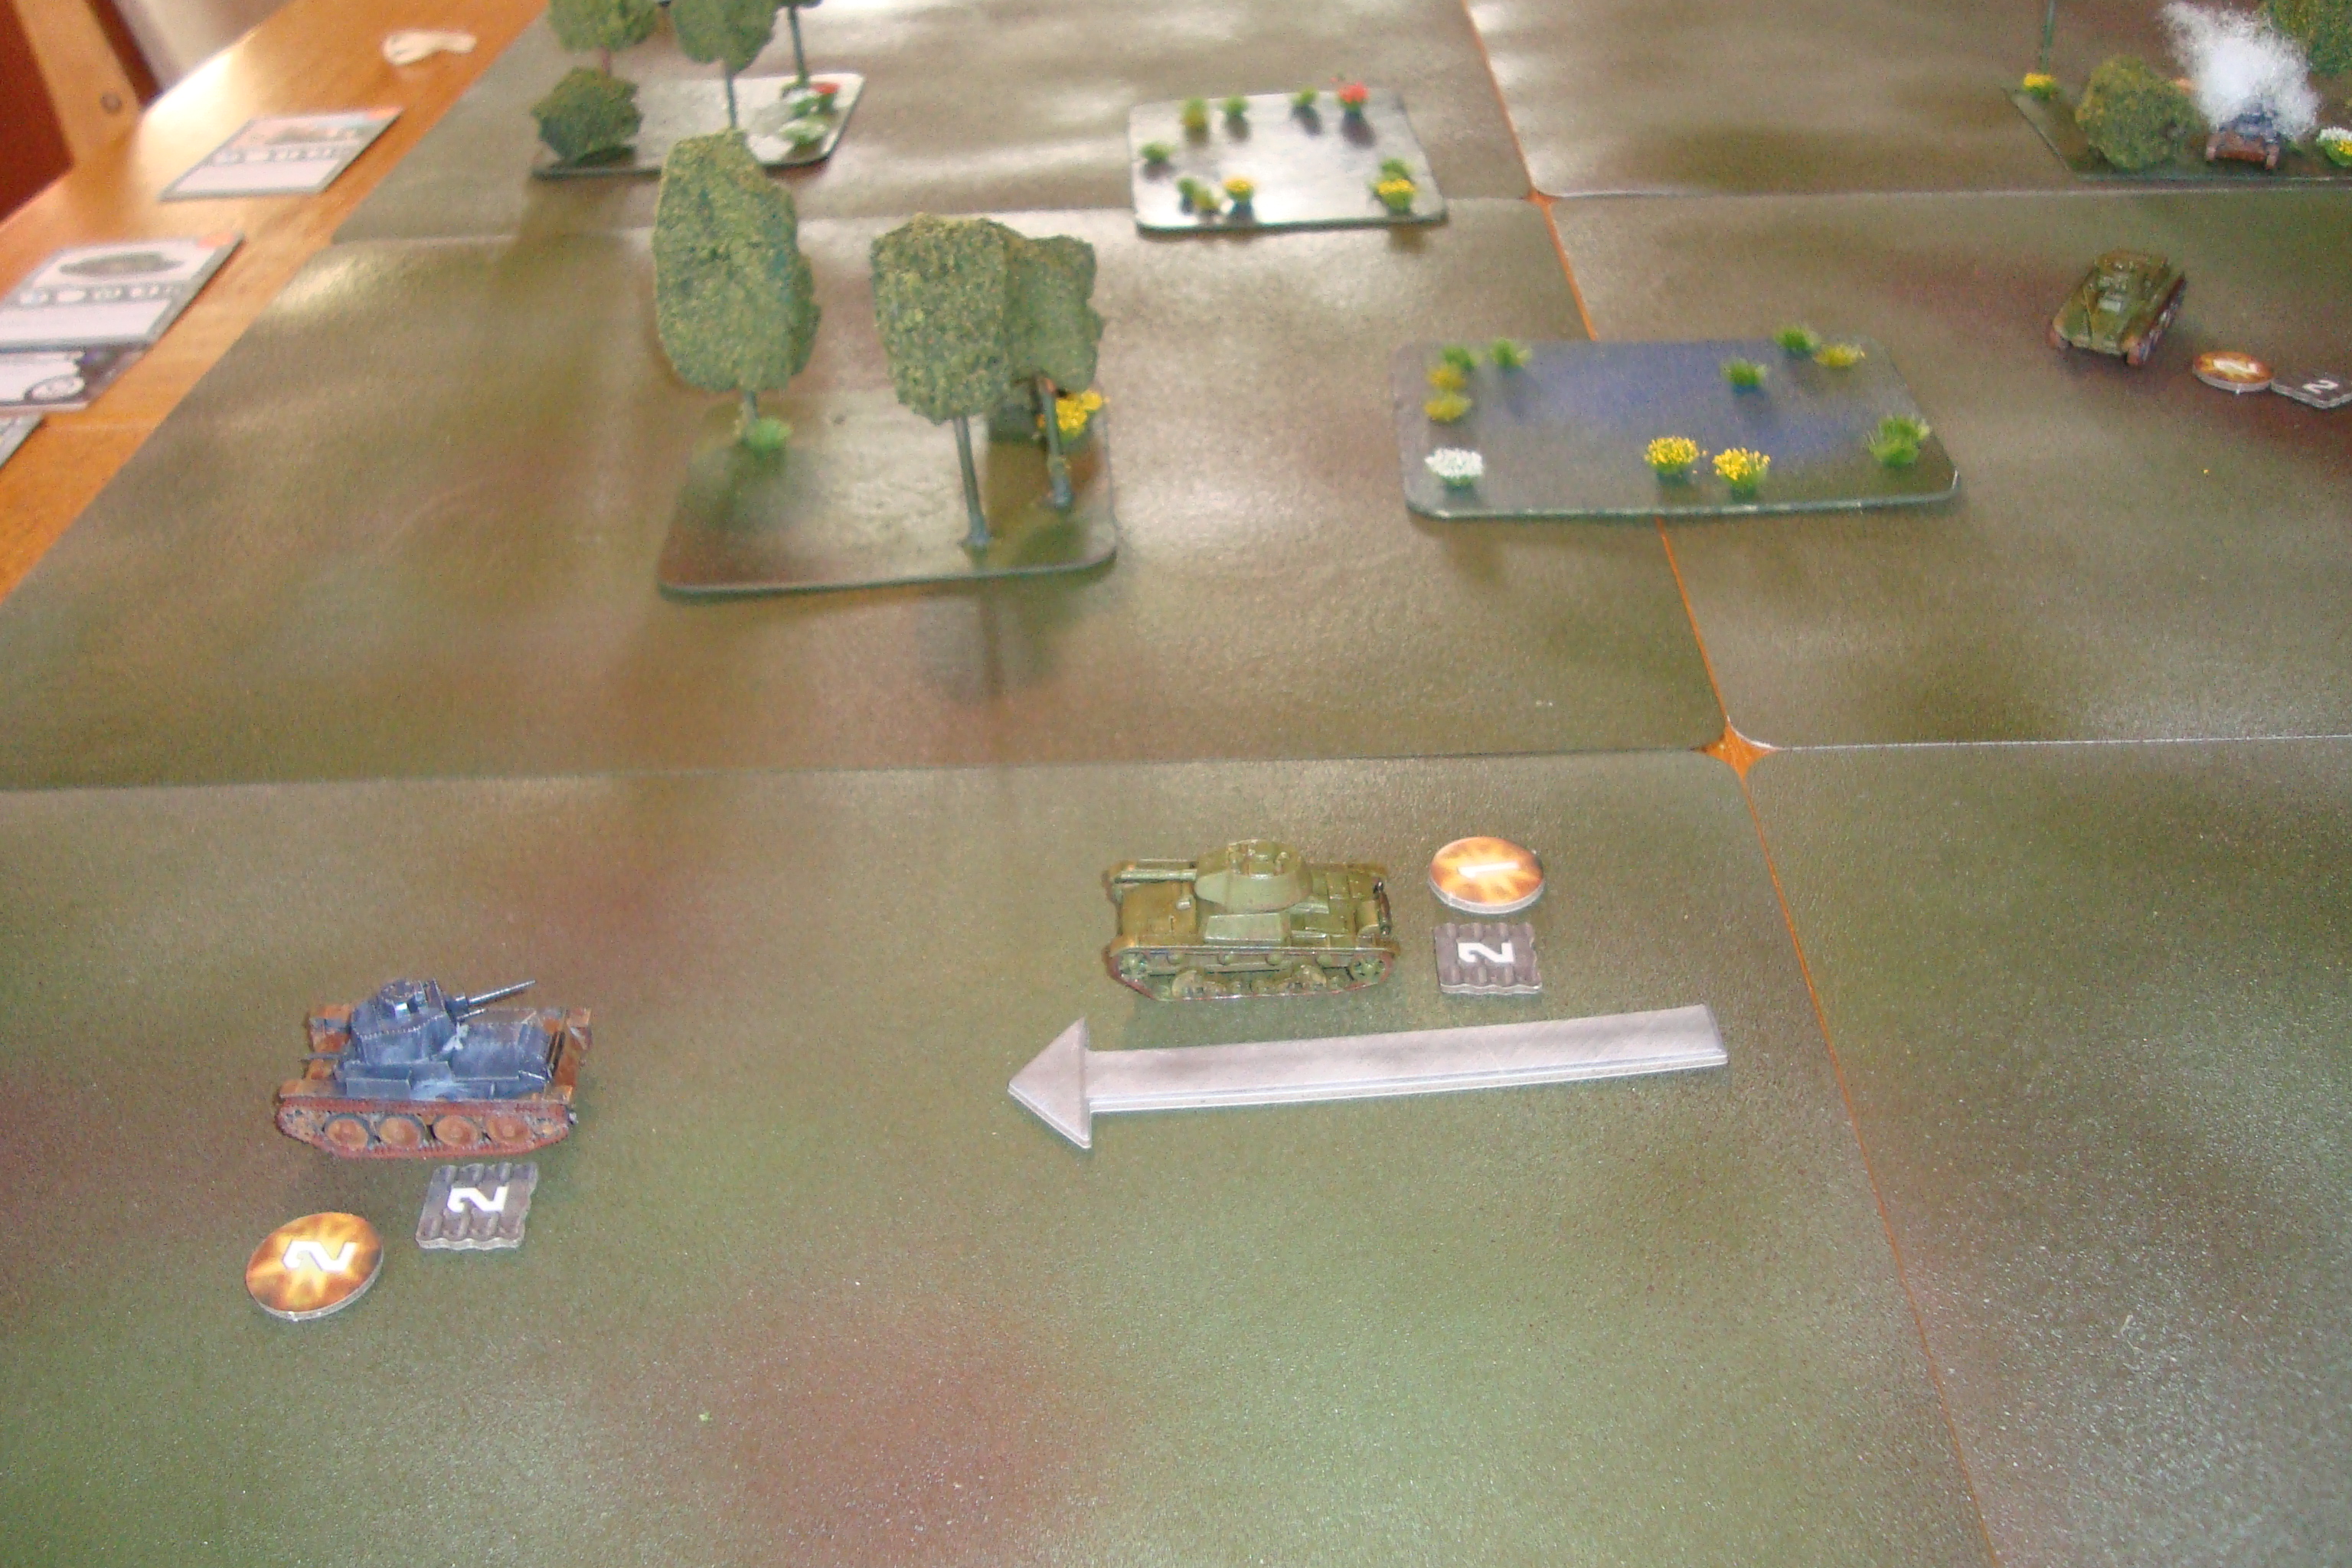
I discovered that Zvezda offers a number of early war British, German and Russian tanks and at a lower price than their FOW counterparts.  Fantastic!  Ahhhhhh…..but there’s scale. The Zvezda tanks are 1/100, which is a little over 16mm.  The Tanks models are supposedly 15mm.  OK, not very much difference, right?  Take it from me, the Tanks models are noticeably larger than the Zvezdas, and they should be smaller!

Now to the controlled descent part of the post……..

Step 1:  Finish up Starter Set and the two Tanks models.  Start play in a late-war mode. Gauge enjoyment (it’s not a simulation).

Step 1a:  Download paper building models and/or use HON terrain buildings.  If all of this is fun, go to Step 2.

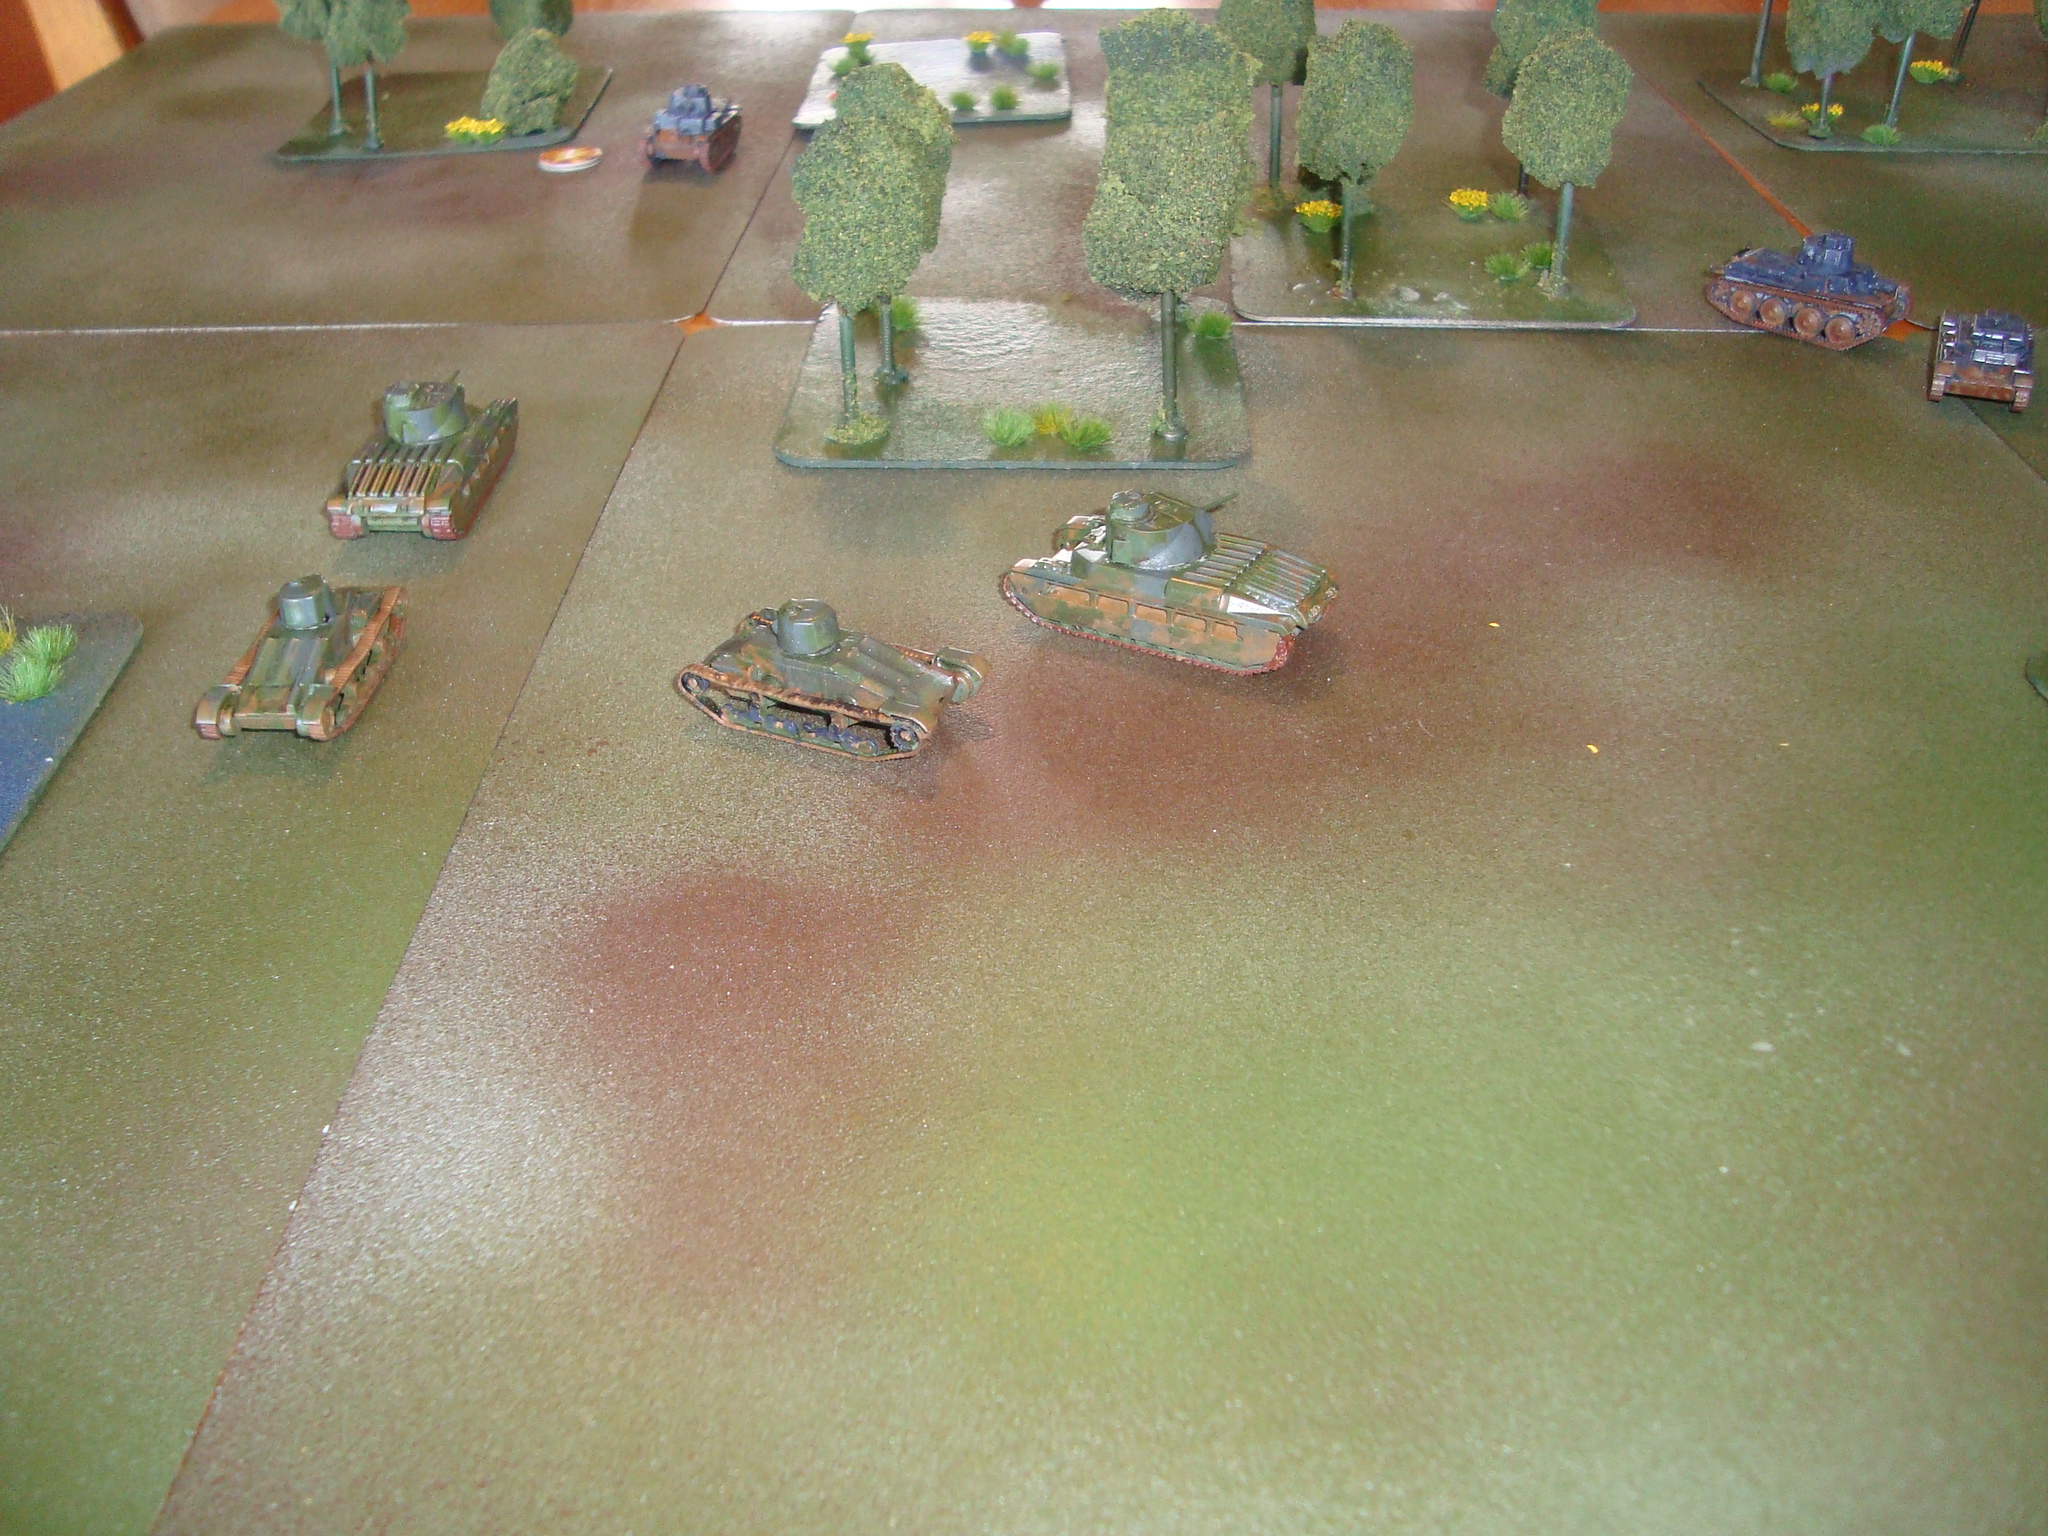
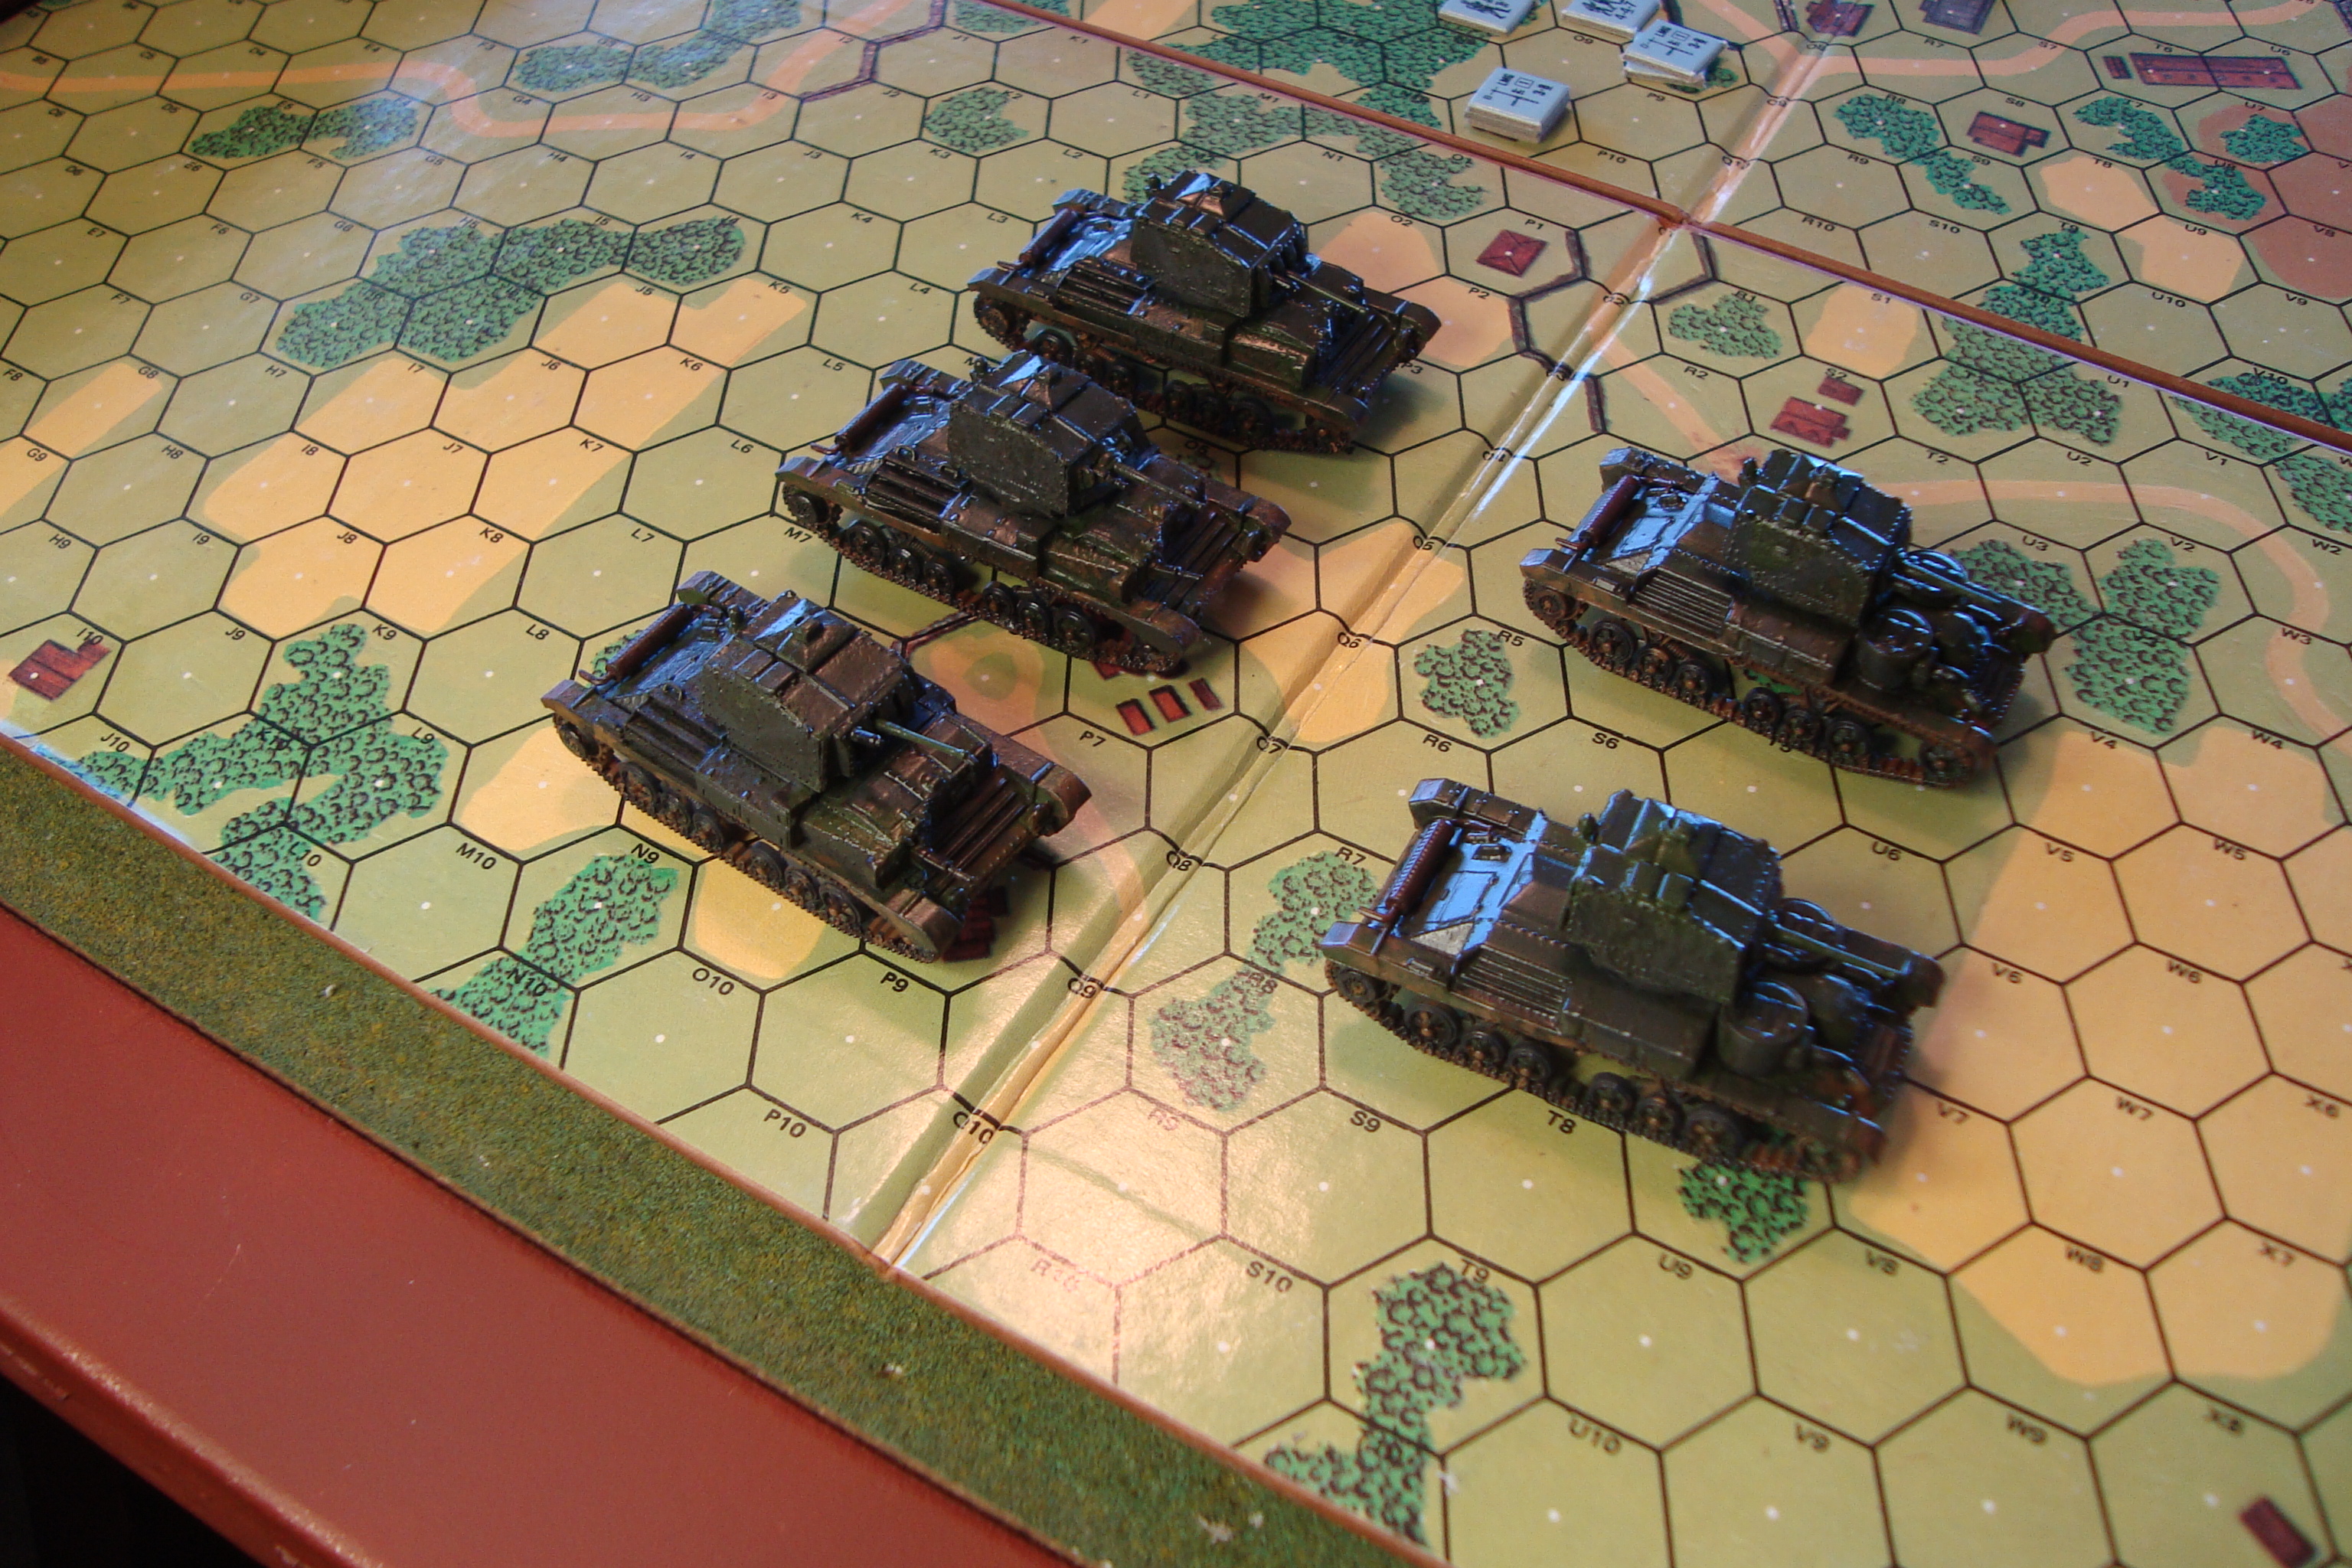
Step 2:  Buy Zvezda models.  BTW, they are “snap fit”, with few pieces, good fit, and detail enough for me.  Mess around with cards and enjoy France 1940 and Russia 1941 skirmishes.

Step 3:  Shapeways for Japanese tanks (vs. Russians 1939 or Chinese), as well as fictional interwar fights using early British tanks/tankettes.

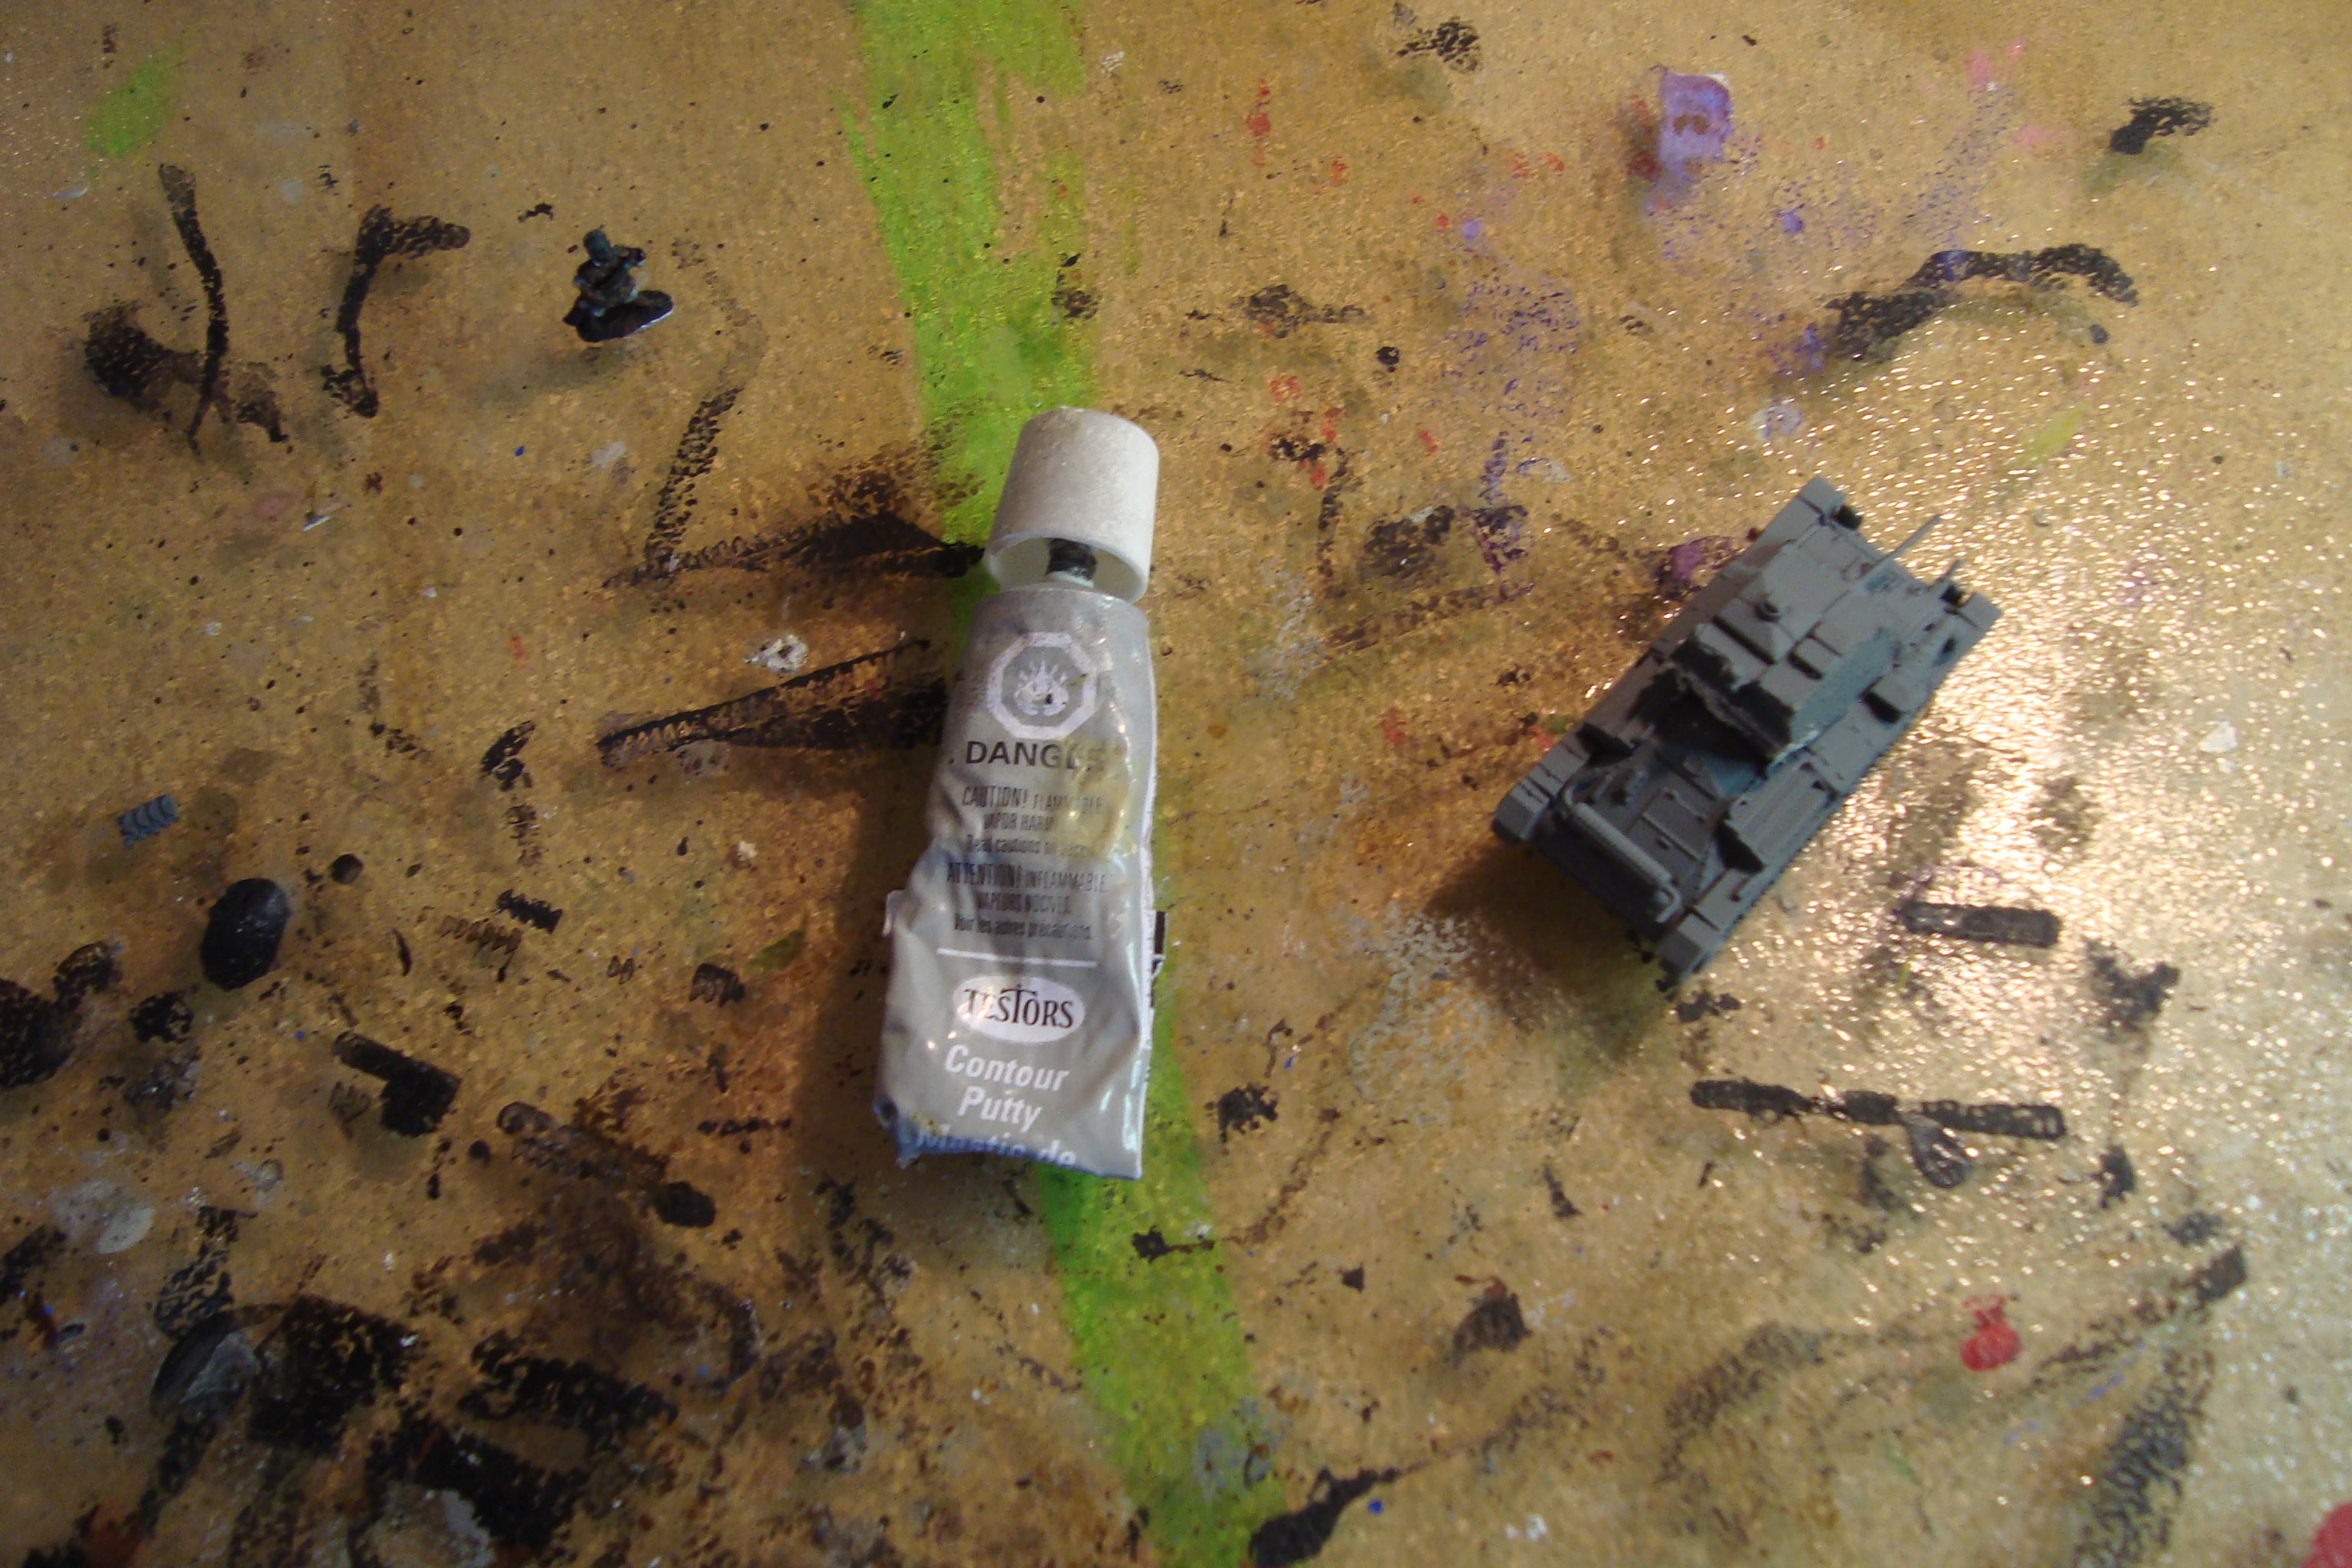
Hope to finish up assembly/prime/black base coat  of all Step 1 models this weekend.

Entry Level And On A Budget

The Dollar Store is my favorite place to buy fun Christmas Stocking Stuffers.

Had an aerial combat fixation last December.  Don’t know how many hits on Tumbling Dice’s 1/600 aircraft fantasizing about a early WW2 campaign with all the obsolete/obsolescent planes of the late 1930’s.  Then became fixated on Wings of Glory/War for WW1 action.  Lots of time and lots of expense for a questionable solo gaming project.

Back to The Dollar Store….  While rooting around for goodies found (Yes, for $1 each) five piece bags of each of these whacked beauties.

The orange critter does look like a modern jet, while the “Blue Thing” reminded me of SuperCar.

“What the hell, it’s only $2, and it might be fun”.

Well, it was, and while not to everyone’s taste, the results are shown below.

I used an index card to fabricate horizontal and vertical stabilizers for “The Thing”, and then channeled an SS officer who was a Pointillist to come up with the modern jet’s camouflage.  Picked up a tip on the net (forget where) and used light blue with blue Vallejo wash for the canopies.  Works OK.

The next problem is toy-like jet aircraft rules to fit the models.  Cannot be serious with these guys.  Will mess around with that while painting up two more.

Command Decision

Took down the Irregular Wars battlefield over the weekend,  opening up table space.  Nature abhors a vacuum, so I set up D-Day At Omaha Beach (still thrashing through the rules), and DBA (De Bellis Antiquitatis) to go along with my latest ASLSK scenario.

I have the DBA 2.0 rules, along with the wonderful 2.2 play-aide published some years ago by the Washington Area DBA Gamers.

It’s been awhile, so I started poking around about DBA 3.0.  The cost at $38.00 was just too much.  So, I did a little more digging and came up with this.    What the hell, I downloaded the Kindle version and started reading.

It’s a nice little book, and a good introduction to the significant changes to the system.  It even includes a series of army lists based on time period and potential adversaries/allies.

But…….no diagrams to illustrate the always interesting Barker narrative style.  For diagrams, you pay $38.00, and I need the diagrams.  Sixteen of them, and by all accounts very informative.   Reviewers also laud the extensive (500) army lists, many of them revisions that change not only an army’s troop type but also basing.

If I was playing in tournaments, or had a crew that played DBA, I’d go all-in.  But for solo play, it just isn’t worth it.  I’ll putz along with 2.2.  Can use the time/money on other projects.

Picked late medieval armies for a mini-campaign.  Late Swiss, Imperial German, and two Condottiere armies.  The Swiss are pike of course,  and the Imperial Germans have war-wagons.  One Condottiere army’s knights will fight dismounted, the other mounted.

So,  some variety and the prospect of quick and entertaining fights.

Taking A Breather

Putting Irregular Wars away for awhile.  Good stopping point, with a need to determine the outcomes after the Battle At The Oasis Of Olufunke.

What happens to Lord Renaldo’s army?

1) Disintegrates/Retreats to coast; 2) Alliance with Natives; 3) Fight Natives; 4)Alliance with Bey Mahir to fight Sultan Efe.

What happens to the victorious Bey Mahir?

1) No further action; 2) Attacks Natives; 3) Alliance with Natives and/or 4) Attacks Sultan Efe:

What happens to Sultan Efe?

1) Decided after Lord Renaldo/Bey Mahir outcome(s).

Do Ming Chinese become involved?

1)  Yes/No; 2)  If Yes, how?

Do Natives become involved?

1) Decided after Lord Renaldo/Bey Mahir outcomes(s).

We’ll see…..


Carnage At Olufunke

Remnants of Lord Renaldo’s army have fled south after a stunning defeat at the Oasis At Olufunke.  The Bey’s army is too worn to pursue, having suffered heavy losses in a battle that had three distinct phases.

Bey Mahir’s defensive alignment was a variation of what he had used before.   His units were arrayed in a checkerboard along the entire plain lying south of the oasis.  His Civic Guard units were in front, with Tribal units some distance to the rear, but filling the gaps between Guard units.  This would allow any wavering guards to fall back unimpeded and tribesmen to counterattack.  Renaldo’s plan was use his Shot and Bow units as a screen on his right (Zanj left), while his Pike and Targeteer units concentrated on his left (Zanj right) to deliver a crushing blow to enemies to their front.

The Disease and Mishap rolls were not kind to the Zanj.  Four units lost resolve due to illness and two units were pushed out of position.  Once again, the skill of the Portuguese surgeon saved Renaldo’s army from any loss of resolve.

Opening Dispositions After Rolls For Disease and Mishaps.

First Phase:

The Portuguese screening force was extremely effective, engaging the Zanj guardsmen at long range, causing most of them to scatter.  They could not close and melee with the weaker Portuguese.  More importantly,the guardsmen could not be rallied since their retreat drove them out of the Bey’s command radius.  However, the Bey’s forces on his right stopped the Portuguese Pike and Targeteer onslaught, locking them in attritional melees.  It was here that the effect of the earlier battle, which lowered the morale (and resolve) of the Portuguese, was critical.  The Portuguese were wearing down.

Melee On The Portuguese Left. Mercenaries Flanked. Civic Guard Unit Moves To Contain Portuguese Break-Through

Second Phase:

Desperate to break this deadlock, Renaldo ordered his Shot and Bow units to close to within short range of the decimated Zanj units. His hope was to gain the initiative on the next move.  If so, these units could deliver devastating volleys, scattering the Zanj units to his right, forcing a general withdrawal.  The Iron Dice Of War crushed his hopes.  The Portuguese lost the initiative, with Zanj units driving both Shot and Bow units back in disarray.

Portuguese Shot and Bow Move To Close Range

Portuguese Right Collapses. Lord Renaldo’s Personal Guard Attacks

Lord Renaldo launched a last ditch assault with his personal guard of Targeteers, scattering three Zanj units.  However, the outnumbered Zanj units somehow stopped the continued attacks of the Portuguese of the Portuguese Pike.

Third Phase:

Now the desperate one, Bey Mahir attacked Lord Renaldo’s guard.  After a prolonged fight, Renaldo’s unit scattered opening the way for flanking attacks on his remaining units.

Surrounded, Renaldo’s Personal Guard Will Scatter

The Portuguese had no choice but to flee.

Portuguese, Covered By The (Now) Valiant Mercenaries Withdraw To The West

Battle At The Oasis of Olufunke – Preliminaries

The Bey’s instincts were correct.  He quickly raised four more Civic Guard units, giving him nine.  His Tribesmen were relatively intact after the battle, and add another five units to his army.  The Civic Guards confidence and resolve soared as a result of their staunch performance, and all units are now rated a “3”.  The Bey’s experience now allows him to have a command radius of six units.

The Portuguese were shaken  by the seeming setback at the Faragh.   The resolve of their Pike units has dropped to “4”, with the Musketeer units resolve now at “3”.   Lord Renaldo’s  negotiated settlement with the Persian mercenaries  is the one bright spot in this deteriorating situation.

A condition of employment was to reveal the ringleaders of their desertion from the Bey’s army.  That being done, Lord Renaldo personally executed them in front of his army.  Now “encouraged”, the Persians have a resolve of “4”.

The Bey’s forces have taken up positions at the Oasis, and the Portuguese approach.  The battle is at hand…….

Battle of Katlego Faragh – Pt 2

Lord Renaldo ordered his troops to by-pass the Zanj tribesmen now blocking the Faragh (gap).  Planning to take advantage of a screen of Musketeers and Crossbowmen, the Pikemen and Targeteers moved north.  But, with the narrow frontage, the Portuguese units blocked each other, offering the Zanj an opportunity to attack.

These piecemeal attacks were stopped, and Bey Iman Mahir ordered a general withdrawal to the east, planning to retire along a route parallel to the Portuguese advance, but separated by the impassable dunes.

Melee Combat
Zanj Orderly Withdrawal. Tribesmen On The Right Will Also Escape.

While the Bey might be criticized for not pressing home is attacks on the disorganized Portuguese, he was intent on maintaining his army, and most importantly, the high morale of his Civic Guard.  These untested units had acquitted themselves well in the battle.  Bey Mahir believed their success would allow him to recruit more Civic Guard as it was his belief more troops were needed to defeat the veteran Portuguese.  This was especially true since the mercenaries had failed miserably, and could no longer be counted on.  In fact,  there were rumors they might be bribed to change sides.

However, there was real risk in his strategy.  The city of Behefe was not defensible and could not withstand the shortest of sieges.  Its sole water supply was the Oasis of Olufunke, a 15 minute walk south from city walls.    The decisive battle would have to take place there.

Poor Misbegotten Thing

Well, it’s over.  The lengthy, frustrating, and unfulfilling process of building the BoB Gunboat has ended.  So many iterations, so many days lingering on the workbench.

Almost all wargame projects start out full of promise, the completed object so thoroughly pictured in the mind’s eye.  Ahh, then the harsh reality of actually building the damn thing.  In many instances the process is so painful that the object is put out of sight and relegated to a box.  Sometimes, it’s just a matter of stepping away, getting a break, and coming back with renewed energy and ability to see what needs to be done for a quality project.  Other times……it just doesn’t happen.

The Gunboat is about as close as I have come to an adult version of my Pinewood Derby car.  My Dad let me build it myself.  The finished project was bad even by 9-year old standards.  Dad tried to salvage things, but it was too little, too late.  The other Cubbies had cool looking cars.  Mine was not.  In a Disney movie, I would win and my ugly piece of child work would be admired.  Didn’t happen.

So it is with the Gunboat, a child-like effort unfortunately completed by an adult.  Oh Well….My, My.

Here’s a picture along with a link to GIF of its Captain.