The Dollar Store is my favorite place to buy fun Christmas Stocking Stuffers.
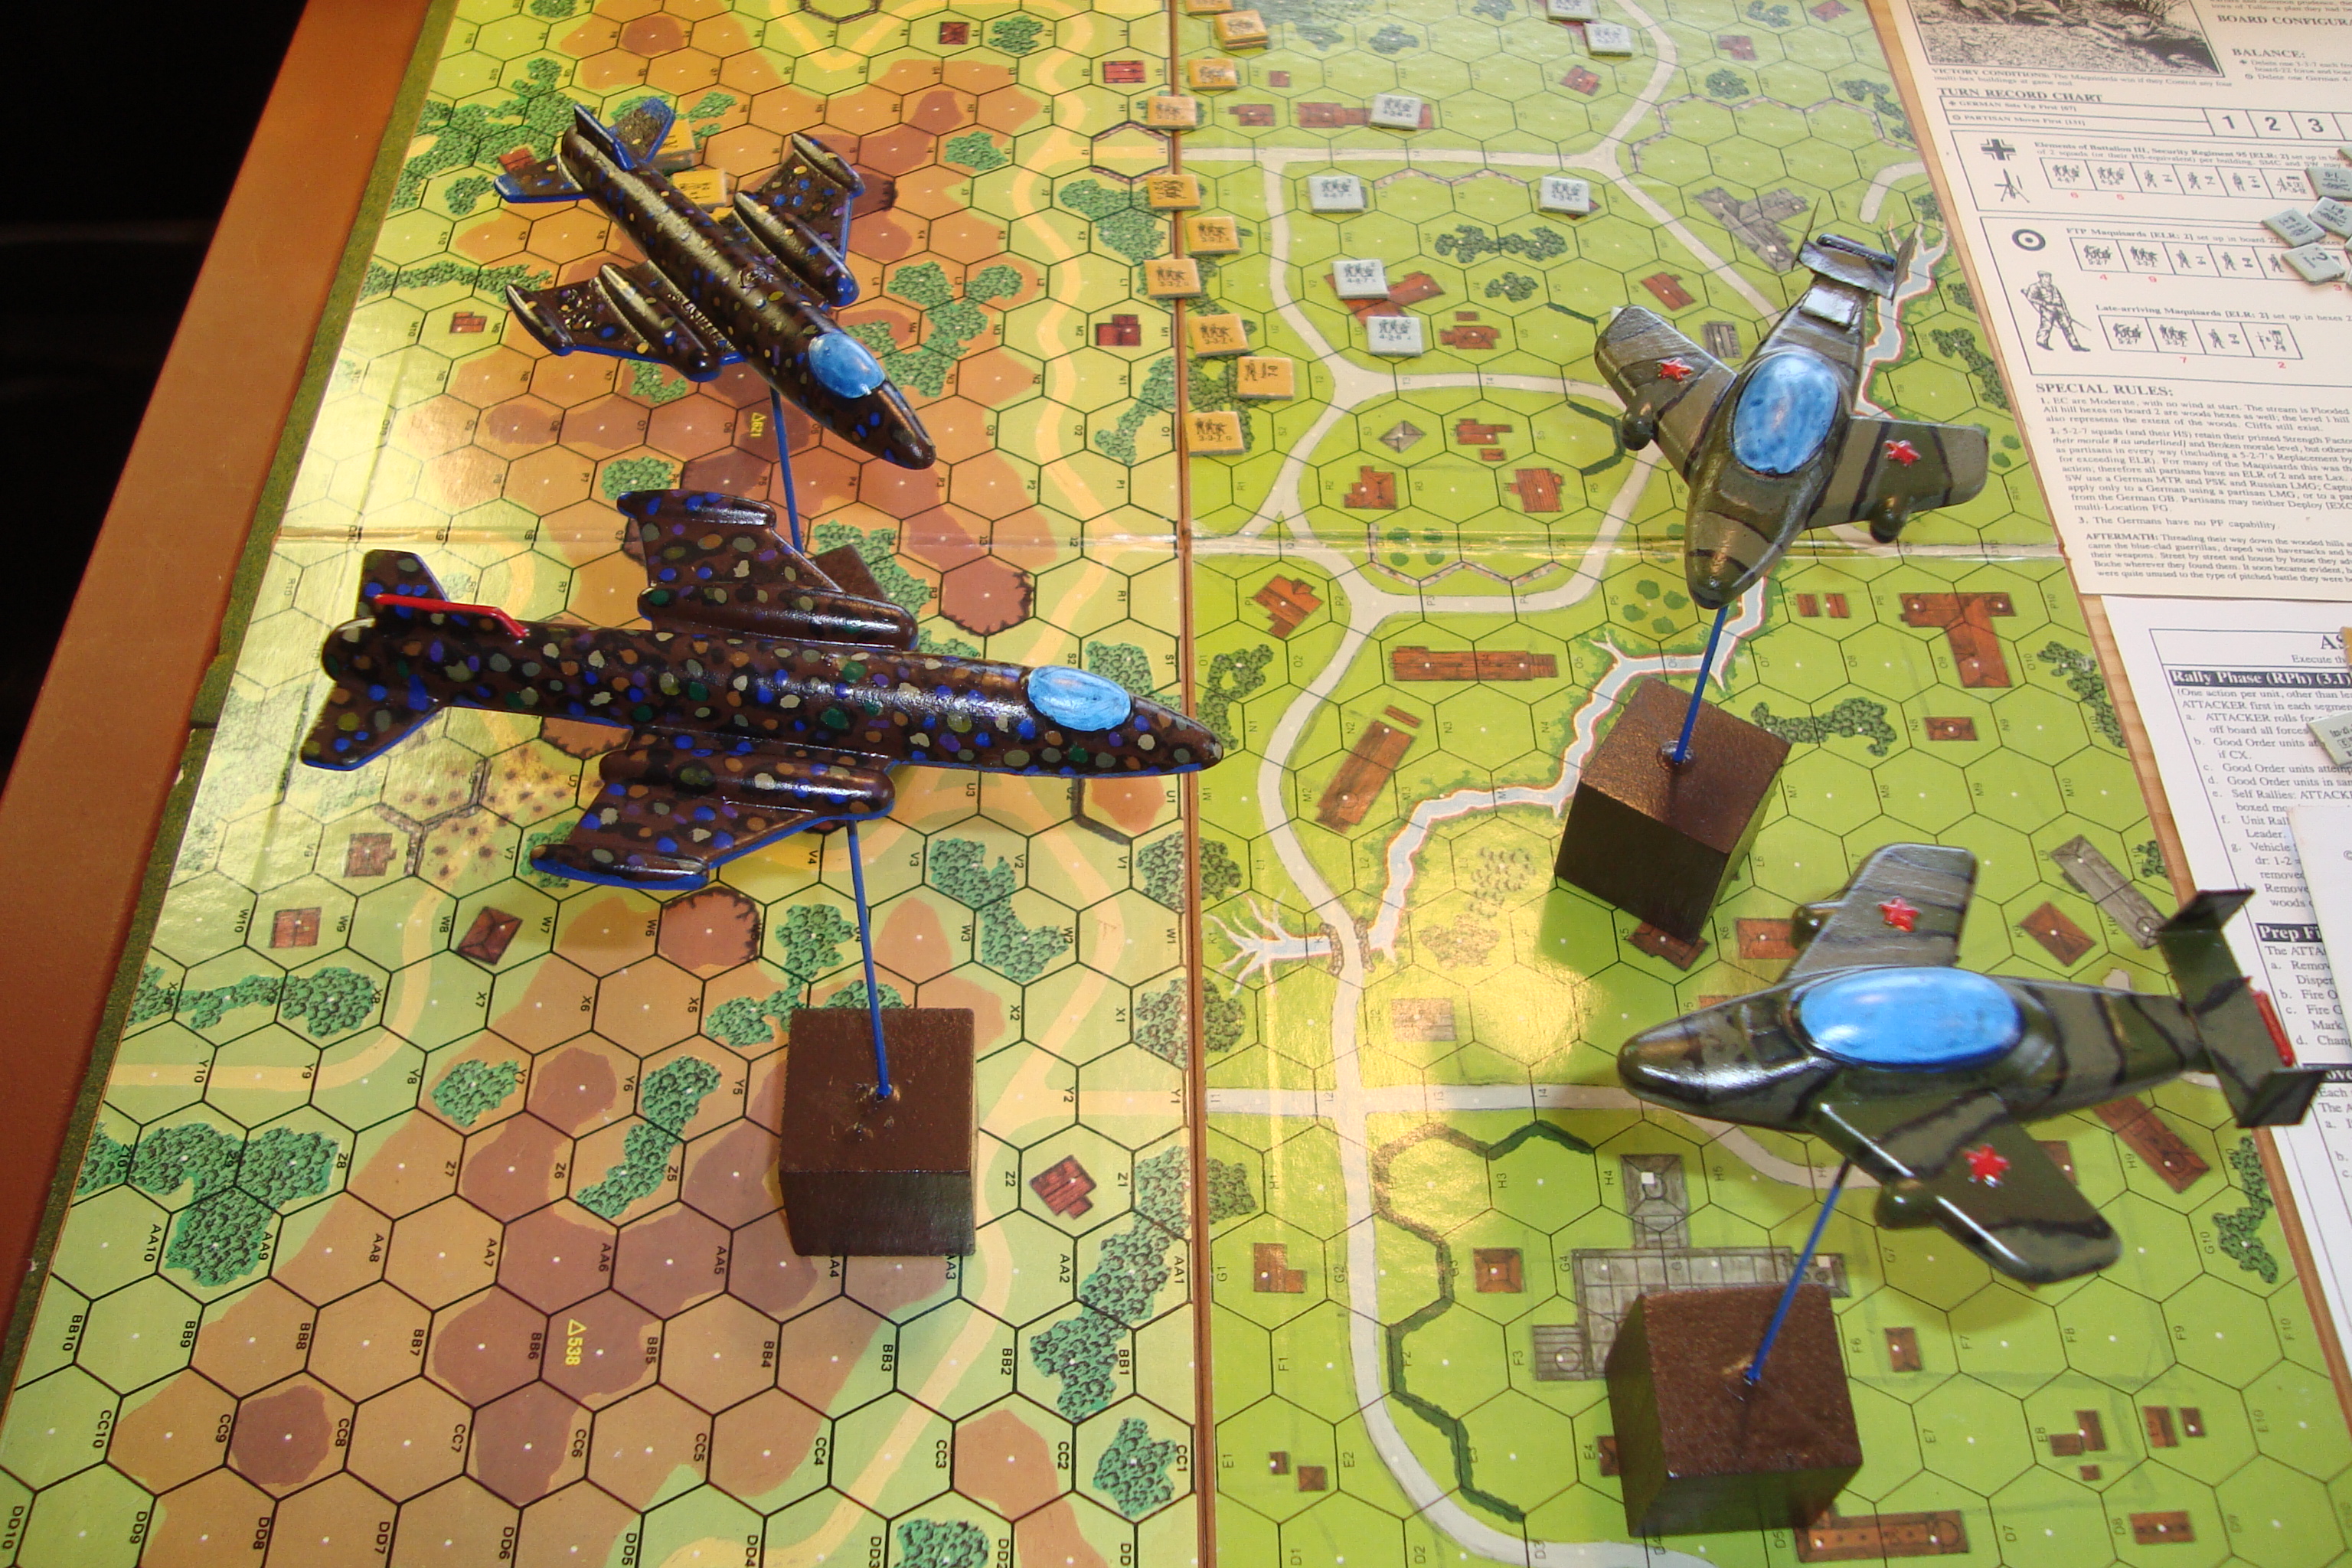
Had an aerial combat fixation last December. Don’t know how many hits on Tumbling Dice’s 1/600 aircraft fantasizing about a early WW2 campaign with all the obsolete/obsolescent planes of the late 1930’s. Then became fixated on Wings of Glory/War for WW1 action. Lots of time and lots of expense for a questionable solo gaming project.
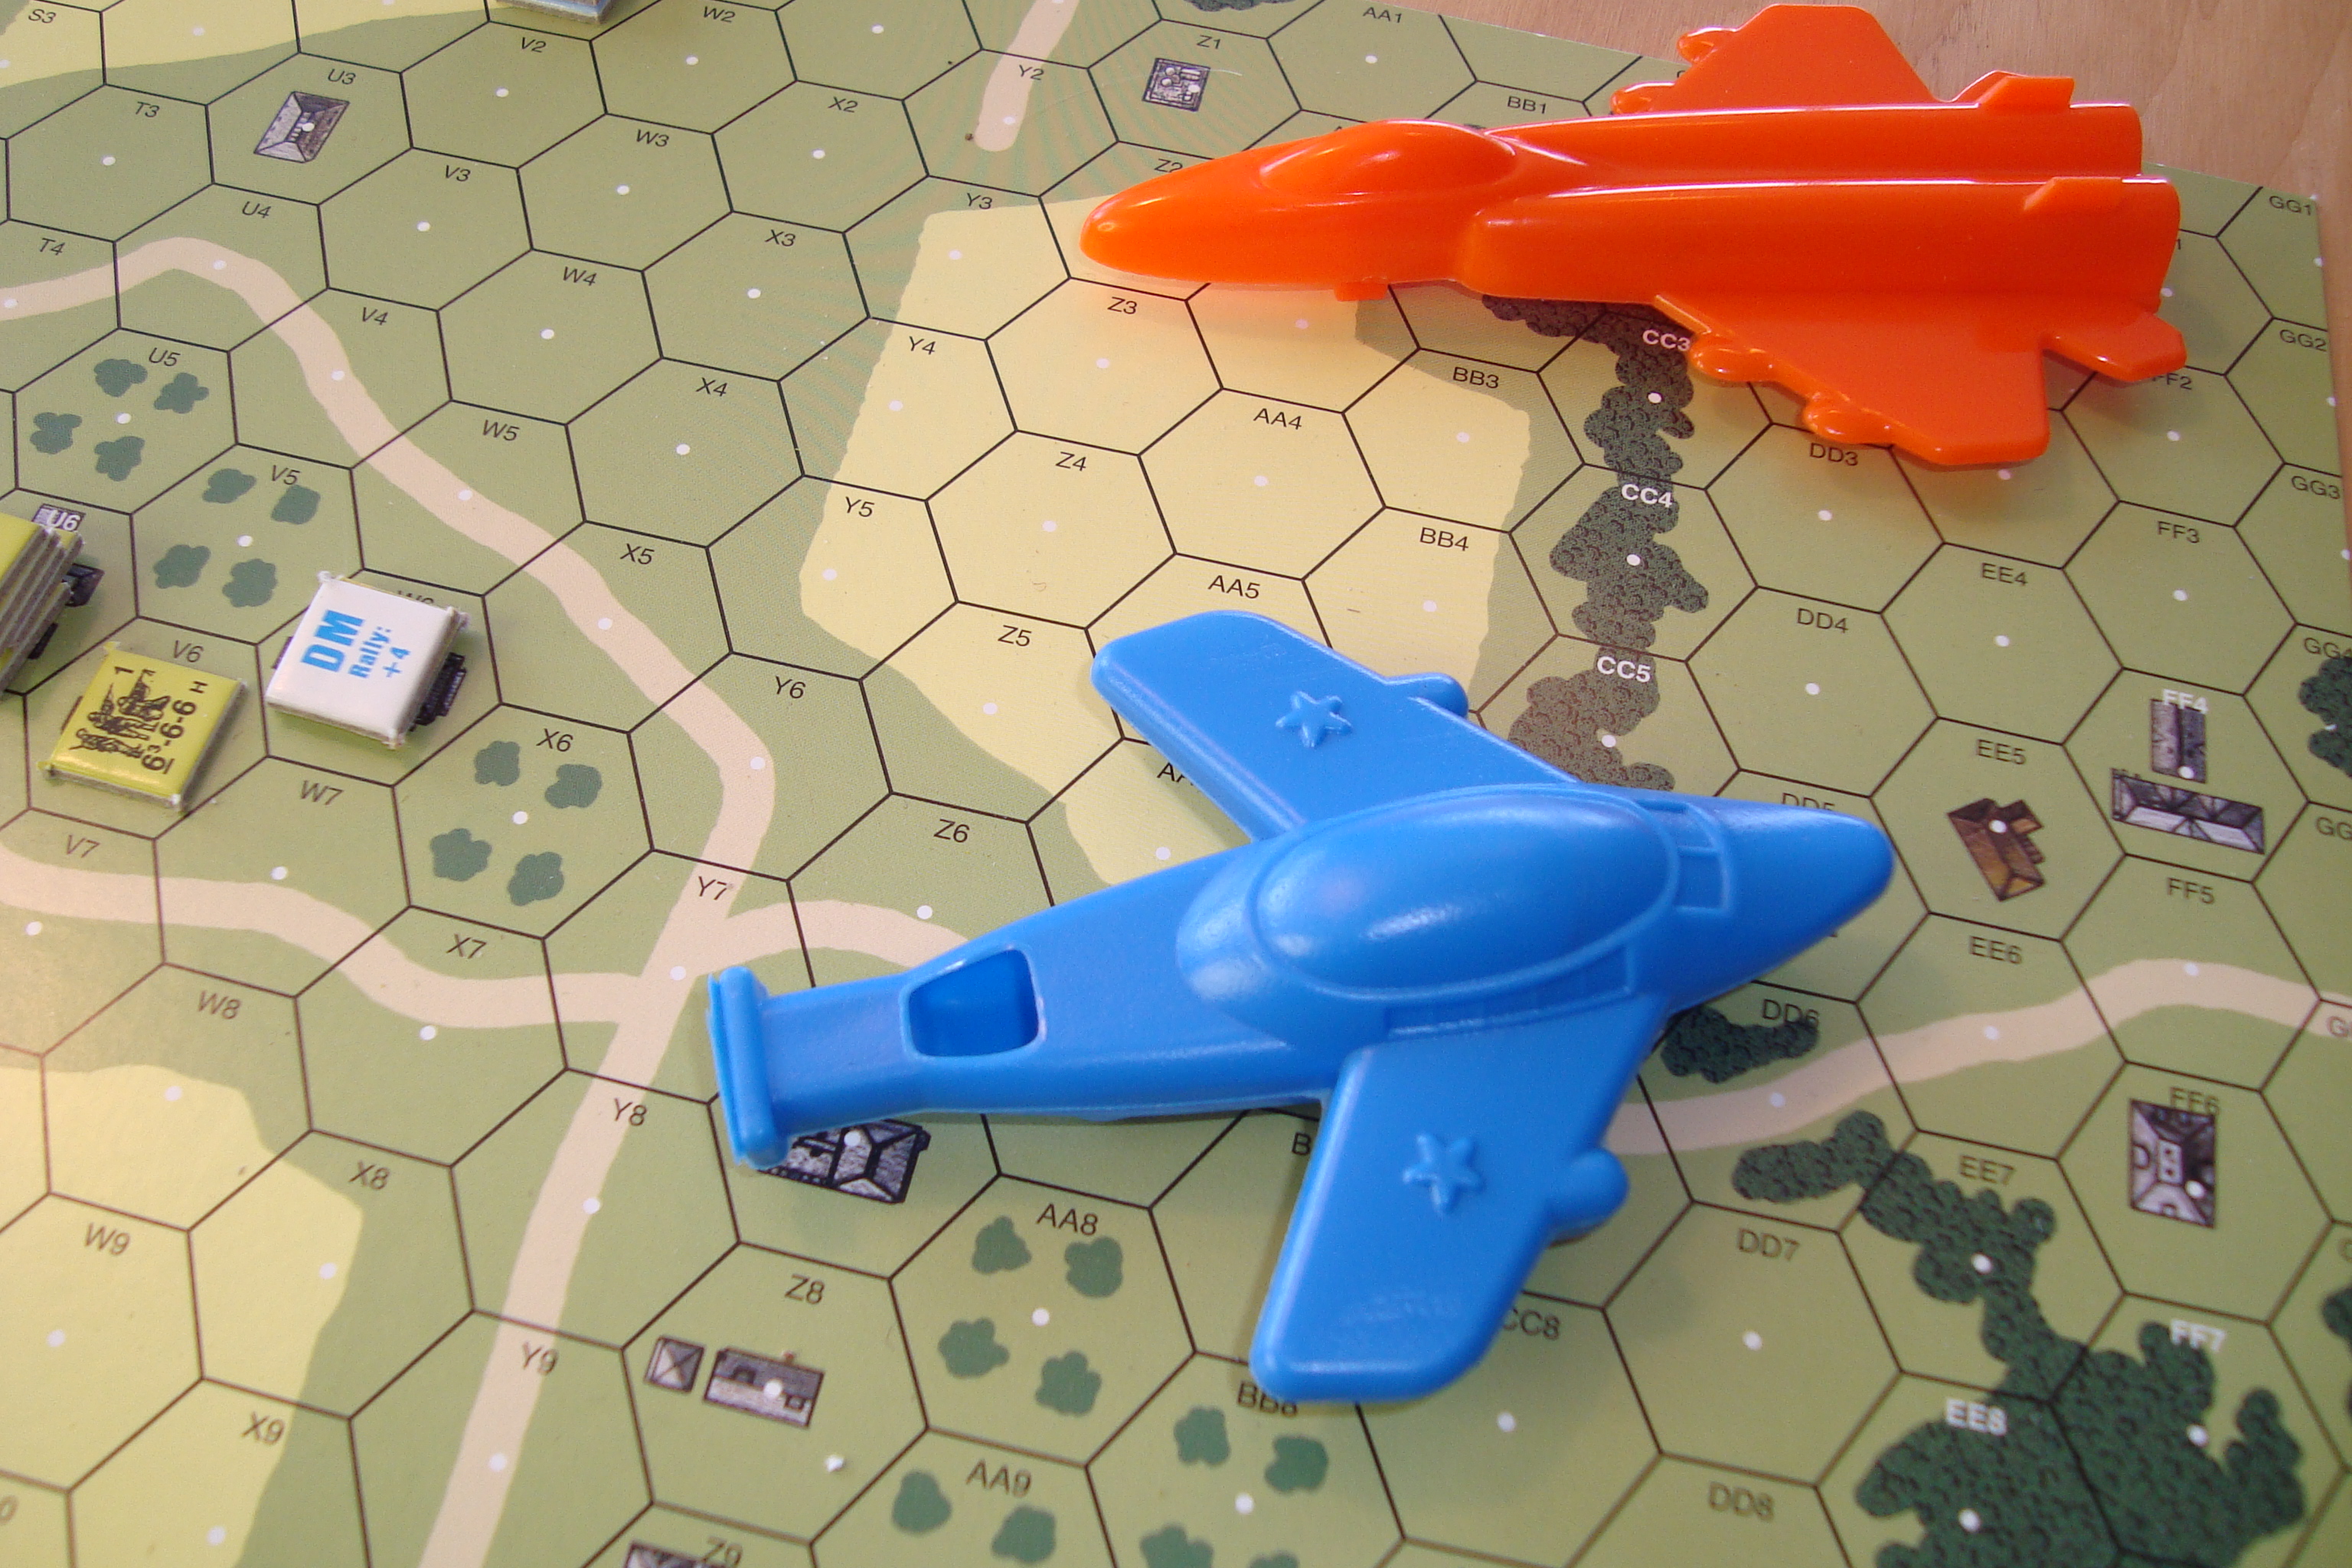
Back to The Dollar Store…. While rooting around for goodies found (Yes, for $1 each) five piece bags of each of these whacked beauties.
The orange critter does look like a modern jet, while the “Blue Thing” reminded me of SuperCar.
“What the hell, it’s only $2, and it might be fun”.
Well, it was, and while not to everyone’s taste, the results are shown below.
I used an index card to fabricate horizontal and vertical stabilizers for “The Thing”, and then channeled an SS officer who was a Pointillist to come up with the modern jet’s camouflage. Picked up a tip on the net (forget where) and used light blue with blue Vallejo wash for the canopies. Works OK.
The next problem is toy-like jet aircraft rules to fit the models. Cannot be serious with these guys. Will mess around with that while painting up two more.
Took down the Irregular Wars battlefield over the weekend, opening up table space. Nature abhors a vacuum, so I set up D-Day At Omaha Beach (still thrashing through the rules), and DBA (De Bellis Antiquitatis) to go along with my latest ASLSK scenario.
I have the DBA 2.0 rules, along with the wonderful 2.2 play-aide published some years ago by the Washington Area DBA Gamers.
It’s been awhile, so I started poking around about DBA 3.0. The cost at $38.00 was just too much. So, I did a little more digging and came up with this. What the hell, I downloaded the Kindle version and started reading.
It’s a nice little book, and a good introduction to the significant changes to the system. It even includes a series of army lists based on time period and potential adversaries/allies.
But…….no diagrams to illustrate the always interesting Barker narrative style. For diagrams, you pay $38.00, and I need the diagrams. Sixteen of them, and by all accounts very informative. Reviewers also laud the extensive (500) army lists, many of them revisions that change not only an army’s troop type but also basing.
If I was playing in tournaments, or had a crew that played DBA, I’d go all-in. But for solo play, it just isn’t worth it. I’ll putz along with 2.2. Can use the time/money on other projects.
Picked late medieval armies for a mini-campaign. Late Swiss, Imperial German, and two Condottiere armies. The Swiss are pike of course, and the Imperial Germans have war-wagons. One Condottiere army’s knights will fight dismounted, the other mounted.
So, some variety and the prospect of quick and entertaining fights.
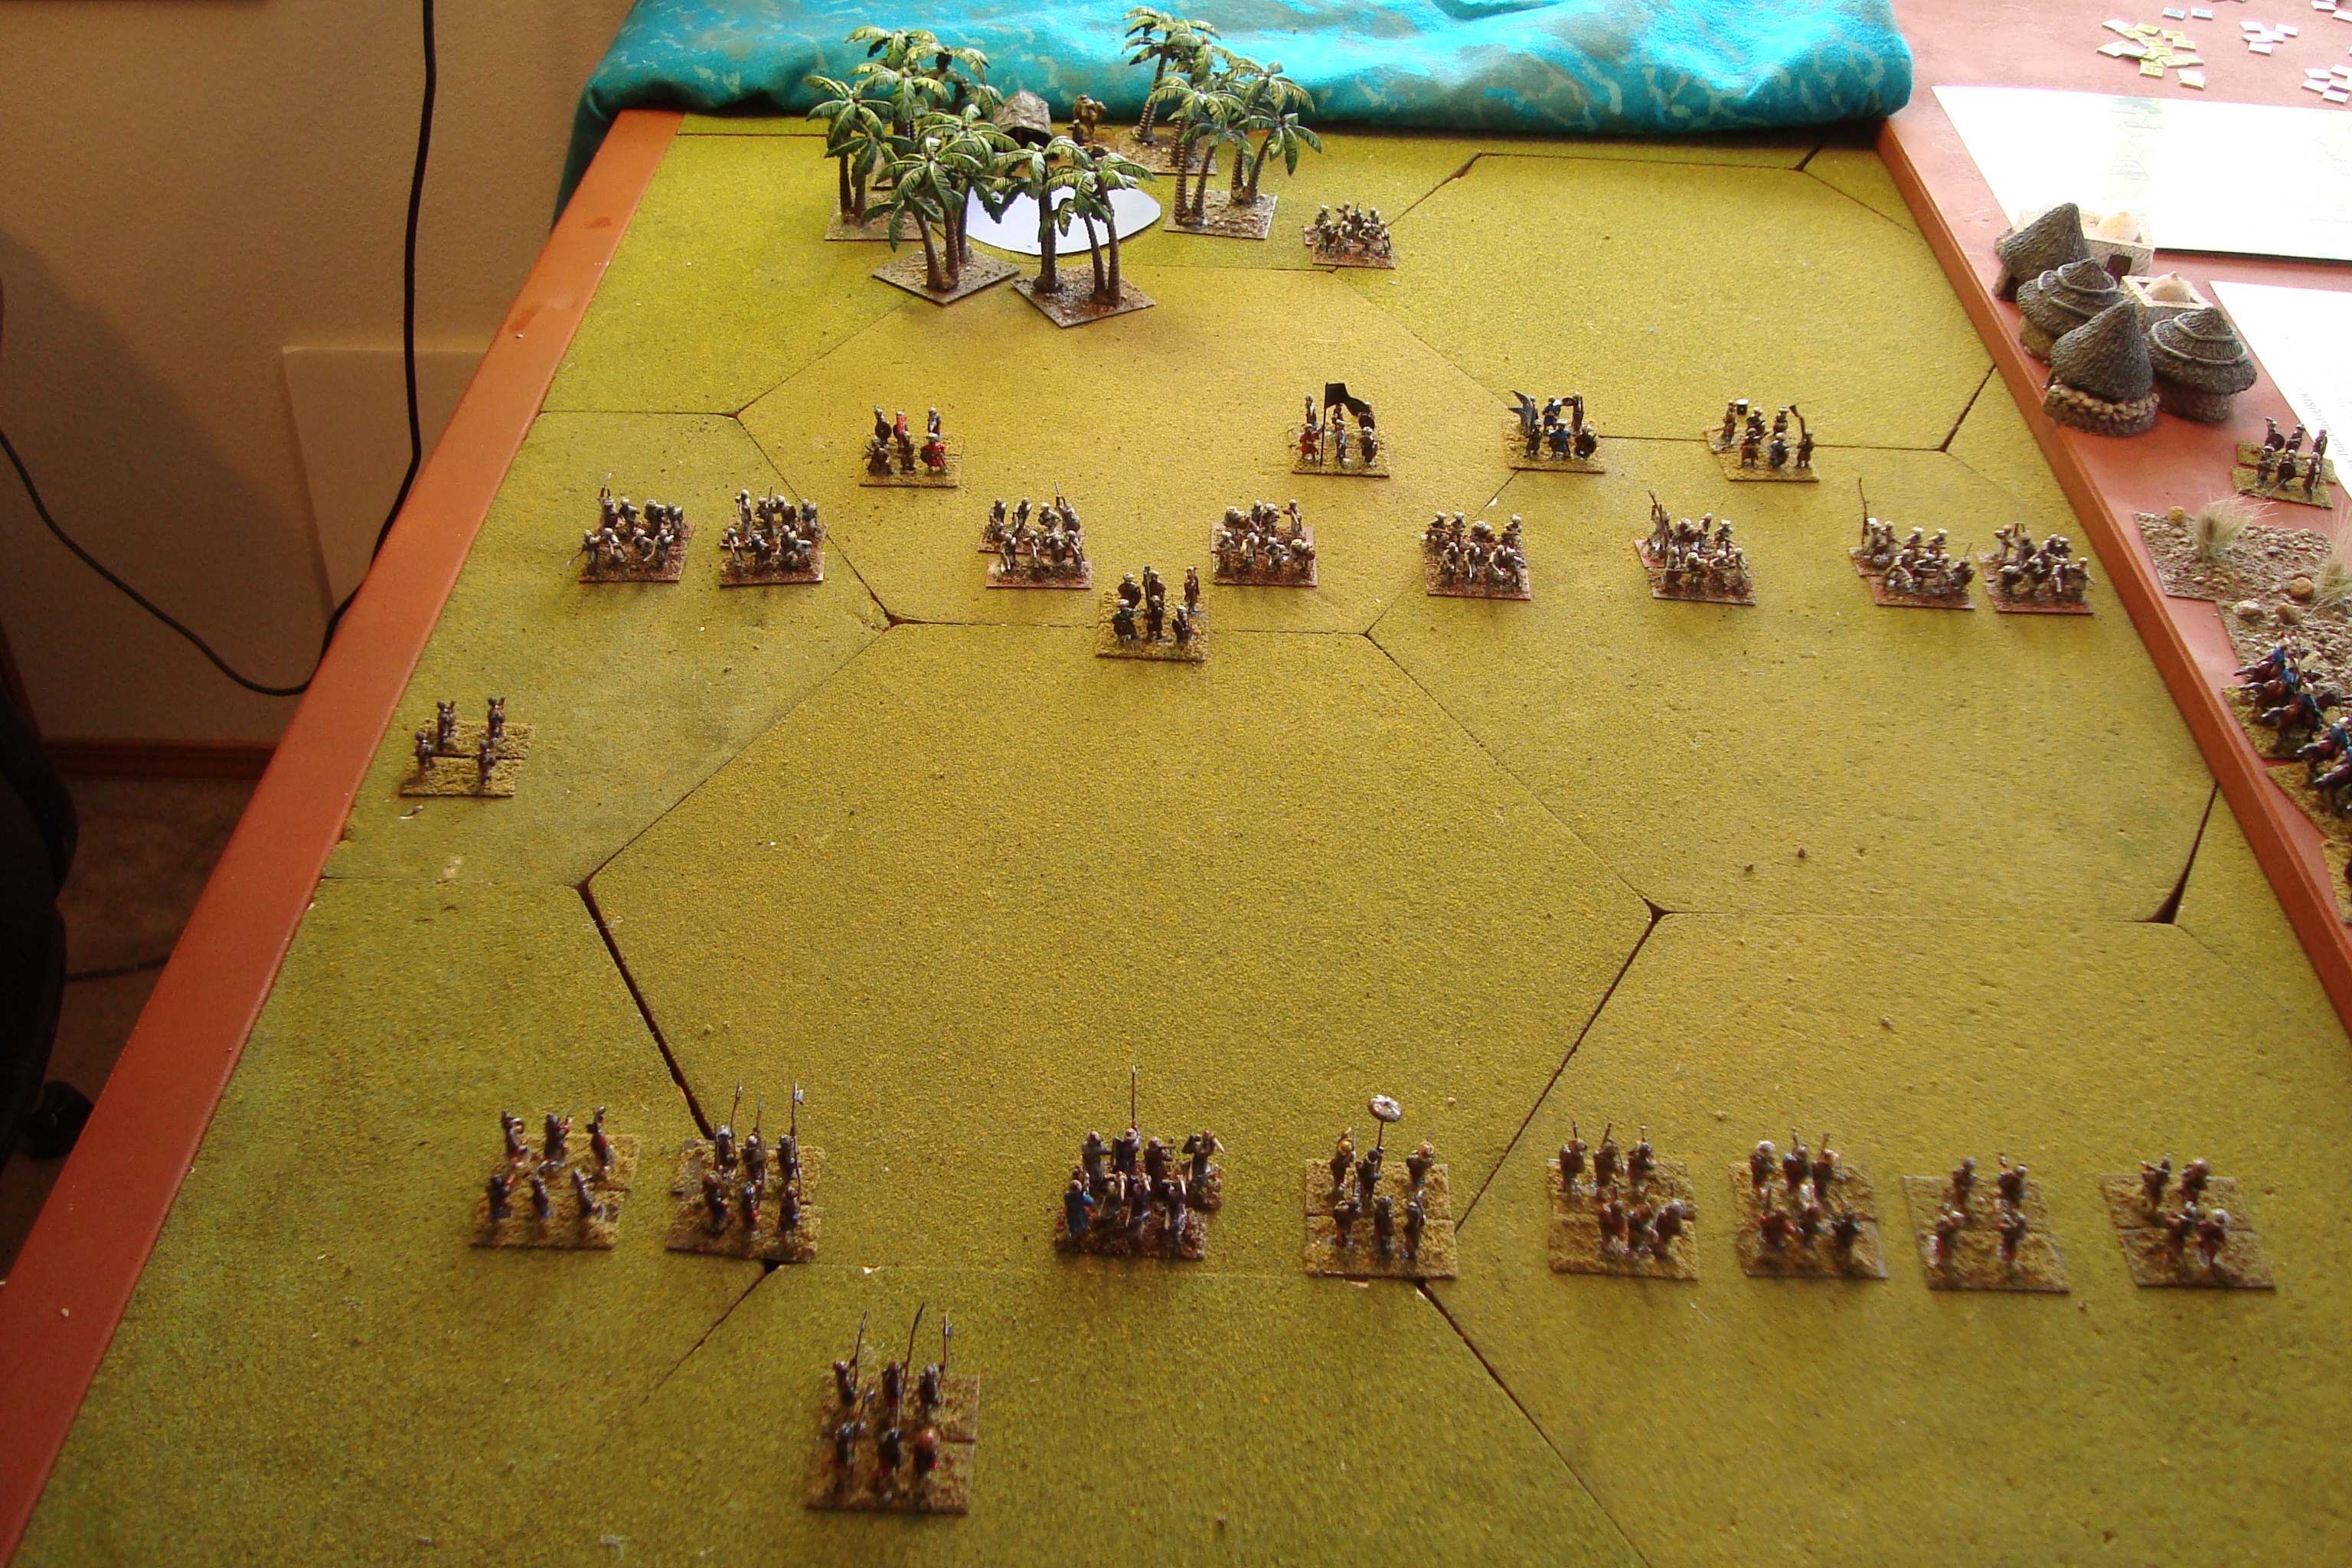
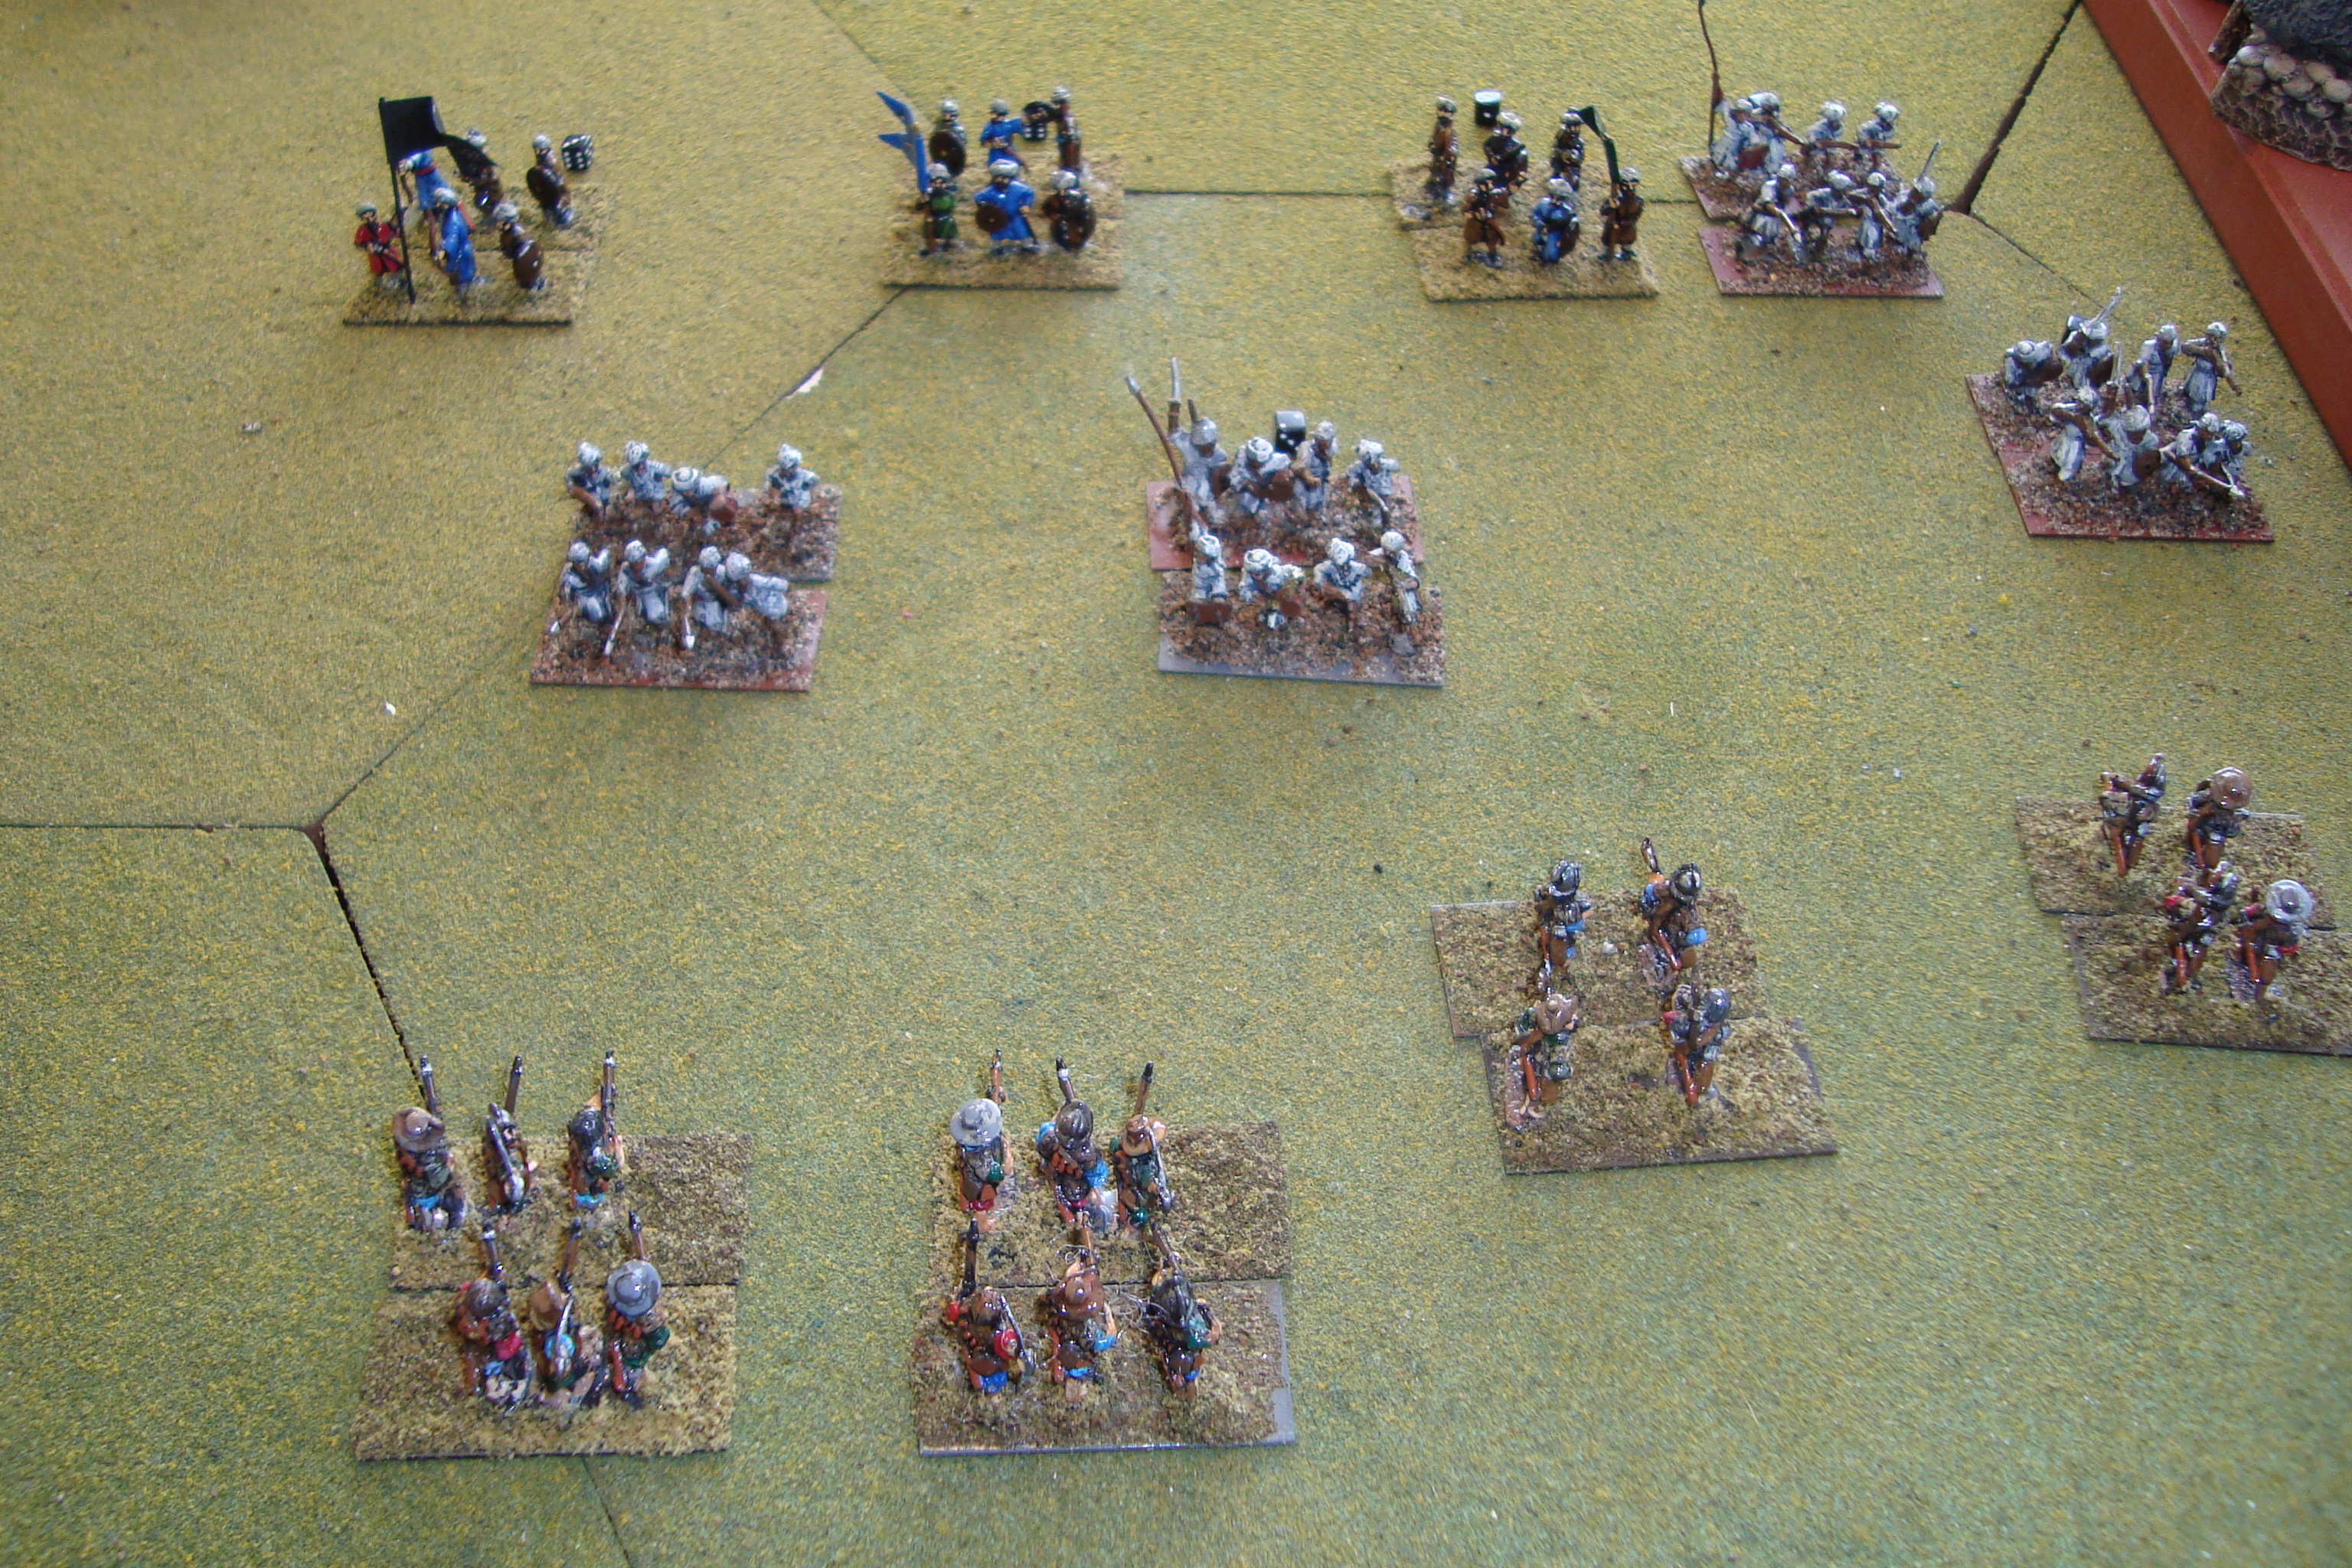
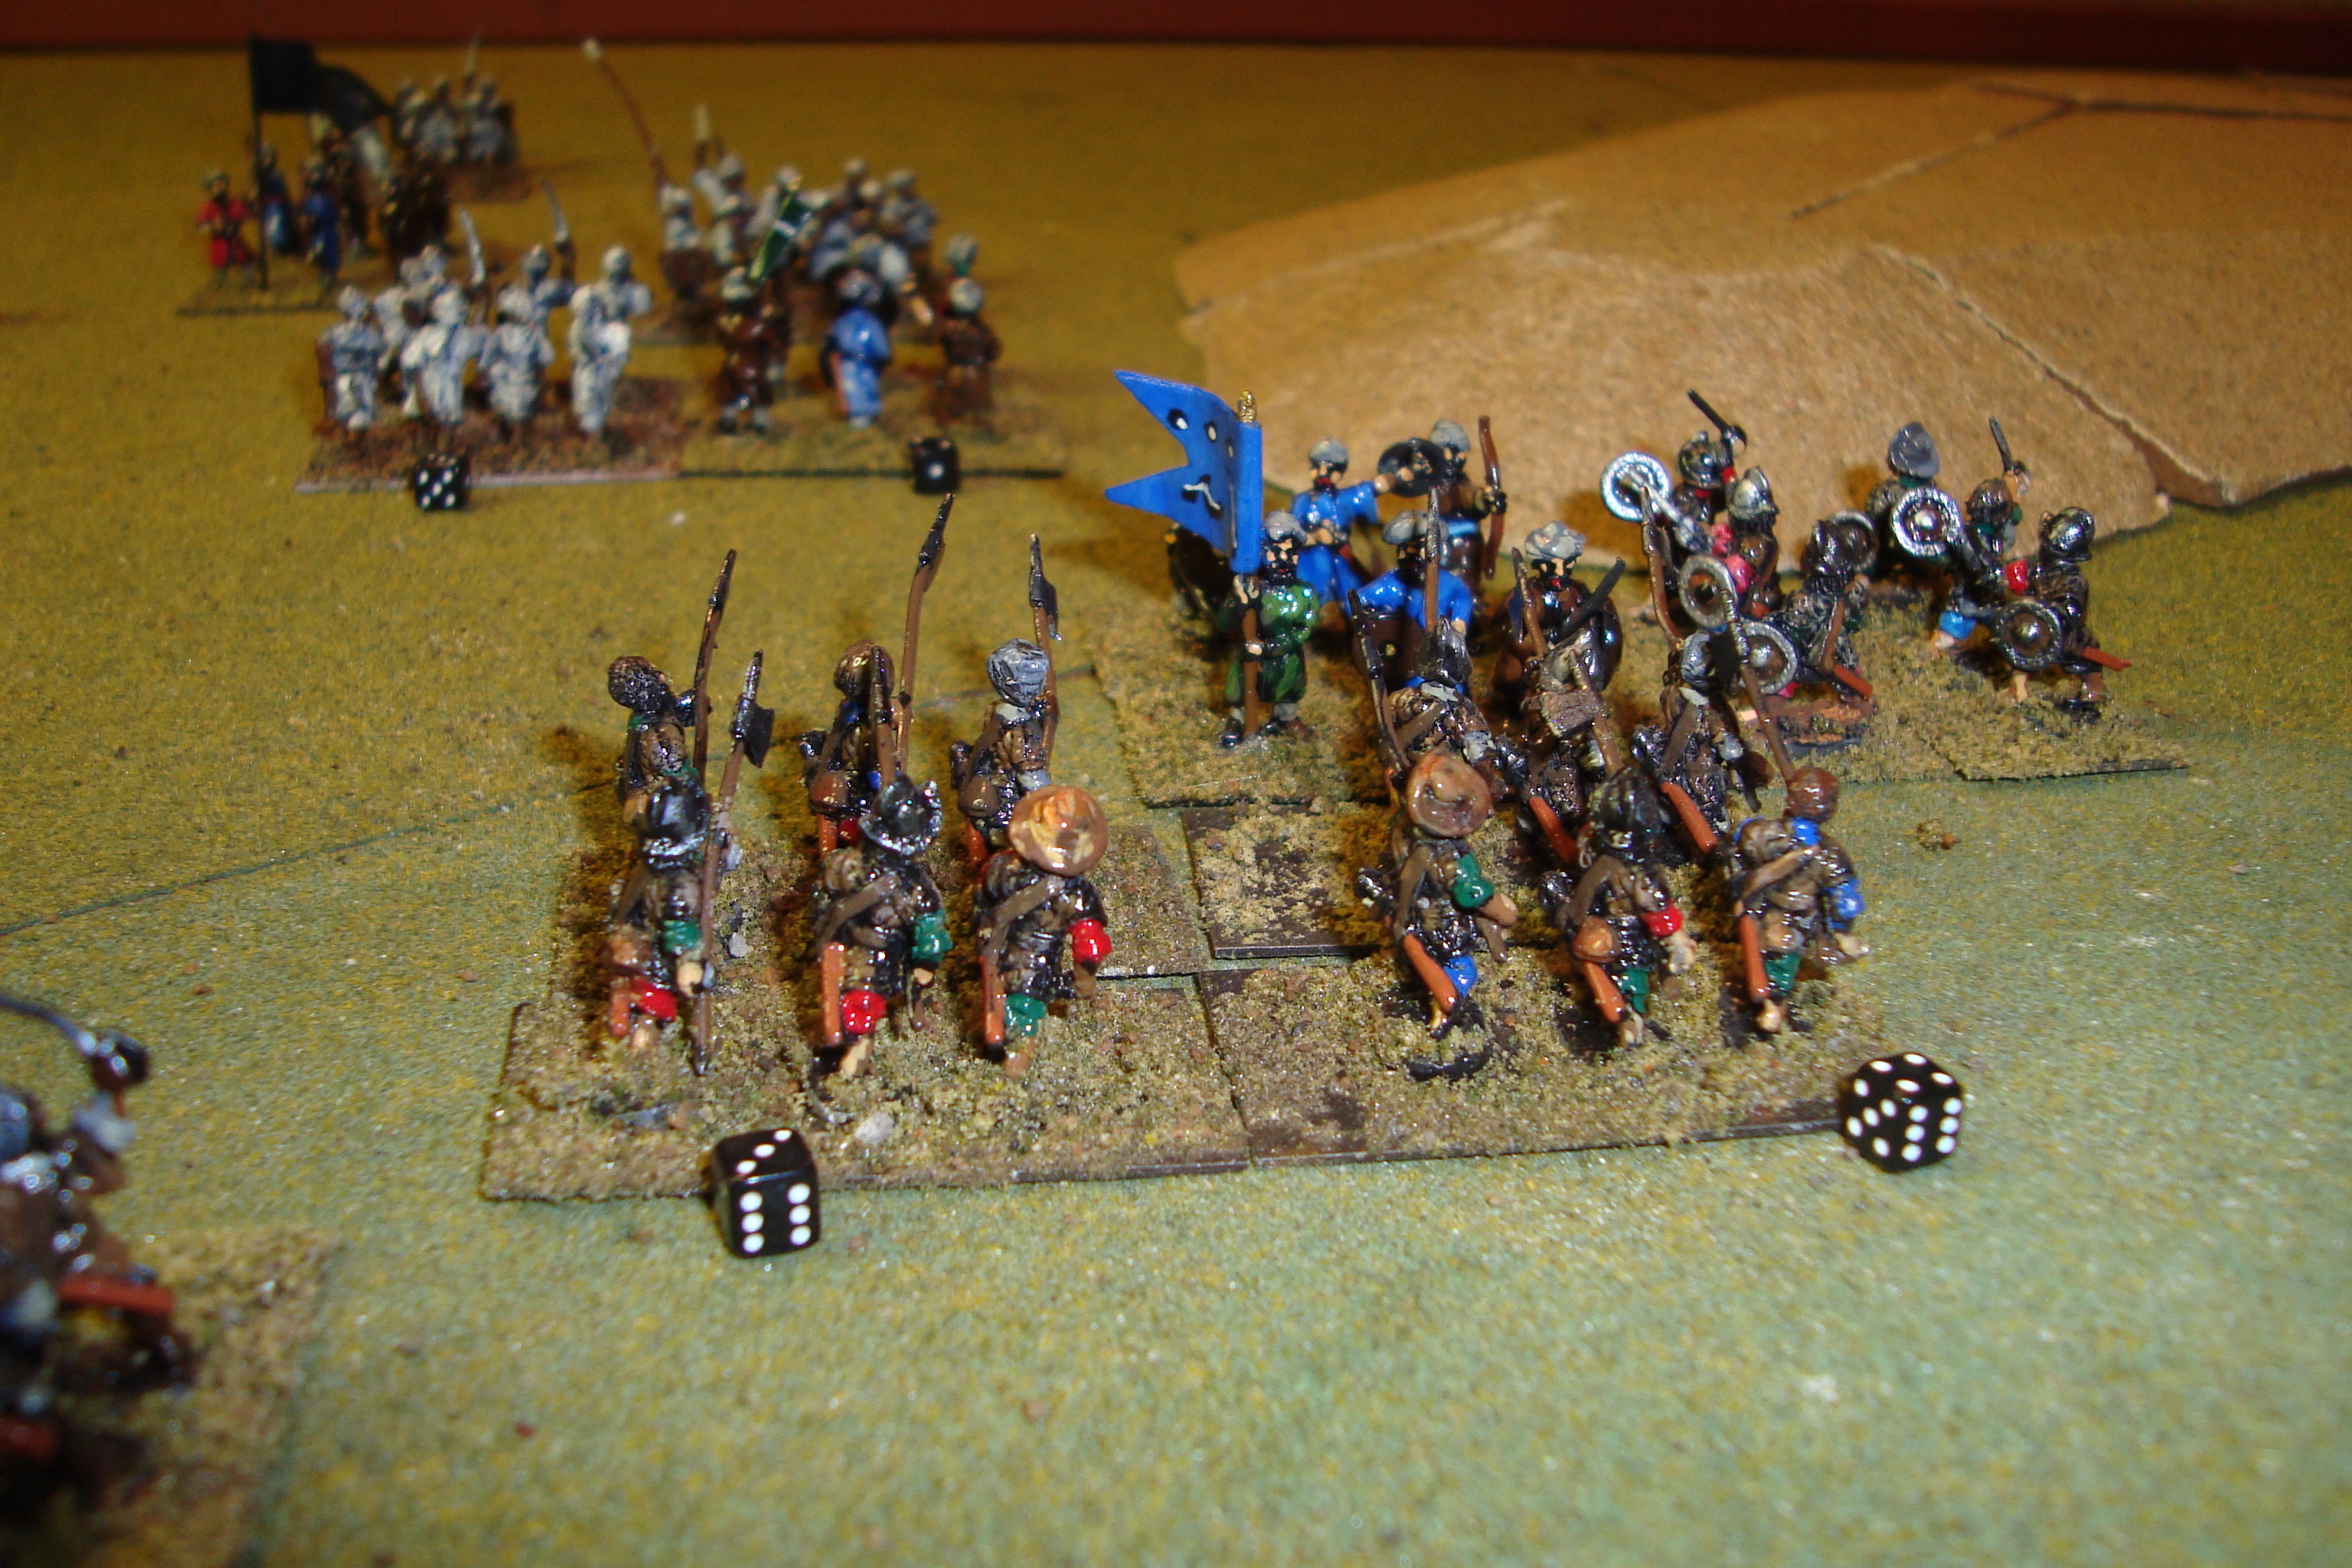
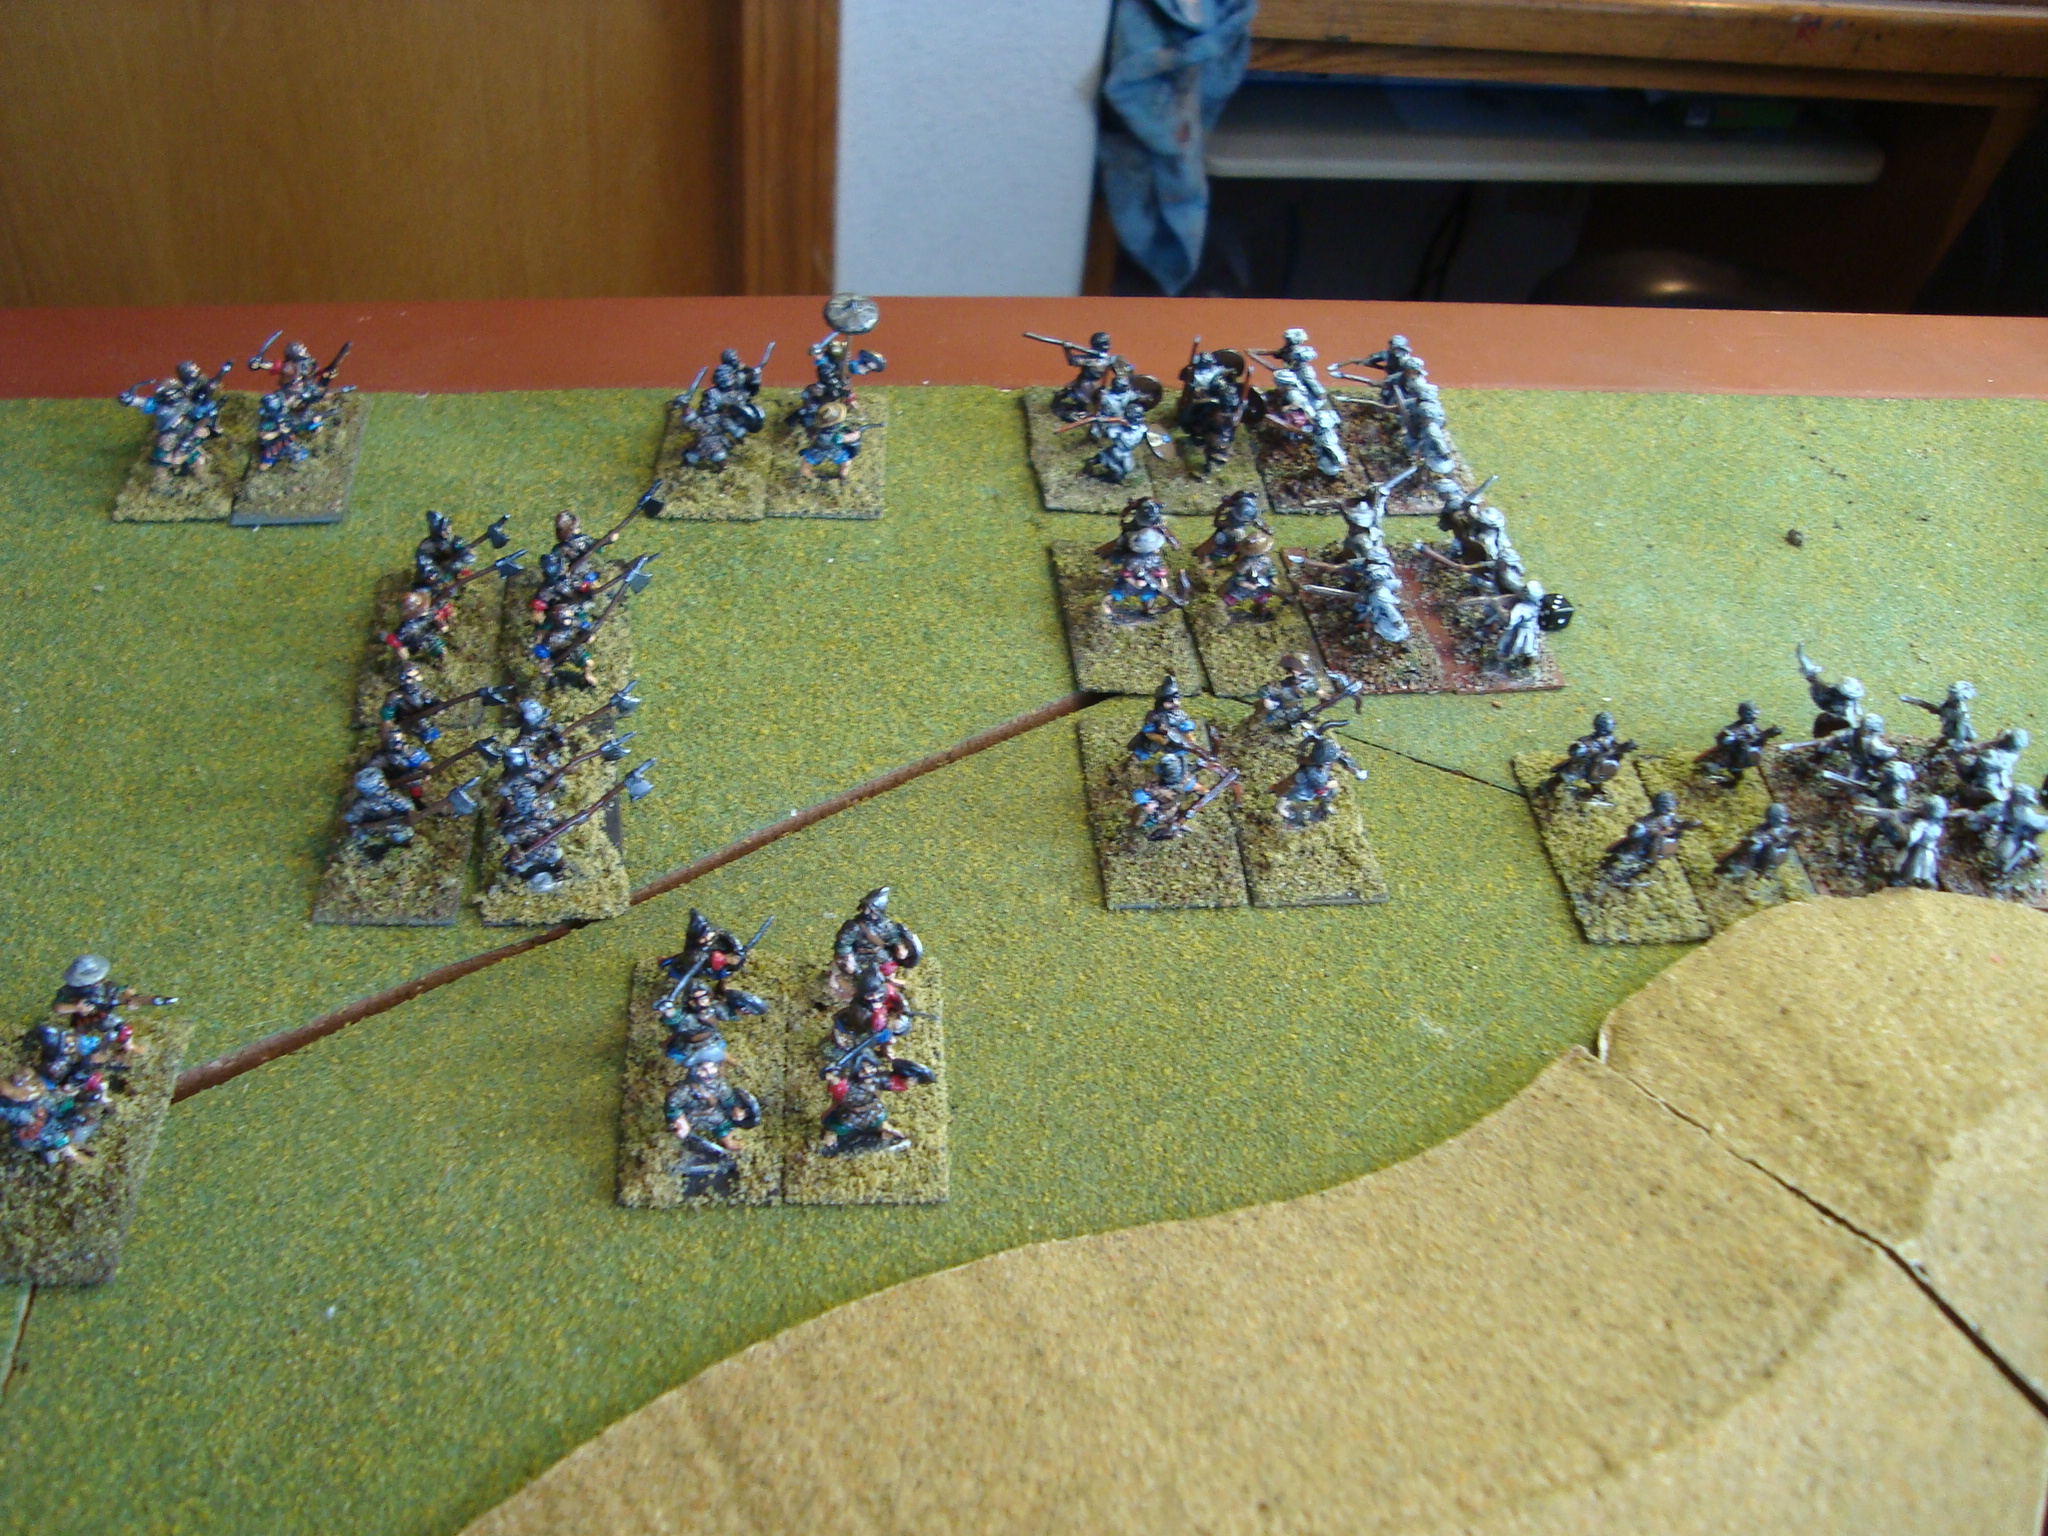
Remnants of Lord Renaldo’s army have fled south after a stunning defeat at the Oasis At Olufunke. The Bey’s army is too worn to pursue, having suffered heavy losses in a battle that had three distinct phases.
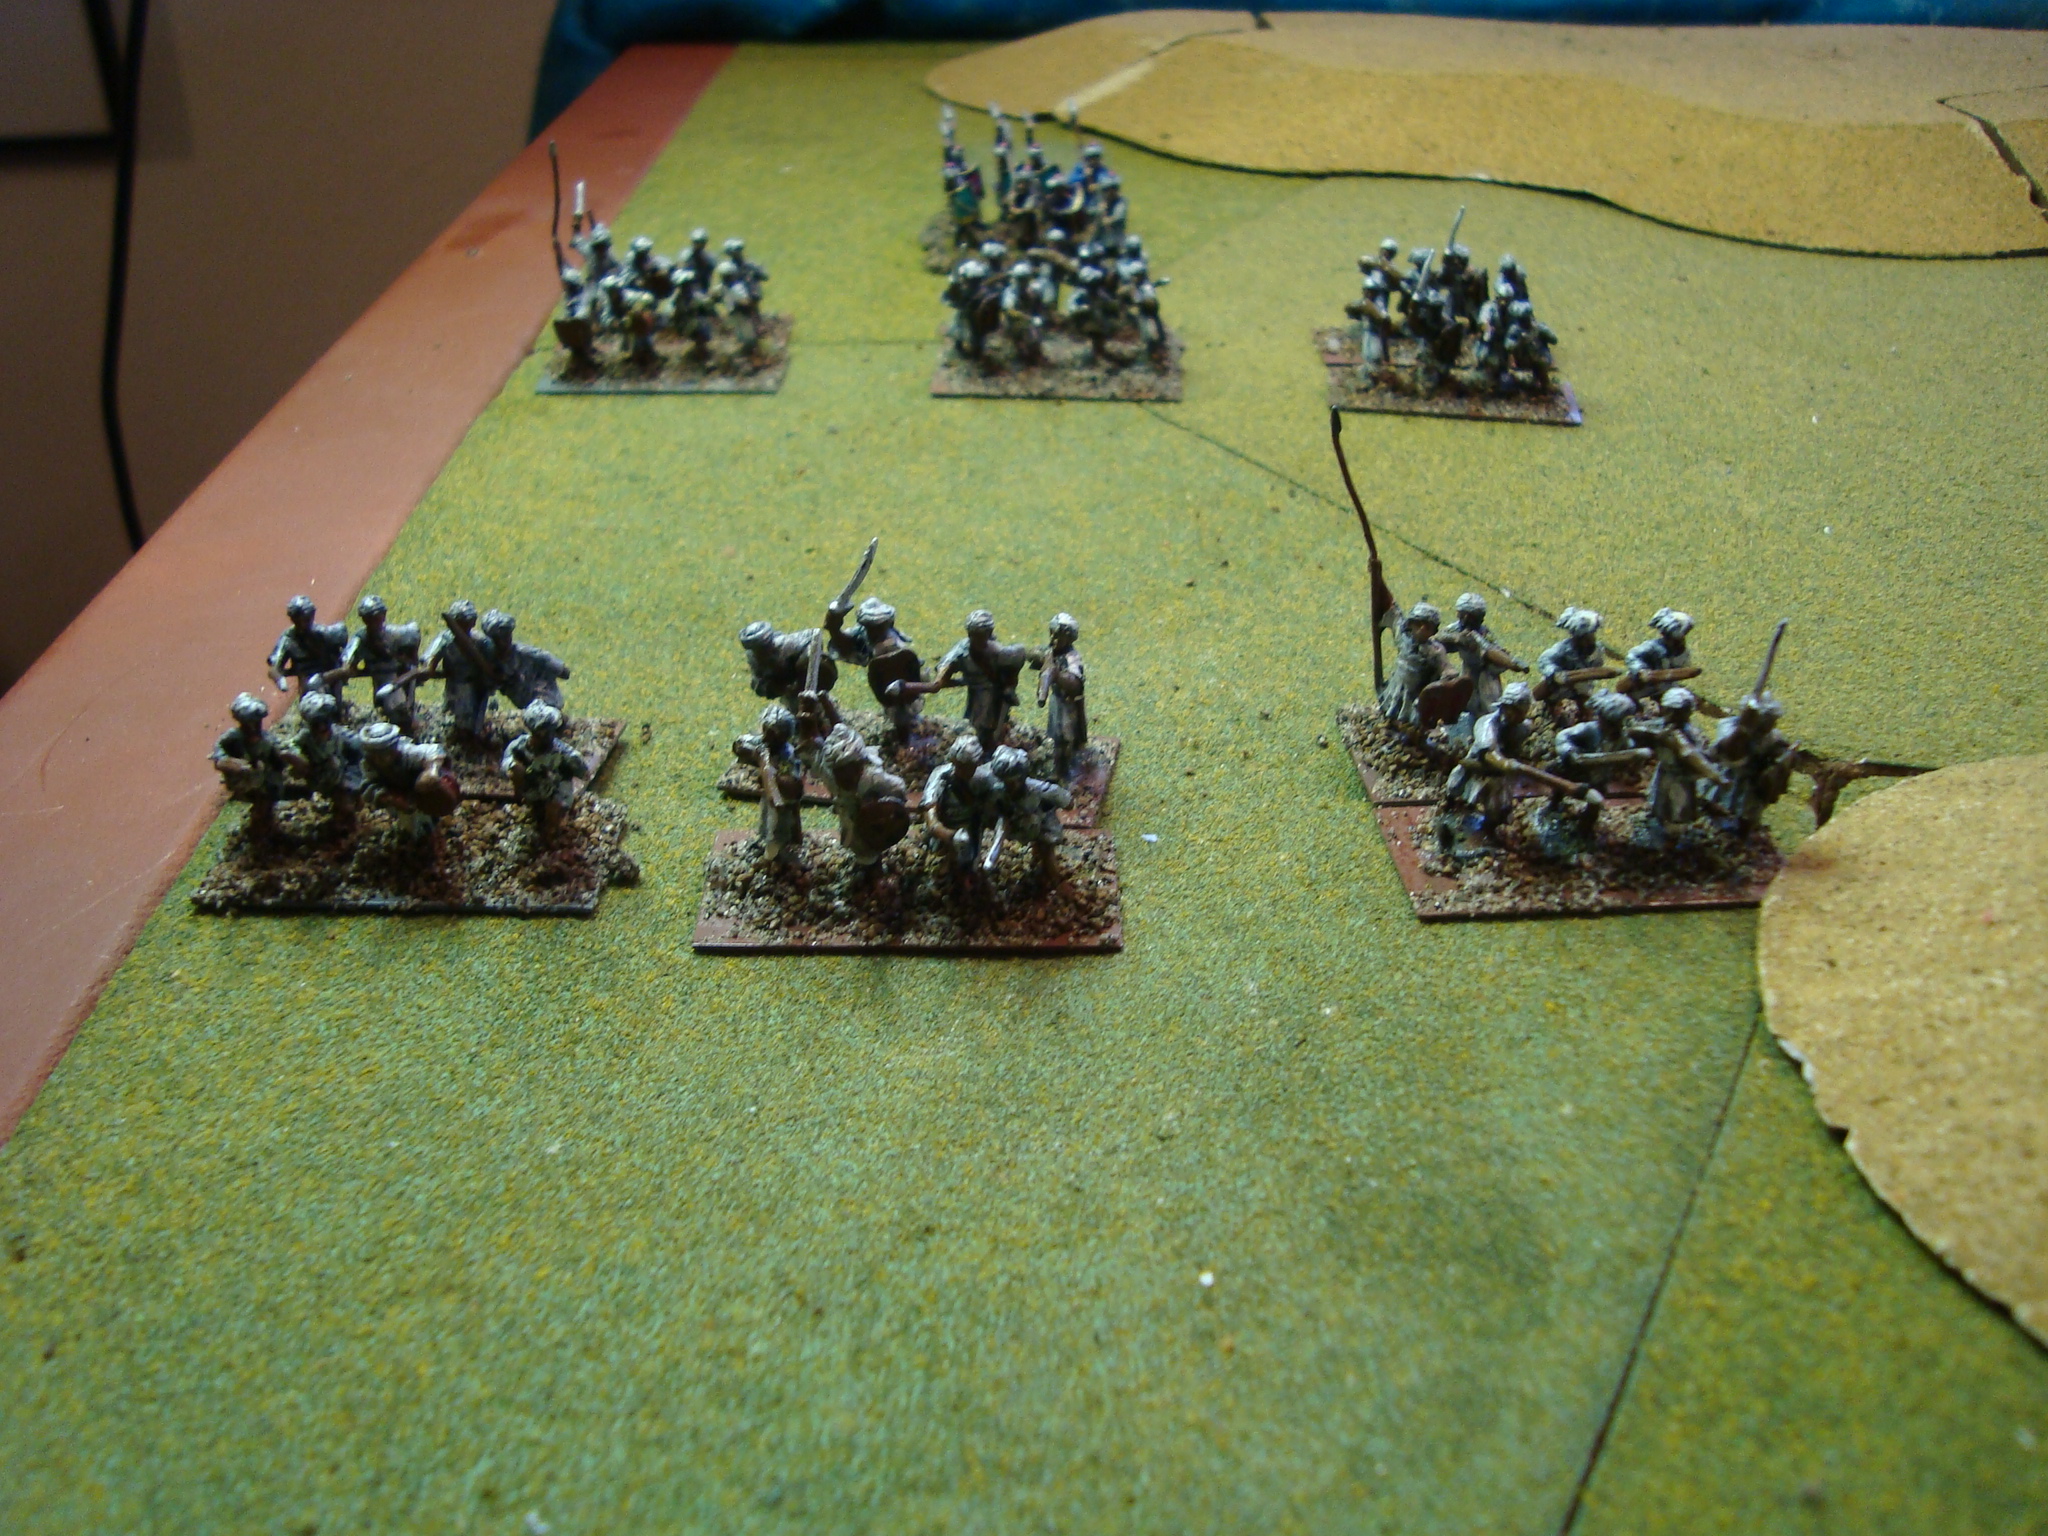
Bey Mahir’s defensive alignment was a variation of what he had used before. His units were arrayed in a checkerboard along the entire plain lying south of the oasis. His Civic Guard units were in front, with Tribal units some distance to the rear, but filling the gaps between Guard units. This would allow any wavering guards to fall back unimpeded and tribesmen to counterattack. Renaldo’s plan was use his Shot and Bow units as a screen on his right (Zanj left), while his Pike and Targeteer units concentrated on his left (Zanj right) to deliver a crushing blow to enemies to their front.
The Disease and Mishap rolls were not kind to the Zanj. Four units lost resolve due to illness and two units were pushed out of position. Once again, the skill of the Portuguese surgeon saved Renaldo’s army from any loss of resolve.
Opening Dispositions After Rolls For Disease and Mishaps.
First Phase:
The Portuguese screening force was extremely effective, engaging the Zanj guardsmen at long range, causing most of them to scatter. They could not close and melee with the weaker Portuguese. More importantly,the guardsmen could not be rallied since their retreat drove them out of the Bey’s command radius. However, the Bey’s forces on his right stopped the Portuguese Pike and Targeteer onslaught, locking them in attritional melees. It was here that the effect of the earlier battle, which lowered the morale (and resolve) of the Portuguese, was critical. The Portuguese were wearing down.
Melee On The Portuguese Left. Mercenaries Flanked. Civic Guard Unit Moves To Contain Portuguese Break-Through
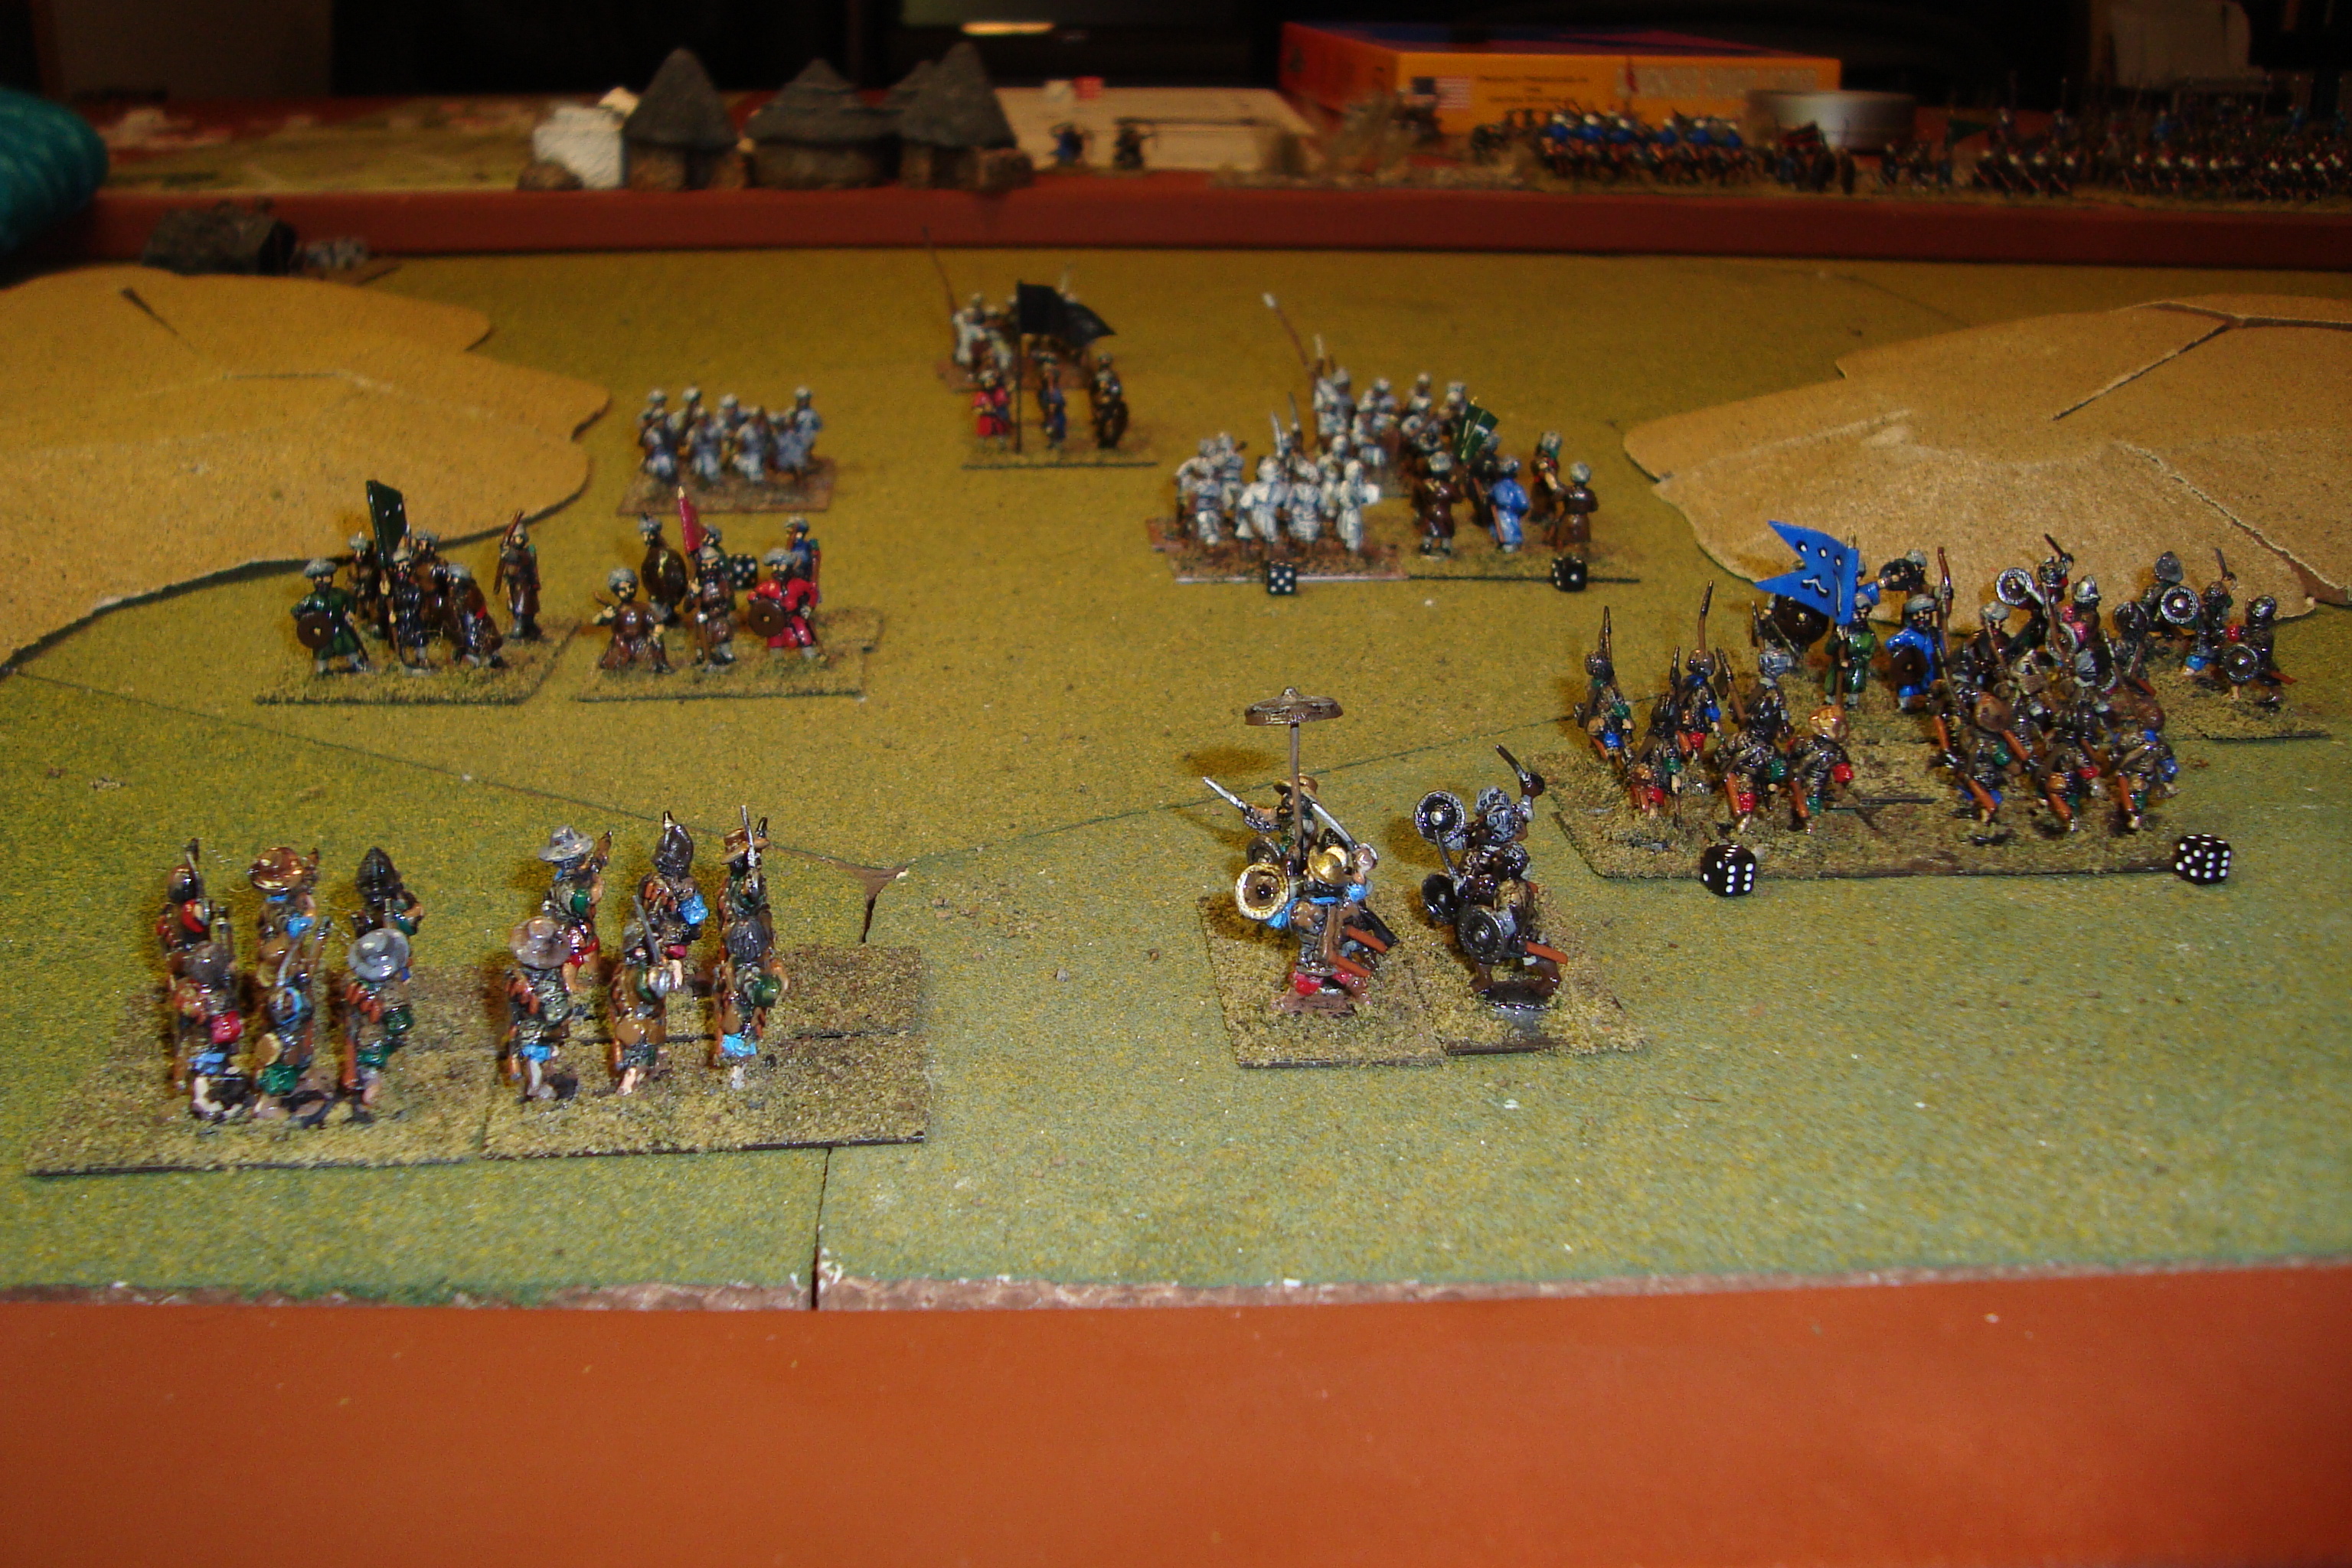
Second Phase:
Desperate to break this deadlock, Renaldo ordered his Shot and Bow units to close to within short range of the decimated Zanj units. His hope was to gain the initiative on the next move. If so, these units could deliver devastating volleys, scattering the Zanj units to his right, forcing a general withdrawal. The Iron Dice Of War crushed his hopes. The Portuguese lost the initiative, with Zanj units driving both Shot and Bow units back in disarray.
Portuguese Shot and Bow Move To Close Range
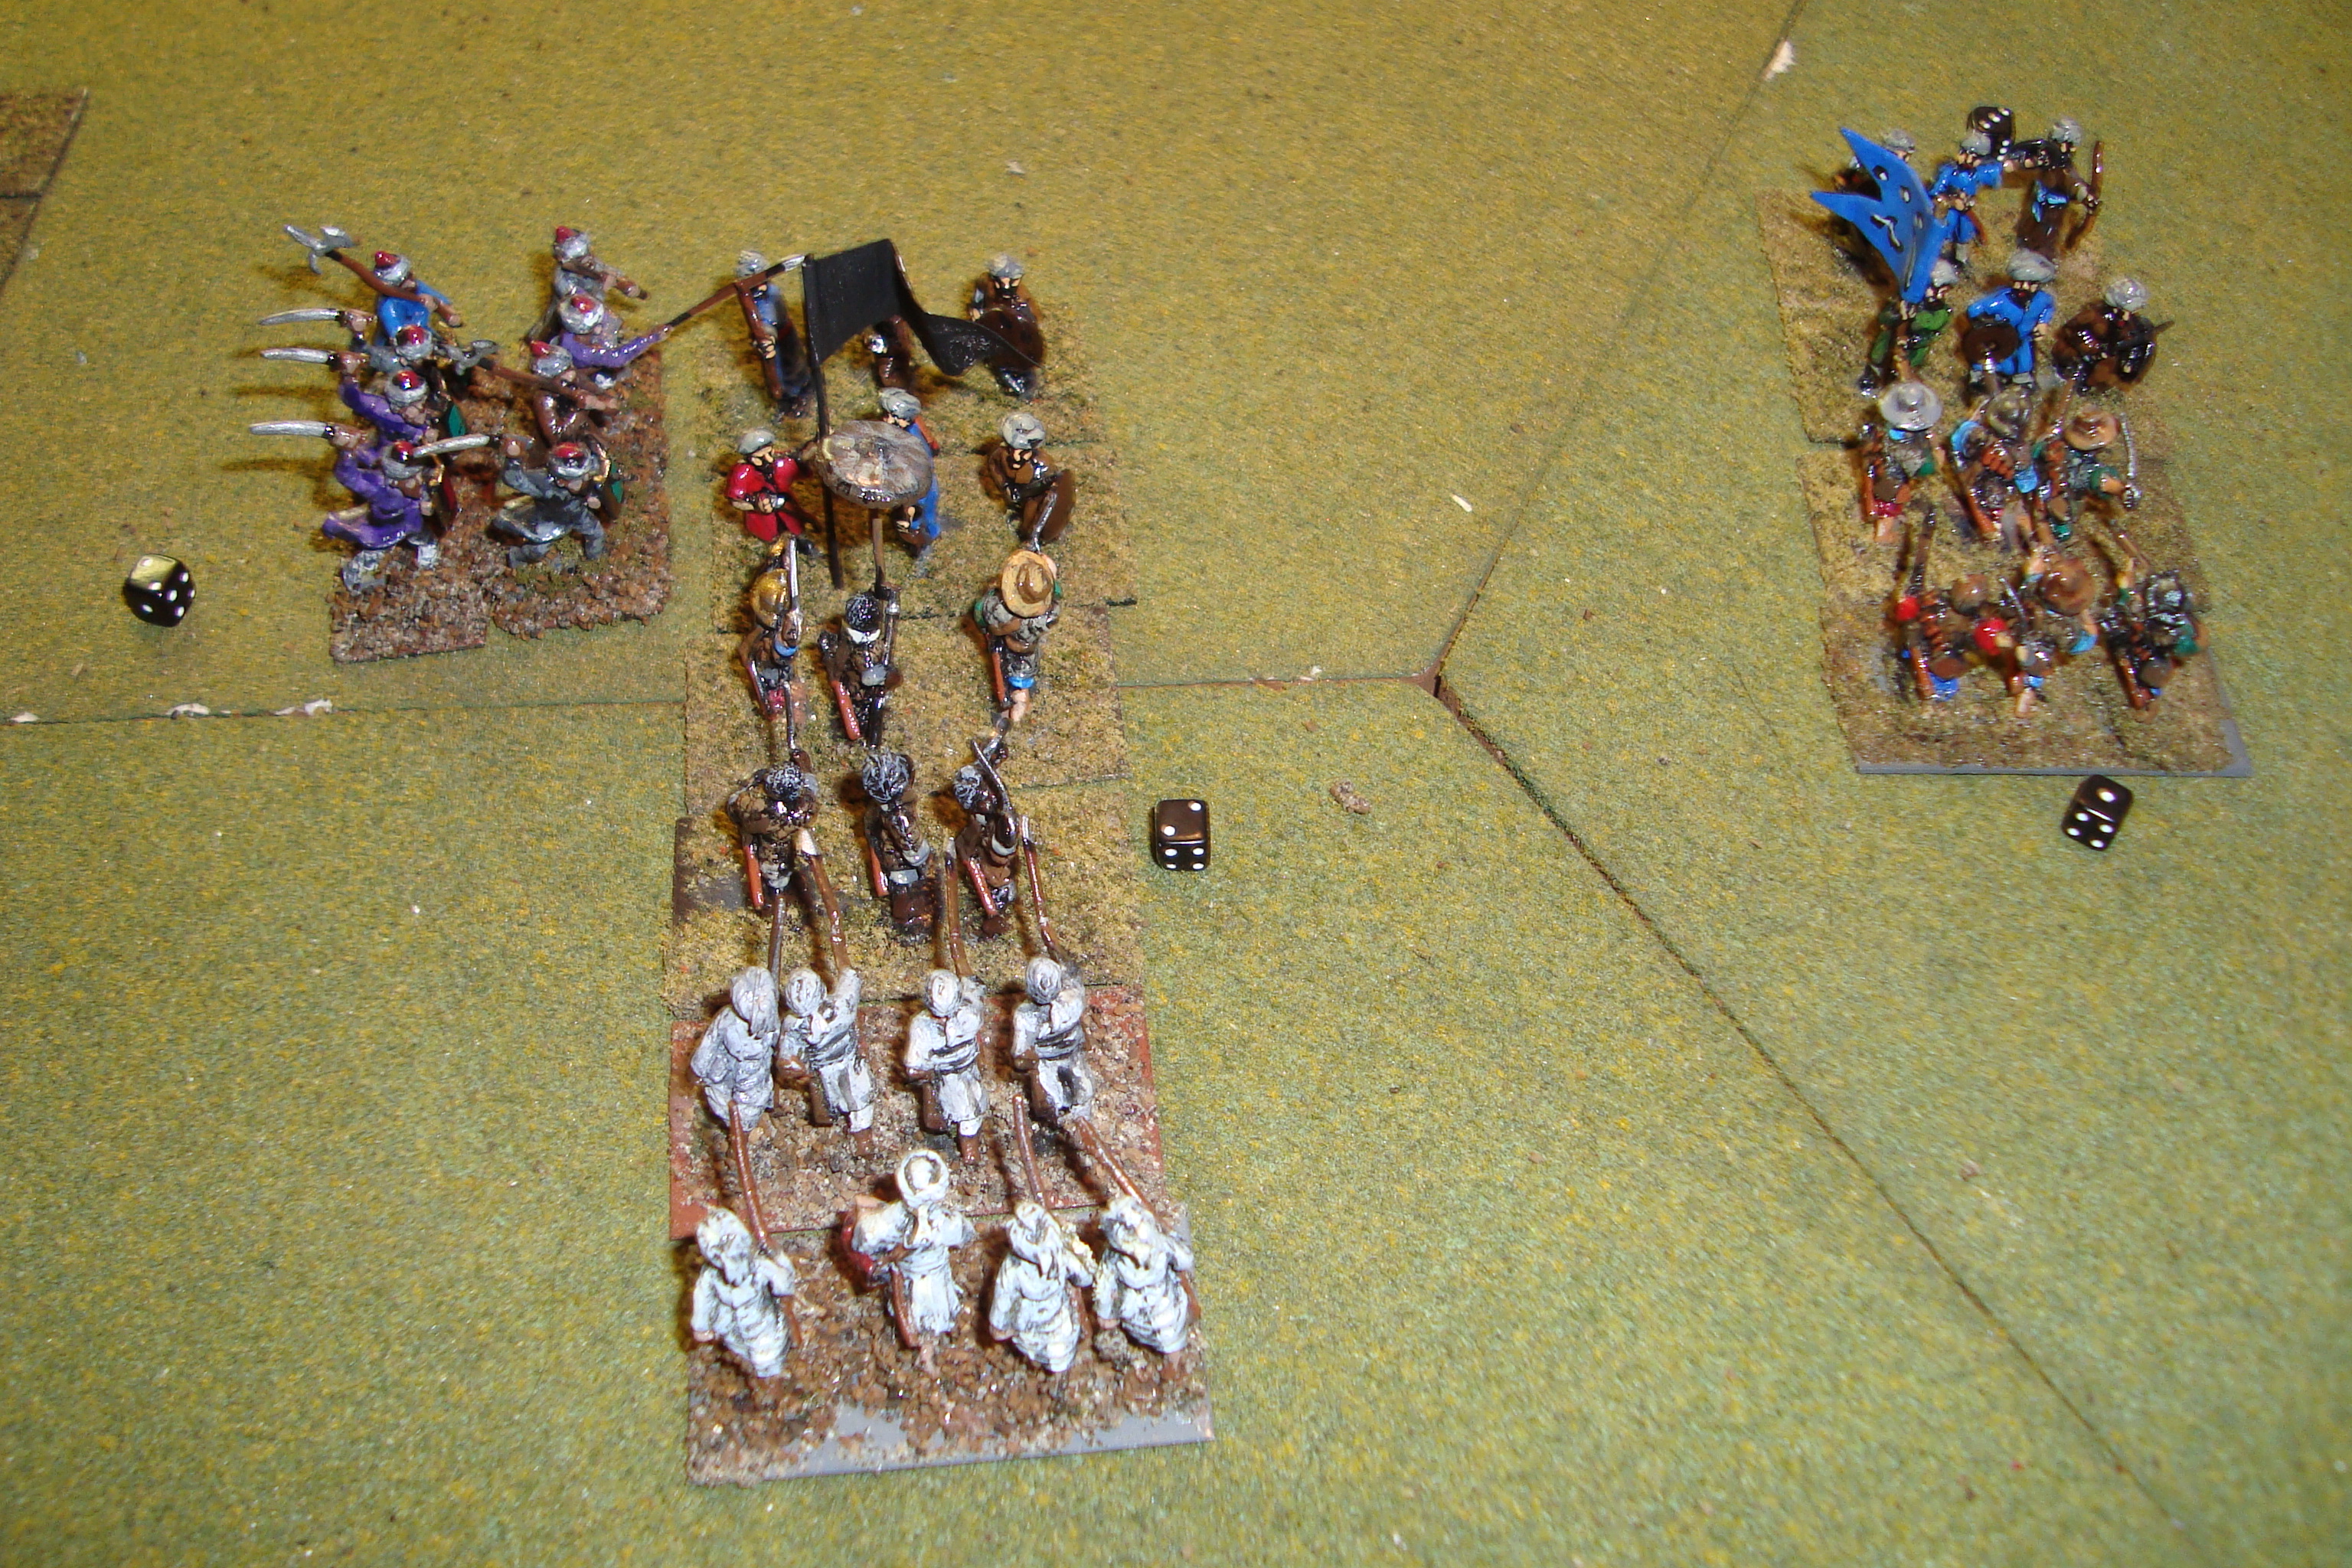
Portuguese Right Collapses. Lord Renaldo’s Personal Guard Attacks
Lord Renaldo launched a last ditch assault with his personal guard of Targeteers, scattering three Zanj units. However, the outnumbered Zanj units somehow stopped the continued attacks of the Portuguese of the Portuguese Pike.
Third Phase:
Now the desperate one, Bey Mahir attacked Lord Renaldo’s guard. After a prolonged fight, Renaldo’s unit scattered opening the way for flanking attacks on his remaining units.
Surrounded, Renaldo’s Personal Guard Will Scatter
The Portuguese had no choice but to flee.
Portuguese, Covered By The (Now) Valiant Mercenaries Withdraw To The West
The Bey’s instincts were correct. He quickly raised four more Civic Guard units, giving him nine. His Tribesmen were relatively intact after the battle, and add another five units to his army. The Civic Guards confidence and resolve soared as a result of their staunch performance, and all units are now rated a “3”. The Bey’s experience now allows him to have a command radius of six units.
The Portuguese were shaken by the seeming setback at the Faragh. The resolve of their Pike units has dropped to “4”, with the Musketeer units resolve now at “3”. Lord Renaldo’s negotiated settlement with the Persian mercenaries is the one bright spot in this deteriorating situation.
A condition of employment was to reveal the ringleaders of their desertion from the Bey’s army. That being done, Lord Renaldo personally executed them in front of his army. Now “encouraged”, the Persians have a resolve of “4”.
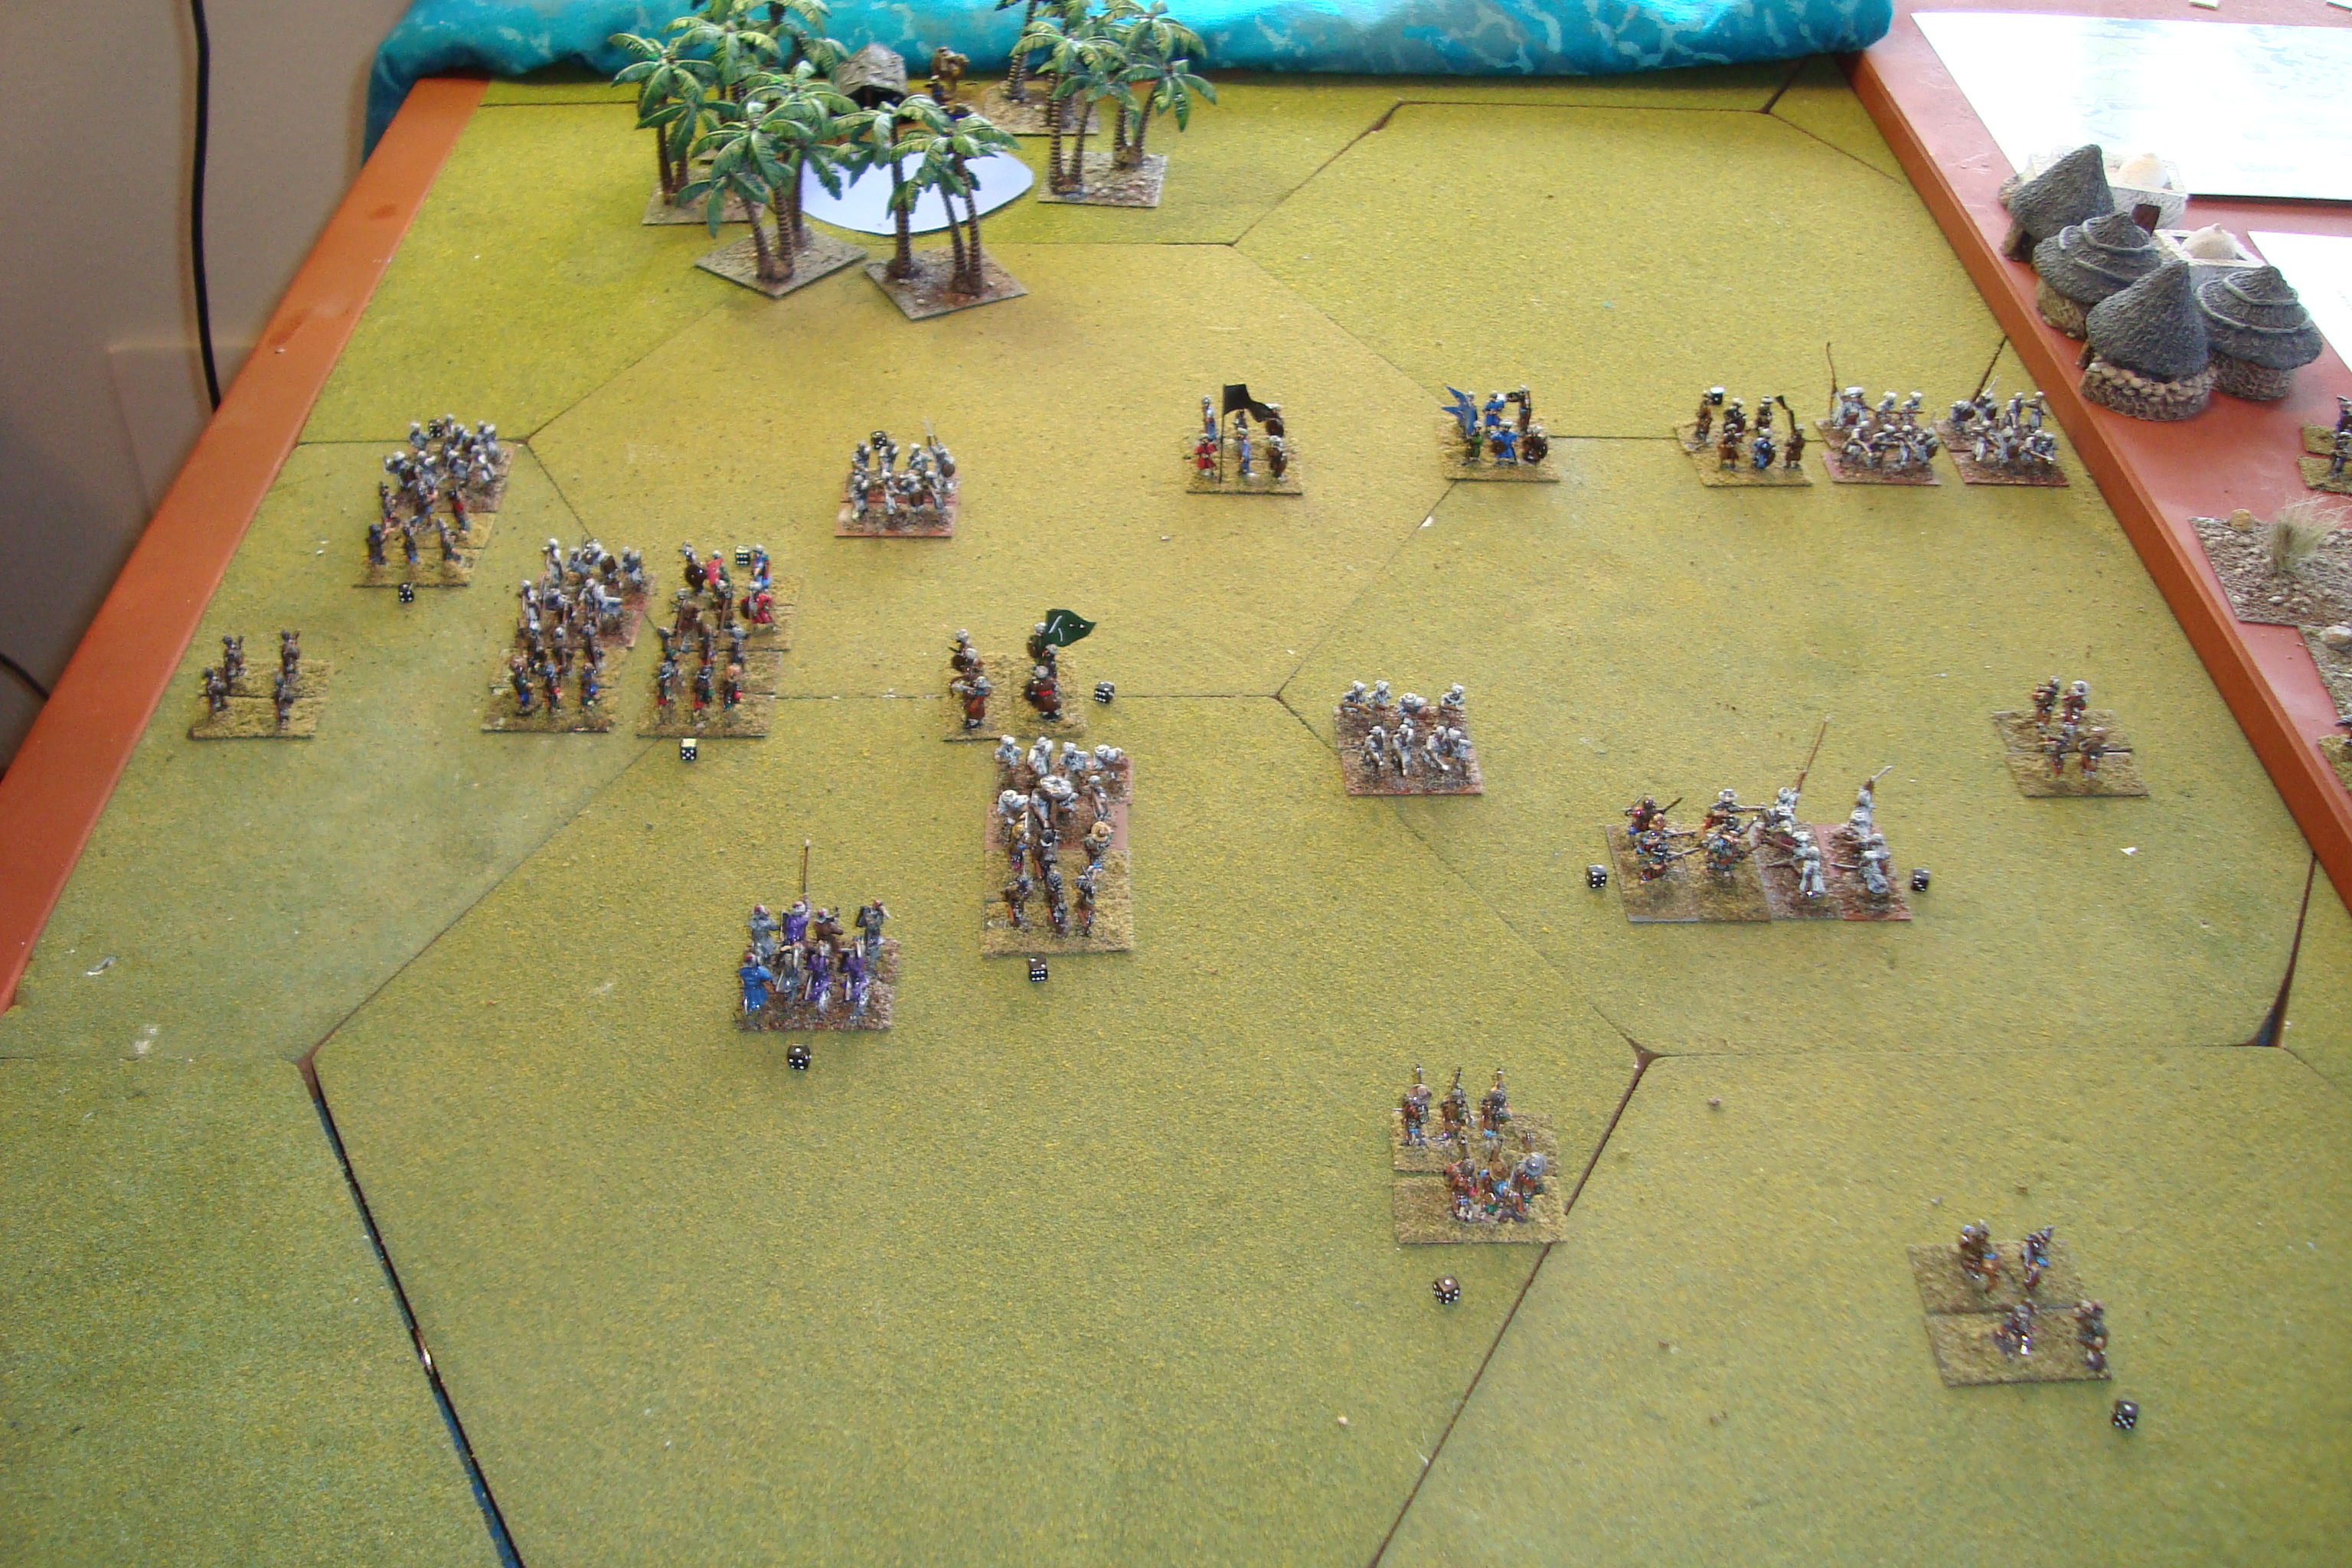
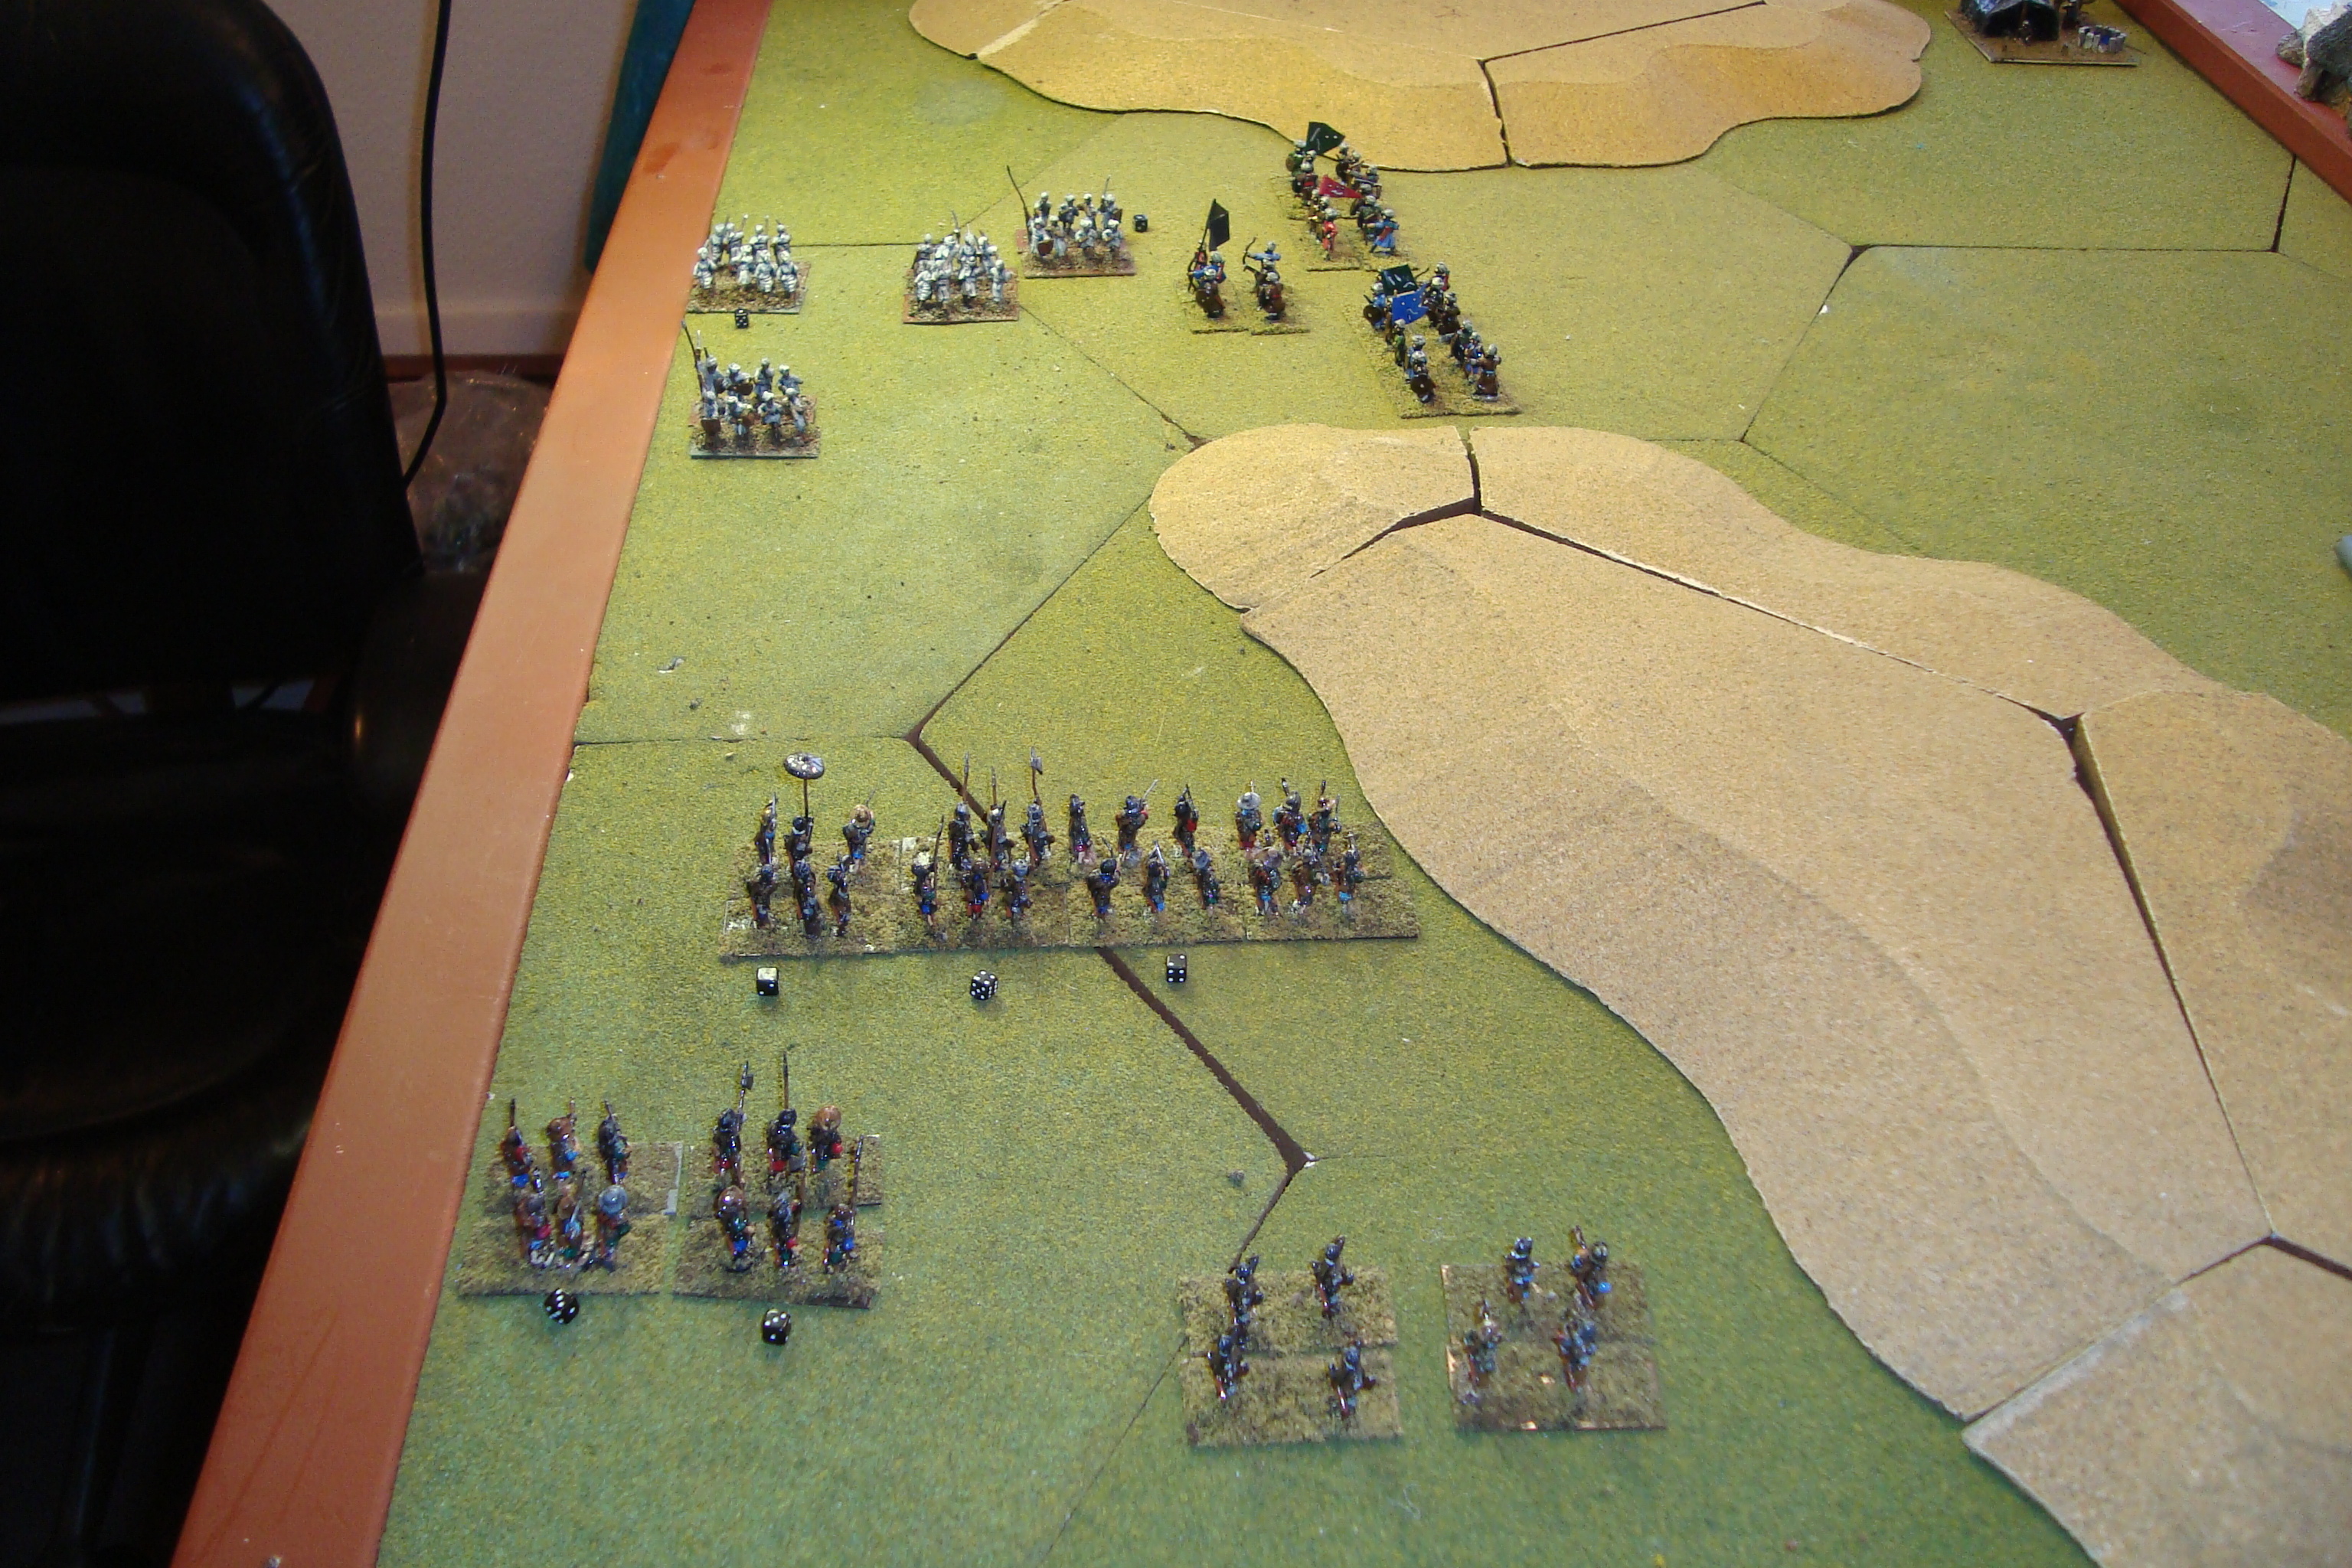
The Bey’s forces have taken up positions at the Oasis, and the Portuguese approach. The battle is at hand…….
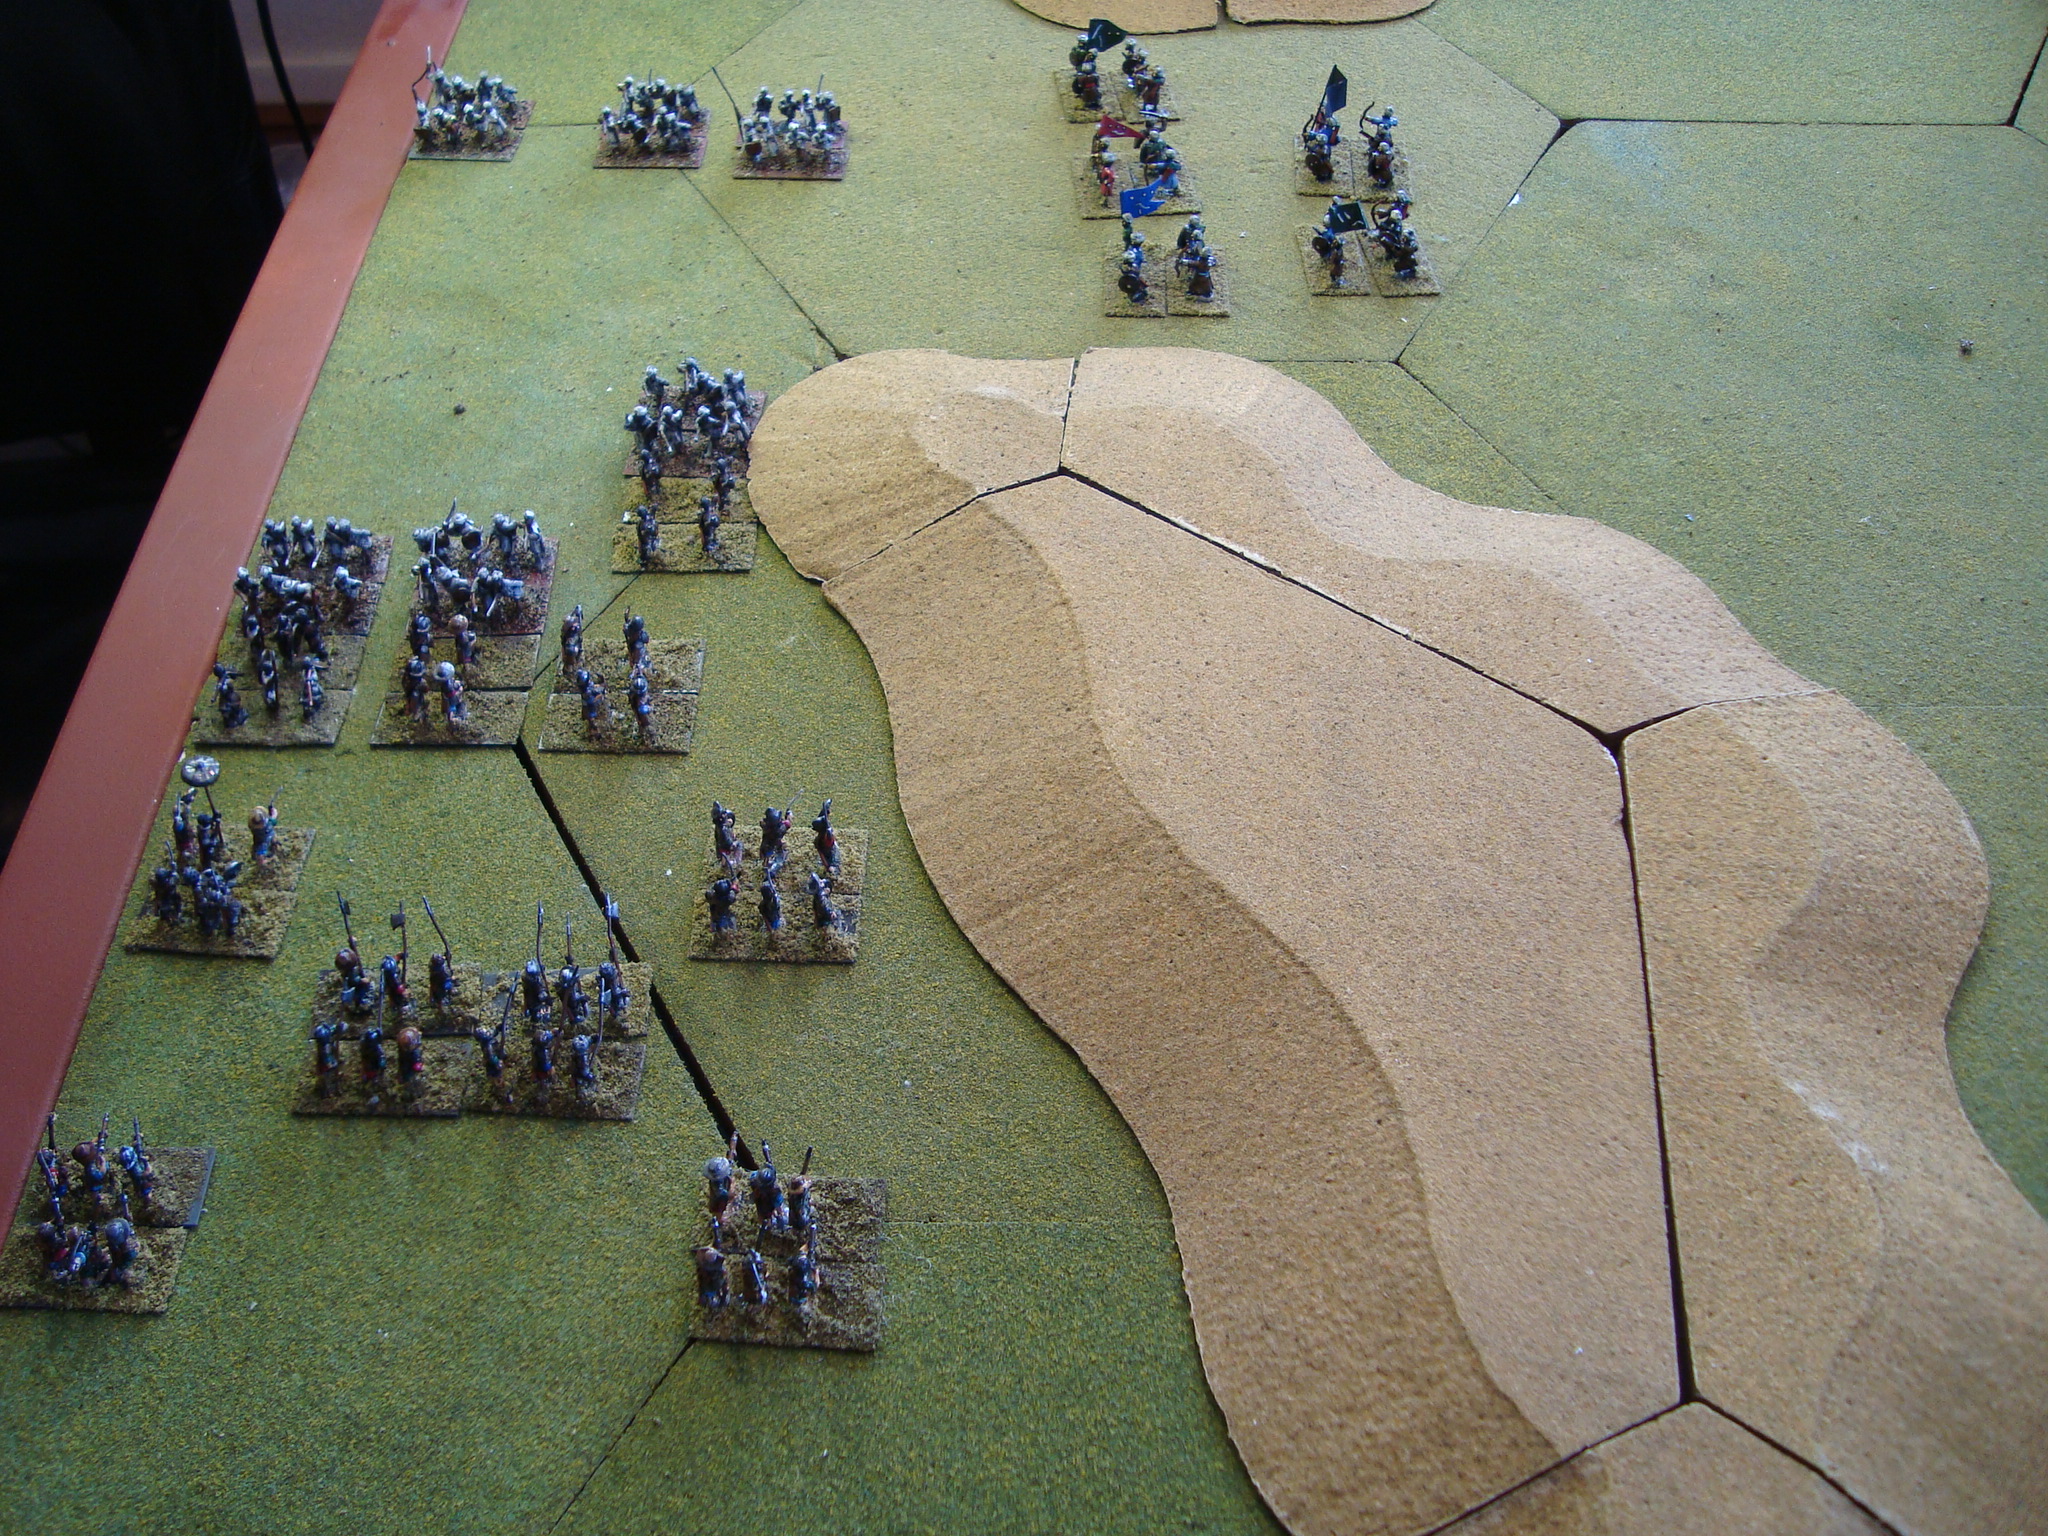
Lord Renaldo ordered his troops to by-pass the Zanj tribesmen now blocking the Faragh (gap). Planning to take advantage of a screen of Musketeers and Crossbowmen, the Pikemen and Targeteers moved north. But, with the narrow frontage, the Portuguese units blocked each other, offering the Zanj an opportunity to attack.
These piecemeal attacks were stopped, and Bey Iman Mahir ordered a general withdrawal to the east, planning to retire along a route parallel to the Portuguese advance, but separated by the impassable dunes.
Melee CombatZanj Orderly Withdrawal. Tribesmen On The Right Will Also Escape.
While the Bey might be criticized for not pressing home is attacks on the disorganized Portuguese, he was intent on maintaining his army, and most importantly, the high morale of his Civic Guard. These untested units had acquitted themselves well in the battle. Bey Mahir believed their success would allow him to recruit more Civic Guard as it was his belief more troops were needed to defeat the veteran Portuguese. This was especially true since the mercenaries had failed miserably, and could no longer be counted on. In fact, there were rumors they might be bribed to change sides.
However, there was real risk in his strategy. The city of Behefe was not defensible and could not withstand the shortest of sieges. Its sole water supply was the Oasis of Olufunke, a 15 minute walk south from city walls. The decisive battle would have to take place there.
Well, it’s over. The lengthy, frustrating, and unfulfilling process of building the BoB Gunboat has ended. So many iterations, so many days lingering on the workbench.
Almost all wargame projects start out full of promise, the completed object so thoroughly pictured in the mind’s eye. Ahh, then the harsh reality of actually building the damn thing. In many instances the process is so painful that the object is put out of sight and relegated to a box. Sometimes, it’s just a matter of stepping away, getting a break, and coming back with renewed energy and ability to see what needs to be done for a quality project. Other times……it just doesn’t happen.
The Gunboat is about as close as I have come to an adult version of my Pinewood Derby car. My Dad let me build it myself. The finished project was bad even by 9-year old standards. Dad tried to salvage things, but it was too little, too late. The other Cubbies had cool looking cars. Mine was not. In a Disney movie, I would win and my ugly piece of child work would be admired. Didn’t happen.
So it is with the Gunboat, a child-like effort unfortunately completed by an adult. Oh Well….My, My.
For me, writing a wargame after-action report is similar to waking up after a party and figuring out what happened. It takes a while…….and may lack details. I admire wargamers who can provide a detailed account of their games (not to mention high quality photos – definitely NOT a characteristic of this site). However, I just can’t do it. Why? I get caught up in the game and am having fun. I don’t take notes at a party, and I just can’t do it consistently during a game. So, what follows is a series of general impressions and game photos in a rough chronological sequence.
First, game-flow impressions:
The Portuguese were able to gain the initiative for most game turns.
The Civic Guard fought like lions, or the fabled “300”. They held off the Portuguese, lowering the resolve of every unit they came in contact with. Yes, the narrow gap worked in their favor, and their initial resolve determining die rolls were good (and better than anticipated using a D4), but still, they outperformed expectations, retiring only when their resolve reached a wobbly “1”.
The Portuguese couldn’t get sorted out. Their hasty attack was probably a bad idea, and it was difficult after that to deploy the right combination of units (fire and shock) to attack through the narrow gap.
They were also cautious. Lord Eduardo Nicolau Rolando halted his assault to regroup and focus on rallying depleted units rather than continue to attack the weakened and withdrawing Civic Guard.
The inexperienced Bey Iman Mahir did an excellent job of moving his tribal units initially deployed east of the gap, to a supporting role. He also managed to extricate the Civic Guard units in good order.
However, the Bey’s initial deployment east of the Faragh caused his Civic Guard to be beyond command radius and subject to the wackiness of the Impetuous Actions table. Luckily for the Bey, he quickly moved west, and most of his companies did not act too impetuously before brought under control, although the Mercenary company “Ran Away” for three consecutive turns, and off the battlefield. In fact, the initial disruptions in the Guard’s dispositions triggered an ill-advised (in retrospect) hasty attack by the Portuguese.
Now, some rules impressions:
The Disease and Mishaps roles at the beginning of the game are something. The Portuguese launched their hasty attack because the Civic Guard units were in disarray, with rolls that either moved units forward, or behind their line of initial deployment.
The Portuguese were literally “saved” by their expert physician. No less than four units had disease (normally resulting in loss of resolve) rolls that were negated by expert medical care.
My rules interpretation is that a unit contacted by an opposing unit (that opposing unit having the initiative) can, in their subsequent movement phase, attempt to withdraw from melee before the melee phase begins. This ability to disengage can be a mixed blessing.
It’s a mixed blessing because the attacking unit can roll to pursue. If successful, the attackers gets a charge bonus. On the other hand, this is a mixed blessing for the attacker because this impetuousness can disrupt a coordinated assault. I didn’t grasp this dynamic until this game. It’s a welcome discovery, as it adds an uncertainty that I fondly (ahhh, and not so fondly remember) from the old Gush WRG rules. The only Civic Guard unit destroyed was a result of continuing to pursue a unit.
You can’t interpenetrate in this game. Keep gaps open. Not only for movement, but because wavering companies (resolve = 1) that contact other units cause the contacted to lose one resolve.
Now, the game photos with narrative captions.
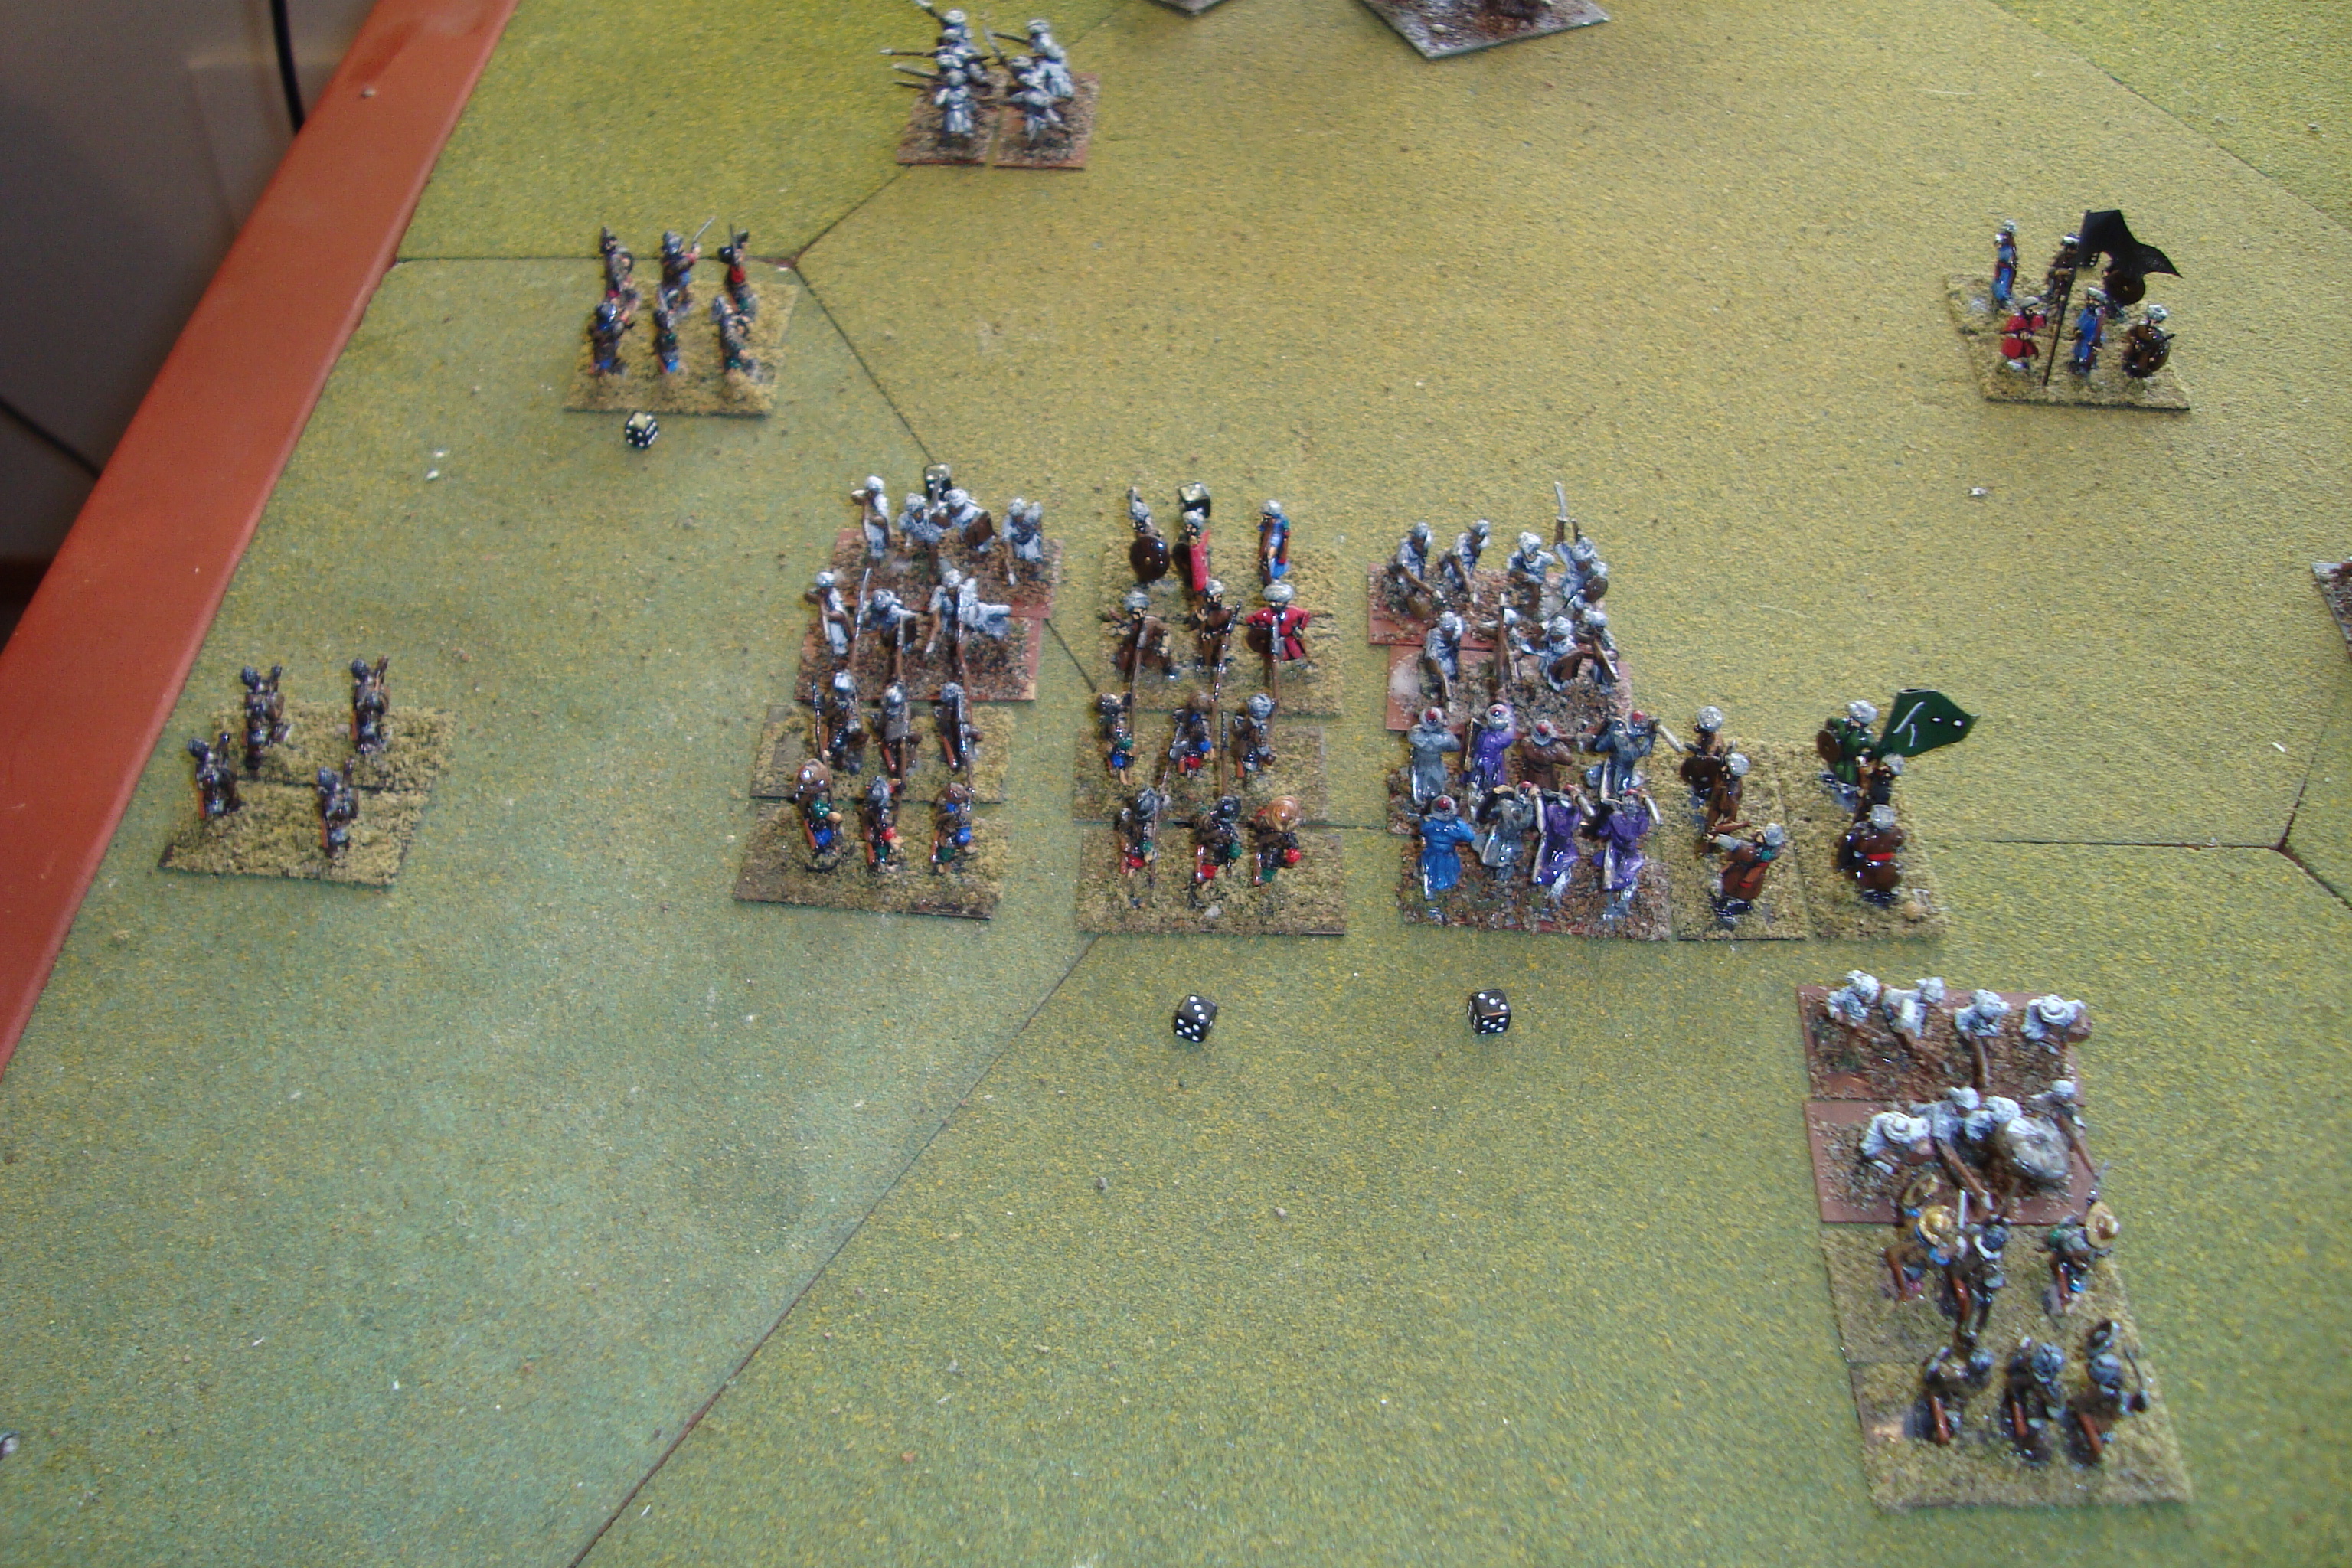
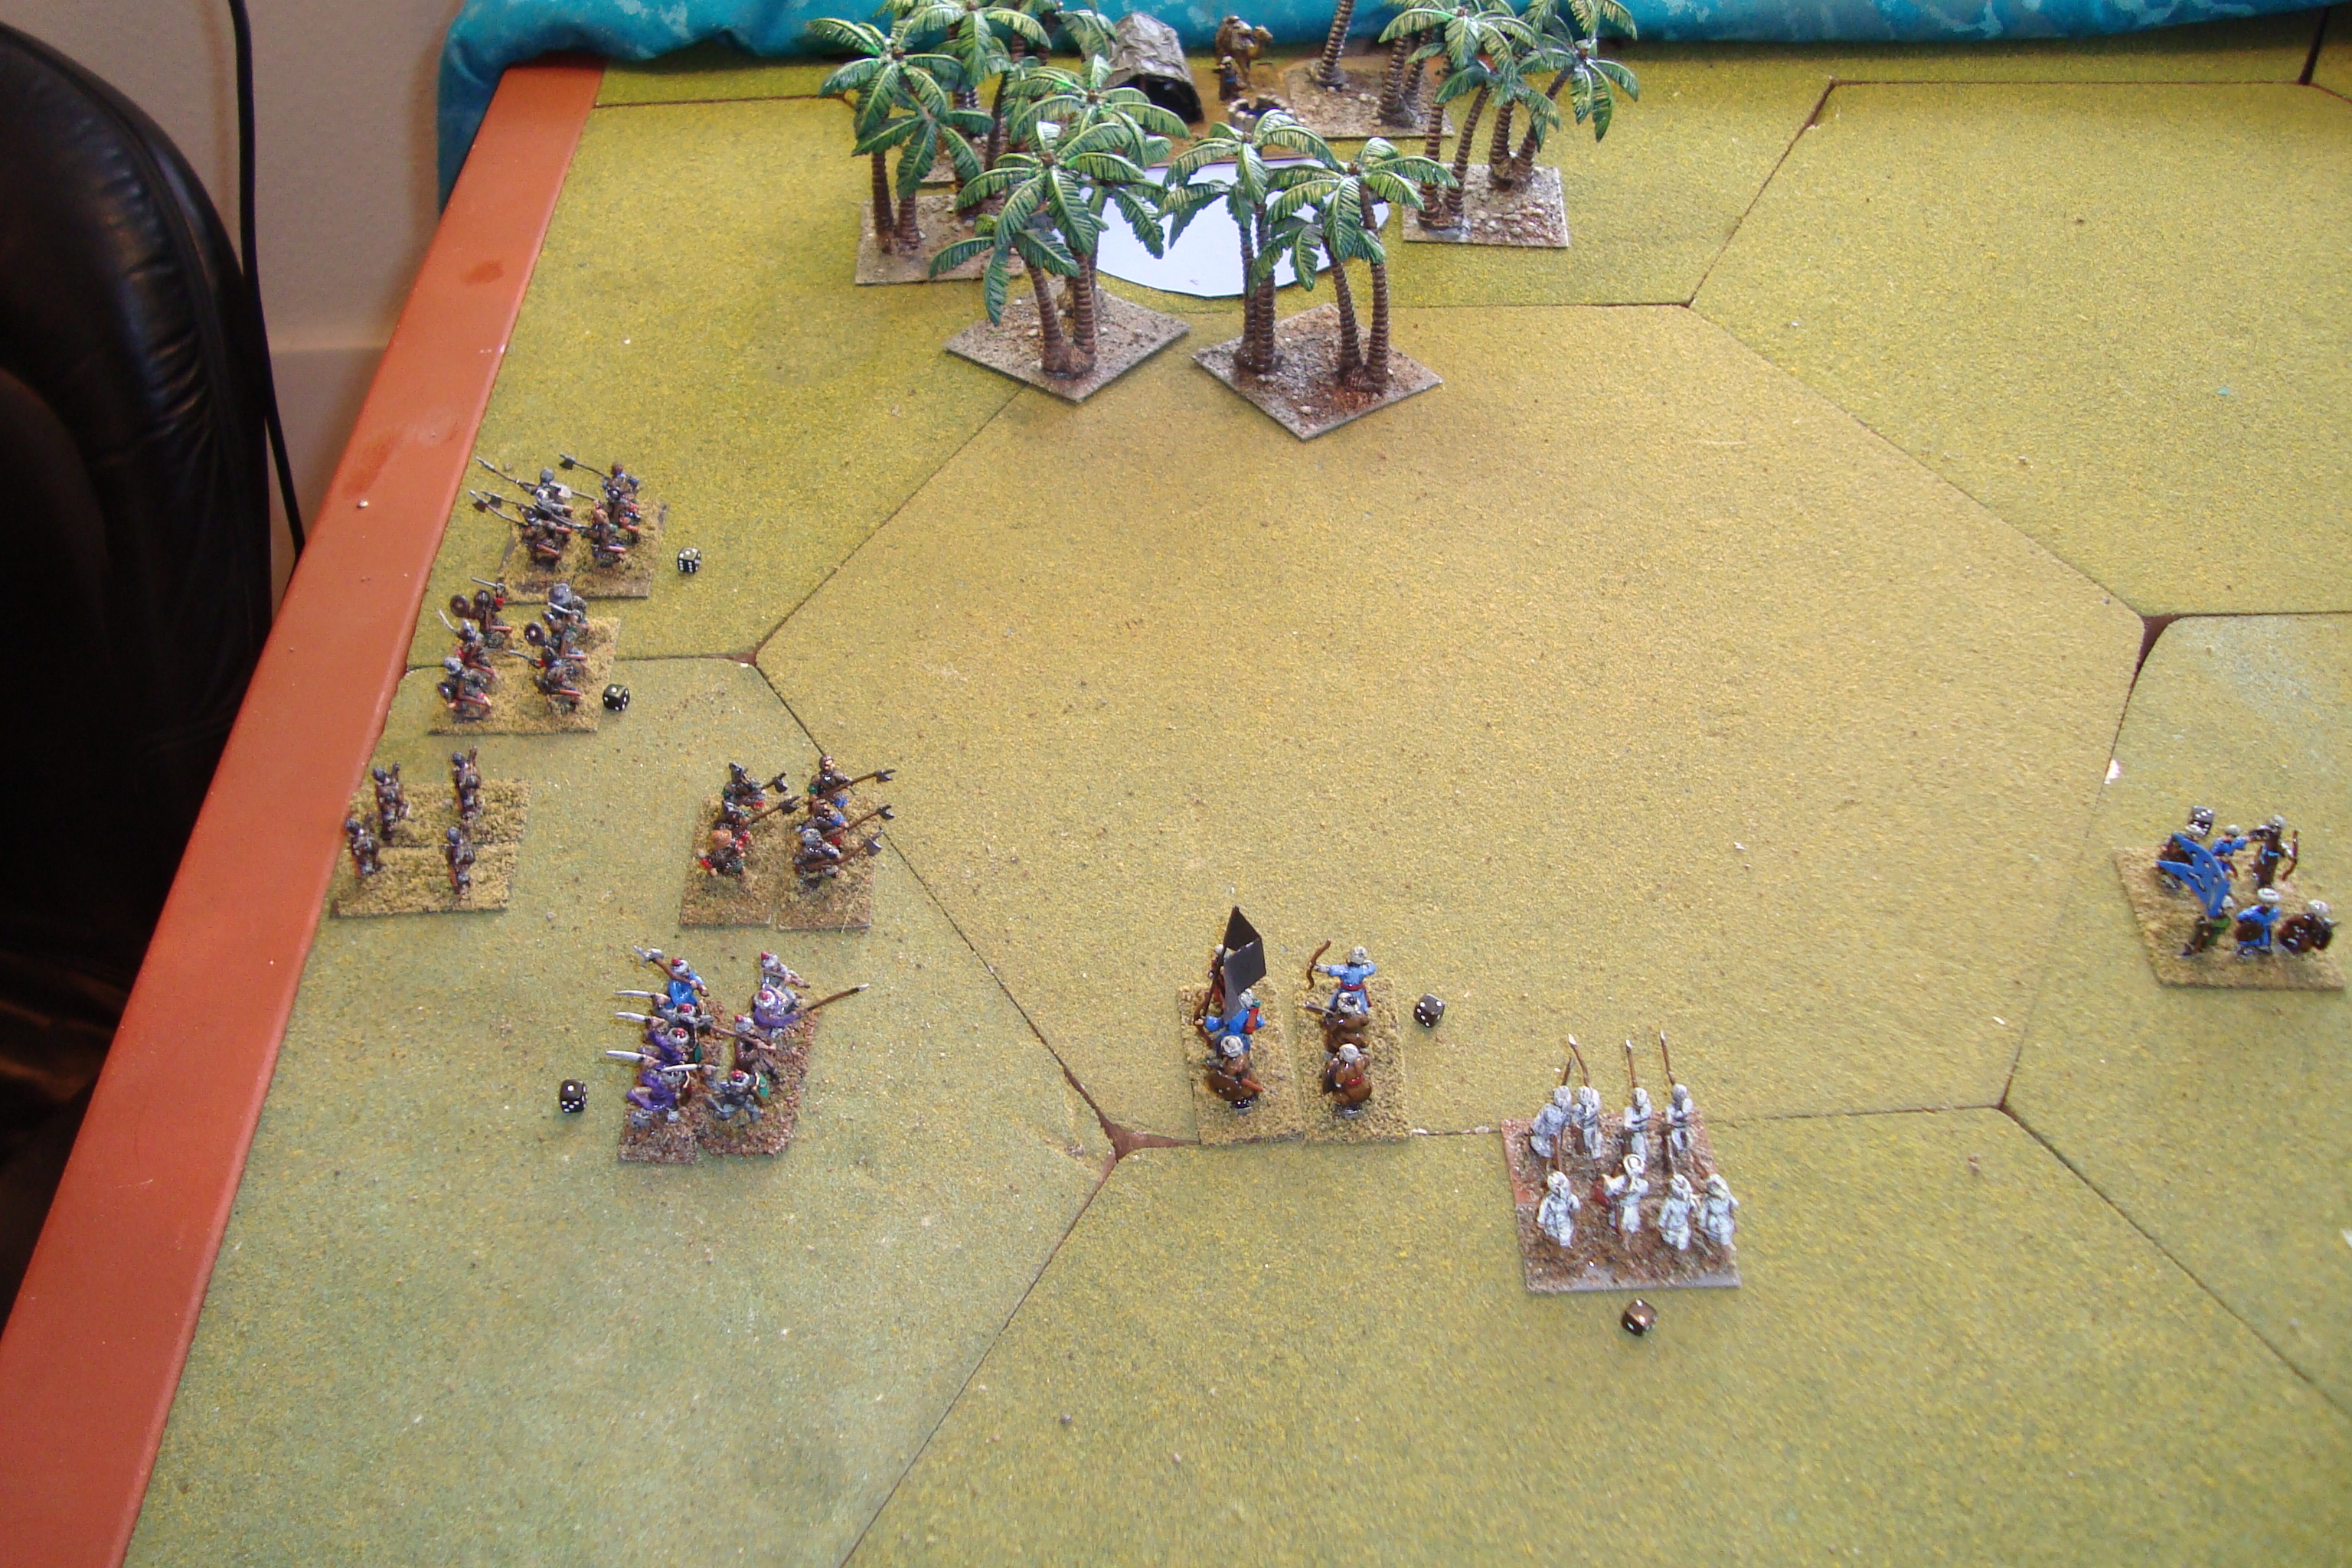
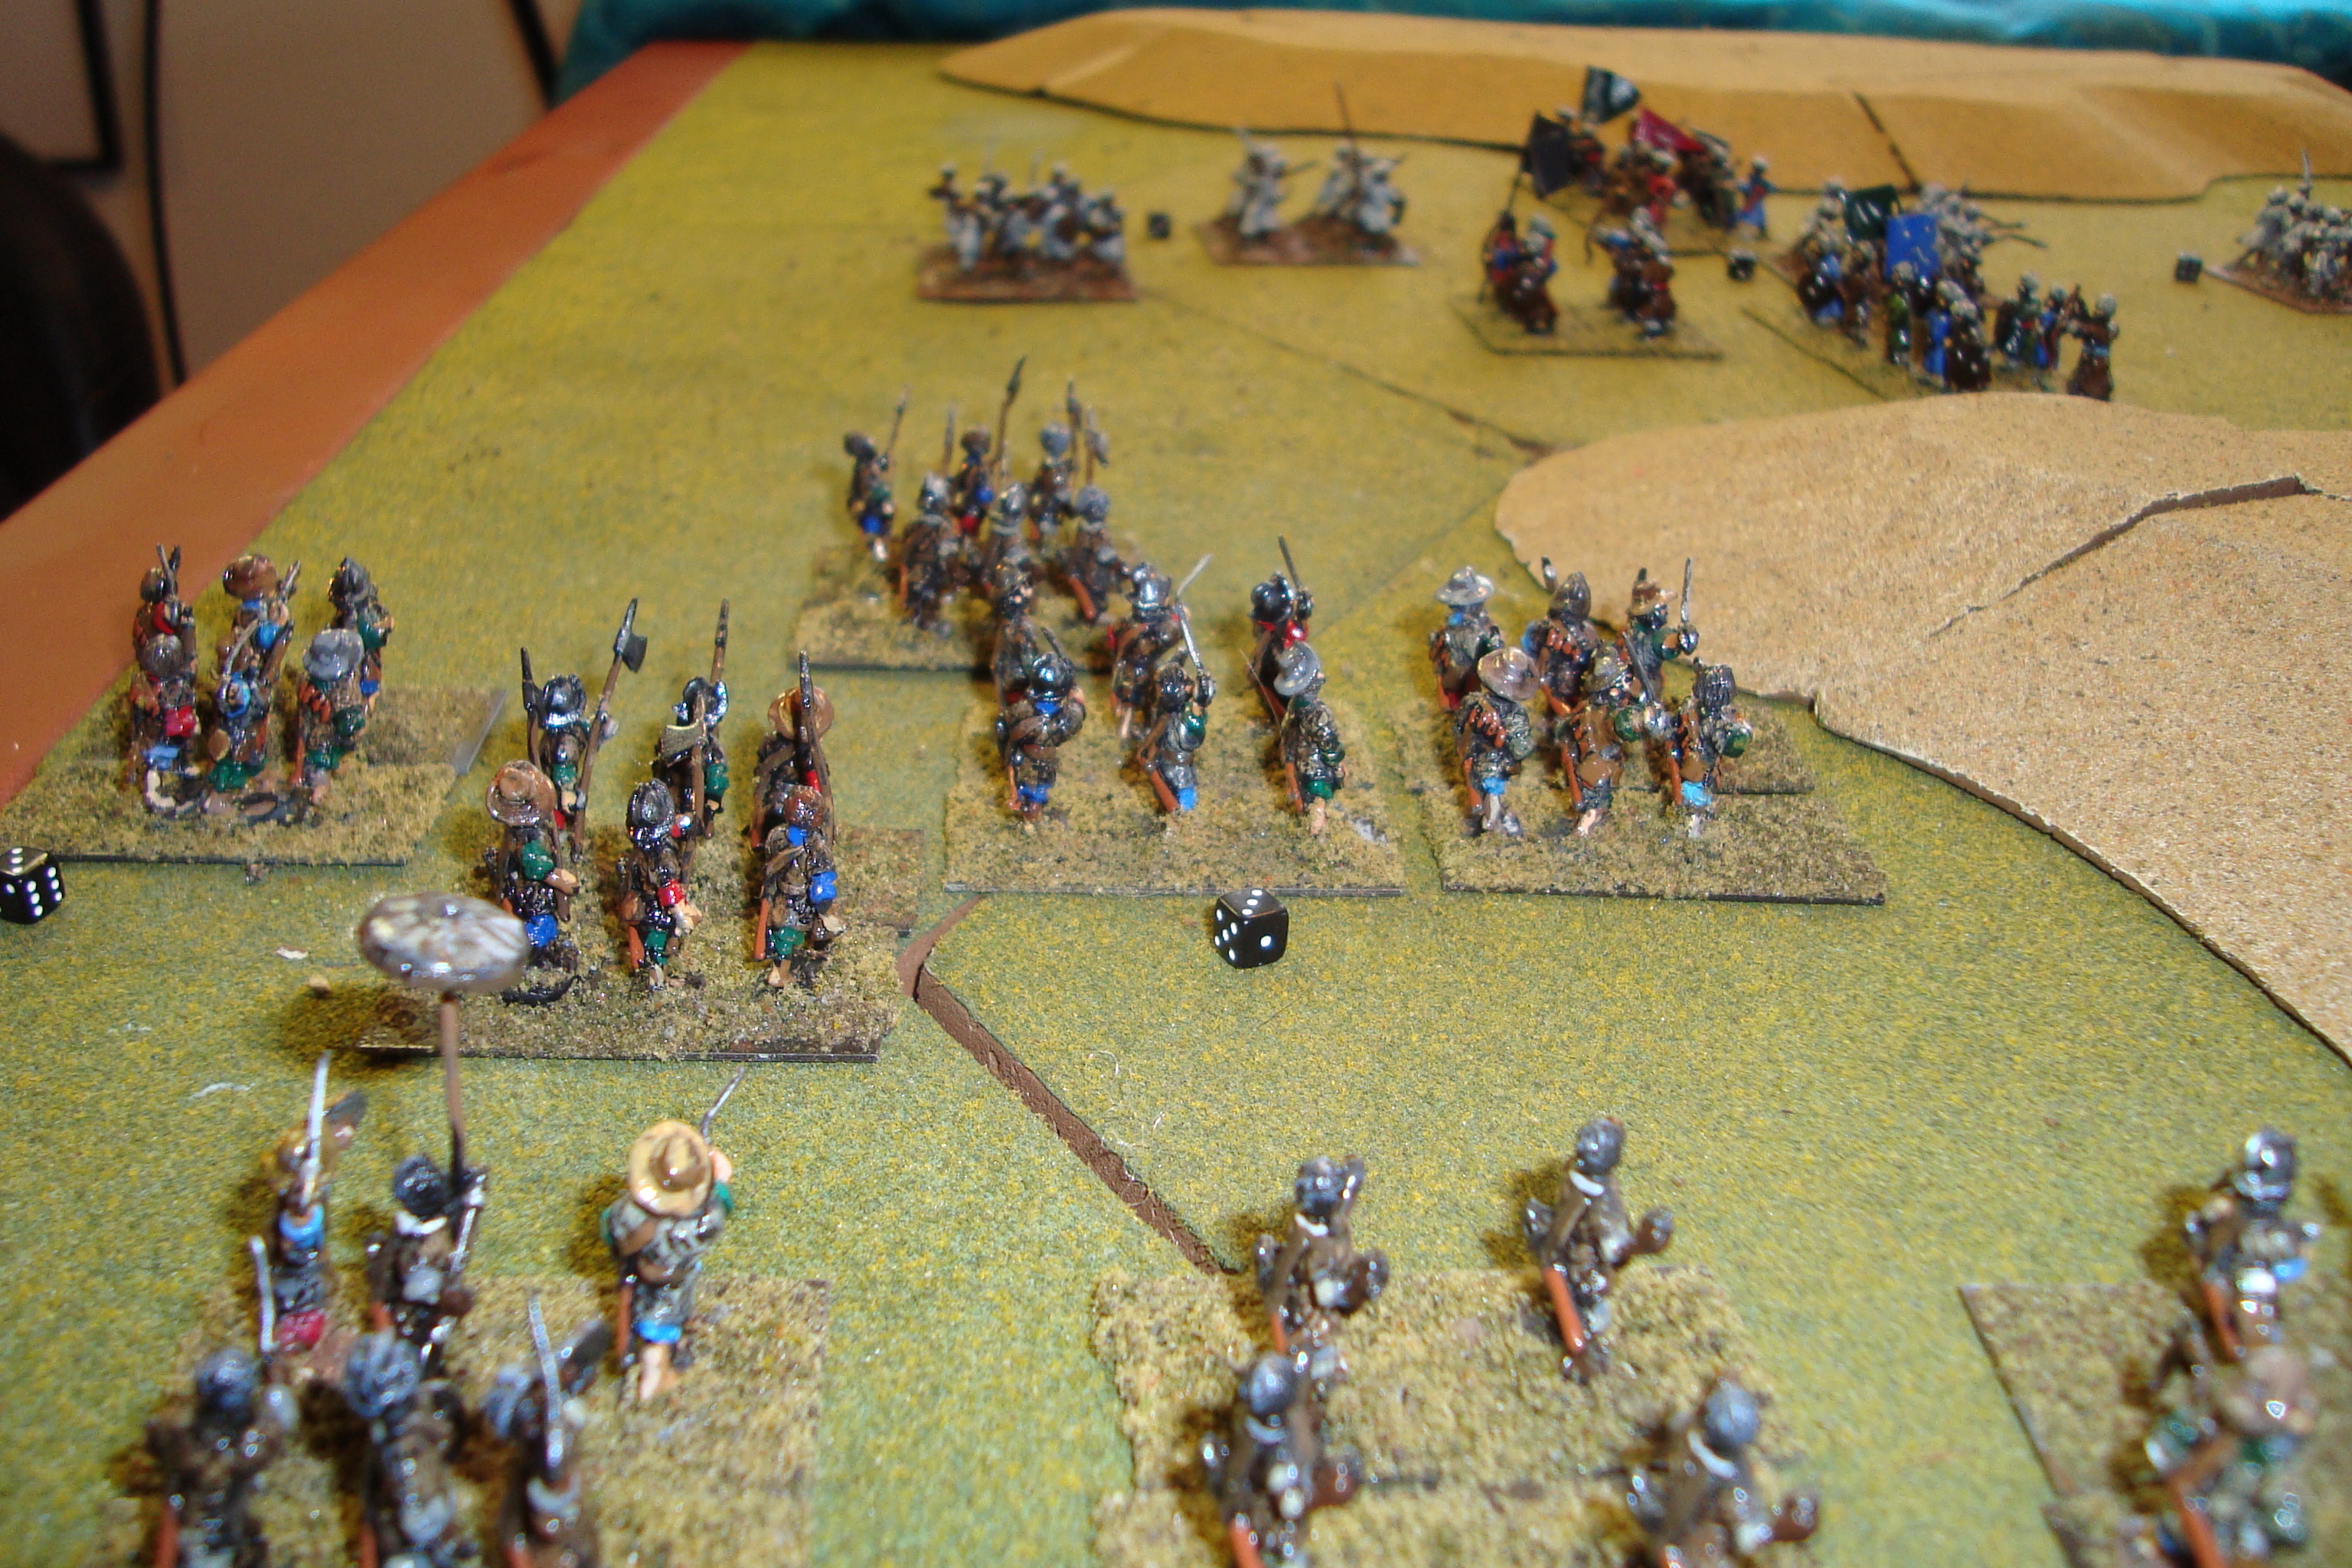
Portuguese Begin Hasty Attack. Tribesmen Begin Move To Support Civic GuardFirst Contact! Tribesmen Have Now Closed The Faragh.First Contact, Looking West.Both Sides Regroup.Civic Guard Withdraws Through Tribesmen.Portuguese Begin Cautious Advance Towards Withdrawing Civic Guard.
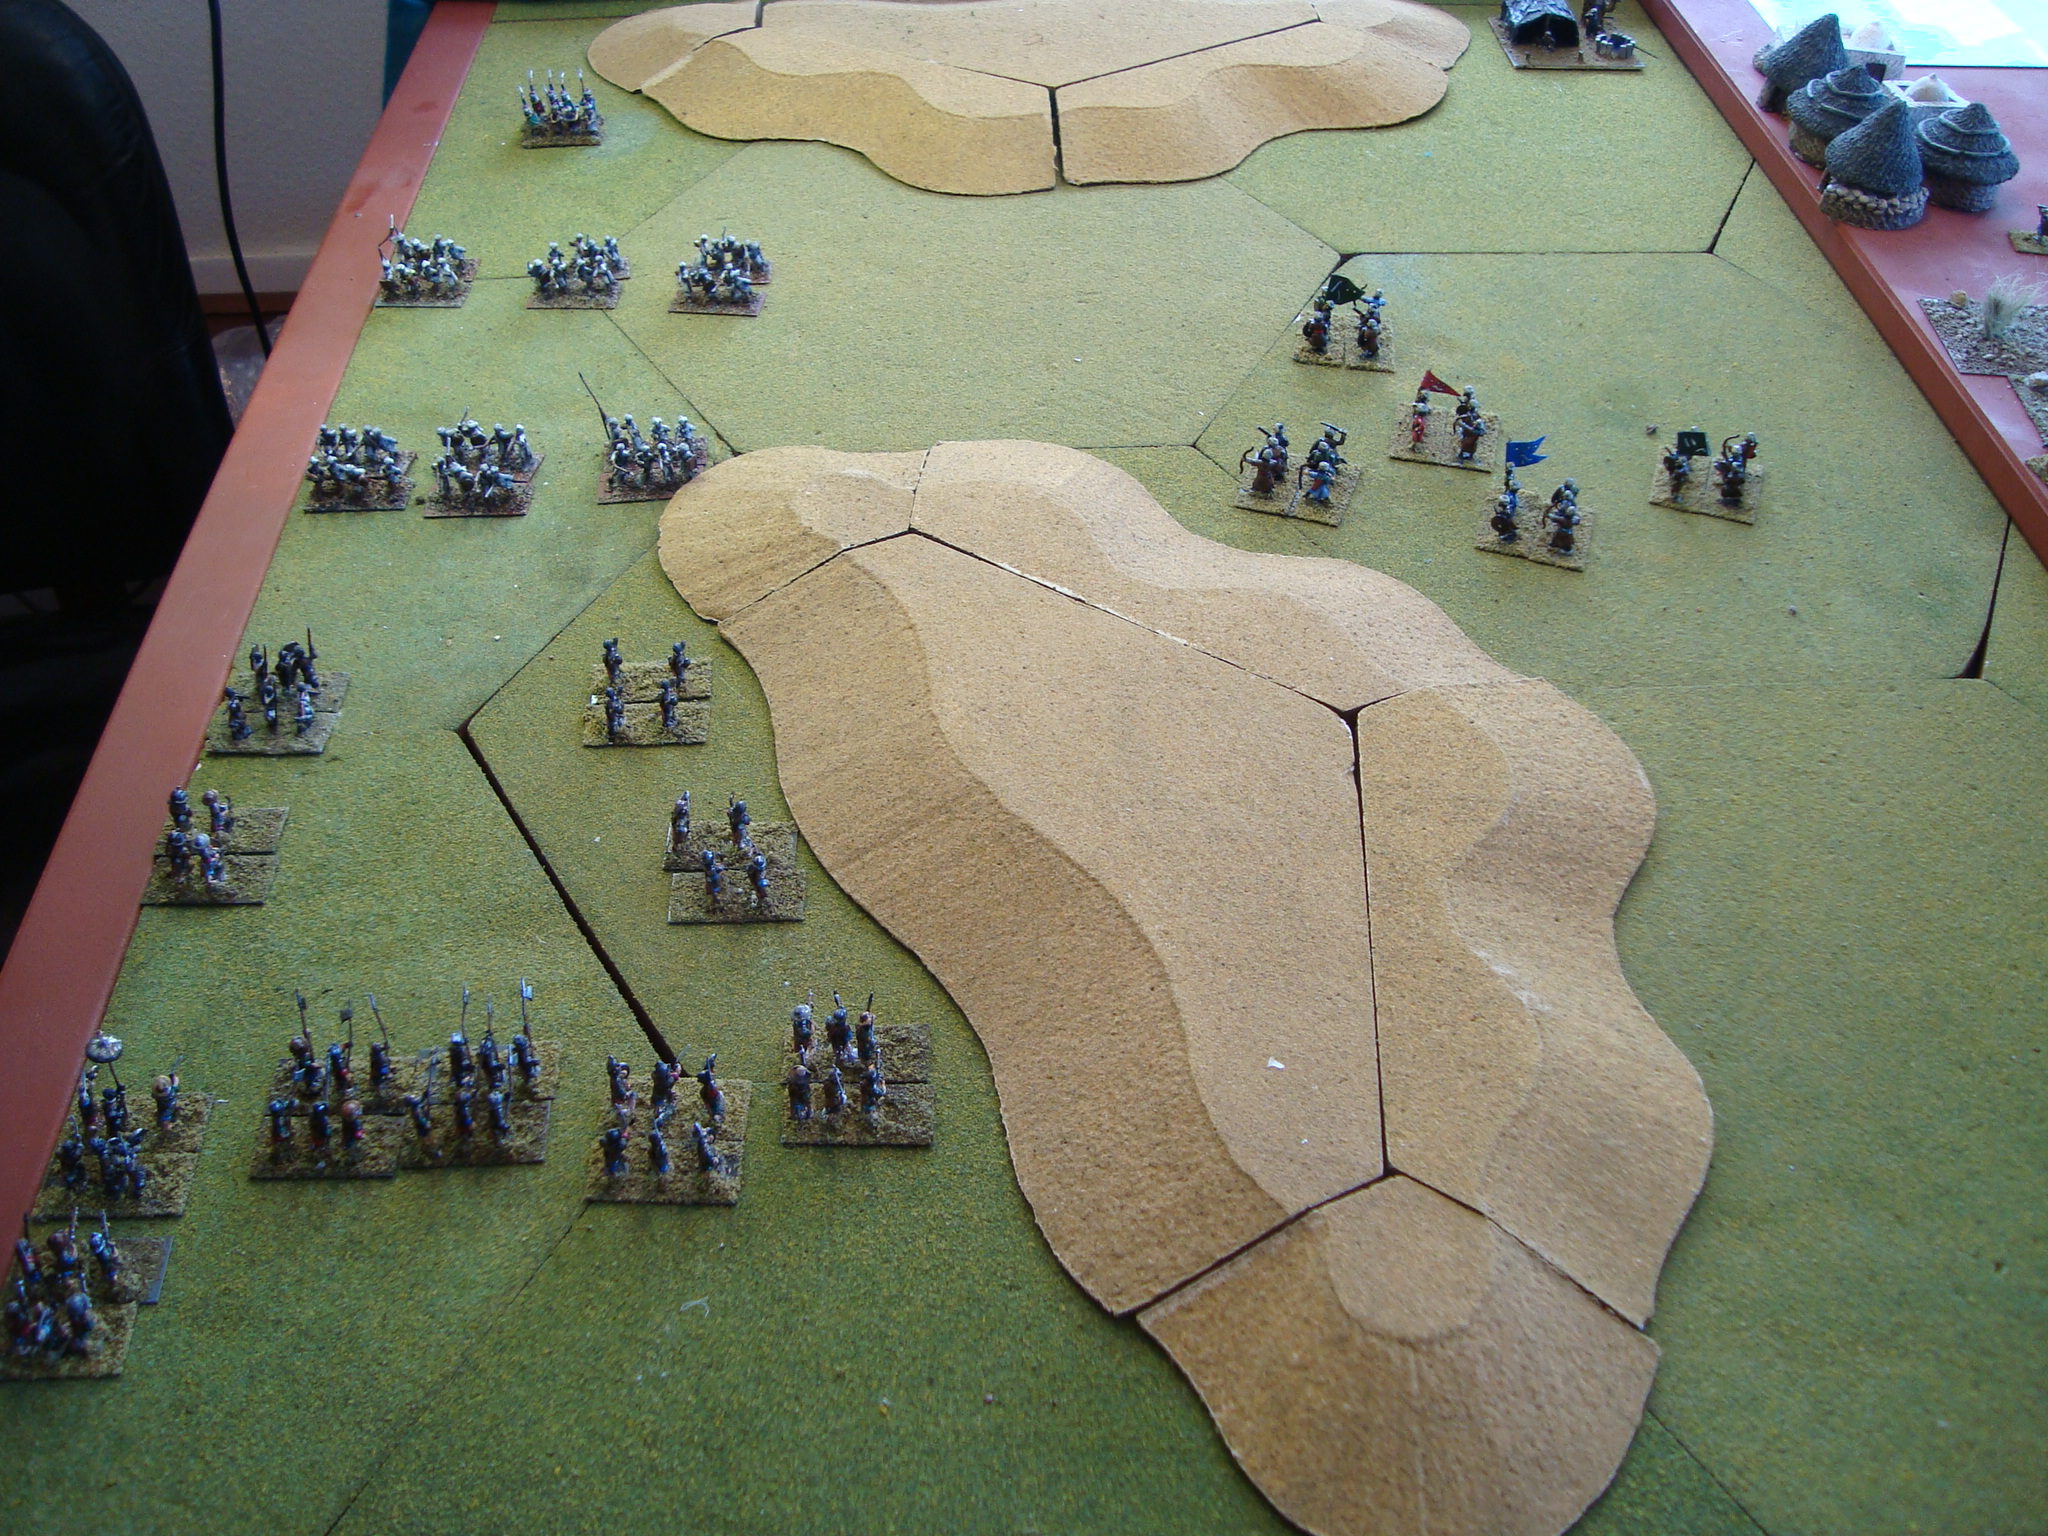
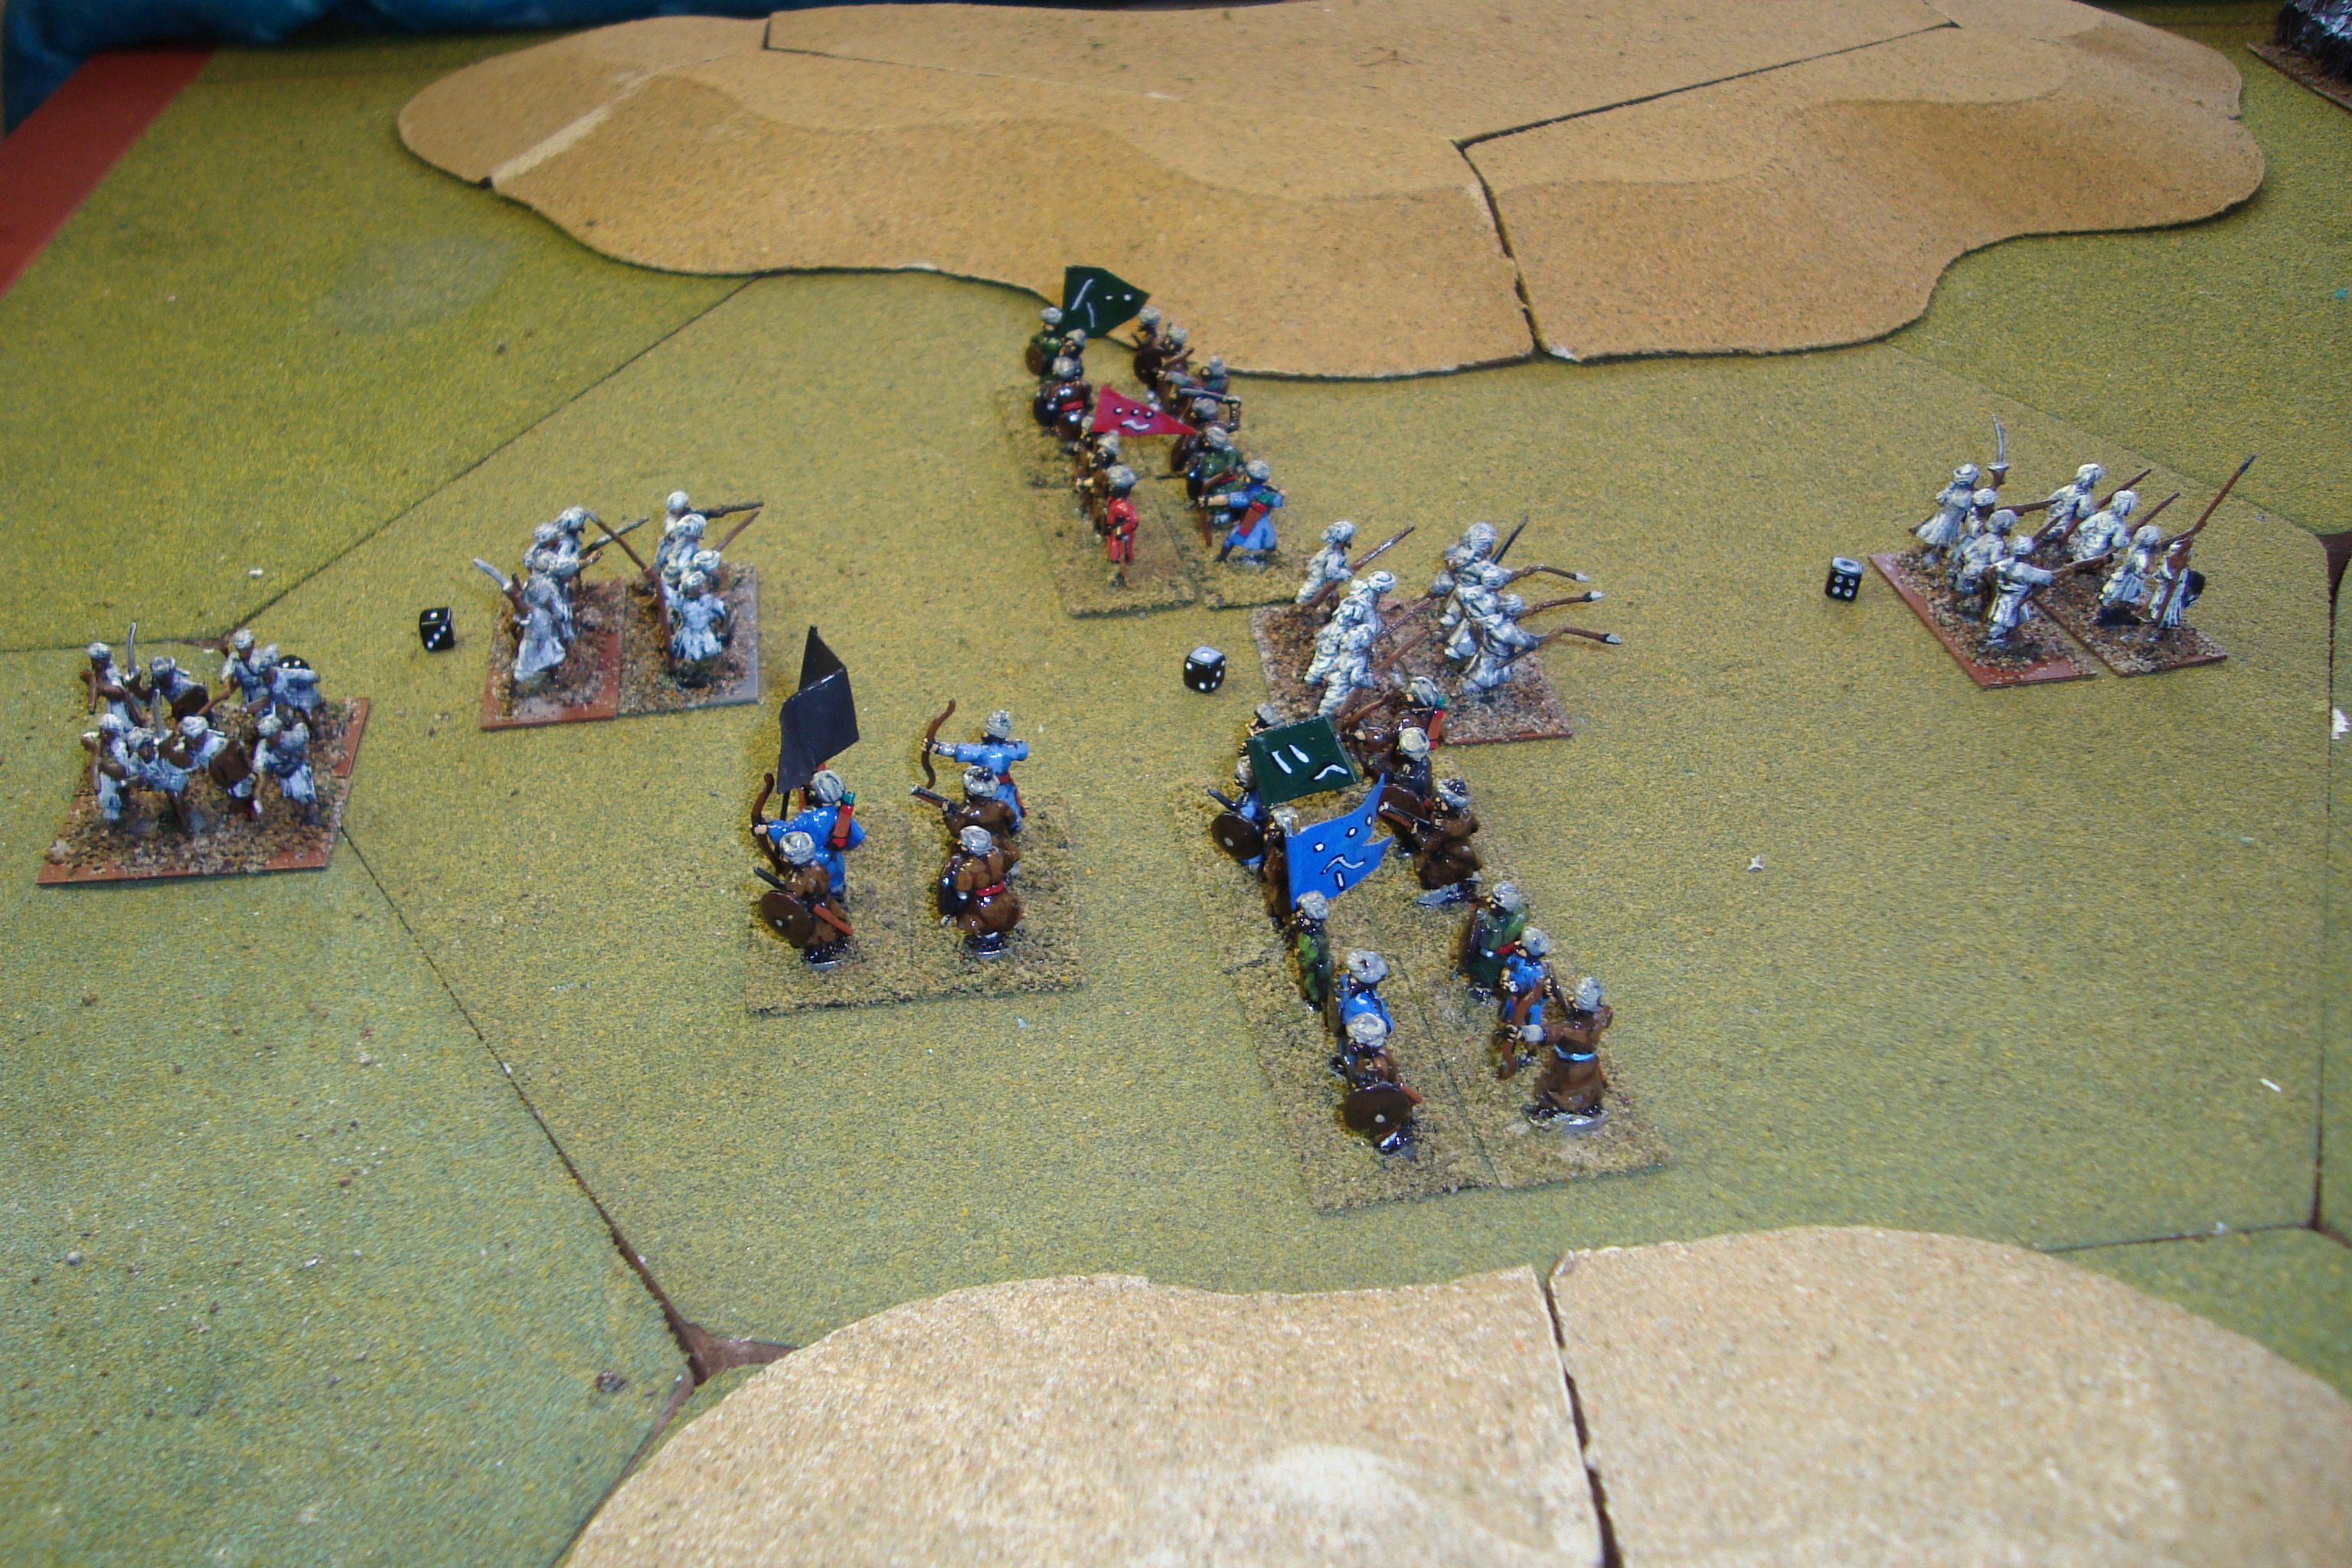
The Zanj could not accurately determine the location of the advancing Portuguese. As a result, Bey Imen Mahir played it safe placing his Civic Guard and Mercenary units to the west of the dune gap, and his Tribesmen to the east. This involves some risk as the resolve of the western units will not be determined until first contact.
The Portuguese order of march has the Grenadiers and Tribesmen in van, followed by Crossbowmen, Pikes and Shot. All of their forces are advancing on an axis west of the dunes.
Initial DispositionsCivic Guard My old MiniFig “Any Period” Arabs
Now that the enemy has been sighted, both sides must react. Any reaction by the Portuguese or change in disposition by the Zanj will be decided using the D6 Programmed Wargames Scenario options.
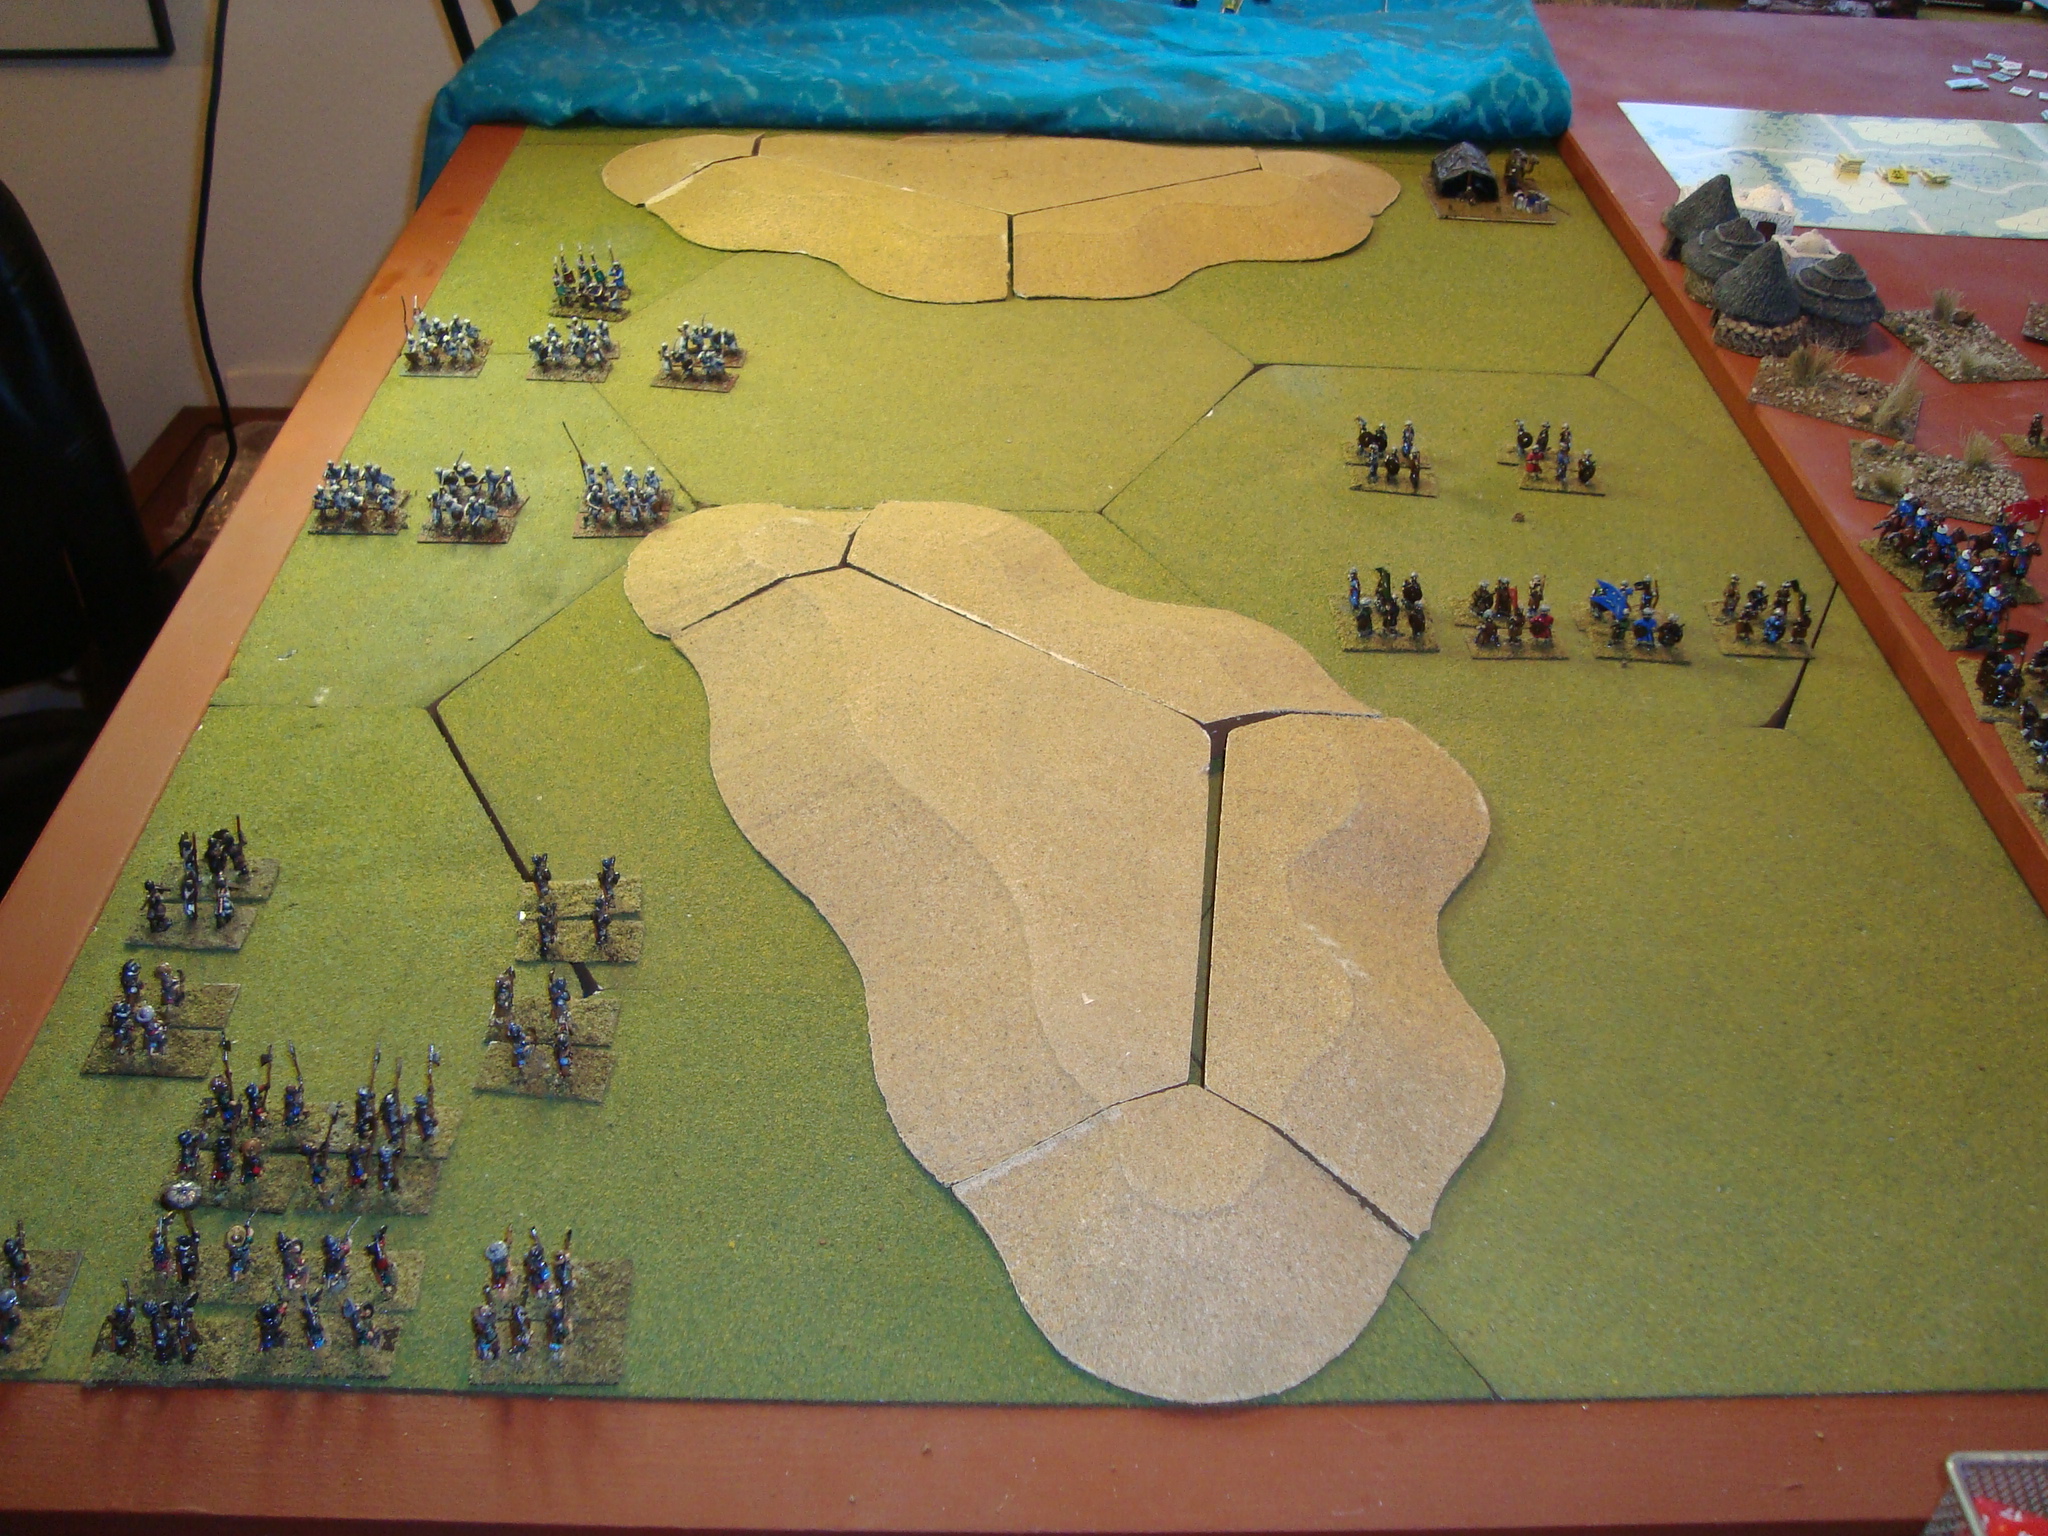
The Zanj options are to redeploy all forces to the threatened side (1,2,3); move some forces to cover the Faragh (4,5); or redeploy the East forces to cover the gap (6) and support the west flank. I rolled a 6.
The Portuguese options are to bypass and keep moving north (1,2); destroy any enemy to their front and keep moving north (3,4); detach a force to seize the gap and, with the remaining force, destroy any enemy to their front (5,6). The die roll was a 3.
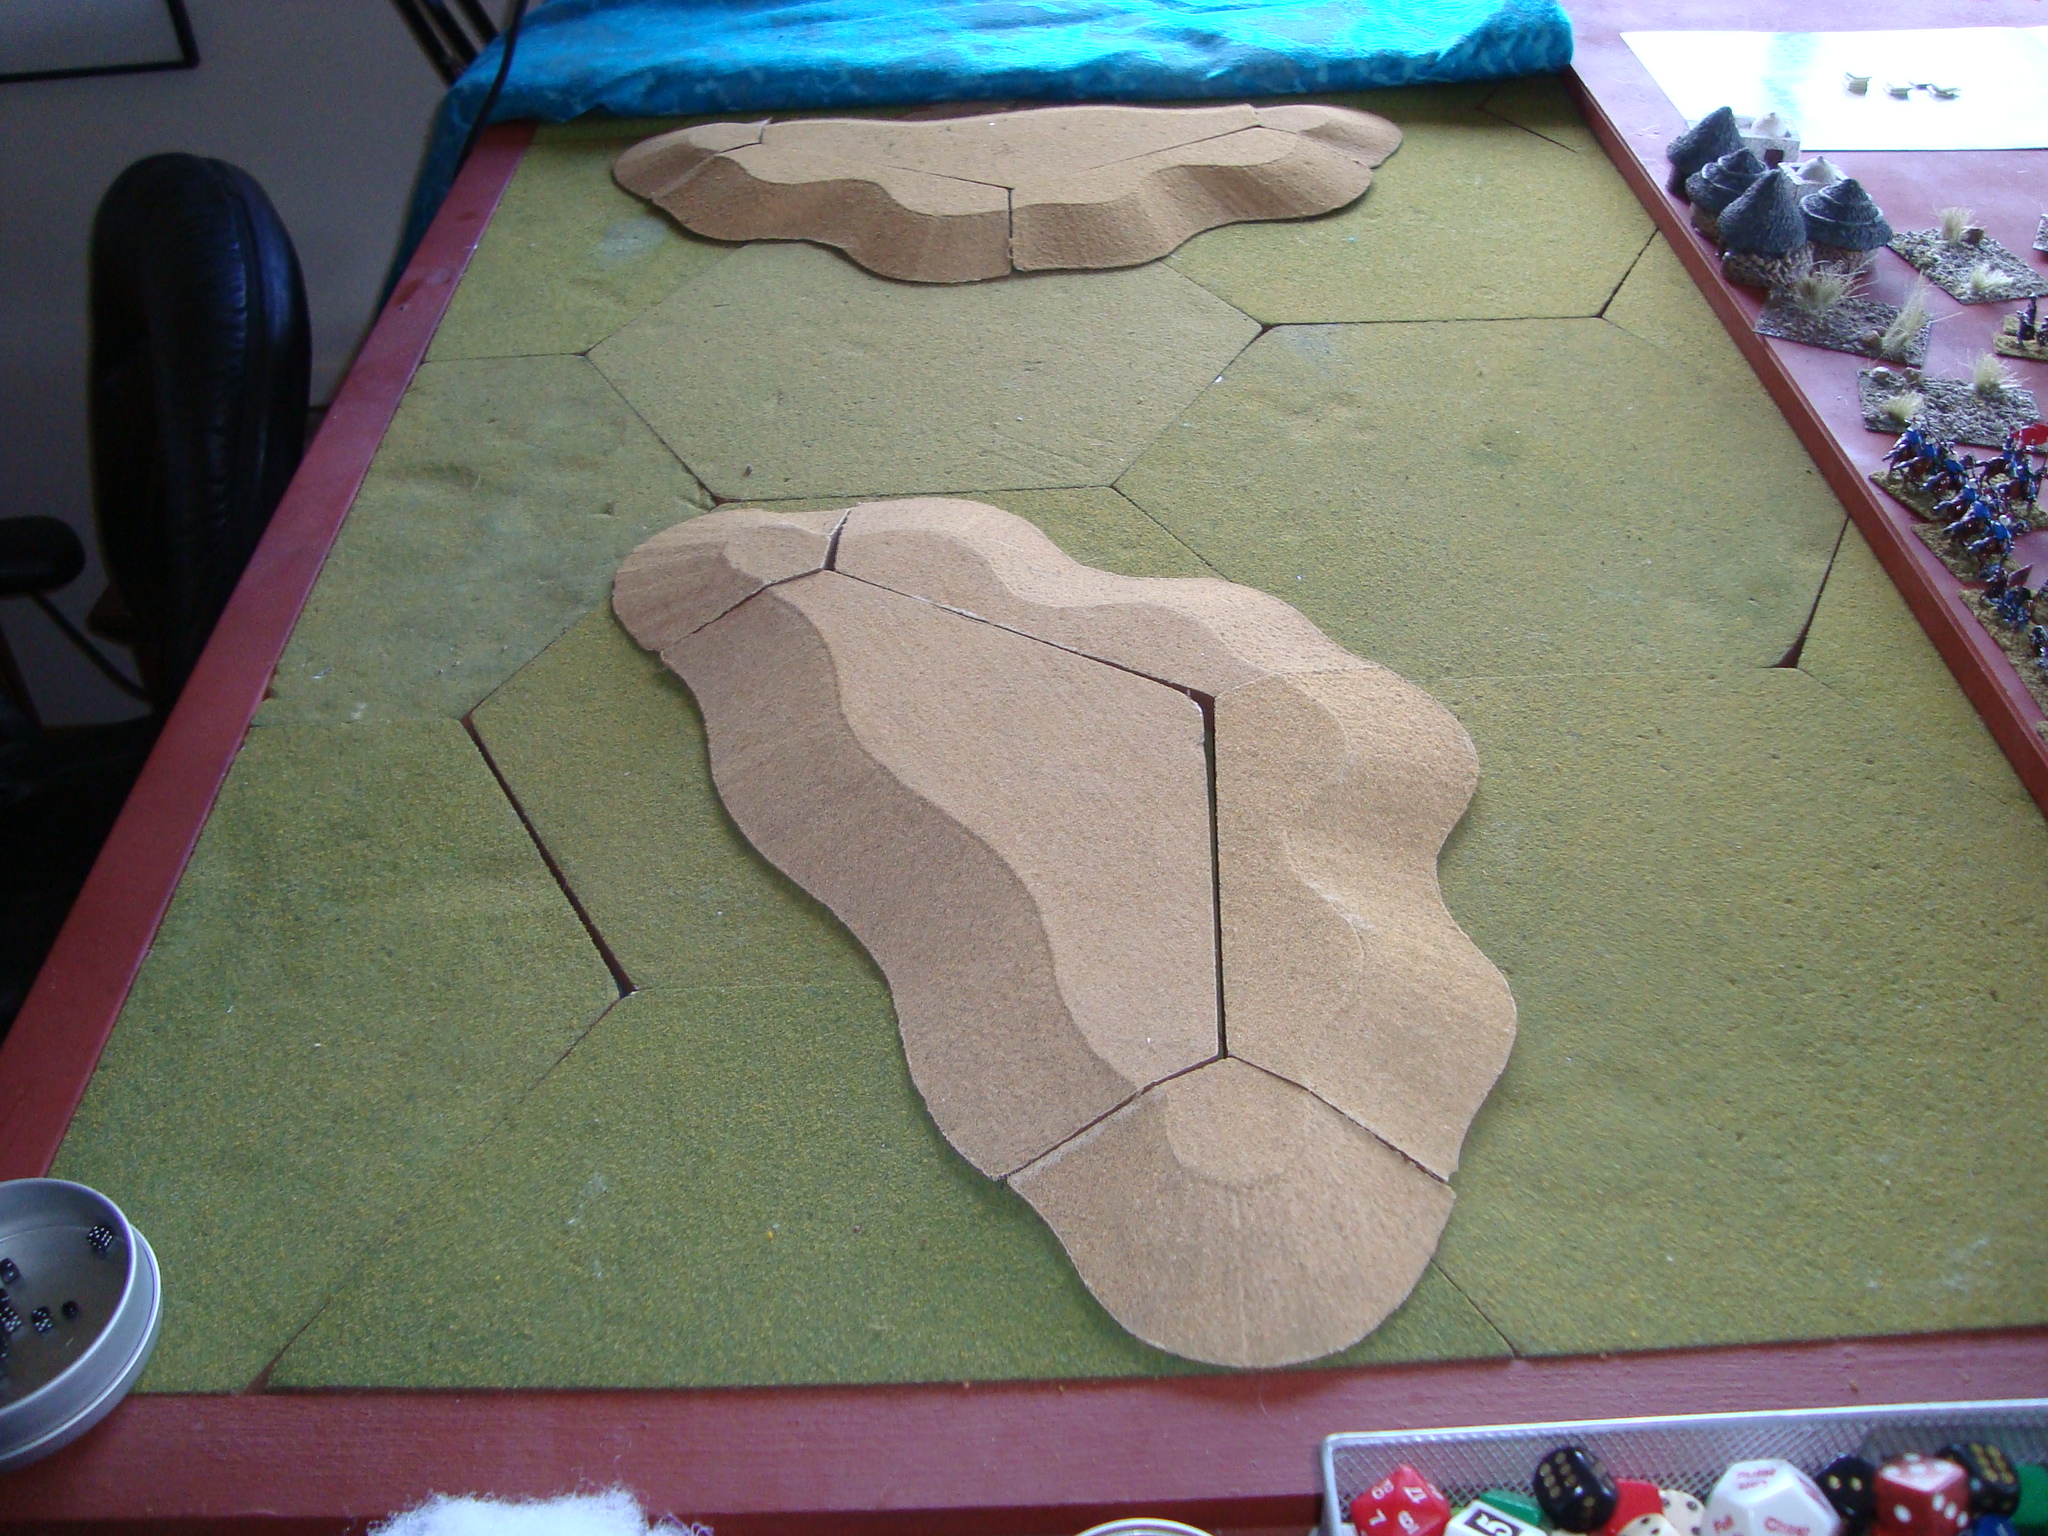
The wadi option for the battlefield was too difficult to put together, so I just elevated things and instead of the river/wadi, set up an east to west gap between impassable sand ridges. “Faragh” is the English translation of the Arabic word for gap (or so I’m told by the internet, and I have no clue as to how to pronounce it).
Not exactly stunning eye candy, but it will serve.
The die roll for the defender’s programmed deployment resulted in the Zanj force being evenly split on each side of the ridges. Once that takes place, I’ll roll for the Portuguese order of march.