Thought I’d made a comittment to DBA 3. Now I’ve reneged. Played a couple of games and it just doesn’t work solo. Need an opponent. Tired of the lack of manuever and reliance on melee.
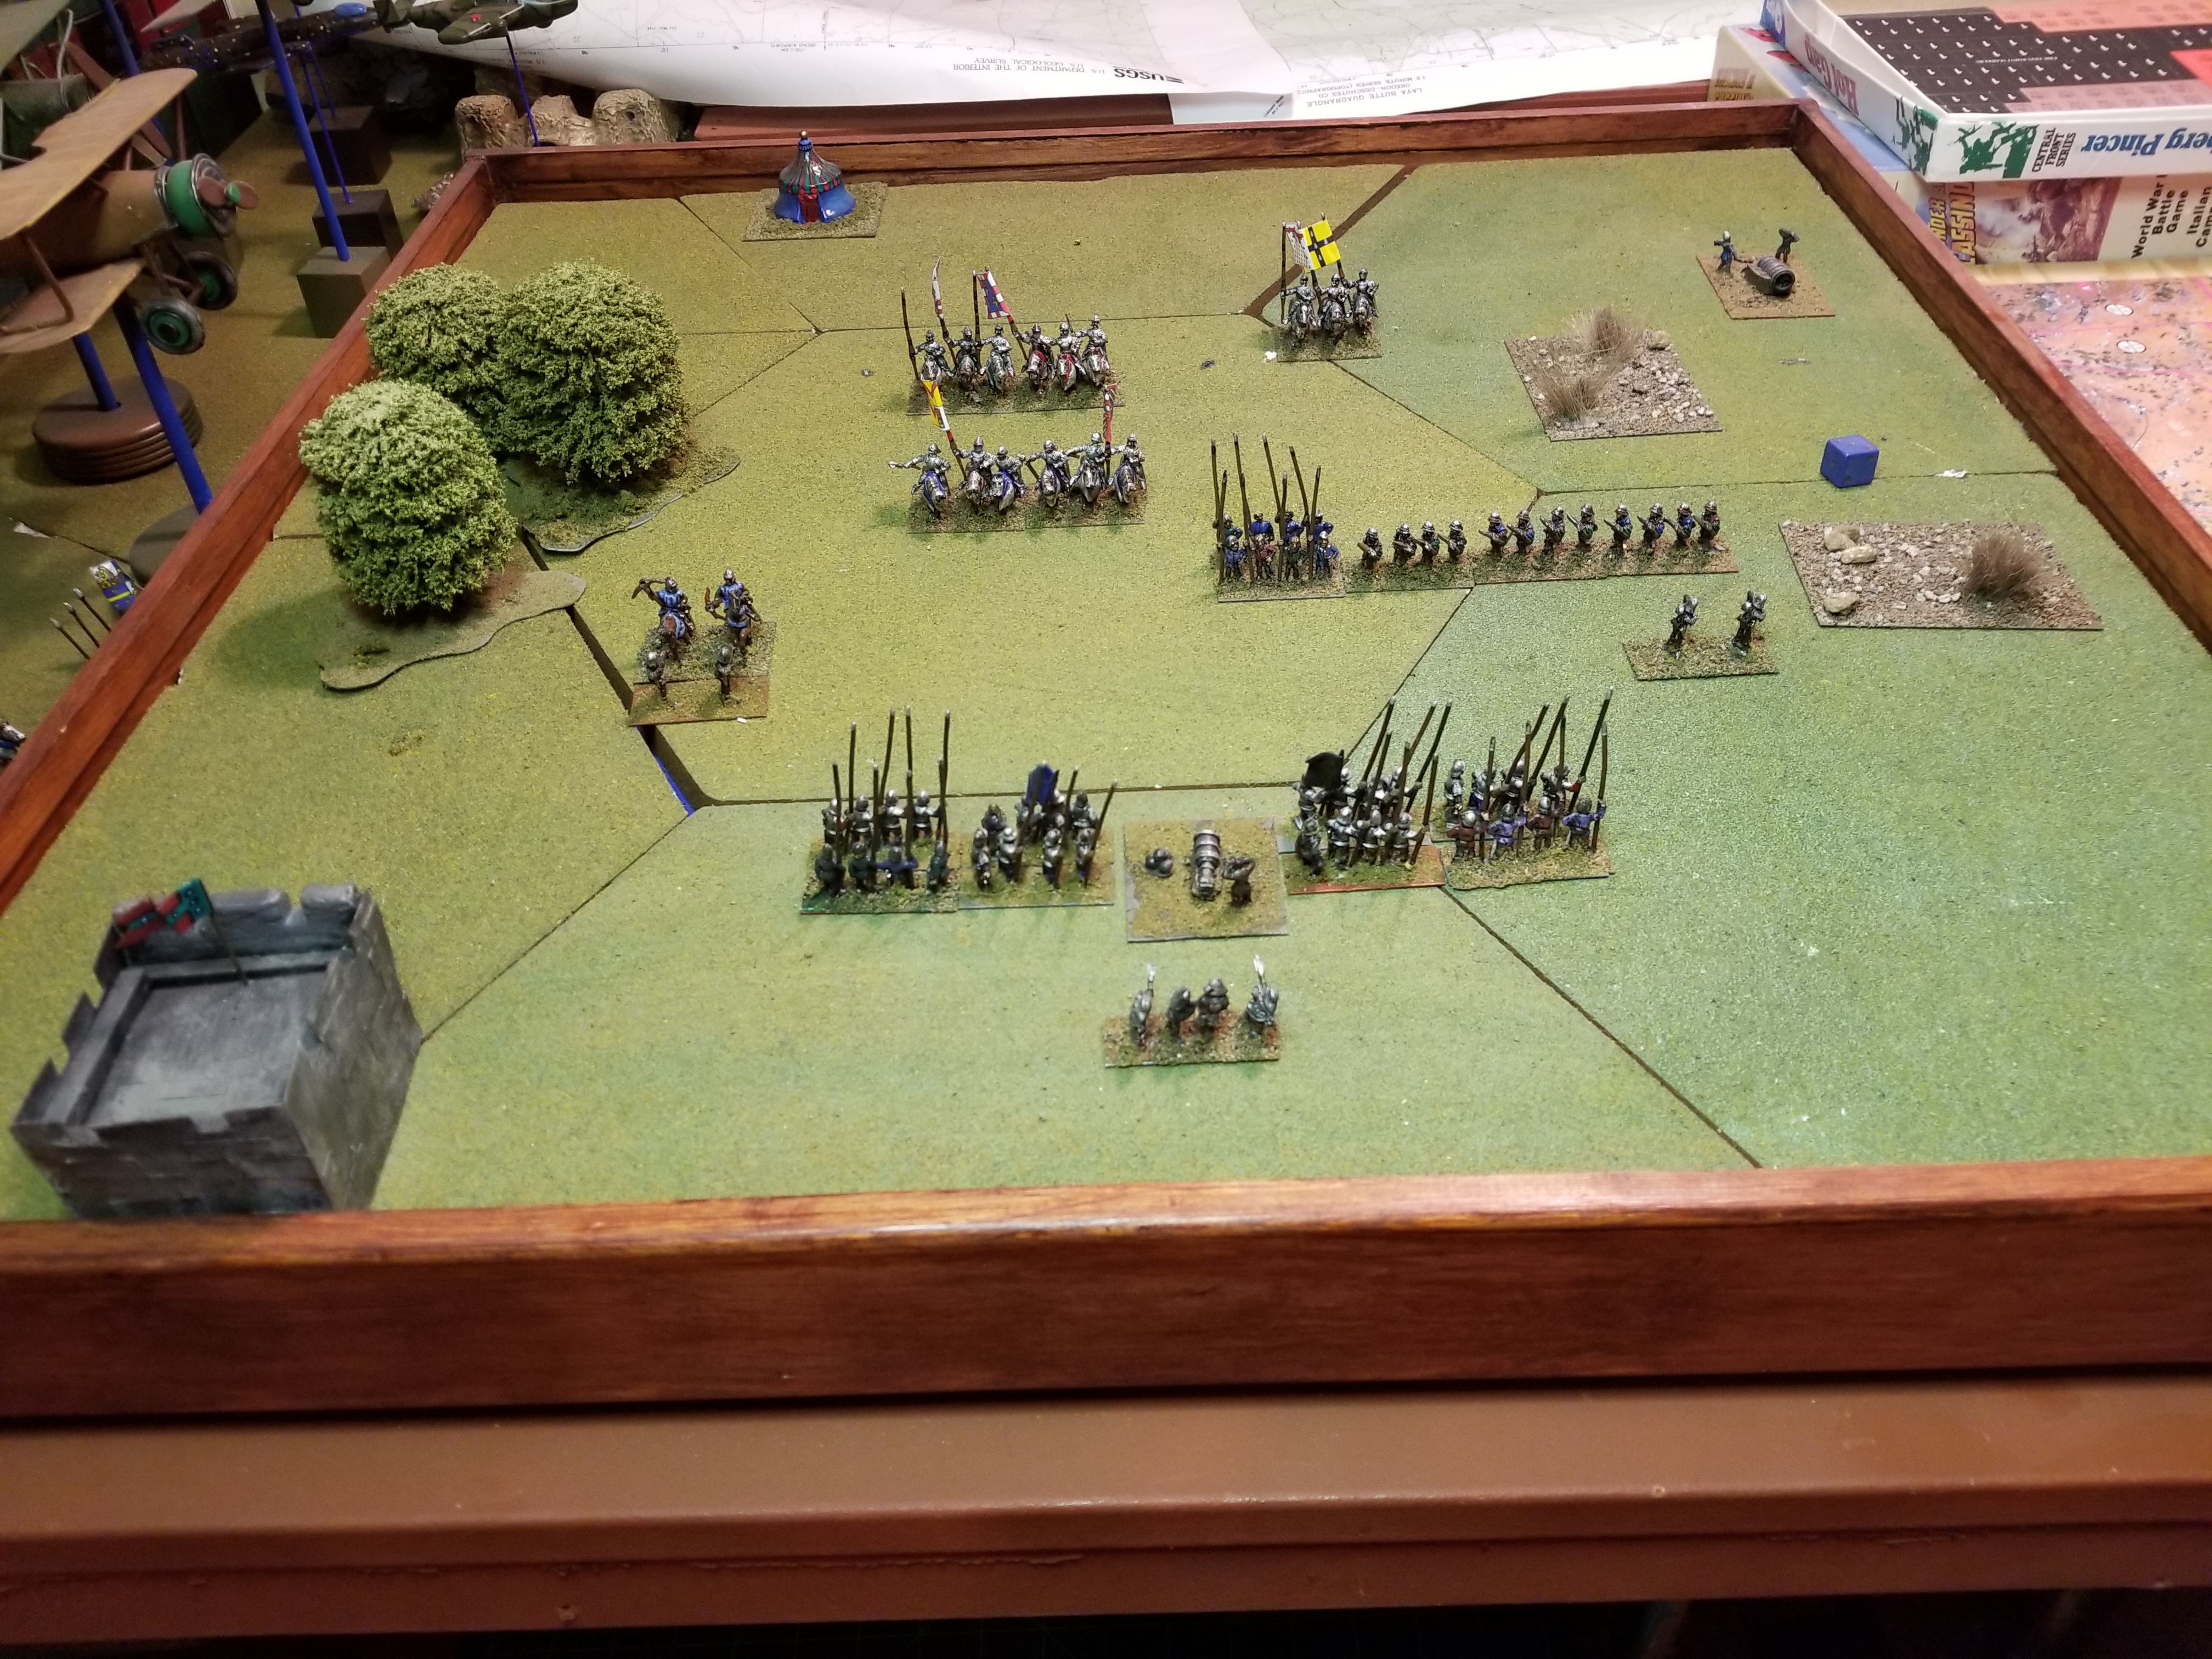
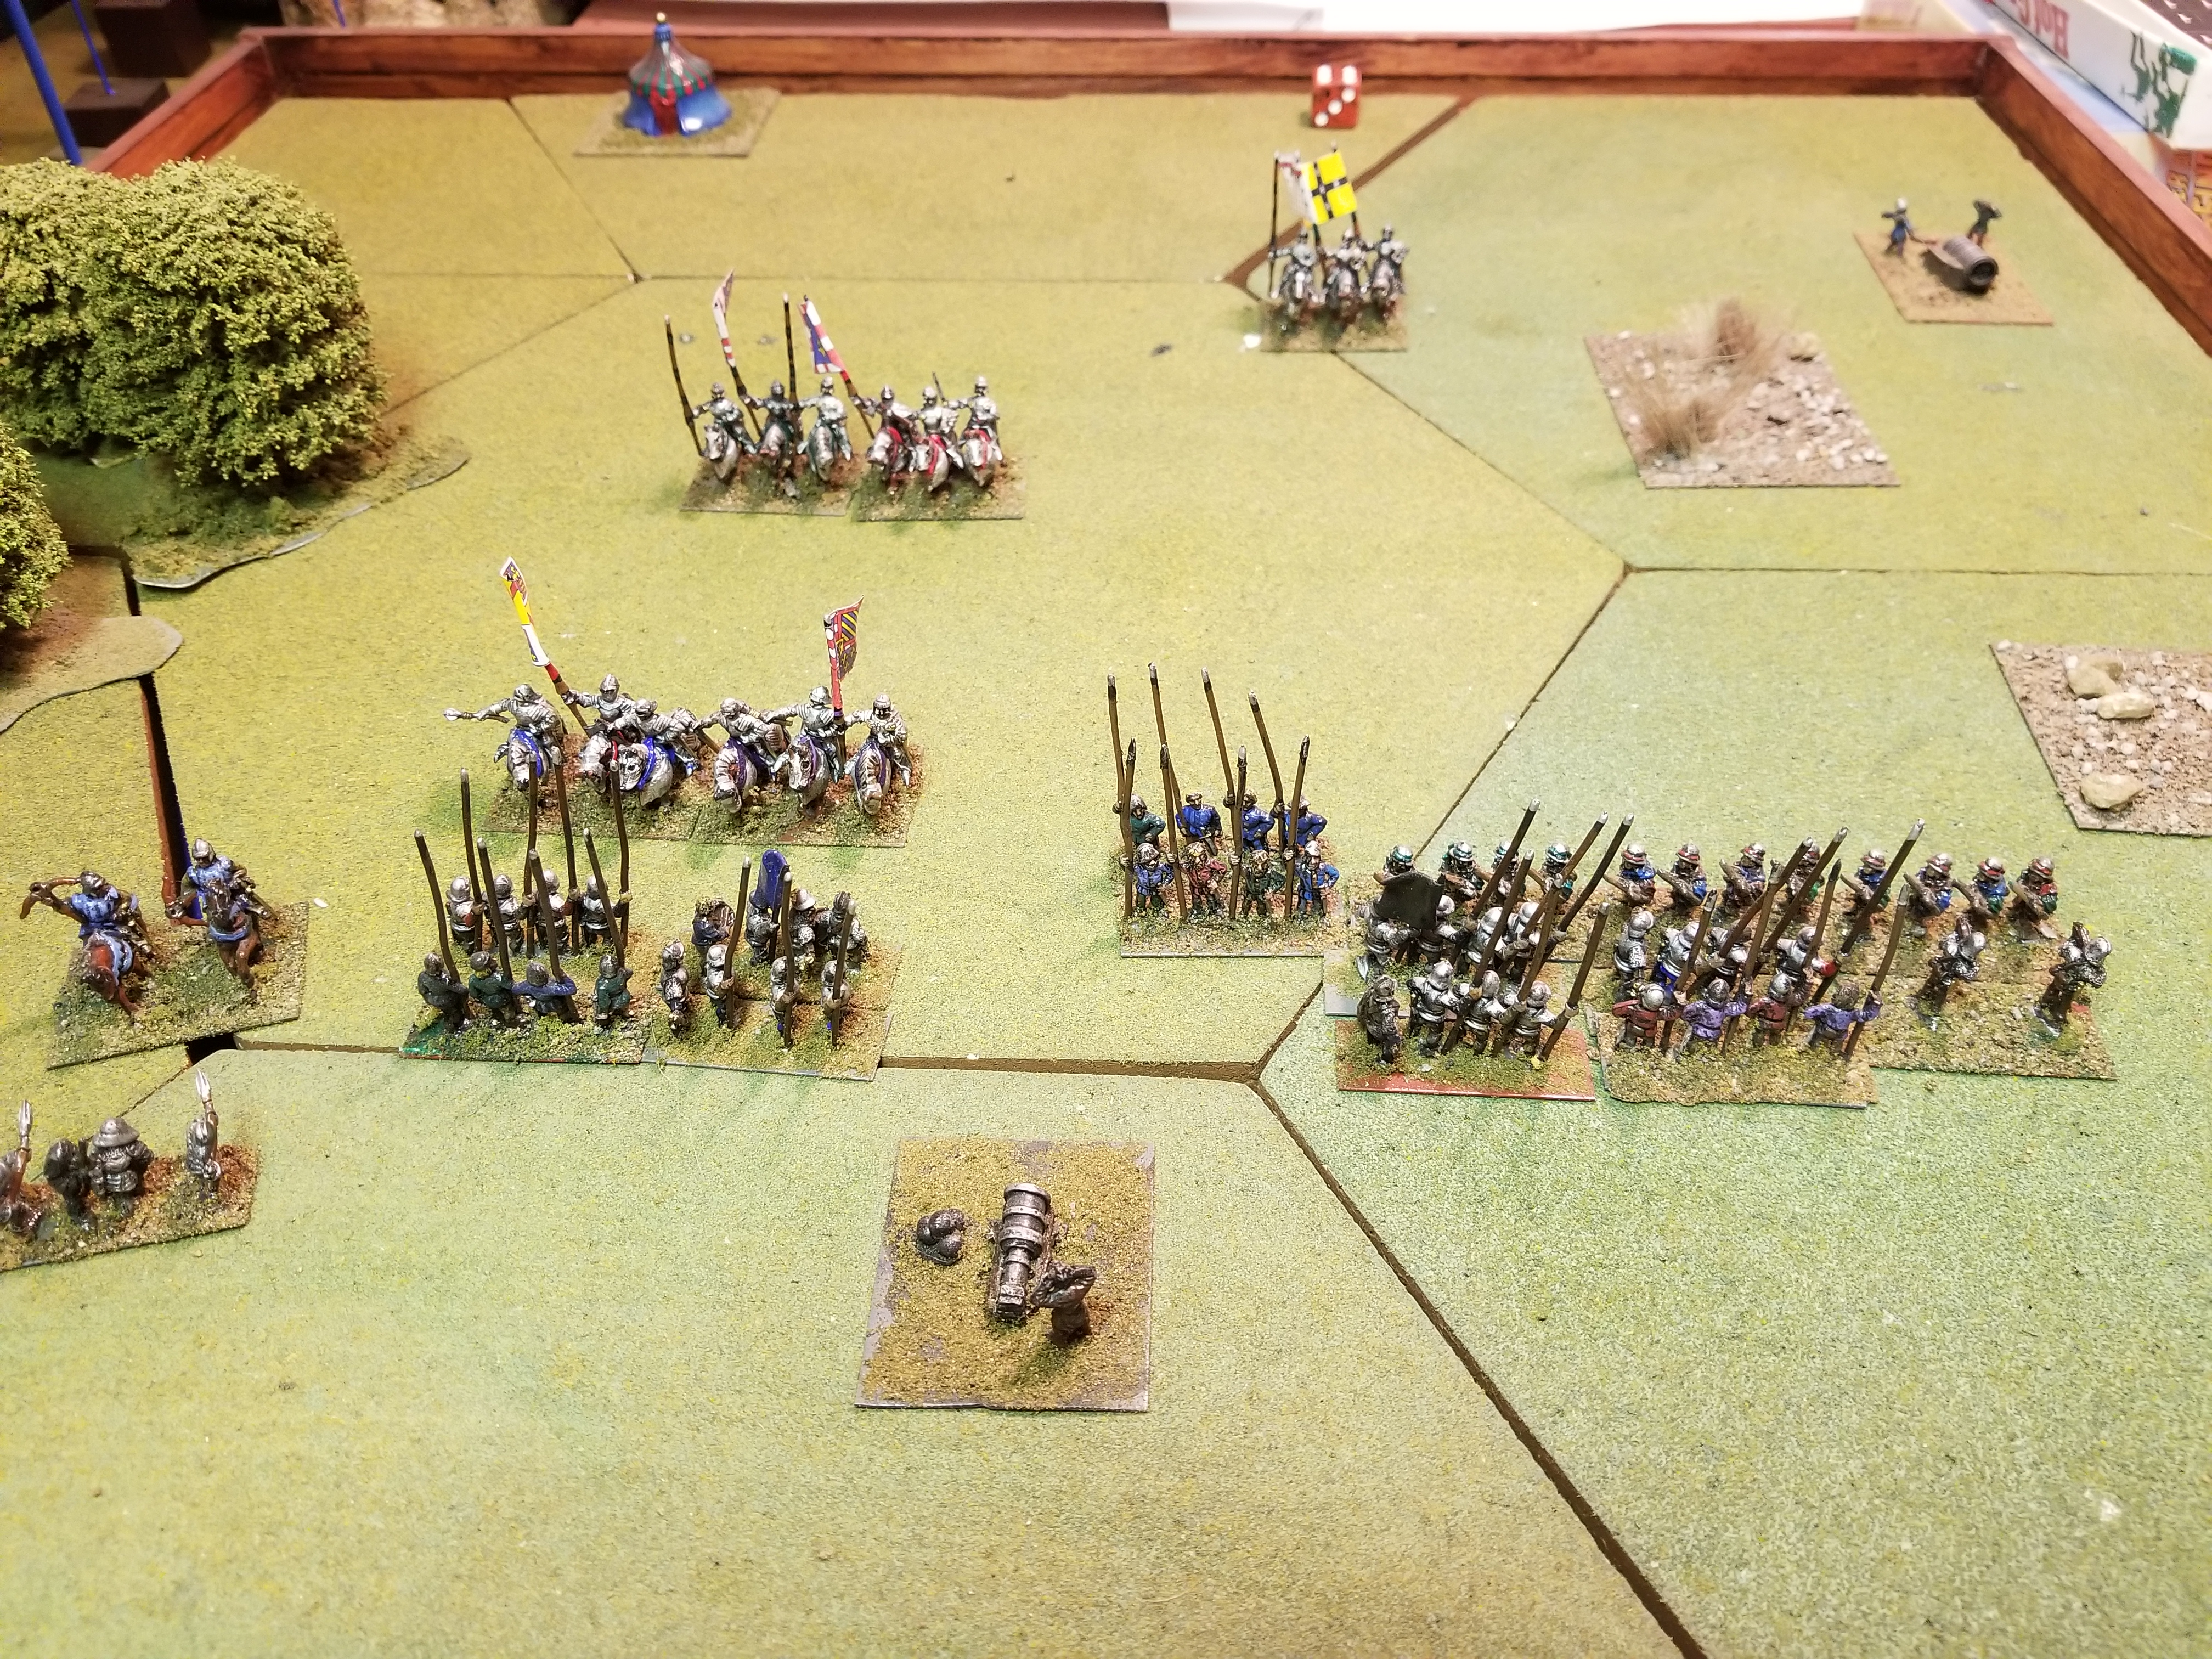
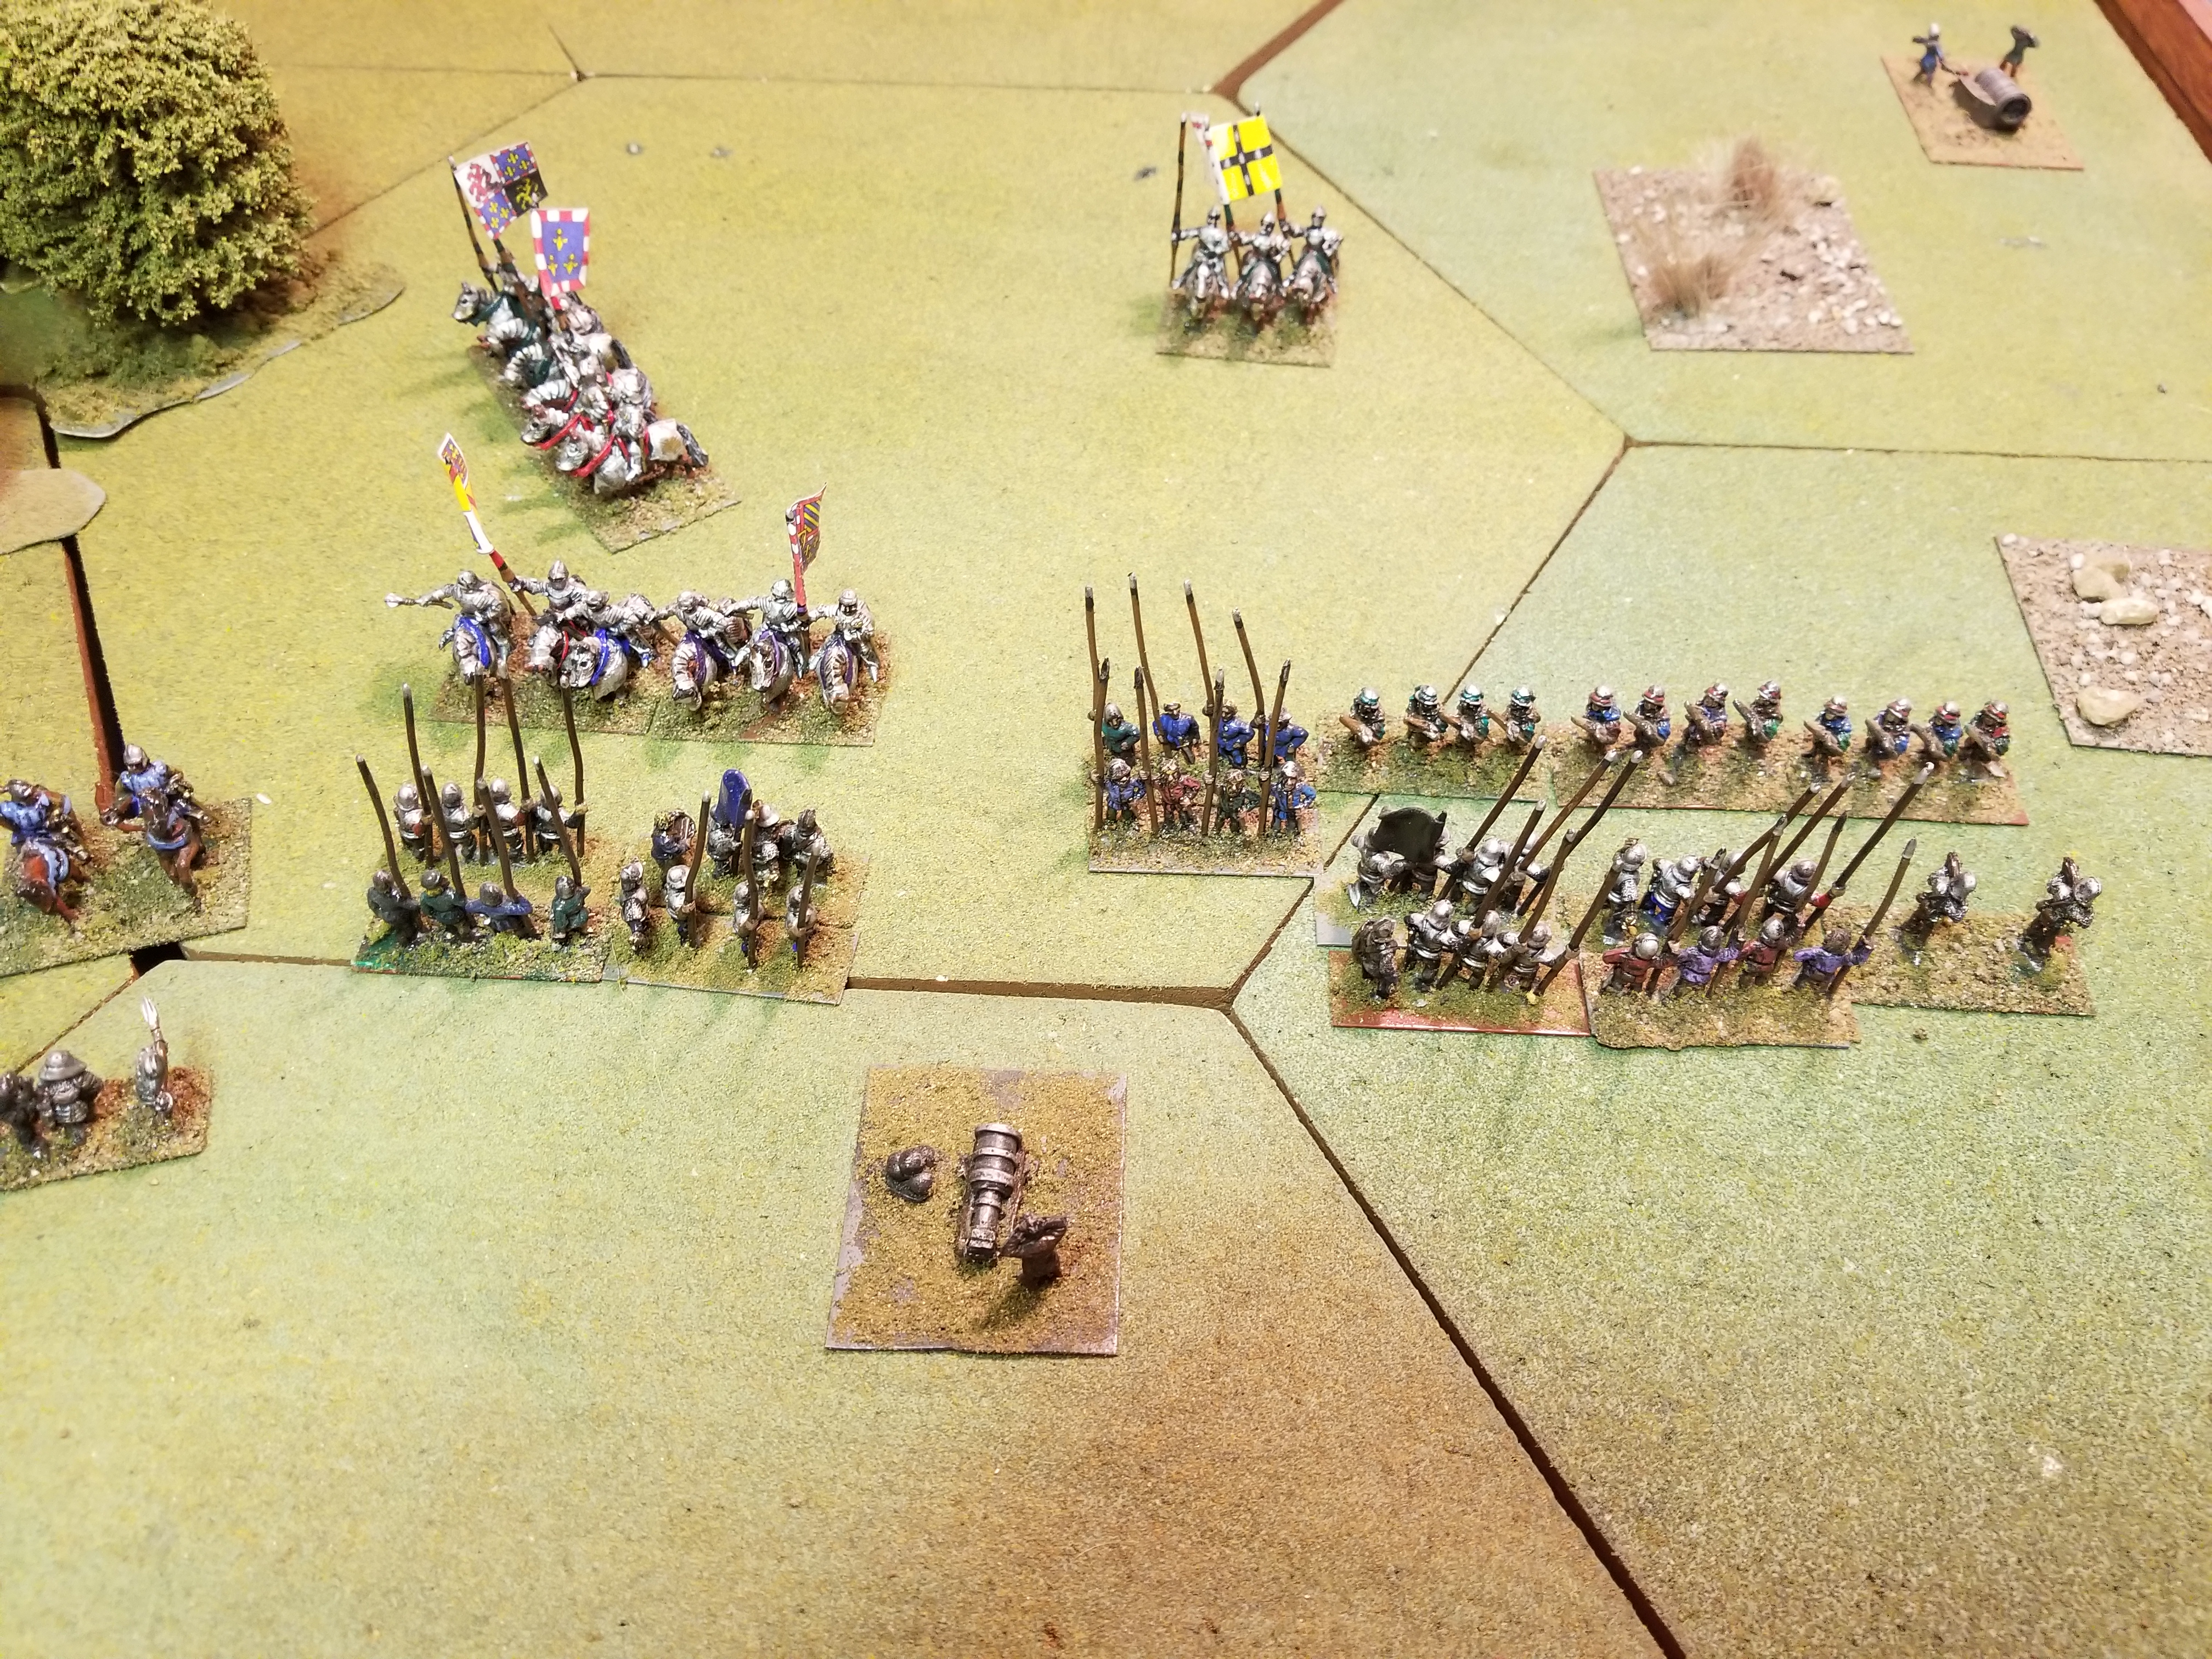
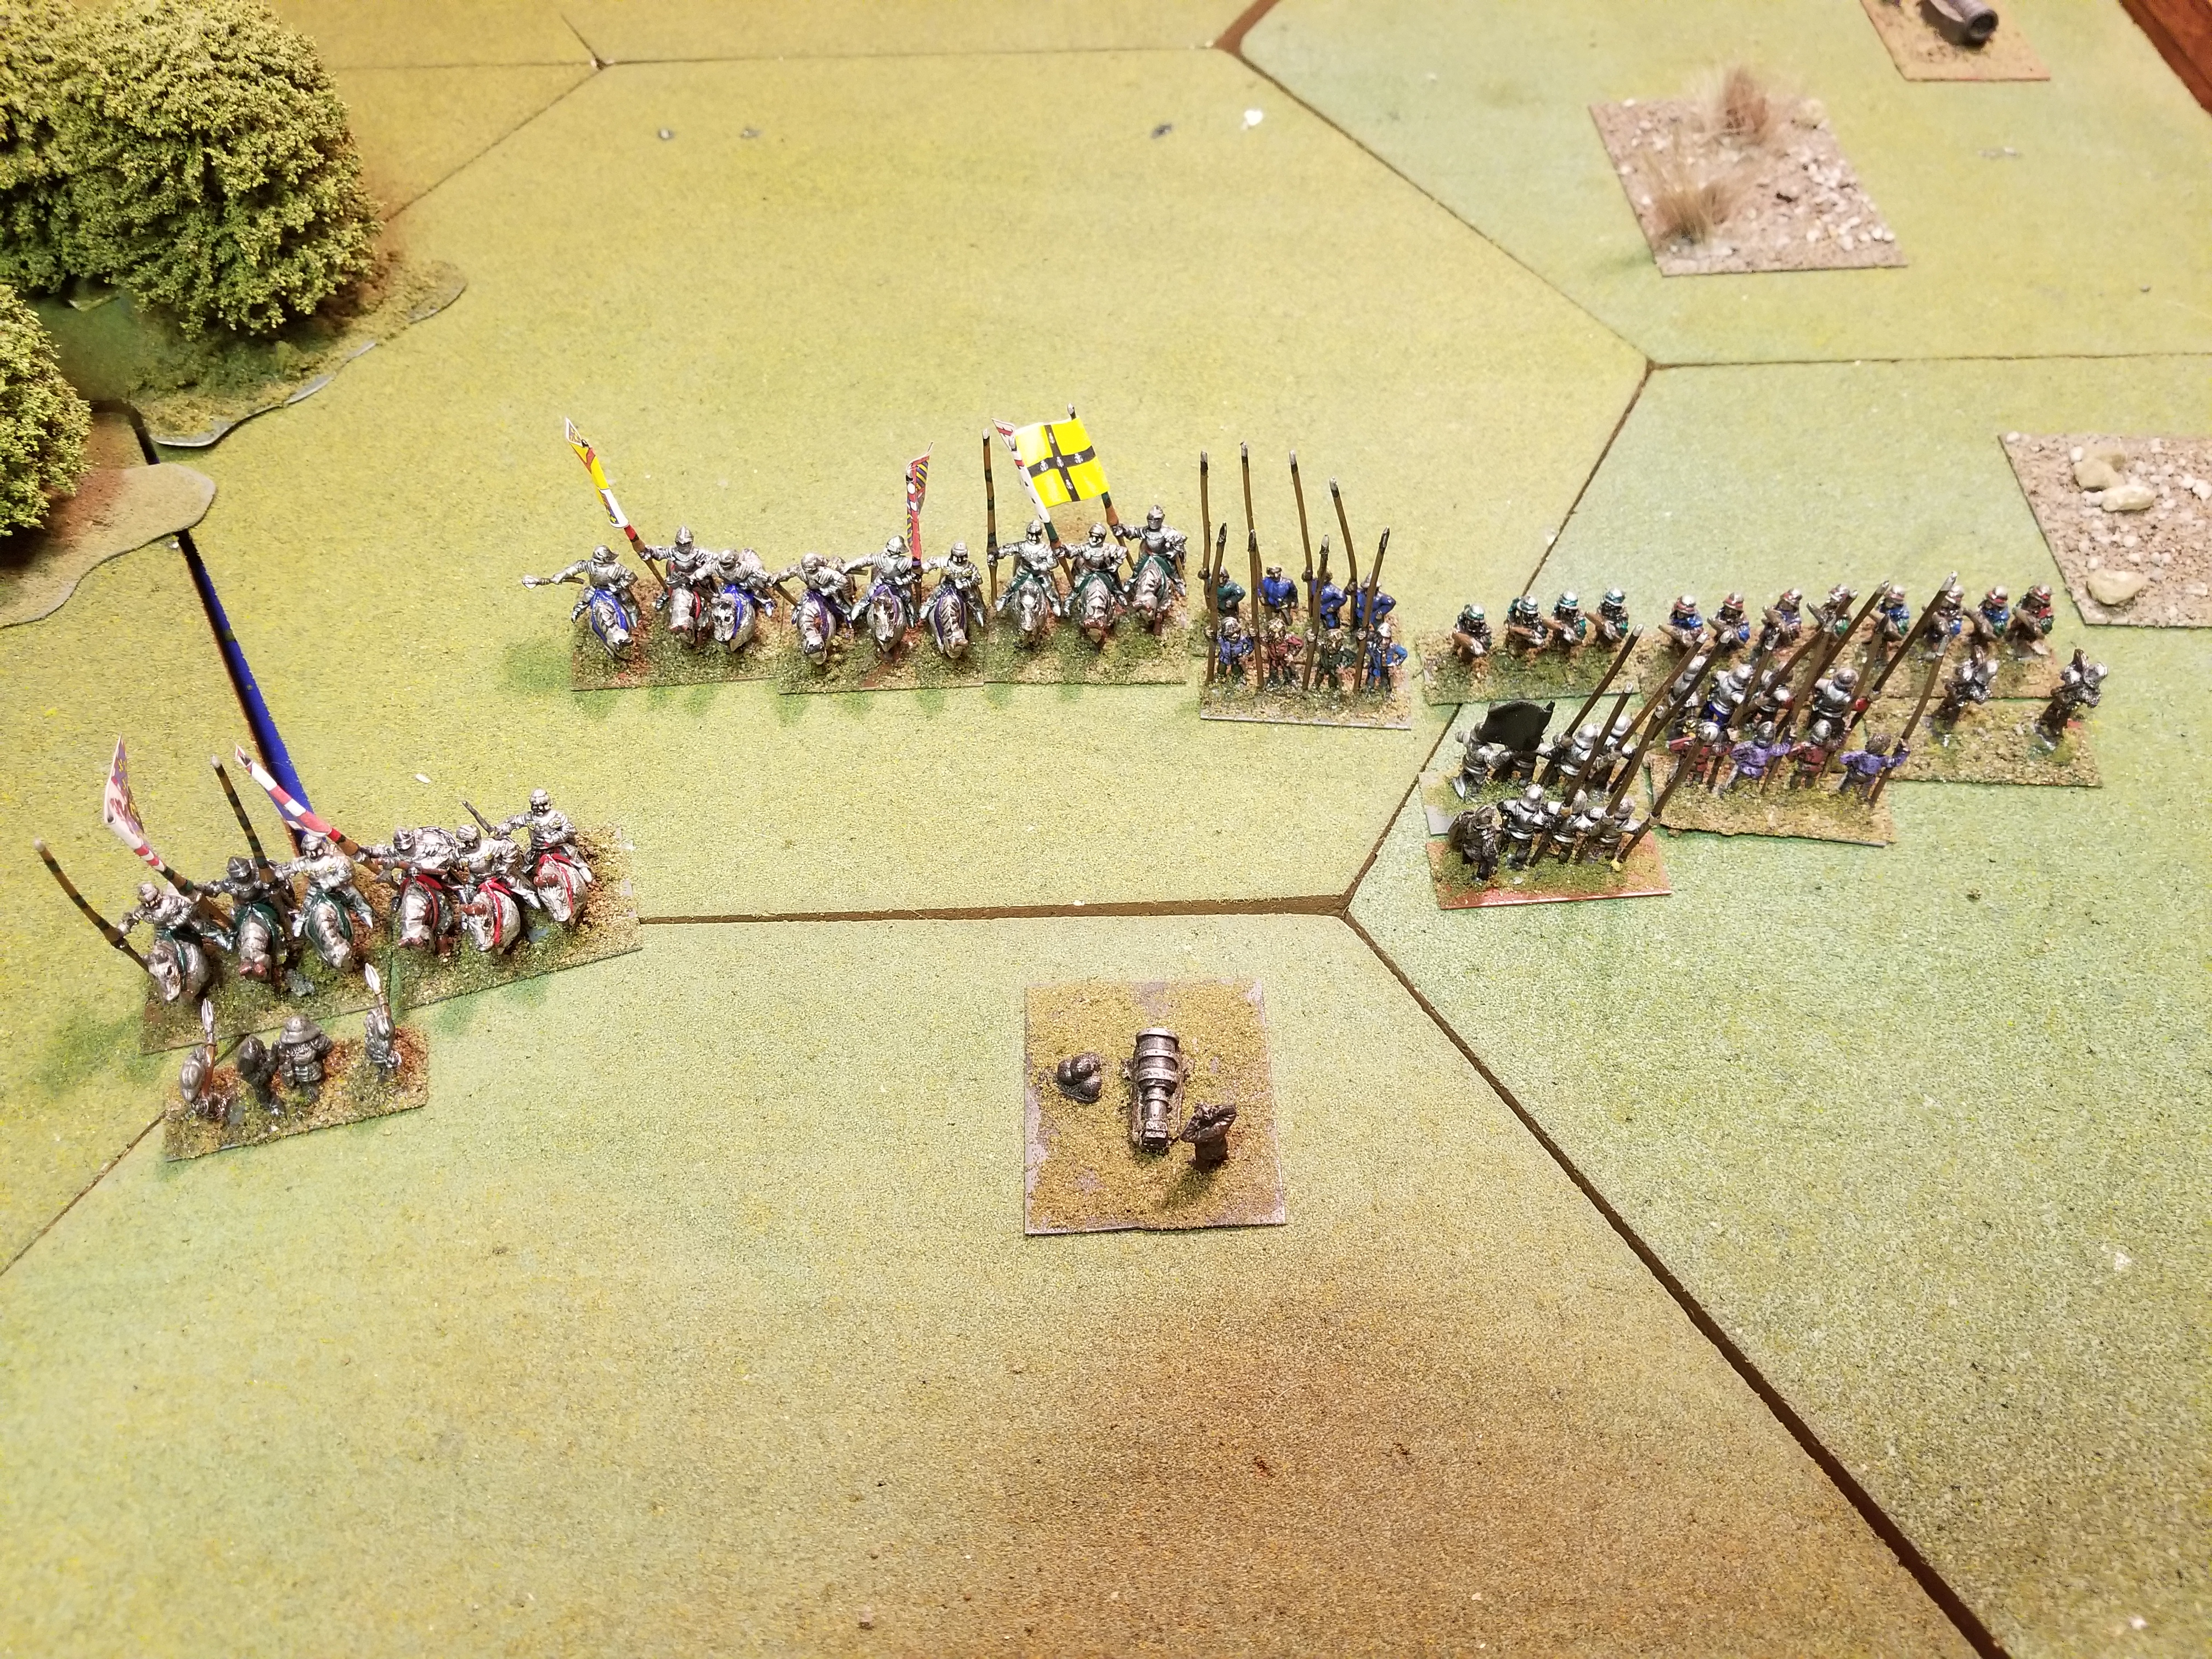
With all that lead, I had to come up with alternative uses. So, in keeping with my new focus on the old, I inventoried all my 15mm Dark Age and Medieval figures – which involved several DBA armies – and came up with workable lists for WRG Ancients.
I have the basic units for Byzantines vs. Arabs using my old Tabletop (now distributed by Alternative Armies), as well as Condotta vs. Ottomans using Essex figures. The odd troops out are my Essex Central Asian Cavalry. With some touch-up painting they should sell on E-Bay.
How Retro is WRG 5th Edition. Should be fun, but that fun will have to wait until Winter. Need time and money……isn’t that always the case?