Category Archives: World War II

1942 – Game Over

Powered through the game last night.  Once you get going, it is as advertised…..a game that takes about 2 hours.  And, it’s  a lot of fun.

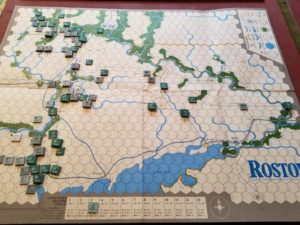
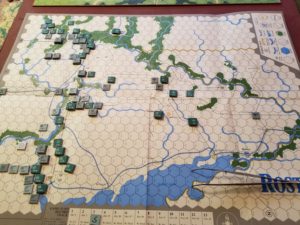
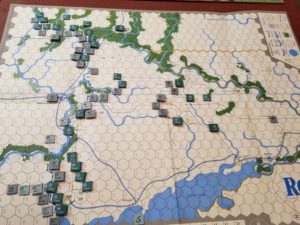
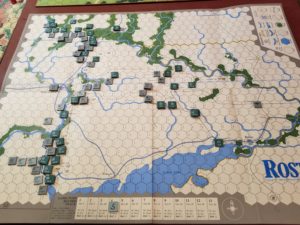
Should have done a better job of documenting turn-by-turn highlights, but I did take pictures.  Here’s the narrative highlights.

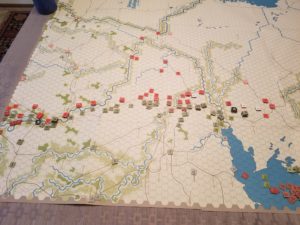
Beginning with Turn 3, the Japanese continued to pressure both American and Commonwealth forces, undertaking flanking attacks where they could get 3-1 or 4:1 odds, typically augmented by at least a +1 D6 roll modification due to air support.  The Japanese were fortunate in that their attacks resulted in surrender results, which maximize victory points.

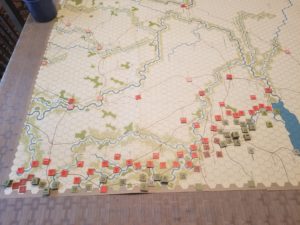
First Commonwealth, and then  American forces withdrew to their fortresses of Singapore and Corregidor, respectively.   There are no stacking limits in fortresses, so the Japanese were again forced to make low odds attacks.

The Turn 6 attack on Corregidor was at 3:1, with a +1 D6 roll.  The Americans surrendered.  The Japanese used Turn 7 to transfer air units.  On the last turn of the game (Turn 8), the Japanese attacked Singapore, using all of their air power, including aircraft carriers.  This support was countered by the lone Commonwealth unit, but augmented by Dutch air.  That one air unit made all the difference.  The 2:1 attack had a D6 roll of “2”, which modified by the +2 for air, with a result of “no effect”.  If it had been a +3 for air, Singapore would have fallen.

The result was a marginal Japanese victory, as there were too many surviving Allied units (which reduce Japanese VIPs).

While not a simulation by any stretch of the imagination, this game forces the Japanese commander to shift resources and make attacks at lower odds than one would want; just like the real campaign.  Likewise, the Allied commander has to eventually withdraw to fortresses, and hope for a positive outcome.

It’s tense, quick and fun.

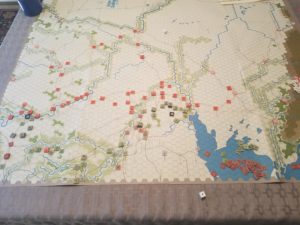
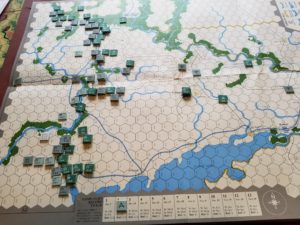
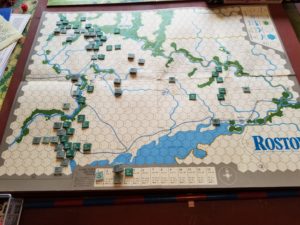
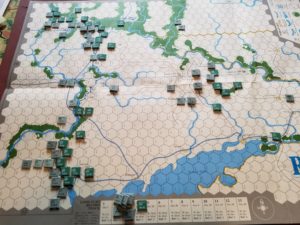
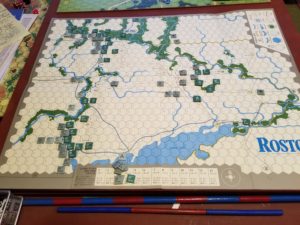
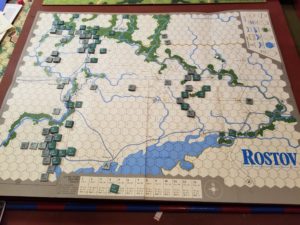
American Right Flank Is Disrupted. Japanese Close In On Dutch Garrison In Pemangkat. Dutch Air Umbrella Now Extends Over Singapore.
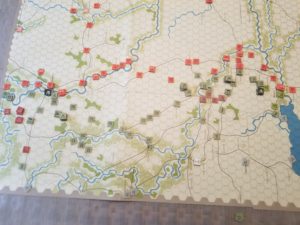
Commonwealth Withdraws Into Singapore. Americans Preparing To Withdraw From Luzon To Corregidor
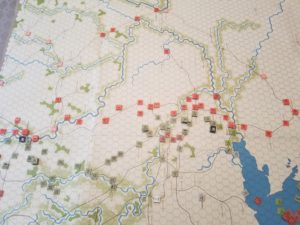
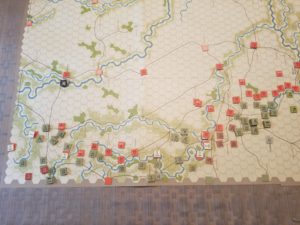
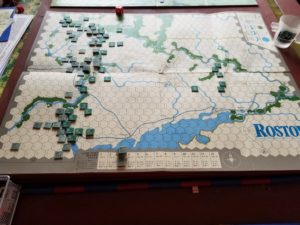
Both Commonwealth And American Troops Retire To Their Fortresses. Dutch In Pemangkat Are Surrounded.
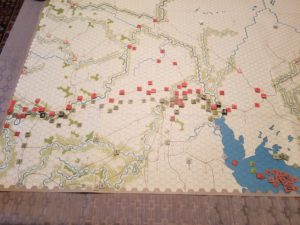
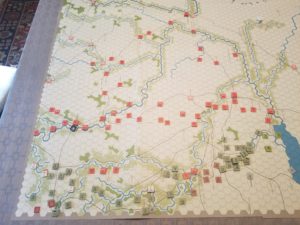
Japanese Attack And Capture Corregidor. American Units Surrender
Japanese Repulsed By Dutch
Final Assault On Singapore


1942 – Japanese Surge

Back at the Pine Cone Lodge.

During the Allied (first) Phase of  Turn 2, the Japanese suffered a slight reversal when the Americans destroyed the disrupted unit in Northern Luzon, and their main attack in the Malayan Peninsula was pushed back by Commonwealth forces.

Despite this, the Japan build-up in both areas continued unabated, at the cost of the additional naval movement points to sustain the landing areas.

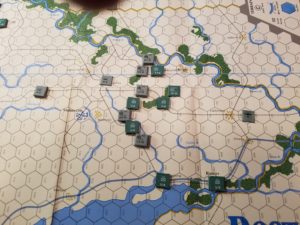
Situation At End Of Allied Phase Turn 2. Disrupted Japanese Unit In Northern Luzon Has Been Eliminated.

While the Americans were able to stall strong Japanese attacks supported by Formosa based air units, the Commonwealth suffered a severe defeat in Northern Malaya.  A bold (2:1 with +1 modifier due to naval air) attack resulted in four (!) Commonwealth units surrendering.

During Turn 3, the British commander,  faced with the possibility of overwhelming flanking attacks, ordered a general retreat into the Fortress of Singapore.  The Dutch responded by shifting their lone air unit to support Singapore.  Japanese units then moved to surround the fortress.  The Americans chose to consolidate their Northern Luzon defensive line and await the inevitable Japanese buildup and assault.

Situation At End Of Japanese Turn 2

A good game!!!


Swordfish at Taranto

Back in Sunfish Capital of The World. The 1942 game is on hold for the next week or so.

Set up and played Swordfish at Taranto. This is another of Gary Grabner’s solitaire designs published by Minden Games.

The game mechanics are straightforward and, as with most/all solitaire games, involves significant wristage. The player commands the 21 Swordfish torpedo bombers that took part in the mission. Playing time is 30-45 minutes, with much of it allocated to the preliminary Mission Planning and Harbor Readiness steps.

In the Planning step, the player uses a pre-printed log to assign which of the two attack waves each plane is in, its payload (bomb/flare or torpedo), its approach towards the ships anchored at Taranto, and target (anchorage, shore facilities) to be attacked. This log has each pilot and plane’s identification number already filled in.

Next, the player rolls to determine the harbor’s alert, anti-torpedo net and barrage balloon status. These can create DRMs during the Approach step.

Each of the two attack waves follows a series of steps, with each aircraft rolling a six sided die for outcomes.

The Take Off and Outward Flight step determines if any of the aircraft suffers mechanical or navigation issues, which may abort their mission or cause problems later.

Flares are deployed in the next step. The failure to deploy flares effects attack results.

The next phase is the Approach step, followed by Target Acquisition and, finally, Attack step. A series of tables determines any damage to each aircraft, which ship it attacks, and results of the attack.

The Homeward Flight and Landing step determines which of the surviving aircraft land safely. Damage incurred during take off, approach or attack can effect this outcome.

Victory points are awarded for minor damage, major damage or sinking a capital ship, as well as damage to smaller craft and land installations.

Despite the laundry list of actions required for each aircraft, the game plays quickly. The charts are embedded in the rules (as is the Log), but are not spread out and organized sequentially by phase. You can literally work through the rules/charts while playing.

The map is small, with rudimentary graphics. I would recommend using a copier to increase its size to allow more room to place individual aircraft counters.

First Wave Approaches.  Aircraft/Mission Roster in Background.


I lost two planes during the attack, and one on landing. The two waves sank three battleships and inflicted other damage. This resulted in a win exceeding the historical result. I was lucky, just like the actual attack force. I decided to quit winners.

Swordfish is a fun little game, worth a play or two when time and space is tight.


1942 – Opening Moves

Decided to go with the historical Japanese invasion plans as outlined in Christopher Shore’s Bloody Shambles.  His account of the air campaign is one of the most harrowing tales of military history I’ve read.

The Japanese landed on the west coast of Malaysia and the northern Philippines.  Each landing area was outside of the (Turn 0) reduced Allied air umbrella.

Both Japanese beachhead assaults resulted in D6 roles of six, with the defeated Allied forces captured (with accompanying victory points).  Each assault was supported by naval aviation assets.

In the following first phase of Turn 1, the Allies counterattacked.  The American attack disrupted one of the Japanese beachheads, while the Japanese in Malaysia were forced to retreat.


Tanks! Book To Get

Borrowed Steven Zaloga’s “Armored Champion” book from Tim.  Subtitled “The Top Tanks of World War II”, it is a fantastic overview of  tanks development from 1919 to 1945.

While the author’s selection of “Top Tank” for specific eras/years at first seems  gimmicky, it is actually an interesting exercise, as he takes both Commander’s and Tank Crew’s perspective.

Zaloga’s criteria focuses on the “Holy Trinity” of tank design; armor, firepower and mobility.

Chapter 1 explores “What Makes a Great Tank.”  In addition to the “Trinity”, Zaloga also addresses communications, crew layout/tasks, durability, crew capabilities and cost.  These criteria are used throughout the book.

Later chapters examine pre-war developments, and a by-year analysis of tank development and combat, with selections made at the end of each chapter.

Easily appreciated charts help illustrate his criteria and support his conclusions.  The photographs are of excellent quality.

Indispensable!

Not BOAT…..It’s BoAT

Cousins over for dinner so BOAT had to come off the table.  Plan was/is to replace it with the aforementioned Fall of Constantinople.

Working my way through the Summer 2001 Panzerschreck (Issue 6) containing the game when I ran across “Battle of the Atlantic Player’s Notes”.  Damn.

First off, BOAT is referred to as BoAT.  OK (Ok?).

Reminds me of this.

Playing tips summarized as follows:

1.  Concentrate U-Boats.  Downside is that ASW becomes more effective.
2.  Concentrate in North Atlantic only if Convoy marker is there (Allied ASW typically concentrated in North Atlantic).
3.  Keep Donitz in the Sub Pens (didn’t go into this in my initial review), because his presence reduces chances for ASW capability increases.

Author states that BoAT is a difficult game to win.  He offers optional rules to help the Germans (see previous post).

The article includes rules clarifications and references an excellent review from WebGrognards.


Das BOAT (?)

Played a few more turns night before last.

Despite using an “aggressive” posture for all submarines, the Germans had a very difficult time attaining the tonnage sunk figures needed to attain victory.   And, this is a period when Allied AWS capabilities are relatively low.

Well, maybe that’s just fine.  Maybe it would have taken quite a bit of good fortune to win the Battle of the Atlantic (BOAT), just like Barbarossa.  Do you want play balance, or something akin to historical conditions?   Or, is it playability?

I think Grabner’s BOAT does a nice job of providing solitaire playability with abstract historical conditions.  Is it a simulation?  No, but it is an interesting way to spend an evening or two.

Playing

Started playing Battle of the Atlantic last night.  The active player controls German U-Boats, Condor aircraft, surface raiders and resupply submarines.

British air and surface ASW asset dispositions in each sea zone are determined by a card draw.  Cards also determine German U-Boat production and British technological advances, as well as designating certain combat modifiers for the turn in which they are drawn.

Initial Setup

Technological advances effect the order in which Allied ASW assets, U-Boats and Condor aircraft are placed, as well as which side resolves their combats first.  Technological advances (Ultra, HF/DF, Radar) are cumulative, pushing the initiative towards the Allied player.  This is critical, since losses are taken immediately.

German objectives are to a) sink as much tonnage as possible, b) maintain at least half their U-Boat fleet at the end of any one turn, and c) prevent the Allies from forming and deploying convoys.

The German commander must determine which sea zones to deploy attack assets, and what posture (aggressive, normal or shadow) they take.  Aggressive subs can sink more tonnage, but are easier to destroy.

Play is quick, with straightforward CRT tables for each combatant and asset type.

After my usual stupid misplay during the first turn (roll one die, not two on the German Attack table), the first two “real” turns found the Germans falling short of their victory objectives, but suffering light losses.  I’ll find out more this evening.

Storm Over Arnhem

I like this game……I really do.  But, for some damn reason I found it hard to start pushing the counters.

Some games you just can’t wait to get to the table and play the next turn.  Examples?  Can’t roll that one over in my brain right now,   have to focus on SOA.

A highly regarded game that has spawned a number of “Storm Over” games.  Great area movement map, big counters (no tweezers needed), rules are……hmmmm, well maybe it’s just my learning style.   Perhaps the problem is the chrome with tanks, reformed units, bren carriers, and setting fires.  This play aide found over at Boardgamegeek was very helpful.

I really like the  impulse turn system involving individual sectors,  and units becoming more vulnerable after they have either moved or fired.  This leads to a cat-and-mouse tactics (at least in my first play).  You don’t want to move/shoot a unit that would be “flipped” to a committed status with a lower combat/defense strength with a full-strength enemy adjacent to your area. On the other hand, an area can only be fired on once a turn, so one has to maximize an opportunity to attrit an opponent.

Close-combat is a separate phase with all  committed units flipped to their active side,  engaging in new combats with any enemies in their sector.

Outcomes are dice-tastic, but generally reasonable.  Lots of counter-punching (no pun intended) with one side reacting to their opponents preceding move.

Maybe what I like is the problem; yes isn’t that the way of the world.  Constant back and forth with no respite for the solo player.  It would  be really fun FTF, especially with RAW restricting the time a player has for each impulse.

In my first try I relied on the British set-up used in the Avalon Hill General.  My German tactics were relatively ham fisted, blasting away at British units, with results less than optimal.  Pretty sure the Brits will prevail.

But, we’ll never know.  Time to take it down and make way for System 700.  However, this quality game will be back on the table sooner rather than later.

Maybe I can talk Tim into playing……

By The General Set-Up. Very Nice Looking Components.


Armour Camouflage and Markings

Back from a week in the Sun with friends.  Nice way to spend the time.

Just before departure, I  received the last of three books ordered to help with the Tanks project.  All of these involved camouflage and markings throughout World War II.  I already had one book covering the Polish and French campaigns.  Each of these four books, while originally published many years ago,  is highly recommended.  Here’s a few comments on each.

The cover says it all.  I was especially intrigued by the widespread use of tankettes and carriers by the Allies.  Many of the photos were of abandoned Allied armor, which shouldn’t have been a surprise, but the sheer frequency of breakdowns reported was astounding.


This is the only book not published by Arms and Armour.  George Bradford is well known for his profiles series.  I was not overly impressed with it at first glance-through, but subsequent readings proved it to be a very satisfying overview, complete with scale drawings of all the armored vehicles used during the campaign.

Another volume with Steven Zaloga, the well known armor expert and author of the popular  Panzer Colors series.  This volume includes a helpful survey of German Panzer unit insignia, as well as an interesting discussion of Soviet tank inscriptions. Vehicles from Romania and Hungary are also covered.


This book begins with a very interesting discussion of the purposes and techniques of camouflage.  The author emphasizes the effects of dirt, dust and foliage on armor camouflage, and the differences in philosophy between the Great Britain, United States and Germany.  To me, the illustrations aren’t consistently as good, but I am a fan of profiles and not aspect renderings of equipment and aircraft.  Most of German vehicles photographed were captured, with only a few shots of them in action.

Prices for these books – all used- range from the reasonable to the absurd.  It took time and effort over a period of months to locate quality copies at good prices.  I feel the money was well spent.