Category Archives: Skirmish

Tanks! Redux

Watched Dunkirk the other night.  Not the new one, the good one.

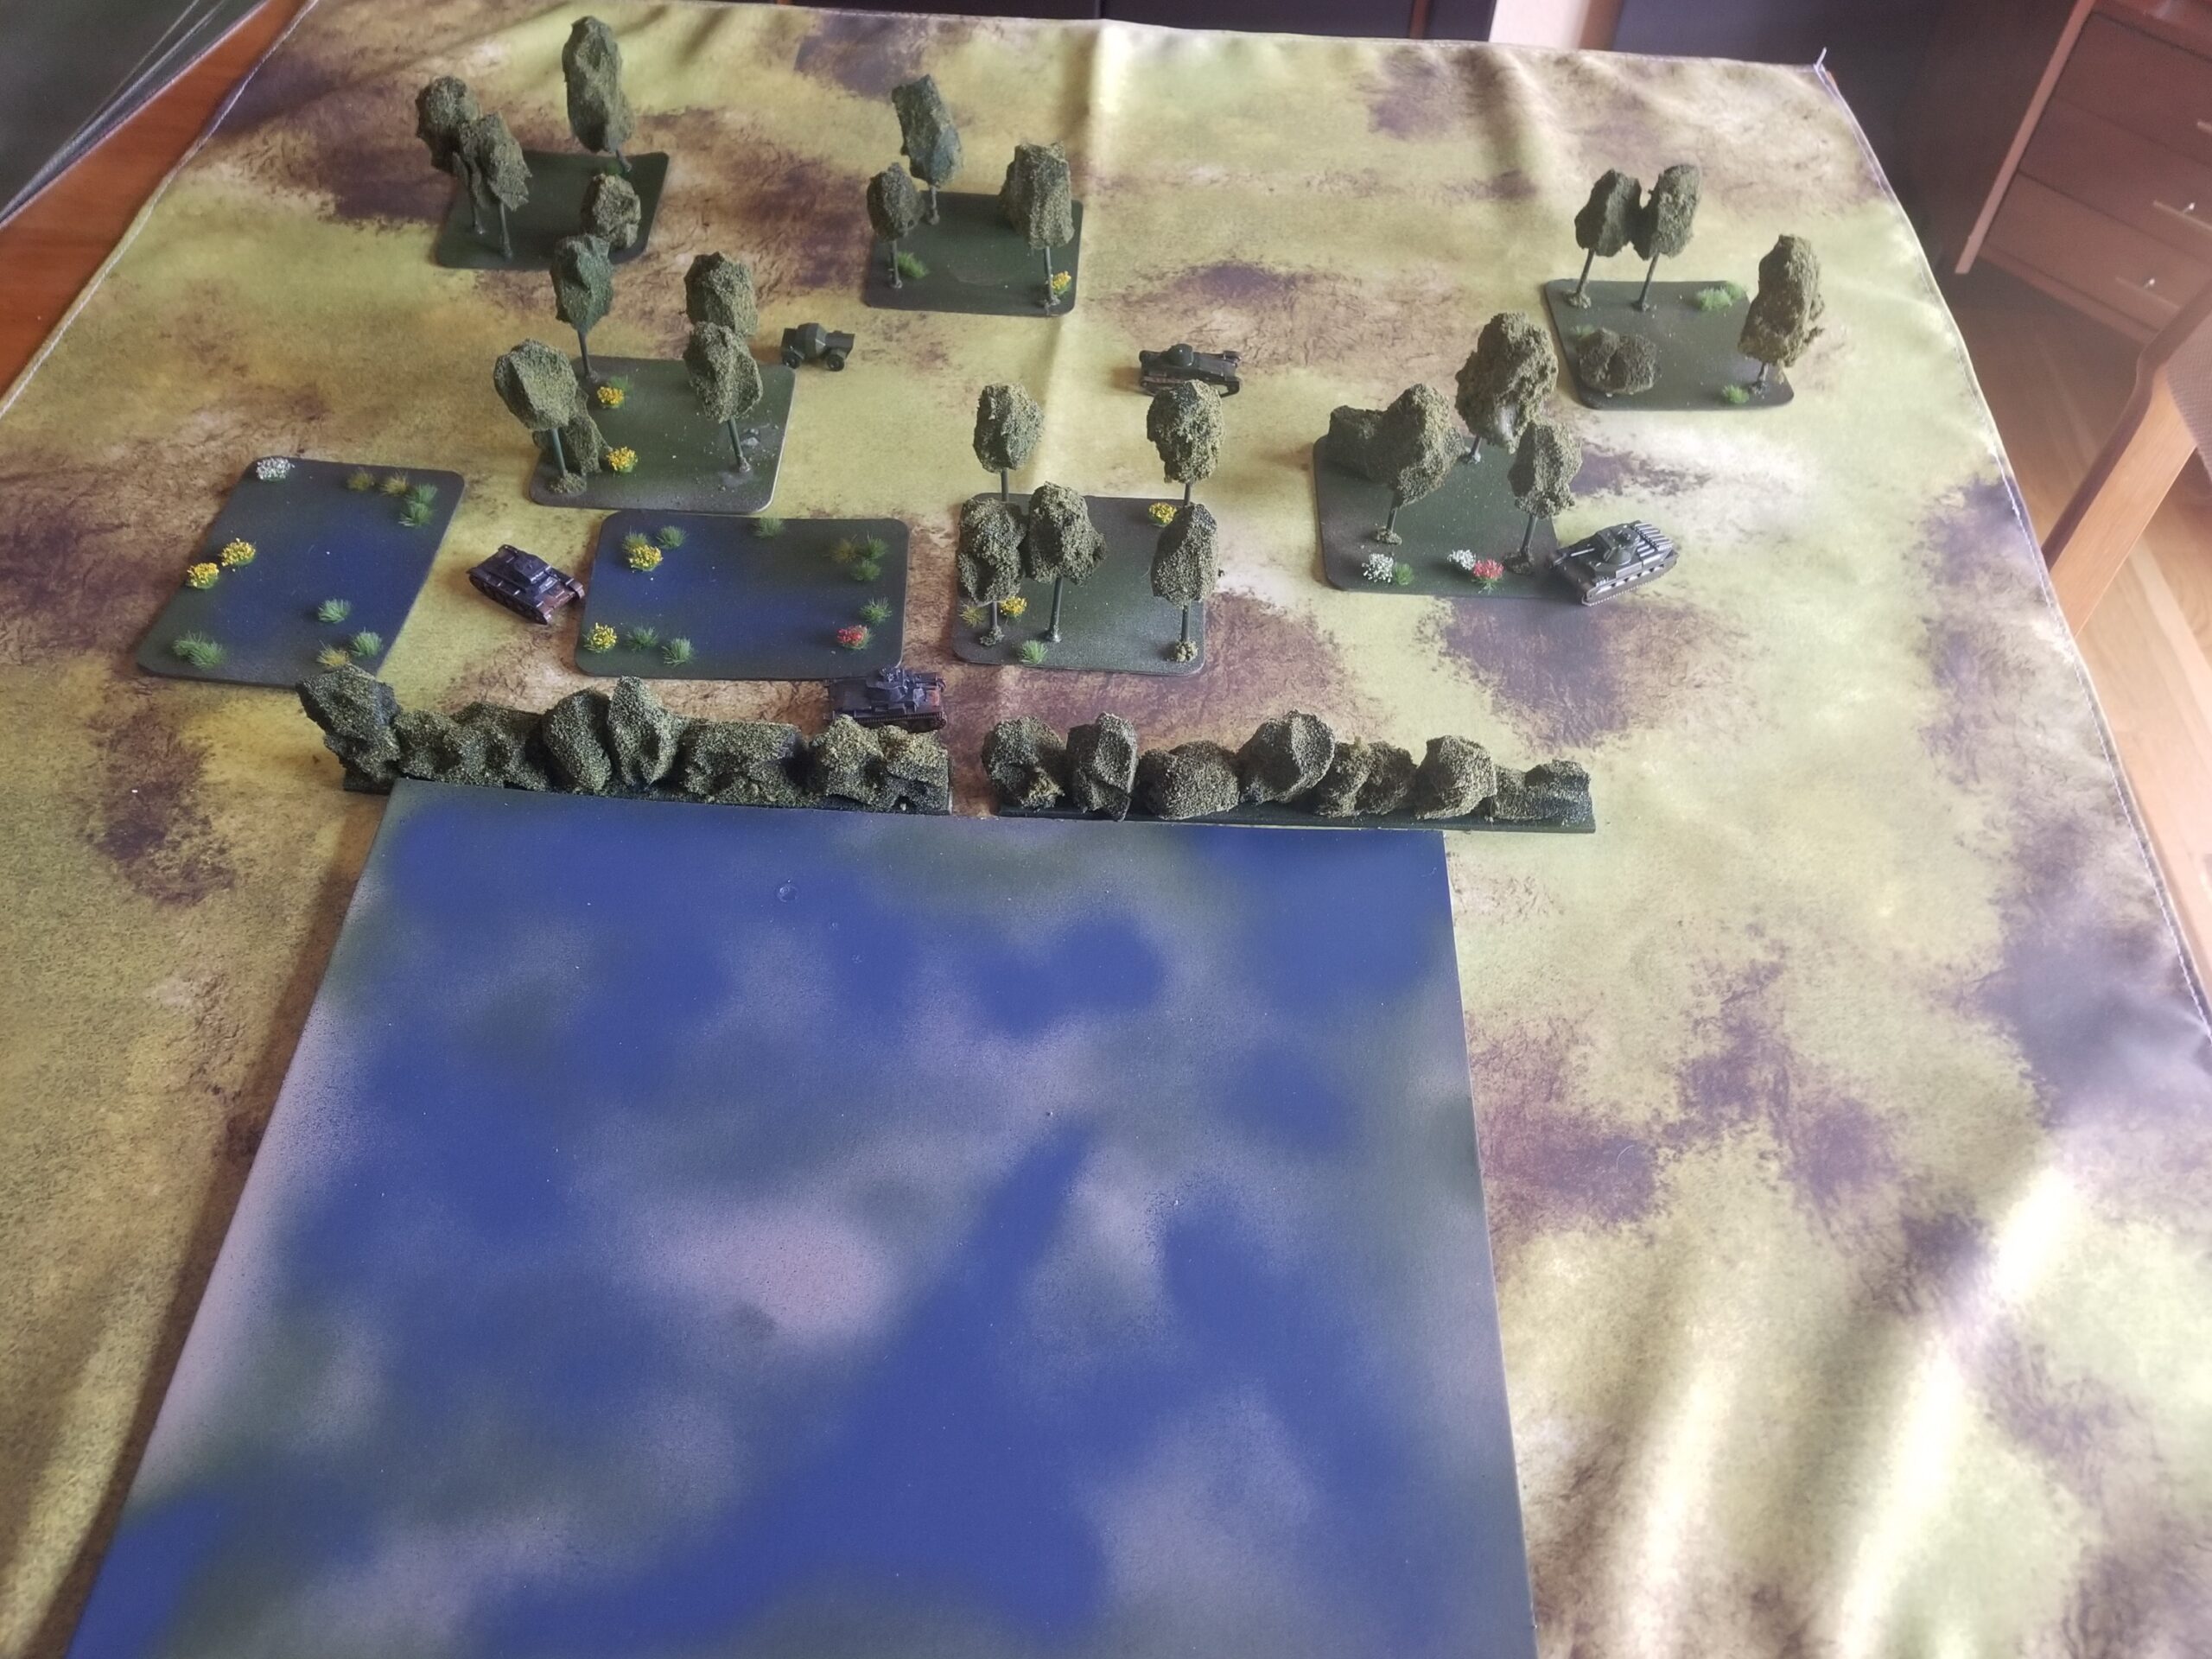
Duly inspired, I dug out my 1/100 armor with accompanying terrain, and set up a mini-campaign for Tanks!.

Basic premise was a pack of misfit British armor, caught up in the backwash of the Arras counterattack, tries to get to the coast.  Set up random parameters for German opposition, and British crew capabilities.

Since the campaign was “based on a true story”, the rag-tags had an interesting set of crew skills and helpful equipment.  These add-ons provide the abilities to shrug off misfortunes of all kinds. The Germans were faceless, robotic drones.

The tricky part was what each force could see, and if they saw something, how/could that information be communicated.  Did some basic research on tank radios and found there is not that much out there.  So, just had some fun with it, using yes/no, directional, and other random dice.

The British had an armored car for scouting; an A12 Cruiser,  a Mk 1 Matilda and a Mk 2 Matilda.  The German mix could include Pz II, III or IVs.

The unintended consequence of all of this was another trip into the world of computer graphic design.  I’d designed some Tanks! cards with GIMP in the past, but had lost all of my chops.  Downloaded a template over a Boardgamegeek, and  floundered.  Wound up using my old mock-up cards.  Hopefully, I’ll continue to slog away at the new cards.

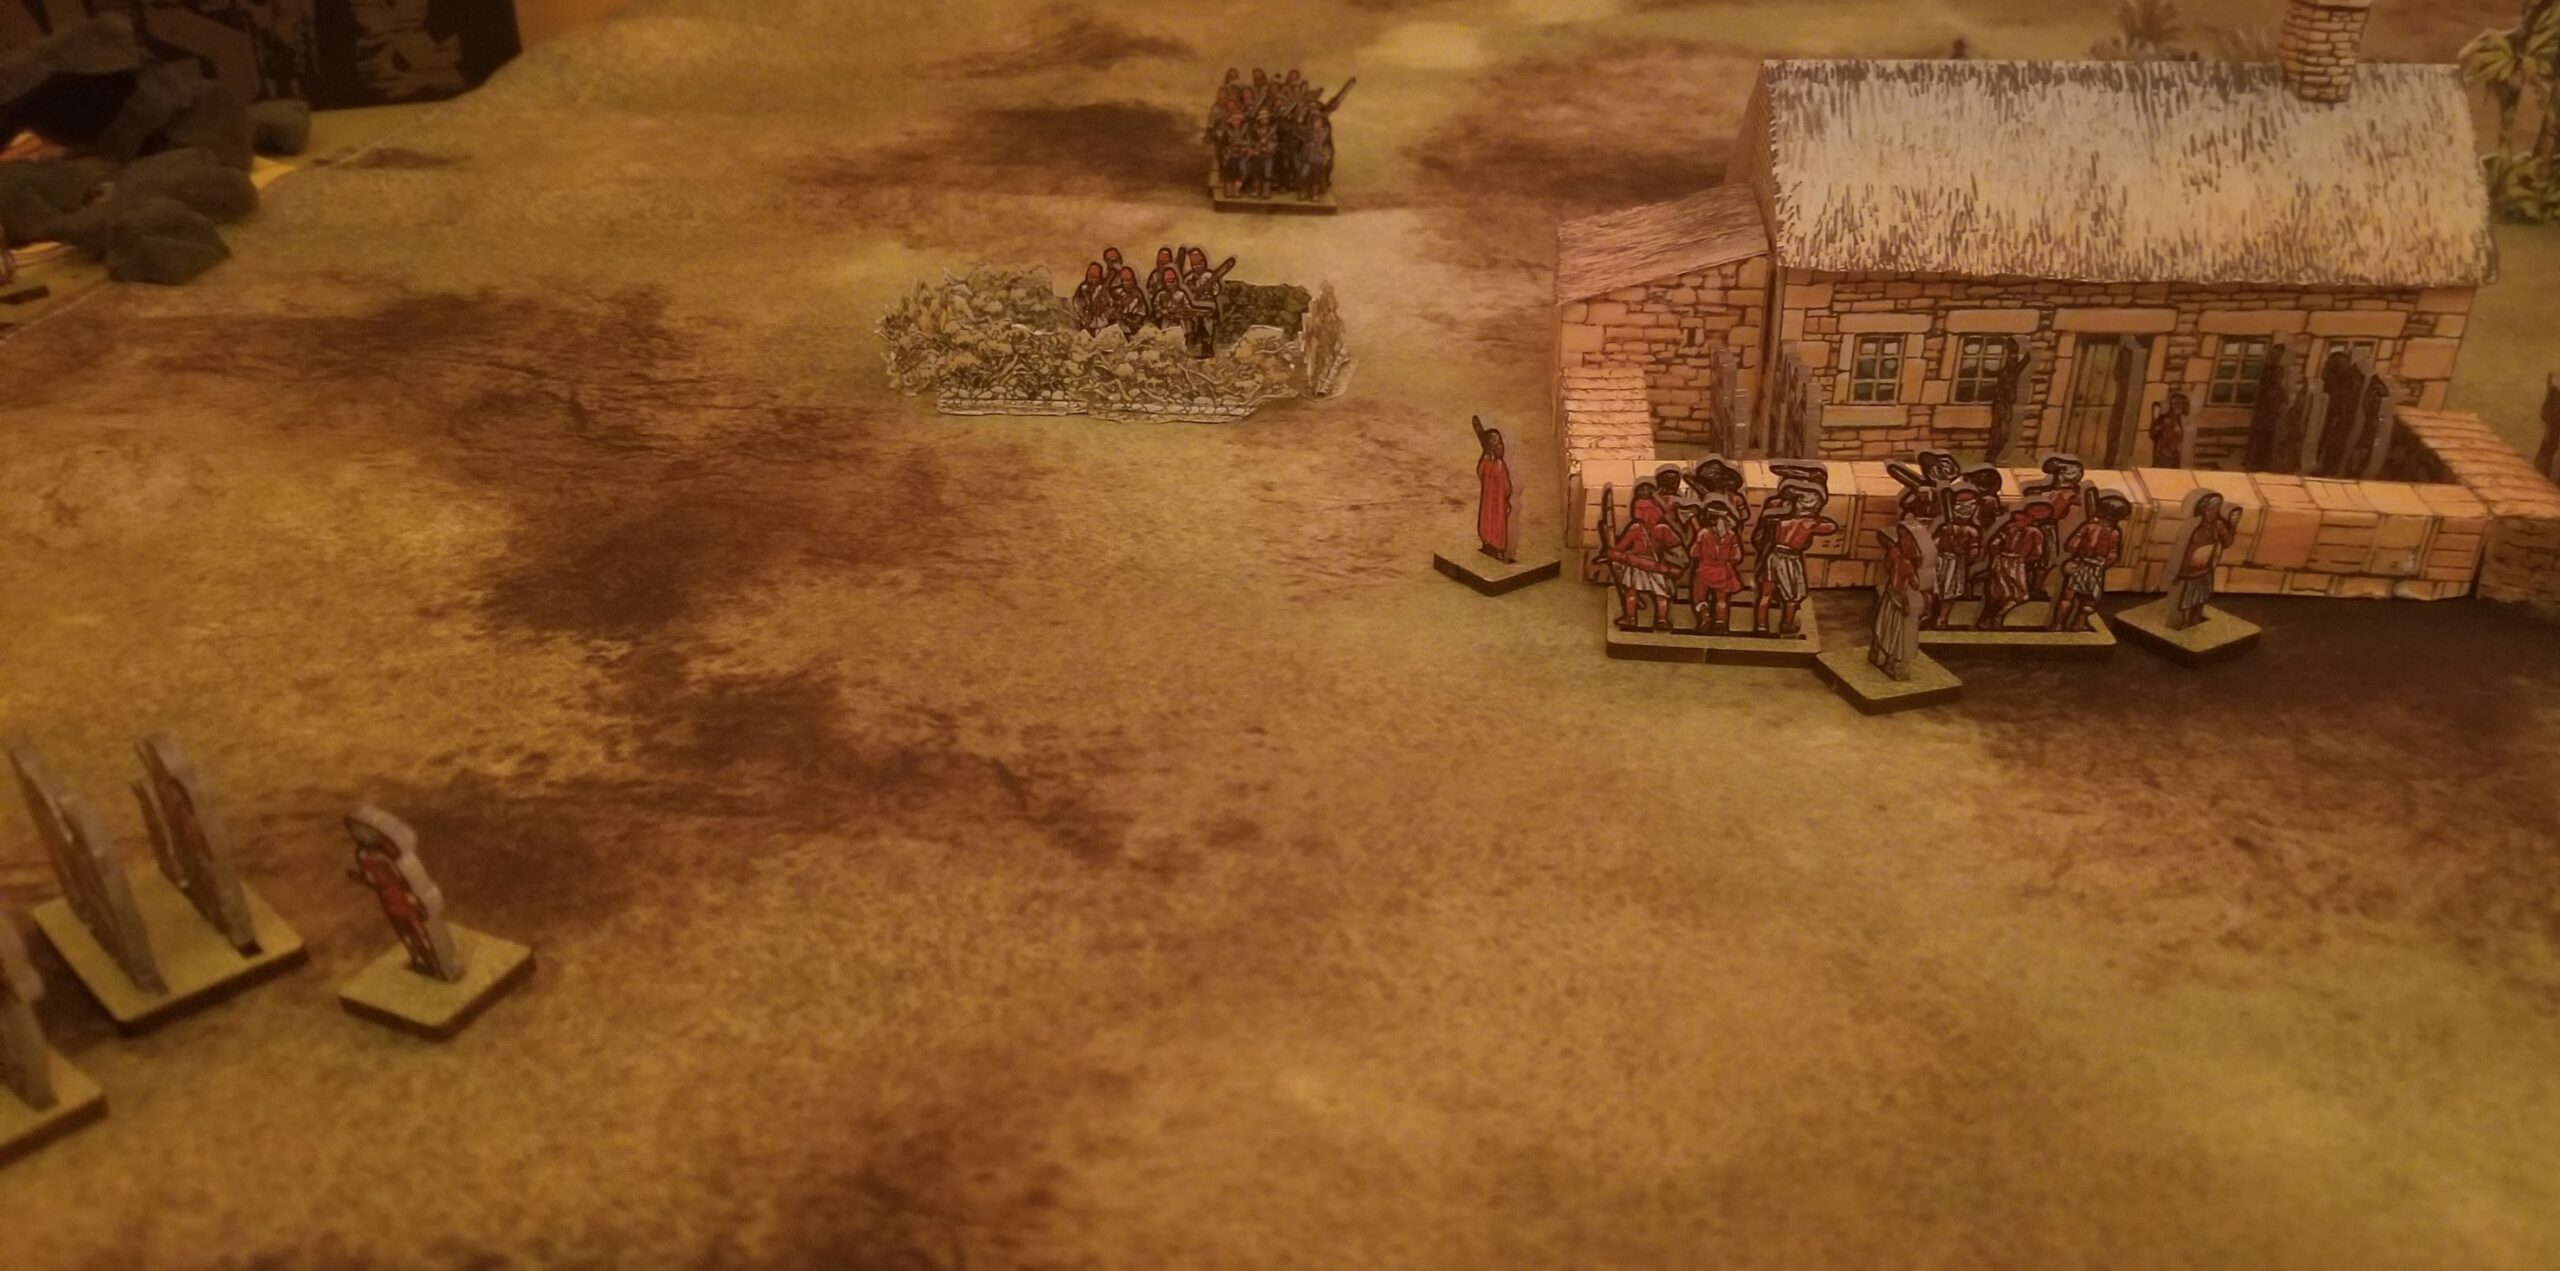
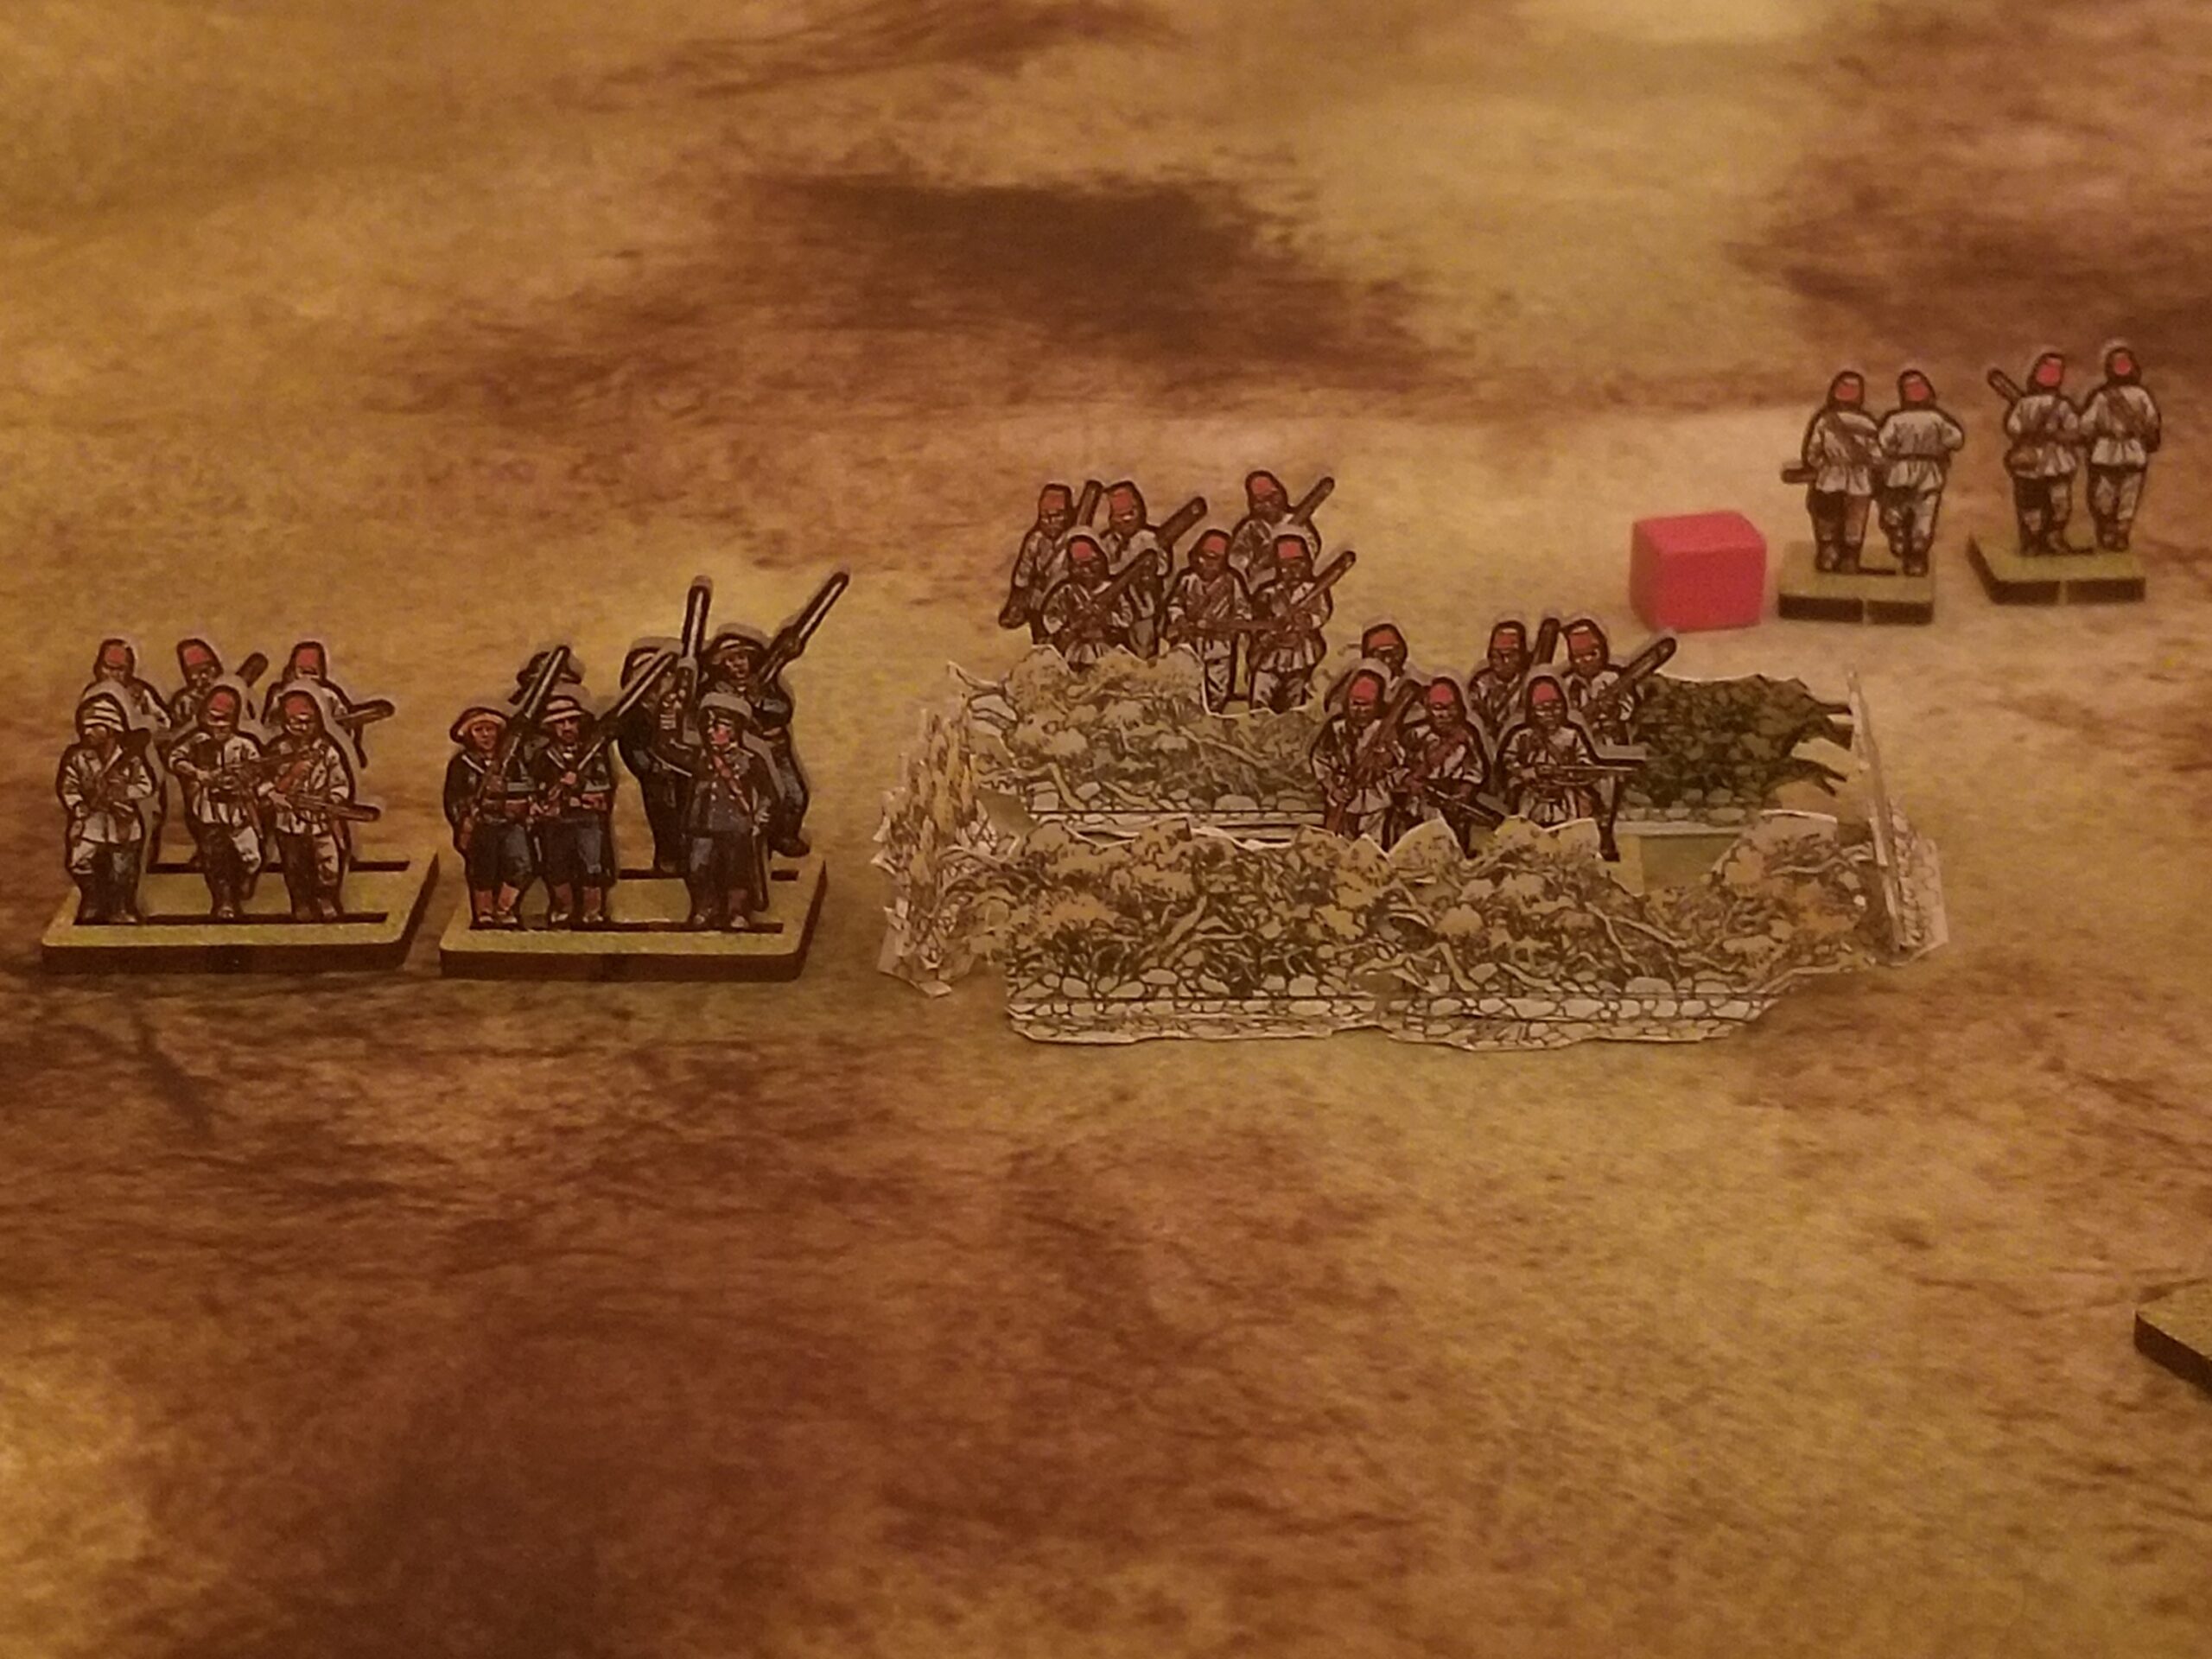
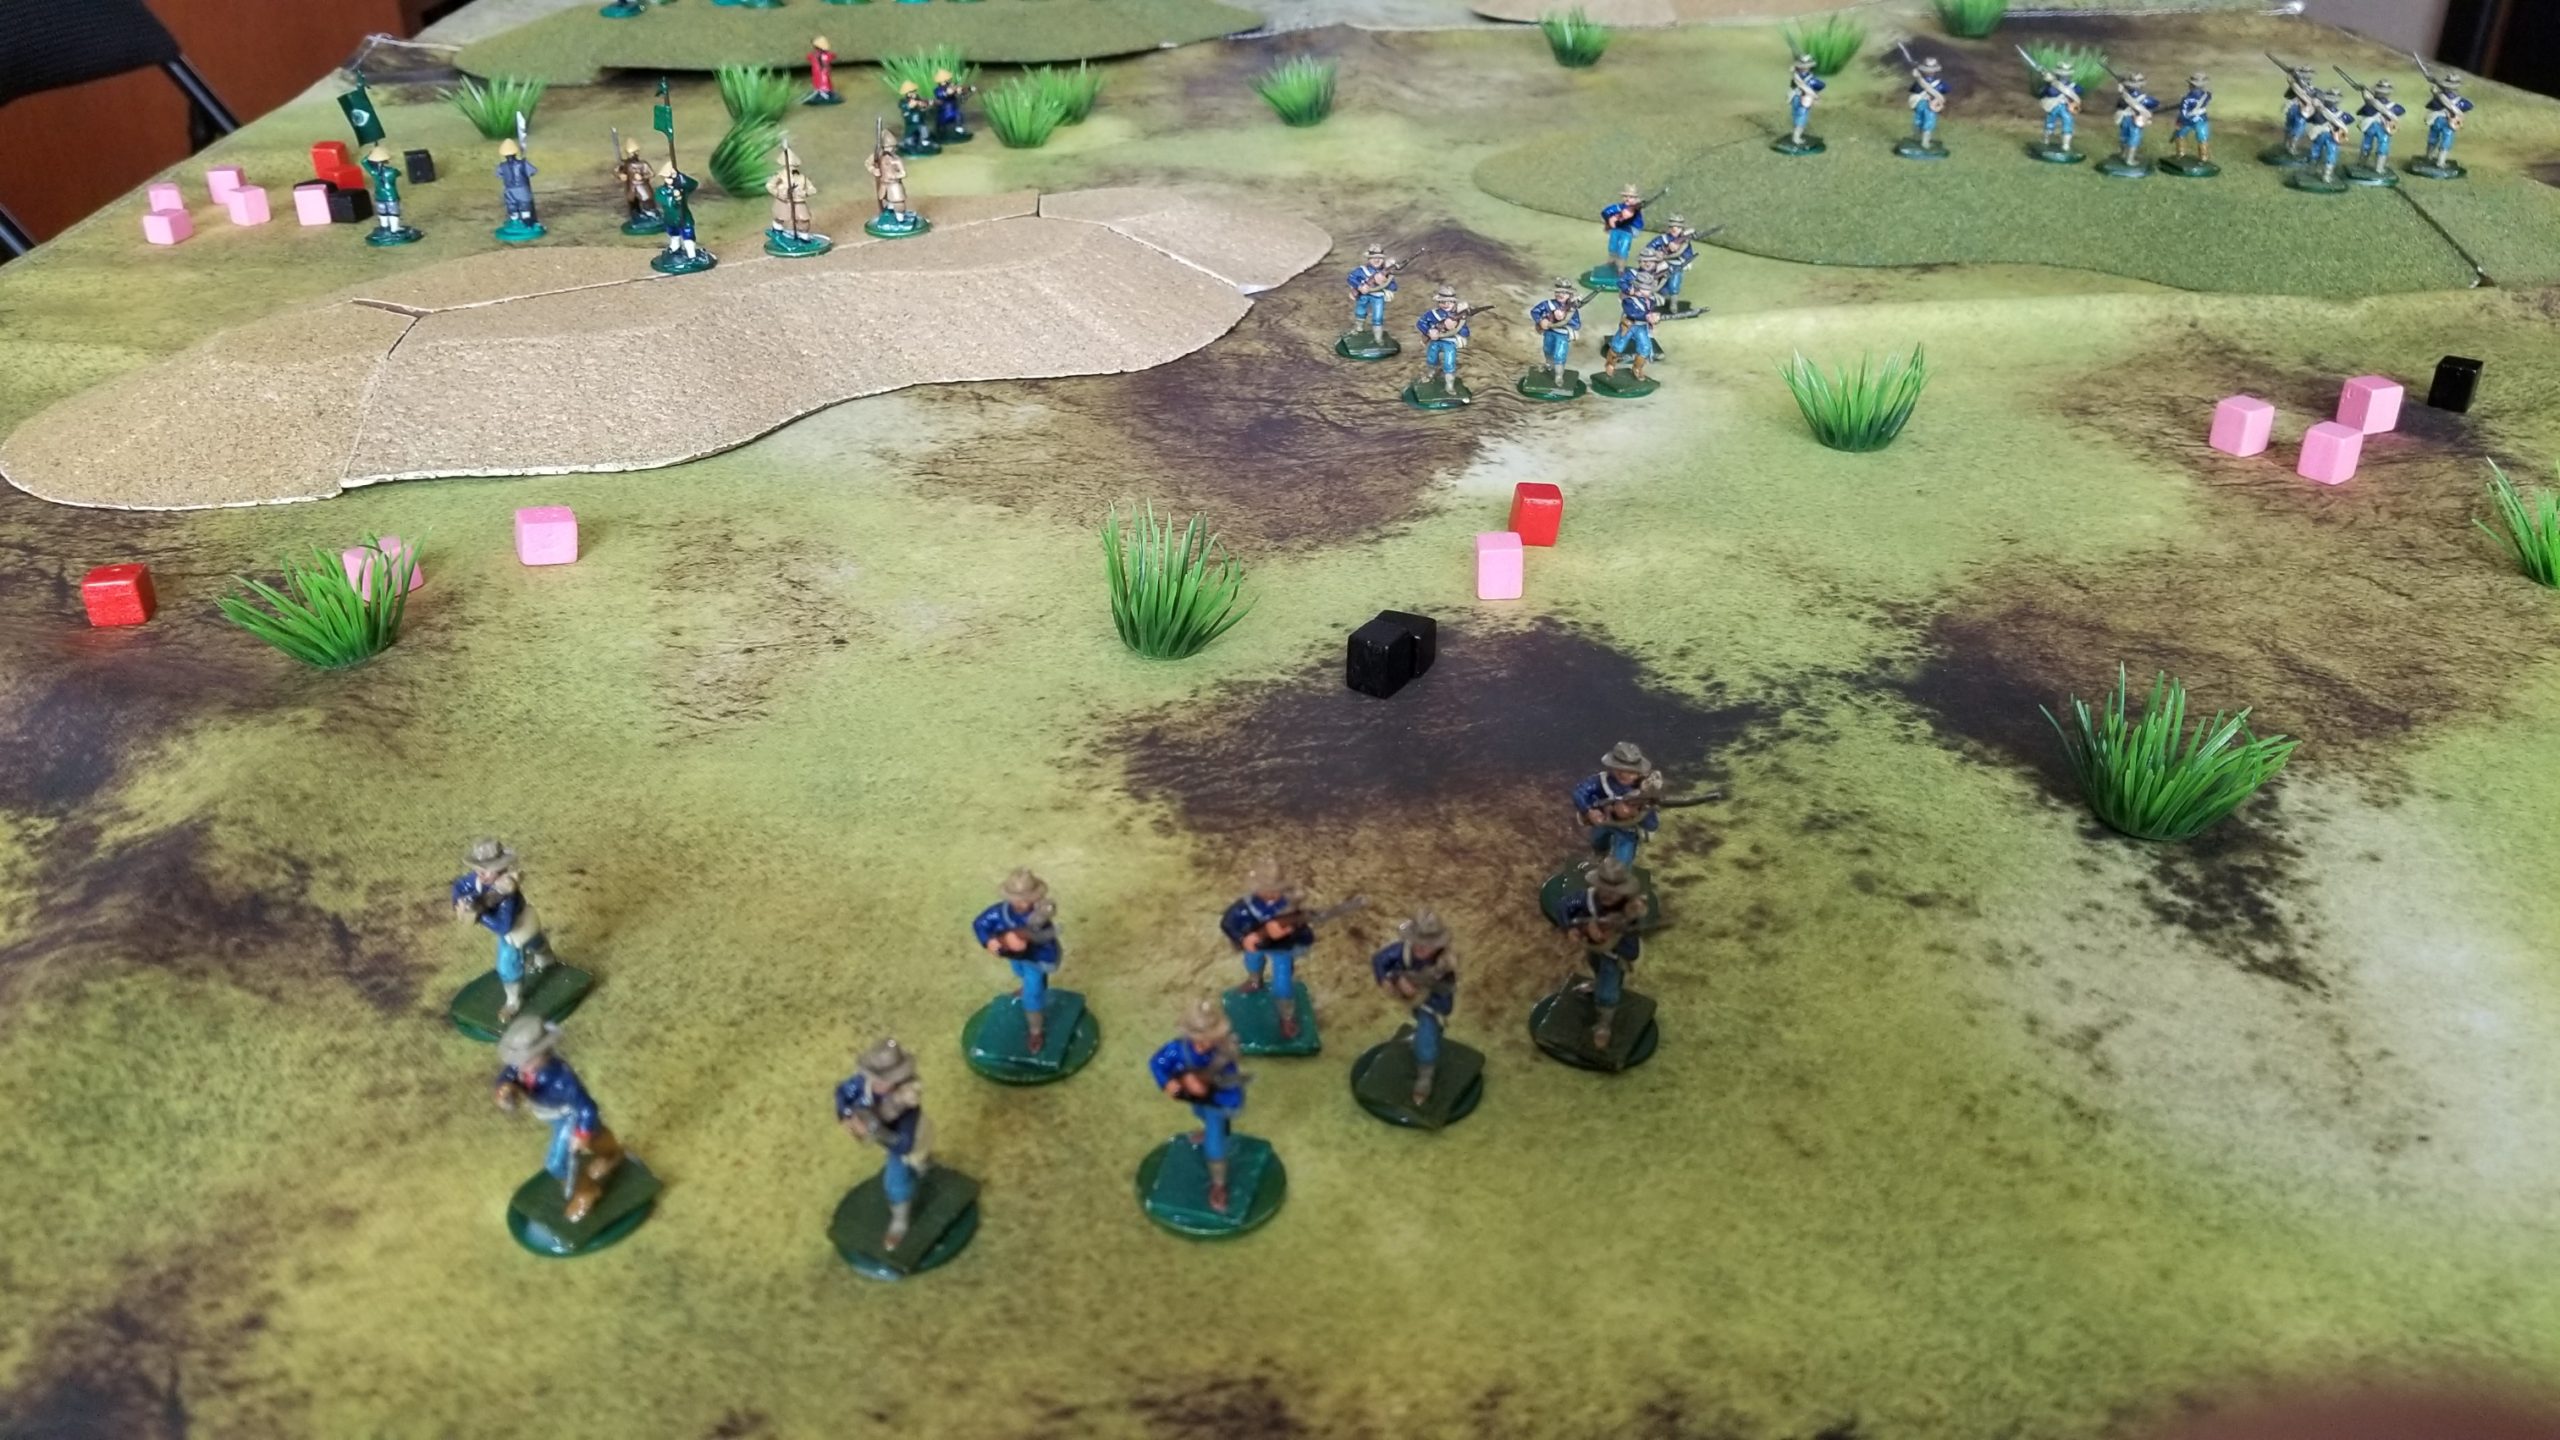
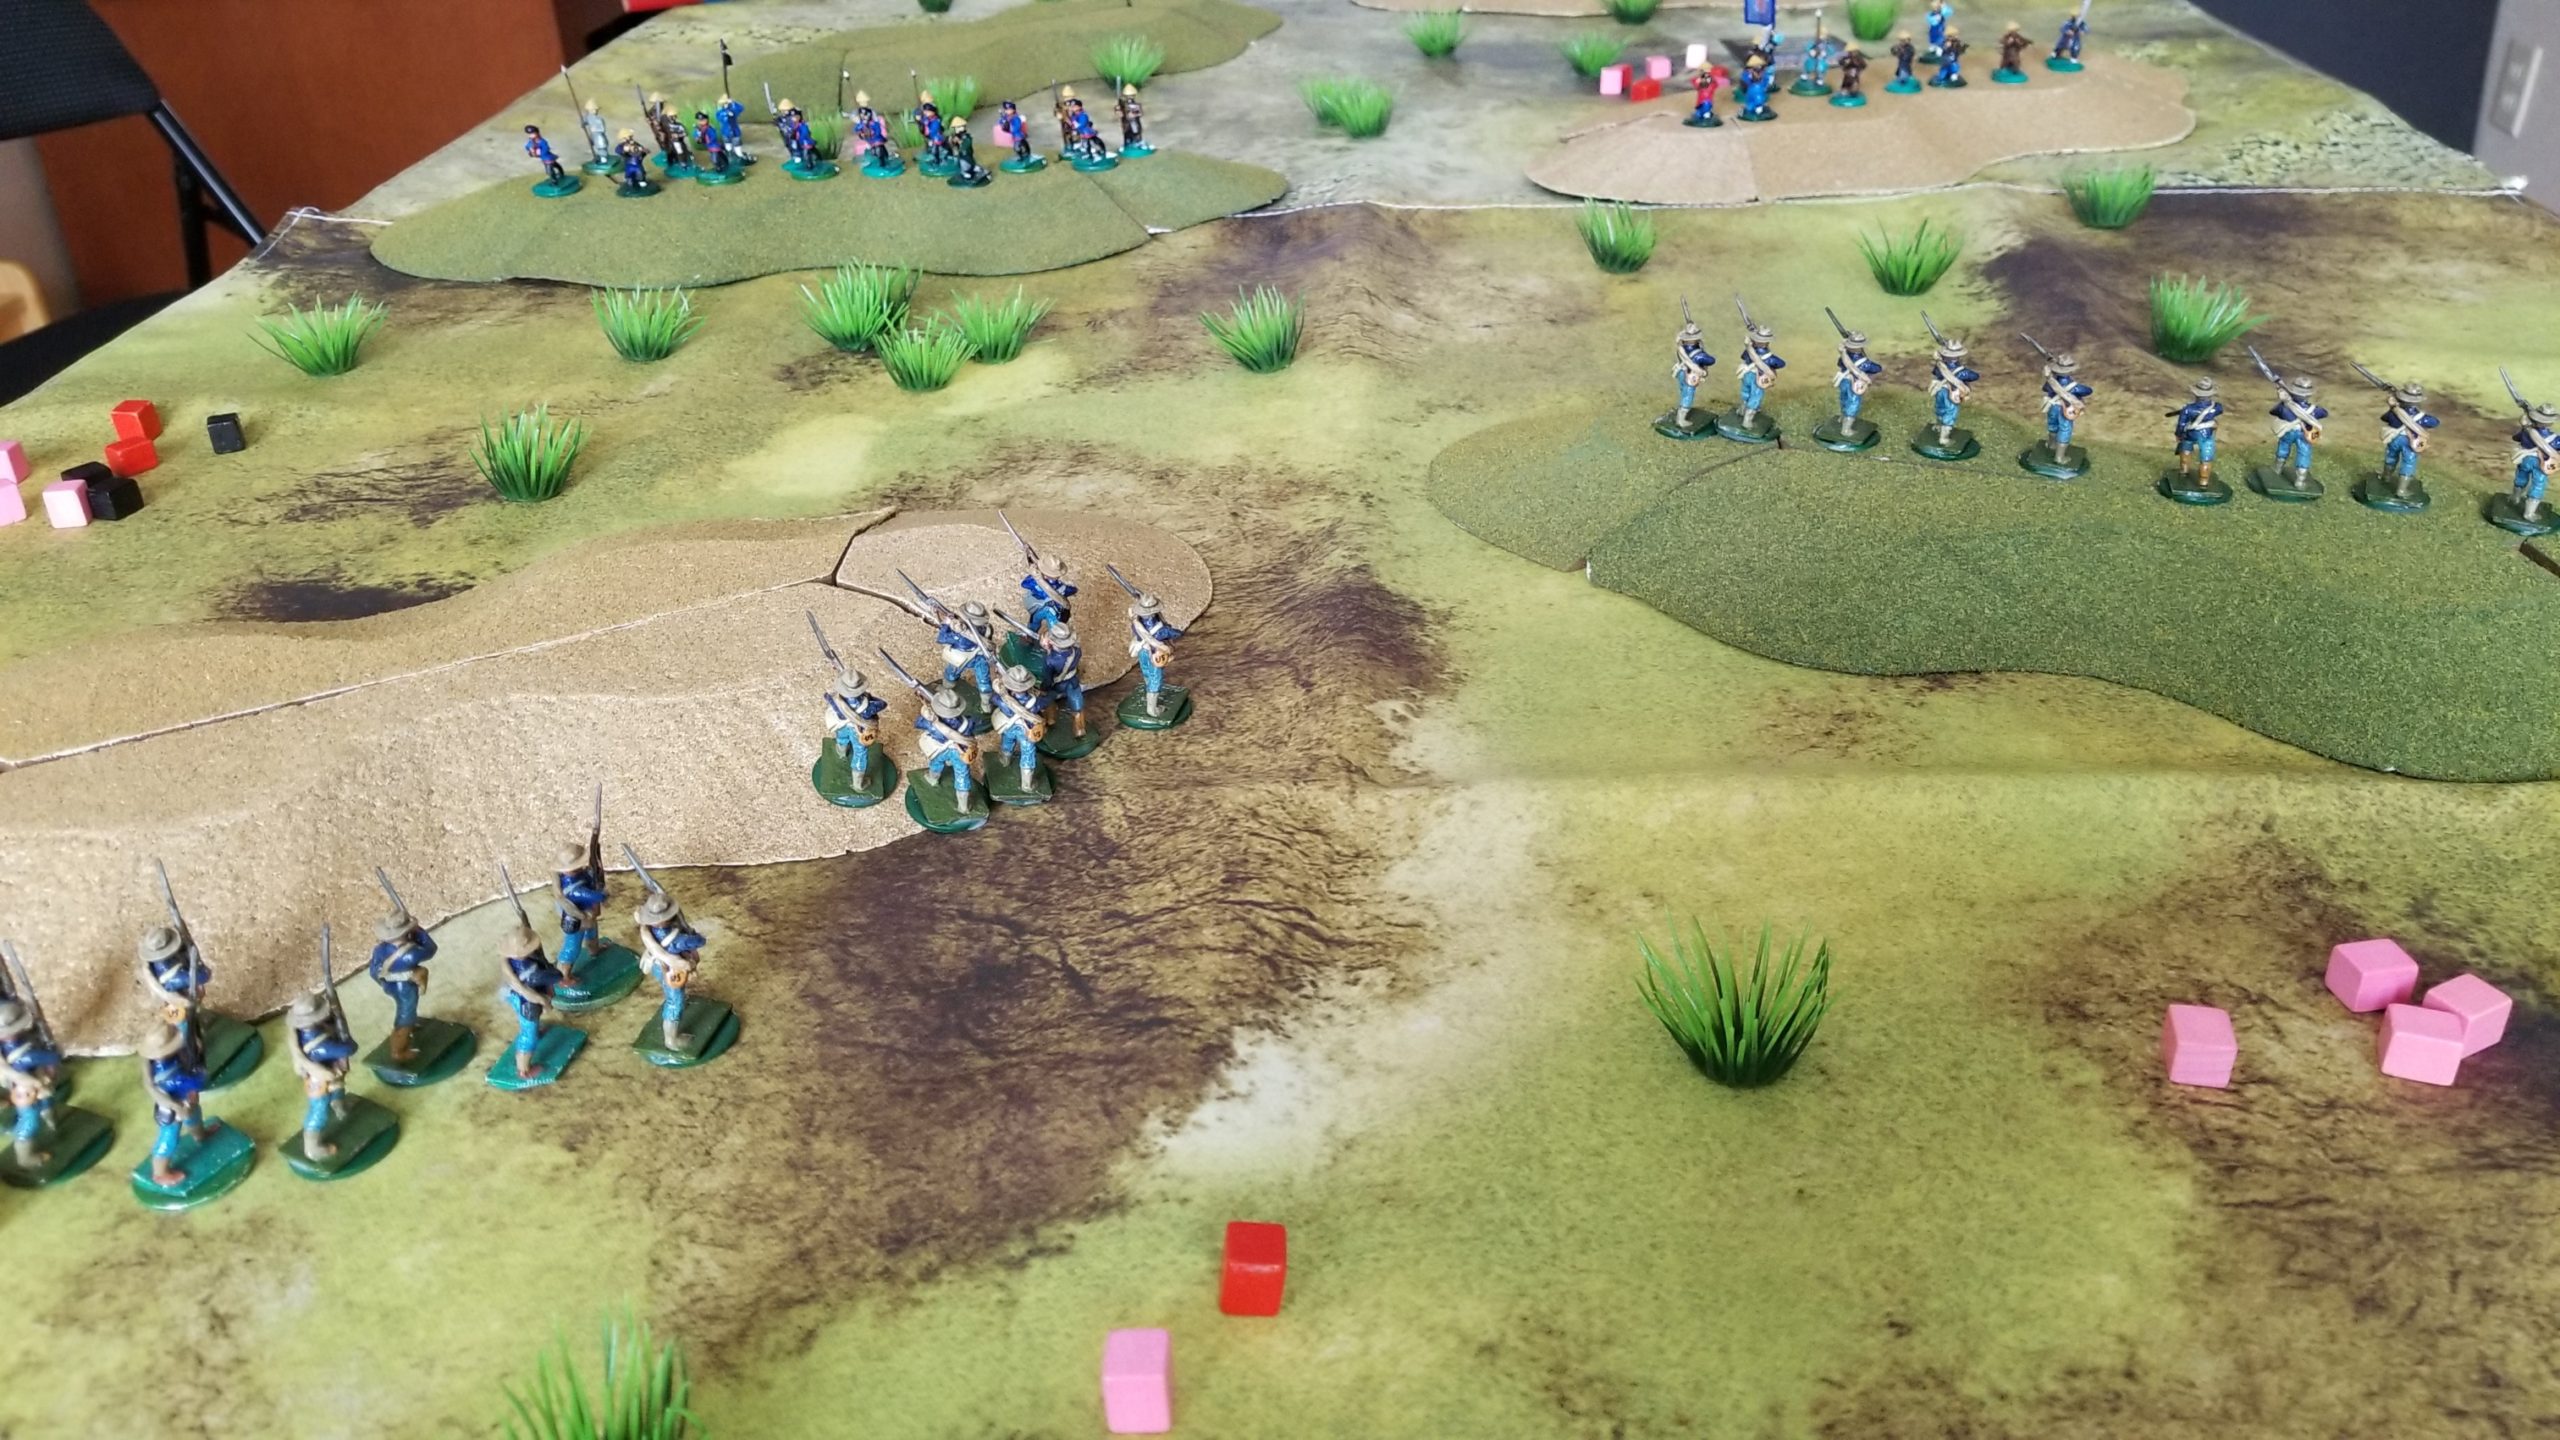
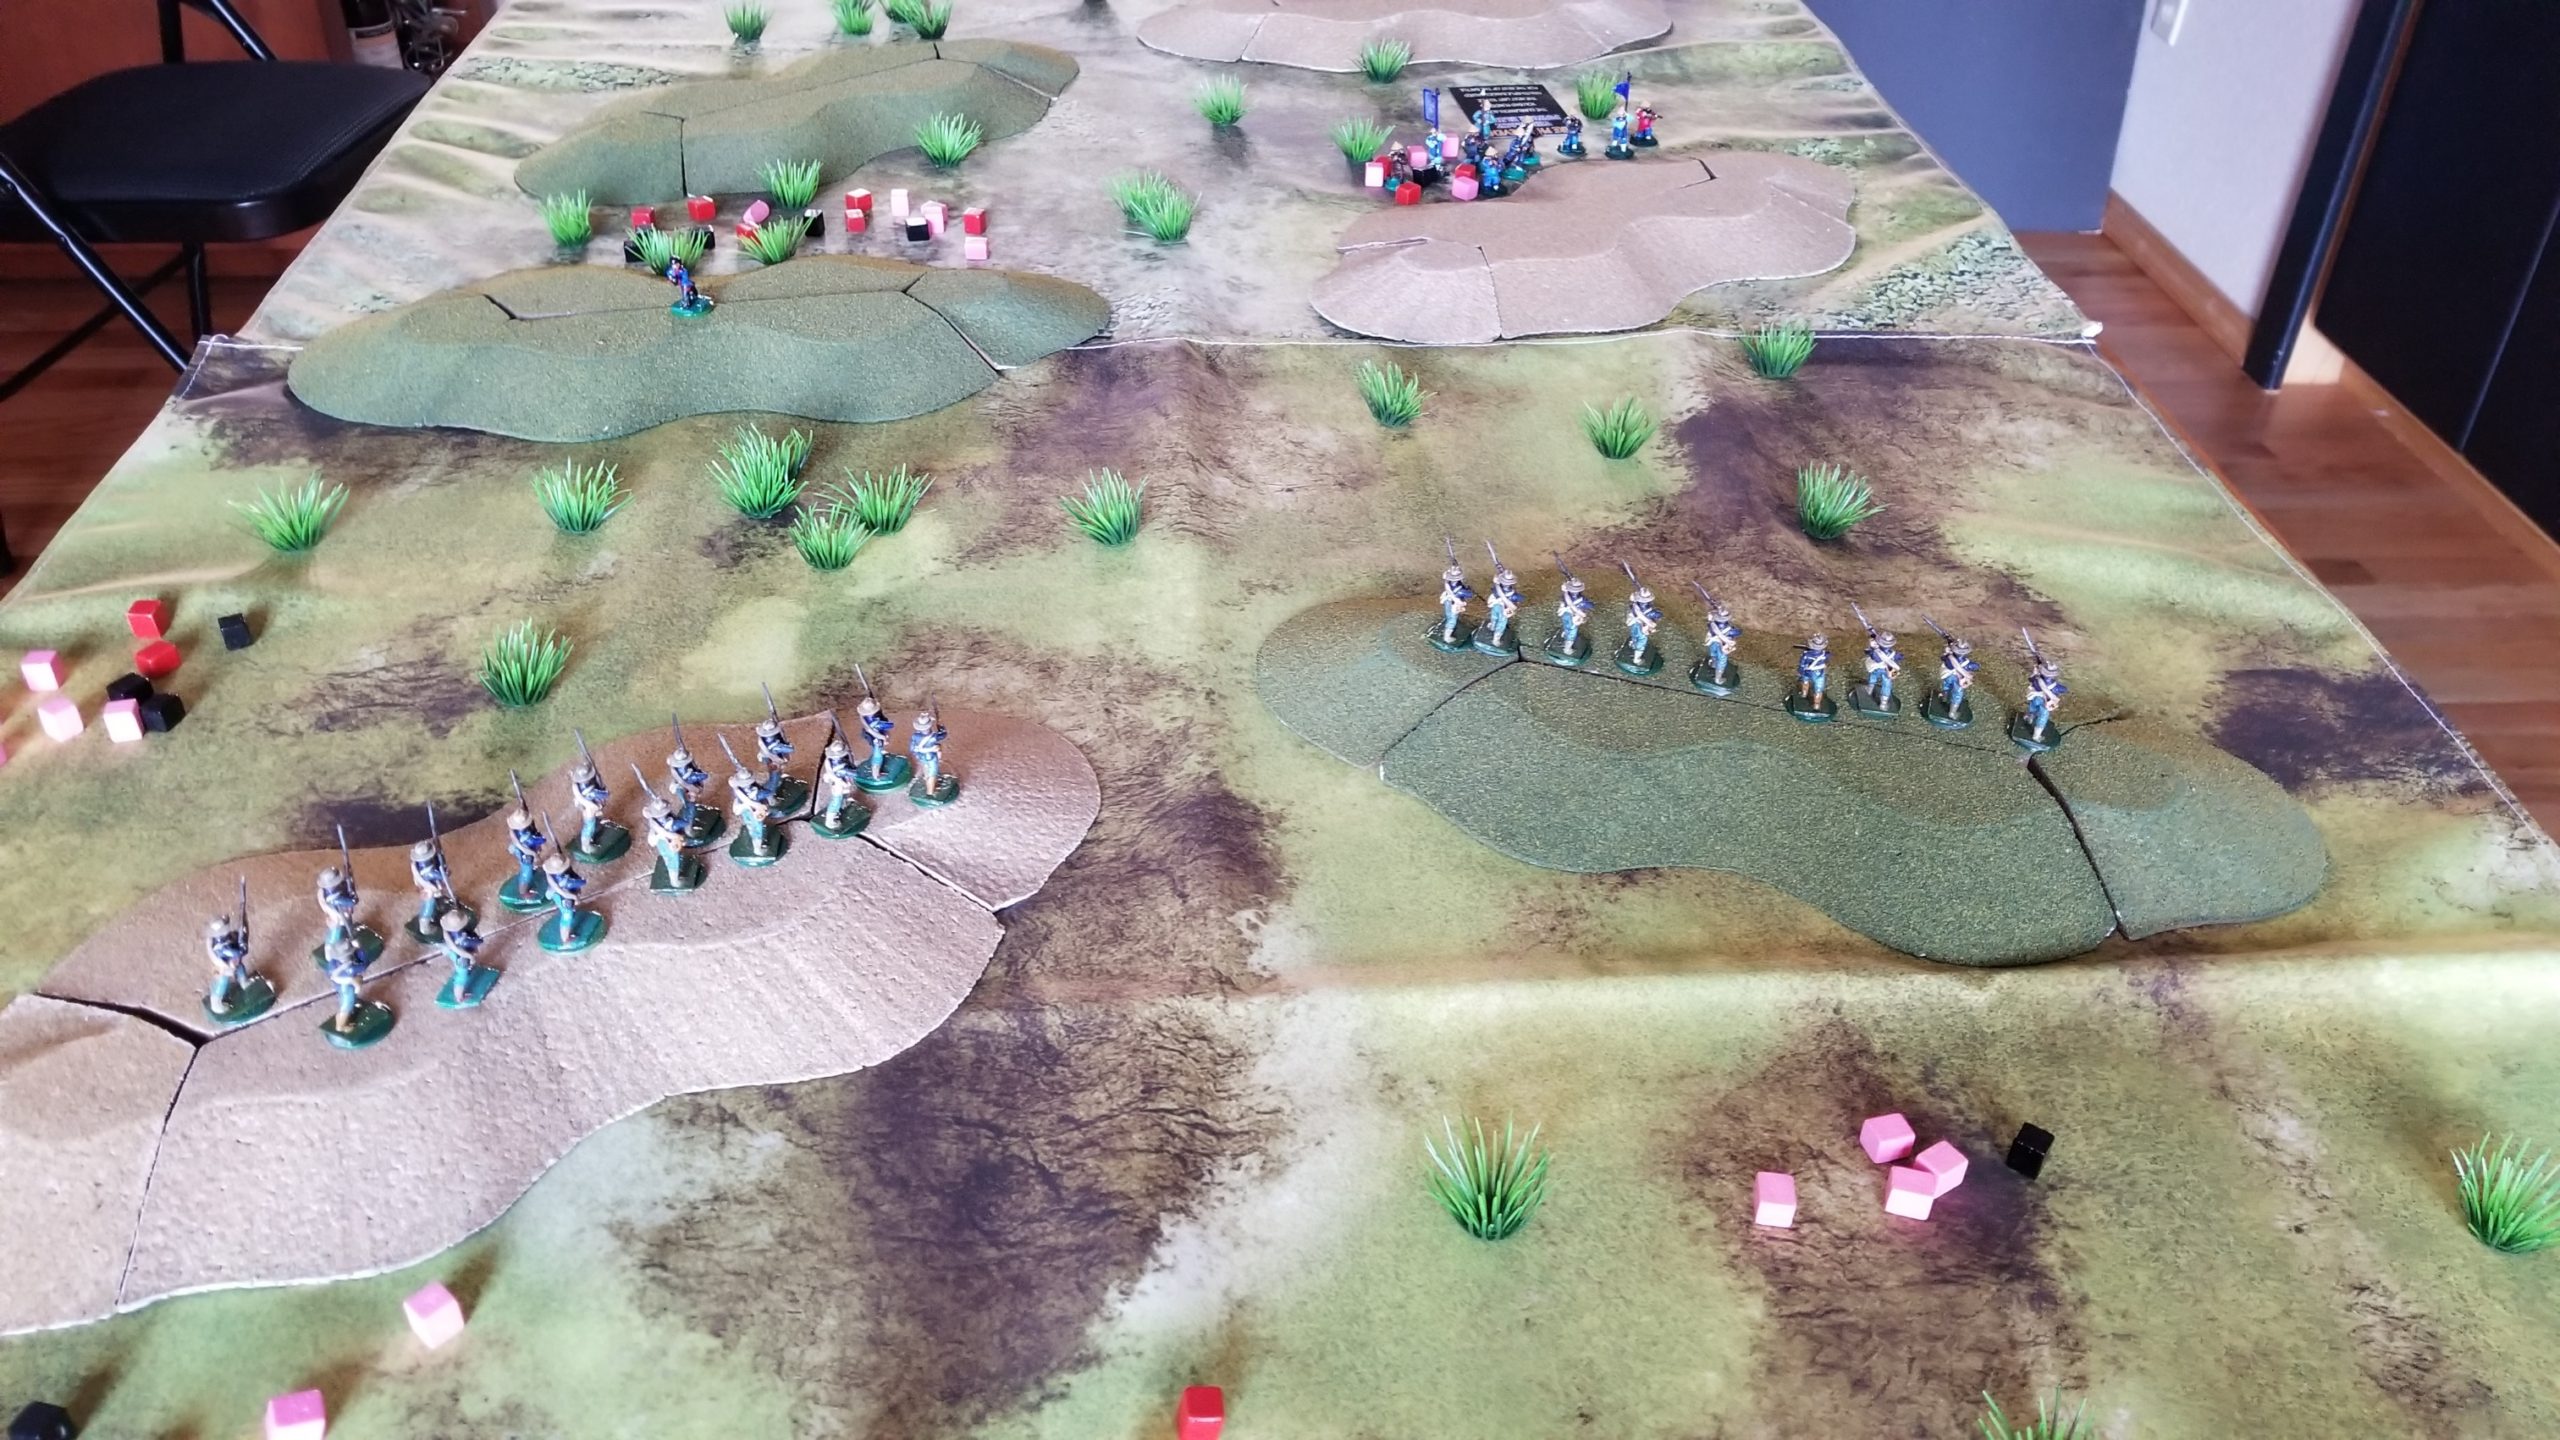
Again, it’s a real challenge to resist ginning up too many house rules.  Sure, I had to make spot judgments on backing up, Matilda frontal armor and others, but resisted the need to codify them.  Here’s photos of the first two scenarios.  Lots of Hide N’ Seek trying to work through woods along roads/side roads.

Had to pick up this AM.  I’m thinking coastal operations later in the week, or Heroes of Normandie.

Underrated Fun

Quick and semi-gratuitous post.  Set Fistful of Lead up on the dining table.  Couple of shootouts.

Can’t recommend this rule set enough.  Easy to read through, and the Play Aid Sheet covers about 95 percent of what you can run into.

Just turn the little guys loose, and see what kind of mischief ensues.  Only level of control I impose is whether or not they can see/are aware of what’s going on around them.  For that, I use the trusty “Yes/No” die.

This Spring – if that ever gets here – one project is to assemble some paper buildings.

More Action! (Finally)

Been fishing.  Time to finish up the narrative on my latest game.

The Natives finally launched a coordinated attack against both the Zariba and troops in the open.

The attacks were repulsed by a combination of good (Colonials) and bad (Tribal) die rolls.  The Africans will be flayed by rifle fire while attempting to rally.  Notice the Arab Band unable to get it together in the upper right corner of the photo.

The Arab contingent finally swung into action, making quick work of the small Askari unit detached from the main body of the relief force.  However, their attempt to assault the Zariba from the rear was shattered by accurate Askari rifle fire.

The Regulars and Askaris now decimated the pinned Native and Arab units, which were unable to rally and charge back into close contact.  Very few remained on the field at the end of the engagement.

An entertaining game.  I’ll follow-up with some thoughts on the rules in my next post.

Action! (Finally)

Enough of the musings for now.

Been playing an African scenario using “The Men Who Would Be Kings” rules by Osprey.

Threw out a terrain cloth on a living room table, set up some paper scenery, and organized my WoFun troops.

One of the criticisms leveled at these rules is that Tribal units are battered by modern weapons fire and are quickly pinned and attritted without getting close enough to to melee with the Colonial regulars or irregulars.

So, I set up a small “Last Stand” scenario to judge for myself.  All Tribal units had a morale rating of seven (7), with the Colonial at six (6).  Morale checks involve a D6x2 role equal to or greater than  the morale rating.

My first try involved a force ratio of 1:1 and, sure enough, the tribal units were paralyzed and shredded.  I increased the number of tribal units for my second try.

The colonial troops are deployed by sections of six (6) figures, with a unit comprising two sections or twelve (12) figures as per Rules As Written (RAW).  The colonial force is comprised on Askaris (classed as Irregulars) with a section of Naval Infantry (classed as Regulars – better morale and melee capability). Tribal units/bands are sixteen figures (16) each, as per RAW.

The initial set-up looking northeast. Askaris occupy the fortified house and a zariba.  Reinforcements are somewhere in the offing.  I’ll trigger their movement with a “Yes/No” die roll when the Tribal units get within a charge move of the house.  Right now – given table space – the Tribal units are at long range, one move from where they are on the table.

Tribal advance hampered by failed activation checks. But, one unit charges an Askari section engaging in melee.  Overwhelmed, the Askaris are destroyed, without inflicting a casualty.  The Tribal band occupies  one half of the Askari fortified position.  The other Tribal units advance, taking casualties.  One pinned band is destroyed by fire from the zariba position.

Another Tribal band assaults the house, engaging the other Askari section.  The reinforcements, after some hesitation, advance in column at the quick.  The Tribal band concealed in the elephant grass fails their activation check, losing their chance at an ambush, and remain in place.

Reinforcements arrive, advancing past the fleeing Askaris (red cube indicates pinned – and needing a morale check) to support the zariba position, choosing not  to re-take the house.  This may be a tactical error.  One Askari section needs to take additional time to enter the zariba.

I’ll get back to the game this evening.

Paper, Plexiglass and PDFs: A low cost wargaming path of less resistance

Over the past couple of years I’ve become intrigued with paper soldiers, terrain and buildings as a low cost, lower time alternative that allows me to tryout intriguing new rule sets as well as an alternative to my ham-fisted DIY efforts.

I initially started out with paper buildings for my Fistful of Lead games.

My first paper soldiers were sourced through Wargame Vault using Batalov’s titles, as well  as those created by “Antohammer”.

Earlier this year I discovered Peter’s Paperboys, featuring both Peter Dennis’ quality work and others.

Combining these low cost figures with (comparatively) low cost PDF rules opened up a number of possibilities, especially skirmish or small unit encounters, with quick set-up, small footprint and big fun.

Two new rule sets  I’ve been working with that combine attributes of both skirmish and small unit (s) games are Osprey’s Pikeman’s Lament and The Men Who Would Be Kings.  These sets have been exhaustively covered, so there’s no need to go into any discussion here.

The paper soldiers provide the ability not only to get into the rules, but create  interesting matchups.  For example:  Portuguese vs. Spanish Conquistadors for “Lament” and Late 19th Century Russians vs. Central Asian Factions in “Kings”.

The overhead for each of these games was no more than $20 each, all-in with rules, figures, terrain and professional printing.

A bonus is that  cutting out 28mm figures and terrain, as well as 15-18mm buildings gives me an excuse to have football on and not feel like I’m wasting time.

It was then just a short jump to WoFun’s 18mm plexiglass figures.  This range also includes 28mm figures, with work by both Batalov, Dennis and others.  Why 18mm?  Because 18mm paper soldiers are just too hard to cut out.

Yes, the plexiglass figures are more expensive and postage from the UK is a drag (although some sets are available from US based Raven Banner Games).

I purchased British and a variety of African Askaris, Arabs and Tribal figures for skirmishes and a campaign using the “Men” rules.

I’m really enjoying this combination of interesting match-ups and quick set-ups.

TSATF – Last Move

Rolled for Boxer resistance on the last two ridges.  None on one ridge, and one, passive, unit -with only four riflemen, on the other.

Don’t need to play this out.  Marines will simply engage at a distance, and force them off.

This game turned out well.  I’m fairly satisfied with my solo adjustments for Boxer placement, strength and aggressiveness.

I did roll for Marine casualties.  Four of the eleven lightly wounded are now considered seriously wounded.  Add those to the four KIA and other three seriously wounded, and the Marines took roughly 1/3 casualties.  High price.

Well, time to put them back in their cabinet and start playing Husaria.

TSATF Skirmish Continues

Well, maybe not that interesting at first, but later the situation became too interesting for the Marines.

The Boxers failed the morale check needed to charge the Marines occupying the west ridge line;  ran off the ridge and went prone/pinned.  Elsewhere the firefight continued, with both sides sustaining casualties.  Surprisingly, the retreating Boxer unit rallied on a die roll of “1”.

Here’s photo of the situation.

The riflemen of the rallied Boxers turned to engage the Marines moving through the saddle, while the remainder charged and closed with the Marines to their front.  The Marines moving through the saddle, in turn, charged the detached riflemen.

Both Marine units were pushed back!  In TSATF, hand-to-hand combat is simply a comparison of die rolls, and the Boxers were rolling well.  Despite losses, the Boxers  held the west hill.

However, the Boxers unit losses were now greater than fifty percent.  The detachment on the hill failed the required morale check and fled (final turn phase after shooting). The riflemen, however,  passed their check and remained in place.

In the following turn, the two Marine squads rallied and moved back towards the west ridge, staying in defilade. The Boxer riflemen focused on the remaining Marine unit, but their fire was ineffective.  Here’s a photo of the situation at the end of this turn.

Quick Note:  I’m keeping the casualty cubes in-place for an end-of-game count.  Red indicates a serious wound, pink a light wound, and black for death

The Marines regained the crest of the west ridge and engaged the Boxers to their front.  The Boxers literally fought to the last man.  The Boxers holding the east ridge drew an event card reducing their effective firing range to only 12 inches, or not far enough to engage the Marines to their front.  They wisely withdrew to the reverse slope.

The Marines advanced through the open ground to take the east ridge.  Here, the  Boxers emerged from defilade, but retreated after taking casualties and failing  their morale check.

While this action was taking place, Marines occupied the west ridge.  Here’s a photo of the current situation.

Lots of wristage before next turn’s action.  Have to determine who and what will be on the final two ridges.  I will also inventory all losses, clean up the casualty cubes, and maybe die to see which of the lightly wounded Marines can no longer continue.

Skirmish Adjustments

Making adjustments in my search for appropriate solo randomness  for The Sword And The Flame (TSATF).

The most pressing problem was the reaction of Chinese forces placed on reverse slopes.  After playing through a couple of turns decided to go with dicing for passive, aggressive and fanatic designations for all Chinese units when placed on the table.

Passive will hold in place until enemy is  no more than six (6) inches away.  Aggressive units will move as the situation dictates, and Fanatics will move to contact towards the nearest enemy unit regardless of situation, distance, etc.  A percentage die roll of 10 or less (0 =0) results in a passive designation, with 20-70 creating an aggressive unit, and fanatics at a higher roll.

Given the high number of Boxer riflemen  (probably higher than historical), any lightly wounded Marine casualties are recorded, but the figure stays in the fight.

The Marines encountered resistance while approaching the ridge to the west.  The ridge to the east was unoccupied.

The passive Boxers emerged from the reverse slope, and engaged the Marines with firearms.  Their next move will be into melee.

The other two Marine squads continued to advance, occupying the east hill and advancing through the saddle between ridgelines.

Force composition die rolls were made as  both units were within twelve (12) inches of the next two ridges.  The results were not pretty, with two aggressive units, each equipped with a high number of firearms,  are now situated on each ridge crest.

Tomorrow’s  turns should prove interesting.

Skirmish Mission

Rhonda’s enjoying Palm Springs weather, so I’ve set up The Sword And The Flame (TSATF) on the dining room table.

The scenario calls for the Marines to clear a series of ridges.

I’m considering all ground to be rough ground for shooting, so there is a -1 DRM for all firing.  However, the ground will be considered clear for movement, so without penalty.

Visibility is twelve (12) inches from ground to crest, unlimited from crest to crest, and crest to base of next hill.

The challenge is coming up with some solo-friendly randomness.  Here’s a quick and sketchy overview.

My initial stab at this problem is to use the Action, Event and Terrain cards published by The Virtual Armchair General.

An Event will be triggered by a die roll of six (6), and confirmed by a Yes/Maybe die roll.

Whether or not a terrain feature is occupied will be determined by a 10 sided  die.  A roll of four (4) or less means the feature is unoccupied.  A roll of five (5) to eight (8) means a Boxer force is occupying the crest.  A roll higher means the Boxers are on the reverse slope.

Another percentage die roll determines force composition.  A roll of four (4) or less means Regulars.  Another outcome results in a Boxer force.  For the Boxers, another roll gives the number of figures with firearms.  All Regulars carry rifles.

Terrain cards will be drawn when Marines enter a “new” terrain feature – either a slope or the “new” ground beyond a ridge line.  These cards will indicate if movement is slowed.

Any casualties are considered to be out of this game.  Wounded figures will be diced for at the end of the game, anticipating a follow up contest.

And Another…..Another

Strange Symmetry.  Sounds like a Prog Rock album title.  But, in this case the title refers to my The Sword And The Flame (TSATF) Boxer Rebellion project.

Just one year ago (give or take a week or so) I posted this up.  Well, it’s never over until its over.

Was not happy with my unit and unit size composition for TSATF.  I ordered more figures this Summer to “complete” this decades-old endeavor.

I now have “full sized” twenty (20) figure Chinese units.  These include two (2) Regular units (well, one full and one nineteen (19) figure unit because Caliver Books – which markets MiniFigs – botched my order and shorted me one regular figure), and four (4) Boxer units.  One of the latter units includes seven (7) Chinese regulars (repainted “Christian” Chinese cited in my 2020 post).

The Caliver mistake bothered me for a bit, but I shrugged it off – proof that I am not all that compulsive.

My German unit is now ten (10) strong, and can be used to augment an Allied contingent.  Again, the core of the Allied force is  United States Marines.

In conjunction with the latest purchase, I ordered a copy of Osprey’s Imperial Chinese Armies 1840-1911.  According to this, “modern” units were outfitted in westernized uniforms and straw “boaters”.  Their appearance is shown to be similar to the Chinese Weihaiwei Regiment raised by the British.  I have some of these figures.  They might be “repurposed” to represent local Chinese troops resisting Western forces.  A possibility.

The dining room table will be pressed into service for a game this coming week.