Well, maybe not that interesting at first, but later the situation became too interesting for the Marines.
The Boxers failed the morale check needed to charge the Marines occupying the west ridge line; ran off the ridge and went prone/pinned. Elsewhere the firefight continued, with both sides sustaining casualties. Surprisingly, the retreating Boxer unit rallied on a die roll of “1”.
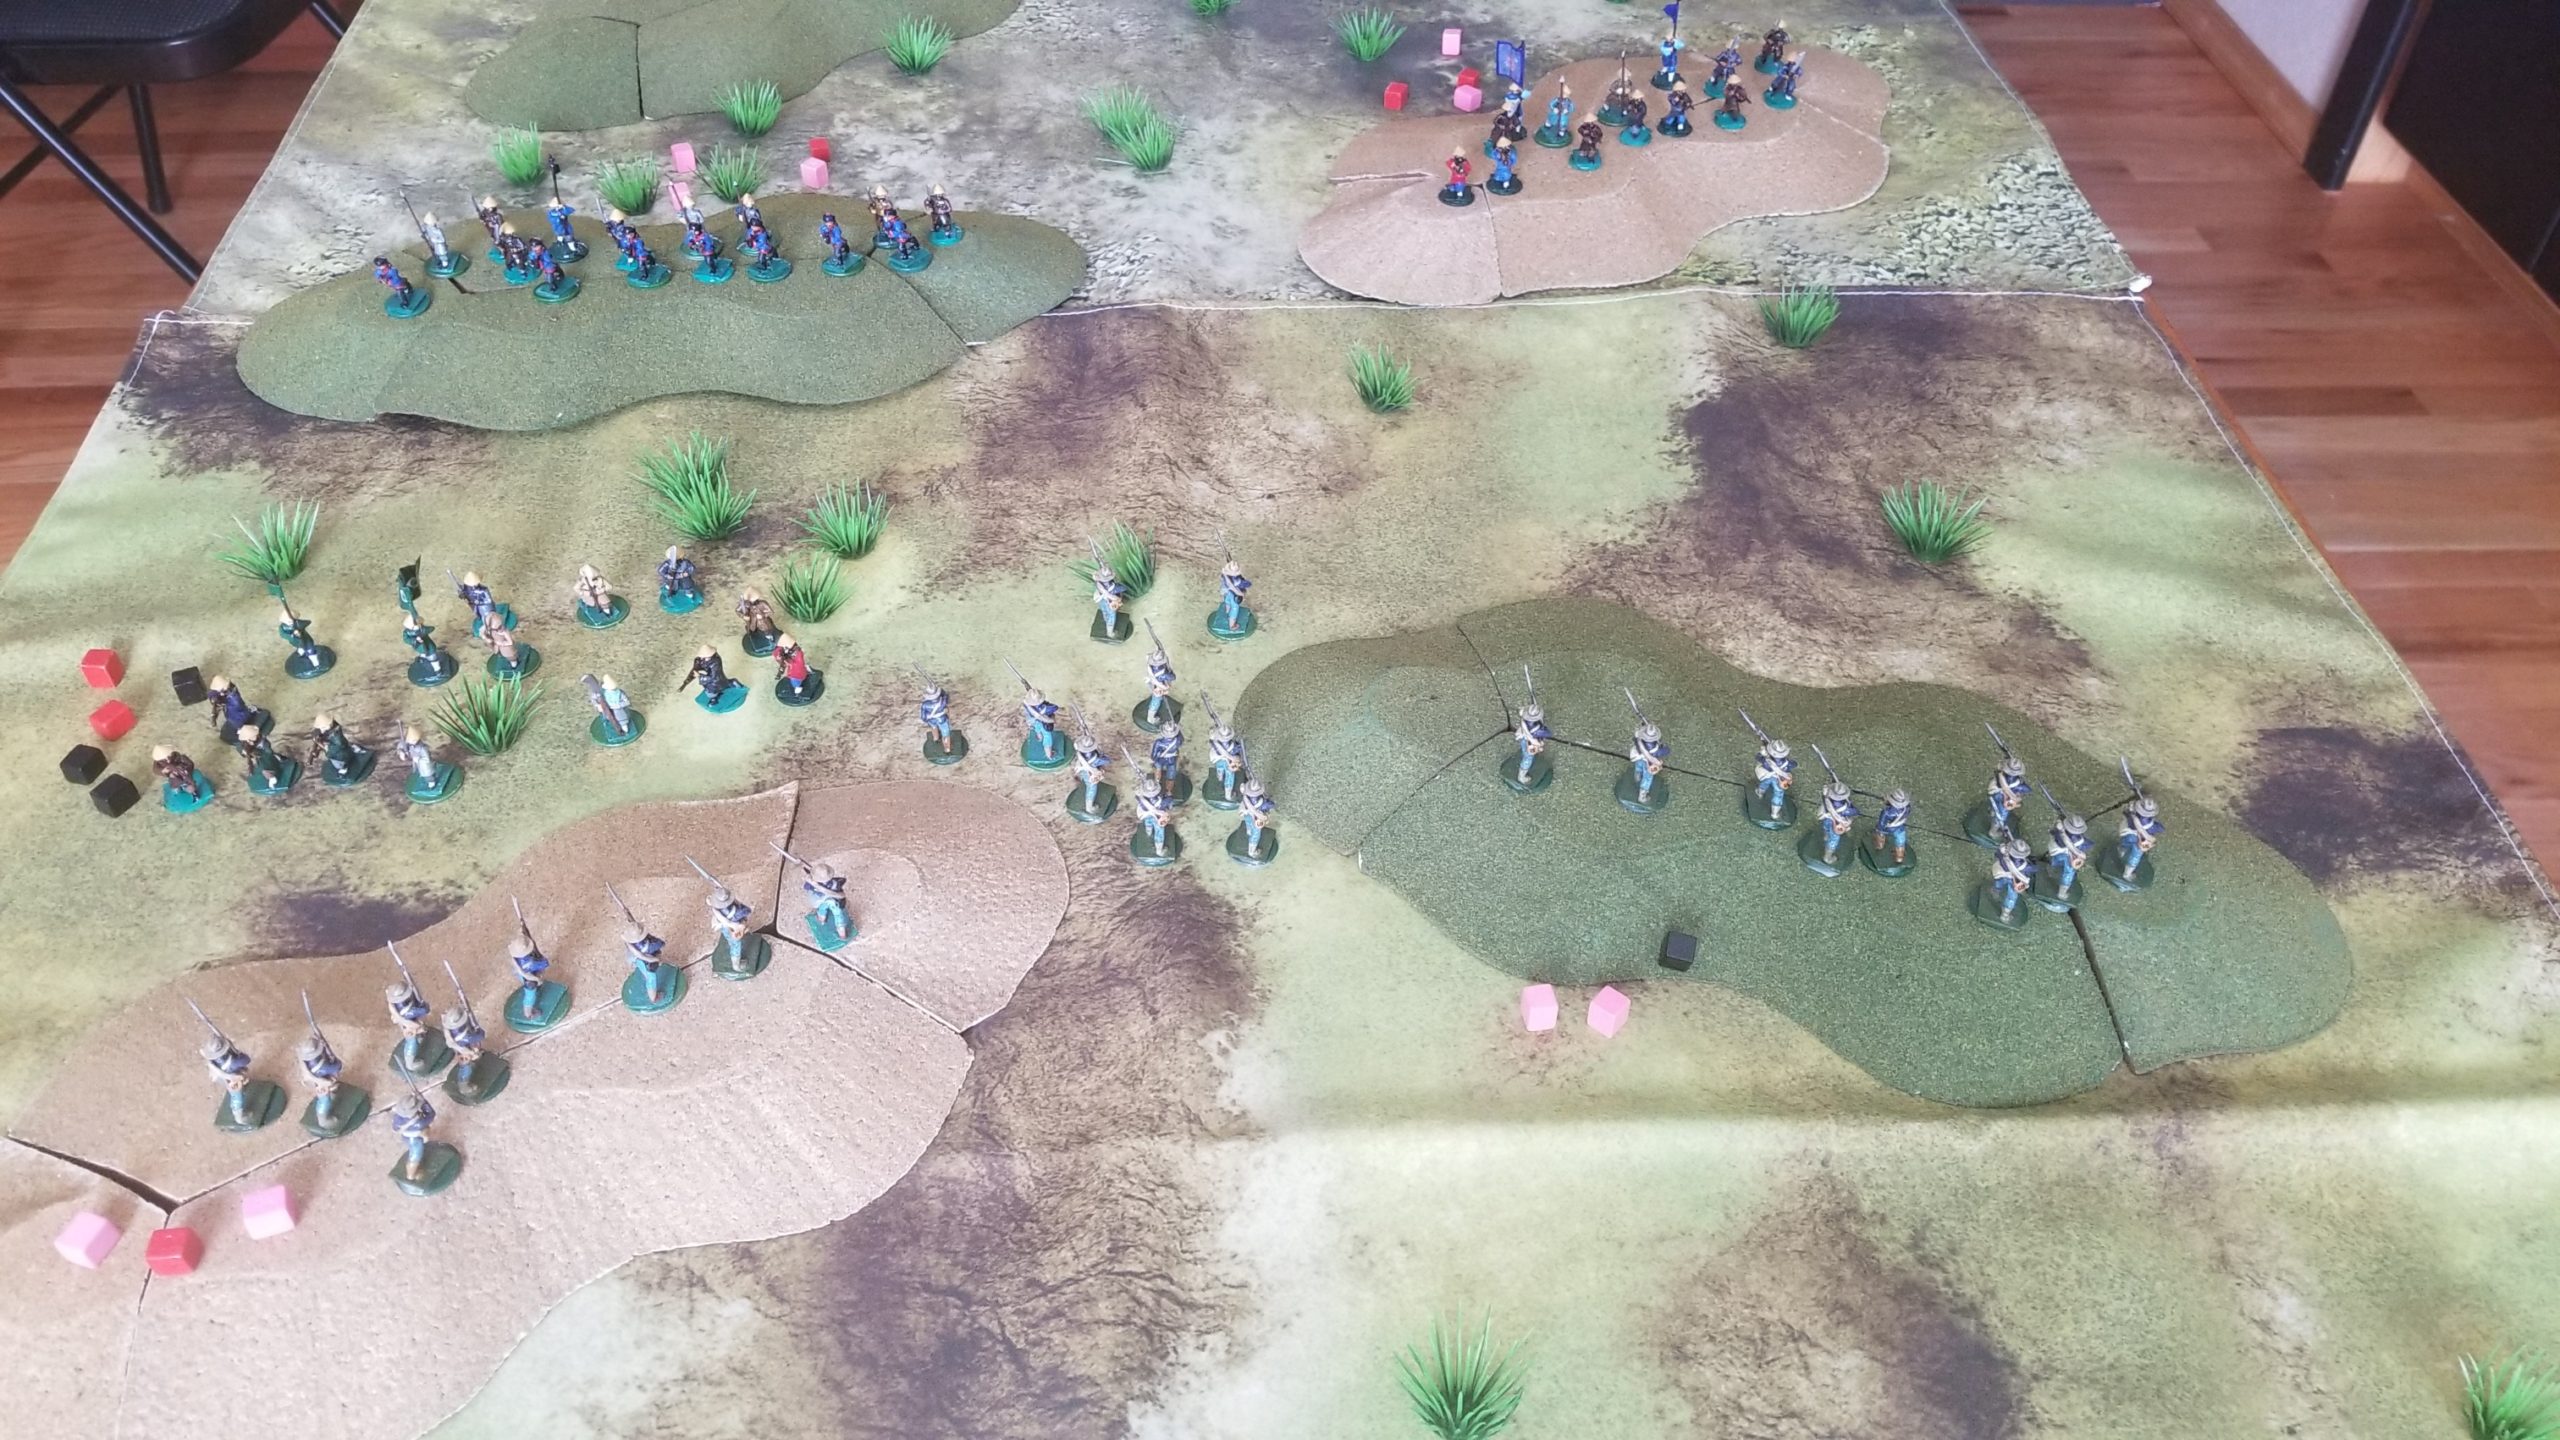
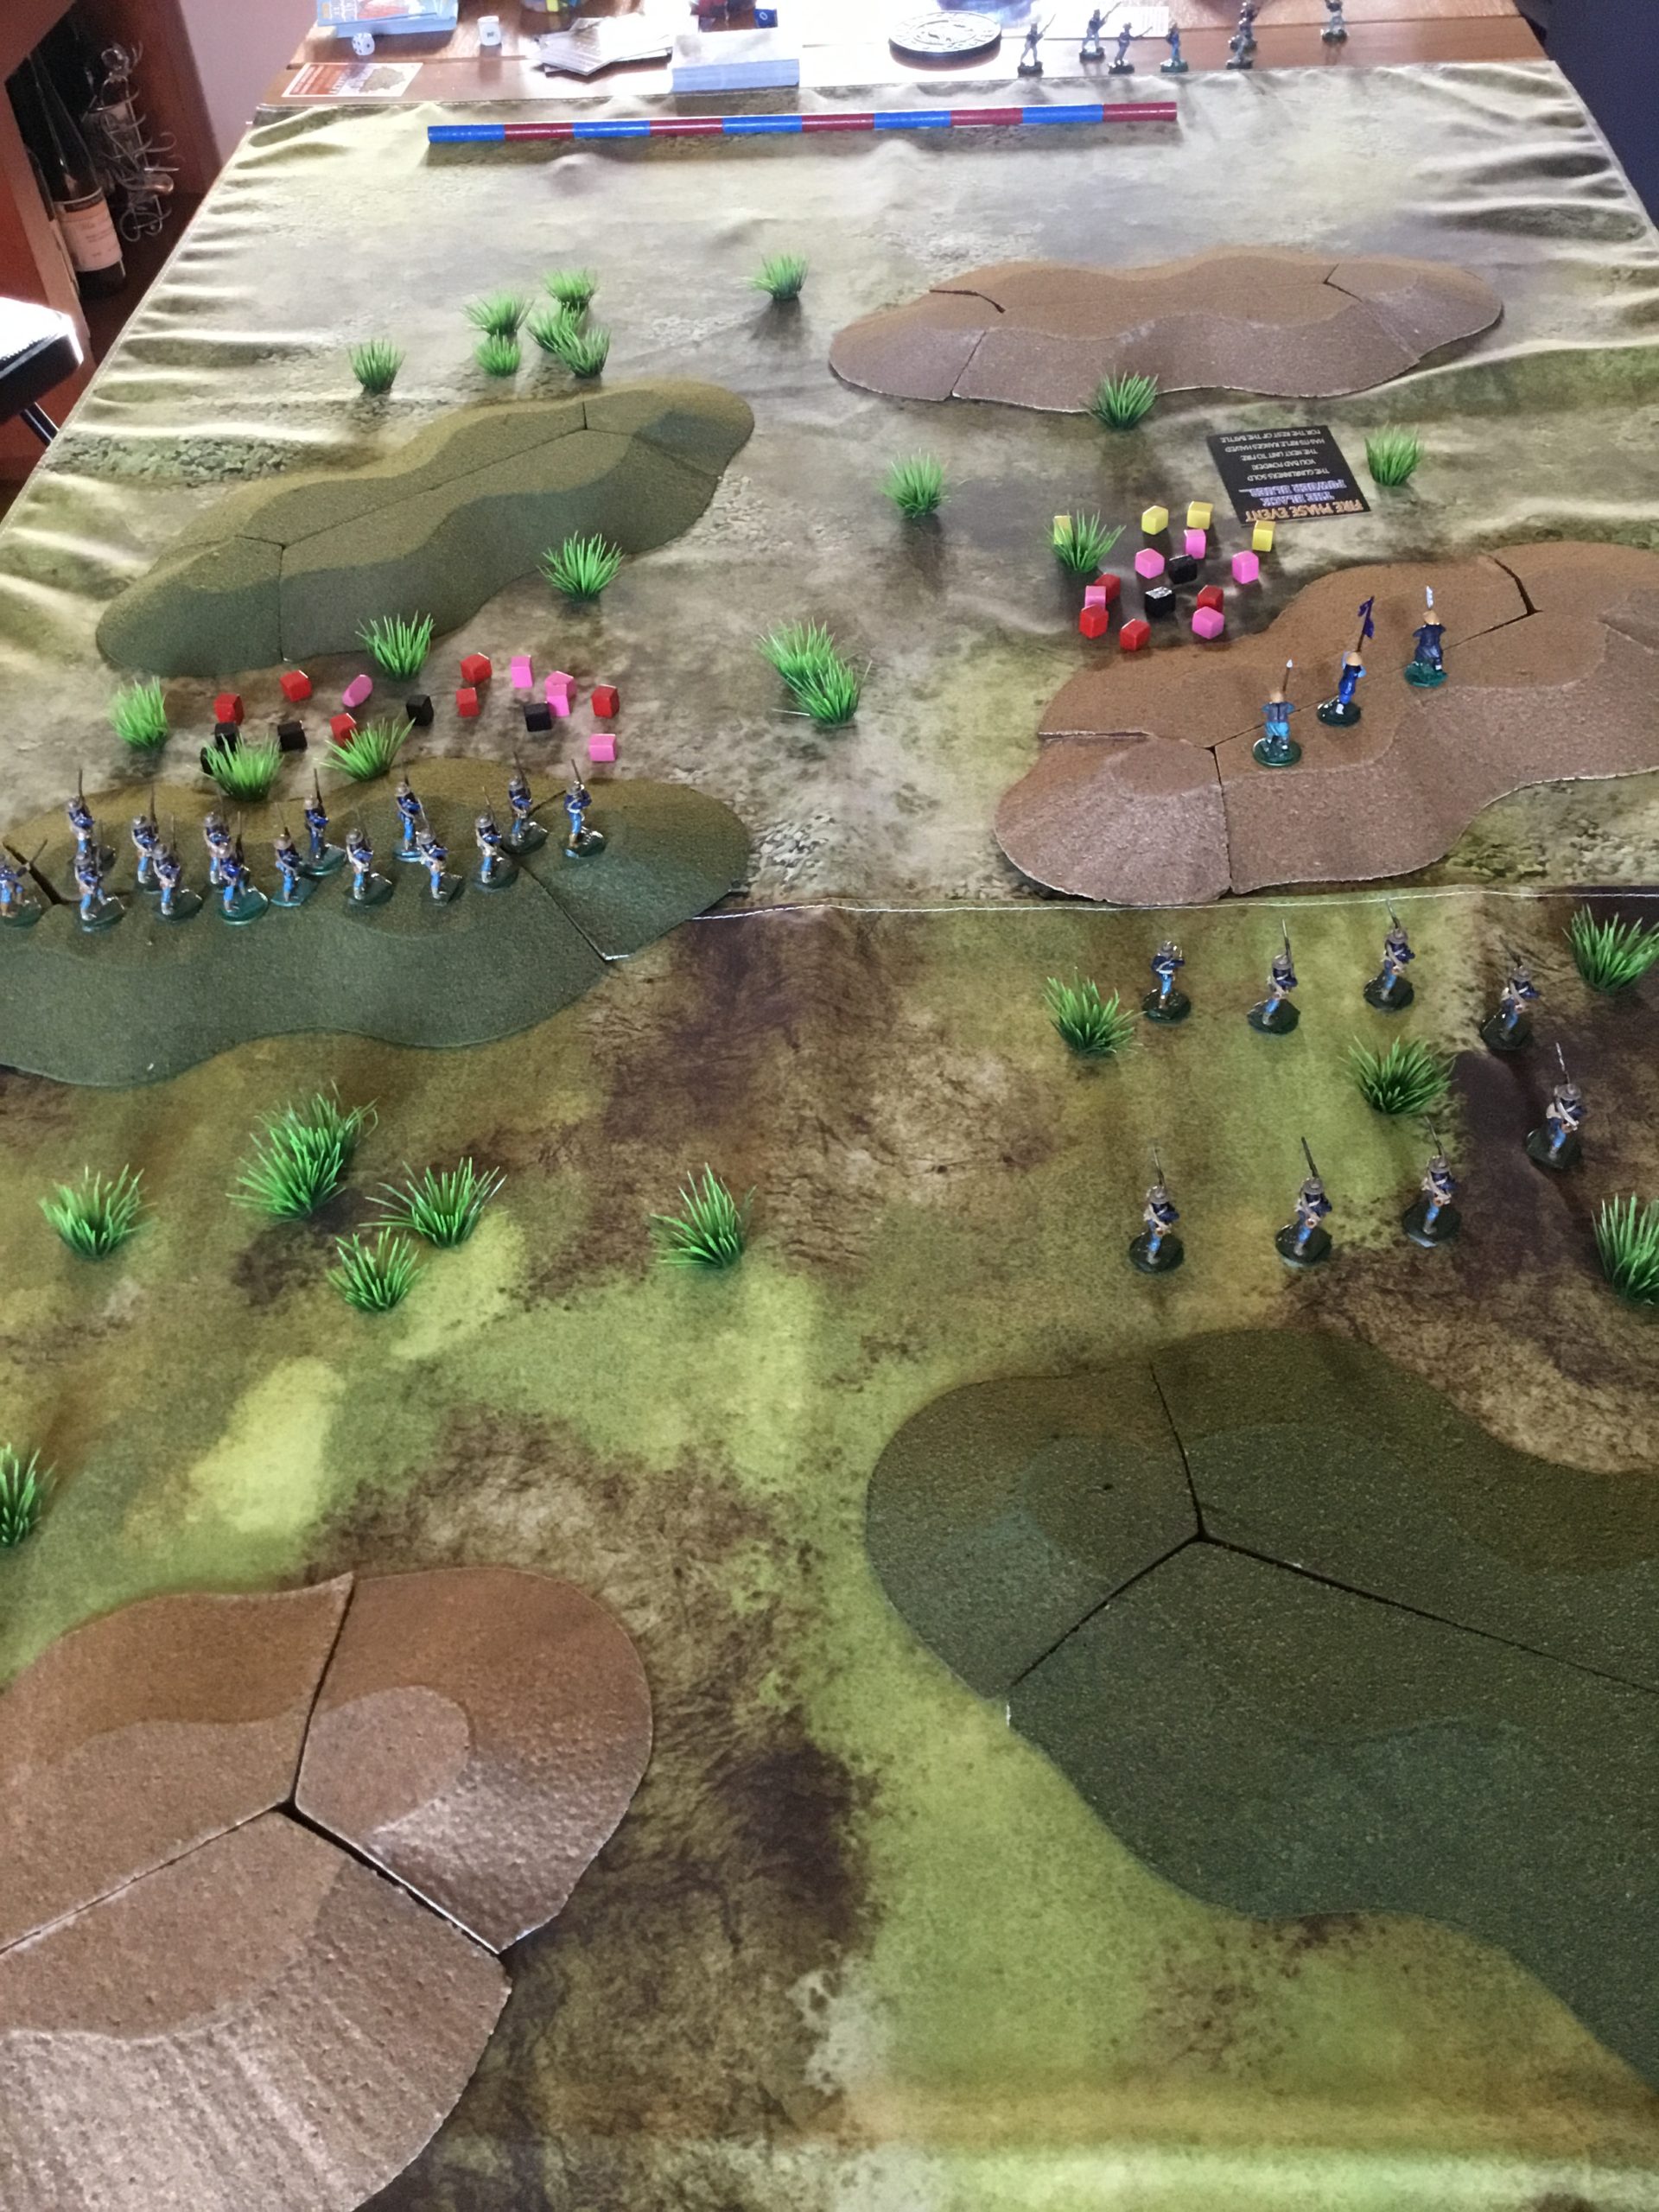
Here’s photo of the situation.
The riflemen of the rallied Boxers turned to engage the Marines moving through the saddle, while the remainder charged and closed with the Marines to their front. The Marines moving through the saddle, in turn, charged the detached riflemen.
Both Marine units were pushed back! In TSATF, hand-to-hand combat is simply a comparison of die rolls, and the Boxers were rolling well. Despite losses, the Boxers held the west hill.
However, the Boxers unit losses were now greater than fifty percent. The detachment on the hill failed the required morale check and fled (final turn phase after shooting). The riflemen, however, passed their check and remained in place.
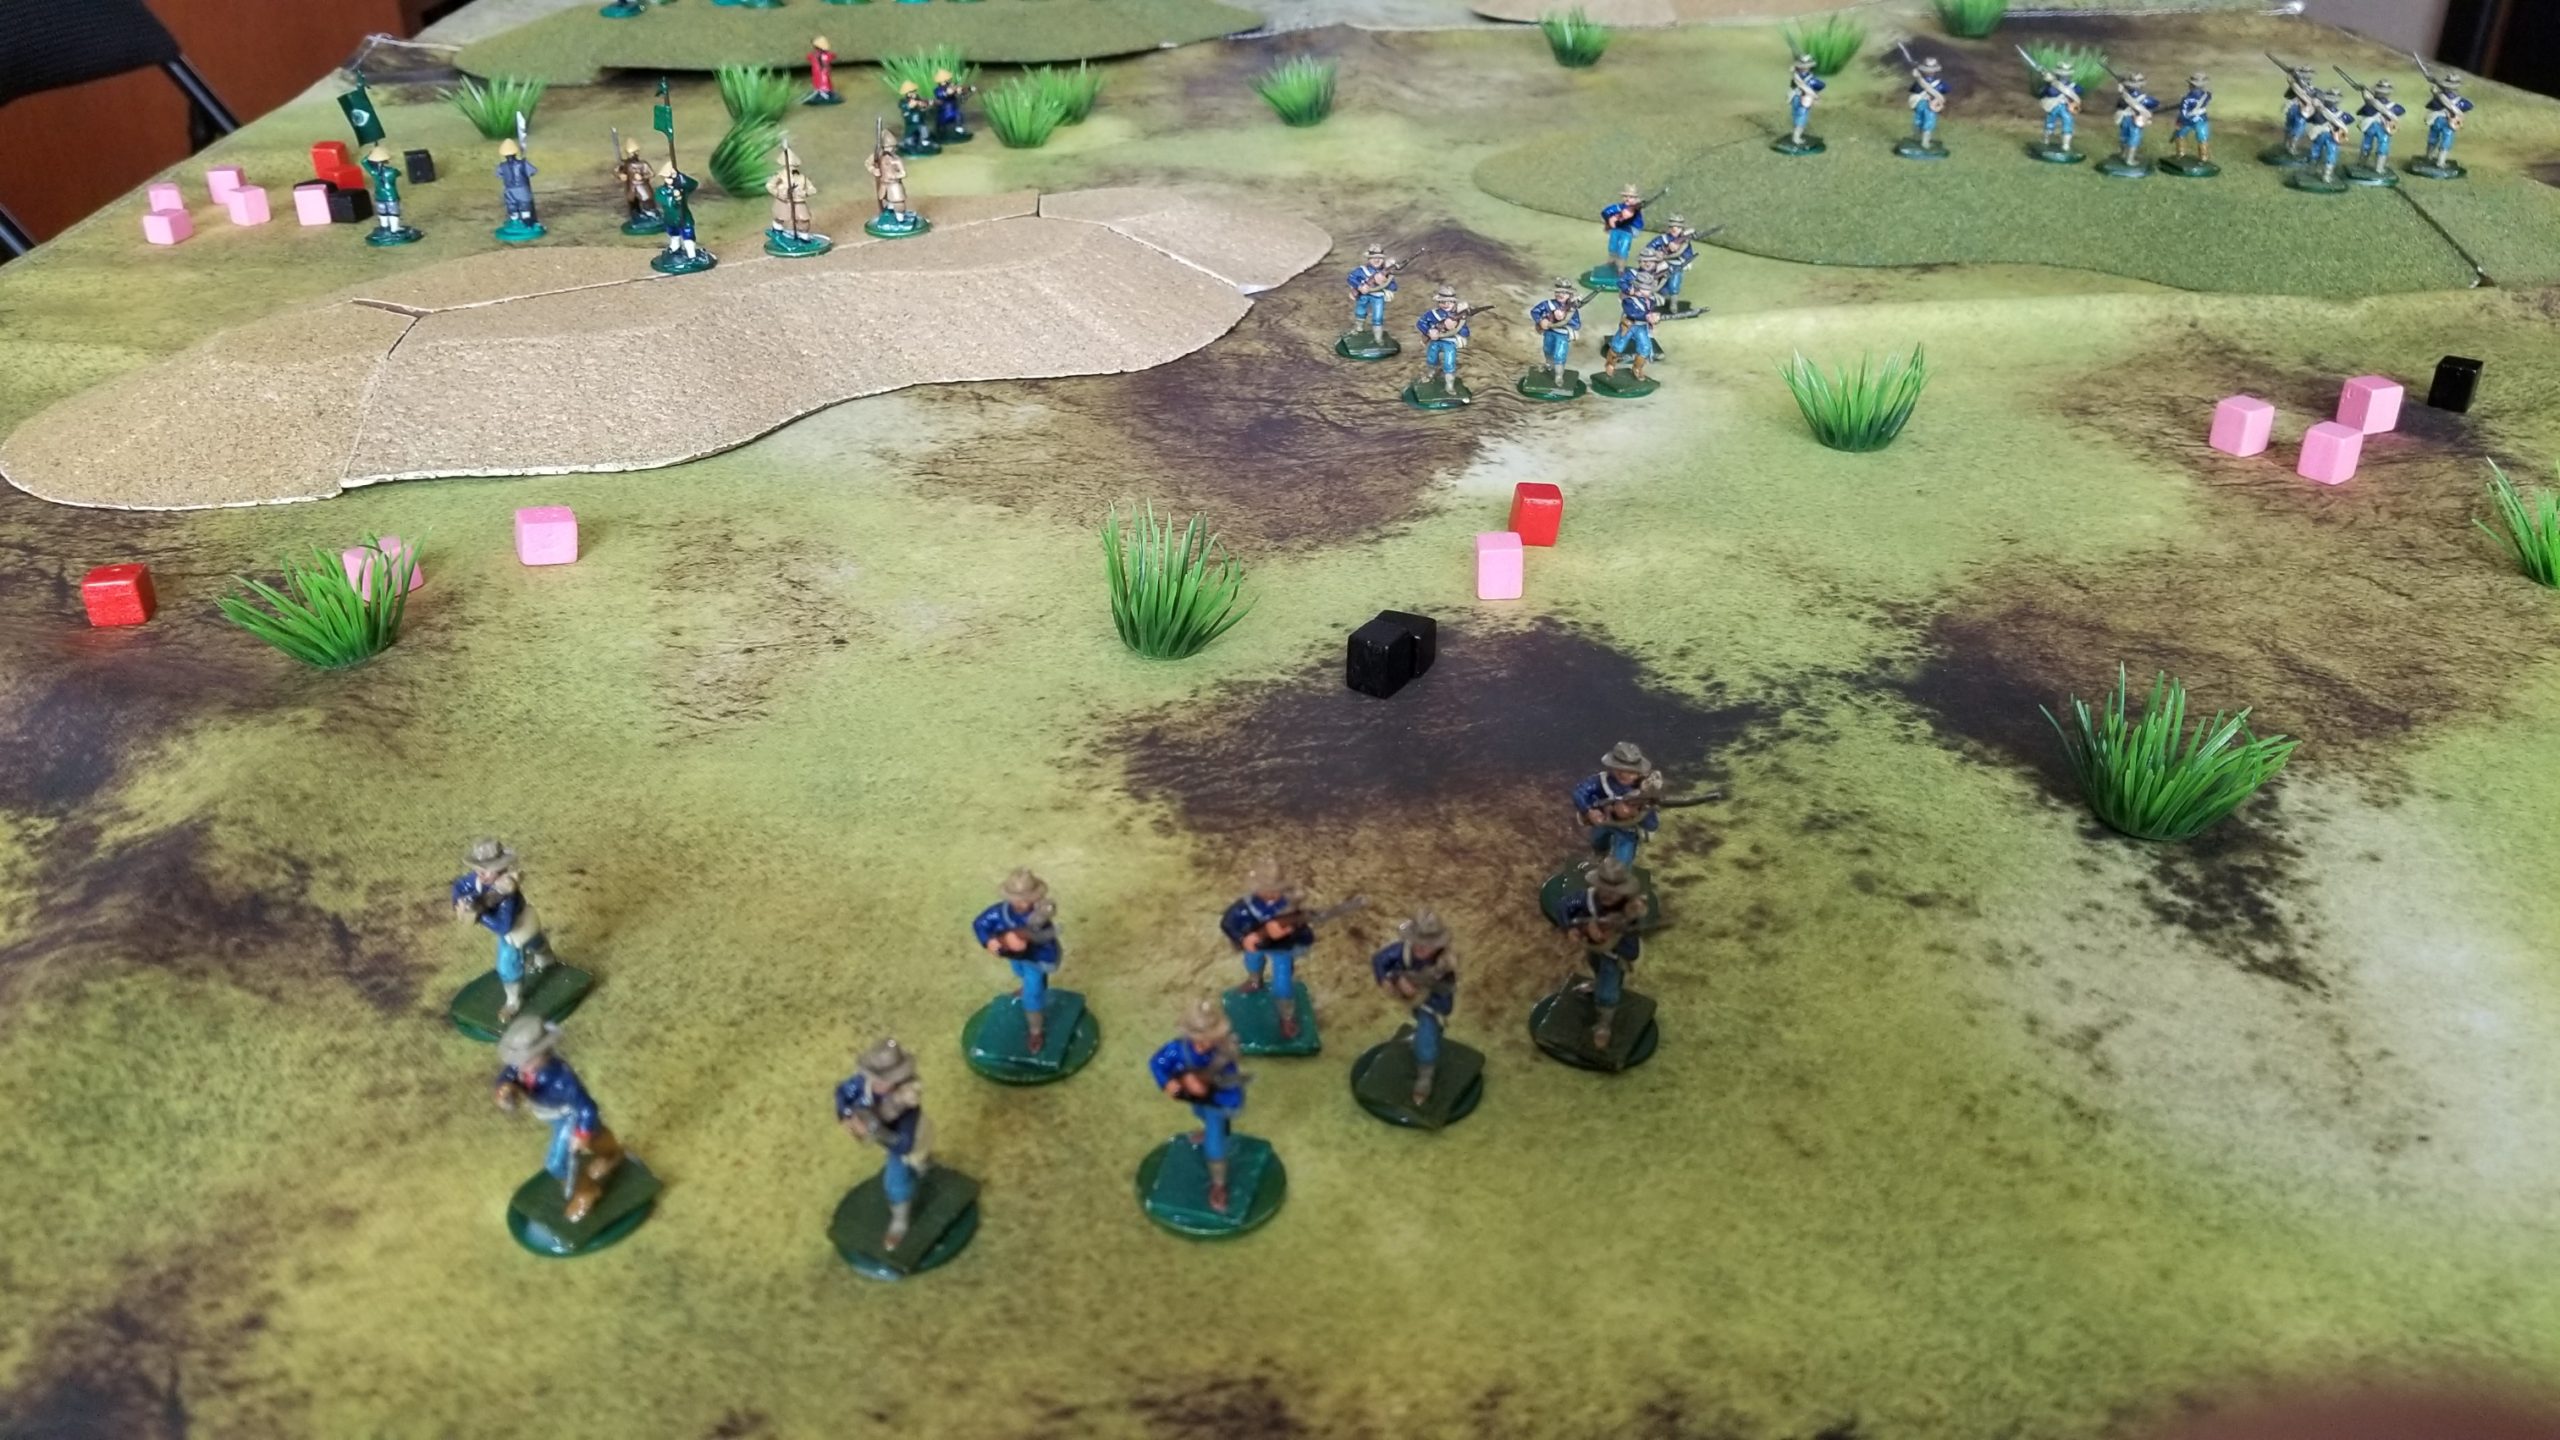
In the following turn, the two Marine squads rallied and moved back towards the west ridge, staying in defilade. The Boxer riflemen focused on the remaining Marine unit, but their fire was ineffective. Here’s a photo of the situation at the end of this turn.
Quick Note: I’m keeping the casualty cubes in-place for an end-of-game count. Red indicates a serious wound, pink a light wound, and black for death
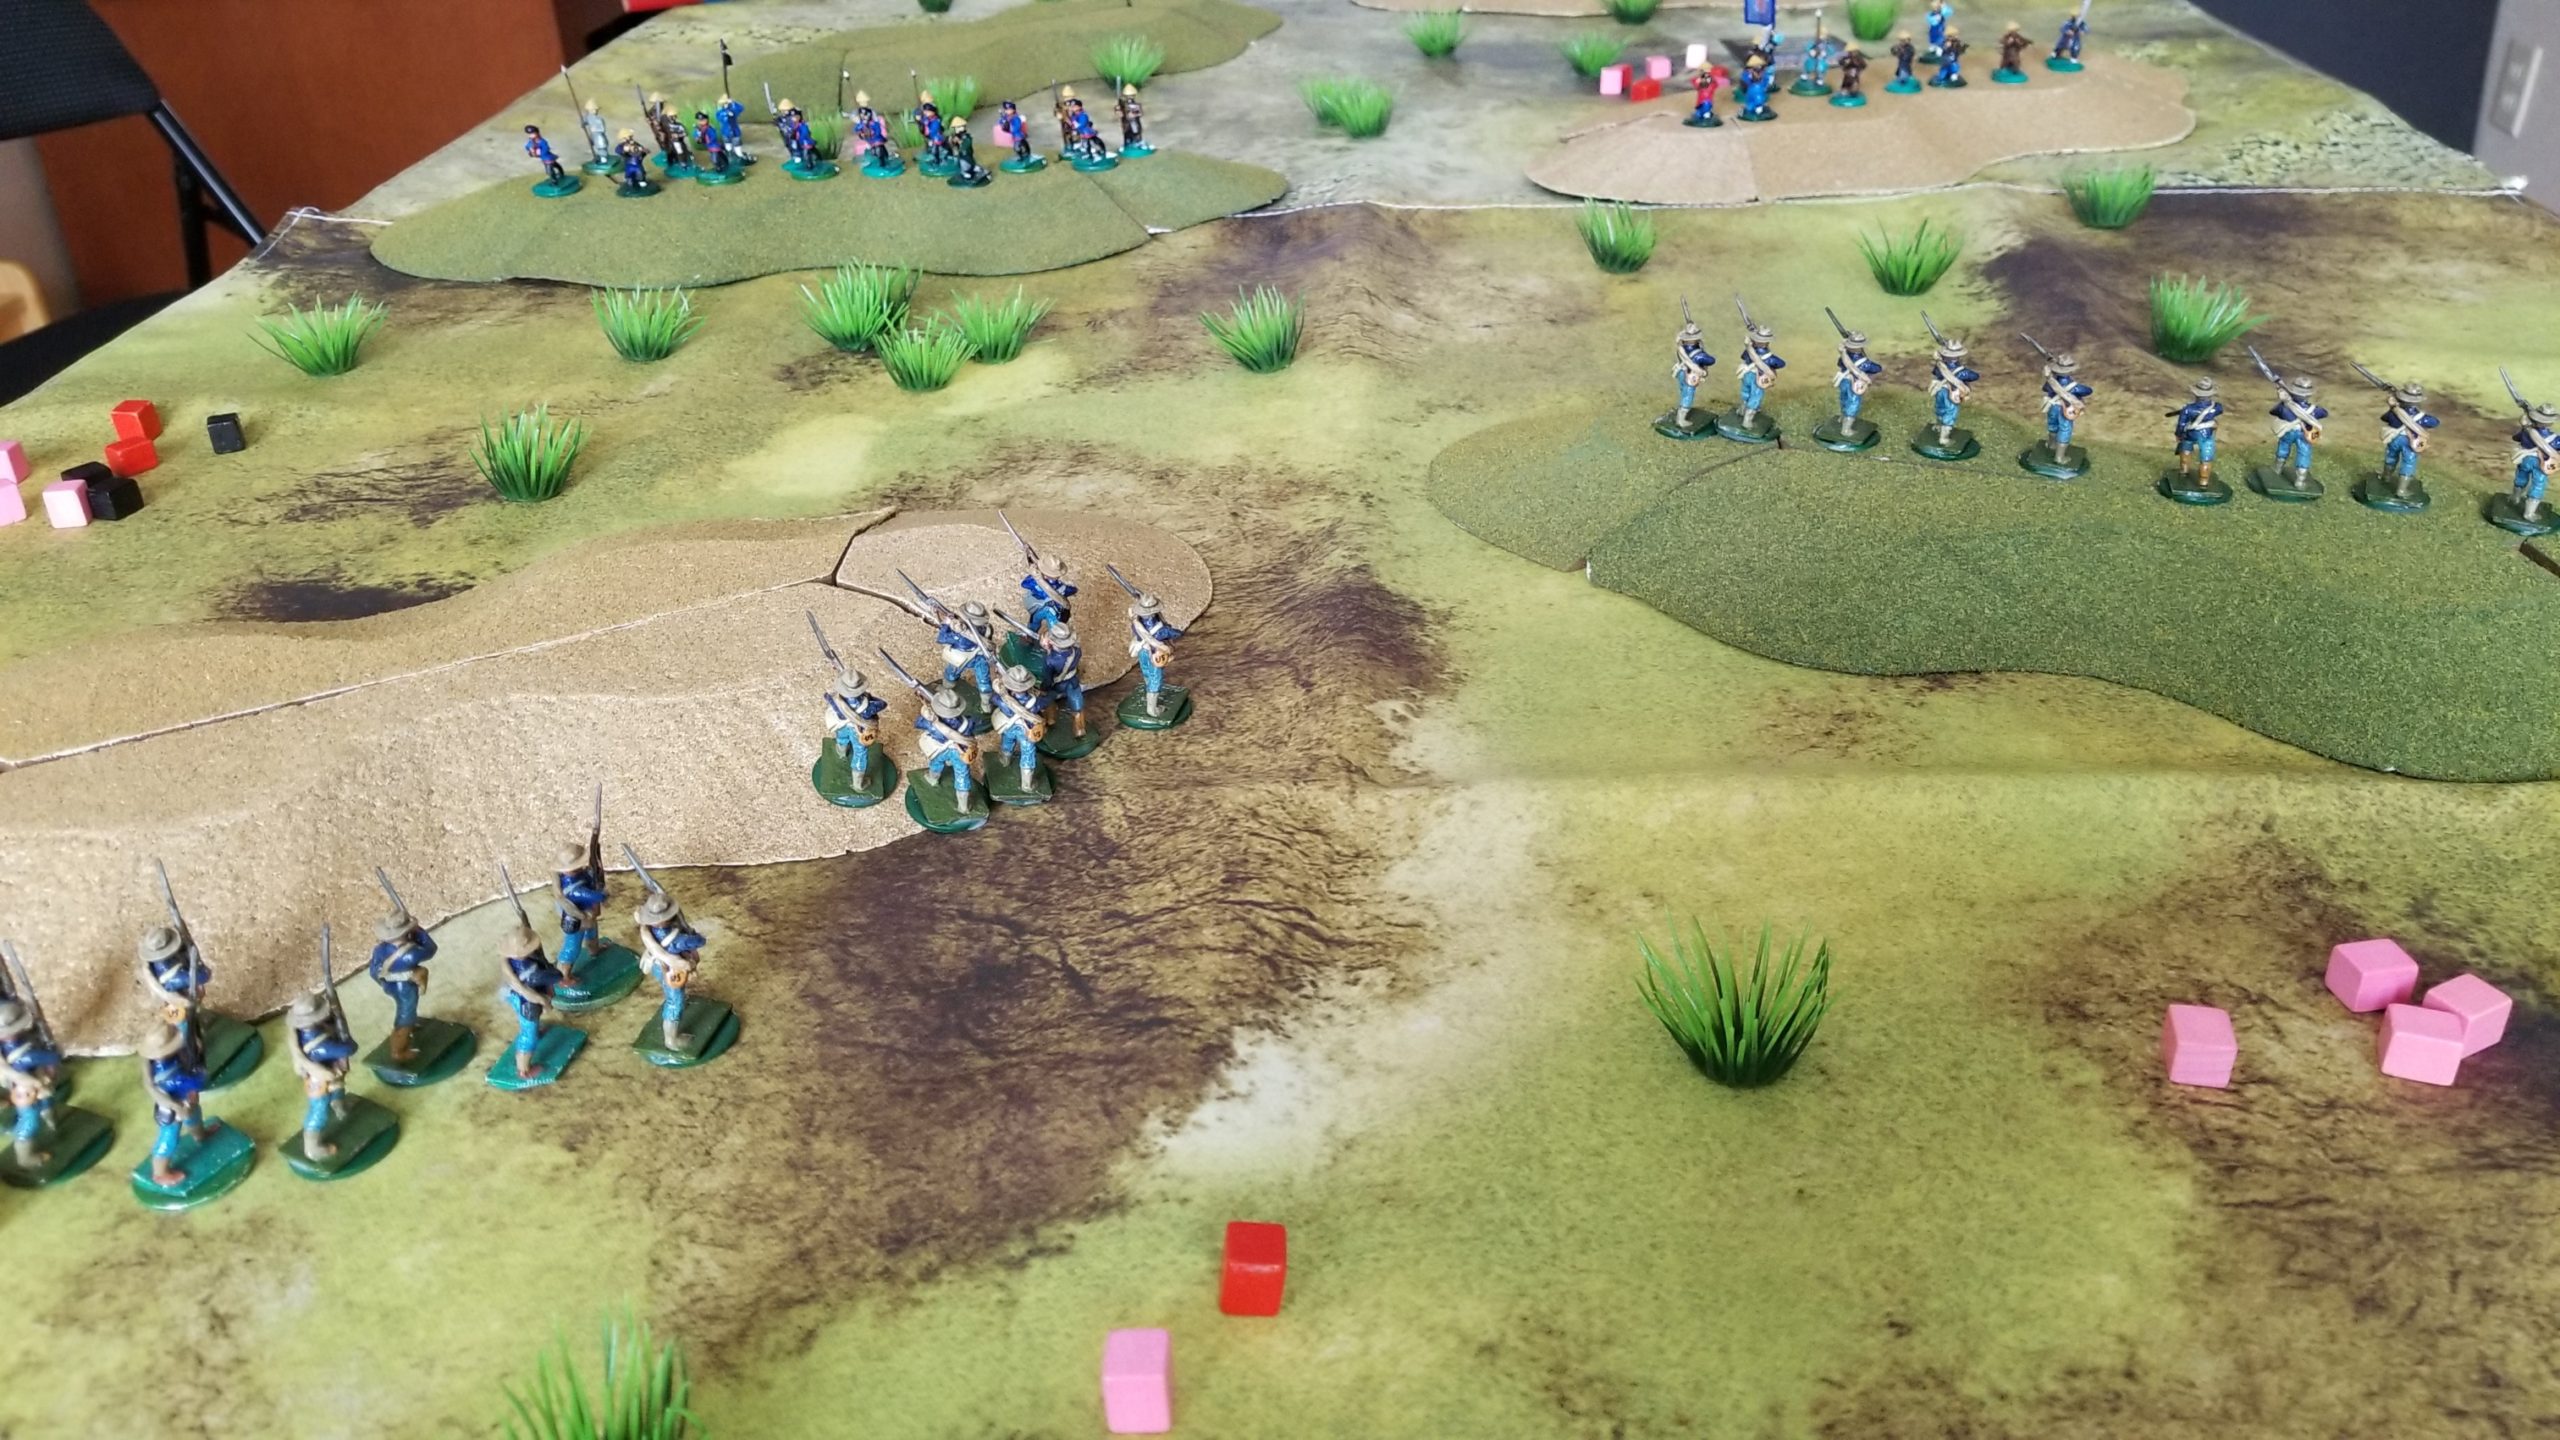
The Marines regained the crest of the west ridge and engaged the Boxers to their front. The Boxers literally fought to the last man. The Boxers holding the east ridge drew an event card reducing their effective firing range to only 12 inches, or not far enough to engage the Marines to their front. They wisely withdrew to the reverse slope.
The Marines advanced through the open ground to take the east ridge. Here, the Boxers emerged from defilade, but retreated after taking casualties and failing their morale check.
While this action was taking place, Marines occupied the west ridge. Here’s a photo of the current situation.
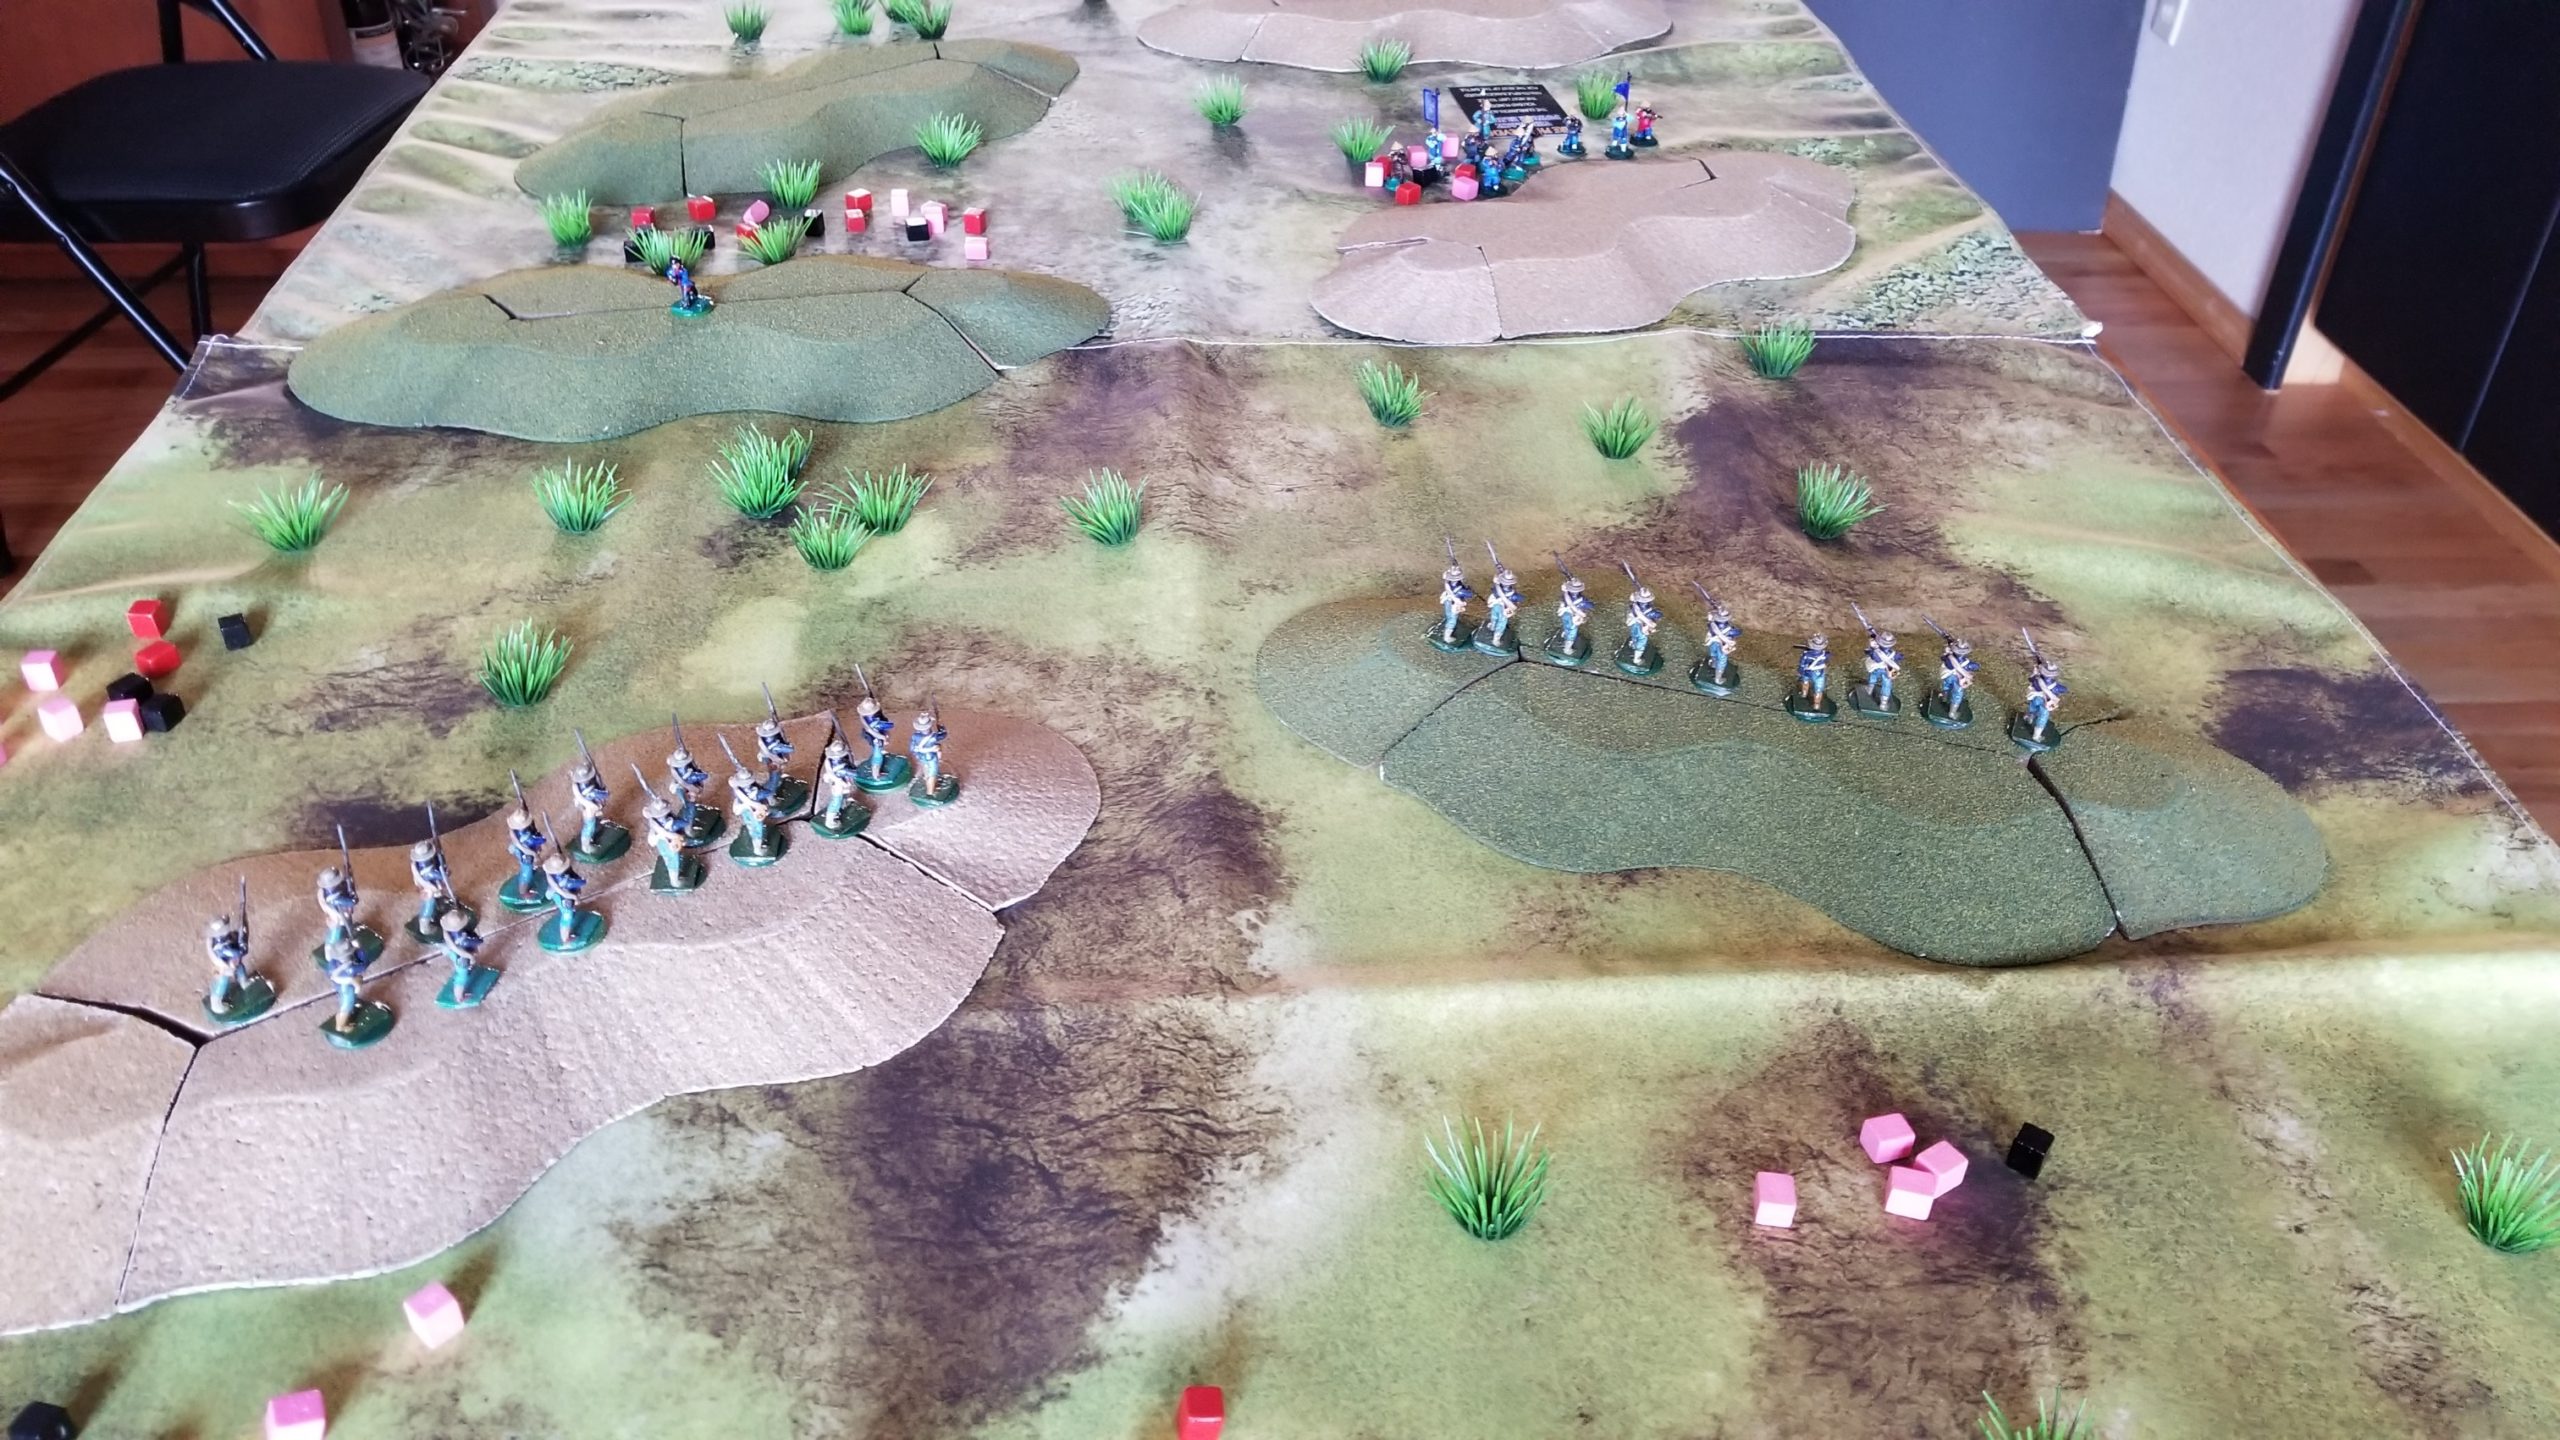
Lots of wristage before next turn’s action. Have to determine who and what will be on the final two ridges. I will also inventory all losses, clean up the casualty cubes, and maybe die to see which of the lightly wounded Marines can no longer continue.