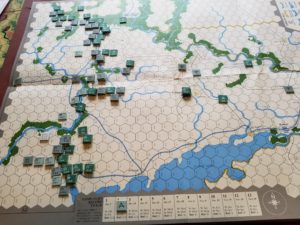
Charts, Errata and a better understanding of the rules does make a difference. Shocking! Been learning and relearning this for decades.
While the actual CRT is somewhat bloodier, the Errata is crucial. I caught the wrong lettering for the entry areas, but missed the difference in setup for four Soviet units. Absolutely changes the game. These units were in the vicinity of Stalino and “V” (see previous post), but now are in the front lines directly opposite the panzer divisions. This makes a breakout just that much tougher. Here’s a link to the Errata.
Another big mistake on the first game was the assumption that the Germans could automatically withdraw from a ZOC. Oh No. Soviets can using the withdrawal chart, but the Germans cannot. This means they are “locked” in ZOCs. Makes maneuver difficult. This was a topic of some discussion in blogs, but the consensus seemed to be that the system worked just fine with this apparent limitation.
The Germans opened the new game with another attack in the center. It made limited gains, primarily due to the change in dispositions discussed above. The panzer units are not that strong, even with the doubling of combat power due to unit integrity. With the center holding, the Soviets had the luxury of shipping their reinforcements to Stalino, with local units building a defense in depth against the immediate panzer threat.
The German used both infantry and armor units to continue the attack in the center during Turn 2, causing Soviet units to pull back. Their second movement phase was used to envelope exposed Soviet divisions. The Soviets countered by minor shifts in units (their primary units were ZOC’s Up), and building a defensive line running Gorlovka-Stalino-Taganrog.
