Decided enough is enough with my Husaria contest between Poles and Muscovites.
Just “guided” units to set up cavalry confrontations in the center. Guiding is my polite term for “to hell with the rules, let’s get these units into position.” Yes, to do so would have involved finagling figures through expansion/contraction of frontage gyrations, as well as the timing of said moves. Said finaglings would have expanded my deeper knowledge of the rules, but in my current bloody mood, it would have just been another experience tantamount to a telephone hold (thank goodness for the speaker setting on cellphones).
Now that the units are in general position, I can pick up the game using Rules As Written (RAW), and see what happens with cavalry combat. To this point, all combats have involved infantry units.
Here’s the overall situation:
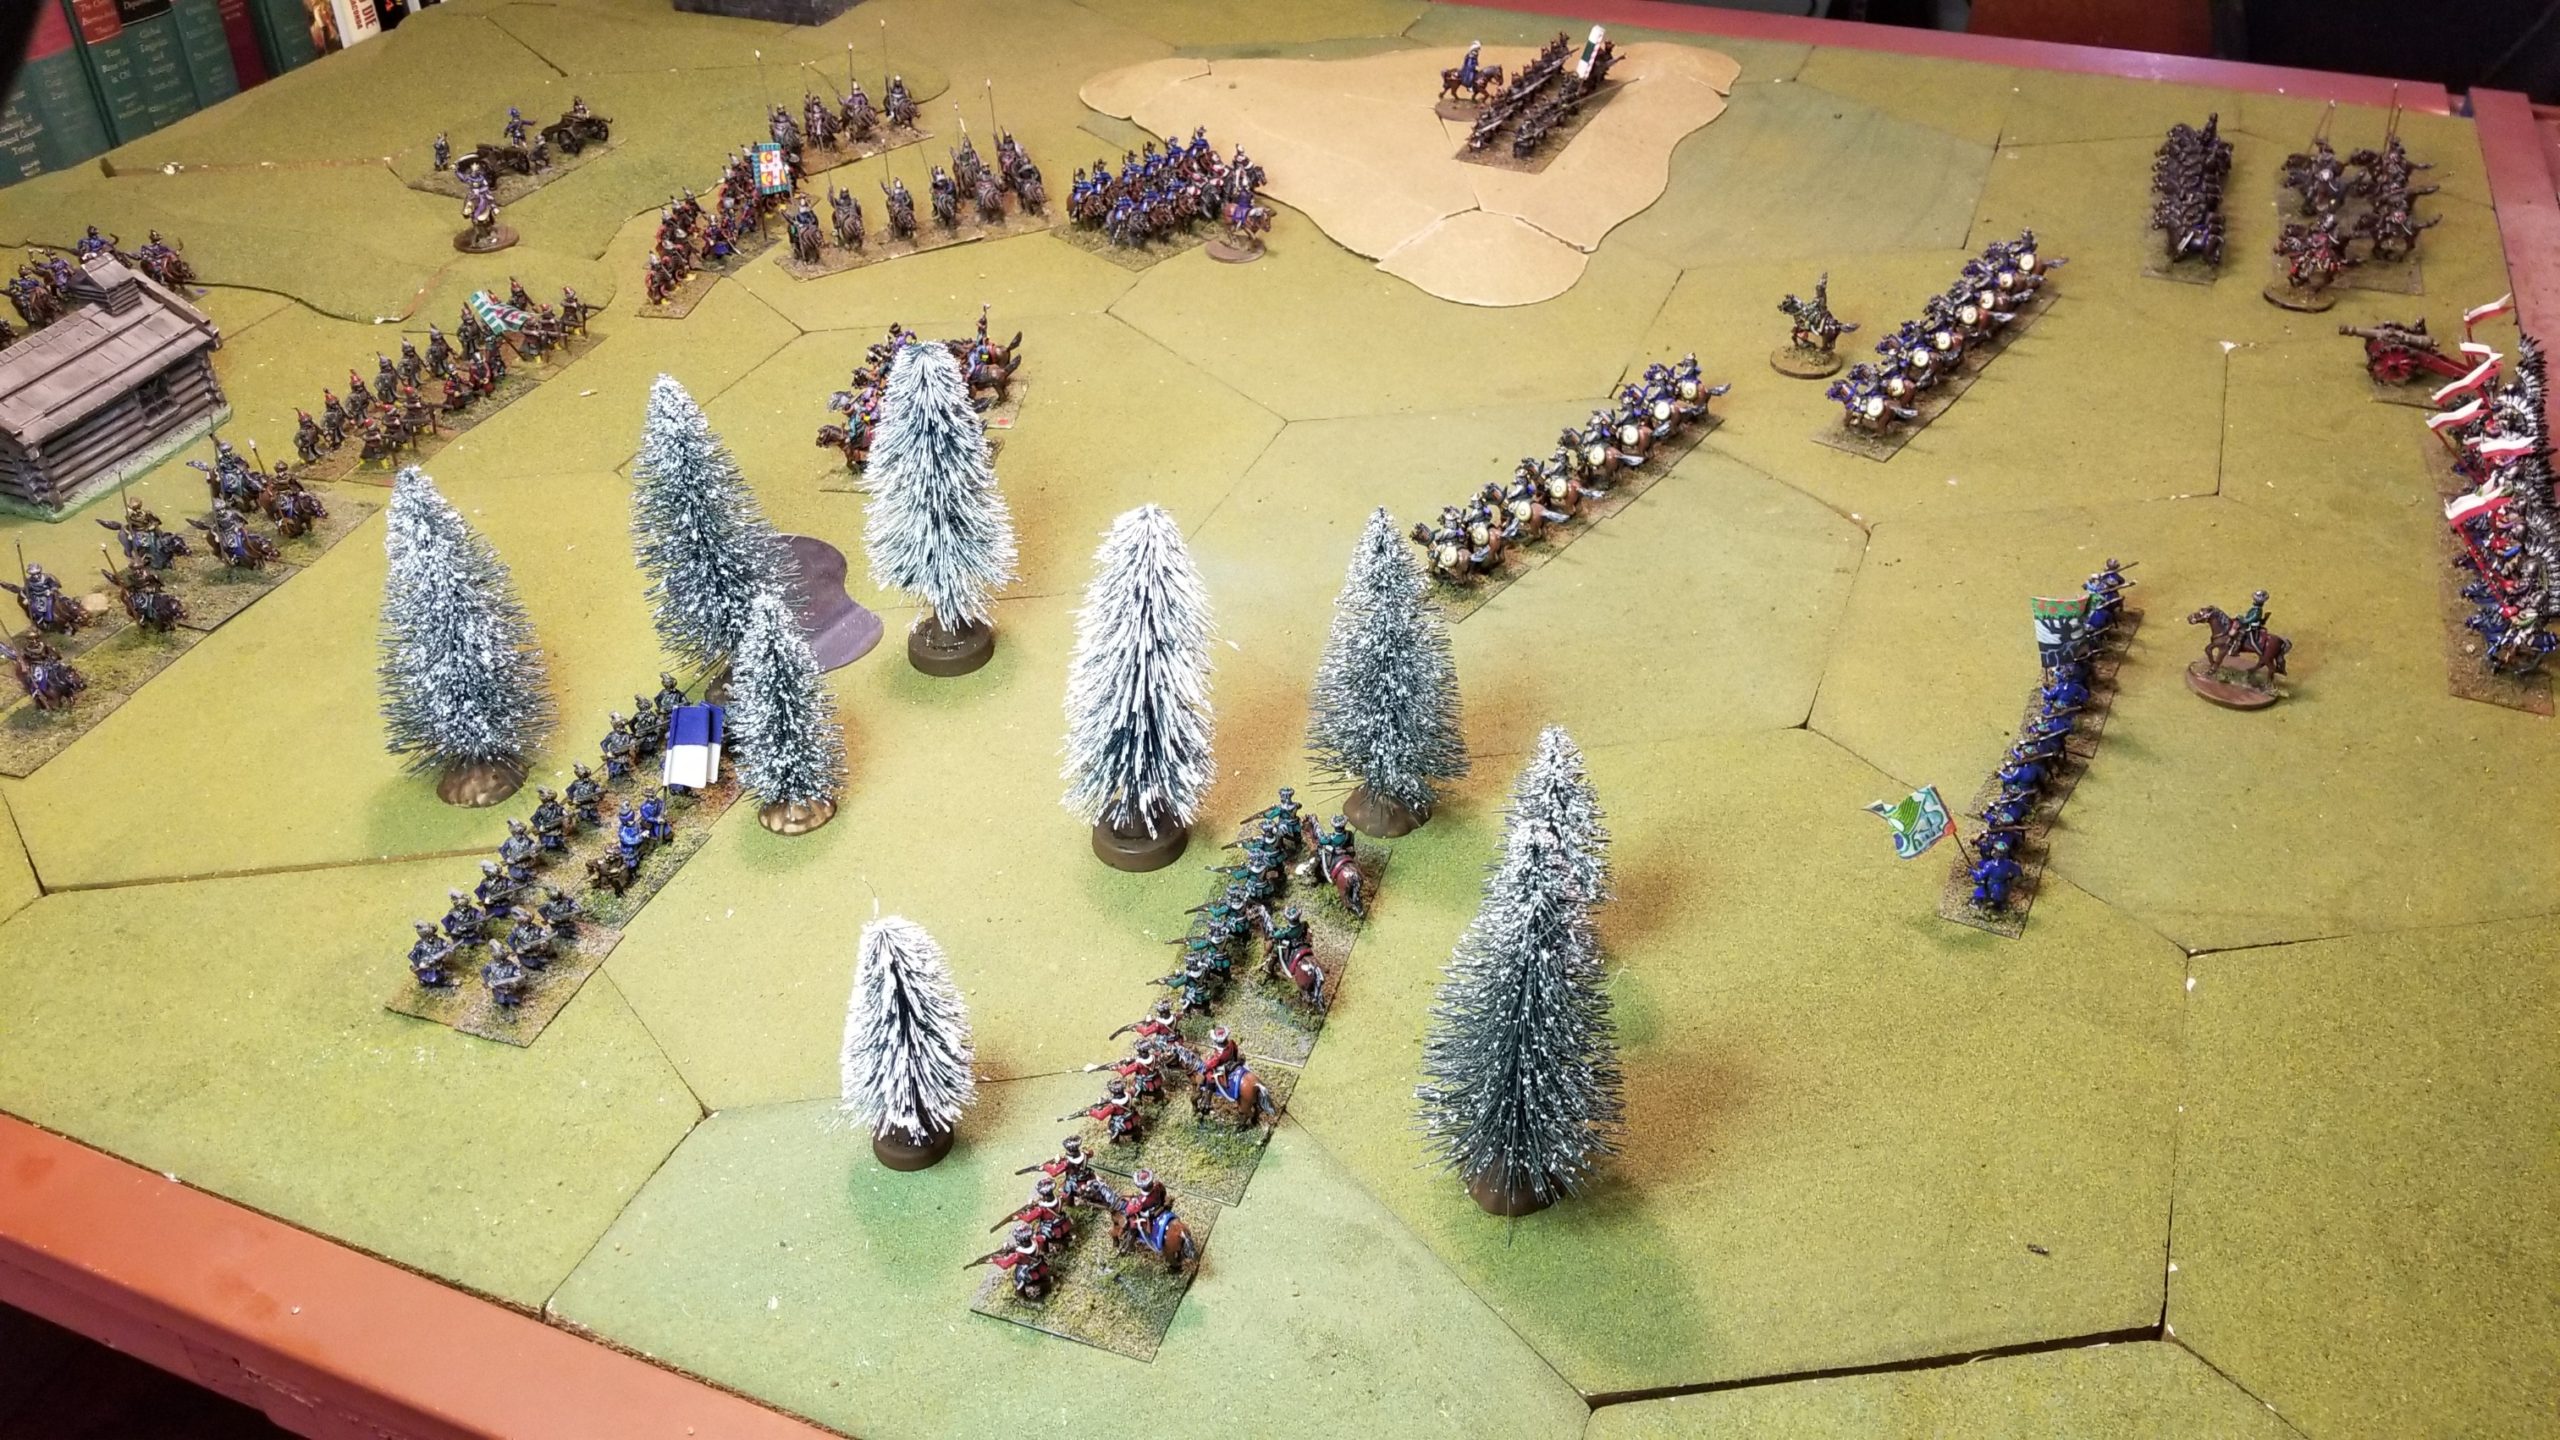
Poles to the right, Muscovites to the left. The flanks are secure for both sides. The Polish Pancerni are moving into attack position, as are the Muscovite heavy cavalry and Ratjars. The center area is narrow and becoming congested for the Muscovites. Since both sides are now within charge distance (28 cm), the Muscovites may not be able to expand their frontage before first contact. In this rule set, only the front rank of Cavalry fights in melee. However, rear ranks can overlap after the initial melee turn.
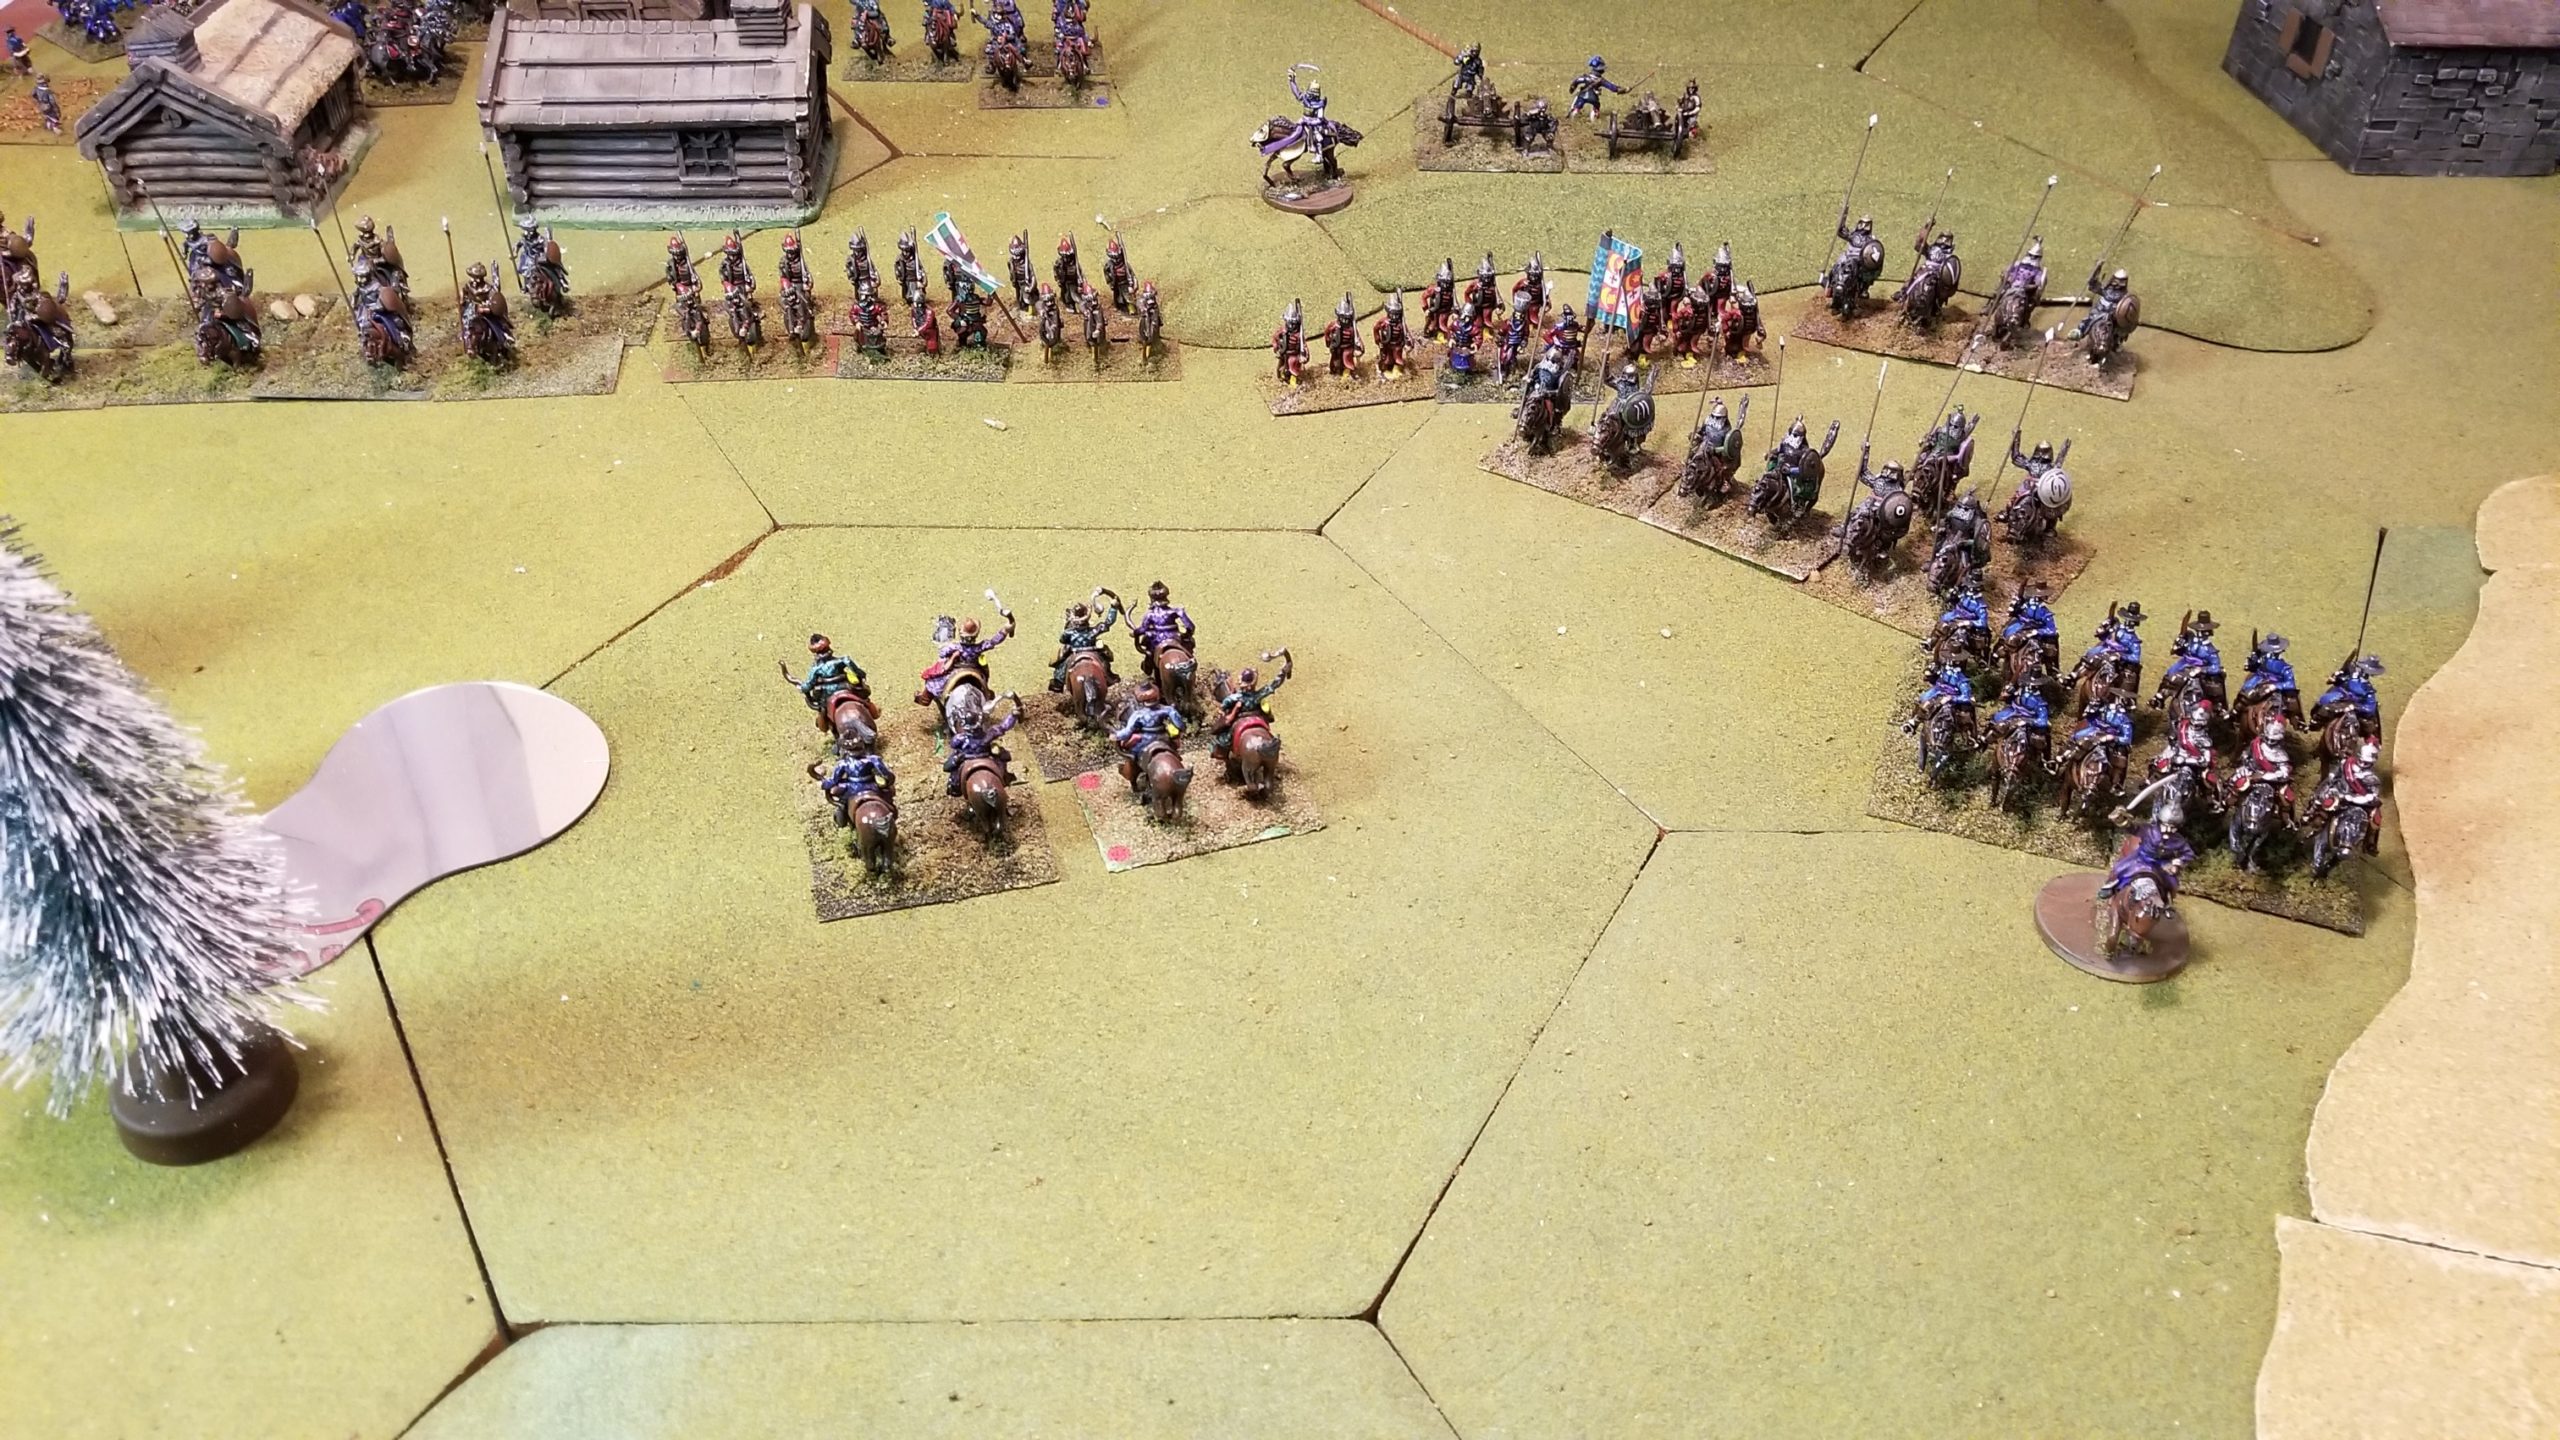
This photo gives little better view of the Muscovite situation. The cavalry in the foreground is retreating (not routing) and will pass through, and disrupt, the Streltsy infantry.
The Polish objectives are the two villages. With that in mind, the Muscovite CinC (single figure top center) has moved to rally the withdrawing cavalry units and direct the reorganization of each village’s defenses.
I’ll pick this one up with the usual turn sequence, starting with declaration of charges for whichever side wins the initiative die roll.