Rather than grind through the move-by-move, here’s a few overall comments about the game play using the rules as a guide.
German Harbor Defense: Has been effective, especially during Turn 3, when 9 targets were hit using D6 to hit roll of 5 or less. The maximum possible is 12. Change to less/equal D6 of 4, literally saved the British.
Covering Fire: Useless for the British. Need a 2D6 of 8 or less, and I’ve been rolling 8+. Also, the mods due to loss of flotilla gun strength has not helped my rolls.
Dockside Defensive Fire: A mixed bag for the Germans. Some successes, but limited. Not the weapon that Harbor Defense is.
Open Sea Combat: So far, one British ship has escaped without contact. More to follow.
Scuttling: I scuttled the Campbeltown on Turn 4 and took off the surviving crew. While this will help with VIPs, it severely reduced the flotilla firepower (see Covering Fire, above). BTW, the Campbeltown took very little punishment before ramming the Southern Caisson.
Torpedo Attacks: Despite low probabilities (1-2 on D6), torpedo boats knocked out two swinging gates, for 8 total VIPs.
German Activation/Movement: Started slowly, but more and more Germans are available. Unfortunately for them, I’ve been rolling D6 6s, so only those units with a strength of 6 can move. This has severely hampered the reaction forces.
British Land Movement: Managed to foul up the objectives for some units, so some moves have been counterproductive, and have effected the ability of units to quickly get to lucrative targets – especially the 12 VIP Southern Caisson. I’ve not done a good job of mixing and matching assault (small arms and grenades) with demolition units, especially when attacking flak positions.
Grenade Attacks: Once I figured out that assault units can do these, they’ve been fairly successful taking out flak positions.
Demolition Attacks: Success on first try has been 50-50, with the key being to have the demolition unit end their move at the target and not take the +2 modification for entering the area during the turn.
German Ships: Haven’t messed with them.
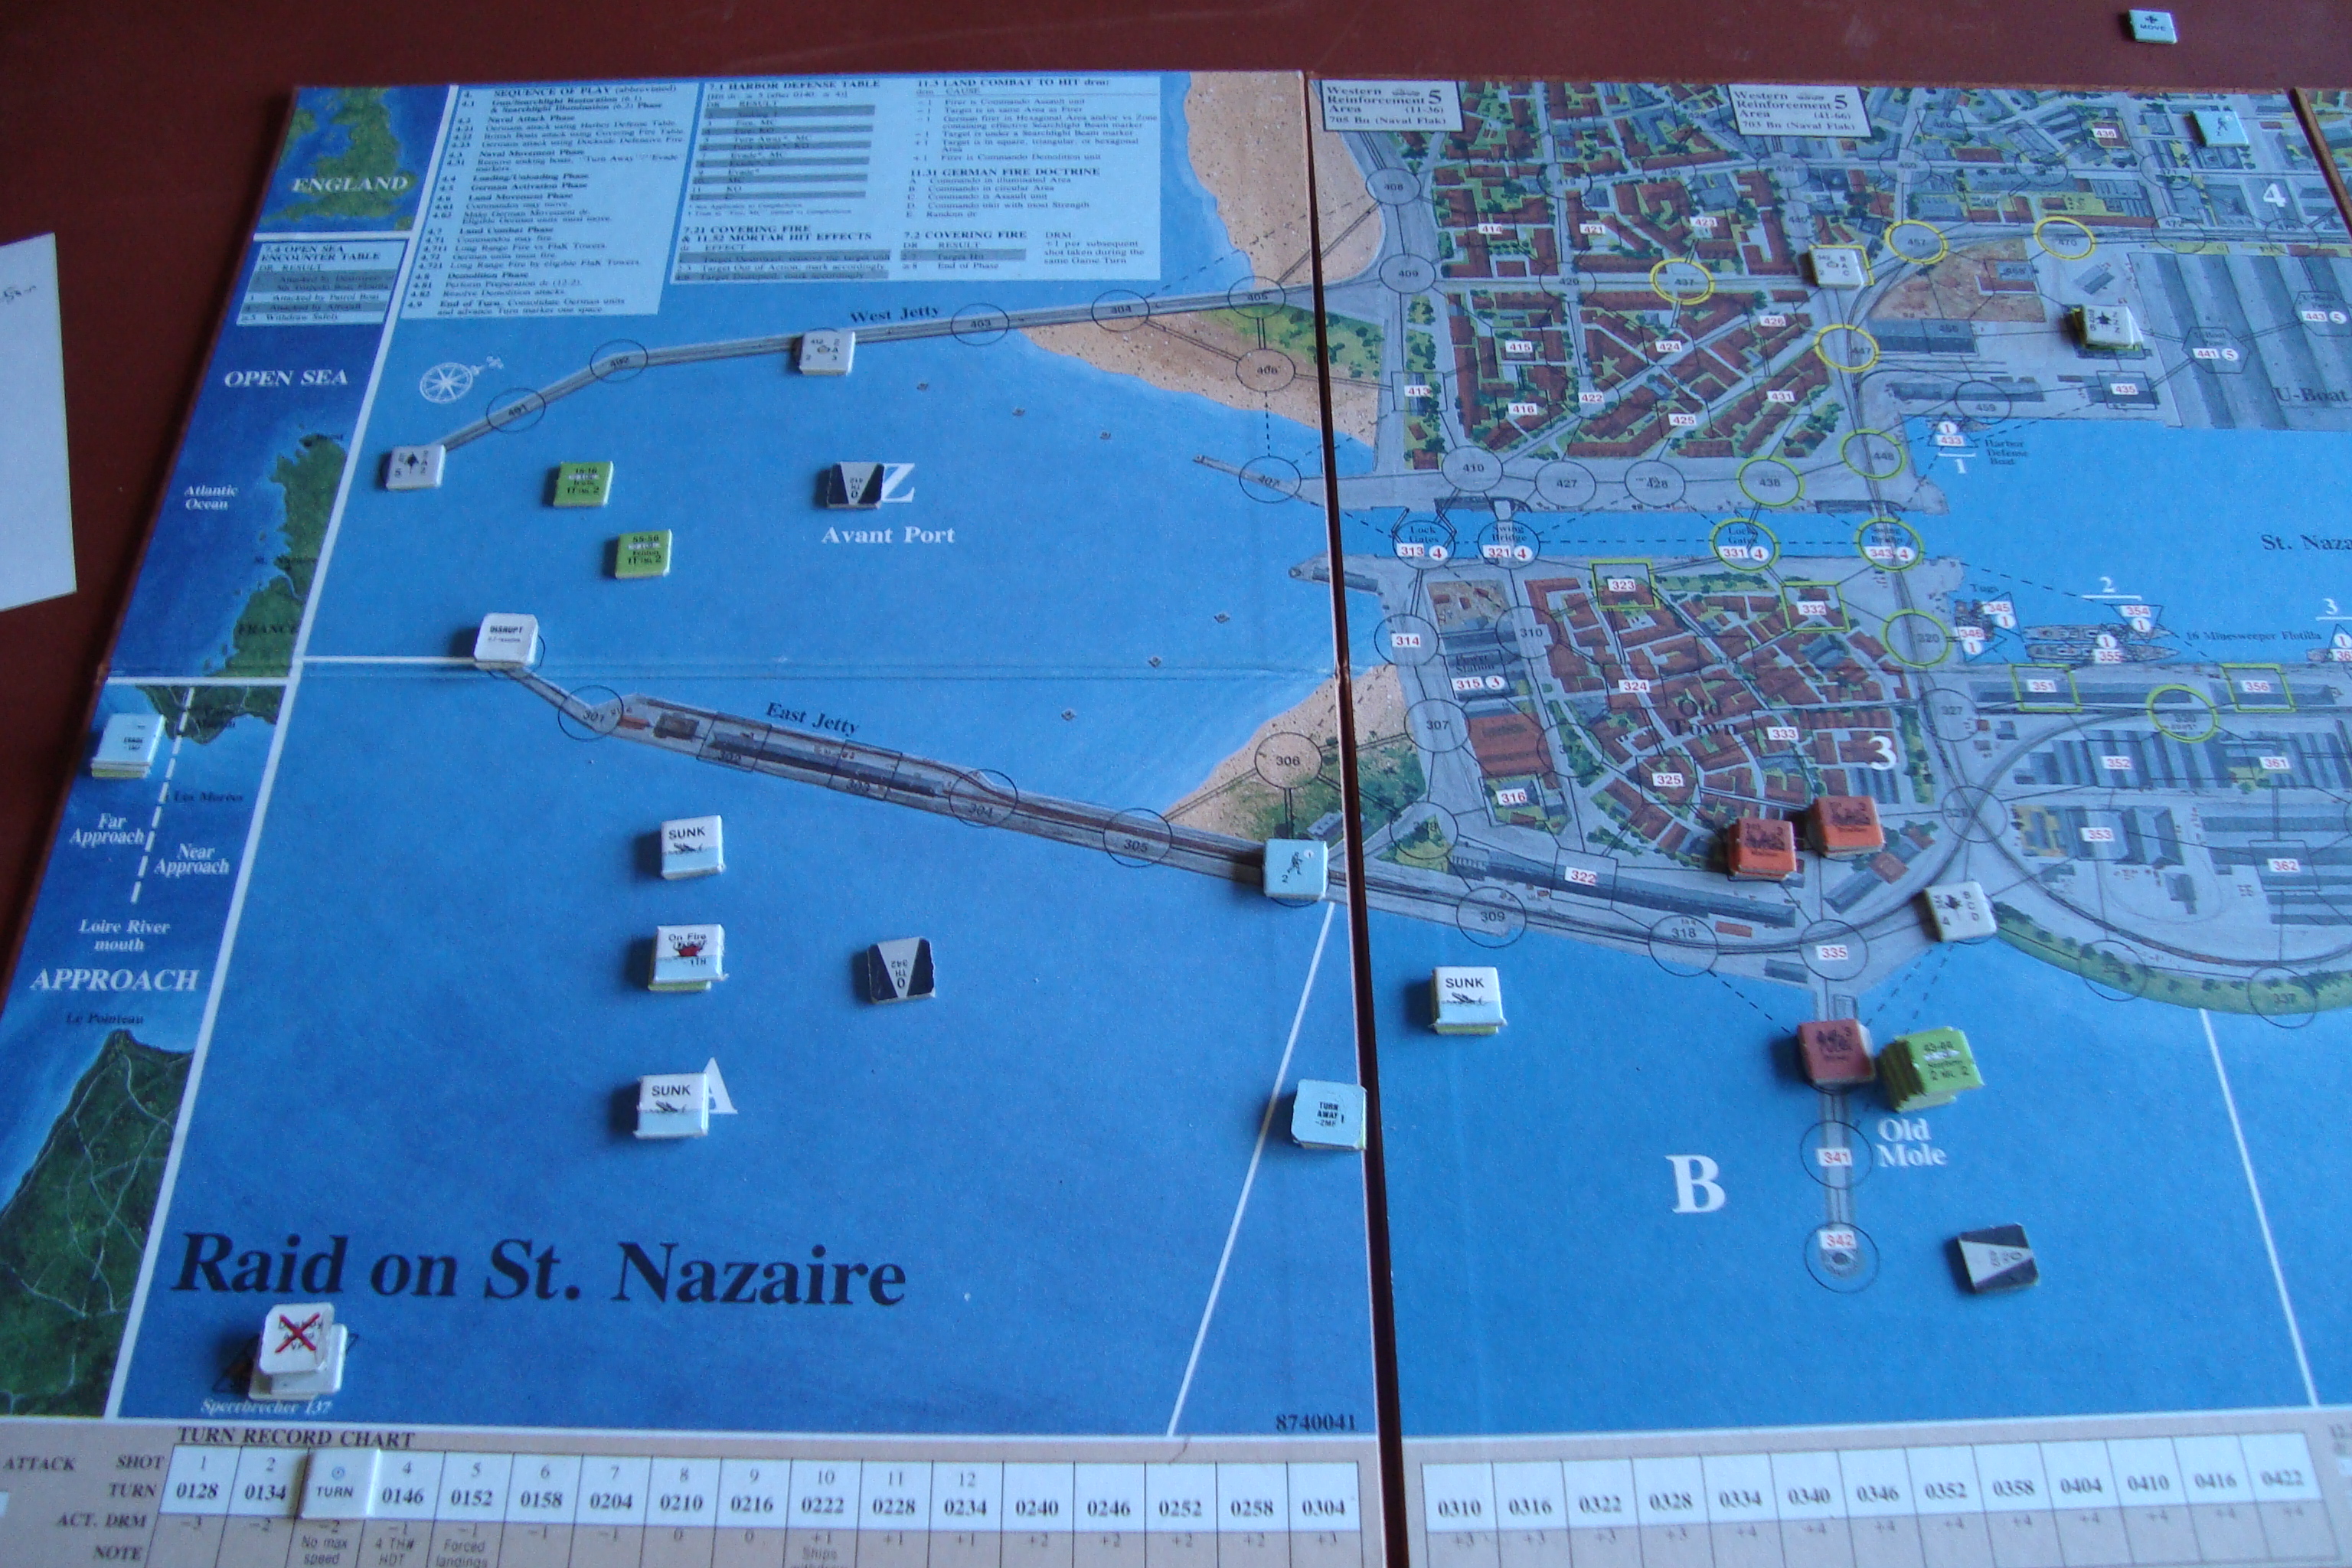
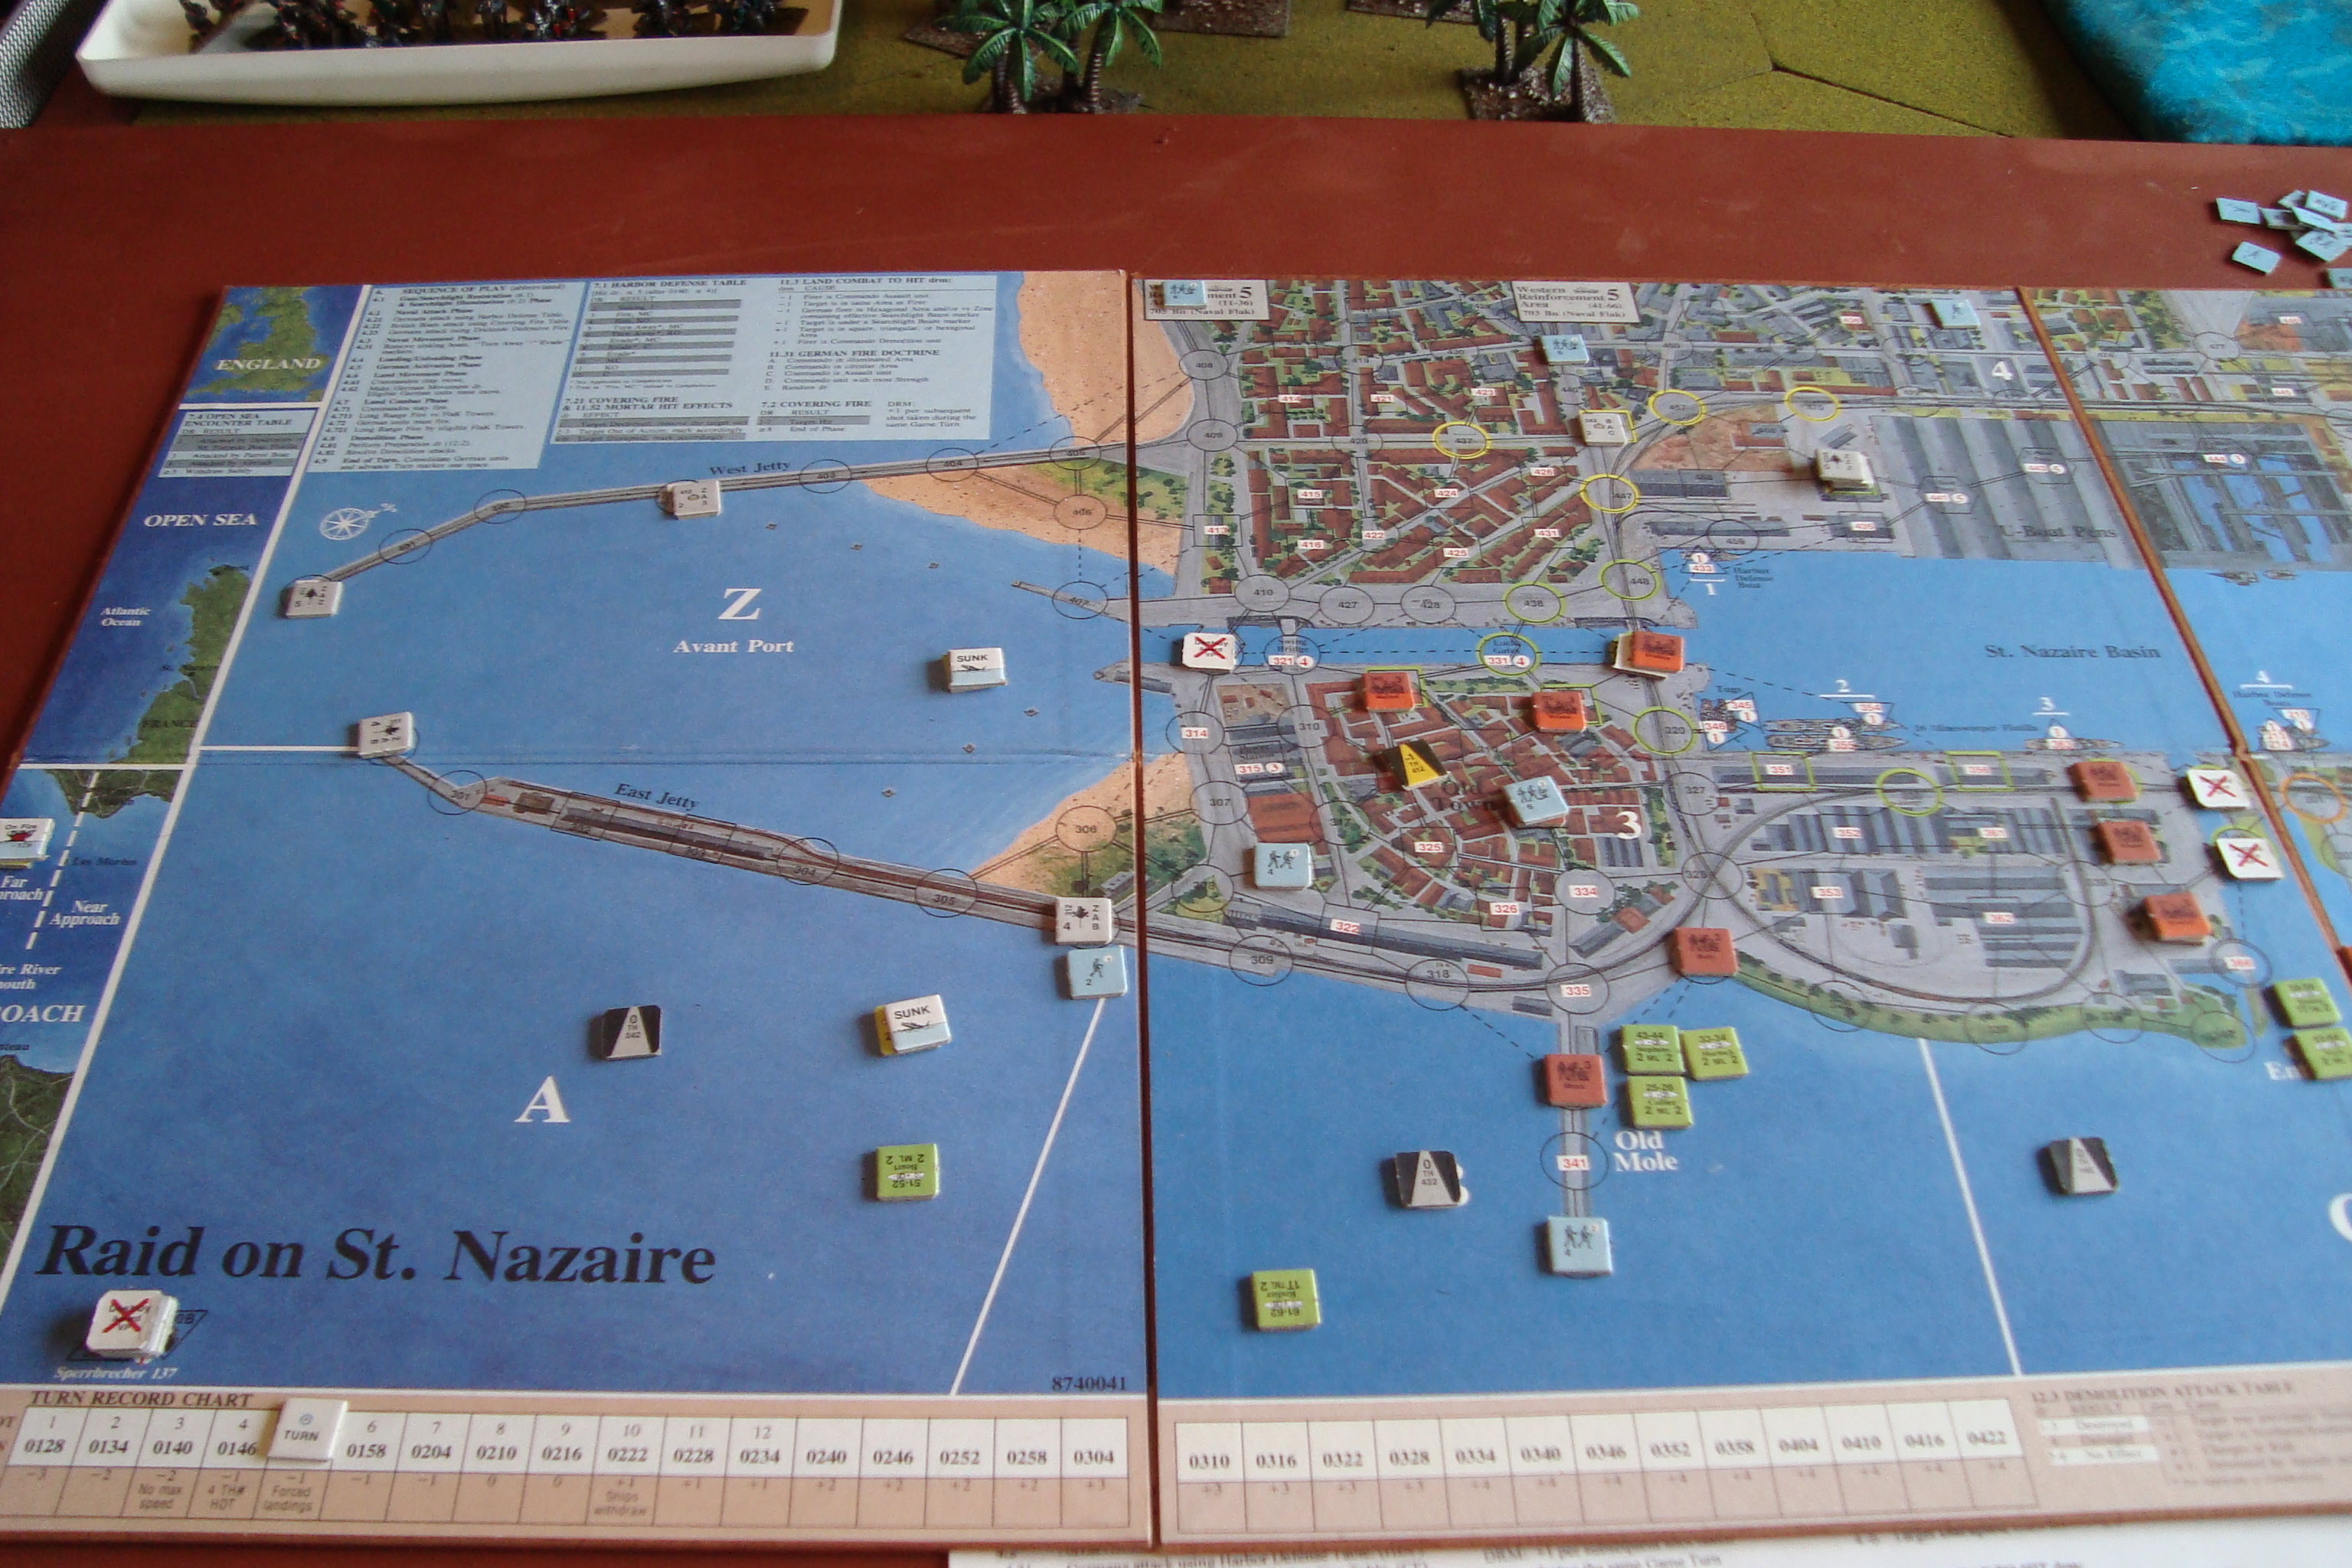
Western Half of AO
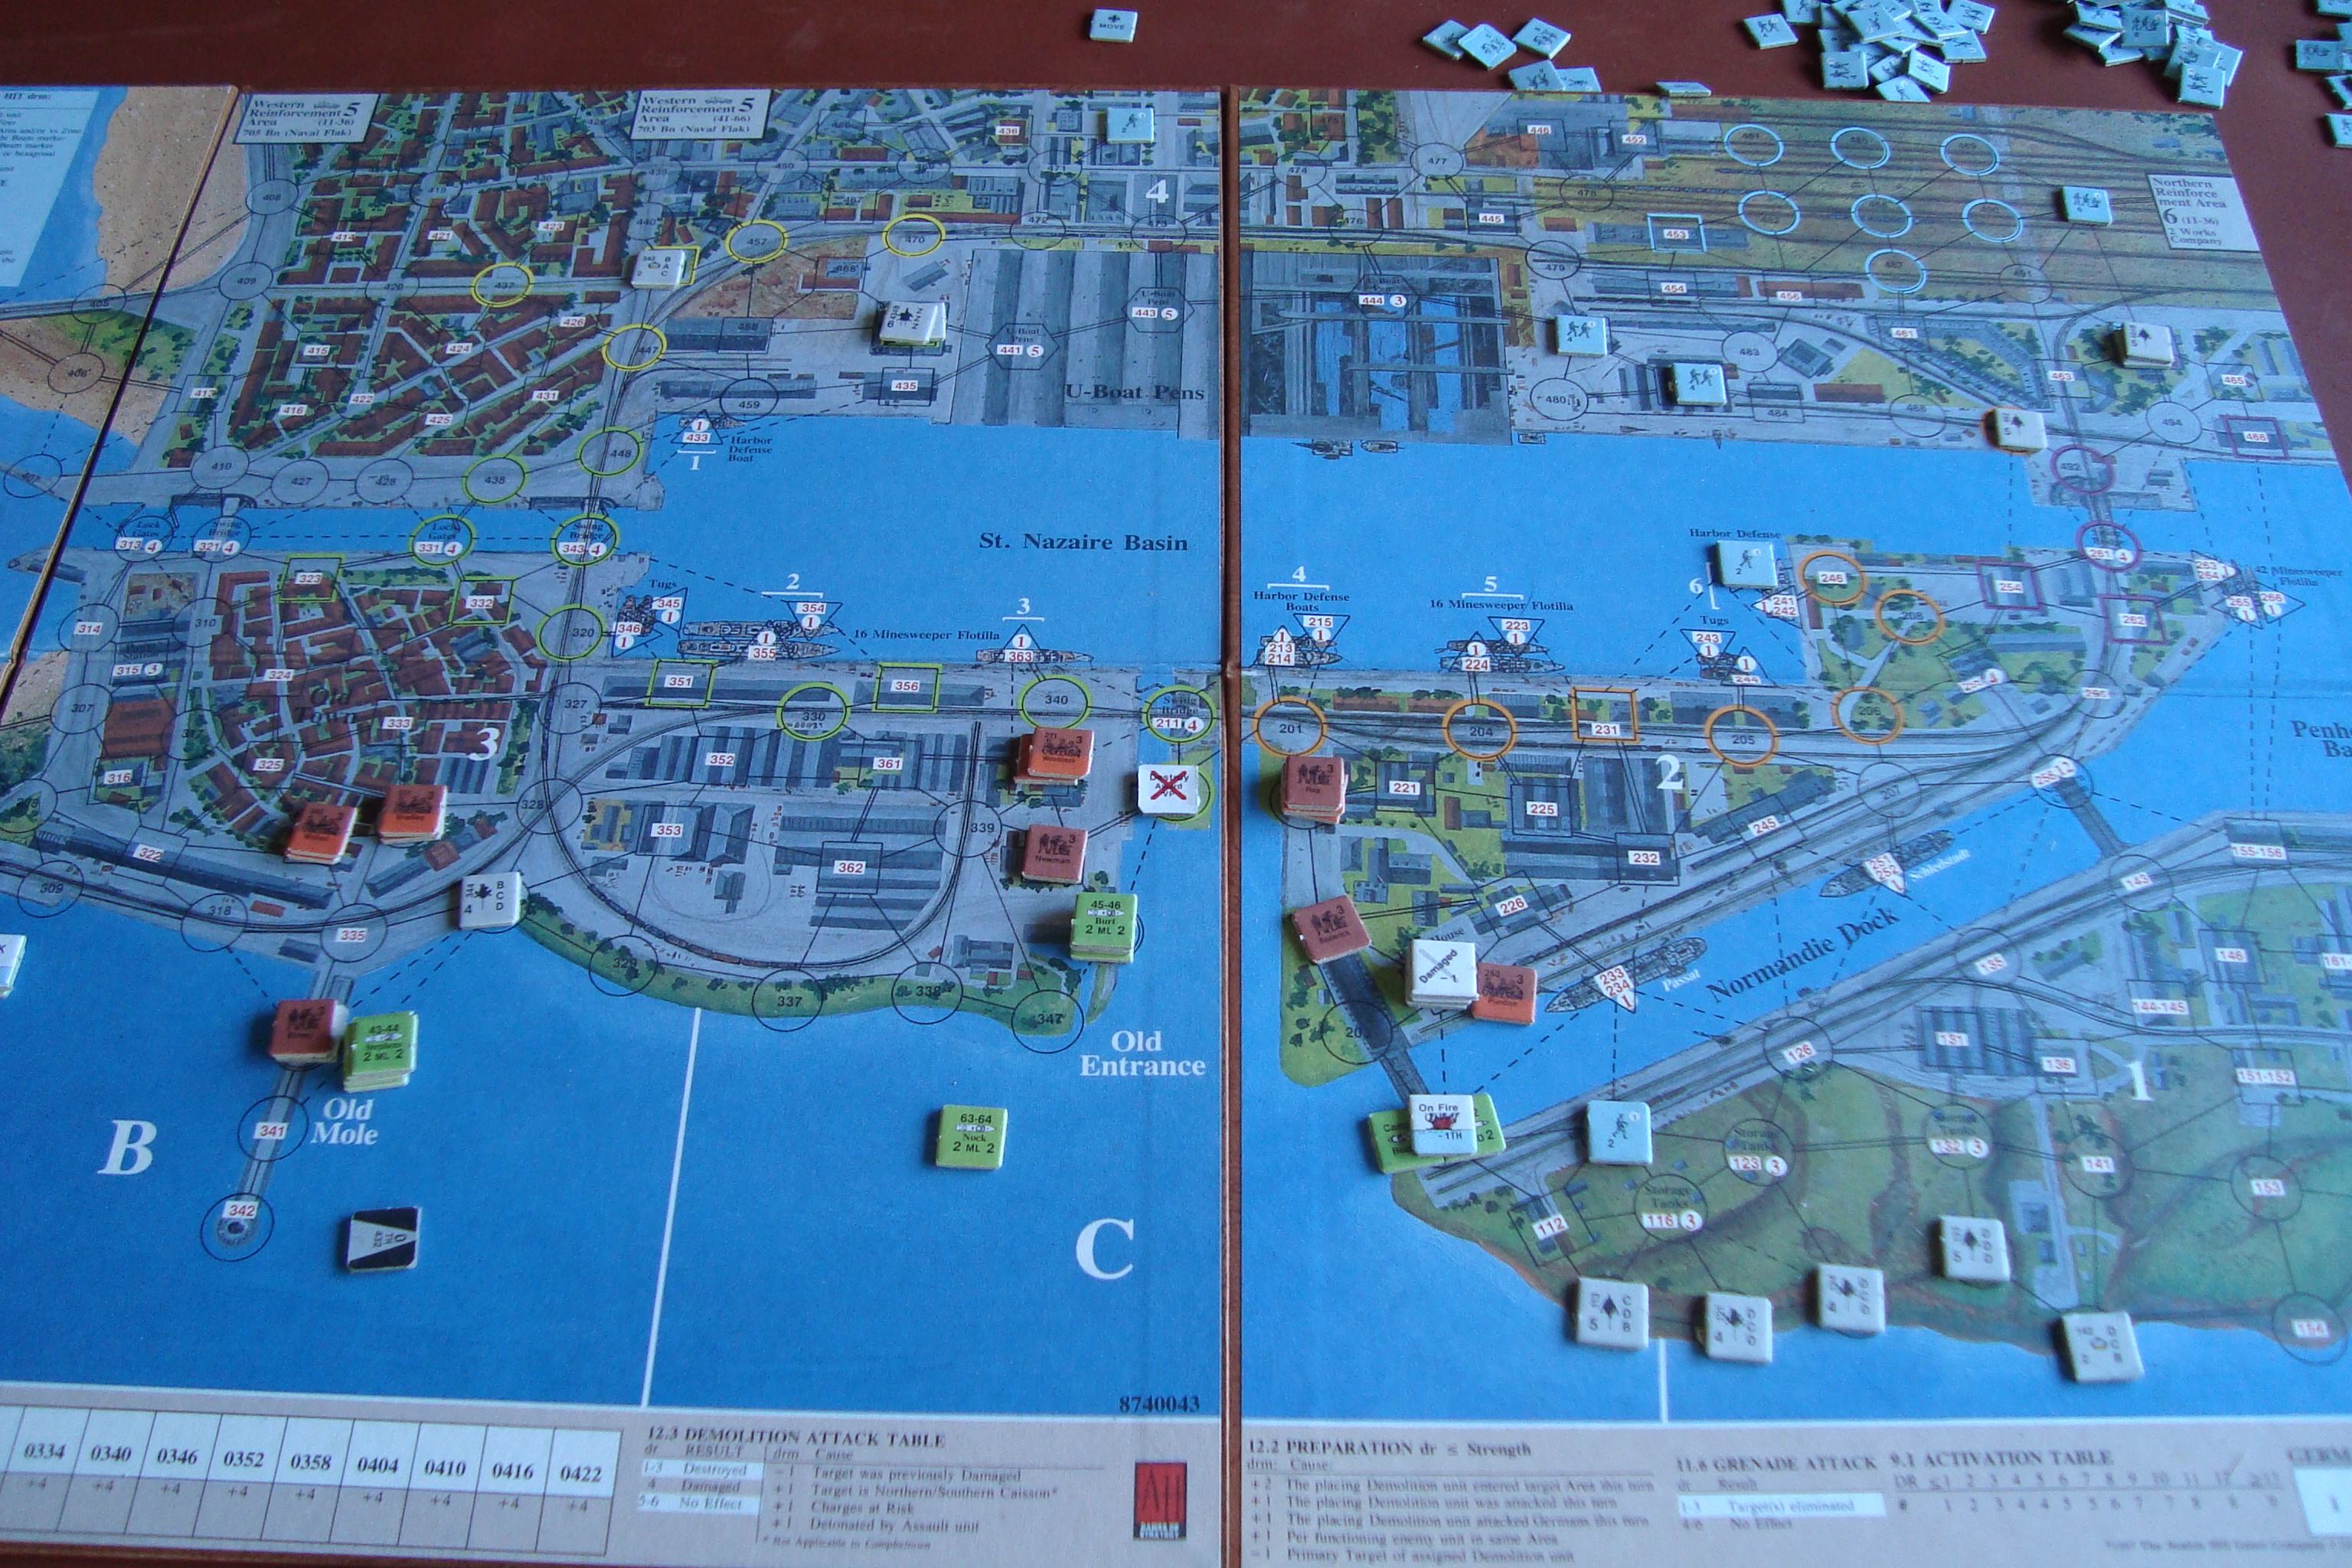
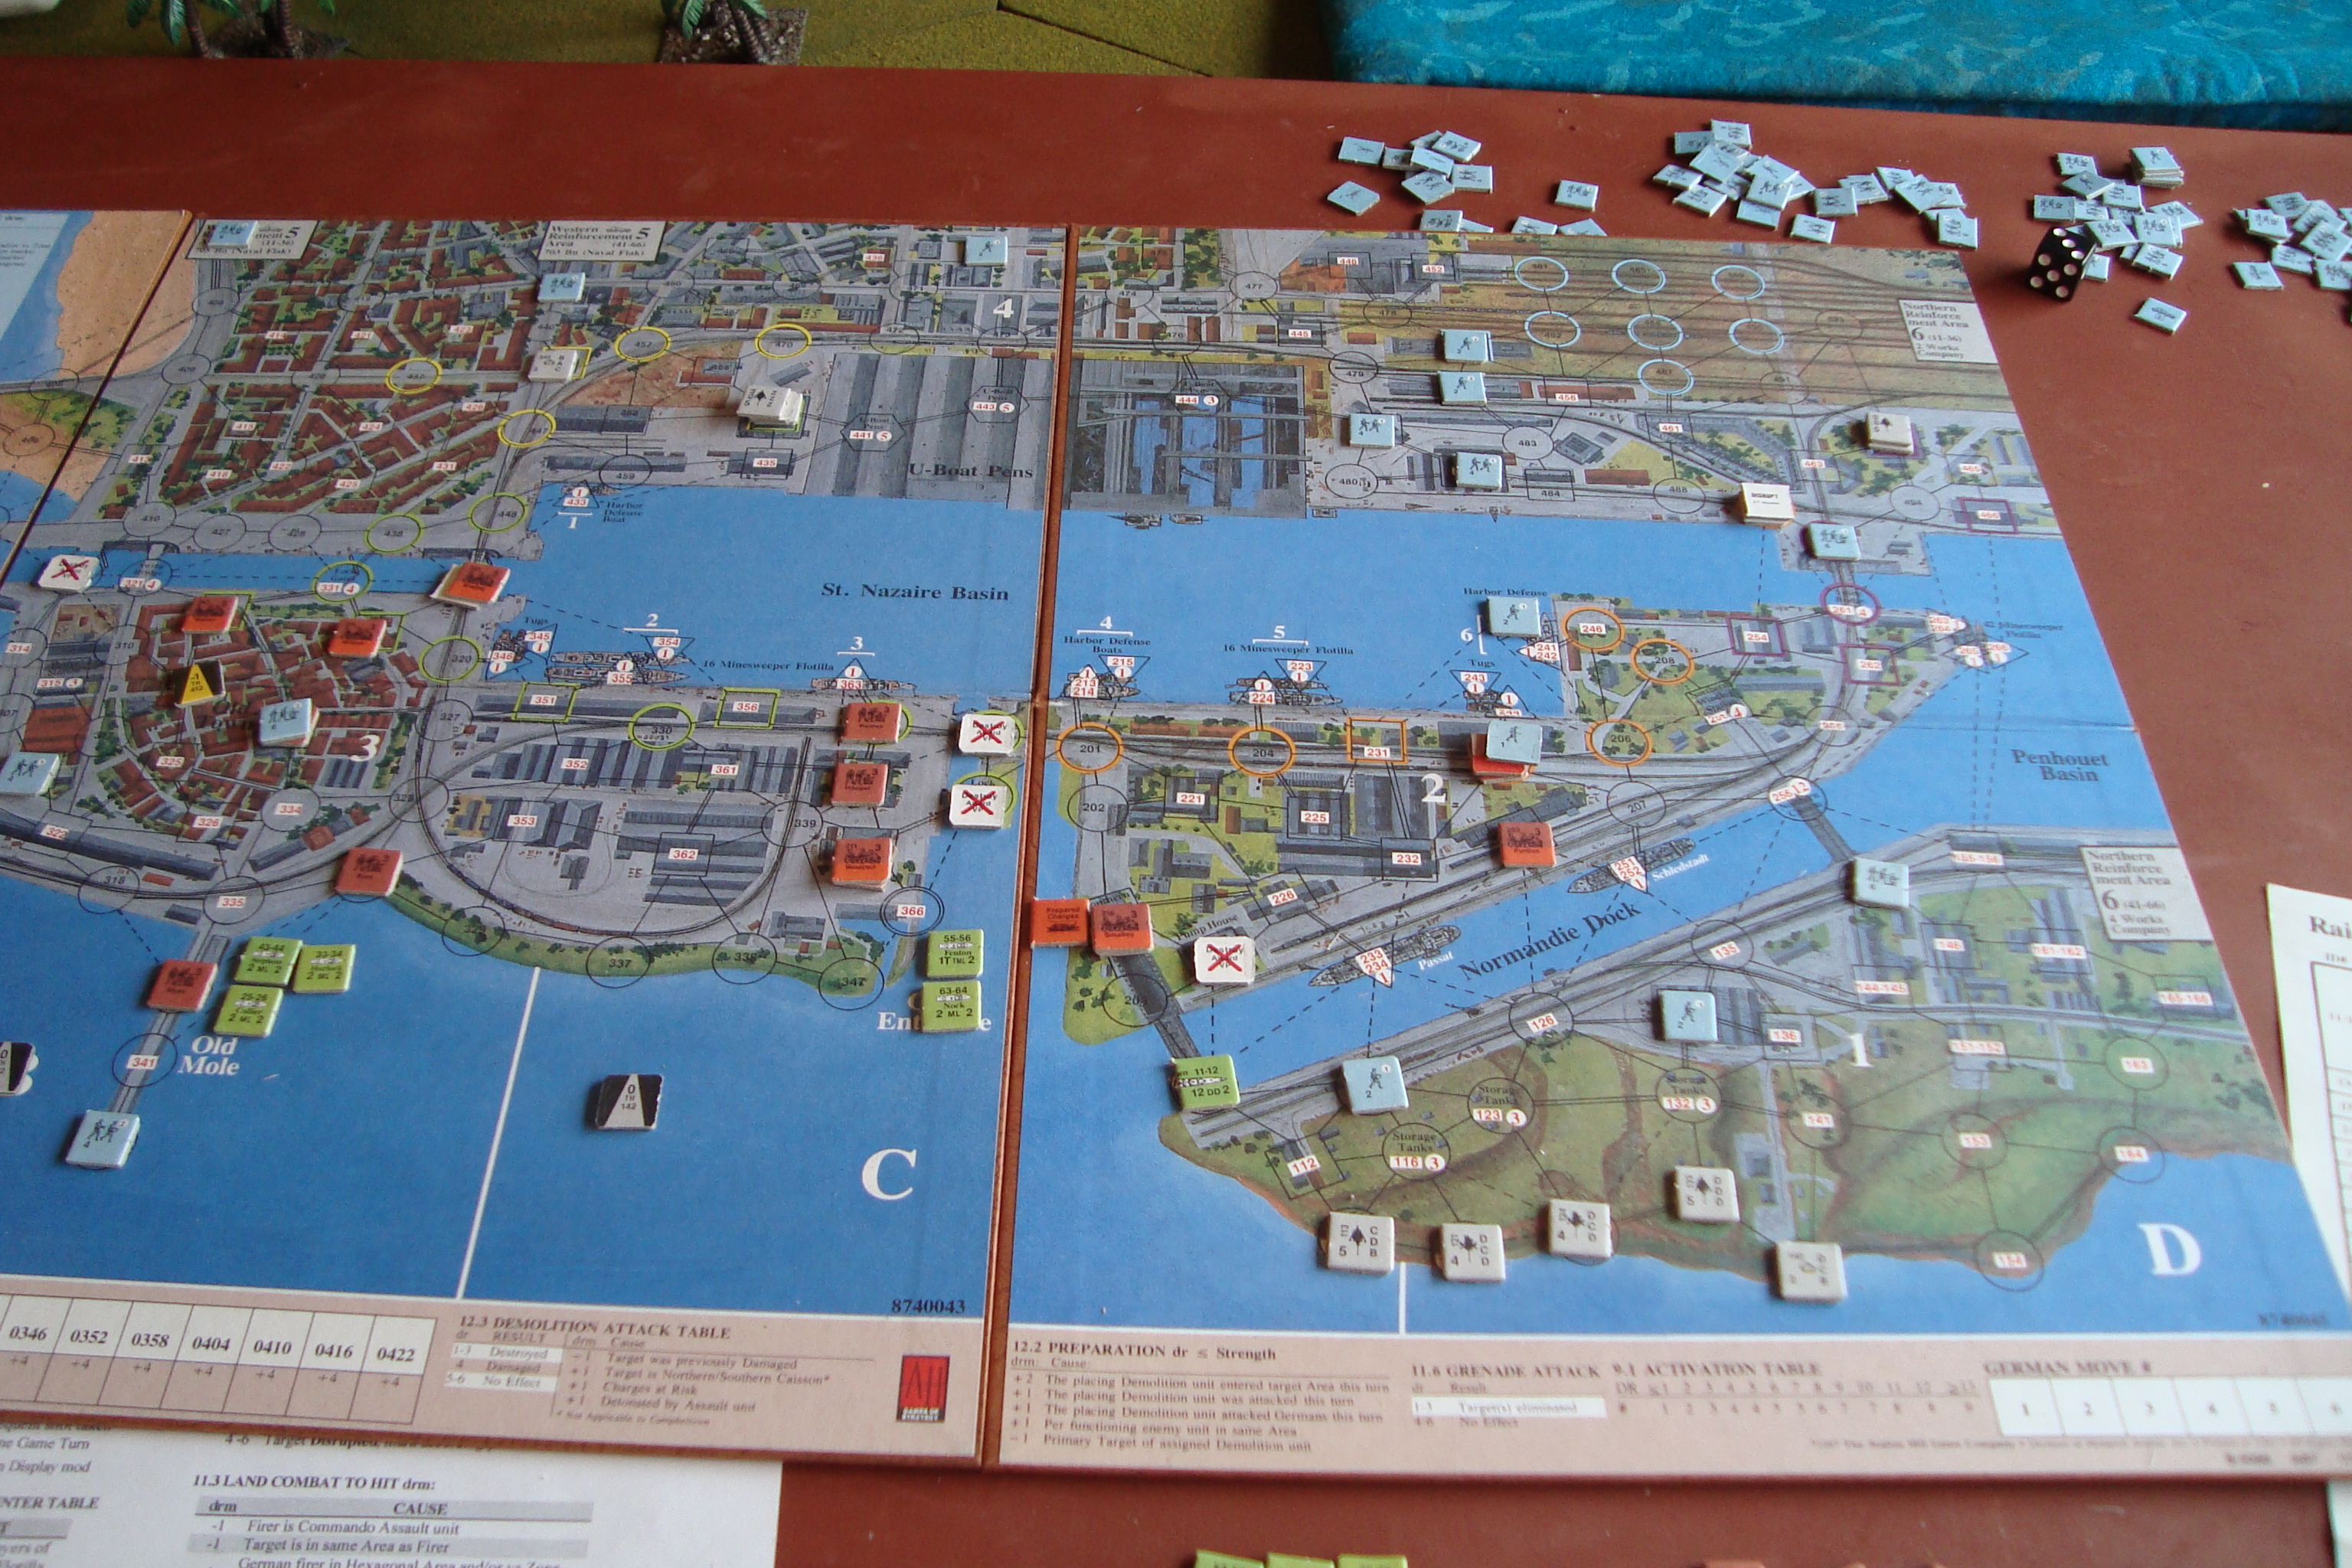
Eastern Half of AO
Started landing during Turn 3. Sent two MTBs into the Avant Port (Zone Z) to attack gates. Plenty of carnage from Harbor Defensive Fires.
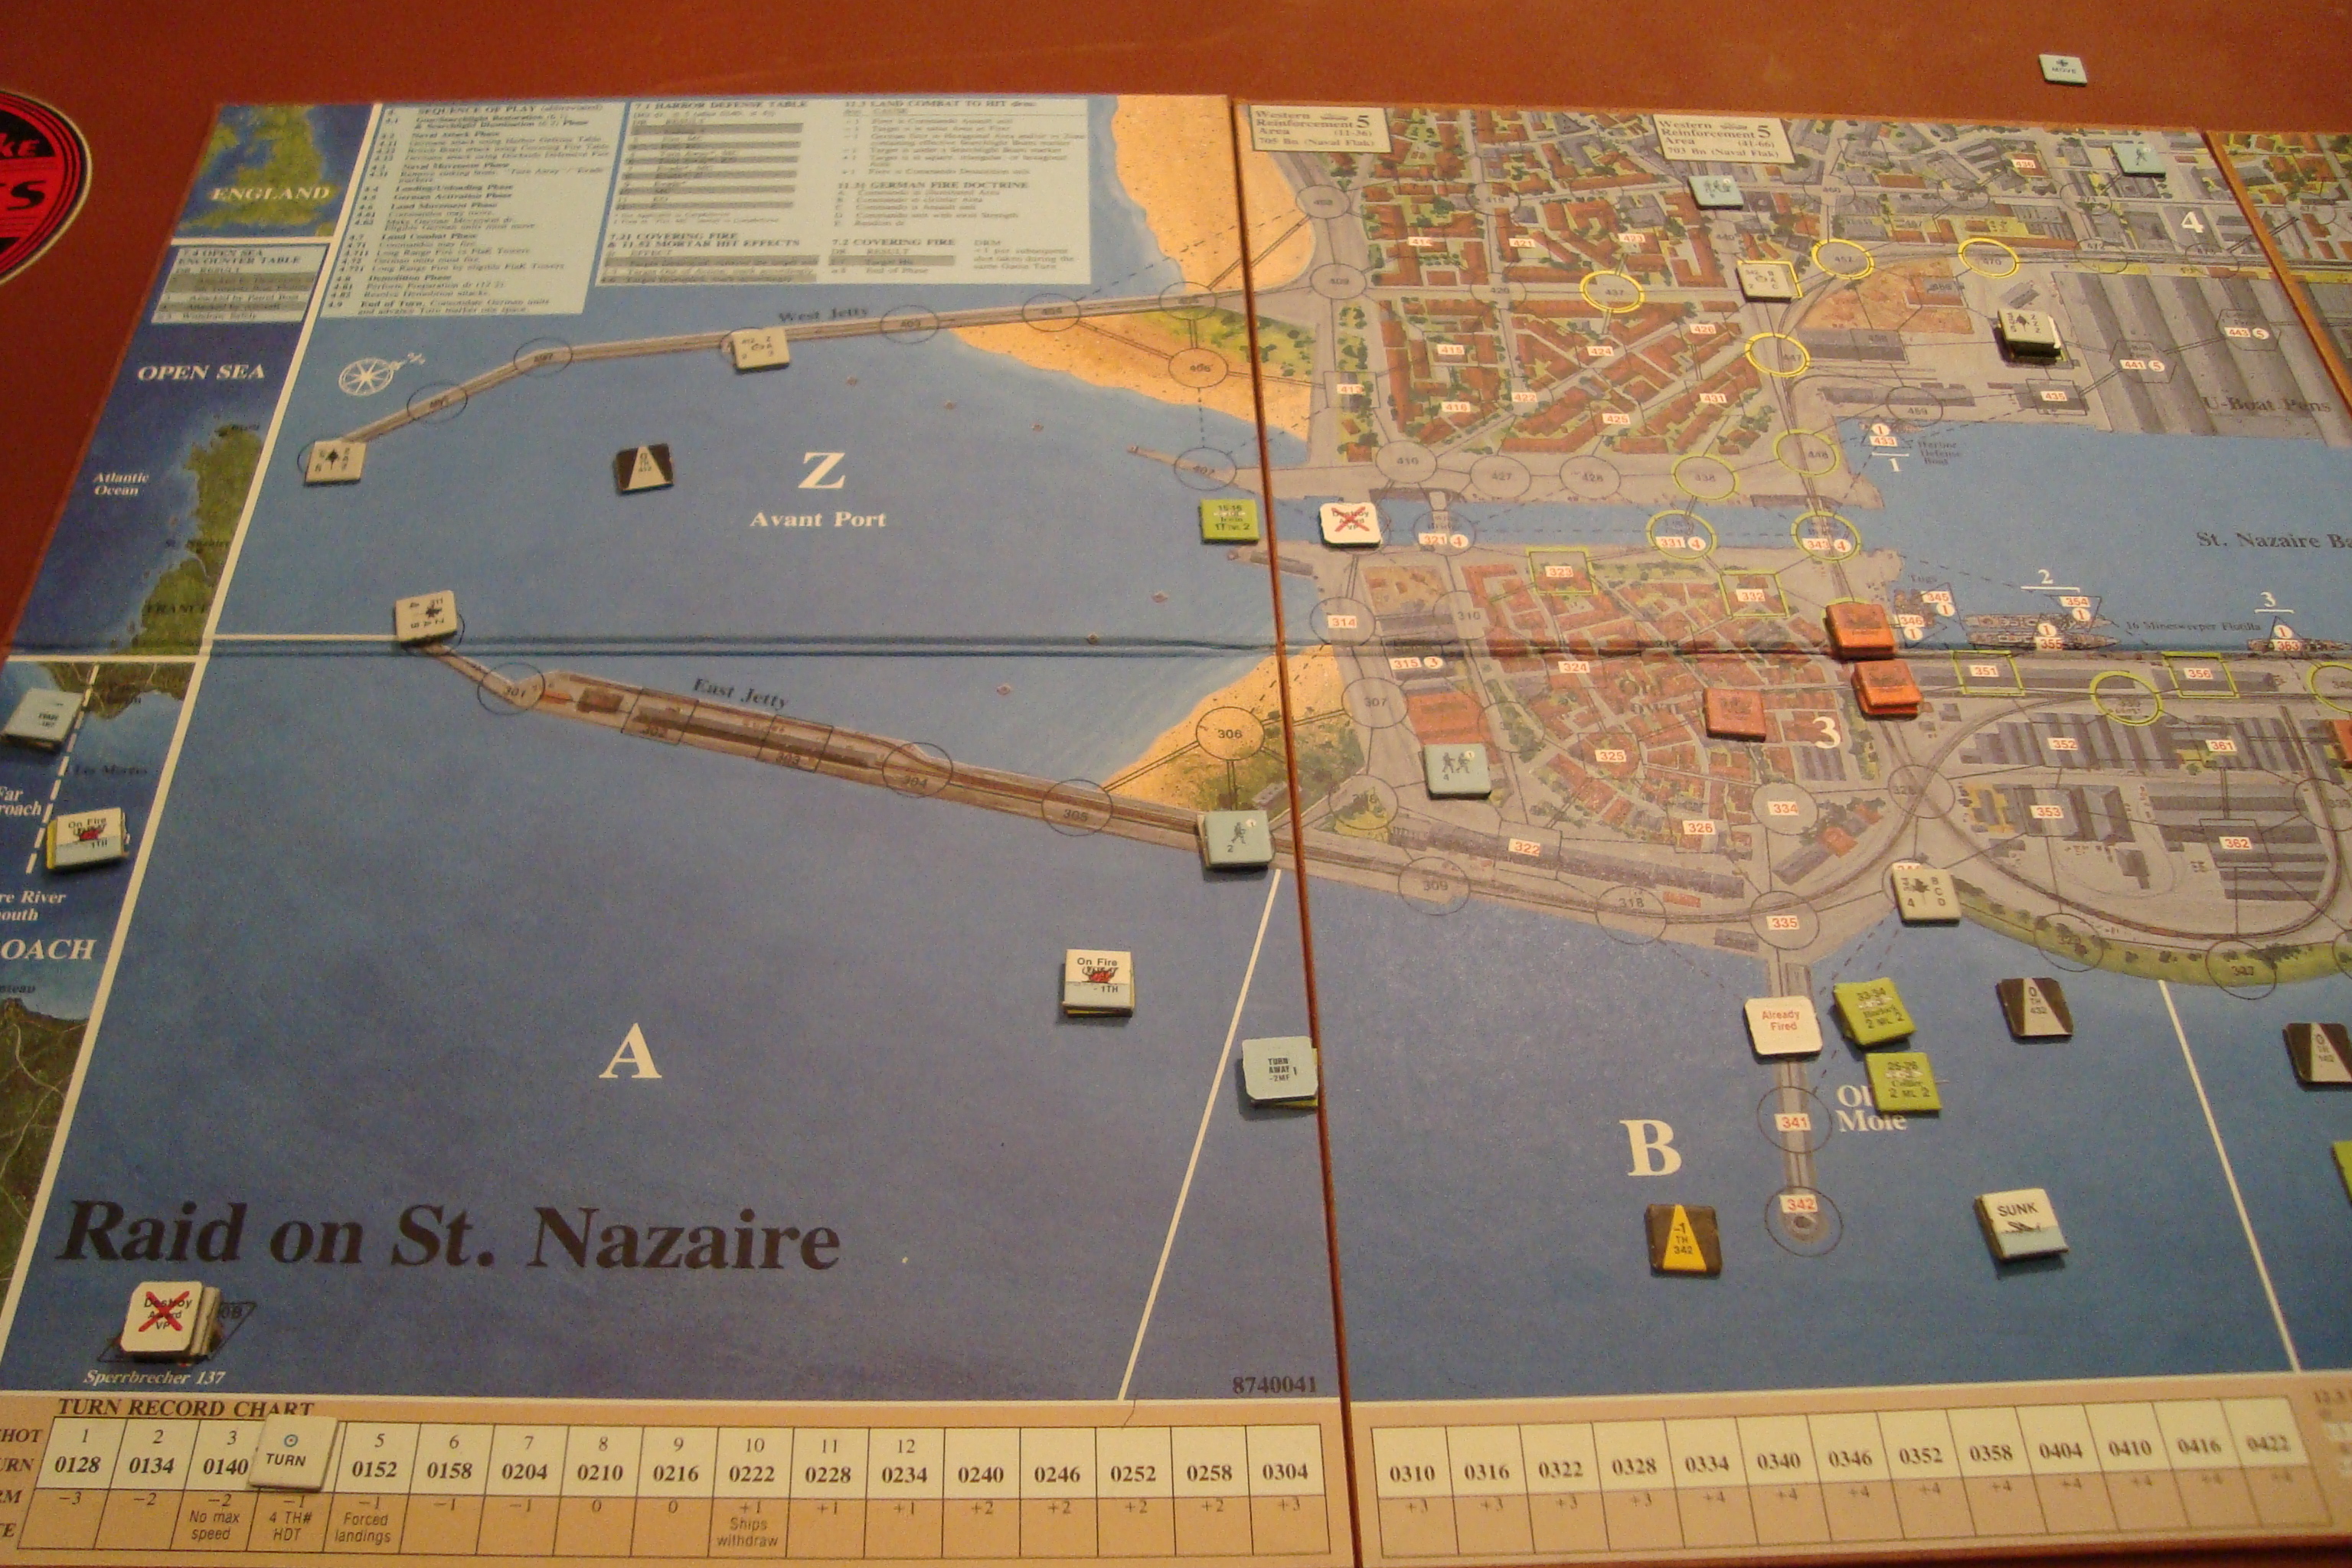
West Half of AO
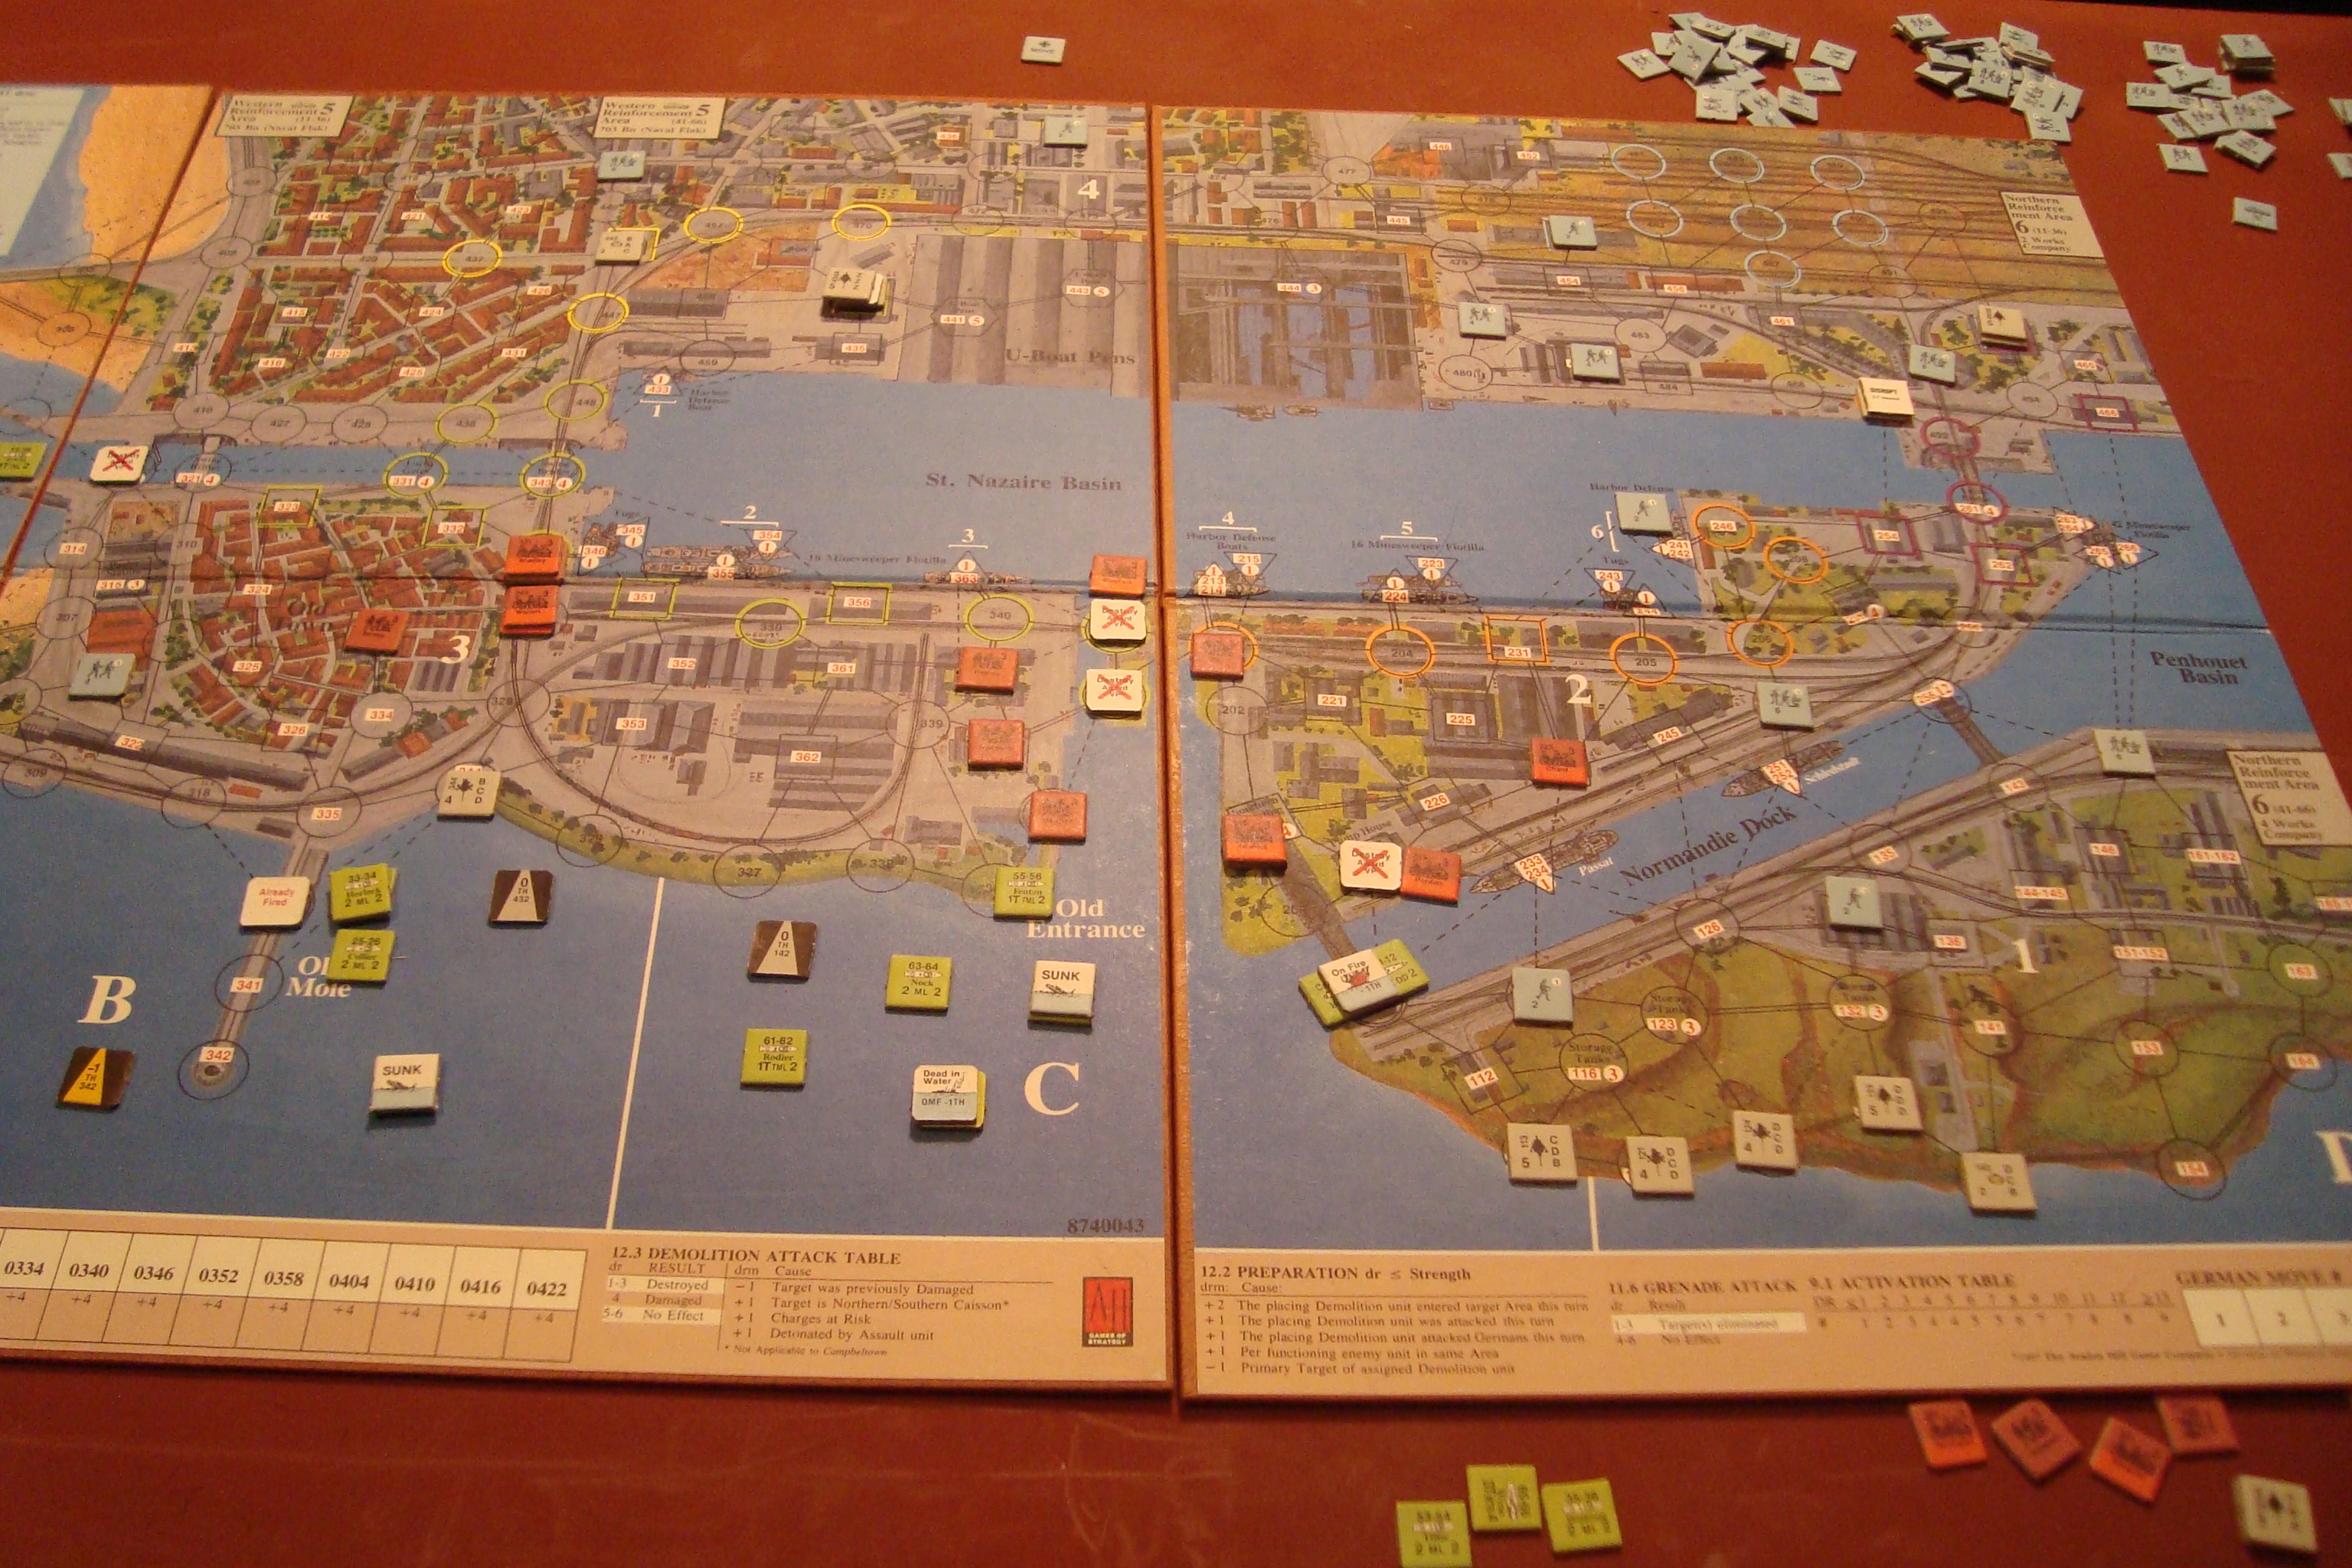
East Half of AO
Carnage in Zone B and C, but most Commandos ashore with attacks developing with some successes. Effects of German reaction are minimal.
West Half of AO
East Half of AO
Started evacuating troops back to England, moving back to Zone A. Commando attacks spreading out, more targets destroyed, but German reaction is becoming a problem, with more troops flowing towards the assault and demolition teams and, especially, those moving towards the South Caisson. I have a few boats lurking at the embarkation points anticipating debarkation there.