Had a couple of sessions this GMT game with Tim over the weekend.
It’s been awhile since we played it, so there was some fumbling and stumbling at first, as though that has never happened before. We had agreed to play a few turns, then reset for a second go-through.
Both sessions were different.
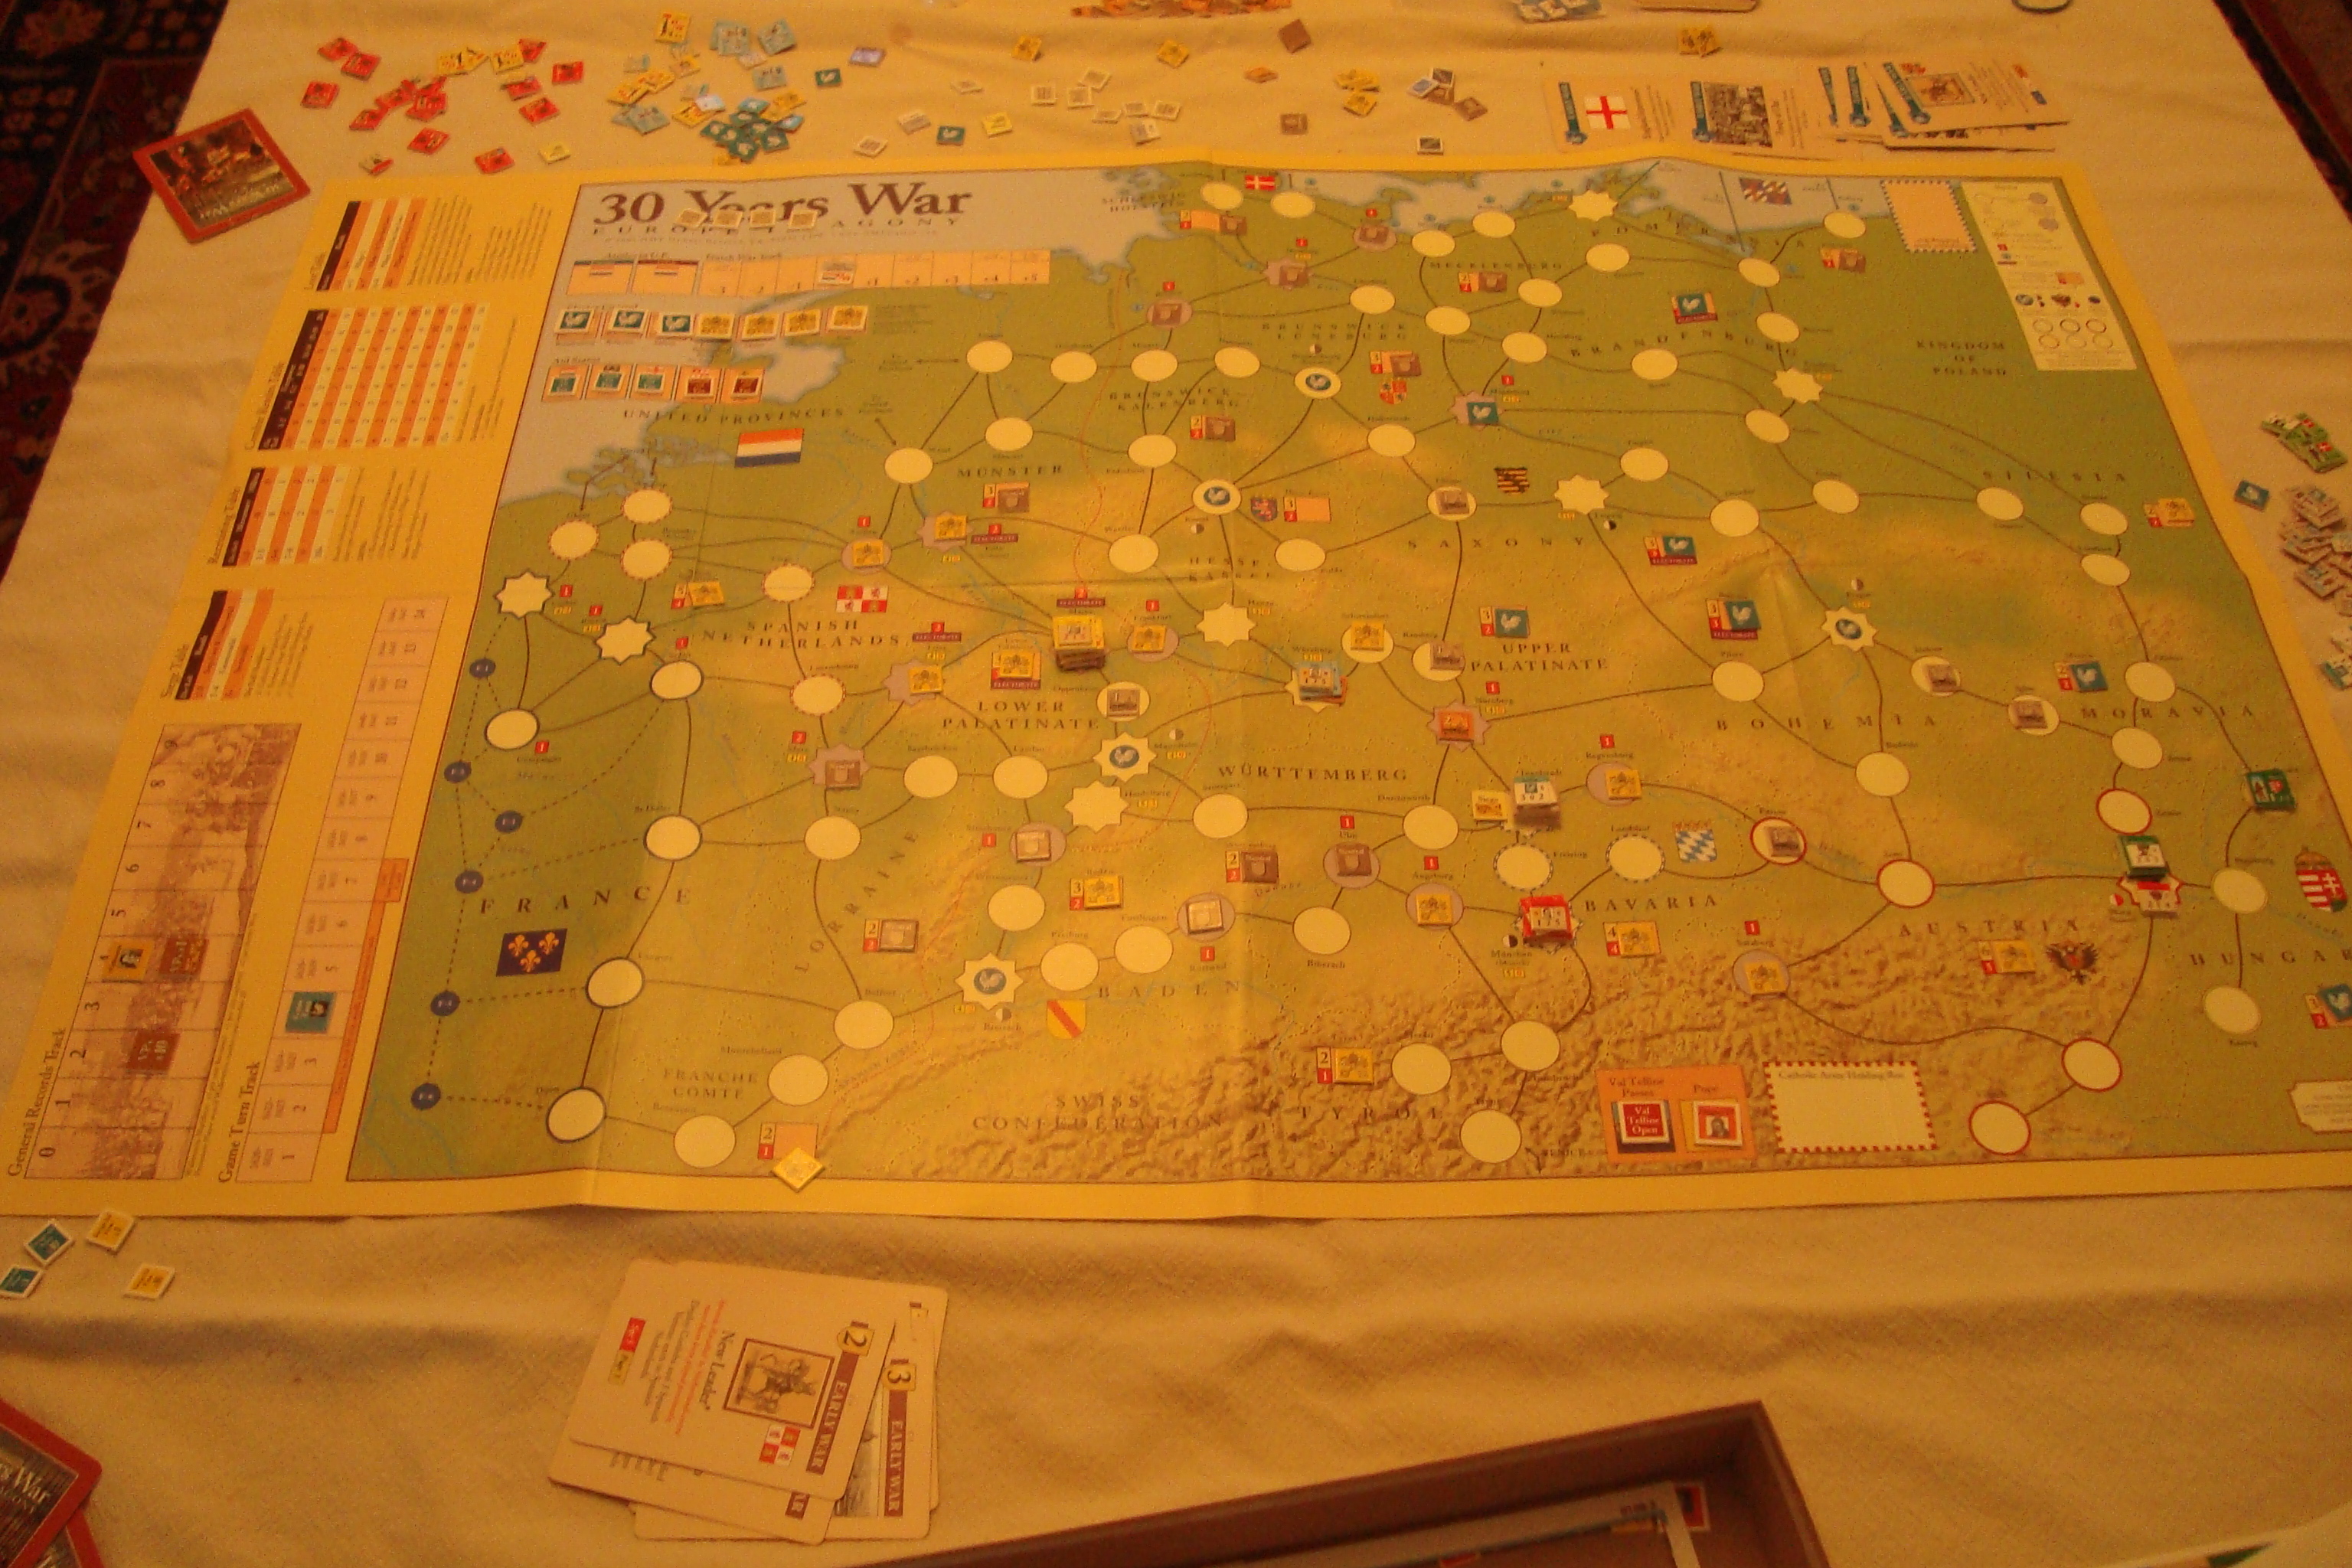
This is a card-driven game, with point-to-point movement, and like its GMT siblings, cards can be used for a number of purposes including triggering events, activating leaders so units can move and fight and receiving funds to pay units.
The turn sequence involves alternating play (rounds) of six of the seven cards in your hand (and subsequent movement/combat), paying units and then determining what attrition occurs to those units you cannot pay. Units are either veterans, mercenaries and militia, each of which have slightly different capabilities and costs to pay. When larger armies move, they reduce the ability of a selected point to support subsequent moves. The effects of this pillaging can be reduced in a subsequent “recovery” phase, which is actually the first phase of a game turn.
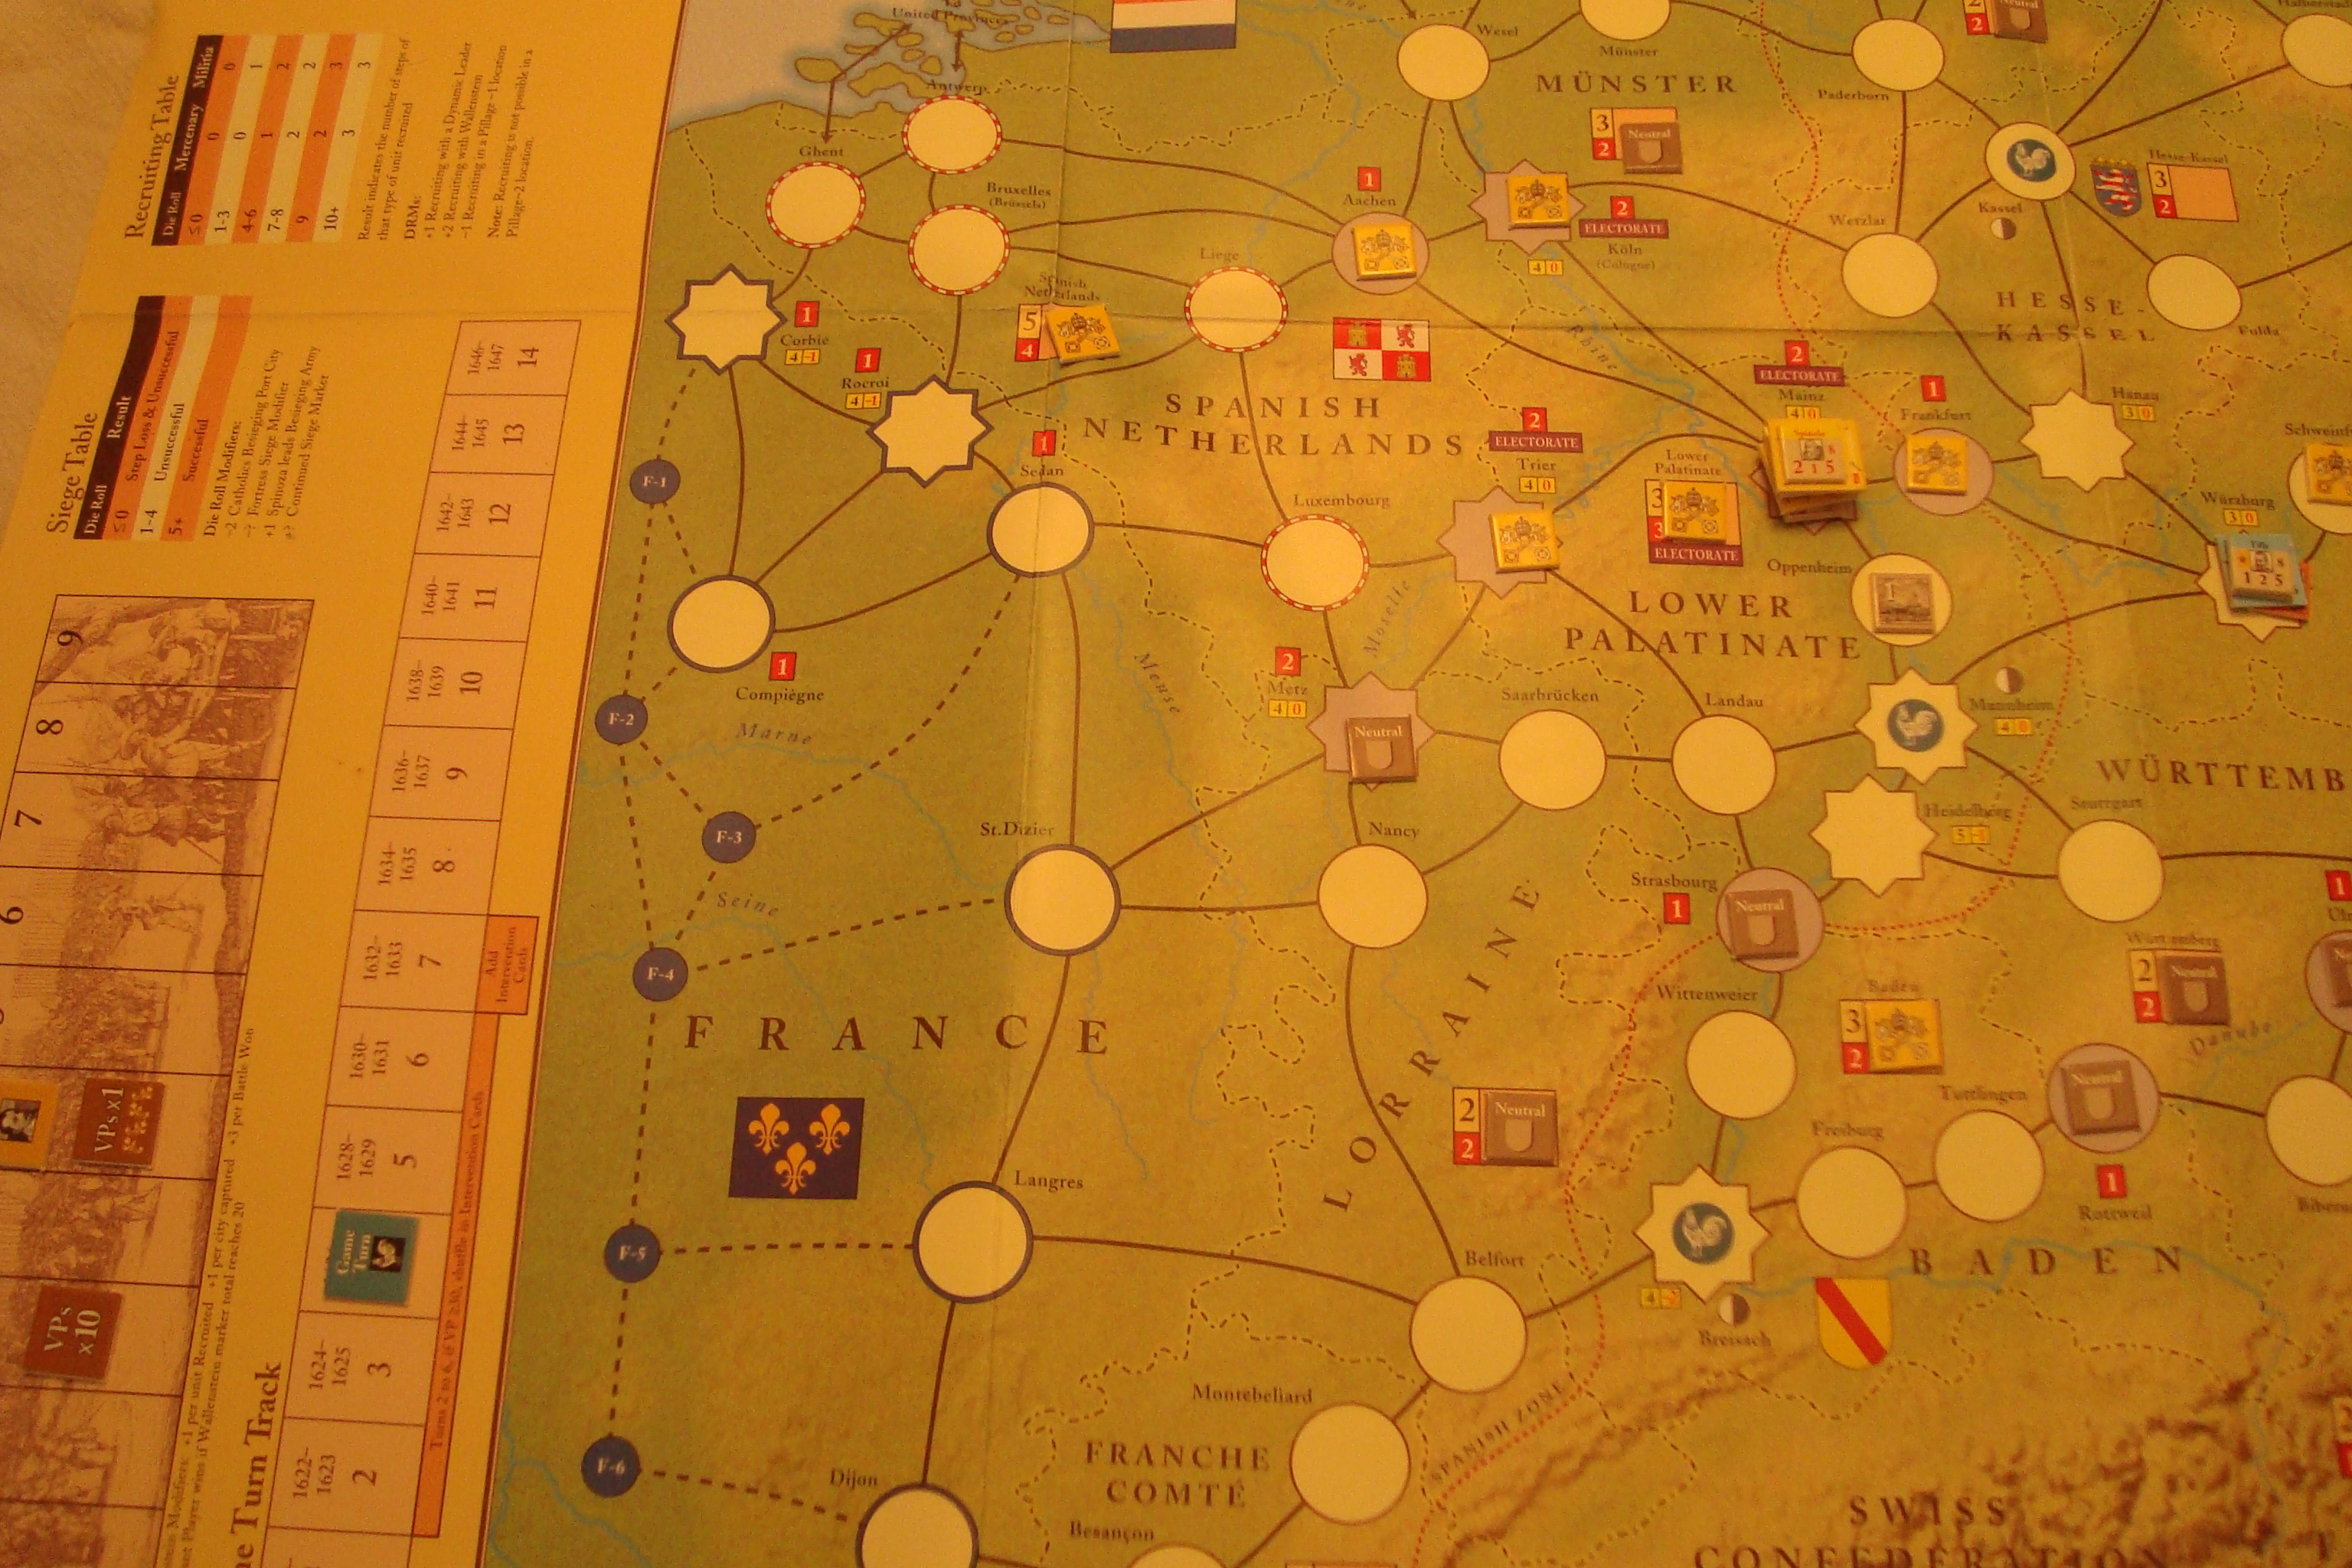
There are only a few charts, all of which are printed on one side of the map. I was able to really improve my ability to read charts upside down during both sessions. This is a skill I would have preferred not to have developed.
In the first session, cards were played for their event, not as much to activate leaders, get foreign aid to pay troops, or recruit. In the second session, both of us focused on the operational aspects of the cards.
This can be attributed to card flow. In some cases you must play one event in order to trigger other events. And, it is in your best interest to play them successively, not wait a turn or two before playing the second or third card in a sequence.
On the other hand this can be attributed to not really knowing what the hell you’re doing. Between sessions I asked Tim, “What’s the strategy for this game?”
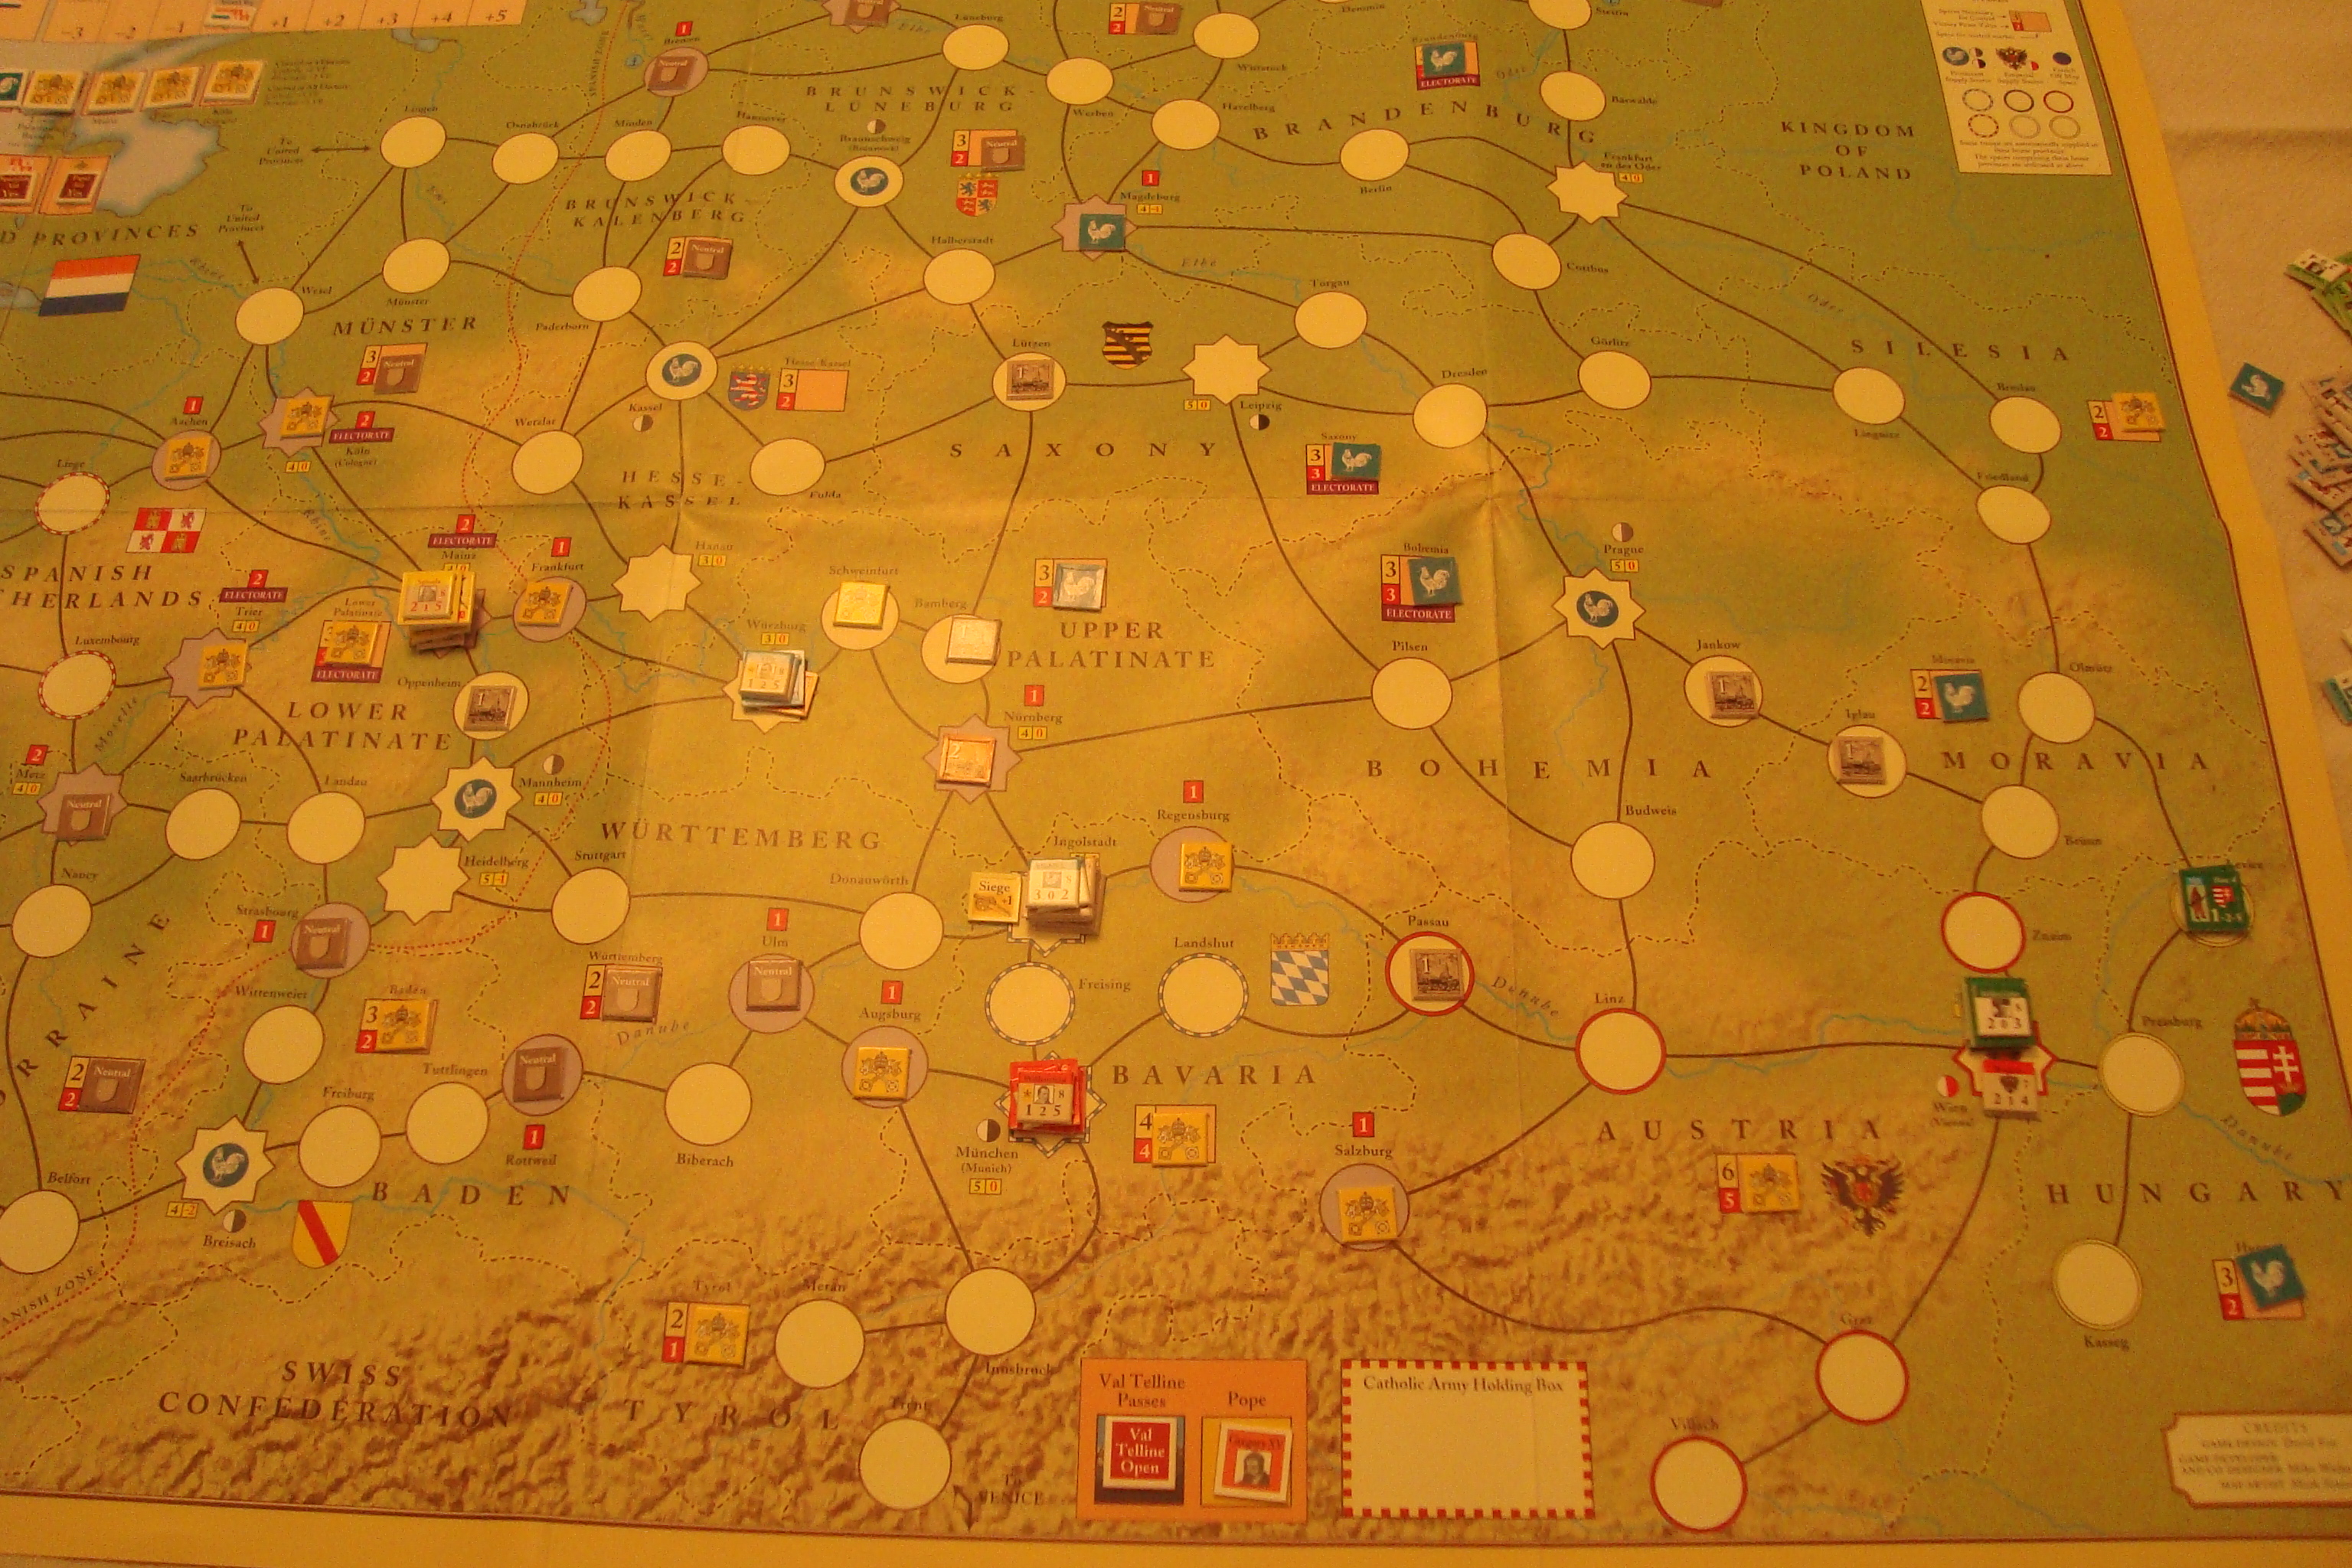
Since troops weren’t being recruited in the first session, the opposing forces were rather small and the effects of looting (when not paid) were minimized. These effects not only ravage the countryside, reducing the chance of living off the land without pay, but also ravage your units. In the second game, my victorious Bavarian contingent was decimated because they were without pay, and in an area that had been previously looted and couldn’t support them.
We agreed that the Catholic forces had better leaders (fewer points to activate), but that the funding for the Protestants allowed them to avoid having to roll as many times for attrition of units.
The second game featured far more action. The Upper and Lower Palatinate was the scene of most of the fighting, but with the Protestants coming very close to taking Vienna. We shut it down to have dinner and, after celebrating Tim’s birthday at Gustav’s (fitting given the game), we returned in no condition to continue.
In conclusion, a very good game with – once you get it – accessible mechanics, excellent game flow, and plenty of strange twists due to the effects of attrition.