All posts by Ralph

Going Tactical

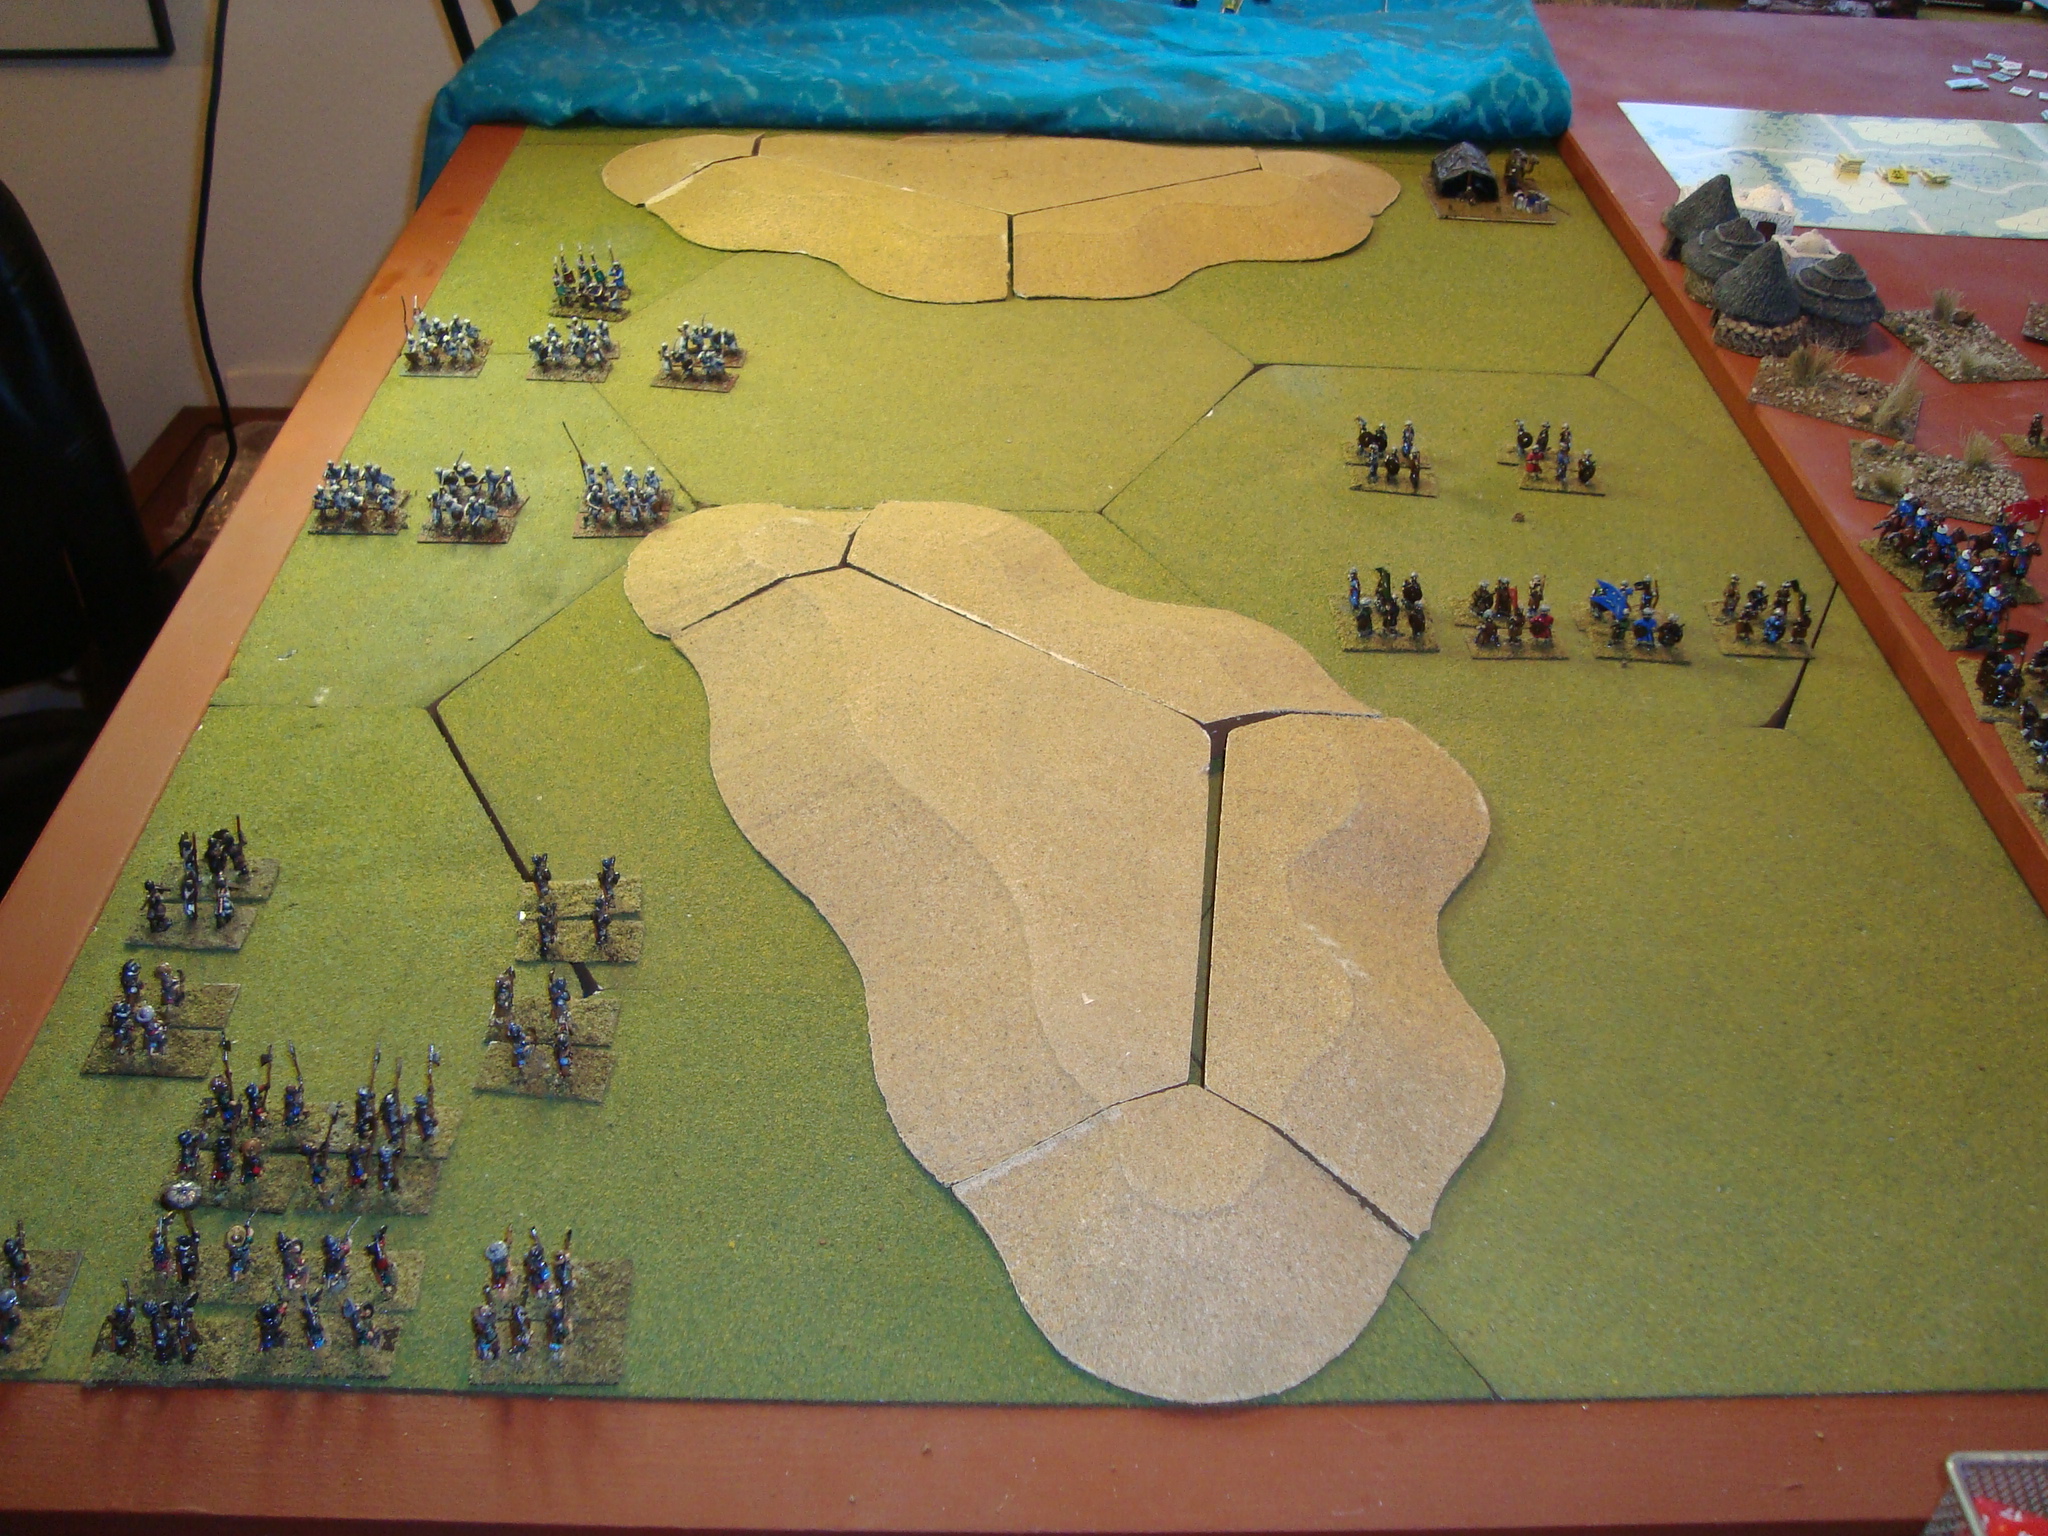
While the Battle of Katlego Faragh has been raging, I’ve also been playing Ranger and (gulp) ASLSK.

Be careful what you wish for.  My last two games of Ranger have been nothing short of disasters.  Those combat scenarios are a lot tougher than a pure recon mission.   In one game, the squad barely moved past the perimeter before it was hit by a close ambush.  I forgot doctrine, and tried to break contact.  Wrong & BLAMMO.  Need to assault through a close ambush.

The next mission was an anti-armor ambush that went really well……except the getting home.  Again, another close ambush, but far from home and too many casualties to evacuate.  Well, the good thing about wargaming is that it’s just like “Edge of Tomorrow”.  Die, Learn, Try Again.  I really dread rolling 2-3, or 11-12.  As mentioned in my previous Ranger post, bad things happen.

ASLSK has been fun.  Playing the first scenario, rules-in-hand, one half-turn at a time.  With low counter density, no supporting weapons, and a methodical approach, it’s been a pleasant and not frustrating experience.  I’ll try another similar scenario, and then, perhaps, add crew-served weapons.   Unfortunately, the complete rules are in the No. 3 game, and I am loathe to spend $30+  for just a set of rules.  I have a lot of counters and scenarios to mess with already.   Got to figure that out using the ASL rules and the player’s guide.

Battle of Katlego Faragh – Army Dispositions

Ready to start the battle.

The Zanj could not accurately determine the location of the advancing Portuguese.  As a result, Bey Imen Mahir played it safe placing  his Civic Guard and Mercenary units to the west of the dune gap, and his Tribesmen to the east.  This involves some risk as the resolve of the western units will not be determined until first contact.

The Portuguese order of march has the Grenadiers and Tribesmen in van, followed by Crossbowmen, Pikes and Shot.  All of their forces are advancing on an axis west of the dunes.

dsc01601
Initial Dispositions
Civic Guard My old MiniFig "Any Period" Arabs
Civic Guard
My old MiniFig “Any Period” Arabs

Now that the enemy has been sighted, both sides must react.  Any reaction by the Portuguese or change in disposition by the Zanj will be decided using the D6 Programmed Wargames Scenario options.

The Zanj options are to redeploy all forces to the threatened side (1,2,3); move some forces to cover the Faragh (4,5); or redeploy the East forces  to cover the gap (6) and support the west flank.  I rolled a 6.

The Portuguese options are to bypass and keep moving north (1,2); destroy any enemy to their front and keep moving north (3,4); detach a force to seize the gap and, with the remaining force, destroy any enemy to their front (5,6).  The die roll was a 3.


Another Mission

Completed another Ranger reconnaissance mission (Card #3) yesterday afternoon.

Preparation time drastically reduced to about 15 minutes.  Kept my same roster and equipment from the last mission.  Plotting ingress and egress from the objective was straightforward.  I remembered to seal off the objective and PZ with supporting fires, as well as providing some contingency support at the LZ.

Managed to survive without incident.  Now I’m ready to move on to a combat mission.  Fun little game, small footprint.

Ranger

Took Ranger off the shelf the other day.  Had messed around with it about a year ago, after picking up the latest edition for practically nothing on E-Bay (bad box).

Each game consists of a mission.  The mission has two parts, planning and execution.  United States Army small unit doctrine for squad or platoon sized missions is used.  If you have had any exposure to this, learning the game is simple.  If  not, there is a very informative booklet included to help you learn the basics.

What’s fascinating is the few number of rules.  The platoon leader has to act like a platoon leader during the planning, briefing and rehearsal stages of the mission.  Determine your unit’s load, work out the route from your insertion point to the objective and then back to your pick-up point, plan for supporting fires, and manage your rehearsals.

Mission execution is accomplished using the programmed text.  While movement to the objective can be a little tedious, you can’t make a mistake, or something bad might happen.  Make sure your unit is in an appropriate tactical formation, call halts every 750-1,000 meters, and don’t get in a hurry.

One aspect of the programmed text that confused me at first was how to stop moving once my squad had reached the objective rally point.  Well, the answer was simple….call a security halt, and go to that paragraph.  The text options provide the prompts to start your actions at the objective.

To be successful, actions at the objective must comply with doctrine.  If you start free-lancing, bad things do happen.

This game has a very quick set-up, but preparation before the mission is lengthy, but an integral part of the game.  However, after a couple of missions, SOPs can be established, reducing planning time and increasing effectiveness.

Playing time for my first mission was about 1.5 hours, all-in.  This squad-size reconnaissance  mission is an excellent introduction to the game.  I look forward to moving on to Mission Two in the very near future.


Campaign Game – Battlefield at Katlego Faragh

The wadi option for the battlefield was too difficult to put together, so I just elevated things and instead of the river/wadi, set up an east to west gap between impassable sand ridges.  “Faragh” is the English translation of the Arabic word for gap (or so I’m told by the internet, and I have no clue as to how to pronounce it).

dsc01594

Not exactly stunning eye candy, but it will serve.

The die roll  for the defender’s programmed deployment resulted in the Zanj force being evenly split on each side of the ridges.  Once that takes place, I’ll roll for the Portuguese order of march.

CAMPAIGN GAME – SETTING THE STAGE FOR THE PORTUGUESE ADVANCE ON BEHEFE

With Lord Renaldo moving north, it was time to set up a battle scenario.

The first step was to establish the traits of the garrison commander at Behefe and his army.  The commander is Bey Imen Mahir.  He is inexperienced (-1 unit for command range) and battle shy (-1 when his unit melees).  His army is not pious (so cannot have a pious unit), but is attended by a skilled physician (reduces impact of disease die rolls).

Step two was to determine the composition of Bey Mahir’s army.  I arbitrarily selected one unit of Persian Mercenaries (for fun), then rolled a D6 for six Tribe and six Civic Guard companies.  The resolve of each Civic Guard and Mercenary company  will be determined at time of first enemy contact (shooting or melee) by rolling a D4.  The Tribe resolve is per RAW at three.

Up next was determining the effects of Renaldo’s victory on his little army.  Rolling a D10, the morale of four units  increased one step. These increases were allocated to the shot and crossbow units, which now have a resolve of four.  He was unable to recruit new units.

The next step was the scenario itself.  I relied on Charles Grant’s “Programmed Wargame Scenarios”.  It’s a great book, as you can read here at the interesting Lone Warrior website.

The book has eighteen scenarios.  I rolled two D10 (re-roll 00 or 19).  The result was Scenario No. 7, “Two Sides of a River”.  I modified this to “Two Sides of a Wadi”, and followed the programmed instructions for setting the defense and offense.

Will get this set-up in the next day or so.

Raid On St Nazaire – Again Pt II

Finished up the game yesterday.  A semi-tradition to spend a lot of time wargaming the day after Thanksgiving.

The British wound up with 60 VIPs, better than the historical outcome of 53, but less than the 70 needed to “win”.

If the British were to win, this would have been the game.  The German harbor defense and activation rolls were terrible.  Literally all the commandos were able to land, and faced only moderate opposition when ashore.

Still, over the 13 turns, the British assault fleet was reduced to kindling, with only four ship escaping, two of which were on fire.  The ML Falconar was able to return 6 survivors and Chant’s demolition team to the UK.  Nobody else made it home.

For once I should taken a picture of the end-game.  The surviving commandos were huddled around their point of debarkation, watching the remaining three MLs, and their hopes of making back, being blown out of the water.   As you can see from the Game Log, several of the commando units were still in good shape.

img095

The “star” of the operation was Swayne’s unit, which destroyed not only their primary target, but two others, accounting for 12 VIPs. Both Smalley and Chant’s demolition teams accounted for both their primary and additional targeted facilities.  The game score would have been higher but for a D6 roll of “6”, which damaged  the scuttled Campbeltown, but did not destroy it.  That would have brought the score to 66, or one target away from “victory”.

The only real bit of bad luck for the Brits was that the ships that were sunk on the run-in contained demolition teams.  That reduced their ability to gain VIPs.  Oh, yes, and my stupid decision to move one demolition team in a position where it could be engaged by not one, but three, flak emplacements.  Blammo!

Enjoyed playing this game.  Its well known virtues were evident throughout my two play-thrus.  I’ll certainly take it off the shelf again.

Campaign Game – Renaldo’s Decision and Other Events

Well, Lord Renaldo’s wheels took a little longer to grind than promised.

The Zanj defeat raised several questions requiring resolution before the campaign continued.  These were 1) how much of the Zanj force was destroyed in the battle; 2) could the Zanj civic leaders be persuaded to provided the Sultan the additional resources to recruit more troops, and, if yes, 3) how many; 4) could the Sultan convince the Inland Natives to abandon their policy of hostile neutrality and provide assistance, as well as 5) convincing local Chinese merchants to seek Ming aide.

Answers to these questions were generated using the Campaign Table (which this process revealed to be flawed and in need of work), D6, and Yes/No/Maybe dice.

While the Zanj  fled the battlefield at Ejiro in great disarray, only two units had been shattered (D6/2).

The army conducted an orderly retreat to the south.  The Sultan hurried to Mwenye to implore local merchants and leaders to provide more support for his army, promising much (hopefully for him, he can keep those promises).  His entreaties were successful (re-roll on government support chart), and he was able to gain four units (D6) in reinforcements.

He also met with  local Chinese merchants, convincing them the Portuguese threat was real.  These merchants agreed to send a representative to the Ming leader in Aden. (Yes die rolls for the two questions).

The energetic Sultan Efe then contacted the leaders of the Inland Natives, requesting they reevaluate their position of hostile neutrality.  Again, making extravagant promises, he persuaded these leaders to at least be neutral, and to re-evaluate their position at an upcoming meeting of clan elders (re-roll on neutrality chart).

Hearing rumors of these activities, Lord Renaldo decided to turn north, and attack the port city of  Behefe.  The rationale is still to gain a victory over the weak defenders, gain a port, and let those results drive events both with his own government, and the local leadership.

His scouts are already determining the extent of the resistance…….

Into The Abyss?

A long, long time ago I played Squad Leader (SL).  Really into it.  Sorted all the counters into plastic containers, so typical for an SL Dweeb.  Then, for some reason, I gave it all away to a younger war gamer on a budget. Dunno……

About seven years ago, started buying up not only SL games on EBay, but also the all-consuming monster that is Advanced Squad Leader (ASL).  Scrounged through AH Generals for scenarios, copied them, and then placed them in a binder.  But, every time I looked at the monster rule book I just cringed, and satisfied myself with looking at the scenarios, and browsing through Mark Pitcavage’s wonderful Desperation Morale website.

For reasons that cannot be explained, I bought the Advanced Squad Leader Starter Kit (ASLSK) #1 a year ago.  And now, I’ve decided to start playing again in little, teenie, tiny baby steps.

What made this decision easy was the discovery of this.   Jay Richardson did a fantastic job putting together this guide.  It reminds me of how helpful the old AH replays were when you were learning one of their games.

Now, I’m going to hold off on the second and third modules for awhile.  It’s a progressive system, with successive rule books adding mortars/artillery and then vehicles.  What I really need is to find the third module’s rule book.  I’ve got plenty of ASL modules with counters and a gazillion scenarios, so there’s no real need for the counters/maps – I think(?).

Will start this up on T-Giving, after I finish up the latest iteration of Raid on St. Nazaire.