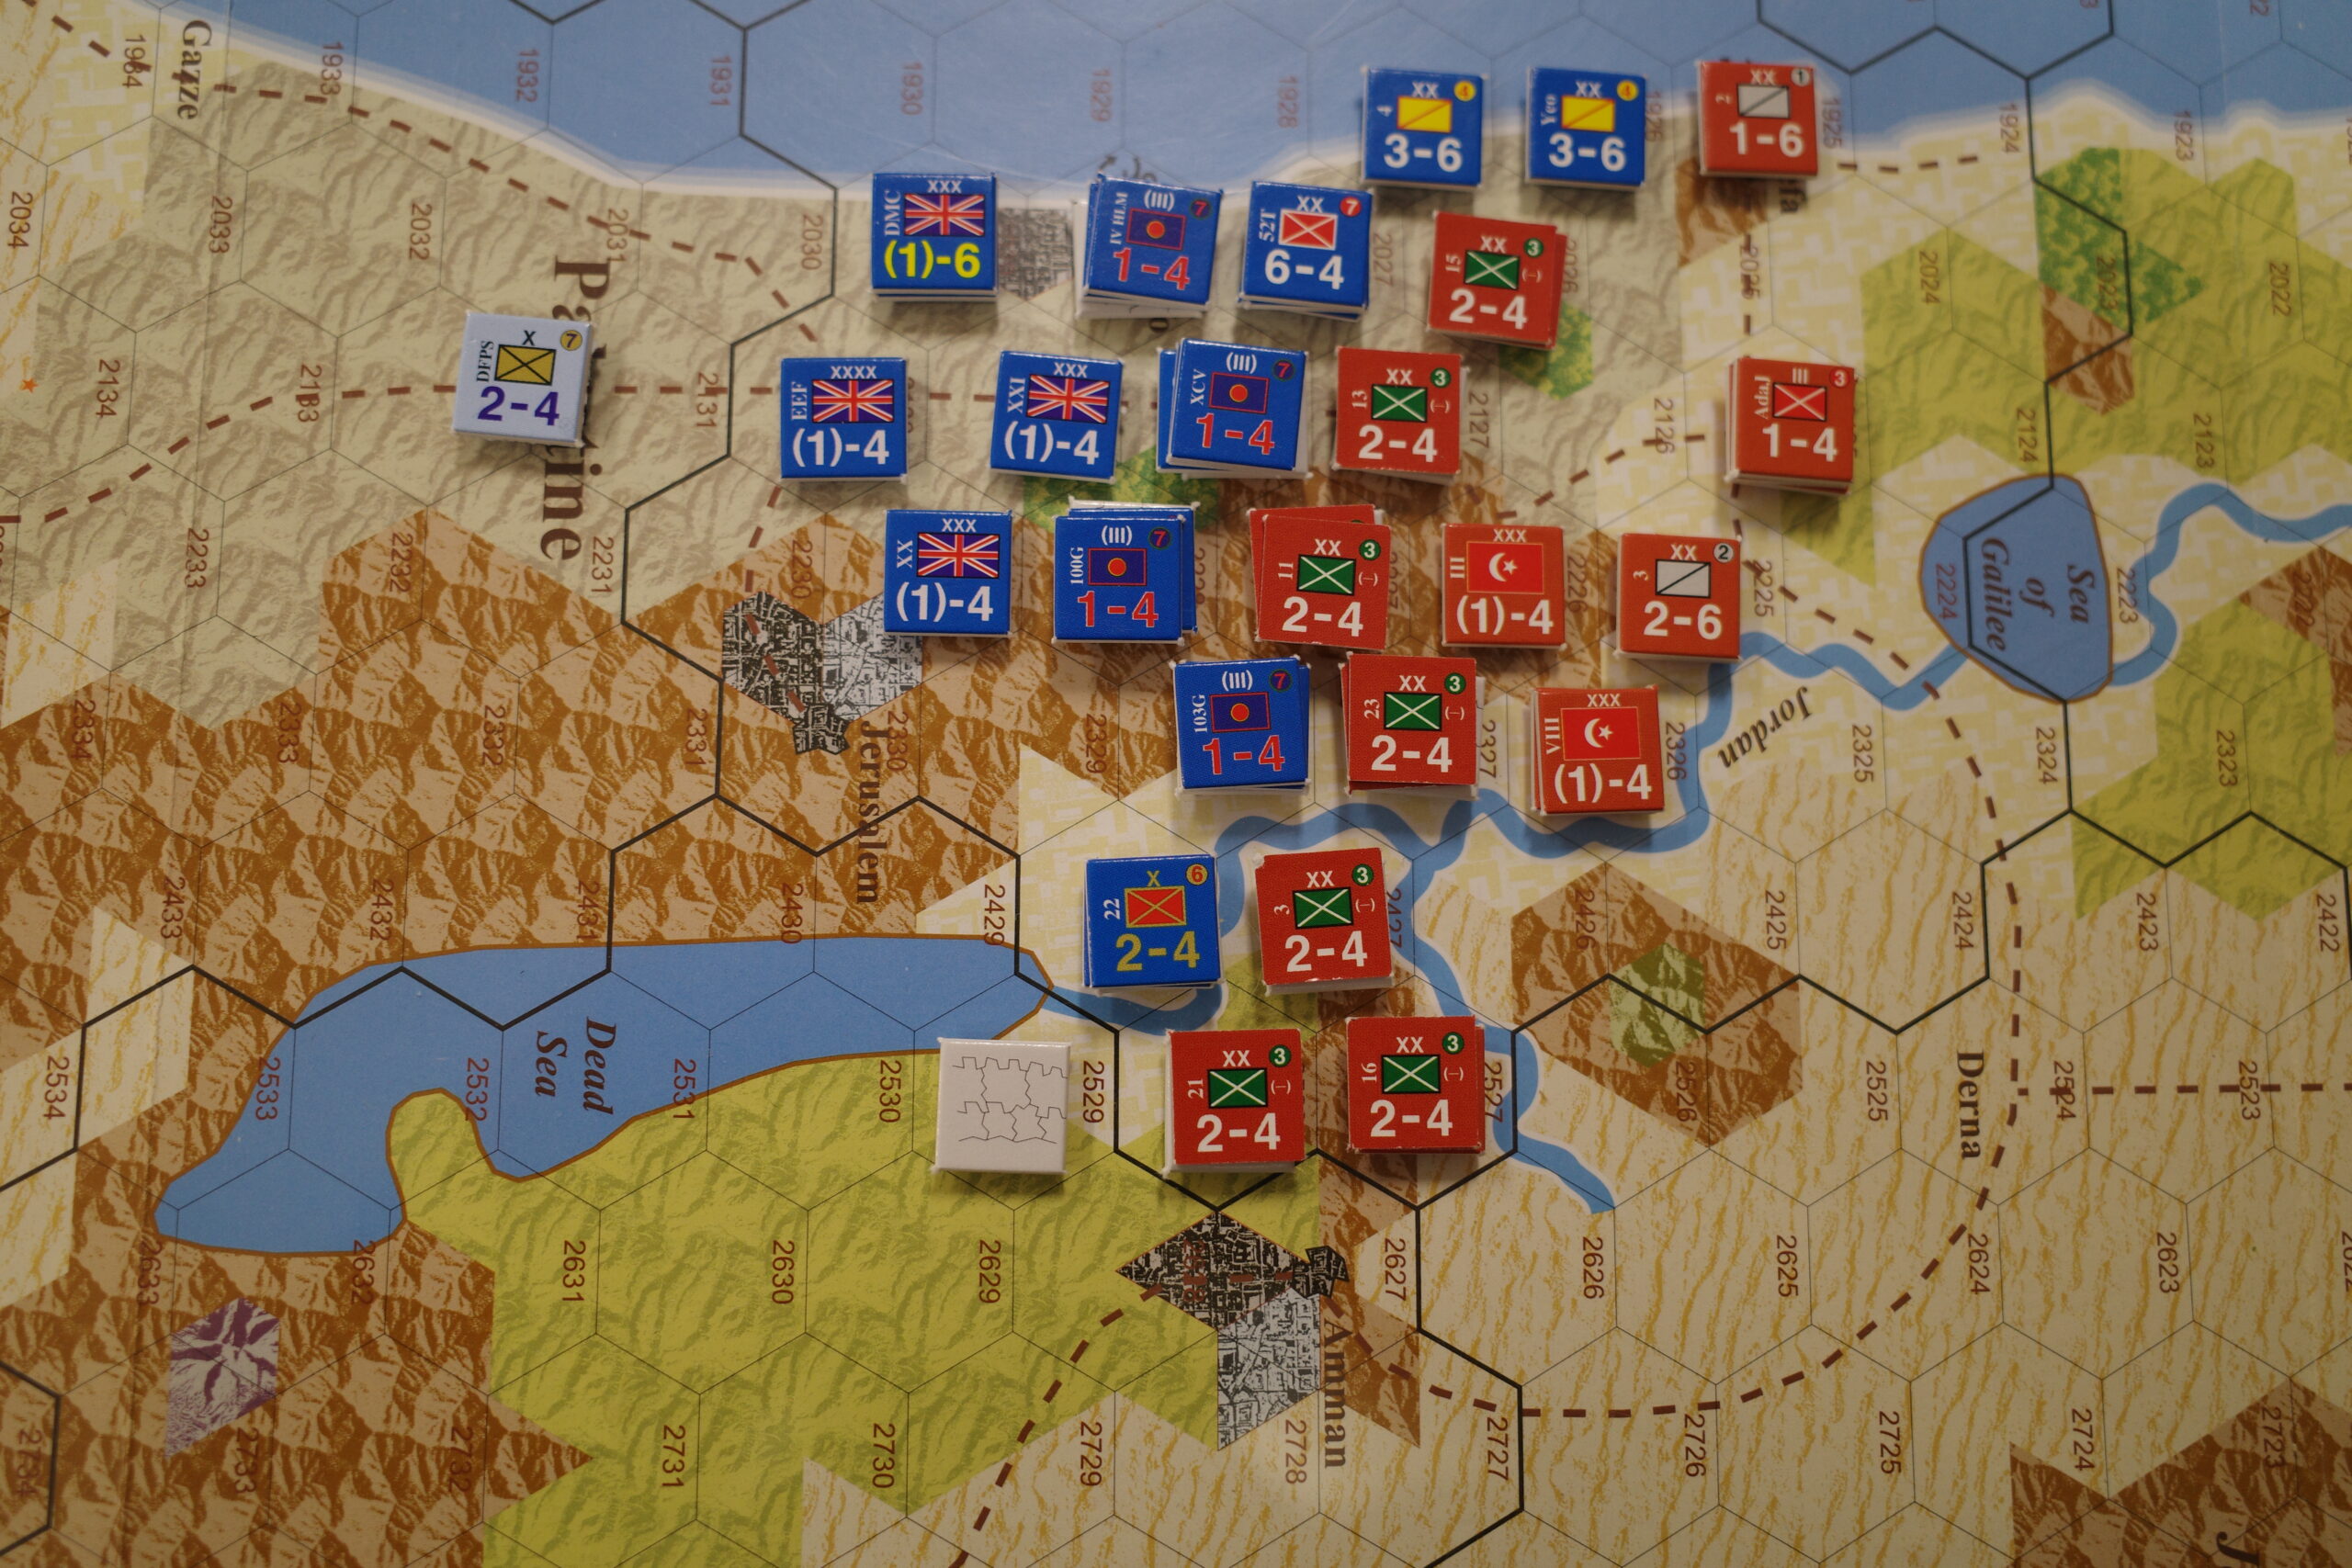
Set up another Gaza scenario. This one covers Allenby’s 1918 campaign.
Yes, more set-piece battle action, but with the enhanced possibility of a decisive Allied breakthrough.
Why? A special rule for one turn. The Allies can ignore the effect of enemy entrenchments, and add a +2 to their D6 roll if supported by two factors of artillery, to an attack using at least 20 factors. Also, any cavalry not involved in the attack can “exploit” (after combat is completed) up to their full movement allowance and launch an attack (no special modifiers) of their own.
Later That Same Day
Reread the scenario rules. The special rules cited above hold for any attack (with at least 20 factors) during one turn, just not “an” attack.
How typical. An error of omission. I will avoid descending into a public display of self-castigation.
So, here’s the result of my misguided efforts.
The breakthrough took place along the coast, with two cavalry units exploiting. An opportunity, but probably not as good as one generated by two attacks with these favorable modifiers.
Also, an additional cavalry unit is hiding under a headquarters situated along the coast. Jeez! Sloppy staff work!
I may play this one out for another turn or two, but will set it up again to take full advantage scenario rules to see if I can completely “unhinge” the Ottoman defenses.
Finished up my first attempt at Valour & Fortitude (V&F). Enjoyable.
Of course, after all of the pre-game preparation, I was inconsistent (at best) in using the commander characteristics and army orders I had created, and forgot to draw Fate Cards at the beginning of each and every turn, or playing those I had drawn. Typical omissions once I get playing.
But why let all that get in the way of some fun?
The Fire and Action phases are straightforward, with a minimum of moving parts. Likewise for the Melee phase. In the Action Phase, a unit can move either in column, in line or double time (always allowed one facing change (Reform)); Rally by rolling to remove Tenacity “hits” (more on this later), or Assault.
For me, the tricky part of play was when to implement the Valour and Fortitude morale tests. However, a quick and handwritten “if this, then that” cheat sheet solved the problem.
What really intrigued me was the lack of chrome involved in failed tests. Units simply are taken off the table, with neighbors affected only when their brigade fails a Fortitude check. I’m used to a whole series of movement and impact gyrations for neighboring units when a rout occurs. This is a welcome and effective change.
Also, the (almost) universal use of a six-sided die roll of “4” as the minimum roll to score a hit on an opponent during fire and melee, as well as pass morale checks, greatly reduced chart checking.
Speaking of charts, I did put together a Terrain Effects Summary which I glued to the back of the cheat sheet included in the rules.
Along with my failure to consistently employ characteristics and cards, I also did a spotty job of documenting the entire affair. And the depictions of what I did capture are, as usual, less than stellar.
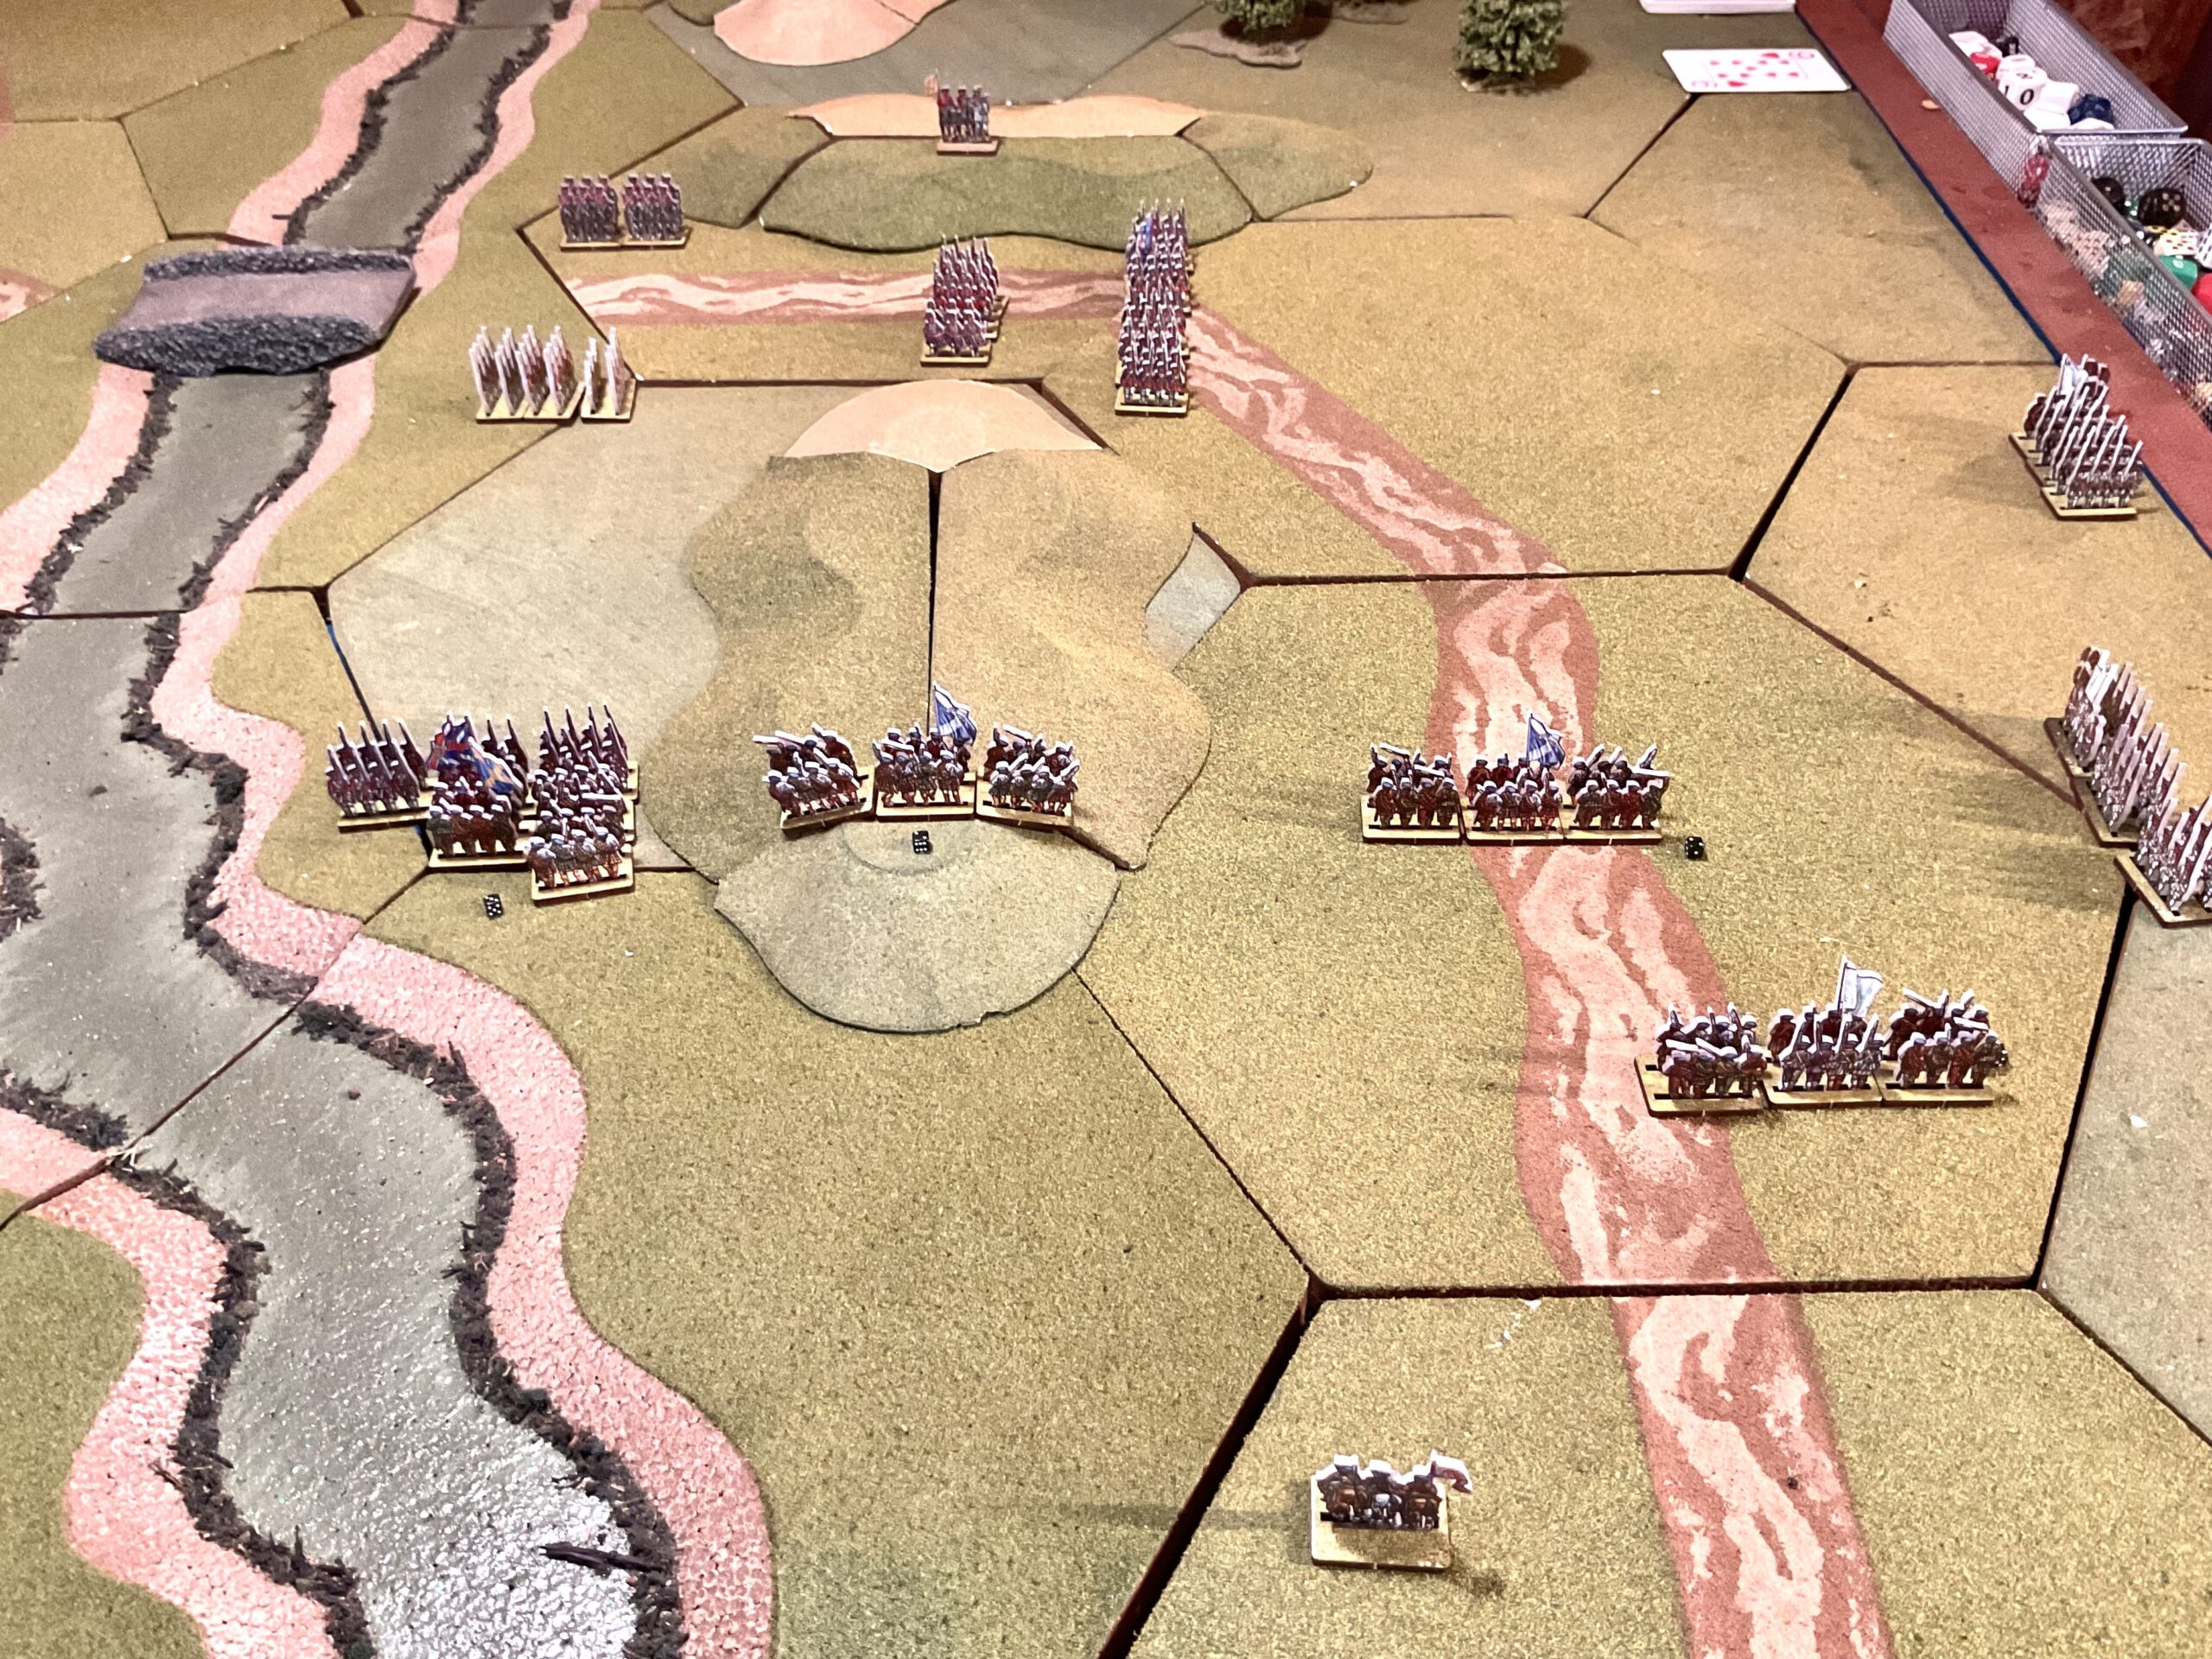
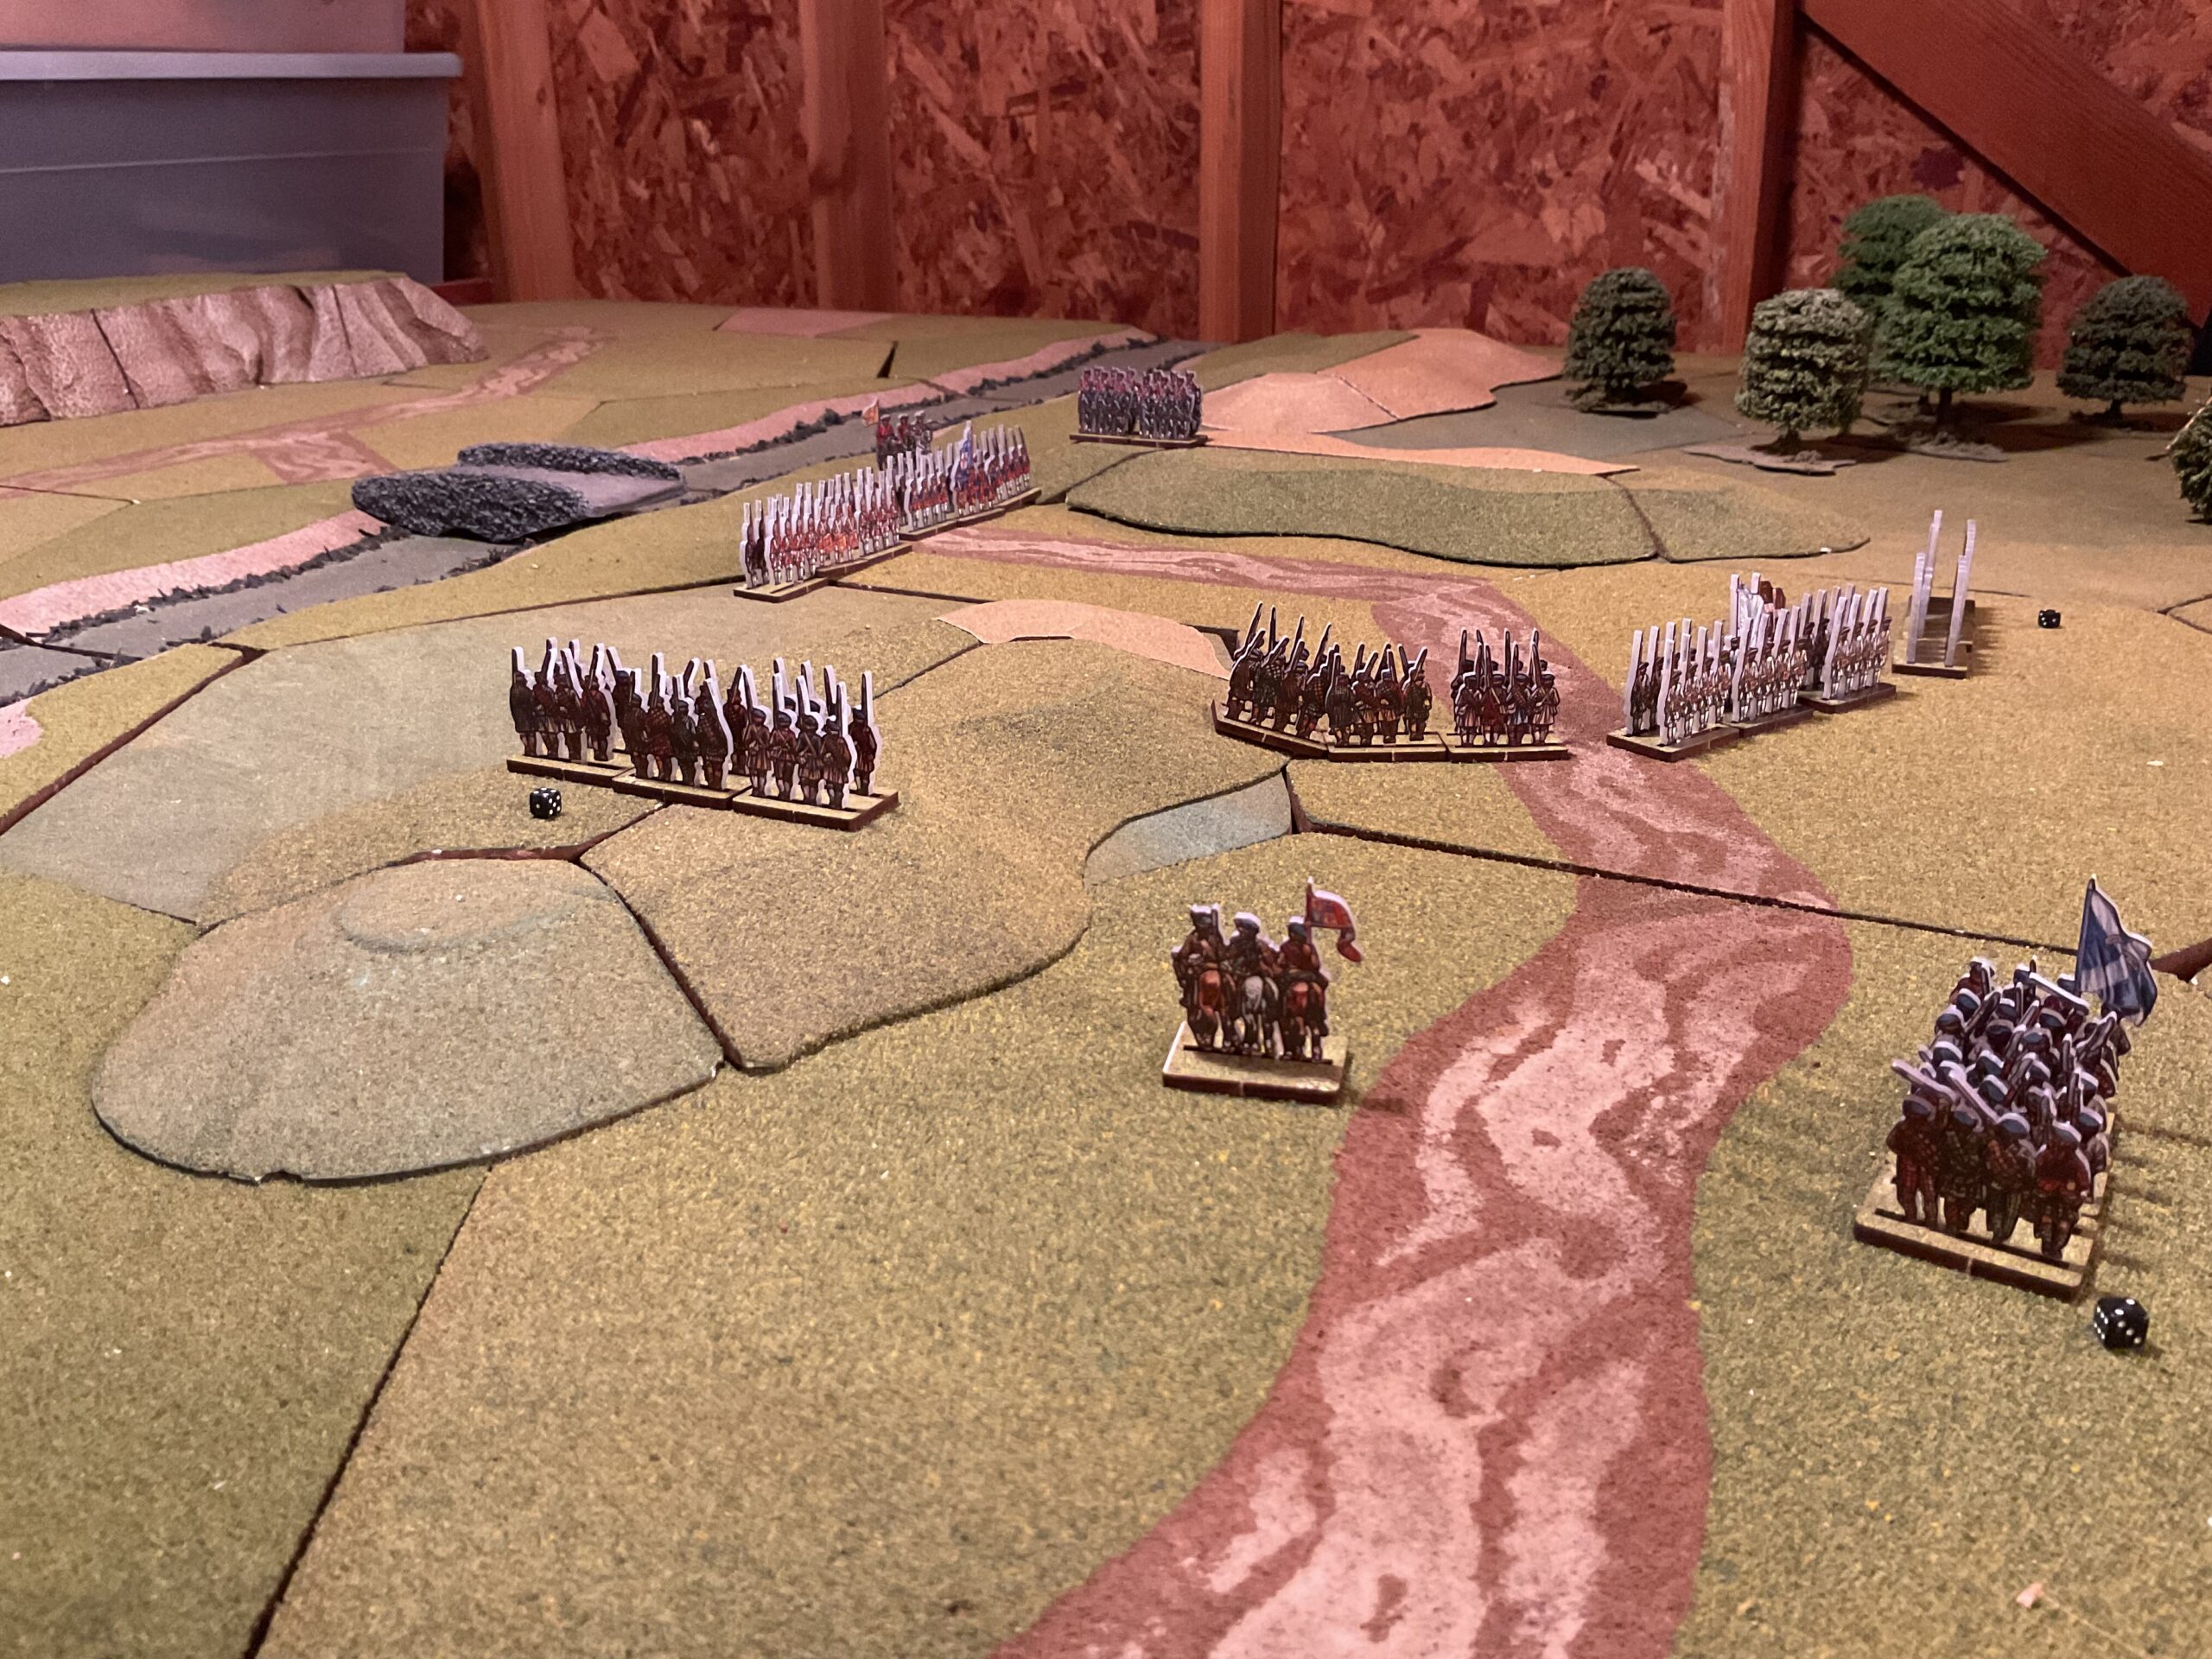
The British mission was to defend the river bridge. Their programmed plan was to position units on both intervening hills, with a reserve of grenadiers and cavalry across the river, but ready to support either the first hill’s brigade of Regulars, or second hill’s Militia defenders.
The Jacobite Highlanders assaulted the first British hill position, with a small brigade of French troops bypassing the hill, and moving to flank the second British hill position. Roughly 40 percent of the Jacobites were held in reserve (as dictated by the programmed scenario).
The Highlanders “went right at ’em”, using their high melee ratings to clear the British position. However, they suffered significant losses and were close to Shaken status.
Jacobites Capture First Hill
A quick (well , maybe not so quick) rules note…..each unit has a Fire, Melee and Tenacity ratings. Tenacity reflects their ability to take casualties. When a unit’s casualties equals their Tenacity rating, they become Shaken. Any casualty taken by a Shaken unit exceeding their Tenacity rating prompts a Valour Test (one for each casualty above their rating), with an immediate D6 roll of 4+ required to pass each required test. If failed, the unit routs and simply goes away.
A unit rout triggers a brigade Fortitude Test at the end of the current turn phase. Again, a D6 roll of 4+ is required to pass. If failed, any Shaken units in the brigade rout, and any Brigade unit within 6 inches of an enemy takes one loss. The brigade also suffers a defeat (defeats are used to determine winners/losers, with terrain objectives designated at the beginning of the game also considered defeats if lost).
One additional melee note. A unit that wins a melee (suffers fewer losses than the opponent) does not have to take a Valour Test. On hills, the up-hill side wins ties.
And…yet another note. Reducing Tenacity hits is an iffy business. A D6 roll of “6” is required to remove one. Hard to do – at least in this battle.
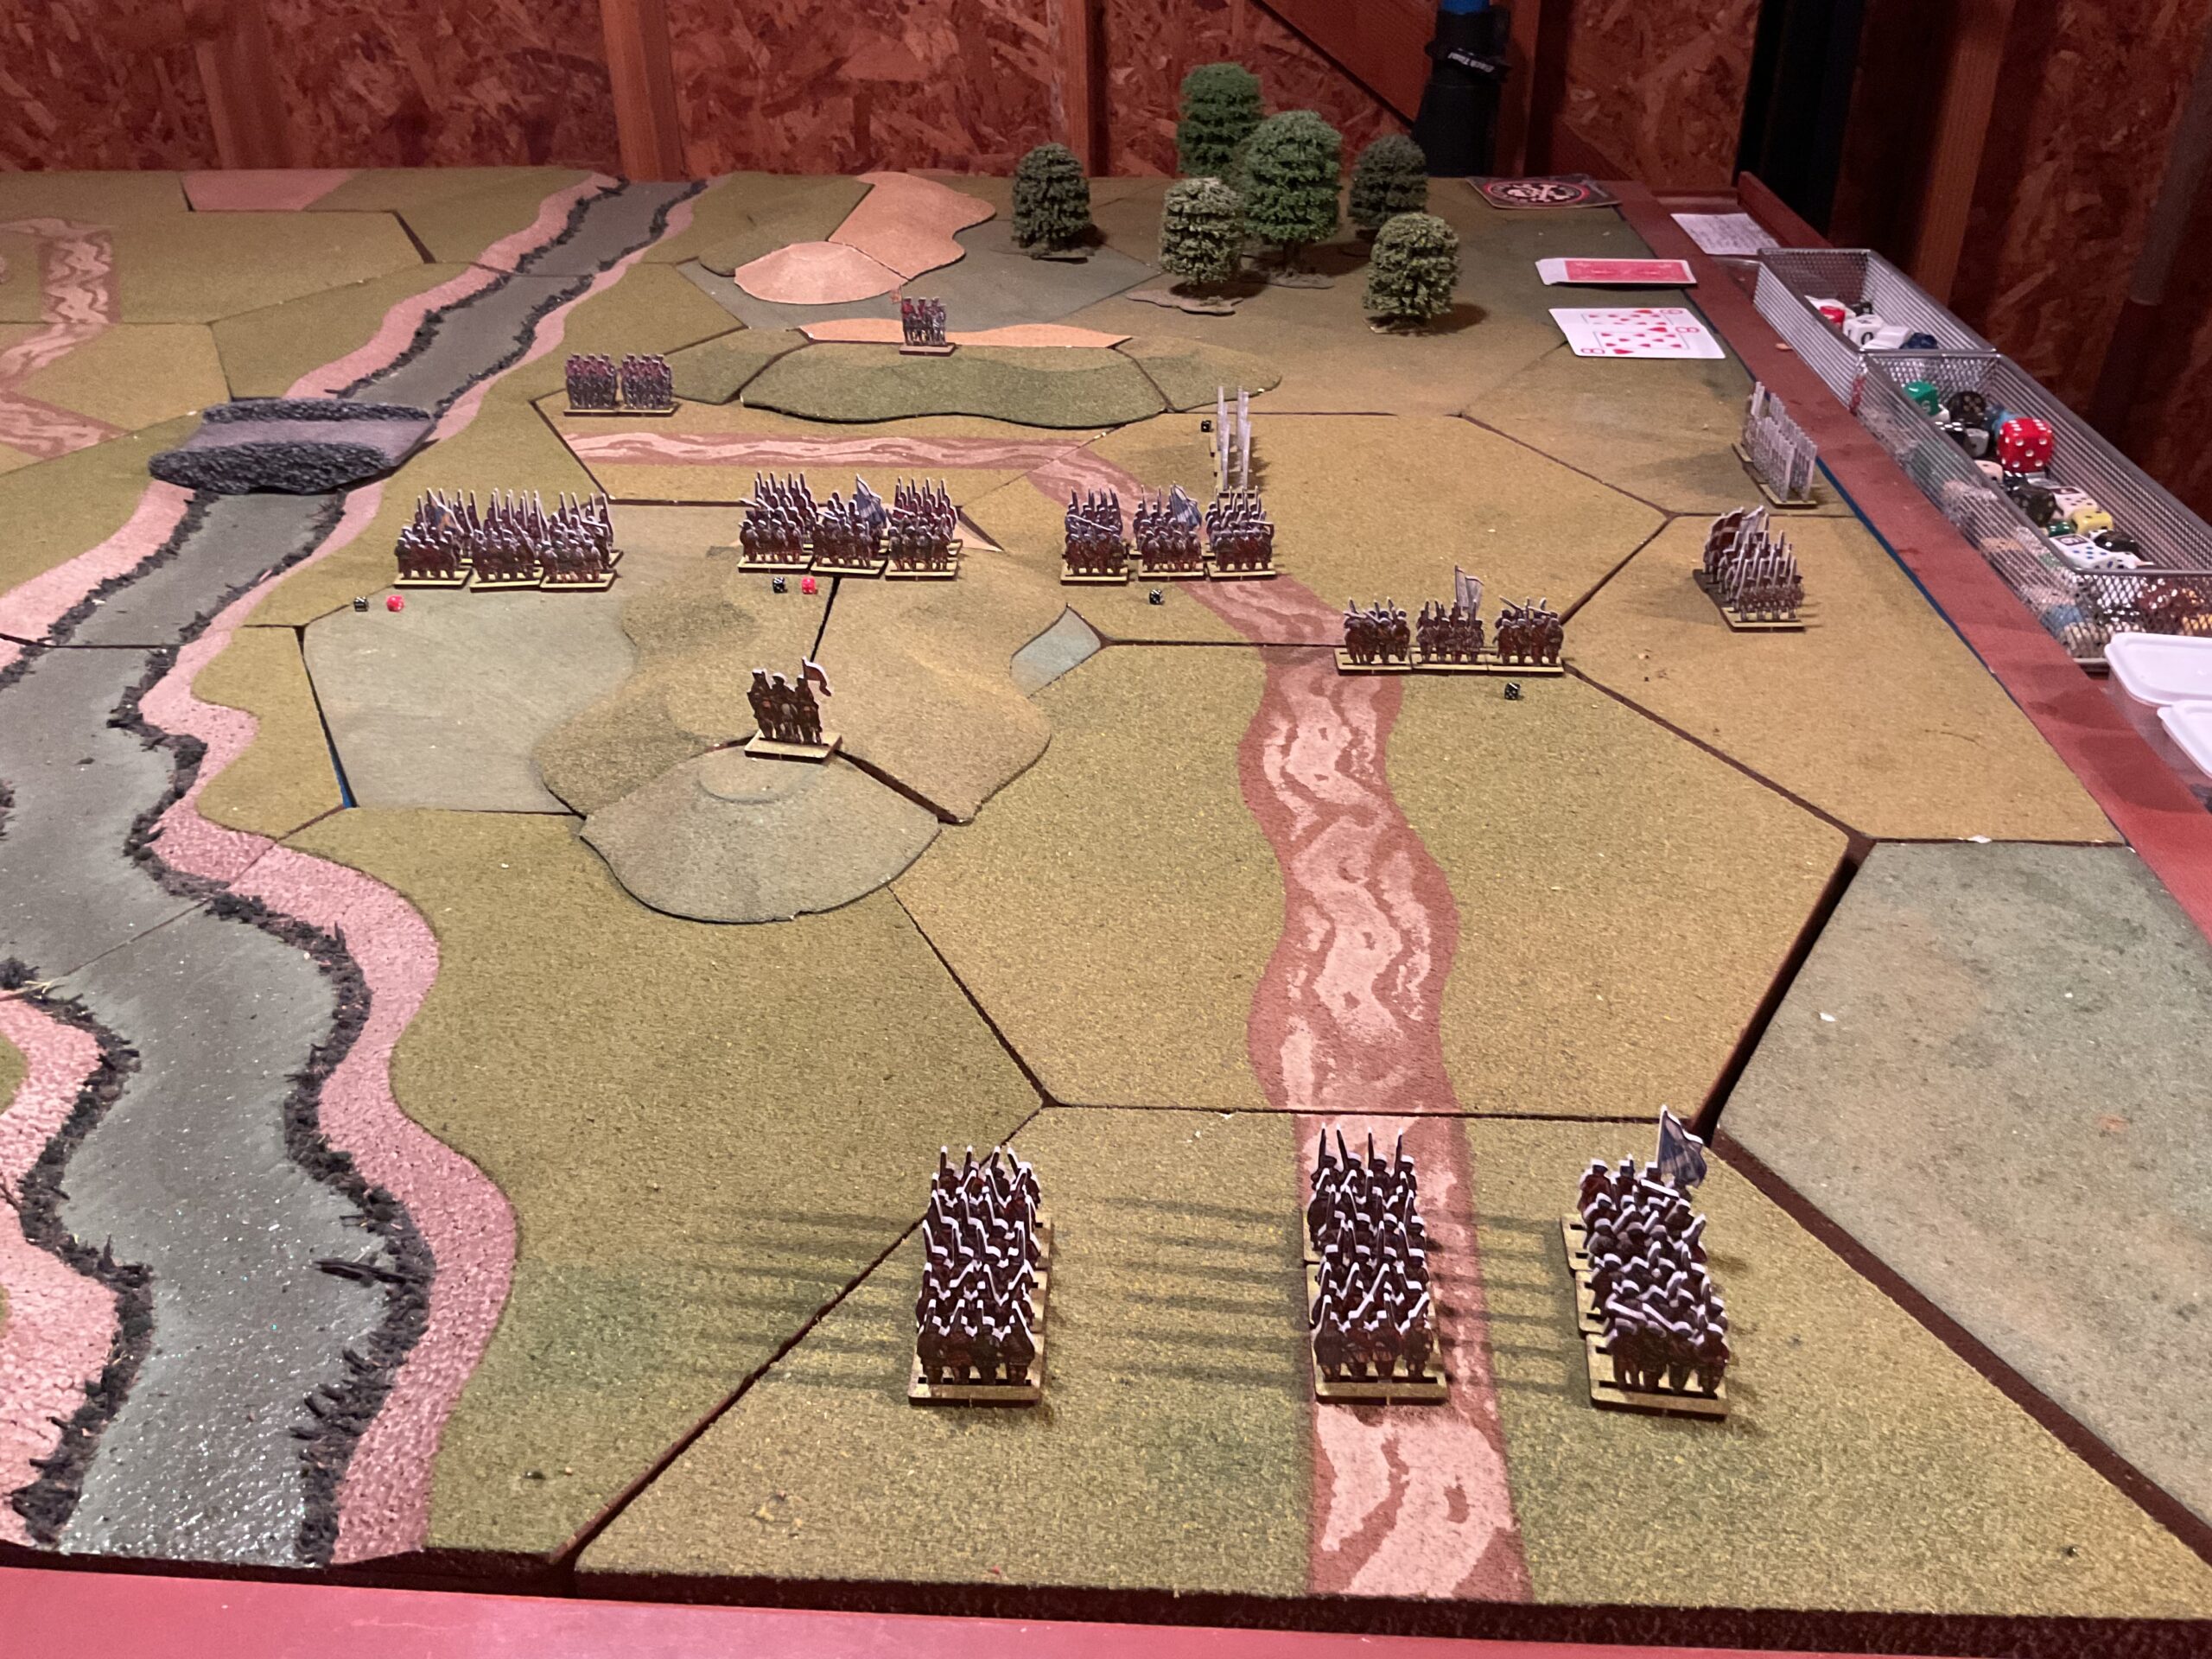
The British response was to deploy the Grenadier brigade to stop the Highlanders and to order the Militia off their hill position to stop the flanking French.
Highlanders Assault British Grenadiers As Jacobite Reserves March Forward
The Grenadiers did stop the Highlanders, but were overwhelmed by the Jacobite reserves. The Militia succumbed to French musketry.
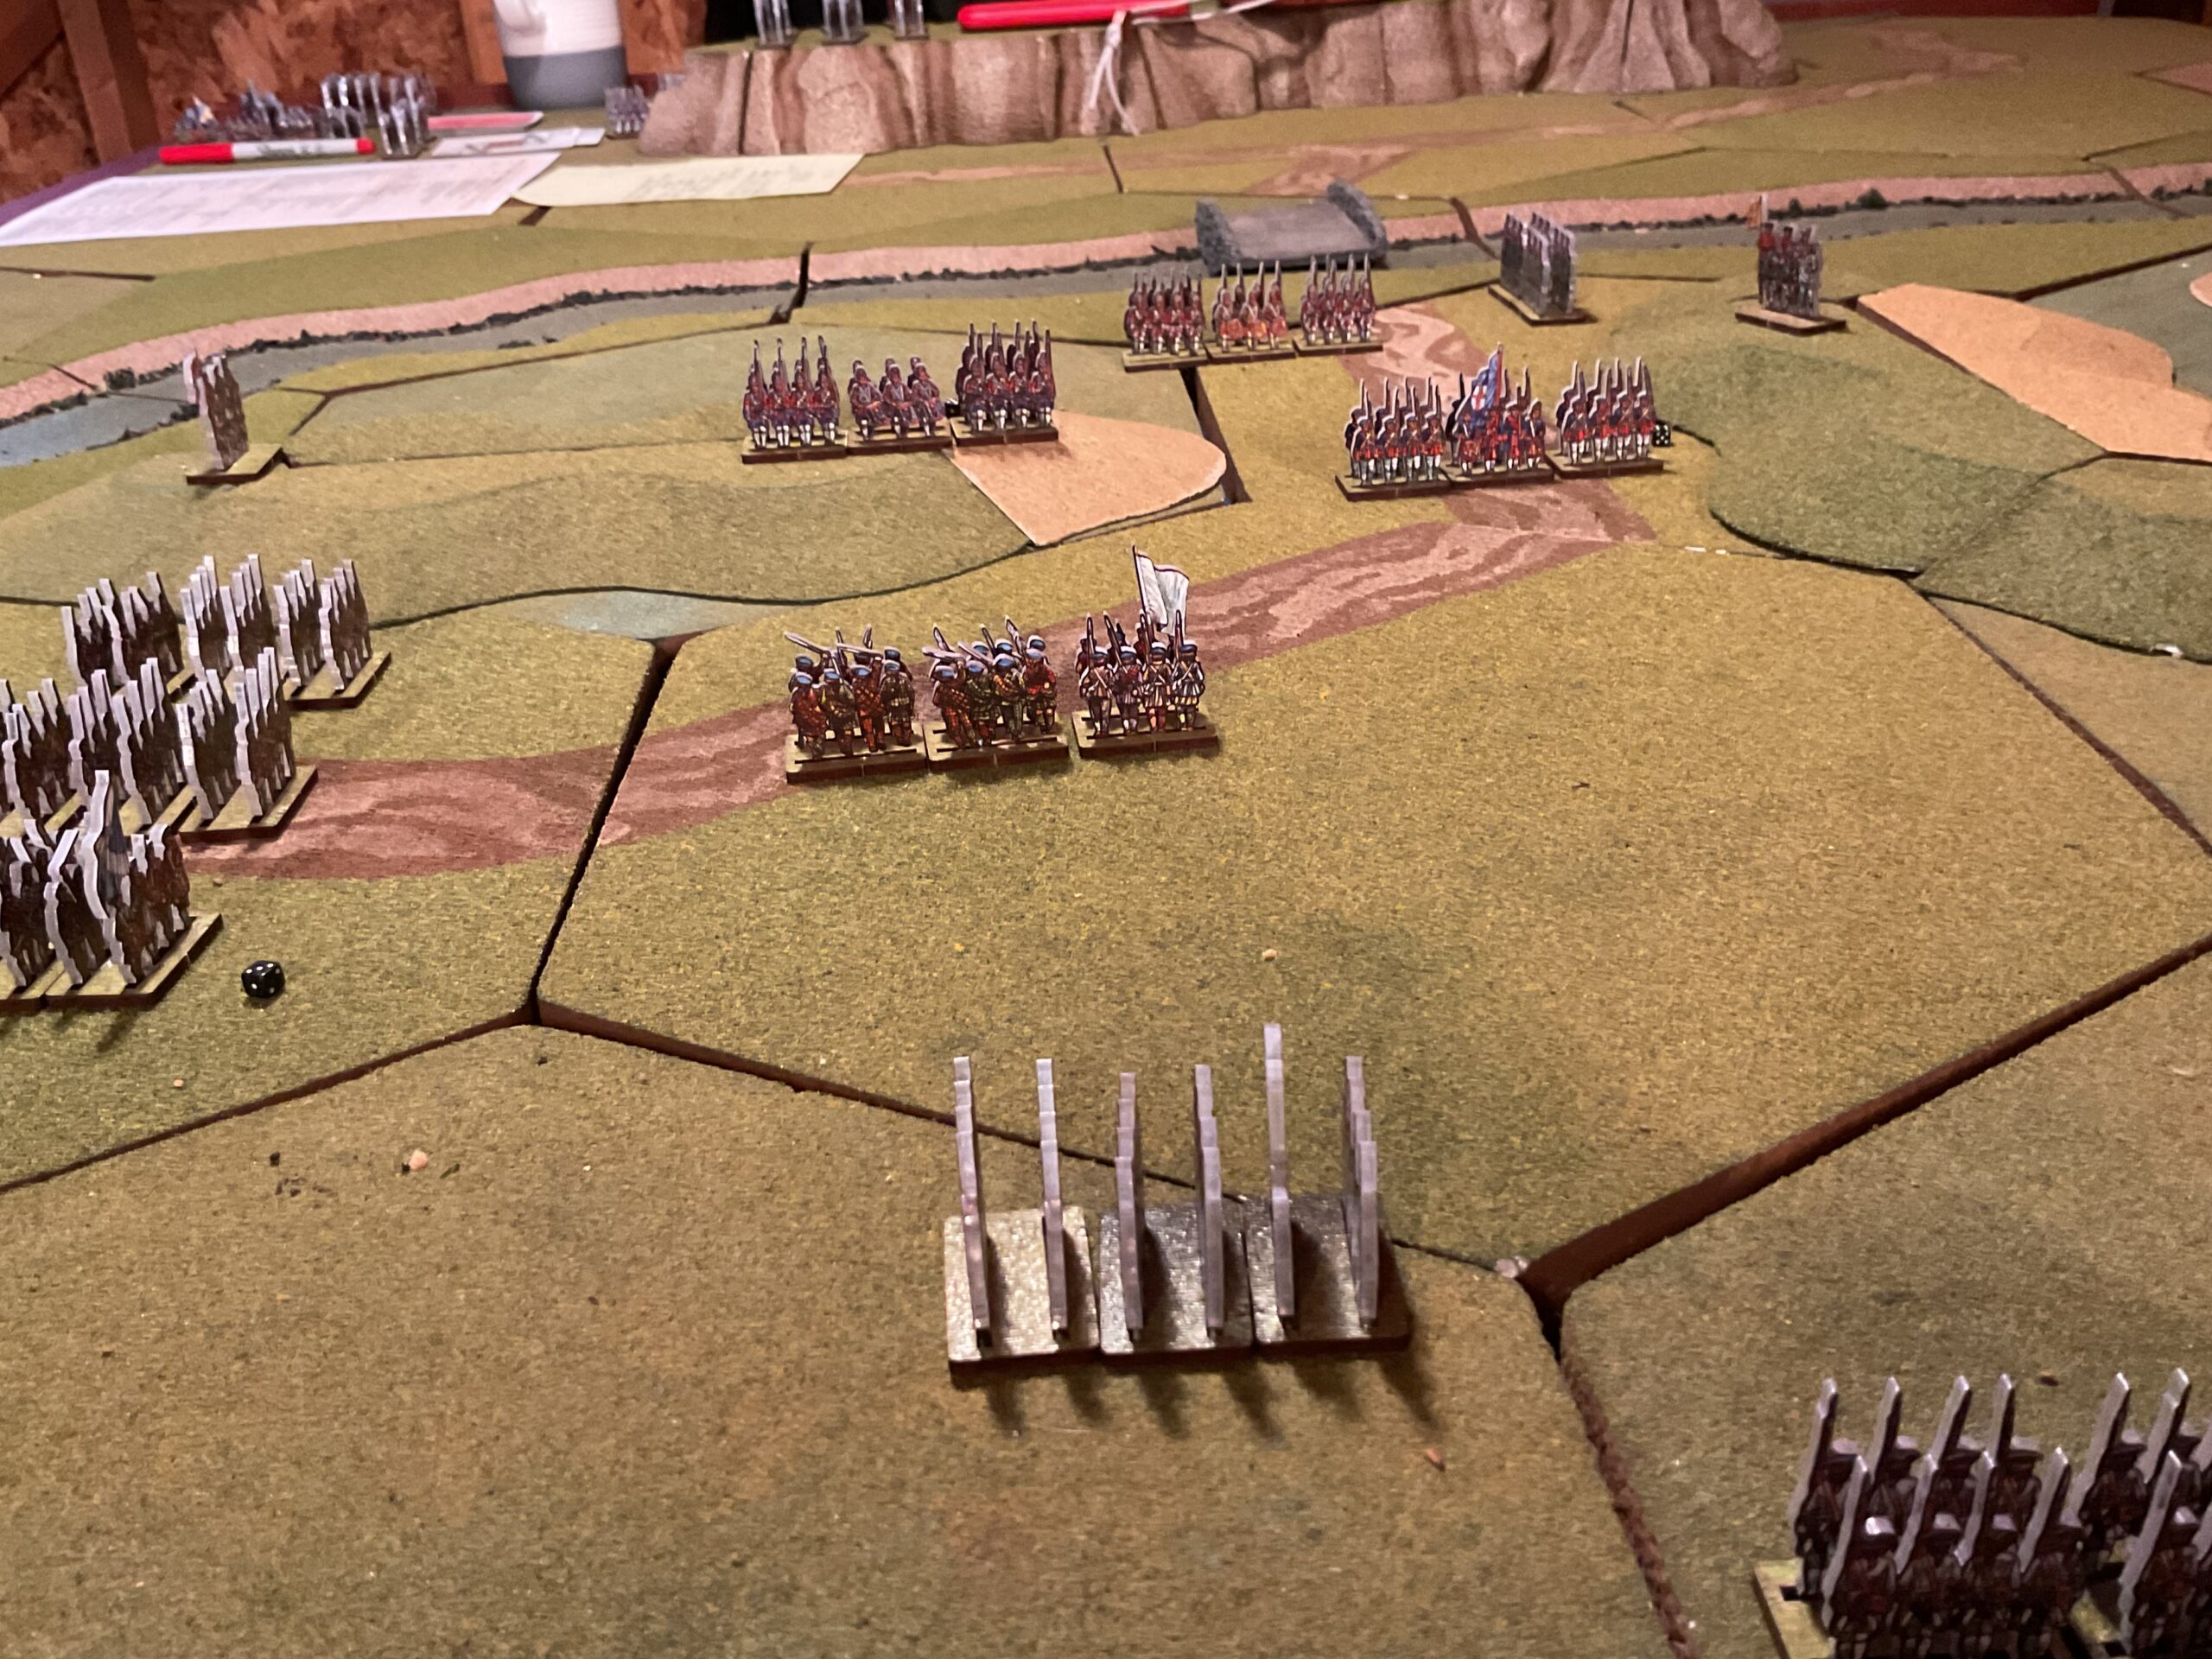
Surviving Grenadiers And Militia Face Jacobite Reserves (L) and French (R)
At this point, the loss of the bridge position was inevitable. I would consider it a marginal Jacobite victory, as their losses were significant and it took a long time to take the bridge.
I’m going to play this one again, but put together definite Defeat parameters, which will include not only geographical positions, but turns necessary to take the bridge.