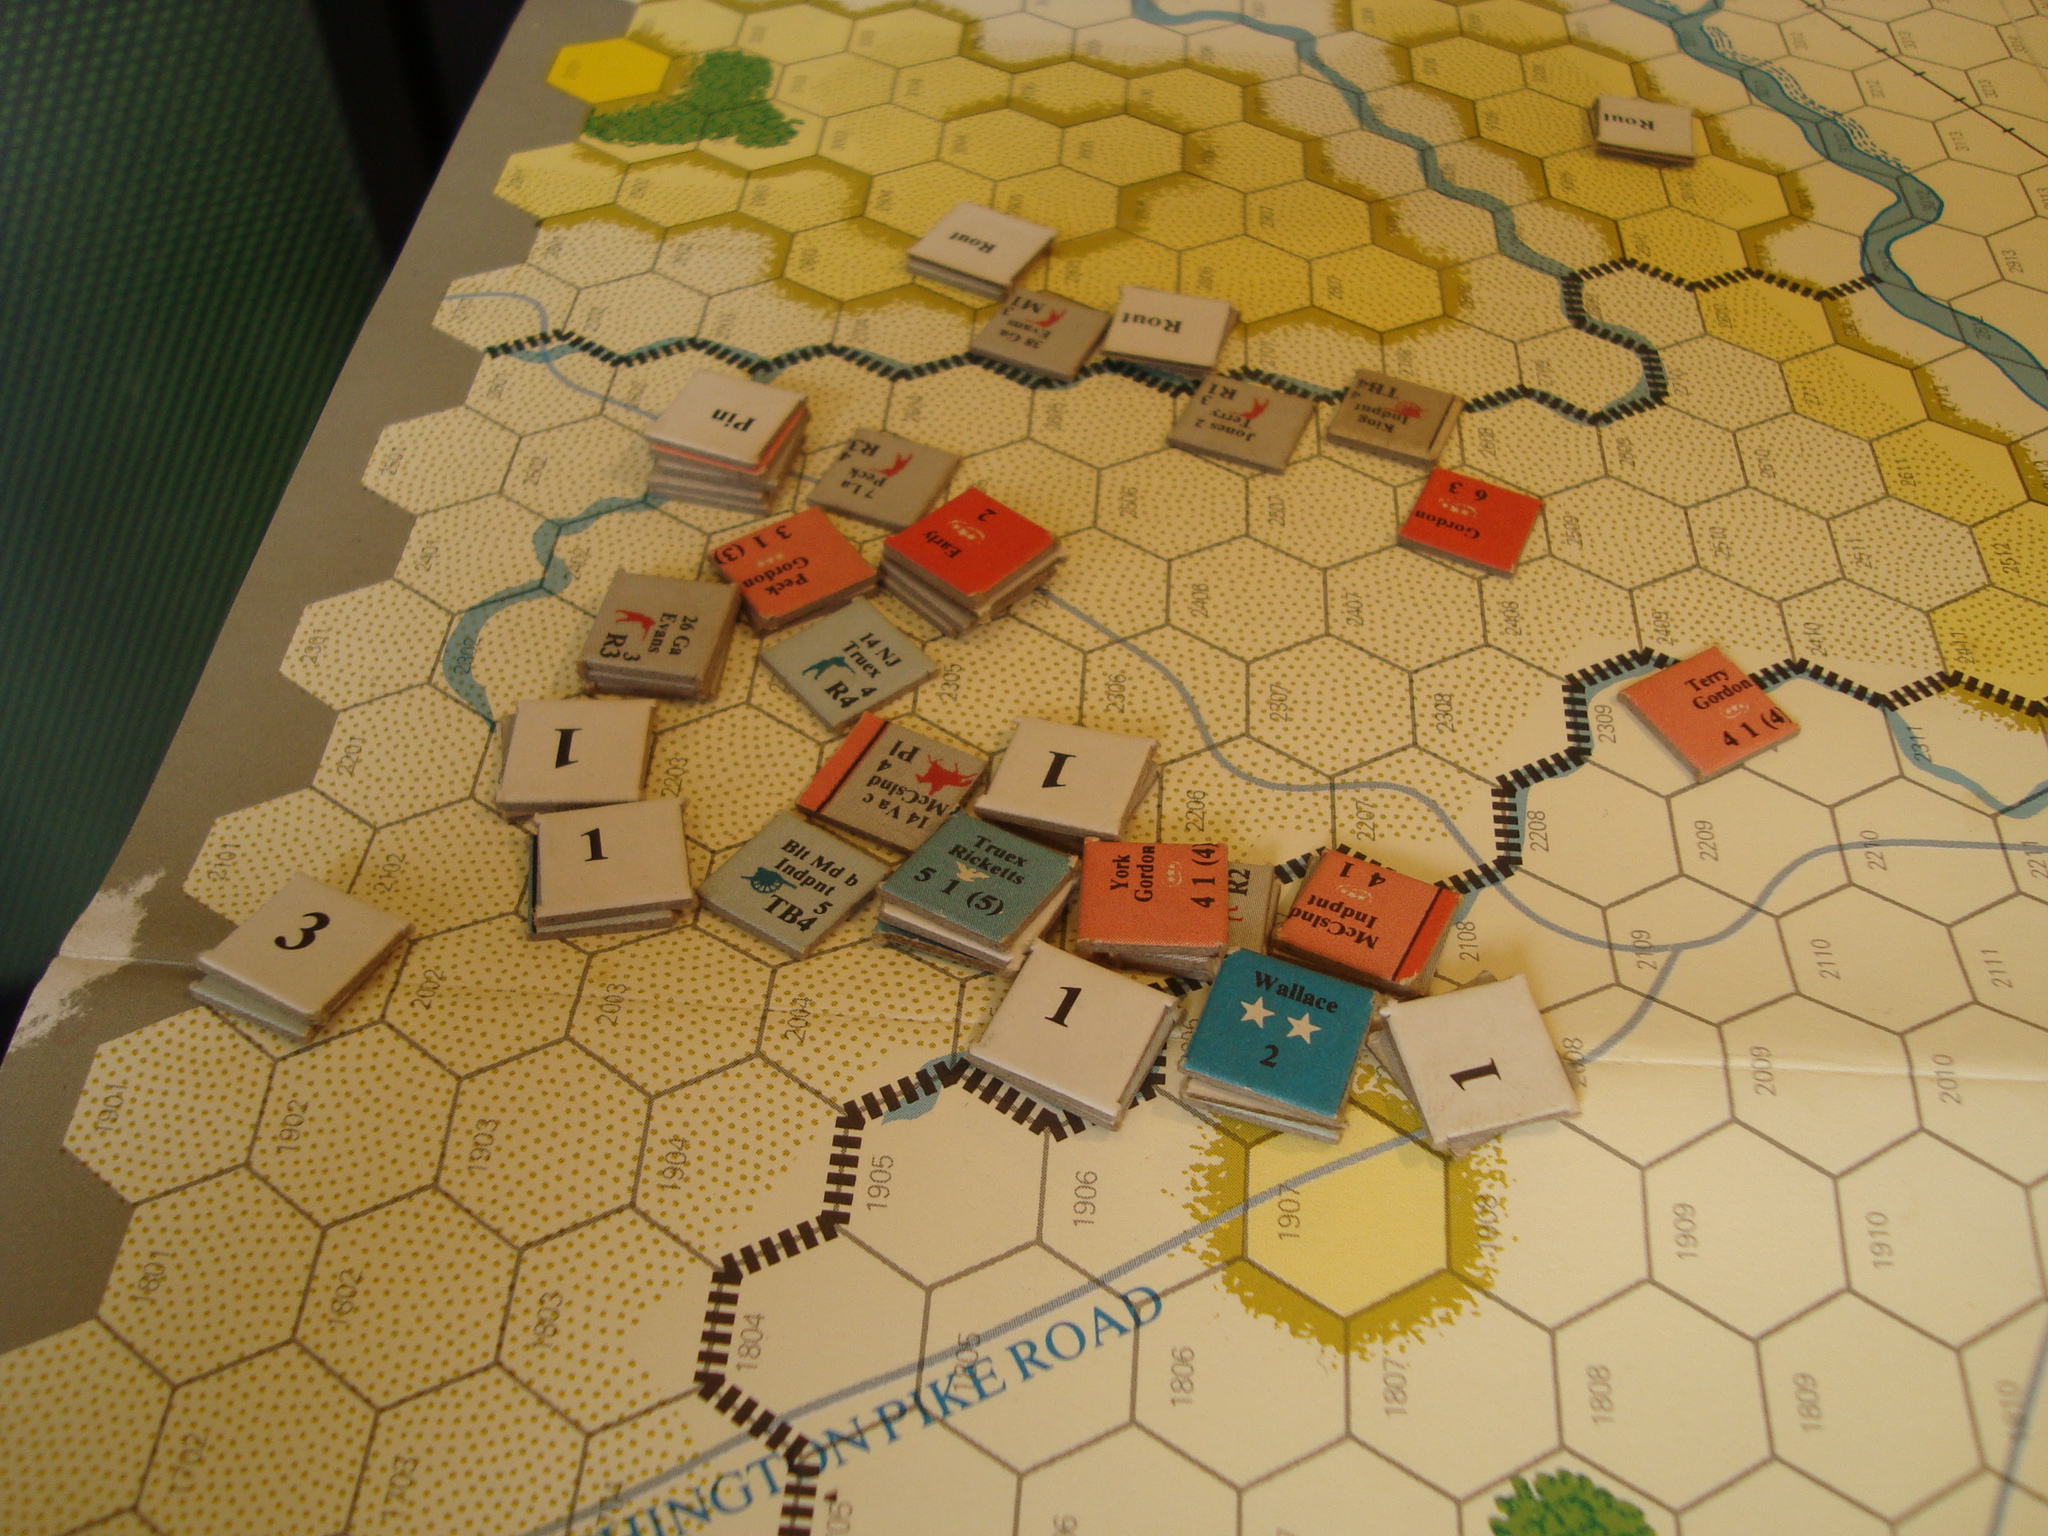
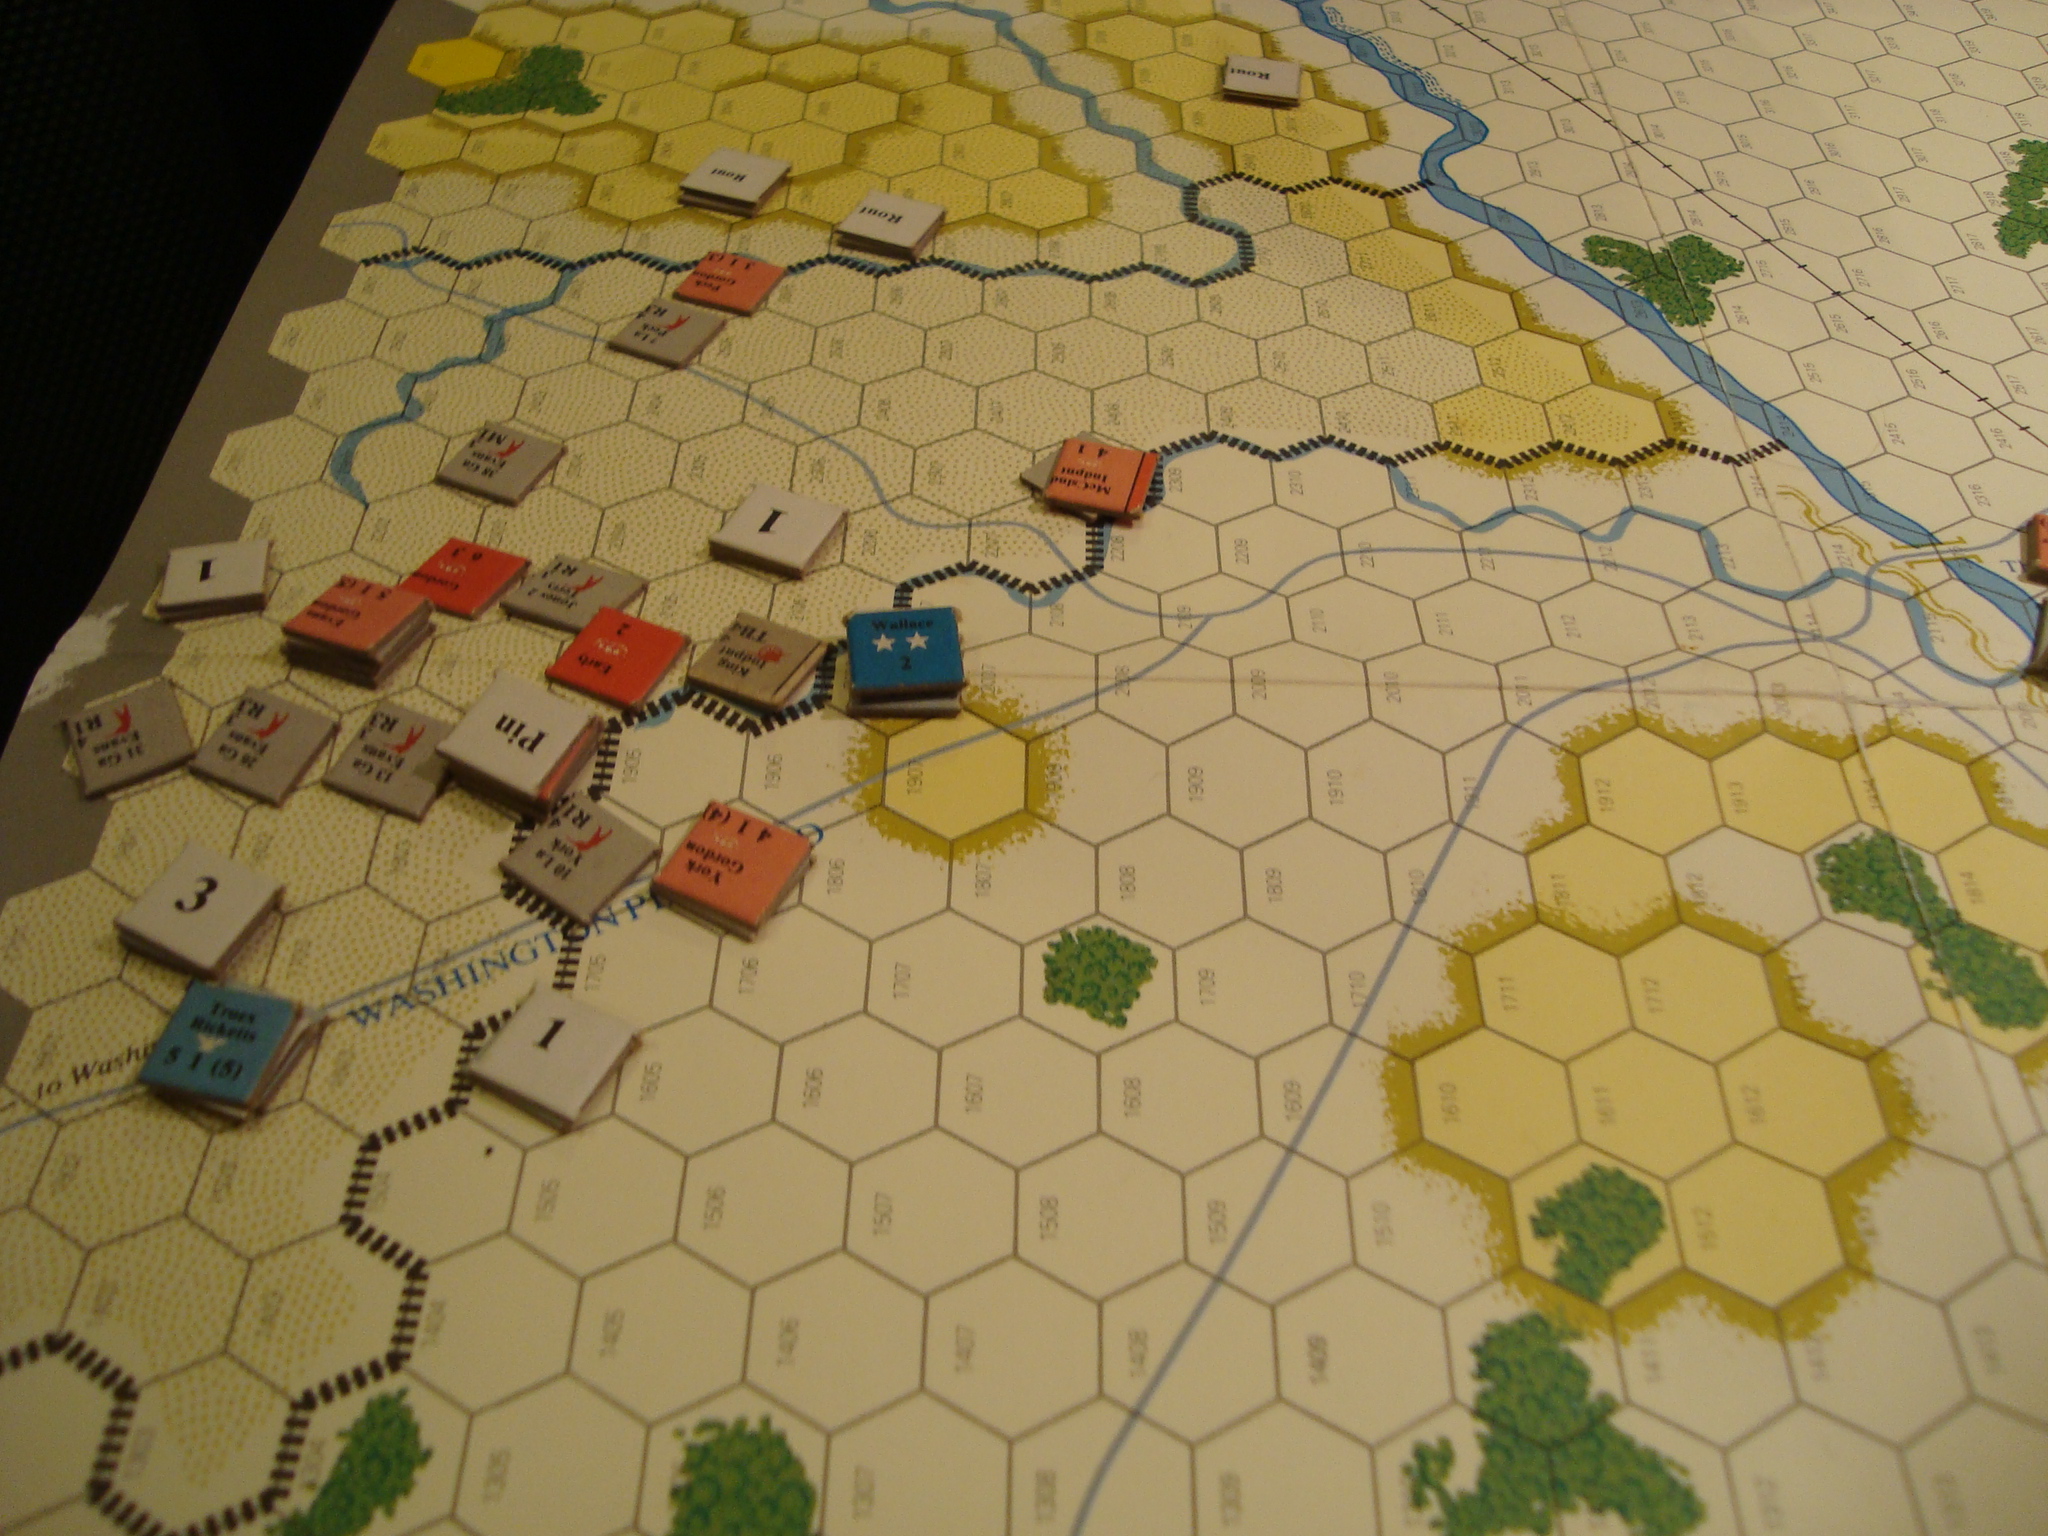
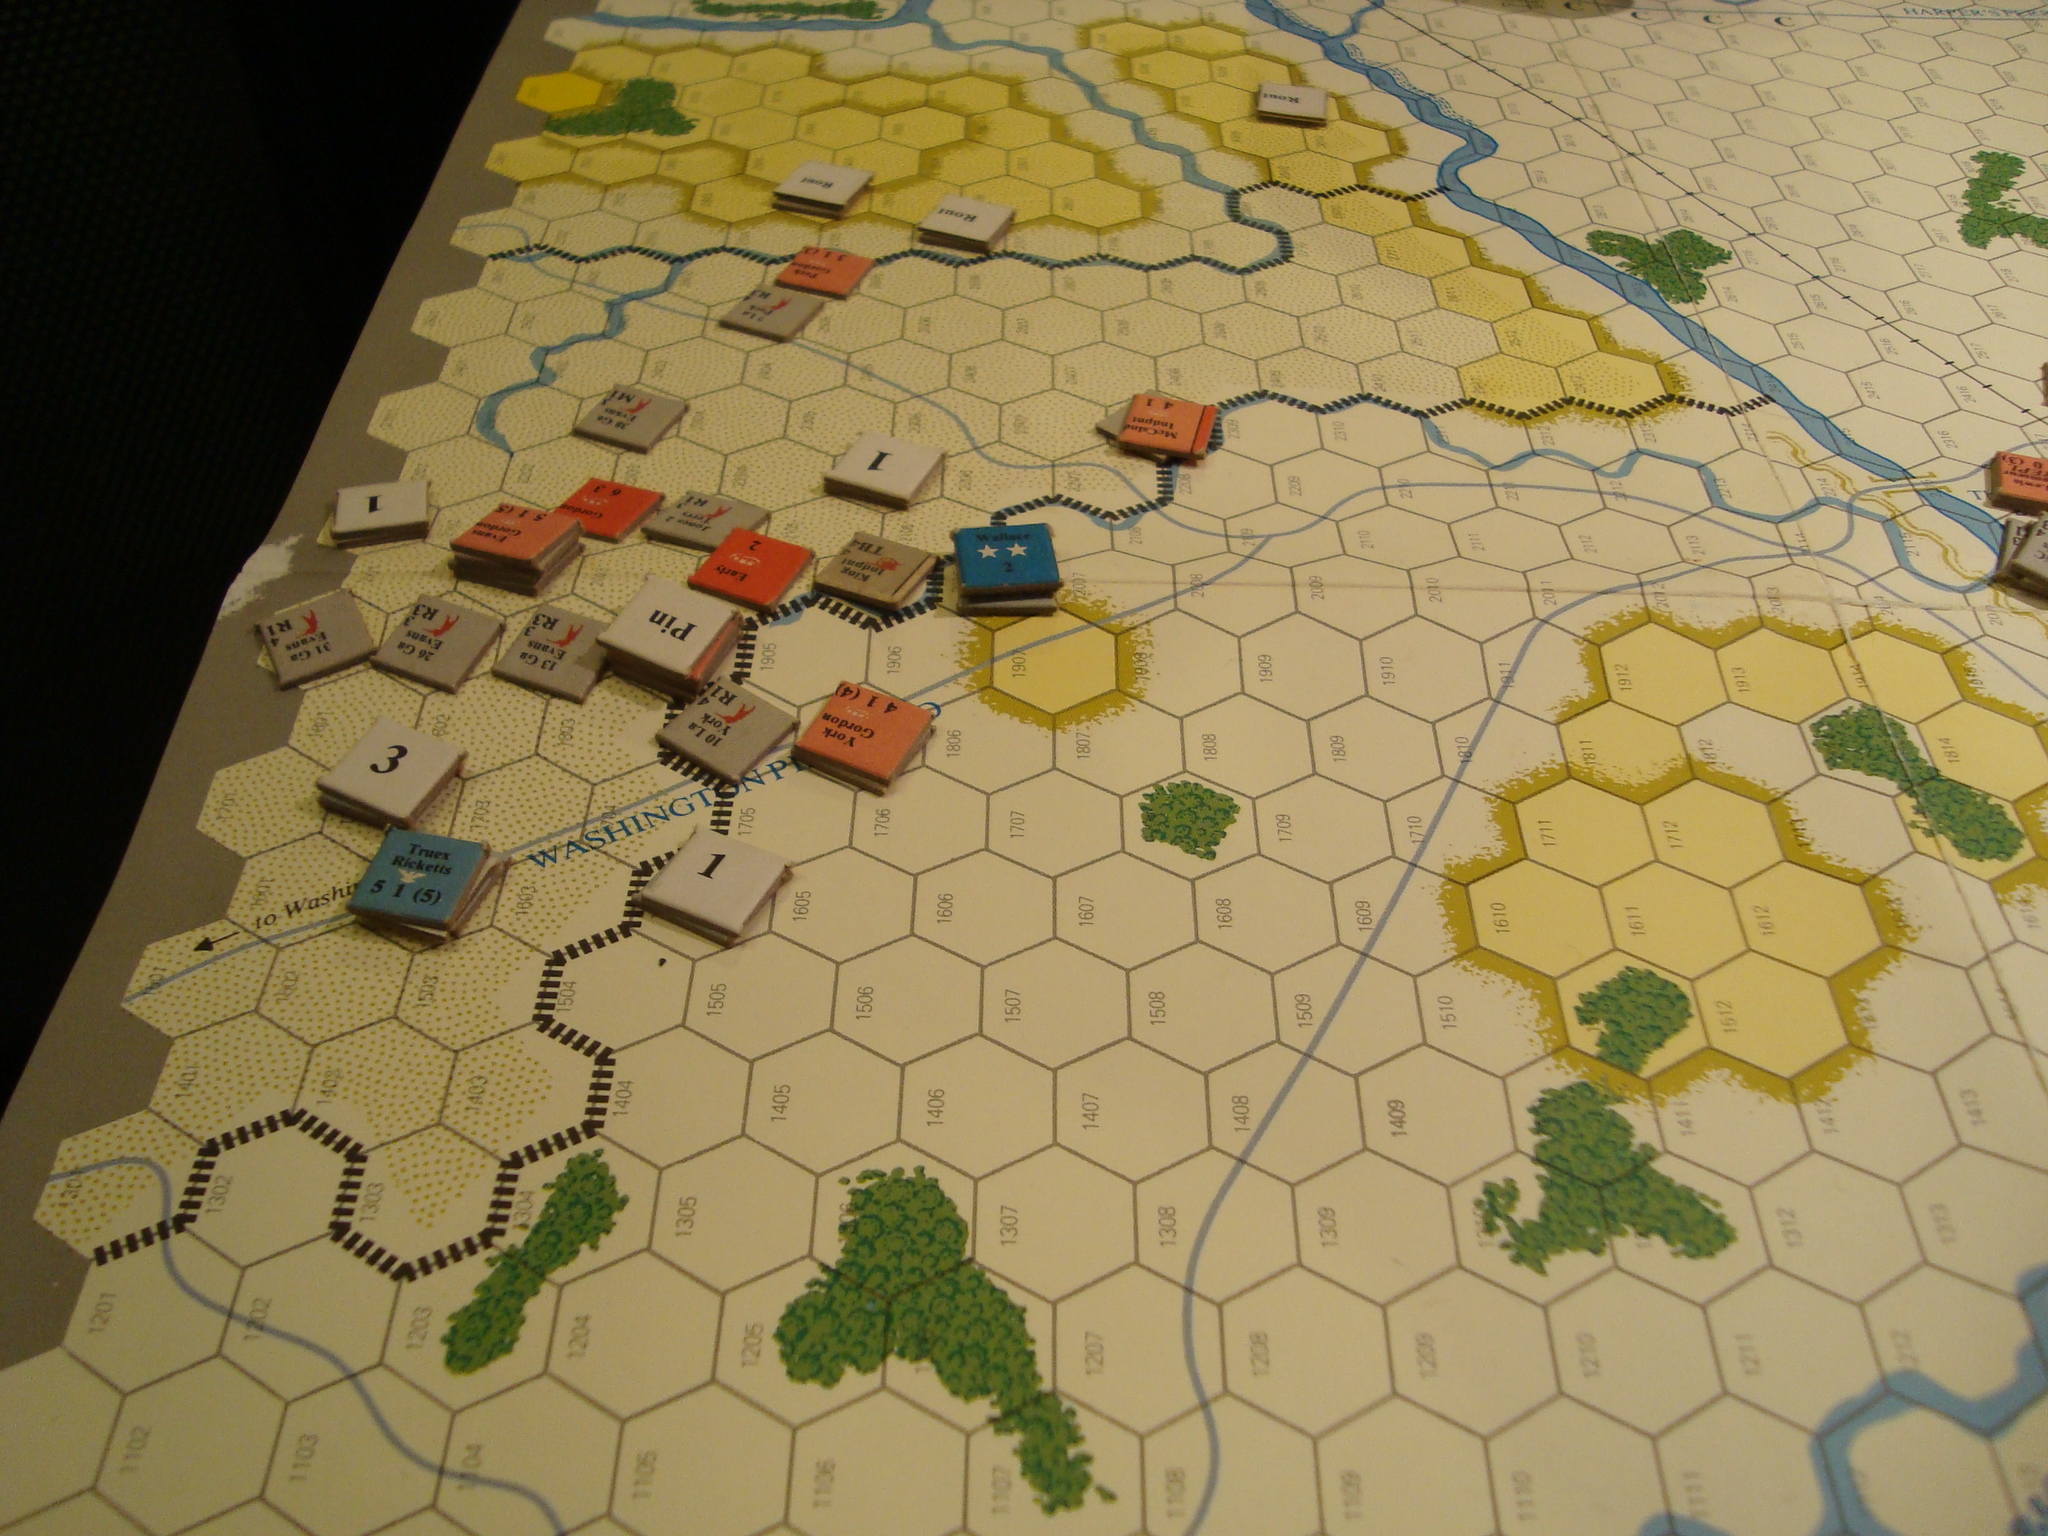
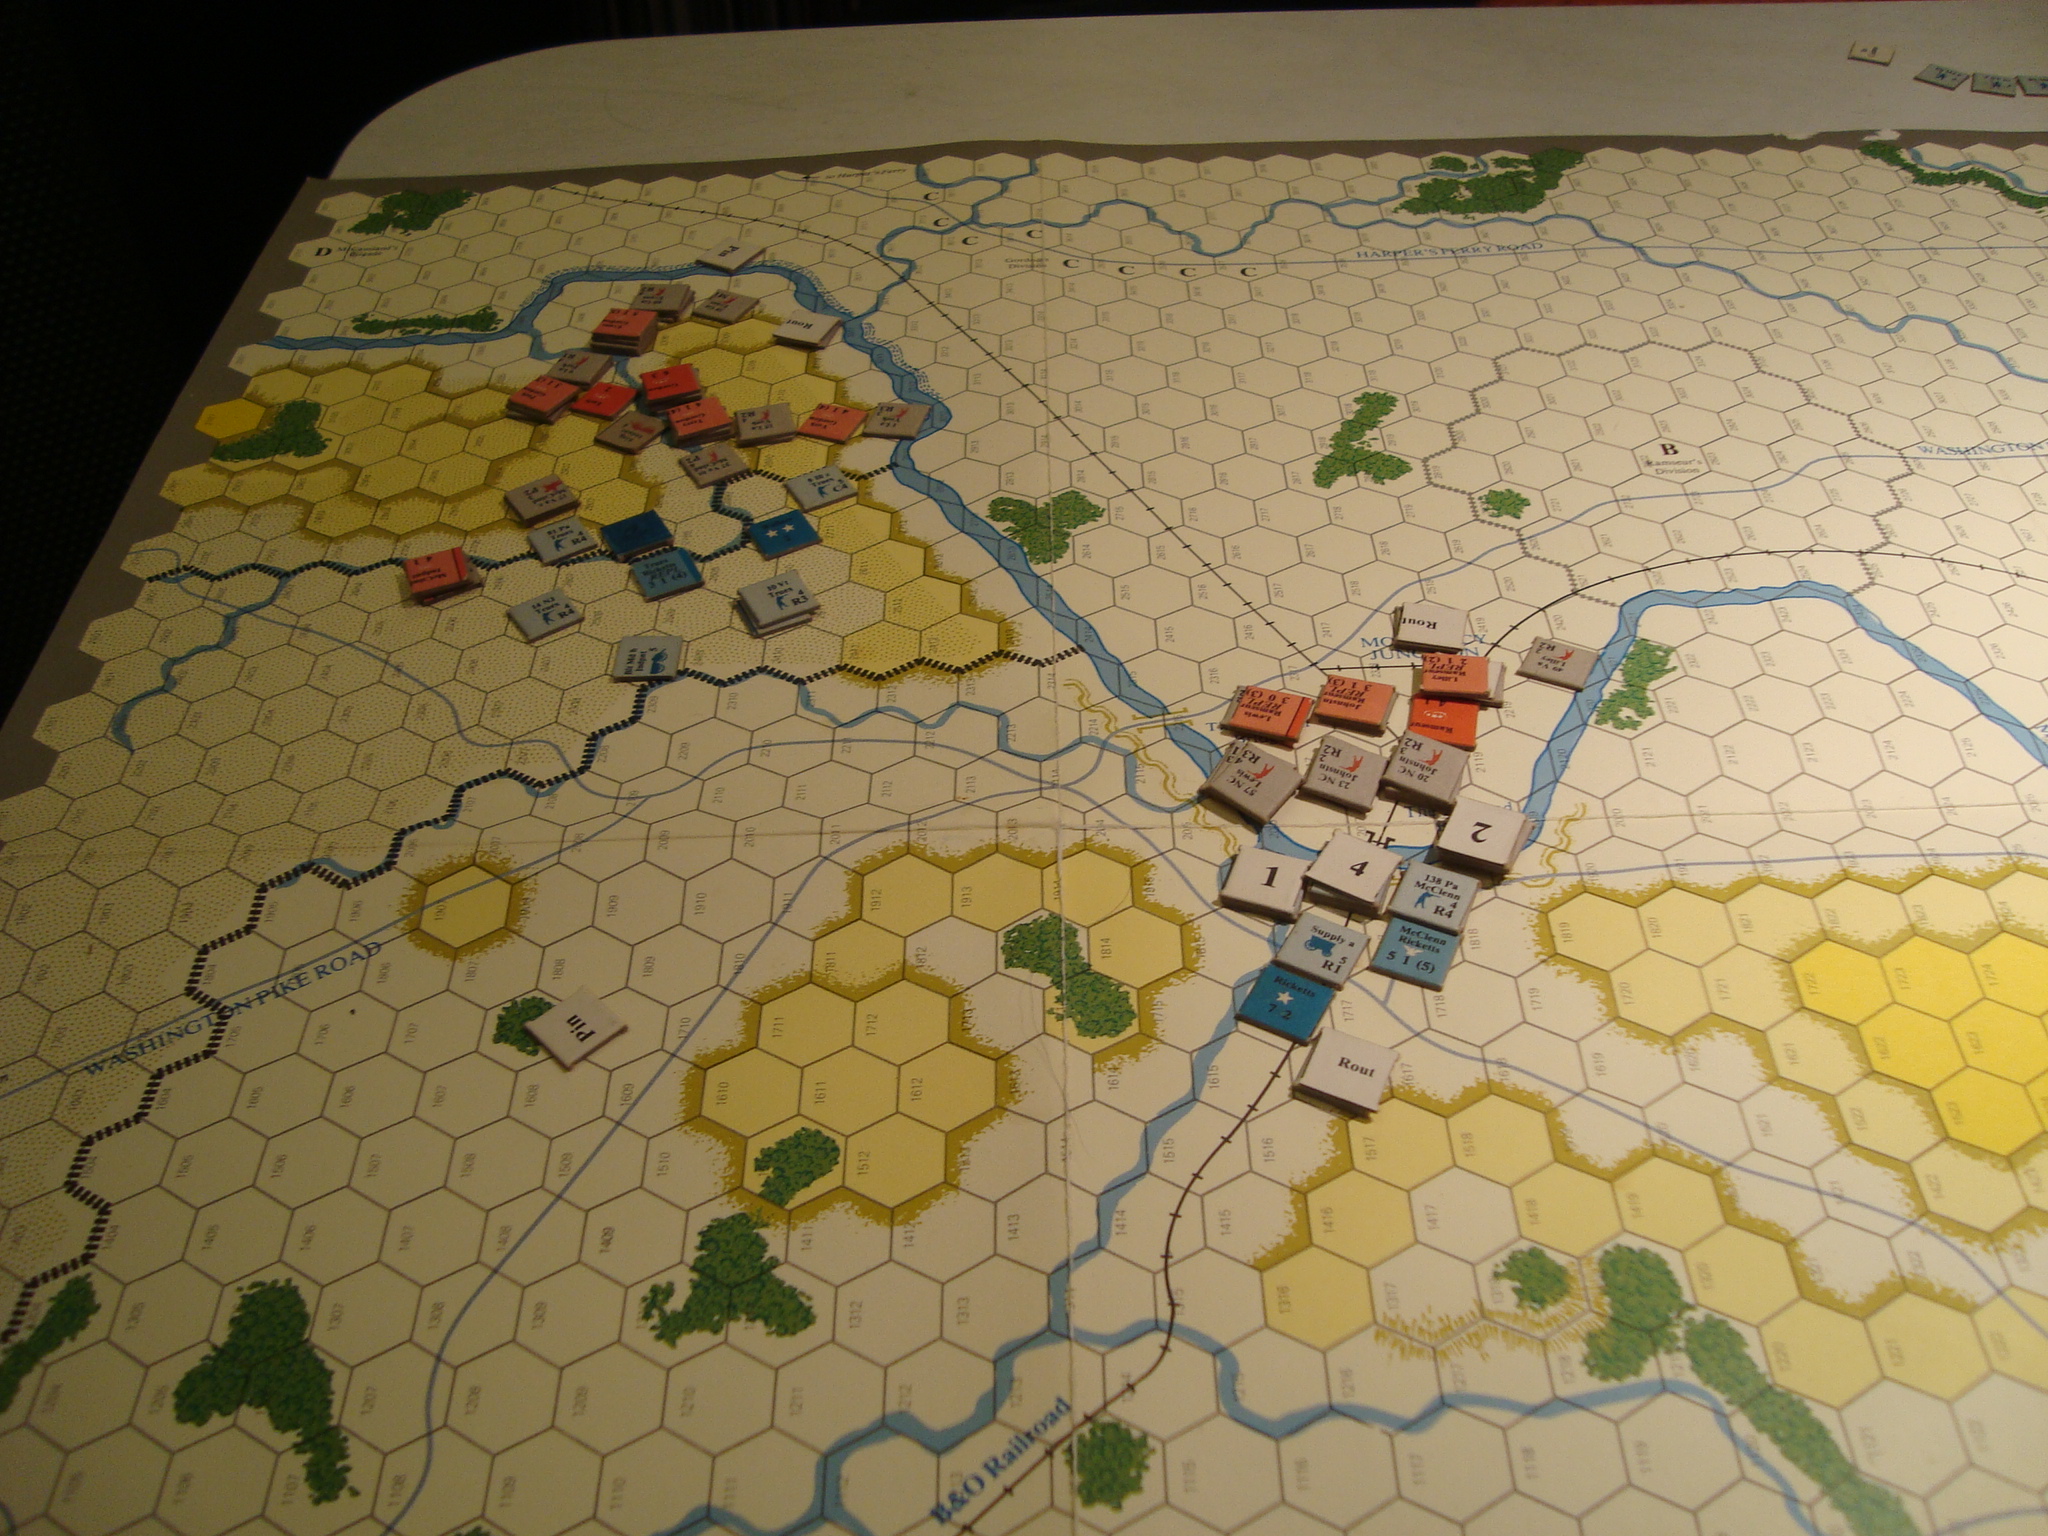
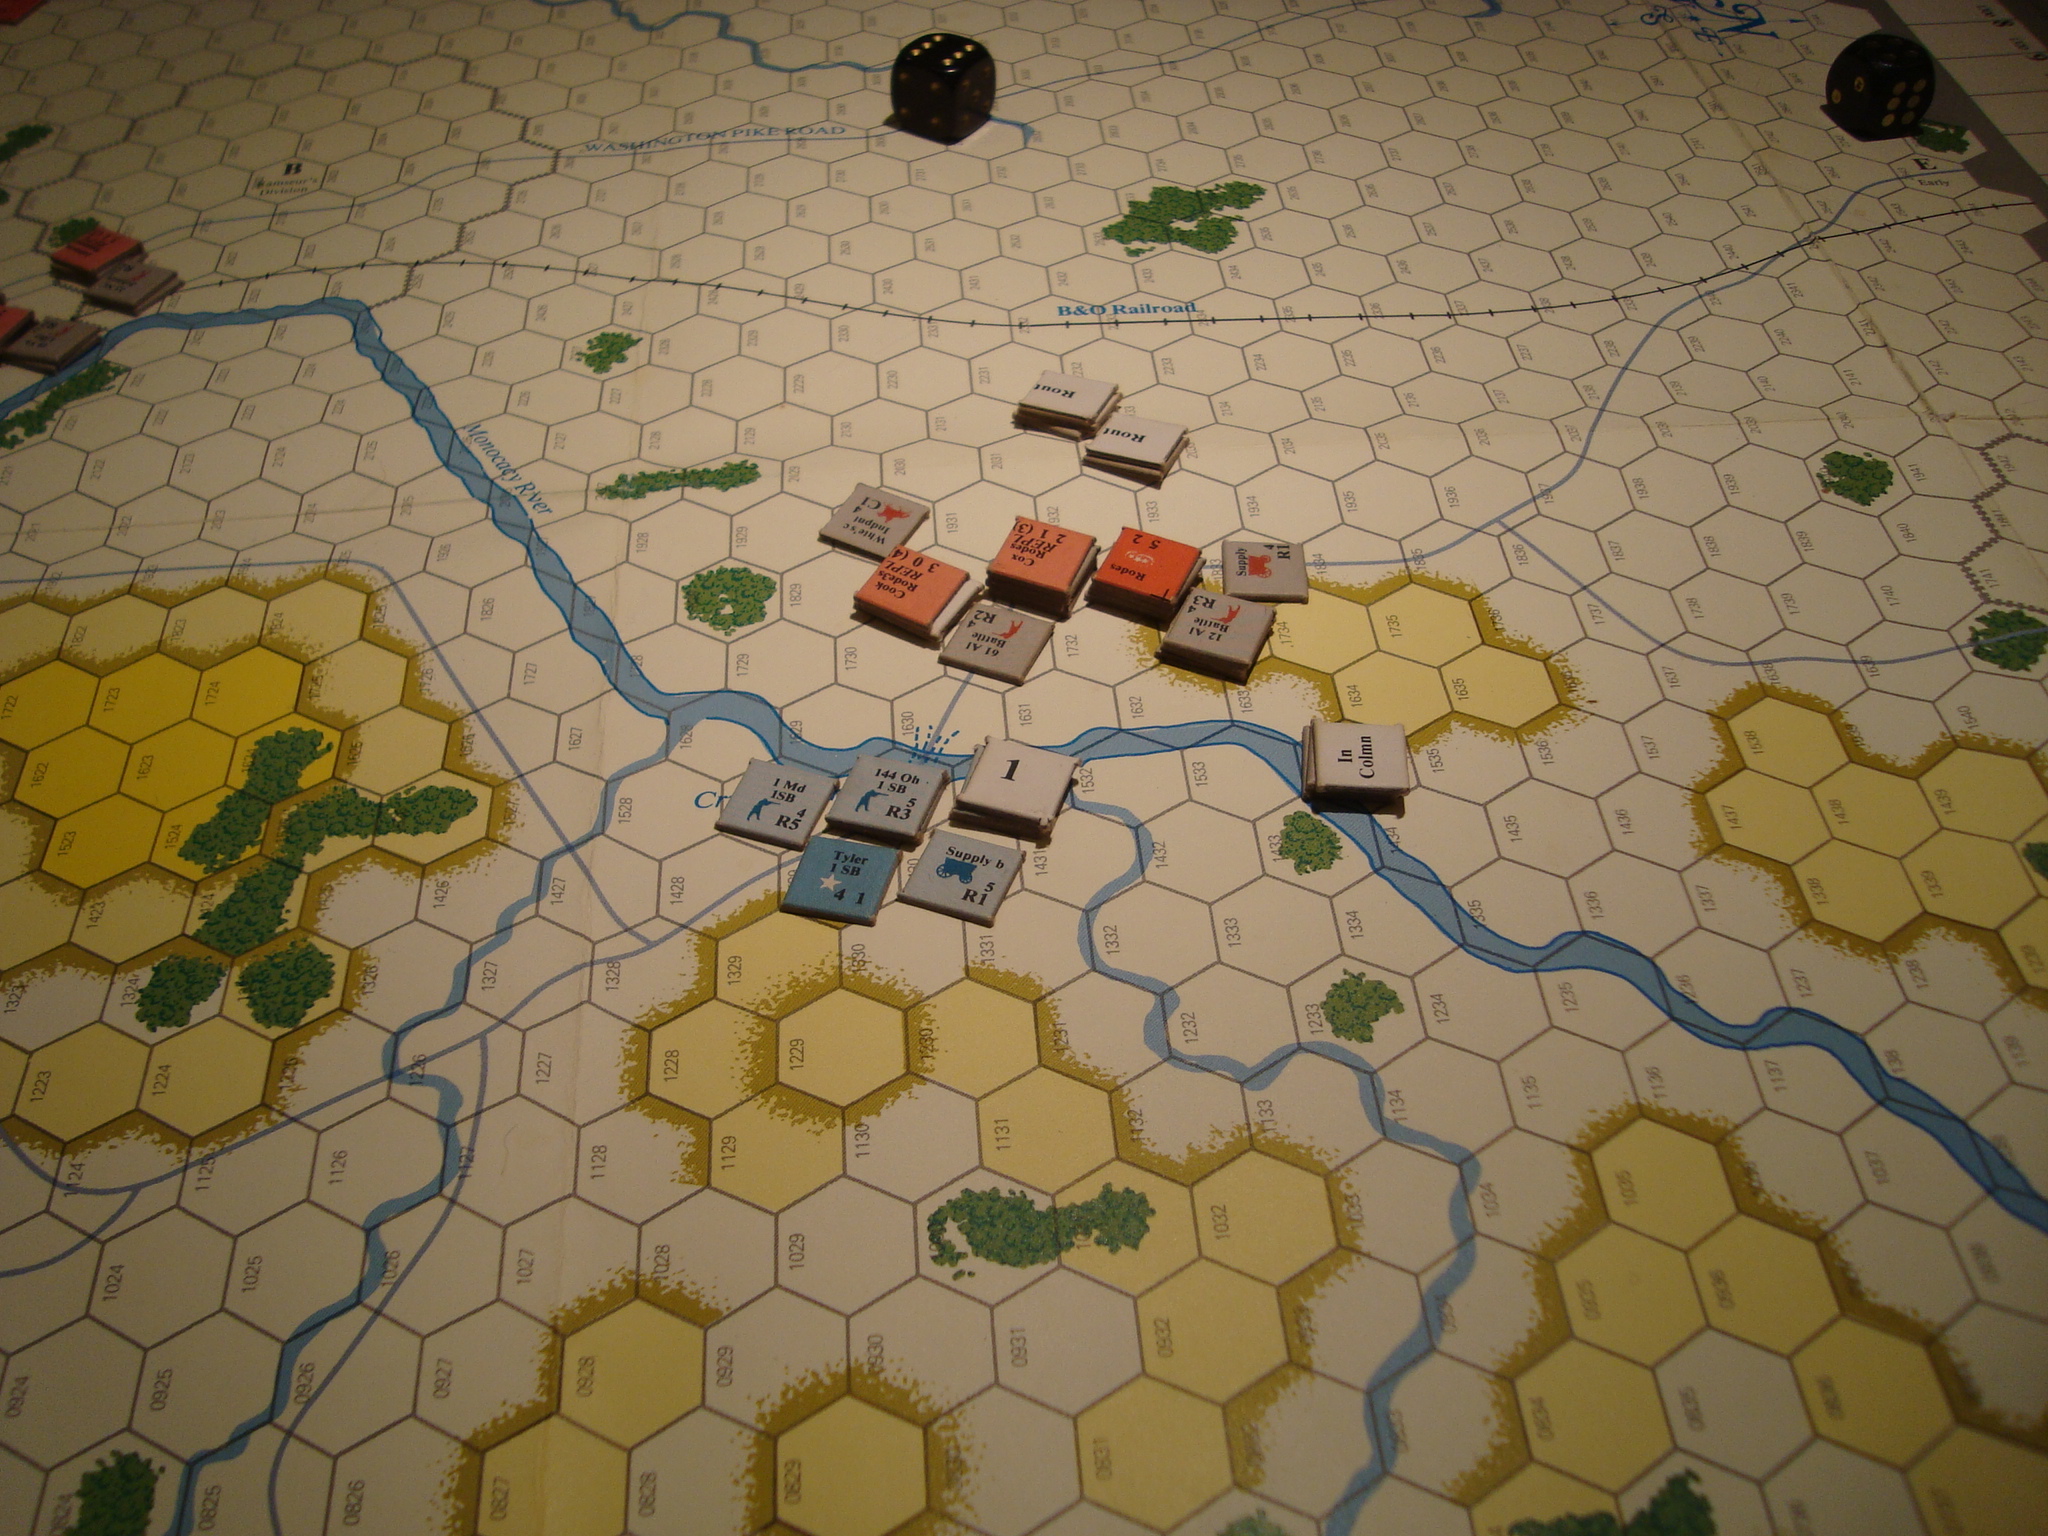
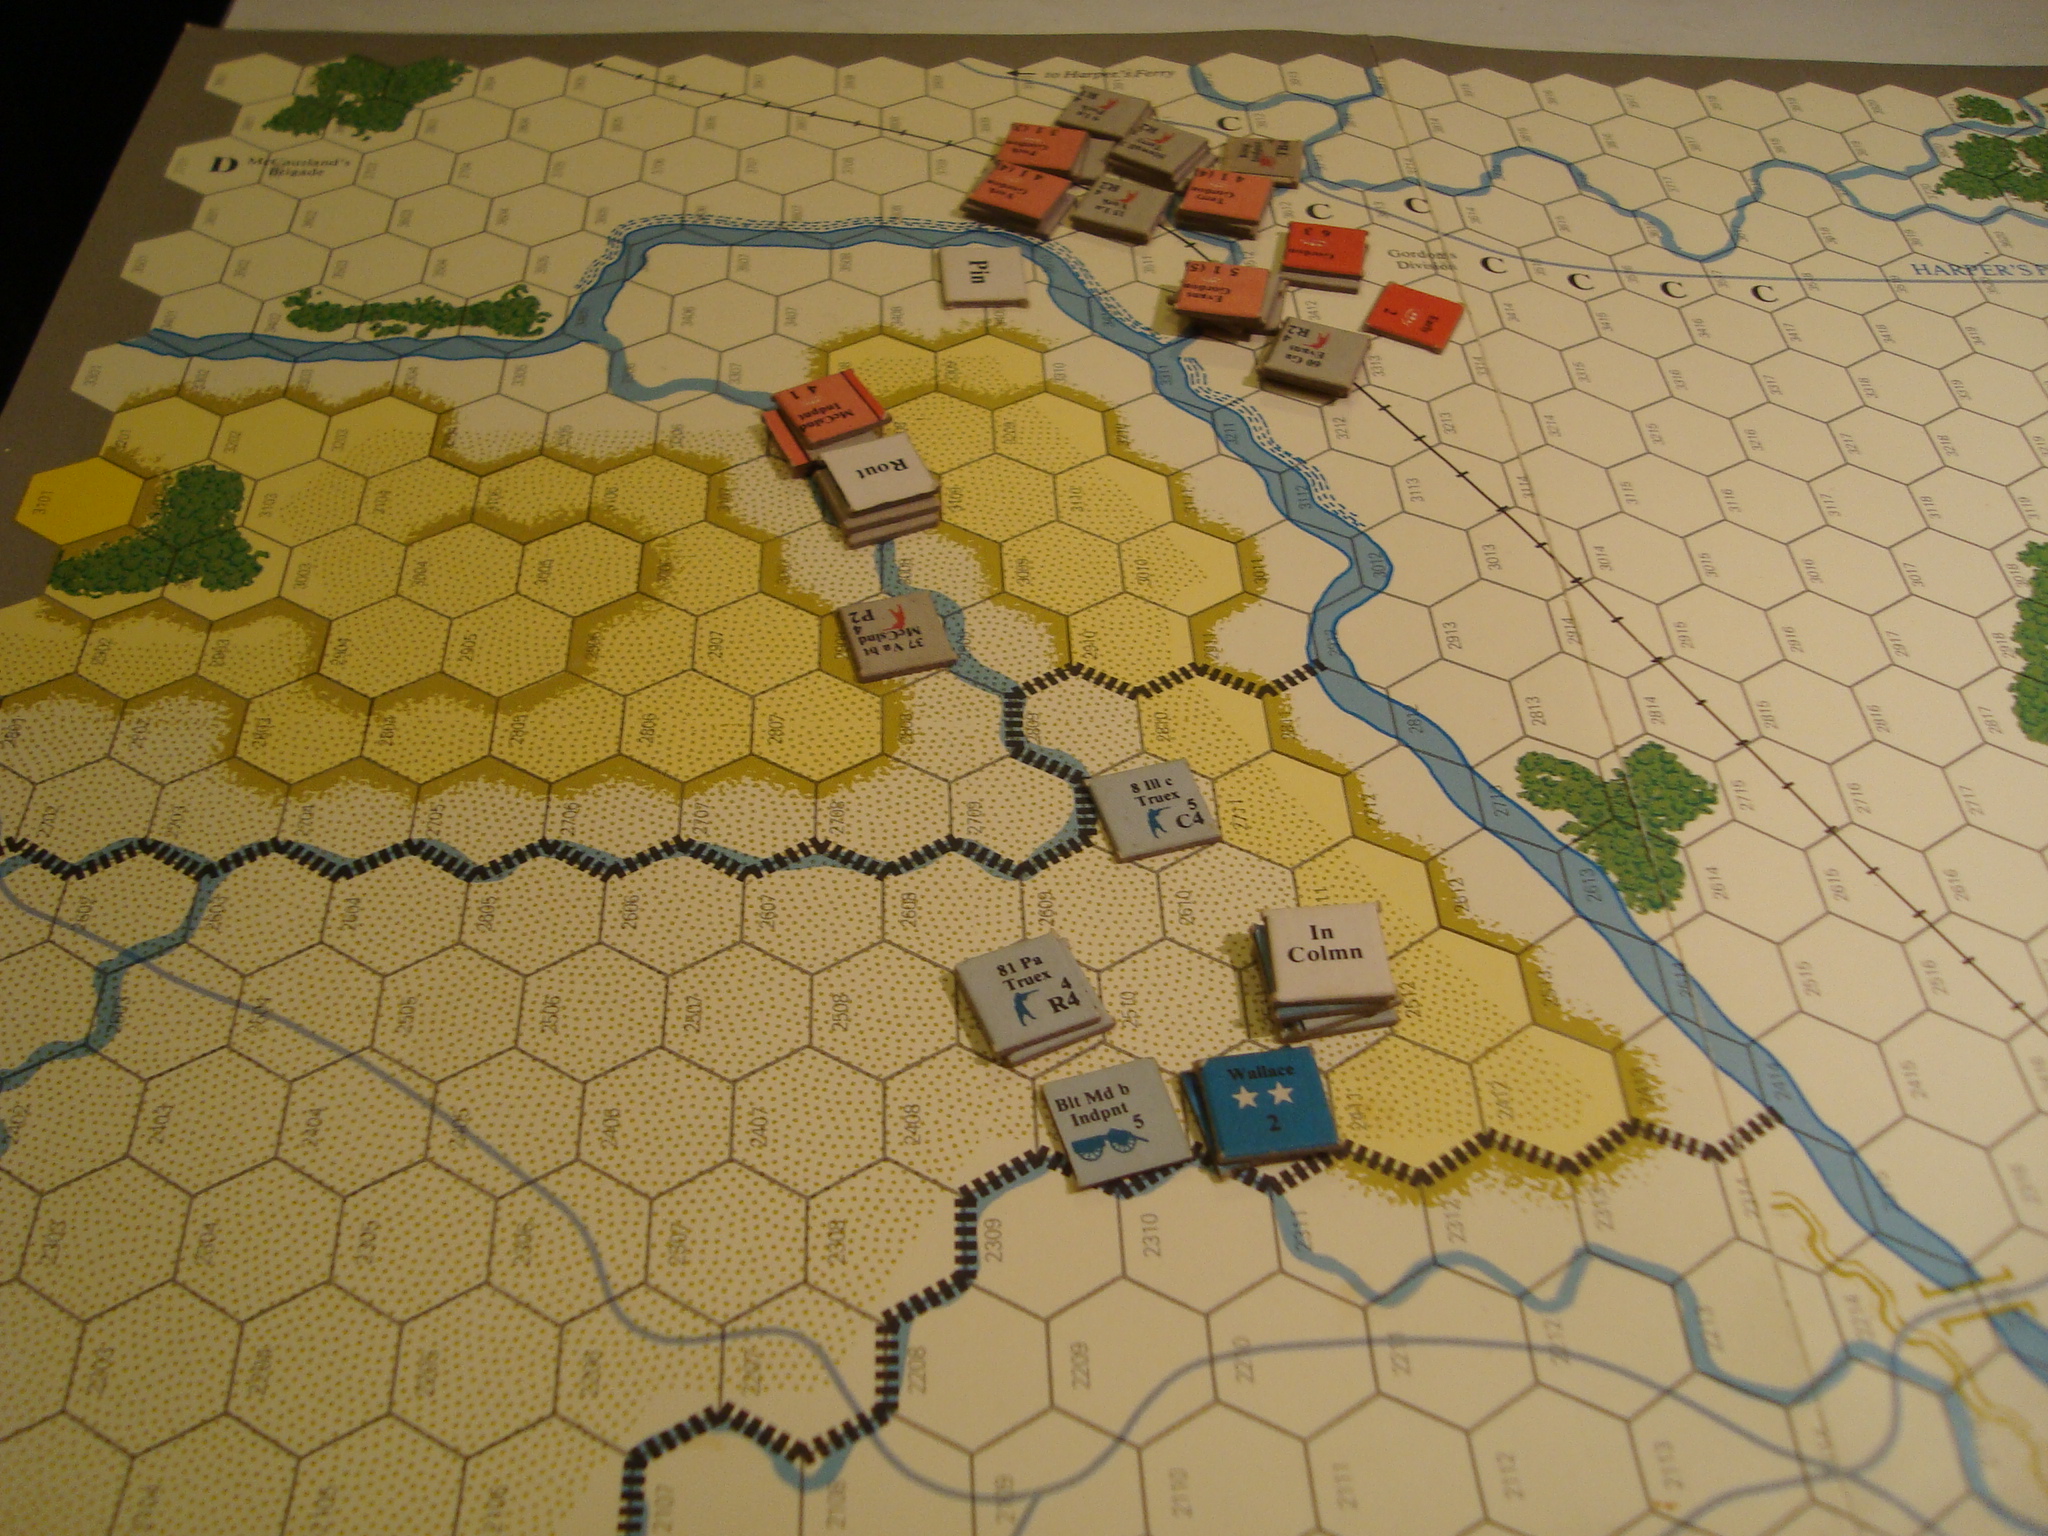
Since the fighting at the Railroad Bridge and northern fords had devolved into ineffective firefights, I played the Truex-Gordon fight for the last three turns.
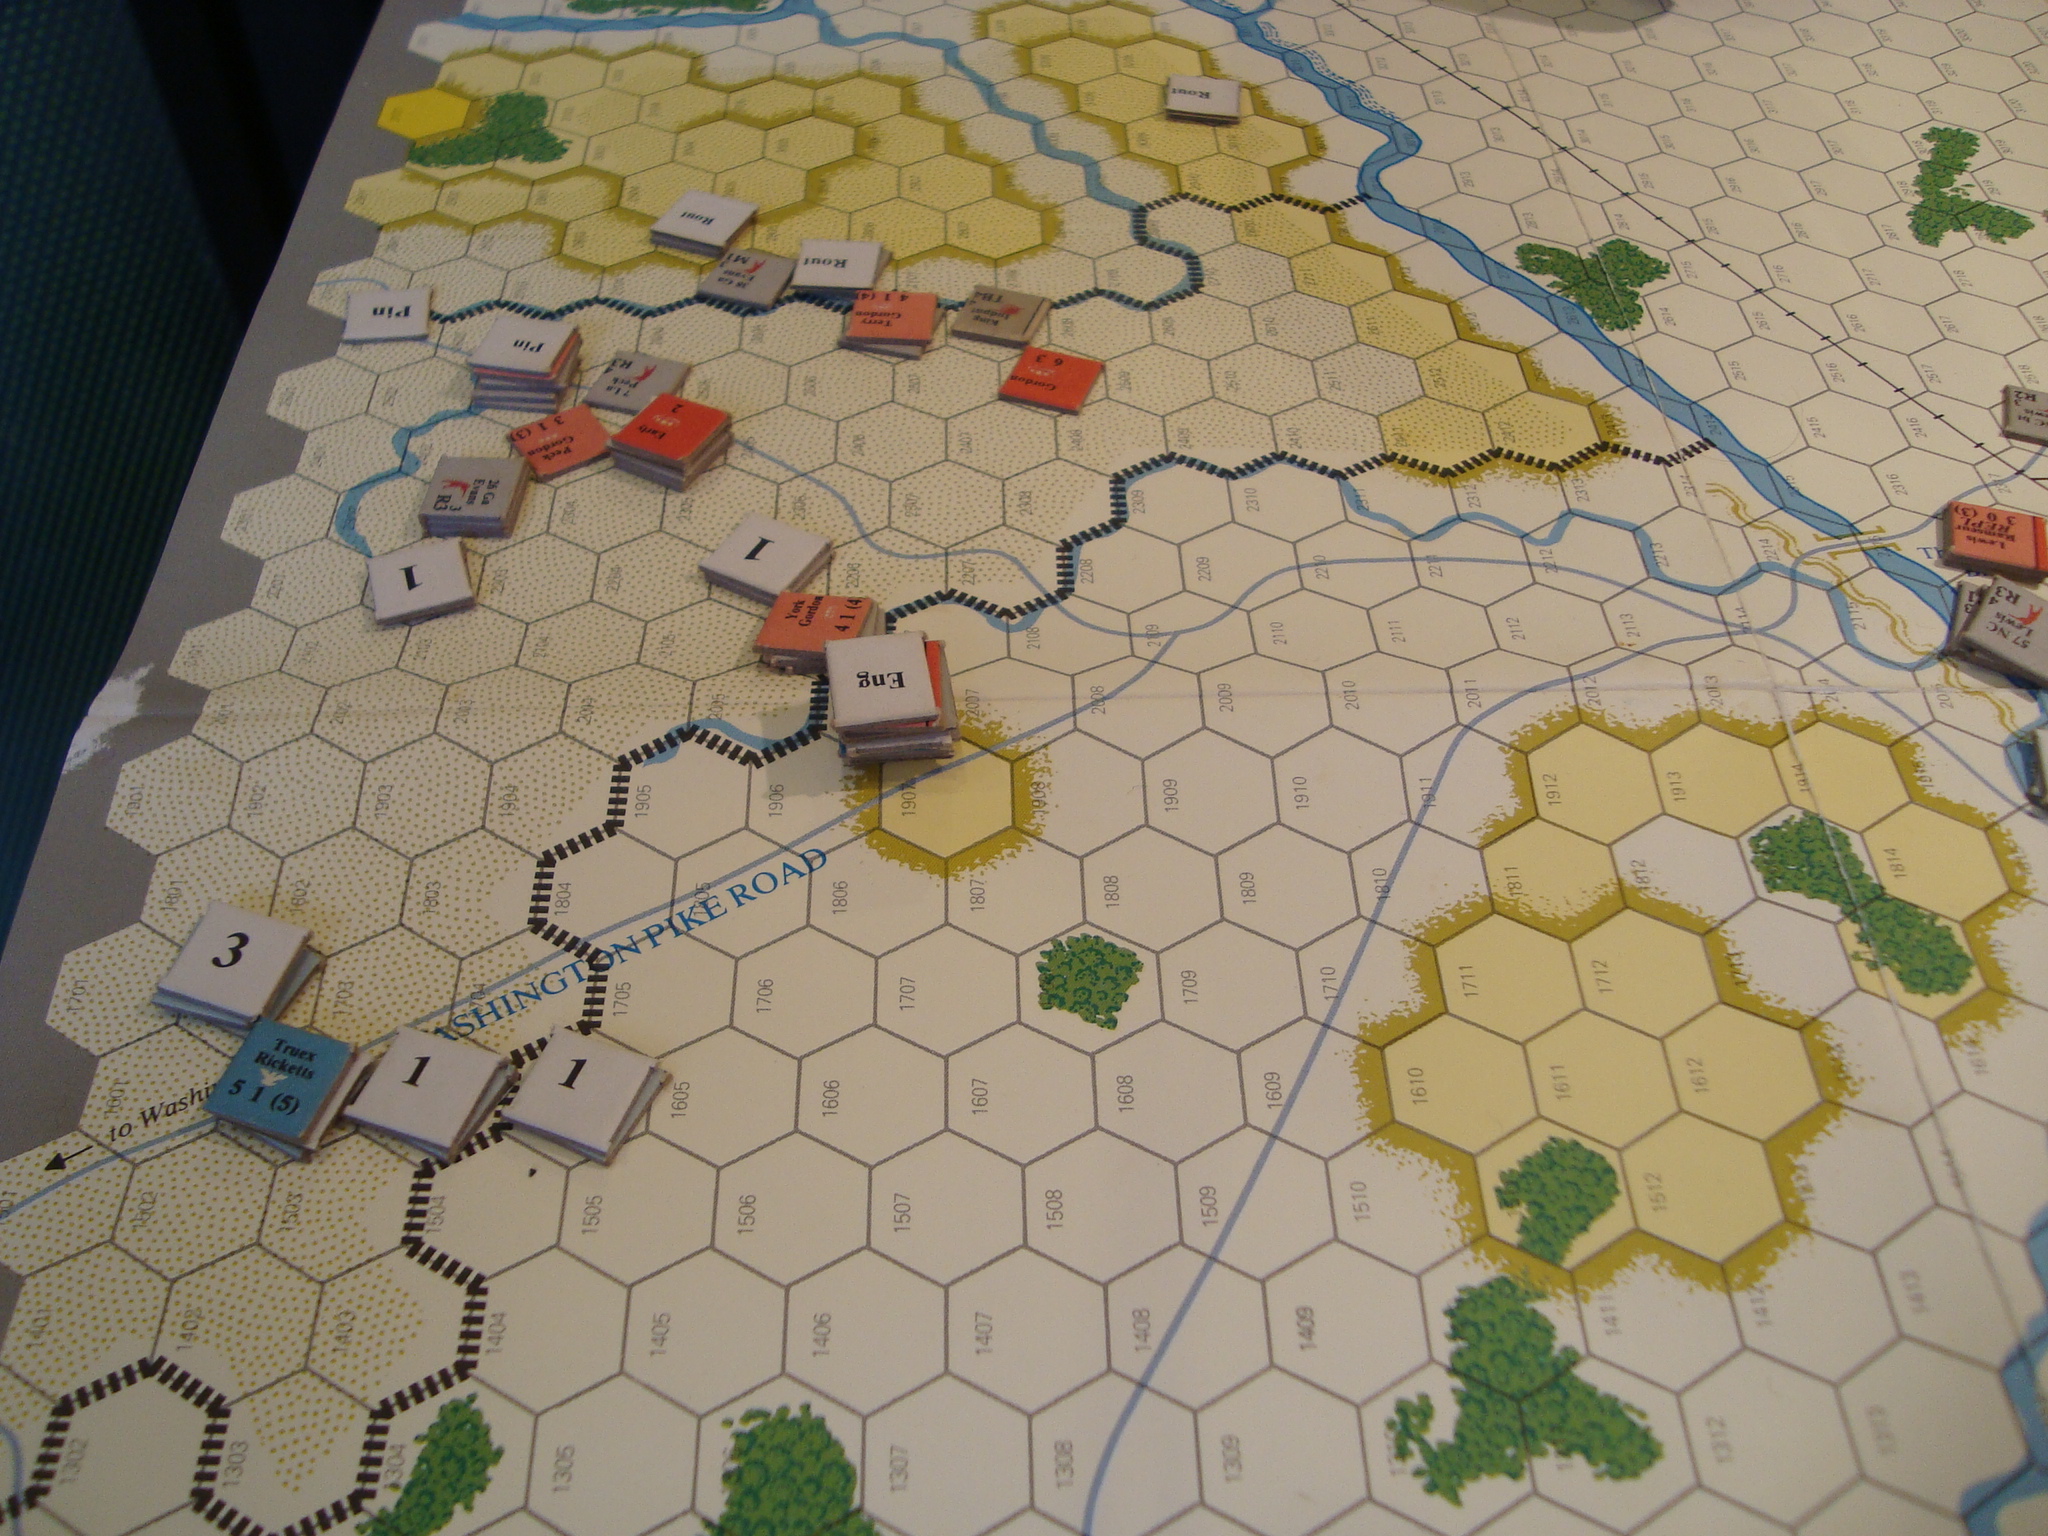
Gordon was able to flank Truex and force a retreat to cover the Washington Road Turnpike. The Confederates enveloped individual Federal units and, while taking fire casualties to units in one hex, were able to bring overwhelming odds to bear for close-combats.
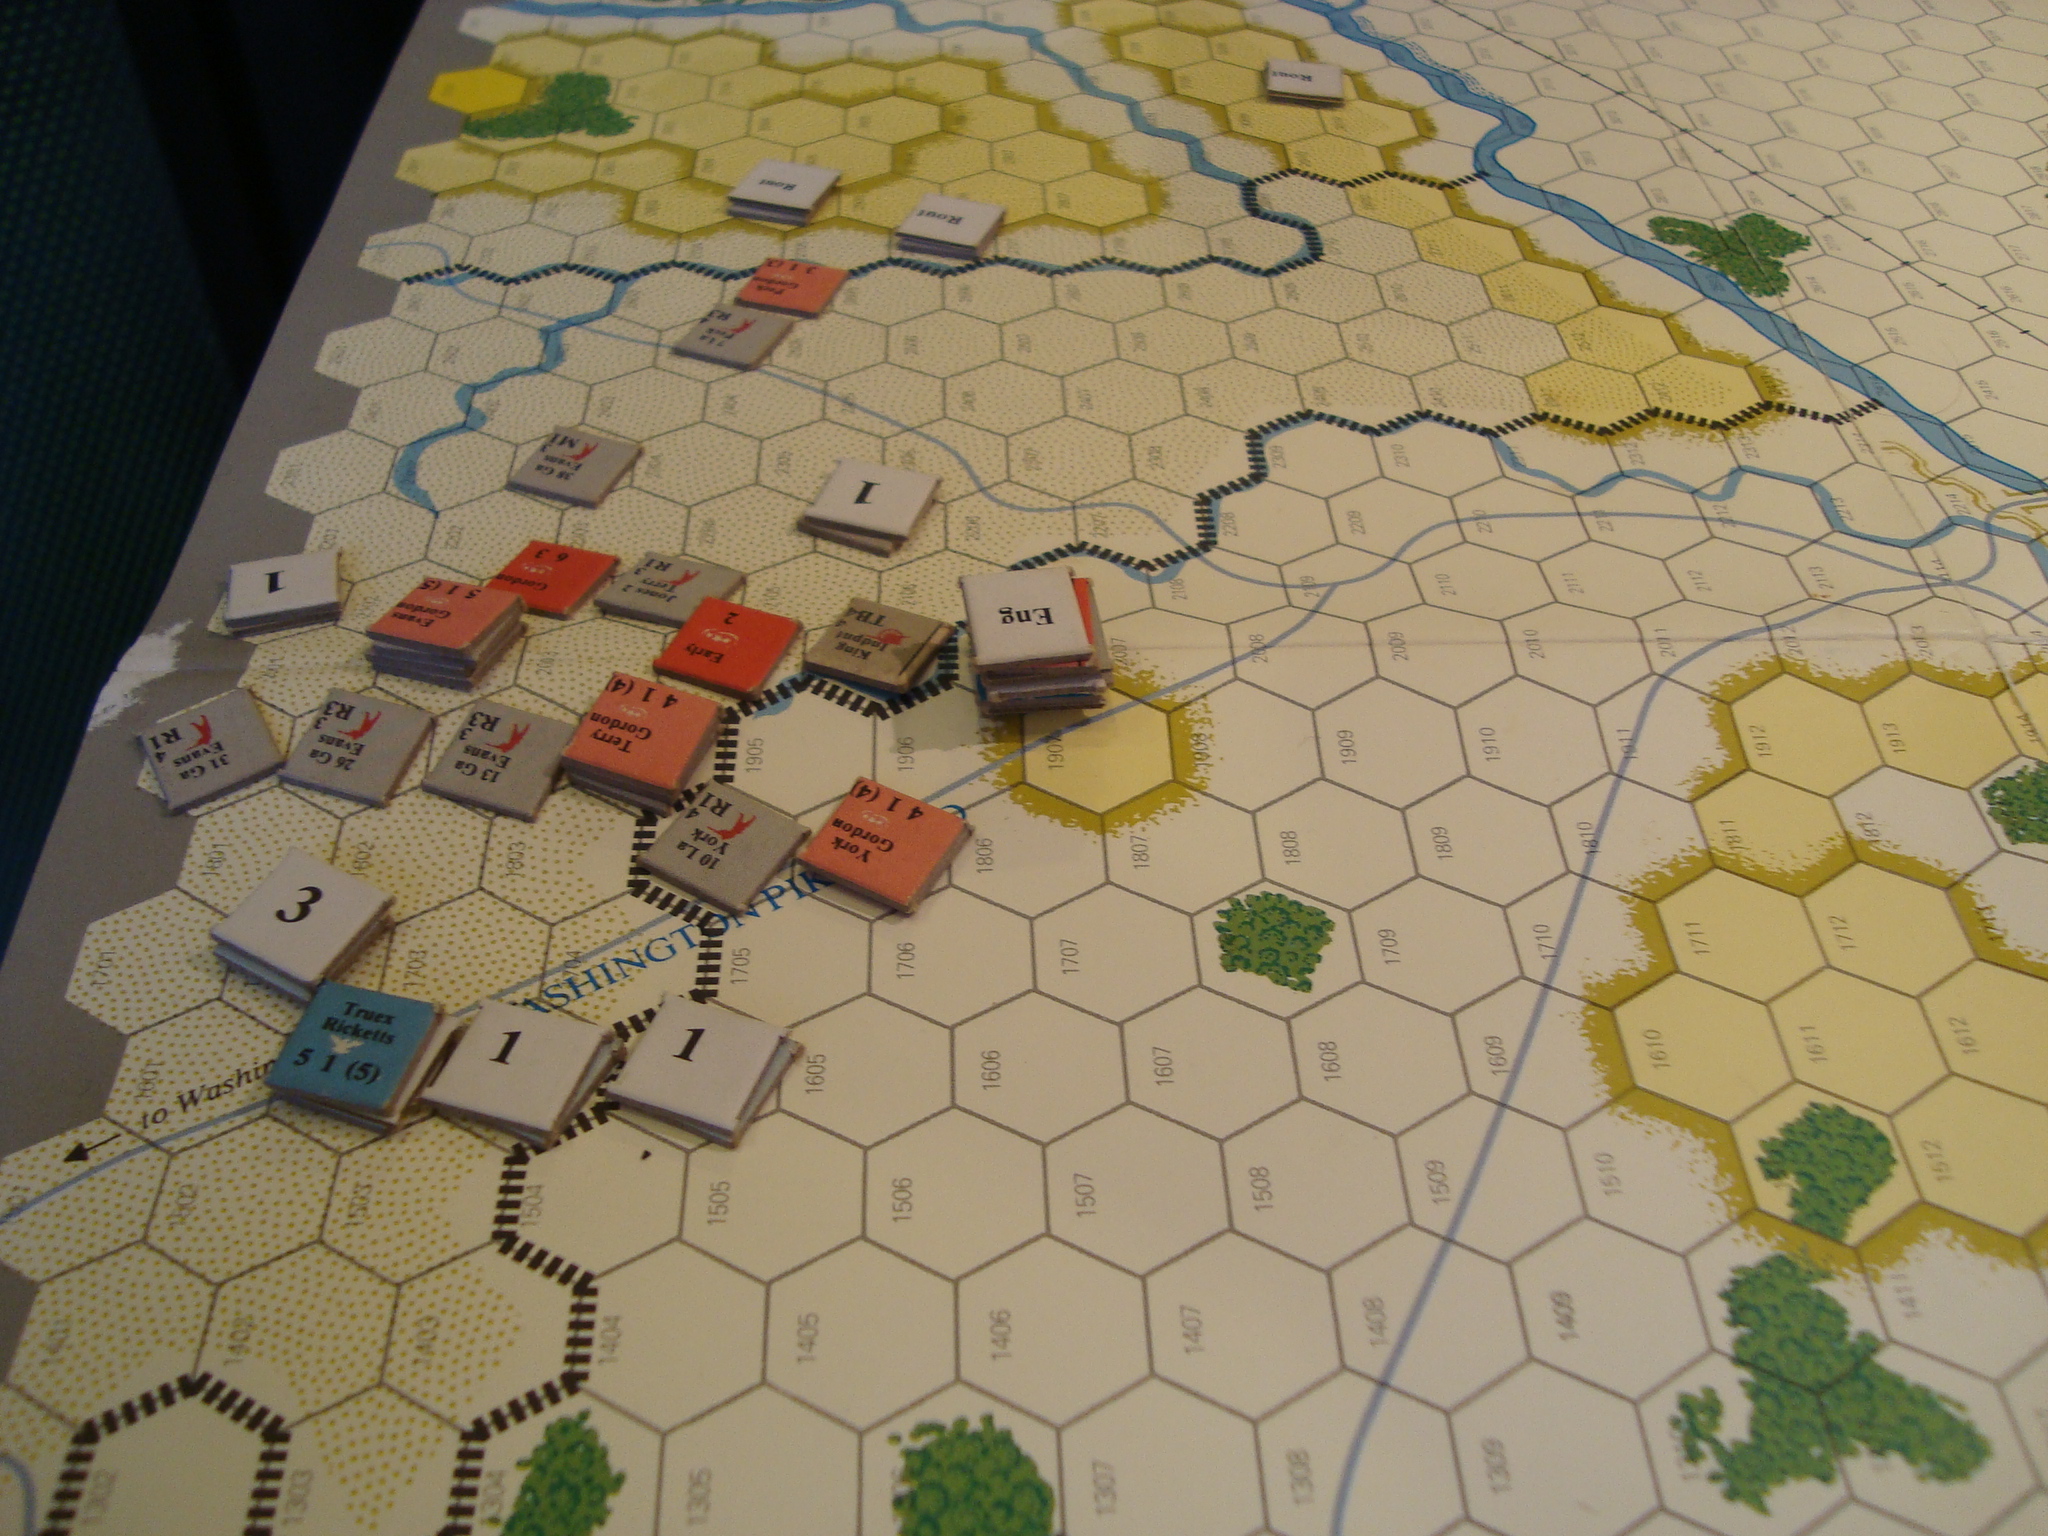
Truex’s regiments took a terrible beating. If I had kept track of Brigade Effectiveness, I’m sure they would have been rendered incapable of offering any resistance. As it was, without the book keeping, they were rendered incapable of offering any resistance. Note the similar outcome. Note I did not have to act like a bloody accountant (Sorry Tim).
On the other hand, the Federals had prevented any Rebel units from exiting the map.
I’d call it a draw. Good game.
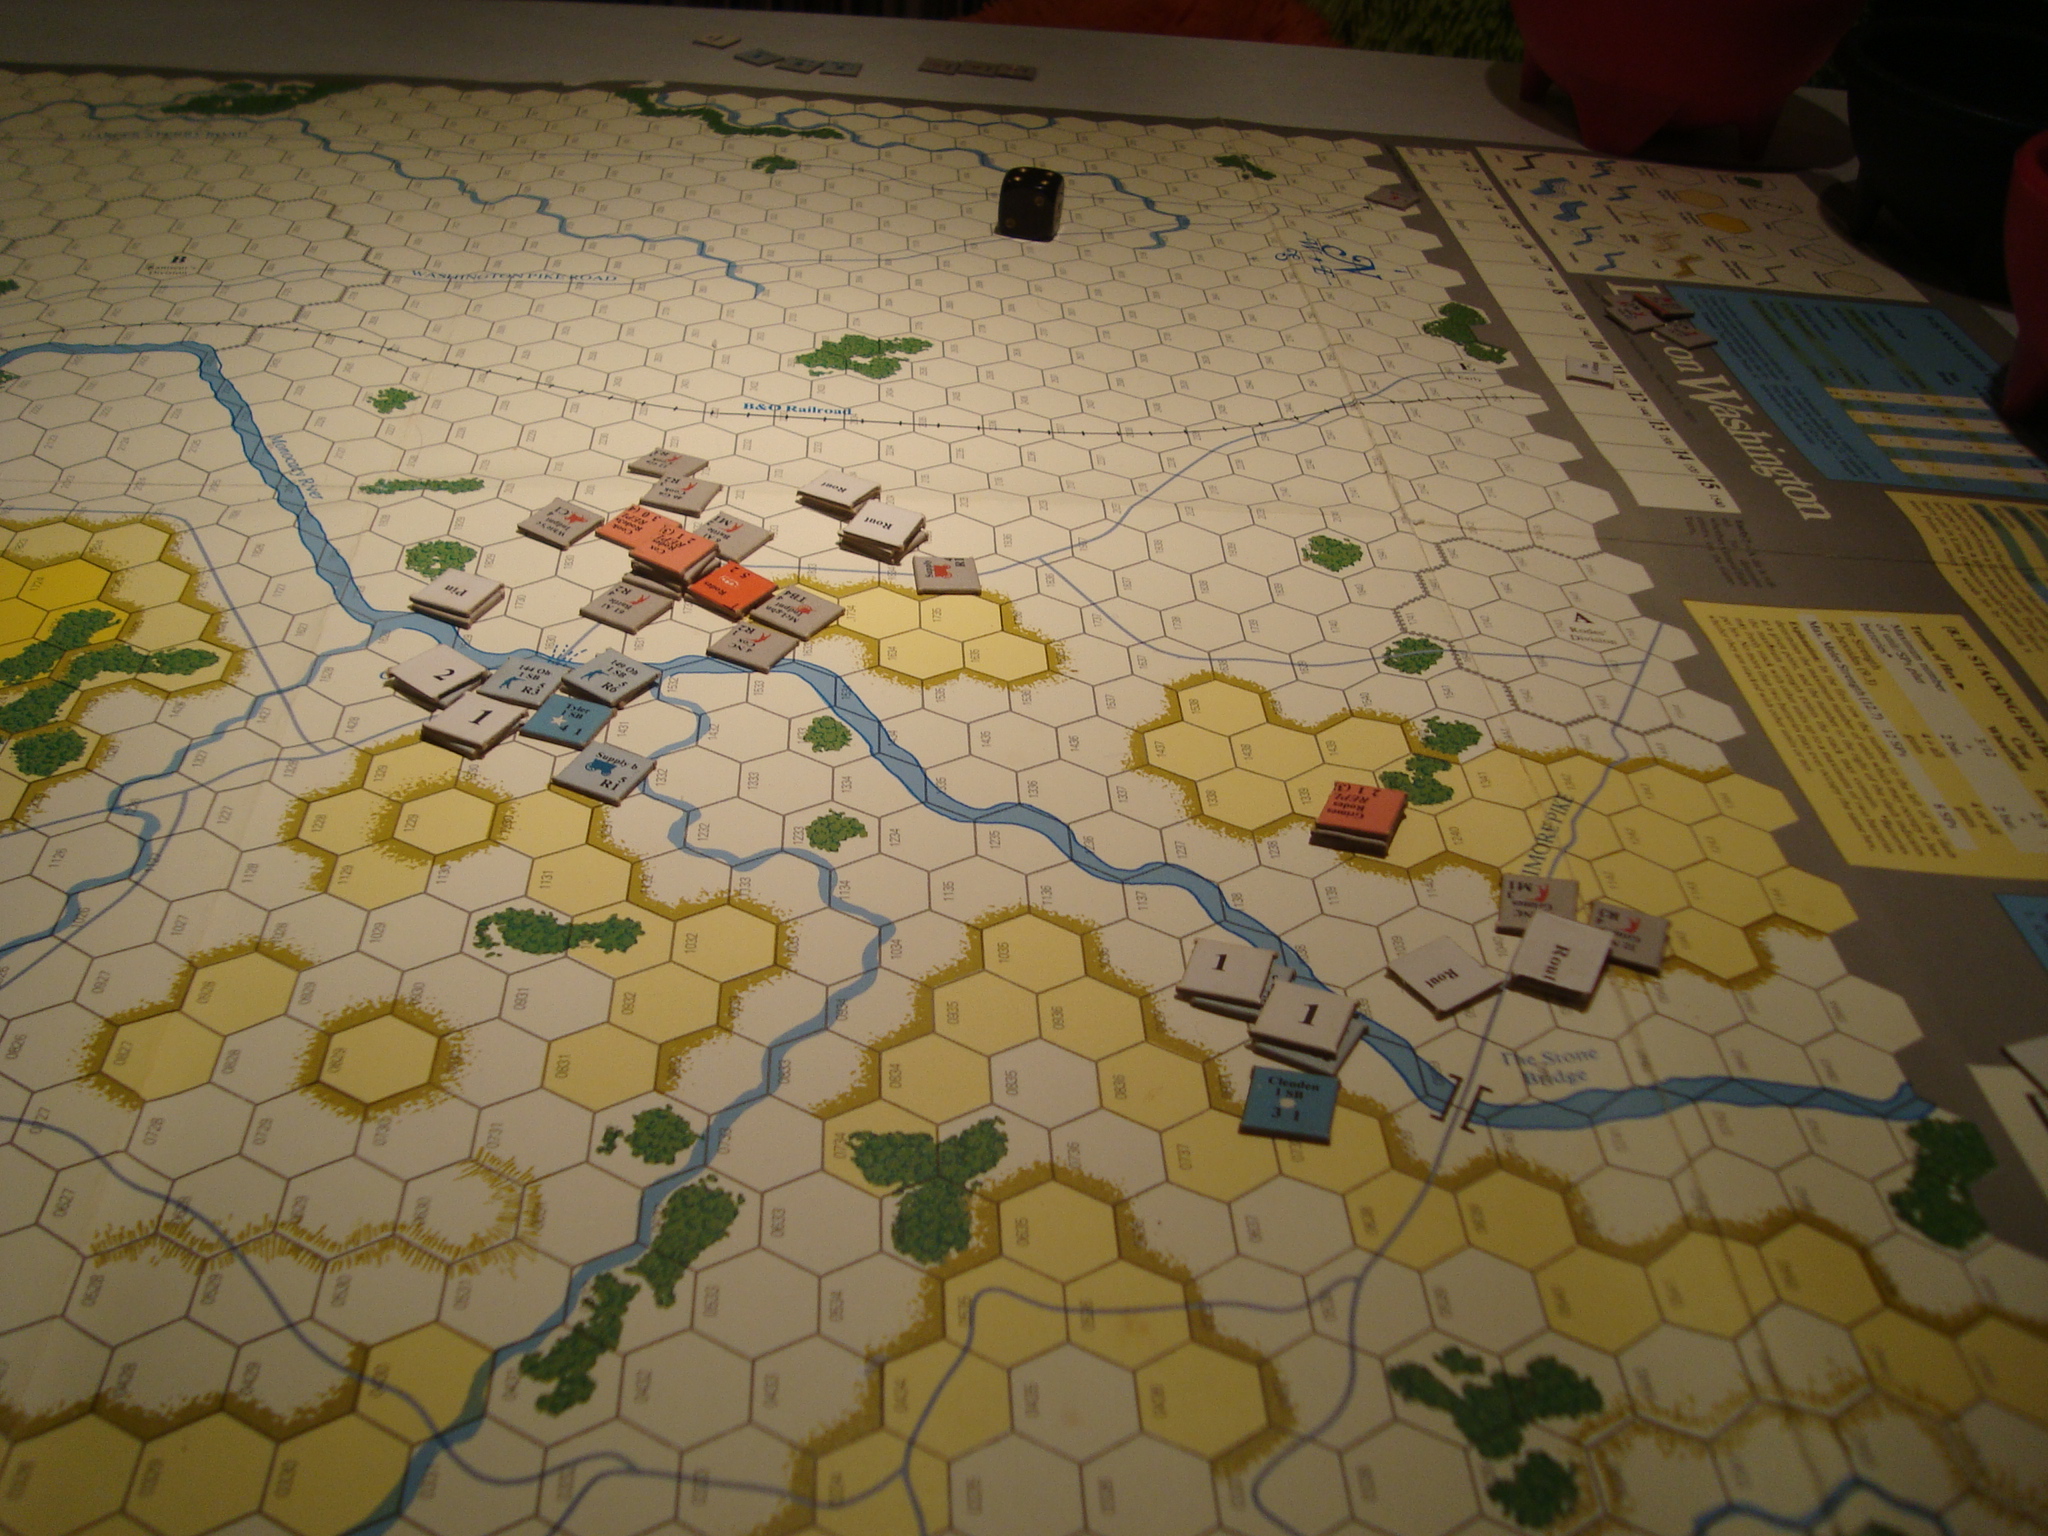
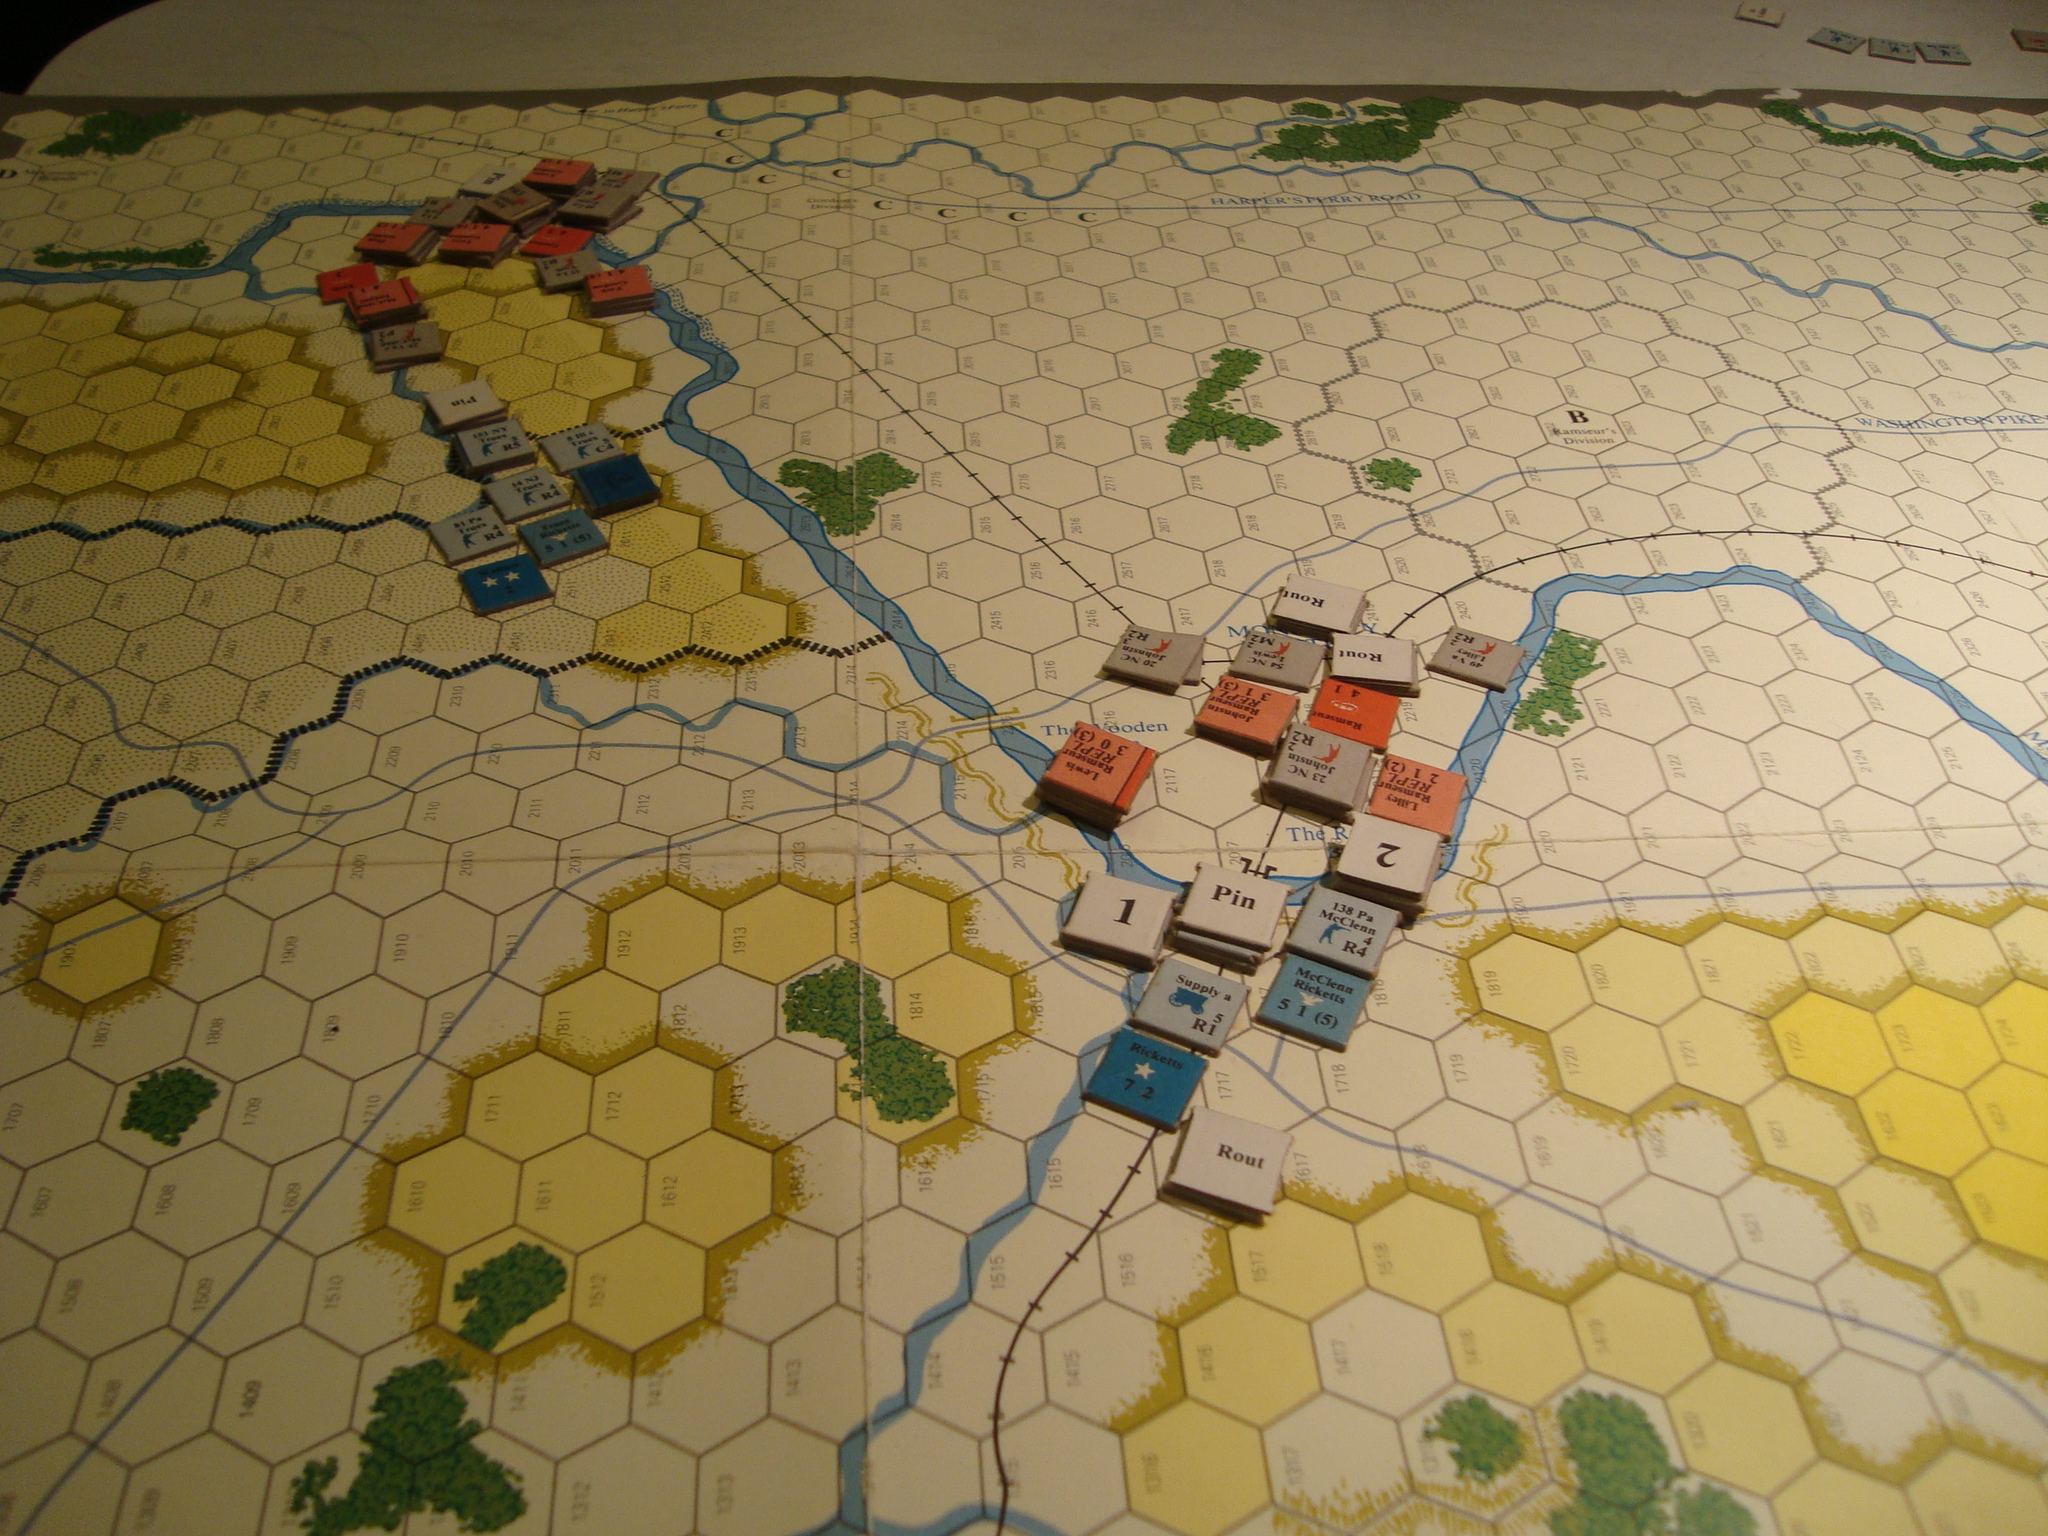
Start Turn 13. Gordon enveloping Truex. Railroad Bridge fight a stalemate.Turn 13. Confederates close, flank and melee with hard-pressed Union regiments.Turn 13. Truex disengages and falls back to Turnpike RoadTurn 14. Gordon pursues. Sets up for fire combat to be followed by close combat.Turn 14. Truex’s forces attritted.Turn 15. Positions at Game’s End.
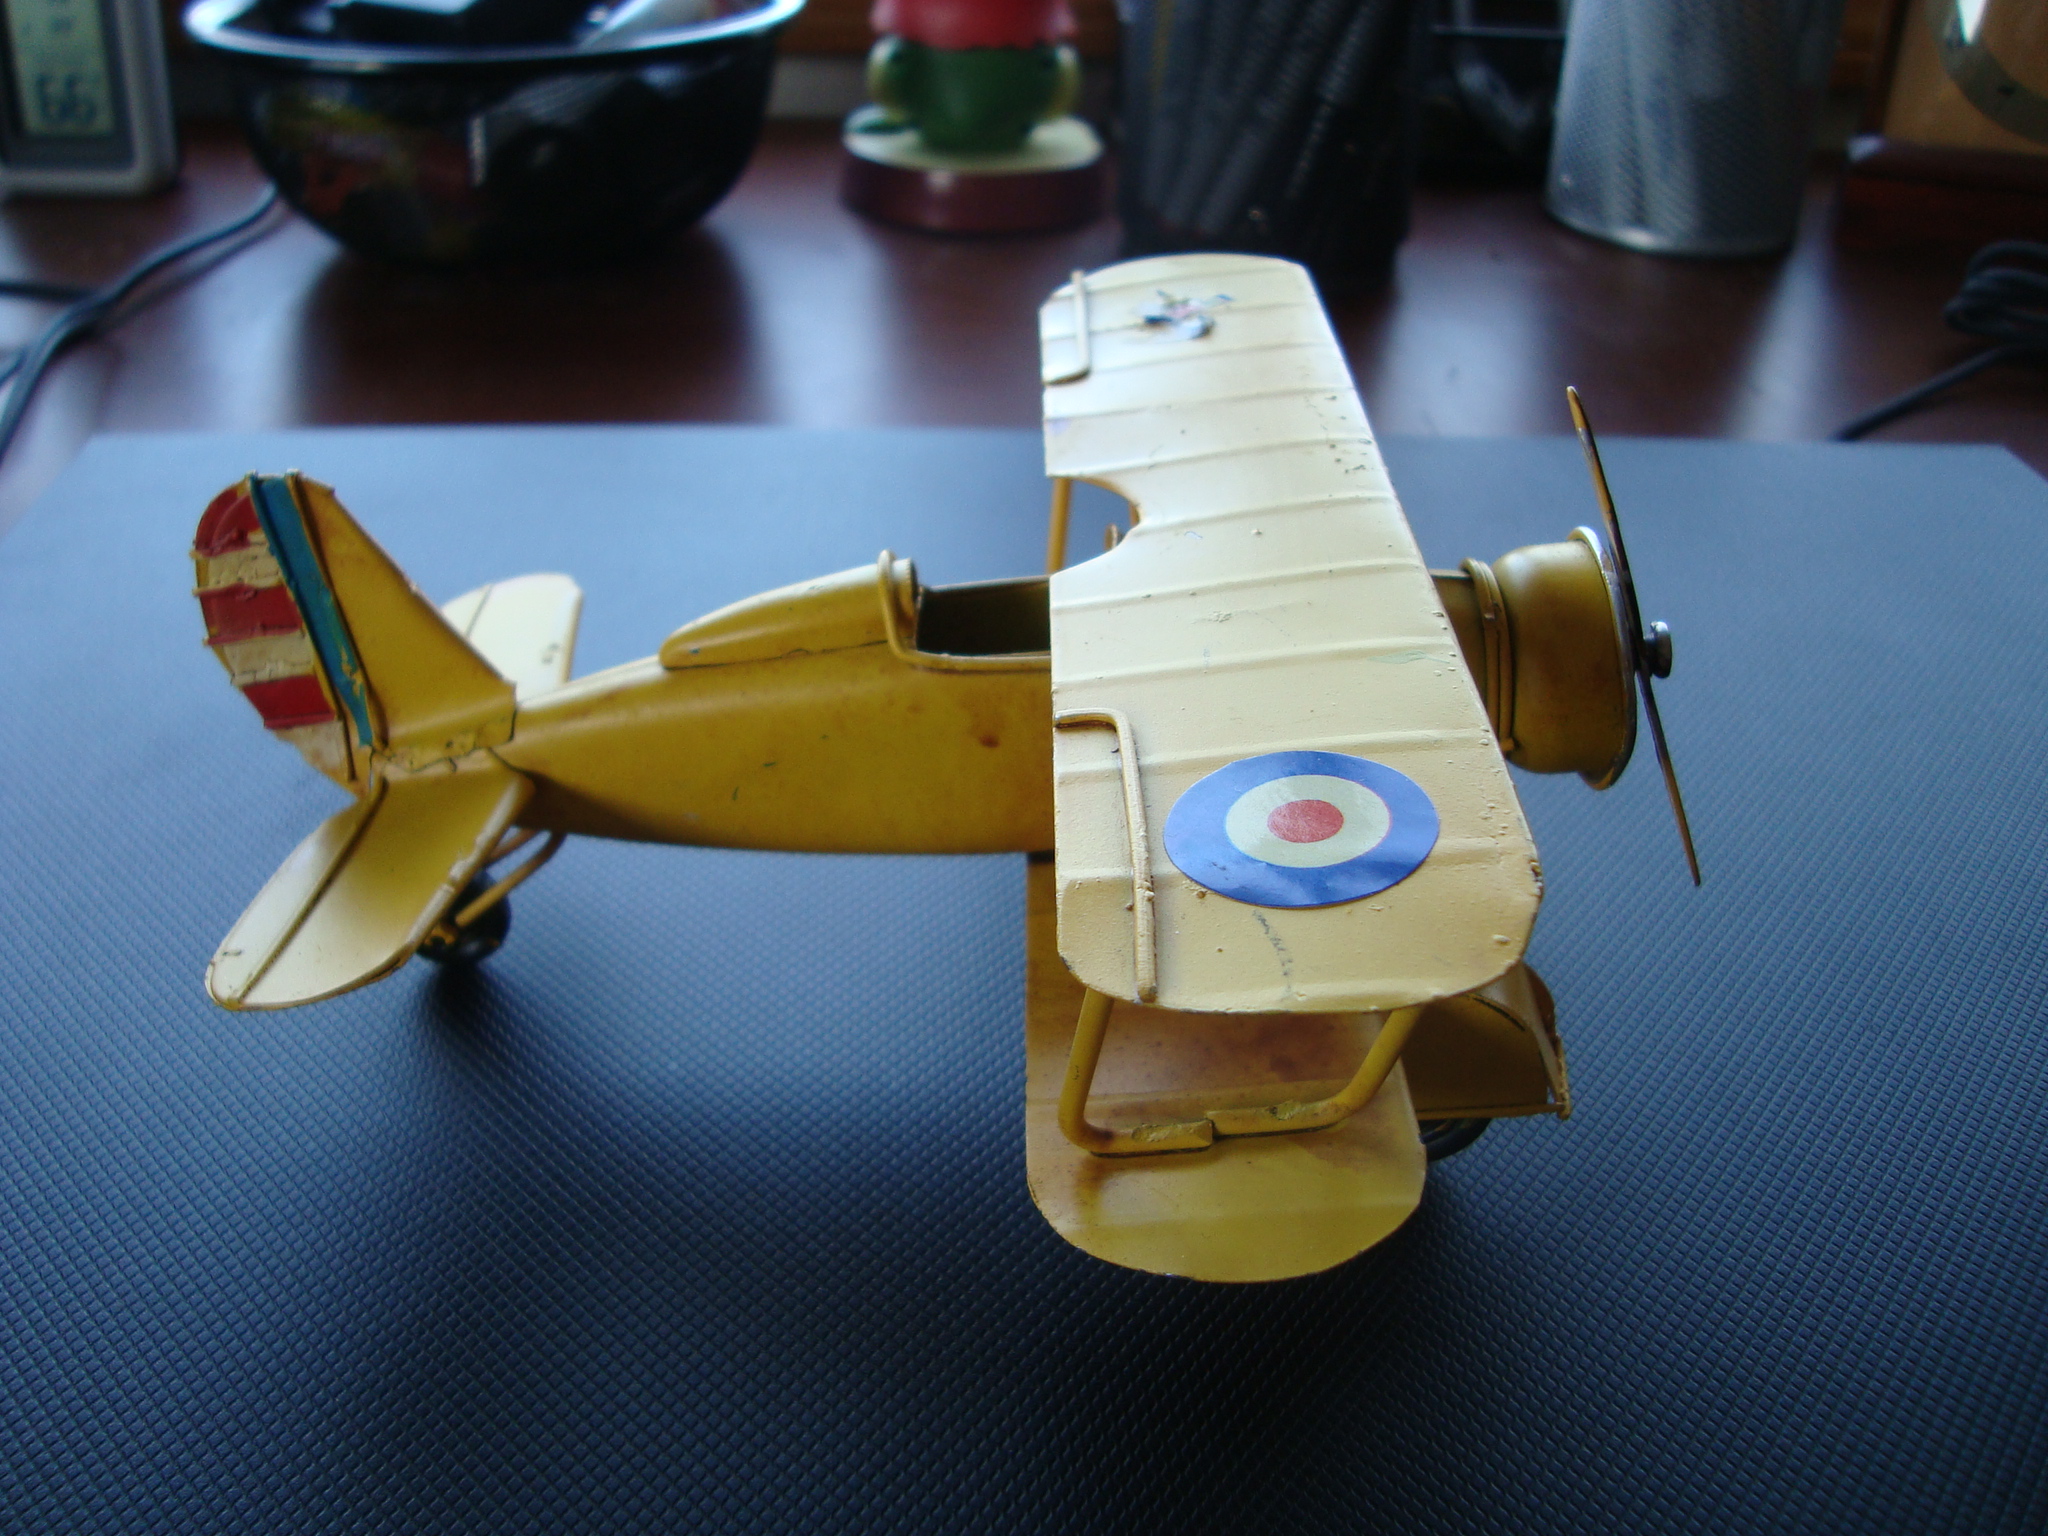
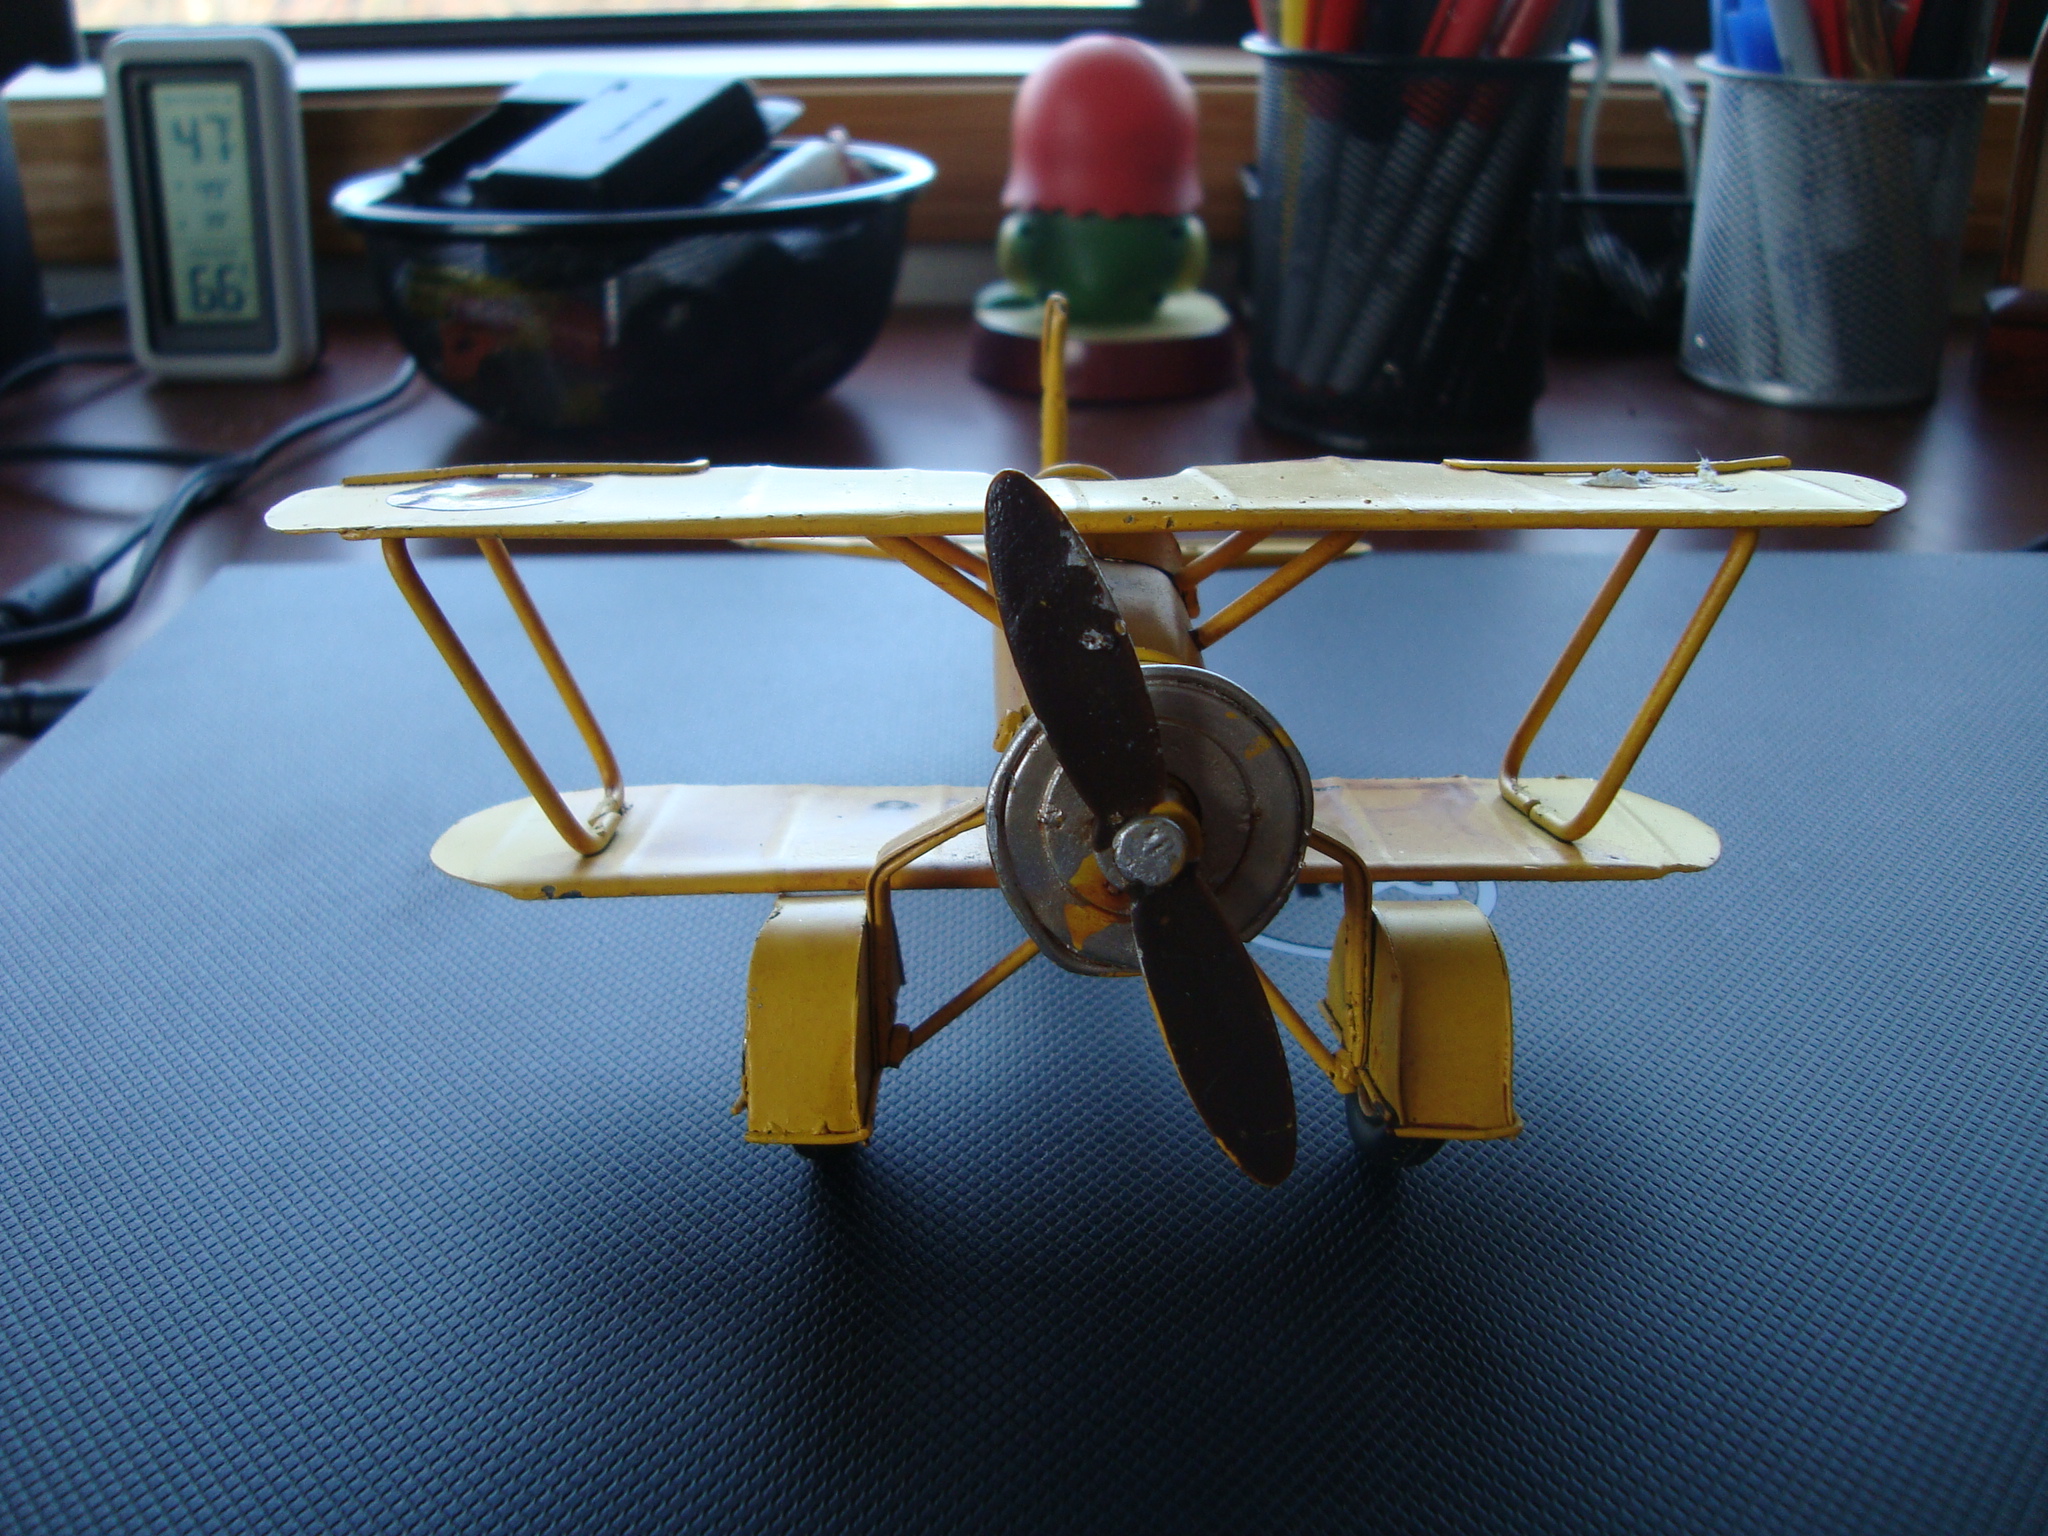
Found this little guy while looking for balsa wood at Hobby Lobby. The cost was a whopping $7.99. It looked like the right scale for RedActions, although the headrest is a tip-off that this piece of decor is really based on a Boeing F4-B fighter of the 1930’s.
The scale might be a 1/48, and therefore a little large for 25-28mm. Using a figure as a type of measuring stick, I was able to estimate the little guy’s dimensions and check it against some info on planes of the late 1920s and 1930s. It’s definately in the ballpark. So, there’s a little era problem.
I do need to cut off the spats and replace the front tires as they are way too big. The rear skid needs to be cut down, and the cockpit is too big, but I’m not going to sweat that. On second thought, maybe remove the headrest and make room for an observer/gunner. This might mitigate the size problem.
It will have to be painted. My table isn’t ready for a Yellow Peril.
Been TAD the last week. Deployment was scheduled, but moved up 48 hours with only 45 minutes to get packed and moved. Lots and lots of backstory. Planned to use some of the lost time to post up here about GBACW and RedActions. Didn’t get the chance.
Also had plans for gaming, but didn’t have the time or presence of mind to grab the right stuff. Stuck with Ram Speed (don’t ask), and my trusty IPad with 4 years of Miniature Wargames back issues. Also had some GoodReader PDF DTP game files.
Played two games of Ram Speed. This is an old micro game. The review is a little harsh, but you can get the picture.
Also played Eindekker from Minden Games. This is a solo game of early WW1 aerial combat. Lots of wristage, but not a bad way to pass the time. Maybe it was the low grade virus I contracted, but it was difficult to get into the narrative.
And, despite the eye-candy in Miniature Wargames, was not seduced into buying lead to start something crazy like 6mm Napoleonics or 54 mm Wild West Skirmish.
Will be catching up on old/delayed blog business over the next few days.
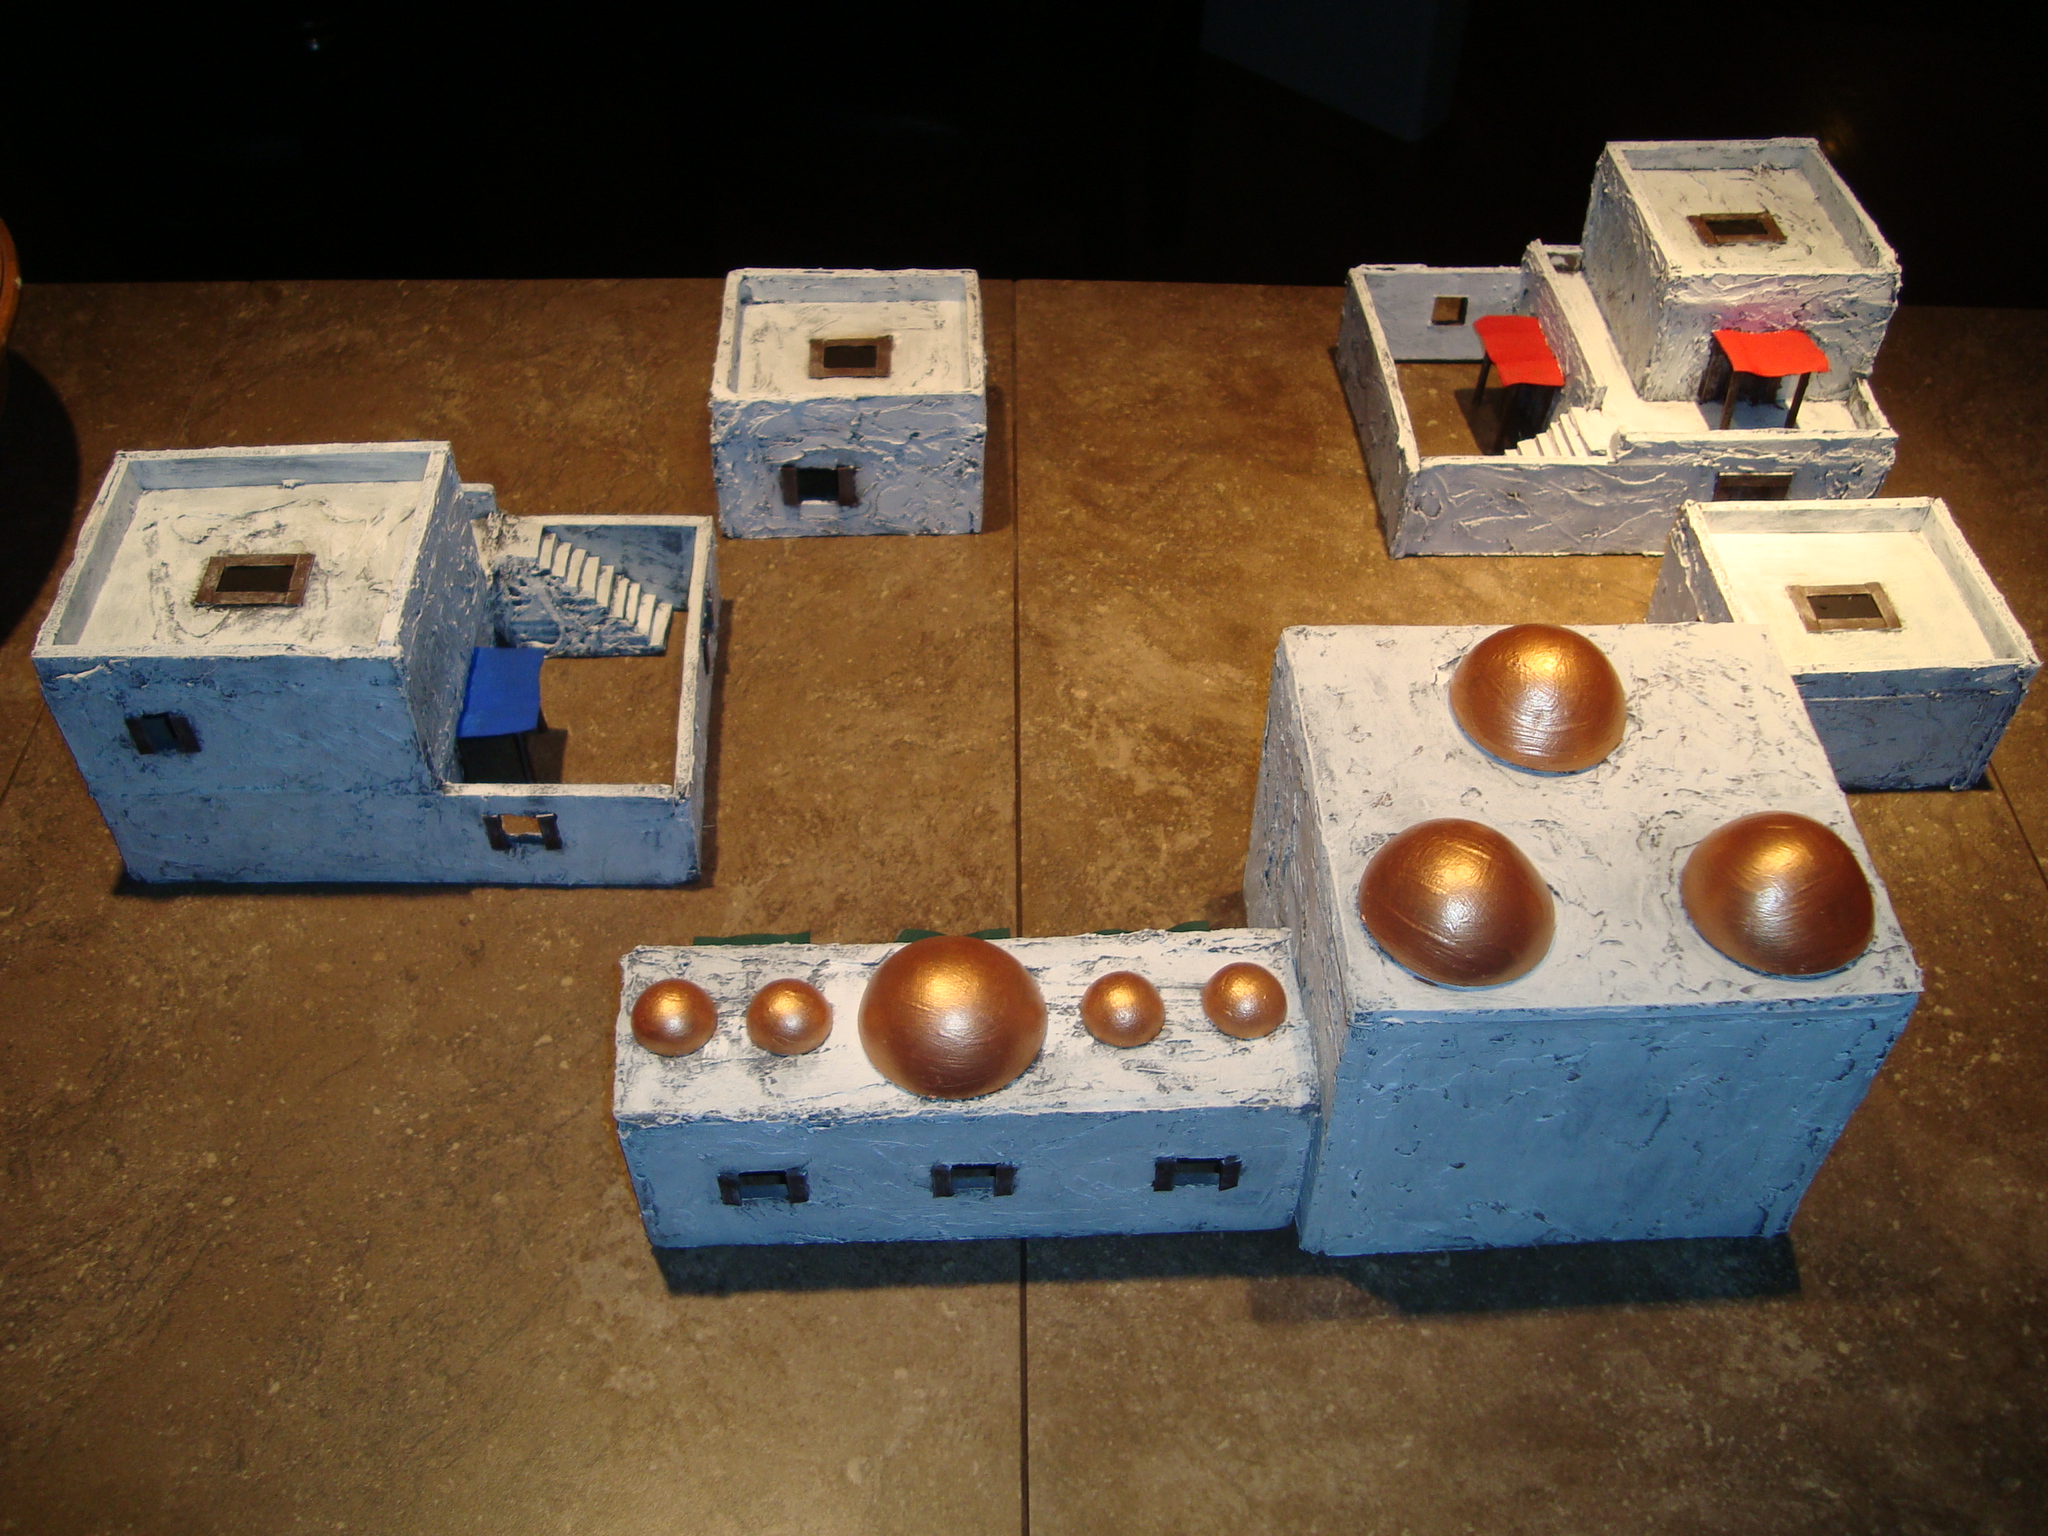
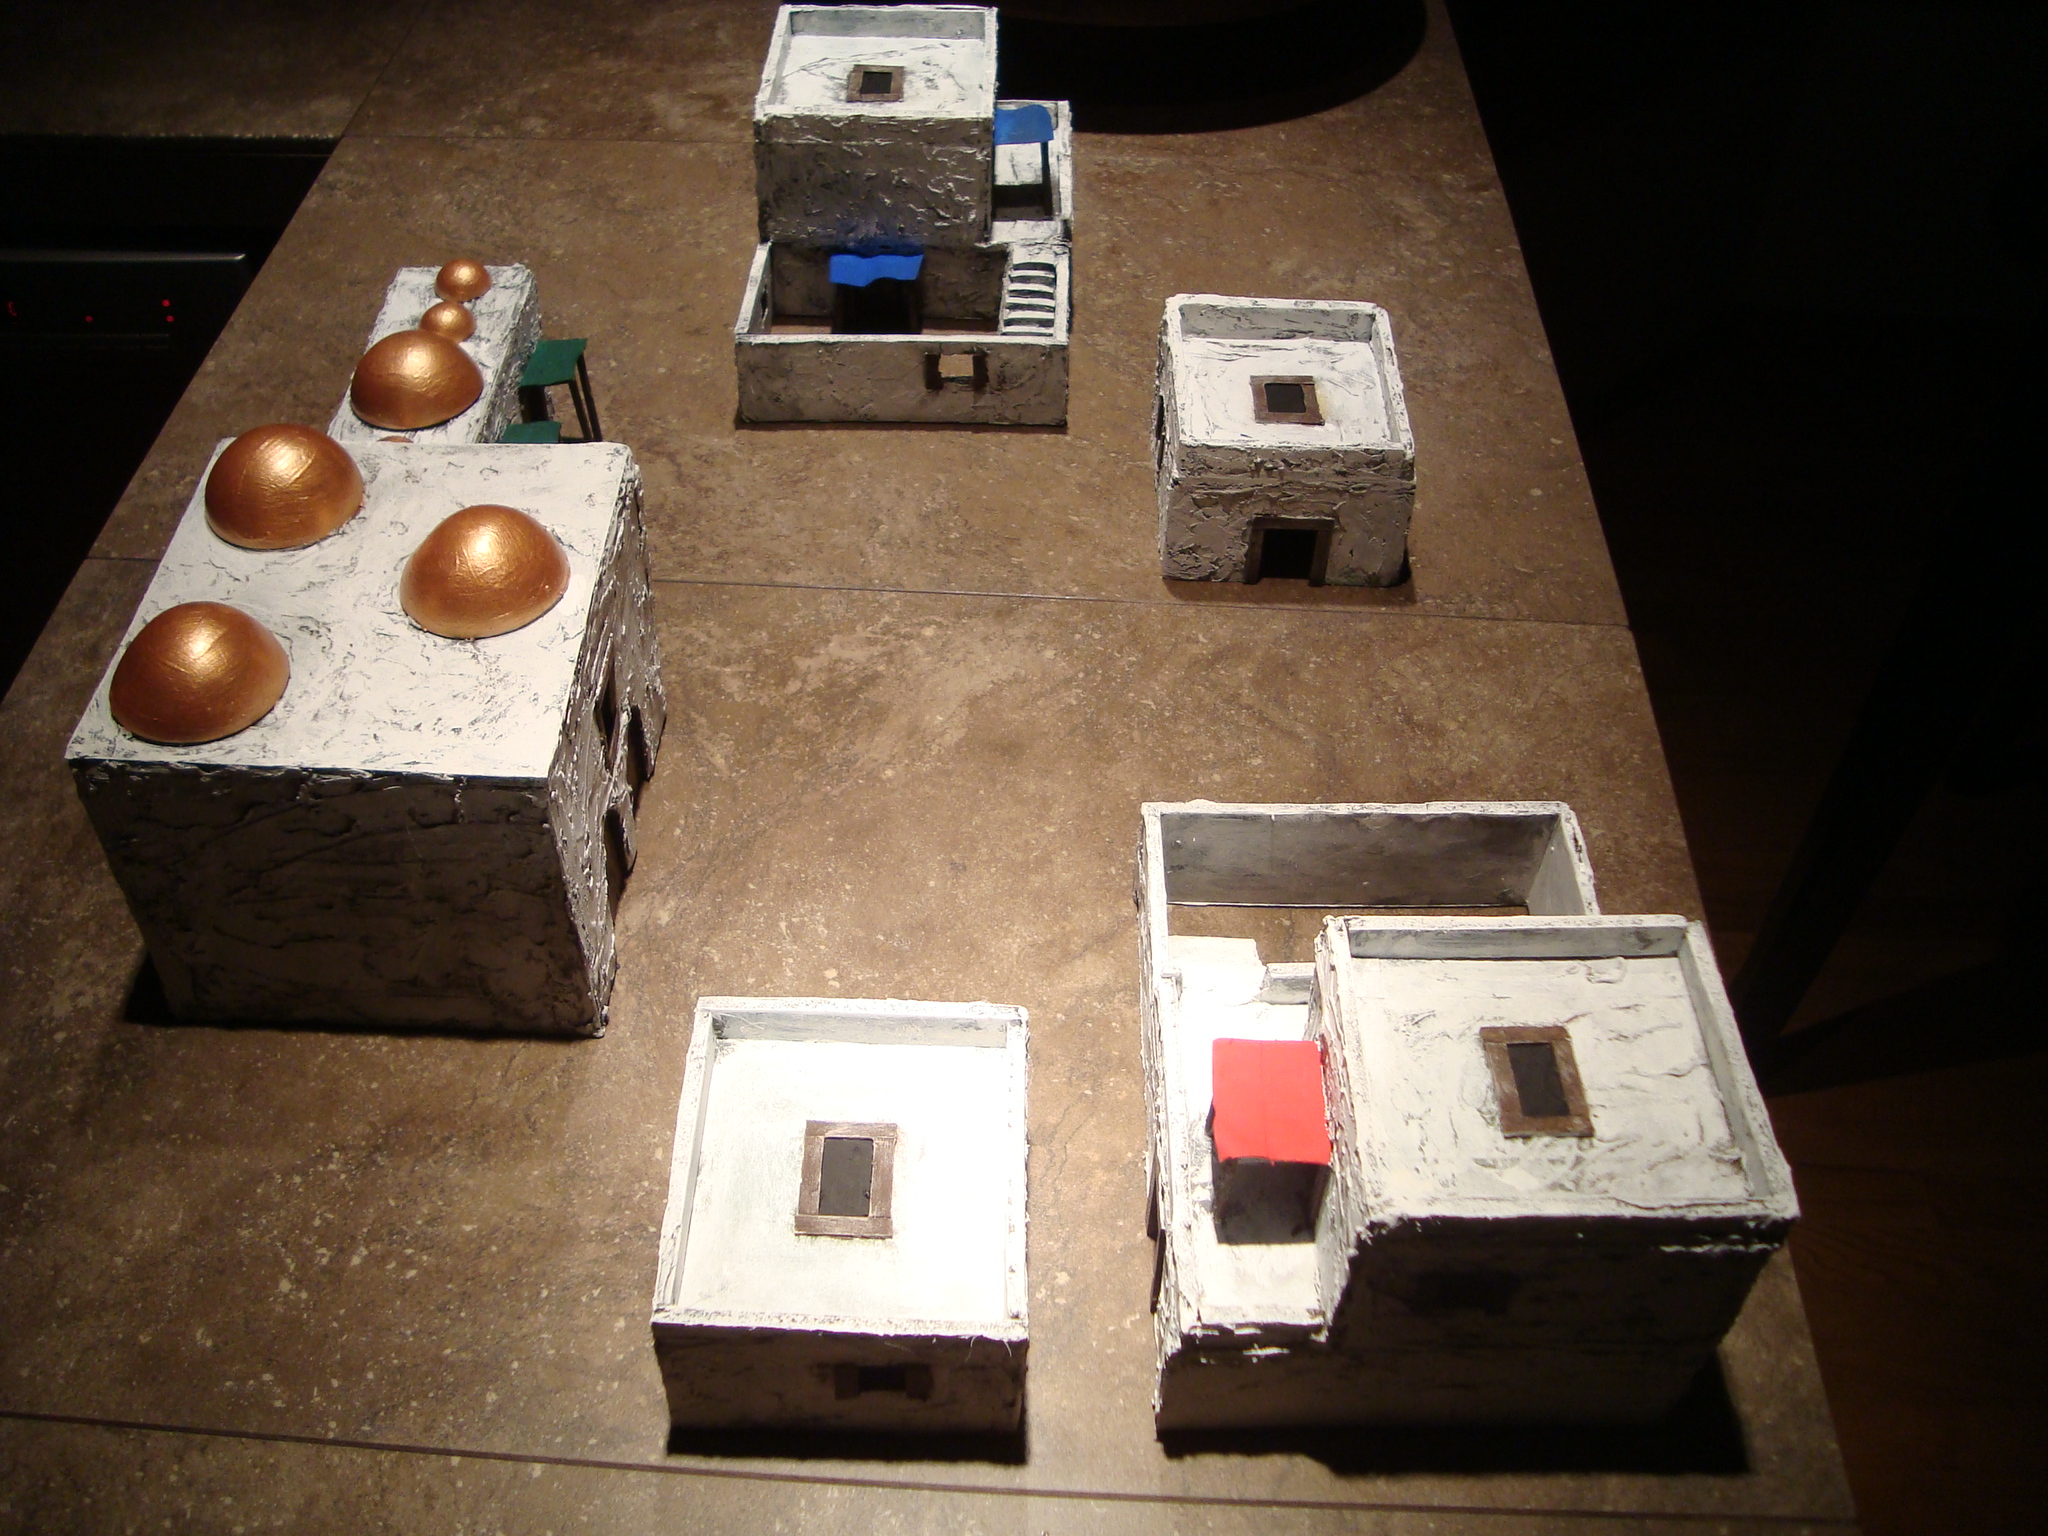
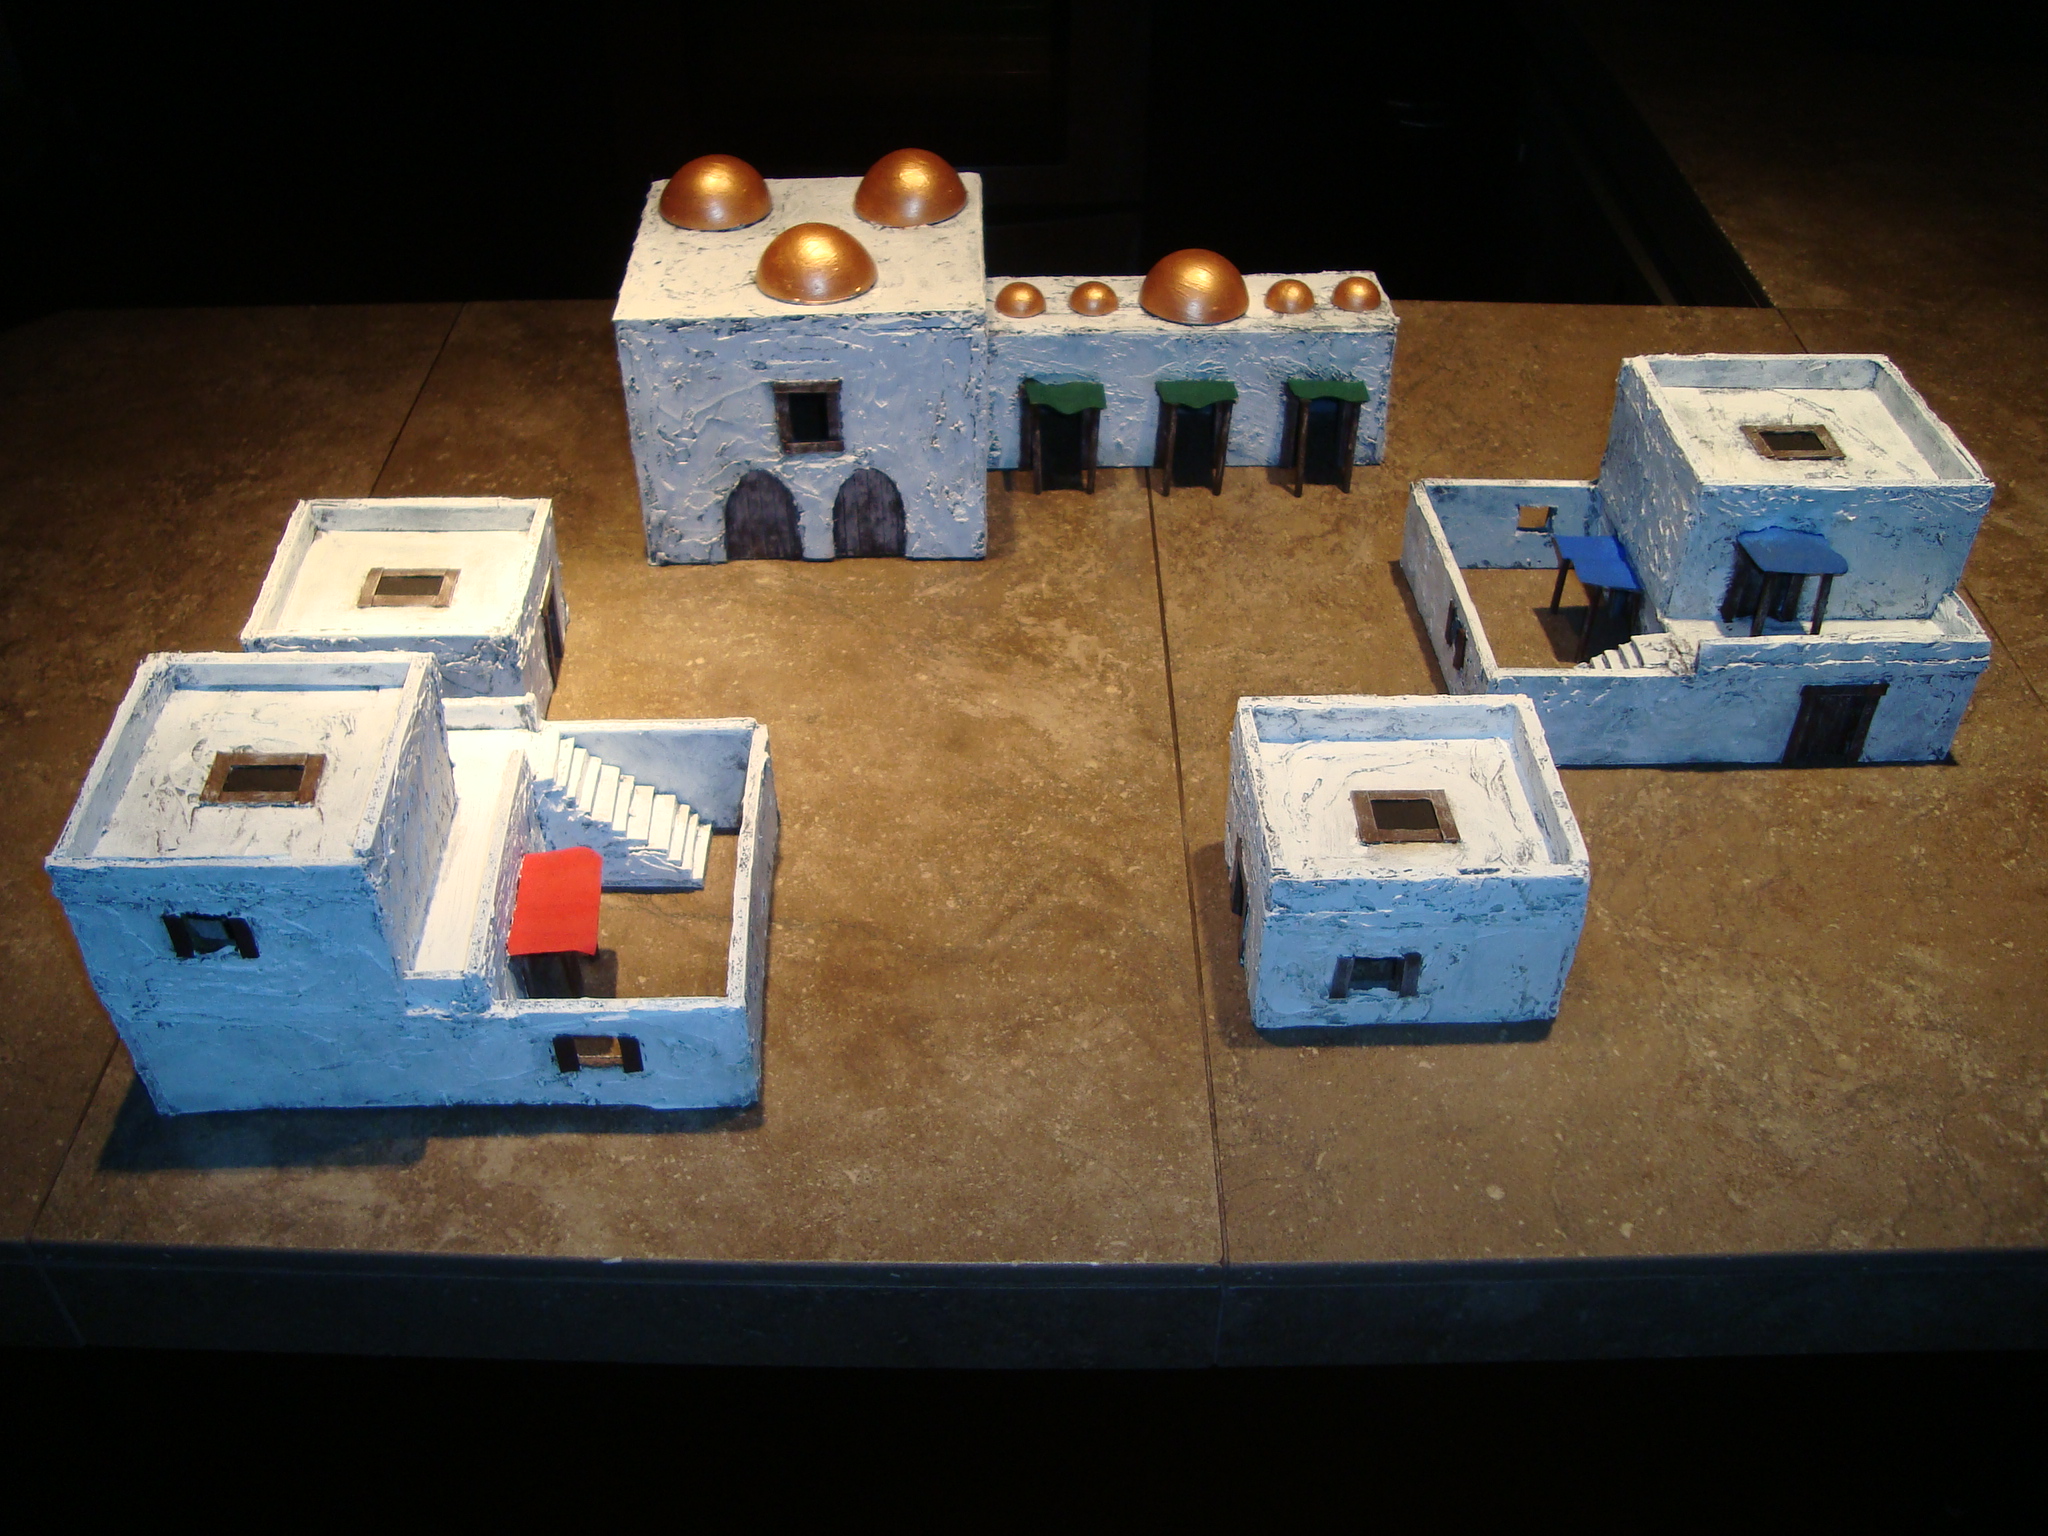
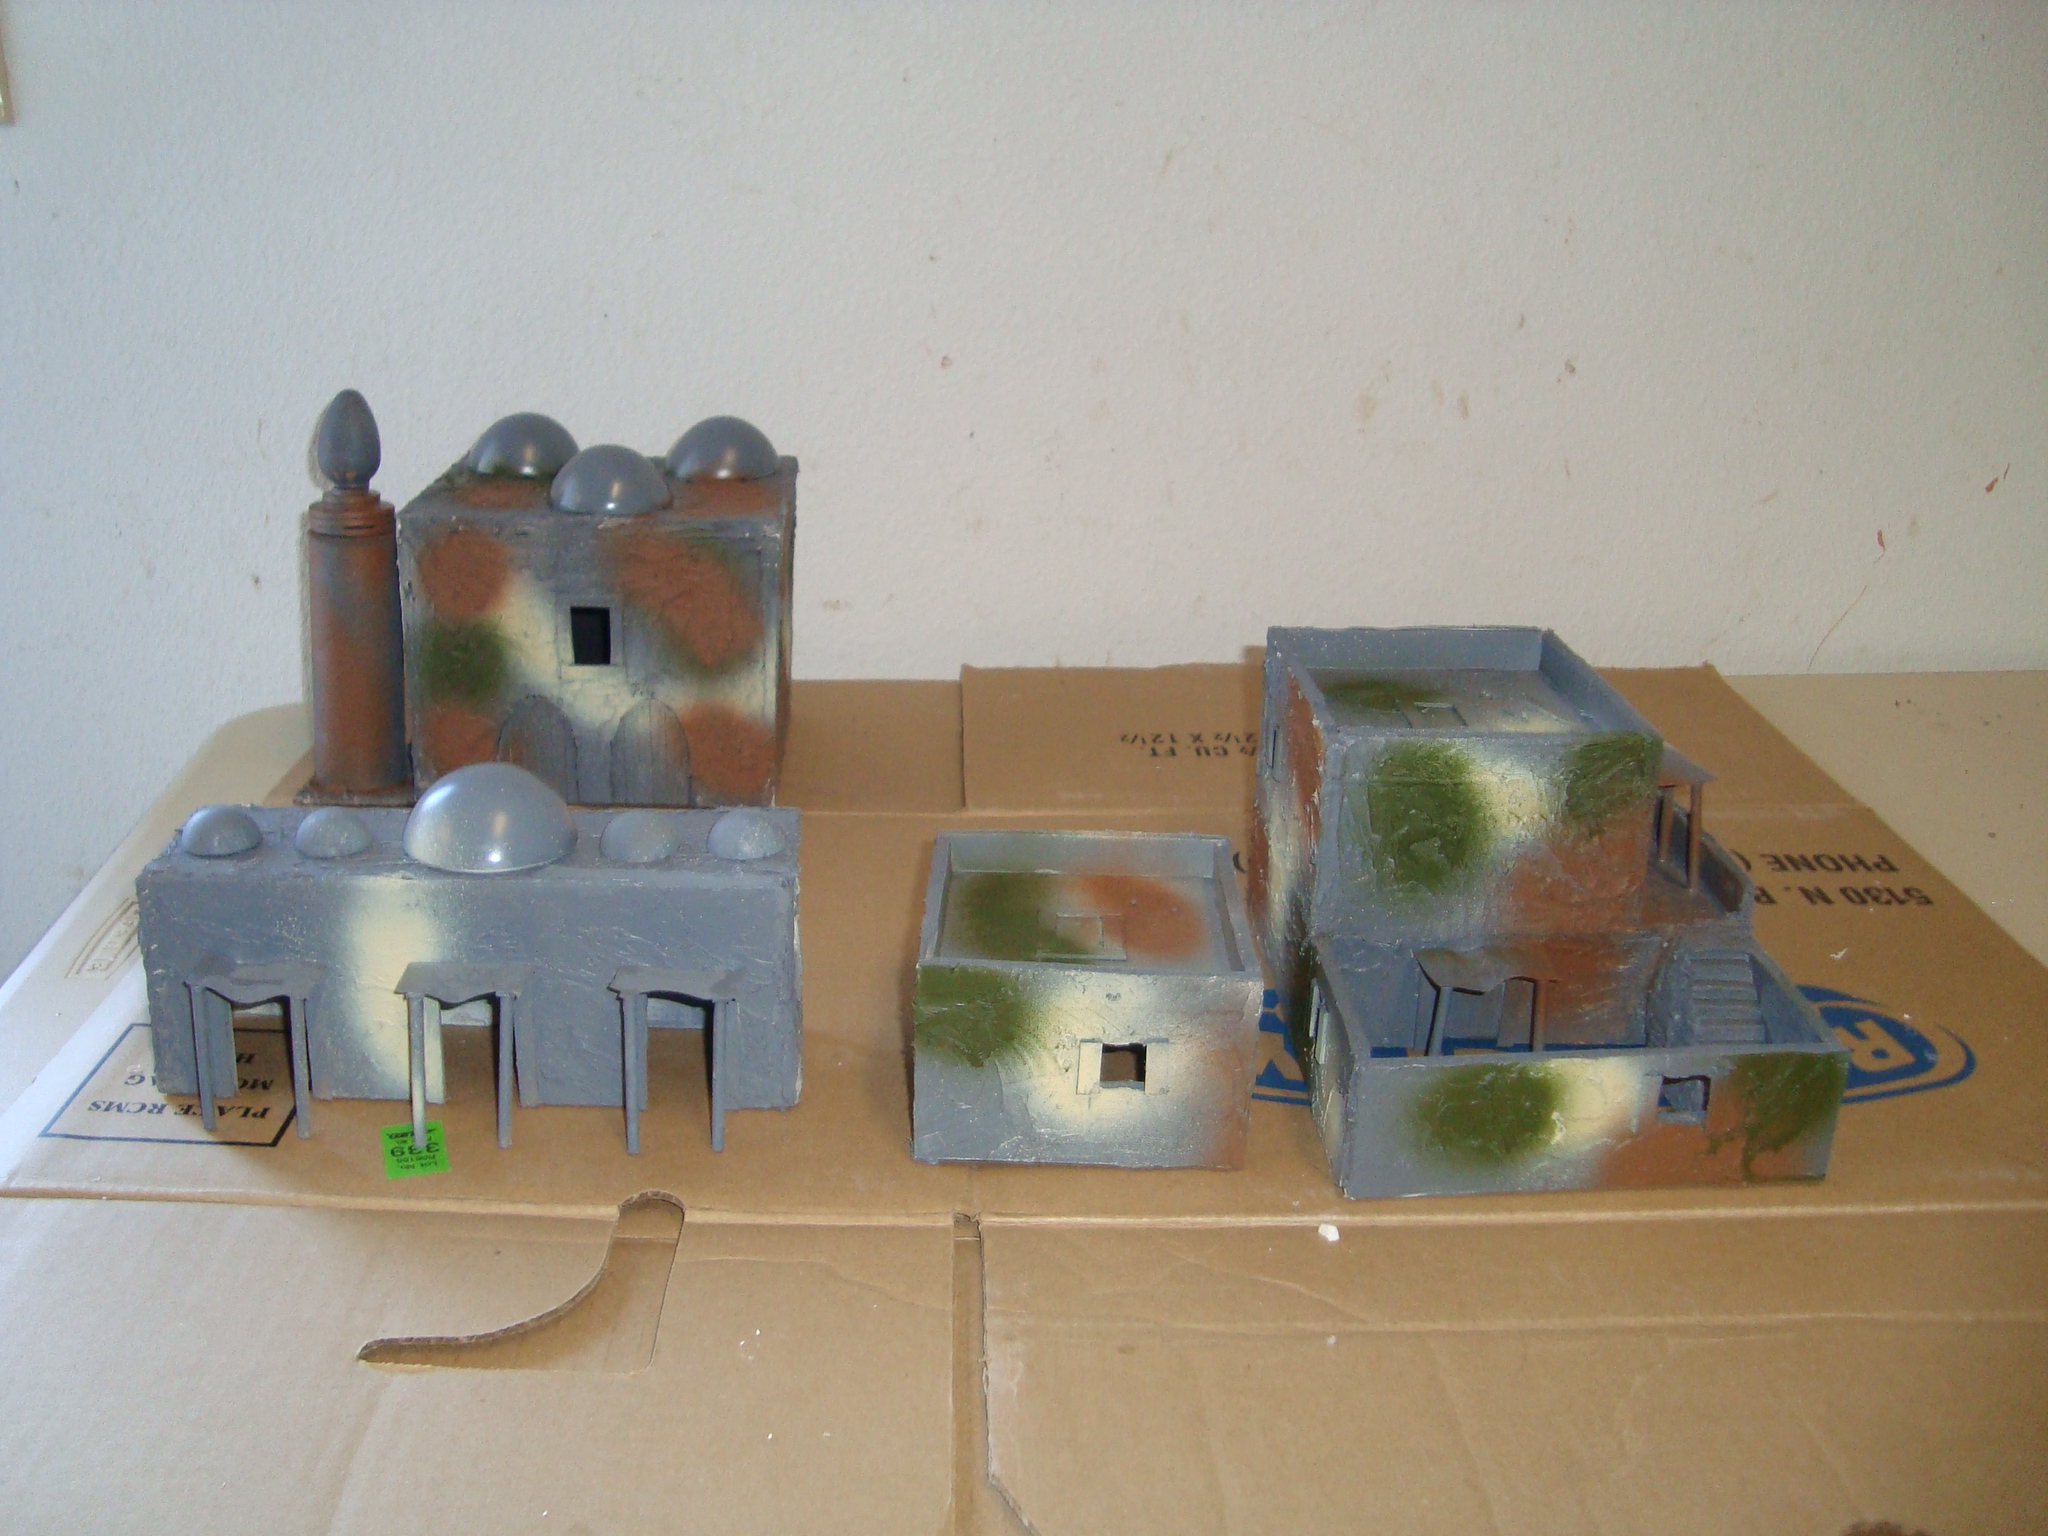
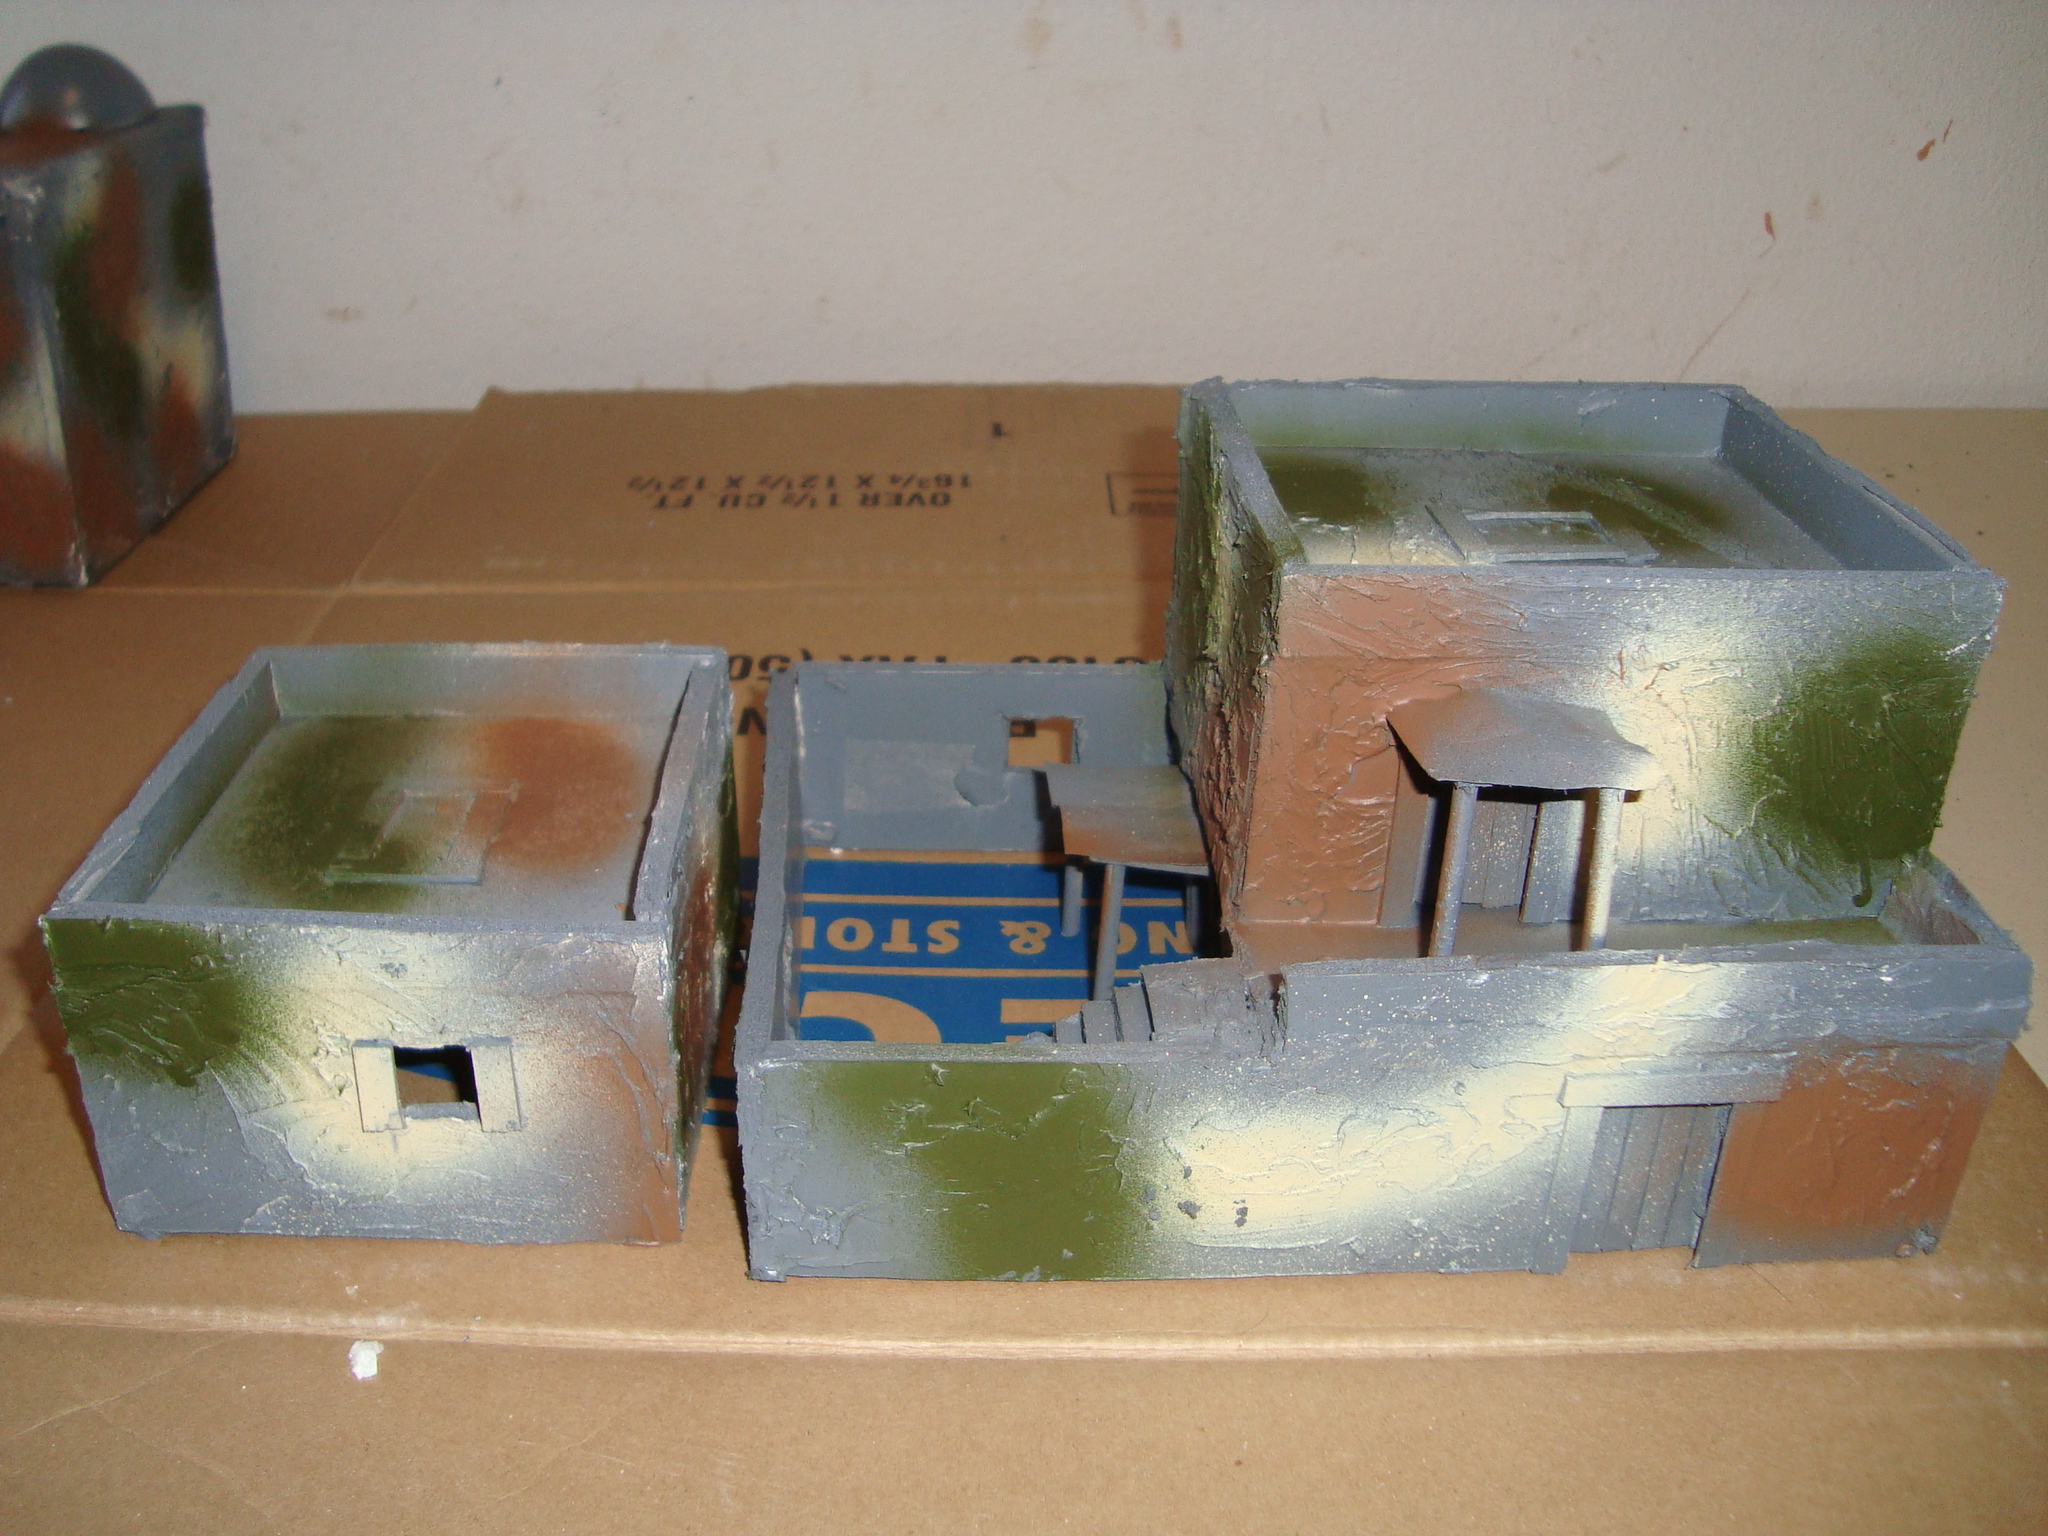
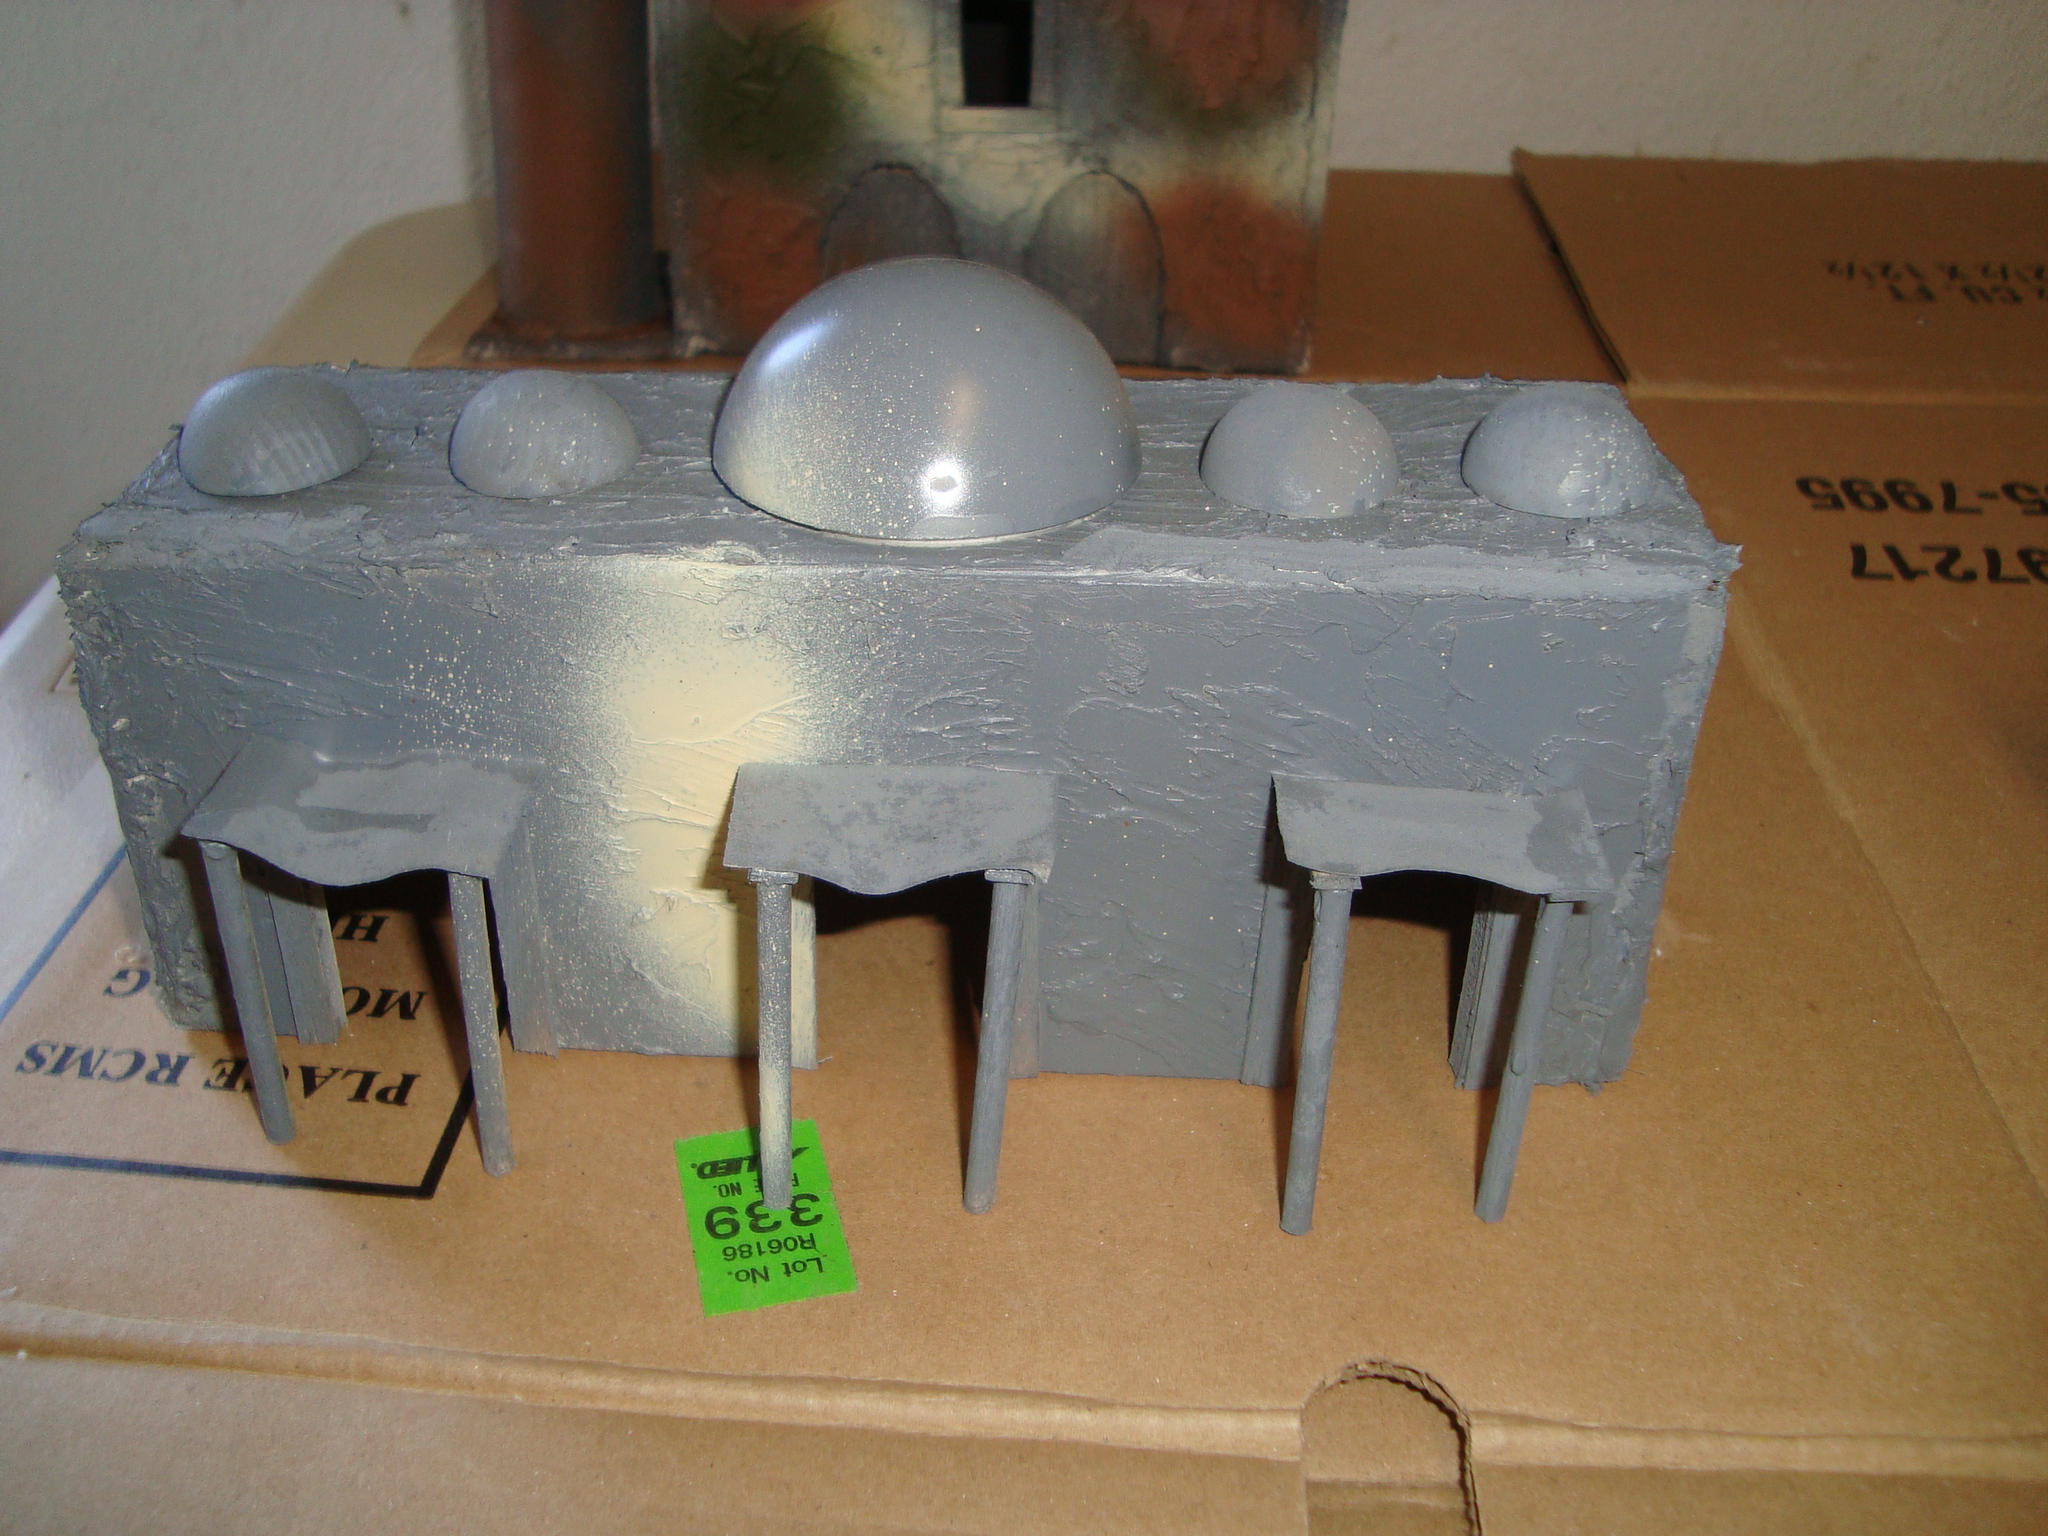
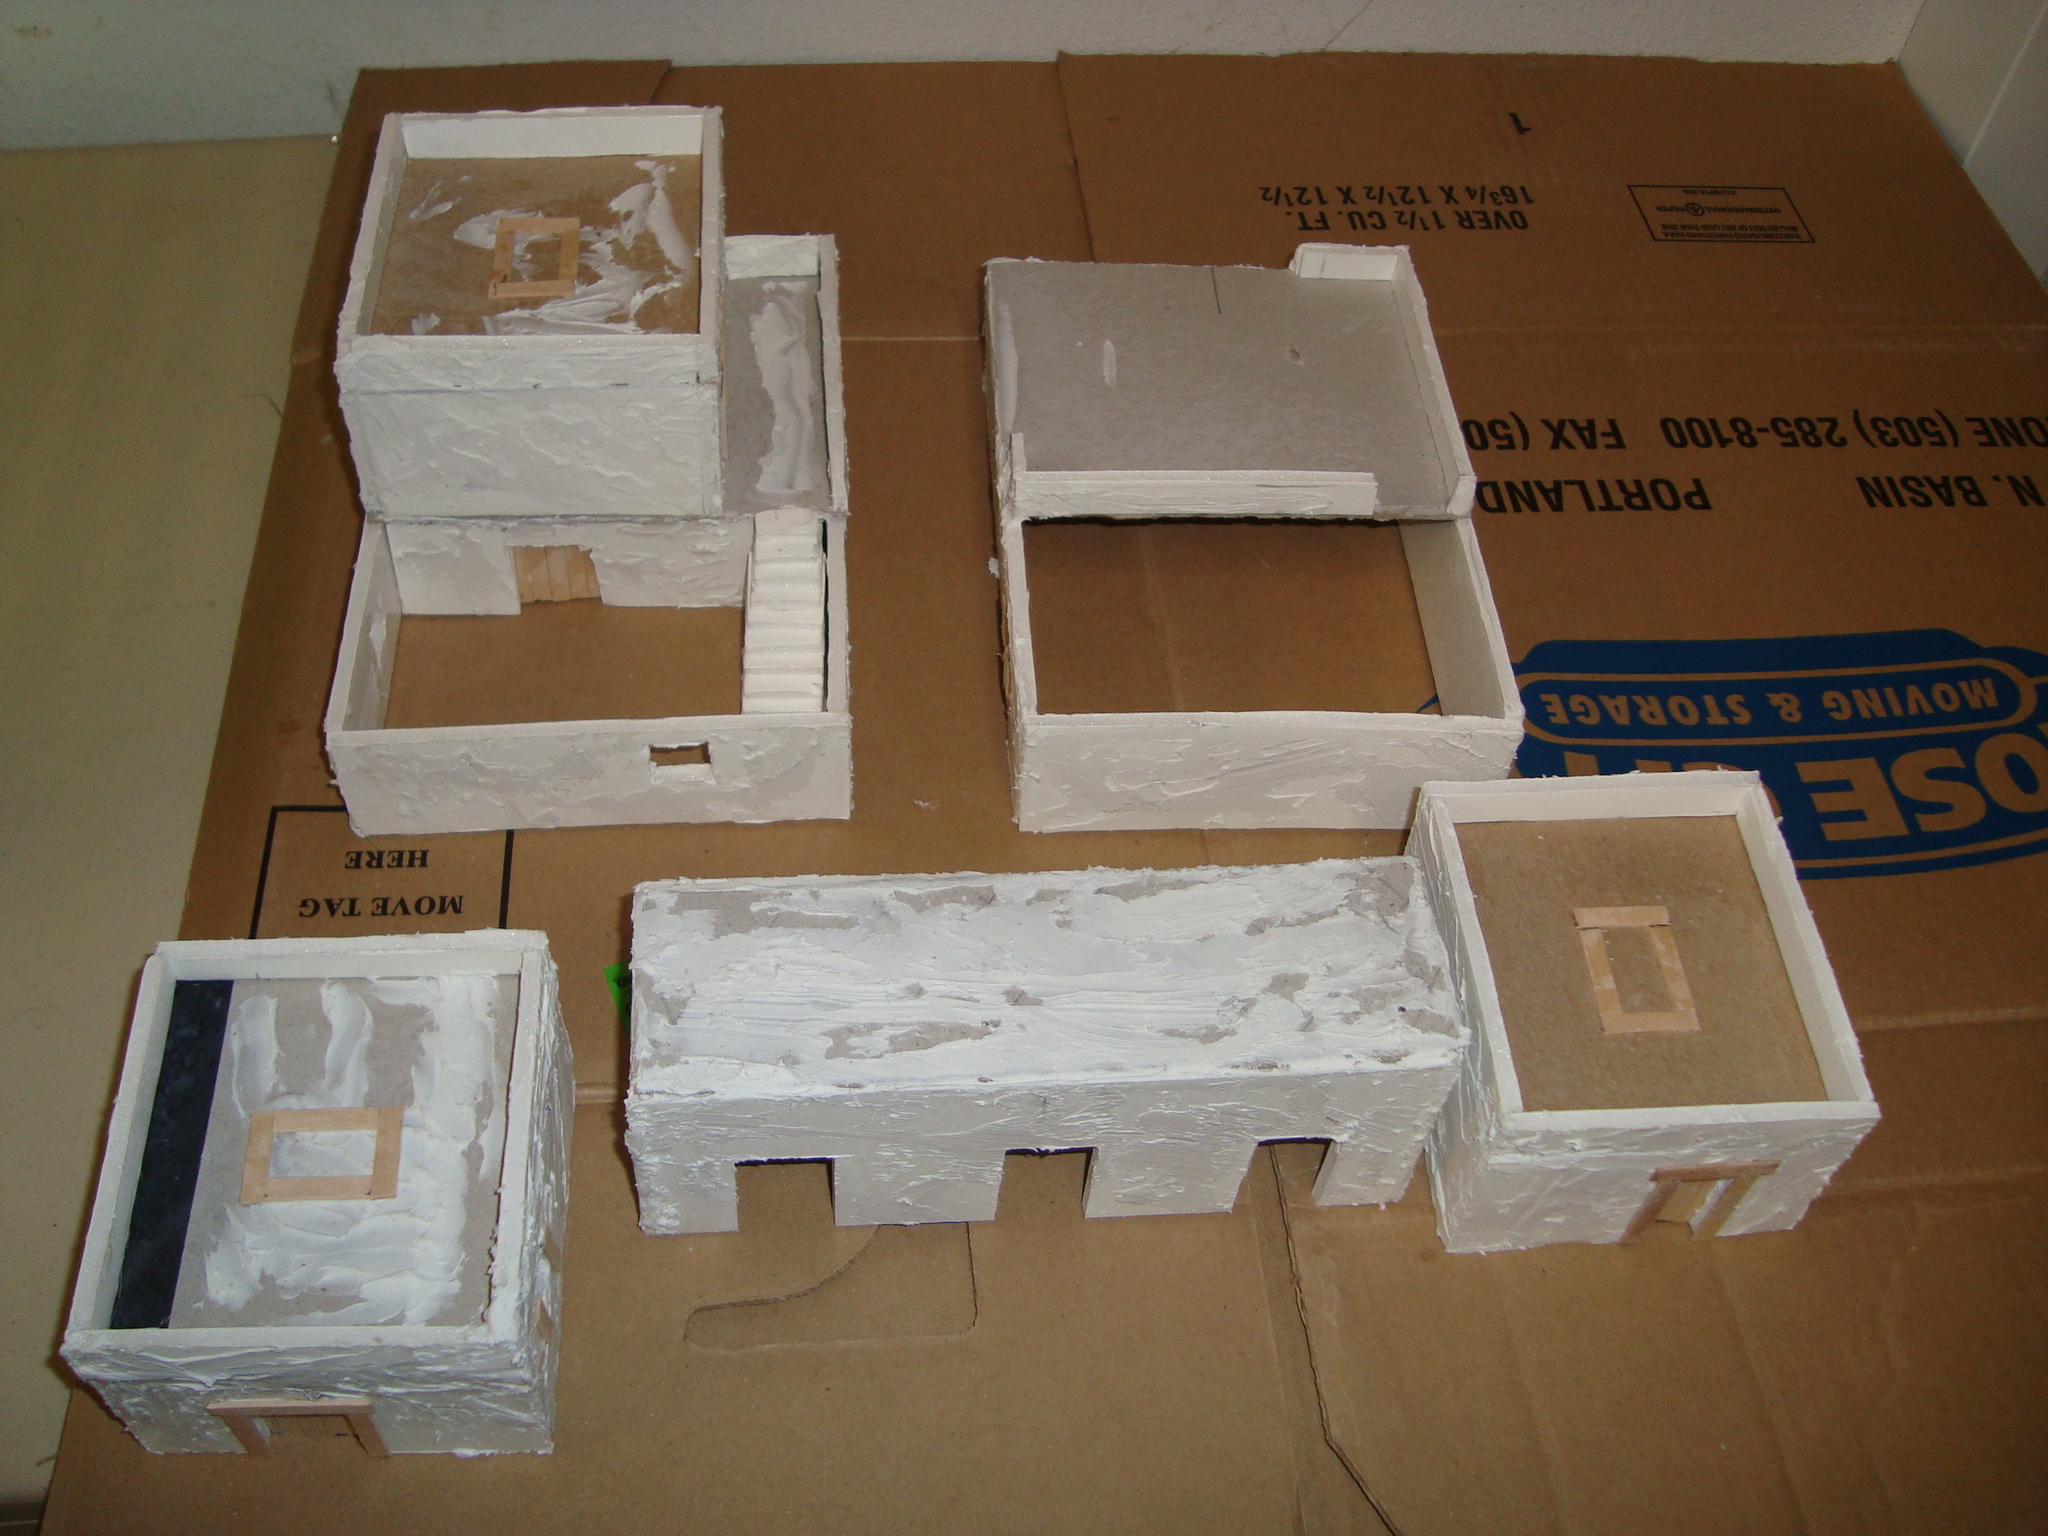
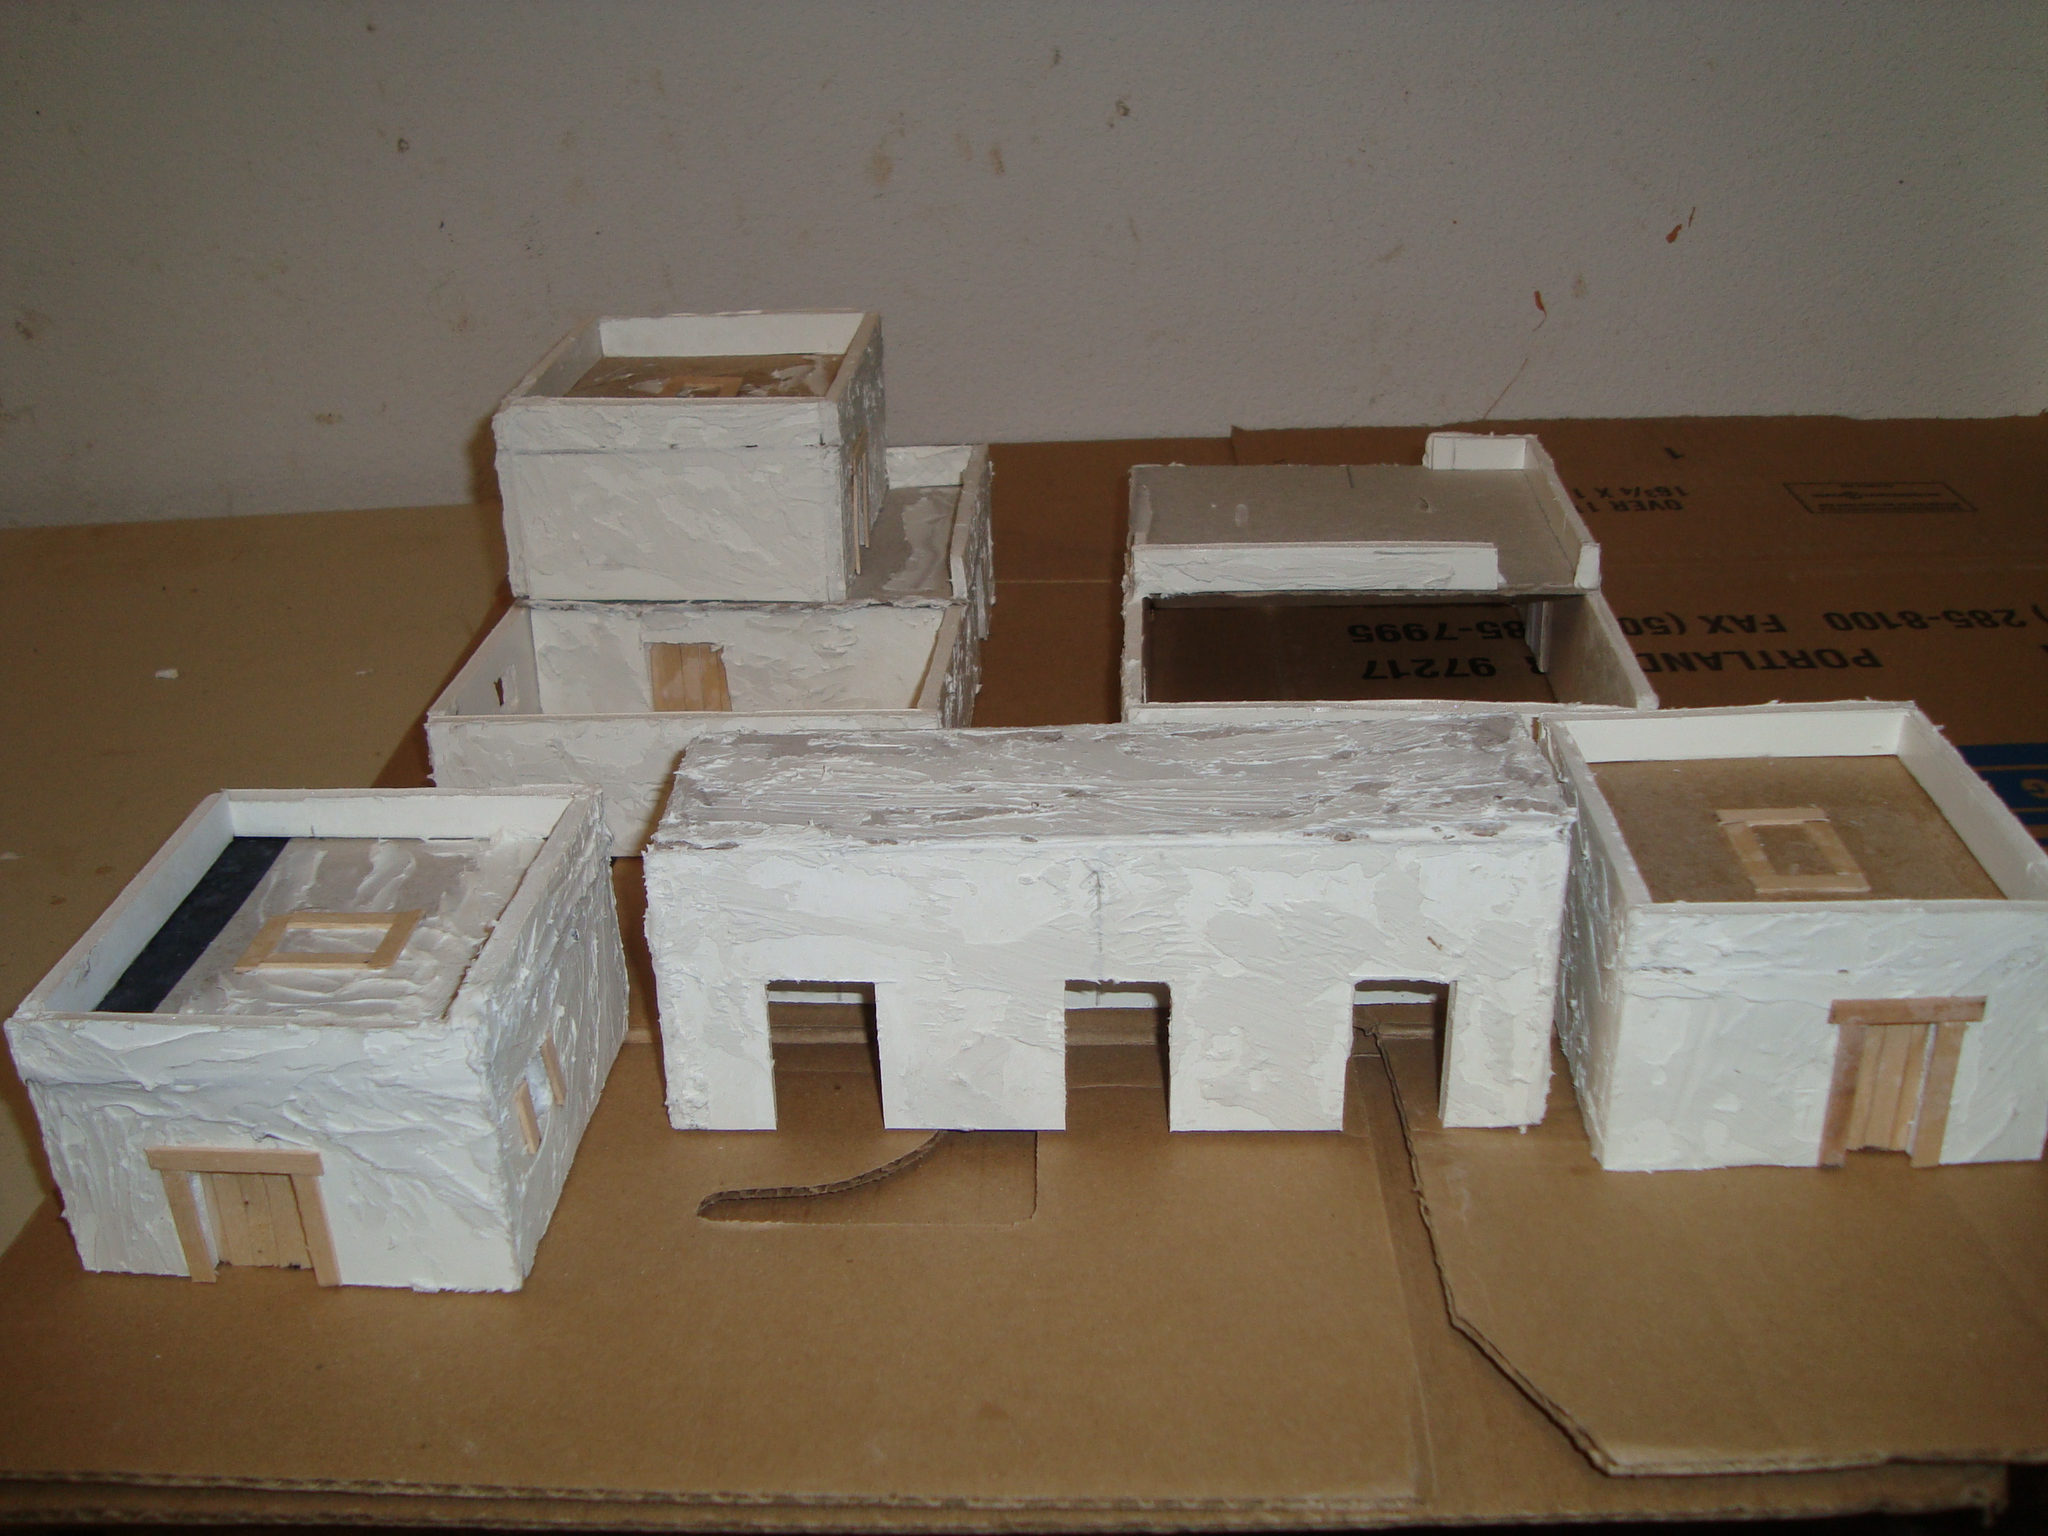
Have spent a lot of time over the past week working on the Middle/Near East/Central Asia Village project. Lots of blood, sweat and spackle.
Finally have them primed and spot painted, ready for brush and dry brush work. I “spot painted” most of the buildings with random swatches of desert sand, medium green, and light brown spray to break up the under shading once I start dry brushing. Dunno, worth a try.
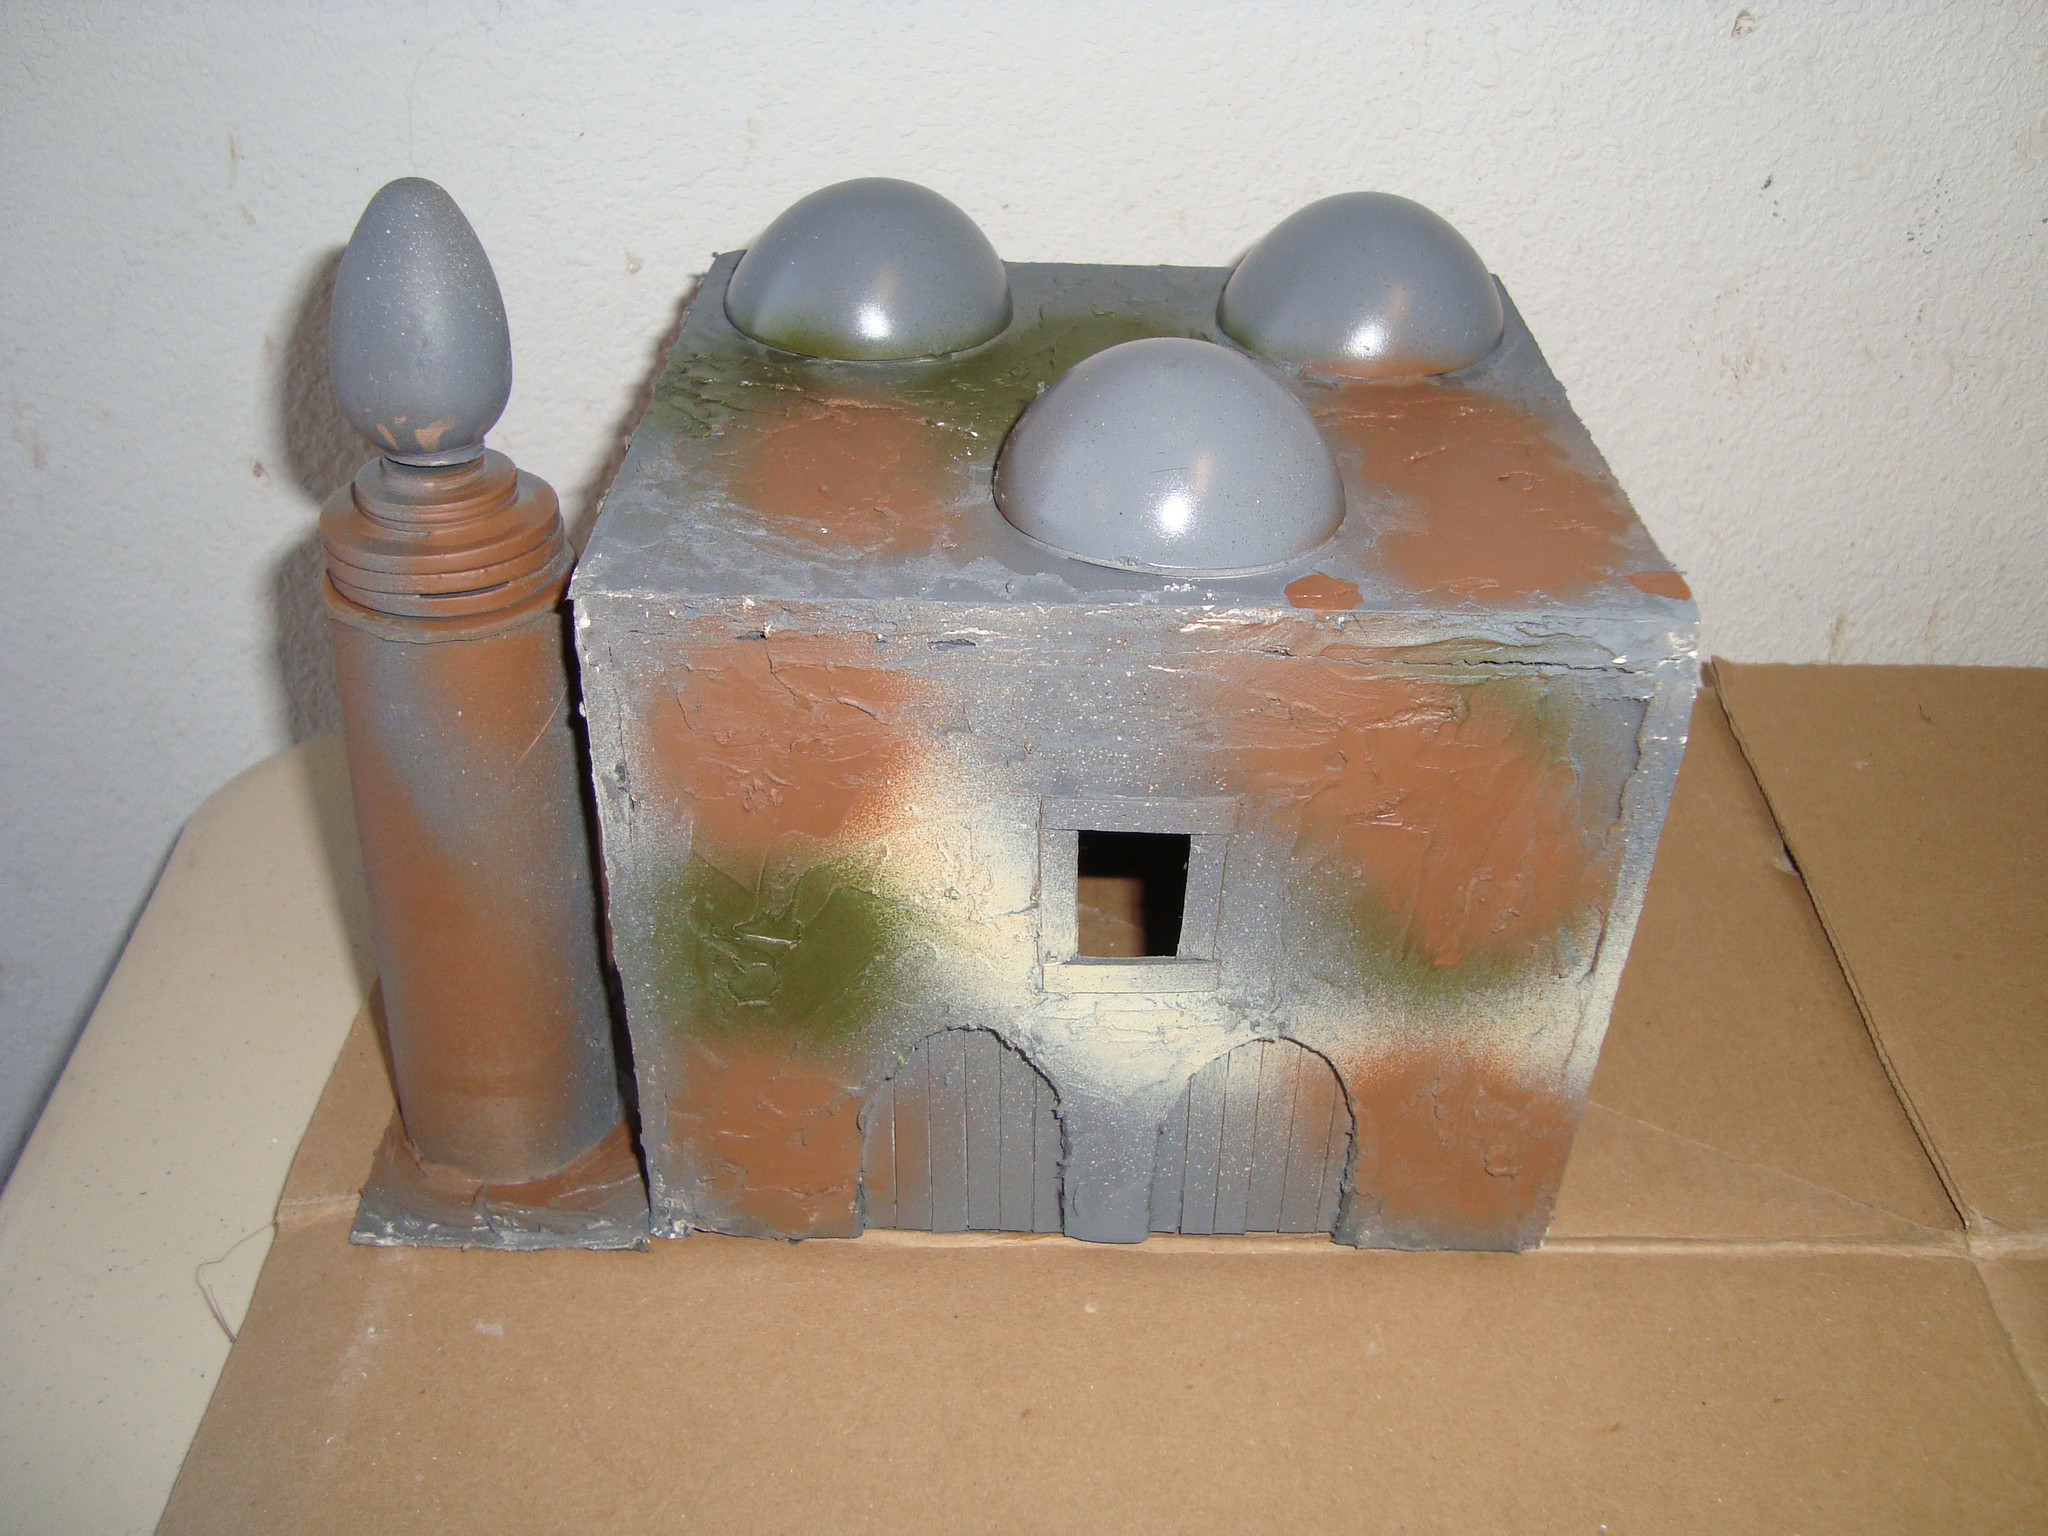
There is a mosque, two large houses, two small houses, and a market building. I think the scale is about right, and am anxious to get them on the table. The minaret is problematic right now. Have to figure out where/how to attach it. So, it looks a little wonky in the photos.
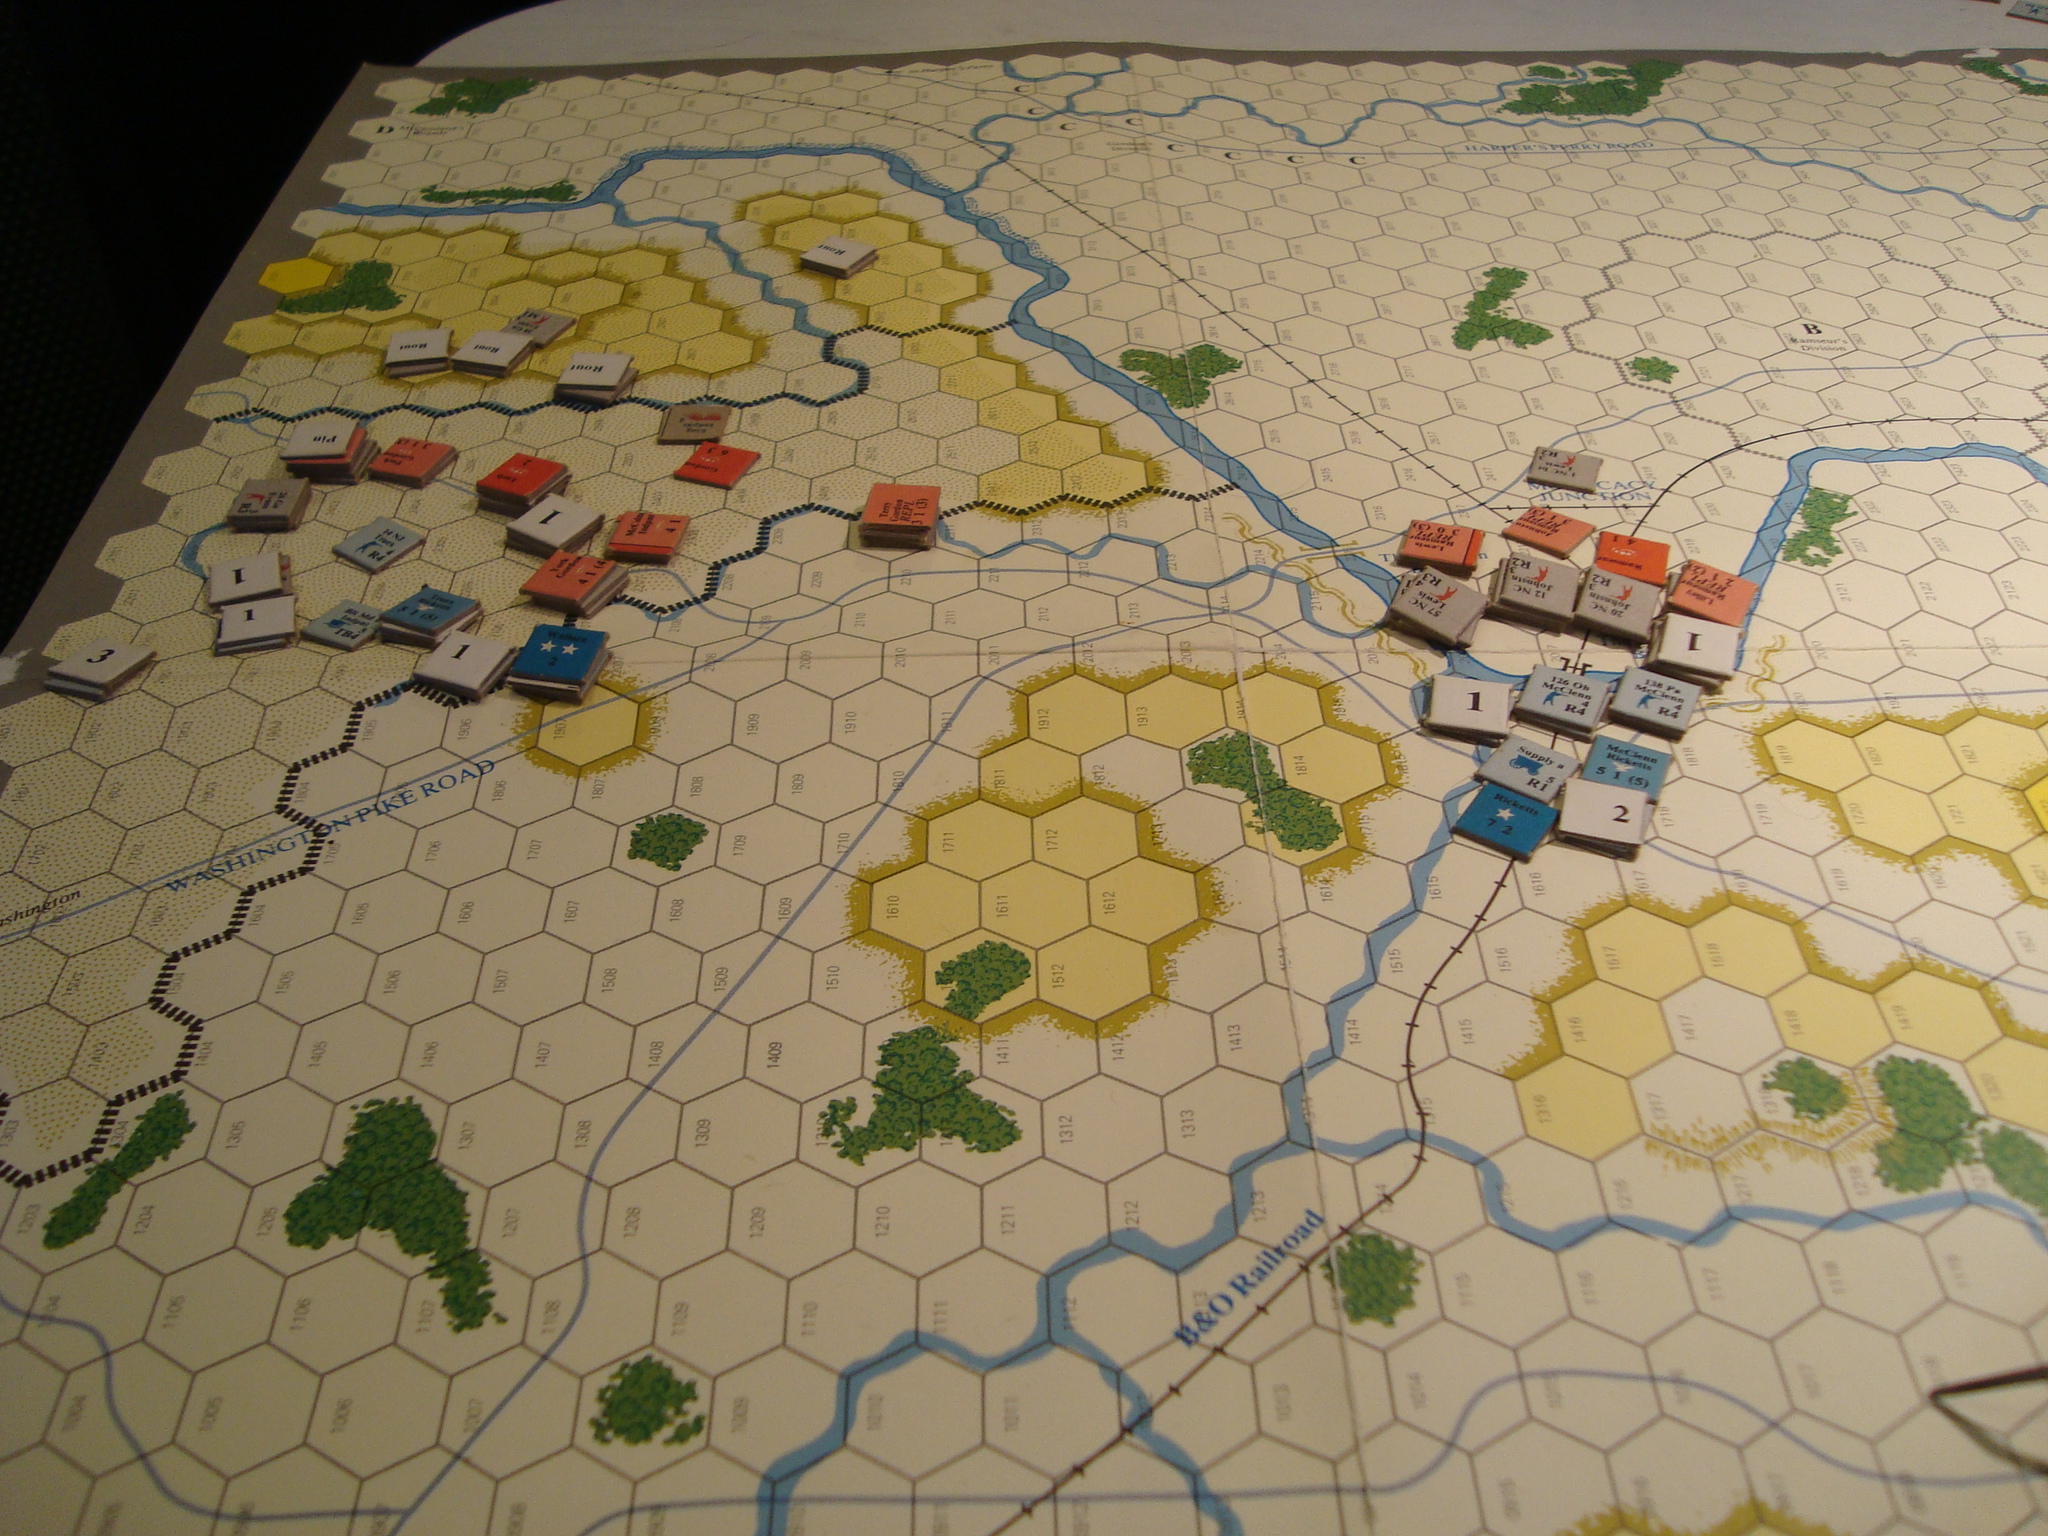
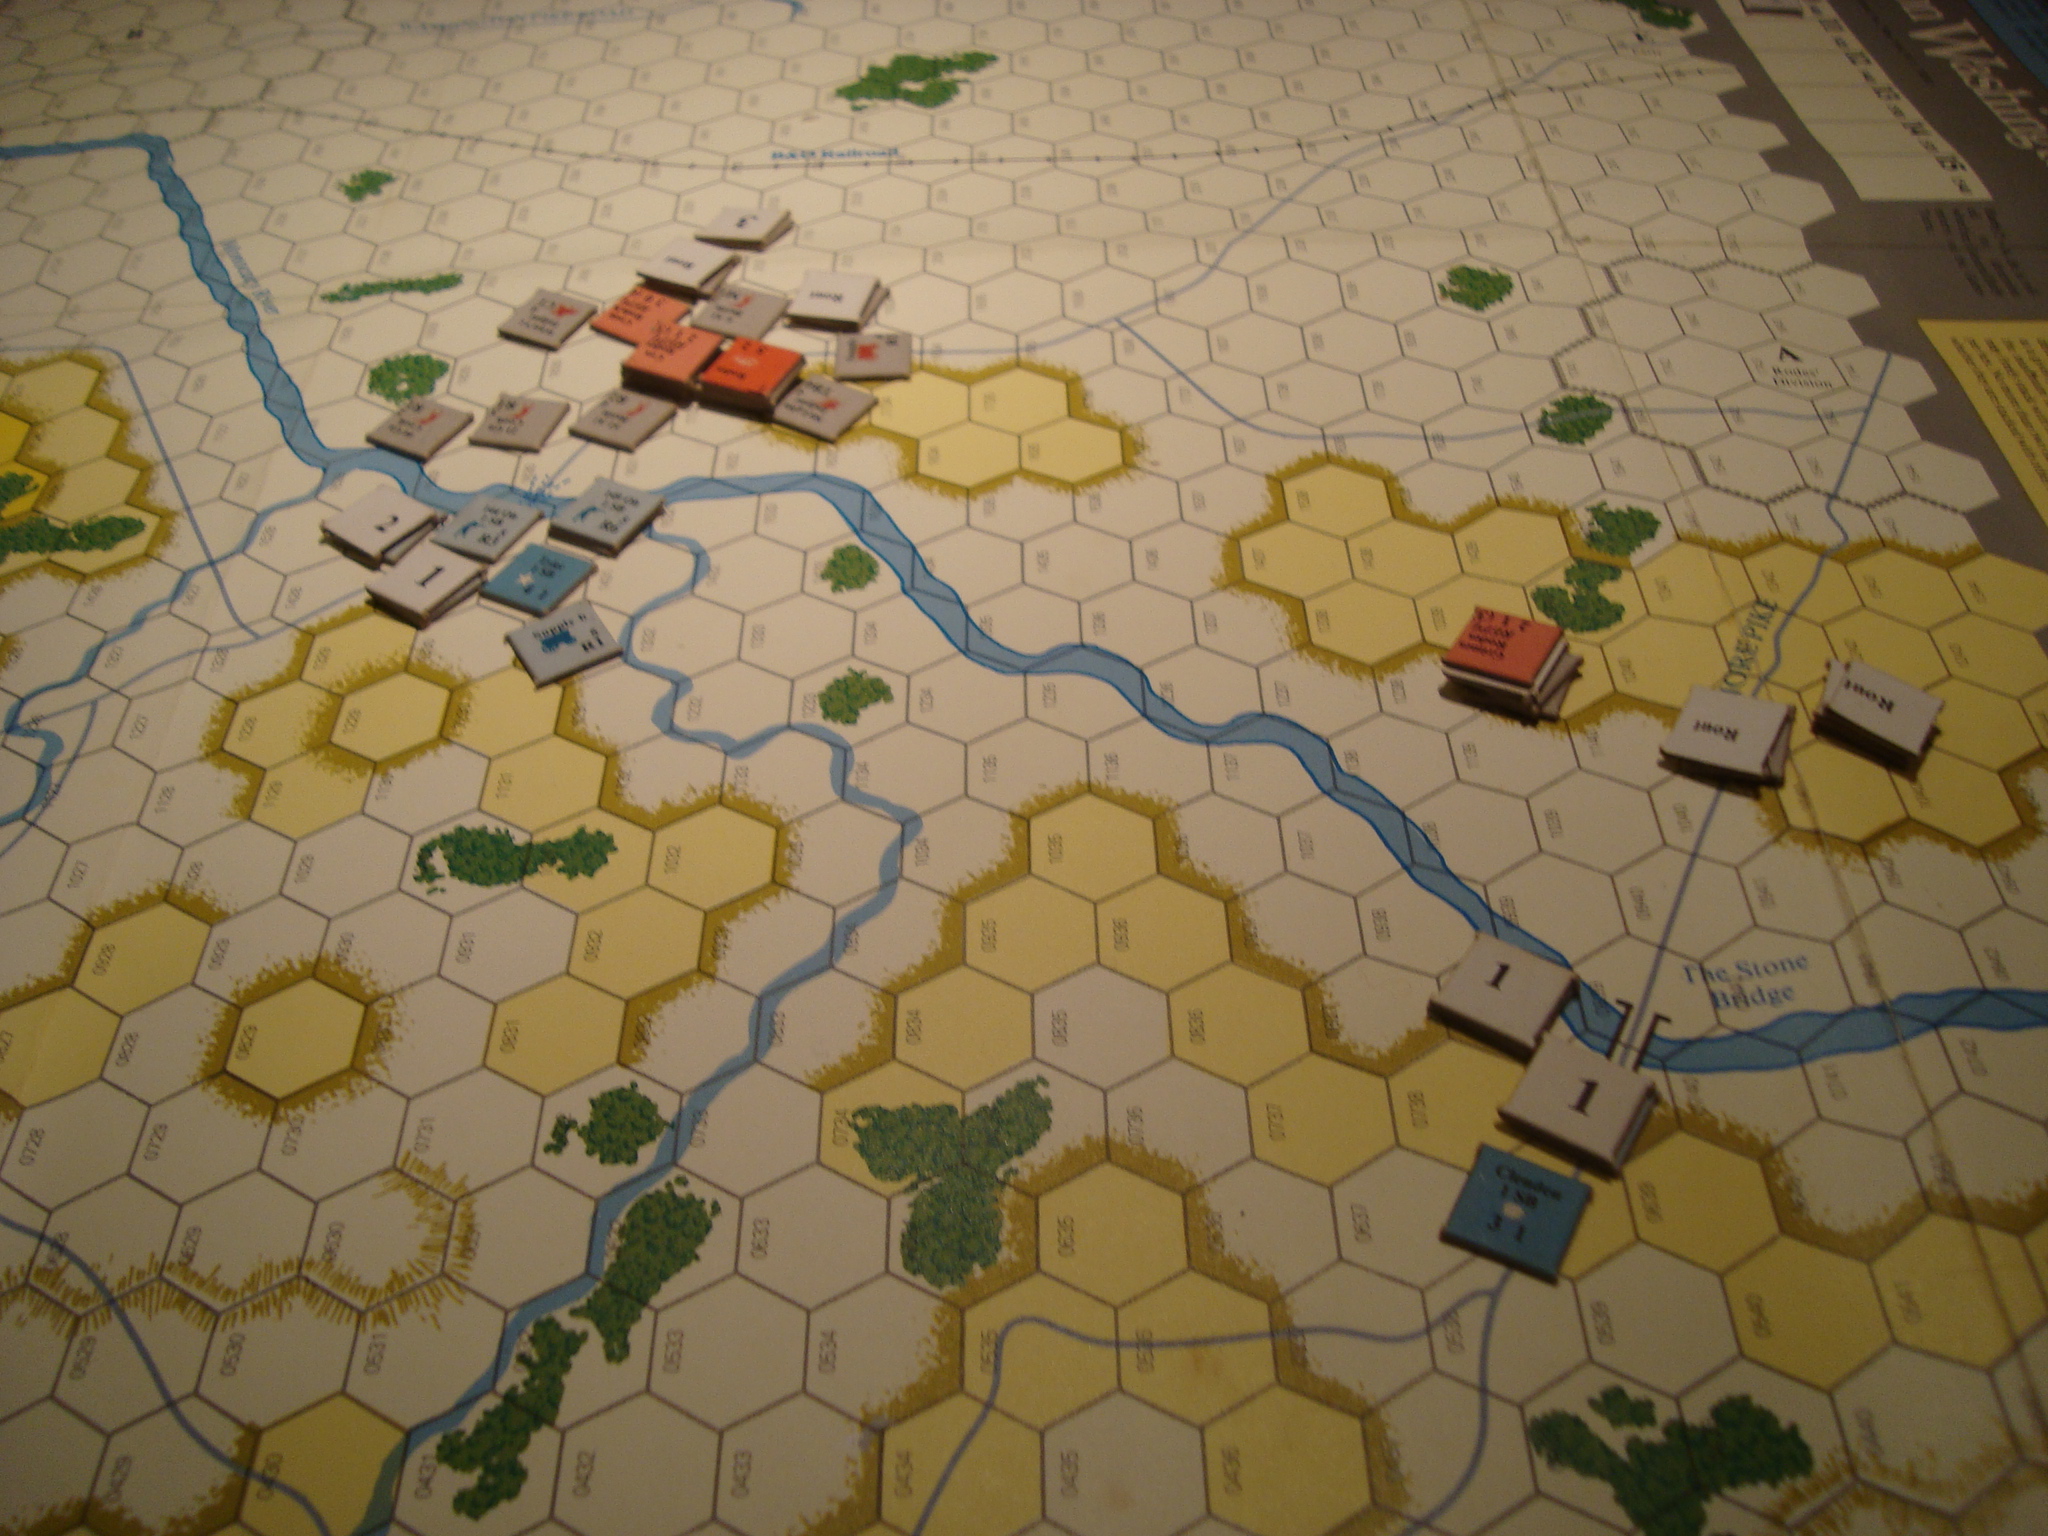
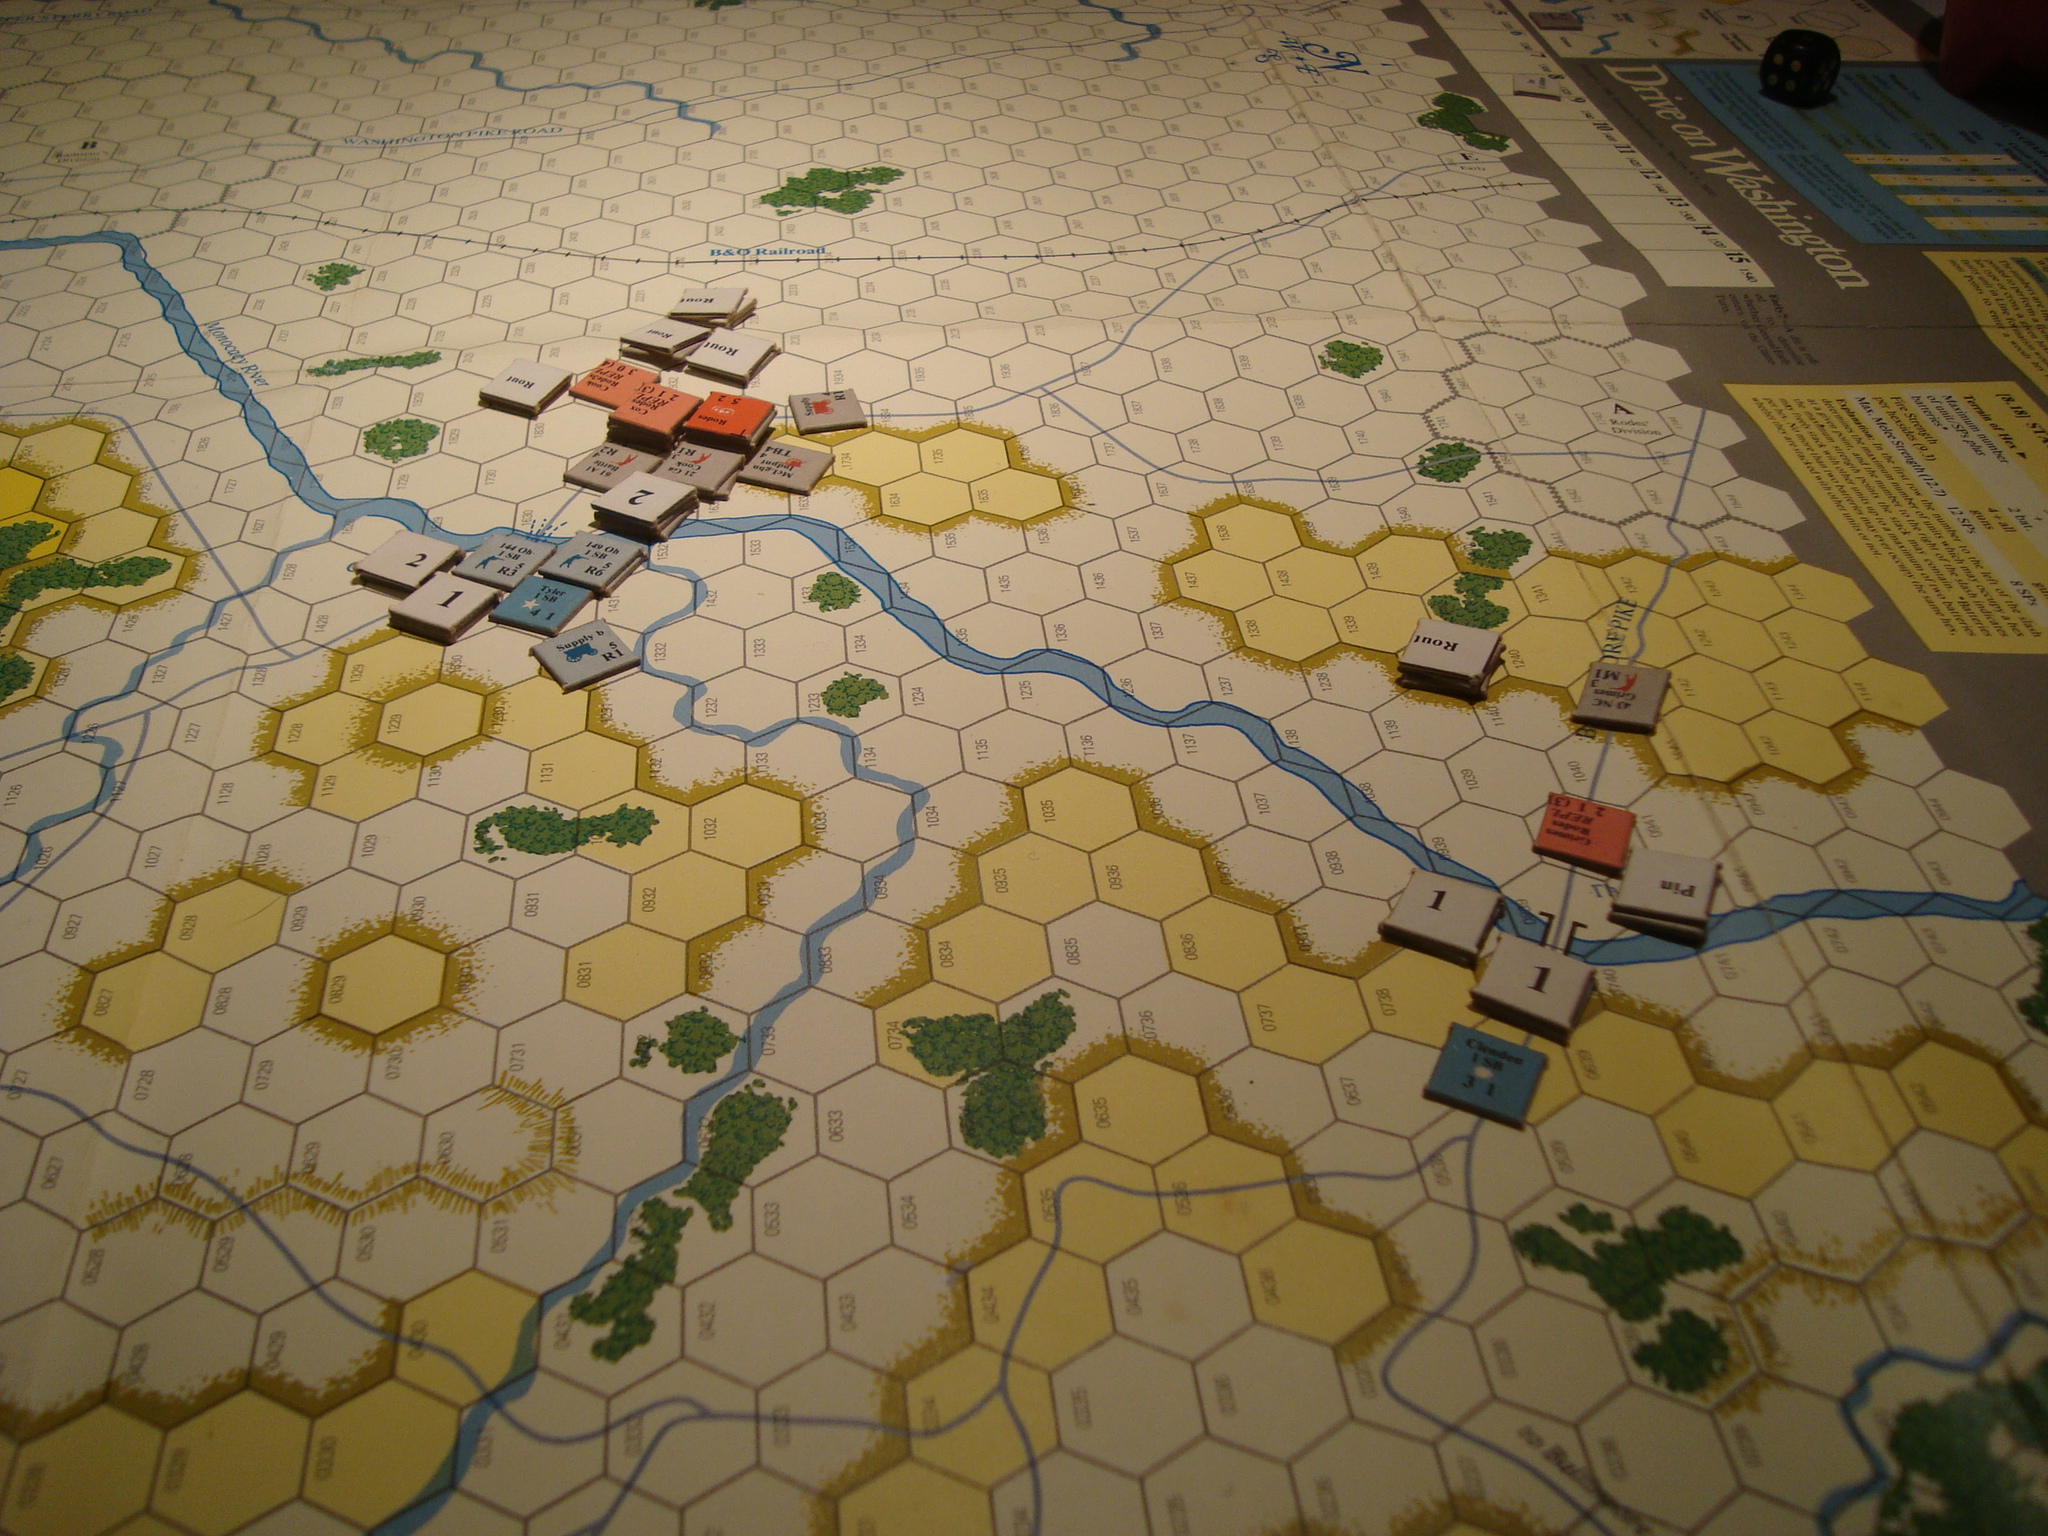
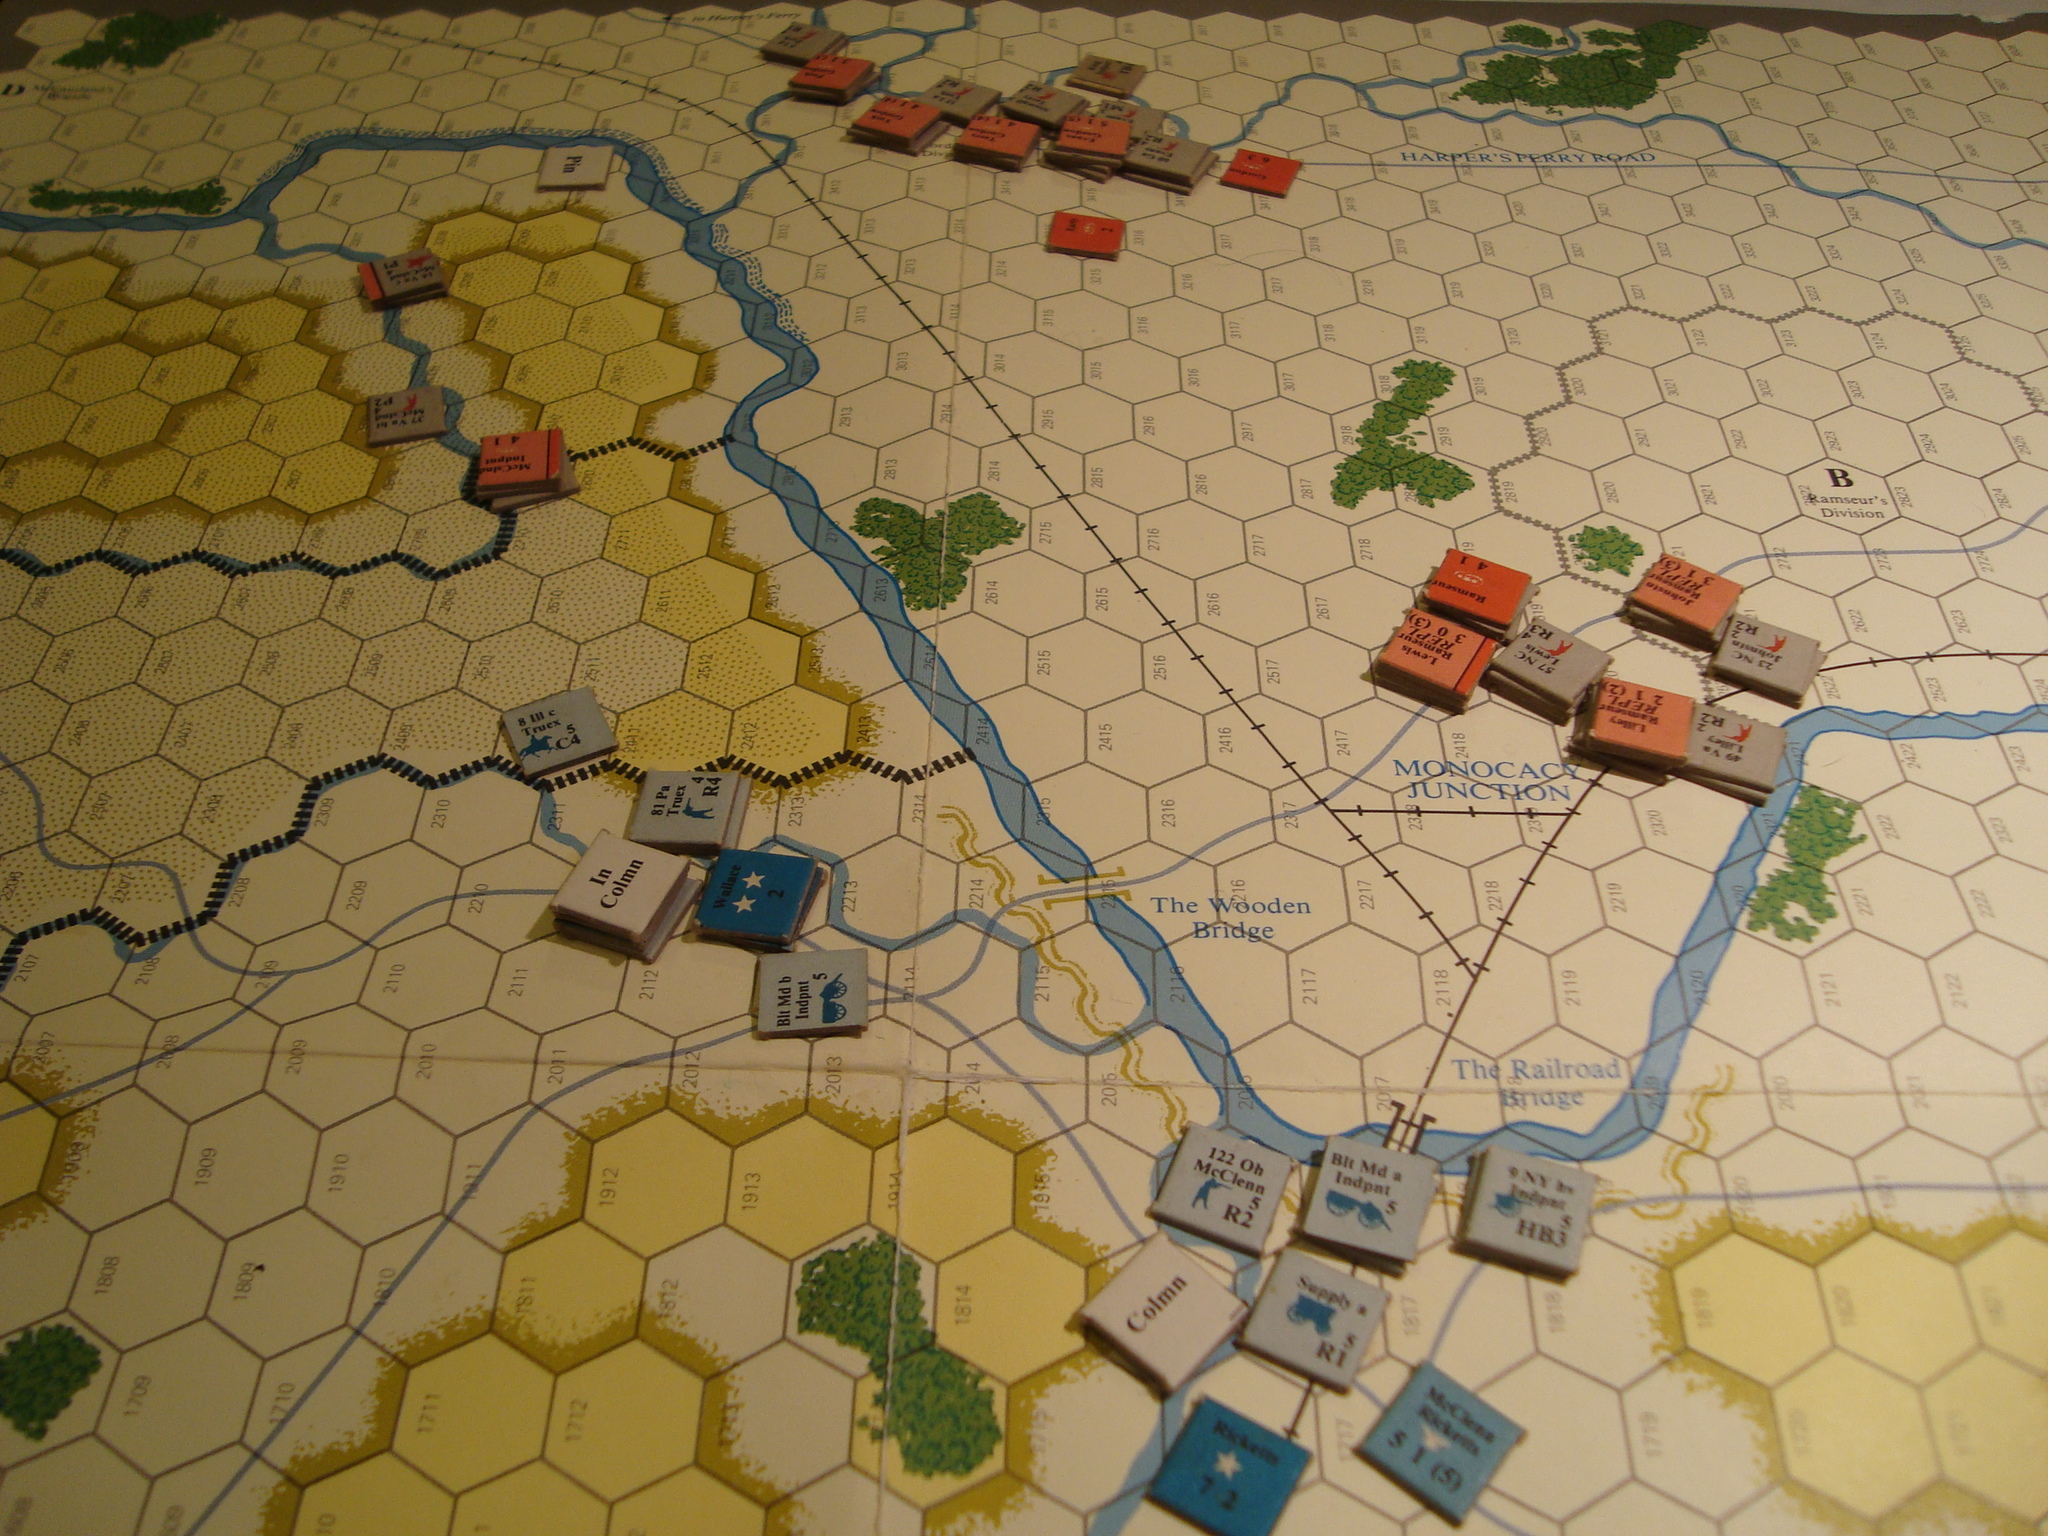
The Confederates have finally crossed the “Discovered” ford in strength. One of Gordon’s Regiments attempts to pin Truex’s Union division, while the remainder attempt to flank Truex to the south, opening the way to Washington DC. Maruading Rebel cavalry charges a limbered Union artillery battery but, implausibly, fails and is locked in melee. The belagured artillerymen are saved by a timely charge by one of Truex’s brigades and the Southern cavalry retreats. Truex’s division begins a fighting withdrawl to the southeast in an attempt to thwart Gordon’s envelopment.
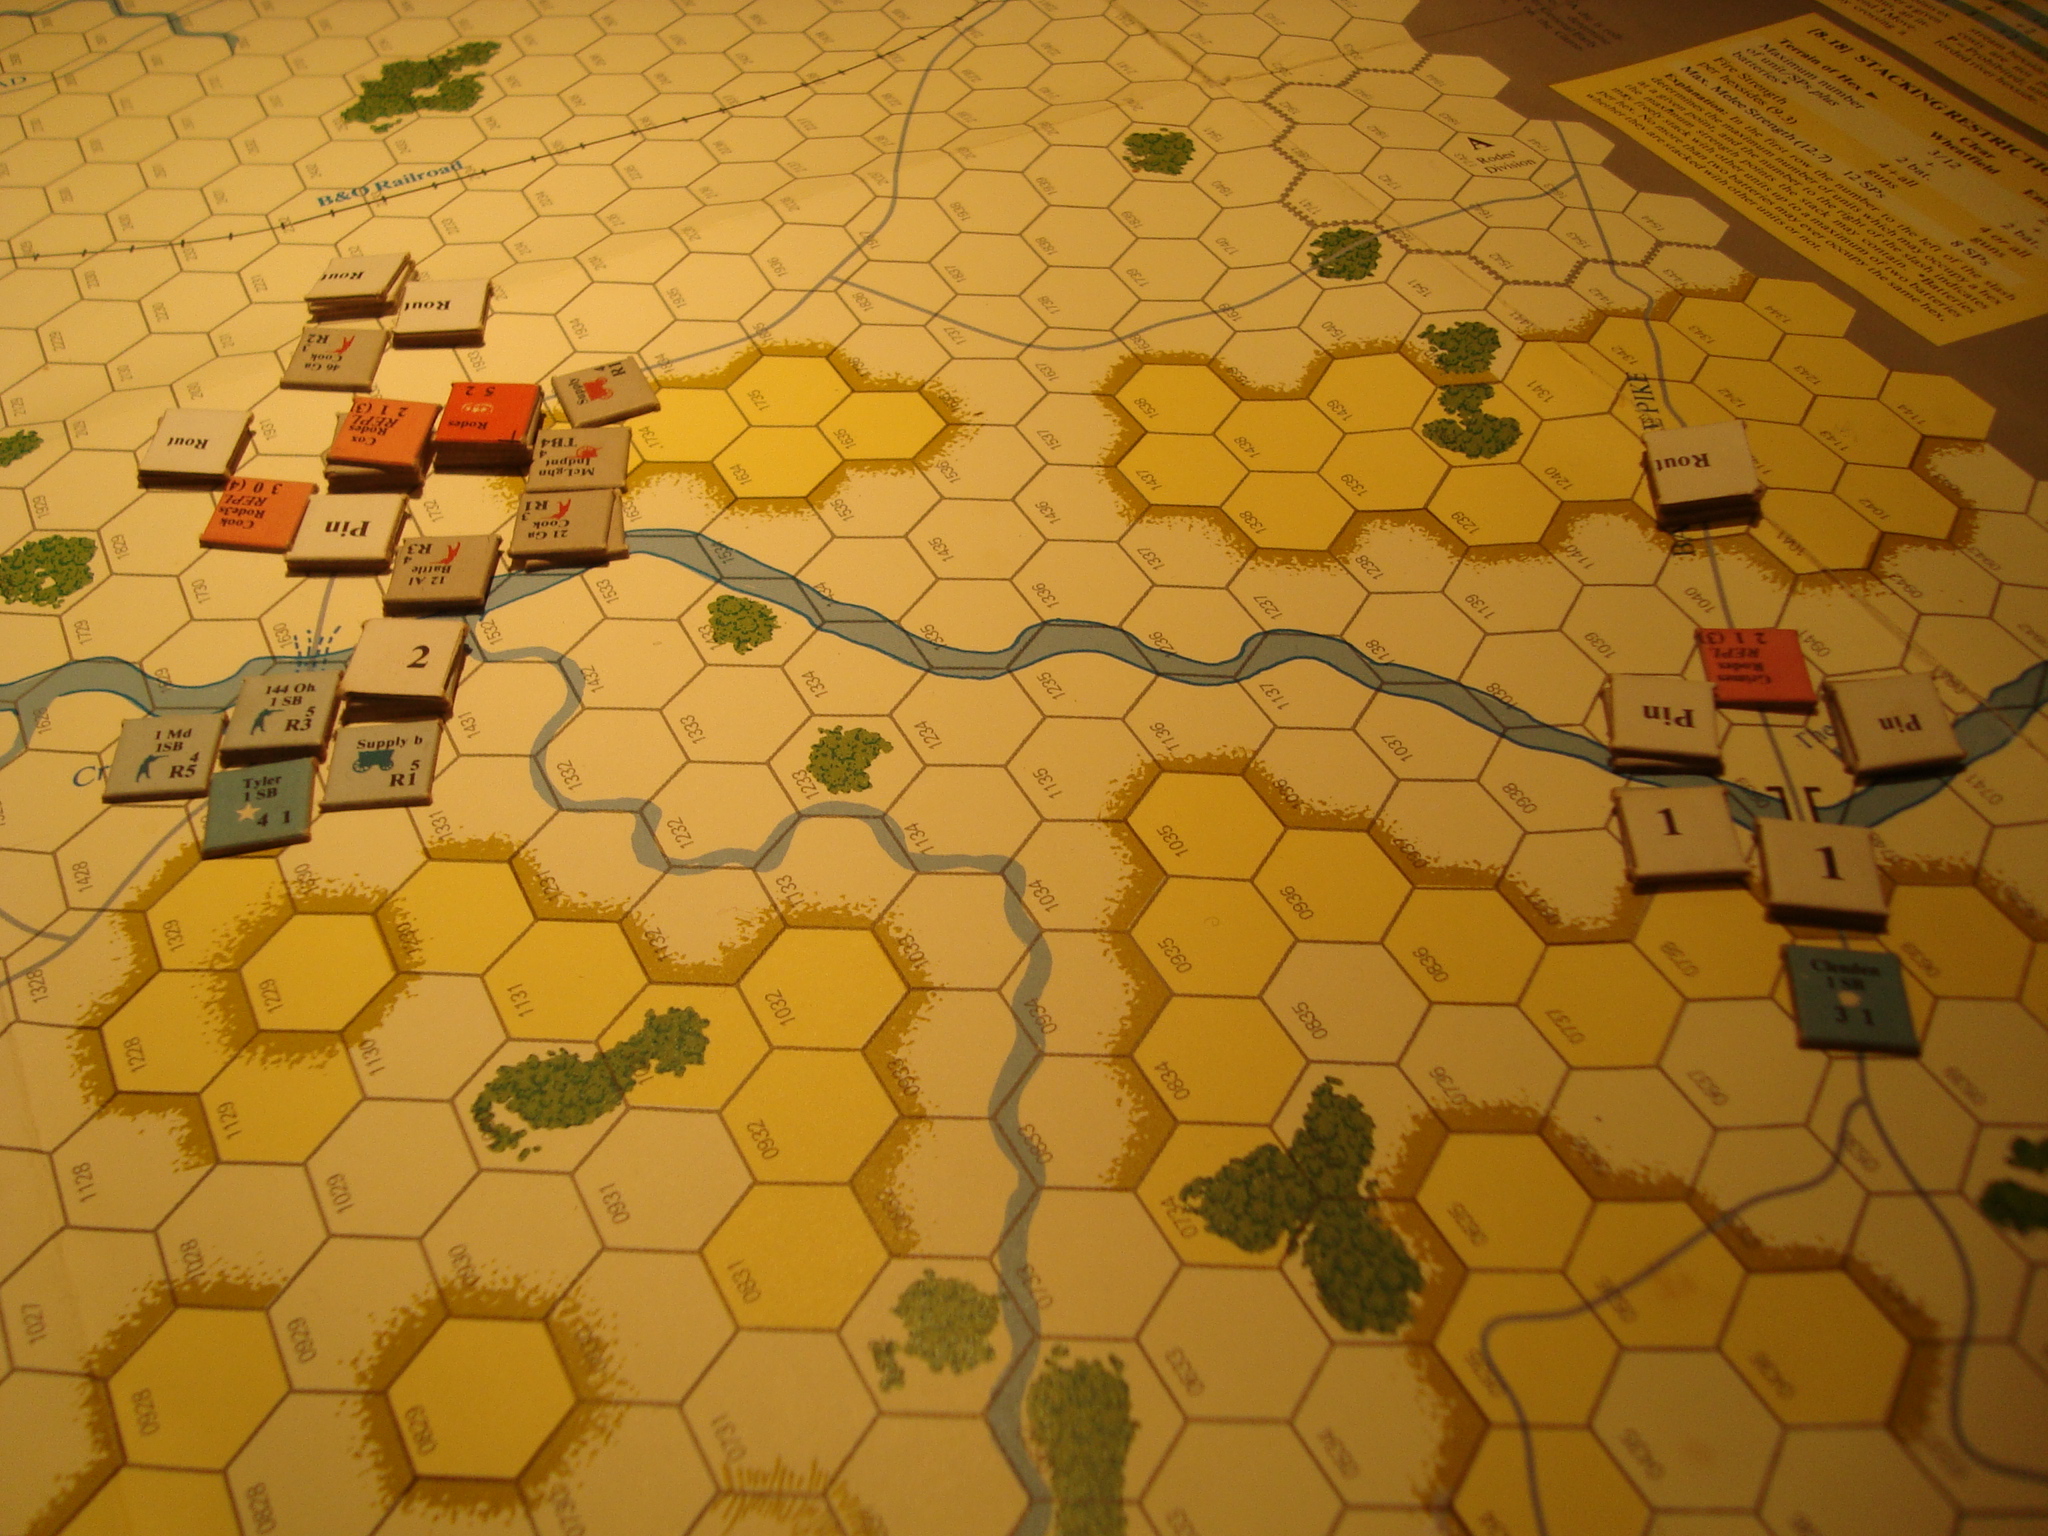
At the Railroad Bridge, Ramseur’s division begins a prolonged firefight with Rickett’s Union division. Further north, Rodes attack against Tyler’s Federals fails and Clendon’s outnumbered Union cavalry shatters Grimes’ brigade’s charge across the southernmost ford.
The Southern attacks aimed at the two northern fords and the Railroad Bridge have stalled, and their is little prospect for success.
While Gordon’s division has pushed Truex’s division back towards Washington, they running out of time.
In Drive on Washington, victory points are assigned not only for units destroyed or captured, but also for the number of Confederate units that can exit the map on the two roads leading to Washington DC. The number of factors that exit the map are multiplied by a factor based on how early in the game this occurs. The best chance for a decisive Confederate victory is to exit the map prior to the beginning of Turn 12, so the next two turns are critical.
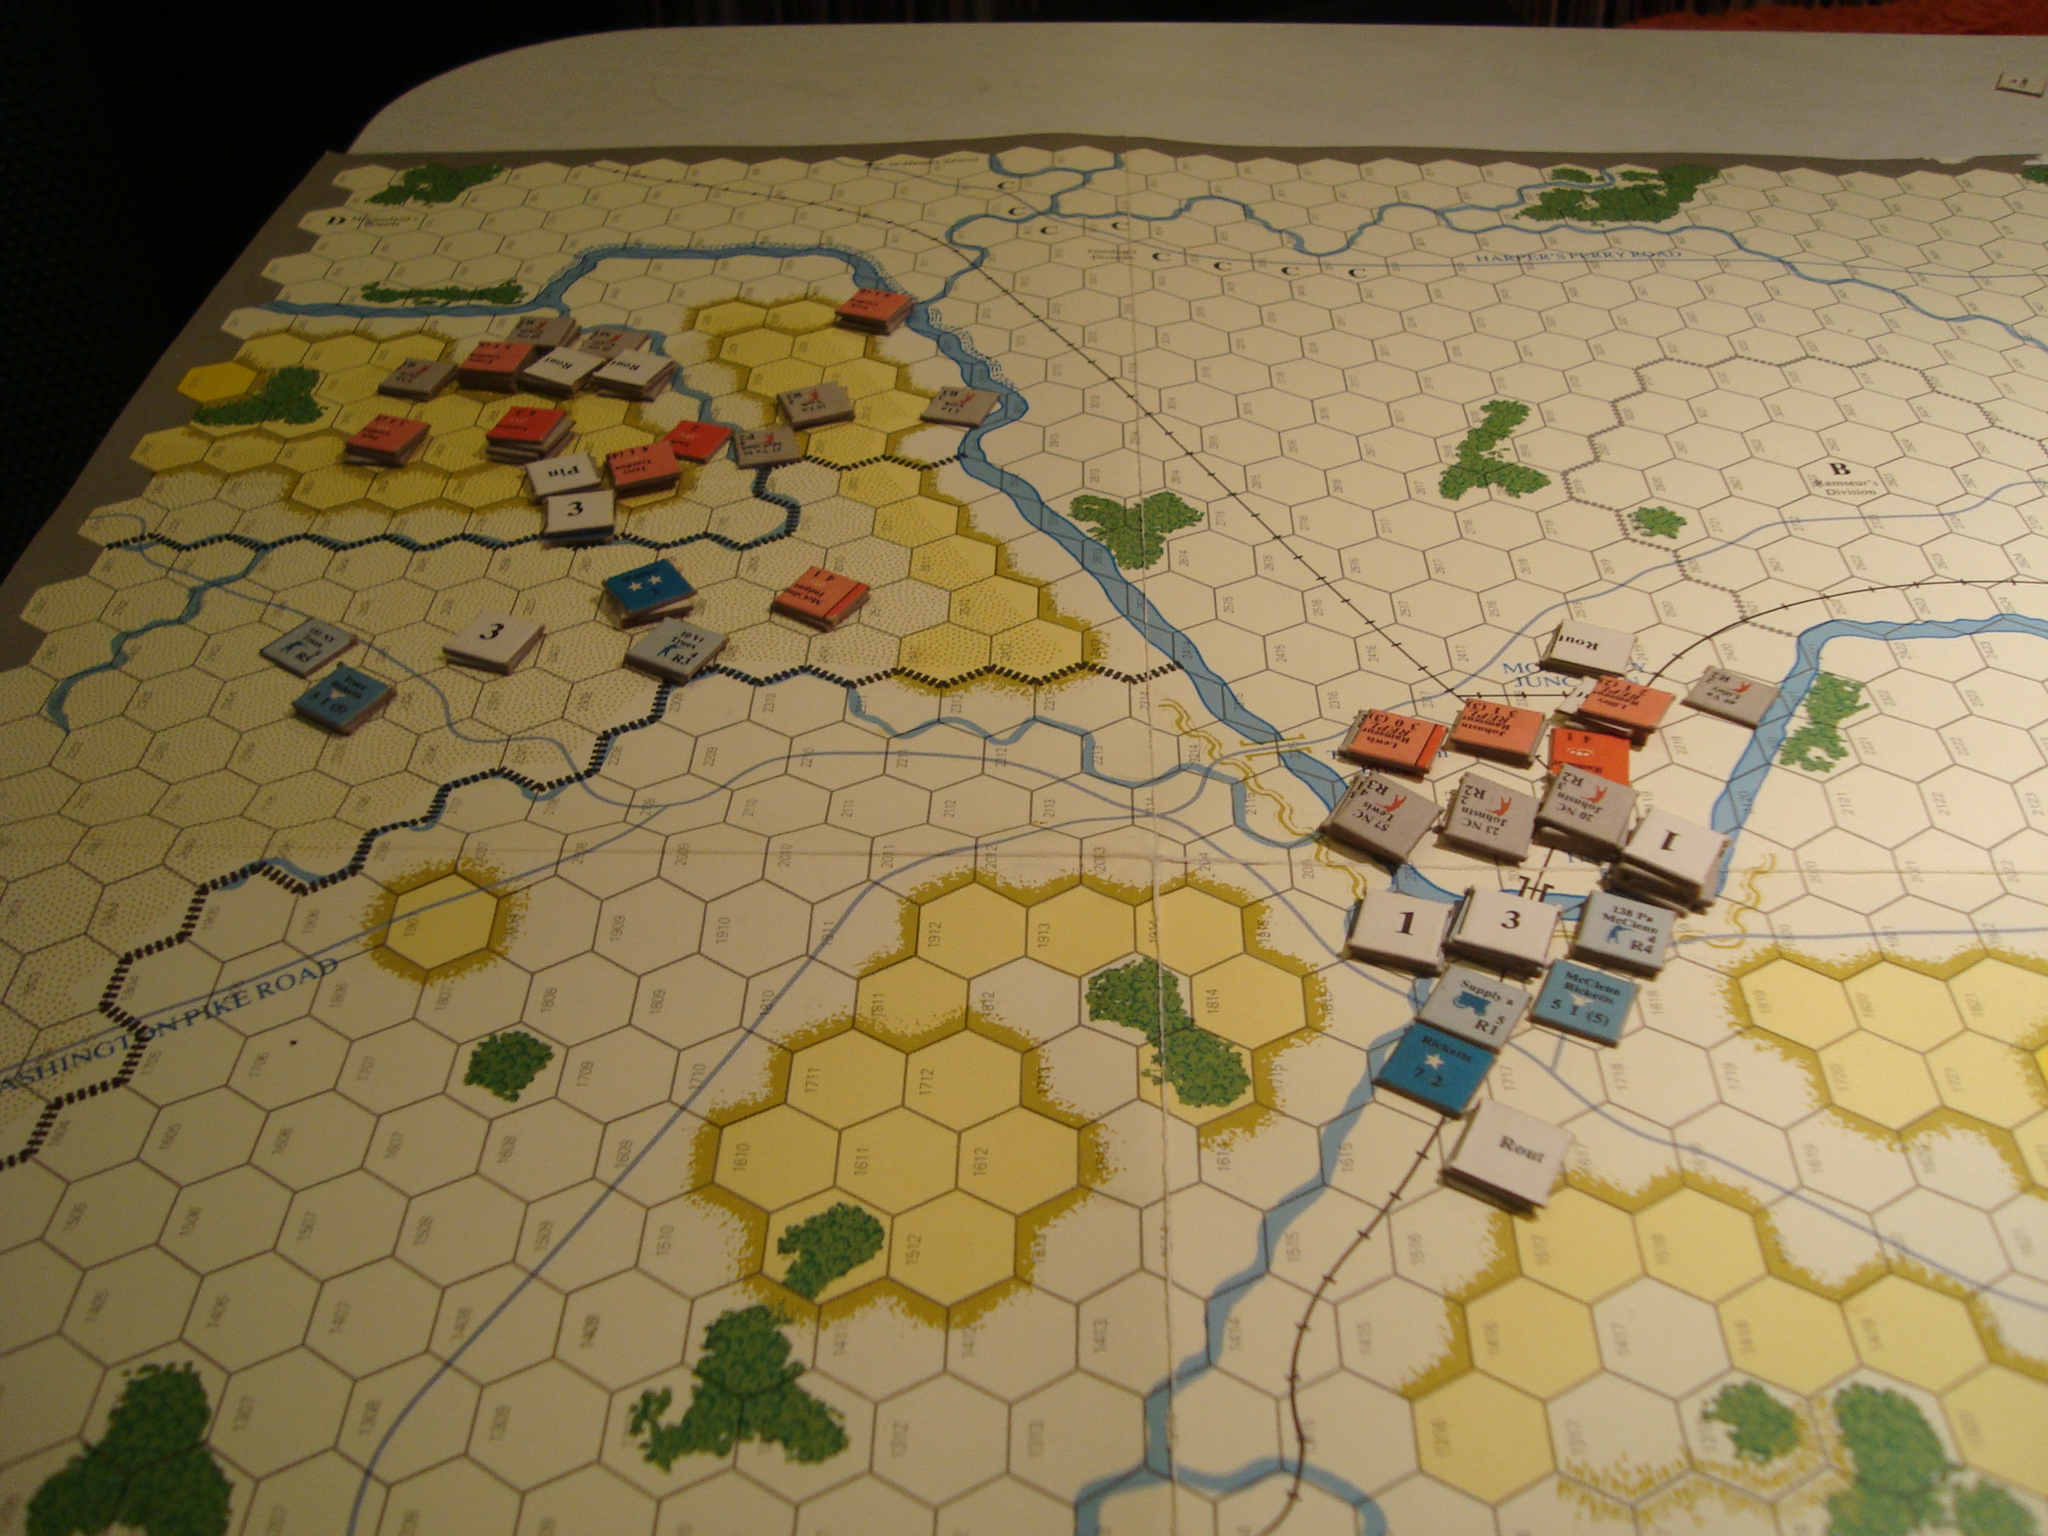
Turn 9: Gordon Pins Truex and Begins Flanking MarchTurn 9: Rodes’ Attacks At The Northern Fords StallTurn 10: Truex Begins A Fighting Withdrawl Towards The Washington Pike. Firefight at The Railroad Bridge ContinuesTurn 10: Rodes Cannot Make Headway Against Tyler or Clendon
Cranked out Turn 7. Confederates started moving across the discovered ford, but were stopped cold in their assault attempts across the lower Monocacy. Even little two strength units can (especially during the defensive fire phase), with a not too improbable roll, slap a Pin result on a powerful stack, freezing them up for a turn. Makes forcing a bridge a tough – resisted the temptation to use dicey – proposition. Especially difficult when you lack artillery assets.
Here’s the situation at the end of the turn.
Confederates Crossing The Ford, With Federals Formed In Defense – Attack Across The Railroad Bridge StallsNorthern Confederate Attacks Stopped By Outnumbered Union Troops
Decided to focus on putting together the ubiquitous Middle Eastern and/or Central Asian town and/or village for Back of Beyond and/or battles with Renaissance Turks and/or Persians. OK, I will not and/or again.
This is a project well suited for my (lack of) modeling capabilities. My architectural models make the town in Cabinet of Dr. Caligari look like the work of Mies Van Der Rohe. No square corners, even walls, or precision cuts required for this one. Just get a sharp skill knife, plenty of foamcore and balsa, lather on the Elmers, cover up most defects with spackle and voila!
Plan to have two large homes, one smaller house, market building and a mosque. Should spruce things up on the table. Won’t terrify you with work in progress photos. However, here’s a couple of shots of things after the carnage of basic construction. Will add domes, awnings and other domestic touches over the next few days.
Christmas is over and company’s gone. First opportunity to get back to Drive on Washington for about a week.
This is a simulation of the Battle of Monocacy, where, depending on who you read, a Confederate attack on Washington DC was stopped by General Lew Wallace of (later) Ben Hur fame.
This SPI game is supposedly hard to find judging by the price out on EBay. I picked up a copy on the cheap a couple of years ago, and like most things, it was a little too good of a price to be true. The box was badly battered, and the rules looked like they had been last used to house train a dog. Still, the map was in great shape and all the counters appeared to be present. Wrong again. Missing three counters; one Confederate leader and two Union units. Still, I can play the game.
Union forces are deployed at fords or bridges along the Monocacy River in an attempt to guard approaches to Washington DC. Four separate Confederate divisions are placed in general areas, poised to attack, but must first by activated by their overall commander, General Jubal Early. Early’s arrival is rolled for each turn, with a roll equal to or less than the game turn placing him on the map. Division activation occurs when Early passes within ten hexes of a division commander. The division may move the turn after it is activated. The Confederates may also search for a ford on the Union left. The discovery of the ford is handled by a random chit pull. The Union may destroy the “Wooden Bridge” denying the Confederates one crossing point by rolling a one or two, but cannot destroy the Railroad Bridge. The bridge to the right of the Union line is weakly defended, but some distance from the Washington turnpike.
It took four turns to find the ford, six turns for the entire Confederate force to be activated and moving, and three turns to burn the Wooden Bridge.
The stage is set for a series of sharp and vicious fights to force the bridges and known ford, or to quickly locate the ford on the Union right, and envelop the forces deployed along the Monocacy River.
As with my other games playing the Great Battles of the American Civil War (GBACW) system, fire combat is not always bloody, but in most cases will stop an attack through either a rout or pin result. By 1864, Union cavalry units had carbines. Their 5x adjacent hex firepower stopped Rebel cavalry from seizing key terrain on the Union left, allowing Truex more time to react to Gordon’s division moving across the now discovered ford.
By Turn Six, the game was really moving. Here’s a few photos showing the situation before and after the turn.
Confederate Forces Approach The Ford Near the Union CenterUnion Center. Wooden Bridge burned, with Truex moving to stop Gordon’s Confederates. McClean dug in to defend the Railroad BridgeConfederate Attacks Stall. Bridge on Union Right at Right of PhotoConfederate cavalry repulsed. Gordon poised to cross the now discovered ford as Truex begins to deploy.
Most, if not all, Grognards are familiar with the strange and terrible saga of the Europa gaming system. For those of you who are not, here’s a summary of events up to 2013, as well as a trenchant series of exchanges about more recent developments. Their signature East Front game, Total War, has been in a strange legal-sloth-hand-of-fate purgatory for years. The website is virtually dormant, indicating no news is bad news.
Fortunately, there is some hope. A group of Europa Diehards have continued to play and discuss the game, with one intrepid soul actually publishing a new game.
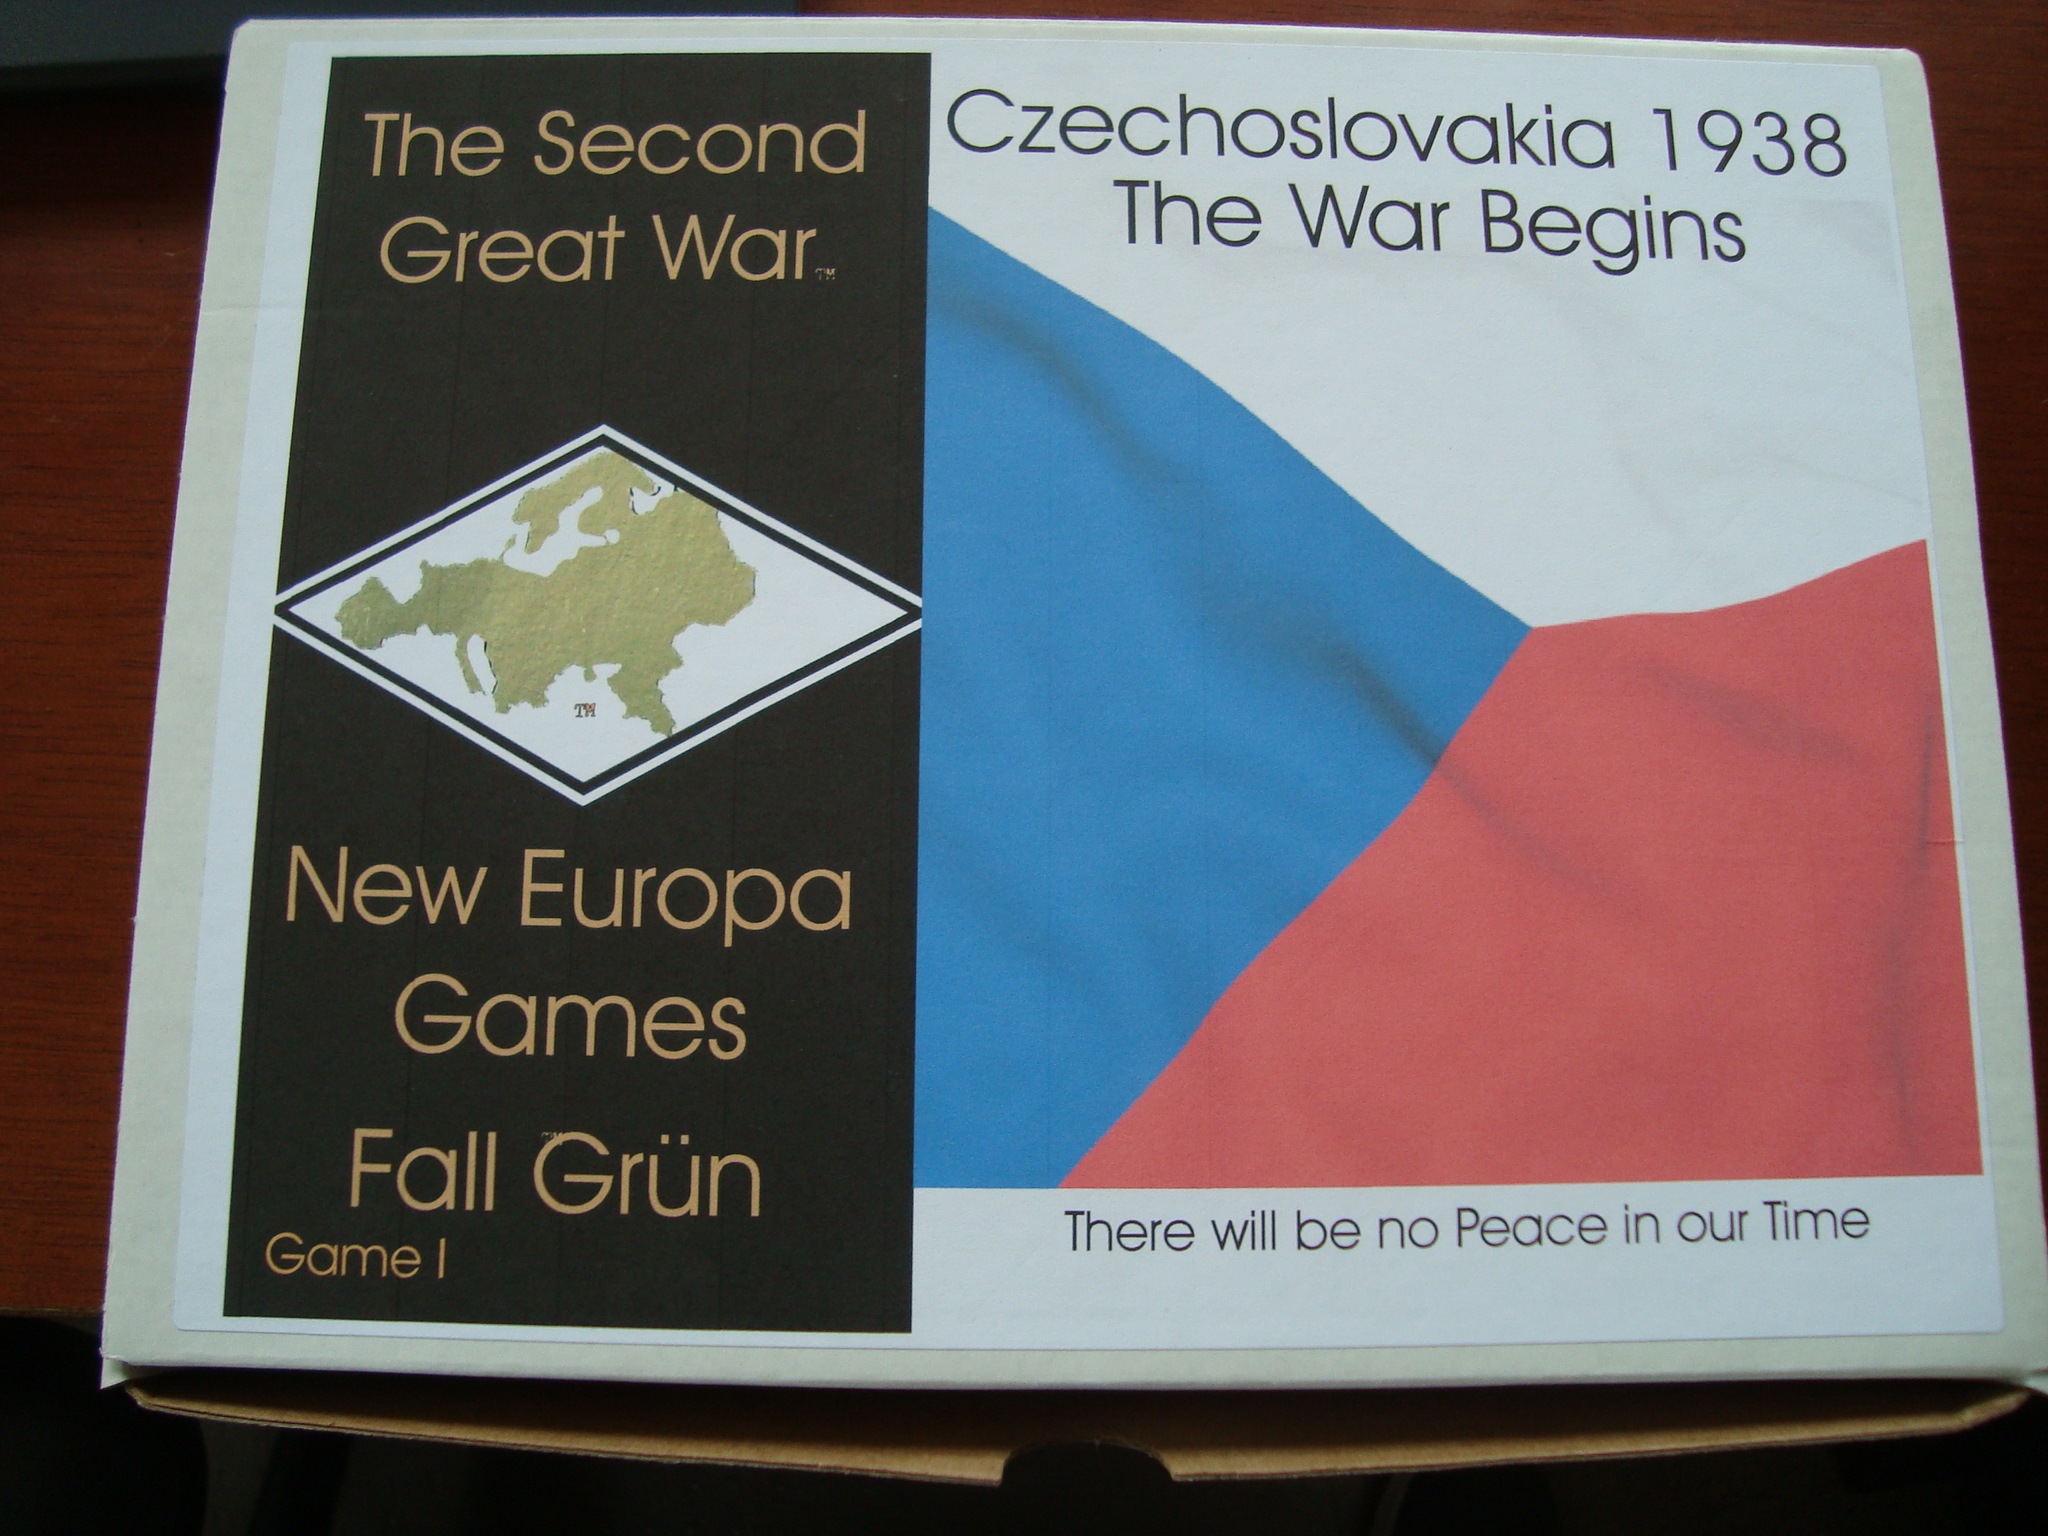
Timothy Davis’ effort covers the hypothetical German invasion of Czechoslovakia in 1938 using rules published by John Astell. Astell was a major figure in the early days of the Europa system, and, apparently retained publishing rights. This rule set is “Blitzkrieg Unending.” Tim’s company is New Europa Games and Variants.
I contacted Tim through the company’s website last month. He was working his way through some printing/publishing problems with the Europa variant counters. However, he still found the time to ship me a copy of Fall Grun.
I like it!
It does have the feel of a Beta. The rules have some gaps, the charts are nothing extraordinary and the map is printed on less expensive vinyl. But it’s a quality job and very similar to Europa. So why in the hell couldn’t the HMS/GRD folks do this? Tim’s published a quality product – especially for experienced Europa players who can fill in the gaps – and offers it for a relatively low price. OK, the question is rhetorical since it’s well known that there are all kinds of legal/creditor/investor issues hobbling HMS/GRD…..but just get the bloody game out.
Back to Fall Grun. The counter symbols are slightly smaller than Europa, but the maps have the same feel with different colors for terrain and symbols for terrain features such as woods. Europa players would find most of the charts easy to work with. If one doesn’t like the vinyl map, use maps from the other games or contact Timothy about the availability of the more expensive paper maps. Yes, paper is more expensive than vinyl….Go Figure.
Timothy deserves kudos for his efforts! His variant counters also look pretty damn good.
I hope my wargaming accomplice Tim and I get this on the table soon. Dunno, since there is talk about playing the East Africa scenario from Wavells War next.
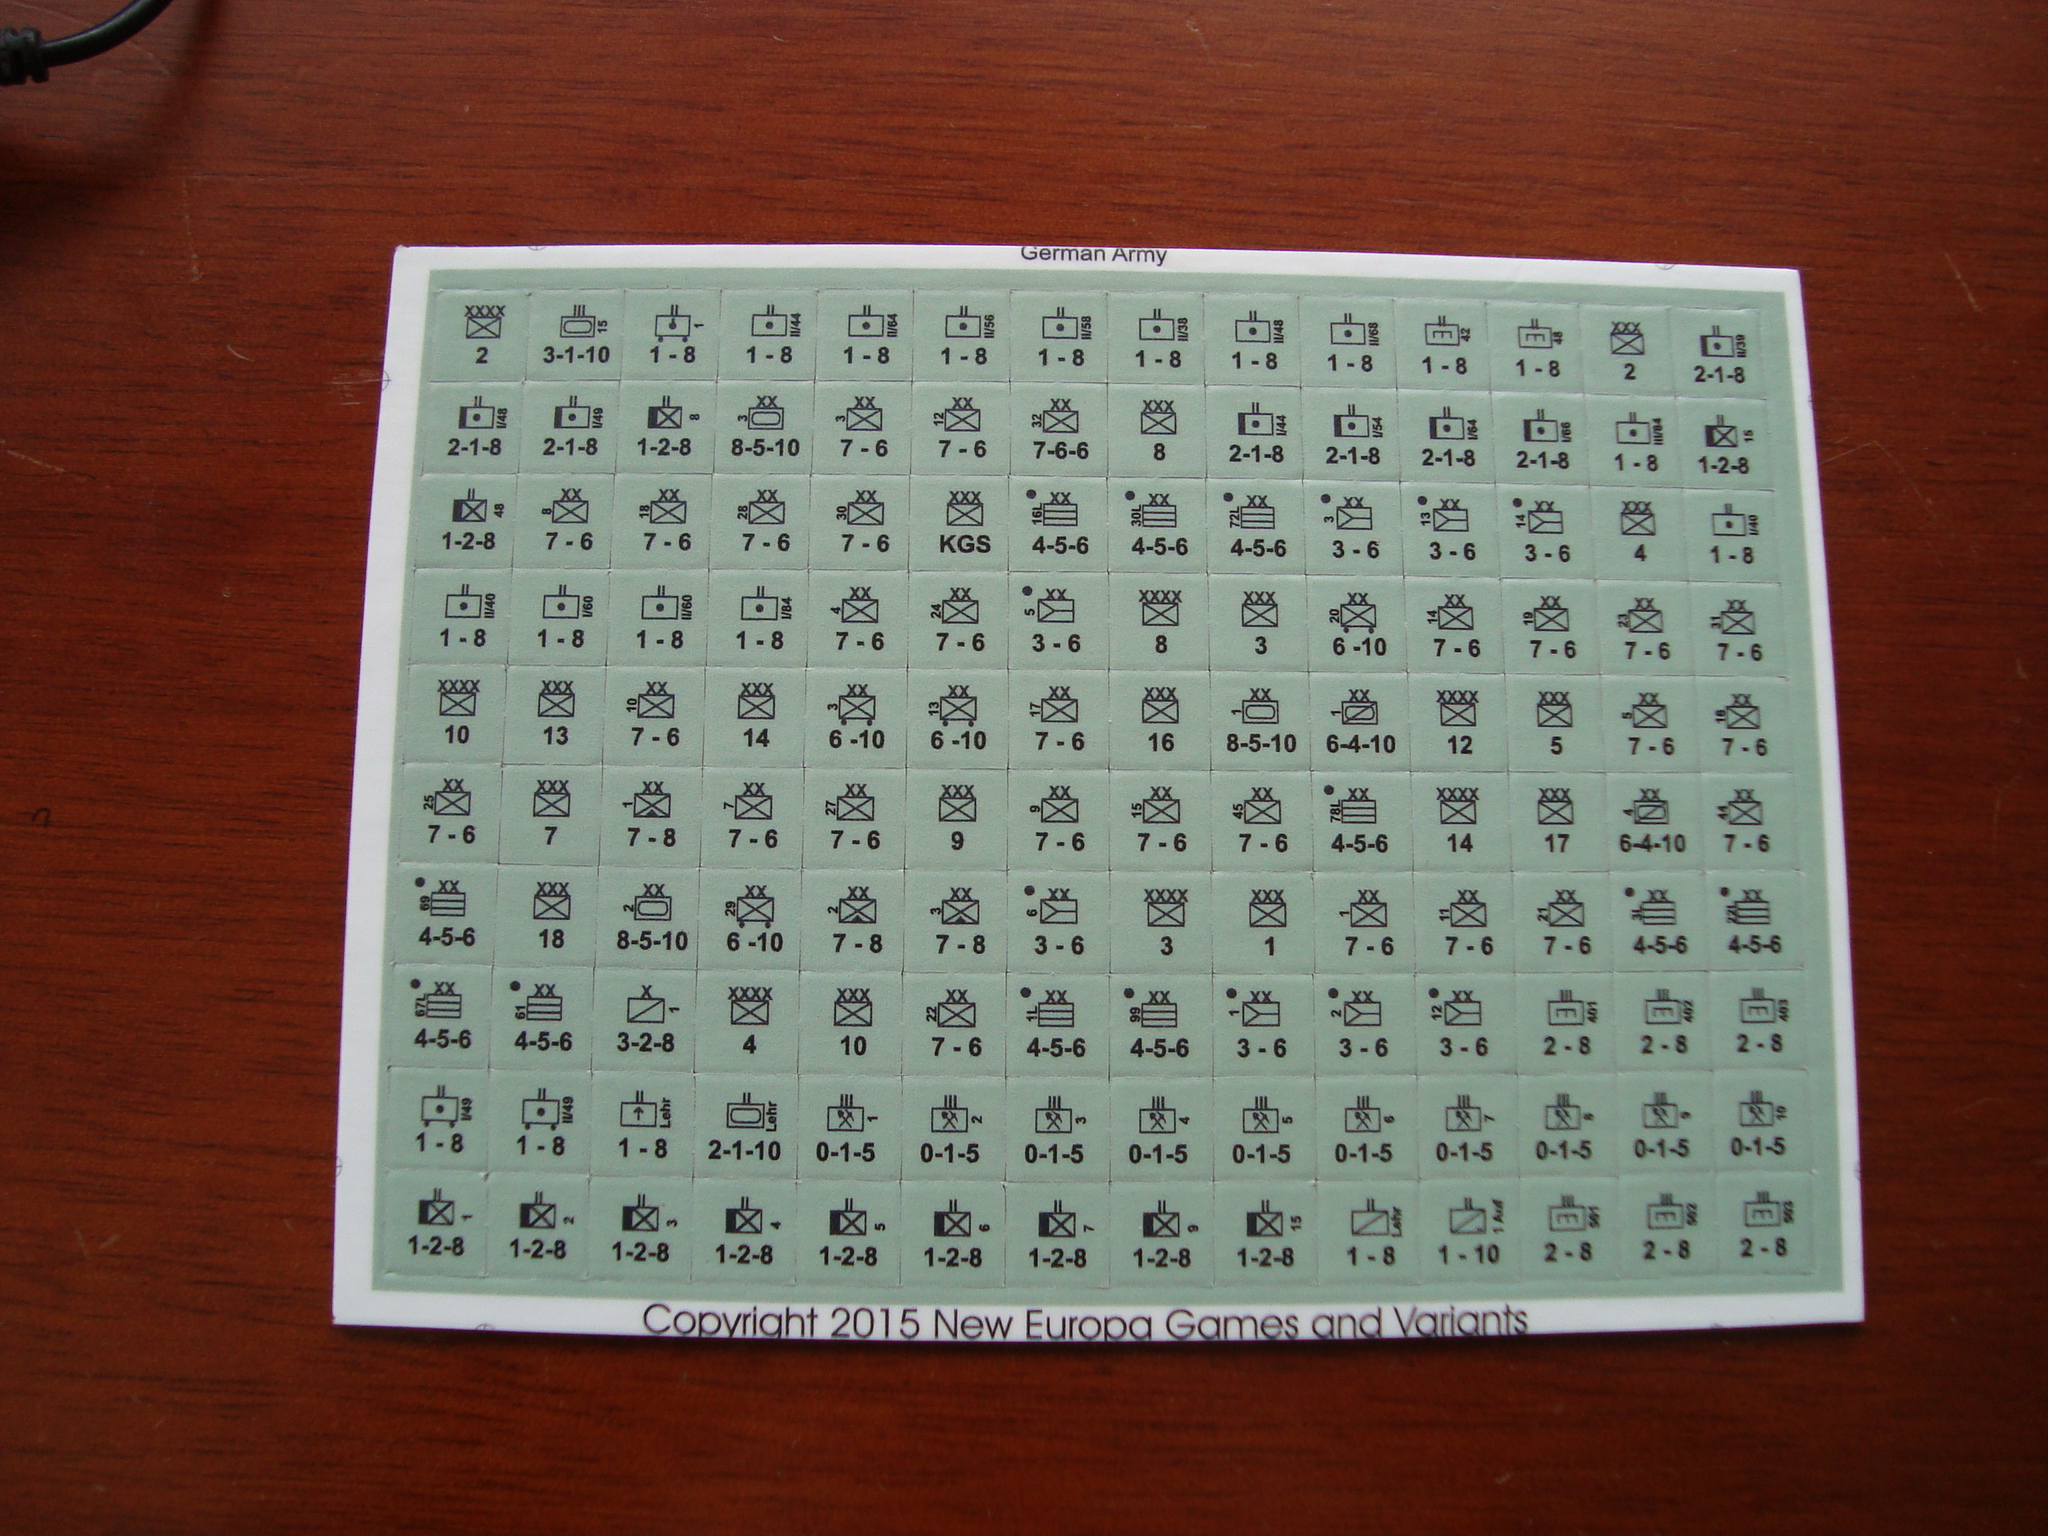
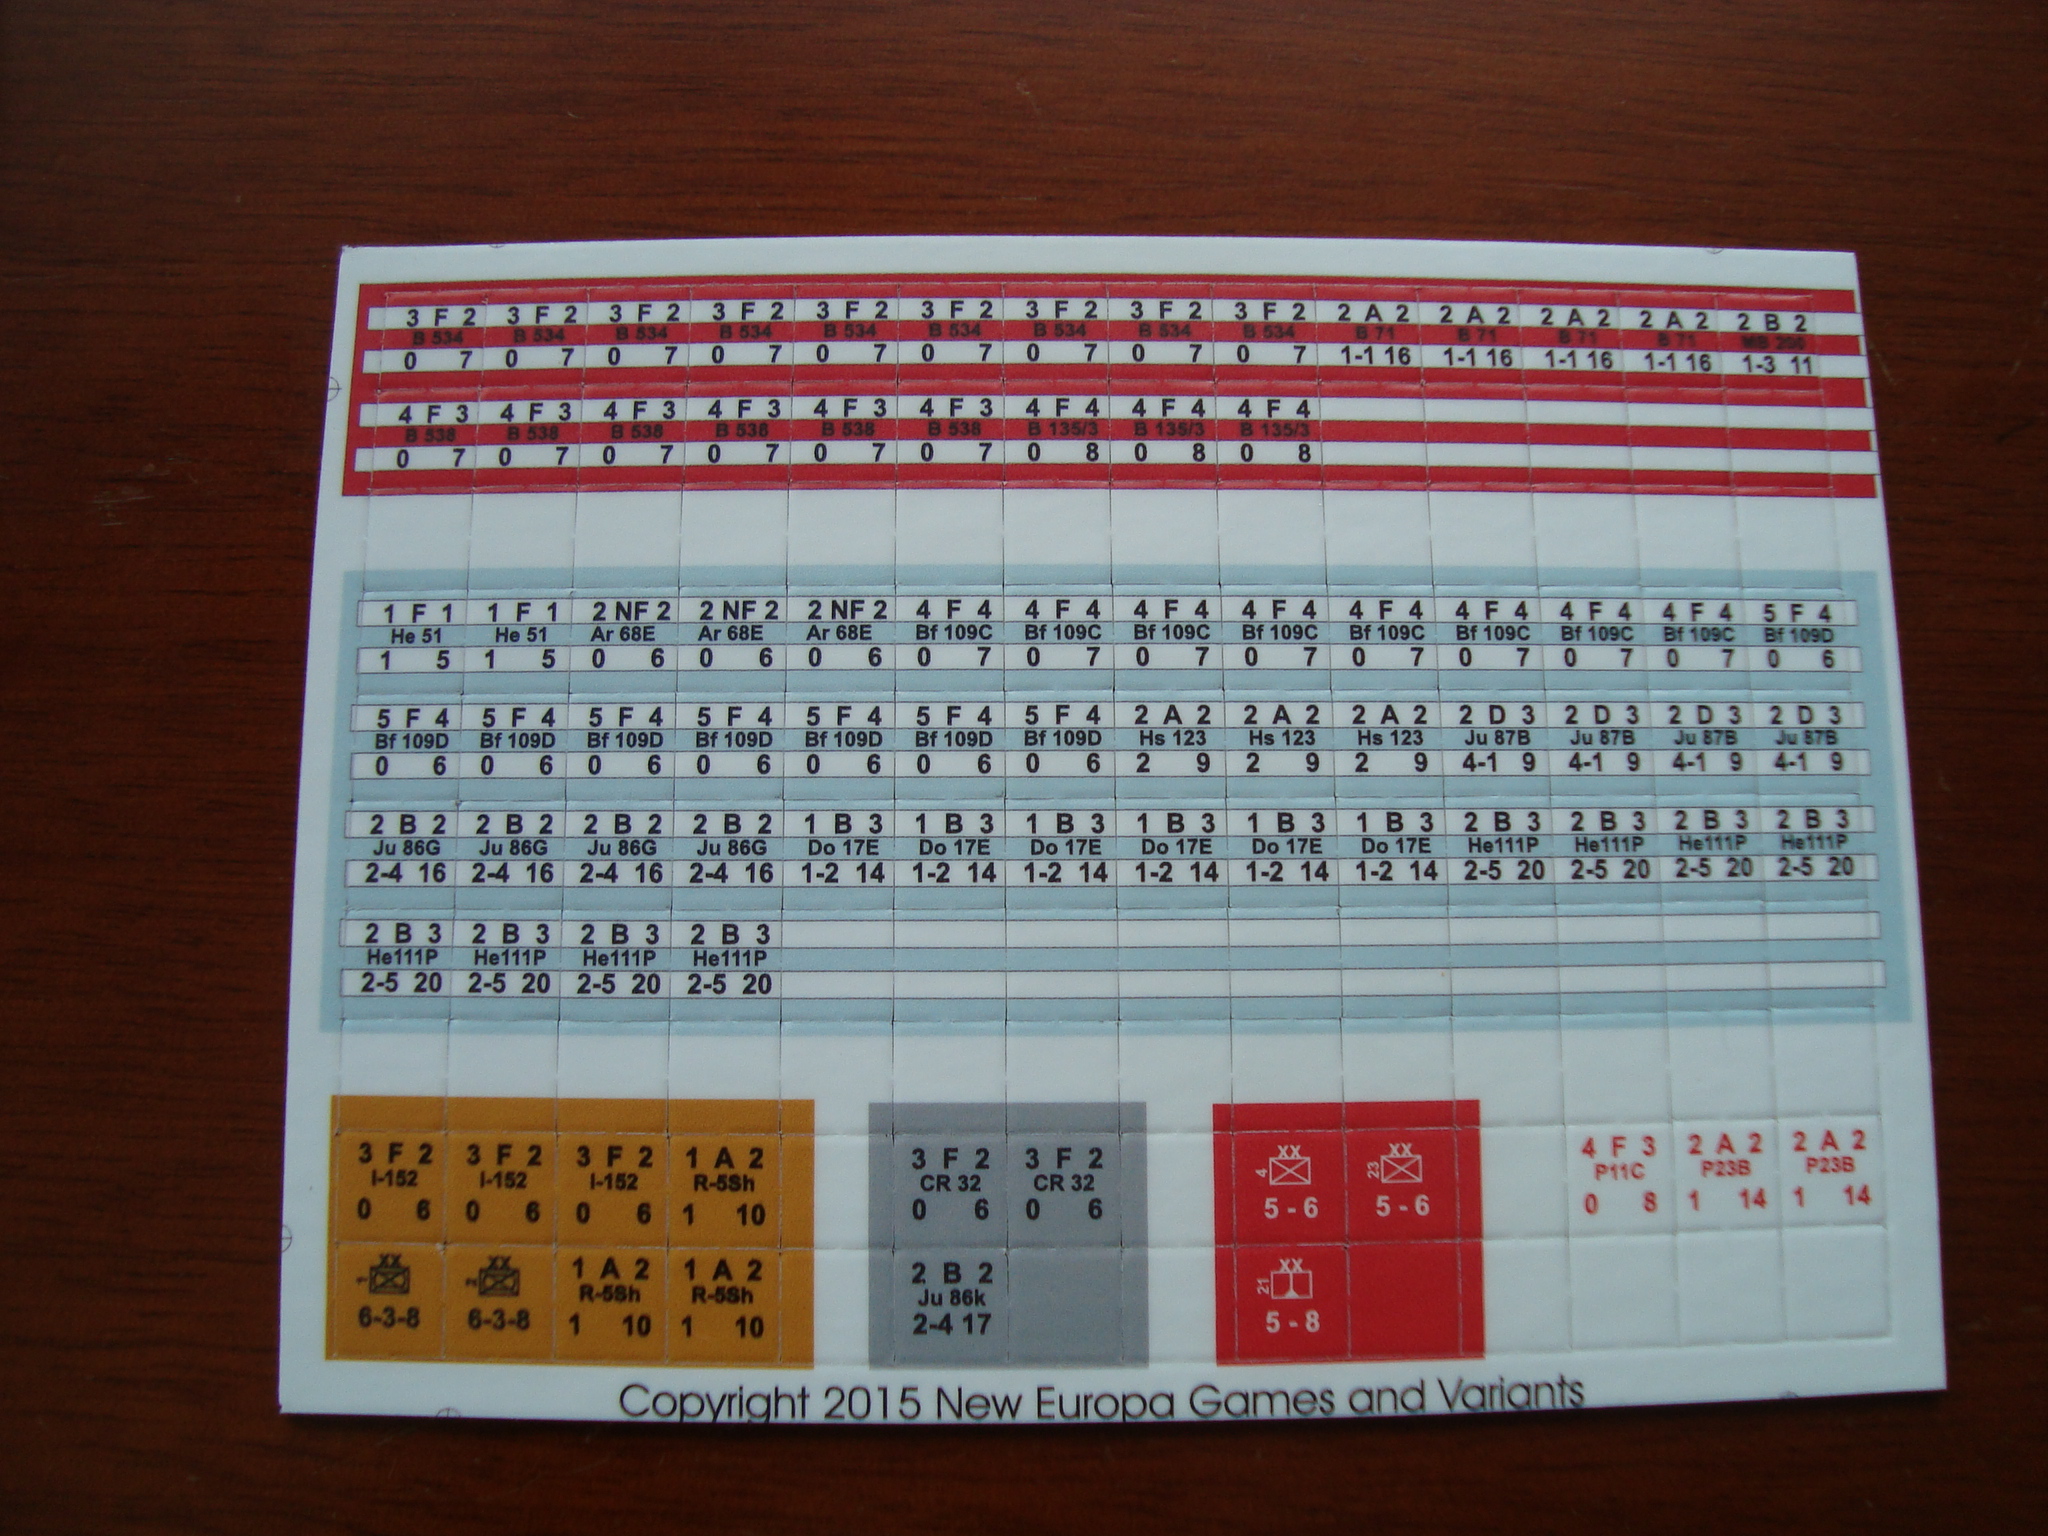
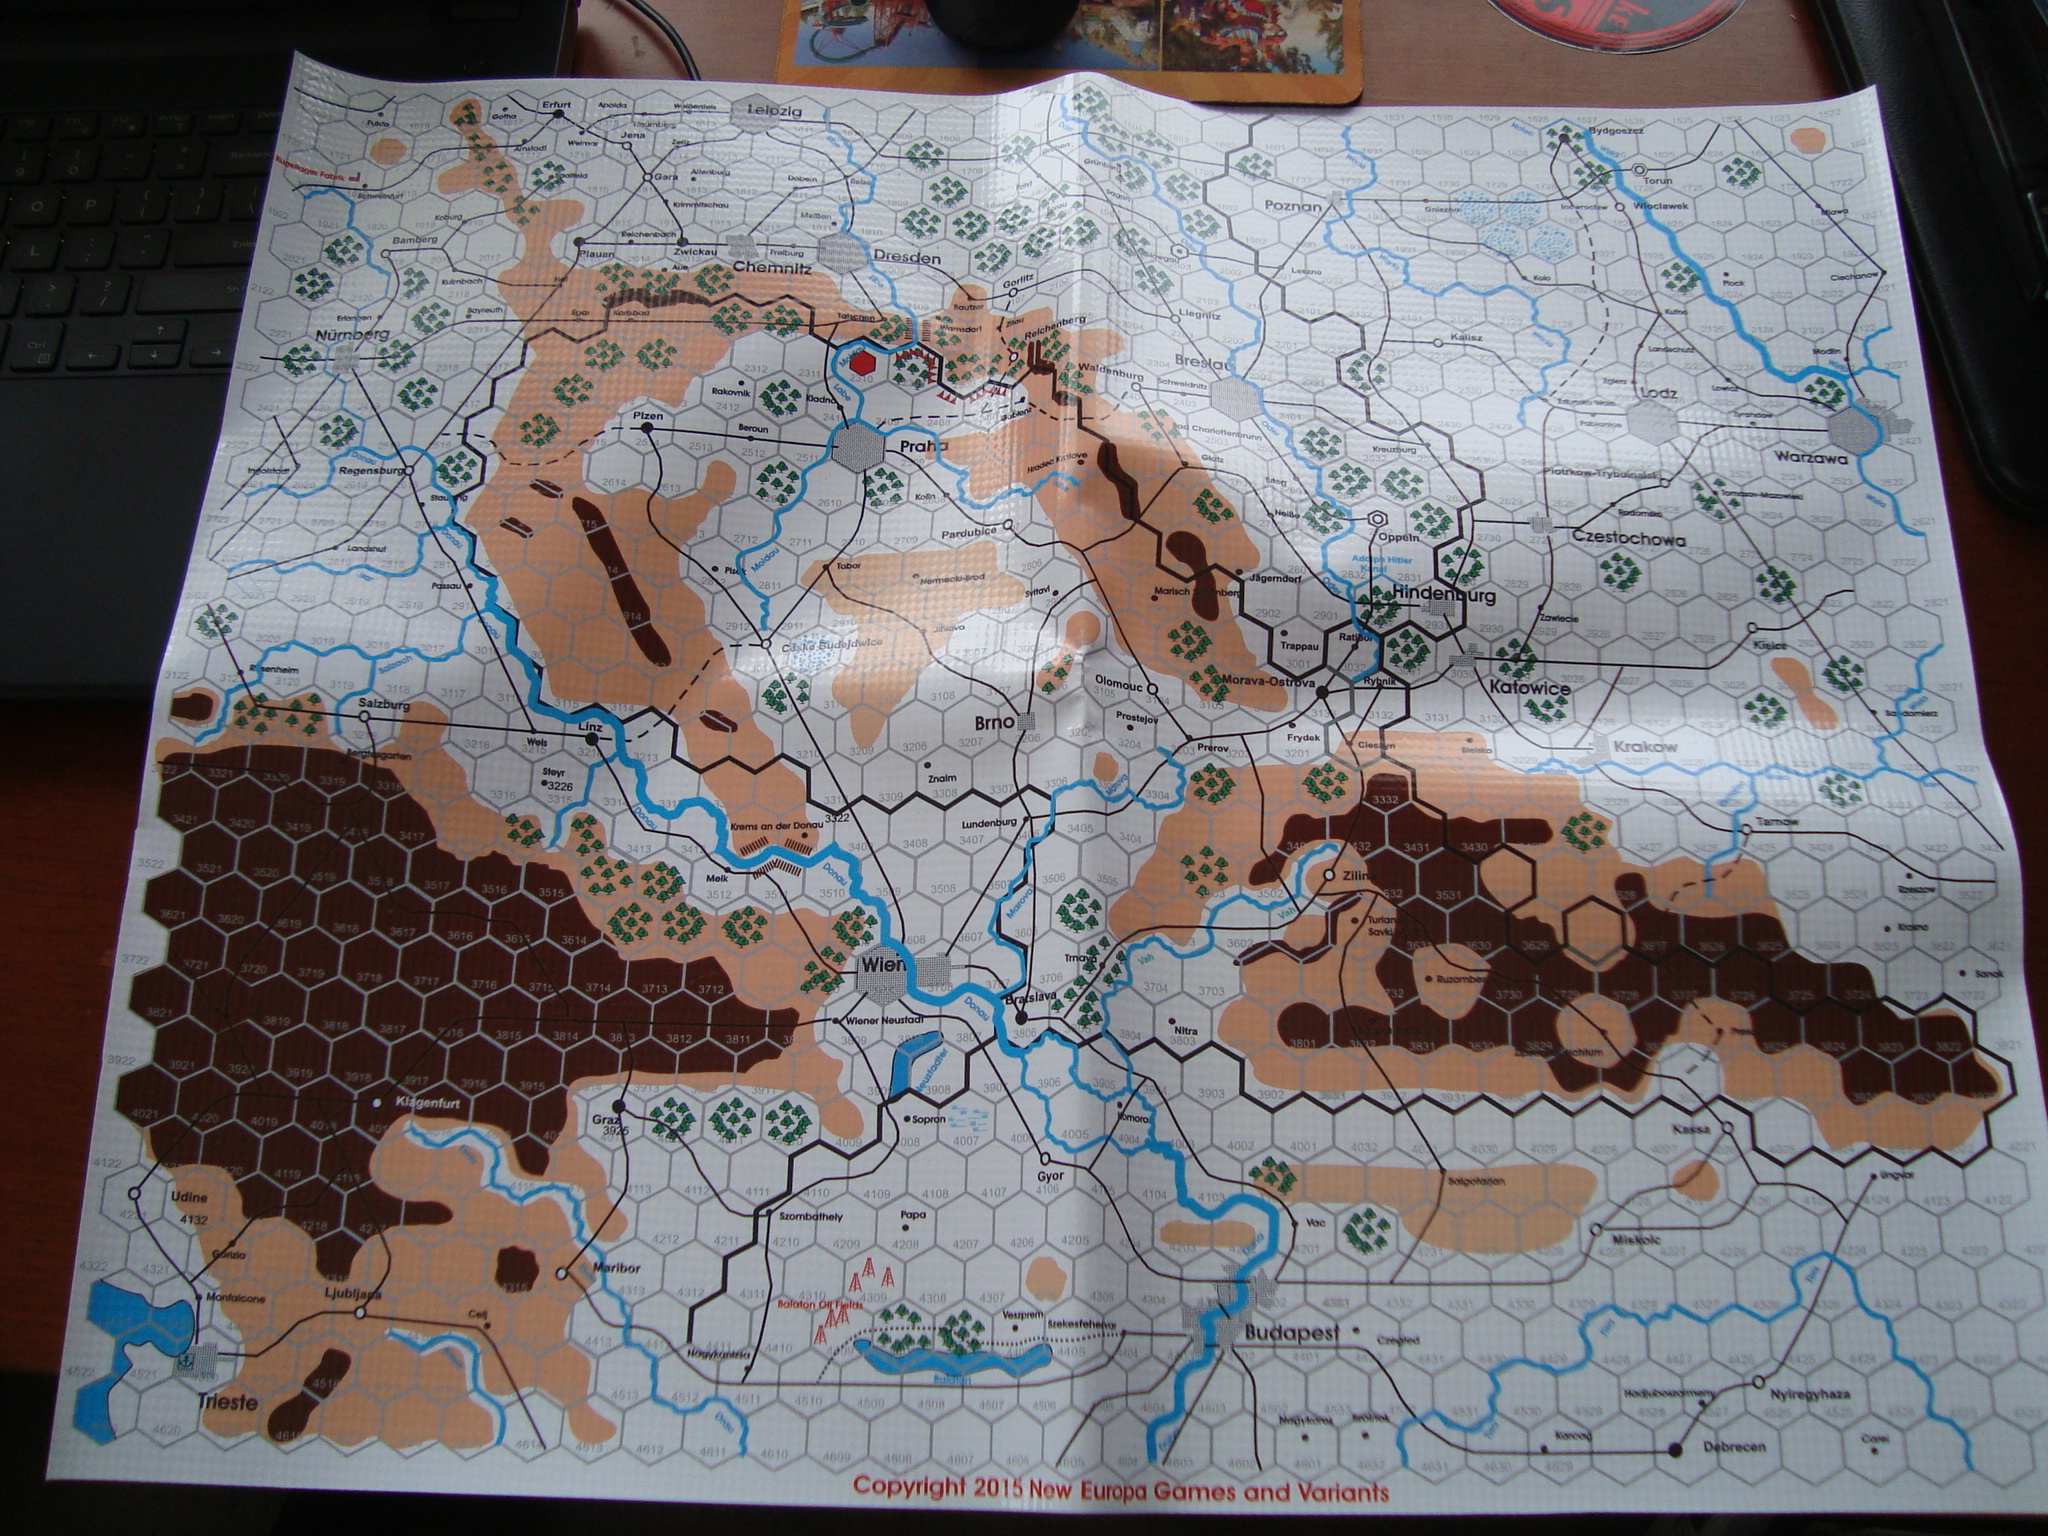
Here are pictures of the game’s components. These were not taken with my IPhone!
German CountersCzech and German Air Force Along With Soviet, Hungarian, Pole and Polish Air UnitsVinyl Map