Played a repeat of the mounted scenario last night, incorporating the new thoughts on rules and use of dice to guide play.
Added “Quality” as a troop attribute, using “Excellent”, “Good”, “Average” and “Poor”. These classifications were assigned probability percentages of 75, 60, 50, and 40 percent, respectively. I also rolled a D4 to see how many individuals might have qualities that differed from the group. Another D4 to determine what that might be, with a roll of “4” being “Excellent”, a “3”, “Good” etc.
Final “Yes”, “No” roll was for awareness, which effected the ability to react in the first few turns of the game.
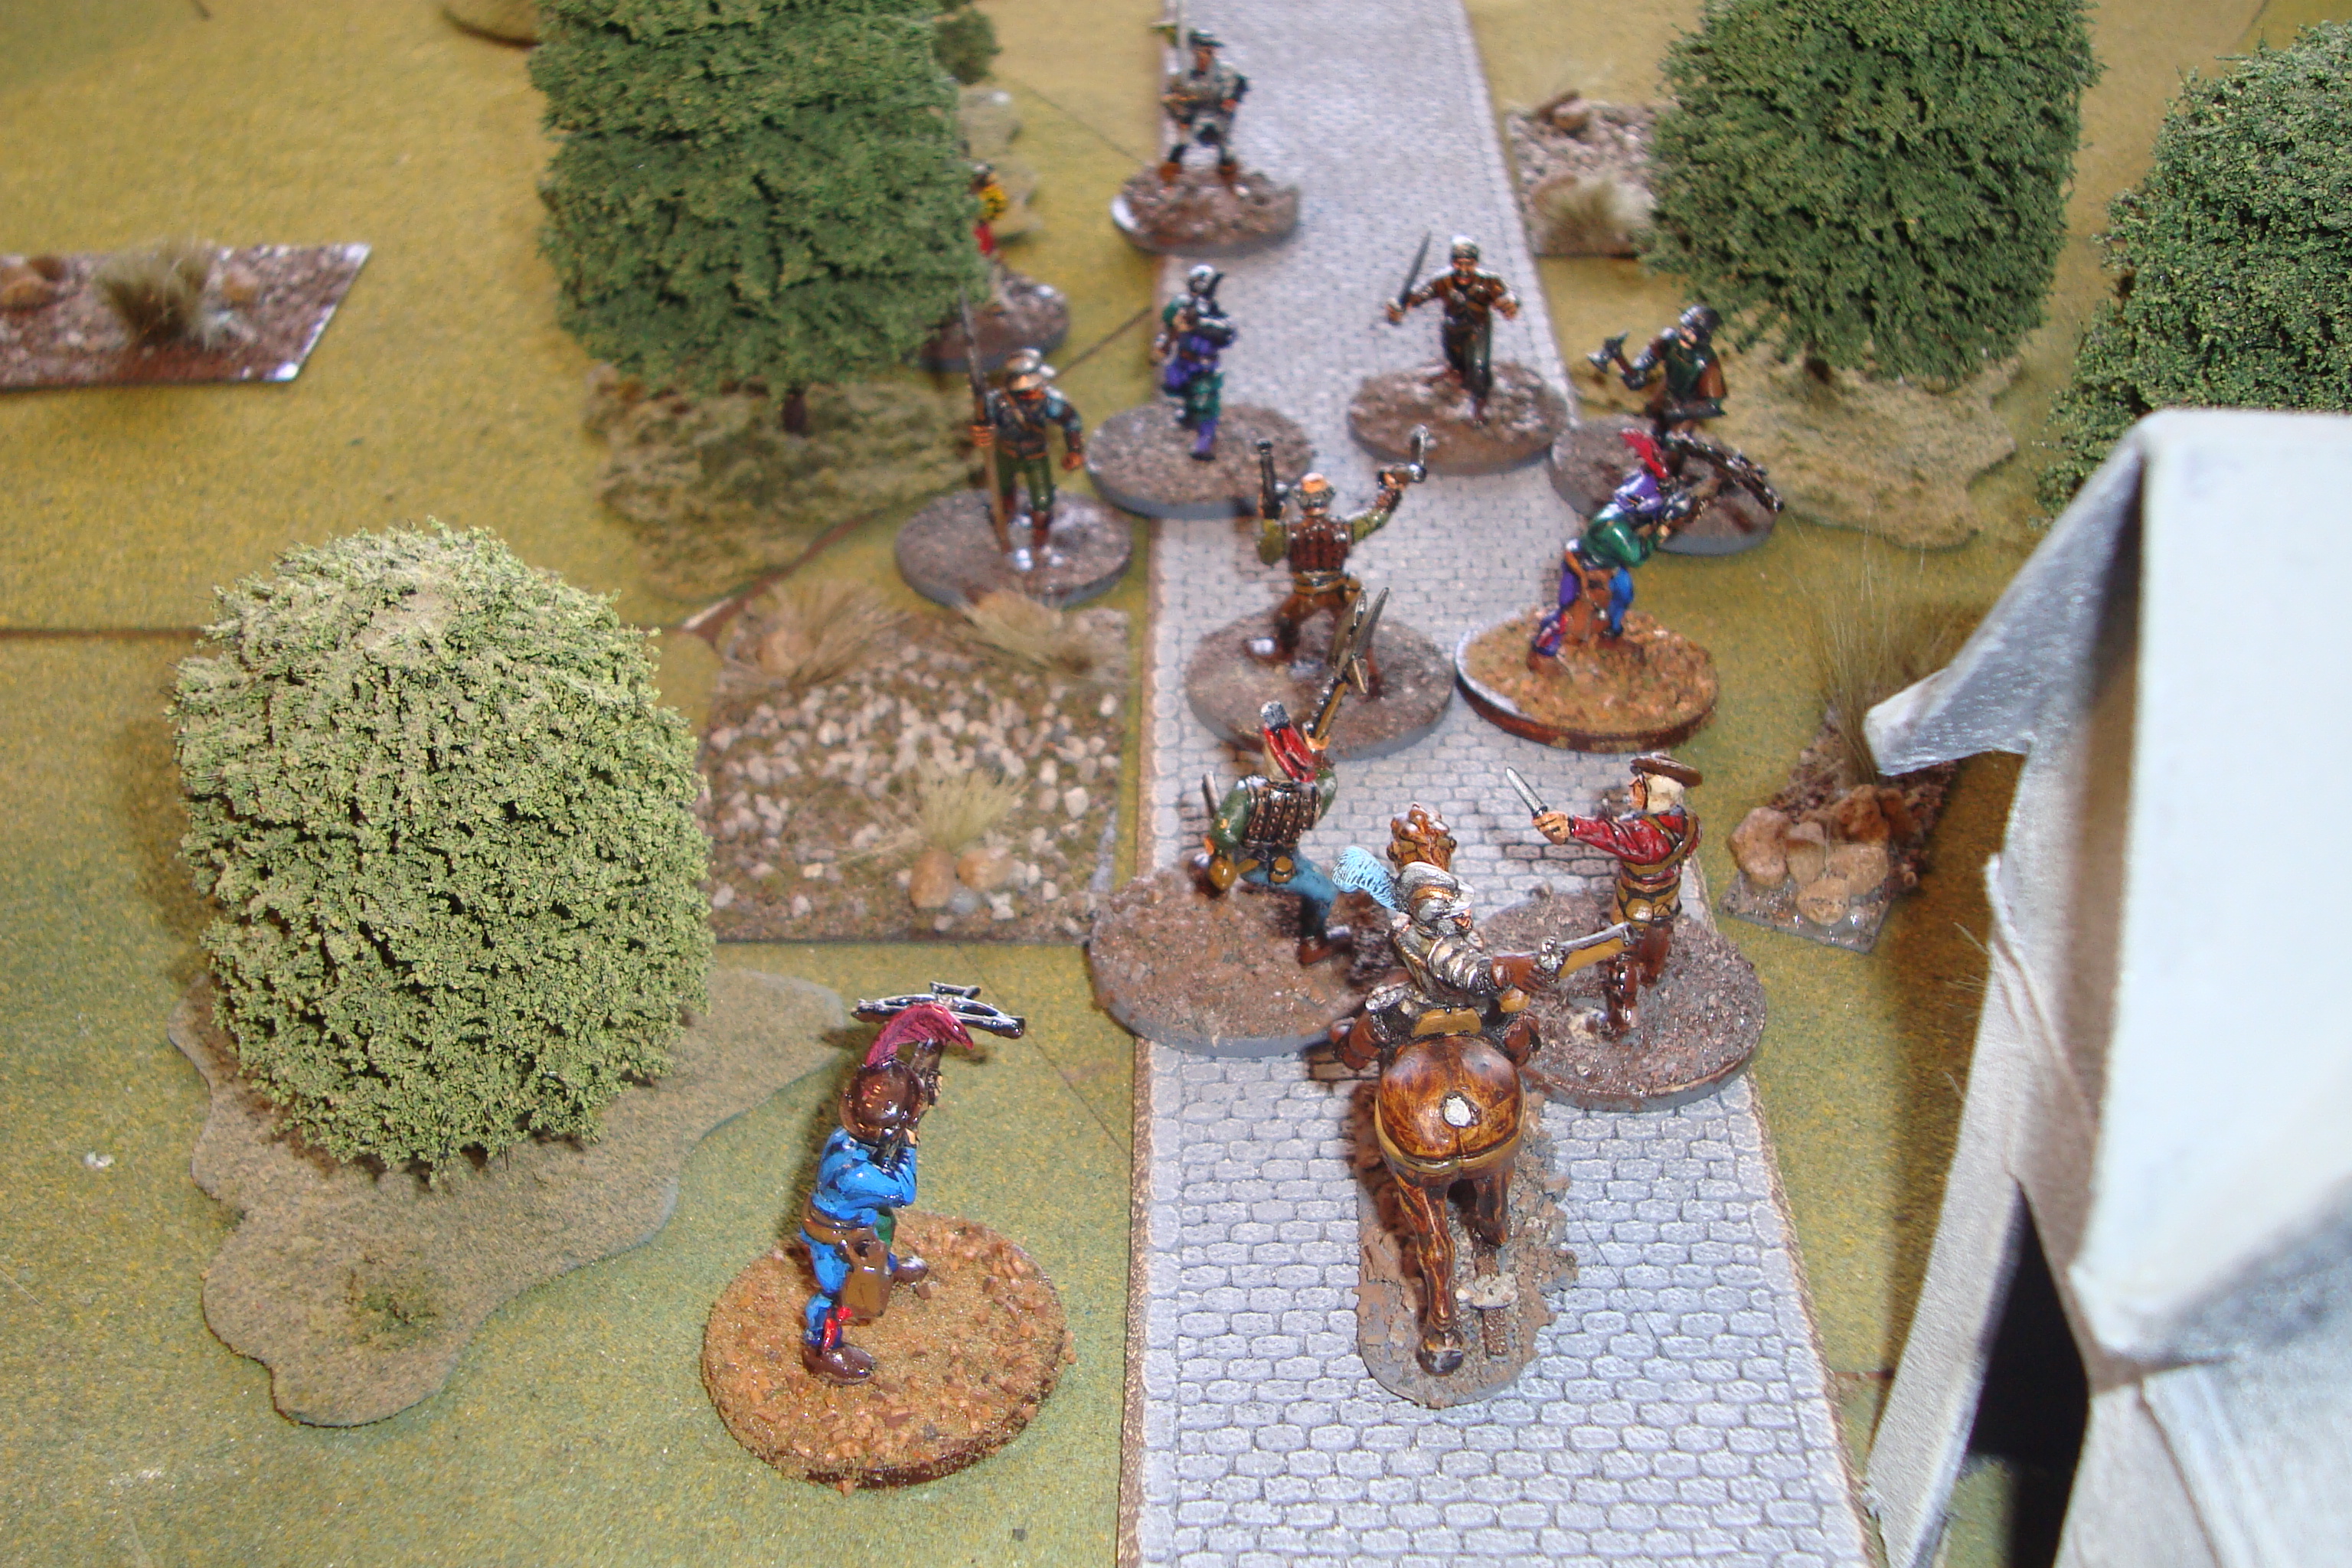
Turn 1: Blue had initiative, but was unaware, so Red entered at a trot.
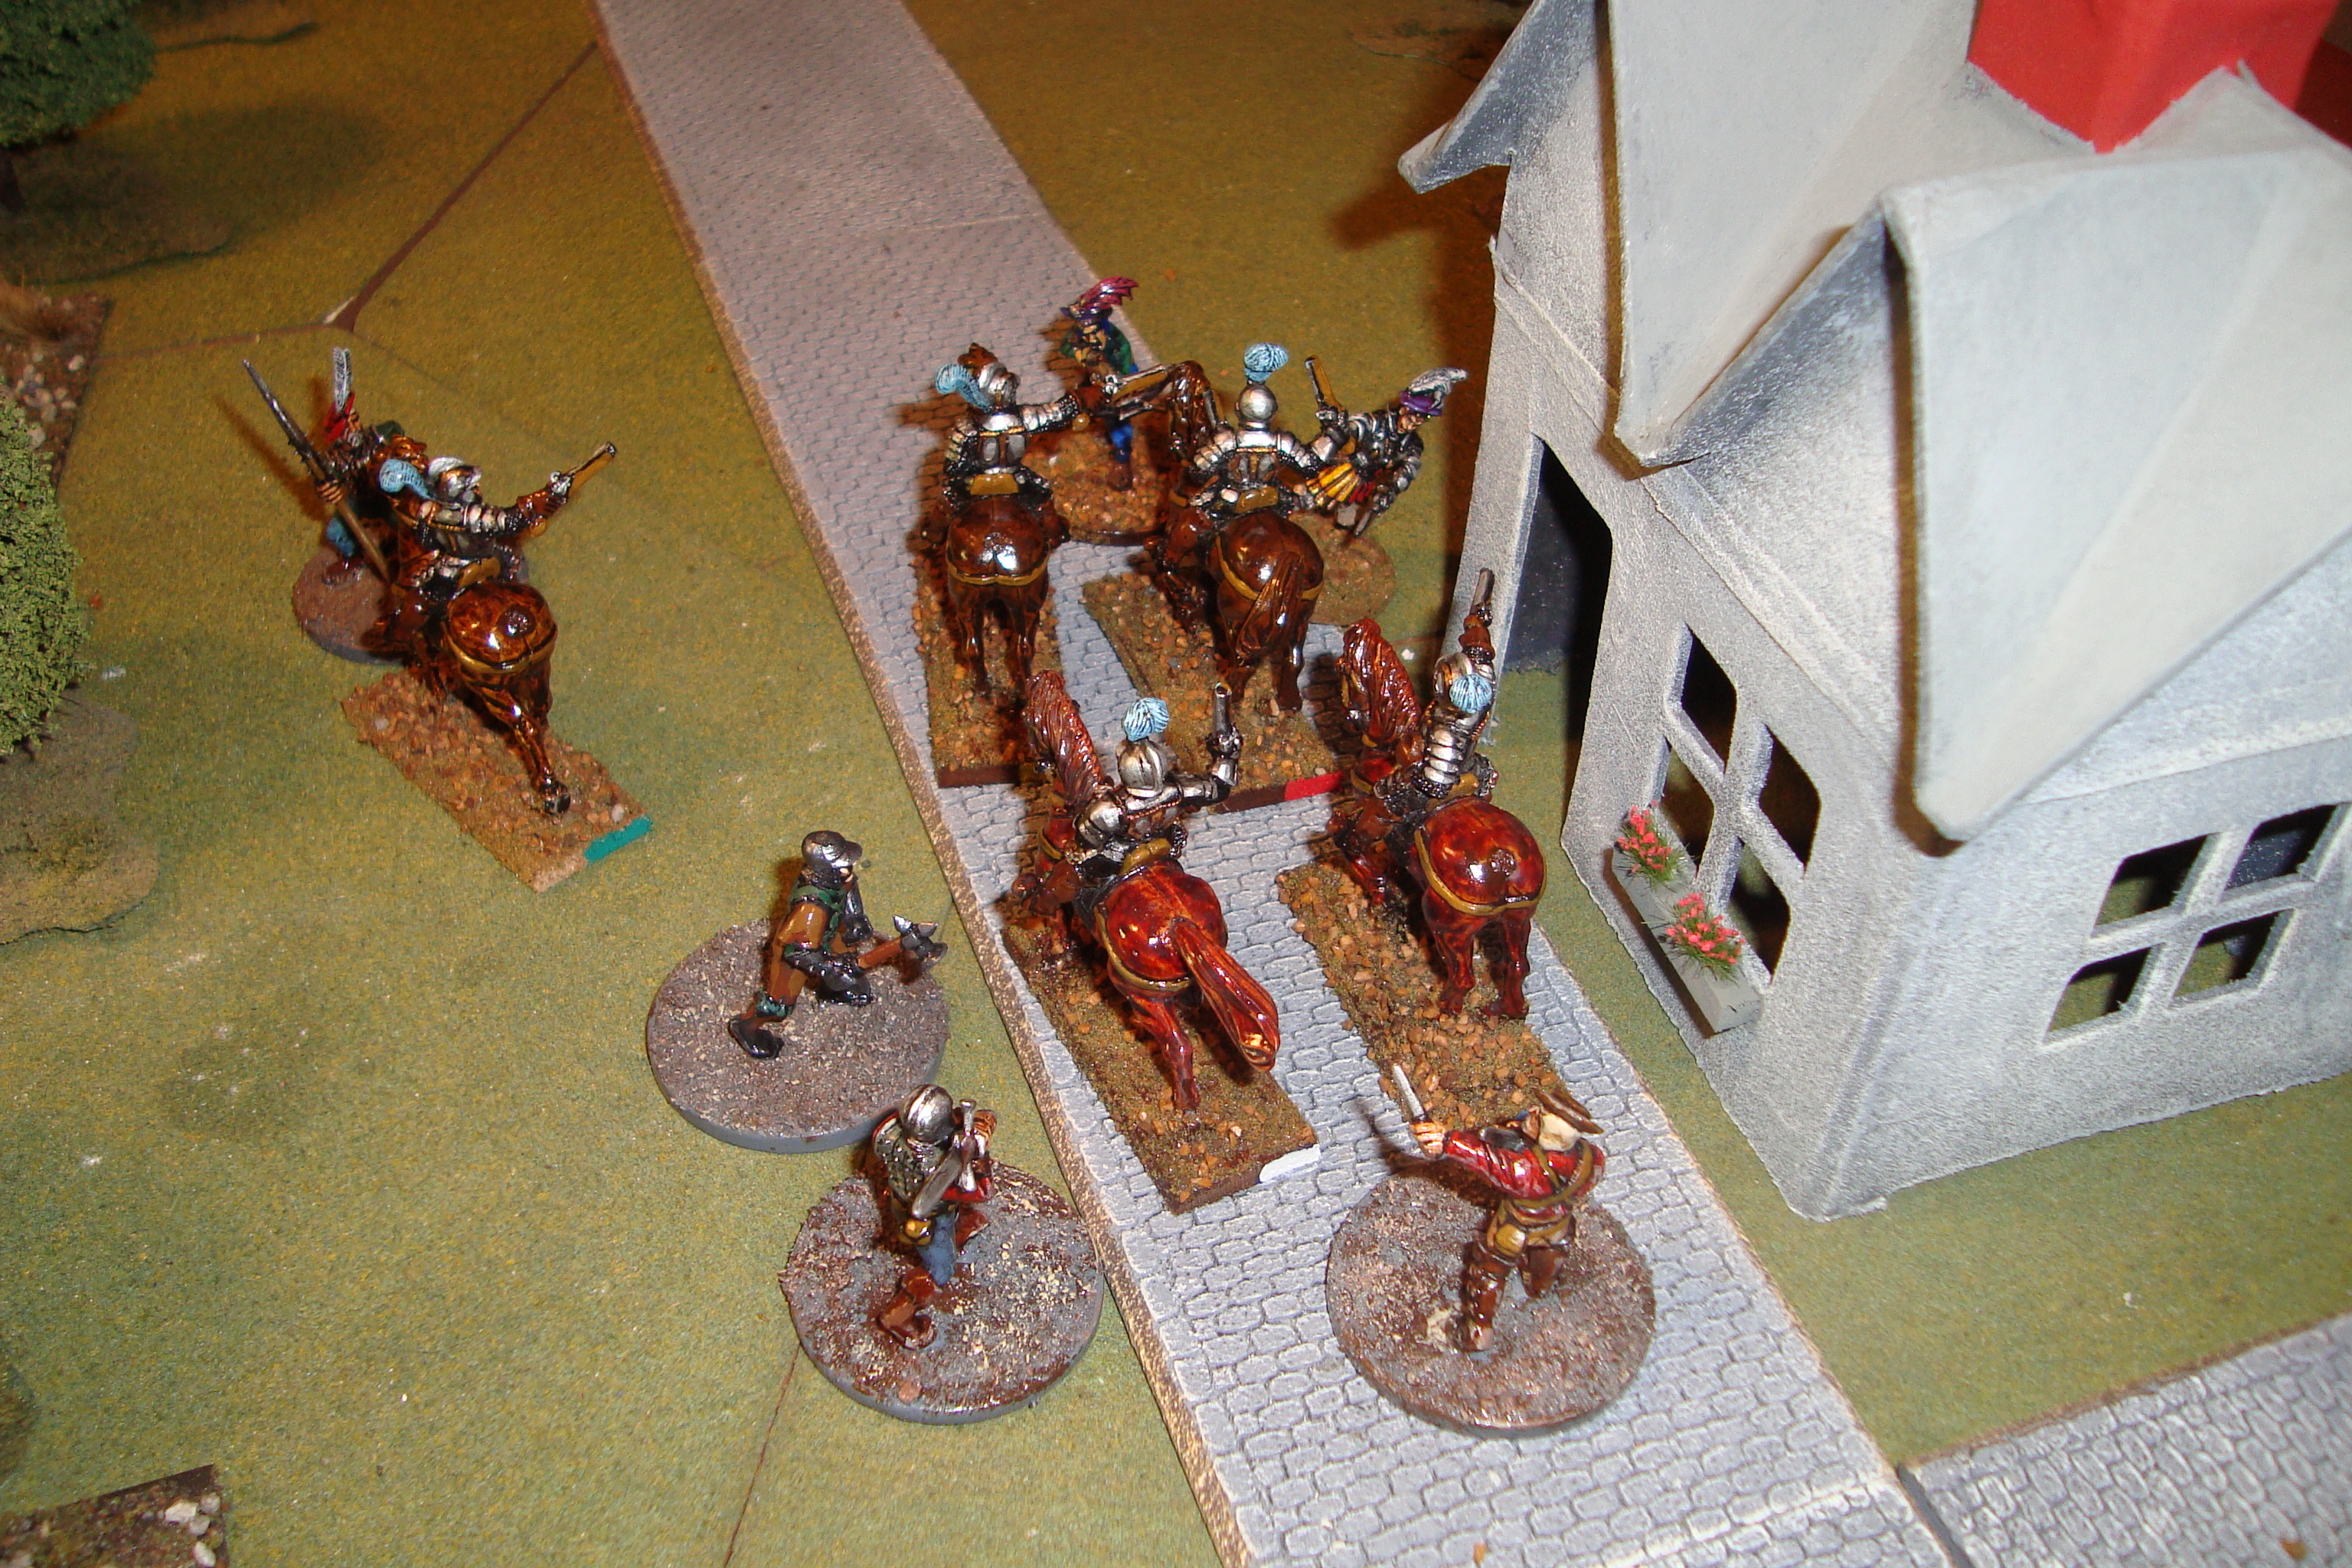
Turn 2: Blue again had the initiative, became aware, with crossbowman moving to the road to shoot. Red accelerated to a gallop and entered into melee with the crossbowmen, with one bowman killed, and the other locked in melee with Red’s leader.
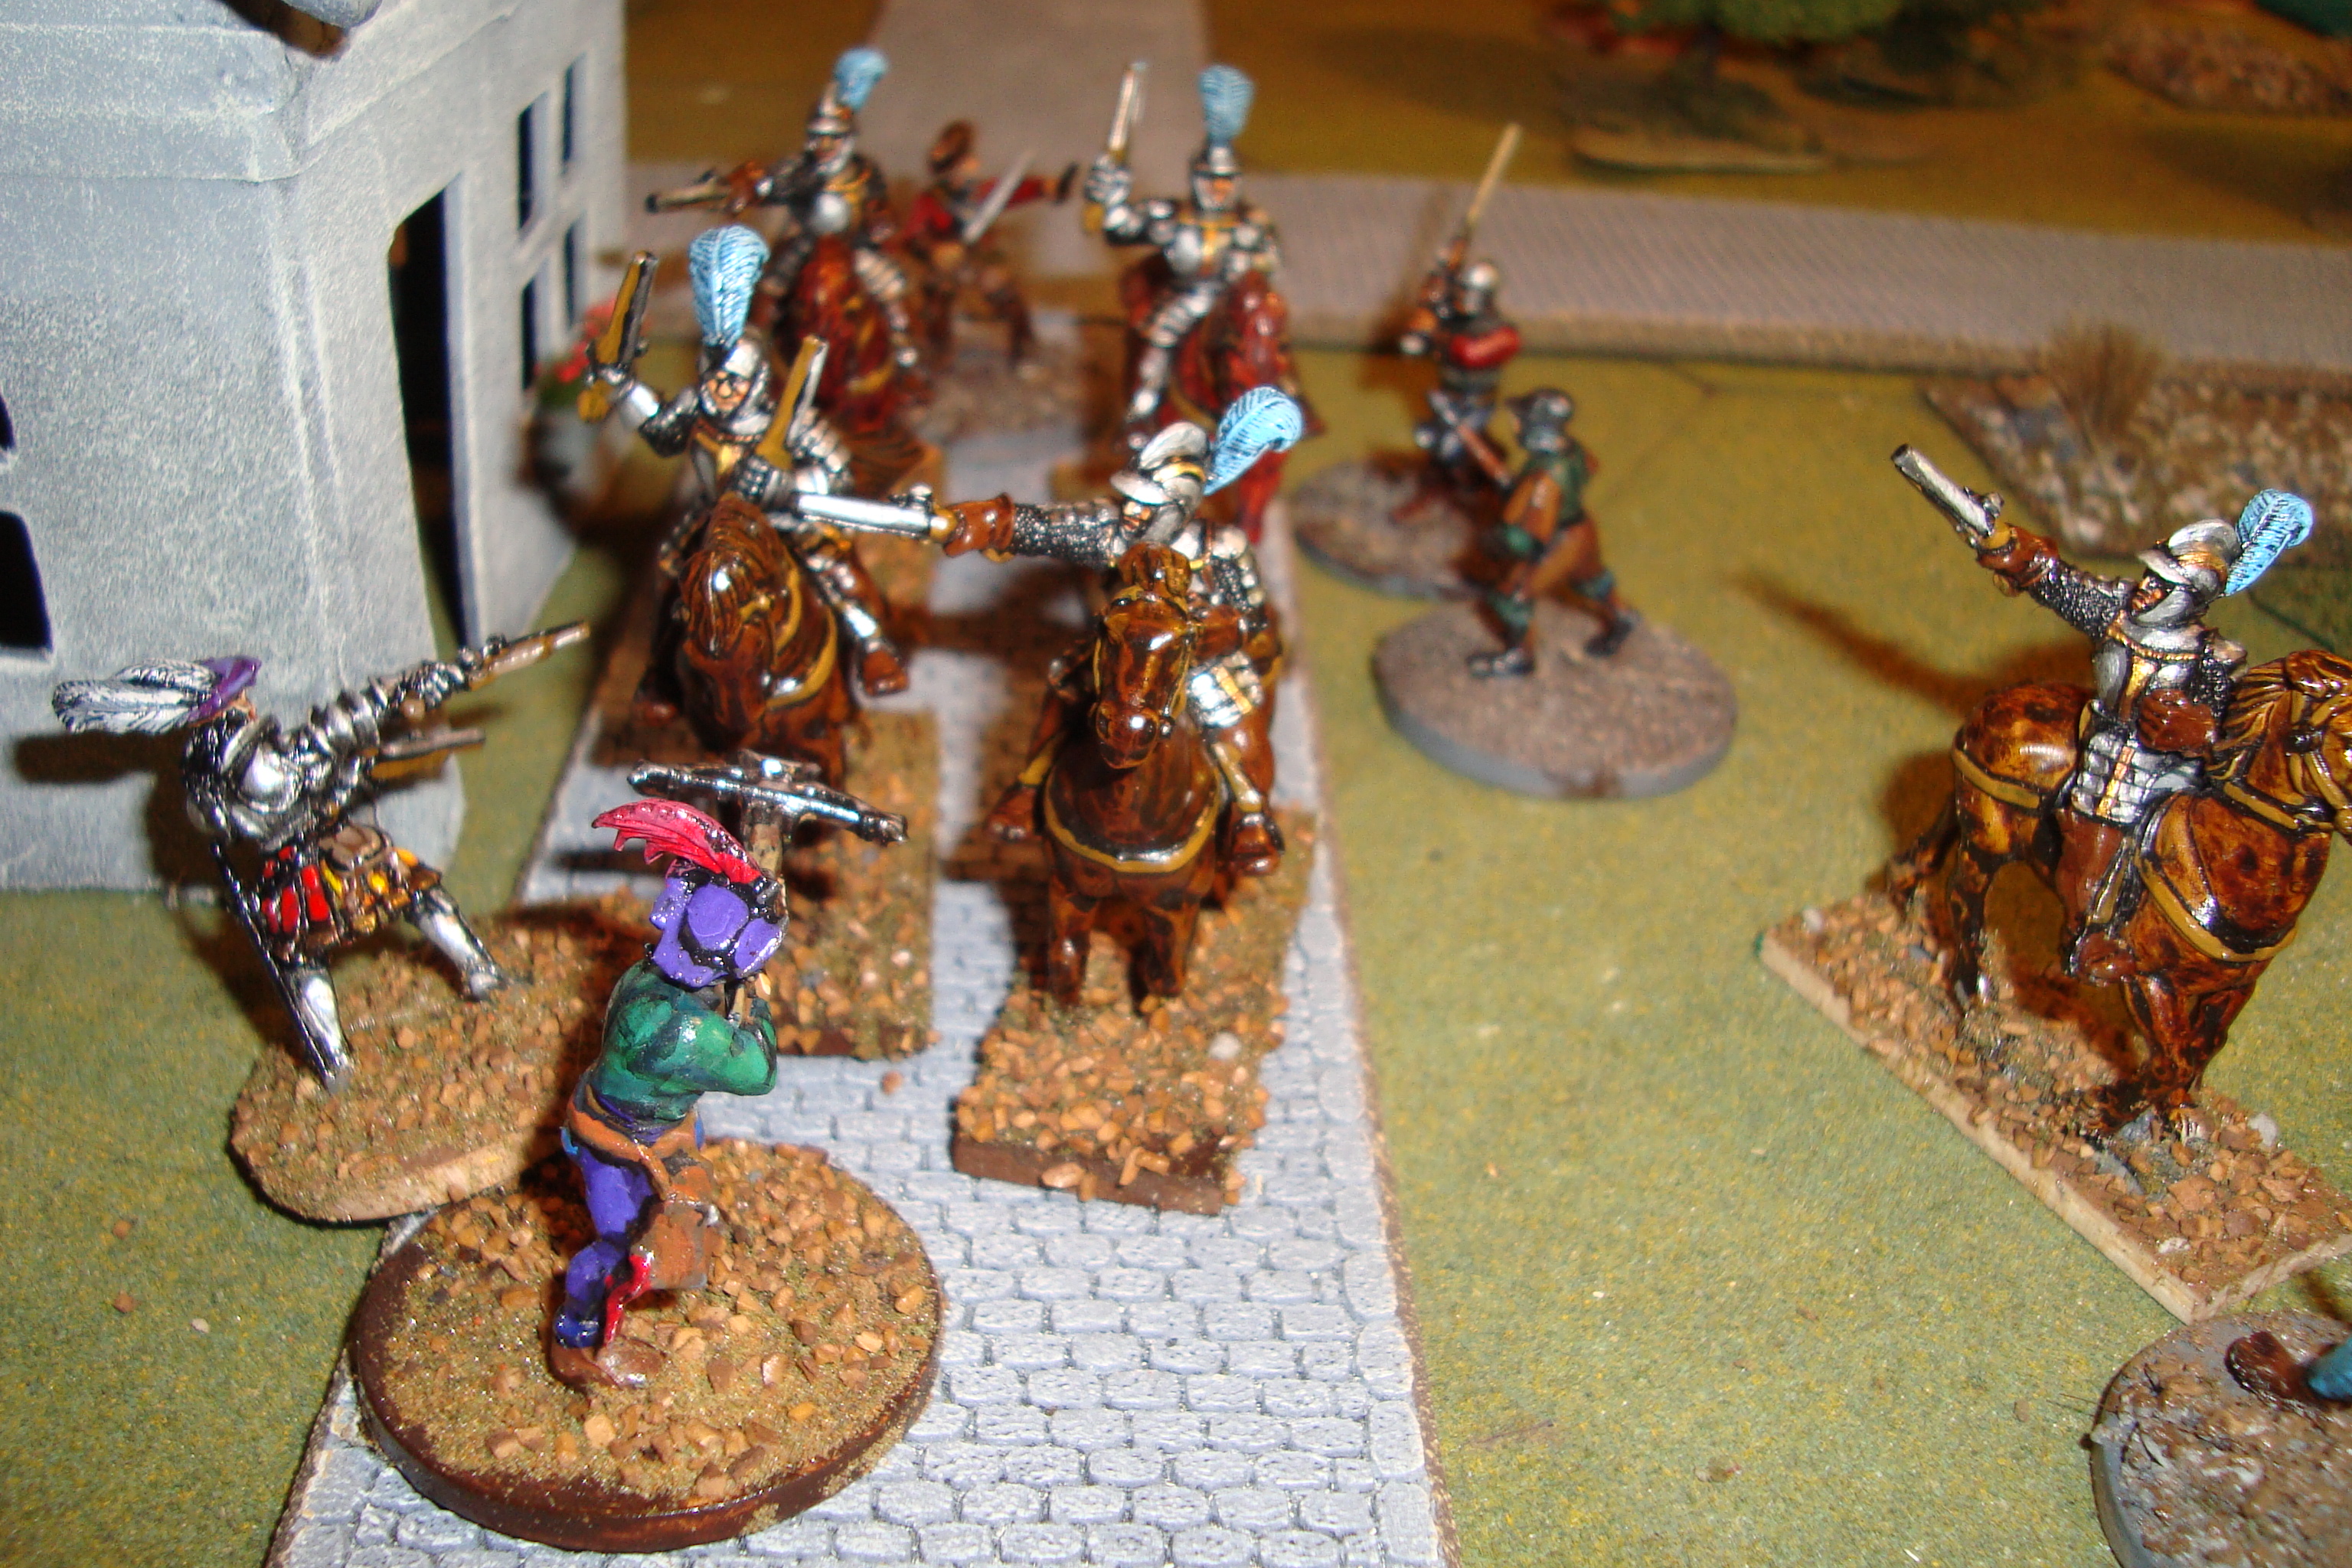
Turn 3: Death of the bowman did not effect Blue’s fear rating. Blue troops charged out of the house, surrounding the Red troopers. However, the troopers (excepting the leader locked in melee), simply charged through the swarm of their assailants. Red leader killed the other crossbowman.
Turn 4: Death of the second bowman increased Blue’s fear rating. Still having the initiative, Blue fled into the woods.
In retrospect, it was a bad move to move the crossbowman to the road. Should have waited. Still a quick and fun scenario. Another run-through tonight. Here’s a few photos.
Red Surrounded. Note Identification Colors On Rear Of Cavalry.Red Leader In MeleeRed Troopers Gallop Past Assailants. Leader Still Locked In Melee
Thunderstorm activity forced the cancellation of today’s lake fishing expedition. So, up at 0530 with nowhere to go.
Gloomy, rainy weather was the perfect motivation to start working on the Renaissance Skirmish rules and scenarios.
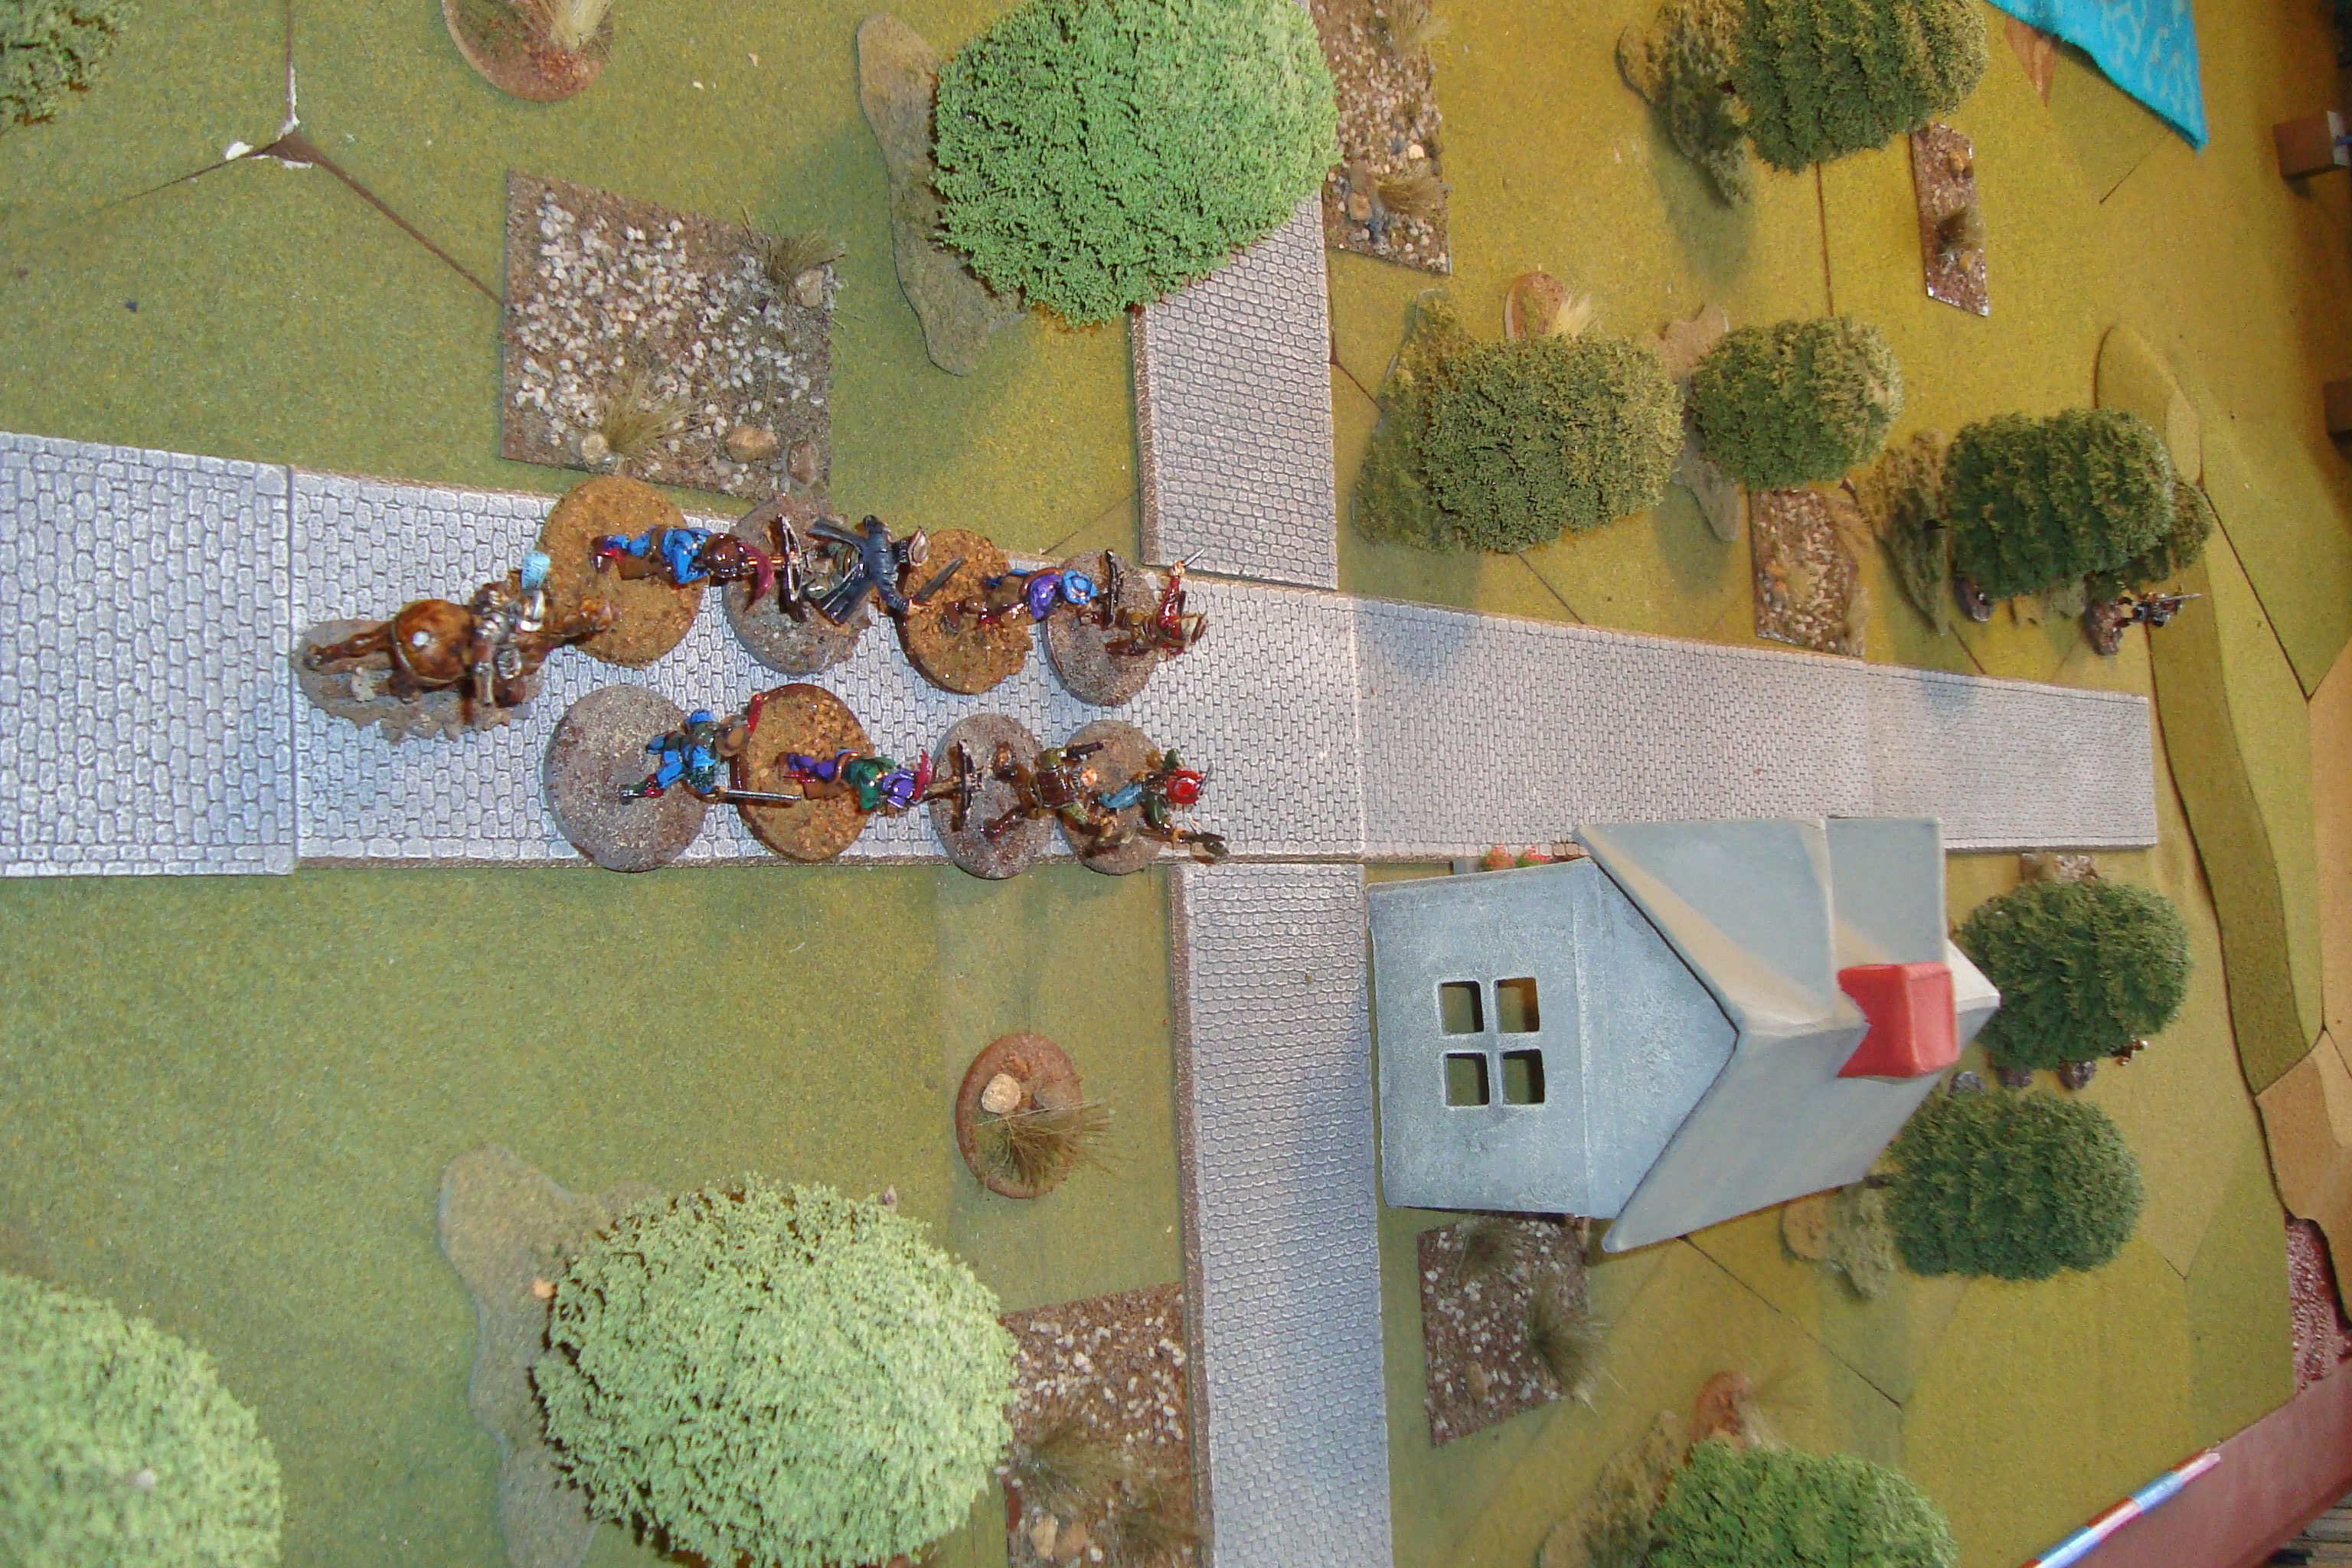
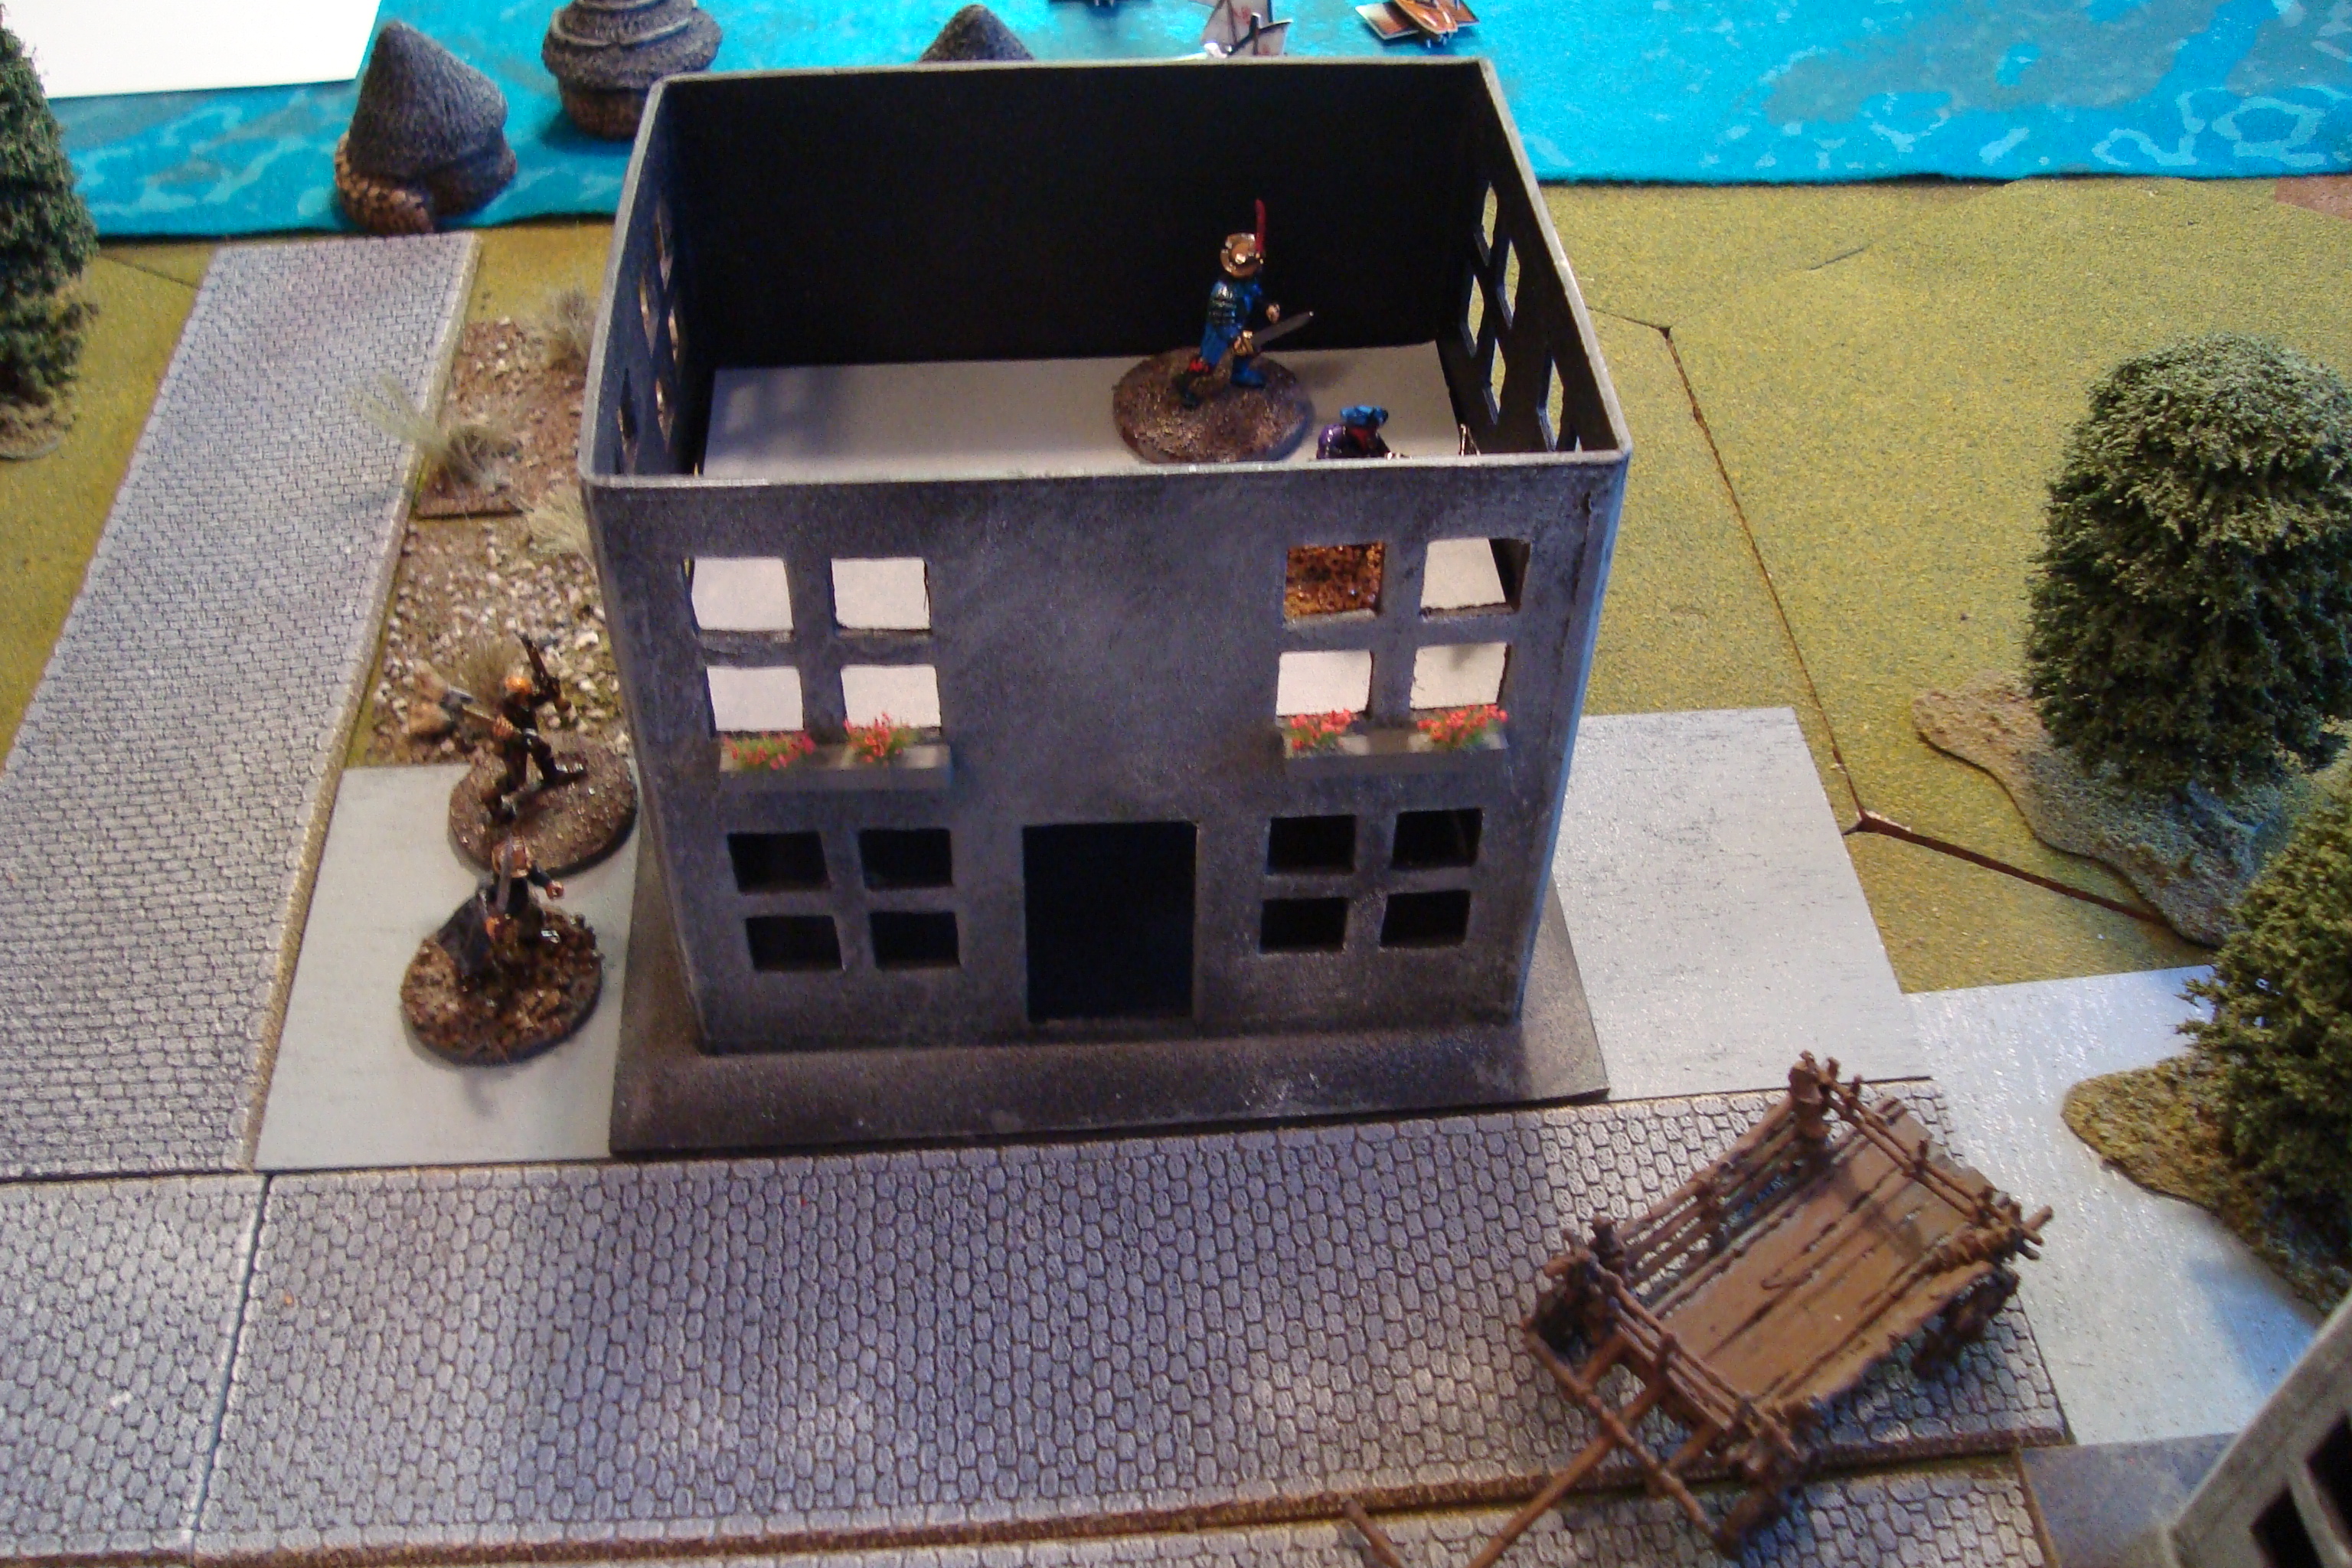
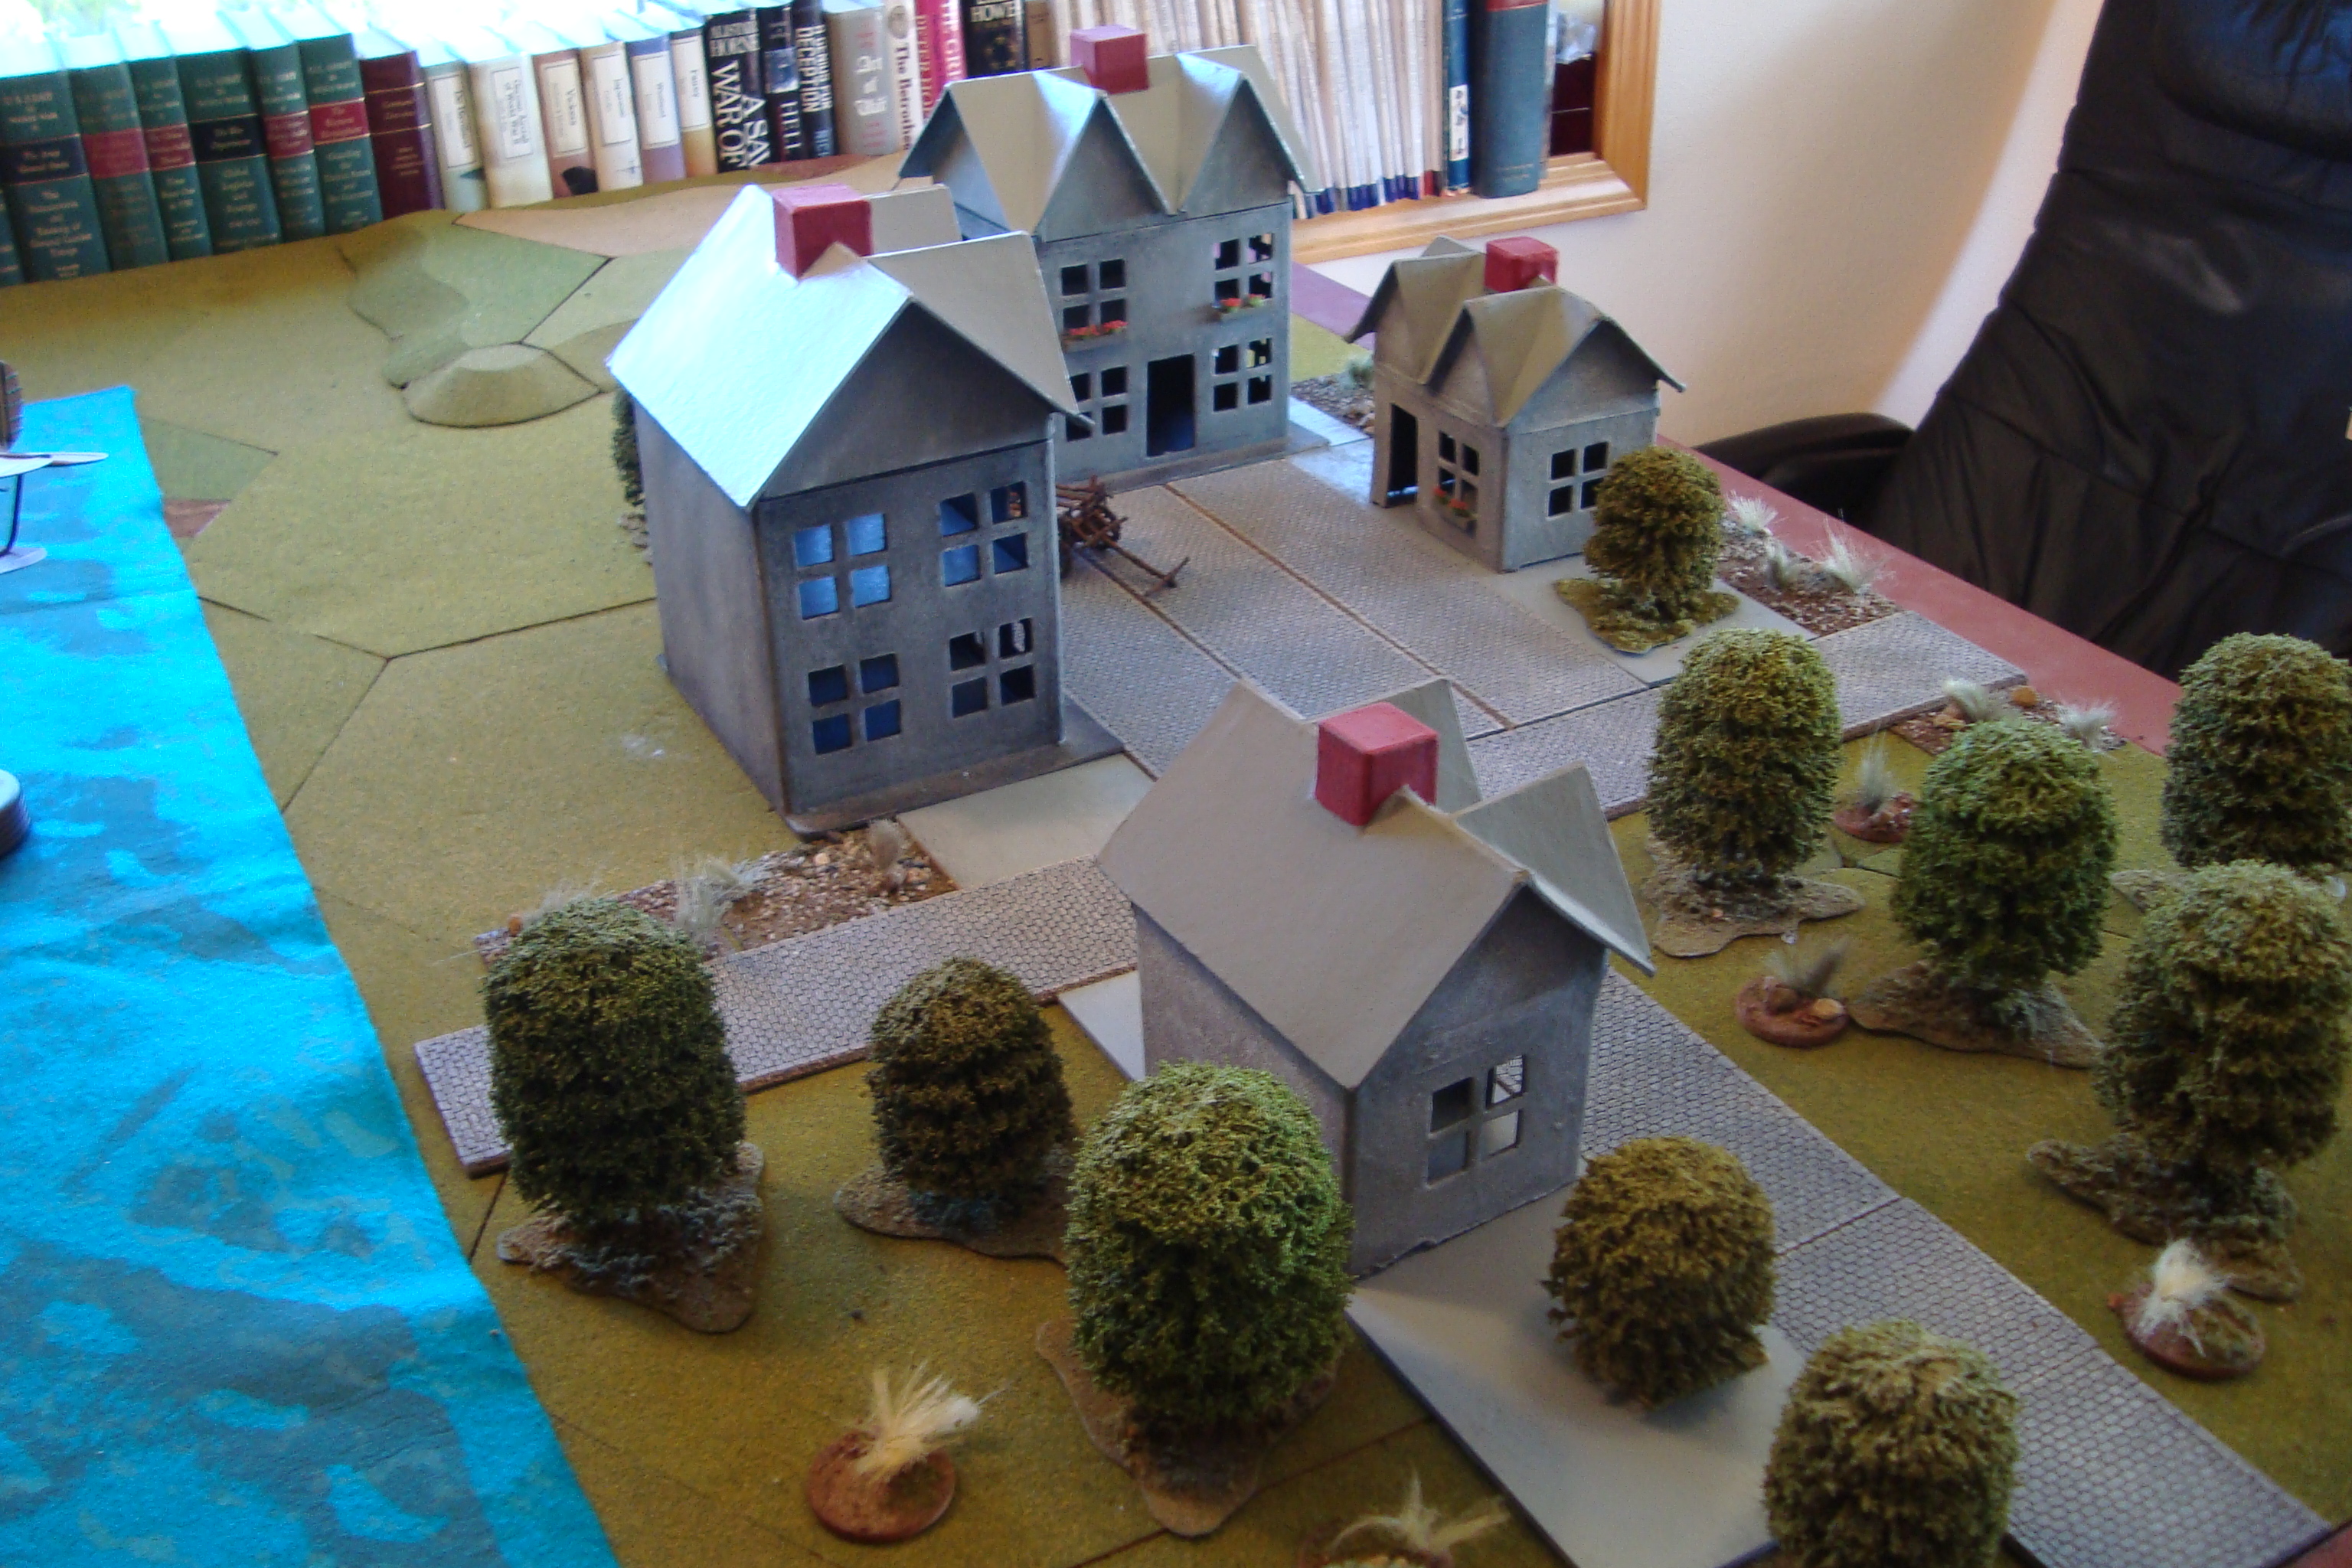
Set up an encounter scenario using the same forces as last game, but with only a small building at a crossroads. I added an on-foot leader for Red, and a mounted leader for Blue.
Really had to resist promiscuously adding chrome to the On The Seven Seas rules. However, given the scenario, I had to use something for sight and spotting. Used 24 inches for unobstructed sighting, 12 inches into brush/rough and six inches into heavy cover (woods/forests). Roll for spotting at end of turn. Once within range, use the trusty Y/N/M dice to find out result. Once again, if result was a “Maybe”, then percentile dice above 50 percent for “Yes”, under for “No”.
For shooting, a D10 of 10 was a kill. Saving throw per RAW only if in cover or wearing armor.
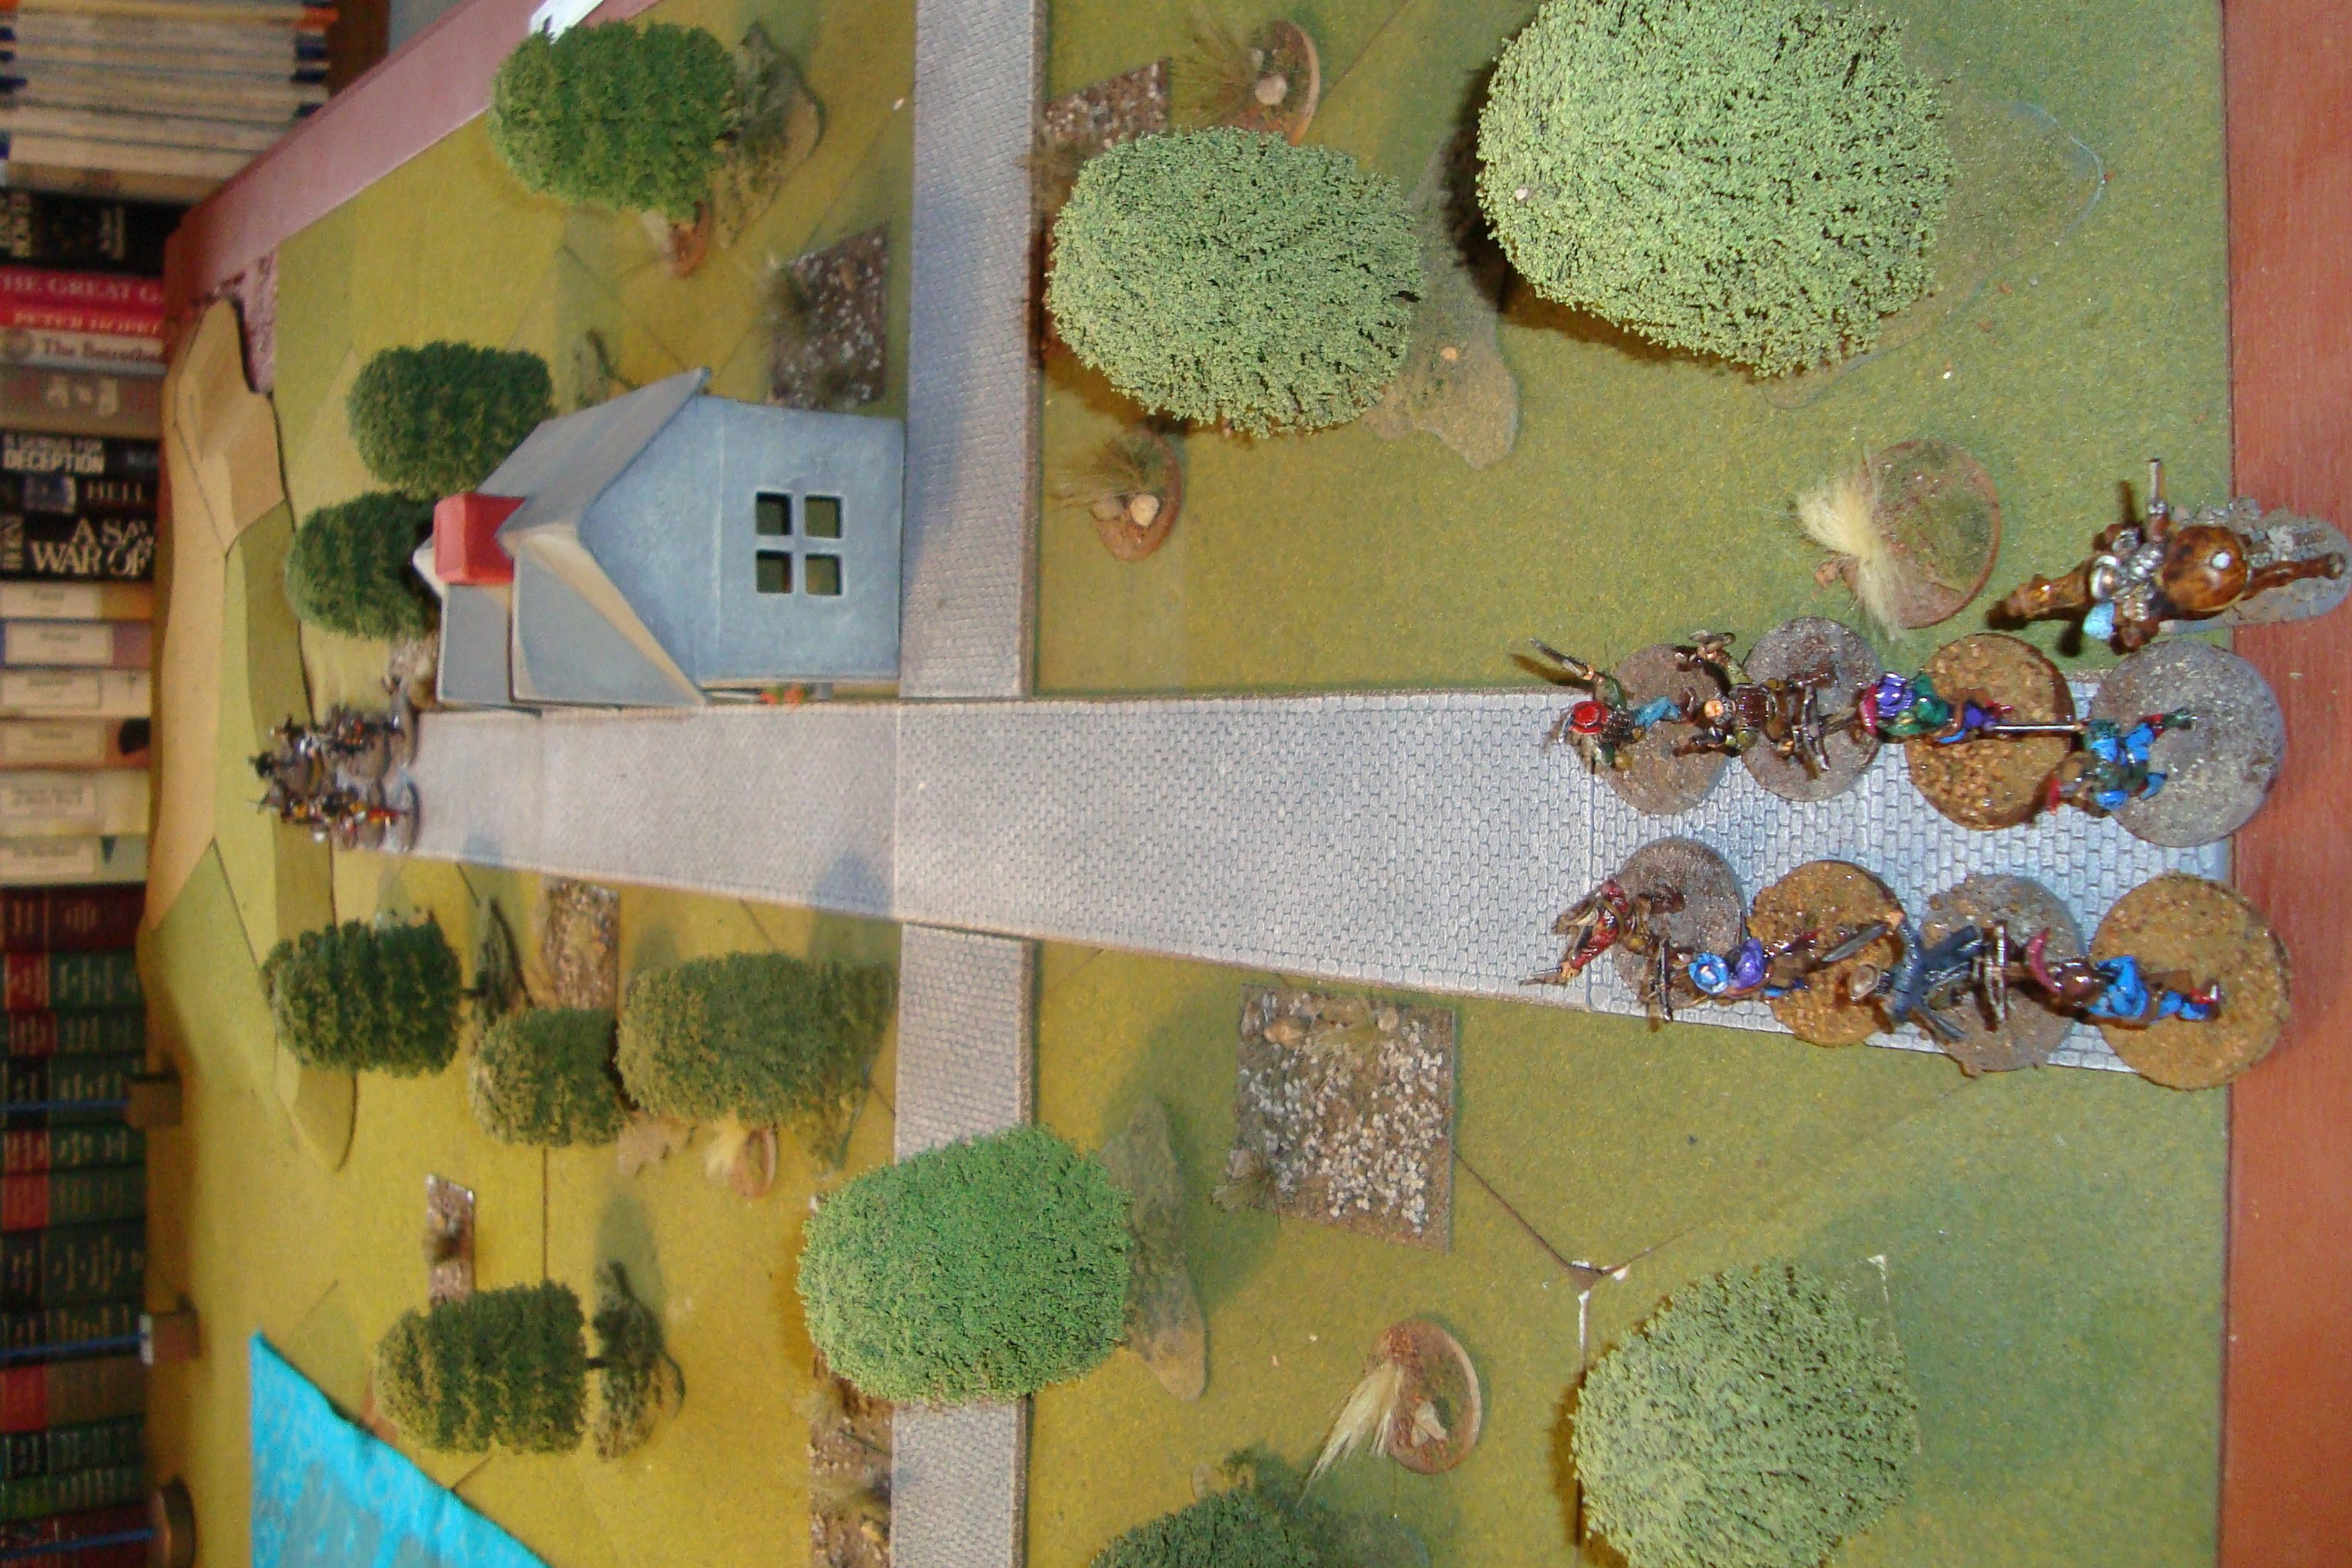
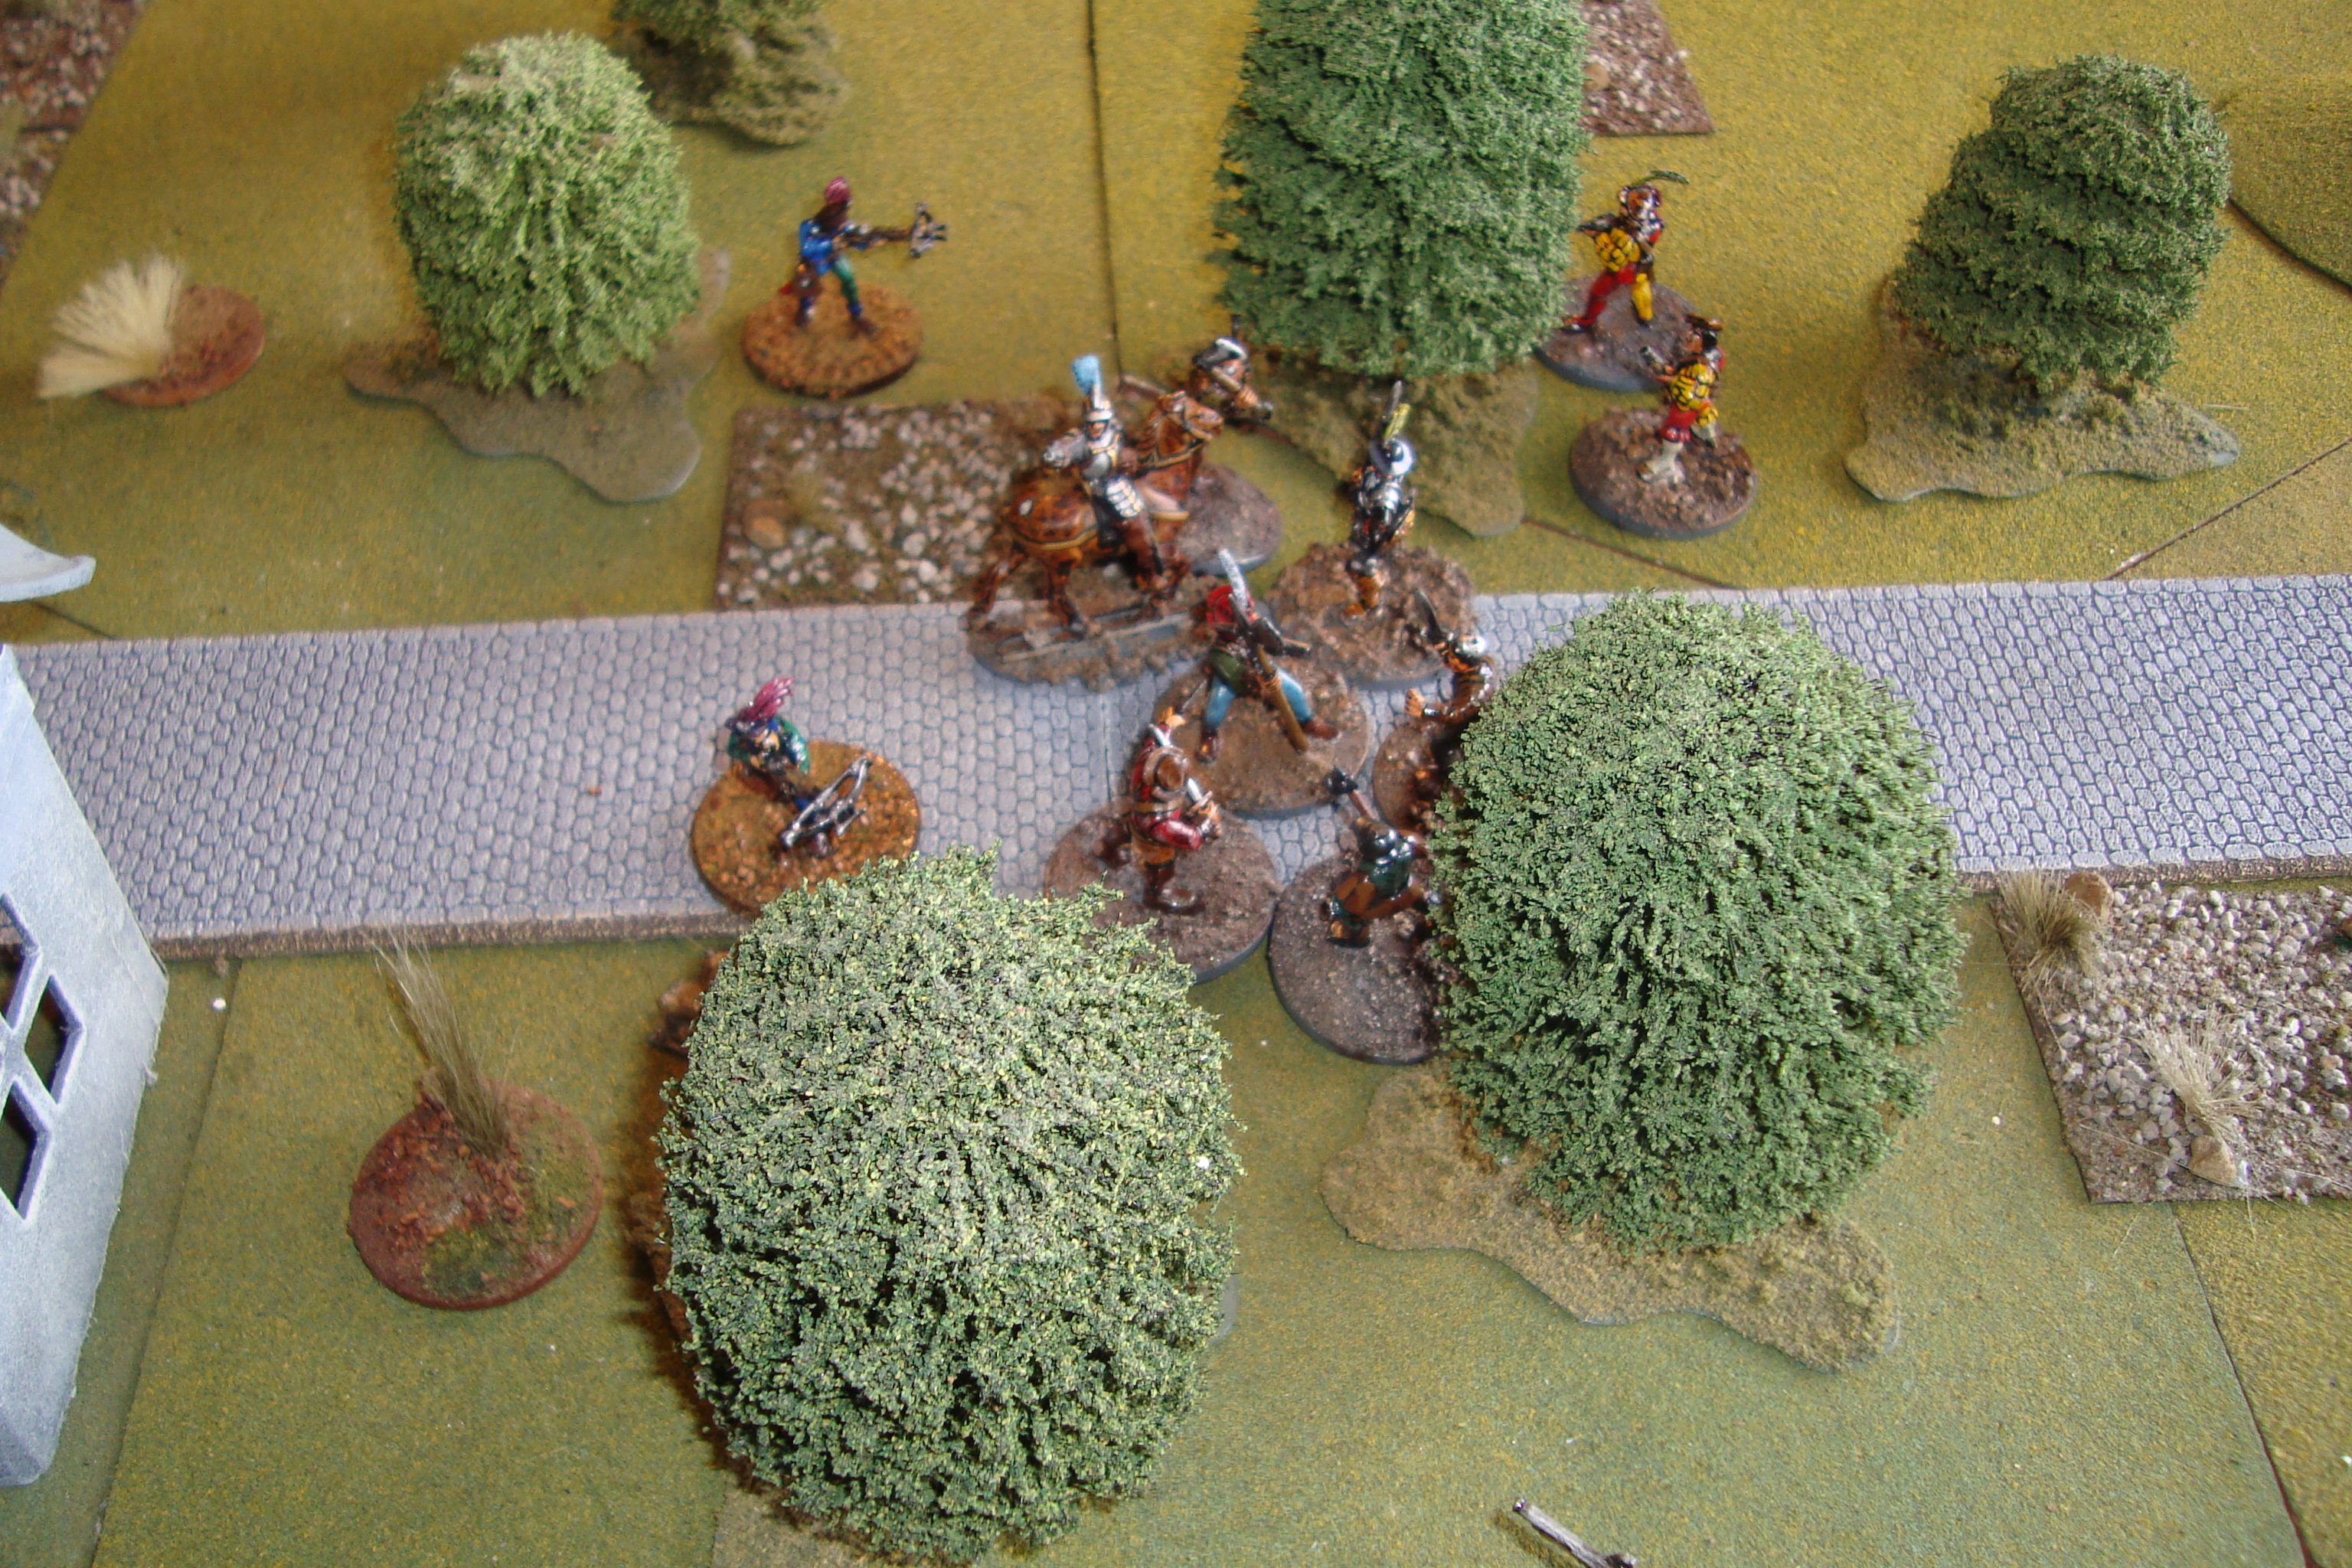
Both Red and Blue forces assigned Greed and Fear ratings of 7 and 6, respectively. Rolled for alertness, and neither side was alert. This meant administrative formations moving down the road. Red from the North, Blue from the South. Red has three Arquebusiers, with Blue having three Crossbowmen.
Turn 1: Both sides move down the road.
Unaware Of What Lies Ahead, Both Forces Advance Towards The Crossroads. Blue in Foreground (South)
Turn 2: Both sides move down the road. Red sights Blue.
Red Sights Blue And Takes Cover
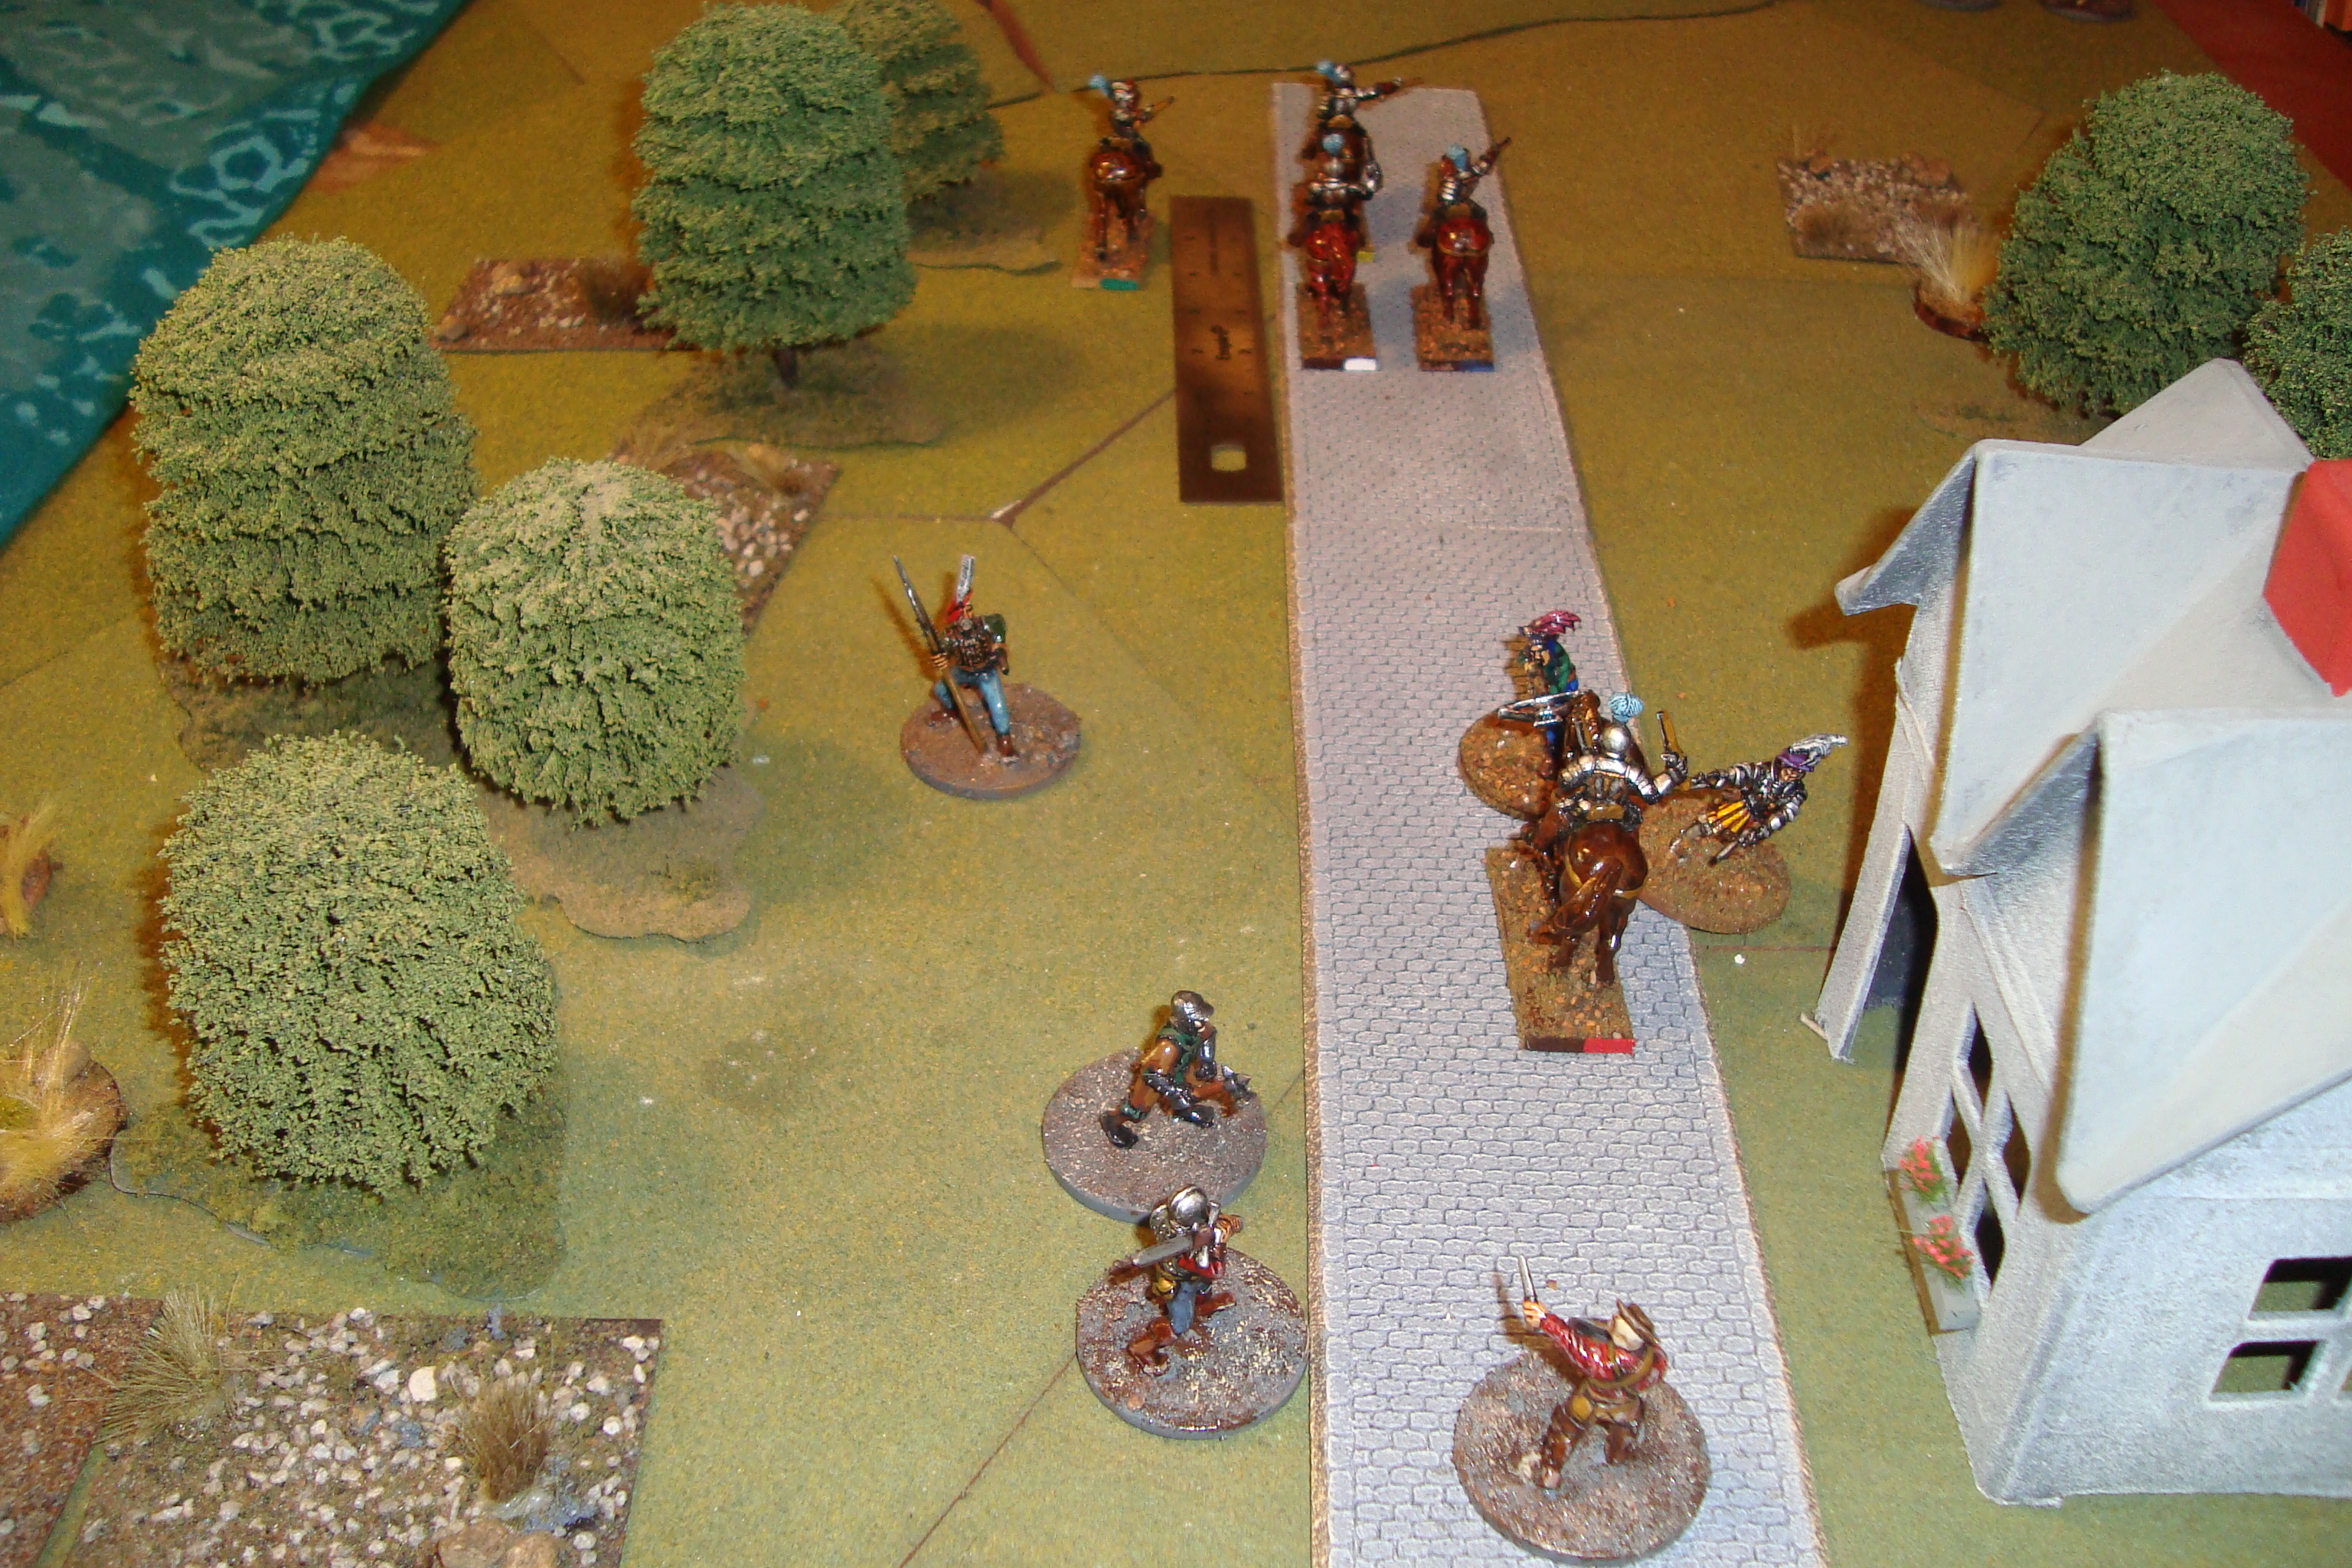
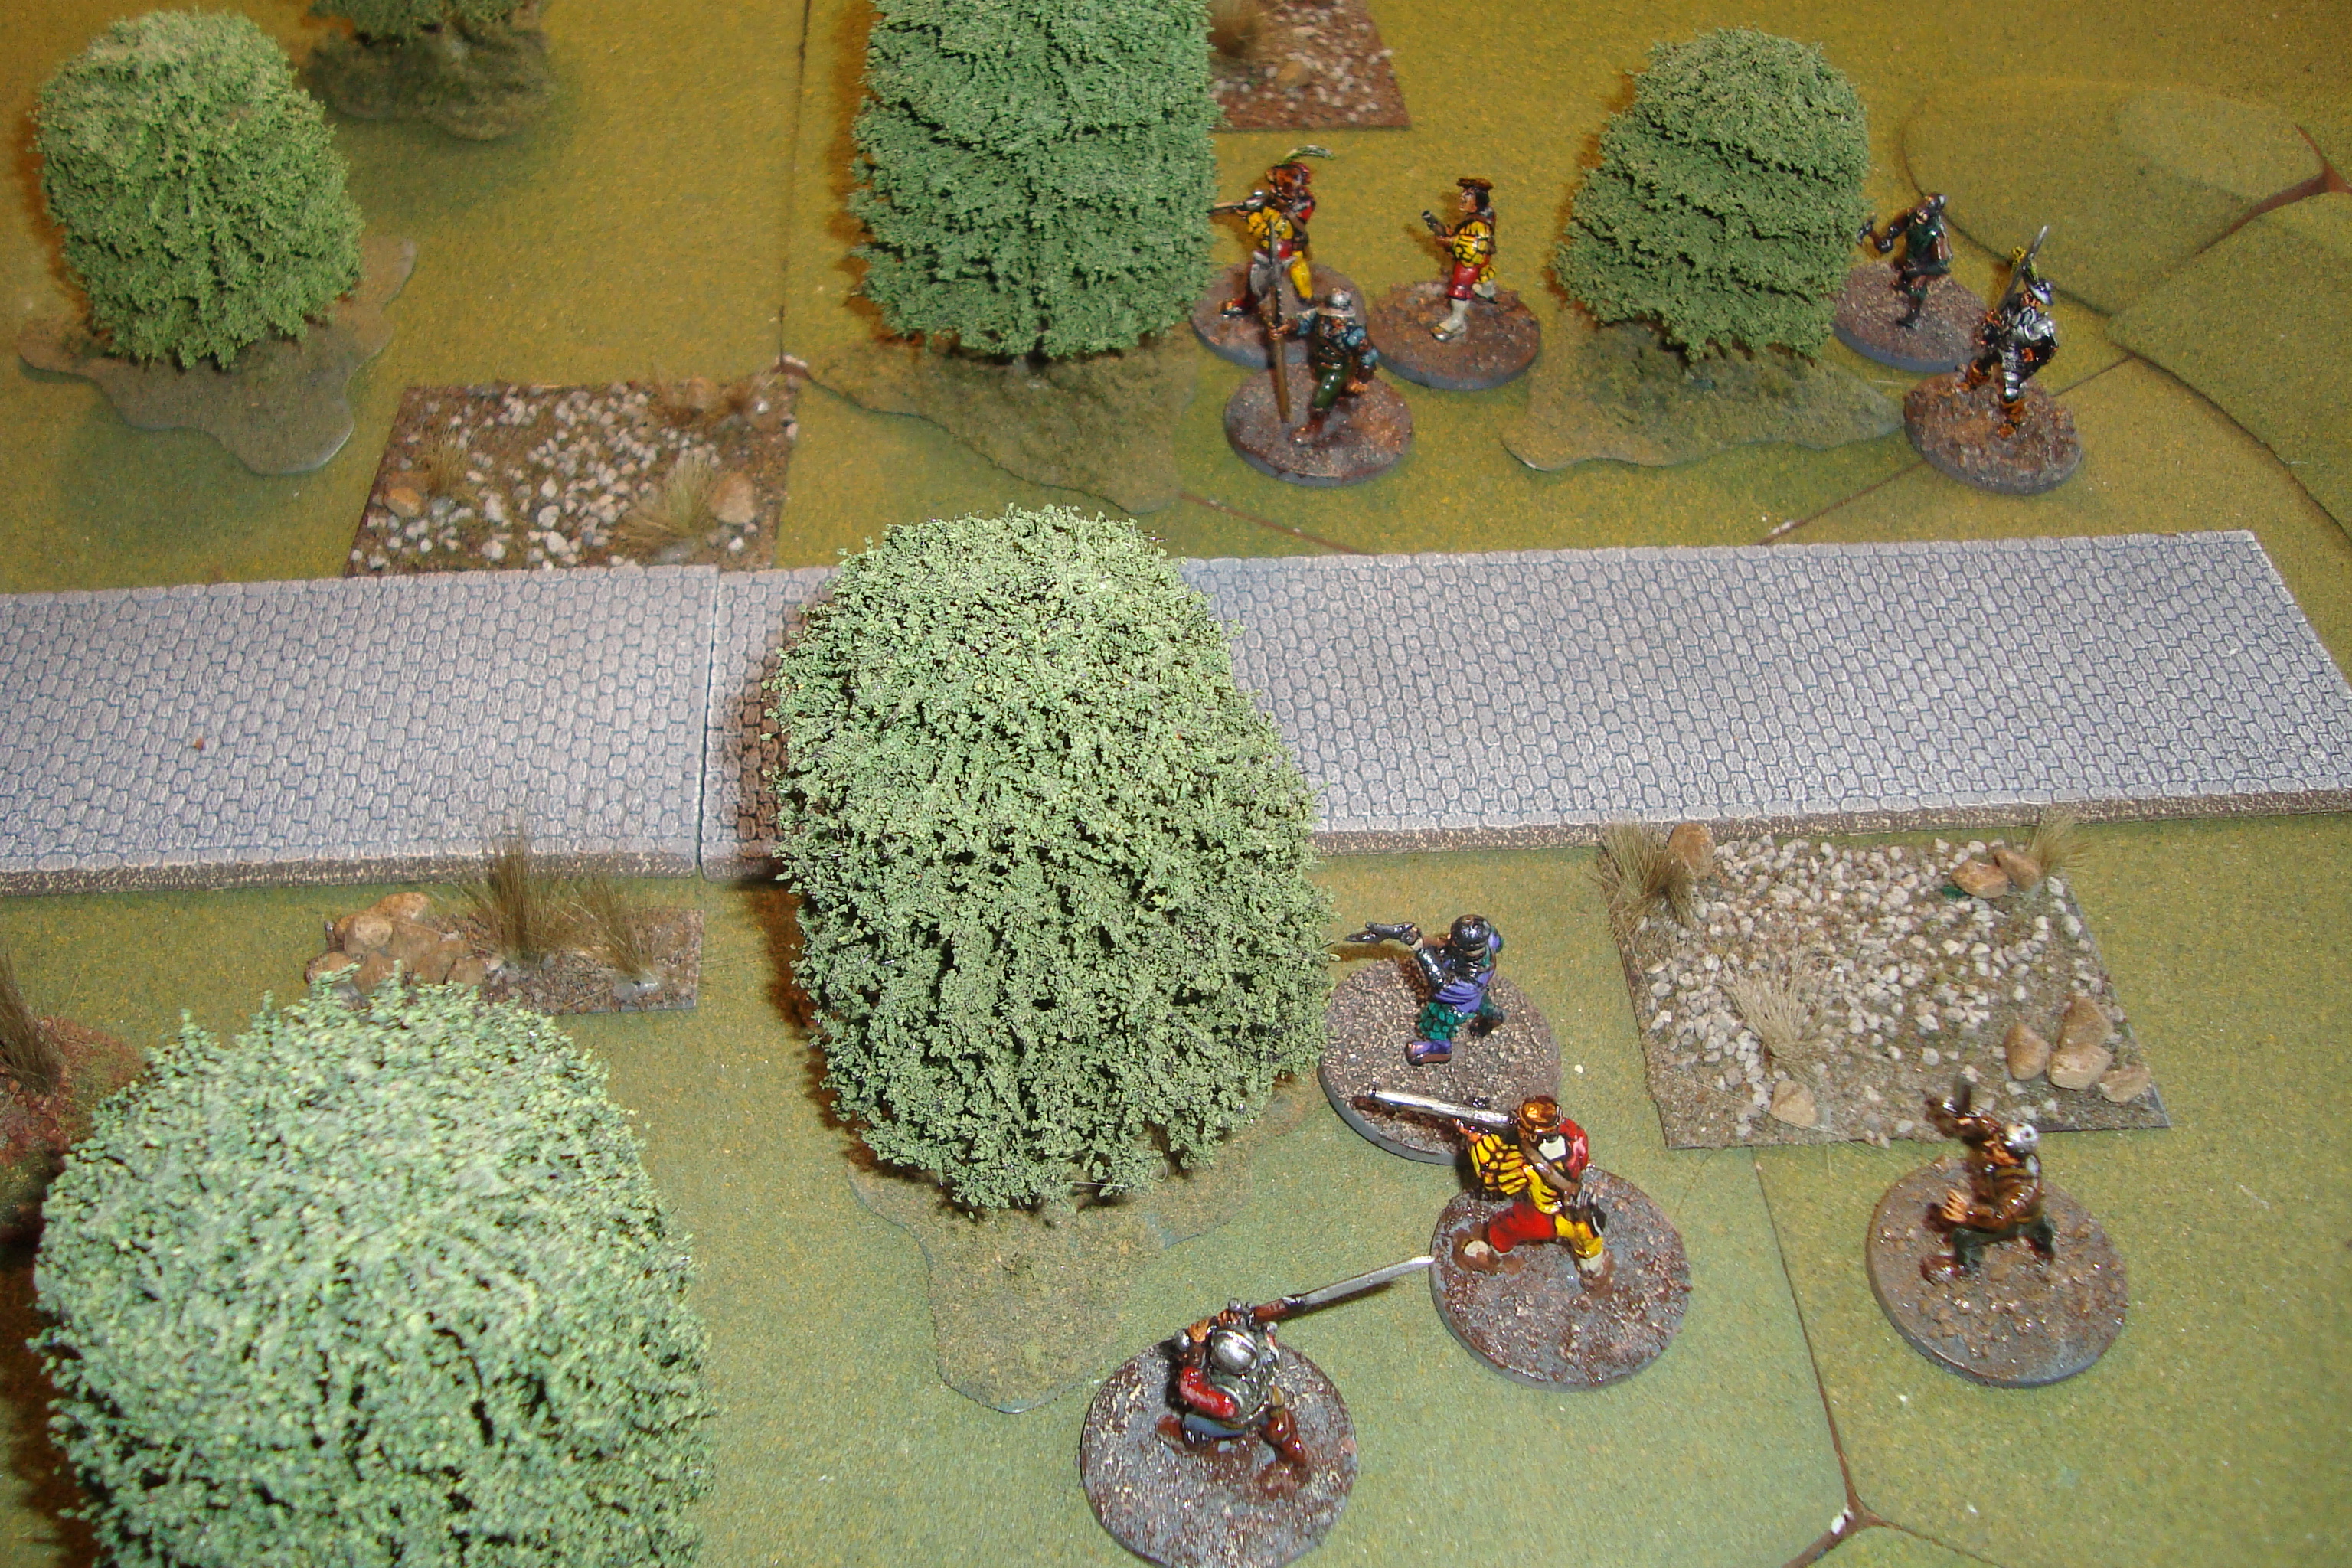
Turn 3: Red has I (Initiative). Red takes cover, Blue moves down the road.
Red In Ambush Positions
Turn 4: Blue has I, moves down the road. Red Arquebusiers move into firing ambush position.
Turn 5: Red has I, lies chilly. Blue sends two men to loot the house, remainder keep moving down the road.
Turn 6: Red has I. Stays in ambush position, Blue moves (luckily) just outside of firing range (6 inches for Arquebusiers).
Blue Moves Towards The Kill Zone
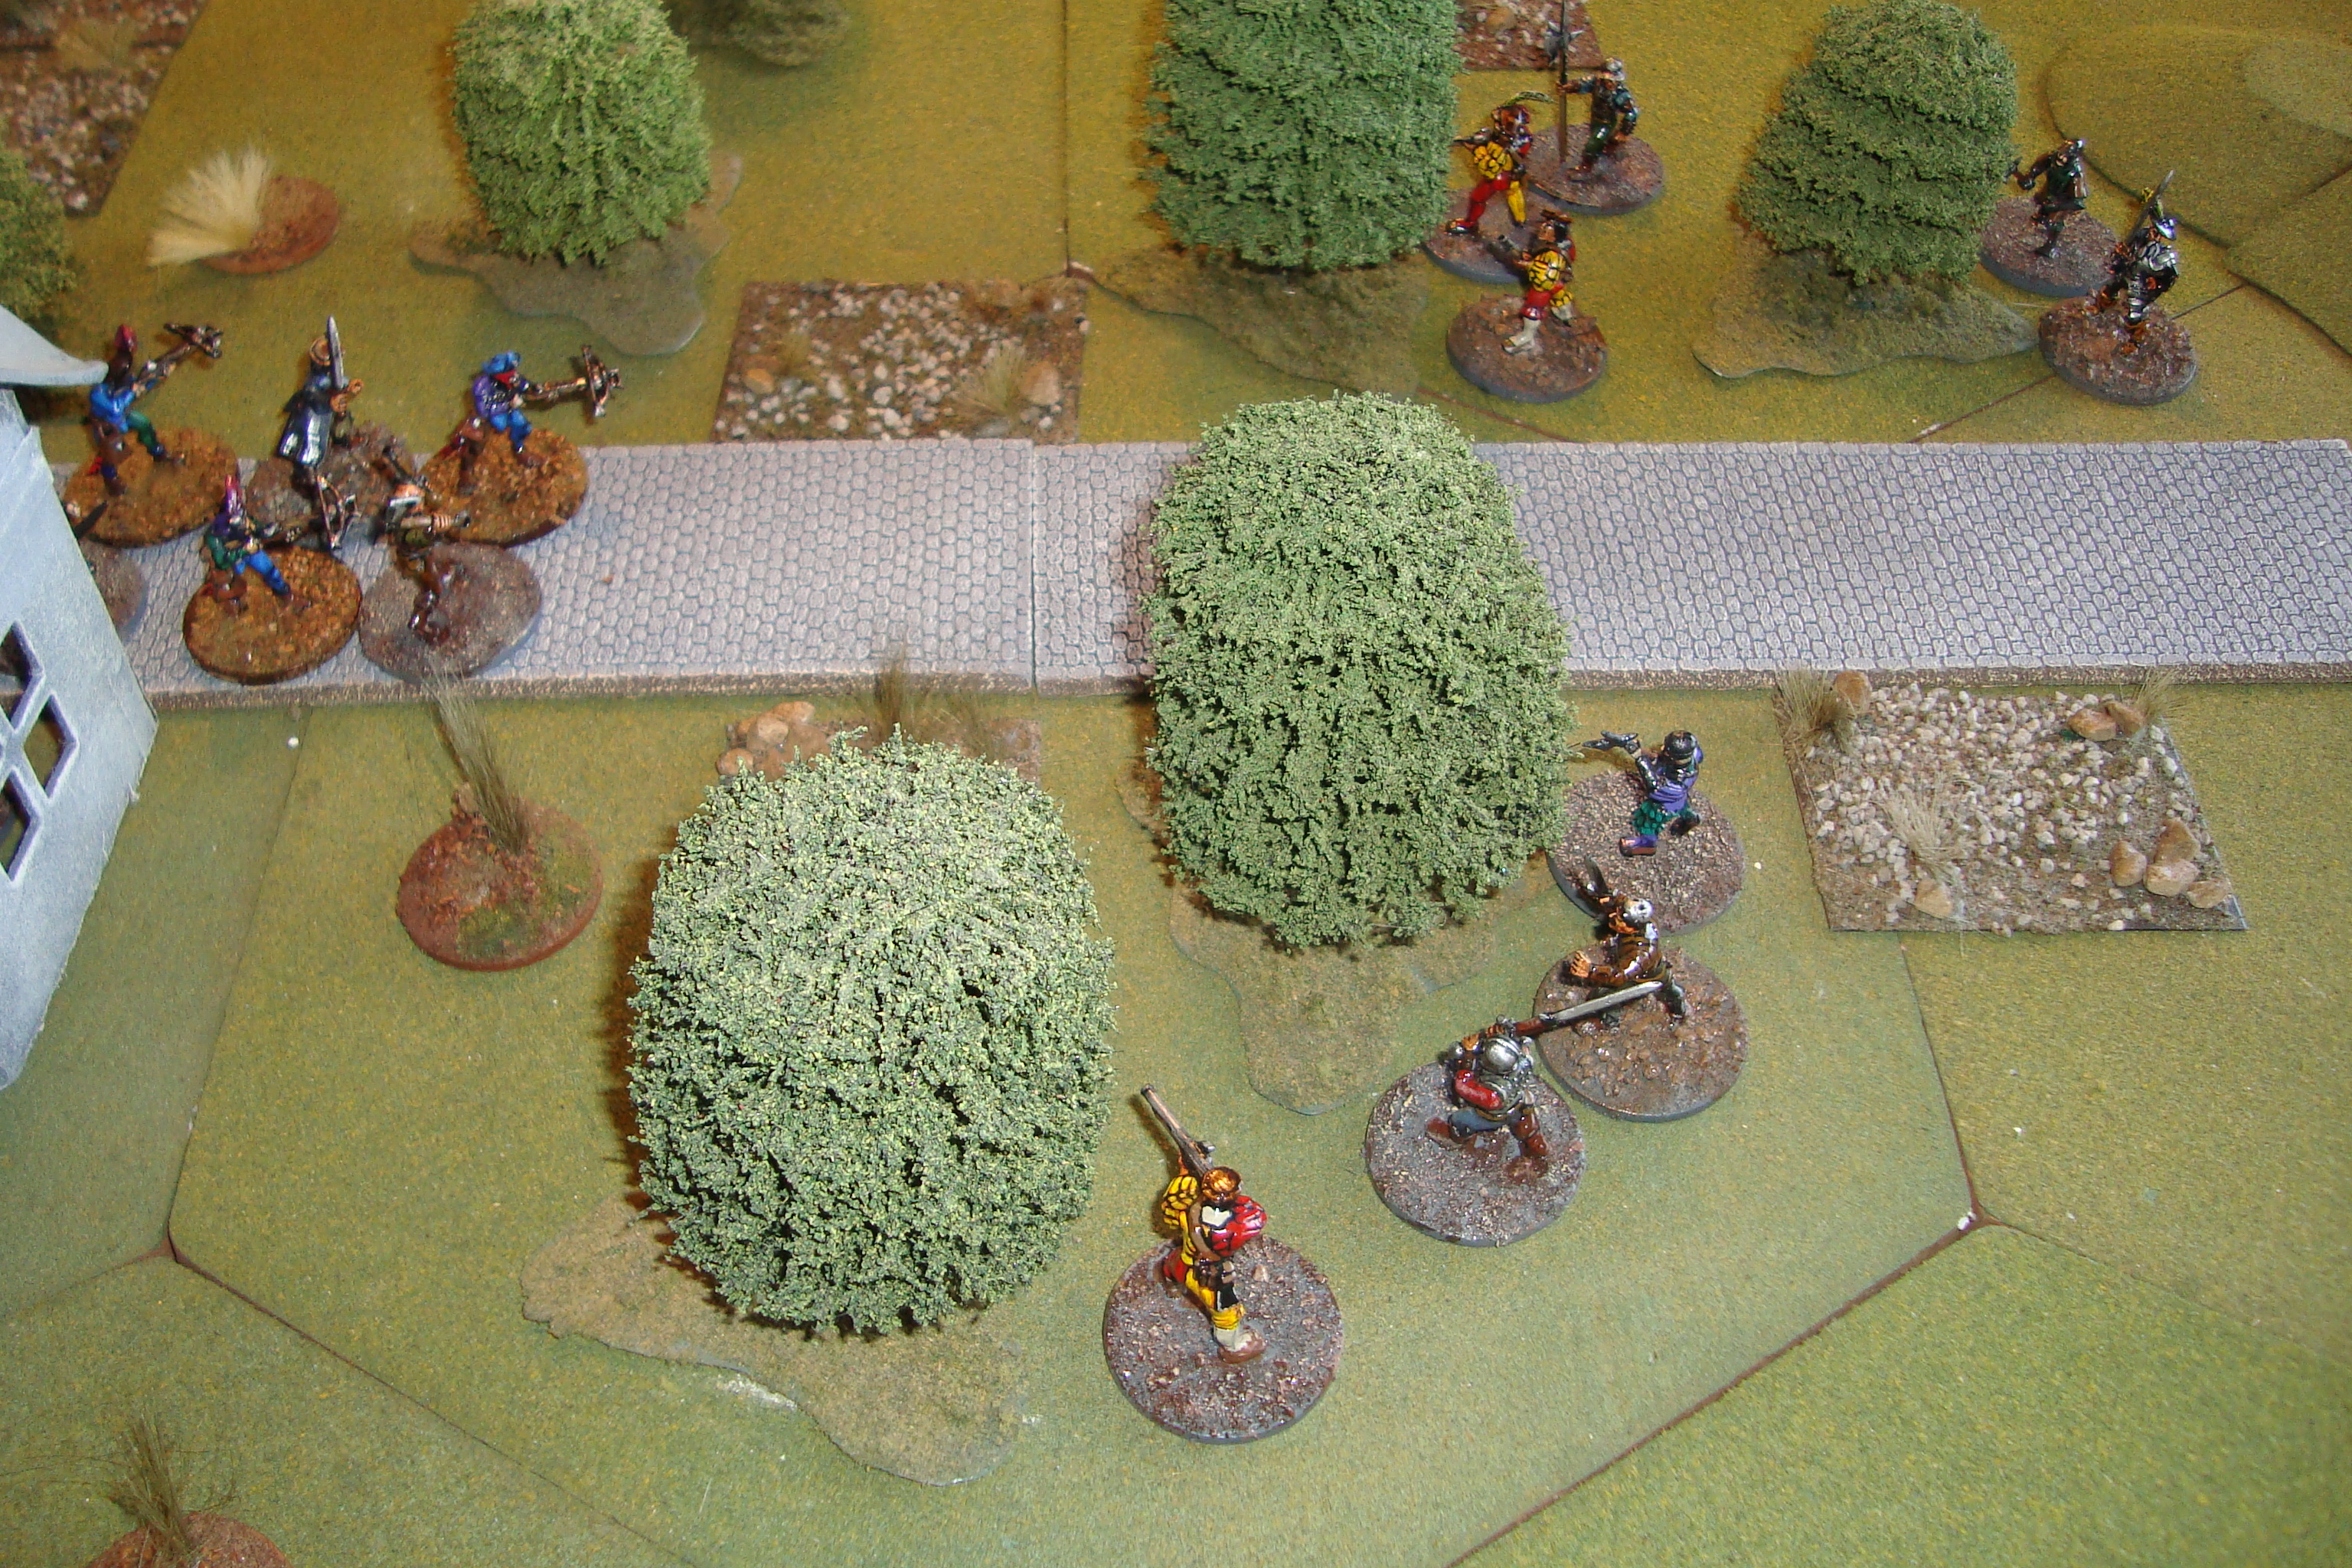
Turn 7: Red has I. This is very bad luck since they cannot shoot at Blue, and Blue can move within 6 inches and potentially spot the Red ambush, before being shot at. And, of course, Blue moves in and spots.
Turn 8: Red has I. Both sides exchange fire. No hits. Red moves into melee. Blue loses a Crossbowman and Swordsman. Red loses a Two-Handed Swordsman.
Initial Melee
Turn 9: Blue rolls D10 four times (one each for casualties, two for ambush), no change in Fear rating! Red rolls once, no change. Blue has I. Melee continues as more Blues join the fray. Blue looters move out of the house advancing towards the melee. Blue loses one Swordsman.
Blue Takes Casualties And Pushed Back
Turn 10: No change in Blue fear. Looters and Blue Leader join the melee. Blue Crossbowmen kill a Red Halbadier, and (with saving throw) force a Red Arquebusier back into the cover of the woods.
Blue Leader Joins The Fray
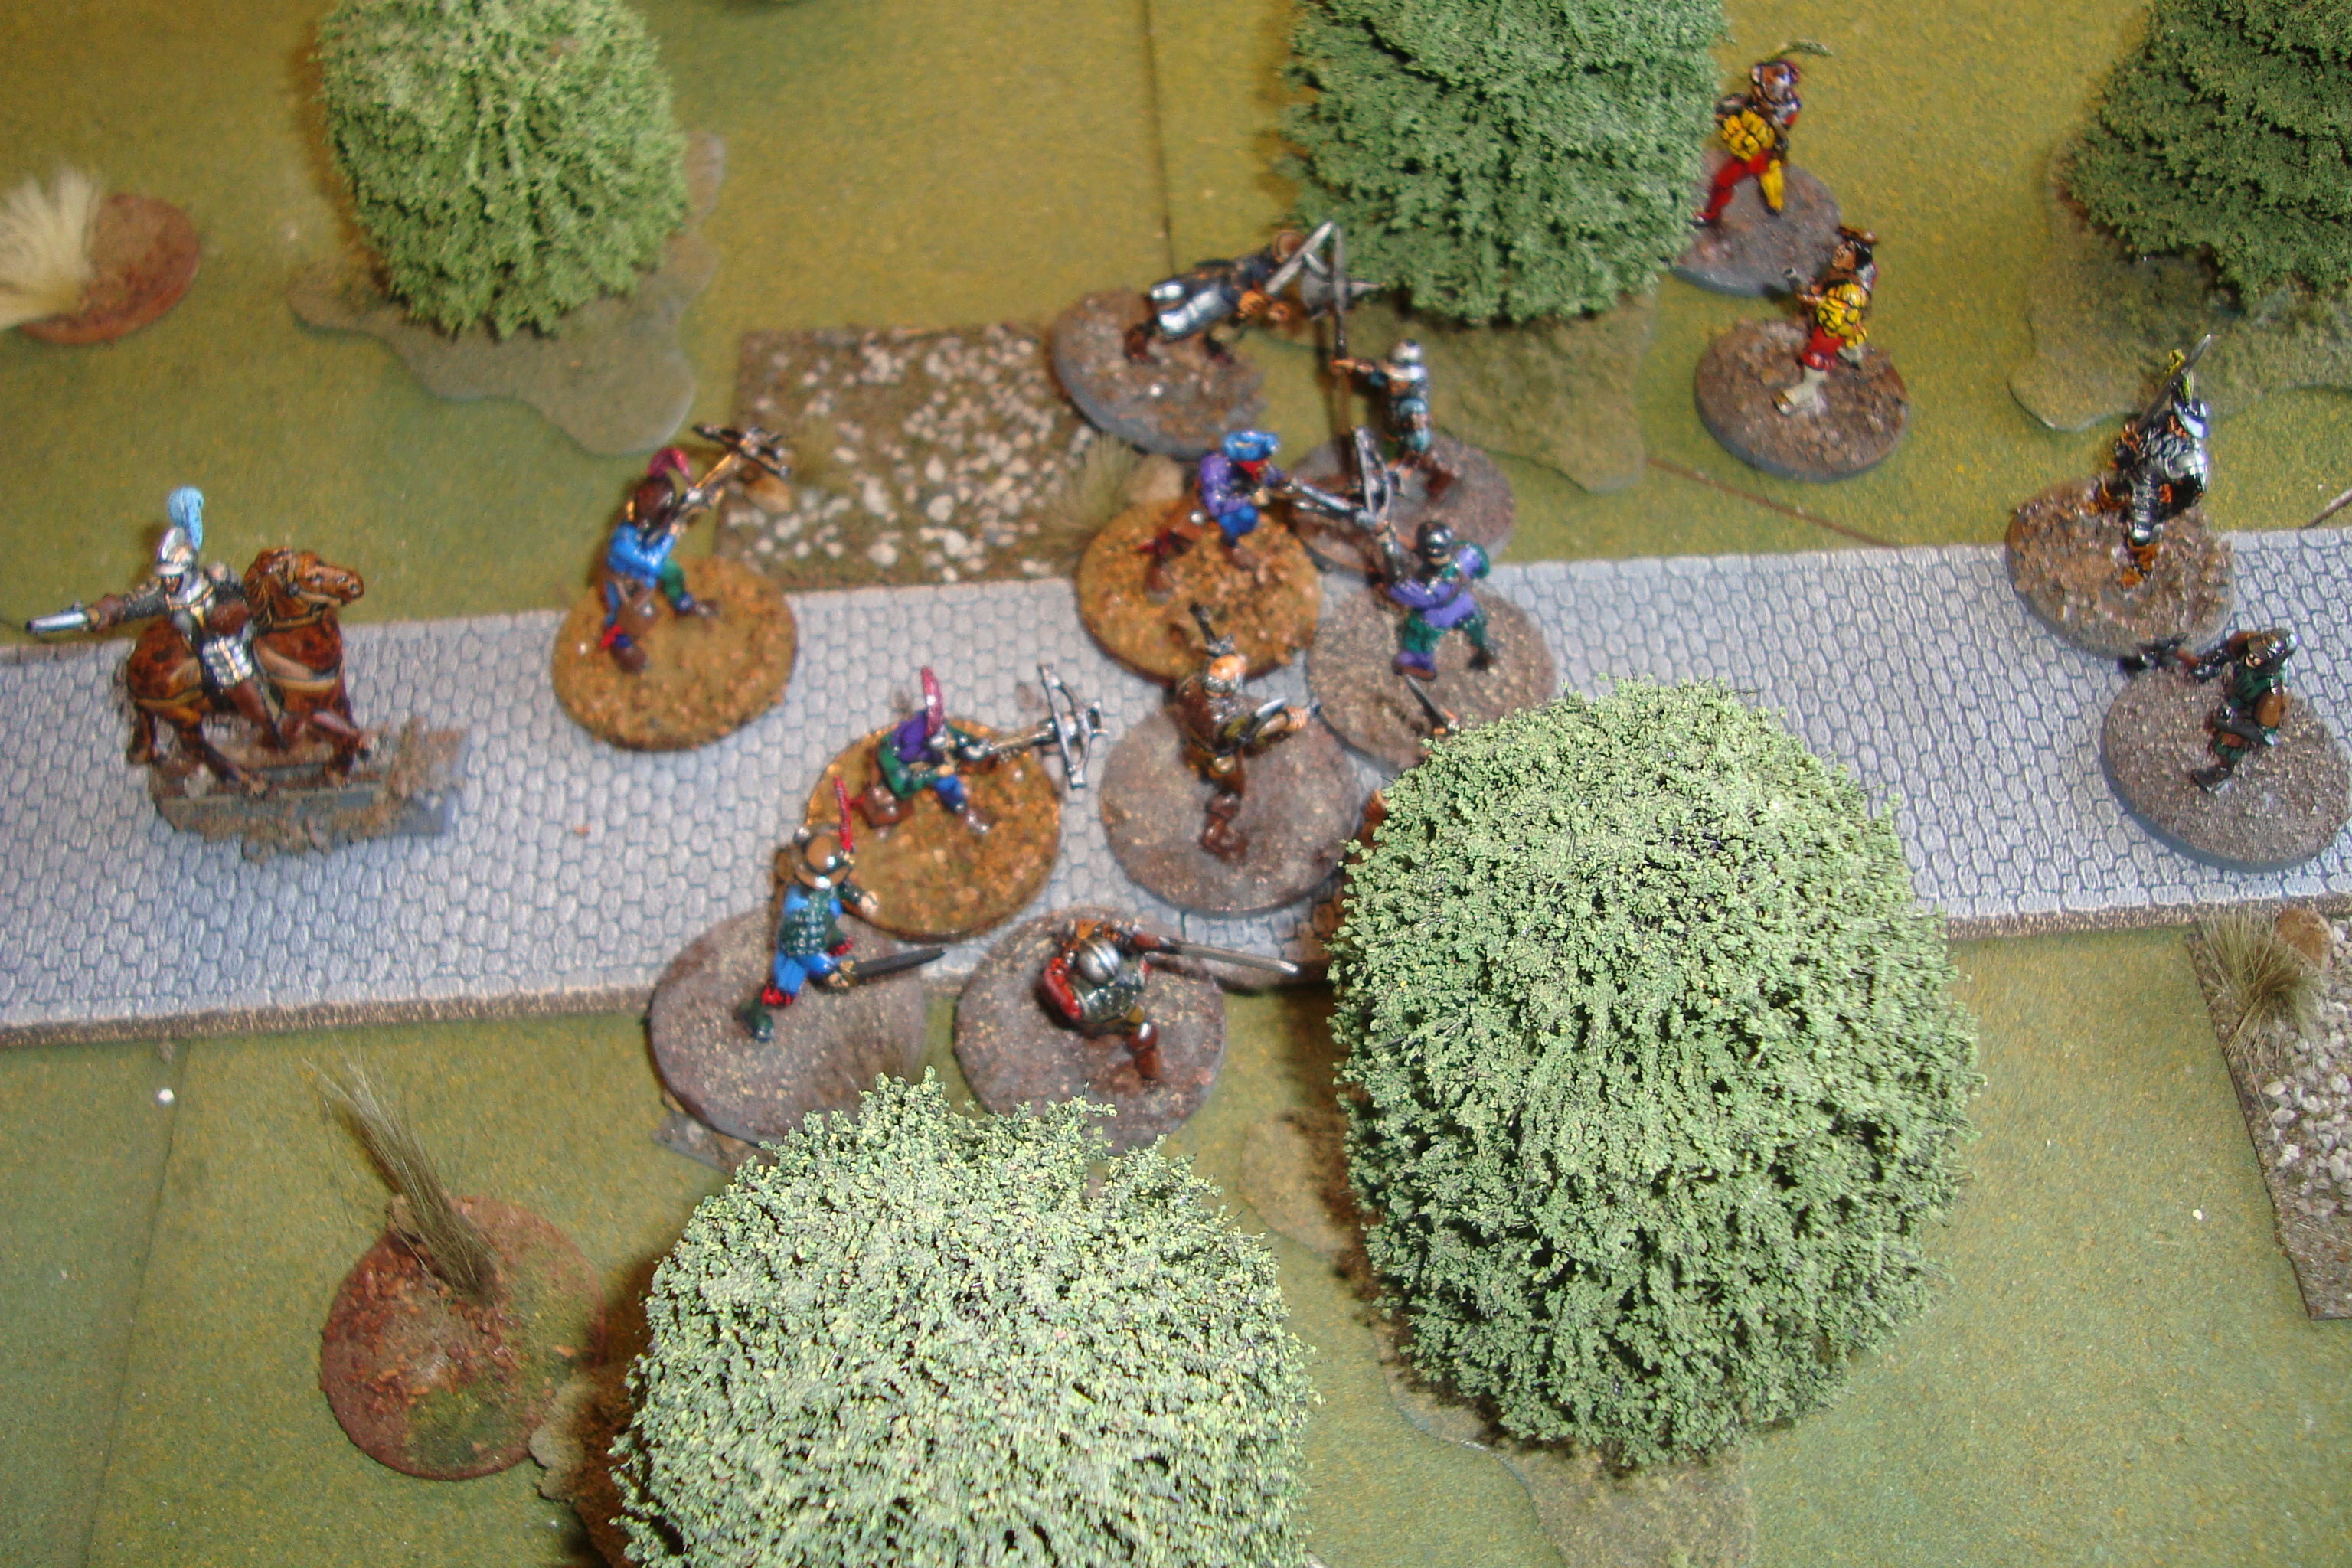
Turn 11: Red fear increases by one. Shooting ineffective. Red leader joins melee. No casualties.
Red Leader Fighting, Blue Gaining Upper Hand
Shut it down at this point because it will be nothing but a Dice Fest. Blue has survived the ambush and it more than holding its own in the melee. So, what mechanism to break off contact?
Will run the same scenario again, but add rules for running, horse galloping, and use of pistol in melee. Have to consider the ineffectiveness of shooting despite the two “tens” rolled in Turn 10. Also, some type of reaction to orders/situations might be needed.
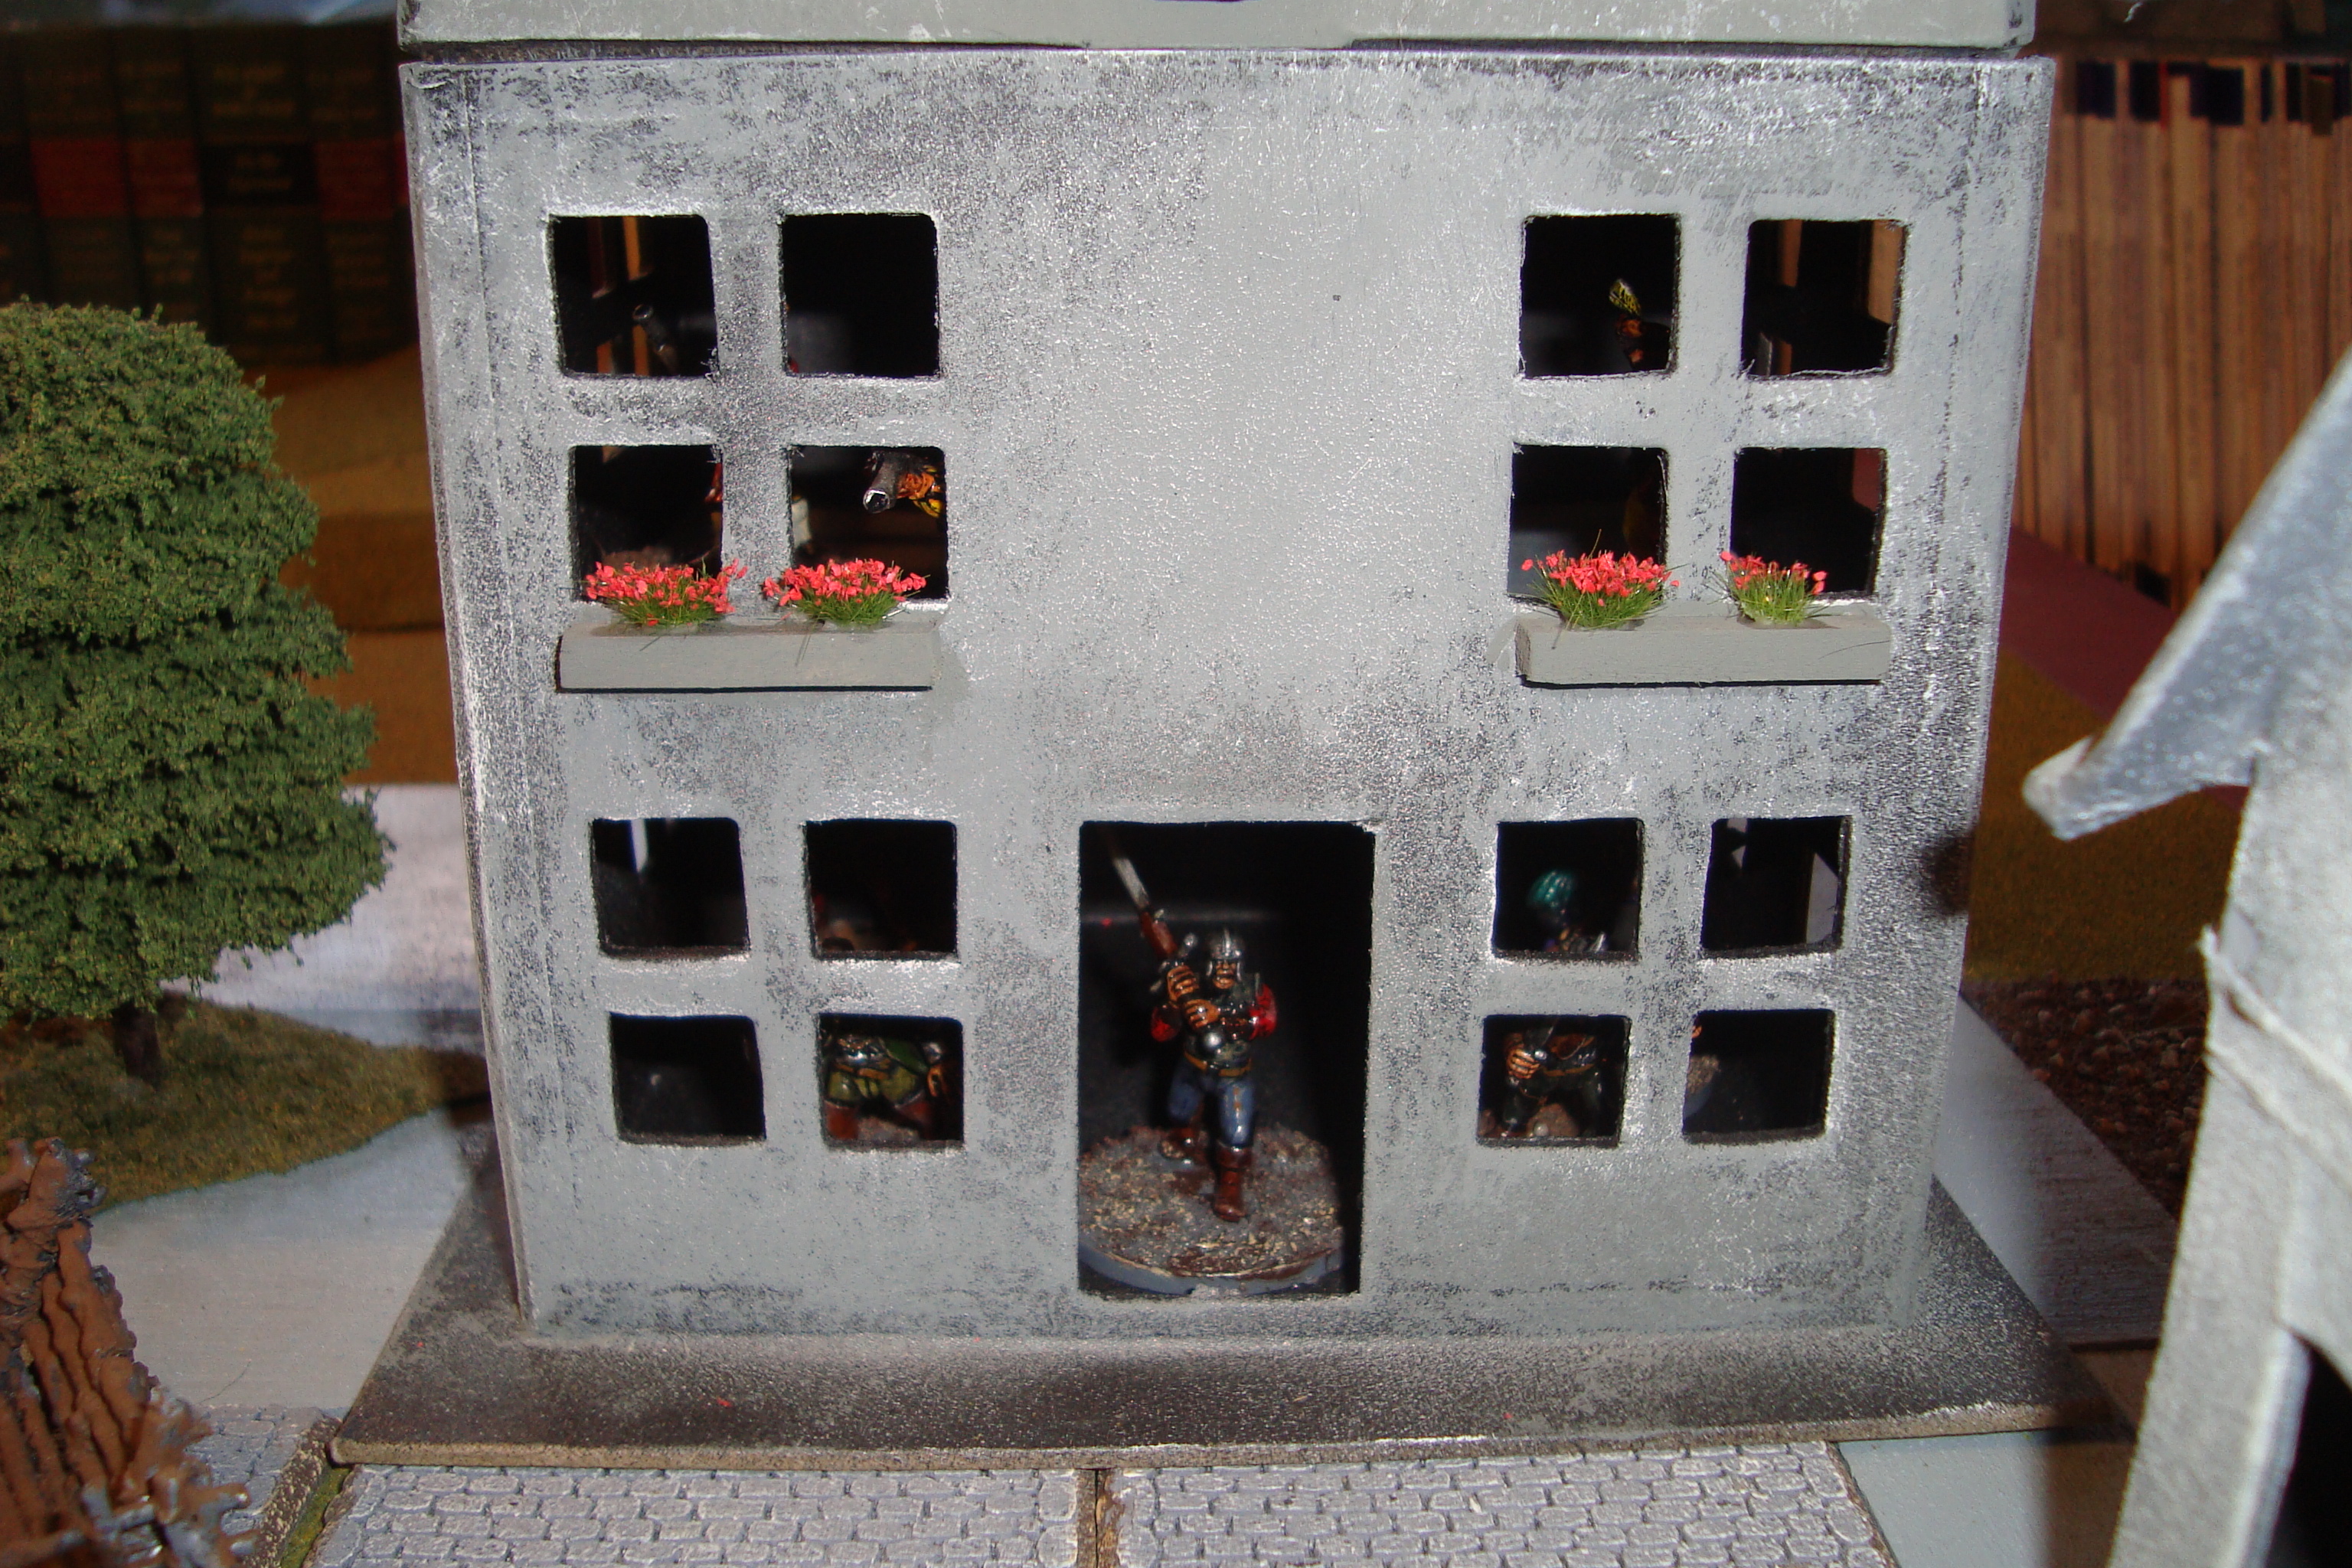
Scenario involved an attack on the village. Directional Die (DD) indicated the attack was to come from the Northeast, with the “Yes, No, Maybe” die (YNM) roll indicating the Defenders were not alert (If the result is a “Maybe”, I use two percentage dice, with result of 51% or more a “Yes”). This allowed the Attackers to move within 6 inches of the first building before another spotting attempt could be made.
Both sides had Greed and Fear ratings of 7, each. Rules As Written (RAW) state highest Greed has movement initiative, if tied roll for initiative. I decided to let the Attackers have the initiative until the turn after they were spotted, then work with RAW.
The Attackers included ten troops, three of which were armed with arquebuses. The Defenders totaled eight soldiers, three of which were armed with crossbows. Each soldier was assigned a number for identification and, in the case of the Defenders, which building they would occupy.
The game sequence is Spotting/Morale Check, Shooting, Movement, Melee.
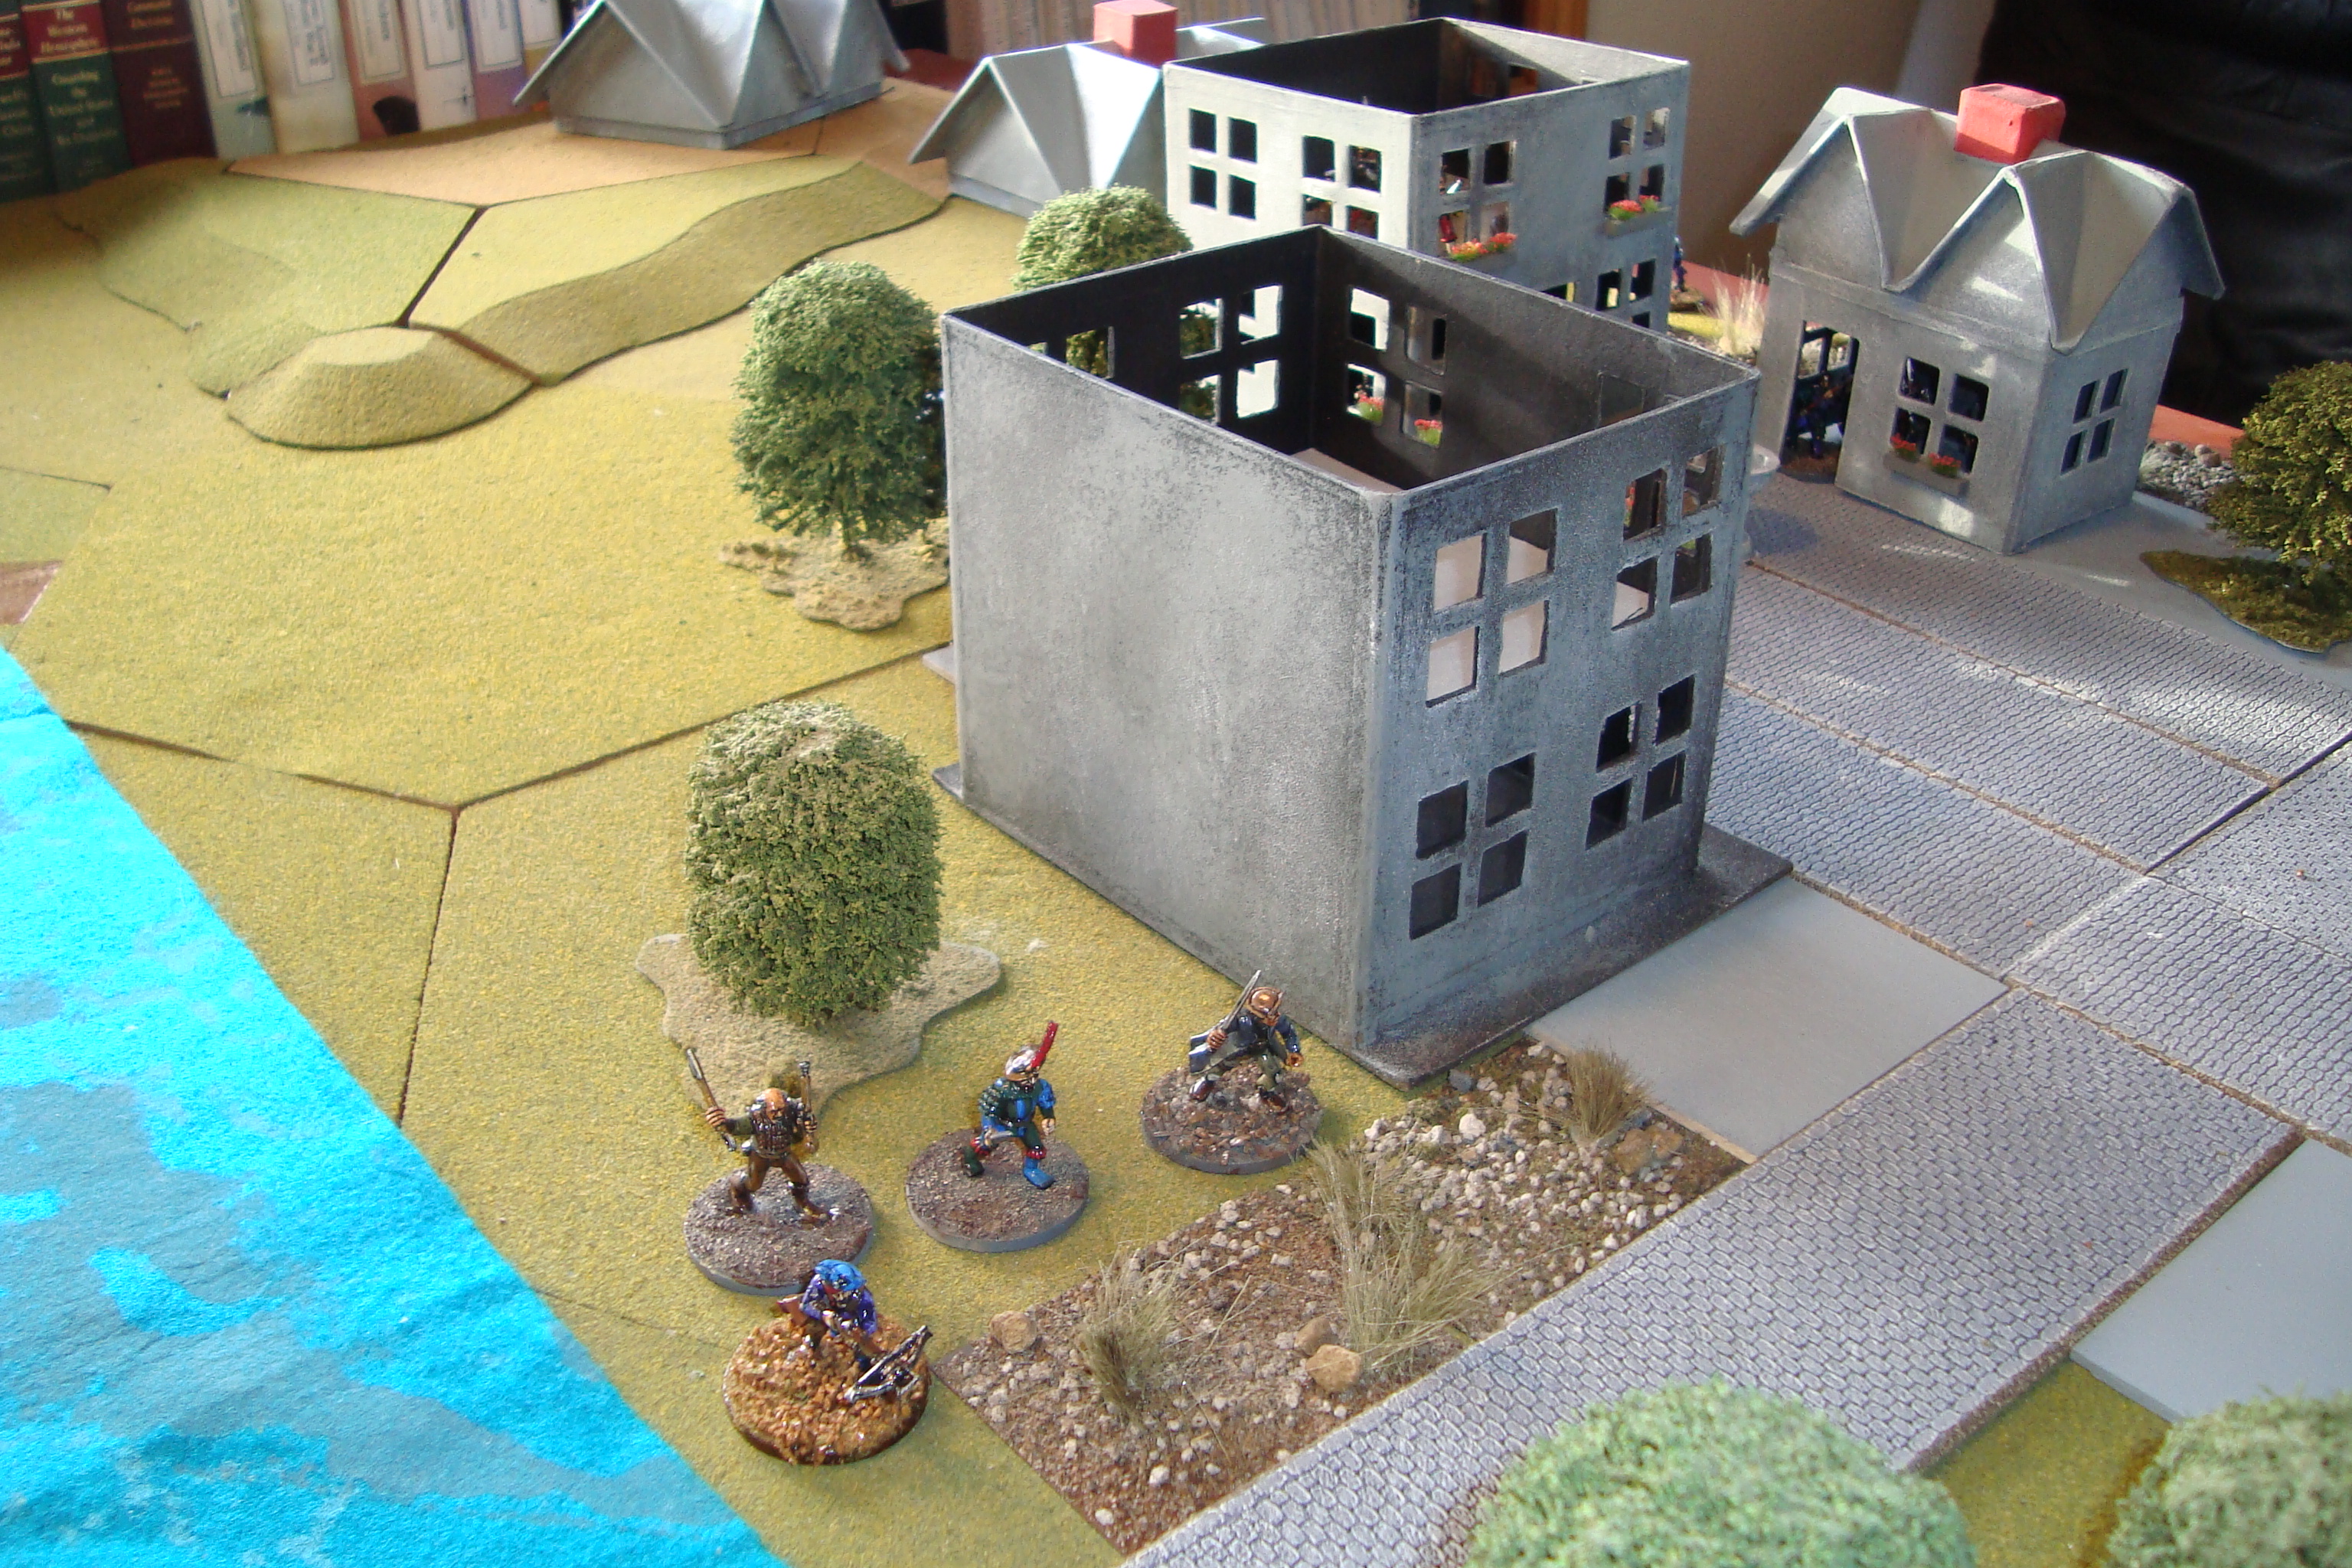
Turn 1: Three attacking scouts moved to within 6 inches of the northern two-story house. Not spotted.
Turn 2: Scouts move to within 2 inches of the house. Spotted. Rolled 4-sided die to determine how many Defenders were in the house. Roll was for two defenders. Die roll indicated Defenders 1 and 3 (cutting weapons, one with pistol), and a YNM roll for each placed them both on the second floor.
Turn 3: Two Scouts enter house, Defender fires and misses with pistol.
Turn 4: One Scout moves upstairs, engages Defender. Draw.
Turn 5: Another Scout moves upstairs. Both Defenders engaged. One Attacker falls back, one Defender killed.
Turn 6: No change in Fear Level due to death of Defender. Main Body of attackers spotted by occupants of North single story building. Die roll results in it being defended by two Crossbowmen. Main Body advances after being signaled by Scout outside of two-story building. Melee continues in two-story house with both Attackers ganging up on the remaining swordsman. Defender is killed.
Turn 7-10: Defenders Fear Level increases by one due to death. Main Body continues to advance into the two-story house , with crossbowmen denied opportunity to shoot due to blocked line of site. Attacking arquebusiers occupy second floor.
Turn 11: Firefight between Arquebusiers and Crossbowmen. Realize nobody can make a hit because a D10 result of 10 is needed, and the houses have a minus modifier of two due to cover. Four Attackers move into single-story house. Engage defenders in melee. One Defender killed.
Turn 12: No change in Fear Level. Remaining four Defenders occupy West Two-Story House, with two in upper floor. Melee in single-story house continues. One Defender killed.
I stopped at this point and pondered the ineffectiveness of shooting. The quick fix is to make a D10 roll of 10 an automatic kill (no saving throws as per RAW). A D10 roll of 9 is a hit, with saving throw as per RAW (cover or armor). Shooter receives a +2 D10 mod if target is stationary. Will see how this works.
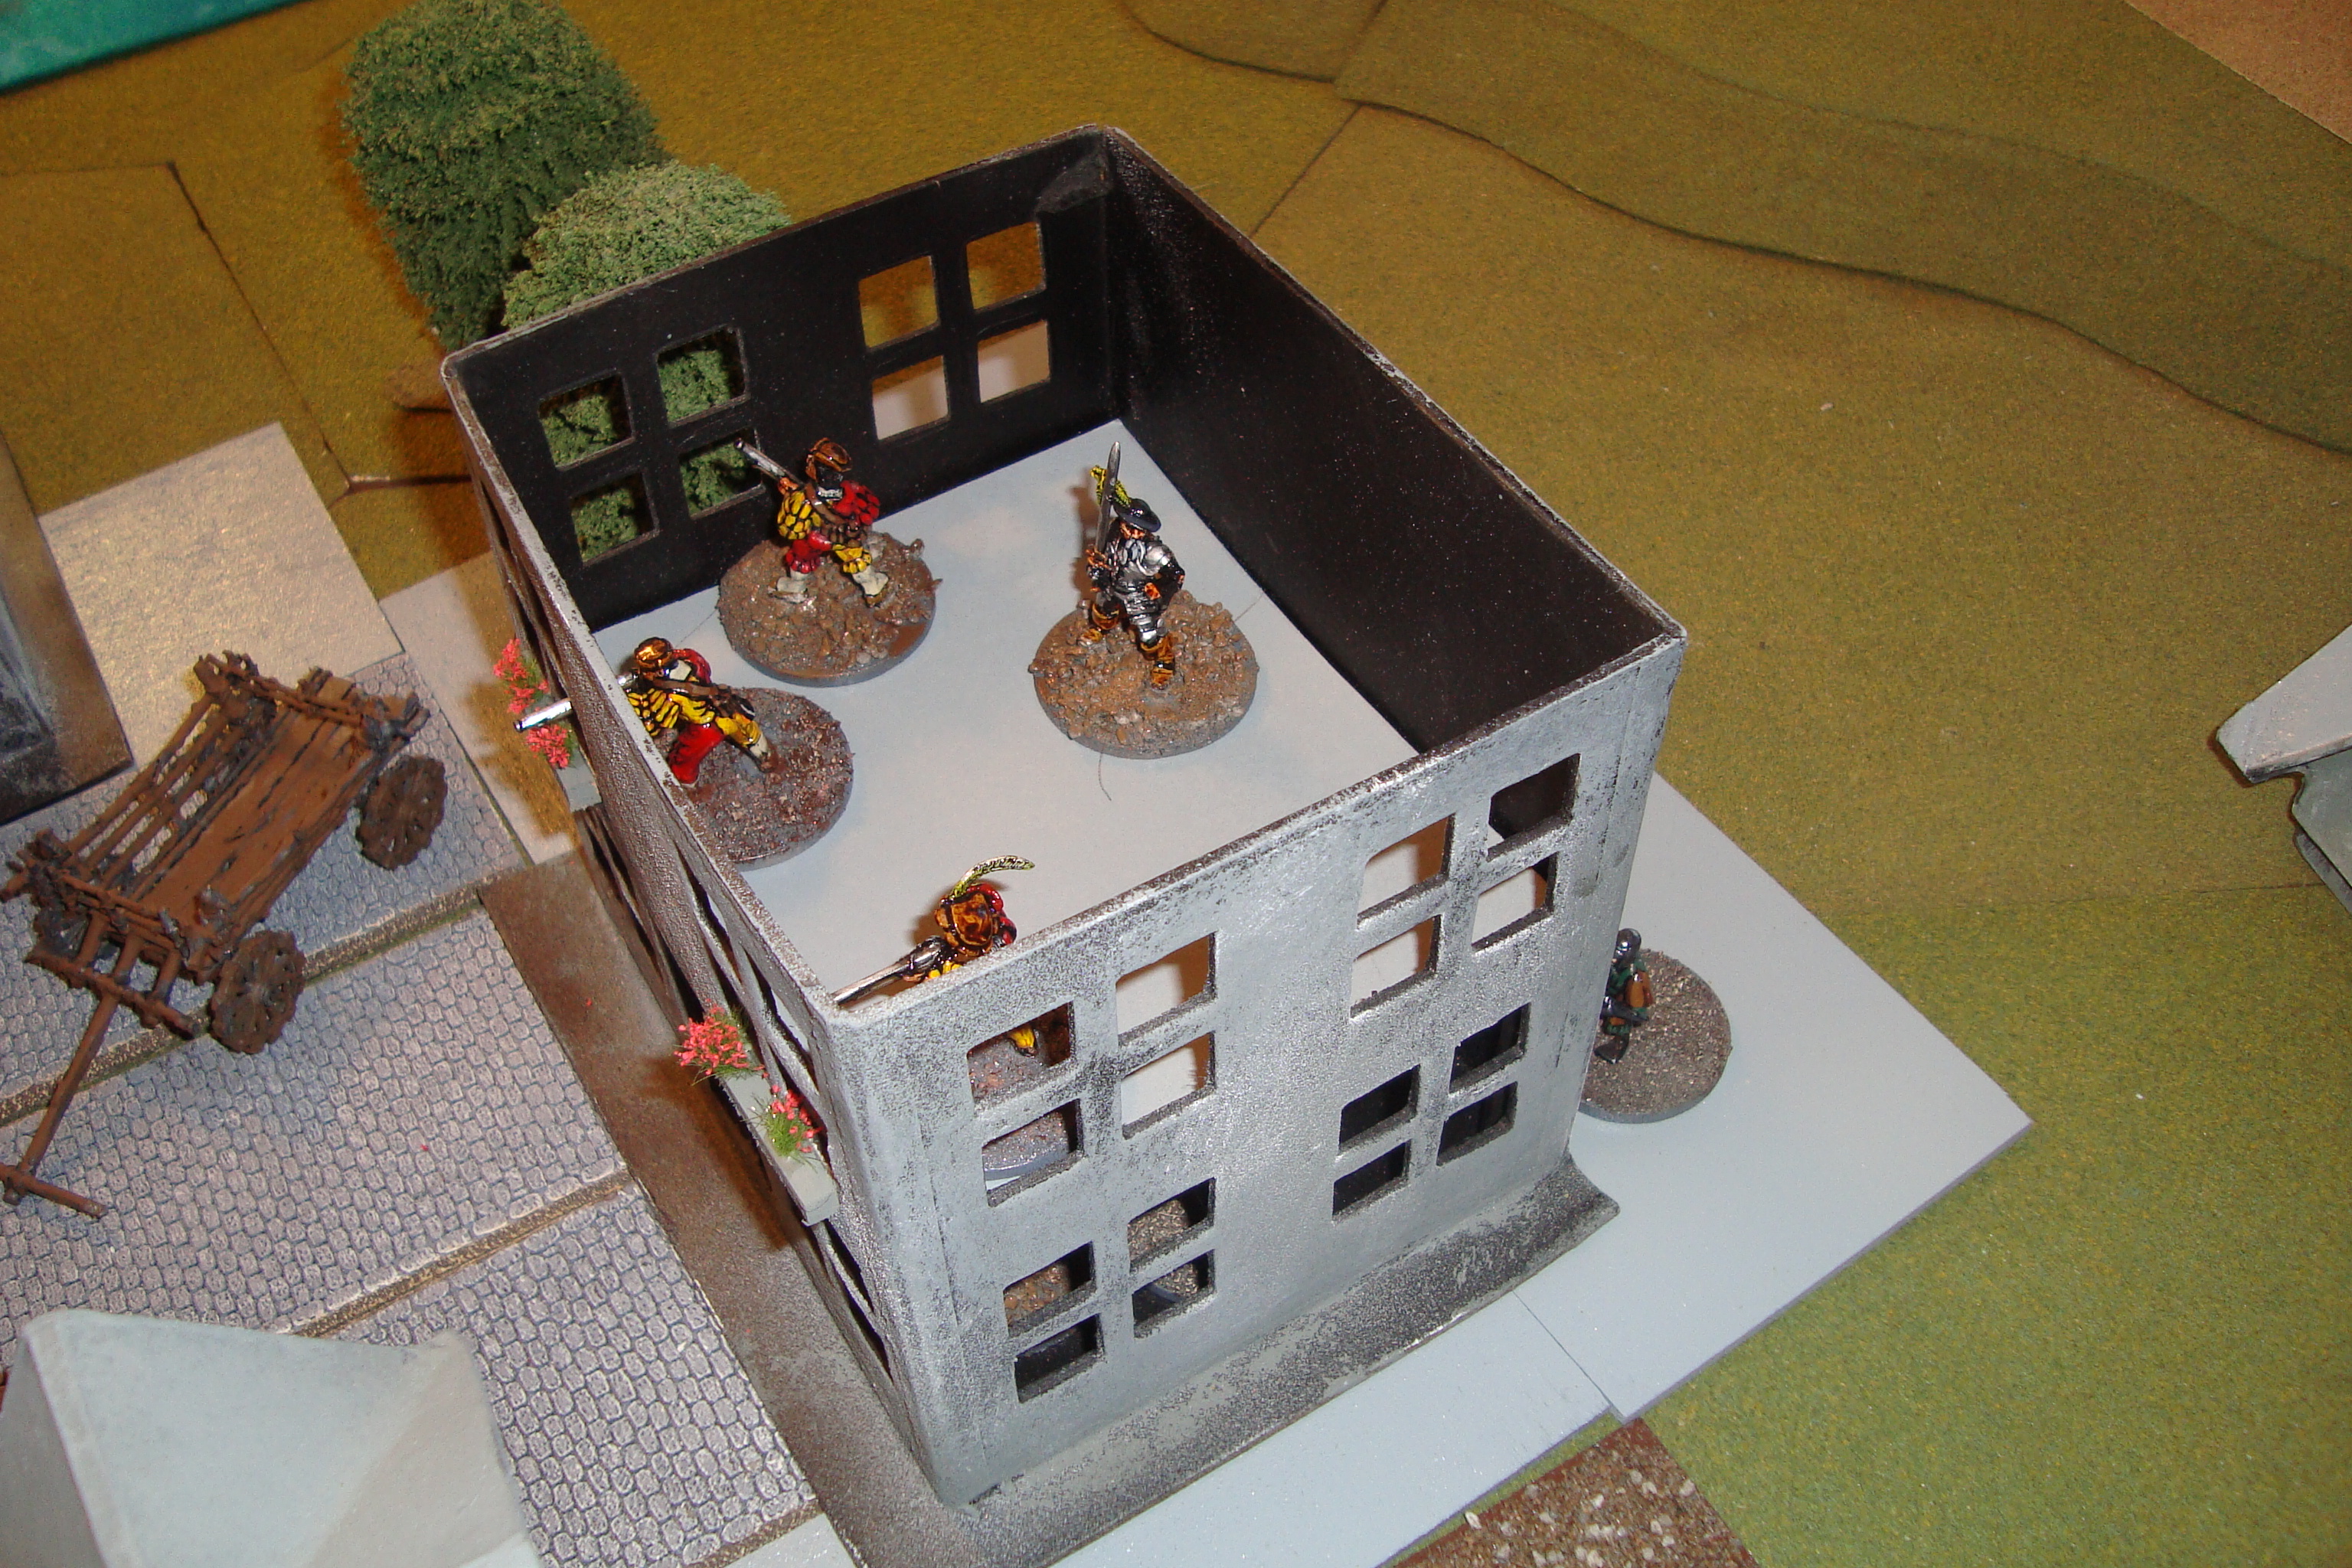
With North Two-Story Building Reported Secure, Attacker Main Body Advances.
Attackers Occupy Second Floor of North Two-Story Building
Attackers Ready To Assault Single-Story House (on right)
With Two Buildings Captured, Defenders In West Two-Story Building Await the Onslaught.
Finished up the crossbowmen and put together a “cheat sheet” for the “On The Seven Seas” rules. Great way to learn and retain. Here’s a link to the On The Seven Seas PDF version of the playing aid.
Set up the table for a skirmish game using the “On The Seven Seas” rules by Osprey. Yes, I know, these are pirate rules. But, when I purchased these rules, Osprey’s latest and period applicable offering “En Garde,” was not available. While the reception for “Seven Seas” has been mixed, I do like the faction/greed/fear mechanics, and the simplicity. We’ll see how they work on the table.
The game will be a village fight between two factions. One will hold the village, the other intending to loot and plunder.
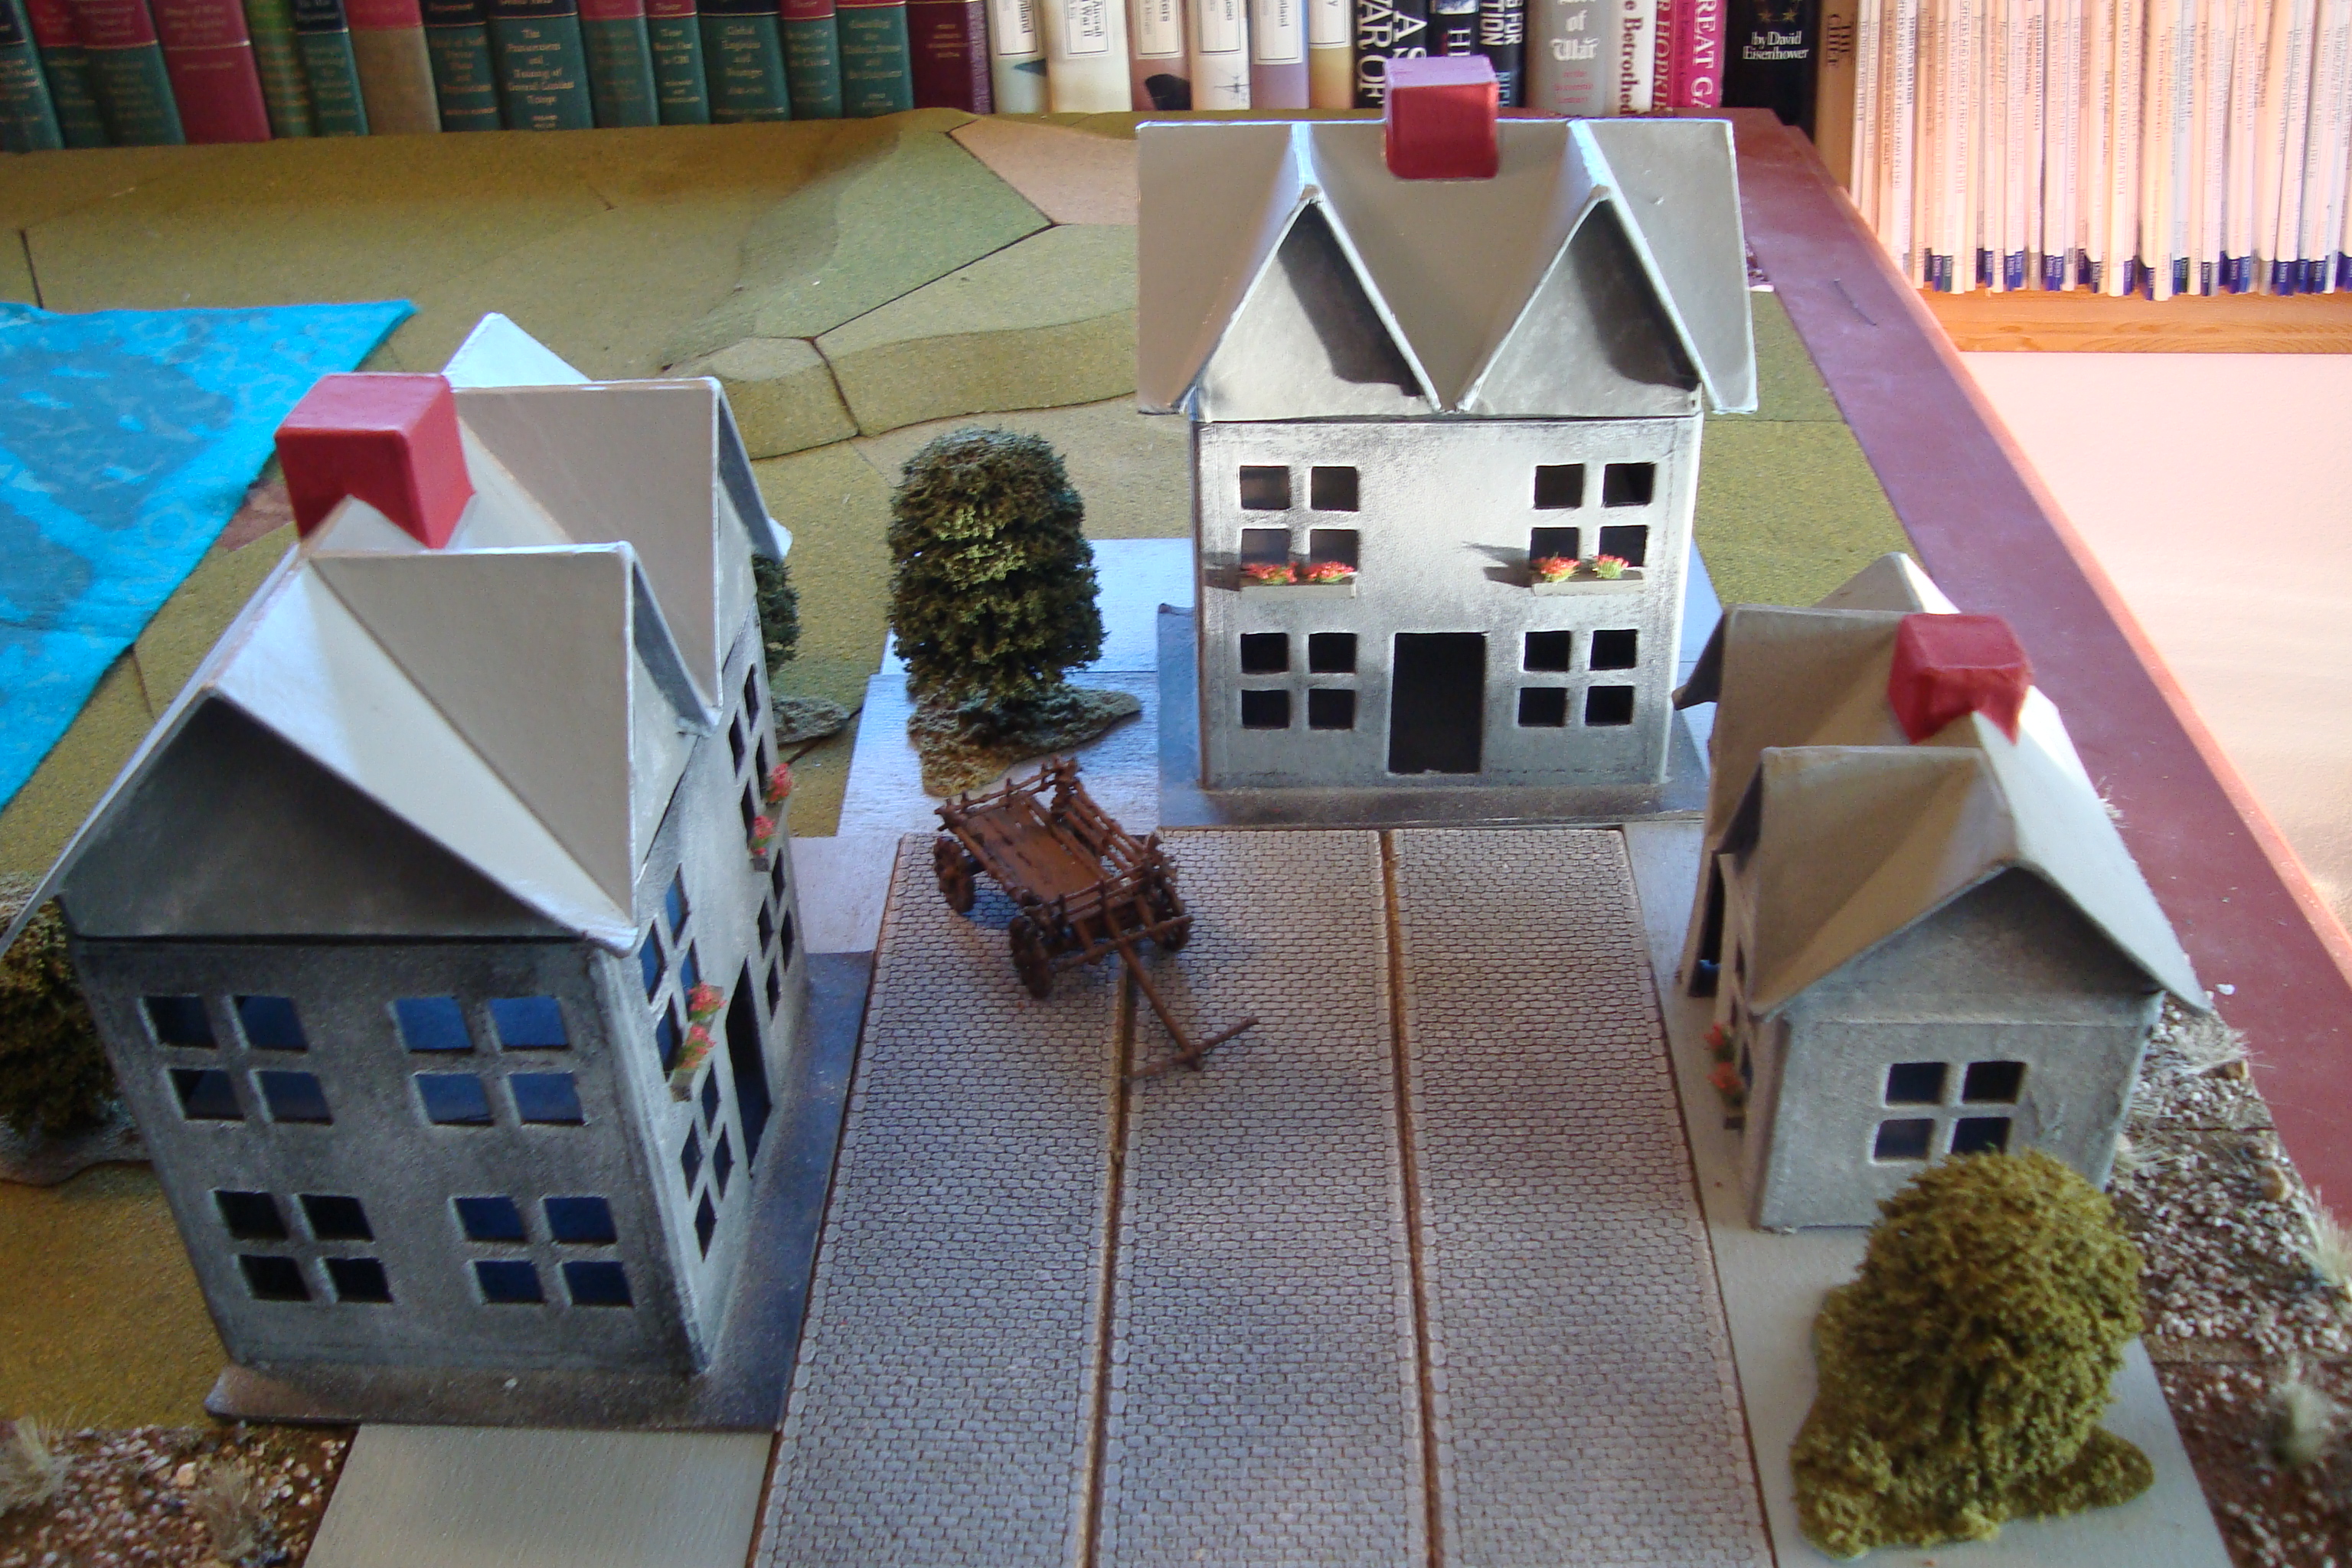
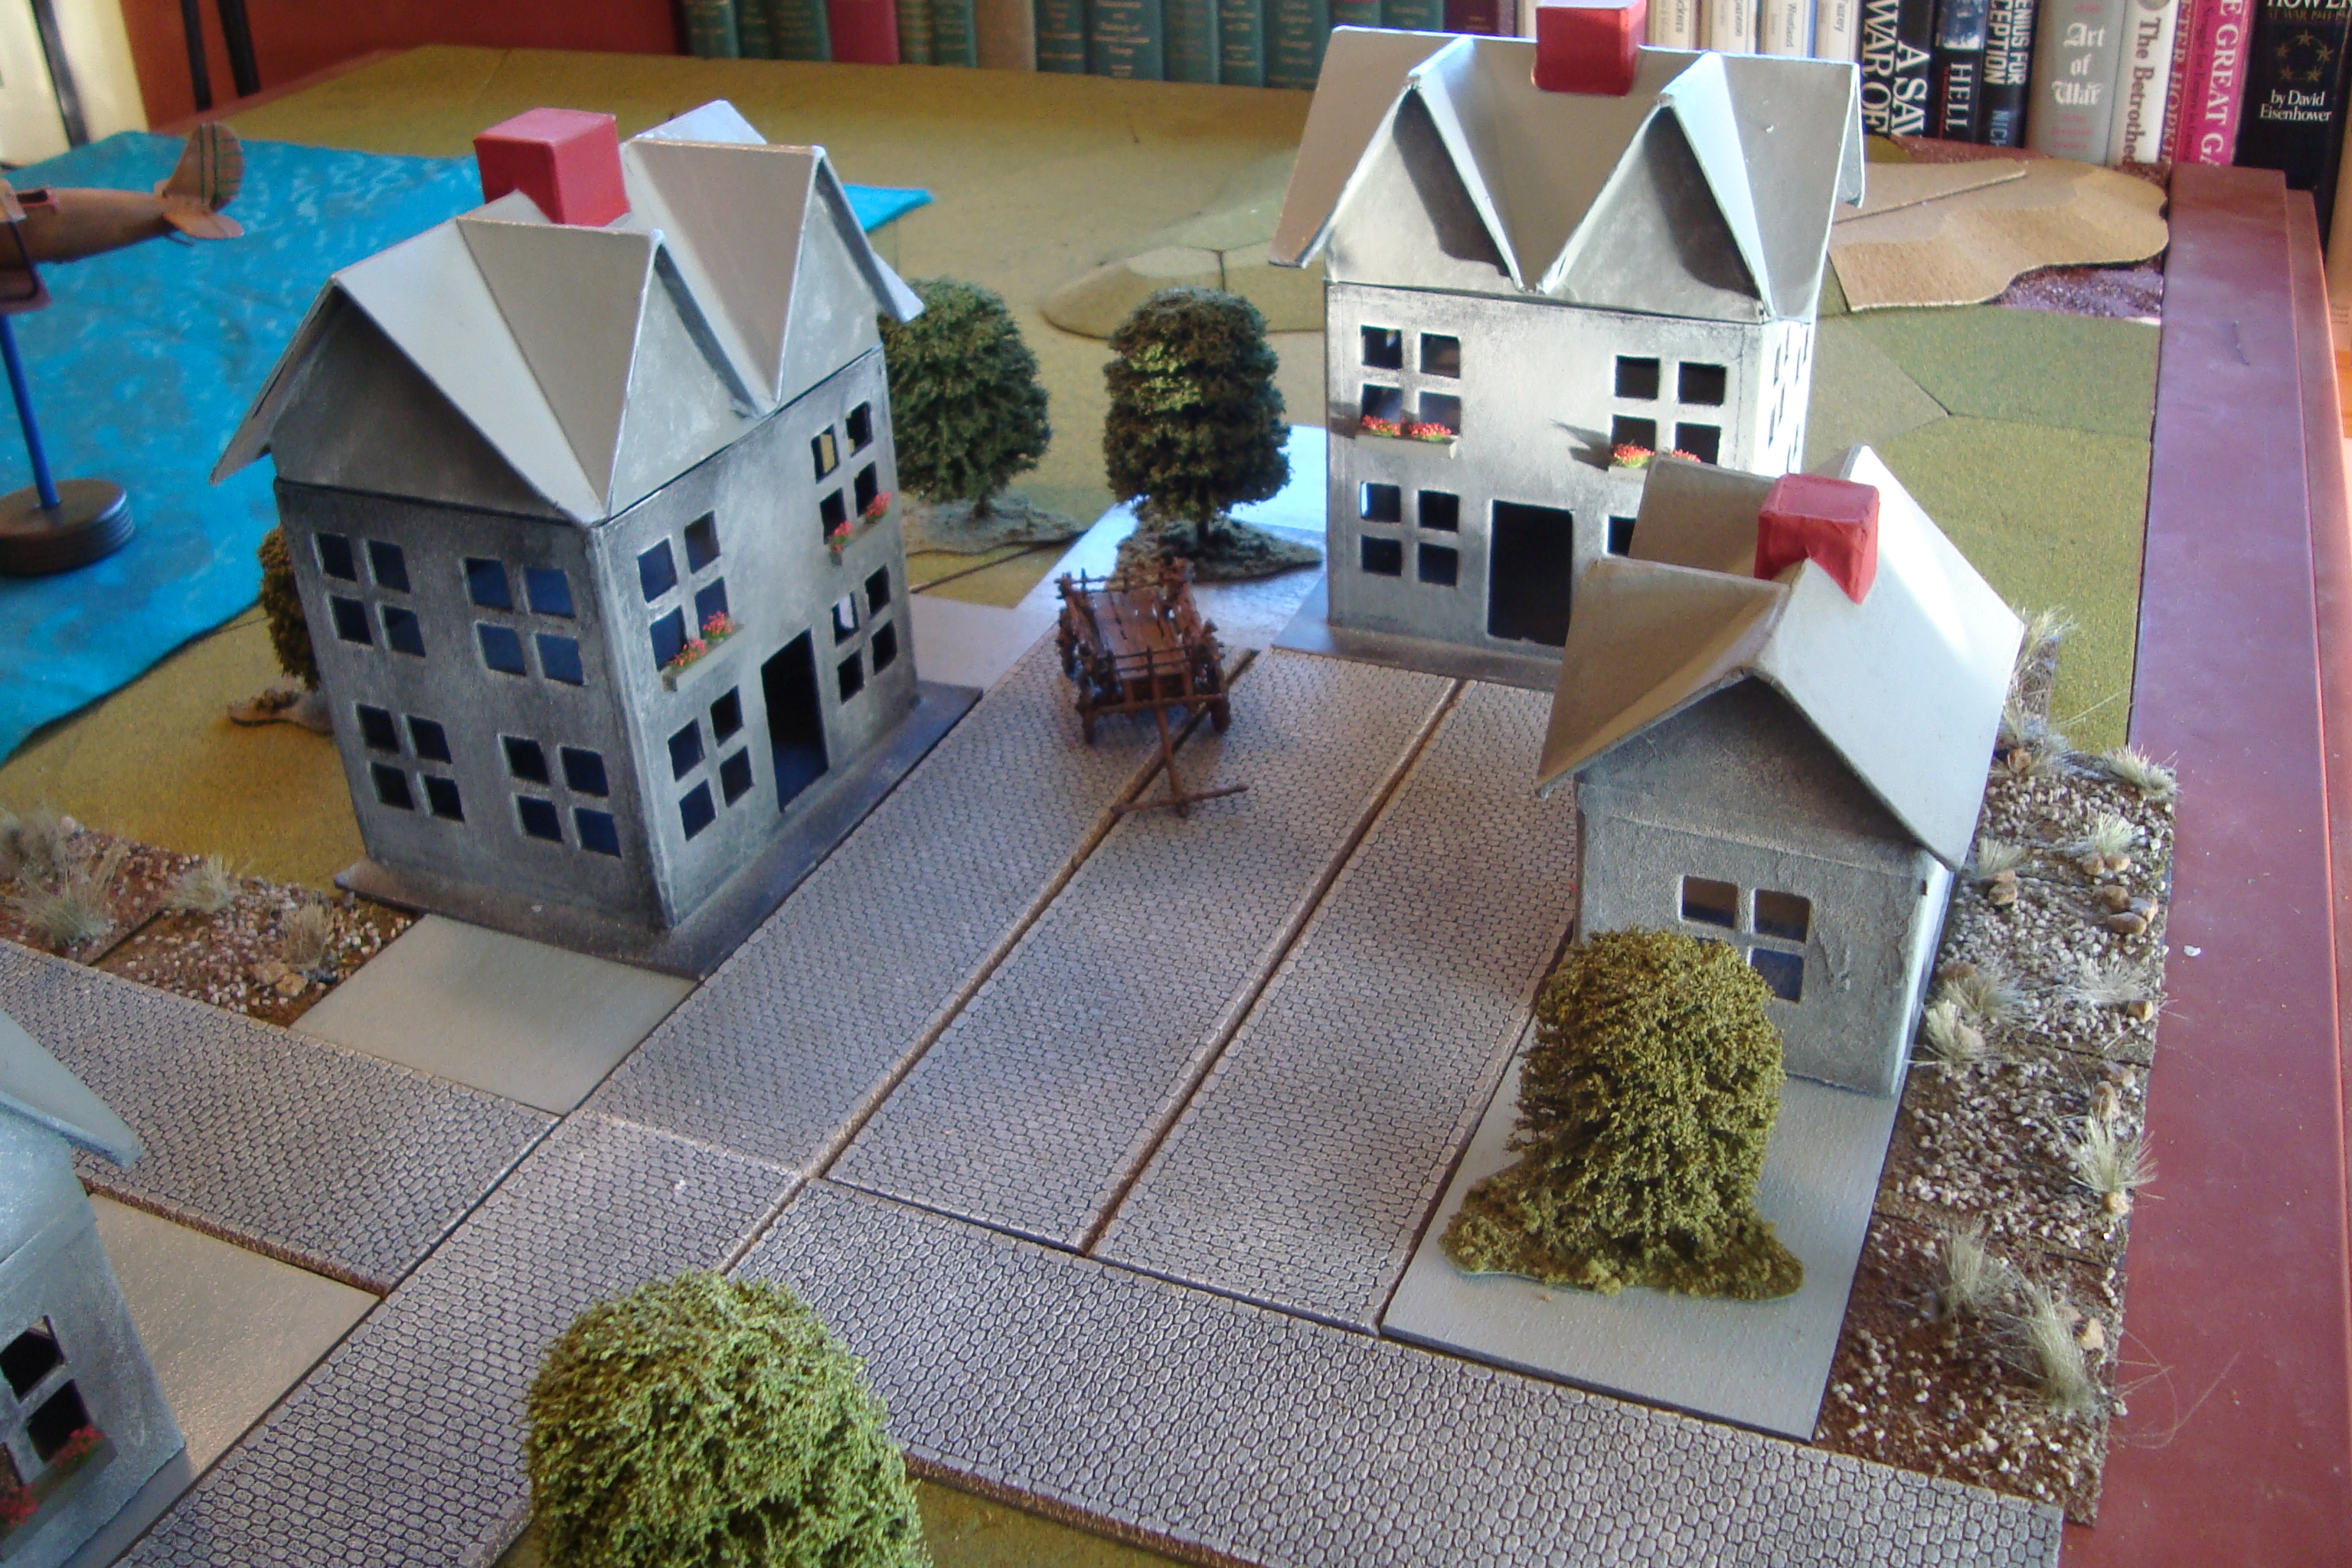
I’m using houses from Hobby Lobby. These are cardboard and very close to scale for my larger Warhammer Empire figures. More on them in a followup post. I kept the four houses a neutral gray, with only red chimneys and add-on flower basins for color.
I’ll use a few figures and push through a quick couple of turns this PM.
Here are Tim’s observations. Lots of great insights.
A few thoughts about the game, in no particular order.
I wish I’d found that chart with the nationalities information during the game and not afterwards…
We had made a few mistakes including: the imperials can’t recruit in Bavaria and the Danes go home if Christian is killed (which he was during his first battle).
There was a different chart that went over the foraging rules– I know I forgot that units removed due to foraging losses are out of the game…oops.
Those LOC rules are pretty important. Without them, armies are free to go pretty much wherever they please. With them, protecting bases becomes much more important, especially for the protestants since their big advantage in the early game is that they can pay most of their units.
You remarked more than once that it is hard to get a good handle for what strategy each side should use in the game. I think both sides should concentrate on grabbing electorates, which pay off big in victory points.
I think in the early game the protestants are just trying to stay alive, although I had pretty good luck in grabbing saxony. I think the Imperials should move hard into Bohemia. When you tried that in the last game, I wasn’t able to stop you.
I had mixed luck in getting armies to the Netherlands. Most of the ways of getting their involve moving through neutral territory, with the loss of victory points or through the lower palatinate (aka the valley of death). As long as the spanish are on the map in force, its probably better to move through neutral territory. I guess it goes without saying that knowing whether a particular city is or isn’t in the Spanish zone is pretty important…minor details like that can have a major impact on game play.
As mentioned earlier, finally getting back to playing my dormant Renaissance Scenario, It’s a replay of one reported earlier, but with a few tweaks. Will dispense with impaired photos.
Used percentage dice to dictate the Polish infantry entry through the village. They entered much earlier than last game.
Shifted the Polish Hussars to the left flank to engage the Russian Sipahis, rather than battering themselves silly against the Streltsy infantry.
Finally, allowed the Streltsy to advance against the two Polish infantry units in the center. Suck them in so they cannot effect the work of the Hussars and Pancerni on the flanks.
Along with the percentage dice, I started using some of the other dice I purchased back in February.
Now using the “Yes, No, Maybe” dice for command decisions and reaction. For example “Should I Commit My Reserve”, or, for the latter, “Do I See The Poles Flanking My Position?.
From a solitaire standpoint, things get easier….it’s not you…..it’s the bloody general that’s doing these things.
Finally put down the rules and started to play last night. Heavy lifting. The download mentioned in the previous post was absolutely necessary. Do not start playing this game without it. Why?
When I went through my teacher training early in the millenium the rage was about learning styles. There were seven of them. Each learning style was to be used (if possible) in the lesson plan because each student has different ways of accessing the material presented in the lesson.
Well, my learning style(s) certainly did not mesh with the RAW for Enemy Coast Ahead. I’ve been cutting back on the booze, so I think I have my wits about me, but discerning game flow was damn near impossible.
It took a few days to figure out that the BACK of the scenario contained important set up information, especially as to where on the map to place critical counters.
The game-aid cards (with one each for the planning, flight and attack portions of the game), have all kinds of information not accessible (at least to me) in the rules.
As a result, the first play through involved juggling the rules, scenario, attack player aid card, and the download on my IPad. Again, get the damn download!!!
I think I have it now, and it is fun once you struggle through it.
What a difference from the Thunderbolt/Apache rules. With these rules, you can start reading and play right up to the primary attack phase. There things get a little stickier, but the introduction is easy and painless.
Had a nice talk with Tim last night about our recent Wavell’s War game and, especially, his posted comments.
I had some real second thoughts about the validity of using scrapped unit replacement points to build new headquarters. Big sigh of relief when I checked the rules this morning and confirmed it is OK.
We also talked about the low level of victory point (VIP) totals in the game, especially since they are calculated, for the most part, in January and July, only. This makes the status of Massua absolutely critical. This city is worth three VIPs per initial phase on or after April I/II ’41 for the side that controls the city.
With this in mind, Tim’s analyses of his attack supply and railroad construction challenges are very pertinent to successful Allied play.
I think we agreed to try it again. The when is TBD.