Back from Spring Training. Tim forwarded his observations while I was in Arizona. Here they are:
I like your idea of using your RPs from scrapping units to buy back HQs. Clever!
Having no SMPs in the Sudan really hurts the British. Once I moved forward from my railheads, I couldn’t use my attack supply. My logistics problems were of distributing attack supply, rather than the Italian problem of not having any. It didn’t help that I didn’t know that I only had to build two hexes of rail line. It wasn’t until I read the appendix on transportation lines that I found out that the rest of that rail road connecting the Sudan and Eritrea had been built. Being able to rail supply into Eritrea would have really helped the British.
I was pleased with my use of the motorized SDF battalions. Those guys saved my butt more than once!
I didn’t read the OB as closely as I normally do, which hurt me. I missed the Blen 1 unit in Aden and could have built a light armored battalion several turns sooner than I actually did. I’m embarrassed as I normally carefully read the OBs, which always pays off.
I think I dispersed my forces too much. In retrospect I probably should have used both divisions together in the Sudan and moved some non divisional units down the coast (in my defense, I didn’t realize how bad those ravine hexsides were– they really help the defense). The same applies in the south where I should have stacked some colonial units with the South Africans since I had lots of colonial RPs.
I wonder if I should have taken festung Berbera and then moved into the interior…
That exchange on the South Africans really hurt! That attack came to a halt until I could bring up another division from the coast, which cost me at least a month when I really couldn’t afford it. I had a couple of other exchanges and they all hurt, especially once I had to start withdrawing units.
I didn’t use my amphibious landing ability. I wonder if I should have tried taking some of the ports from the sea or landed next to Massawa…
The weather was a real headache. In most games its pretty predictable but in this one, it wasn’t.
There are a lot of Italian ants. I’m sure from the Italian point of view, it feels like you’re getting wiped out but from the British point of view, it felt like the ants were getting ready to overwhelm the anteaters. Once the Italians can concentrate their units it gets harder to destroy them.
This weekend’s game was an adventure; with unfamiliar rules and daunting operational constraints, not to mention the sheer size of the area of operations. This will be a quick overview. Hopefully Tim will post up. I’ll add some additional observations once I get back into town.
Tim was stalled in the always unpredictable Friday Portland traffic and didn’t arrive until after 1800. We decided to spend the evening familiarizing ourselves with the East Africa specific/pertinent rules (we also decided to forgo all the optional rules as this was our first time through the game) and watching the NCAA Men’s Basketball Tournament. That was an adventure, too.
While we have been playing Europa for way too long, this game was something different, particularly the use of attack supply, and for the Italians, the need to convert limited attack supply resources to general supply. Without general supply, the Italians, who do not have any general supply sources (only limited ones), had their attack strengths quartered, movement halved, defense halved, and lost all armored effects. Their limited aircraft assets were subject to similar constraints when out of supply. In fact, each mission was a crap shoot. With bad rolls on the success table, the mission never occurred, or worse, the aircraft went into the aborted box. And with only one ARP, that meant it was gone. To make things even better, any use of SMPs reduced the remaining pool of SMPs, with Italian capabilities becoming even more pathetic as the game wore on.
However, the Italians weren’t the only ones handicapped by logistics. Even though the British are in general supply, they have limited attack supply resources and have to move them across East Africa before they can come to grip with the Italians. While the British can assemble divisions, their use is limited as they are withdrawn from use relatively early in the game.
As you can see from the previous post, the area of operations is huge. The impact of size is compounded by the low movement rates of most units. There are very few mechanized units, and those that are in the OB have little combat power. Truck assets are worth their weight in gold. Not only can they increase an infantry’s units movements, but can also take advantage of exploitation movement. Once again, the combat power of a transportable unit (1 RE) is minimal, especially when halved if out of attack supply.
Rail capacity is low, and the amount of trackage limited. Tim will probably expand on this, but neither of us did a very good job of working with what we had.
To make even more fun, there are about 8 weather zones, and any and all of them can go from clear to grind-to-a-halt mud in a single turn.
Given all of these factors, events unfolded slowly.
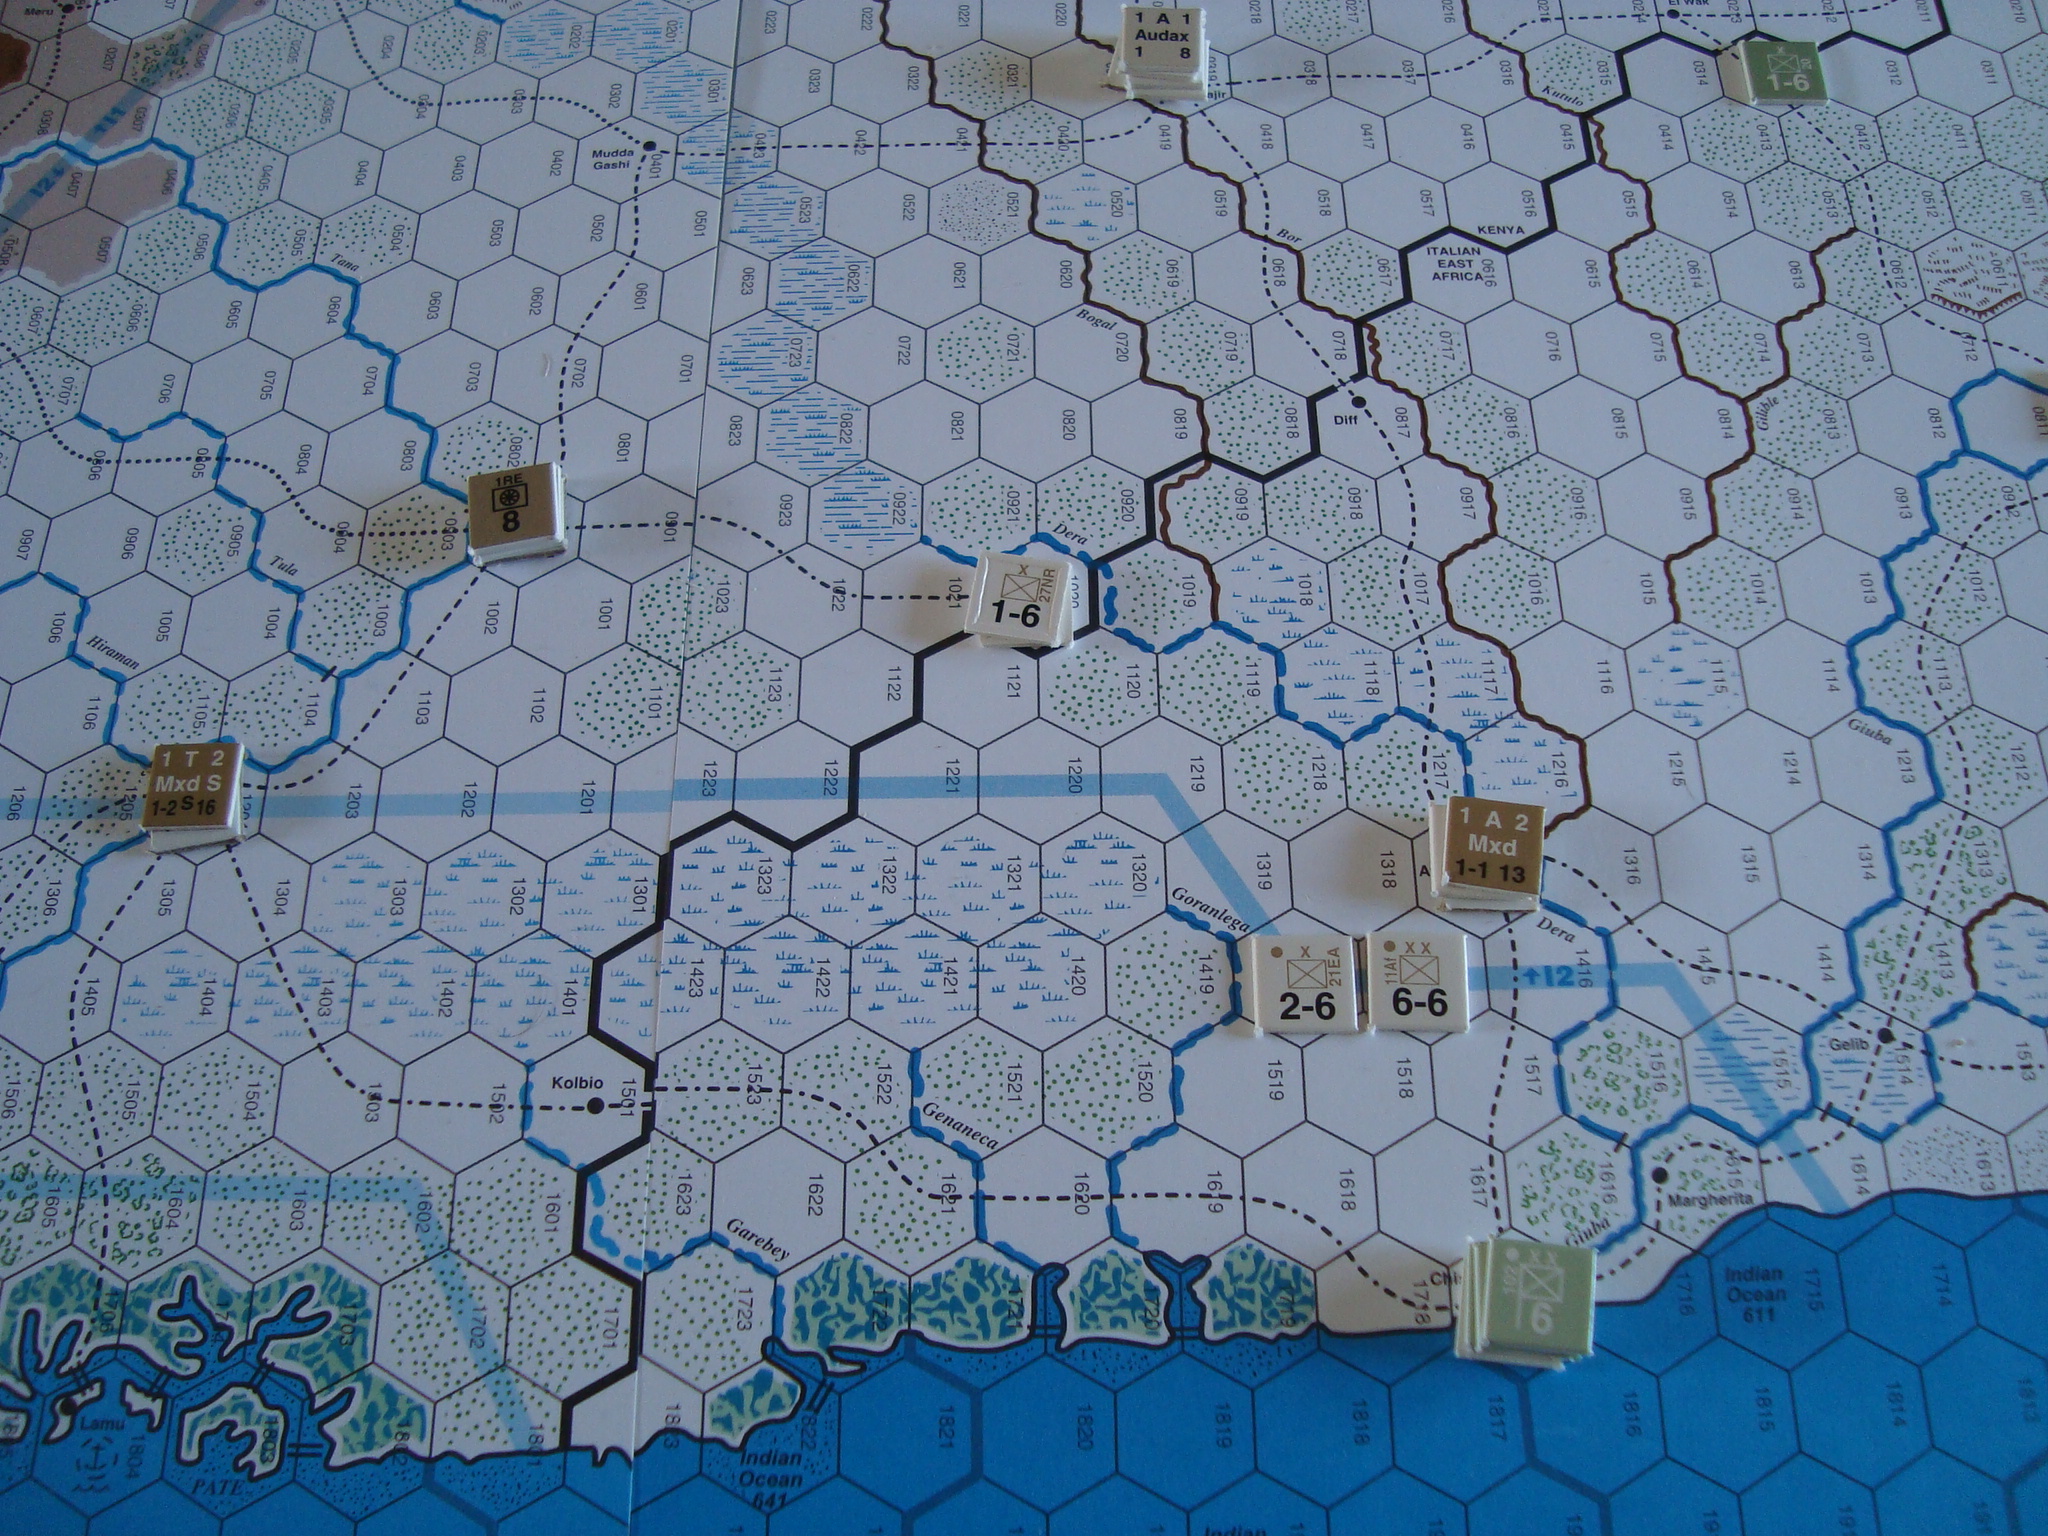
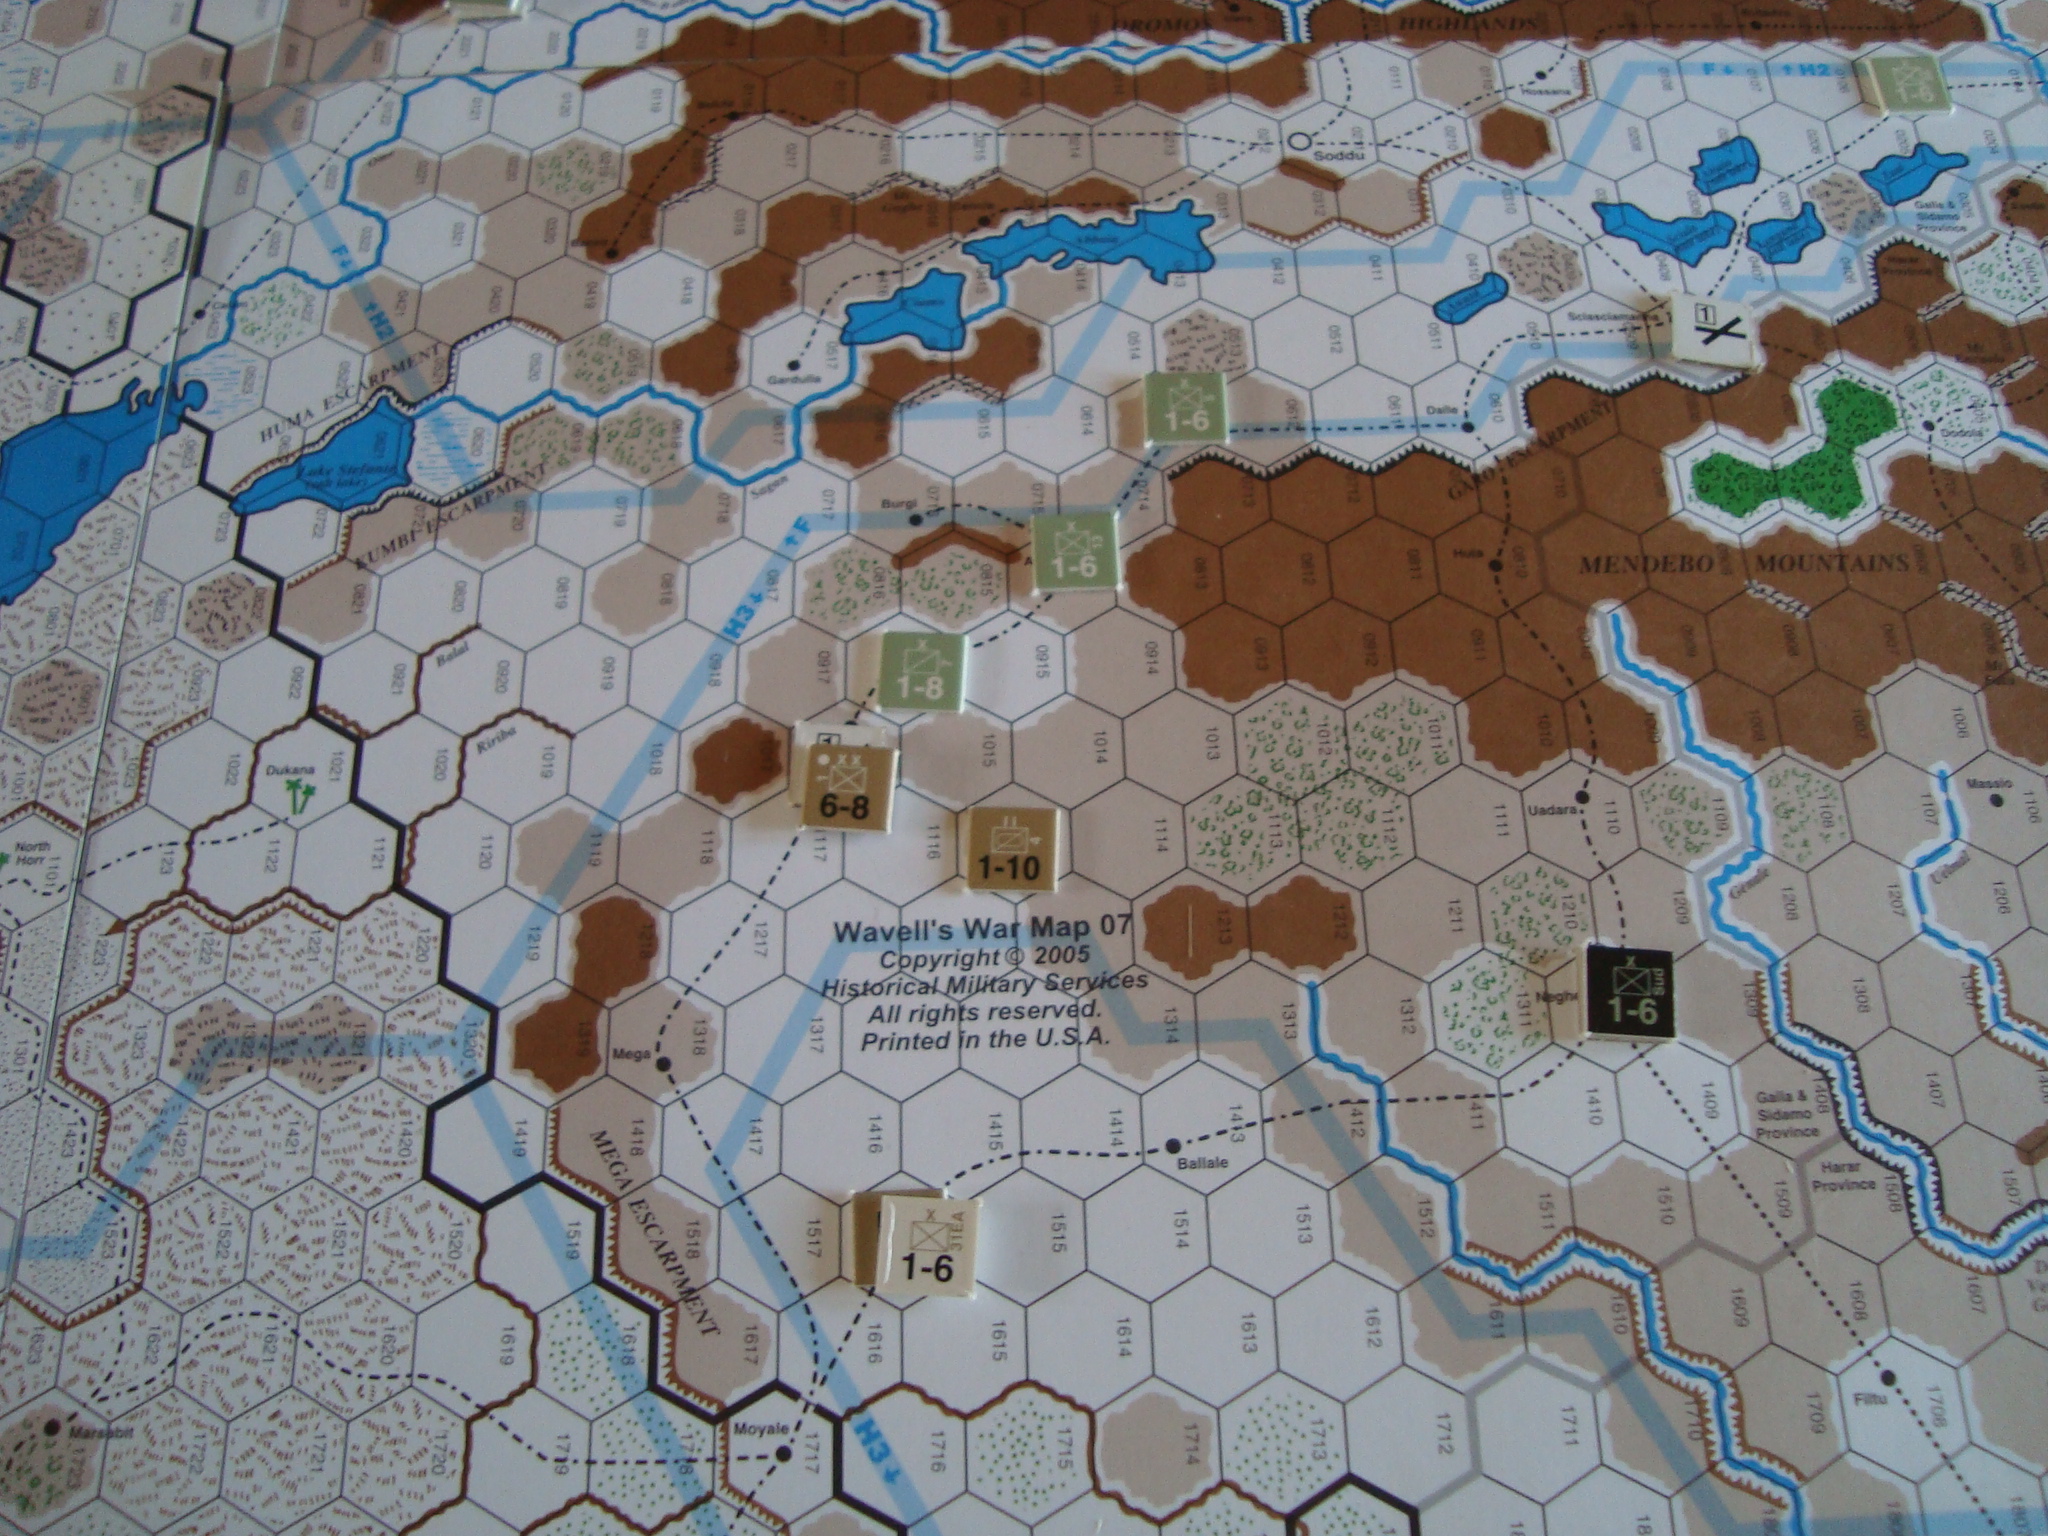
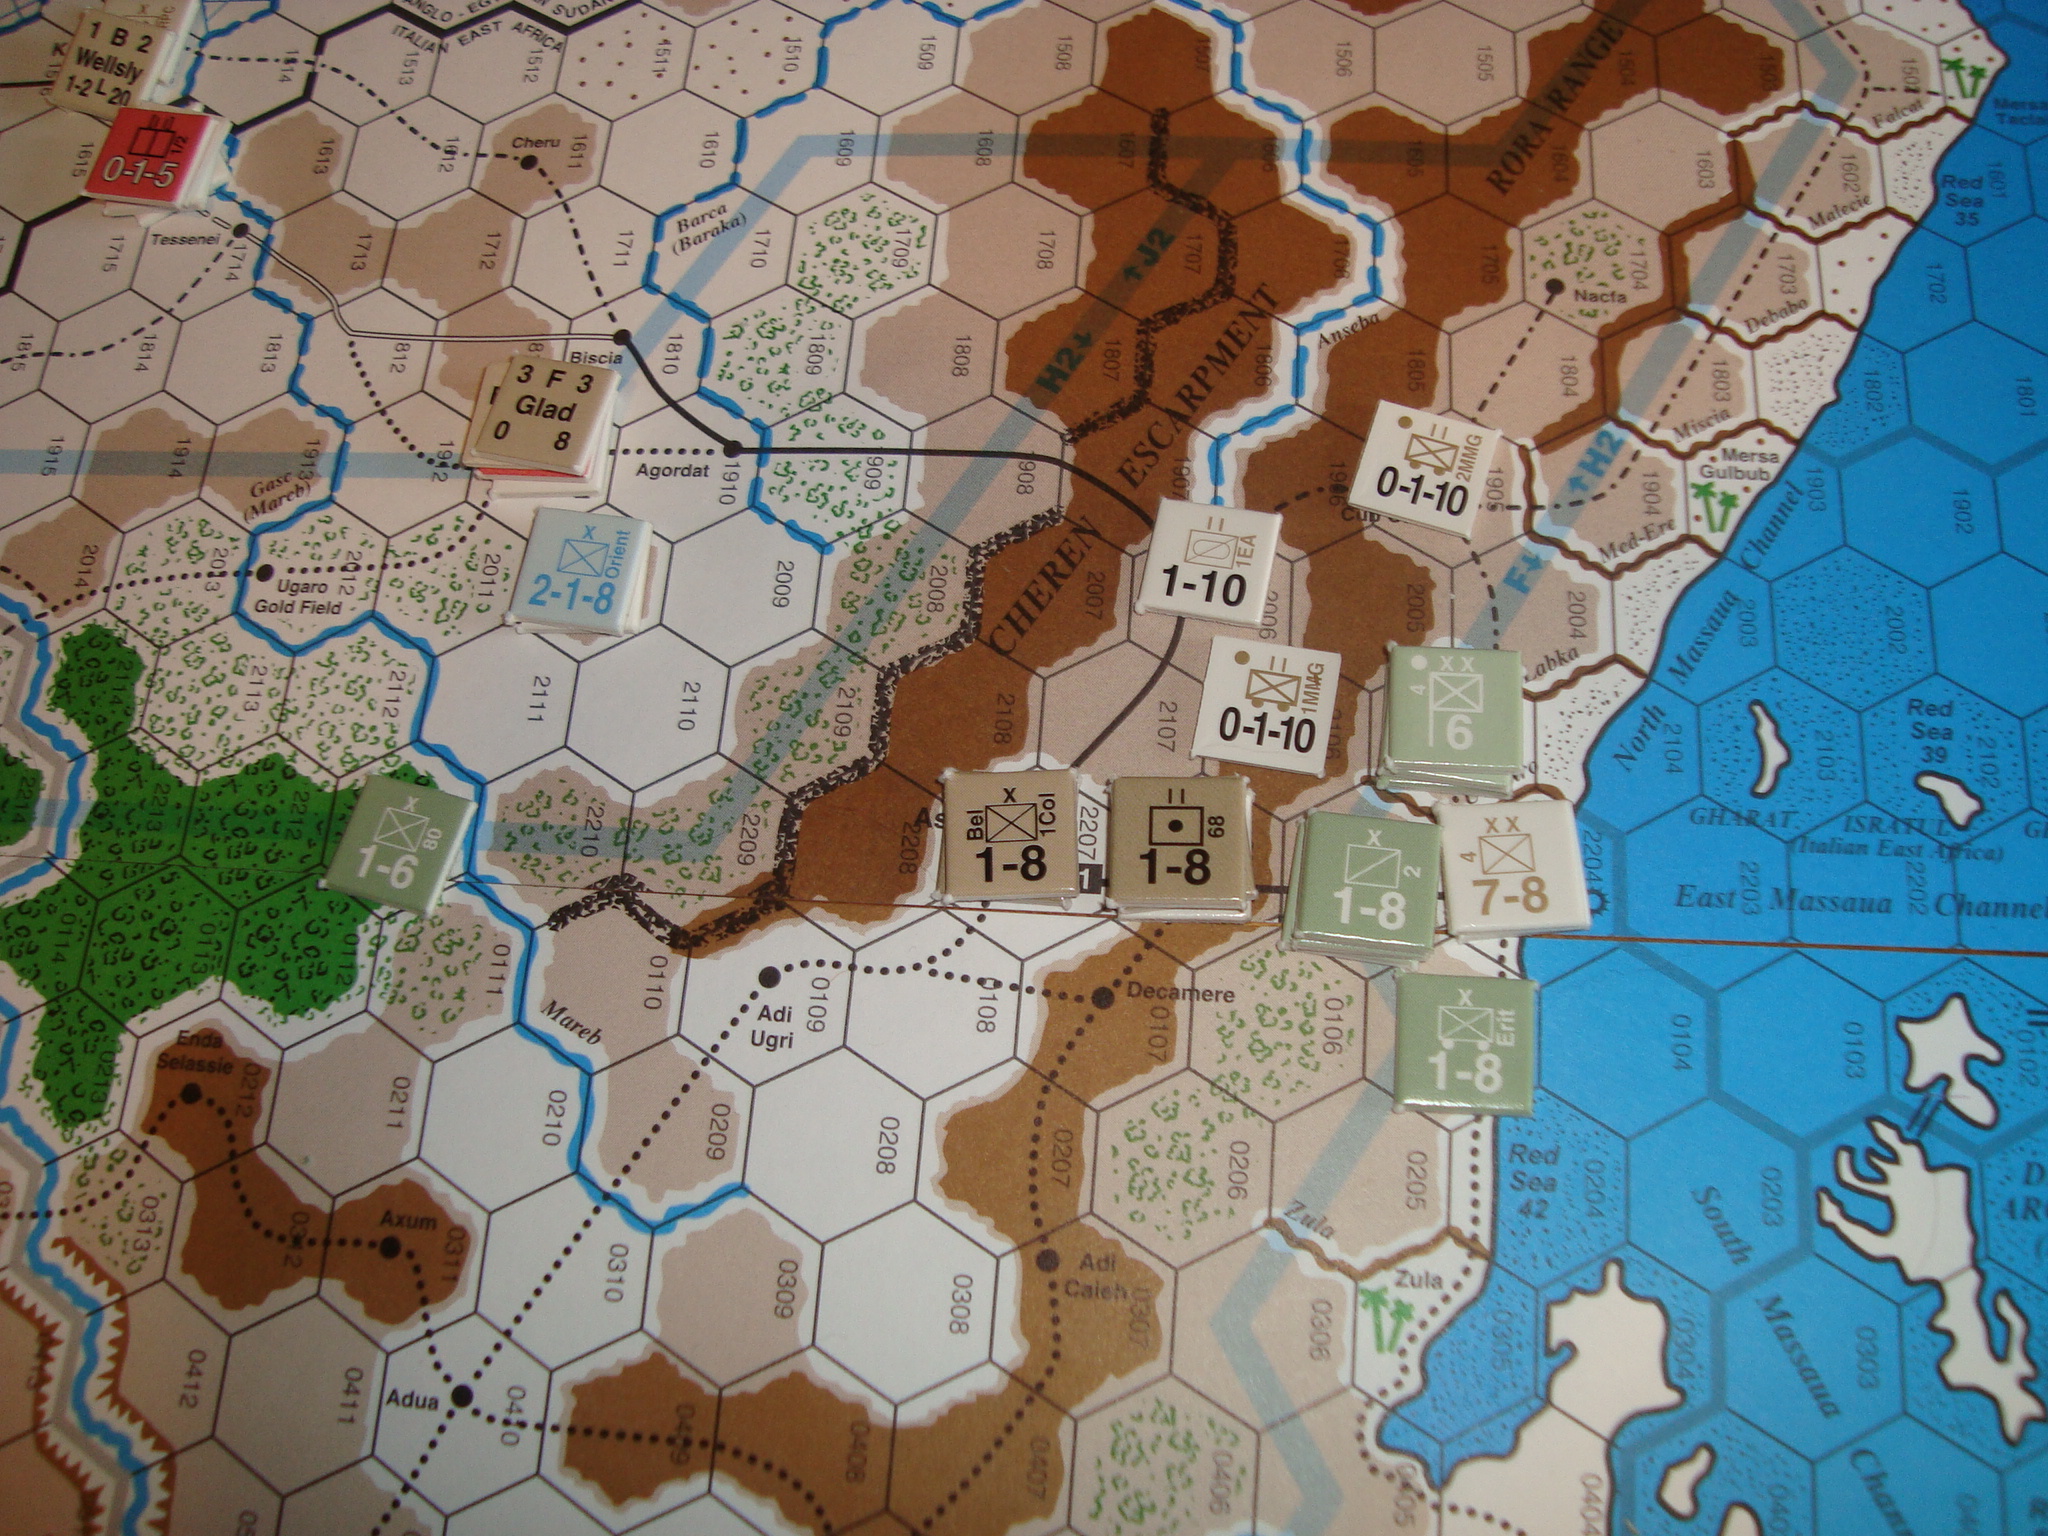
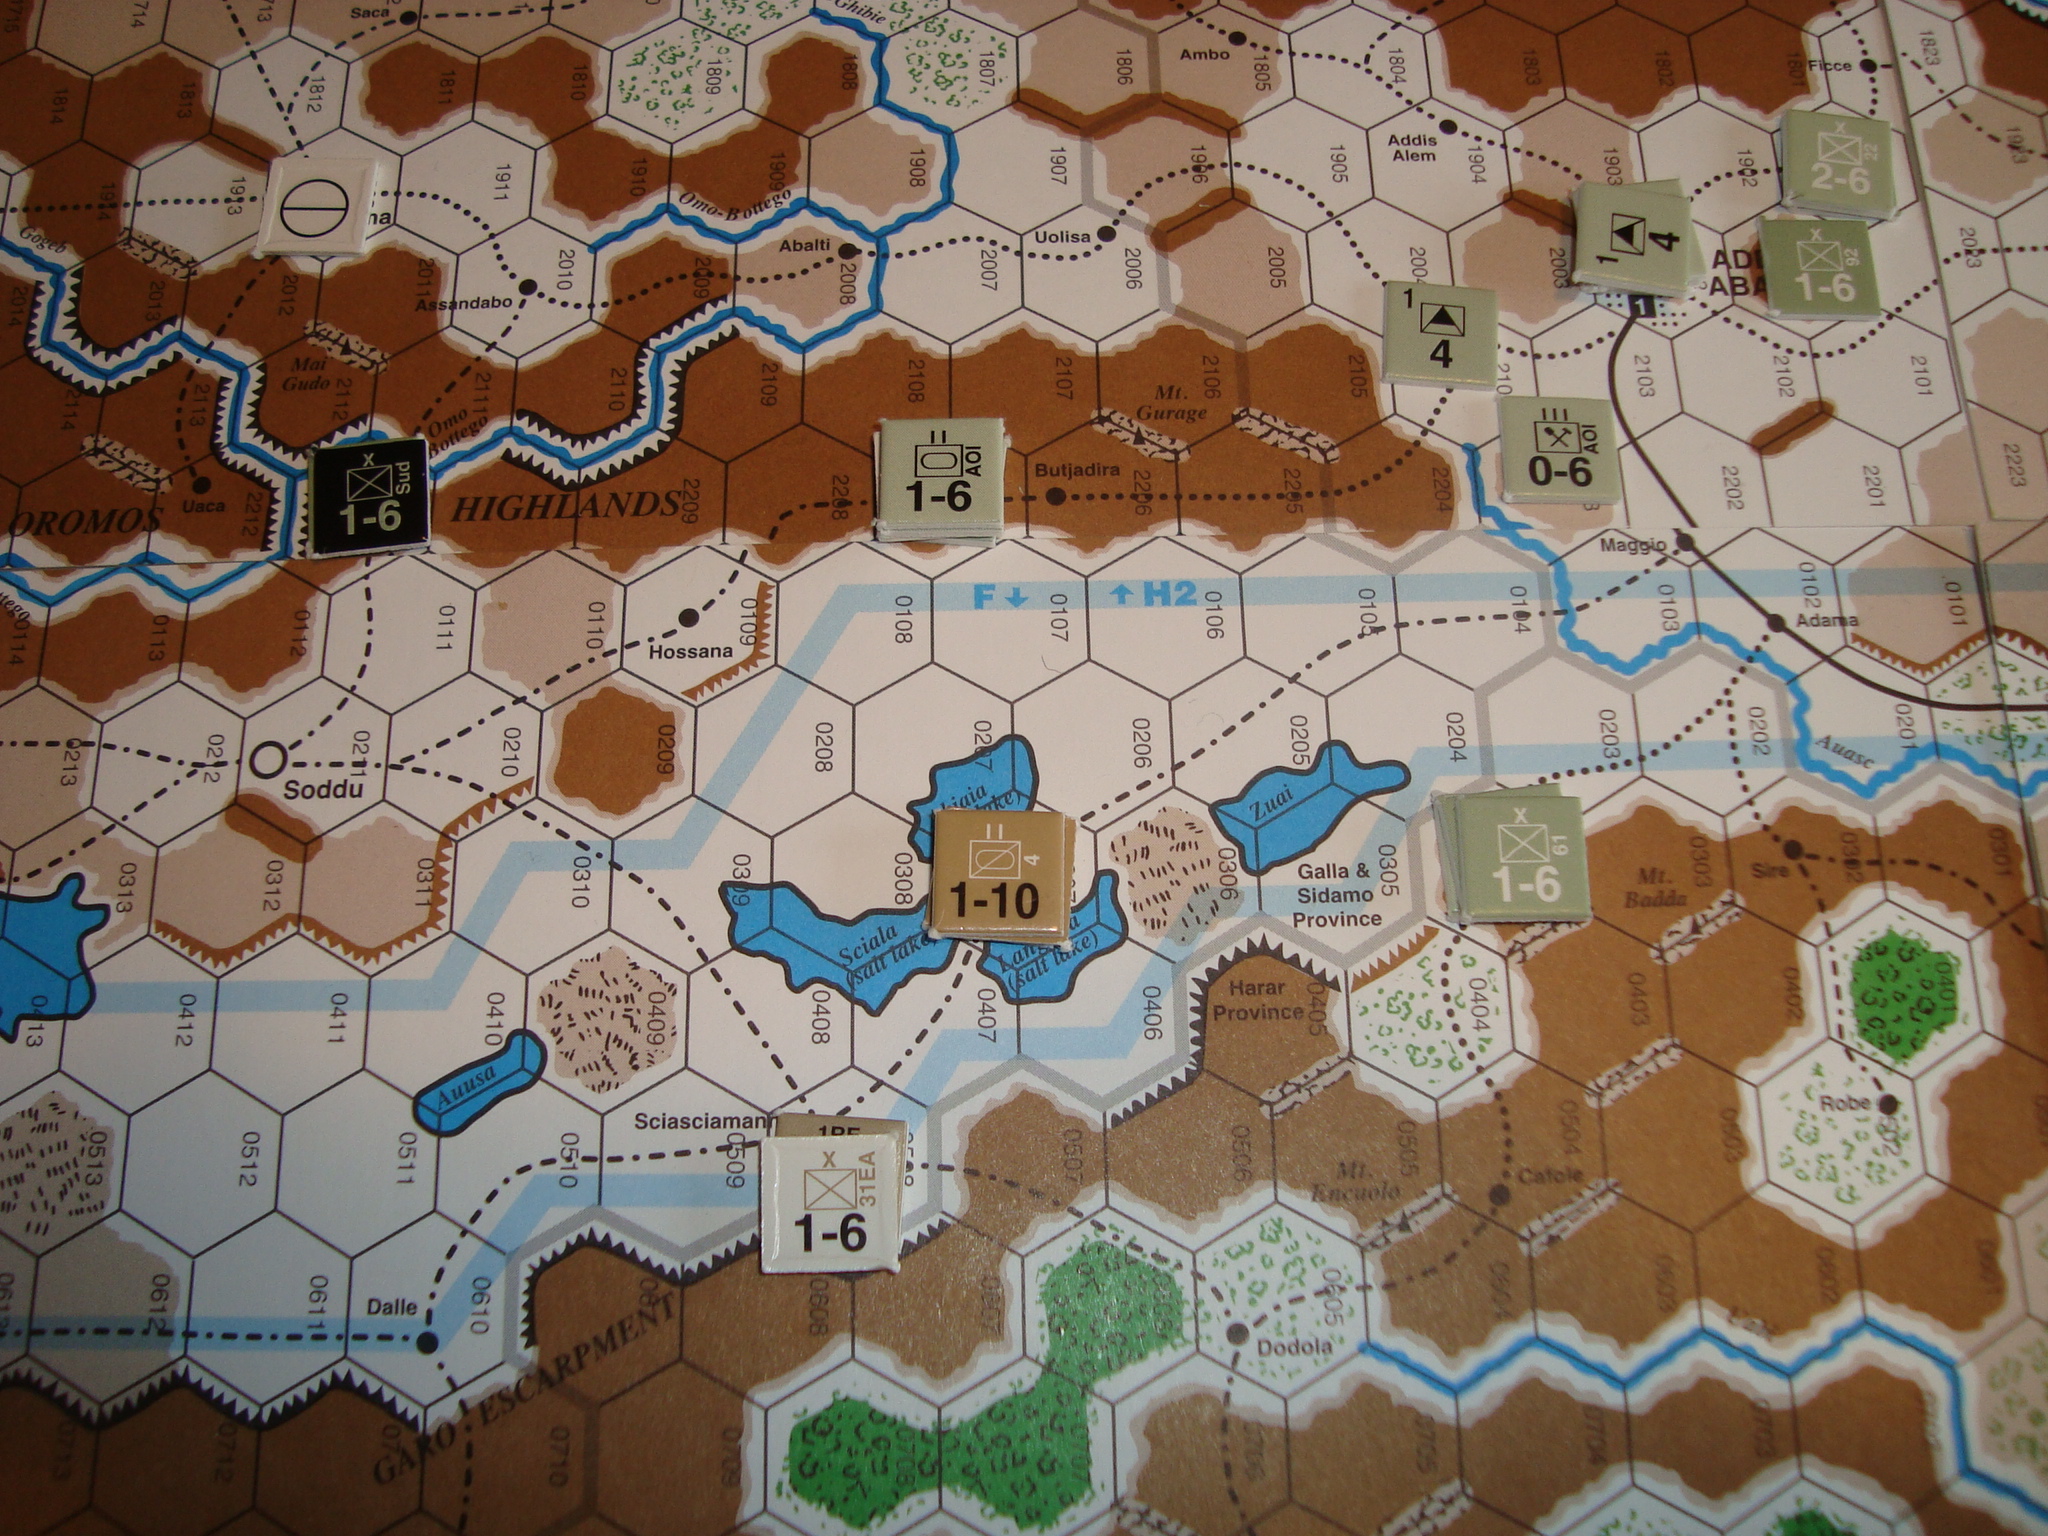
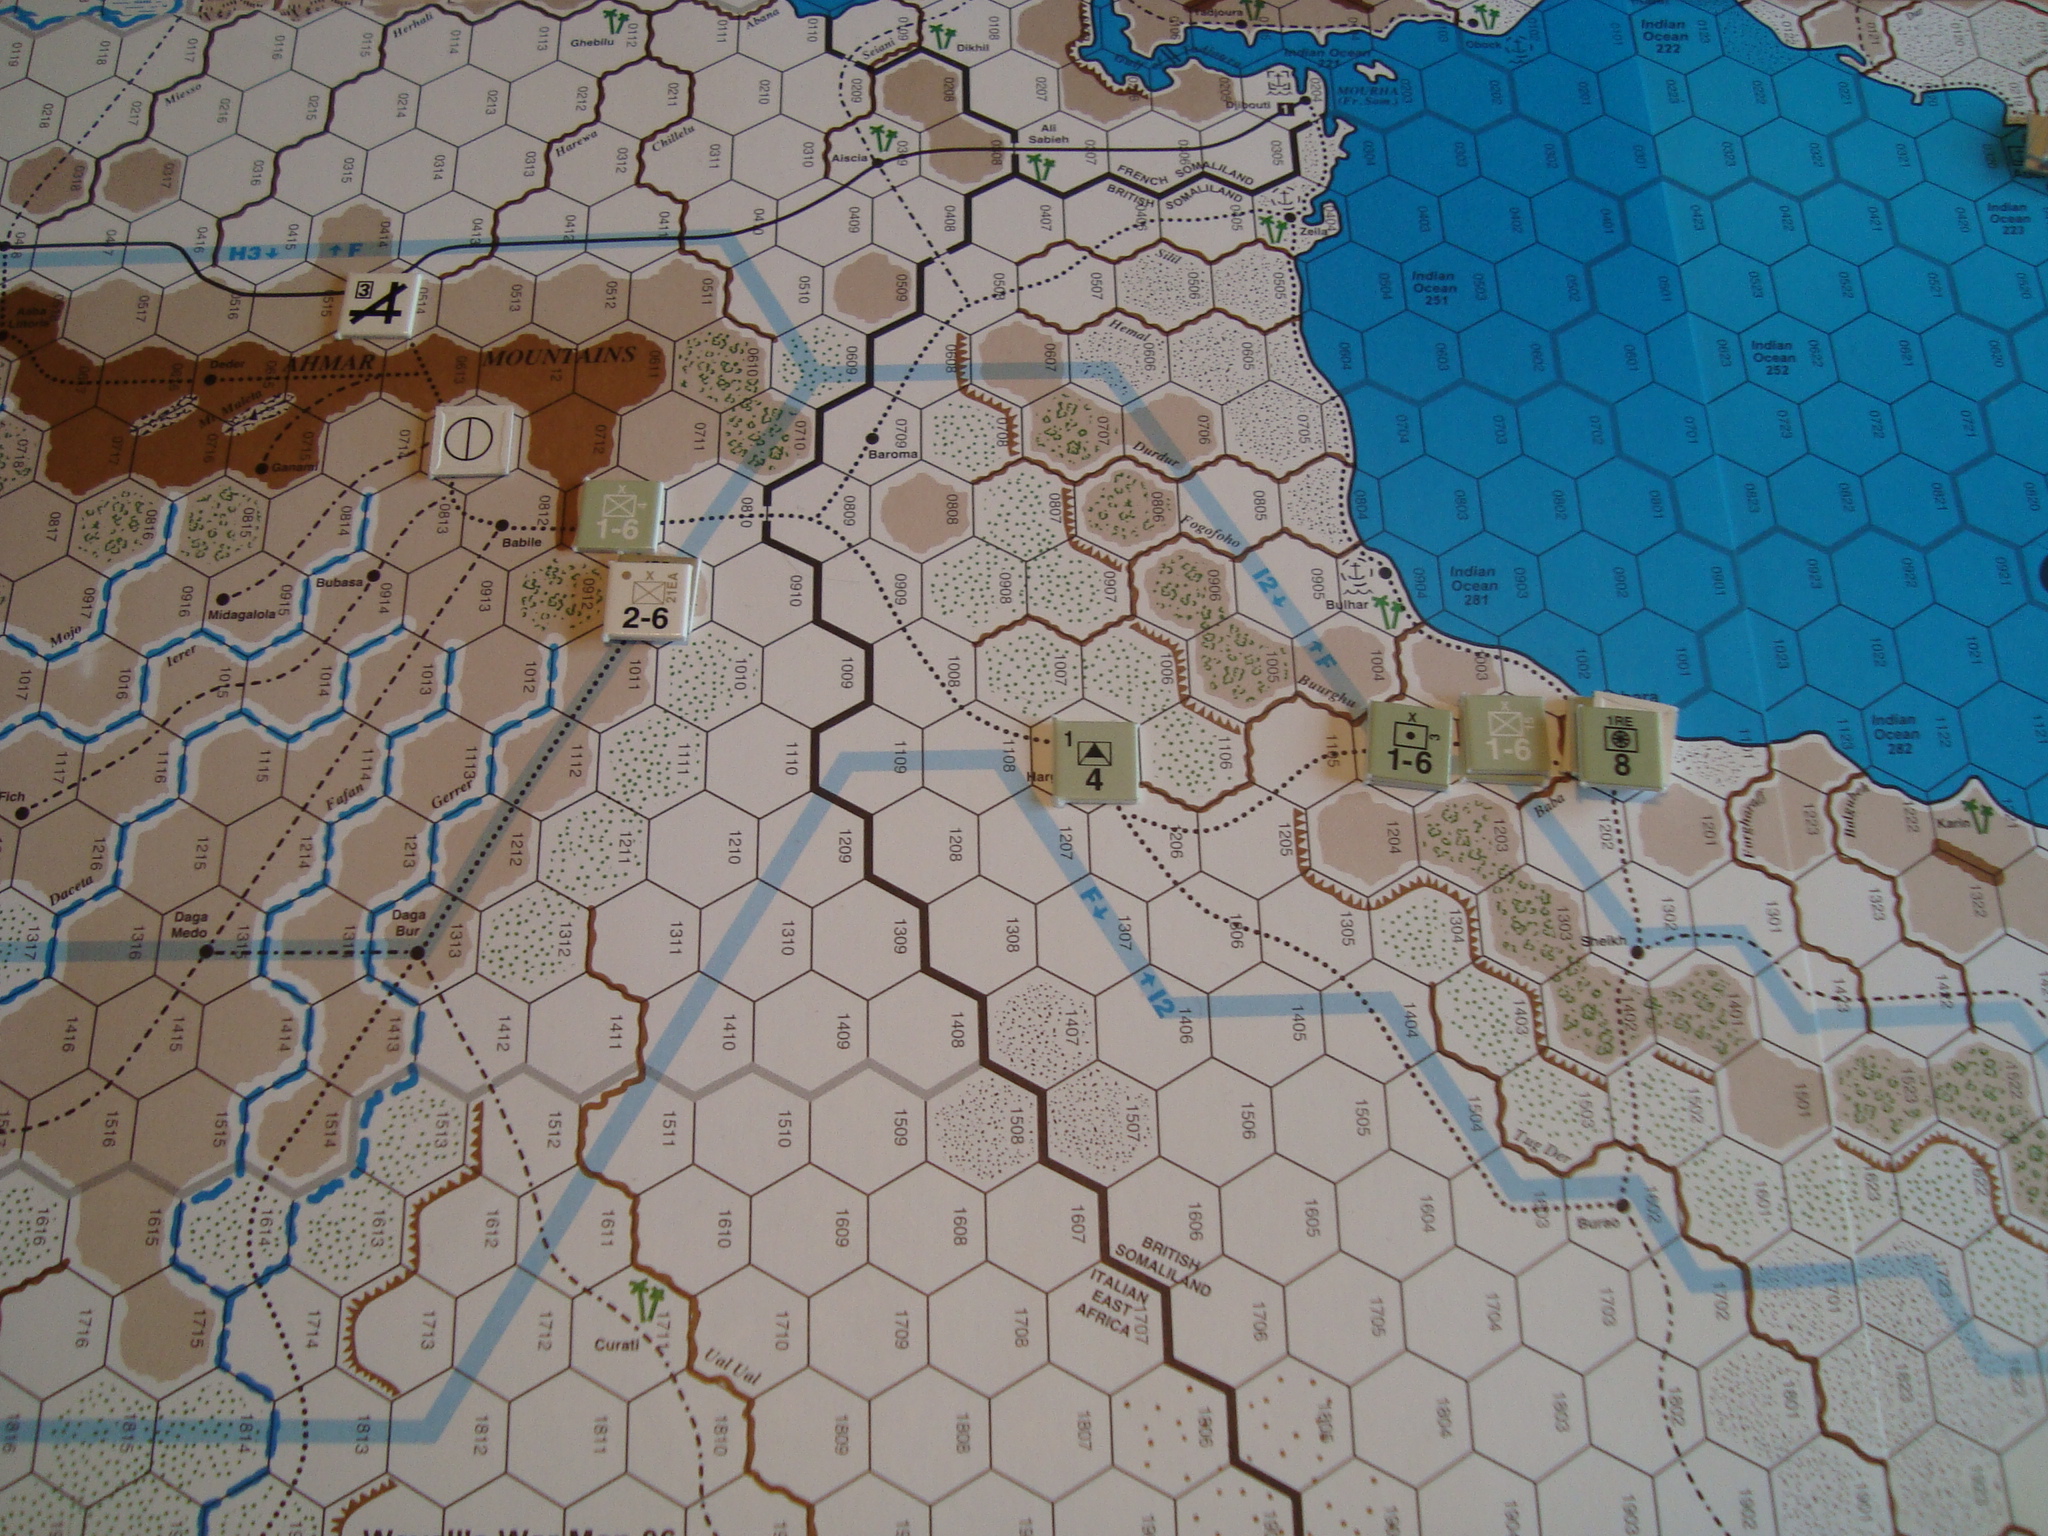
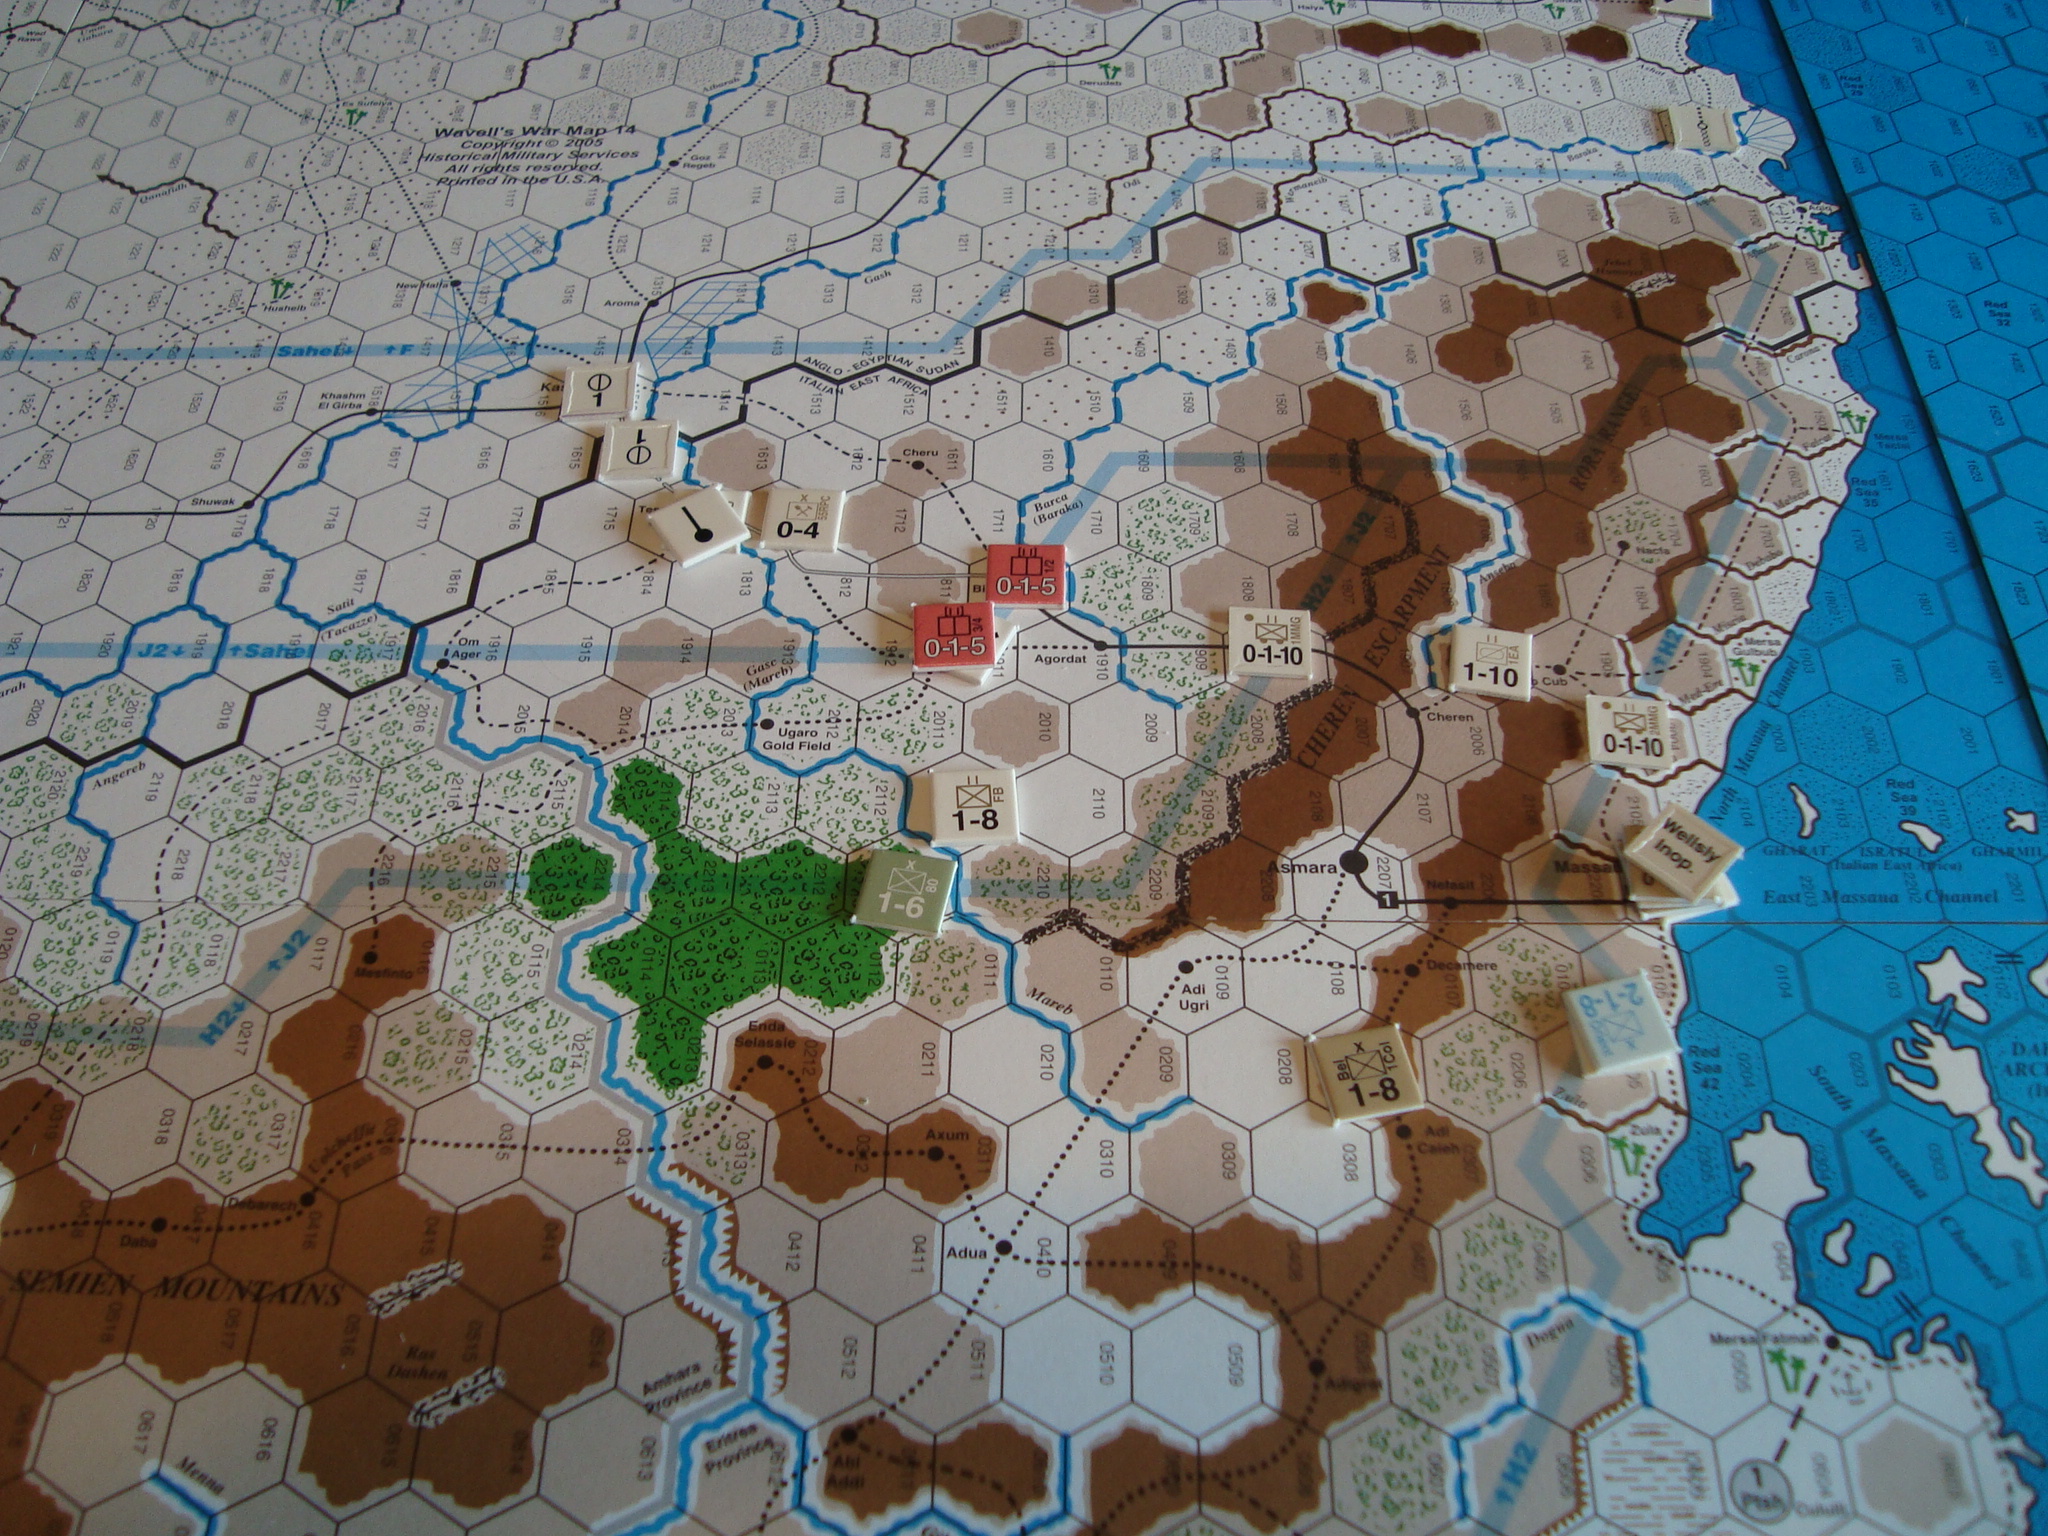
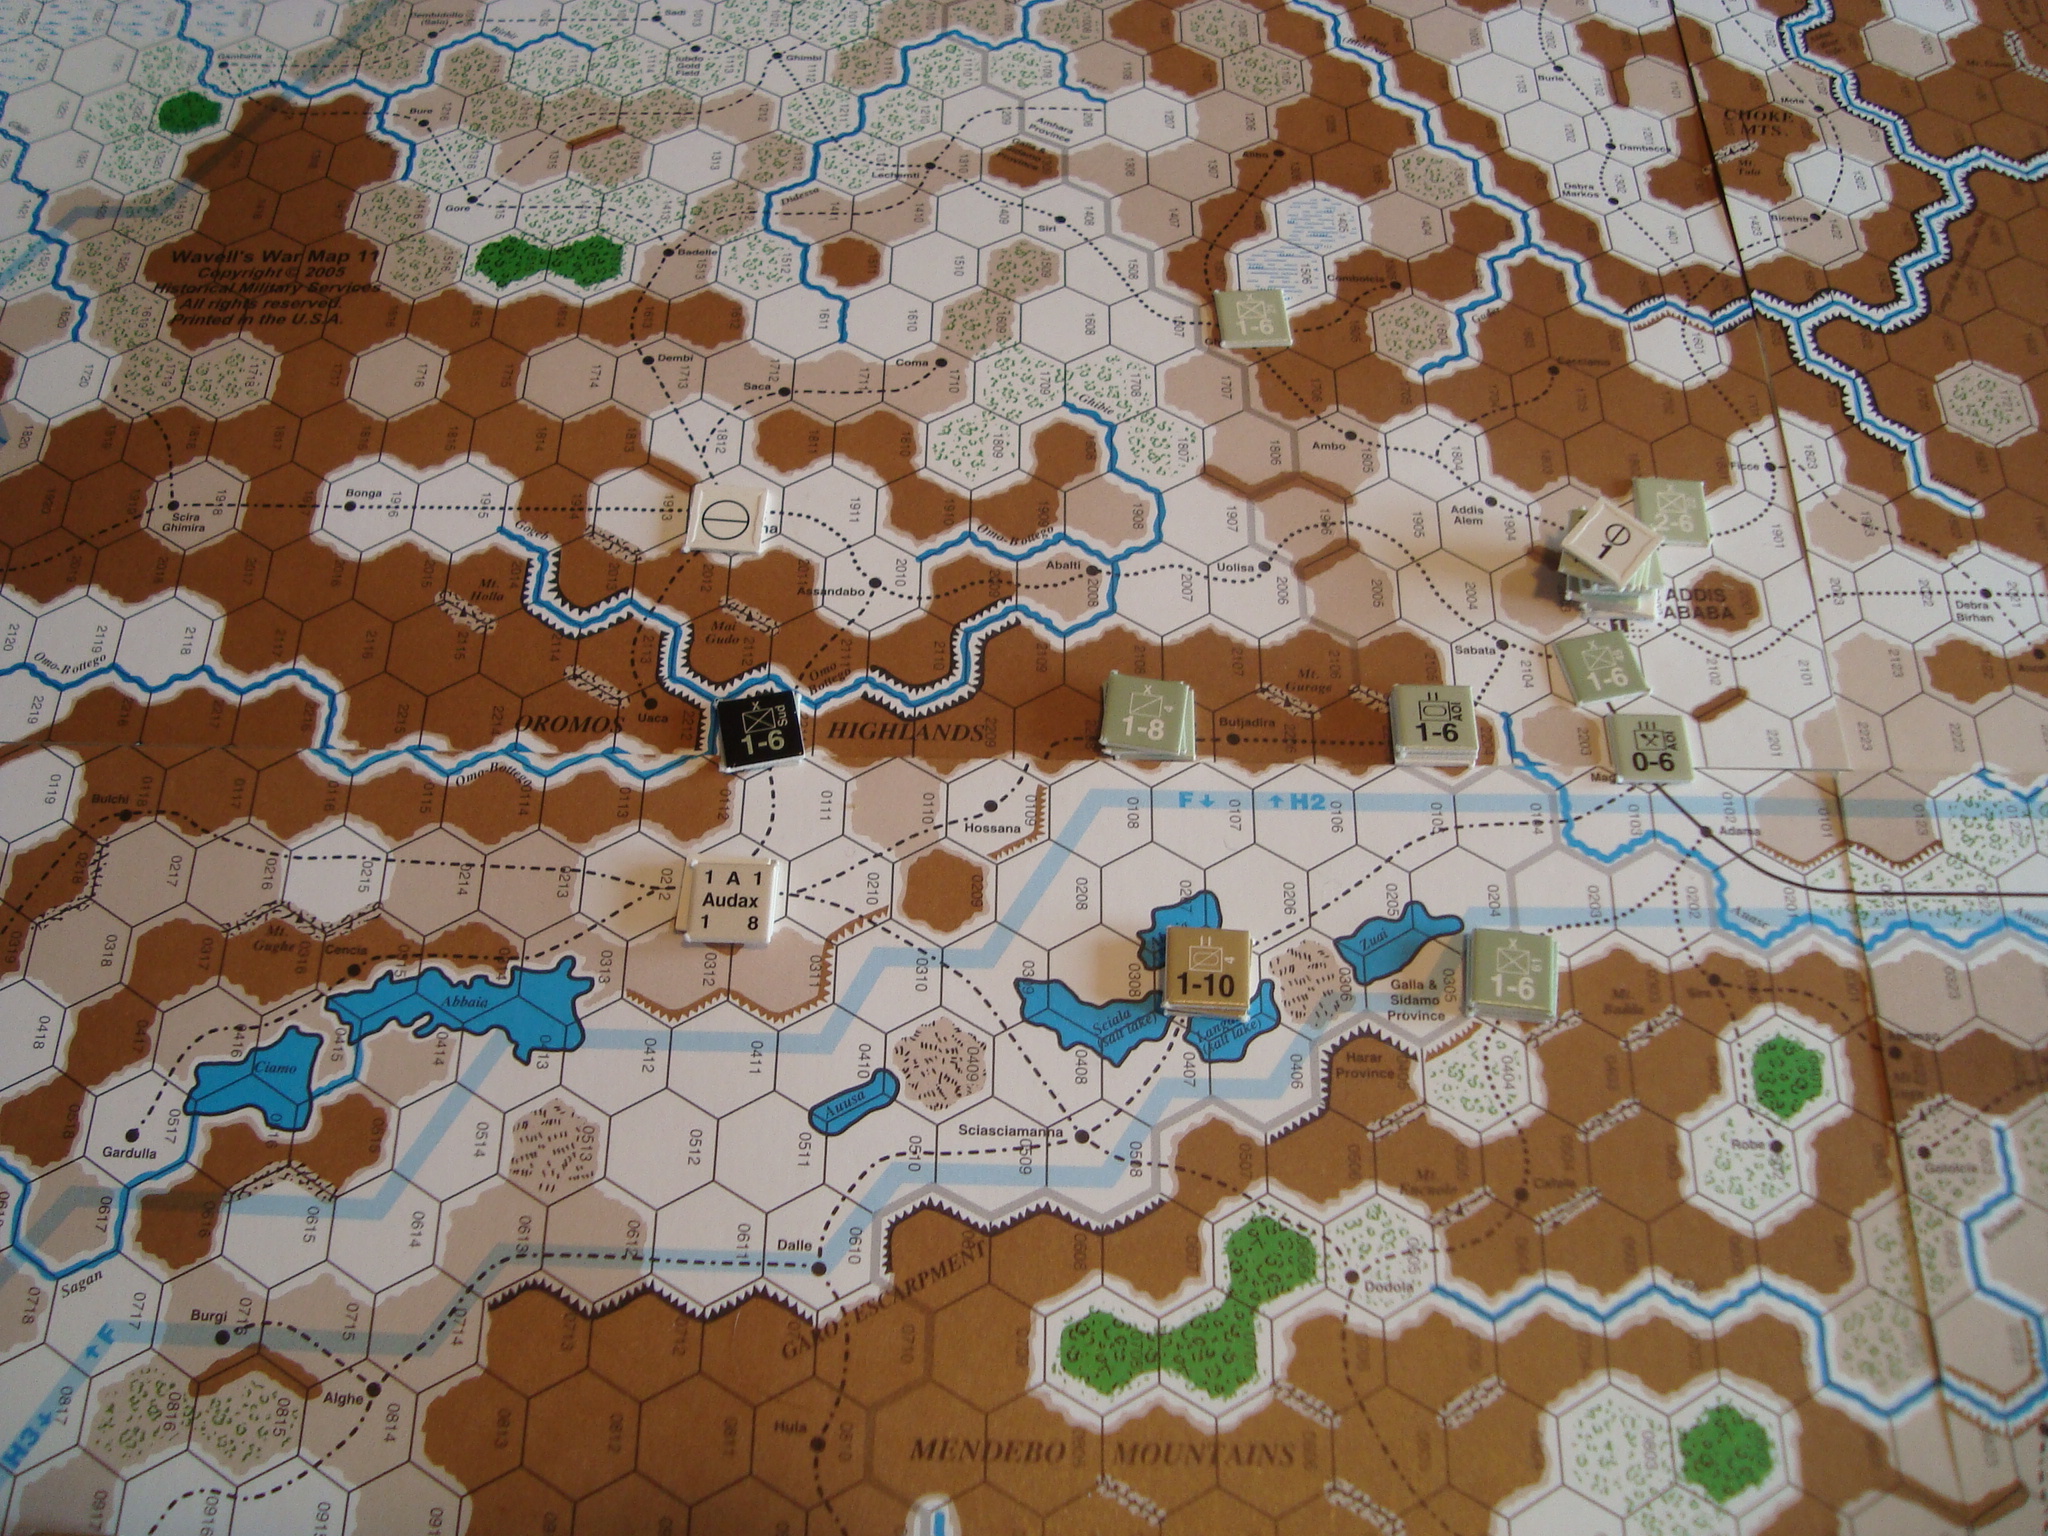
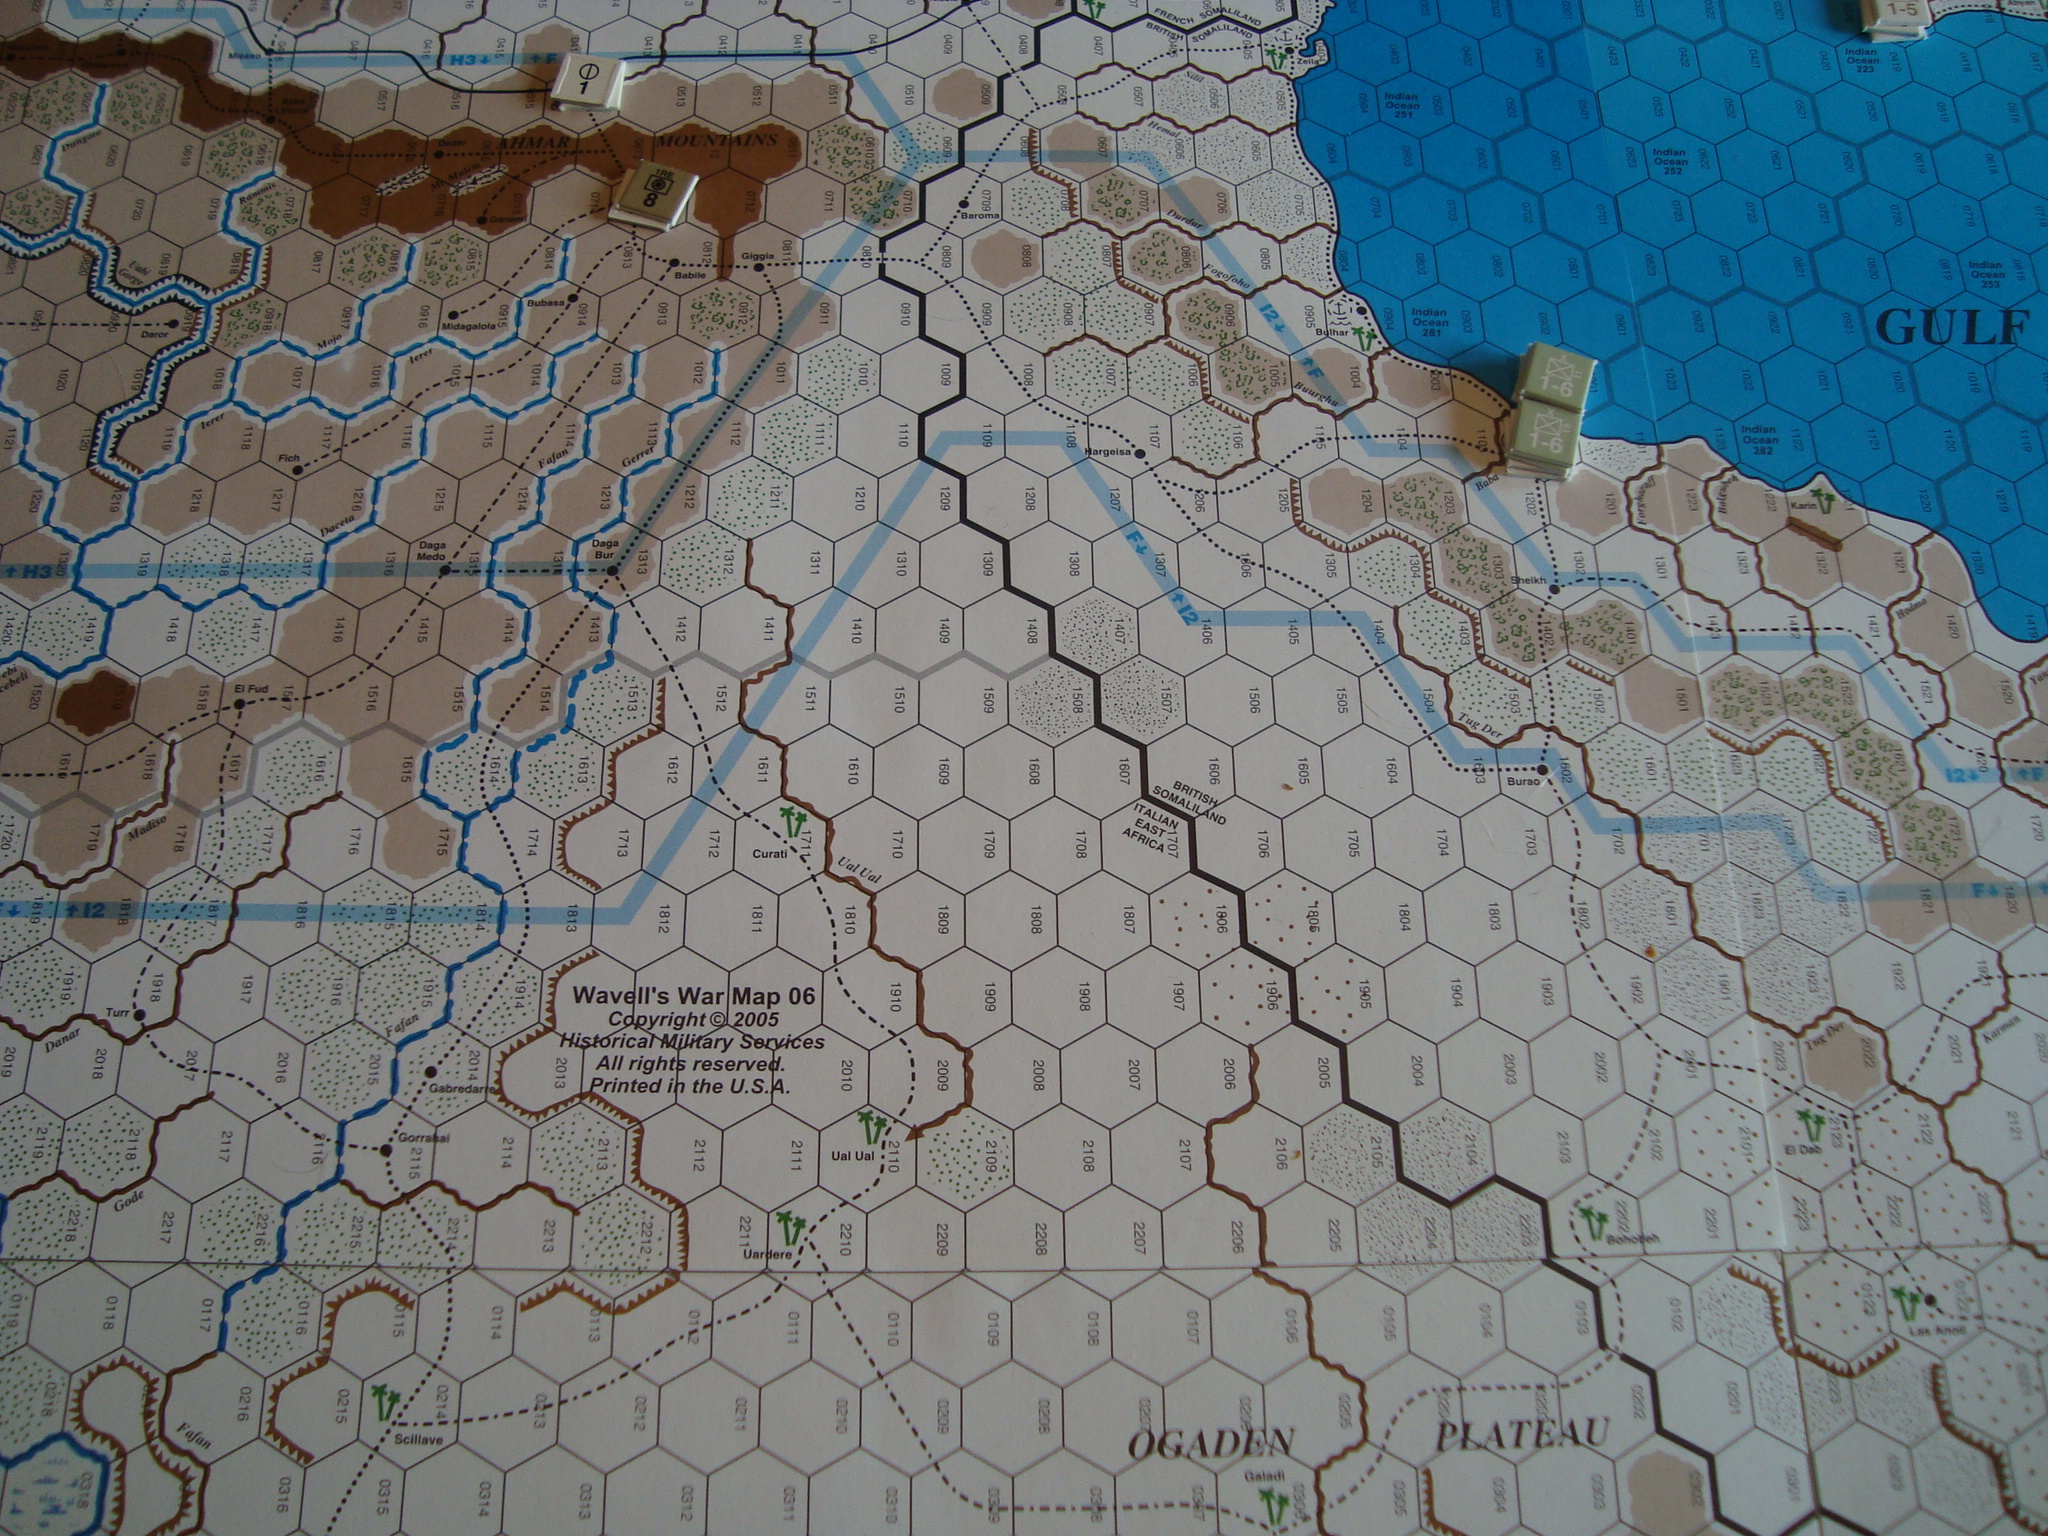
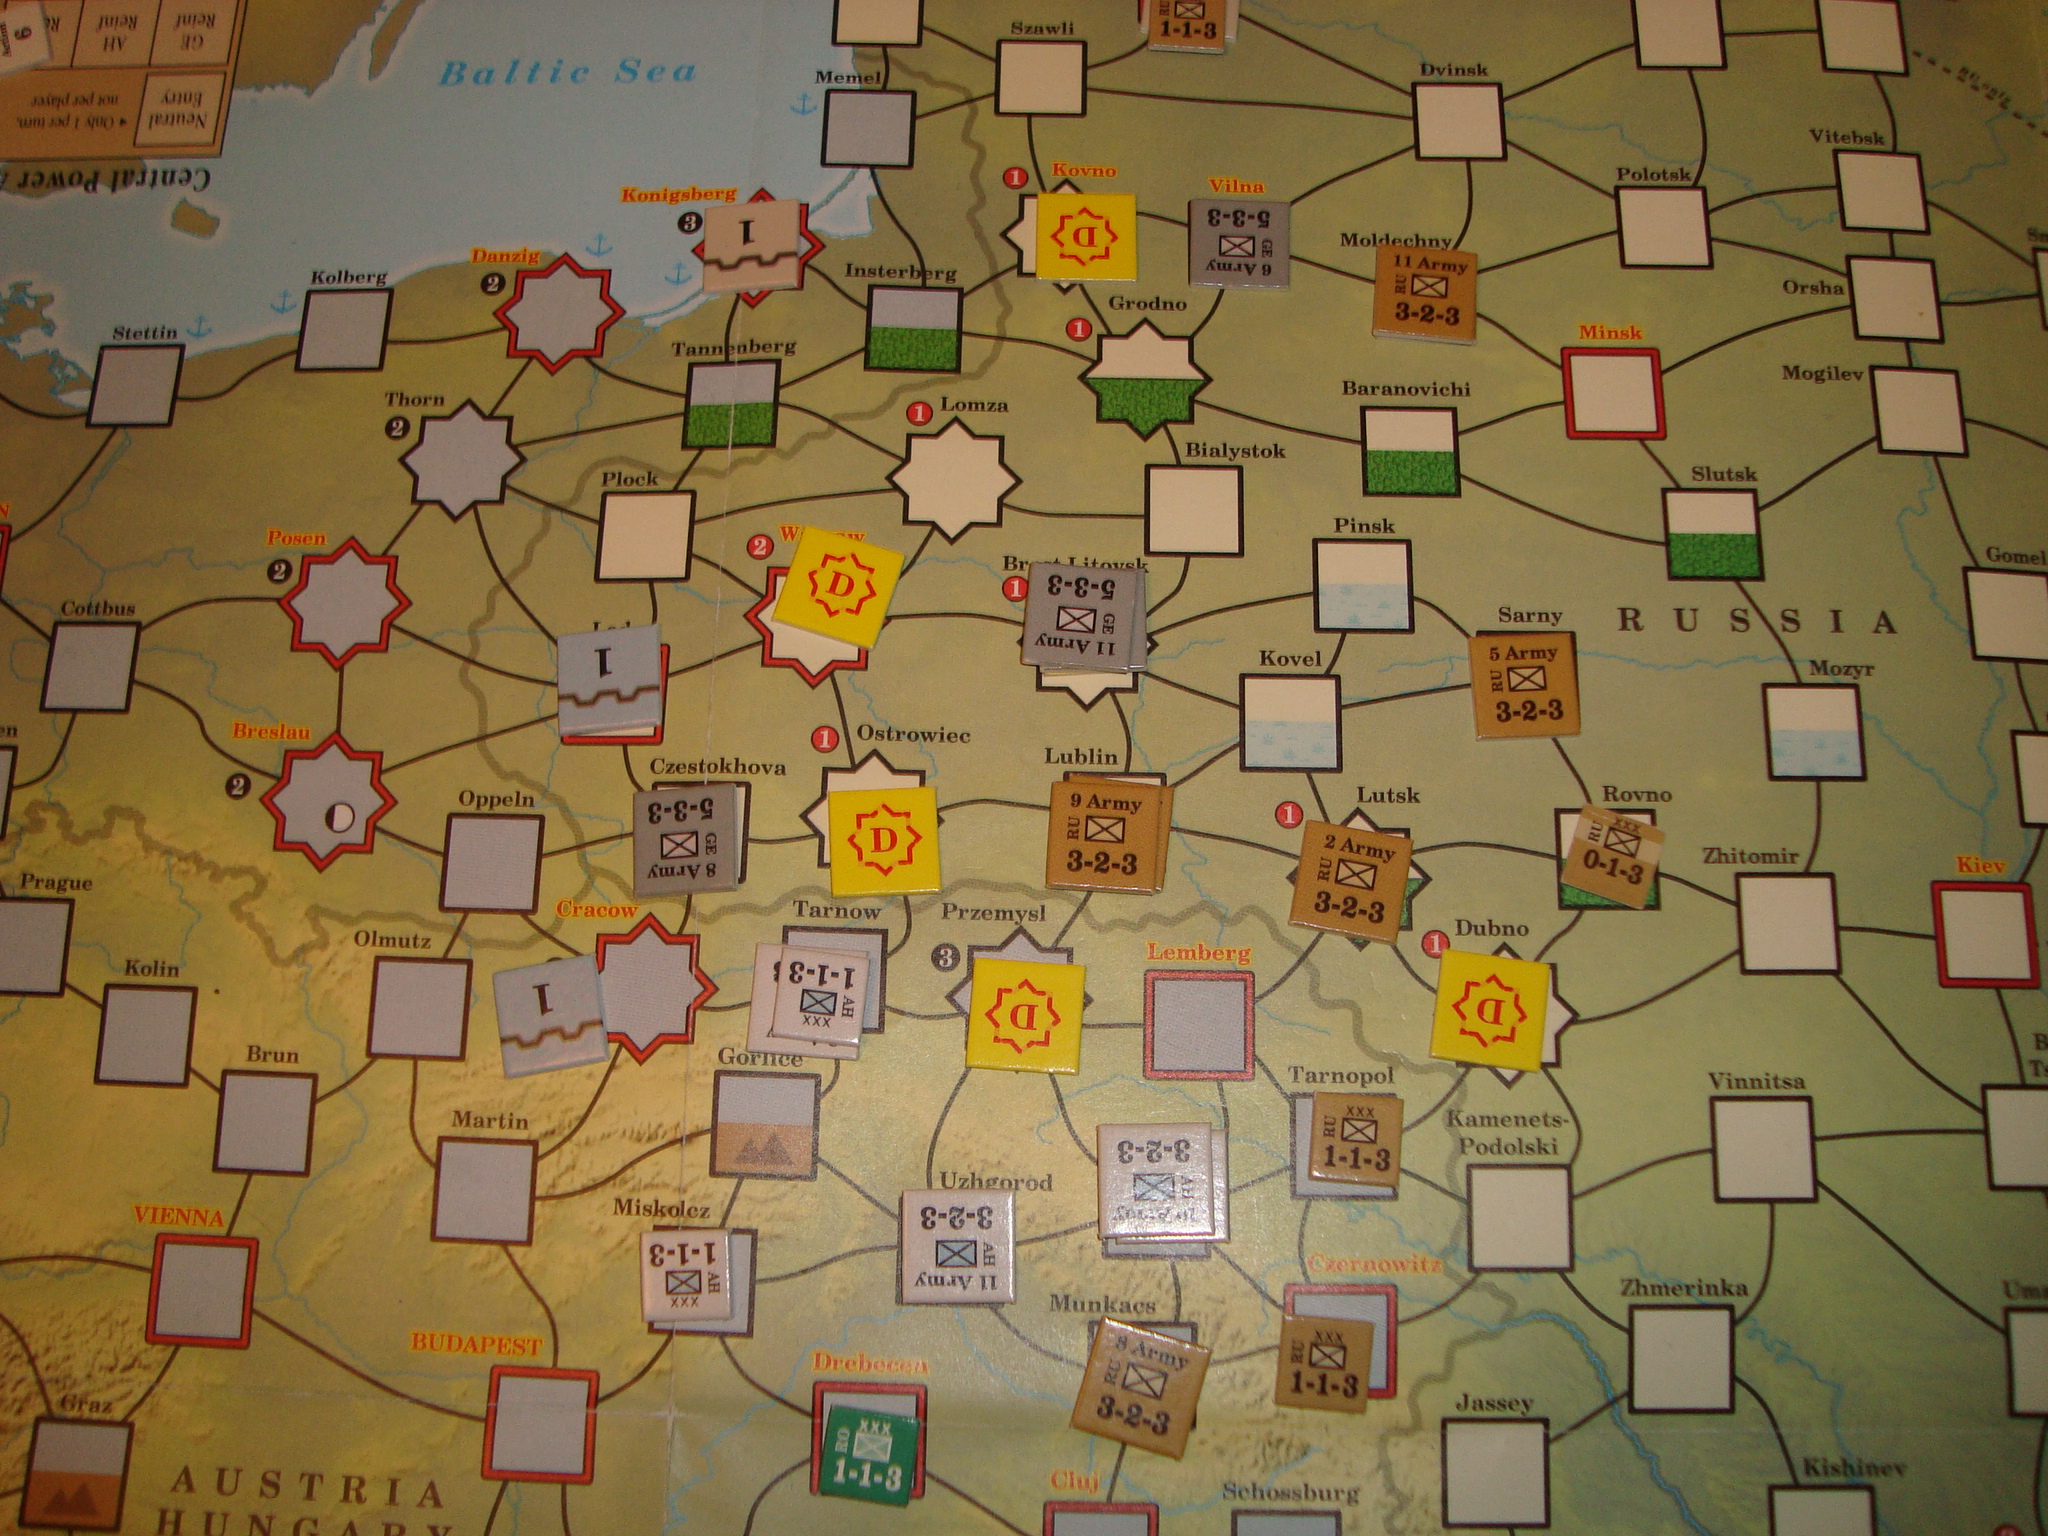
Play began early Saturday. Tim had the Allies. He used three axis’ of advance. The first was down the Red Sea Coast from Sudan towards the port of Massaua (all spellings are from the maps), the second from Kenya to the southeast to secure the ports of Mogadiscio and Chismaio, with the third northeast from Kenya towards Addis Abbada. The first was aimed at gaining victory points before April II, while the second aimed at denying the Italians victory points as well as possible supplies. The third was to liberate the Ethiopian capital.
Tim made good progress on his first two axes of advance. Chismaio and Mogadiscio fell early, the Italians unable to muster more than a token defense, not helped by my unwillingness to convert a factor of attack supply into general supply. While the attack towards Massaua took more time to develop because Tim took the time to form divisions, by mid-game he was able to exploit a blunder on my part and take the city without loss. At this point, however, a combination of bad weather and sacrificial use of Italian regiments slowed the British.
The next day, Tim continued his attacks, but suffered an Exchange setback outside of Addis Abada. This, along with the need to remove some of his more powerful units for redeployment elsewhere in the Middle East, slowed his momentum and allowed me to cobble together a defensive cordon to stop his new advances towards Addis Abada from the north.
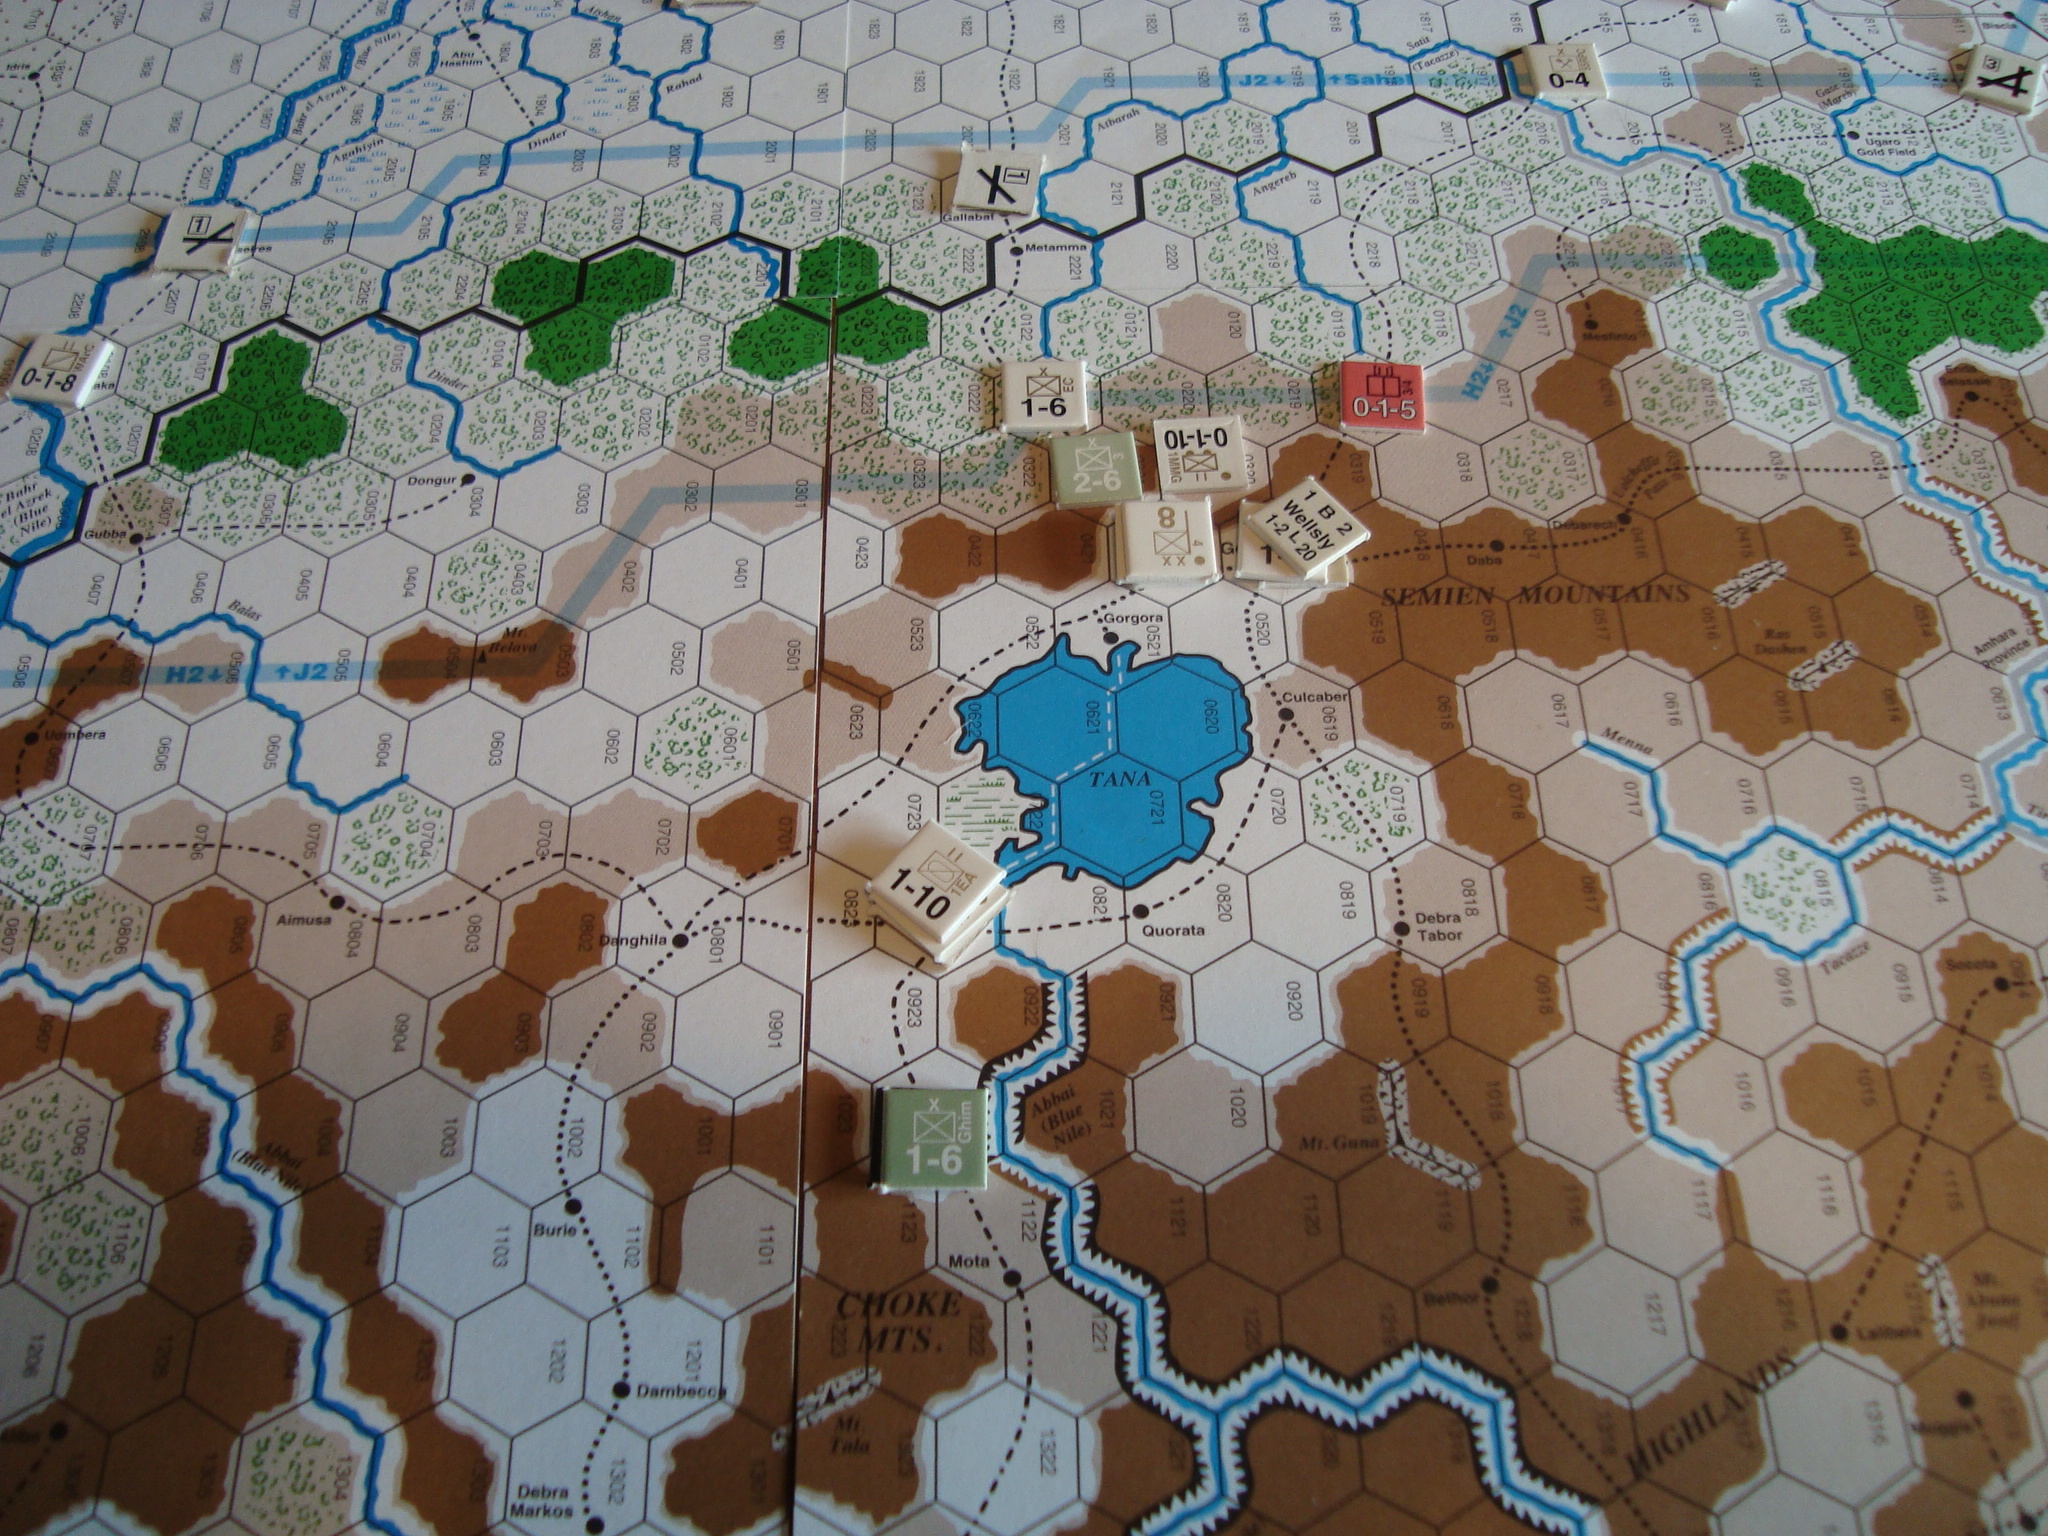
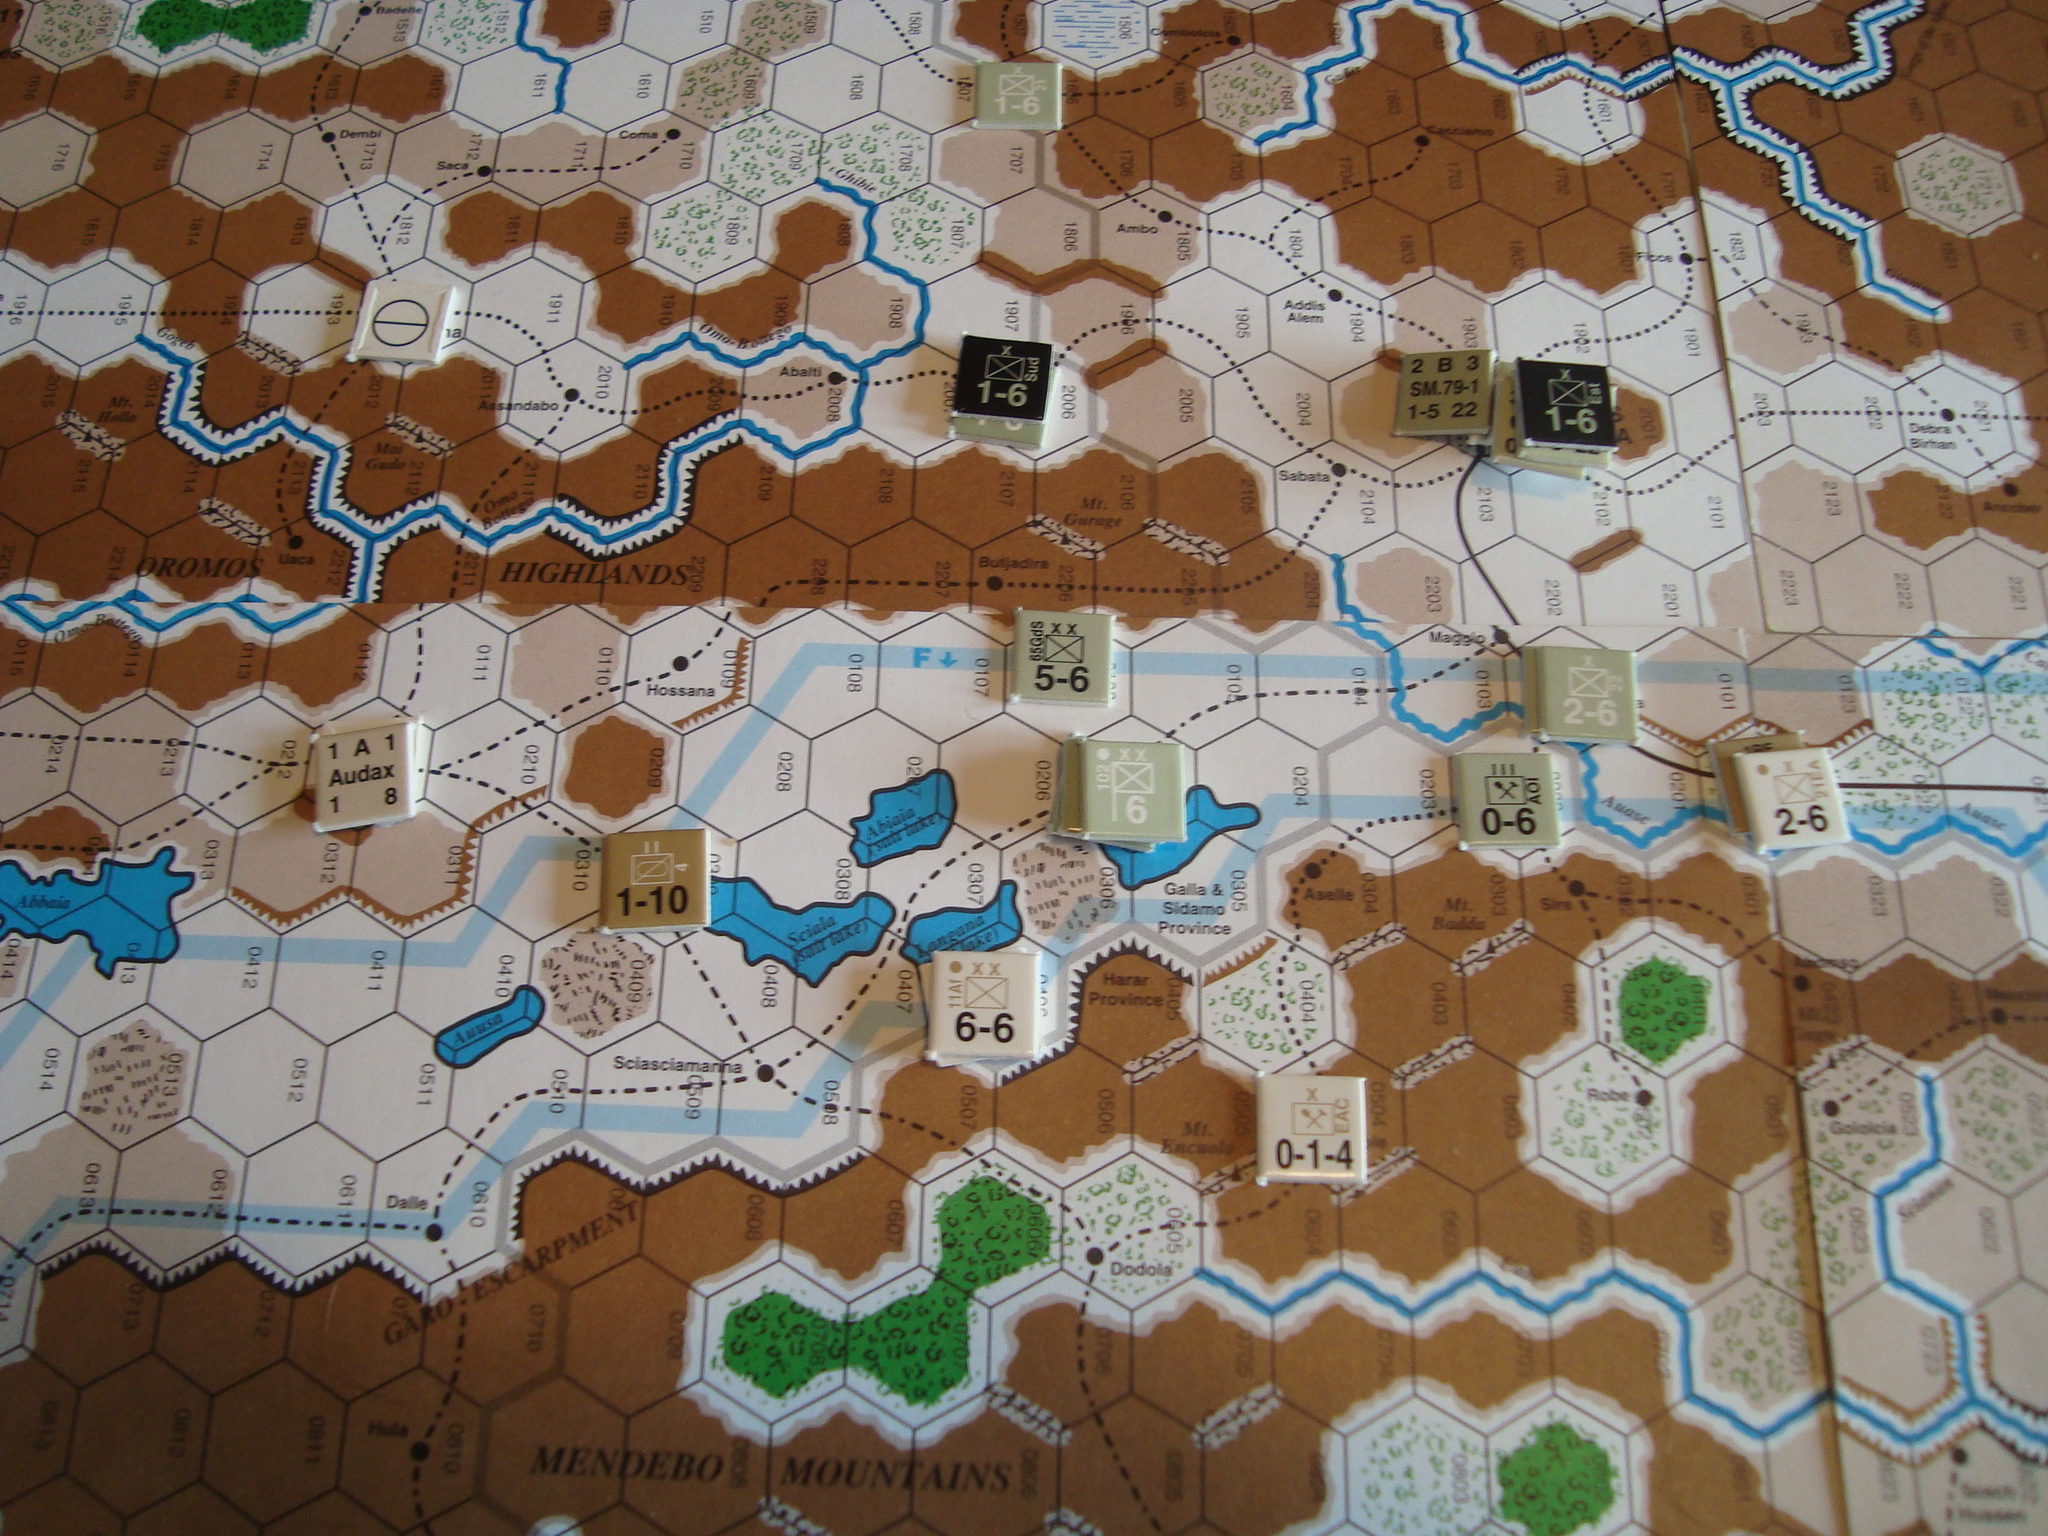
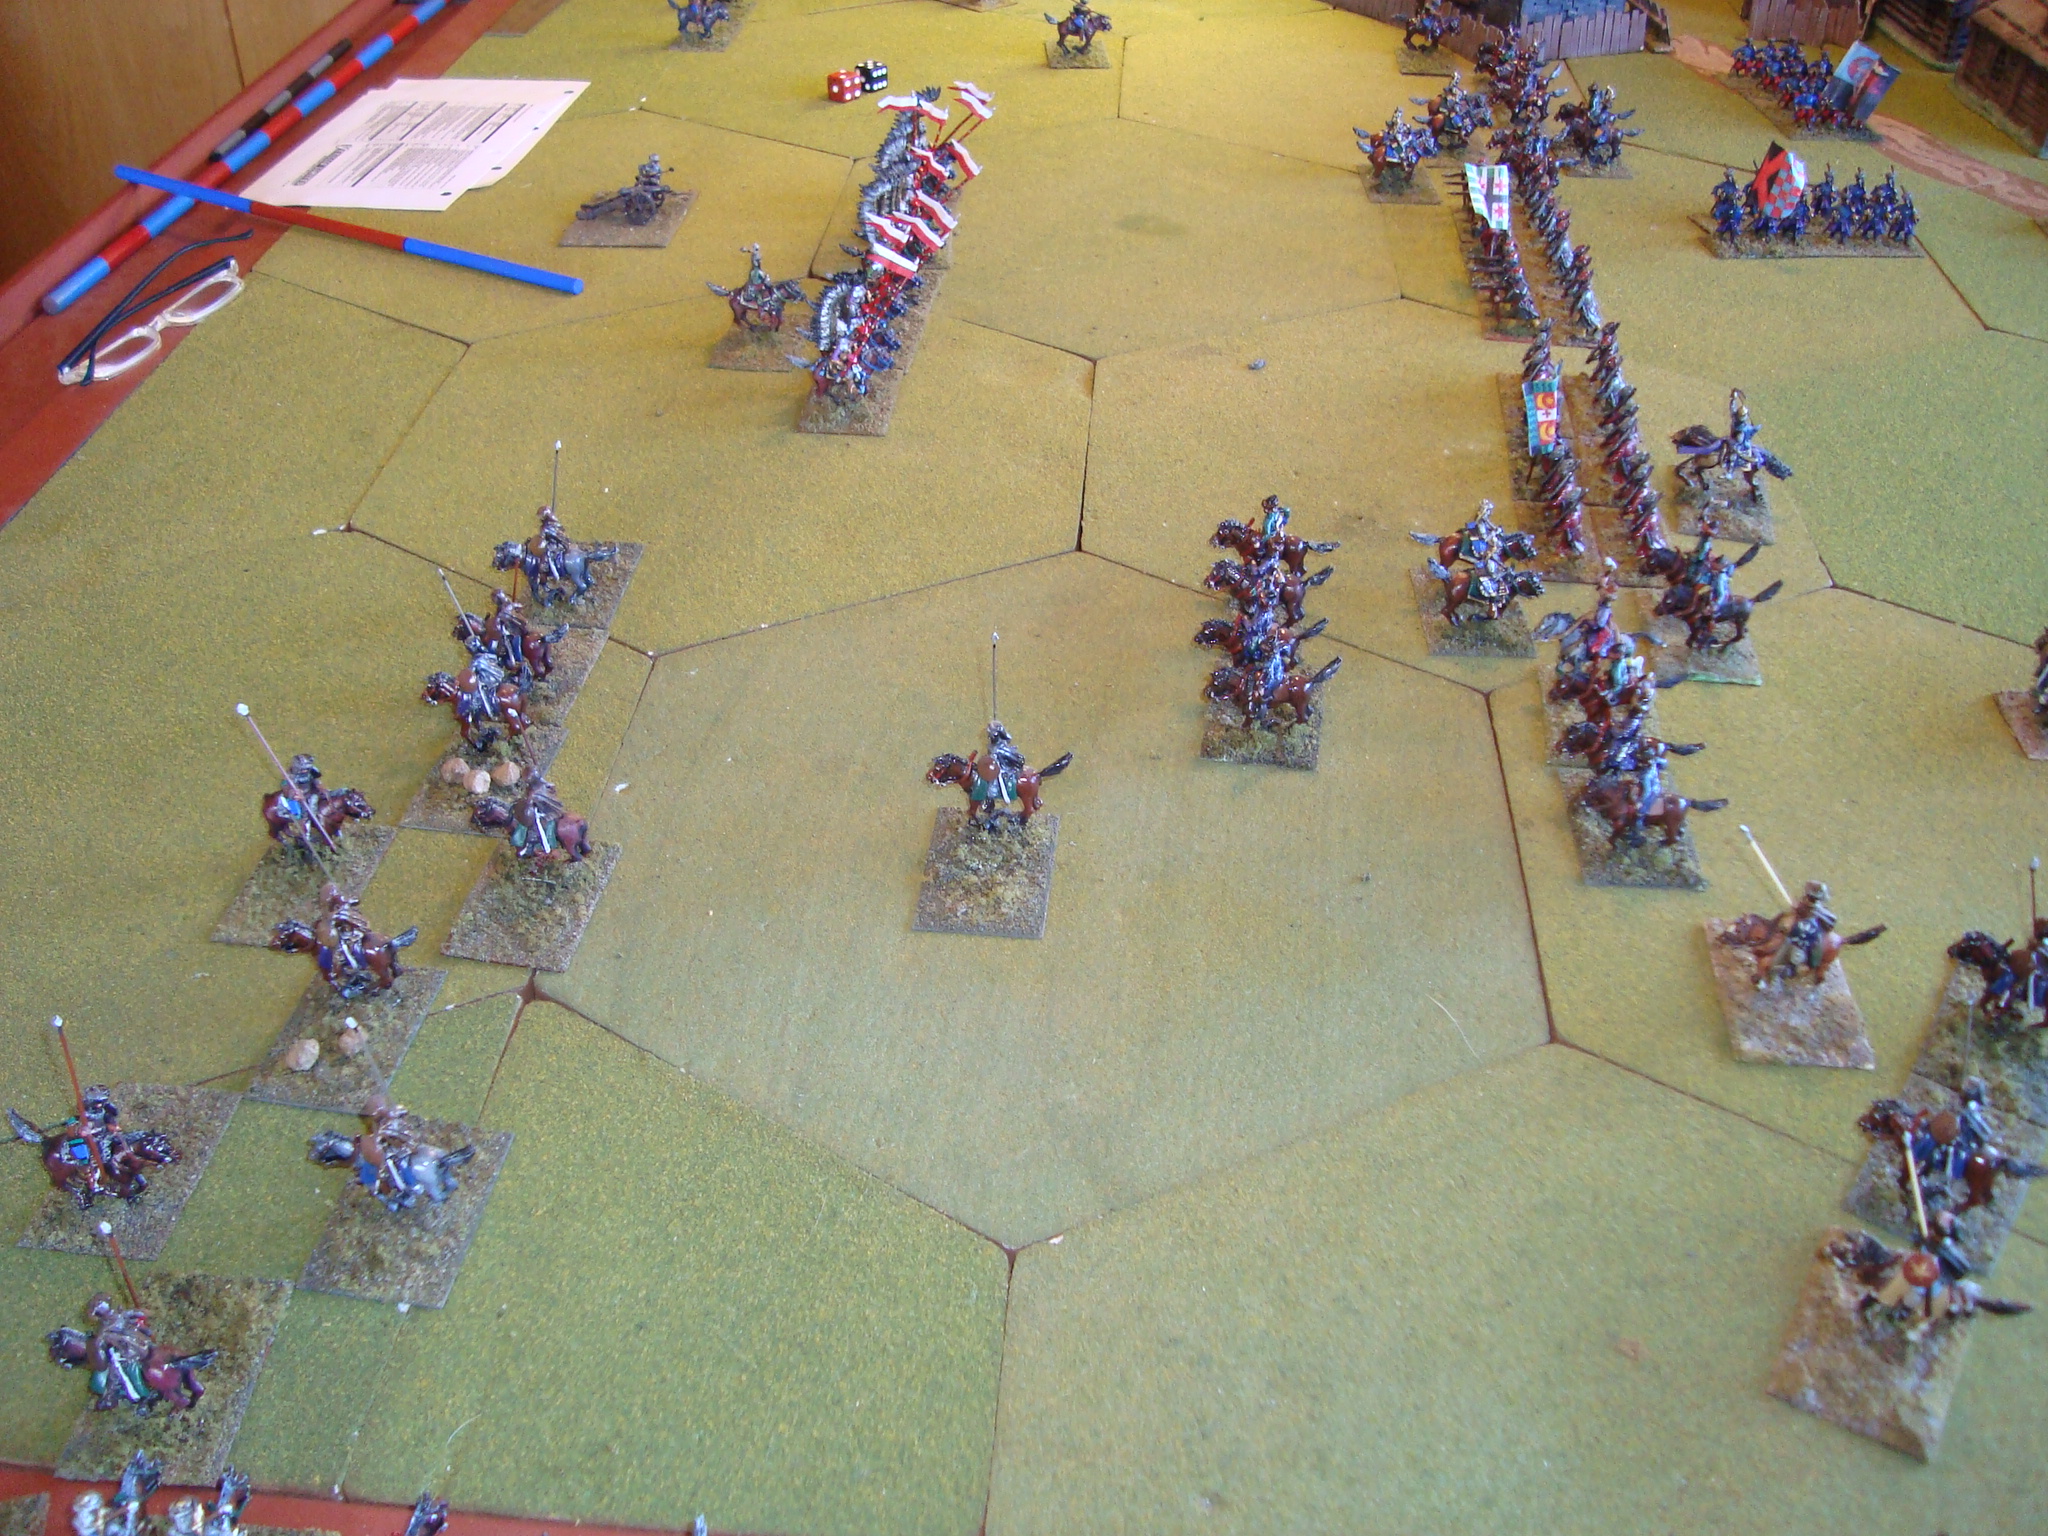
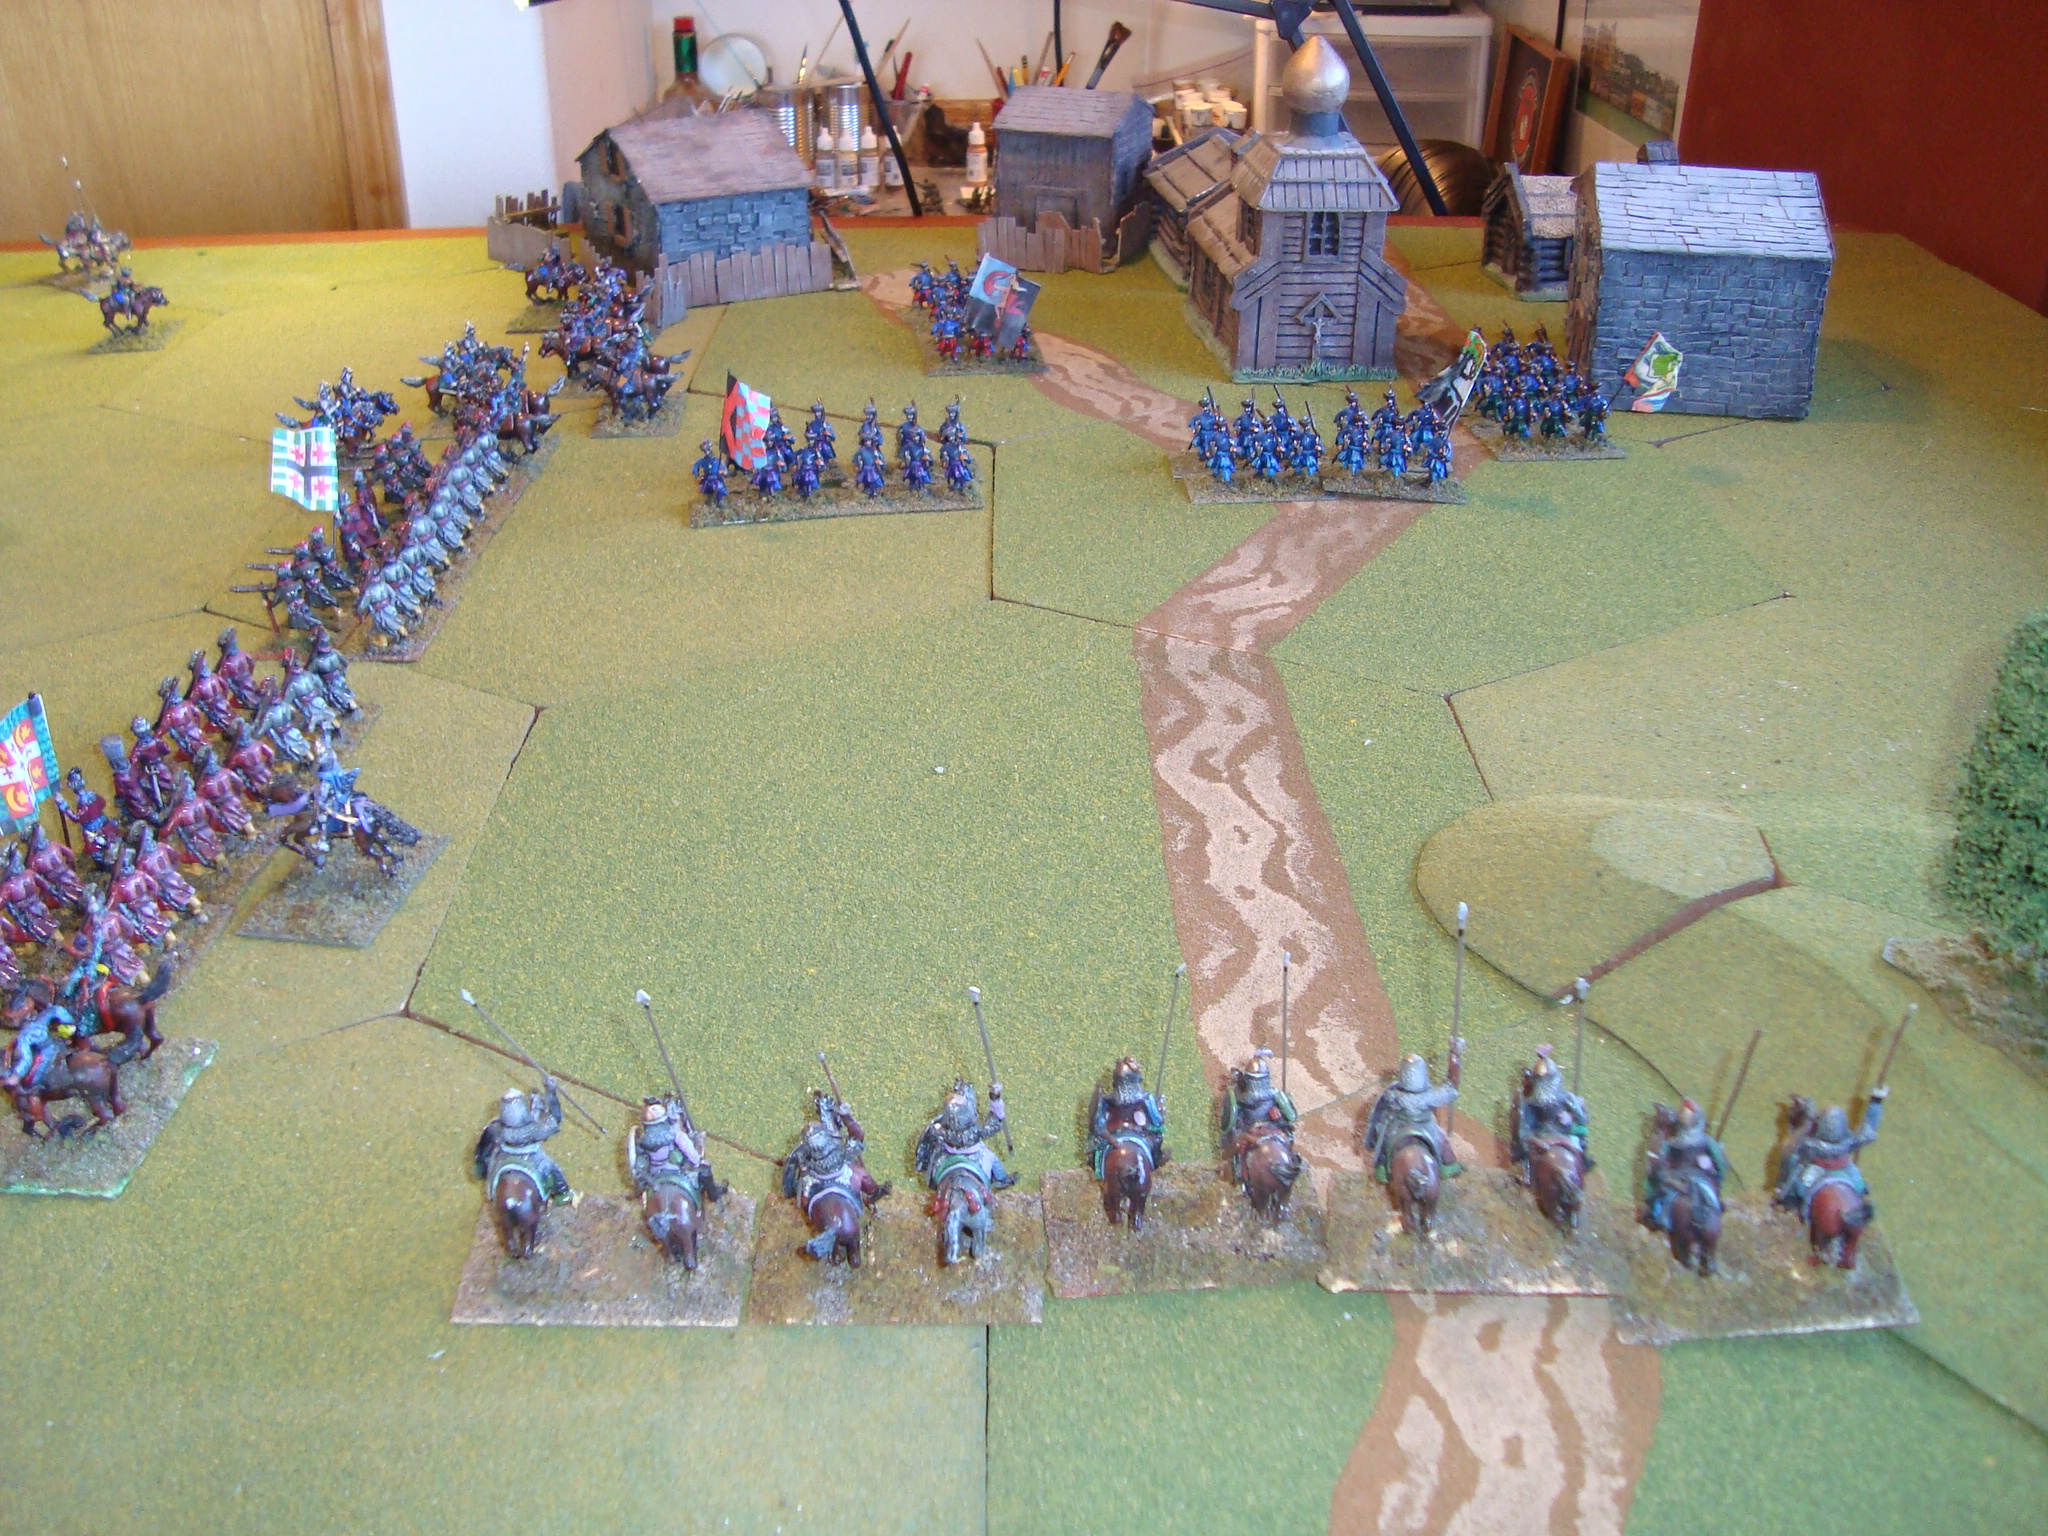
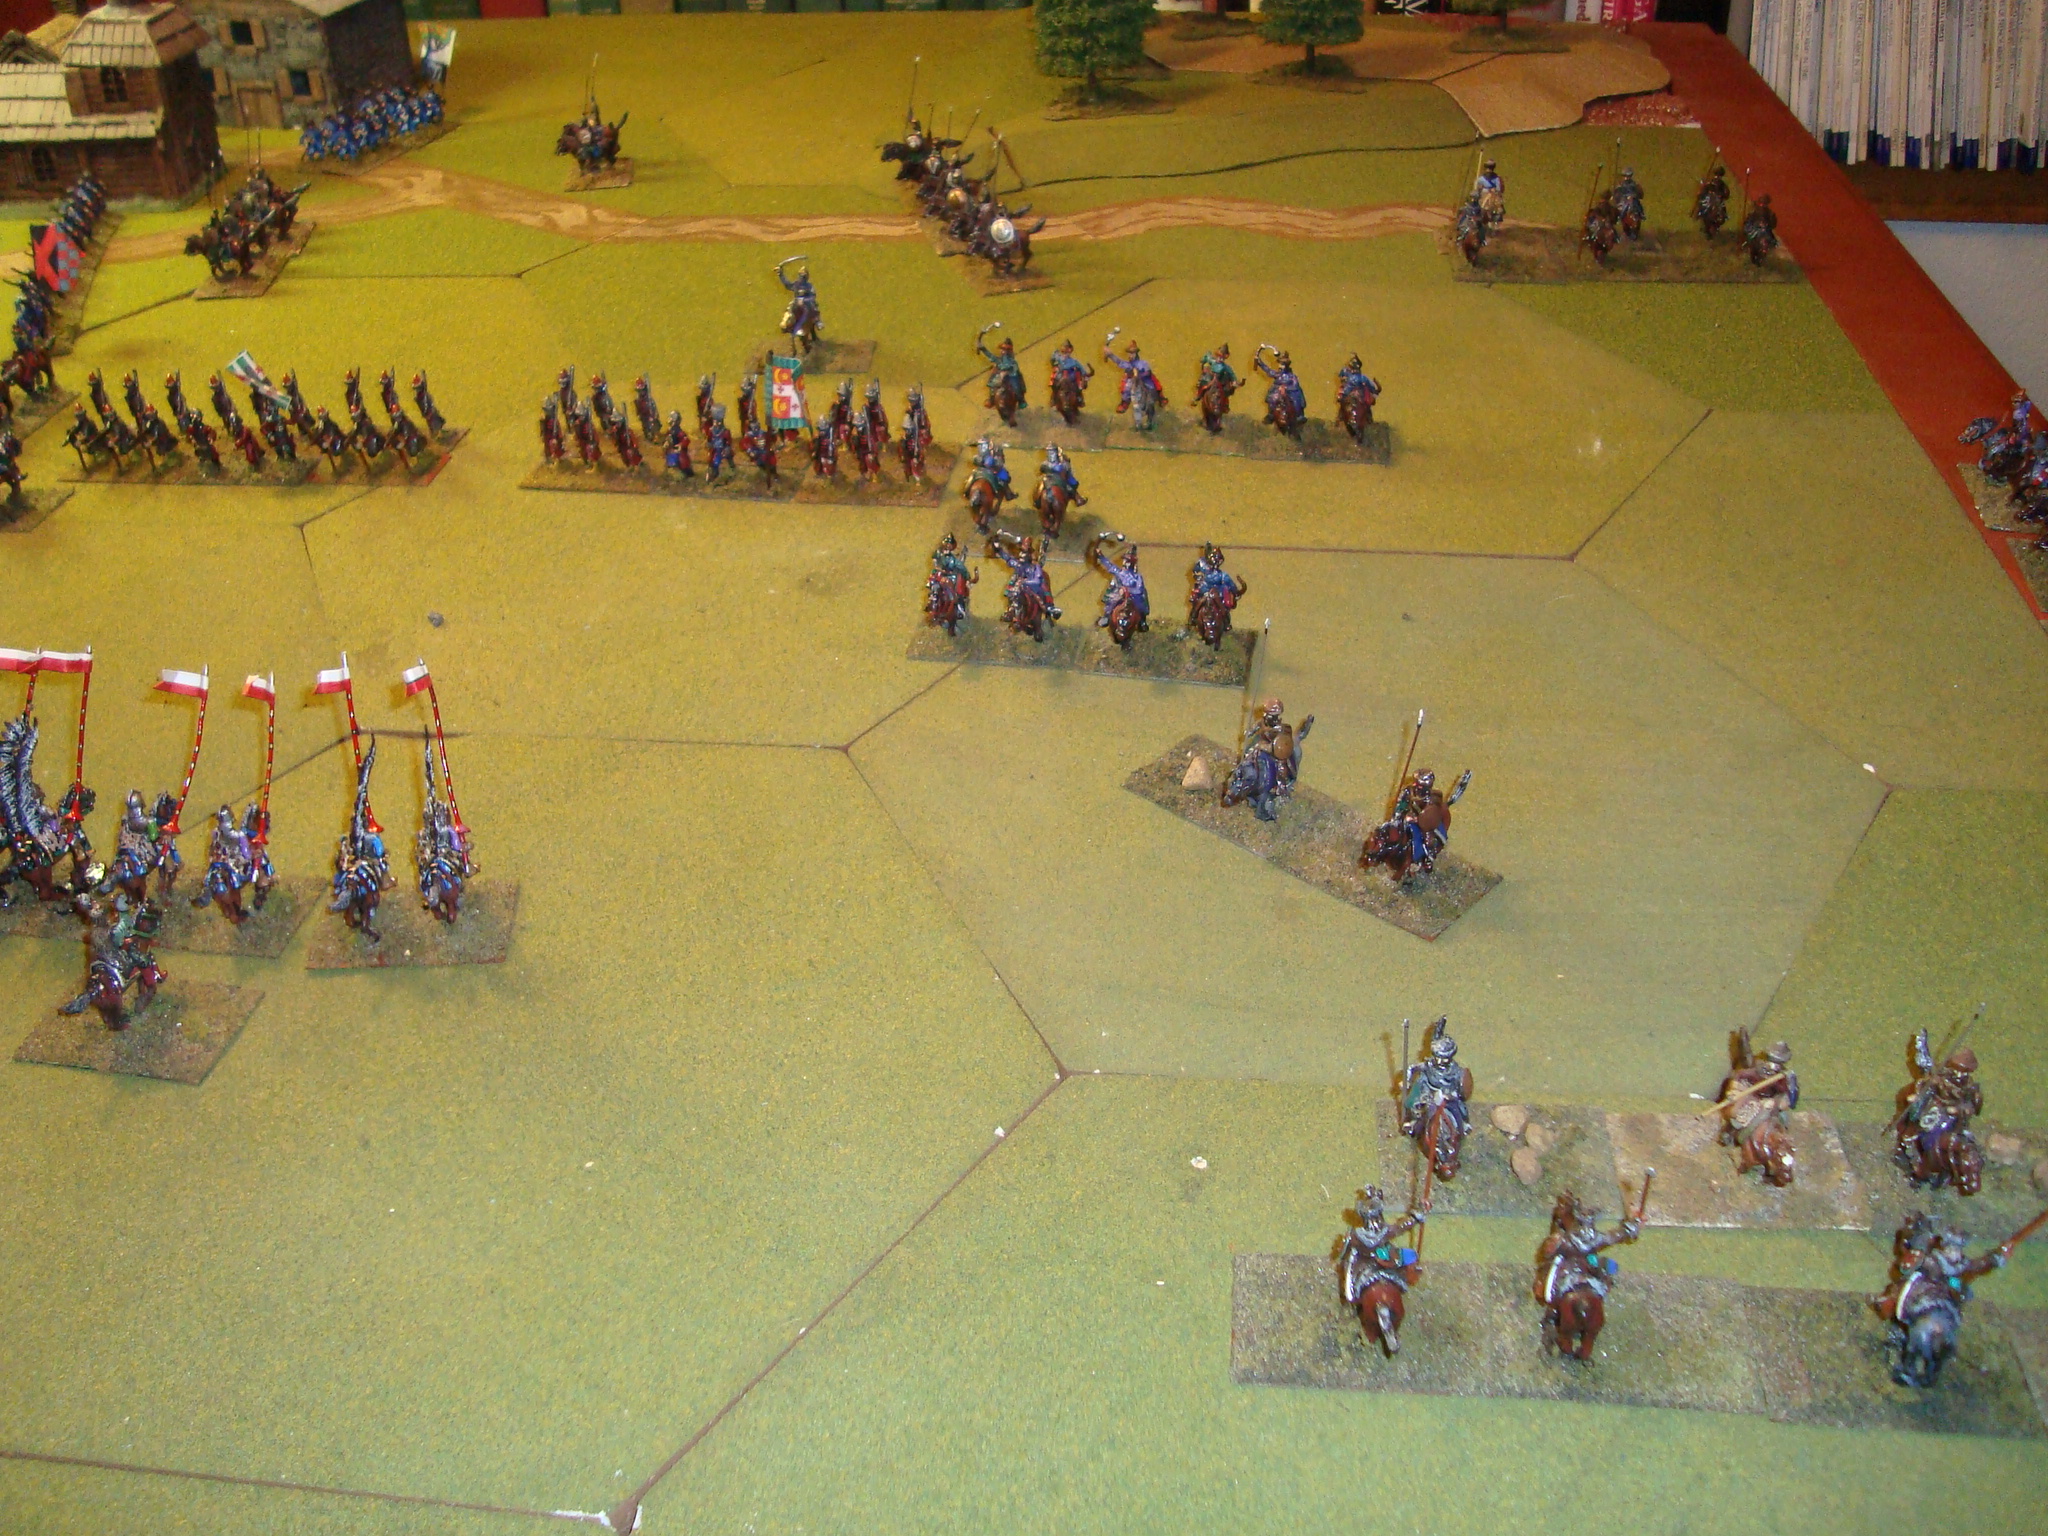
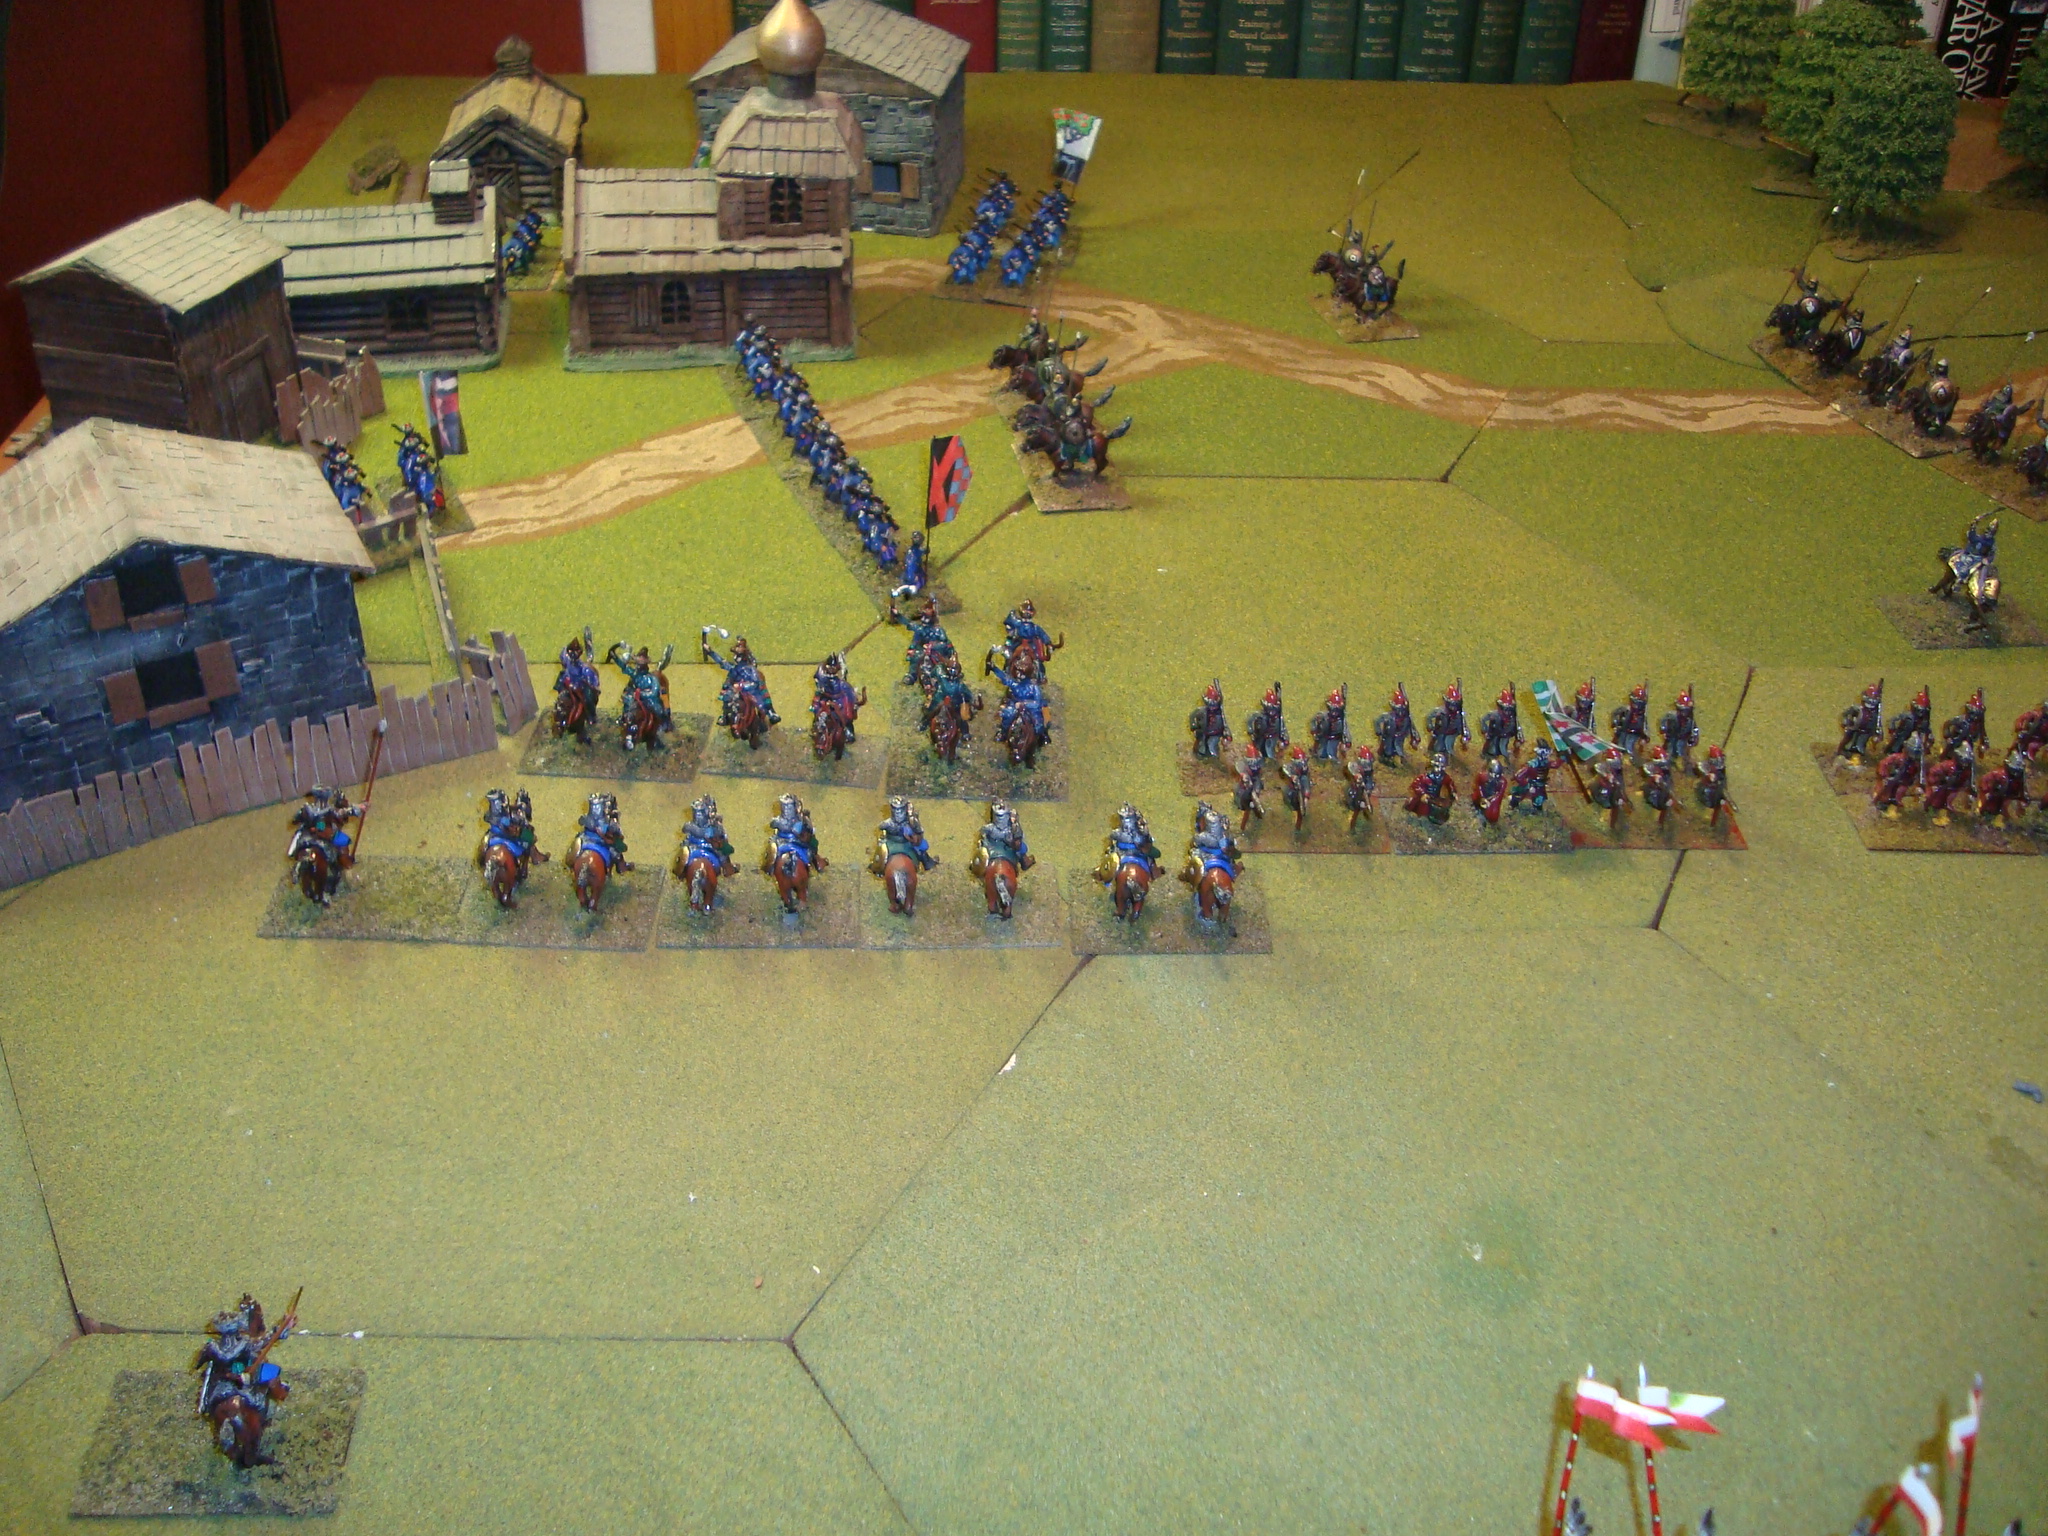
By the May II turn, we decided to devote ourselves to beer drinking and game viewing. Here’s a few photos to illustrate the course of the game. I’ll post up some other observations later.
Early Game: British Advance Towards Chismaio
Early Game: British Advance North
Mid Game: Exploiting Gap, British Take Massaua and Cut Off Italian Perimeter Defense
Mid Game: British Approach Addis AbadaMid Game: Italians Retreat Into SomalilandMid Game: British Advance South From MassauaMid Game: British Threaten Addis AbadaEnd Game: British Somaliland Still Held By Italians
End Game: British Advance Towards Addis Abada From The North
End Game: Italians Defenses Around Addis Abada
End Game: All Cleaned Up. Dogs of War Wonder What’s Next
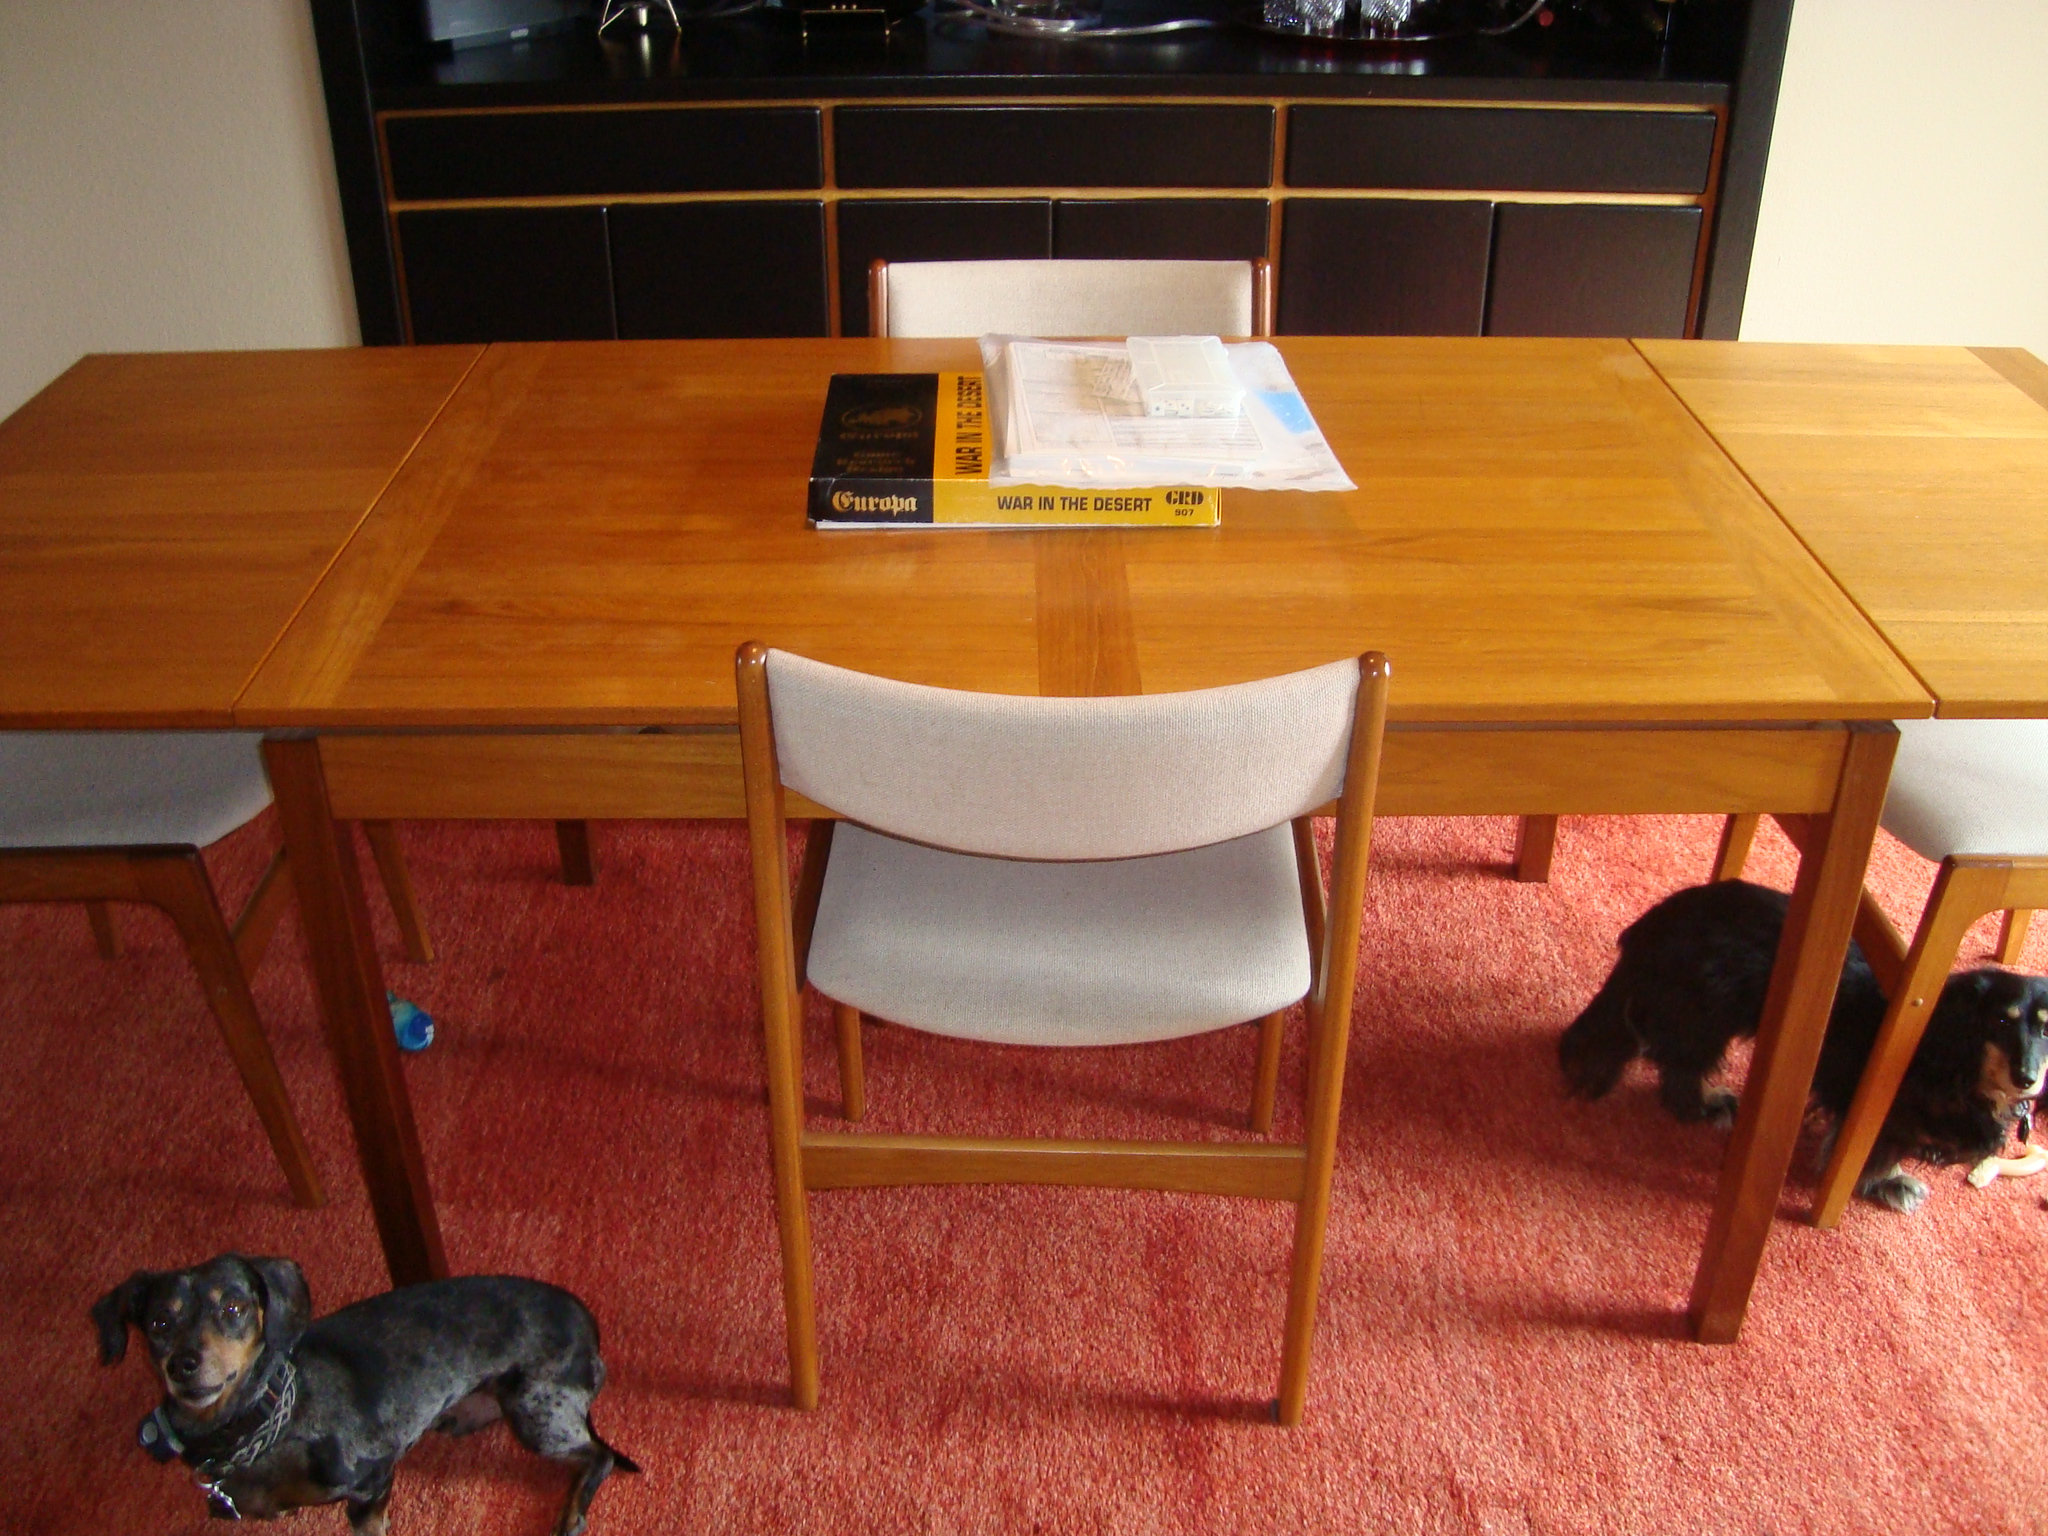
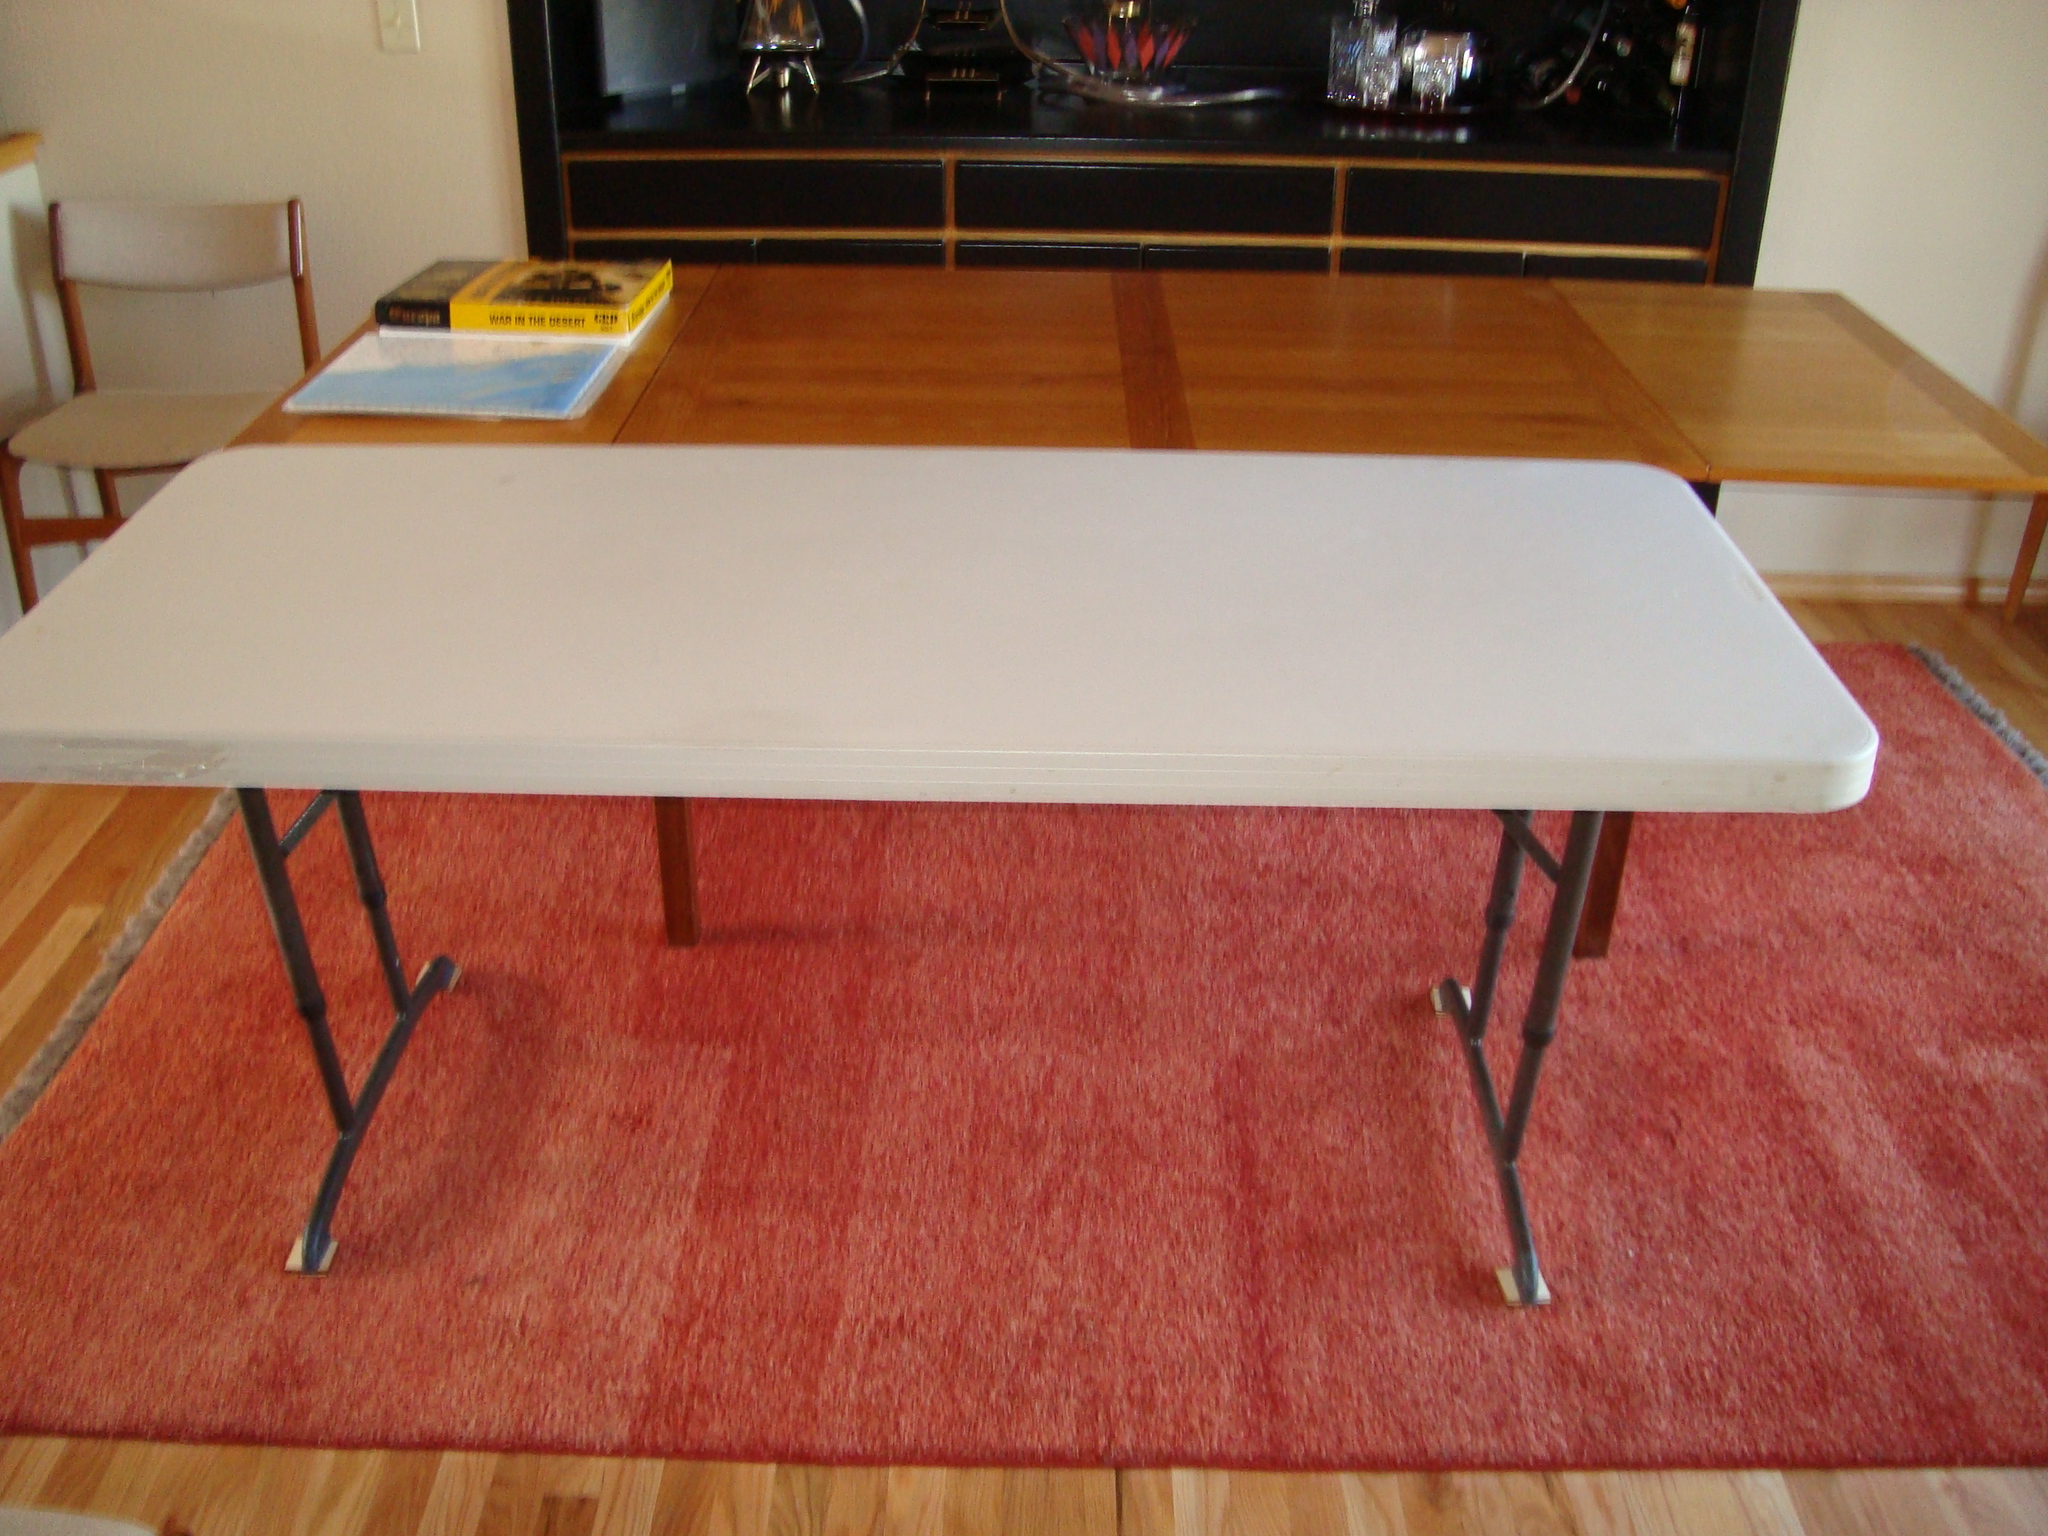
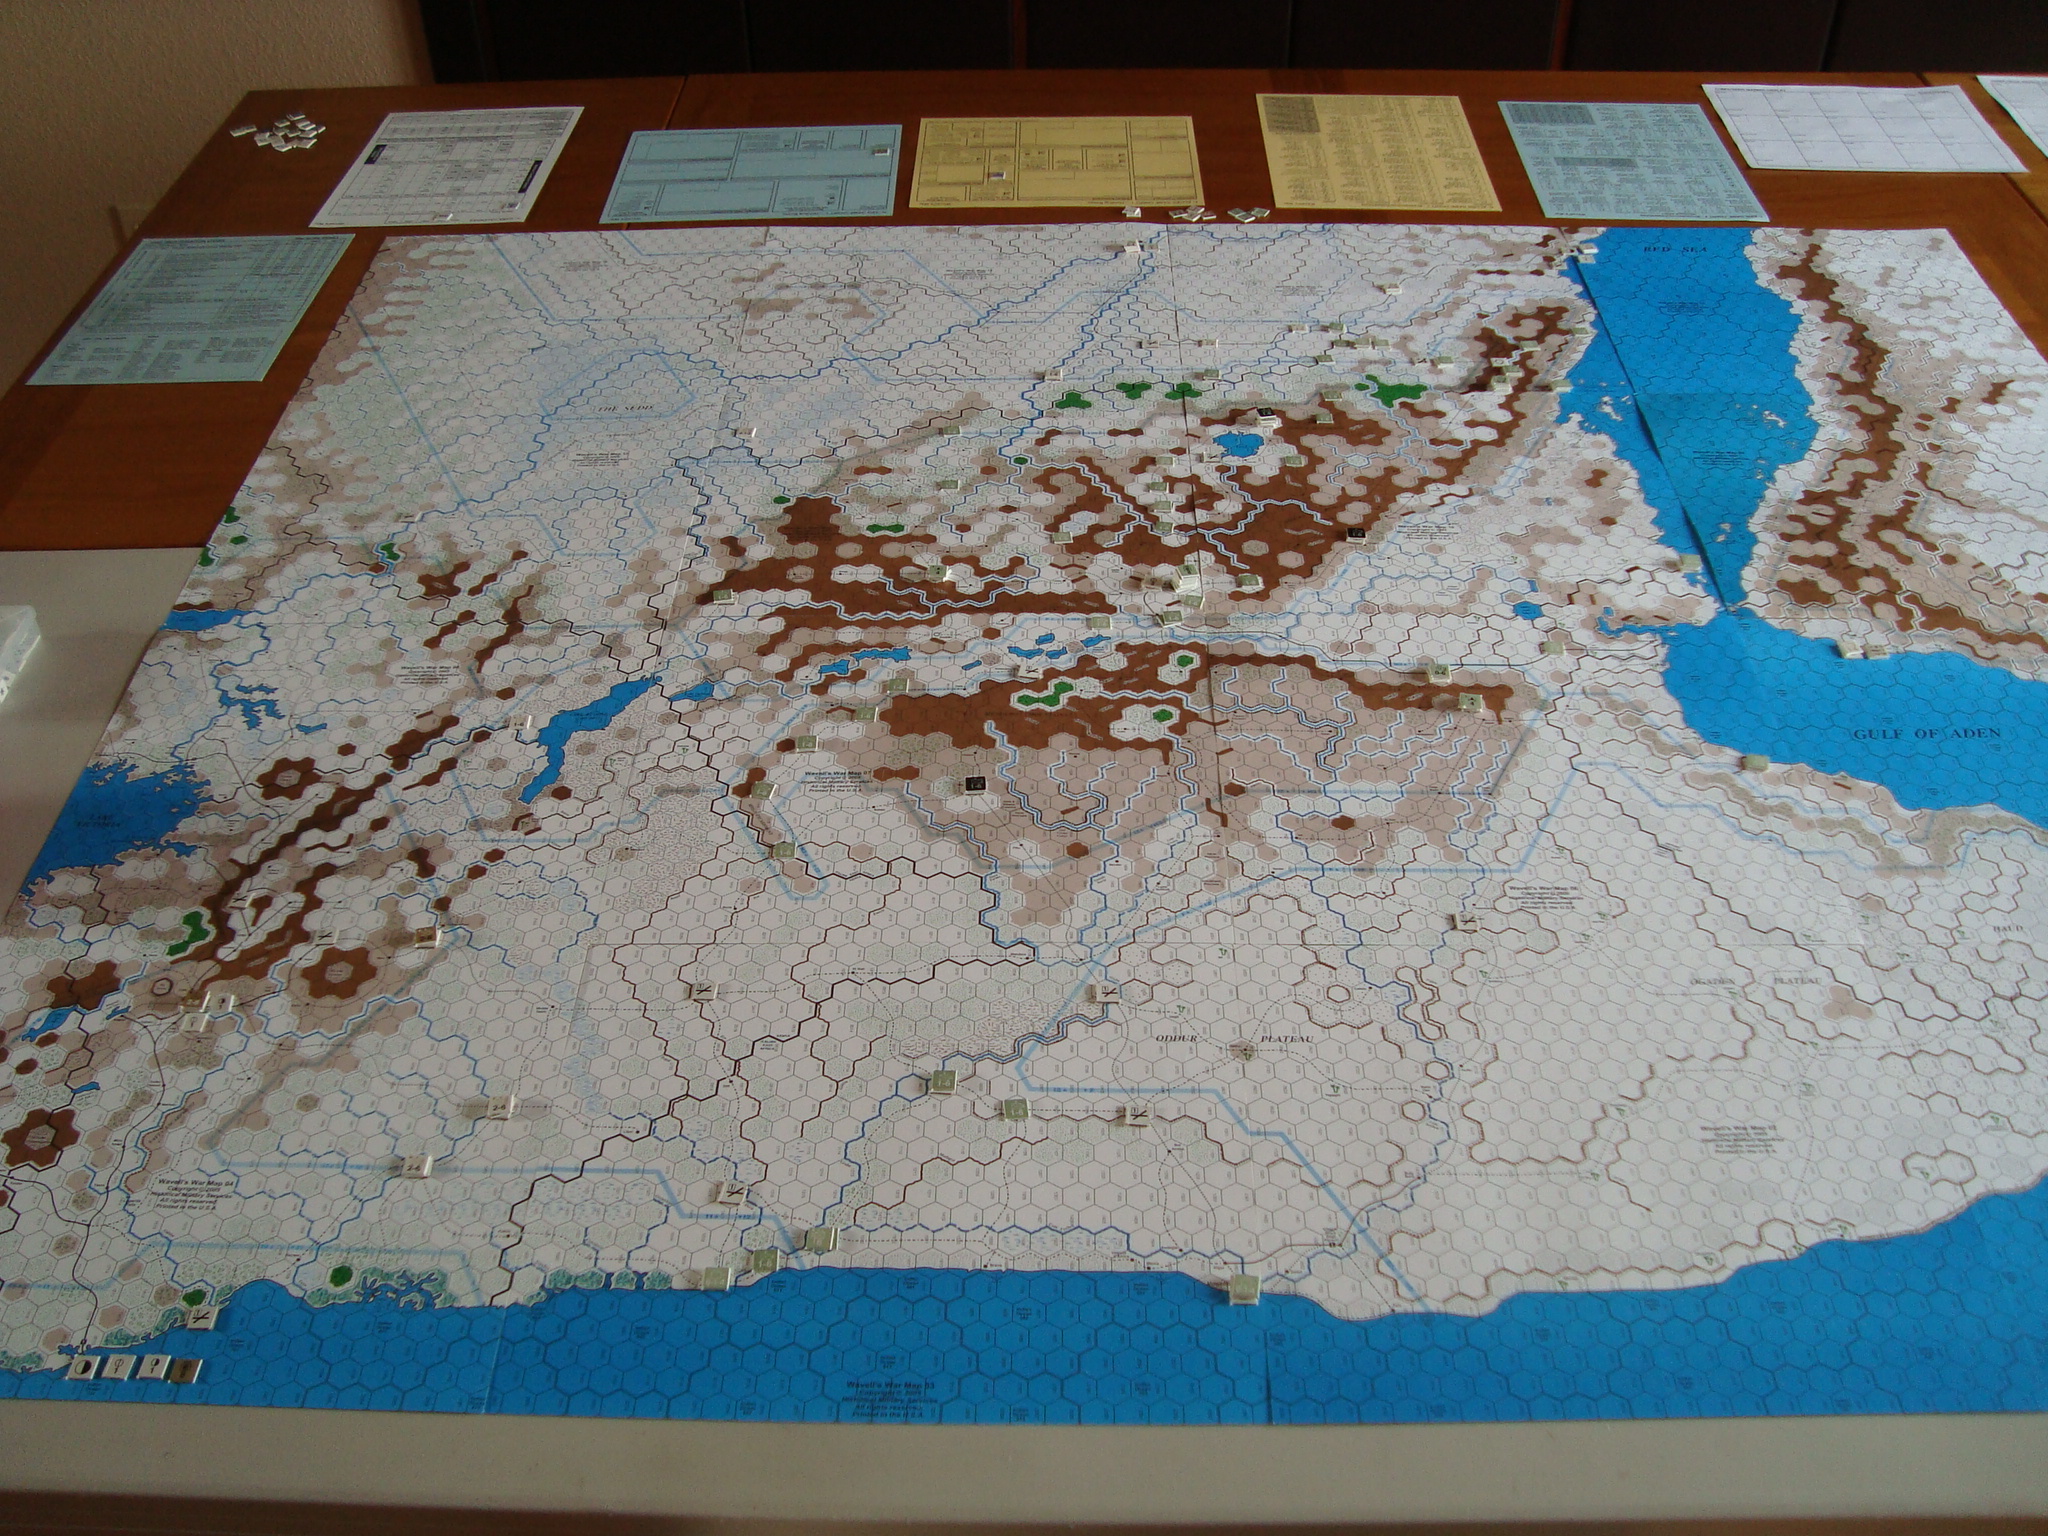
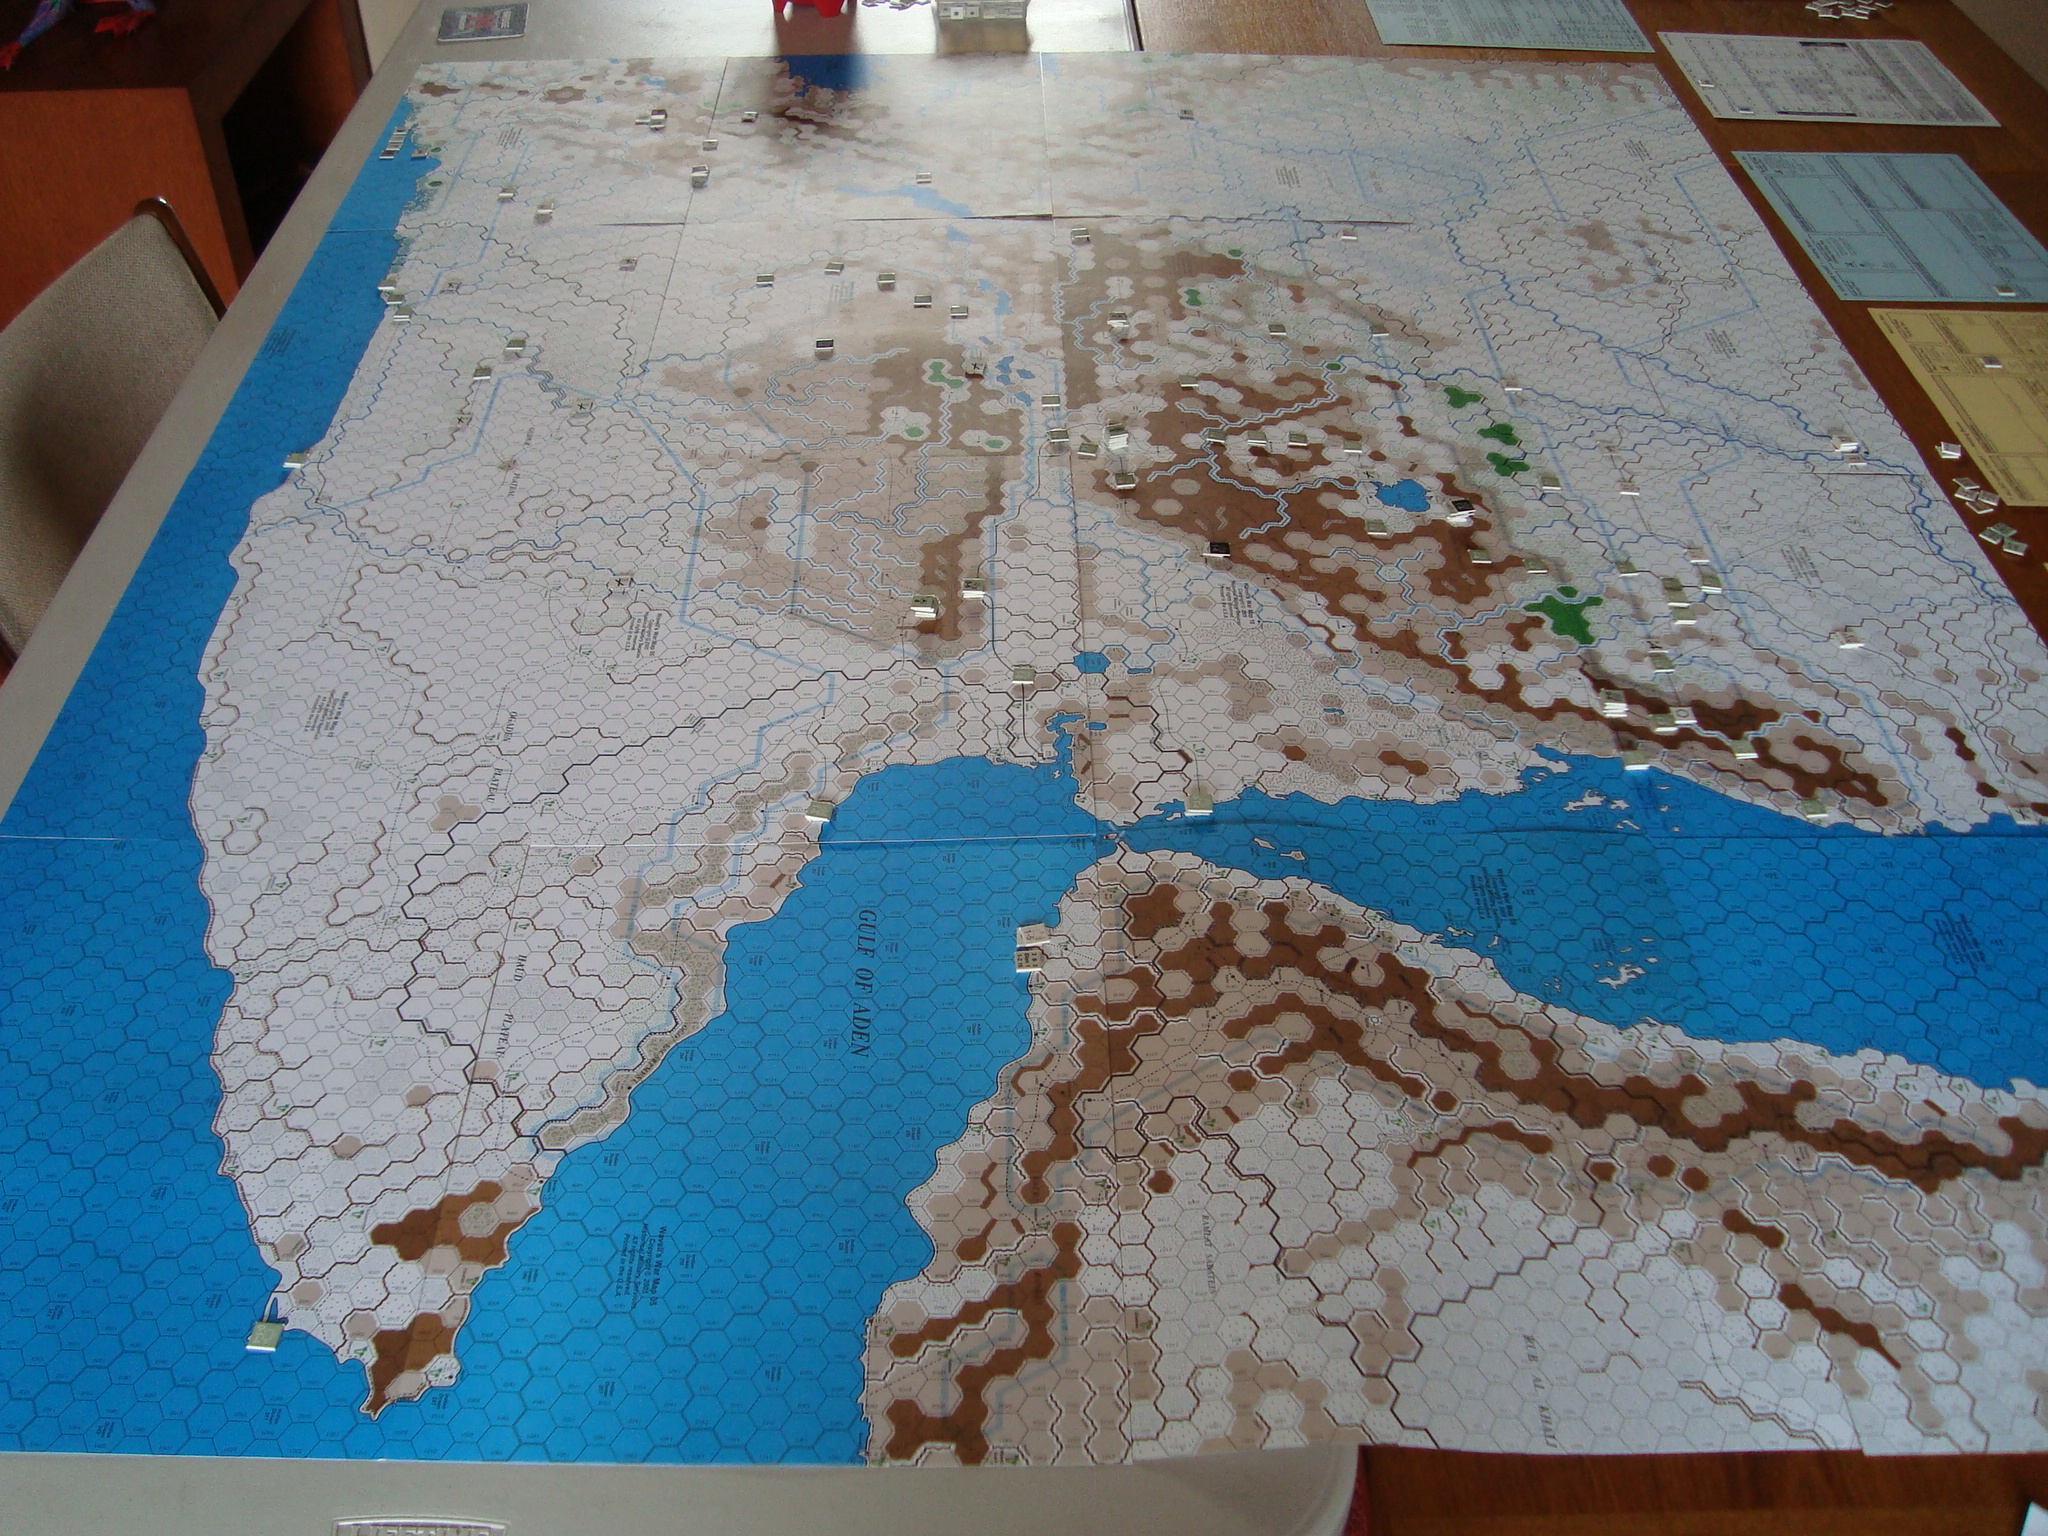
Set it up last night and this morning. Used stencil tape to keep the small map sheets from shifting around. Had to shim the utility table to get it to match up (kind of) with the dining room table.
Big map, lots of ants. Italians have limited supply sources, which severely effects both offensive and defensive capabilities, and very few steps of attack supply to compensate. Air support for colonial units is also limited.
This will be very interesting.
The TableMap Looking North. Where Are The Ants?Map Looking West
Sanity prevailed and I played The Thin Blue Line scenario, rather than the entire campaign. At my rate of play, which is one day per session, it would have been too lengthy a proposition.
The Thin Blue Line begins on August 27 and ends on September 11th. This represents the longest period of sustained German raids.
I was able to attrit the Luftwaffe, but not enough to gain a victory. However, the RAF was in good shape at game’s end with a fairly deep pool of experienced replacement pilots and plenty of replacement aircraft. At the rate things were going, an operational victory was probably two days (of game turns) away.
The hour and day card draws tended to favor the British player. What the British player cannot stand is successive German raids over the period of one game hour, or during the course of a day. The quicker the clock and calendar moves, the better for the RAF.
One thing I started doing a little too late was making sure there were enough British fighters scrambled to attack the bombers, and not just the Me-109 hunter groups. This involved massing planes and taking some risks about subsequent coverage if there were followup raids, or another series of attacks. My warning levels were consistently high which helped, and, once again, the card draw kept the clock moving. It was so similar to historical “Big Wing” theory.
Once bombers are disrupted, aborted or placed in the damage box by a fighter attack, the effectiveness of a raid is greatly diminished. Again, fate did not favor the Germans, with many raids reduced to a low factor attacks, and resulting low levels of damage and victory points.
A great game, and worthy of all the praise it has gathered over the past twenty years. My only complaint is that a couple of charts are buried in the rules, especially the Airfield Operations summary. I will copy this onto a separate sheet the next time I play.
There a couple of cards that should not be allowed to cycle through the deck. Even if the prerequisites to play the card haven’t been met, I think it would be wise to keep it in the hand until they are. I’m thinking mainly of the ‘Tsar Takes Command’ card. IIRC, there was another game we played where the central powers player didn’t play it as an event and had to wait for it to cycle back through the deck. Needless to say, the game was pretty much over when it came back to him again. I don’t think it is as big an issue for the Entente. Maybe the cards relating to US Entry fall into this category for them?
You did a much better job of remembering to entrench than I did…The level 2 trench in Brussels cost me a lot of men.
Yes, I did use attrition in the west. I was playing a lot of big replacement cards to keep the Russians from melting away (you pounded them pretty hard) and I didn’t see why I should ‘waste’ the French and British replacements by not attacking on their front. I also had some mandated offensives for the French and I was trying to wear down the Germans, which I think I had accomplished by the end of the game.
I think taking replacements every turn is pretty much a must in this game. I know you felt you had the opportunity to do some damage by playing cards as OPS cards and not taking replacements, but armies can melt away very quickly in this game.
I actually was worried that you were going to counter attack on the Italian front. The Italian armies, especially when they are reduced (like they are at the start) are not very strong. They’re good enough to capture undefended areas, but struggle against anything else… I was concerned that you would use the Austrian army in Trieste to punch through and capture Venice.
Good use of the Rathenau card. I think in the past I’ve violated my first point and usually played it for OPS…:)
You didn’t seem to get much use out of the Turks. I don’t know if it would have been worth it to build up some concentrations in the Caucasus or in Mesopotomia to threaten Baku or Ahwaz. In many ways the trick to winning POG is balancing the demands of multiple fronts and the Turks could be used to threaten those two areas (or if they’re very lucky, egypt). At the very least, they might force the Entente to spend time and OPS moving troops to the Med from other theaters.
I think it would be a good idea to eliminate the Serbs. Destroying them frees up two badly needed Austrian armies and some bulgarian troops for use elsewhere (Romania?).
Played Paths of Glory this Saturday with Tim. Helluva game and unlike any other we had played in the past. We started at 2PM and, with the exception of a 1 hour or so break for dinner, didn’t finish up until midnight. For once we stayed on task although many Henry’s were consumed. Tim played the Allies.
For those of you unfamiliar with the game, here’s a link to the BoardGameGeek page. It’s their Number 2 rated wargame. Here’s another link to the living rules over at GMT Games. GMT is to be commended for their willingness to make the rules available along with necessary changes.
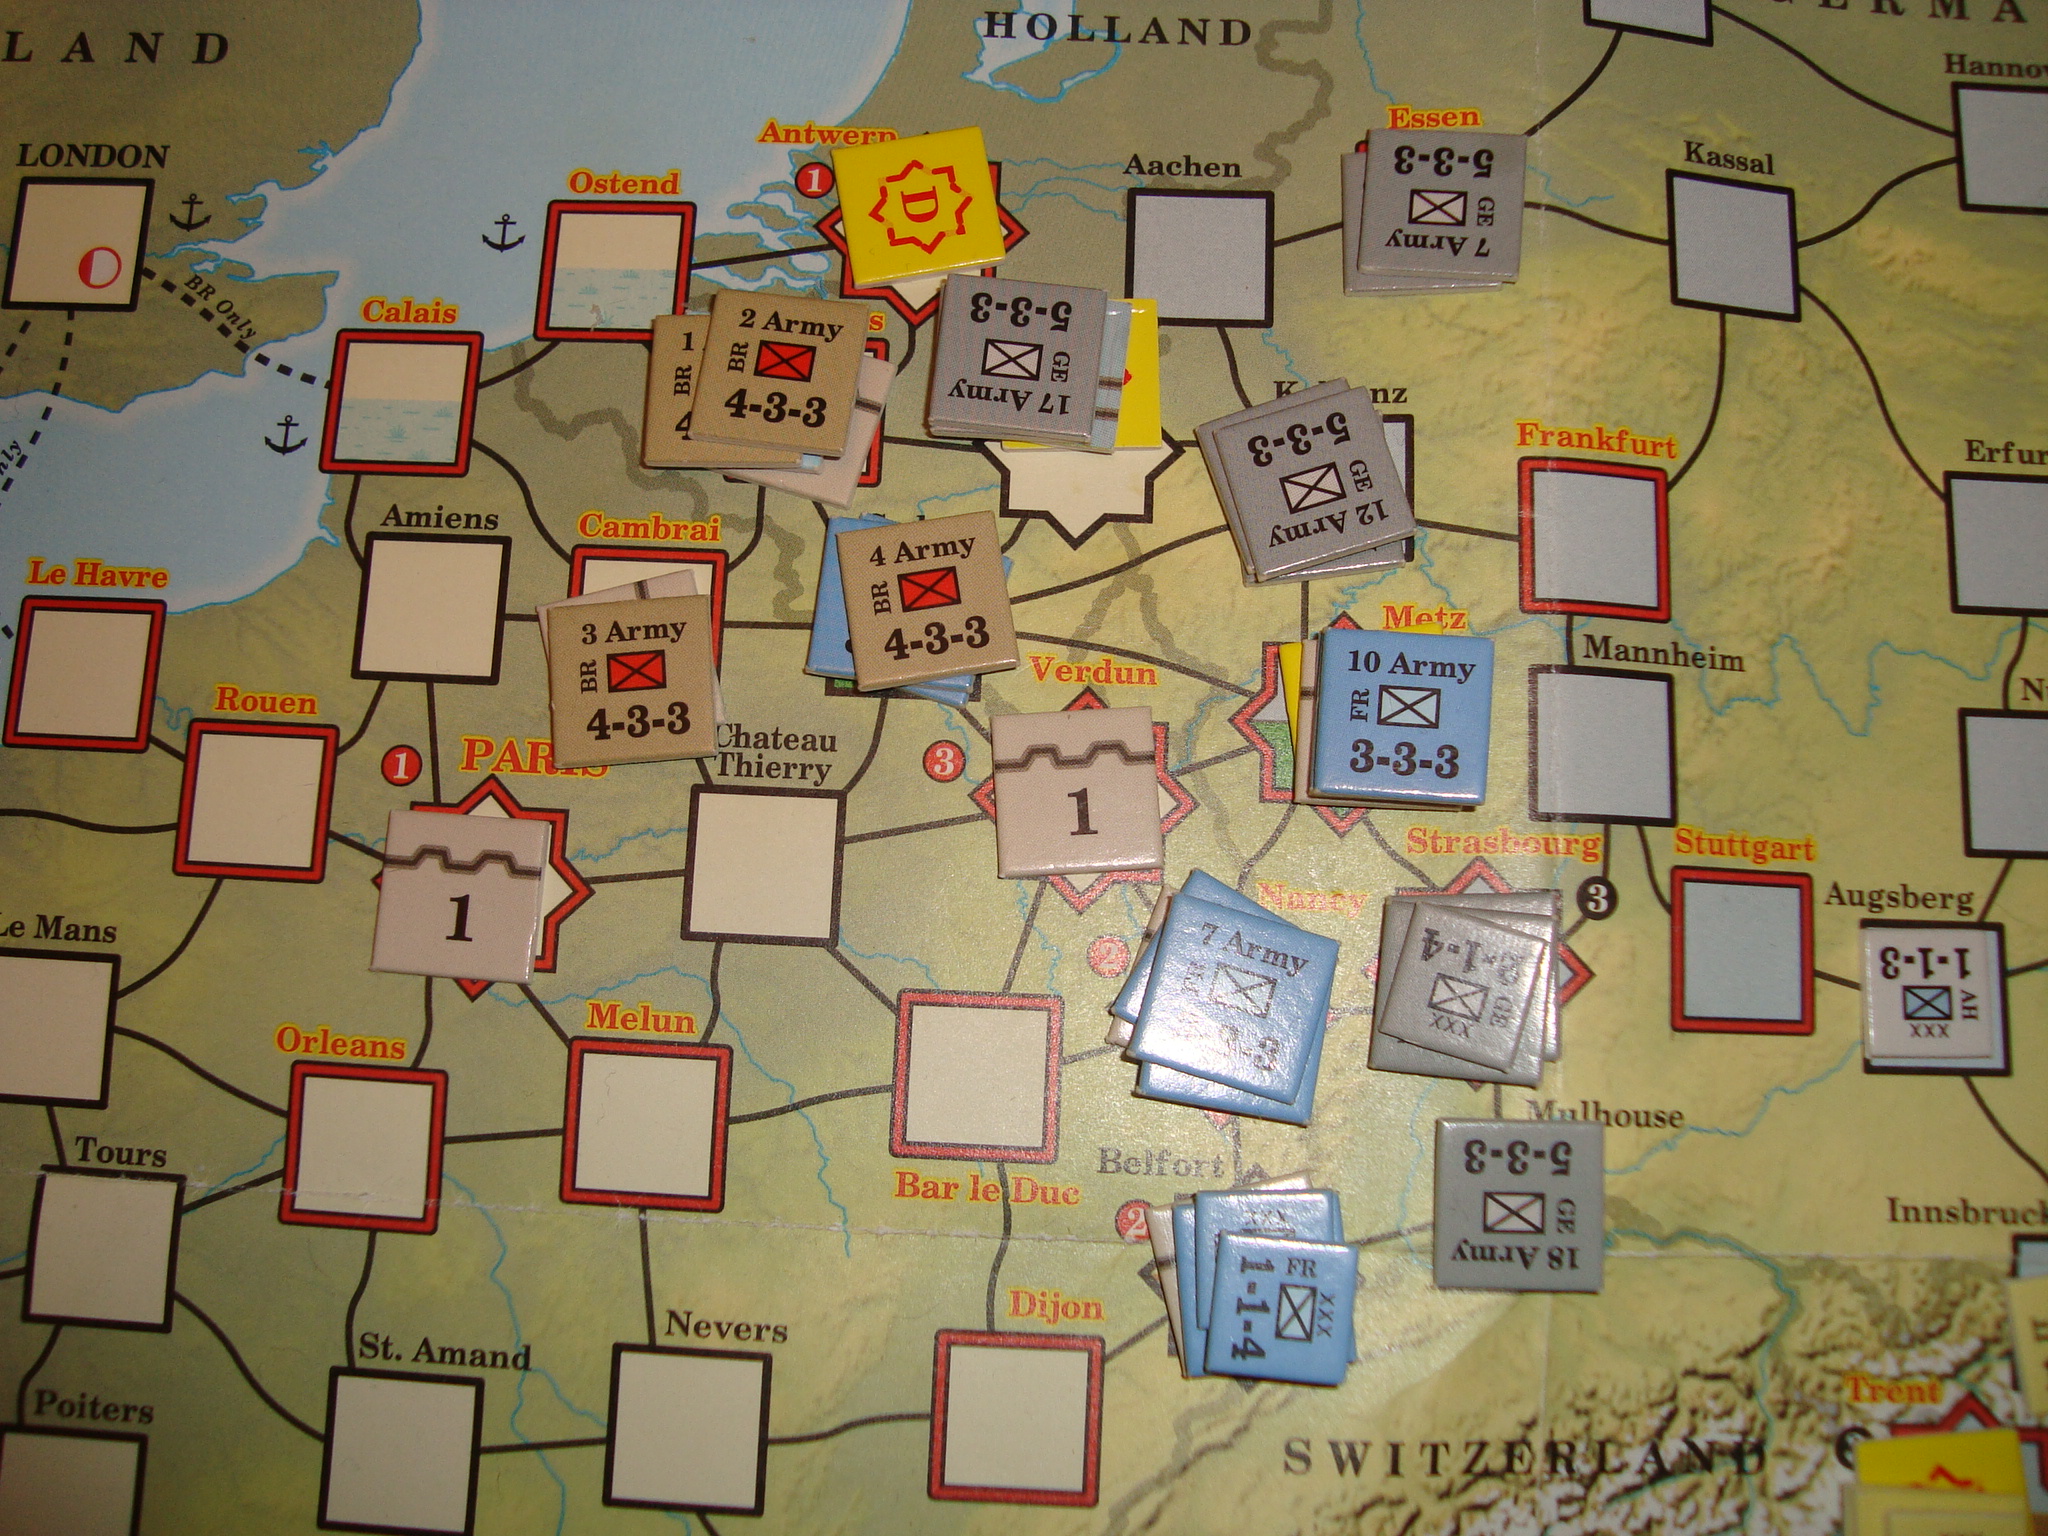
I managed to bungle the first few turns by misplaying the Falkenhayn card. This is a critical card that not only allows German forces greater operational flexibility but, when combined with combat cards, allows for a devastating attack on French fortresses.
Having missed that opportunity, I began to entrench along the Western Front. My efforts were generally successful, but set an ugly precedent for die rolling. To successfully entrench, one needs low die rolls. Unfortunately, this low rolling continued during several later critical combats where high D6 rolls are needed.
Frustrated in the West, I turned my attentions Eastward. Here, Tim had driven back my Austrians and it was only through some fortunate card draws for Austrian reinforcements, as well as a shifting of German troops to the East, that the front stabilized.
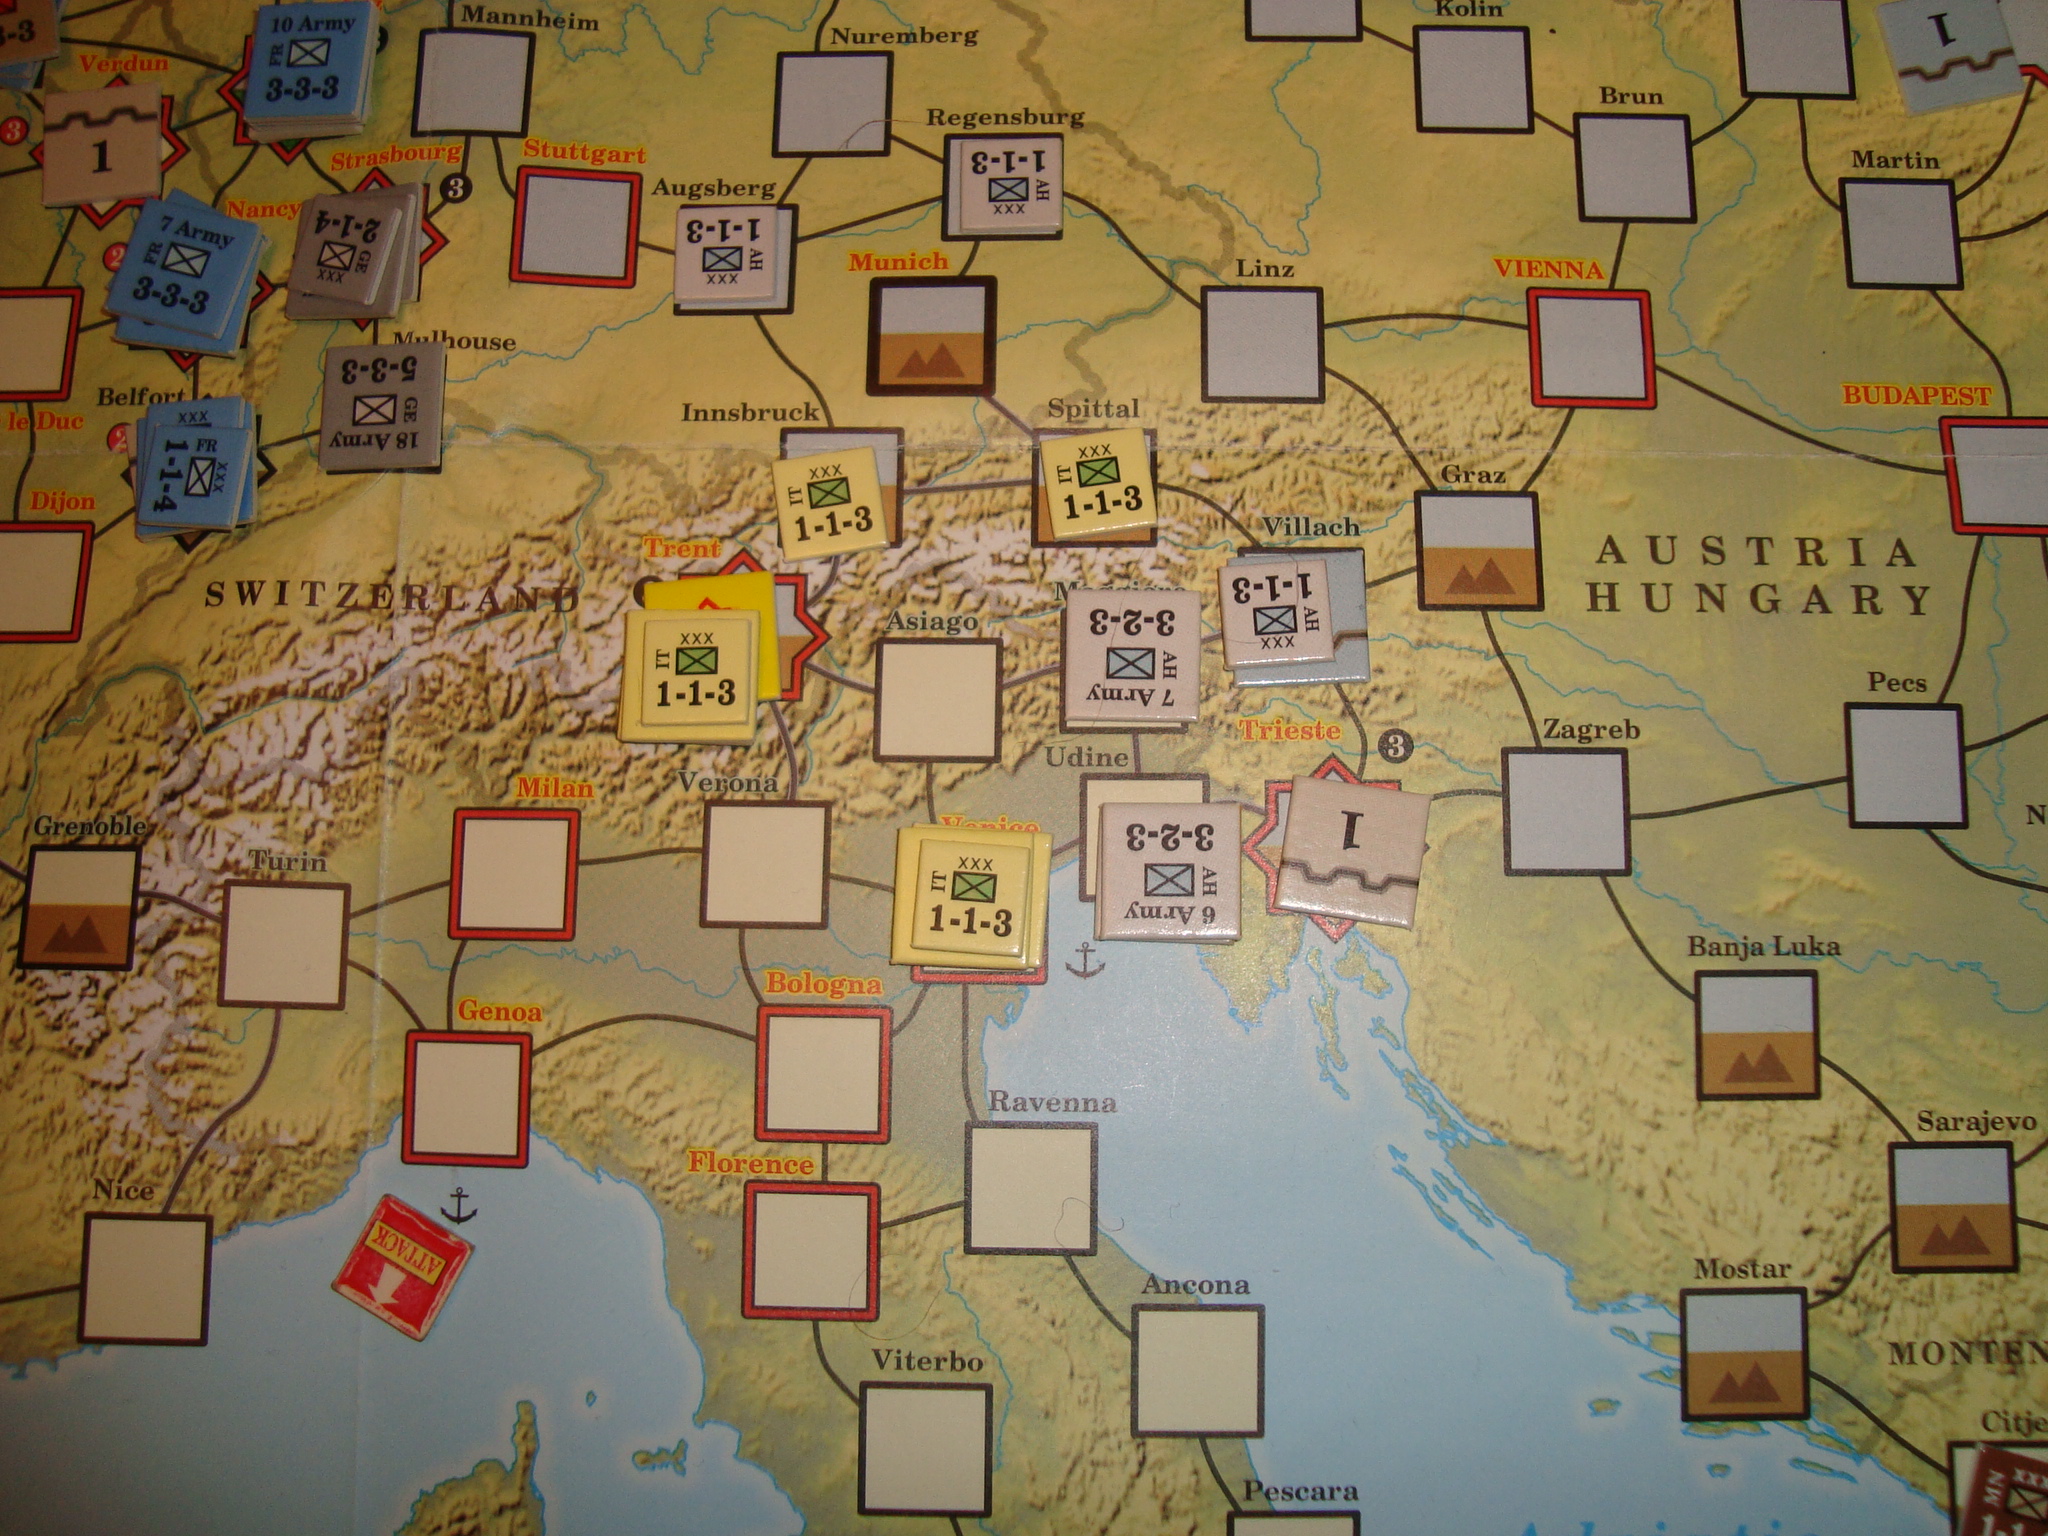
Stymied, I had no choice but to unleash the Mad Dog Bulgarians. Tim countered the threat posed by this crew of corps-sized-ants, by bringing Italy into the war. His lightning campaign in the Alps threatened Munich and Strasberg (!!!!!) forcing a southwestward shift of the already over-extended Austrians.
While this farcical sequence of Balkan events was taking place, Tim began a series of attritional attacks in the West. Ignoring howls of protest from Paris, and accusations of genocidal Francophobia, Tim took a page from the Neville playbook and relied on the French Army to repeatedly pound the heavily improved German positions in Flanders. These attacks liberated Brussels, and forced me to once again use strategic cards for operational replacements.
The result was no Russian Revolution. The revolution requires the play of a sequence of cards after a certain level of victory points have been attained. Use the card(s) for other than the intended purpose(s) and the sequence is delayed until the deck is exhausted and reshuffled.
I still pursued an eastern strategy, and even managed to isolate Riga while advancing deep into northern Russia. However, these gains could not be followed up given the need to create replacements and feed Tim’s Western Front meat grinder.
We shut it down at the beginning of the Winter, 1918 turn. While the issue hung in the balance, Tim definitely had the operational edge. My only real hope of victory was to somehow draw the right Russian Revolution cards, releasing German troops for the Western Front, and Austrians to deal with the Balkans and Italy.
Unfortunately, all of this was about three turns too late, and required just a little too much luck. Sounds kinda familiar, doesn’t it?
Here’s a few photos of the situation, by front, at Journey’s End.
Middle East: Not much going on hereThe Balkans: AntroicideRussia: Bogged DownItaly: Arditi and Bersaglieri in Munich?Western Front: Attrition
Finished up “The Hardest Days” scenario. Lots of fun.
Like many solitaire games, RAF is process oriented. The turn sequence mechanics are the crux of the game, with player decisions taking far less time than in a typical multi-player game.
The obvious reasons are the low counter density, and the player’s active involvement with counter movement is limited to the RAF. Another reason is that many of the mechanics are card driven, without the usual wristage.
The lessons learned during this play through were to take full advantage of the ability of adjacent sectors to patrol in those sectors most threatened, that at least once a day you just have to take a beating, and use everything you can on the last raid of the day.
Squadrons in adjacent sectors can augment patrols. This is a far better use of these assets than waiting for a favorable warning situation which allows the employment of adjacent squadrons in the target sector,.
With followup raids and limited time advances, the RAF will have at least one turn when most of its assets are either landing or rearming. Sending up a single squadron to contest a raid is suicide, so it is best to just sit back, get bombed, and wait until your grounded aircraft become operational.
By the 1800 turn (last of the day), the Luftwaffe has few assets remaining. This can be especially true for fighters. That last raid may comprise only a couple of escorts. If the RAF commander places all of his available assets on patrol, the chances are that he can achieve air superiority for that interception and really do some damage to the bombers. This tactic is so effective that there is actually a rule limiting the number of patrolling squadrons for the 1800 turn.
My game ended in a draw. I might just try the campaign scenario which adds several layers of chrome. Why not?
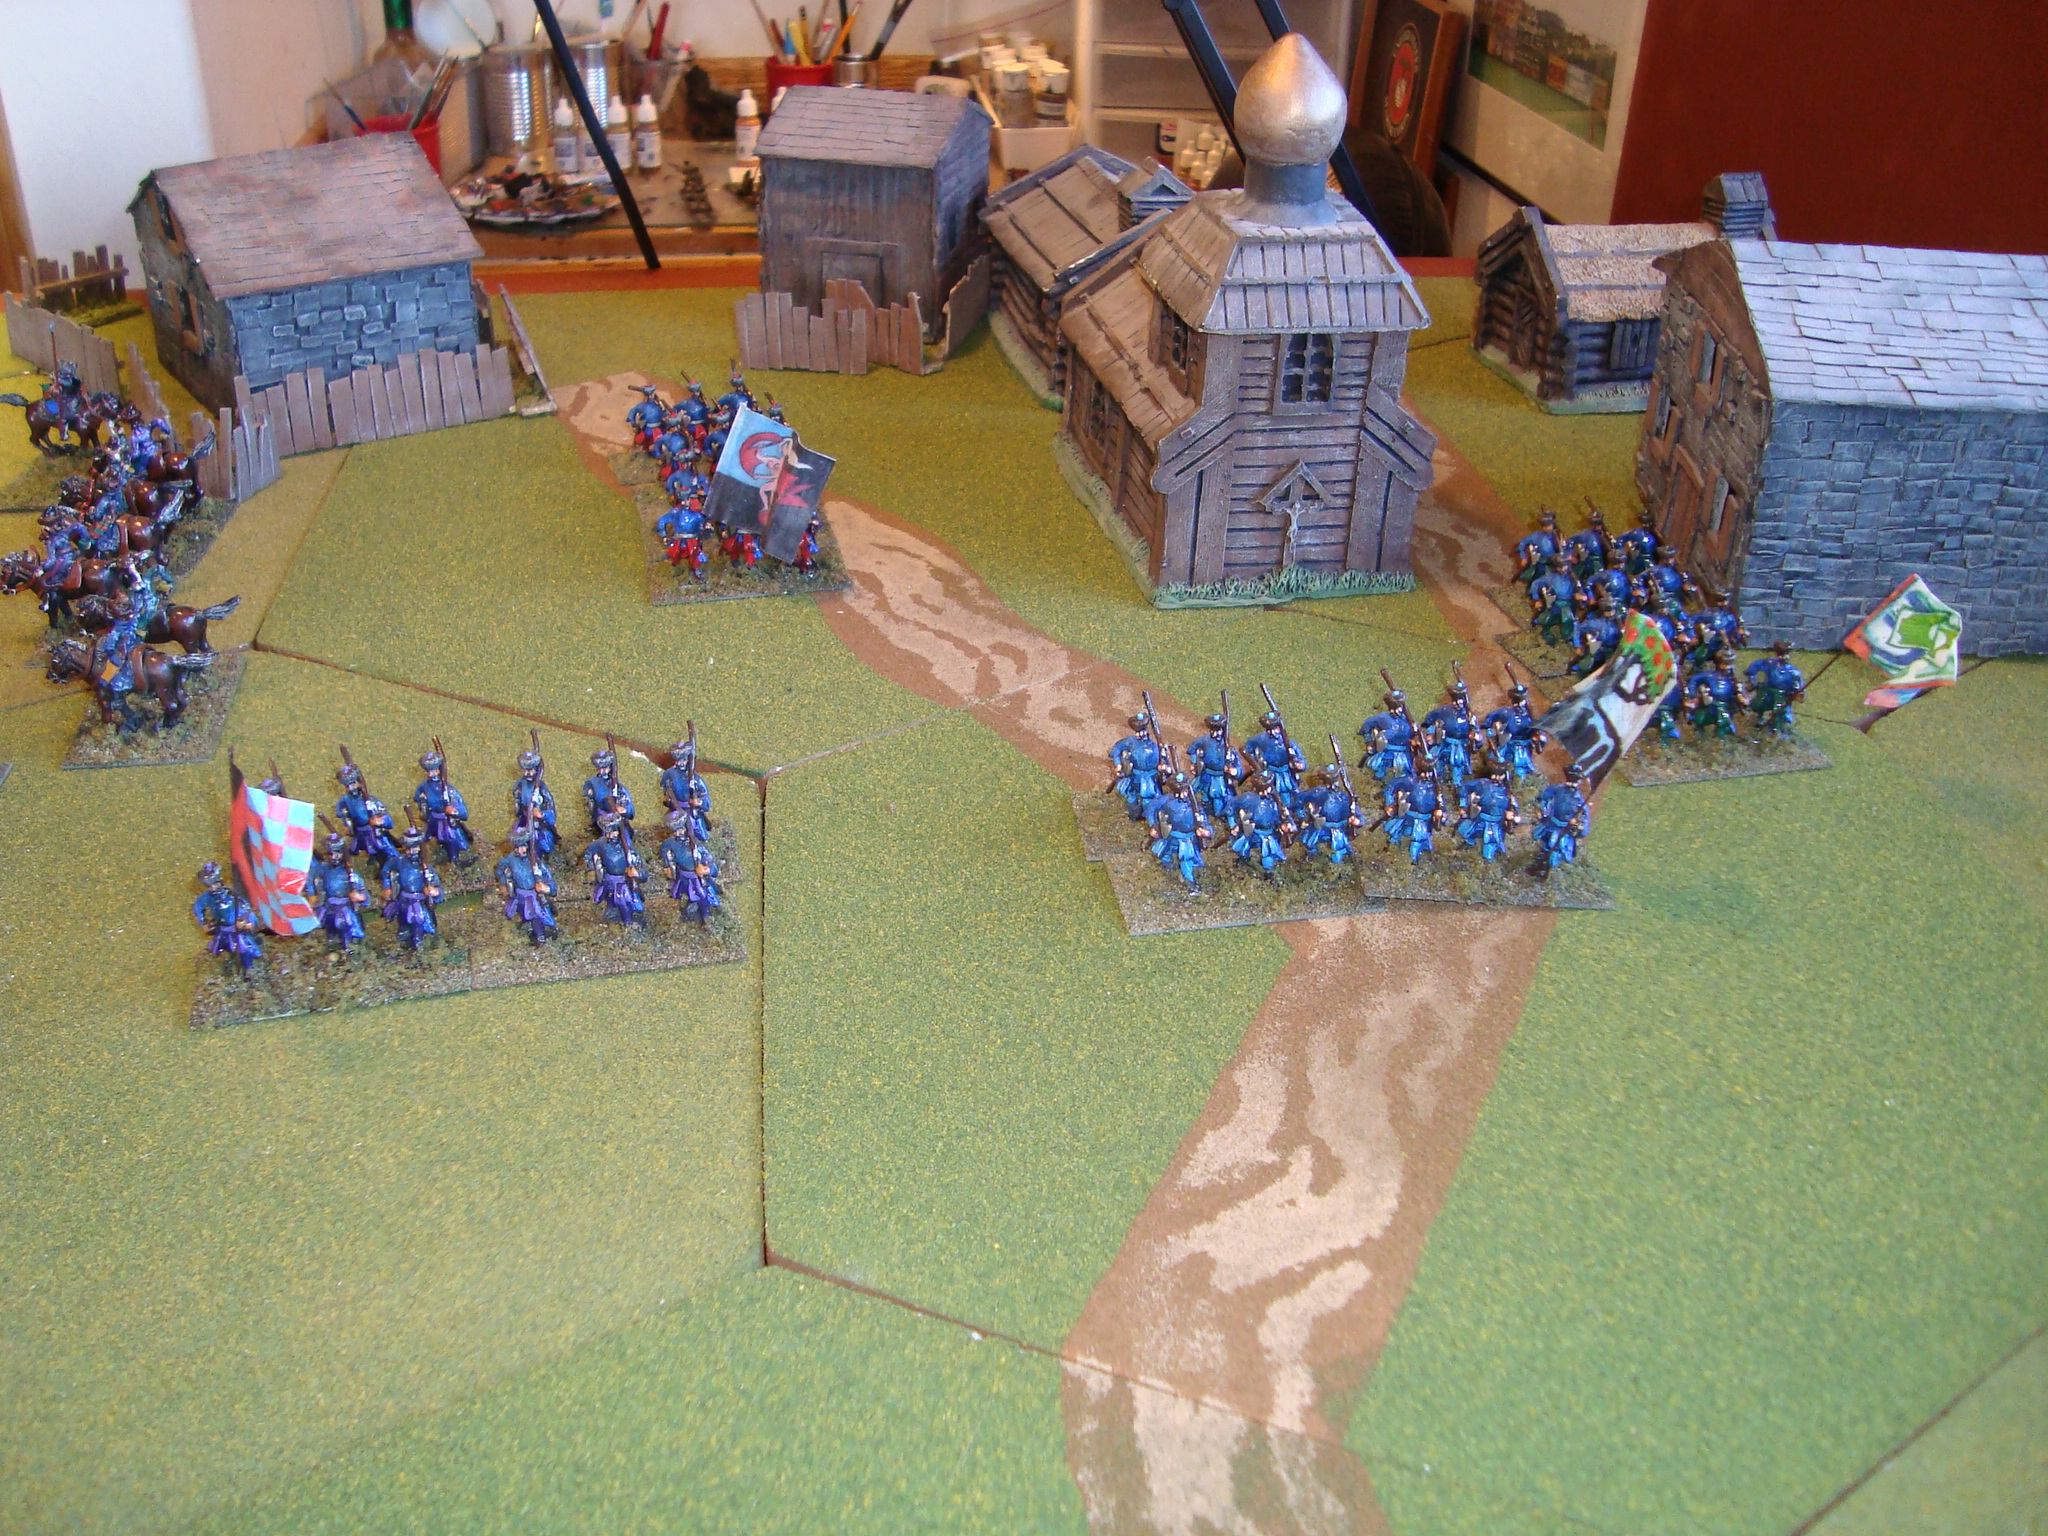
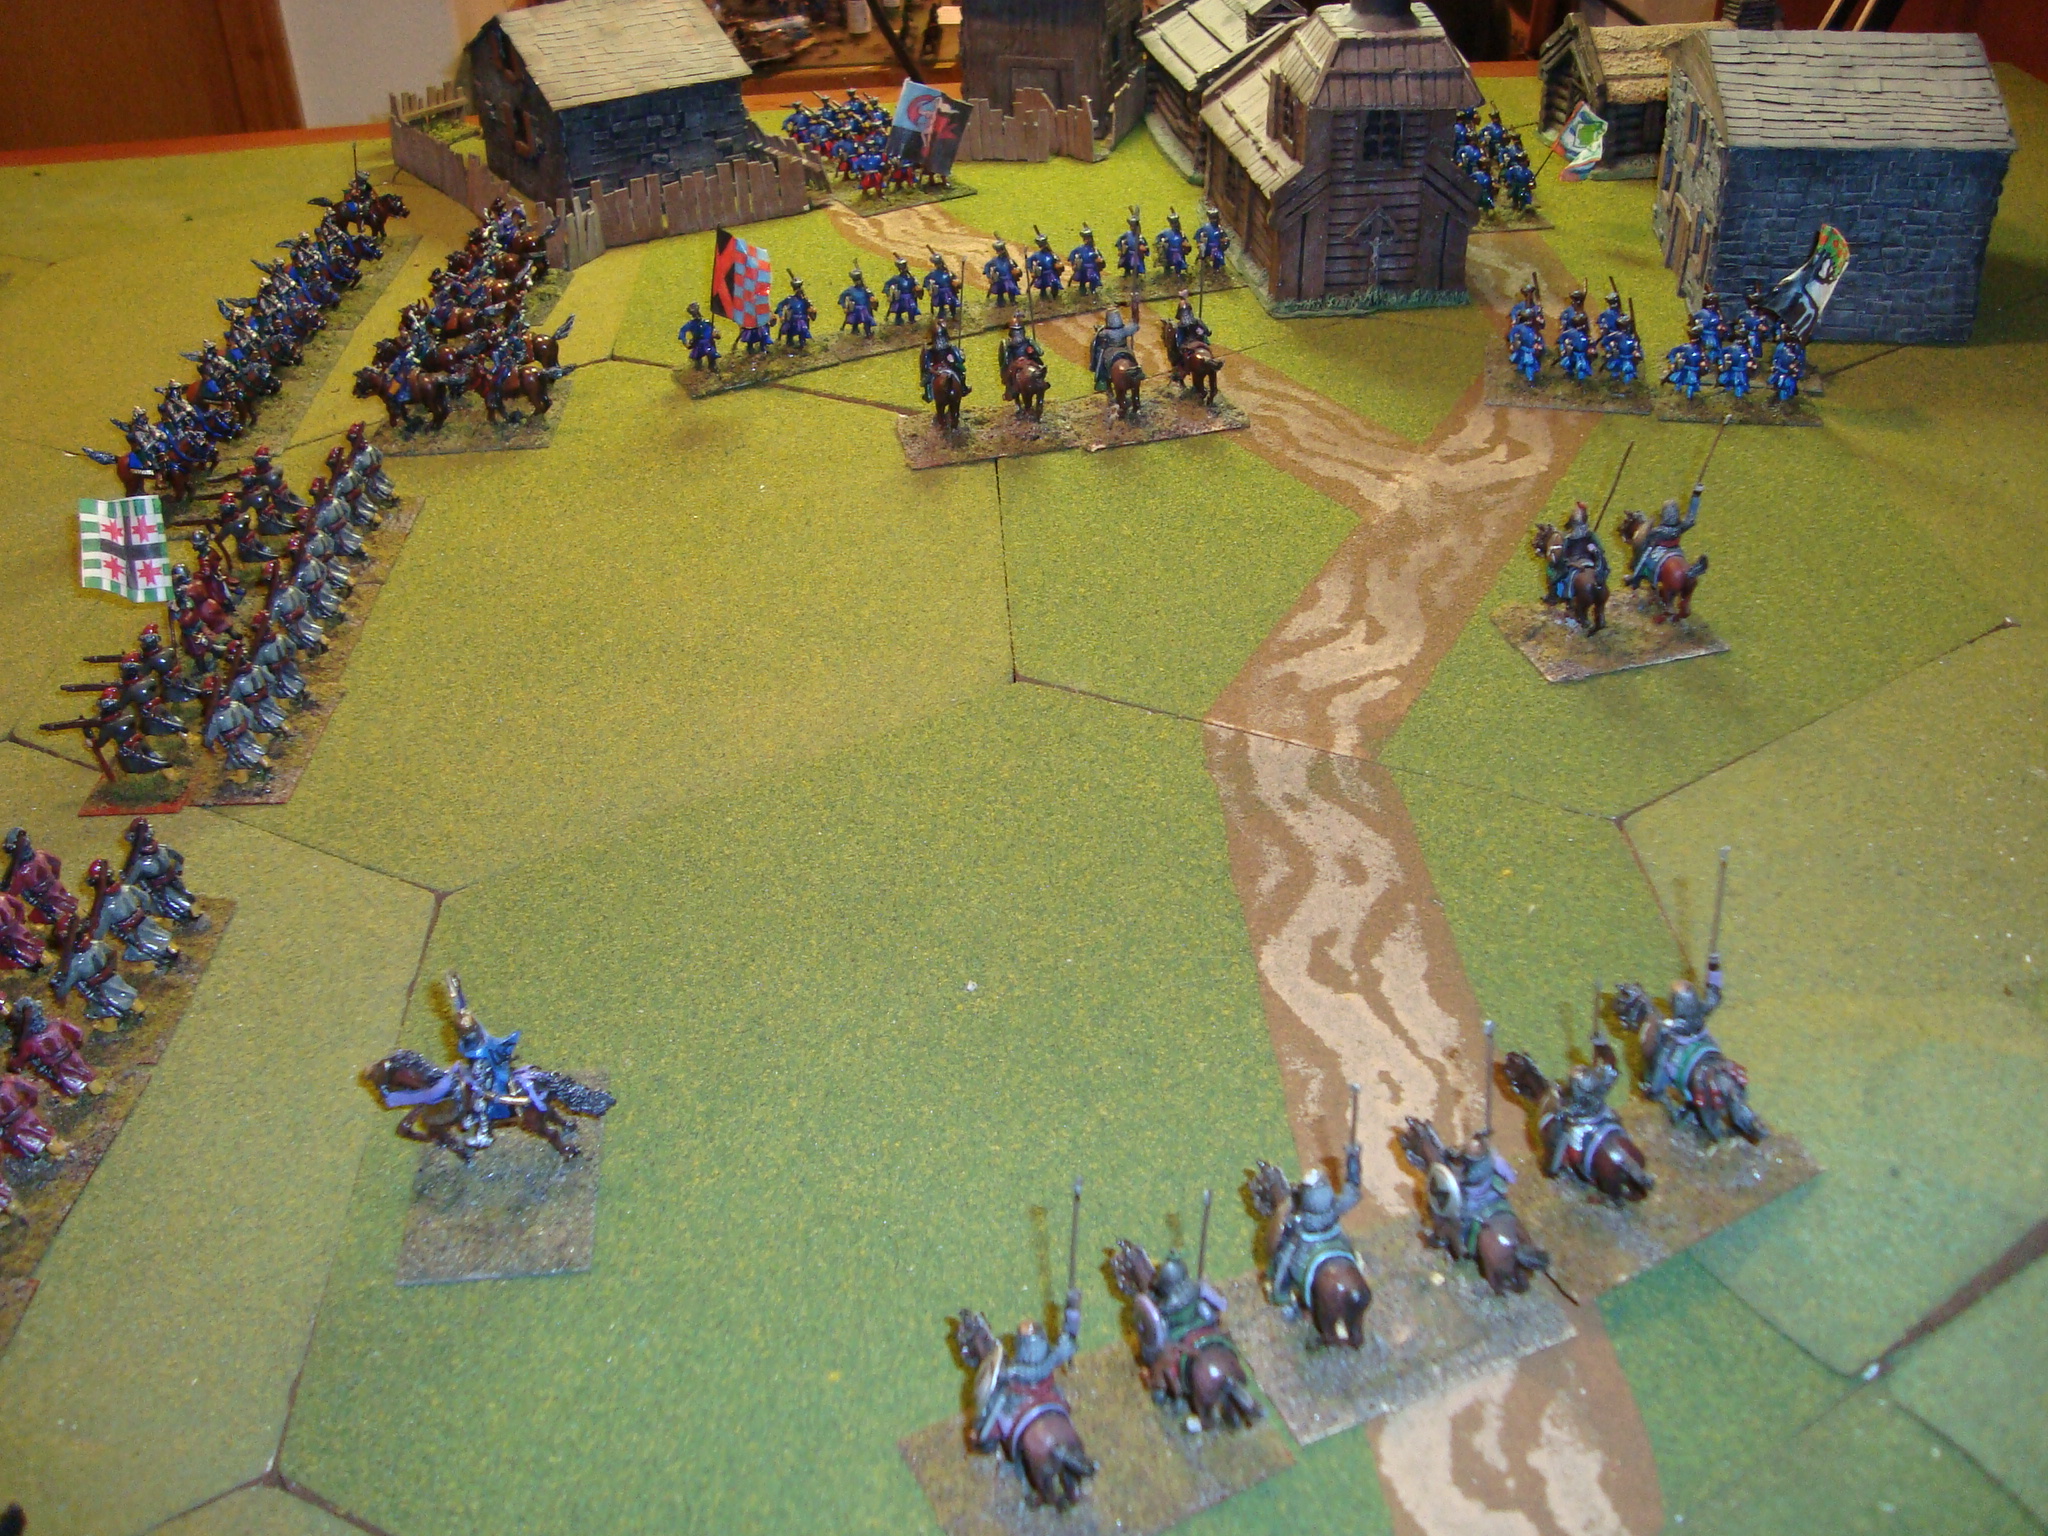
What a dog fight! The Poles right wing is shattered, with Tartars enveloping that flank. However, the Dvor Sipahis’ attempts to repulse the Polish Haiduks threatening the Russia rear failed.
The Polish cavalry are now a beaten command, with only the Hussars having a reasonable chance of being steadied. The left flank Pancerni have been attrited and the light cavalry is incapable of any real resistance.
With all that, I still might play a couple more turns to see how the doughty Haiduks fare.
Haiduks DeployPolish Right is Shattered. Russian Cavalry Begins EnvelopmentRussian Dvor Sipahis Regroup After Being Repulsed By Haiduk Musketry
Solo war gaming can be either mundane or chaotic. This is the latter.
Poles right flank caves in and losses mount, with center Hussars in disarray due to musketry. Still some hope, as Haiduks and Pancerni attack on the left. A wacky tactical revolving door.
Polish Right Flank: ProblemsPolish Left Flank: Haiduks Deploying and Pancerni Ready To ChargeView To The West: Russians React and Poles Hope
Finally comfortable enough with the rules to start the “Hardest Days” scenario. This is a highly regarded solitaire game with great reviews. I started out with “Lion”, playing the British.
For a solitaire game, it has a relatively low level of wristage. The game process and progress is, to a large degree, driven by cards; for targets, raid size, raid strength, approach events, target events and passage of time during a raid “day”. Dice rolling is limited to combat results, bombing results, British ability to respond to attacks and weather.
Unlike many other games, the end of a raid does not mean the time clock advances. There can be raid somewhere else over England, or a followup raid on the target just attacked. Have a couple of “0” time advance results, and it makes for a damn long turn, and day.
As a result, the RAF is stretched thin and beat up from the get-go. Their warning system is not good, and this restricts the ability of the RAF to respond in any strength – from adjacent sectors – to a raid. Even a minor raid can leave the RAF out-manned, especially when a sector has been attacked several times during the day. In most instances, the RAF cannot even get to the bombers, having all their assets engaged by German “Hunter” gruppen.
The instructions advertise that the 5-Day, “Hardest” scenario can be played in three hours. Don’t think so. One day takes about an hour, and that’s now that I can play without my nose buried in the rules.
Gonna keeping hacking at it, and see if the game play speeds up. Keep hoping for those “2 Hour” time advance cards. Both the Brits and I need them!