Was able to play several turns of my Poles vs. Russians DBR game.
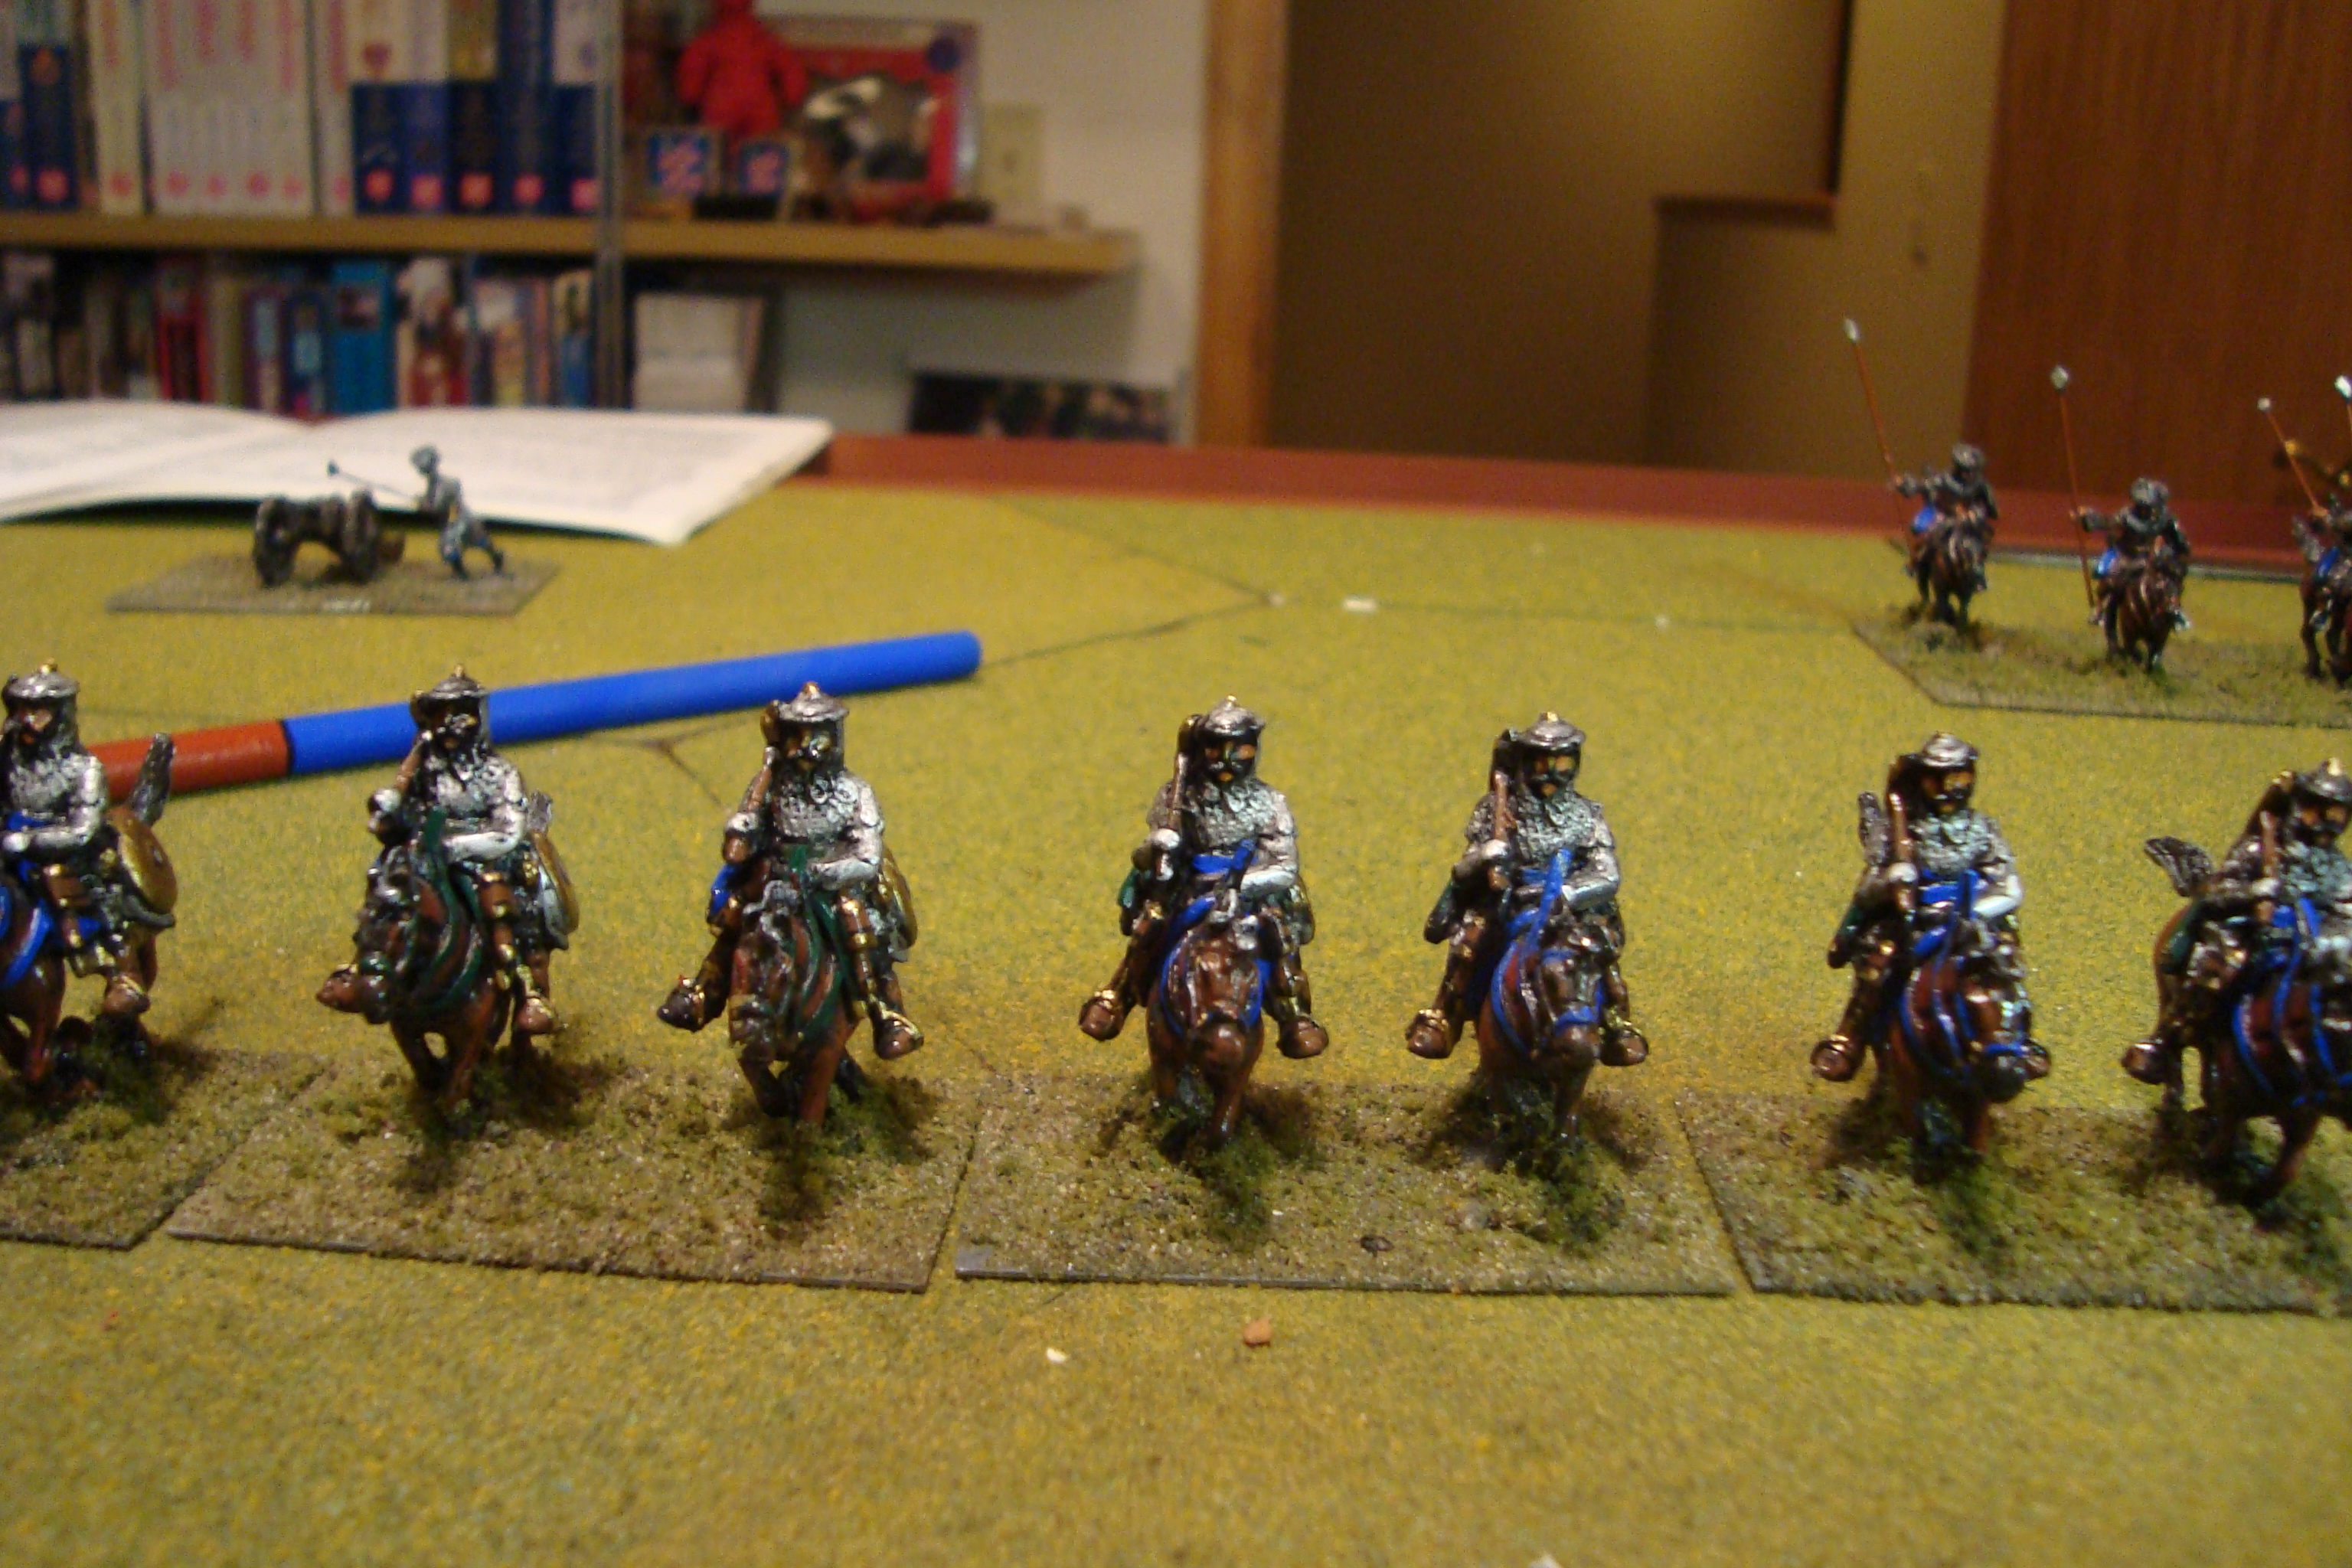
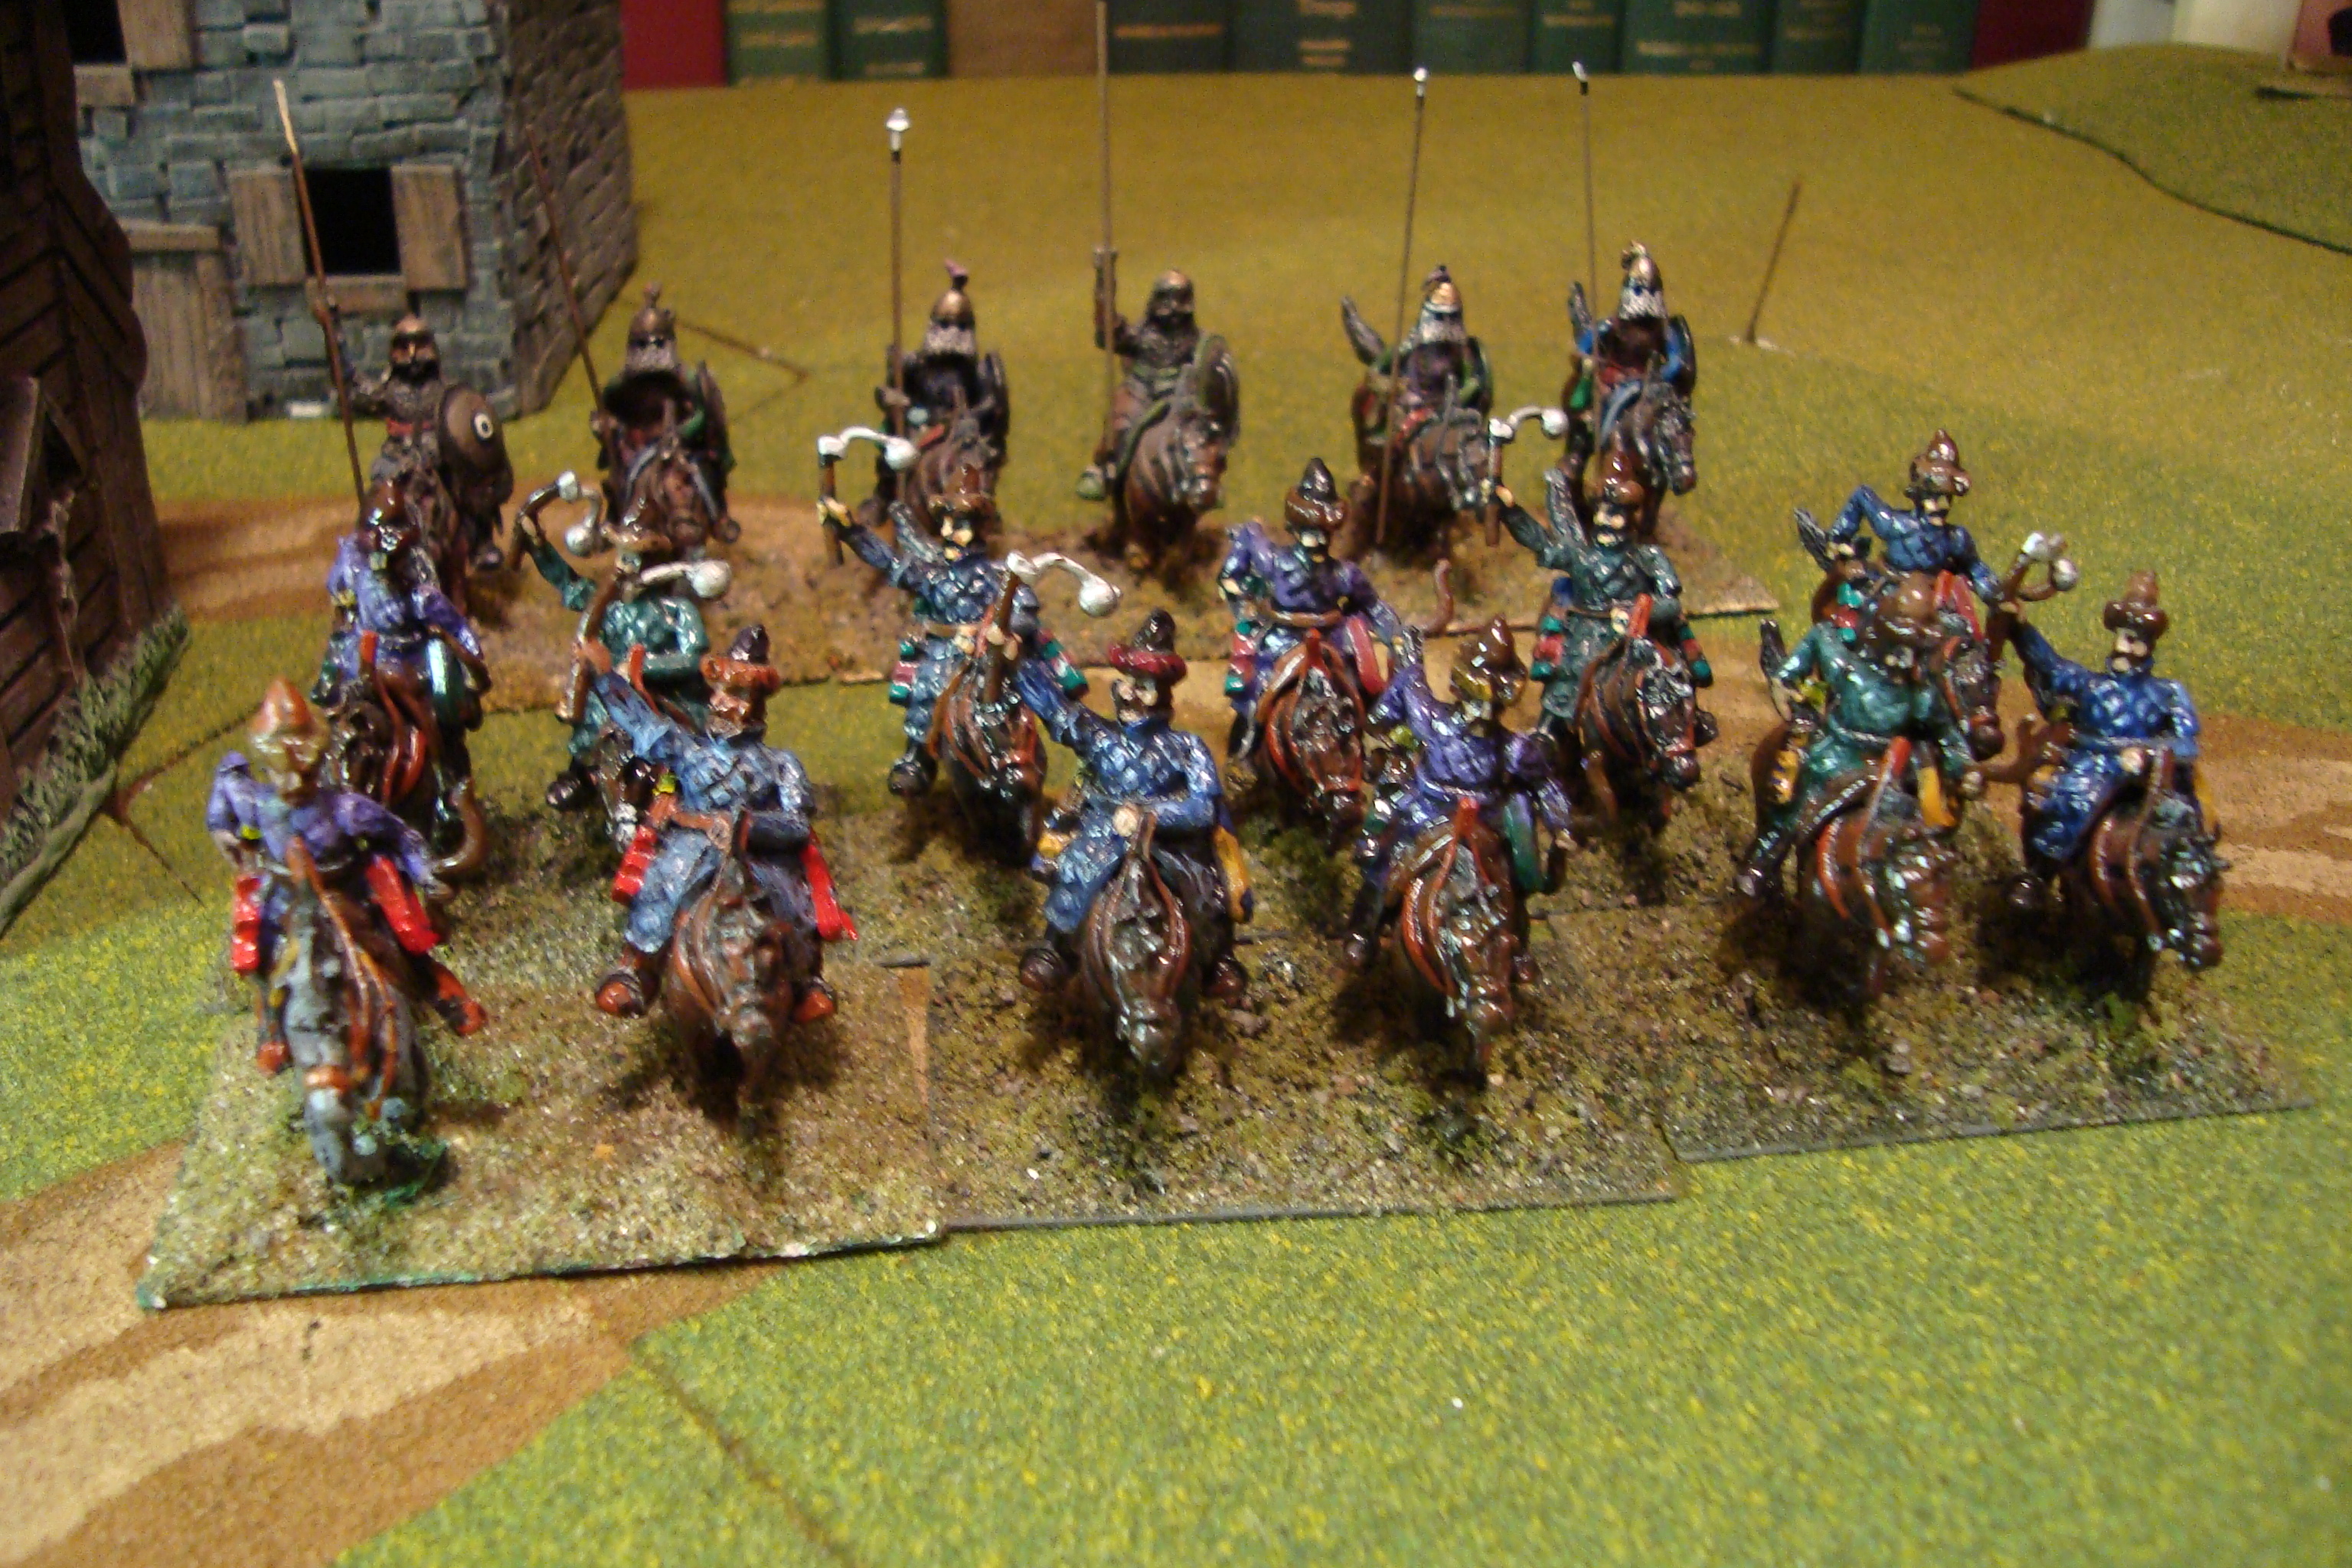
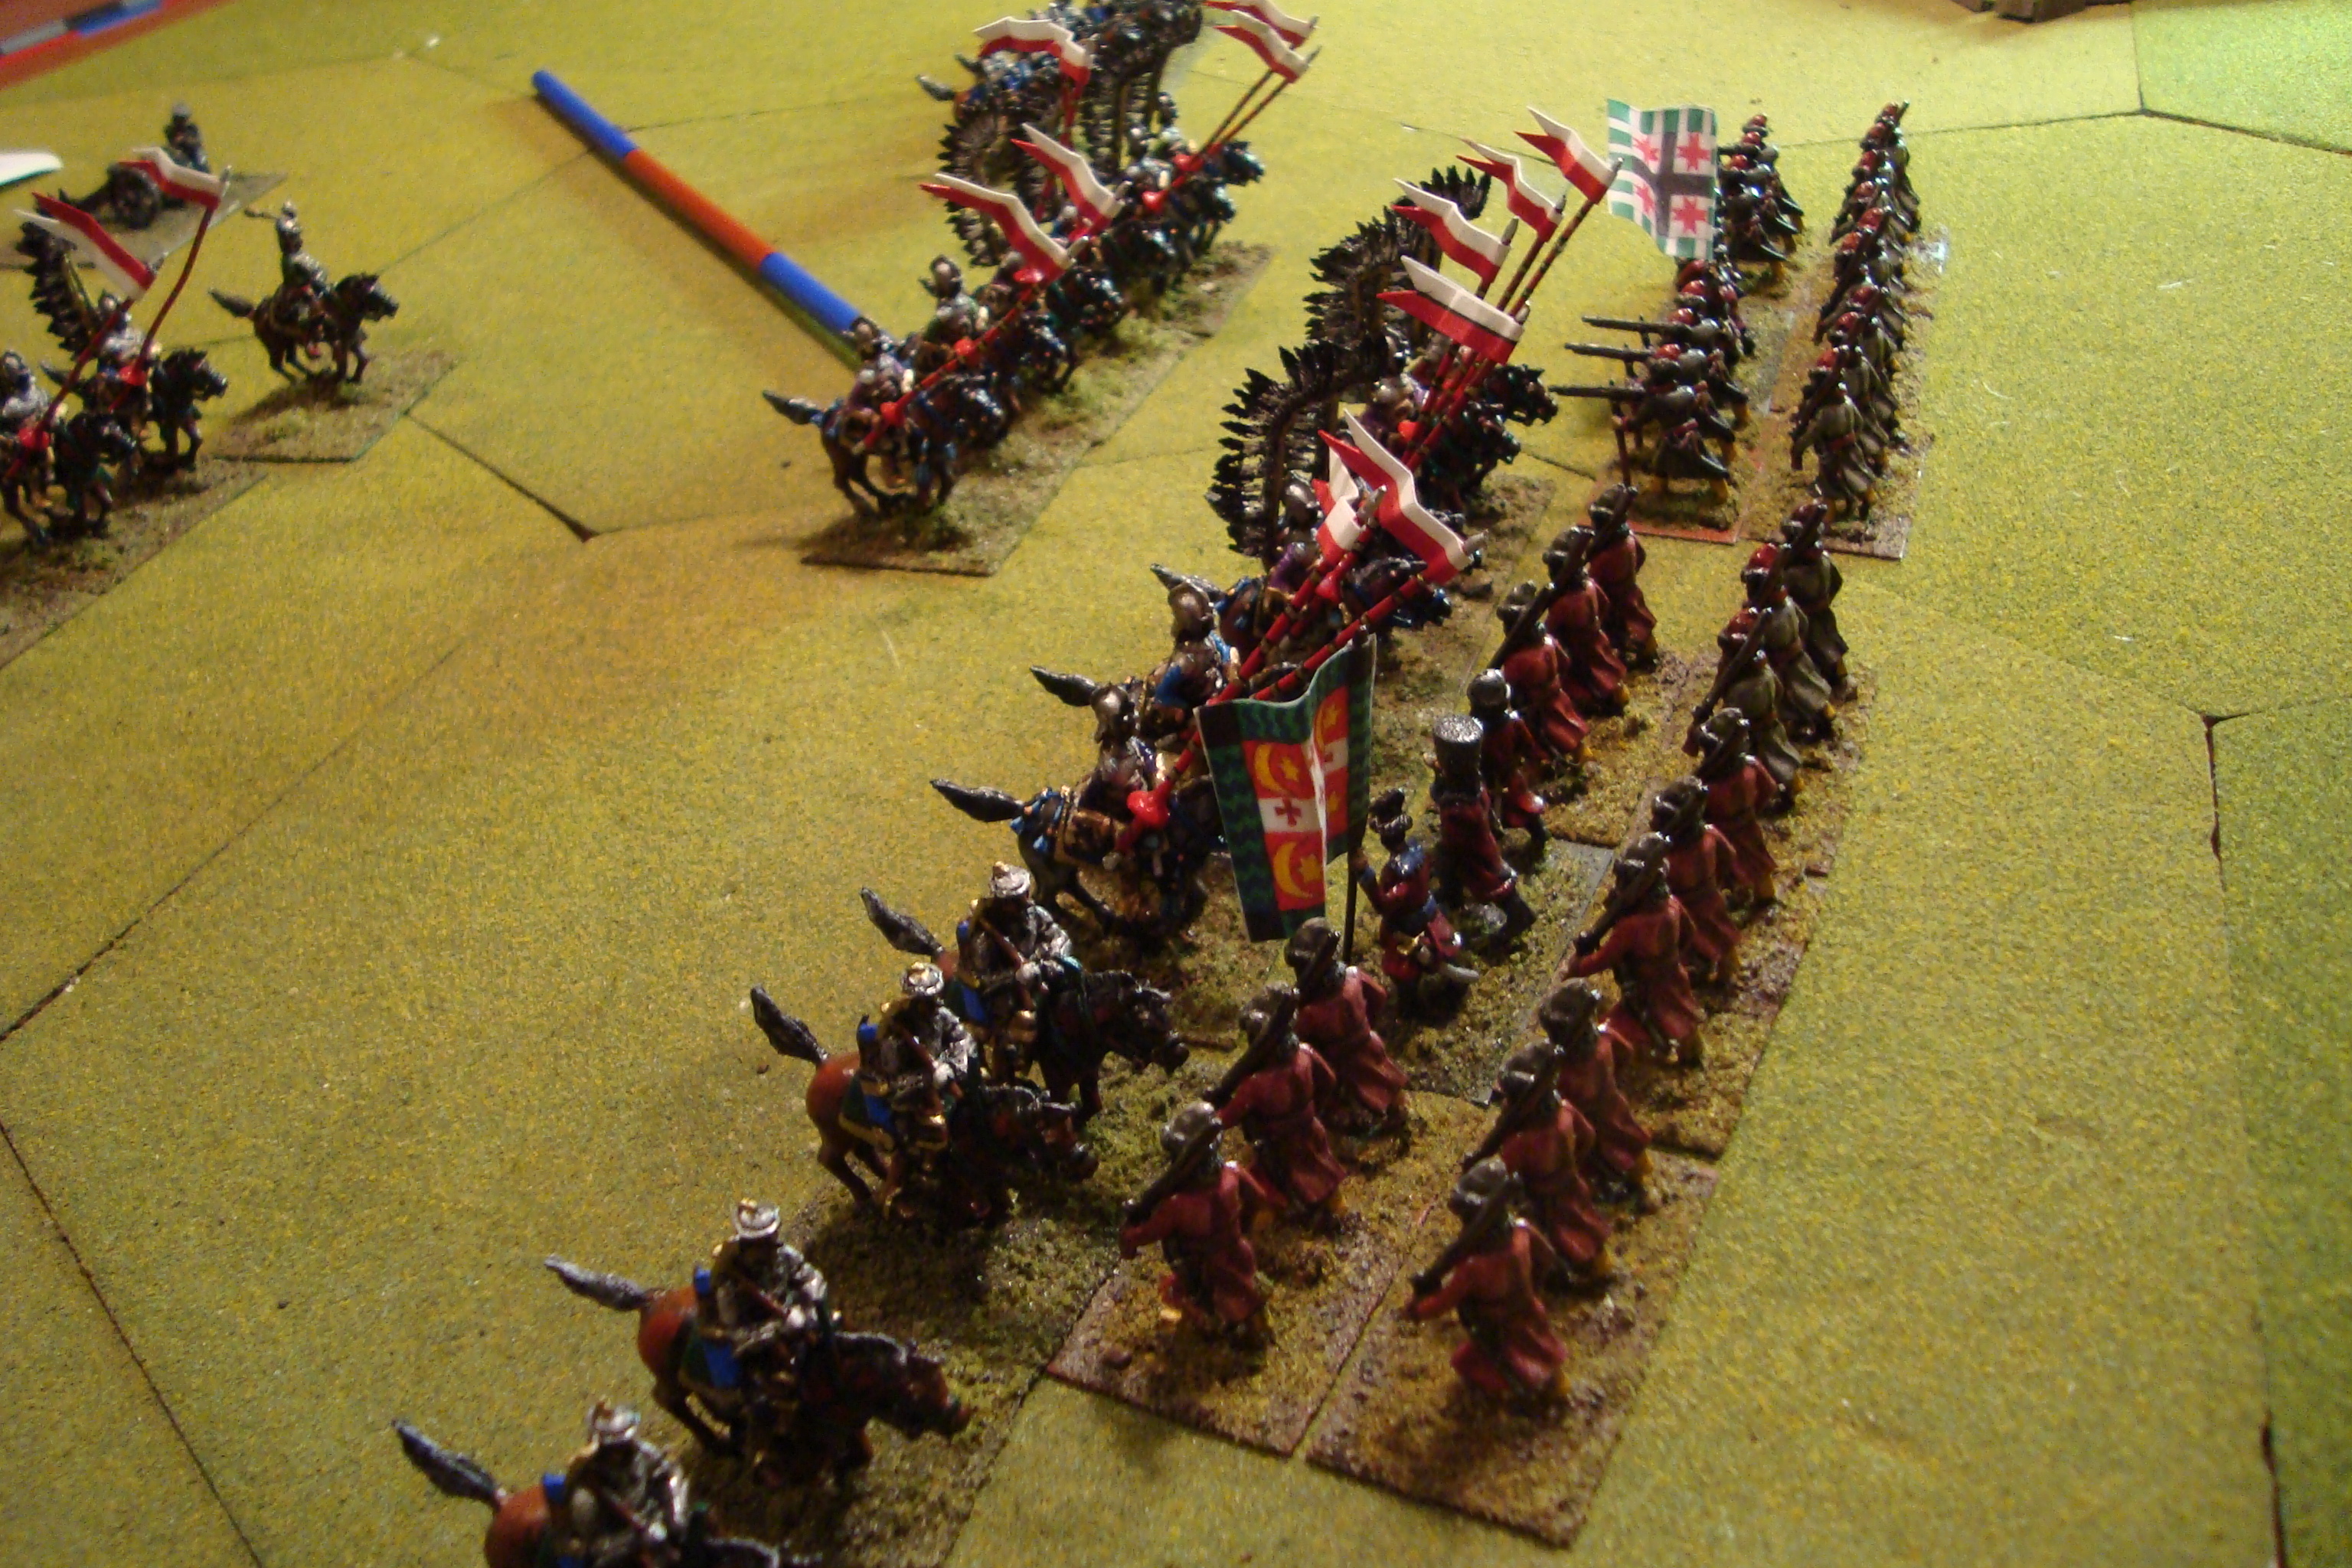
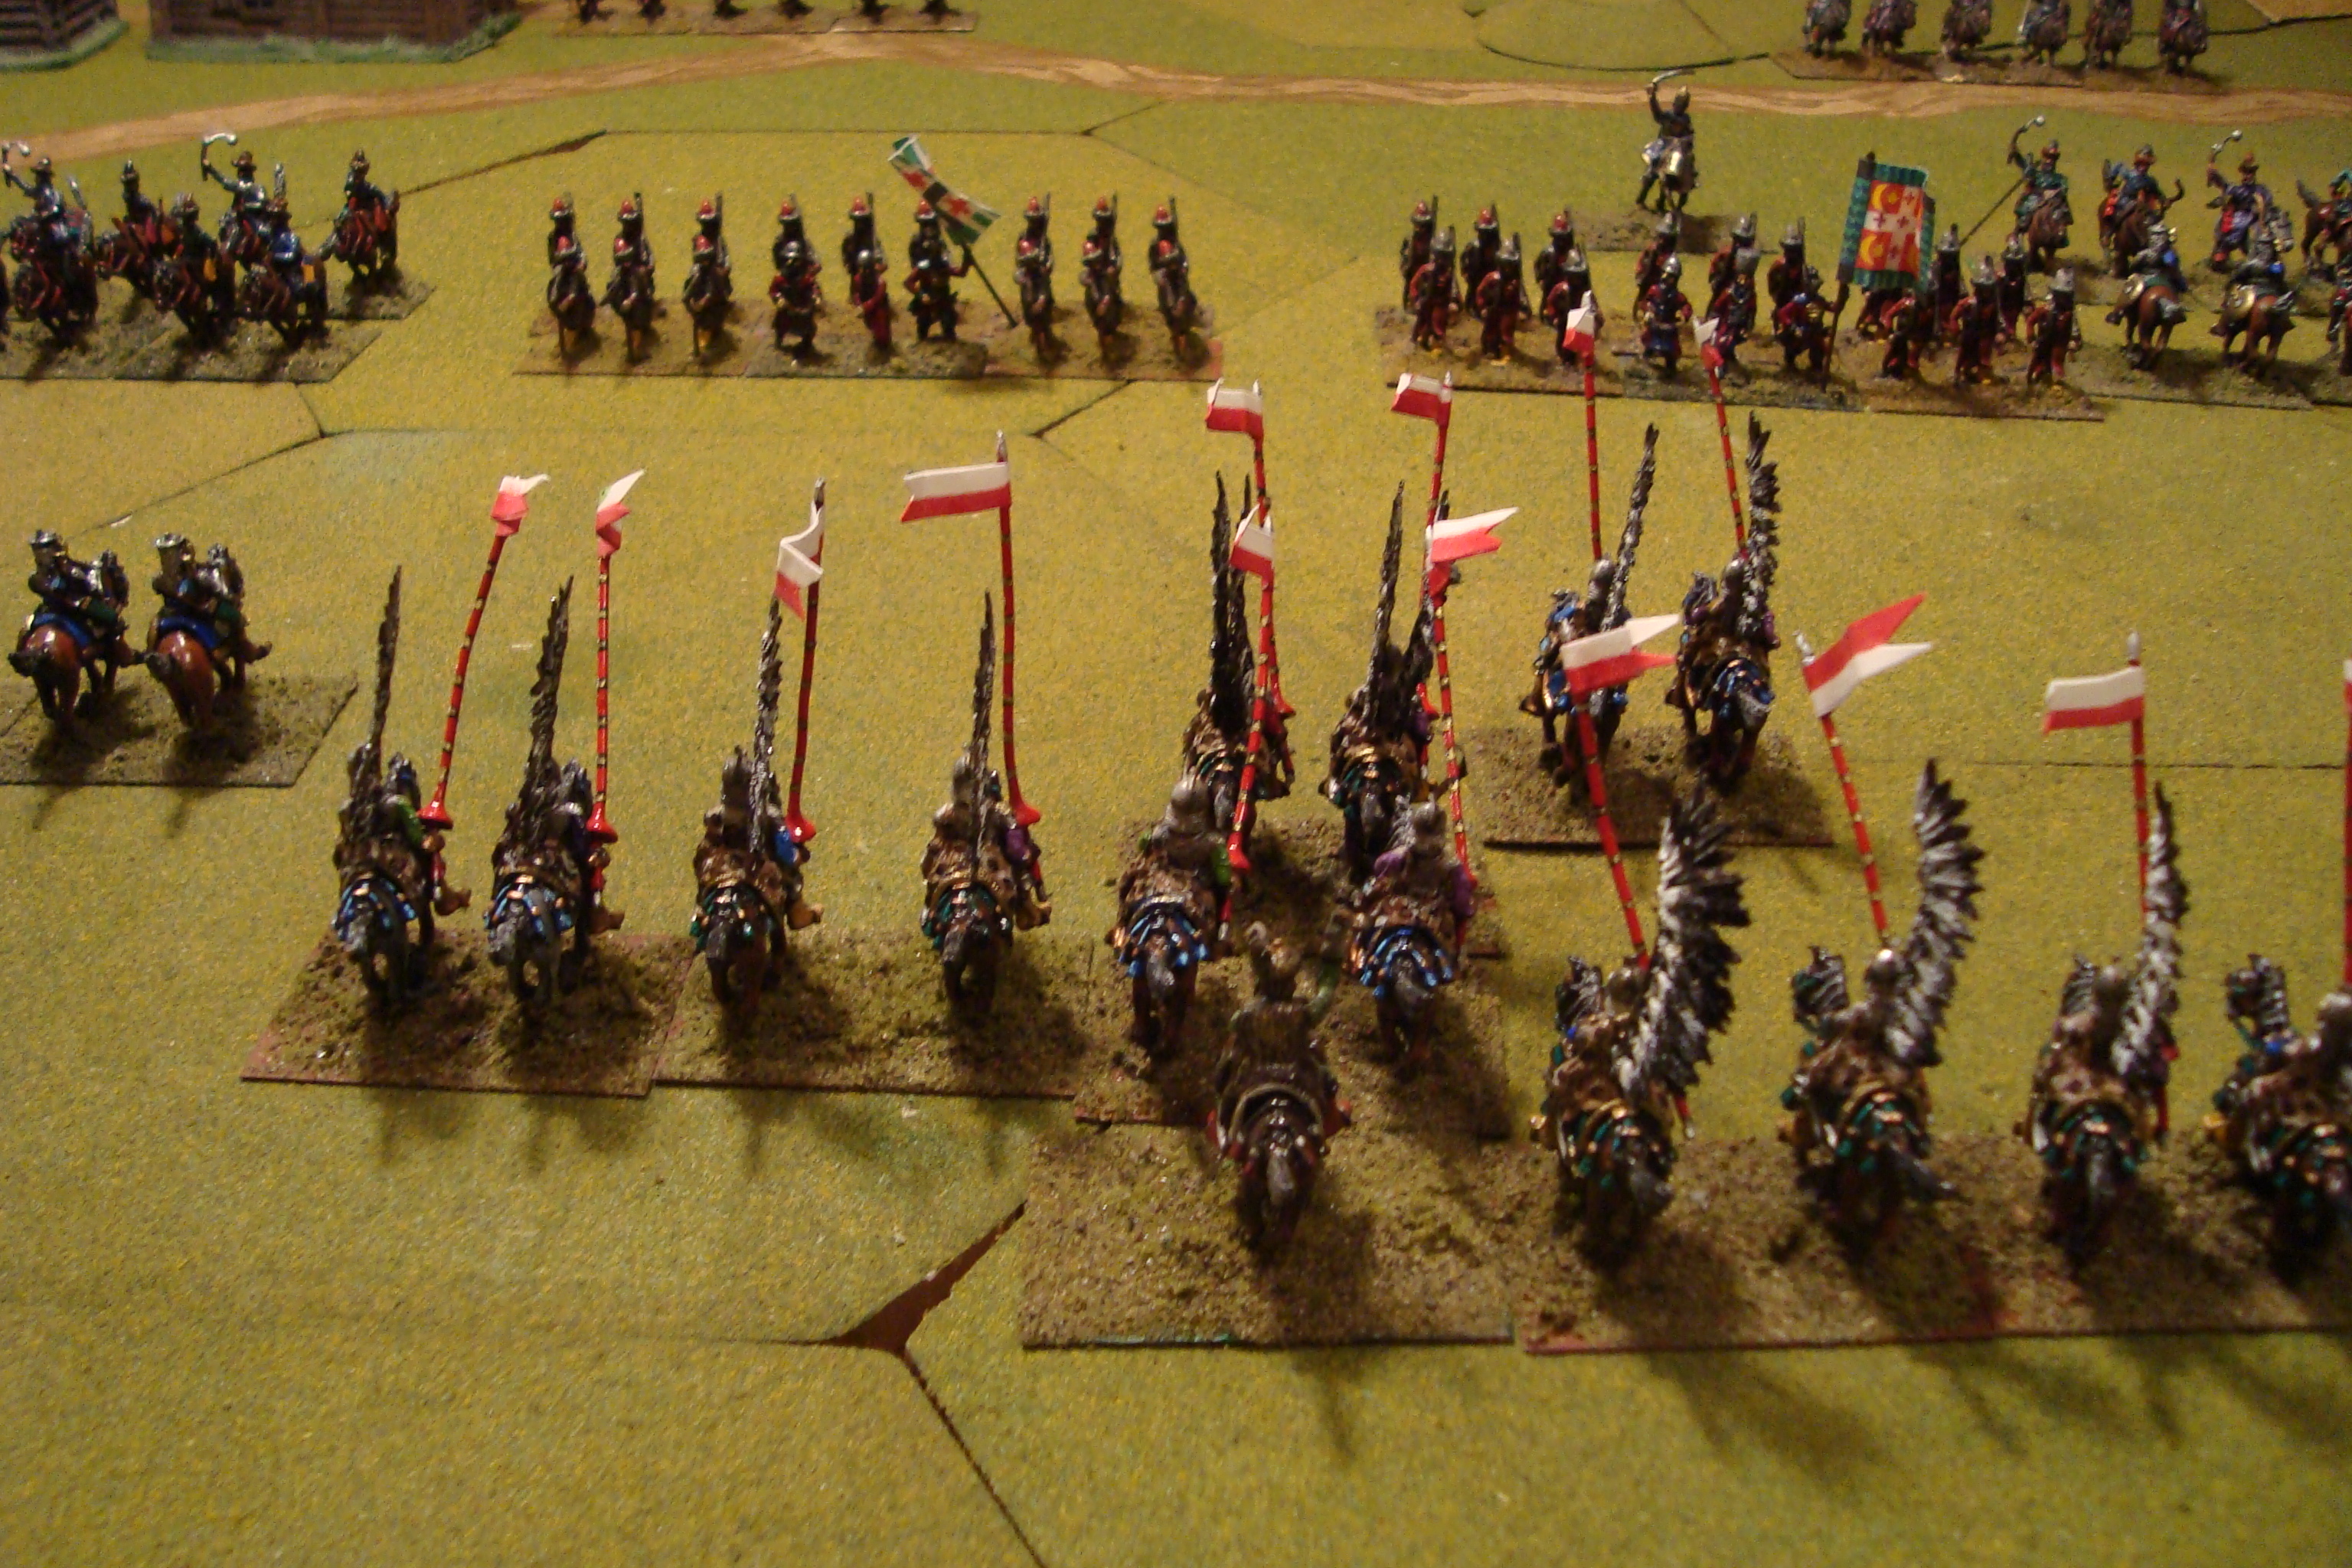
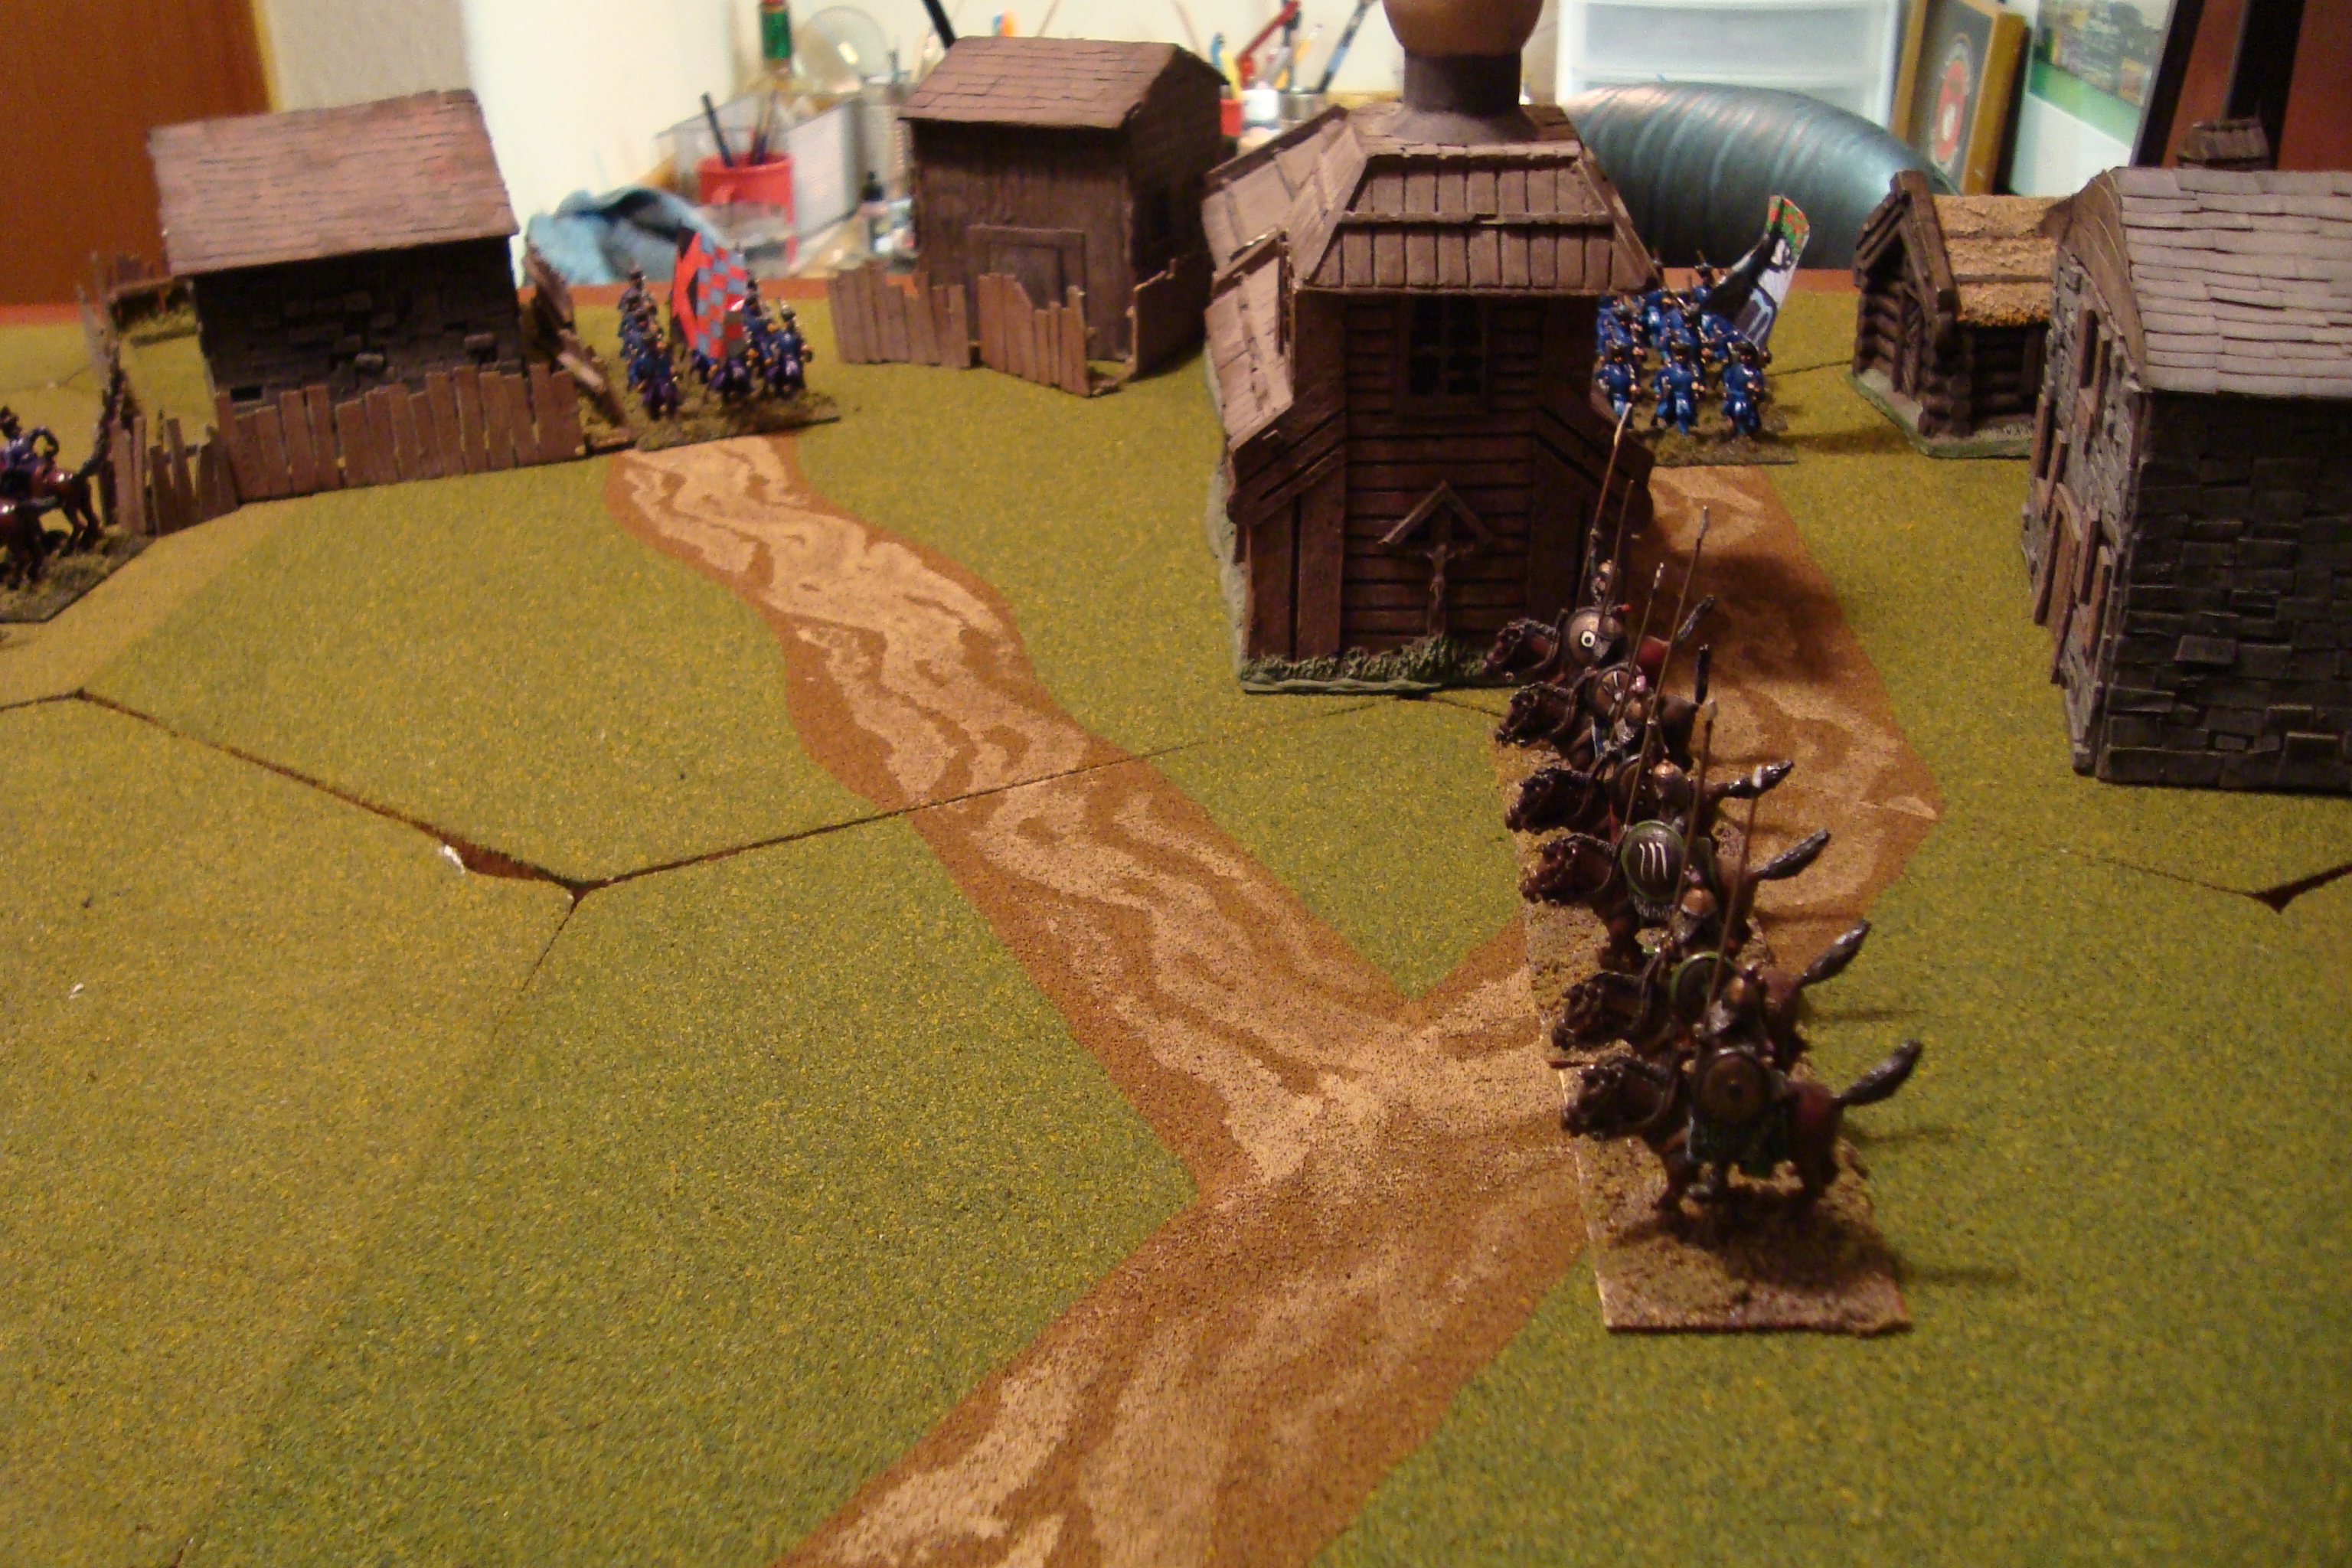
The initial Polish Hussar attack on the formed Russian Streltsi was repulsed, as was a Cossack charge against the Russian Tartar light cavalry.
Attempts by the Hussars to reform were continually frustrated by Streltsi musketry. Both the Polish Pancerni (Armored Cossacks) and Russian Boyars moved to support their comrades. The Russian charge on their left shattered the Pancerni and Cossacks. The right wing Boyars maneuvered to engage the Polish left’s Pancerni.
Engrossed by this action, I forgot to role for the variable turn entrance on the Polish Haiduk infantry. The first role allowed them to enter on both roads leading into the village.
This seemed like a good time to quit for the evening.
A sessions report would not be complete without impaired photography.
Polish Pancerni AdvanceRussian Boyars Begin Their AdvanceHussars and Pancerni Unsuccessfully Melee with StreltsiWinged Hussars Attempt To Reform For Another ChargeHaiduks Enter Through Village
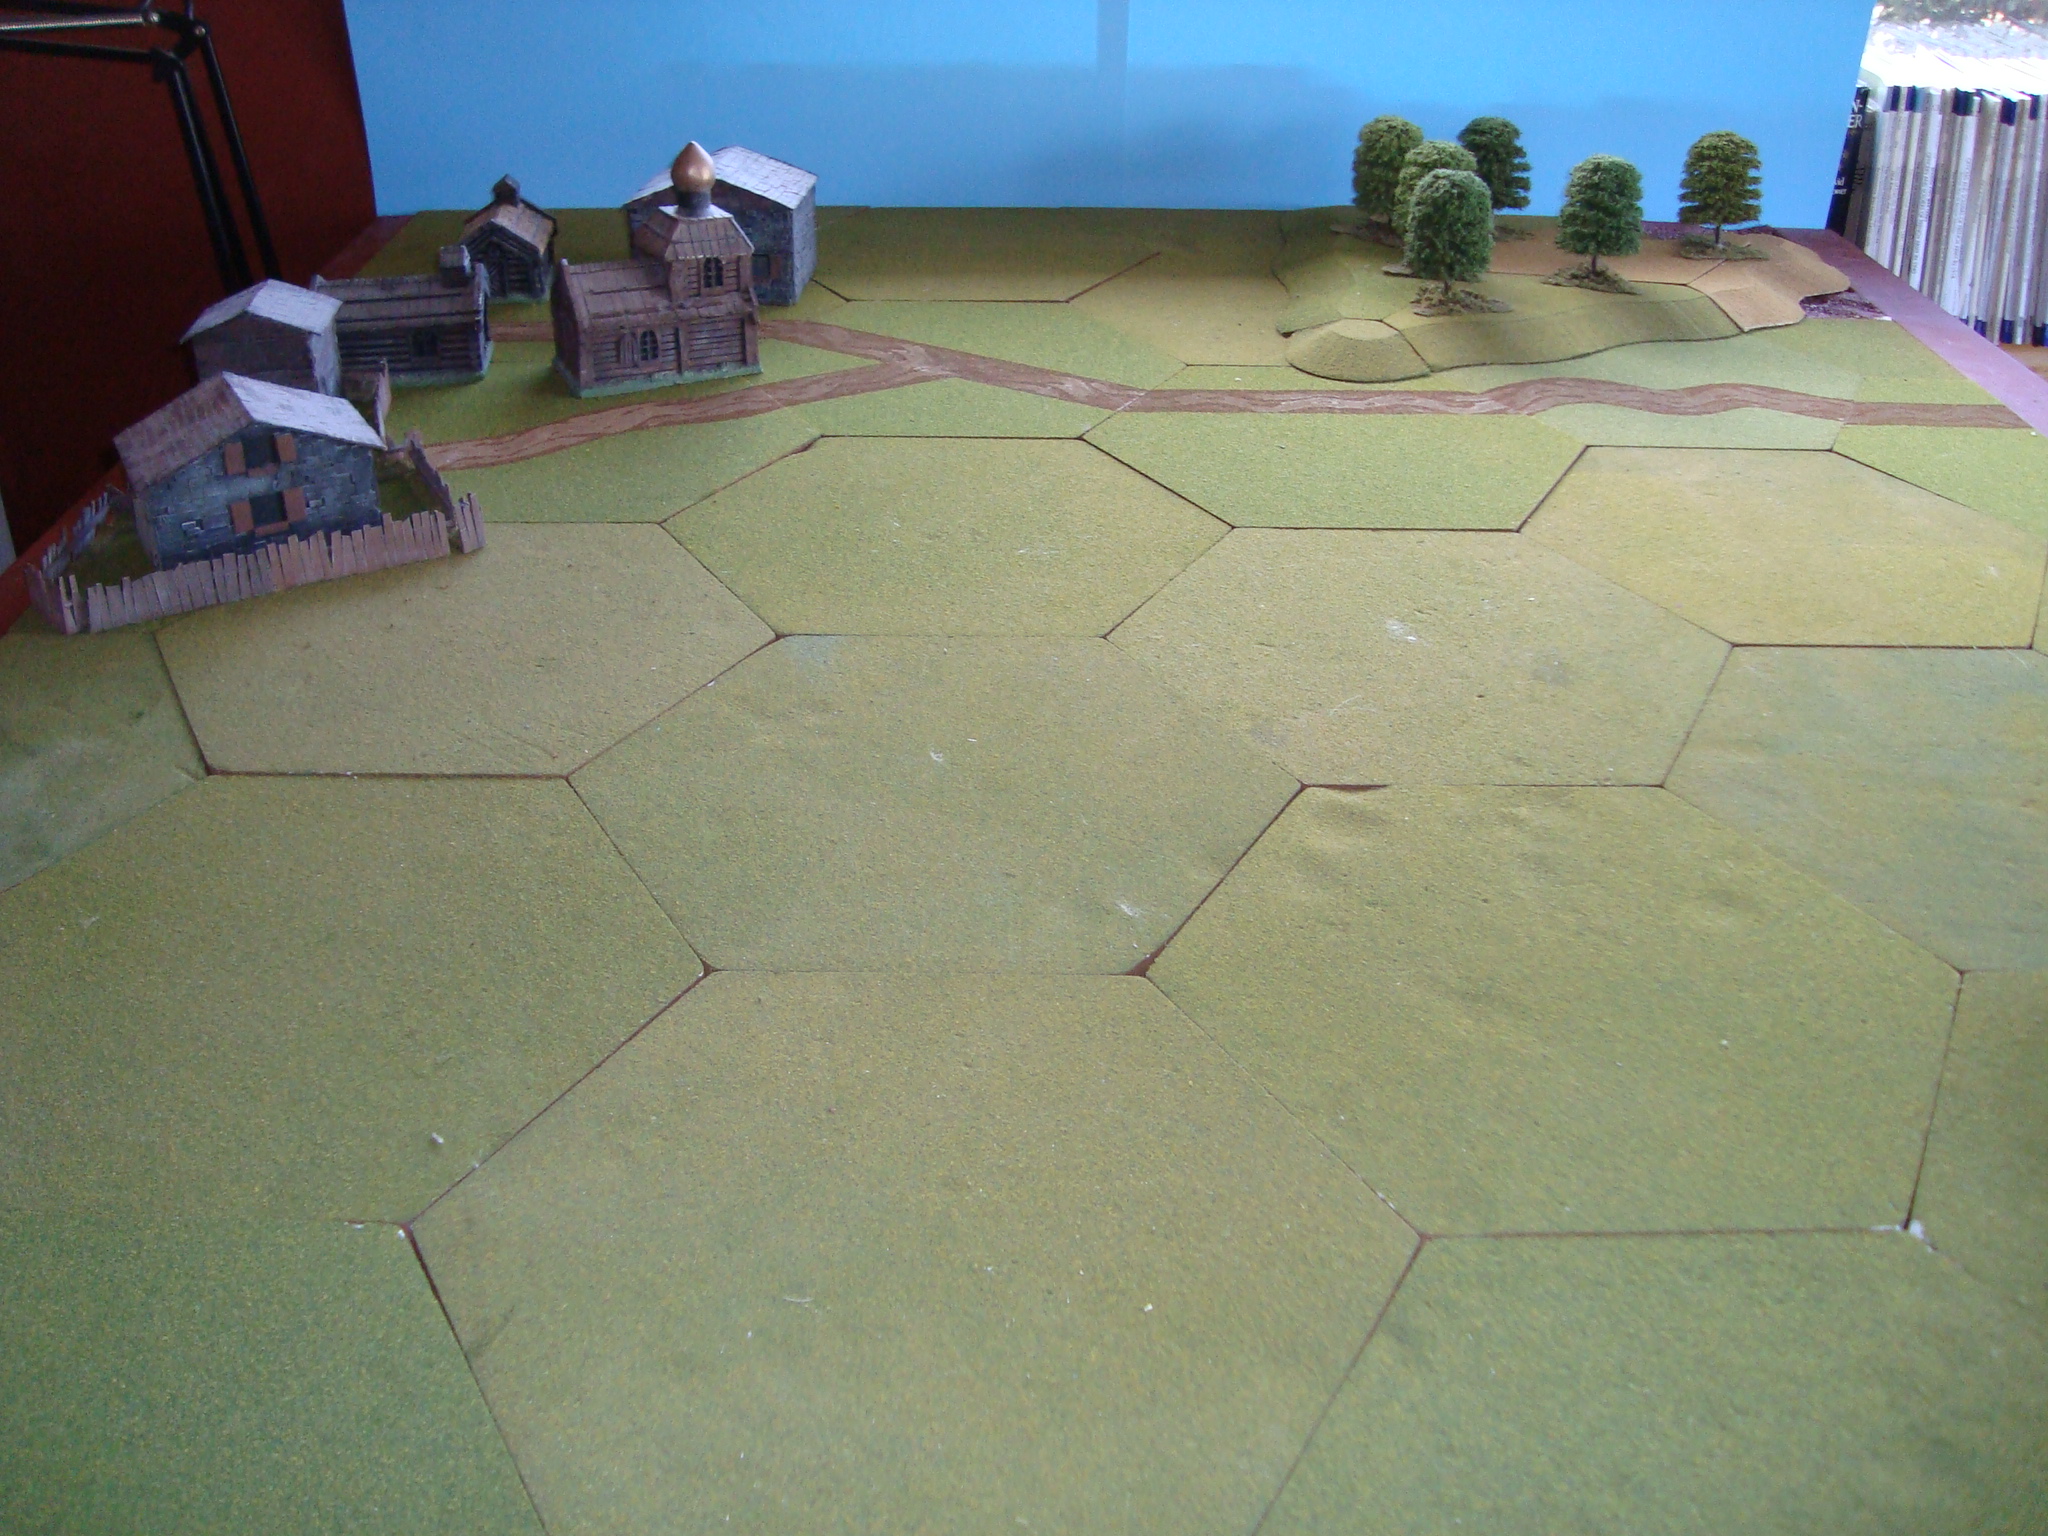
Took RedActions! off the table yesterday. Cleared off the old and dug out some new terrain and buildings in preparation for a battle between Russians and Poles circa 1625.
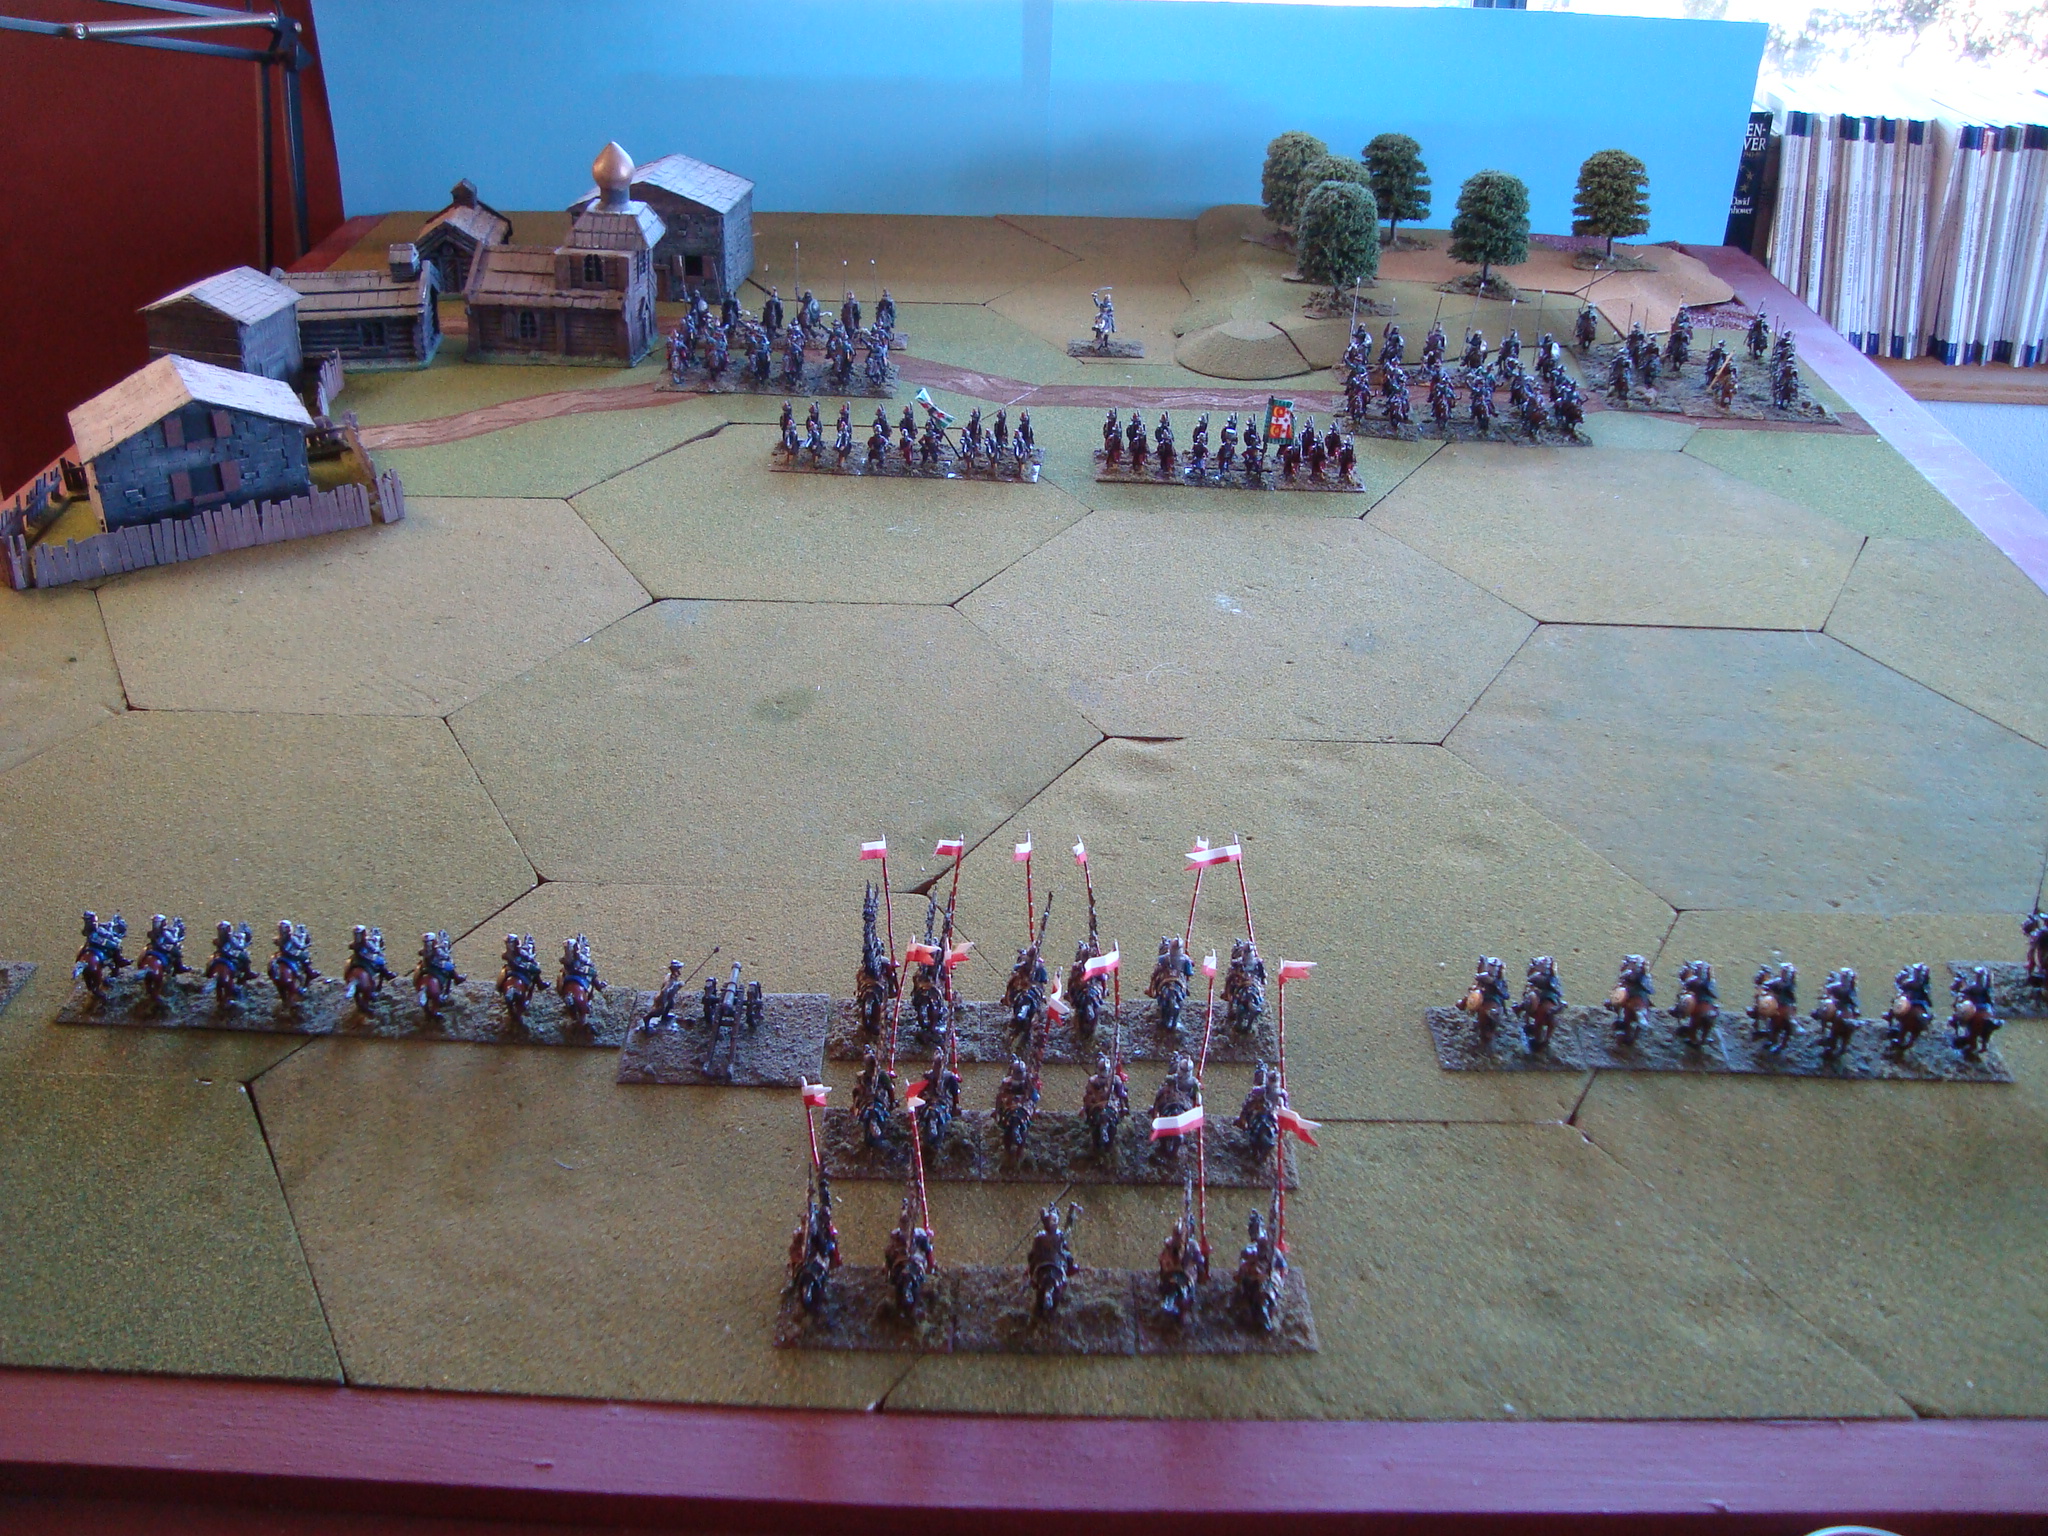
I’ll use Phil Barker’s De Bellis Renationis (DBR) rules. The scenario is based on the Battle of Roundway Down as diagrammed and described in C.F. Wesencraft’s “With Musket and Pike”. Why? Because the book was at-hand and it’s a interesting little challenge.
The Russians are besieging a town, with Polish mounted units advancing to lift the siege. The Russian command decides to meet and destroy the Poles in the field, and then finish the siege. In the historical battle, the besieged brushed aside forces masking the town, and attacked their enemy’s flank.
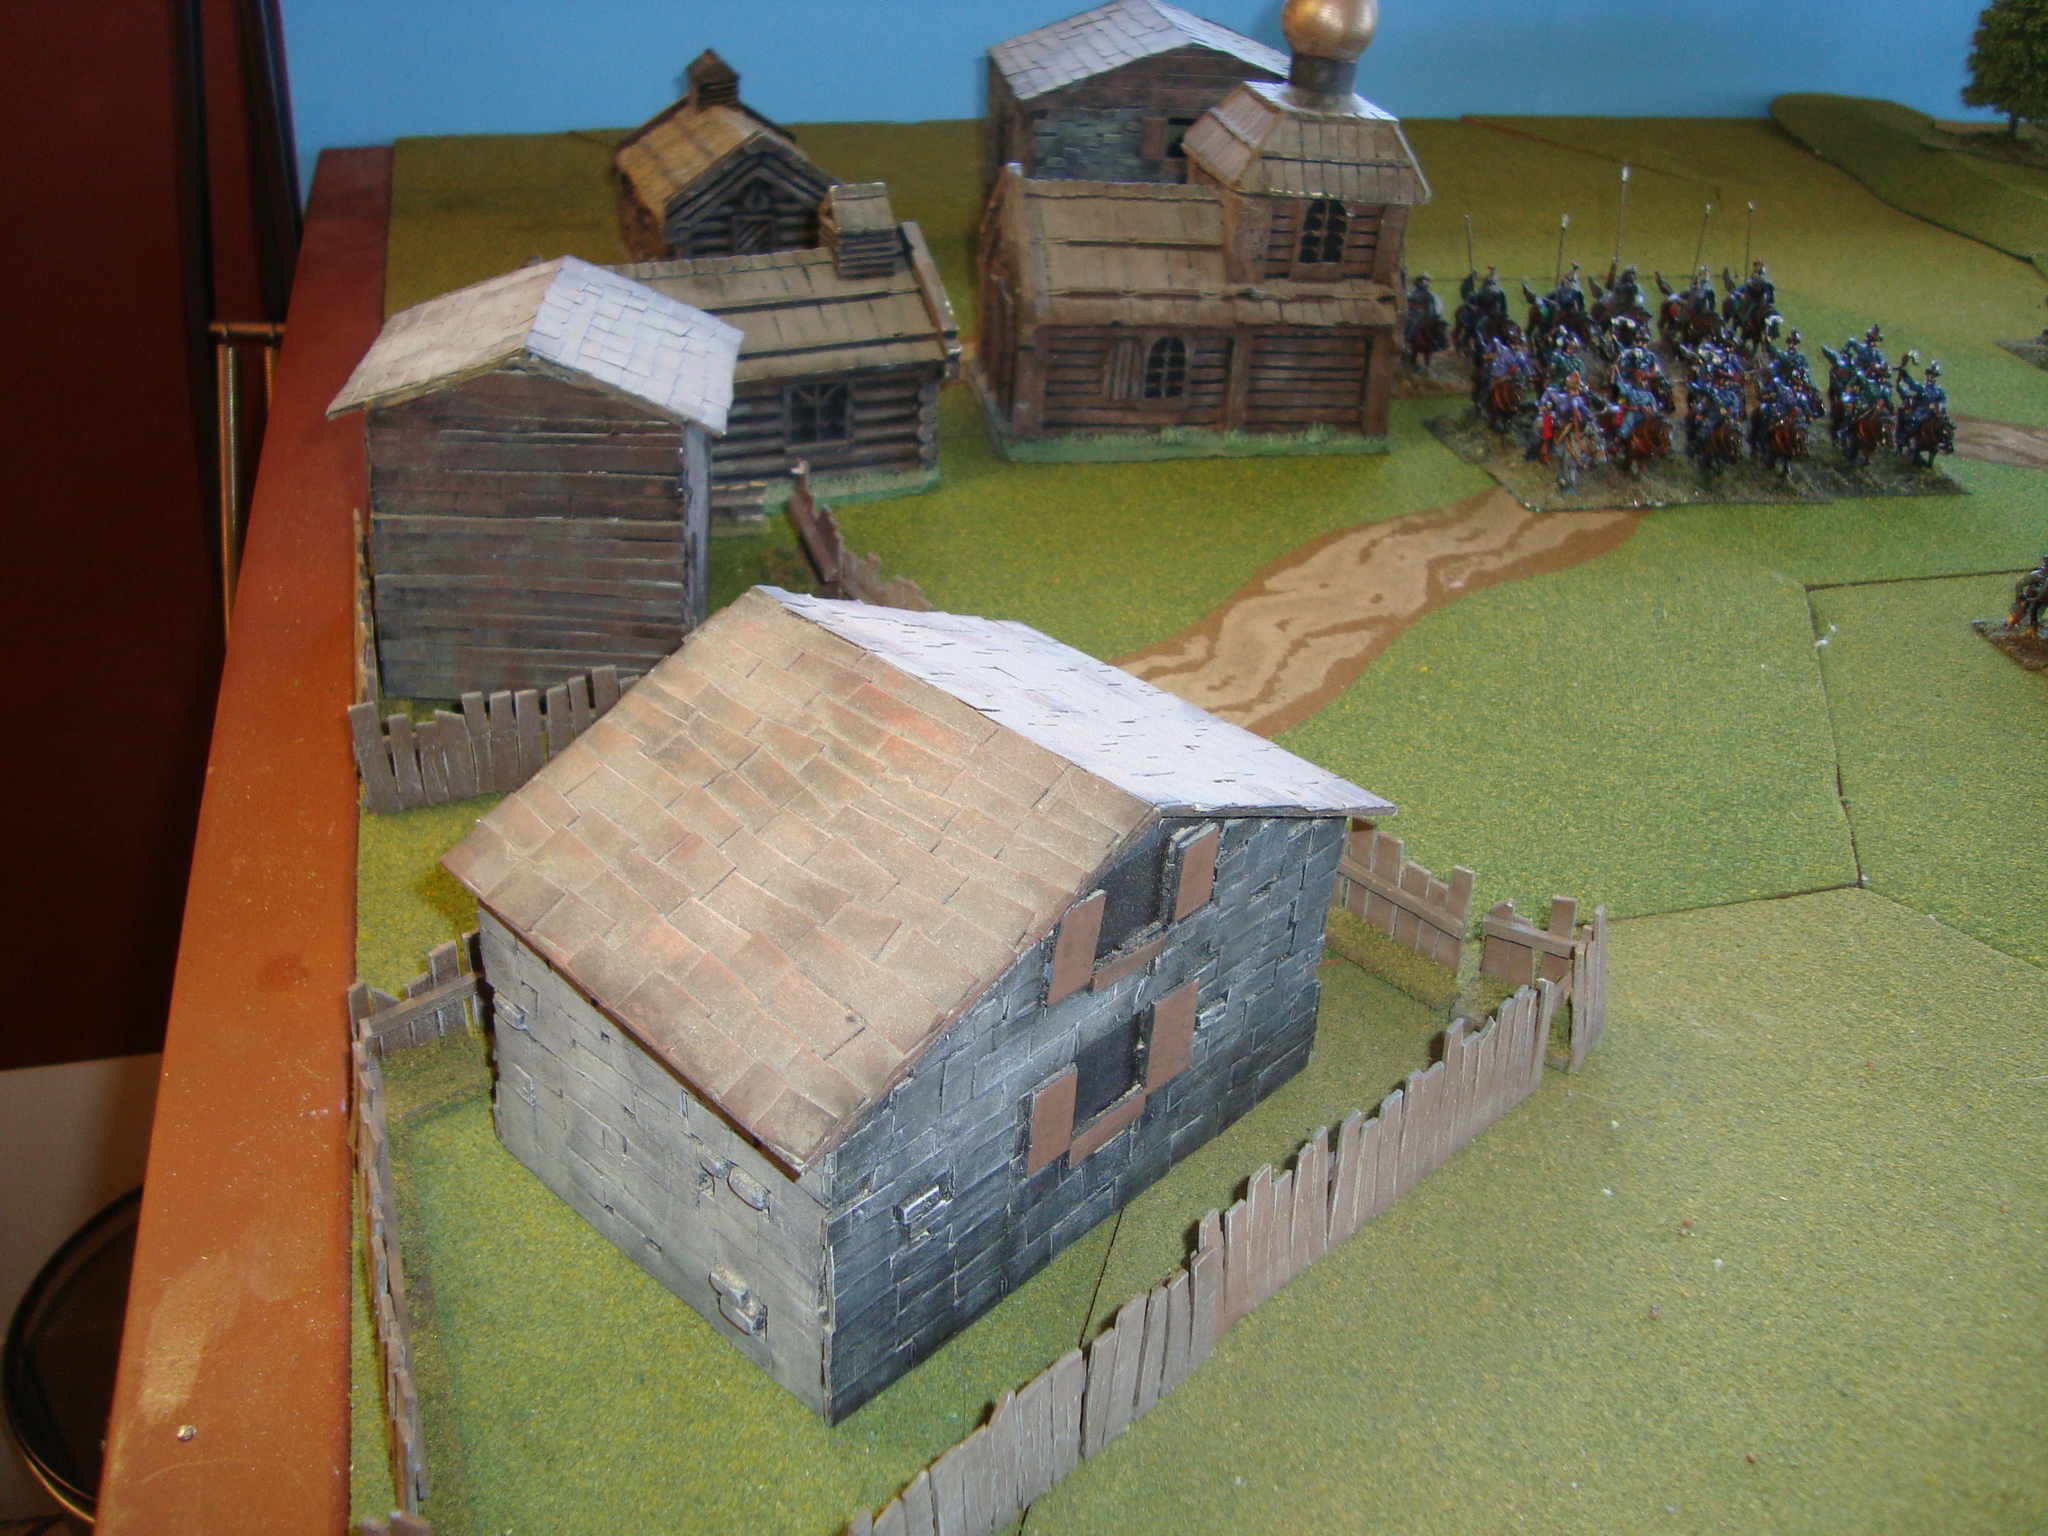
I’ve tweaked the layout of the battlefield by substituting a village for Blagdon Hill. Wanted to get the buildings out of their box!
While the published scenario calls for the flank attack forces to come on-table during the fourth turn, I’m going to come up with the mechanics for a variable arrival sometime after Turn 2.
Here’s a few photos
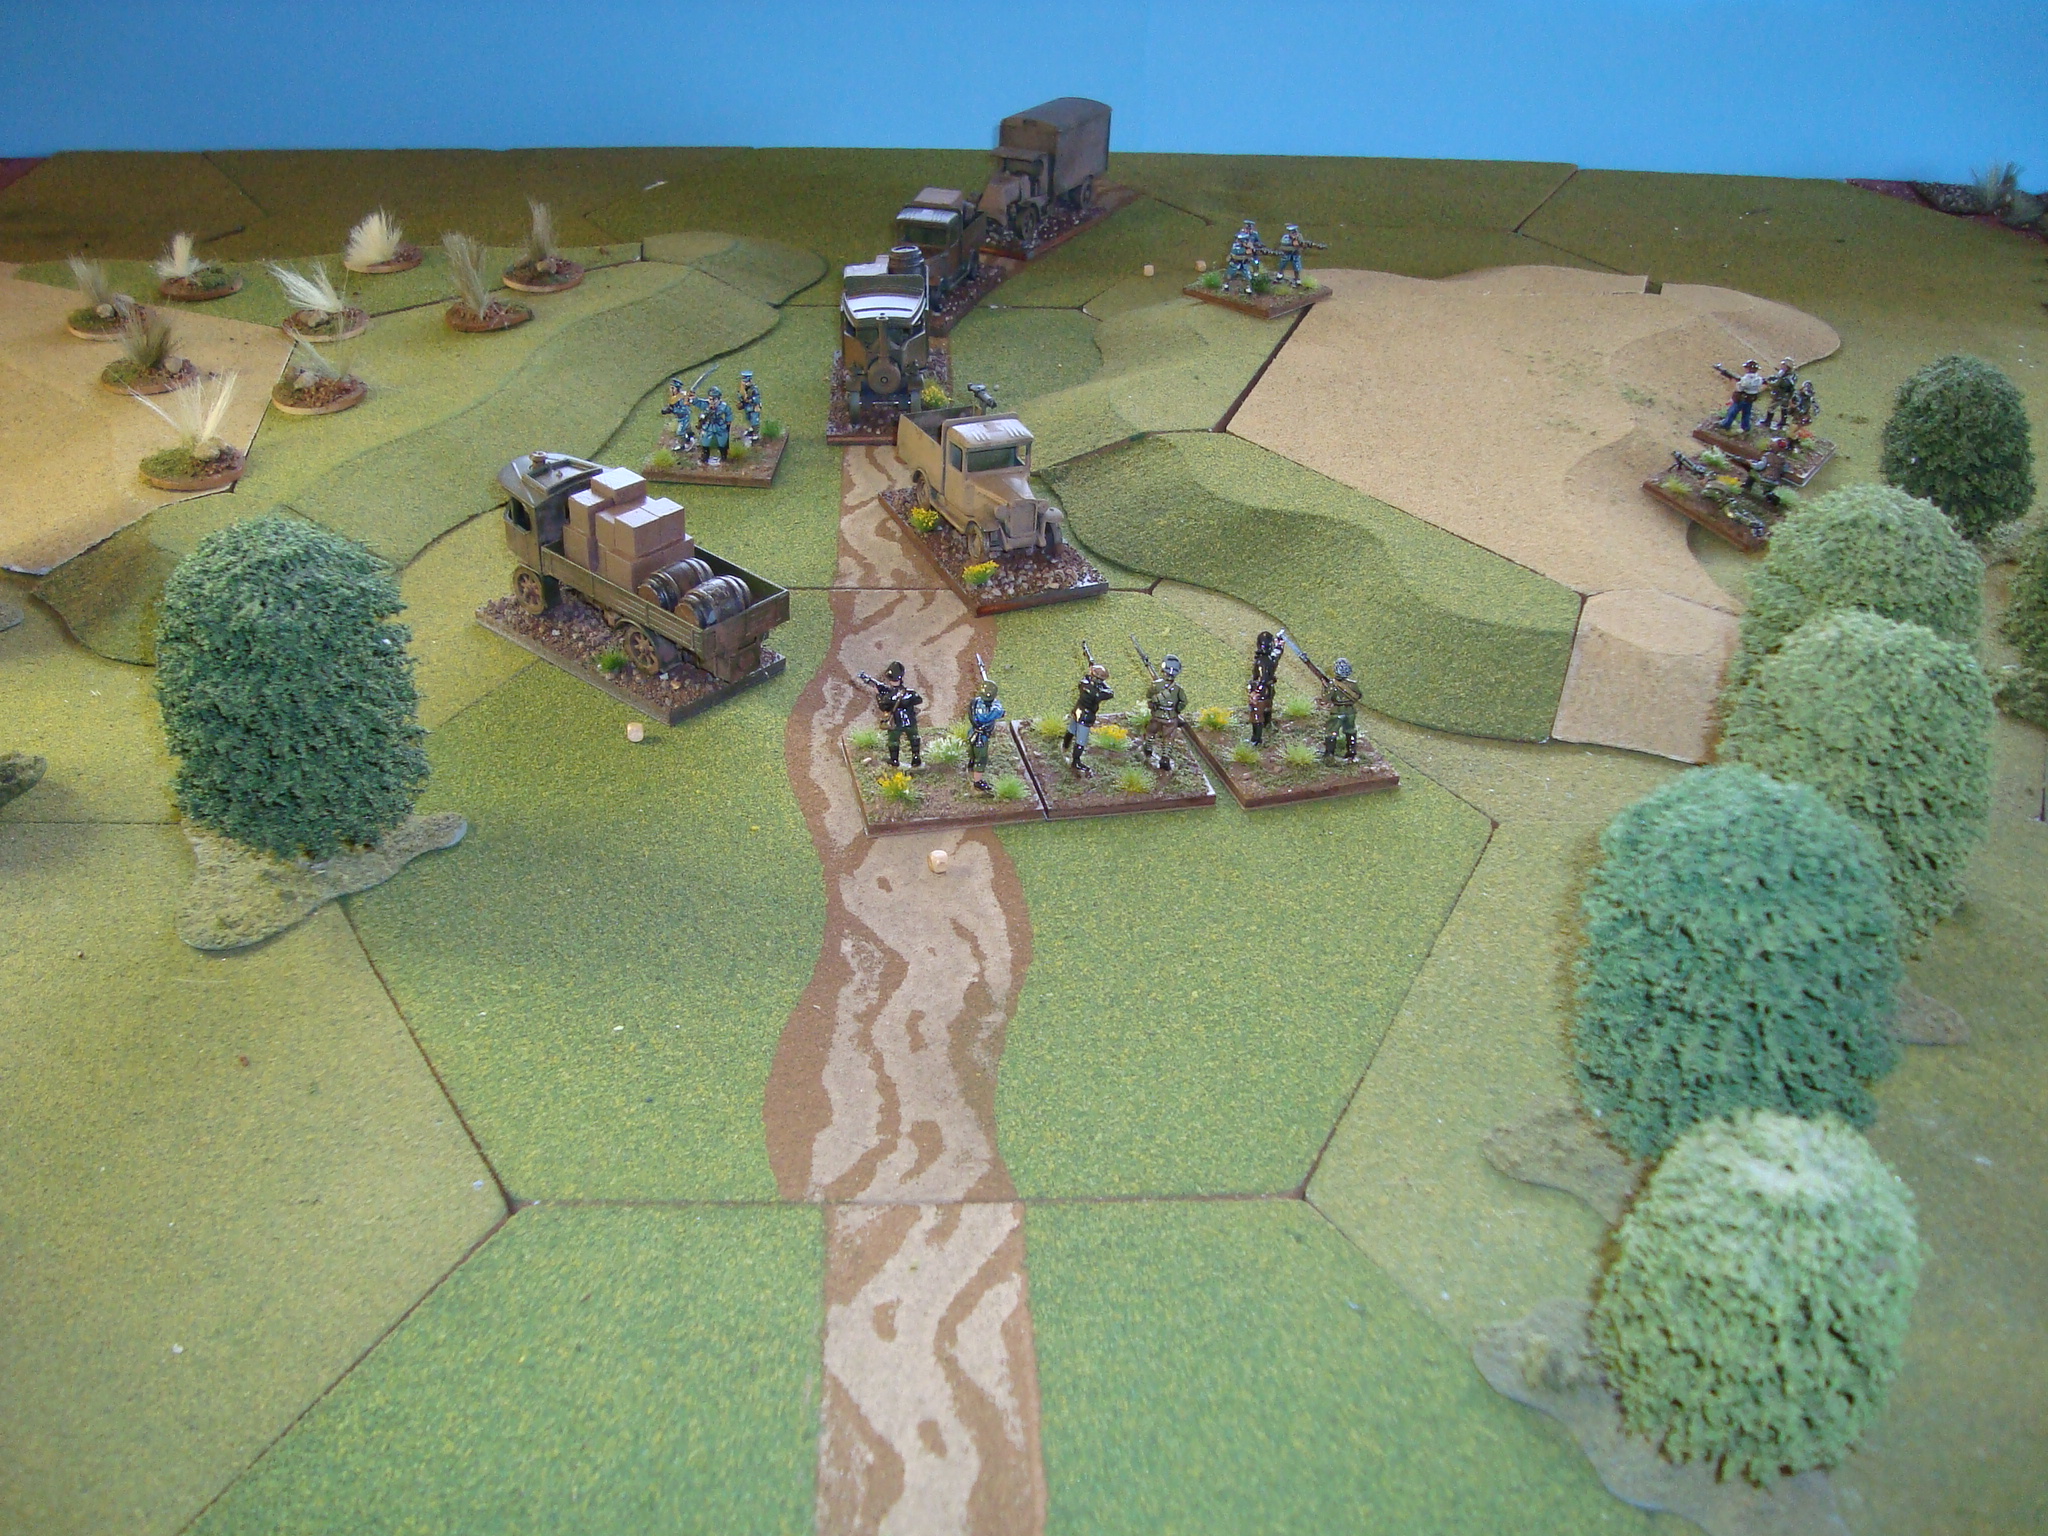
The Battlefield Looking SouthInitial Dispositions.Close up of The Village. A mix of purchased and scratch built buildings.
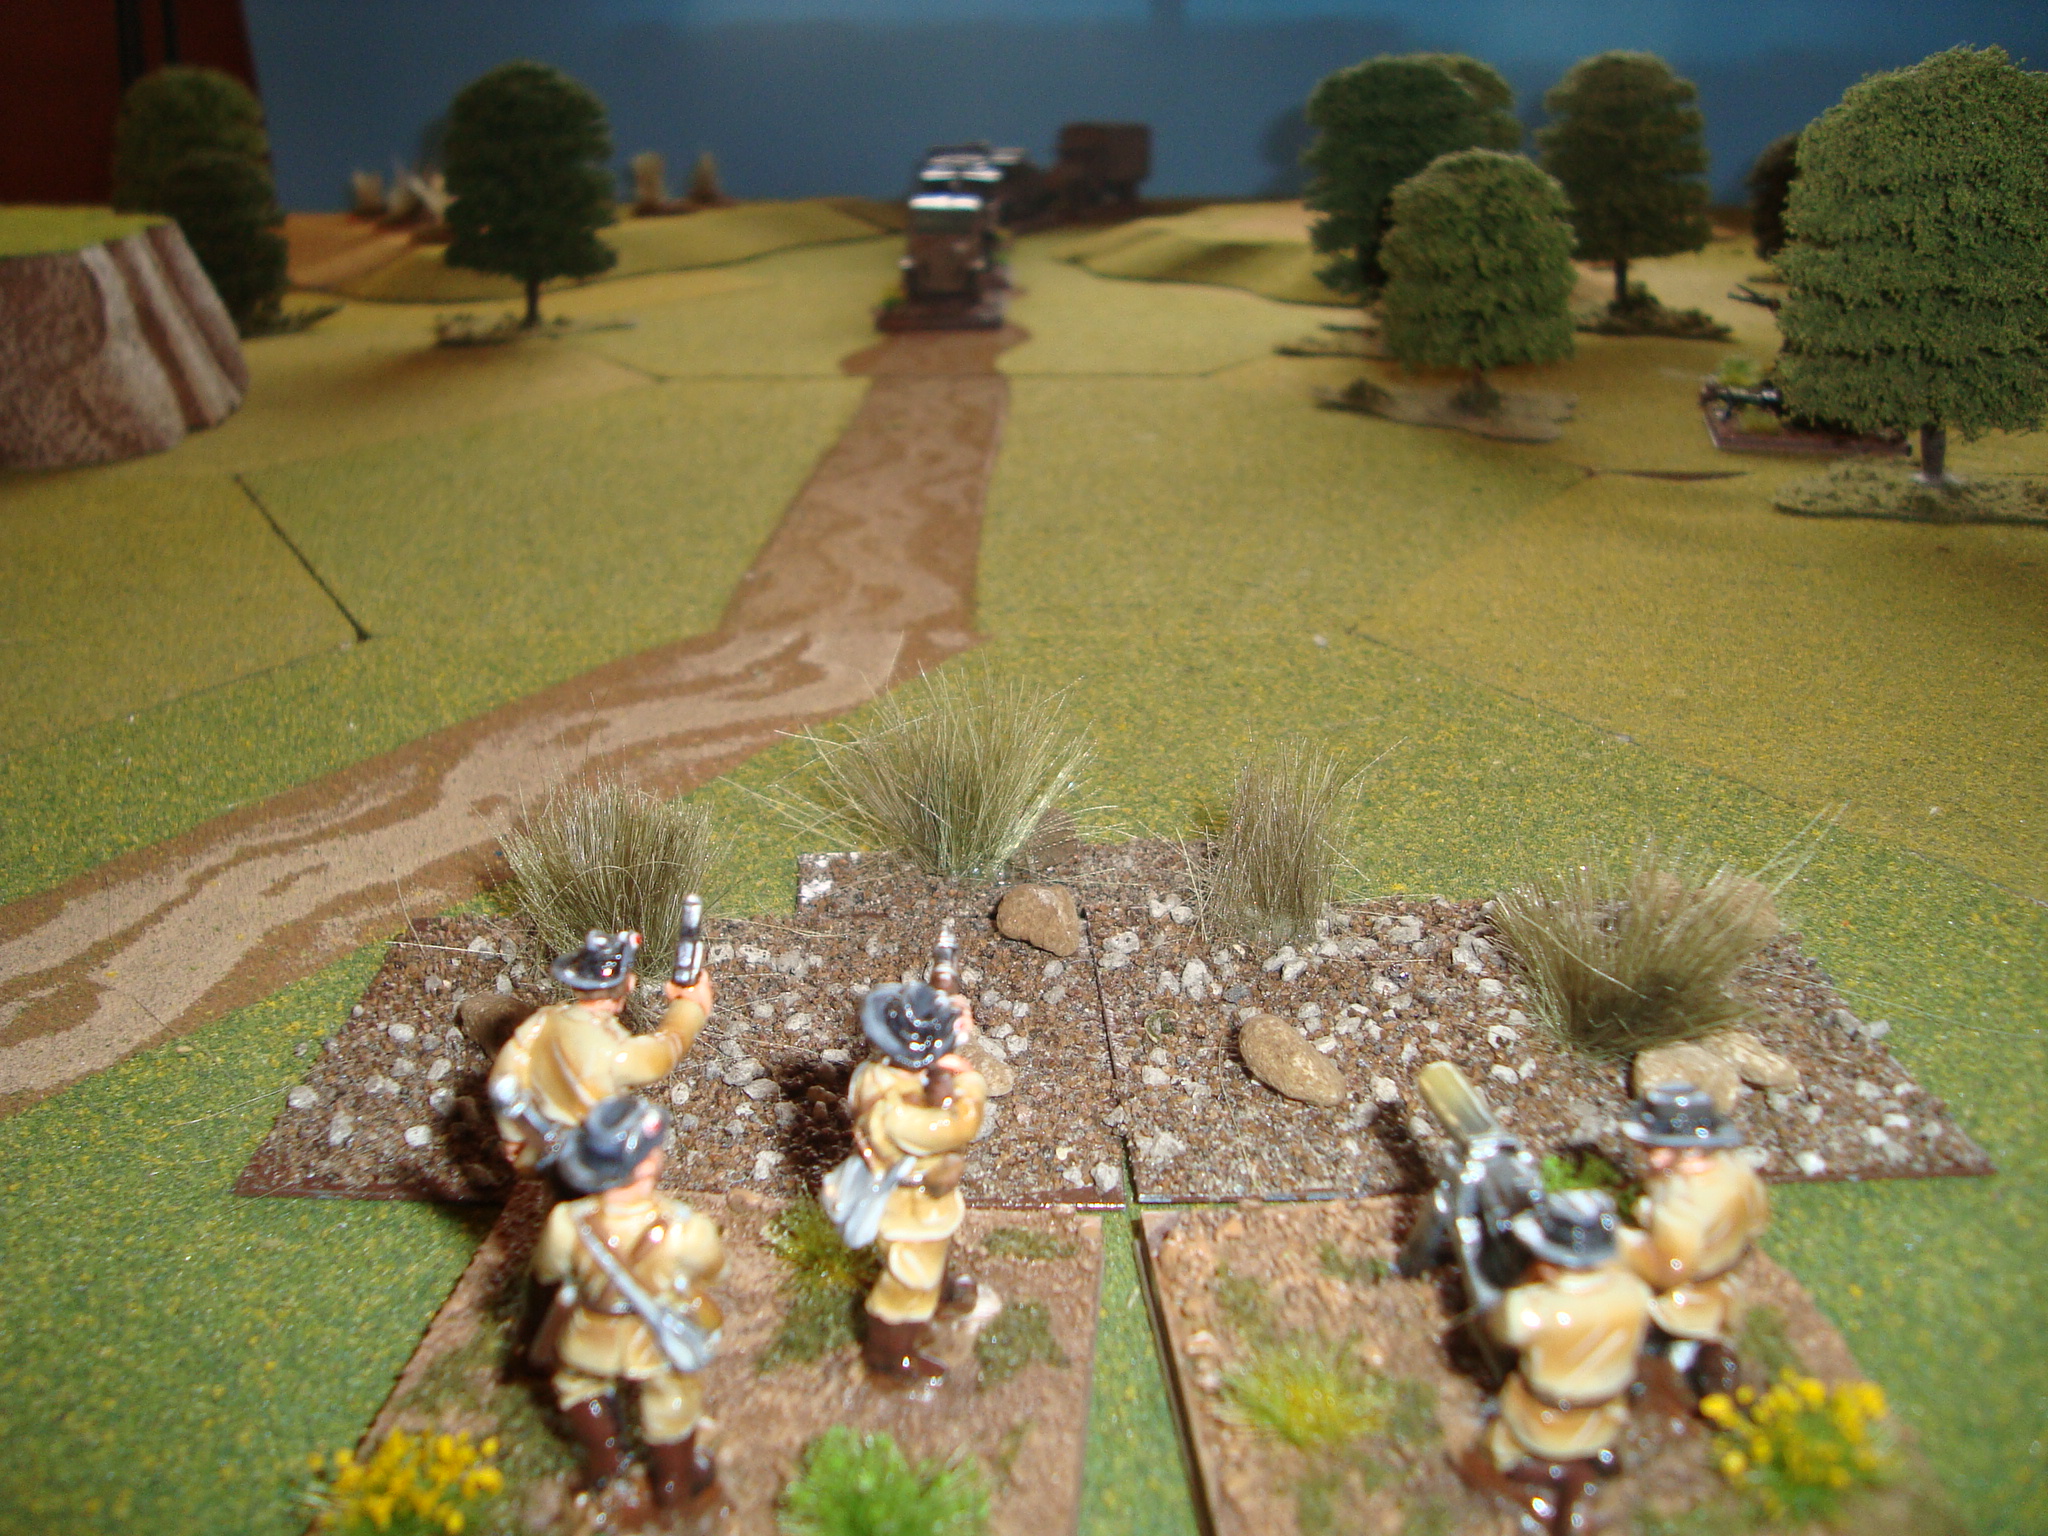
Turn 1: German machine gun engaged the lead Machine Gun (MG) Truck. The MG Truck failed the ambush morale check, causing it to rout. Machine gun fire resulted in a terror result. The Partisans moved out of the woods, one group to attack the convoy, the other to act as security to engage the escort and/or any reaction force. The second vehicle in line failed the ambush morale check. It routed and took a terror hit from the German Infantry’s rifle fire. The Warlord Escort carried in the trail vehicle dismounted. The MG truck Rallied. However, the routed cargo truck did not.
View From German Machine Gun Position As Convoy ApproachesPartisans In The Woods. Ambush Group to Left (one stand behind tree), Security Group to Right
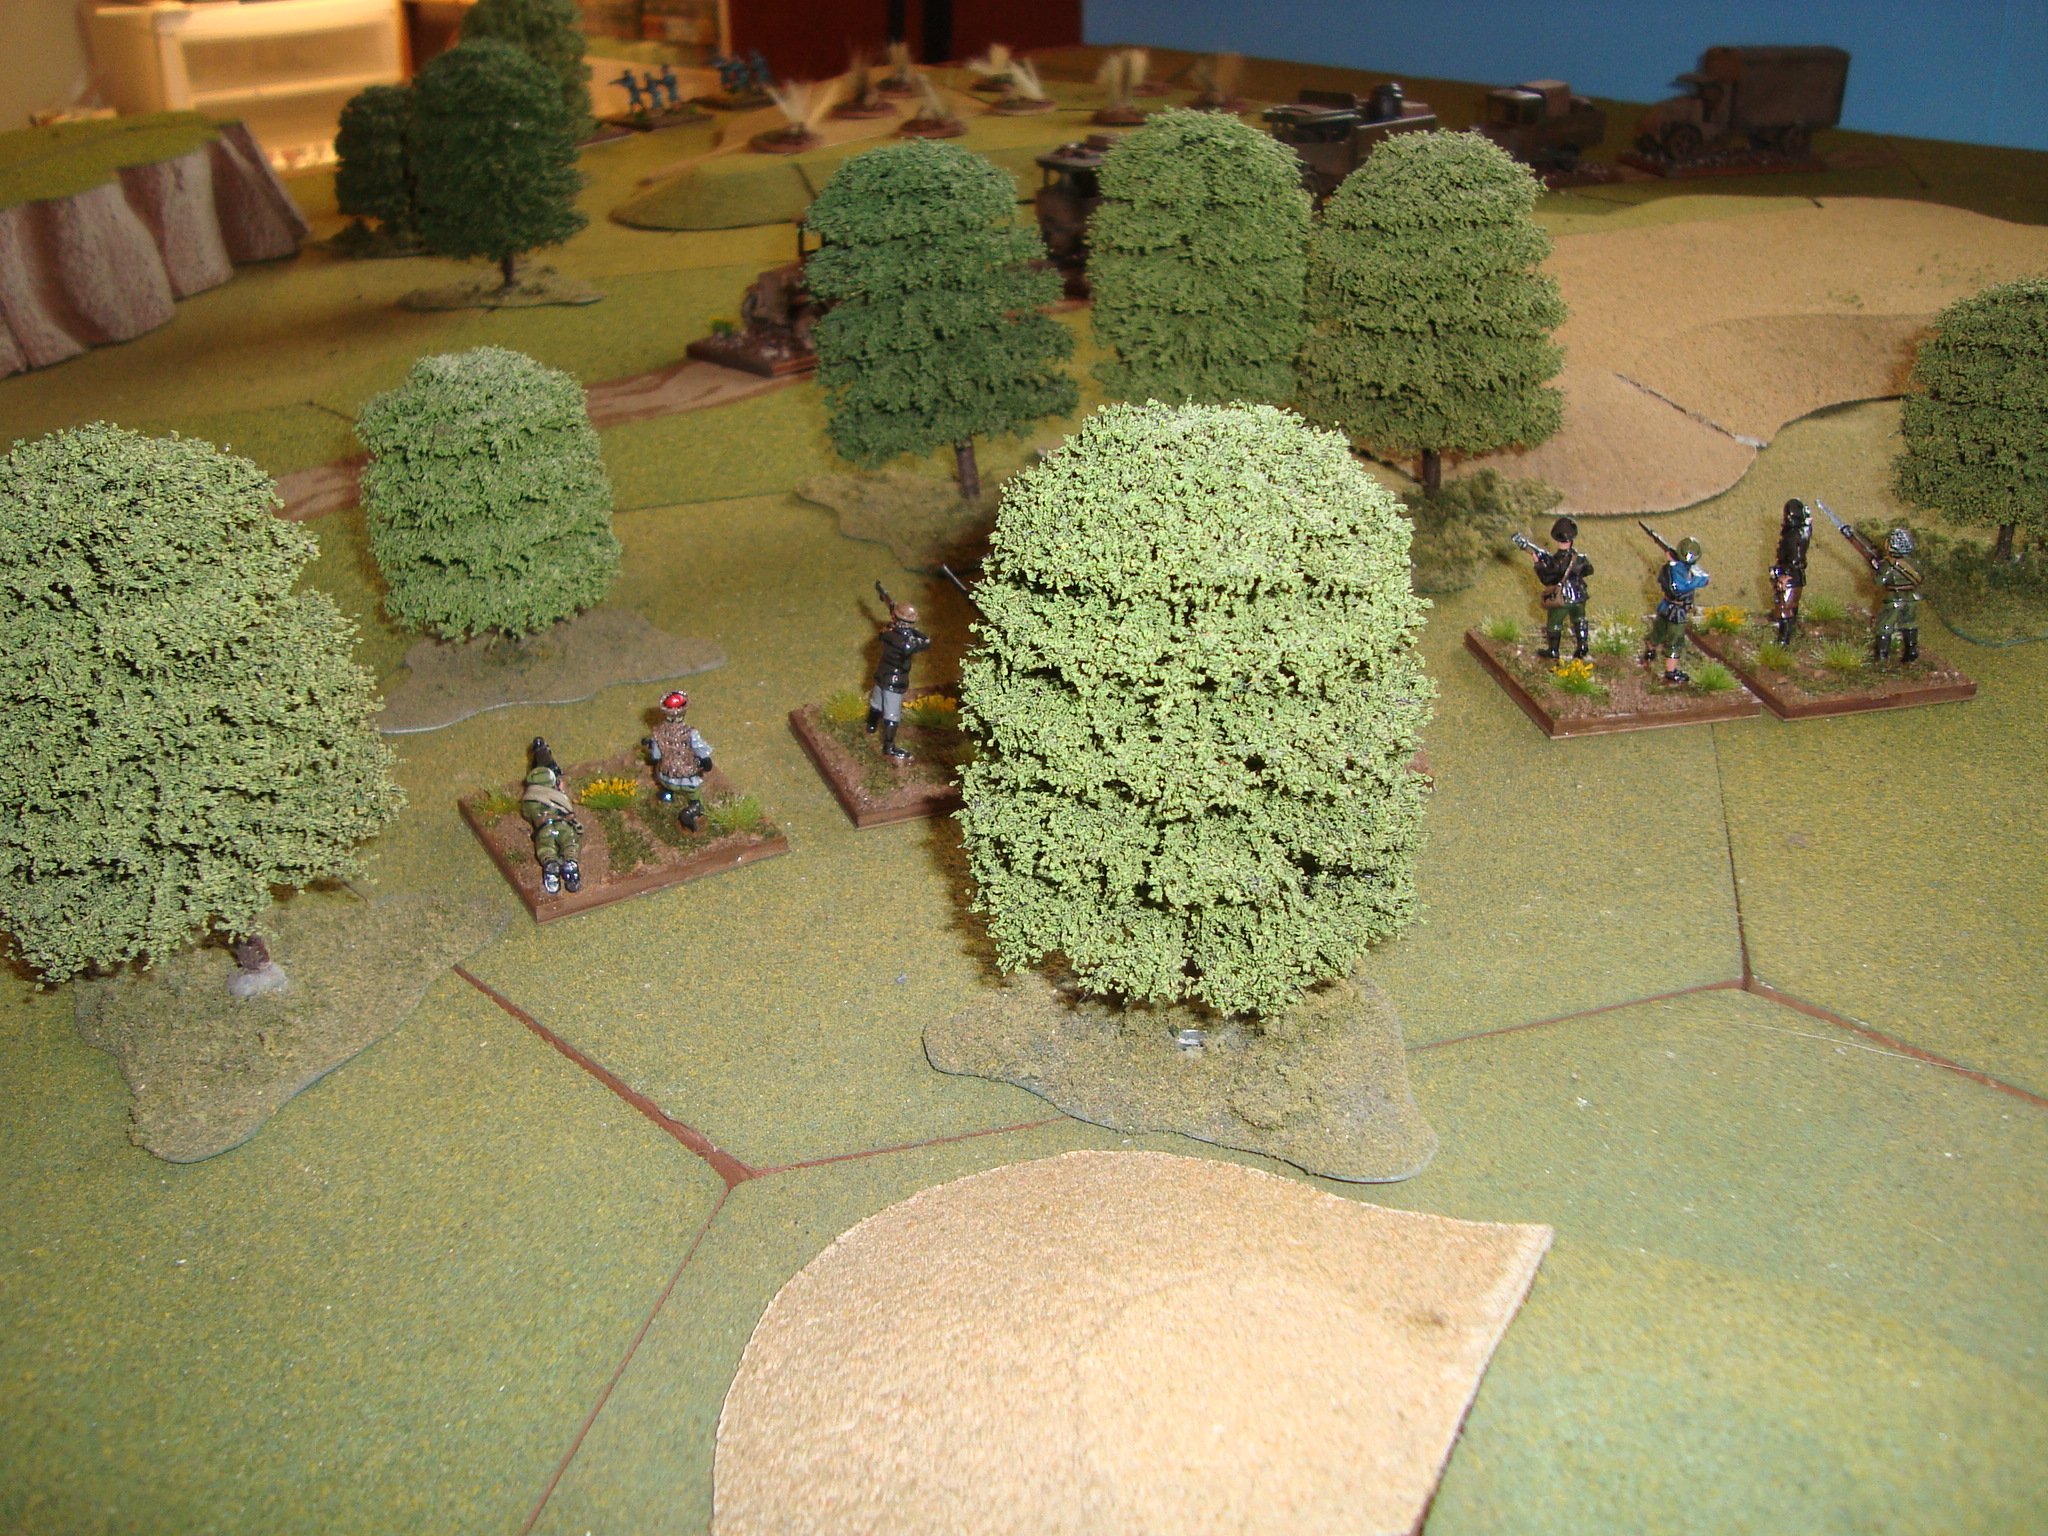
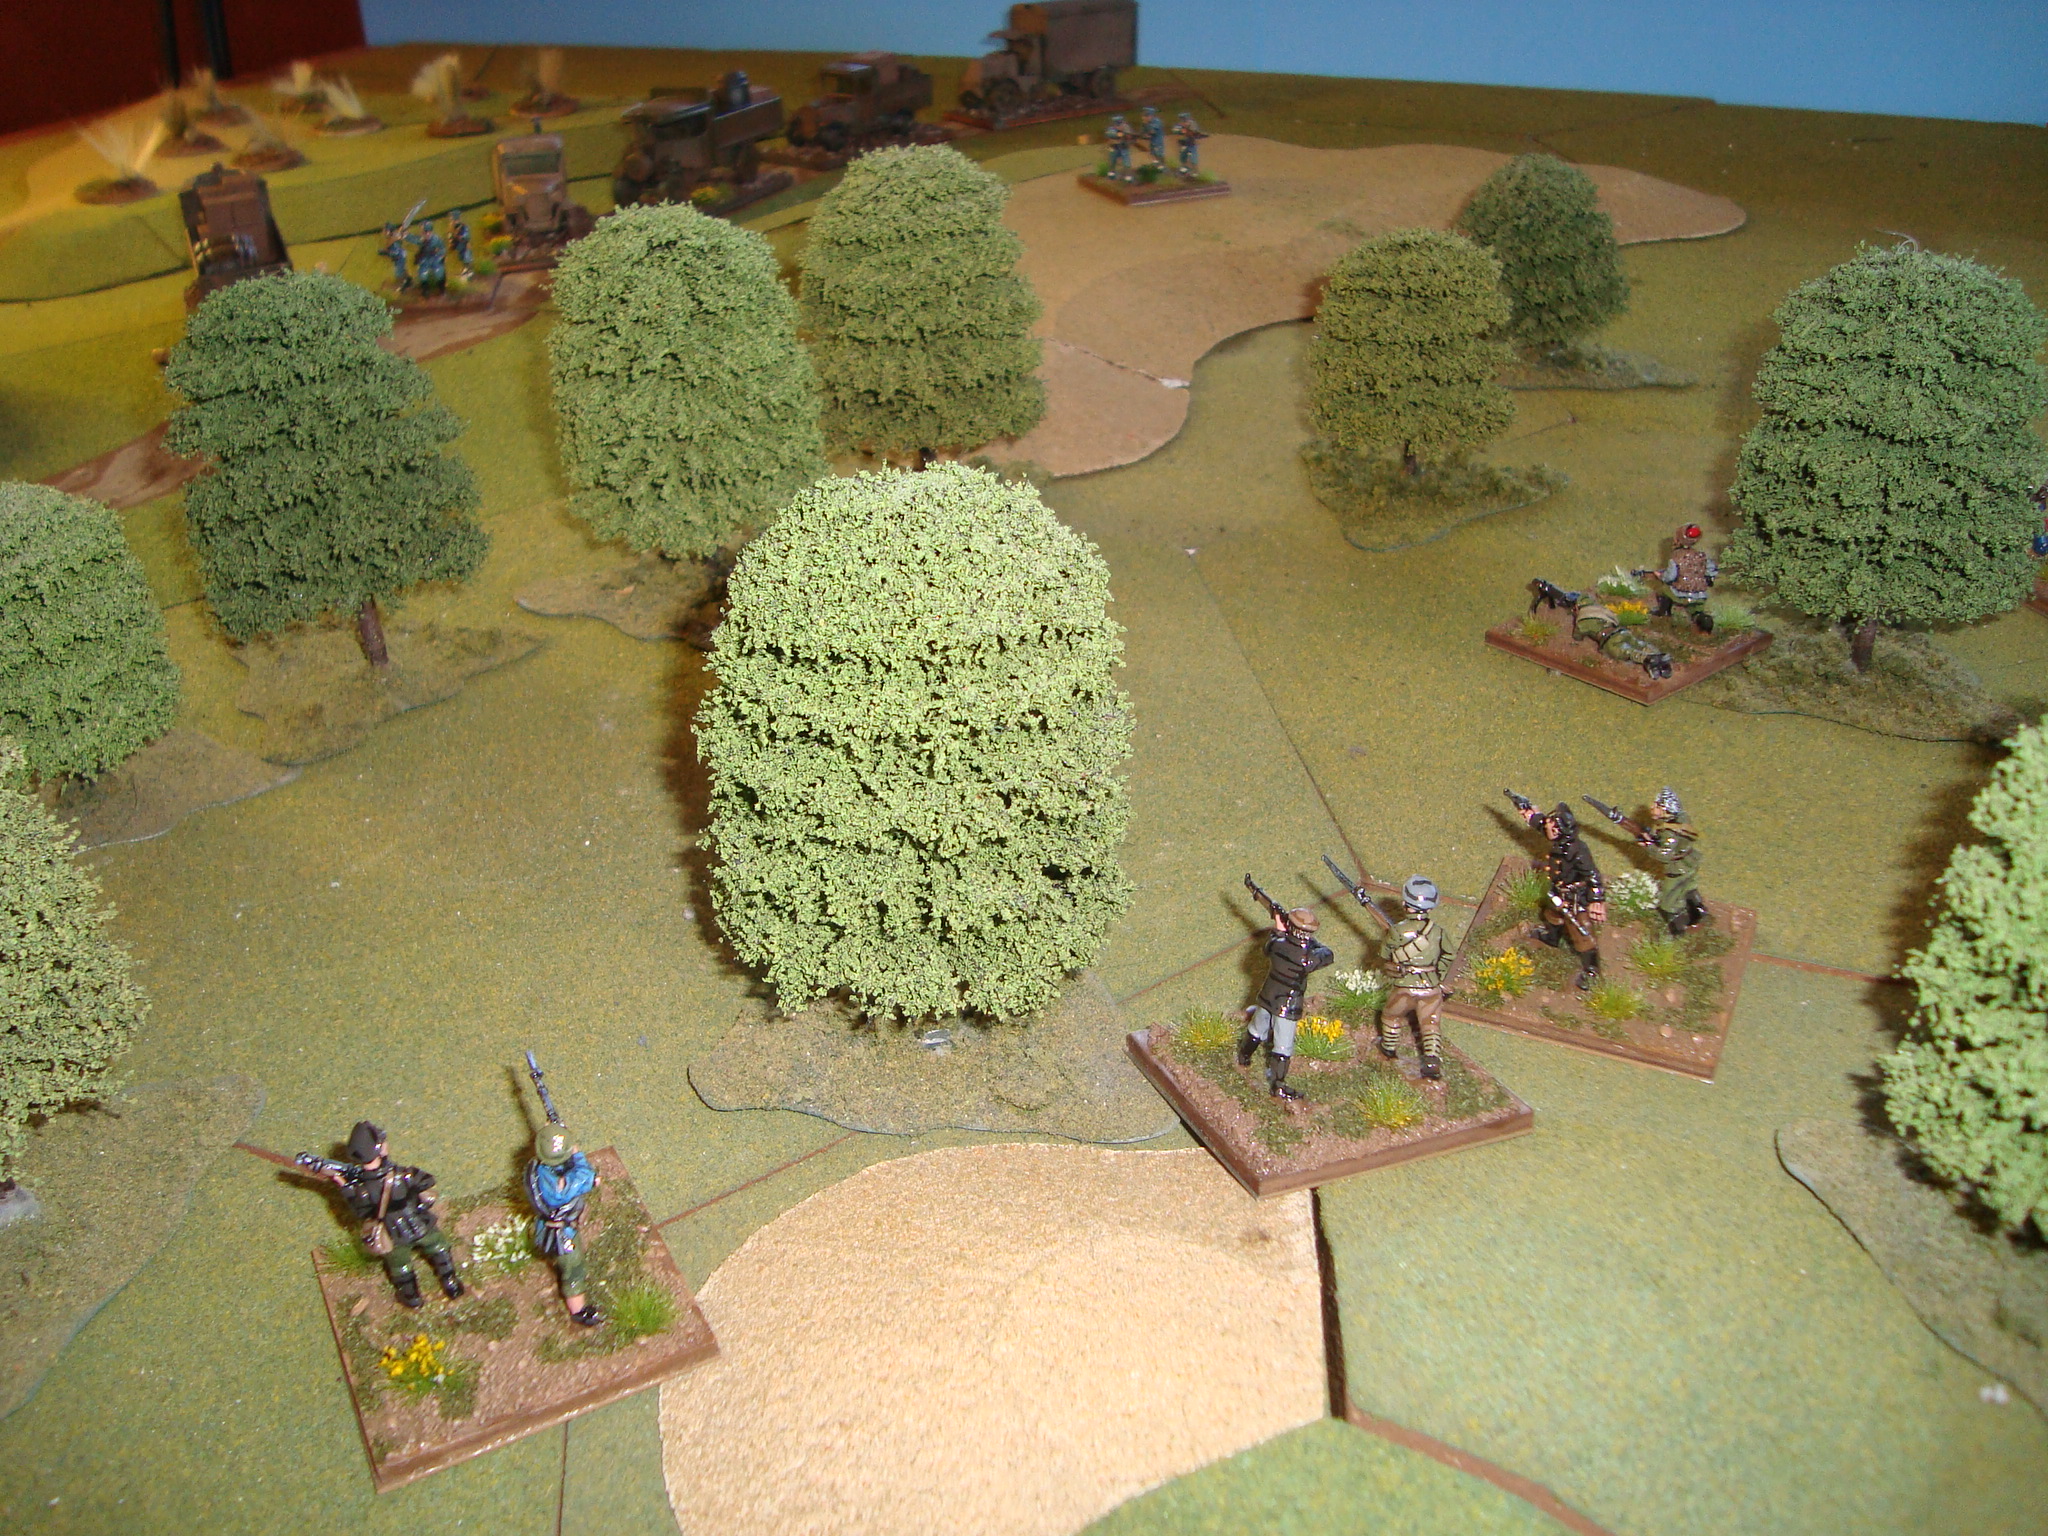
Turn 2: Germans again engaged the MG Truck, but failed to inflict any damage. Likewise with the advancing Ambush Group’s fire on the stalled cargo truck. The Security Group reached the crest of its objective. The Warlord Escort advanced down both sides of the road towards the front of the column. The stalled cargo truck again failed its morale check, but the MG Truck maneuvered to engage the advancing Partisans. The MG Truck’s fire was ineffective.
Partisans Engage Convoy and Move to Security Position. Warlord Escort has Dismounted.
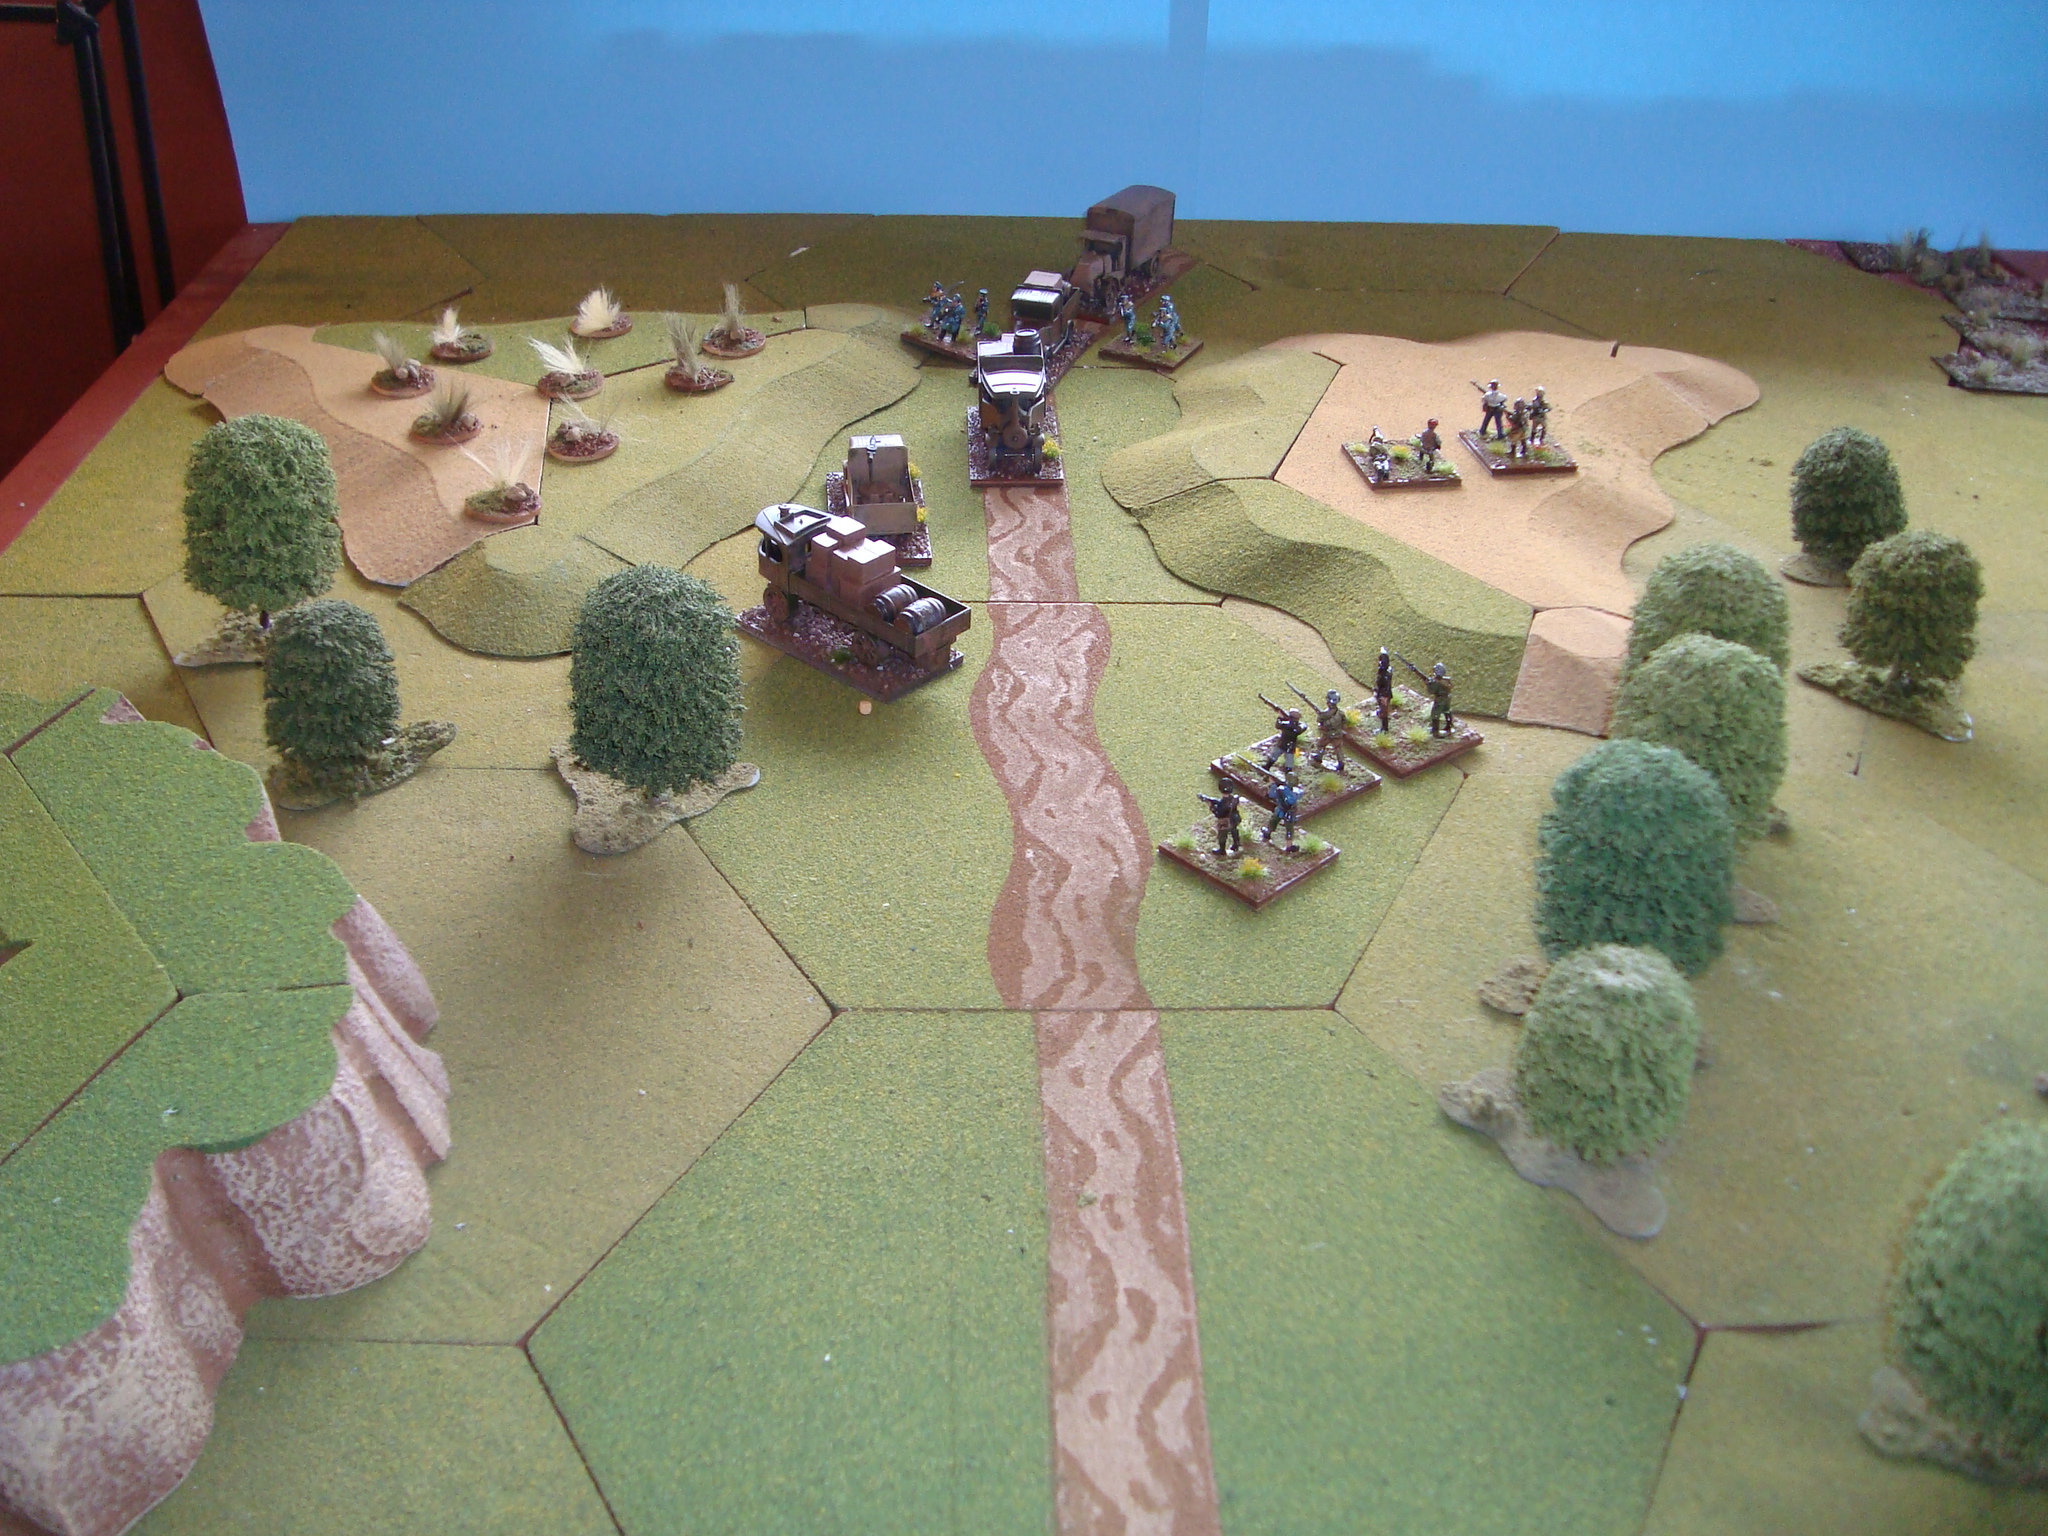
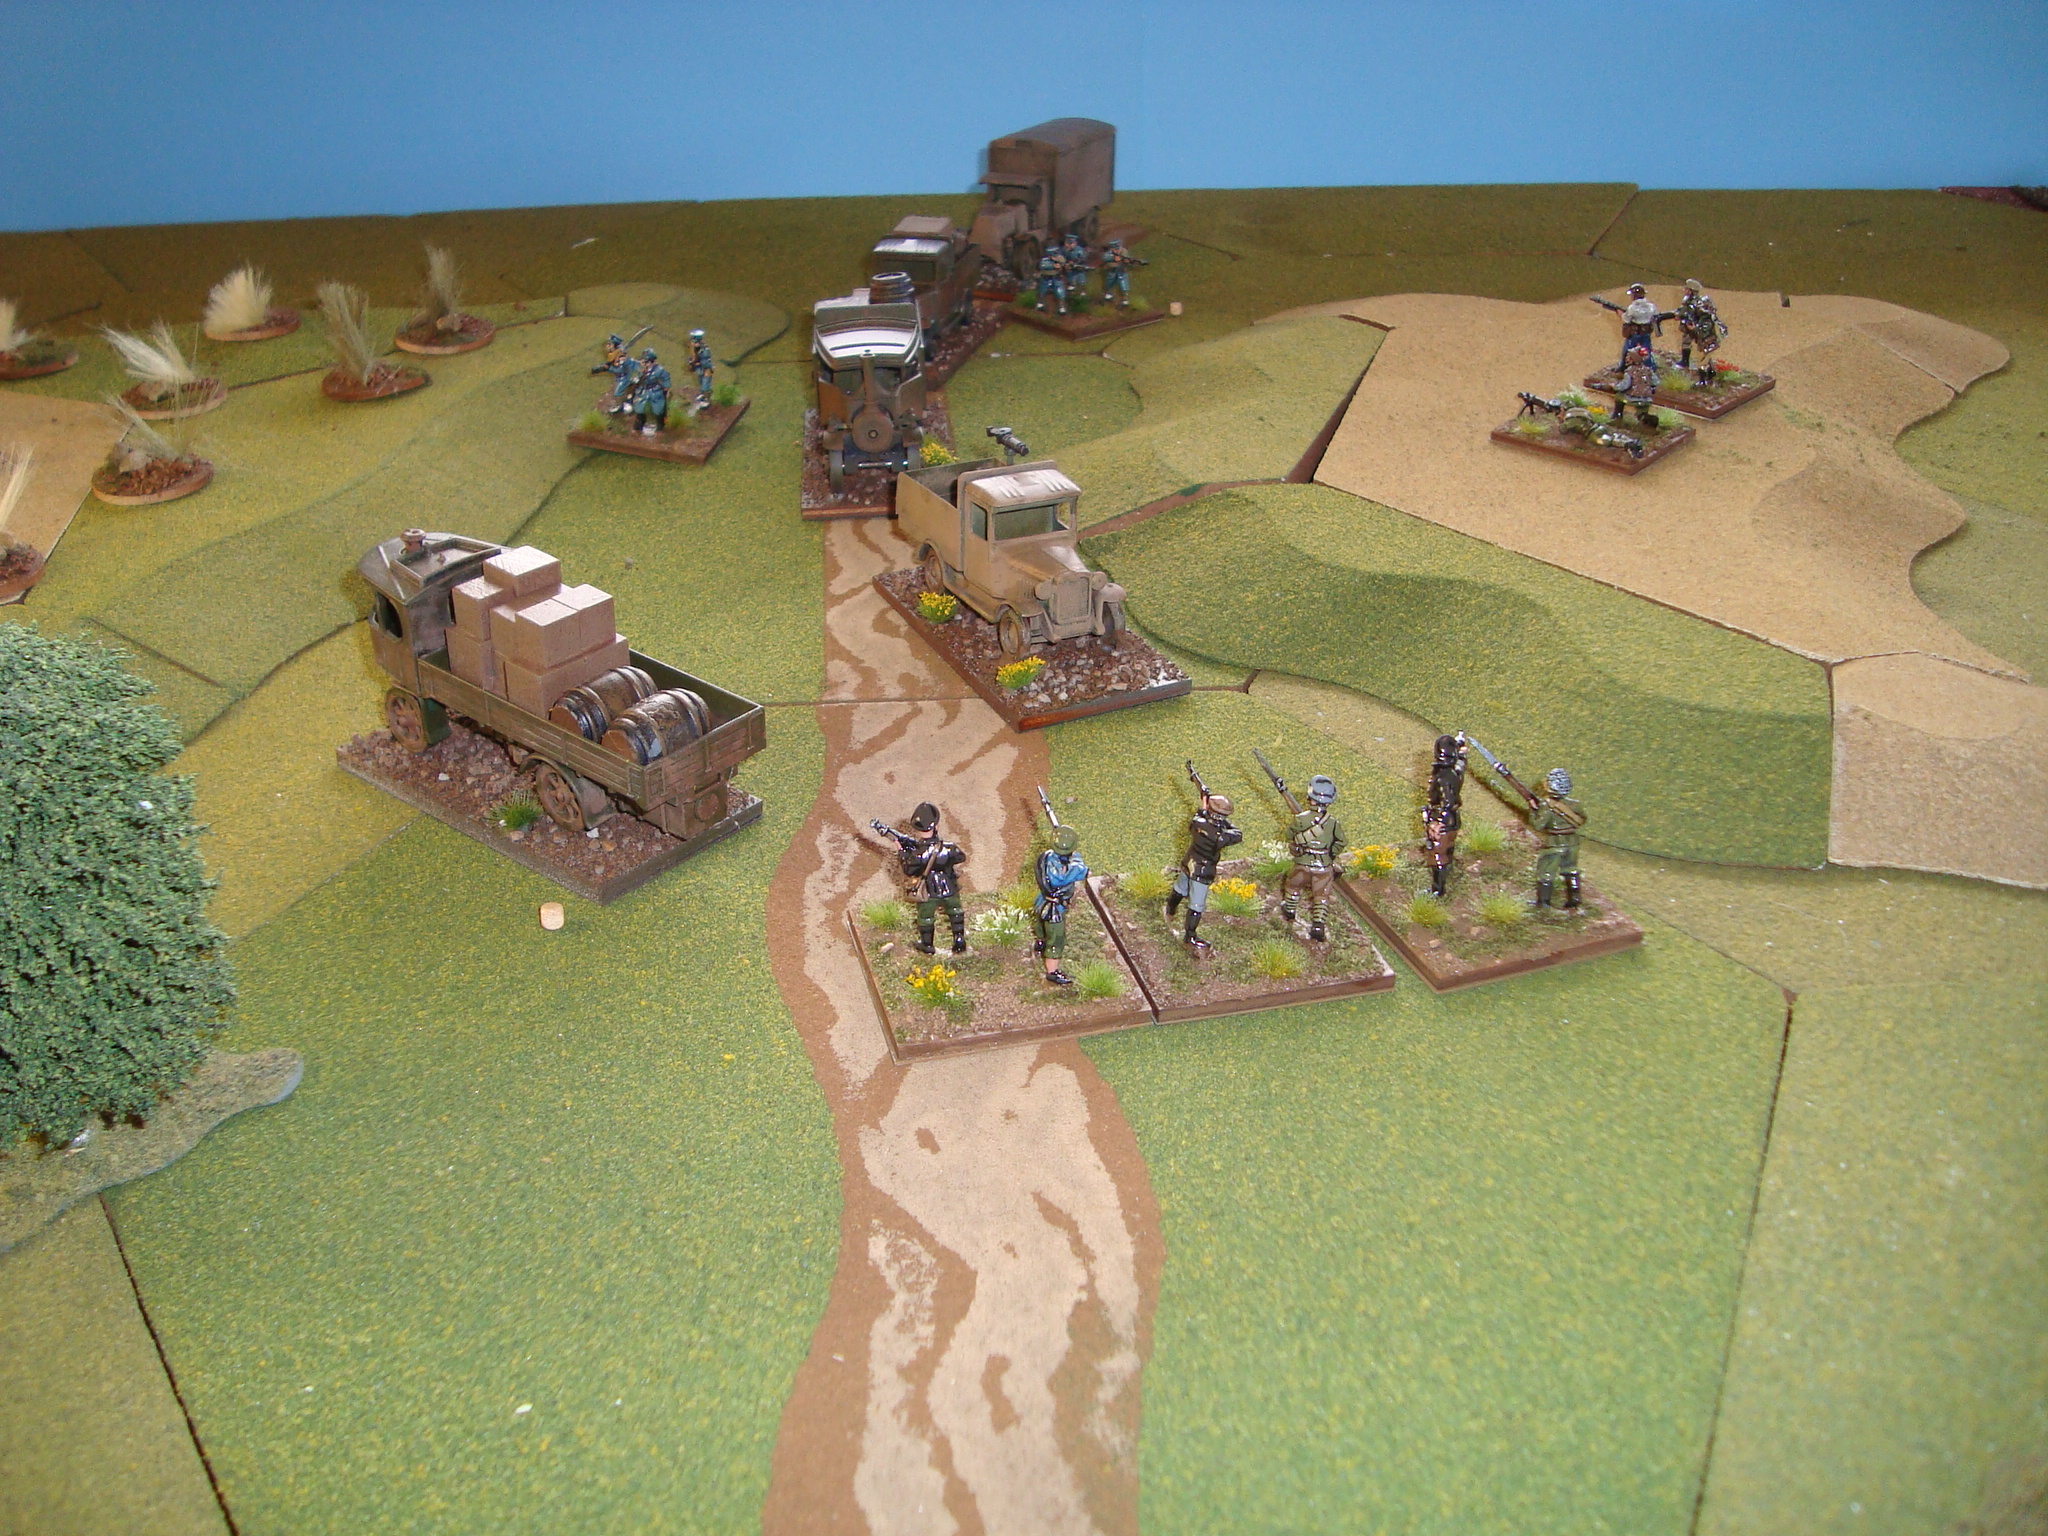
Turn 3: The Partisans advanced, masking the Germans’ field of fire. Once again, Partisan fire at the stalled cargo truck was ineffective. The security group attacked the nearest Warlord Escort, inflicting a terror hit. The MG Truck could not hit the Partisan ambush group. The Warlord escort maneuvered towards and ineffectively engaged the security group. The other Warlord Escort continued to advance to the head of the column.
Partisans Engage Convoy Escort
Turn 4: Poor die rolling continued, as the Partisans once again could not damage any of their targets. However, both the Partisan Security Group and Warlord Escort recoiled in the fight for the hill.
Partisan Security Team Pushed Off Hill. Assault Group Continues to Engage Convoy Escort
Turn 5: The Partisans again attacked both the stalled convoy and the escort. Again, their fire was ineffective. While the MG Truck and Escort both inflicted terror hits on the ambush and security group.
Turn 6: According to plan, the Partisans disengaged, falling back to the woods, and prepared to move to the rally point. The Chinese did not pursue.
Partisans Withdraw Into Woods
Comments: Fun little scenario, horrific die rolling for both sides. I thought the Partisans would make short work of the convoy, but their low firepower (4 factors for each stand) was consistently ineffective. The Germans should have been able to do more damage to the convoy, but again, the marksmanship (die rolling) was bad. The Warlord unit engaging the Security Group did its job, and the resilient MG Truck forced the Partisan Ambush Group to retire. A decisive victory for the Warlord’s forces.
After much procrastination, started playing this scenario. I posted up some preliminary thoughts and photos of a couple of turns back in December.
The scenario involves a Chinese Warlord convoy carrying all classes of supply. The mission of the ambush force is to destroy the convoy and, if possible, remove weapons, ammunition and medical supplies.
Since the best ambush point was near a Warlord controlled town, there is the chance that a reaction force will appear.
The first step was to construct a simple situation generator, which hinged on the awareness level of the convoy. The levels were clueless, cautious, and, know something will happen. This status was settled by a die roll.
If clueless, the convoy had little discipline, moving at maximum speed and bumper-to-bumper. If cautious, distance was greater, speed lower, with armed vehicles at head and front. If an ambush was suspected, there was a reaction team attached, in addition to an escort.
In each case, there was the chance of a reaction force coming to the aid of the convoy, but again, a die roll settled that with modifiers to decrease the size of the force the less “aware” the convoy was. The number of turns it took the reaction force to arrive on table was again a function of the Warlord force’s awareness level and die roll.
The required wristage created the following:
A clueless convoy, moving at maximum speed, with little dispersion and an escort of only two stands of troops. Feeling sorry for these poor bastards, I threw in a light truck armed with a machine gun.
The ambush force consists of two stands of Germans, one machine gun, along with five stands of White Russian partisans.
It is a classic “L” shaped ambush. The Germans are to engage the convoy, bringing it to a halt, and if possible, continue to support the Partisan attack. The Partisans are to attack the convoy from the wooded flank alongside the road. Two partisan stands will move to the rear of the convoy occupying a small hill taking up a position to engage either the convoy escort, or a reaction force. The remaining Partisans will, using fire and maneuver, destroy the convoy and, if possible, retrieve needed supplies.
The Partisans are low on ammunition and cannot engage in a lengthy firefight with the convoy. If this occurs, they are to withdraw back into the woods, covered by the Germans. All units will then proceed to a rally point.
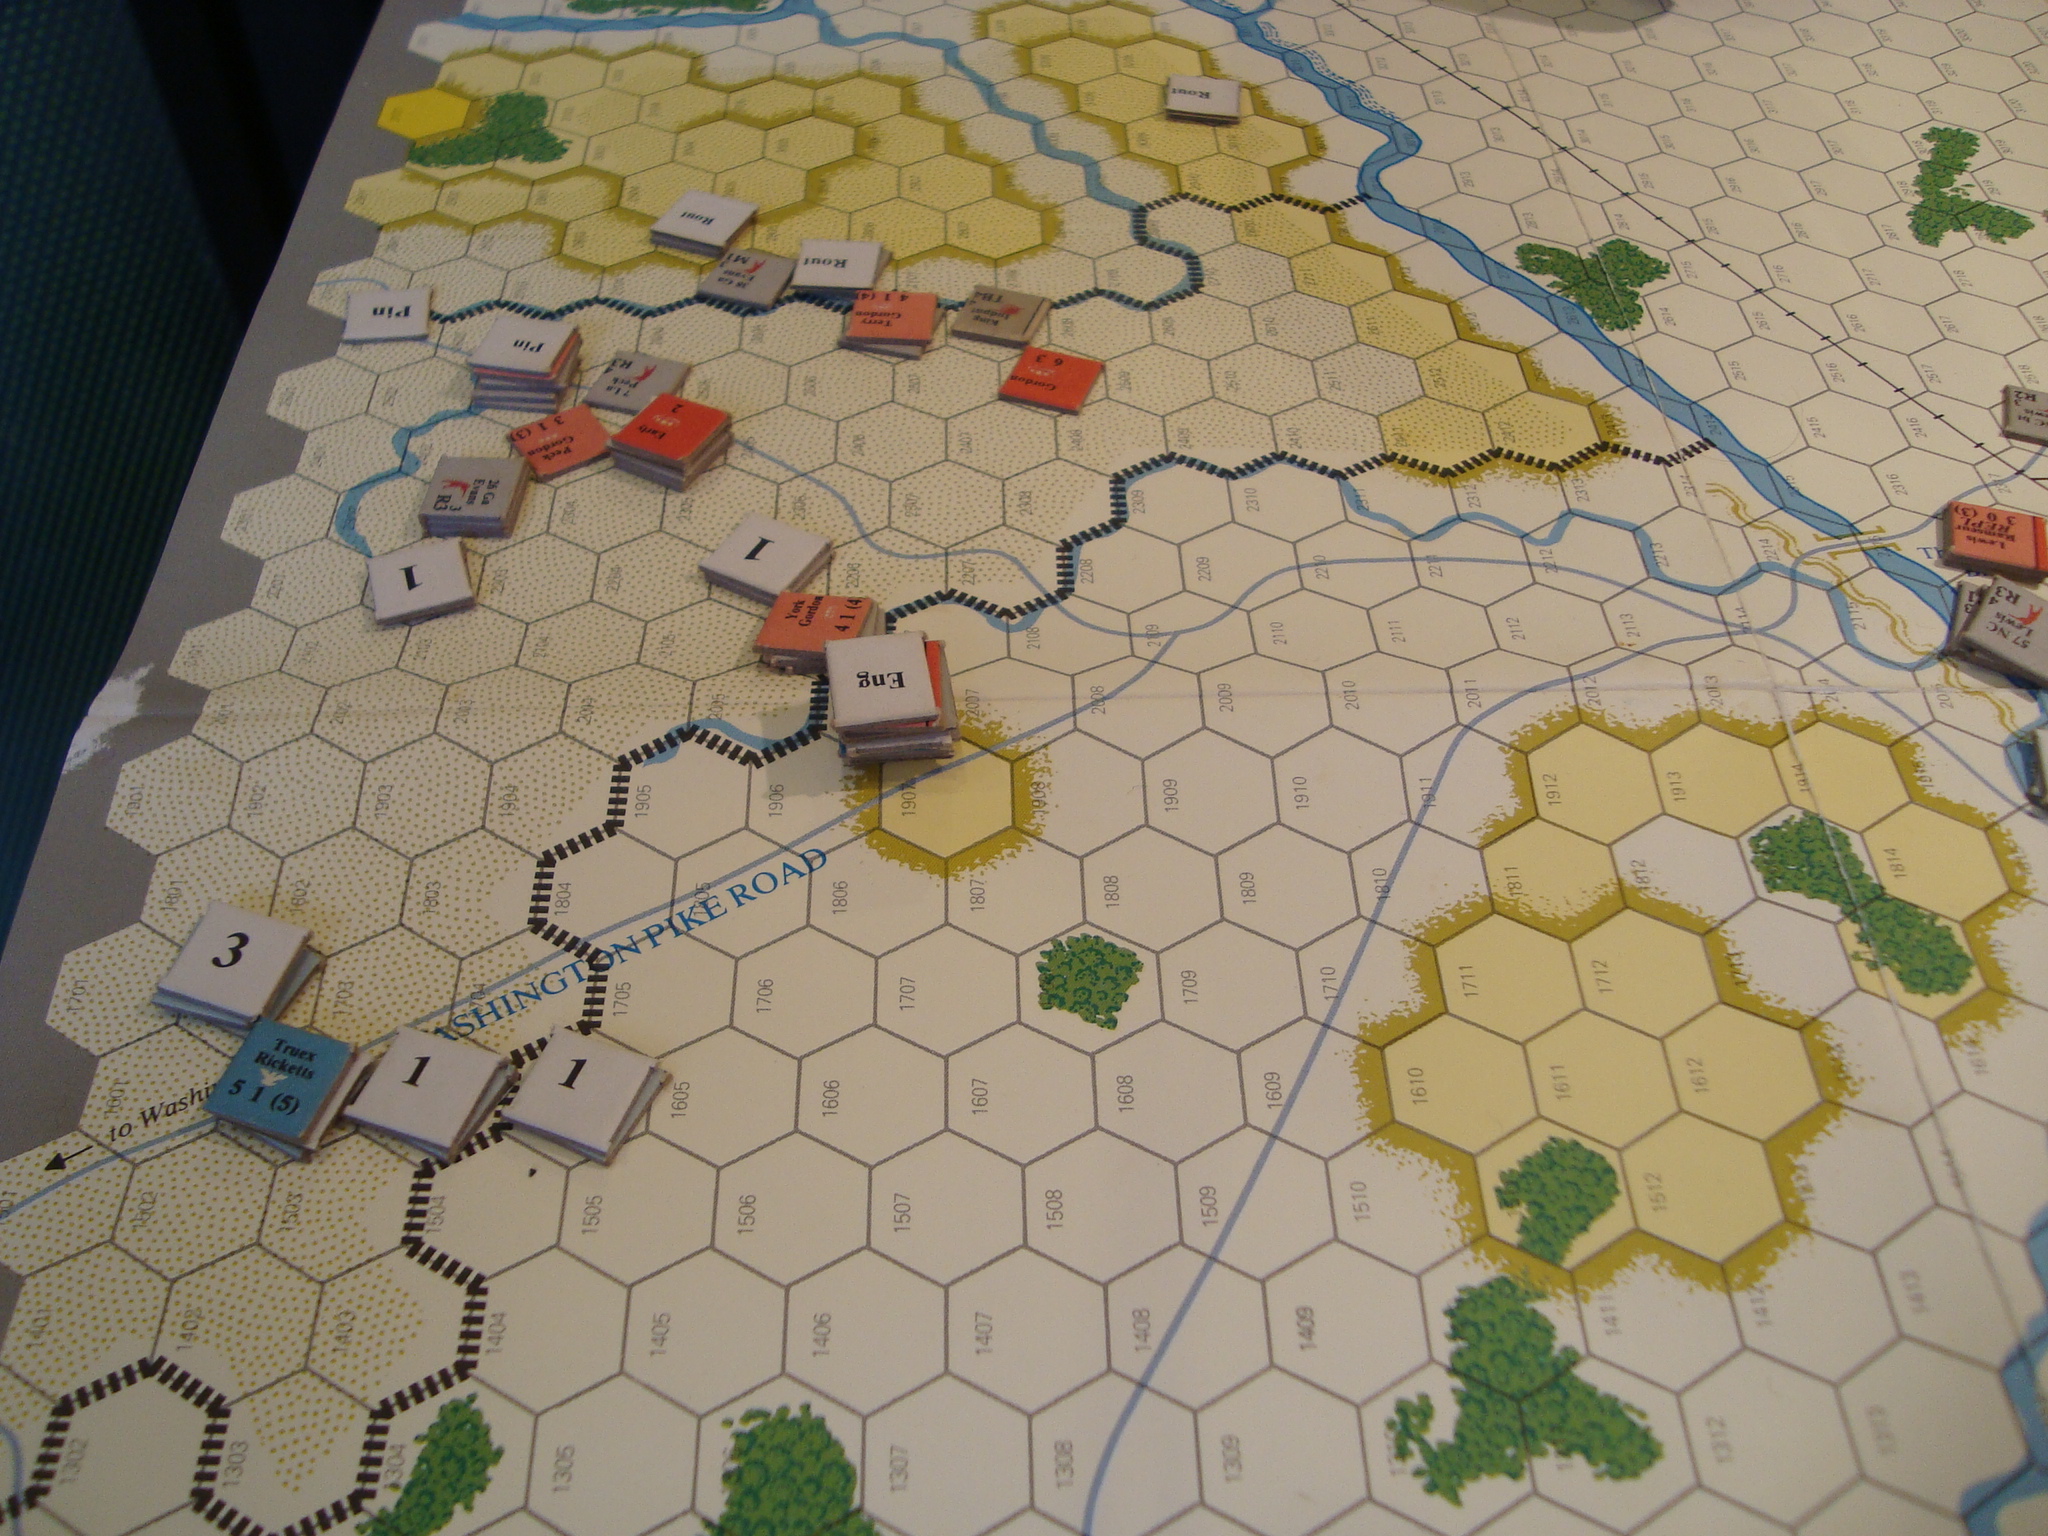
Since the fighting at the Railroad Bridge and northern fords had devolved into ineffective firefights, I played the Truex-Gordon fight for the last three turns.
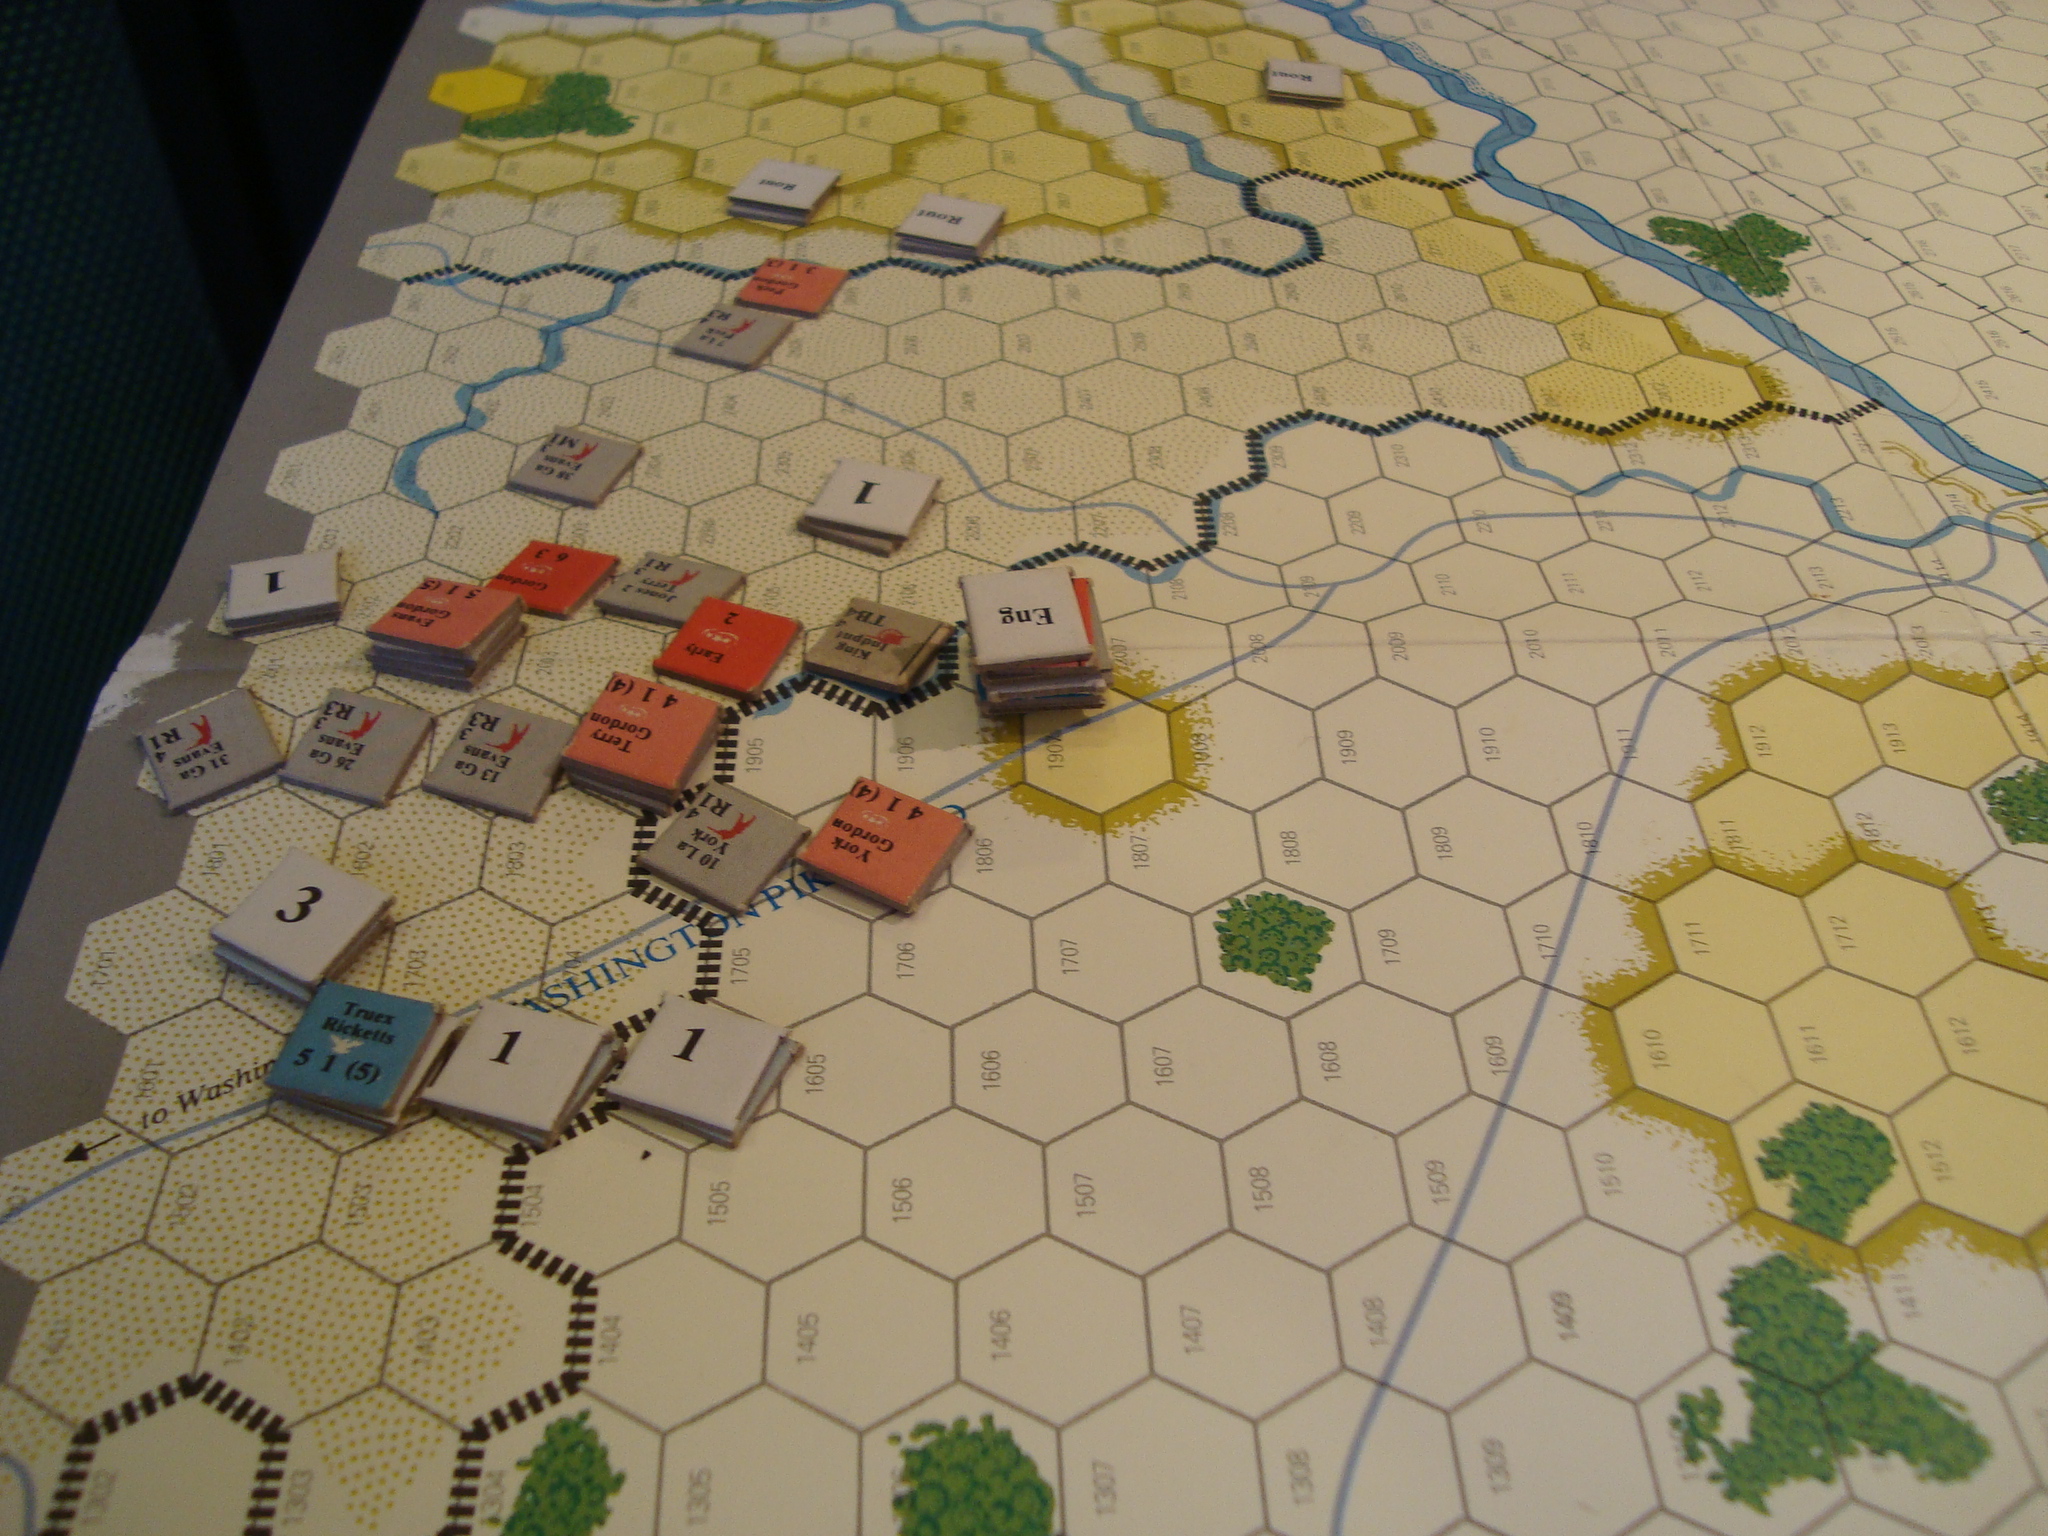
Gordon was able to flank Truex and force a retreat to cover the Washington Road Turnpike. The Confederates enveloped individual Federal units and, while taking fire casualties to units in one hex, were able to bring overwhelming odds to bear for close-combats.
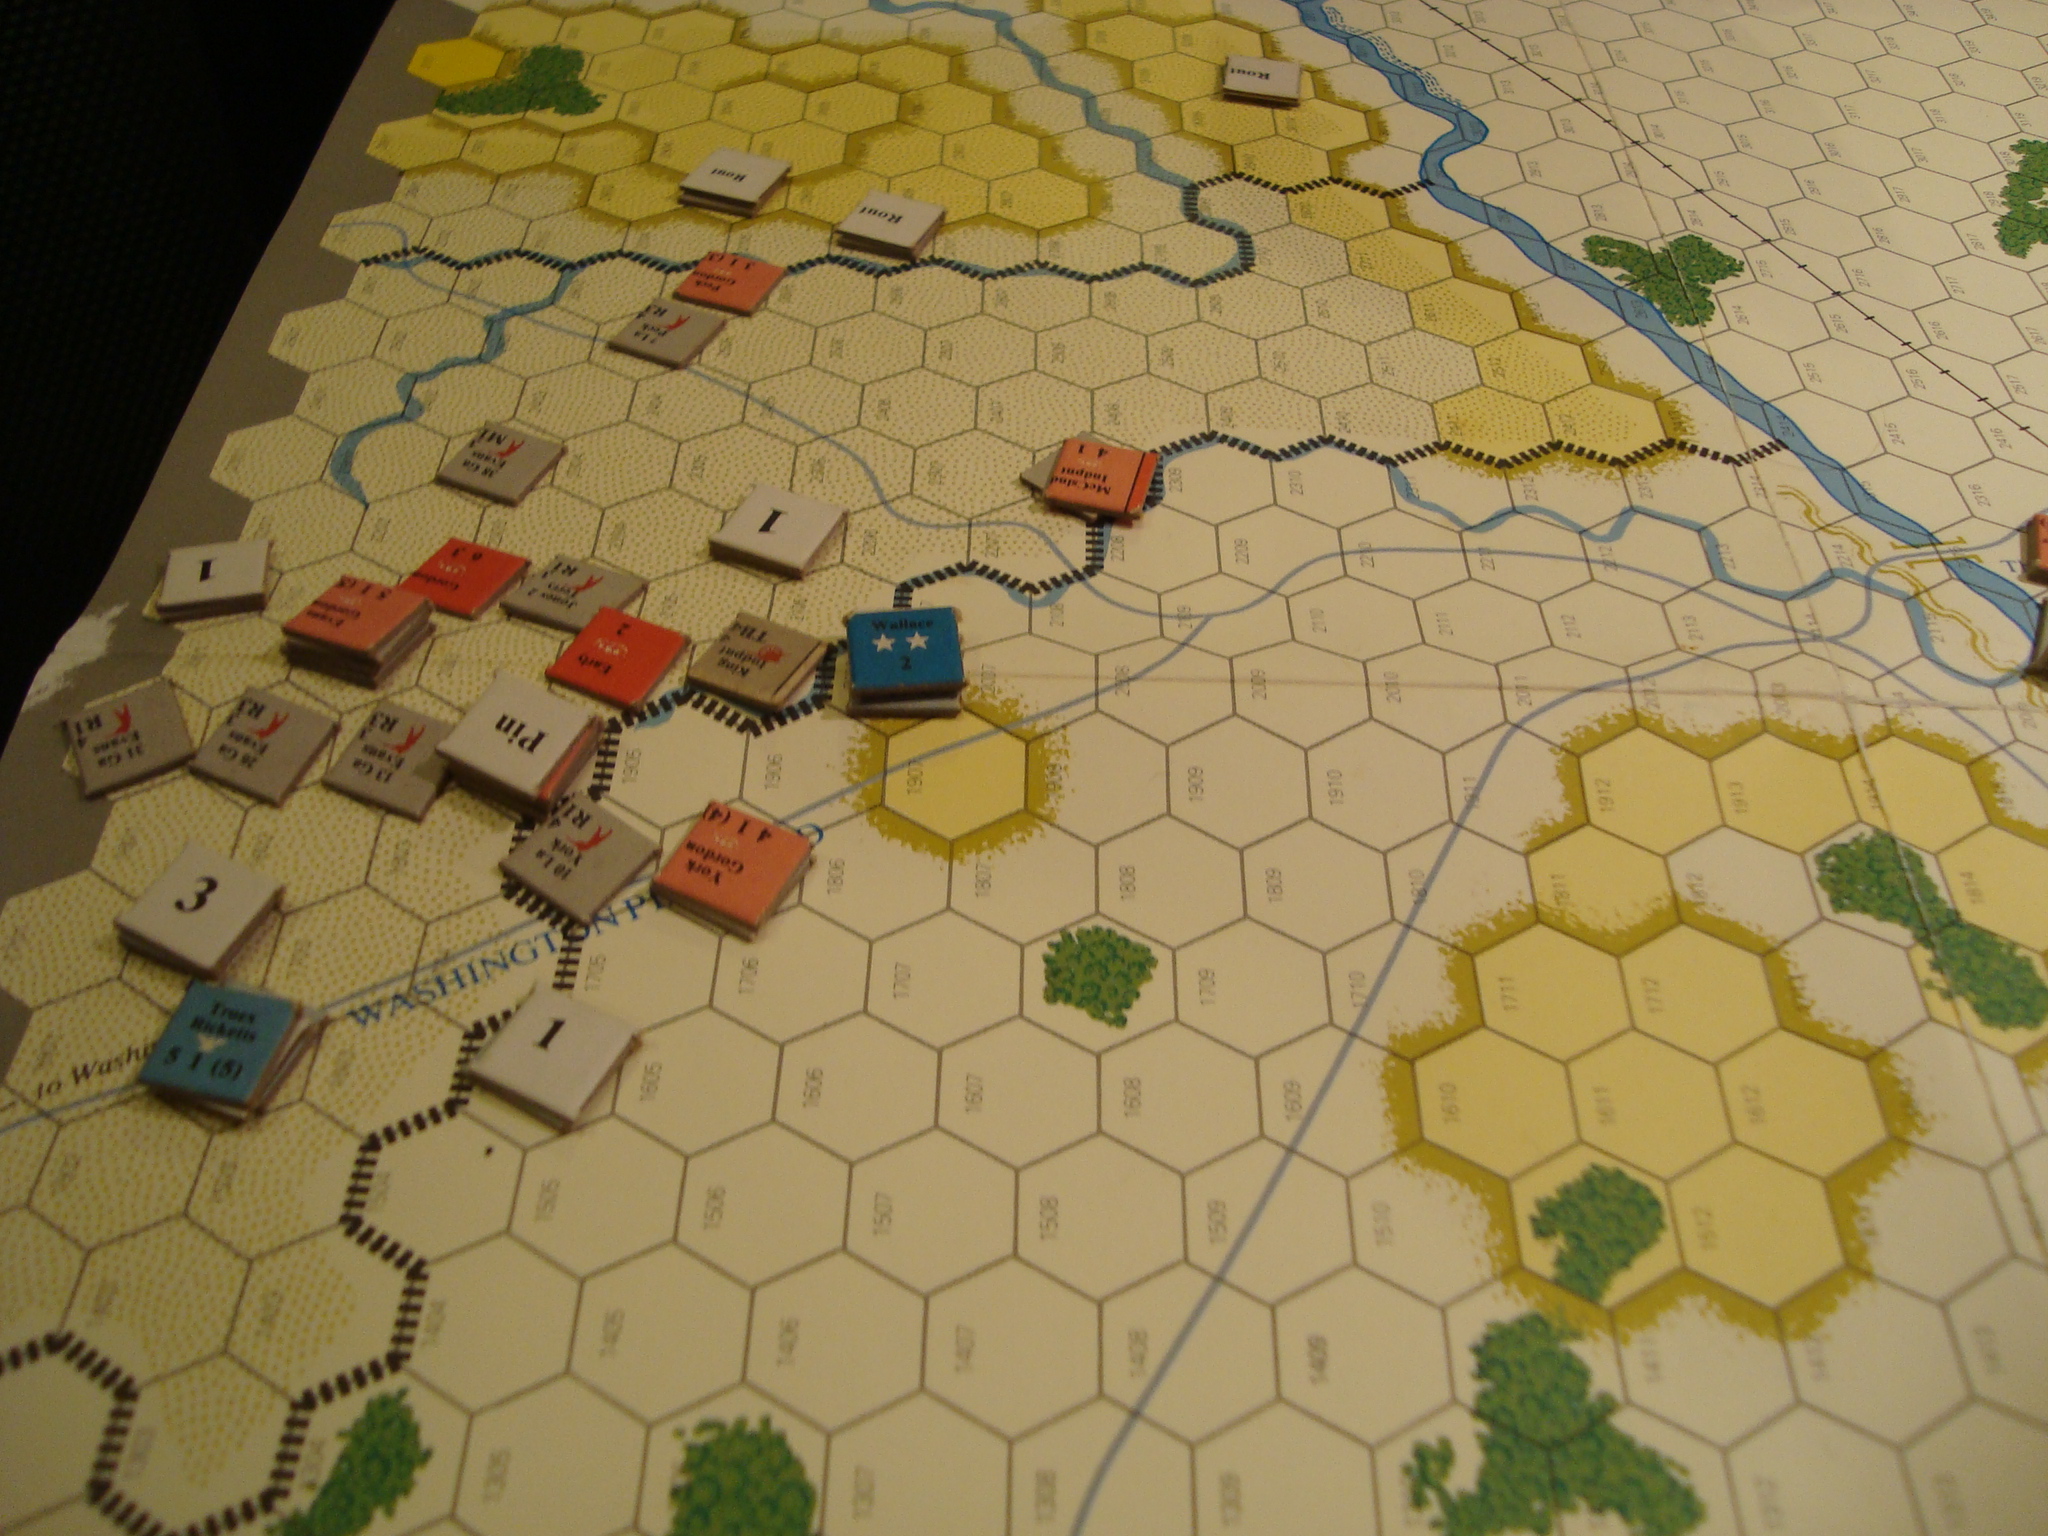
Truex’s regiments took a terrible beating. If I had kept track of Brigade Effectiveness, I’m sure they would have been rendered incapable of offering any resistance. As it was, without the book keeping, they were rendered incapable of offering any resistance. Note the similar outcome. Note I did not have to act like a bloody accountant (Sorry Tim).
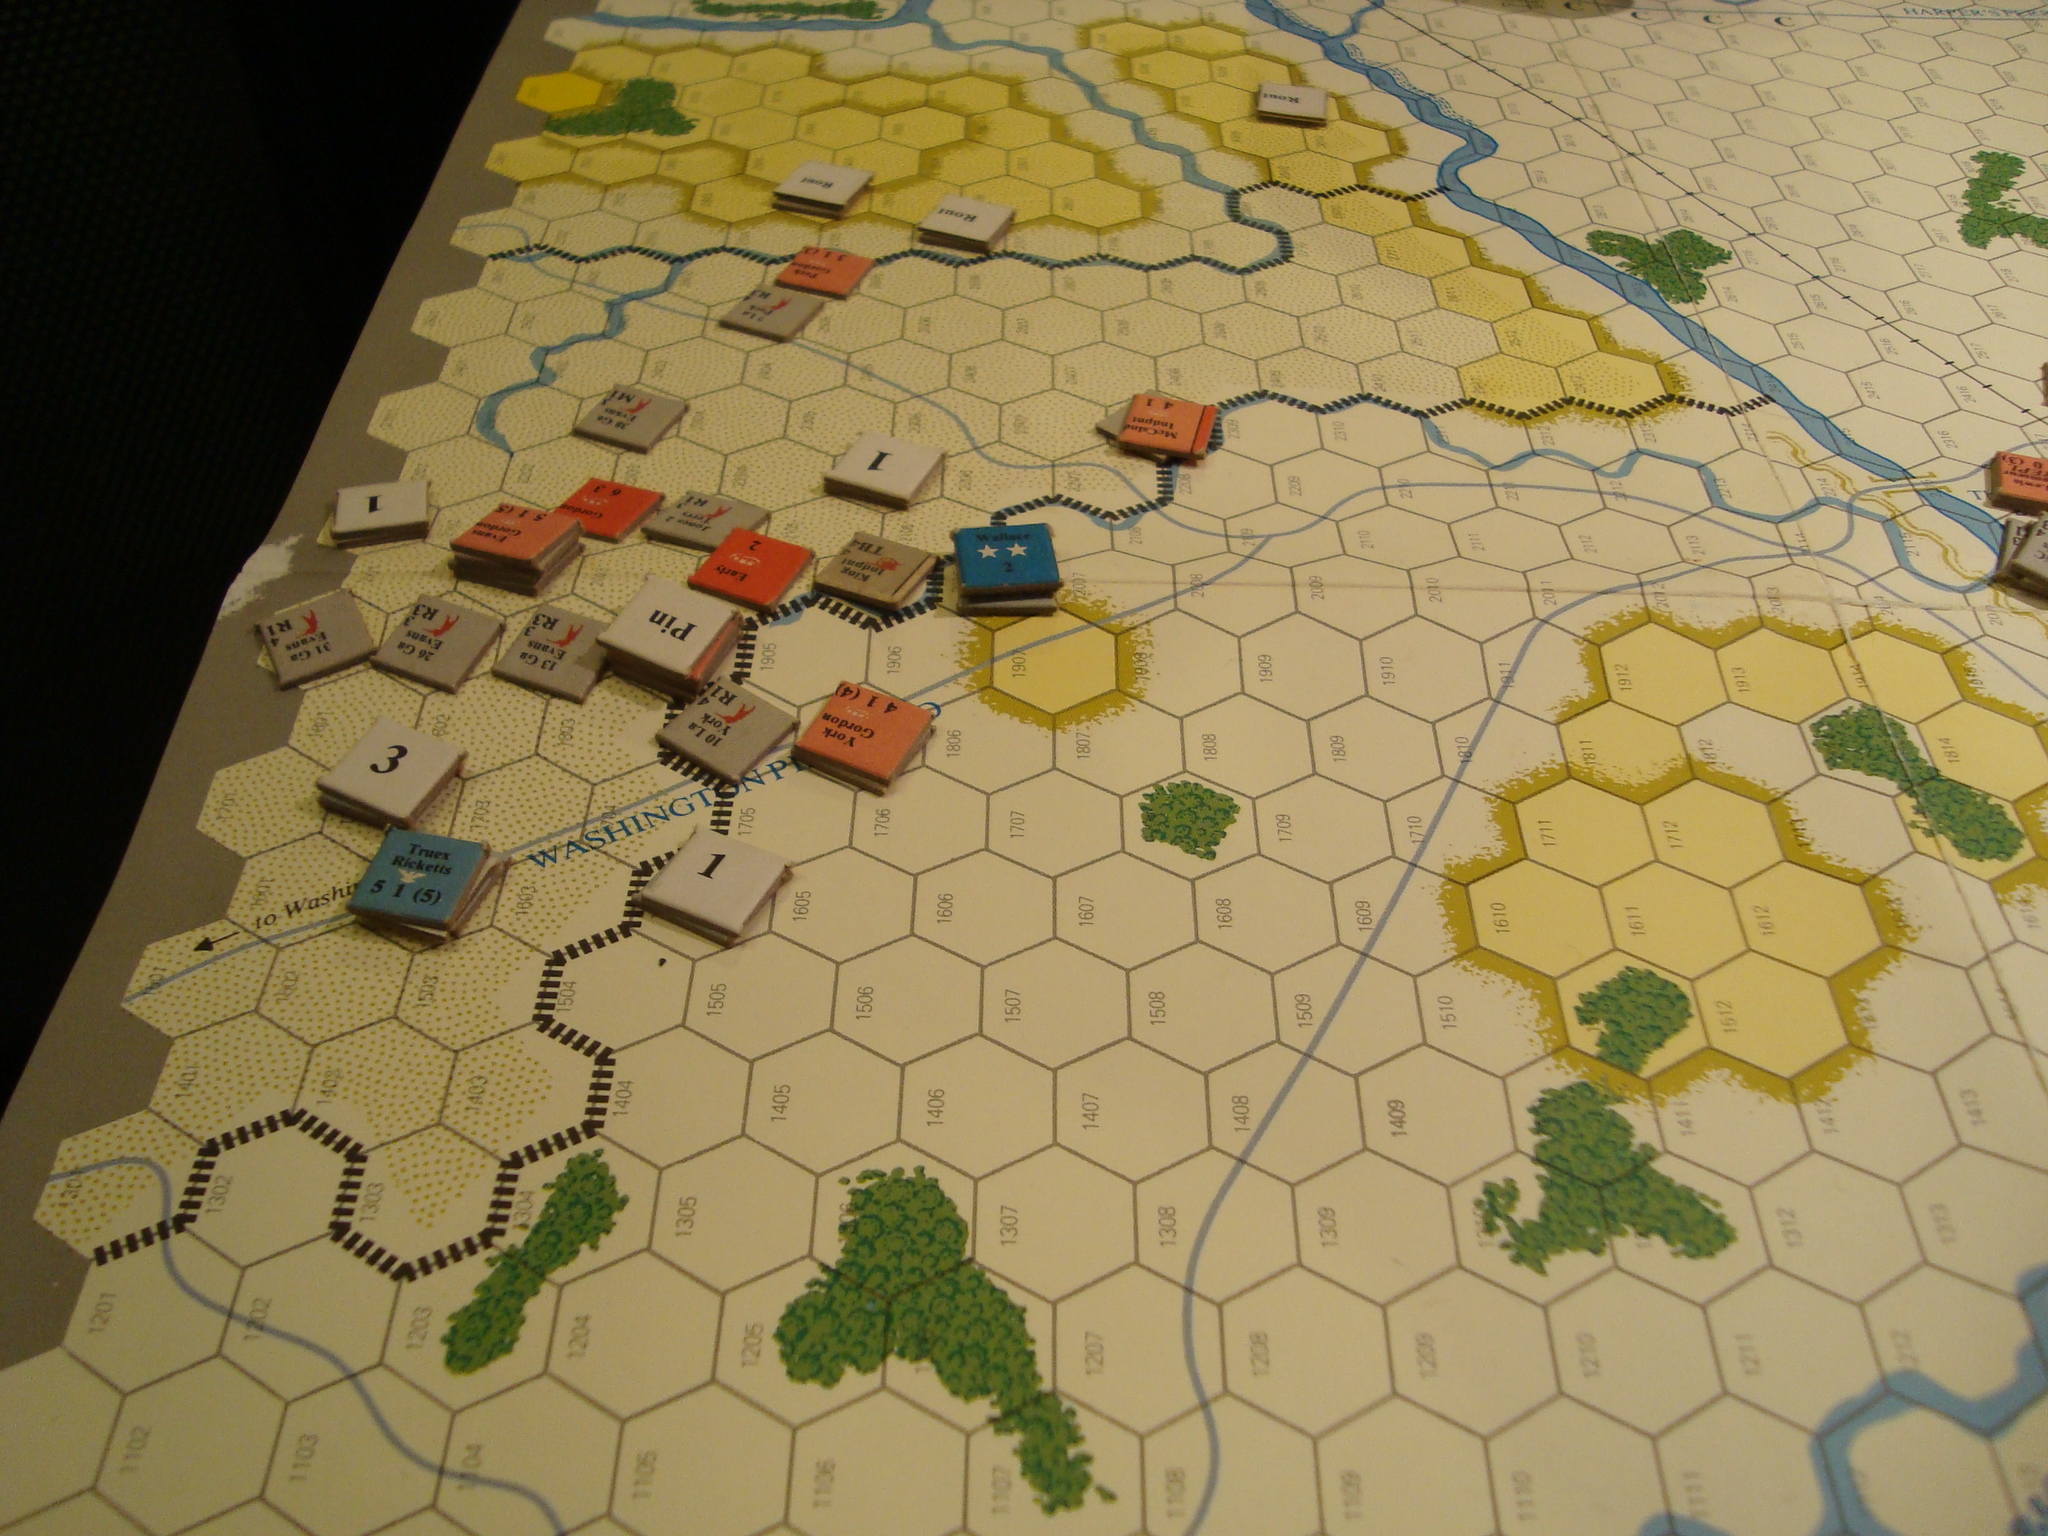
On the other hand, the Federals had prevented any Rebel units from exiting the map.
I’d call it a draw. Good game.
Start Turn 13. Gordon enveloping Truex. Railroad Bridge fight a stalemate.Turn 13. Confederates close, flank and melee with hard-pressed Union regiments.Turn 13. Truex disengages and falls back to Turnpike RoadTurn 14. Gordon pursues. Sets up for fire combat to be followed by close combat.Turn 14. Truex’s forces attritted.Turn 15. Positions at Game’s End.
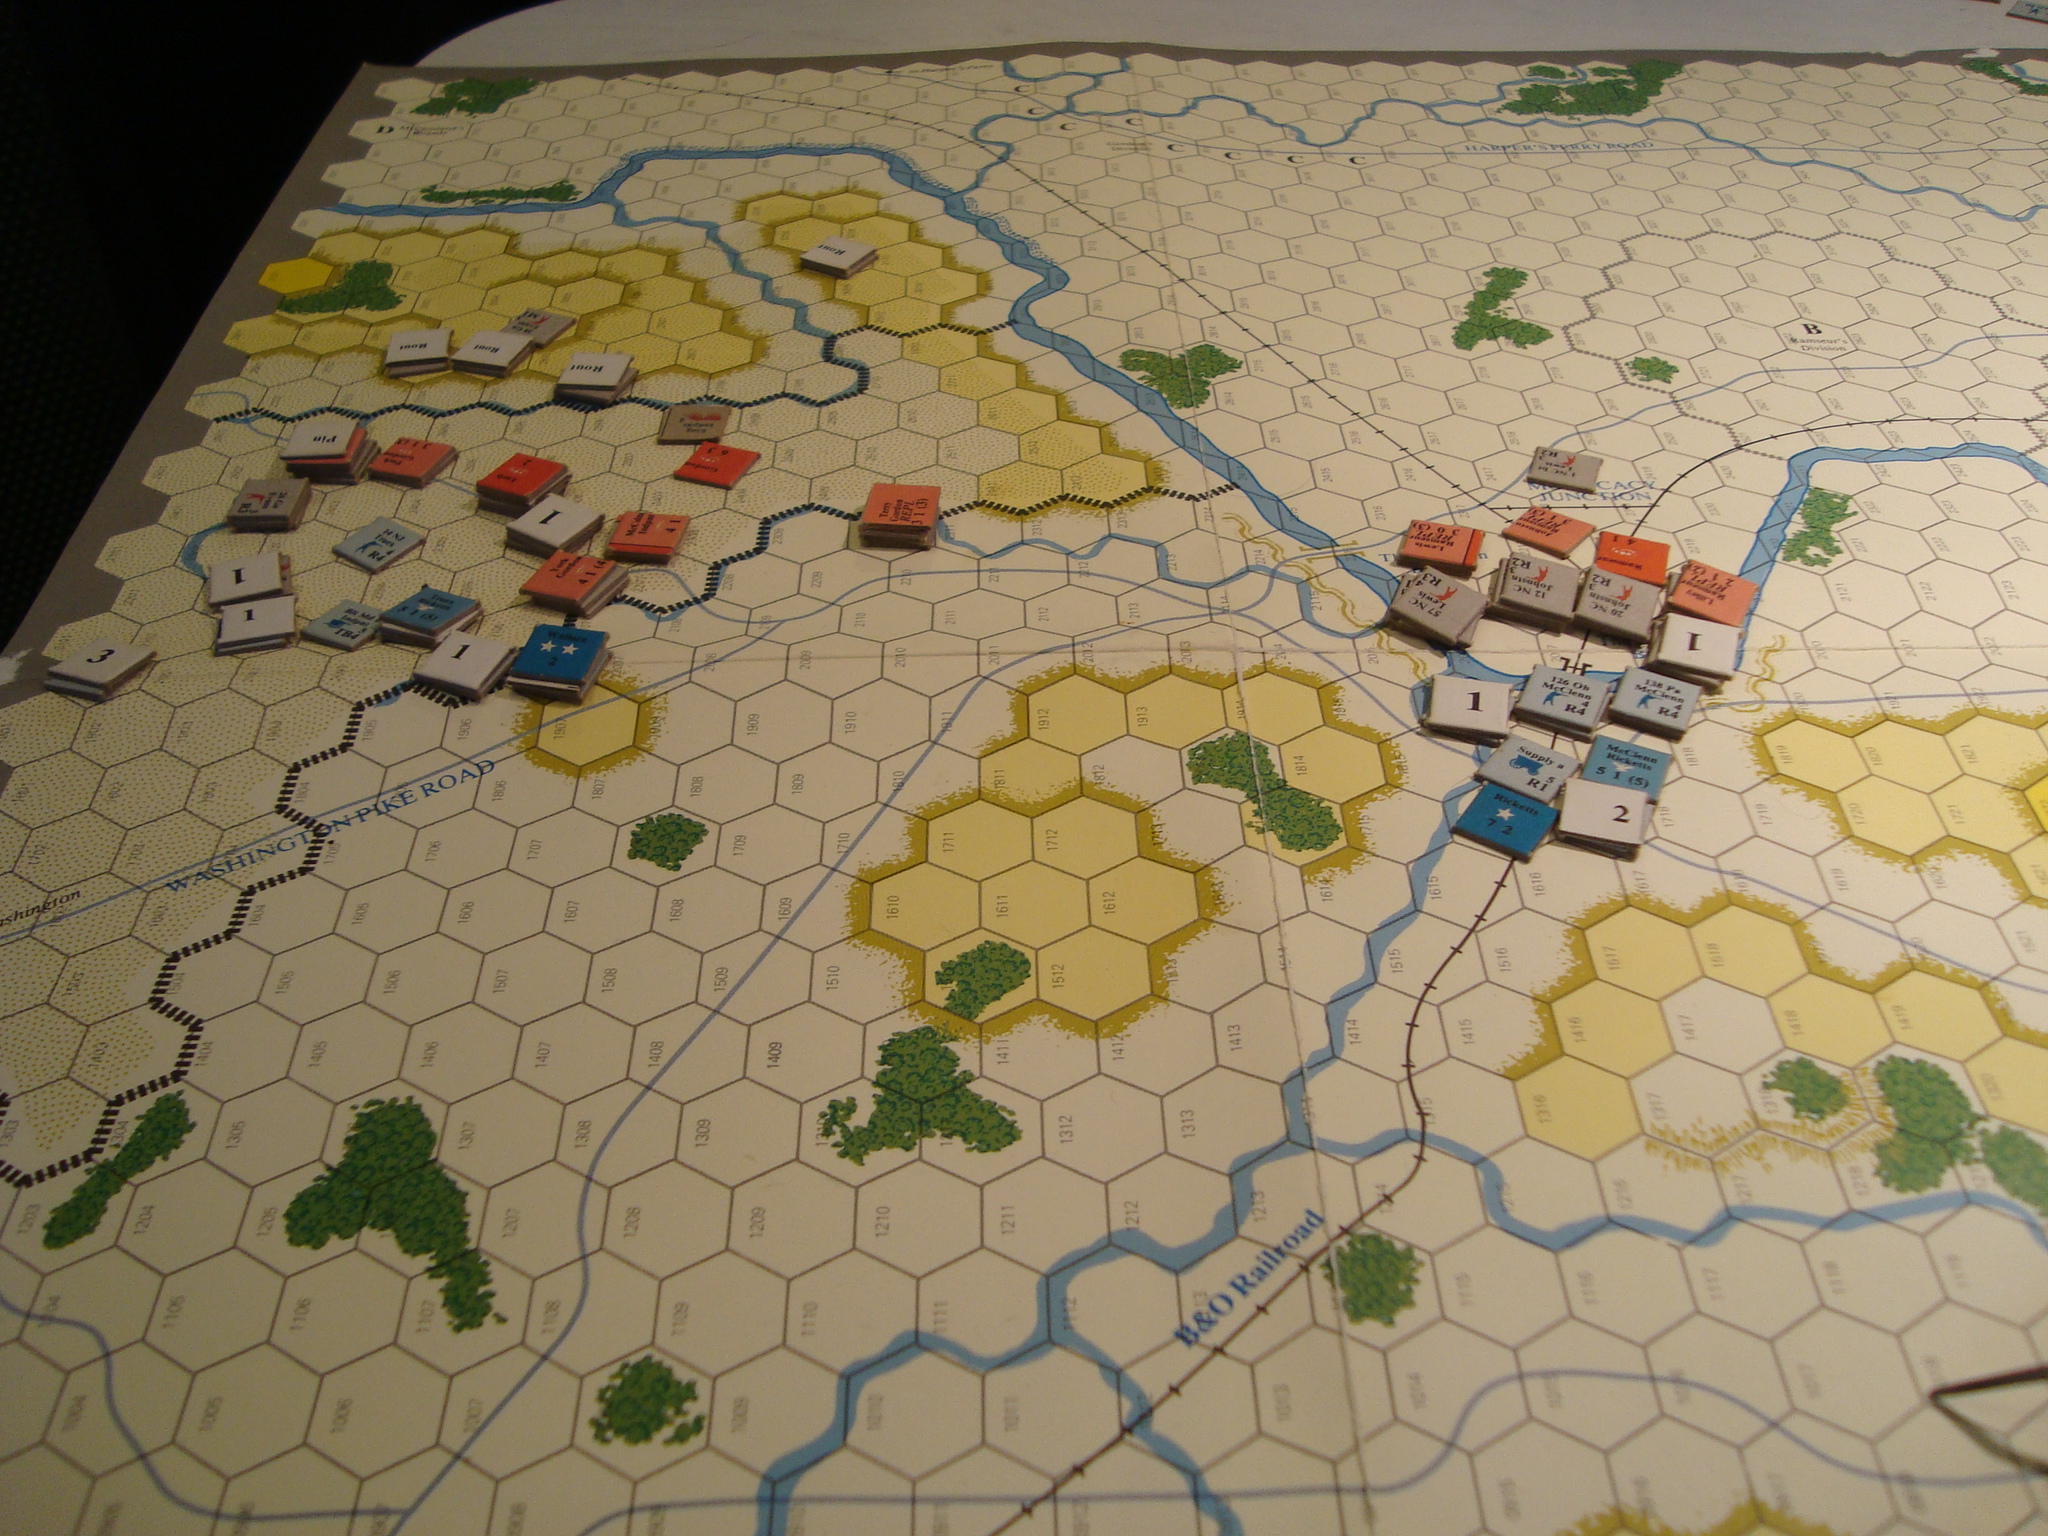
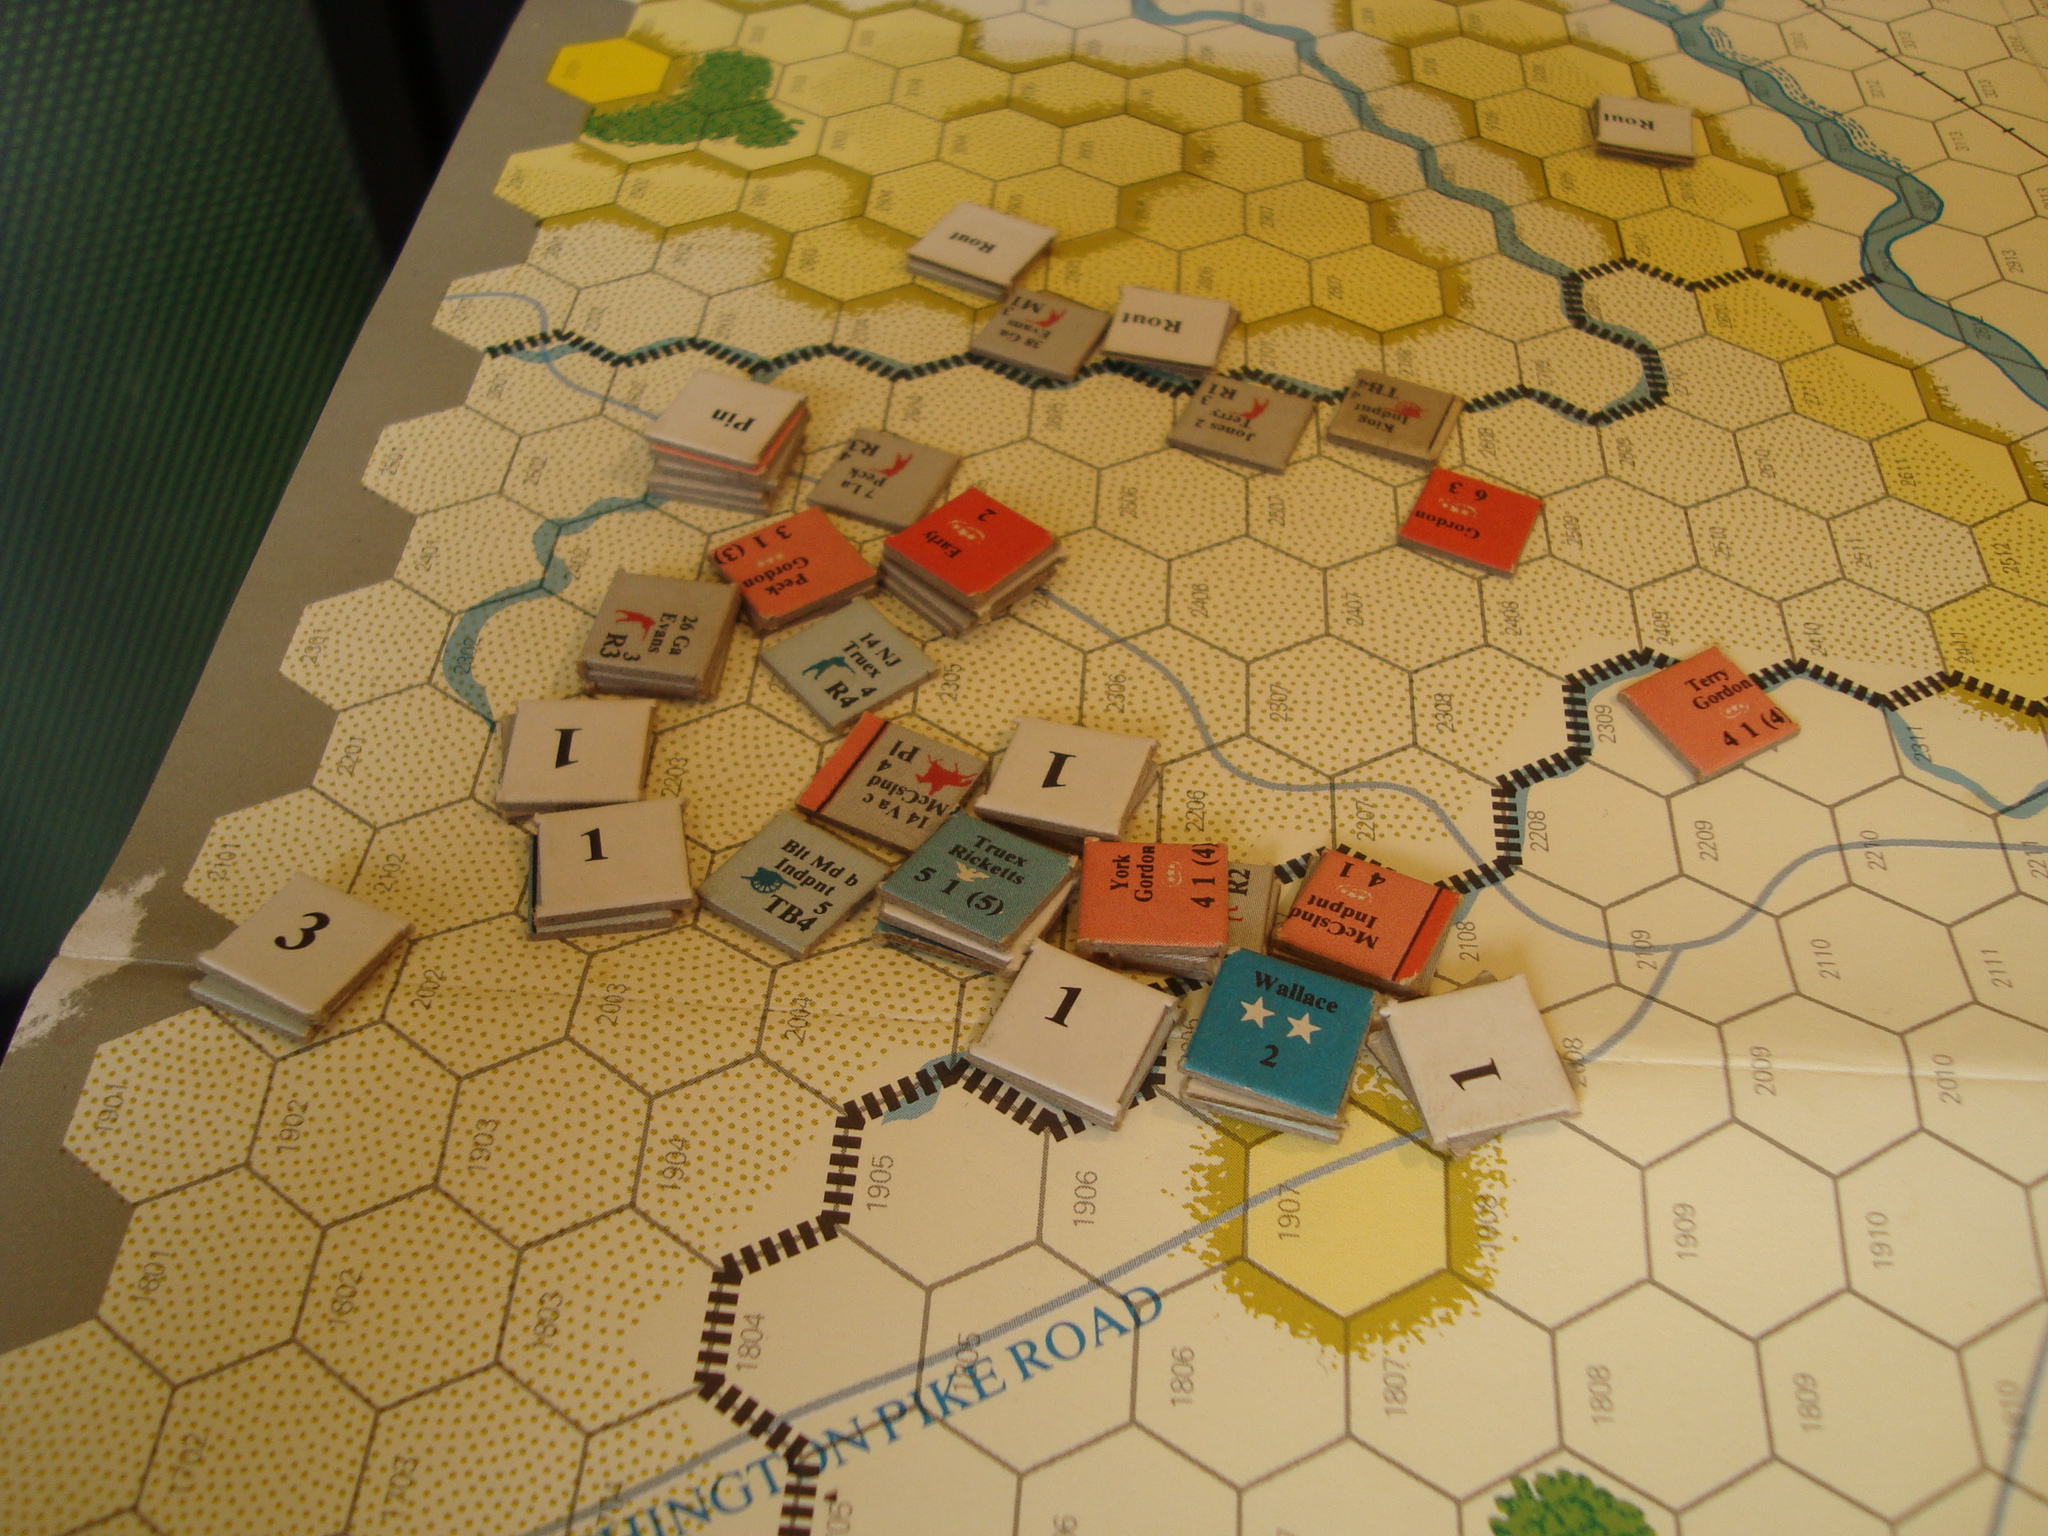
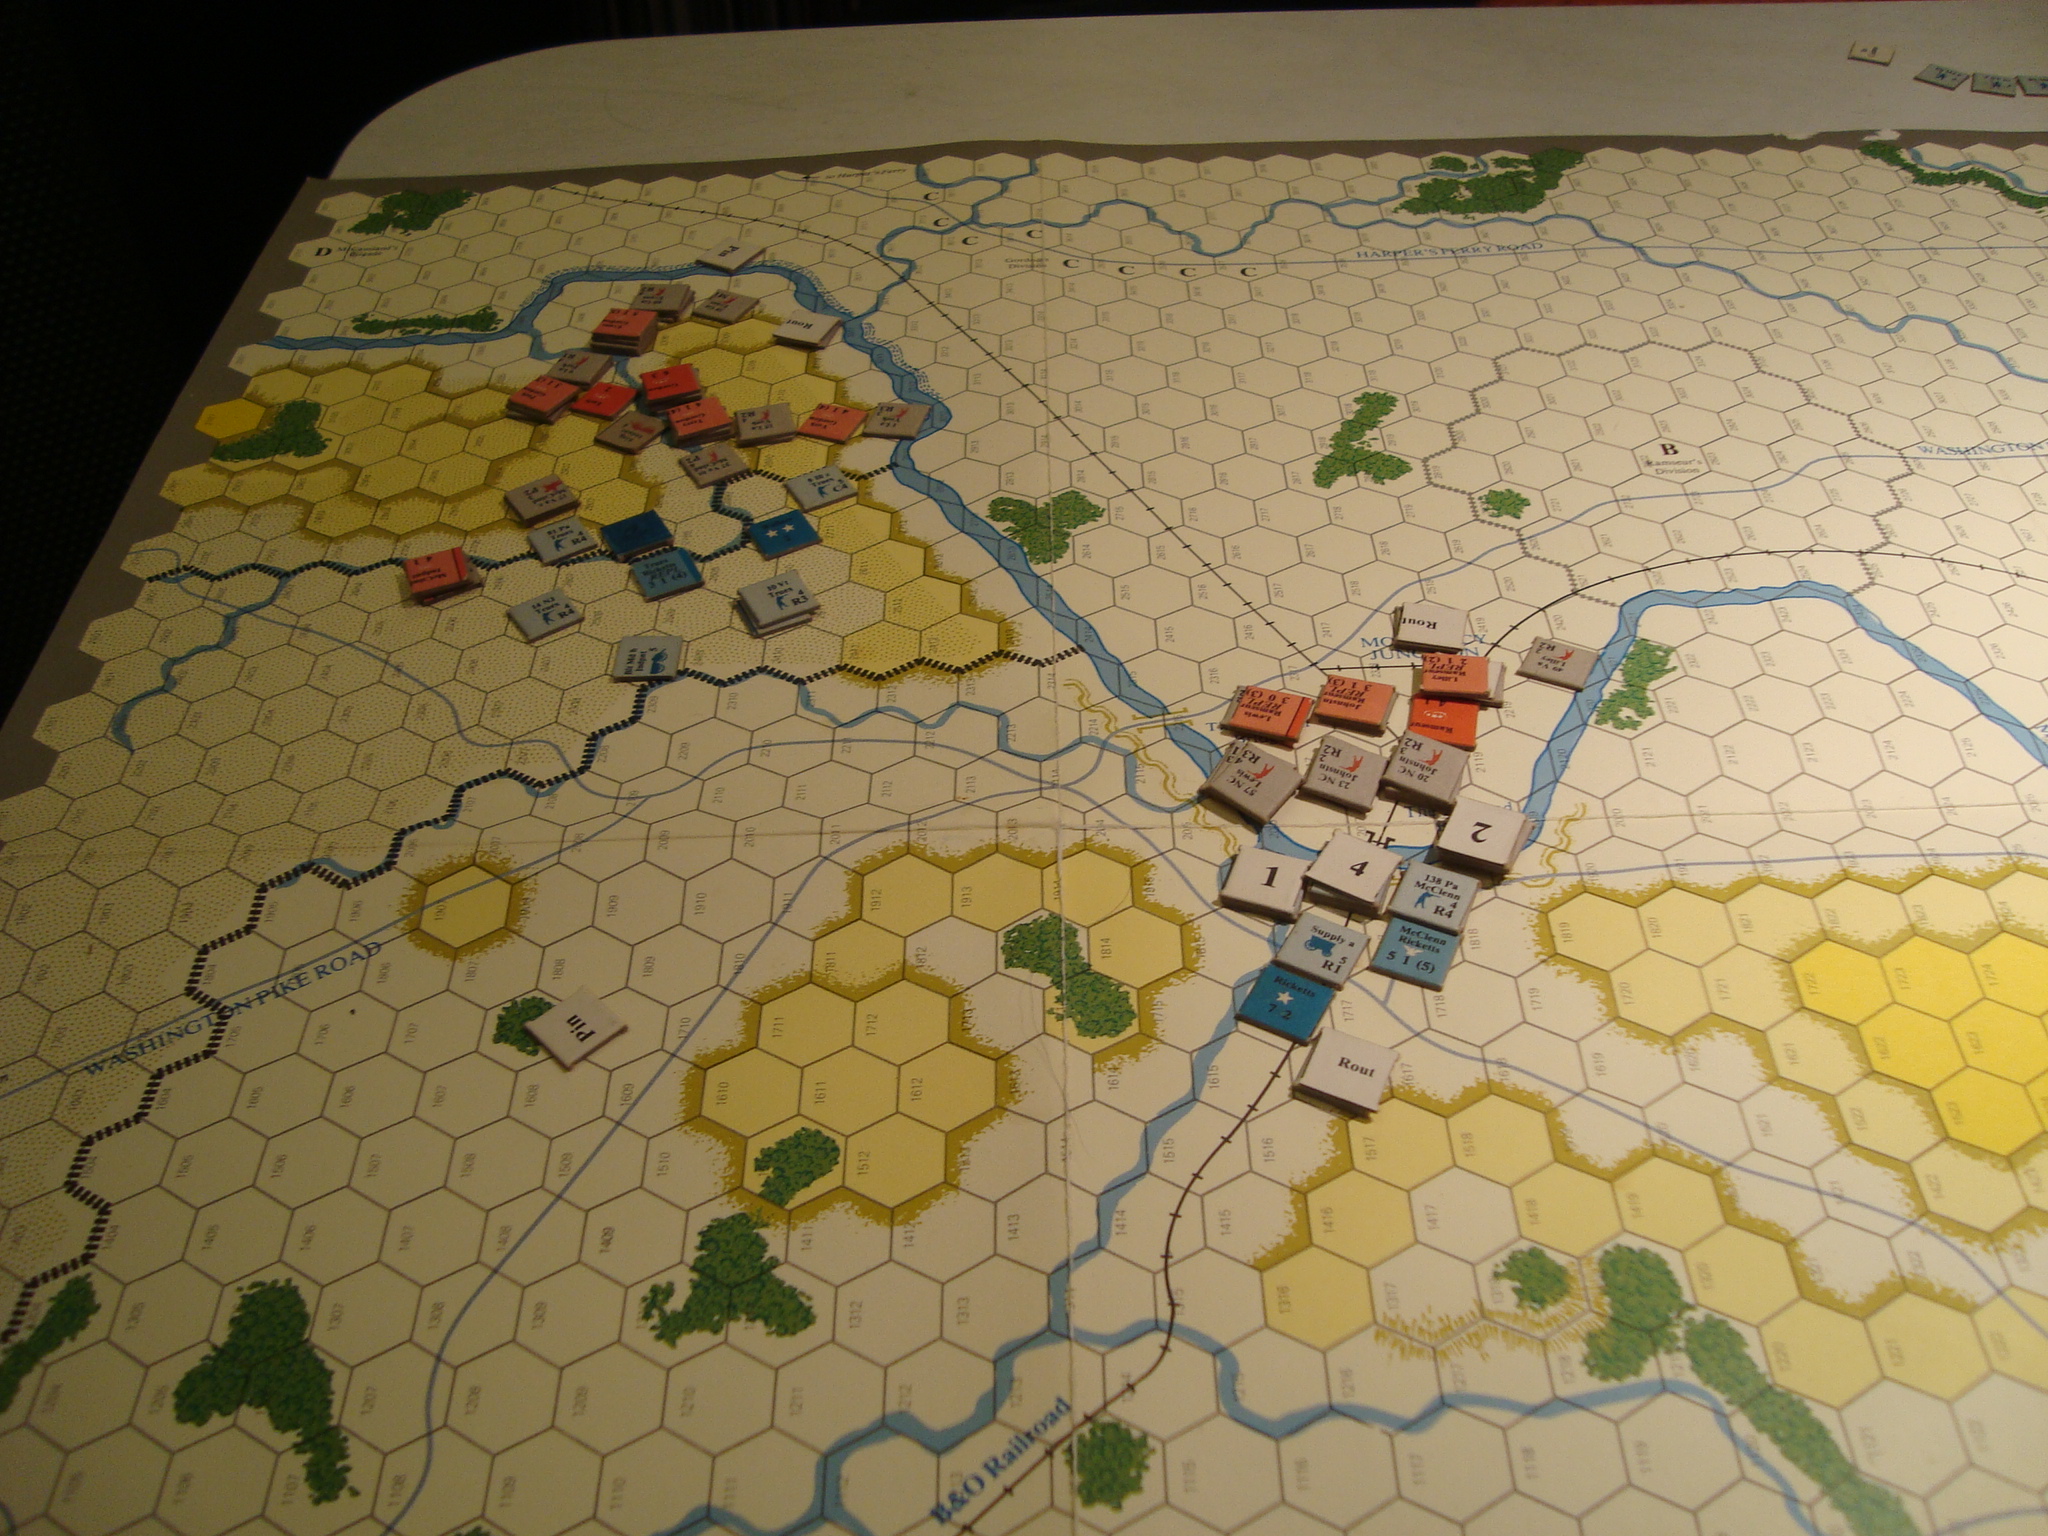
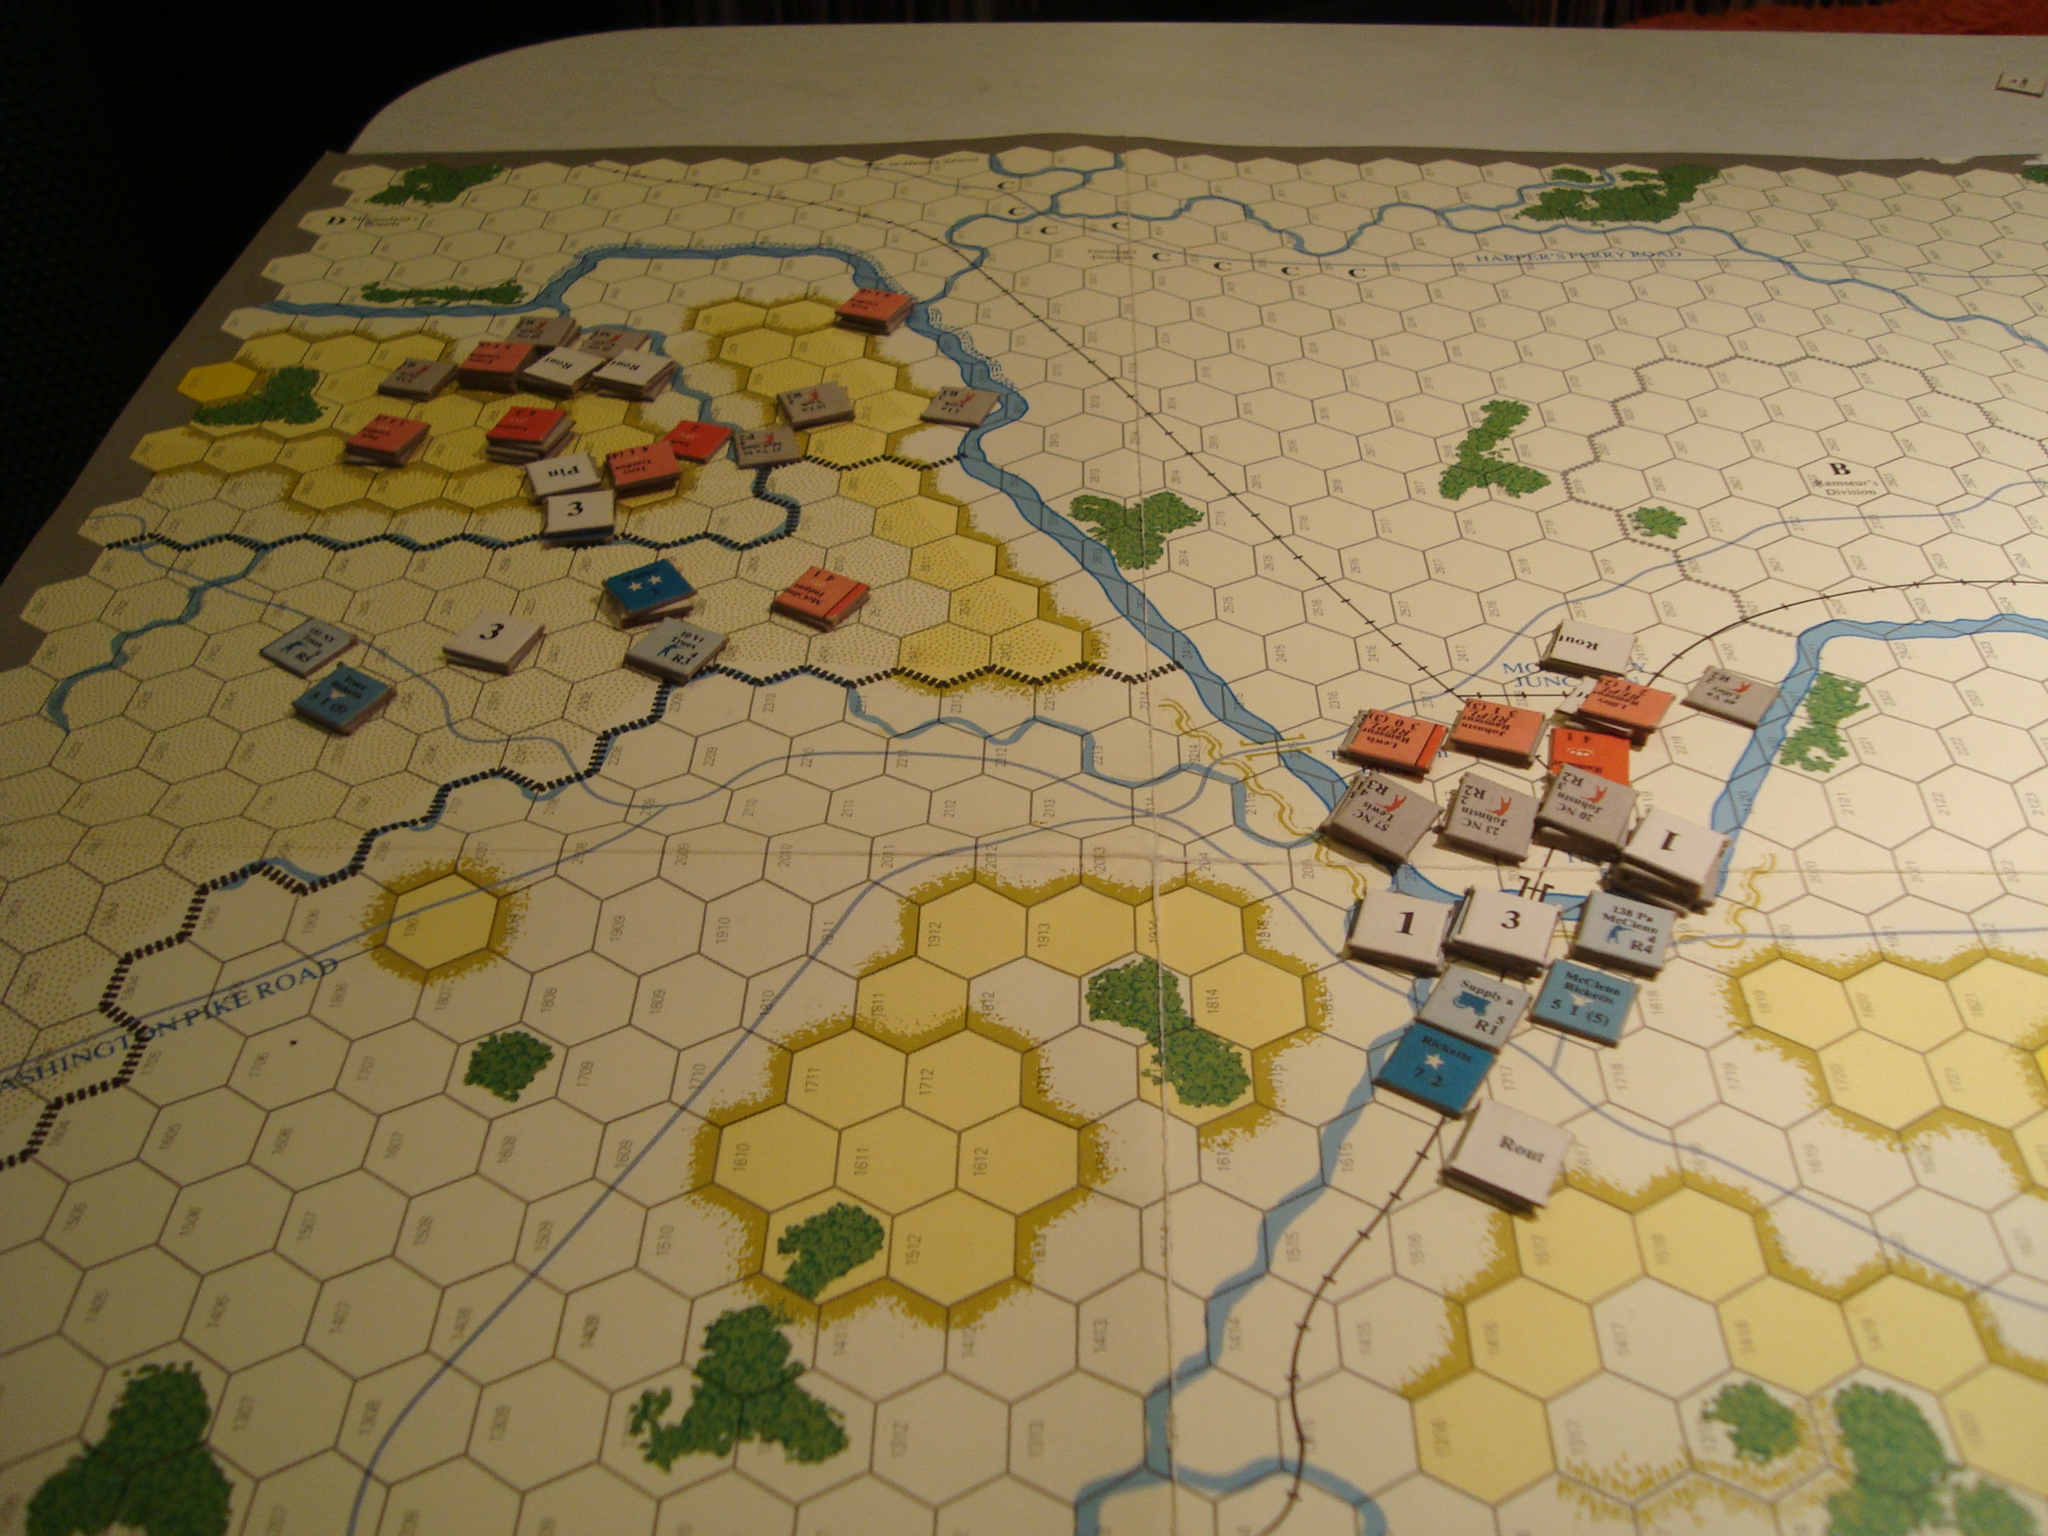
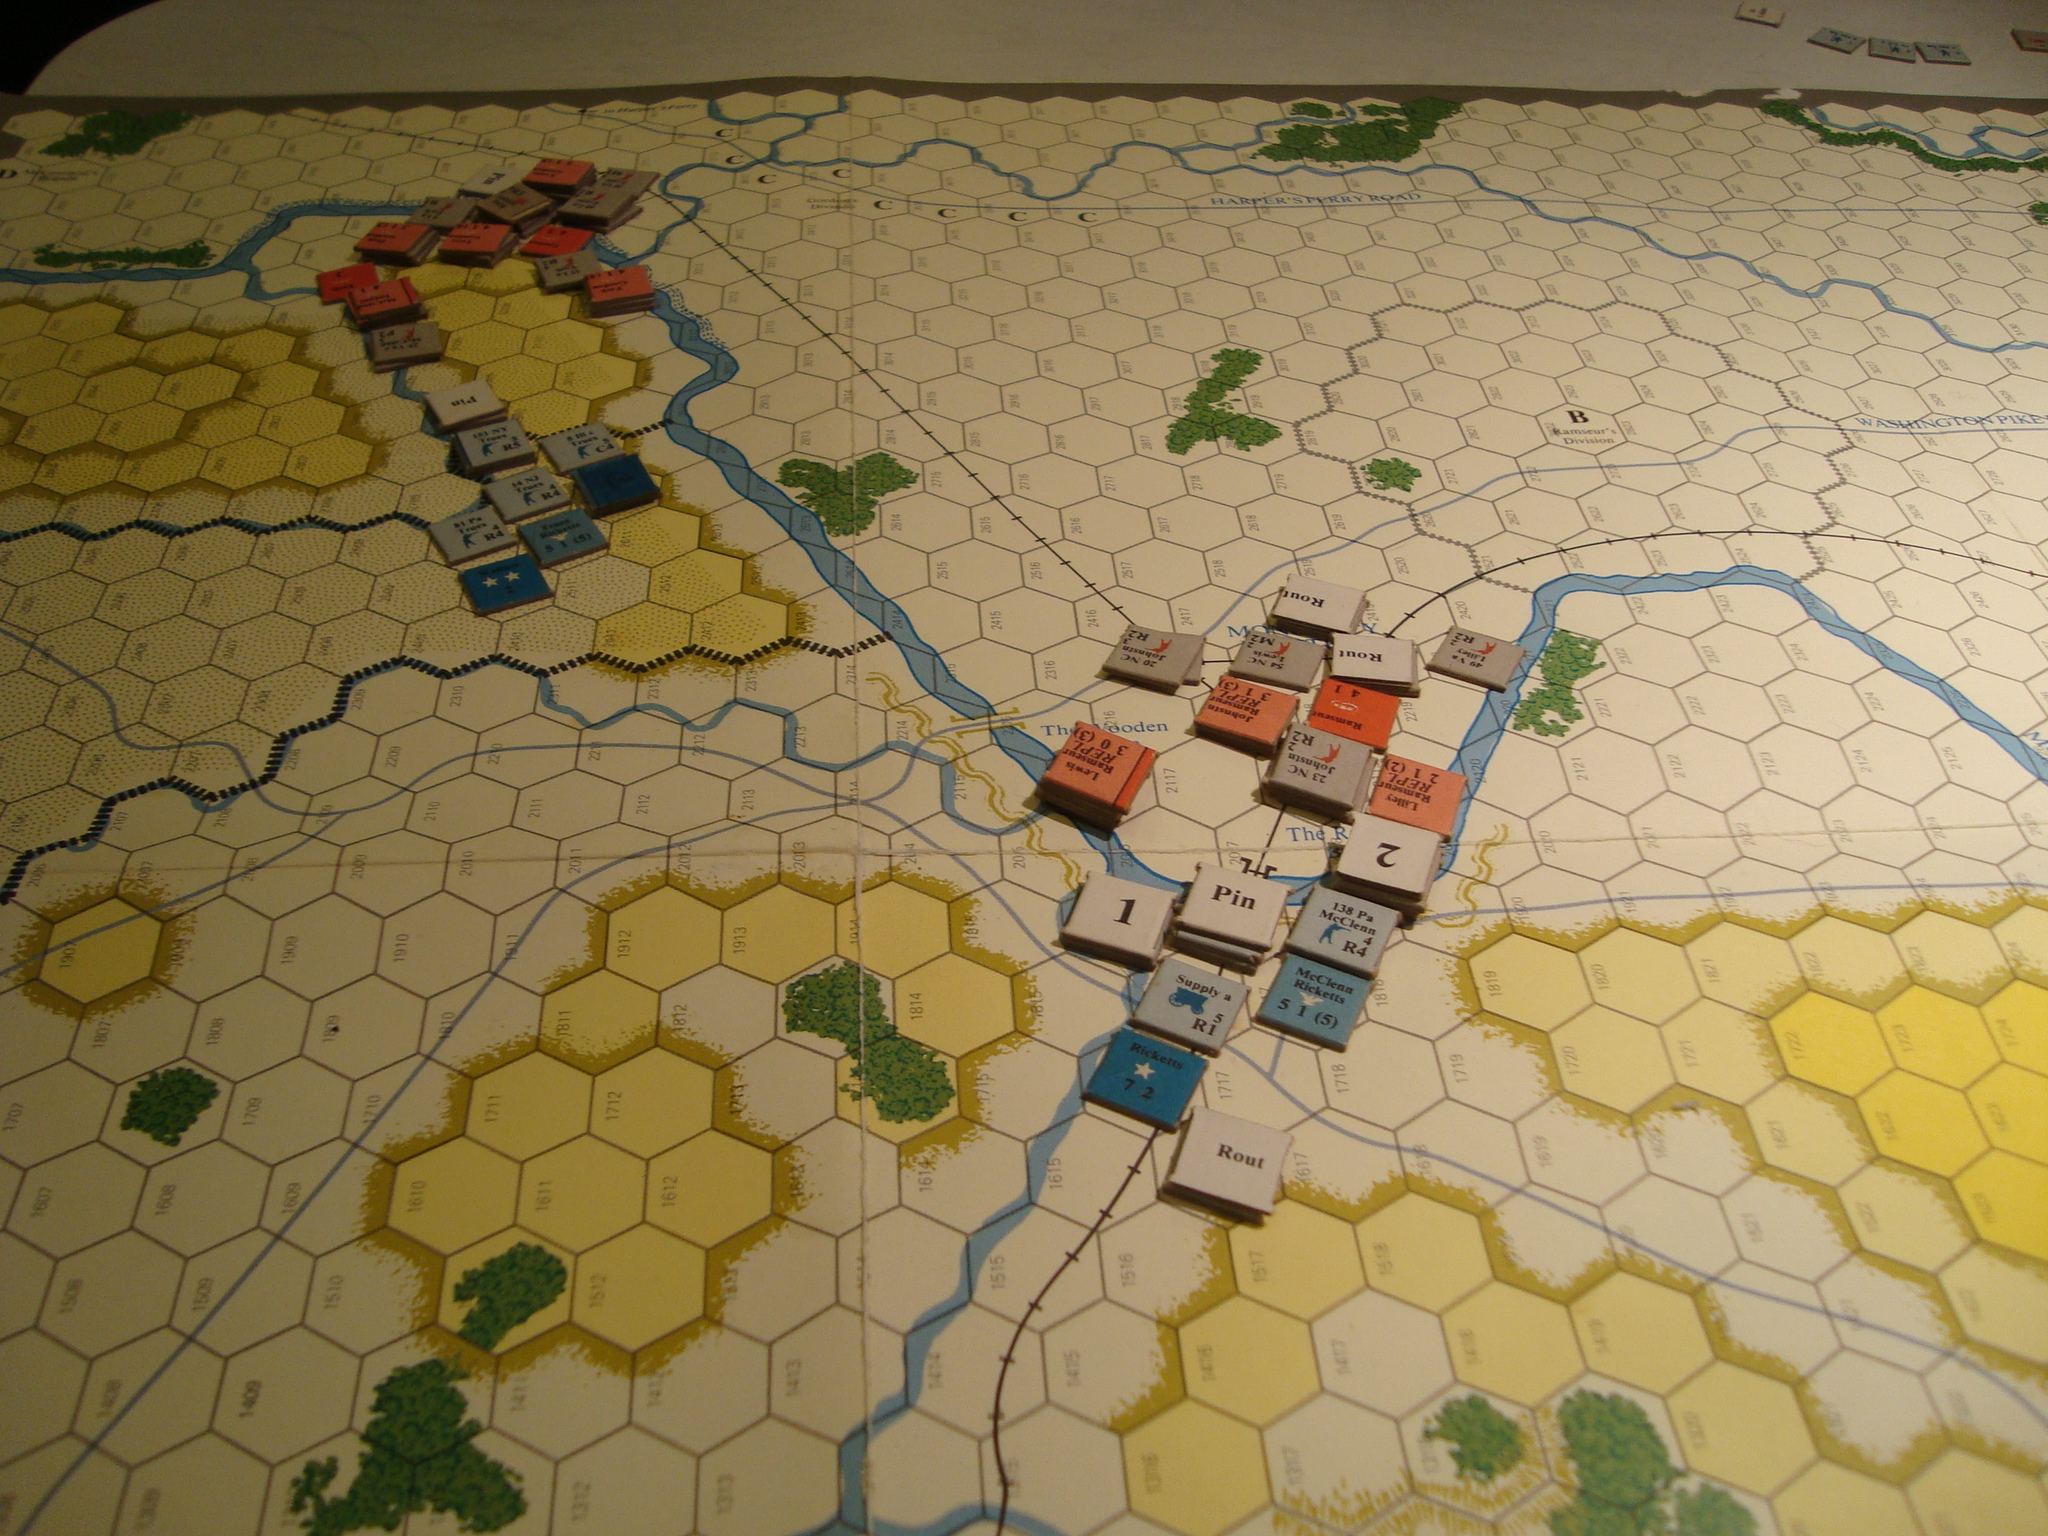
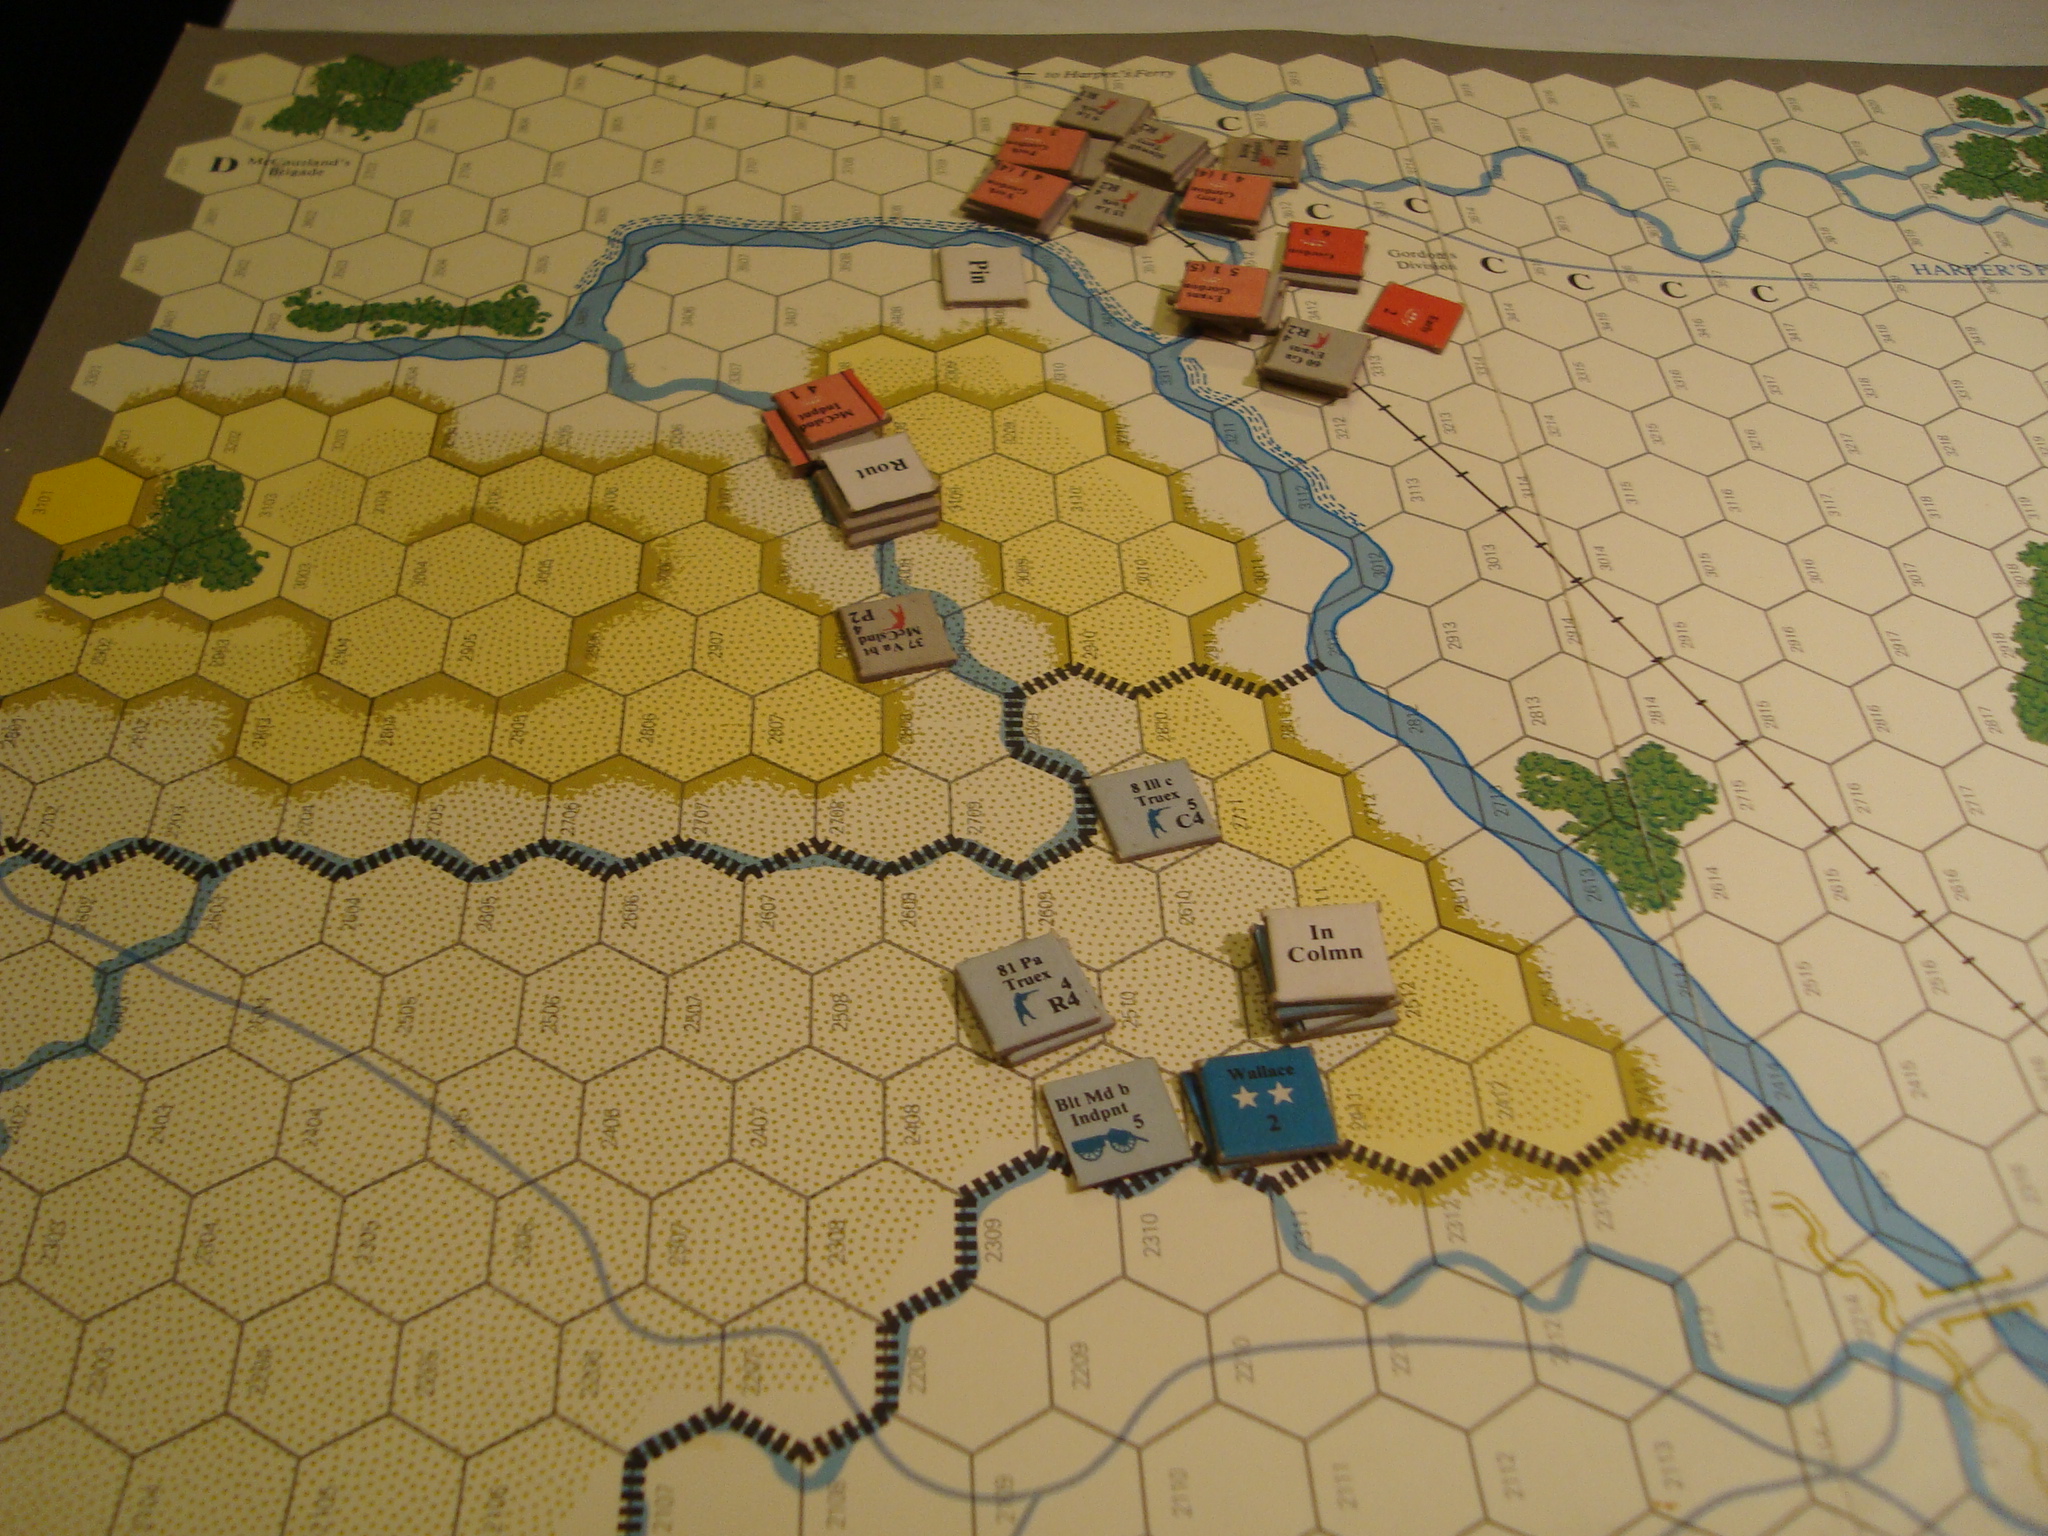
The Confederates have finally crossed the “Discovered” ford in strength. One of Gordon’s Regiments attempts to pin Truex’s Union division, while the remainder attempt to flank Truex to the south, opening the way to Washington DC. Maruading Rebel cavalry charges a limbered Union artillery battery but, implausibly, fails and is locked in melee. The belagured artillerymen are saved by a timely charge by one of Truex’s brigades and the Southern cavalry retreats. Truex’s division begins a fighting withdrawl to the southeast in an attempt to thwart Gordon’s envelopment.
At the Railroad Bridge, Ramseur’s division begins a prolonged firefight with Rickett’s Union division. Further north, Rodes attack against Tyler’s Federals fails and Clendon’s outnumbered Union cavalry shatters Grimes’ brigade’s charge across the southernmost ford.
The Southern attacks aimed at the two northern fords and the Railroad Bridge have stalled, and their is little prospect for success.
While Gordon’s division has pushed Truex’s division back towards Washington, they running out of time.
In Drive on Washington, victory points are assigned not only for units destroyed or captured, but also for the number of Confederate units that can exit the map on the two roads leading to Washington DC. The number of factors that exit the map are multiplied by a factor based on how early in the game this occurs. The best chance for a decisive Confederate victory is to exit the map prior to the beginning of Turn 12, so the next two turns are critical.
Turn 9: Gordon Pins Truex and Begins Flanking MarchTurn 9: Rodes’ Attacks At The Northern Fords StallTurn 10: Truex Begins A Fighting Withdrawl Towards The Washington Pike. Firefight at The Railroad Bridge ContinuesTurn 10: Rodes Cannot Make Headway Against Tyler or Clendon
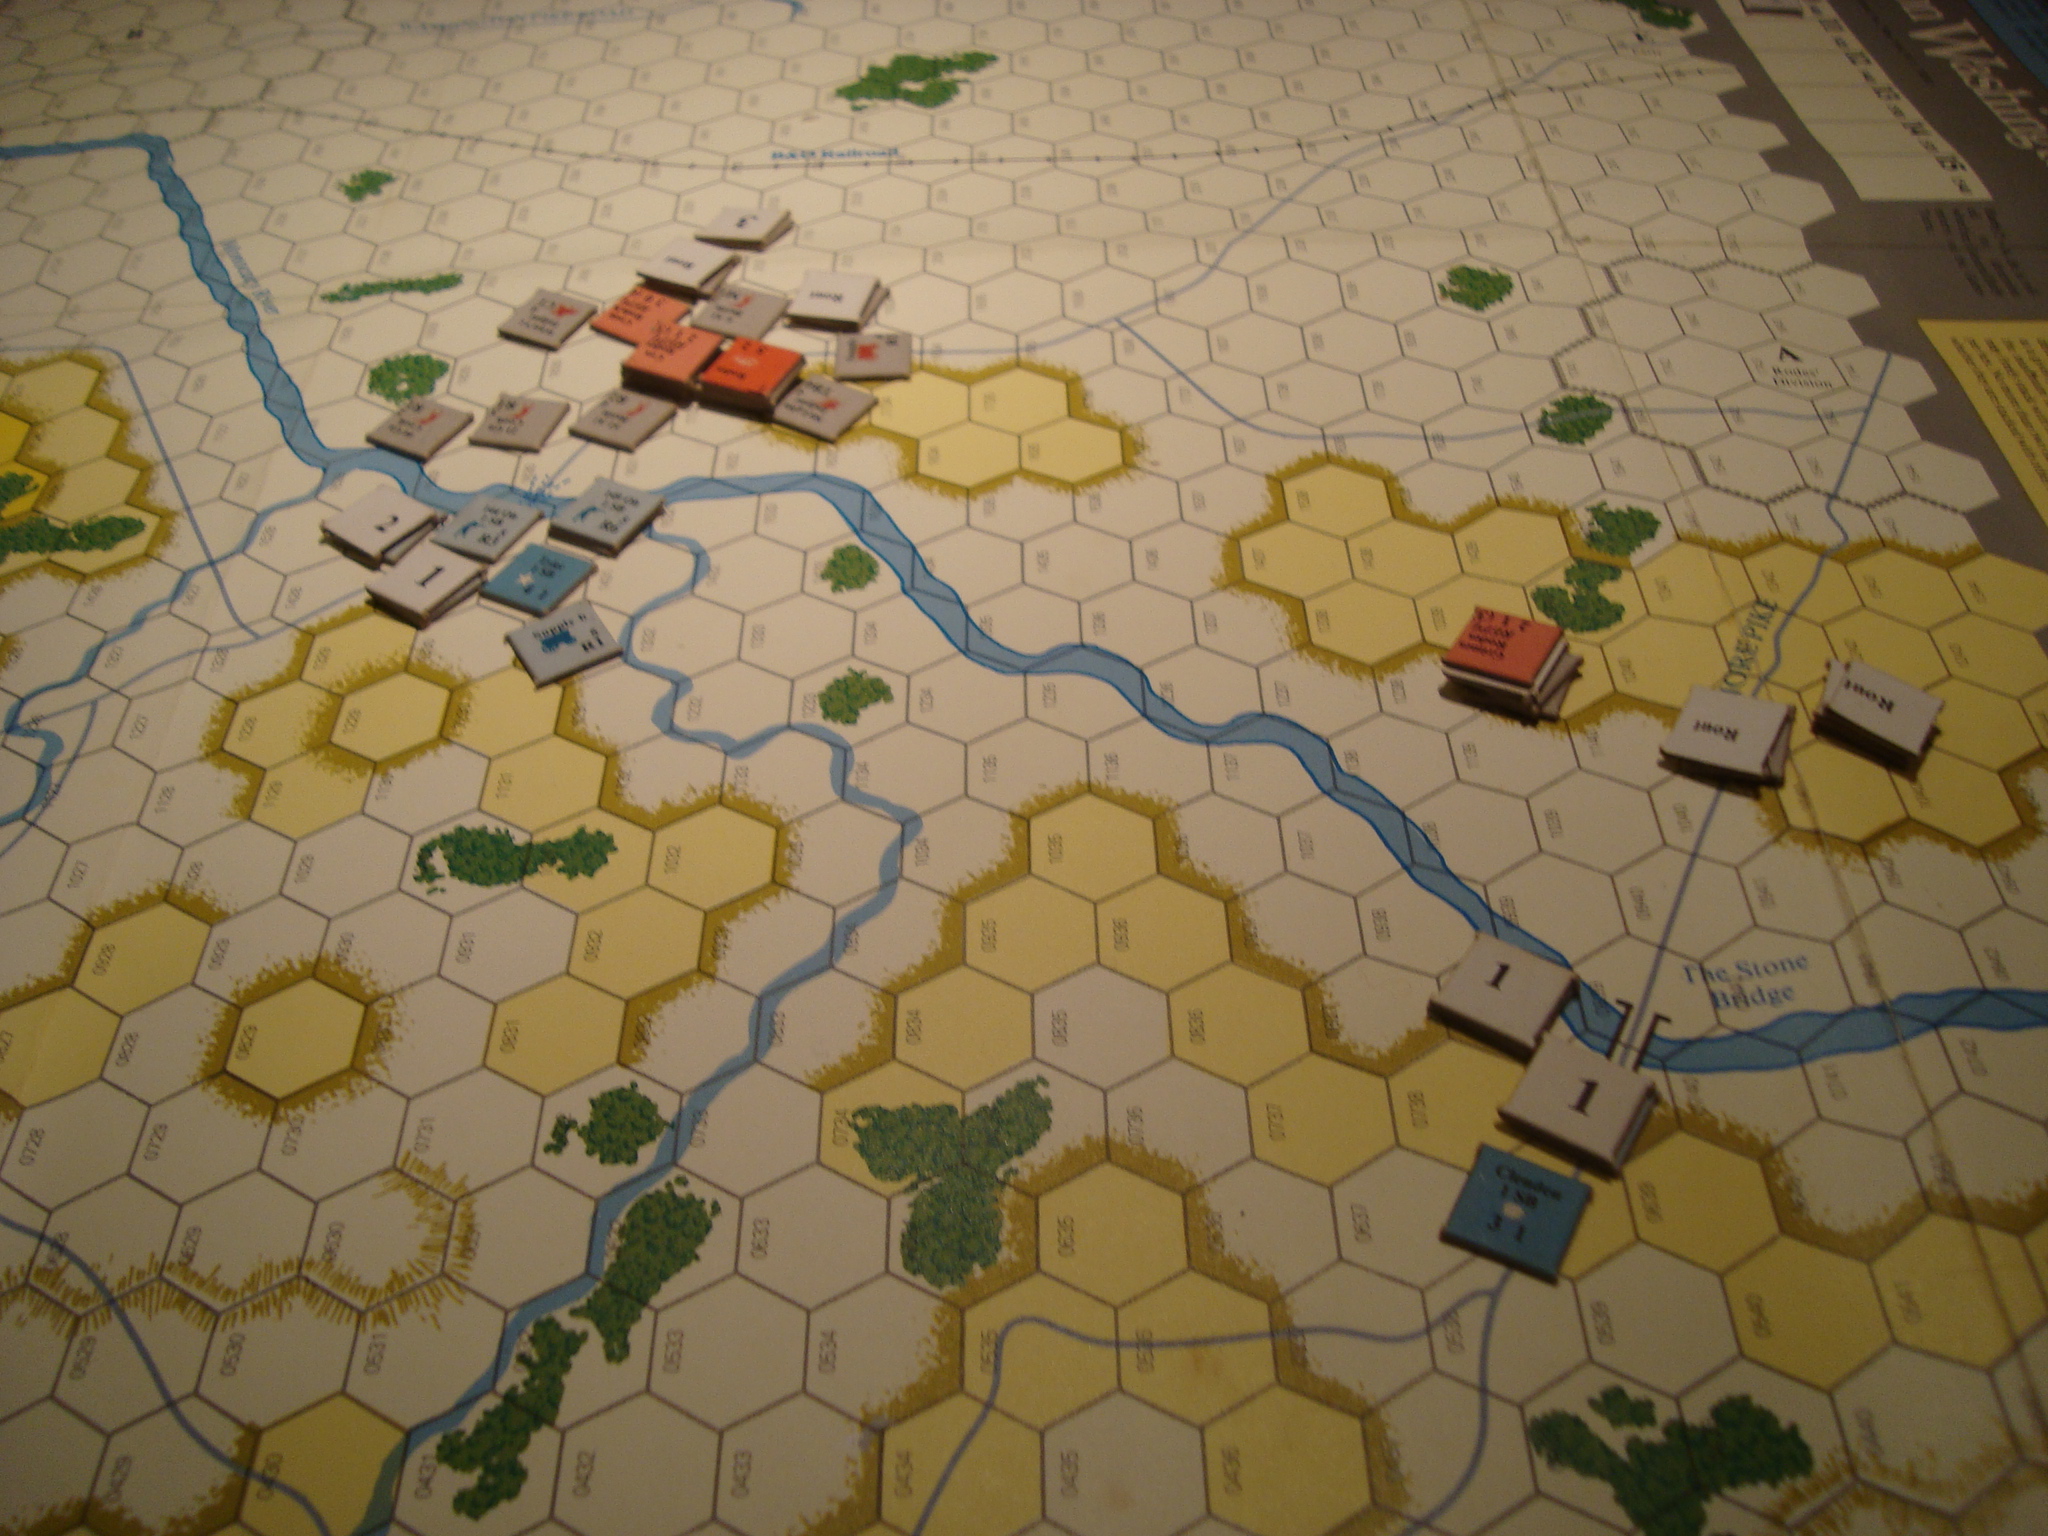
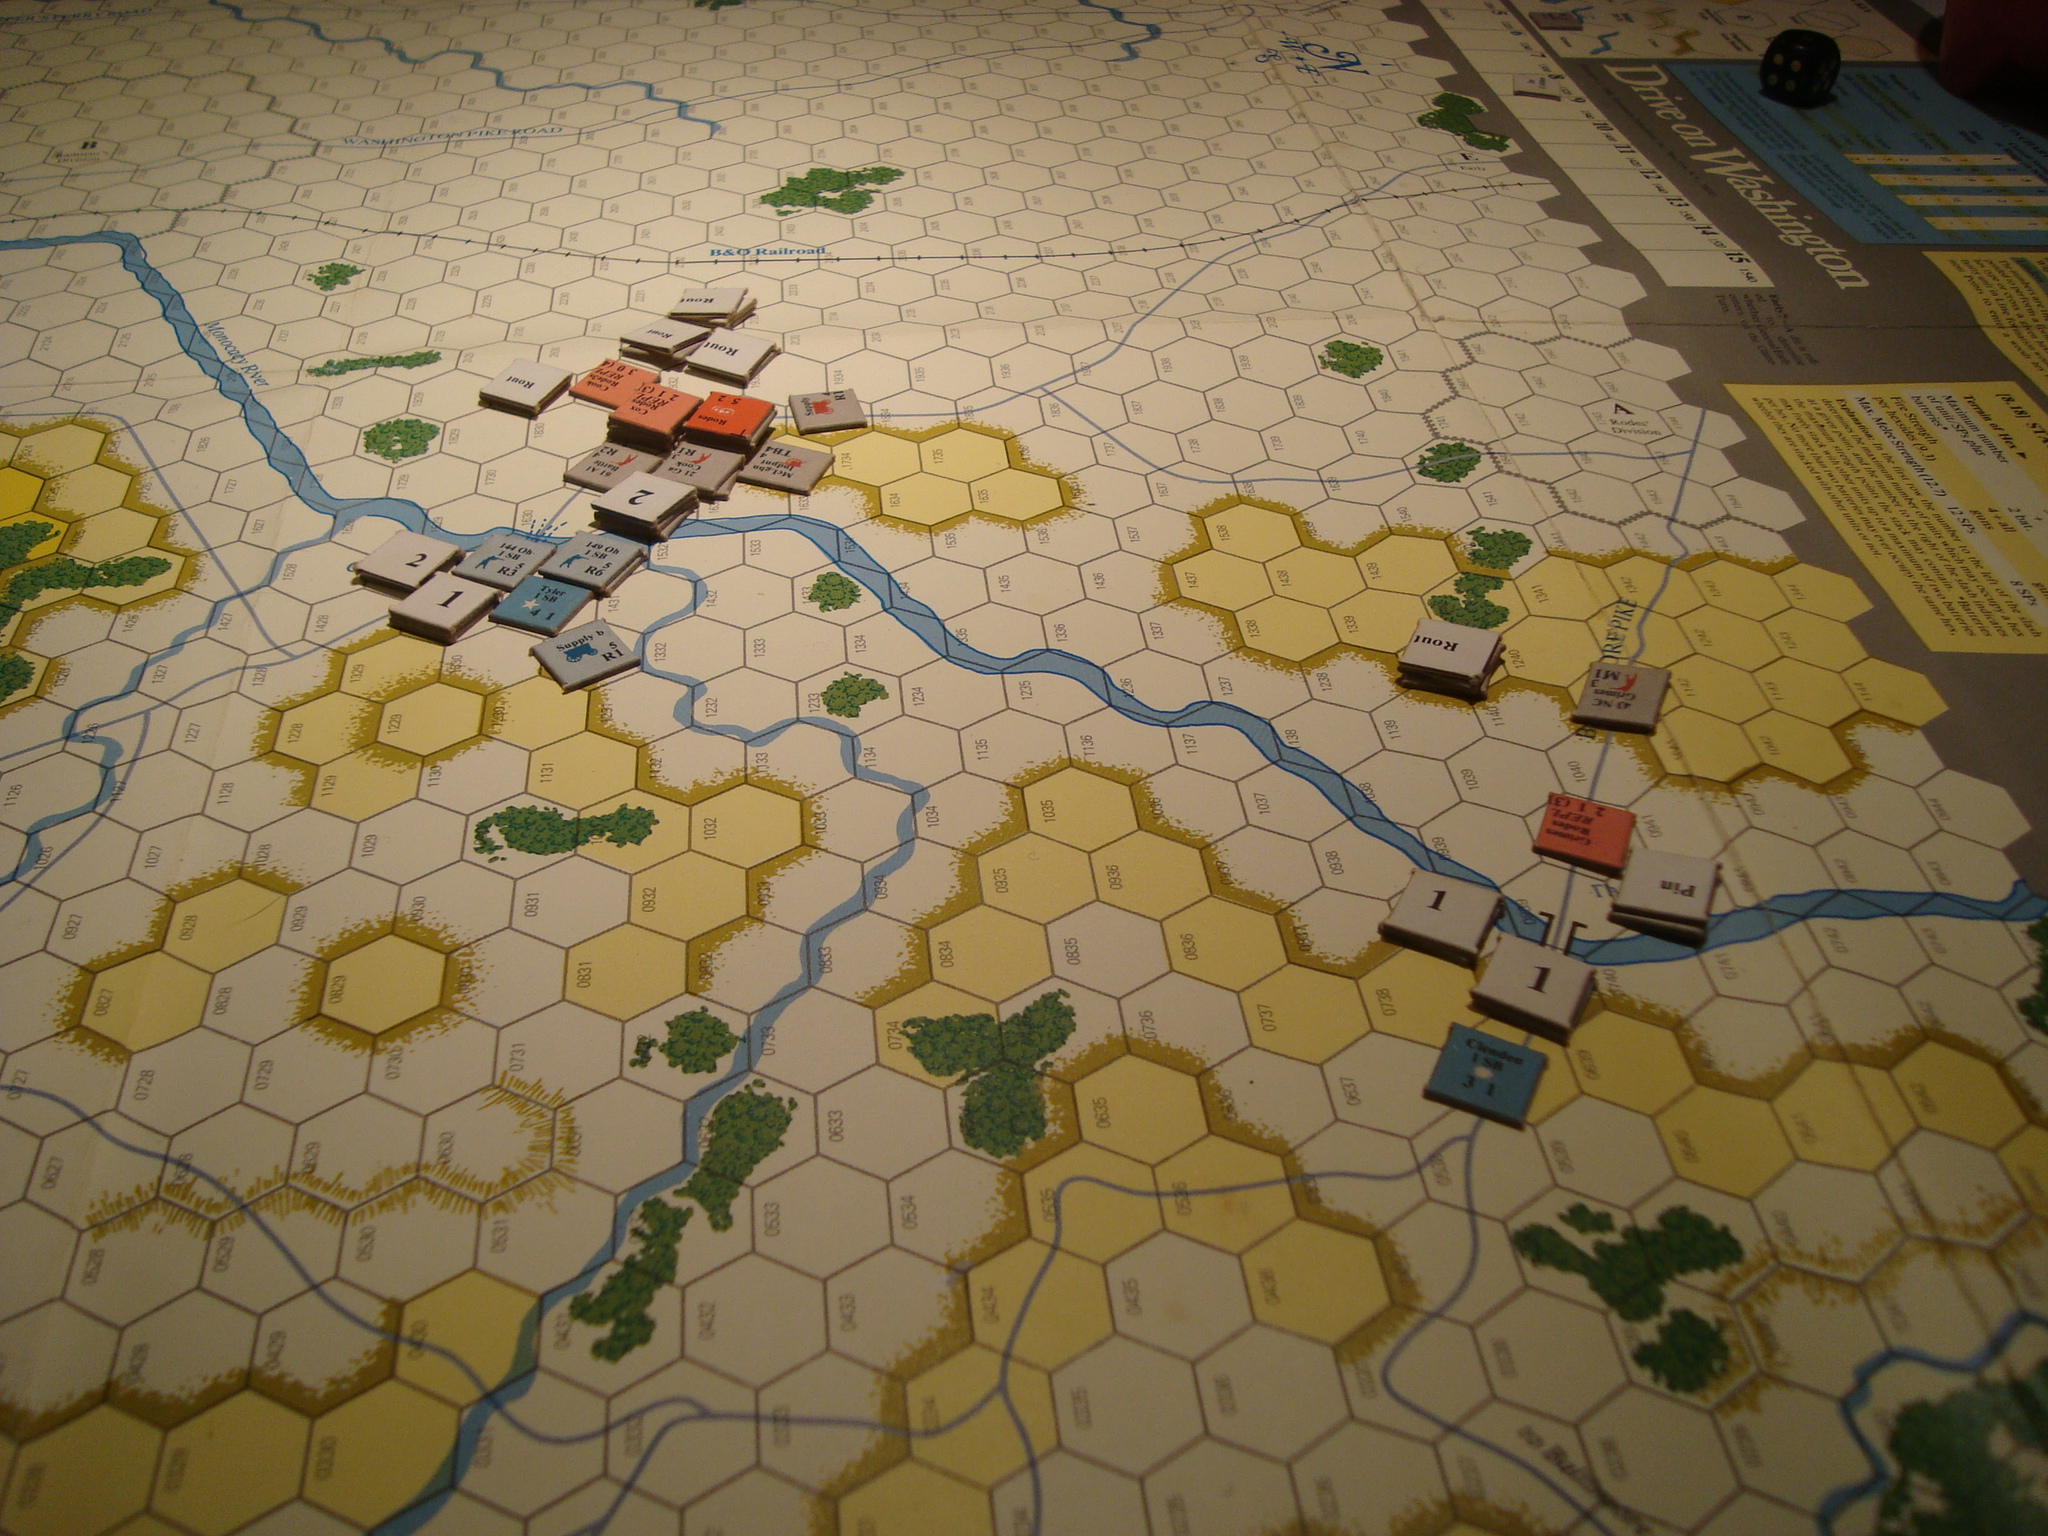
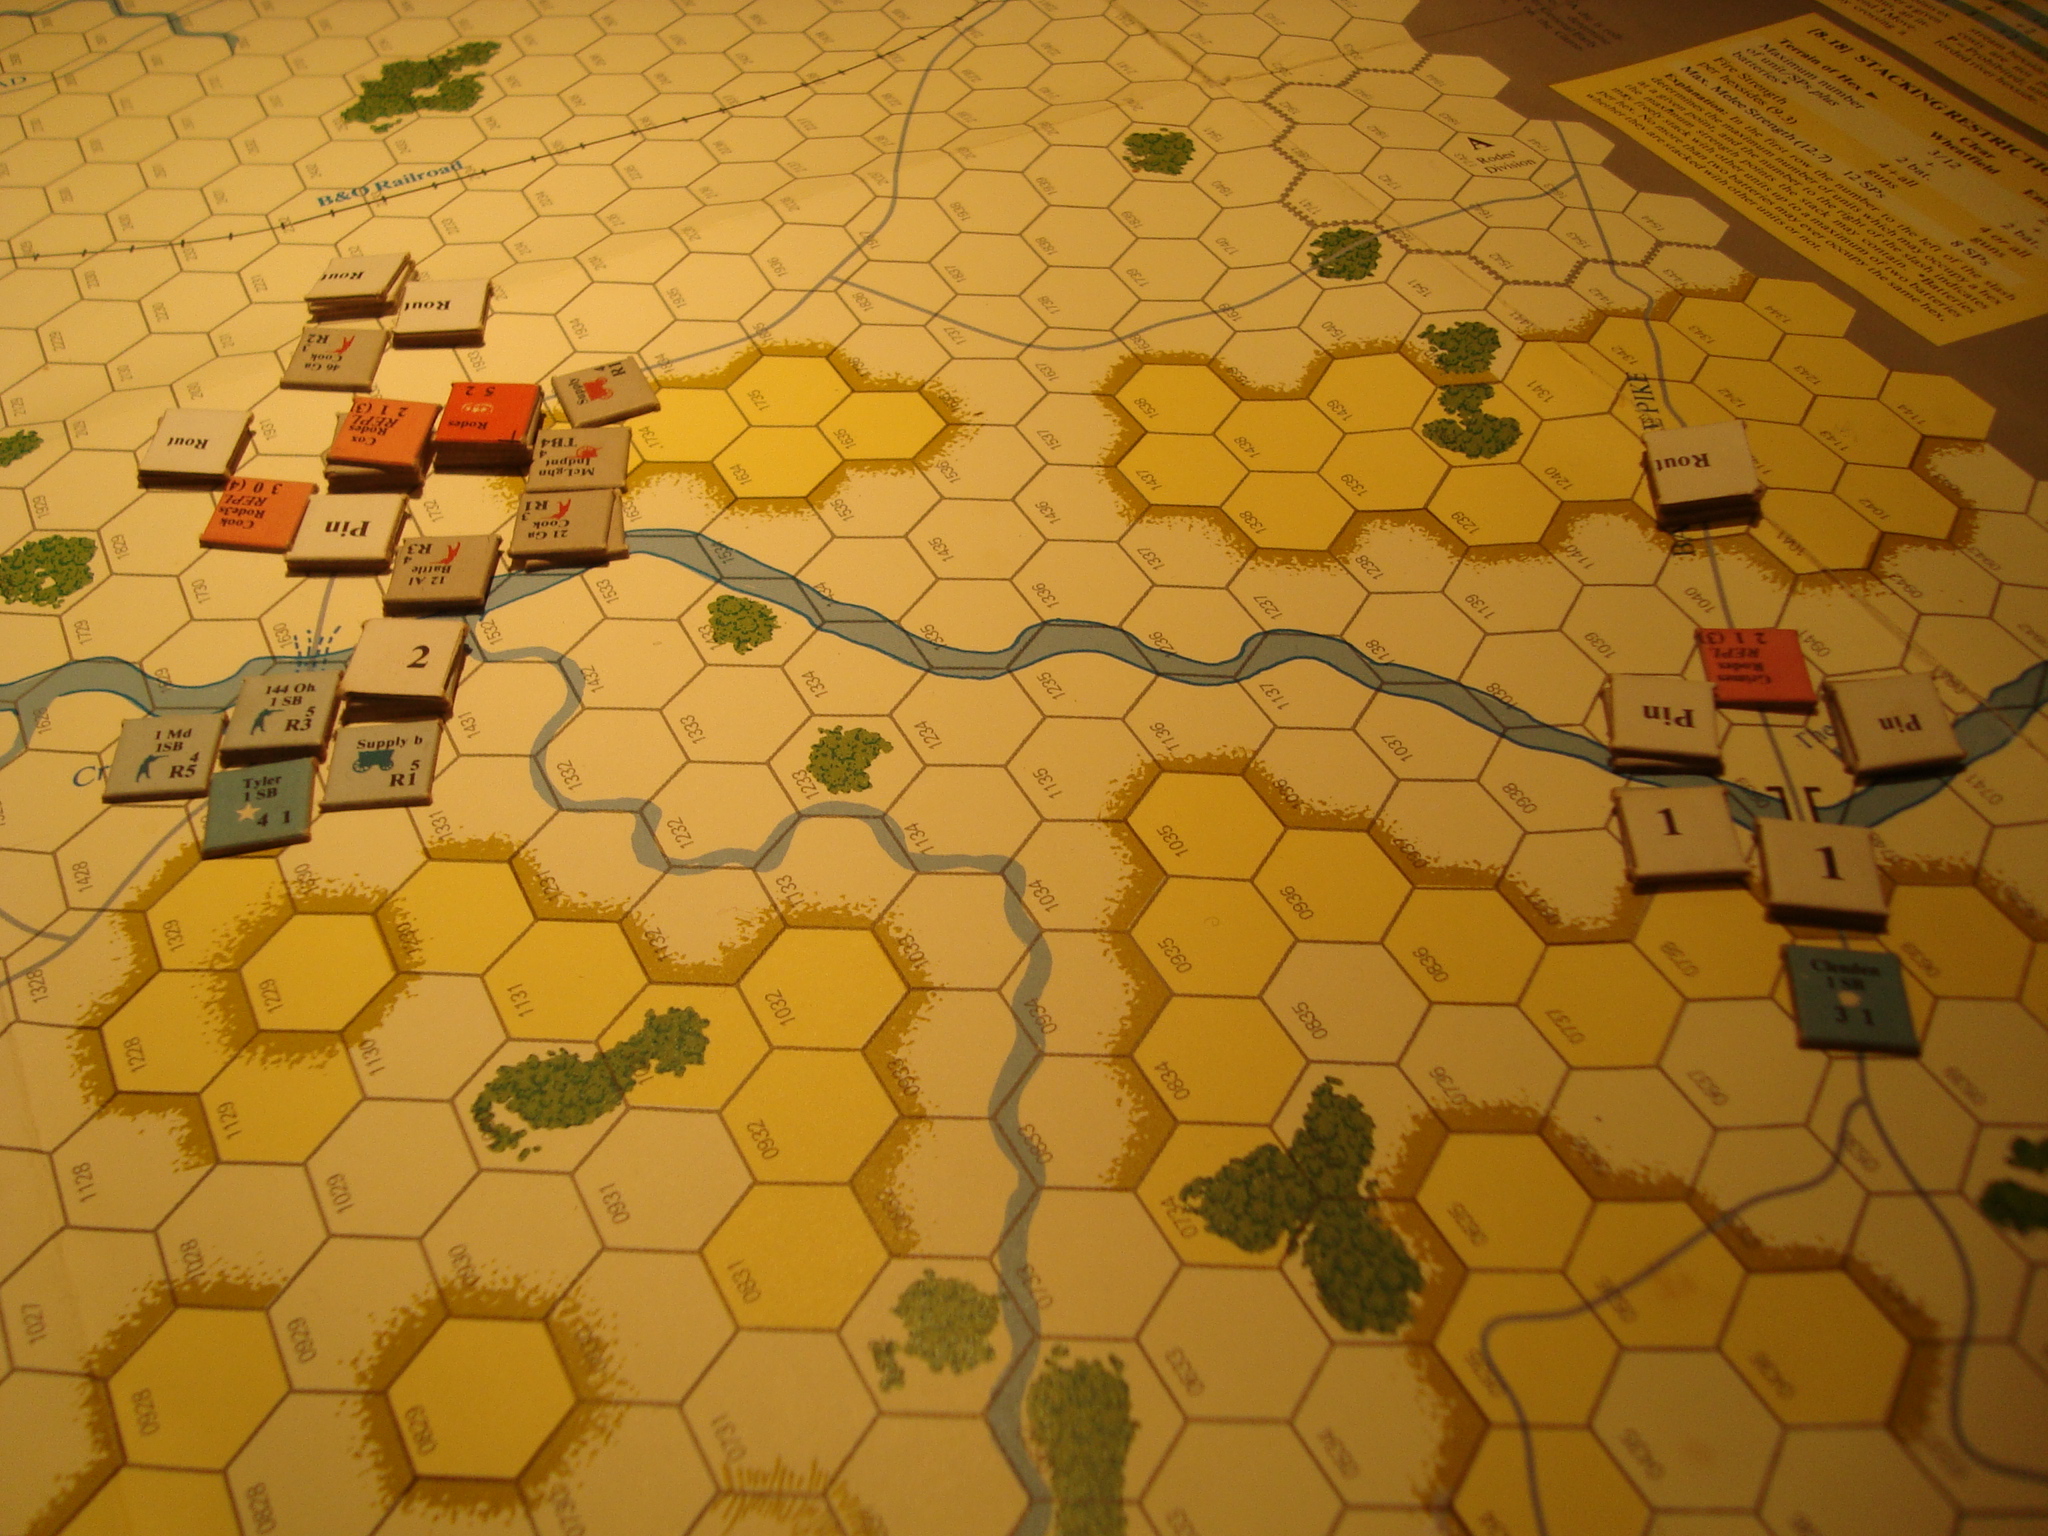
Cranked out Turn 7. Confederates started moving across the discovered ford, but were stopped cold in their assault attempts across the lower Monocacy. Even little two strength units can (especially during the defensive fire phase), with a not too improbable roll, slap a Pin result on a powerful stack, freezing them up for a turn. Makes forcing a bridge a tough – resisted the temptation to use dicey – proposition. Especially difficult when you lack artillery assets.
Here’s the situation at the end of the turn.
Confederates Crossing The Ford, With Federals Formed In Defense – Attack Across The Railroad Bridge StallsNorthern Confederate Attacks Stopped By Outnumbered Union Troops
Christmas is over and company’s gone. First opportunity to get back to Drive on Washington for about a week.
This is a simulation of the Battle of Monocacy, where, depending on who you read, a Confederate attack on Washington DC was stopped by General Lew Wallace of (later) Ben Hur fame.
This SPI game is supposedly hard to find judging by the price out on EBay. I picked up a copy on the cheap a couple of years ago, and like most things, it was a little too good of a price to be true. The box was badly battered, and the rules looked like they had been last used to house train a dog. Still, the map was in great shape and all the counters appeared to be present. Wrong again. Missing three counters; one Confederate leader and two Union units. Still, I can play the game.
Union forces are deployed at fords or bridges along the Monocacy River in an attempt to guard approaches to Washington DC. Four separate Confederate divisions are placed in general areas, poised to attack, but must first by activated by their overall commander, General Jubal Early. Early’s arrival is rolled for each turn, with a roll equal to or less than the game turn placing him on the map. Division activation occurs when Early passes within ten hexes of a division commander. The division may move the turn after it is activated. The Confederates may also search for a ford on the Union left. The discovery of the ford is handled by a random chit pull. The Union may destroy the “Wooden Bridge” denying the Confederates one crossing point by rolling a one or two, but cannot destroy the Railroad Bridge. The bridge to the right of the Union line is weakly defended, but some distance from the Washington turnpike.
It took four turns to find the ford, six turns for the entire Confederate force to be activated and moving, and three turns to burn the Wooden Bridge.
The stage is set for a series of sharp and vicious fights to force the bridges and known ford, or to quickly locate the ford on the Union right, and envelop the forces deployed along the Monocacy River.
As with my other games playing the Great Battles of the American Civil War (GBACW) system, fire combat is not always bloody, but in most cases will stop an attack through either a rout or pin result. By 1864, Union cavalry units had carbines. Their 5x adjacent hex firepower stopped Rebel cavalry from seizing key terrain on the Union left, allowing Truex more time to react to Gordon’s division moving across the now discovered ford.
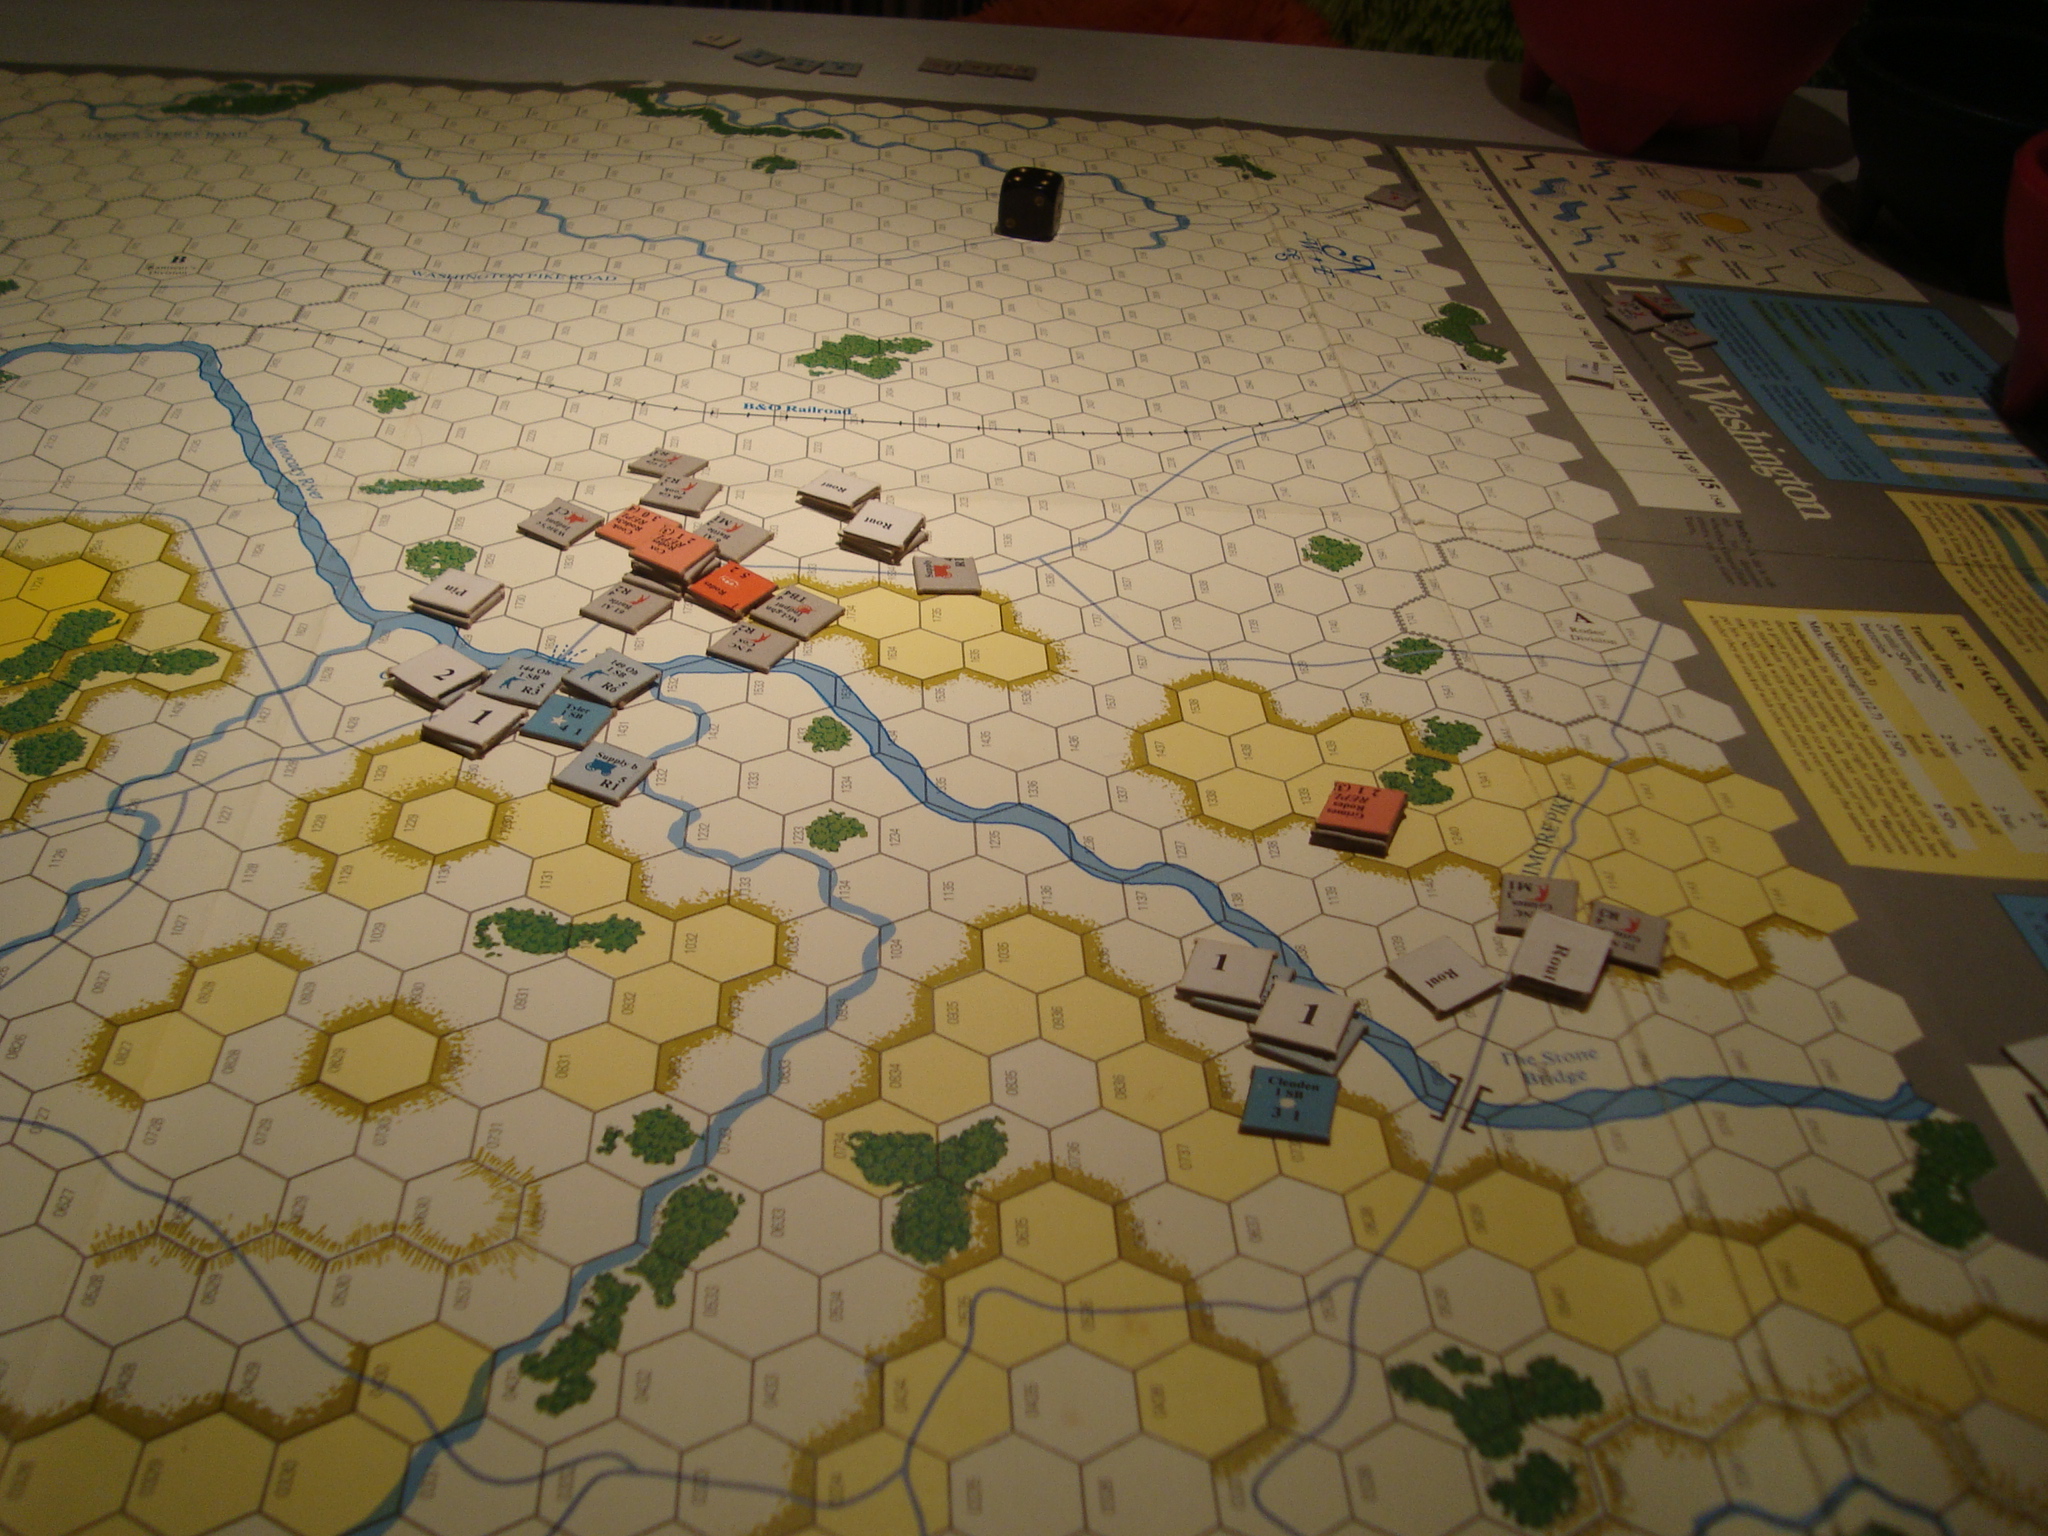
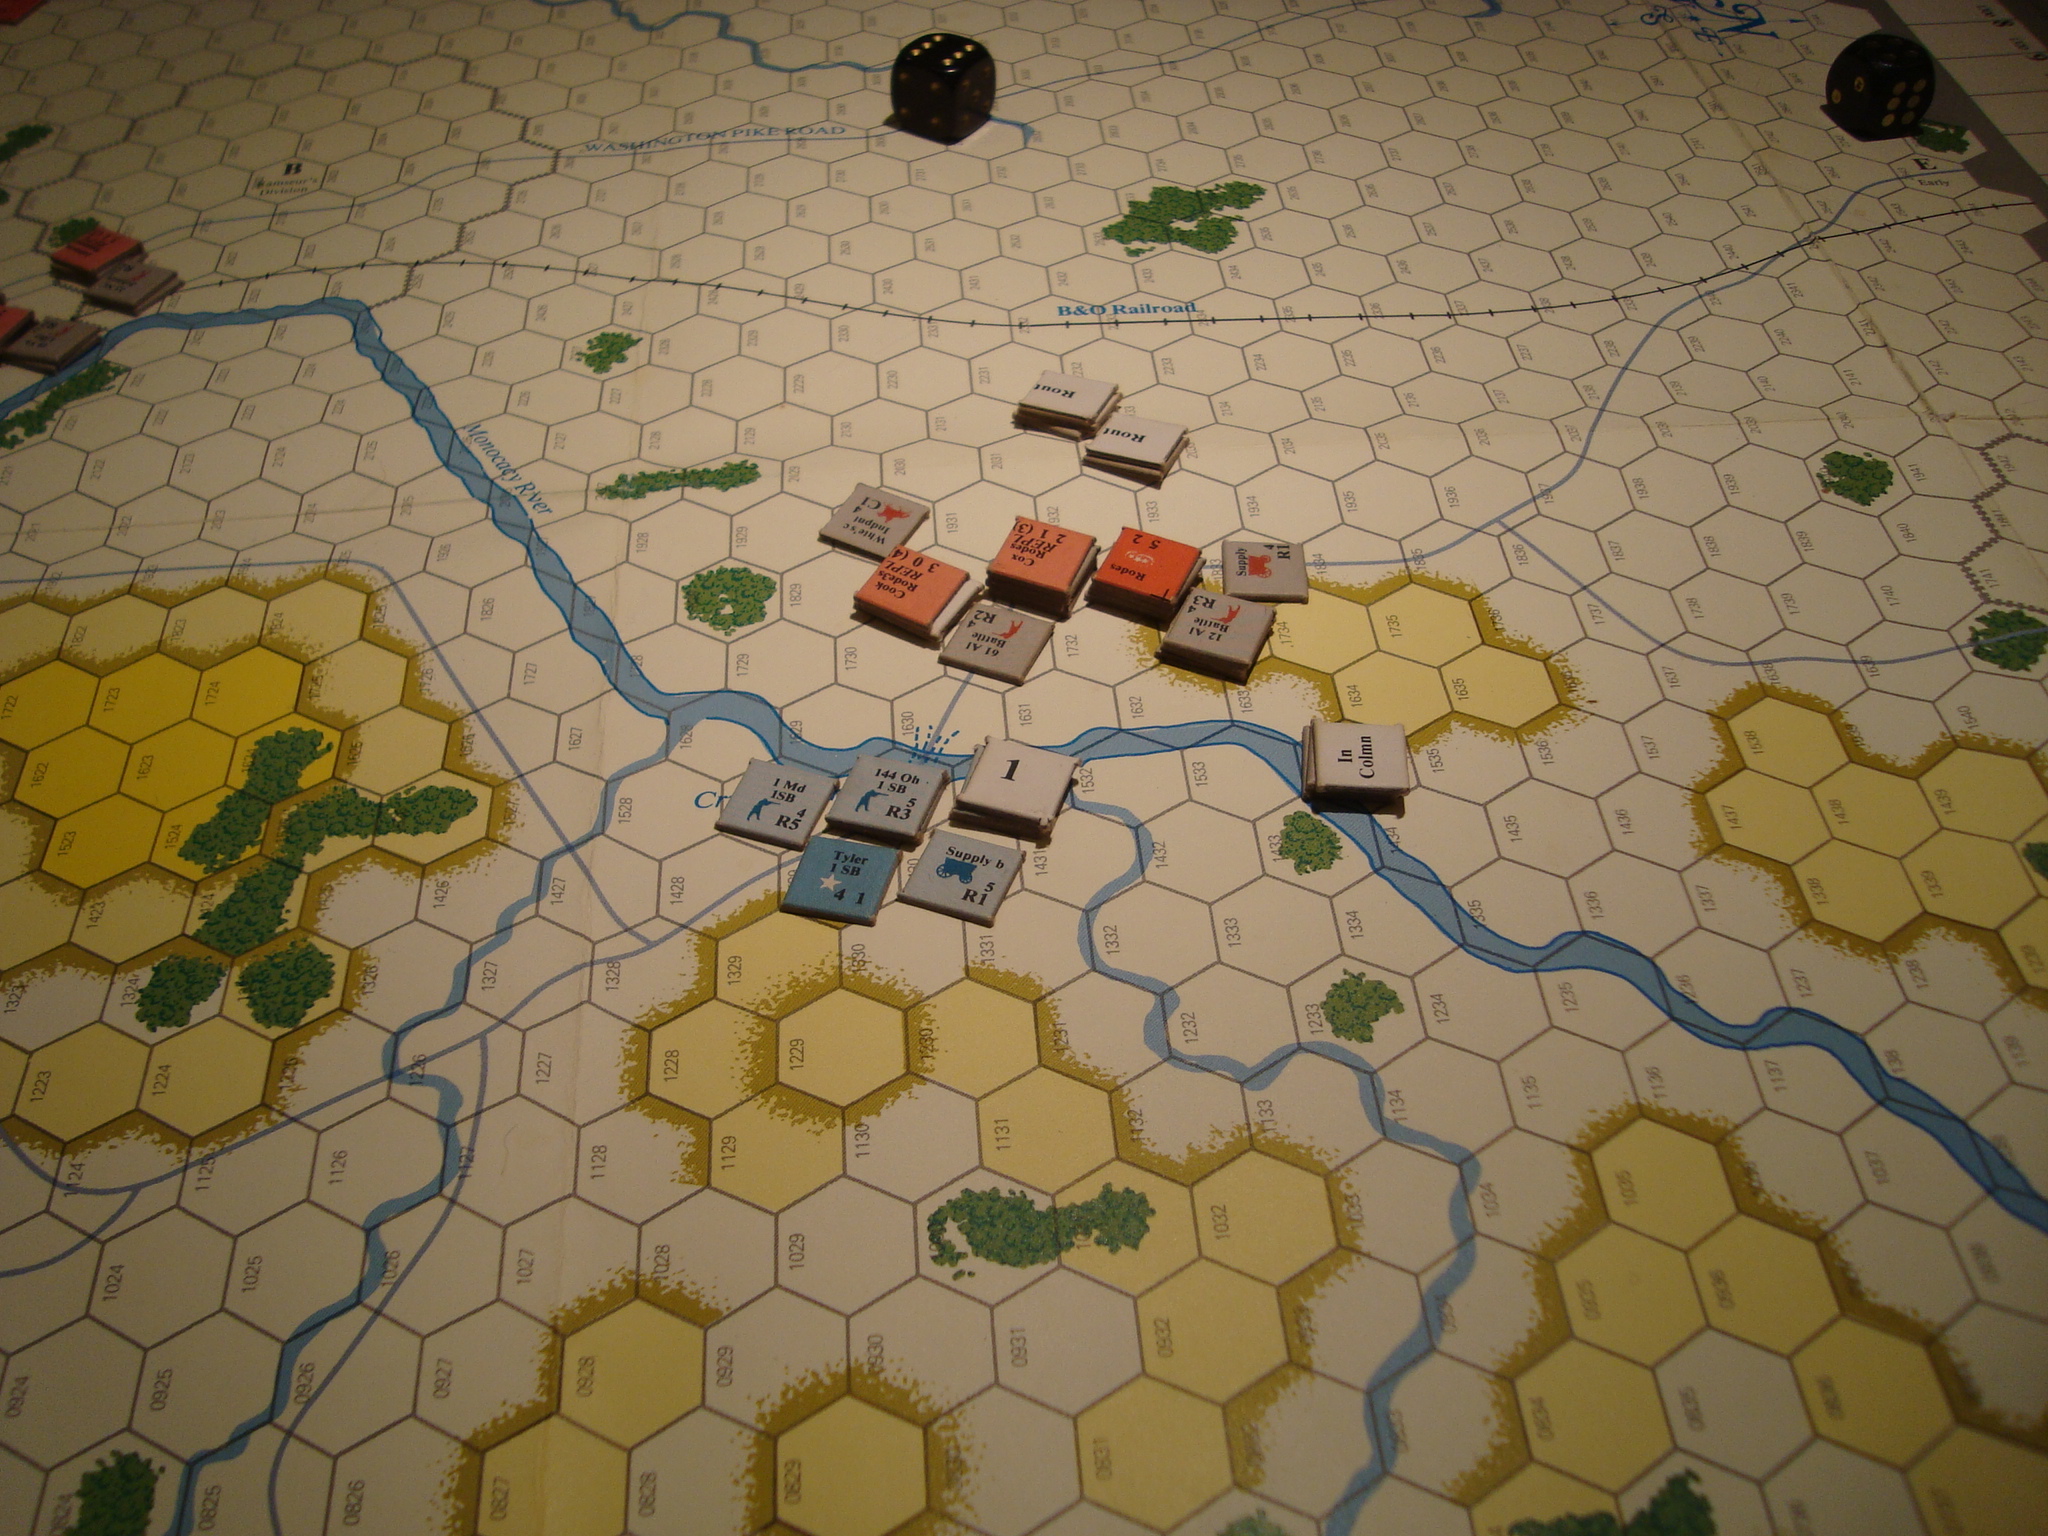
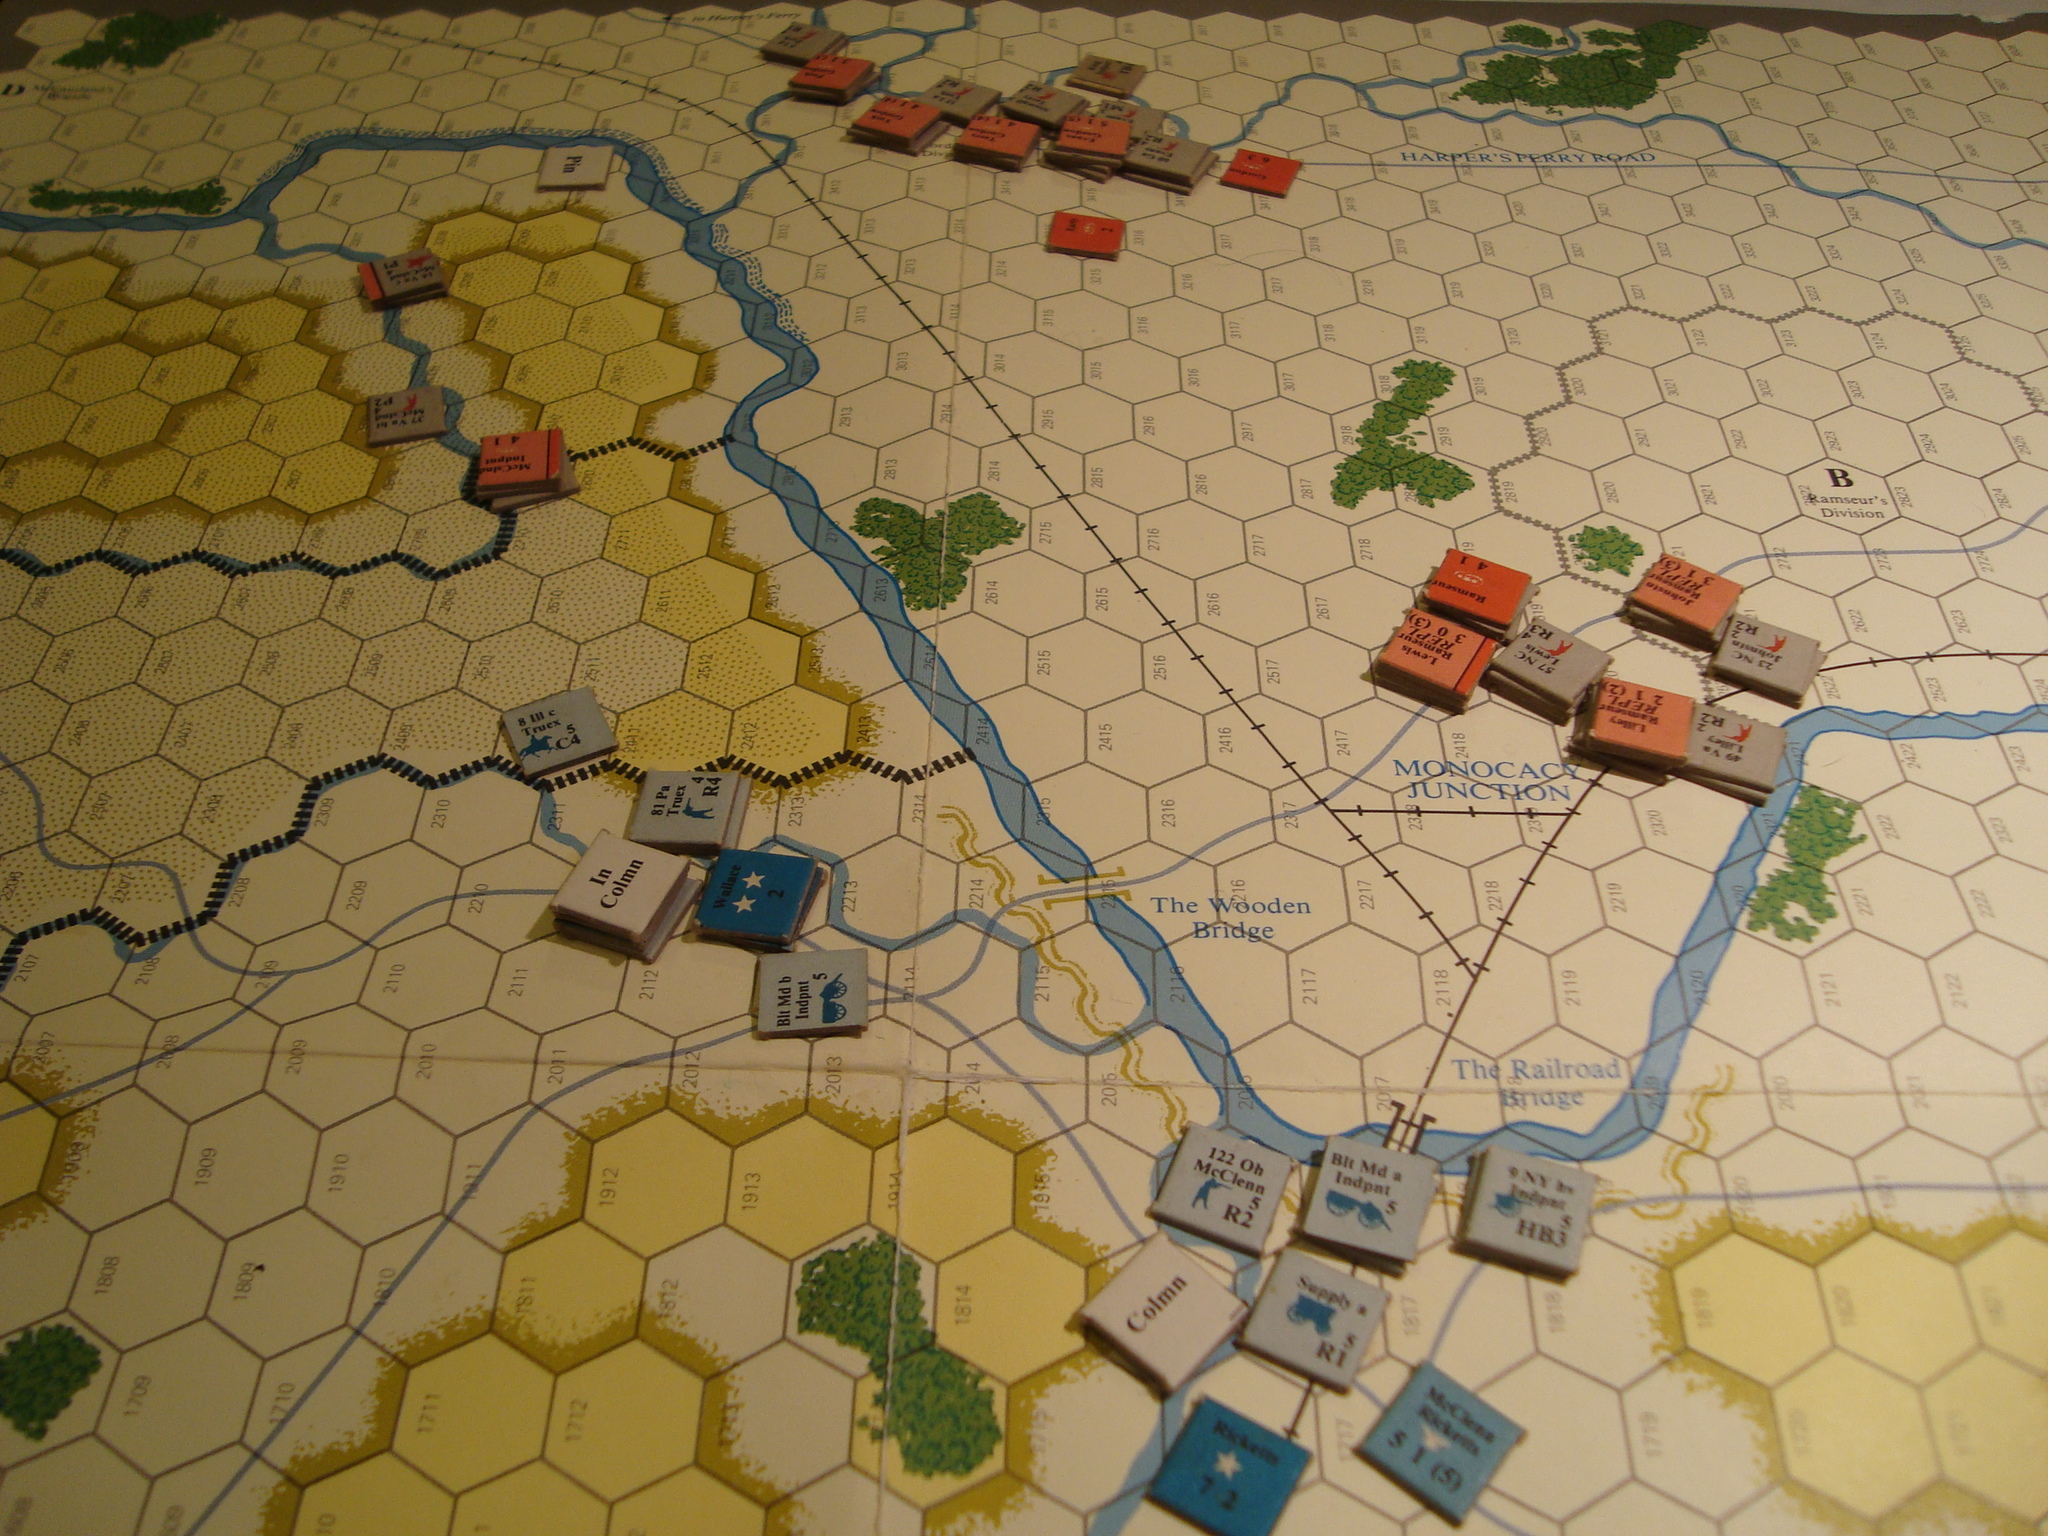
By Turn Six, the game was really moving. Here’s a few photos showing the situation before and after the turn.
Confederate Forces Approach The Ford Near the Union CenterUnion Center. Wooden Bridge burned, with Truex moving to stop Gordon’s Confederates. McClean dug in to defend the Railroad BridgeConfederate Attacks Stall. Bridge on Union Right at Right of PhotoConfederate cavalry repulsed. Gordon poised to cross the now discovered ford as Truex begins to deploy.
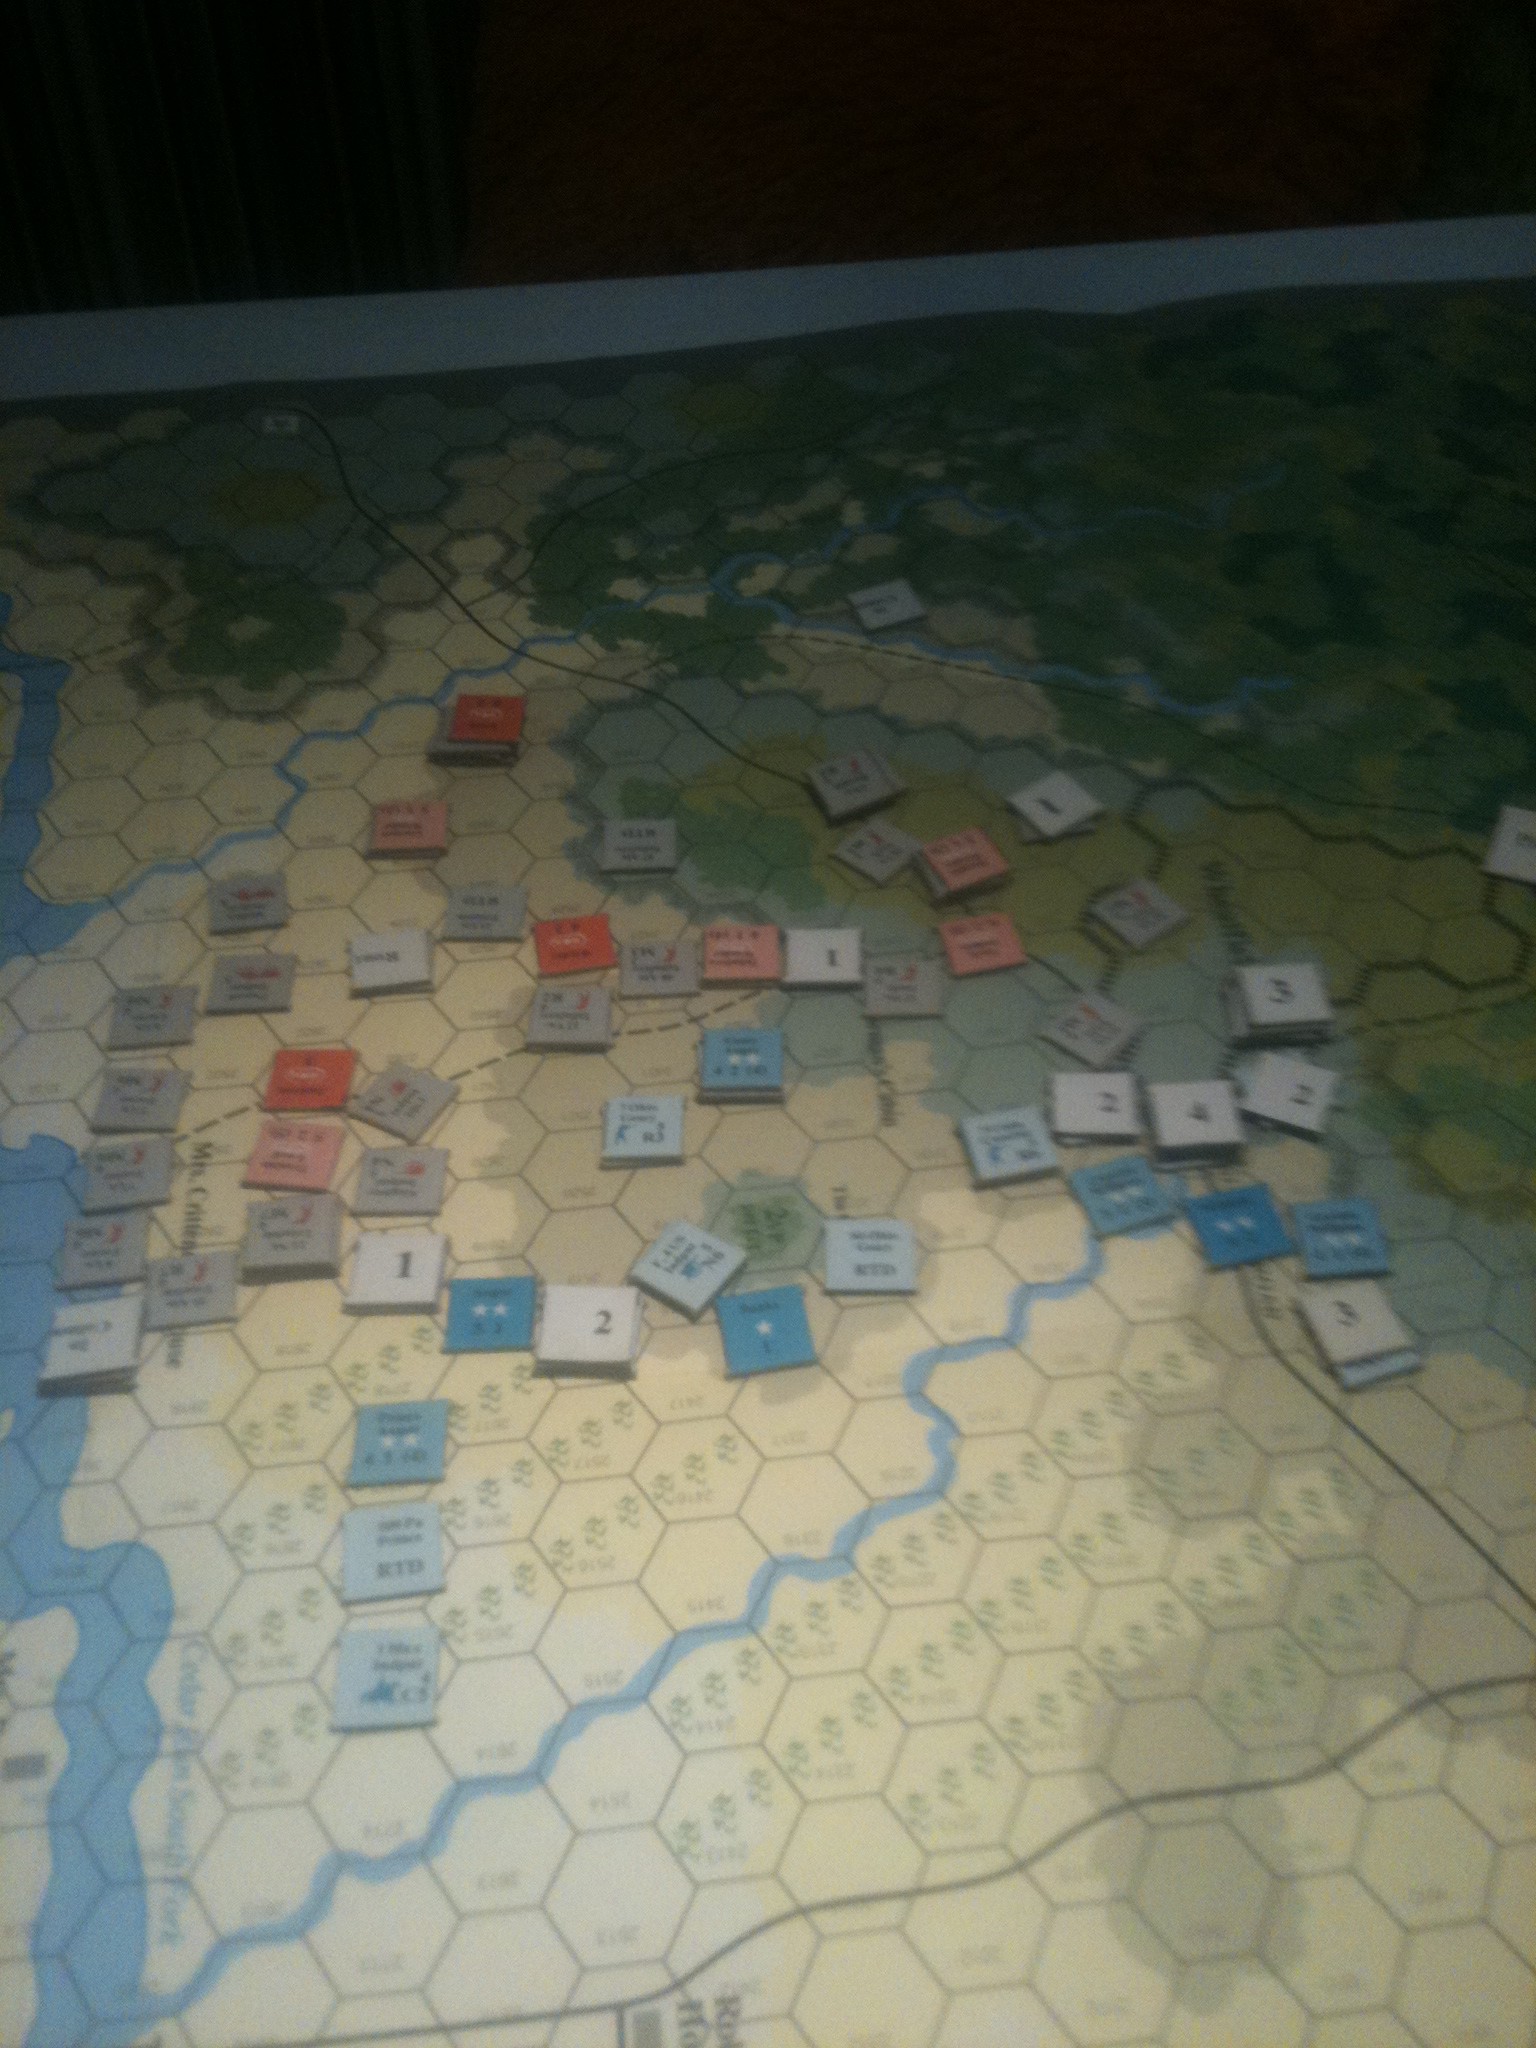
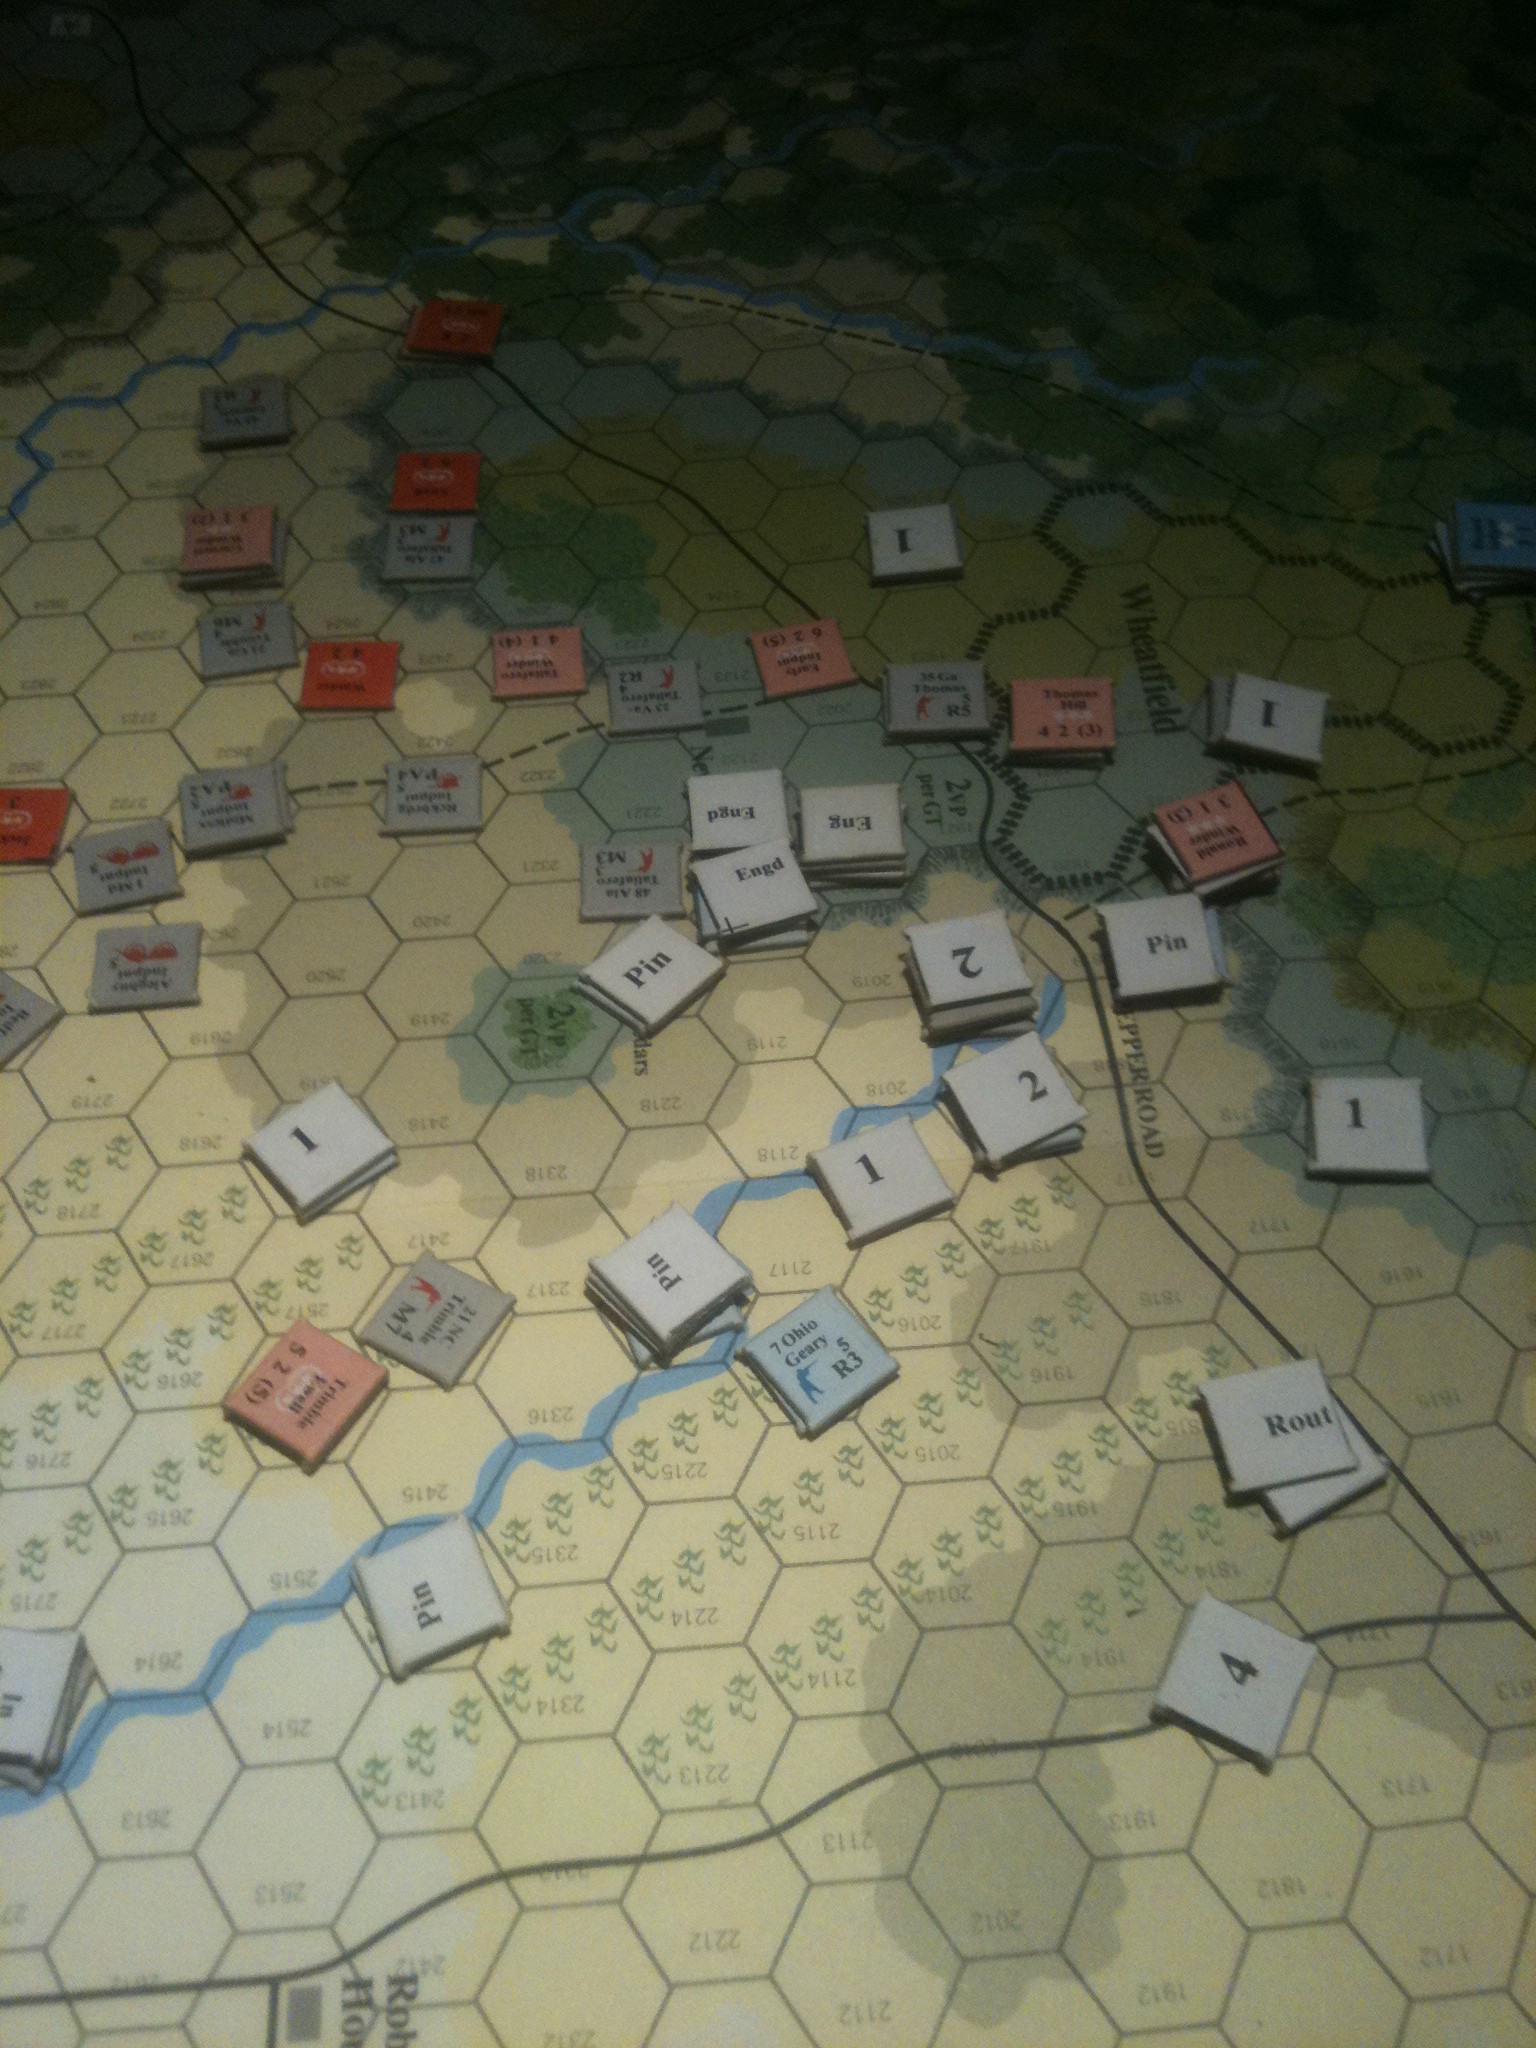
Finished up Cedar Mountain yesterday. Took awhile, and that was a problem. Tended to lose focus during sporadic 1+ turn sessions. Finally got serious and cranked out a number of successive turns to maintain momentum.
Still, a good game and enjoyable. A classic encounter battle, with each side fighting to seize and hold four hexes representing key terrain. Victory points are awarded for each turn a side controls a hex, as well the standard GBACW points for inflicting casualties on brigades and leaders.
The rules are generally the same as Wilson’s Creek and Stonewall. However, there is no ammunition depletion, and extra rules are added for artillery overshoot and target density in each hex. Neither of these new rules had any material impact on gameplay. Both sides were happy that rolling a one no longer involved the possibility of running out of ammunition.
Union forces deploy some distance from the victory hexes, with Confederate units entering the map throughout the game beginning with Turn One.
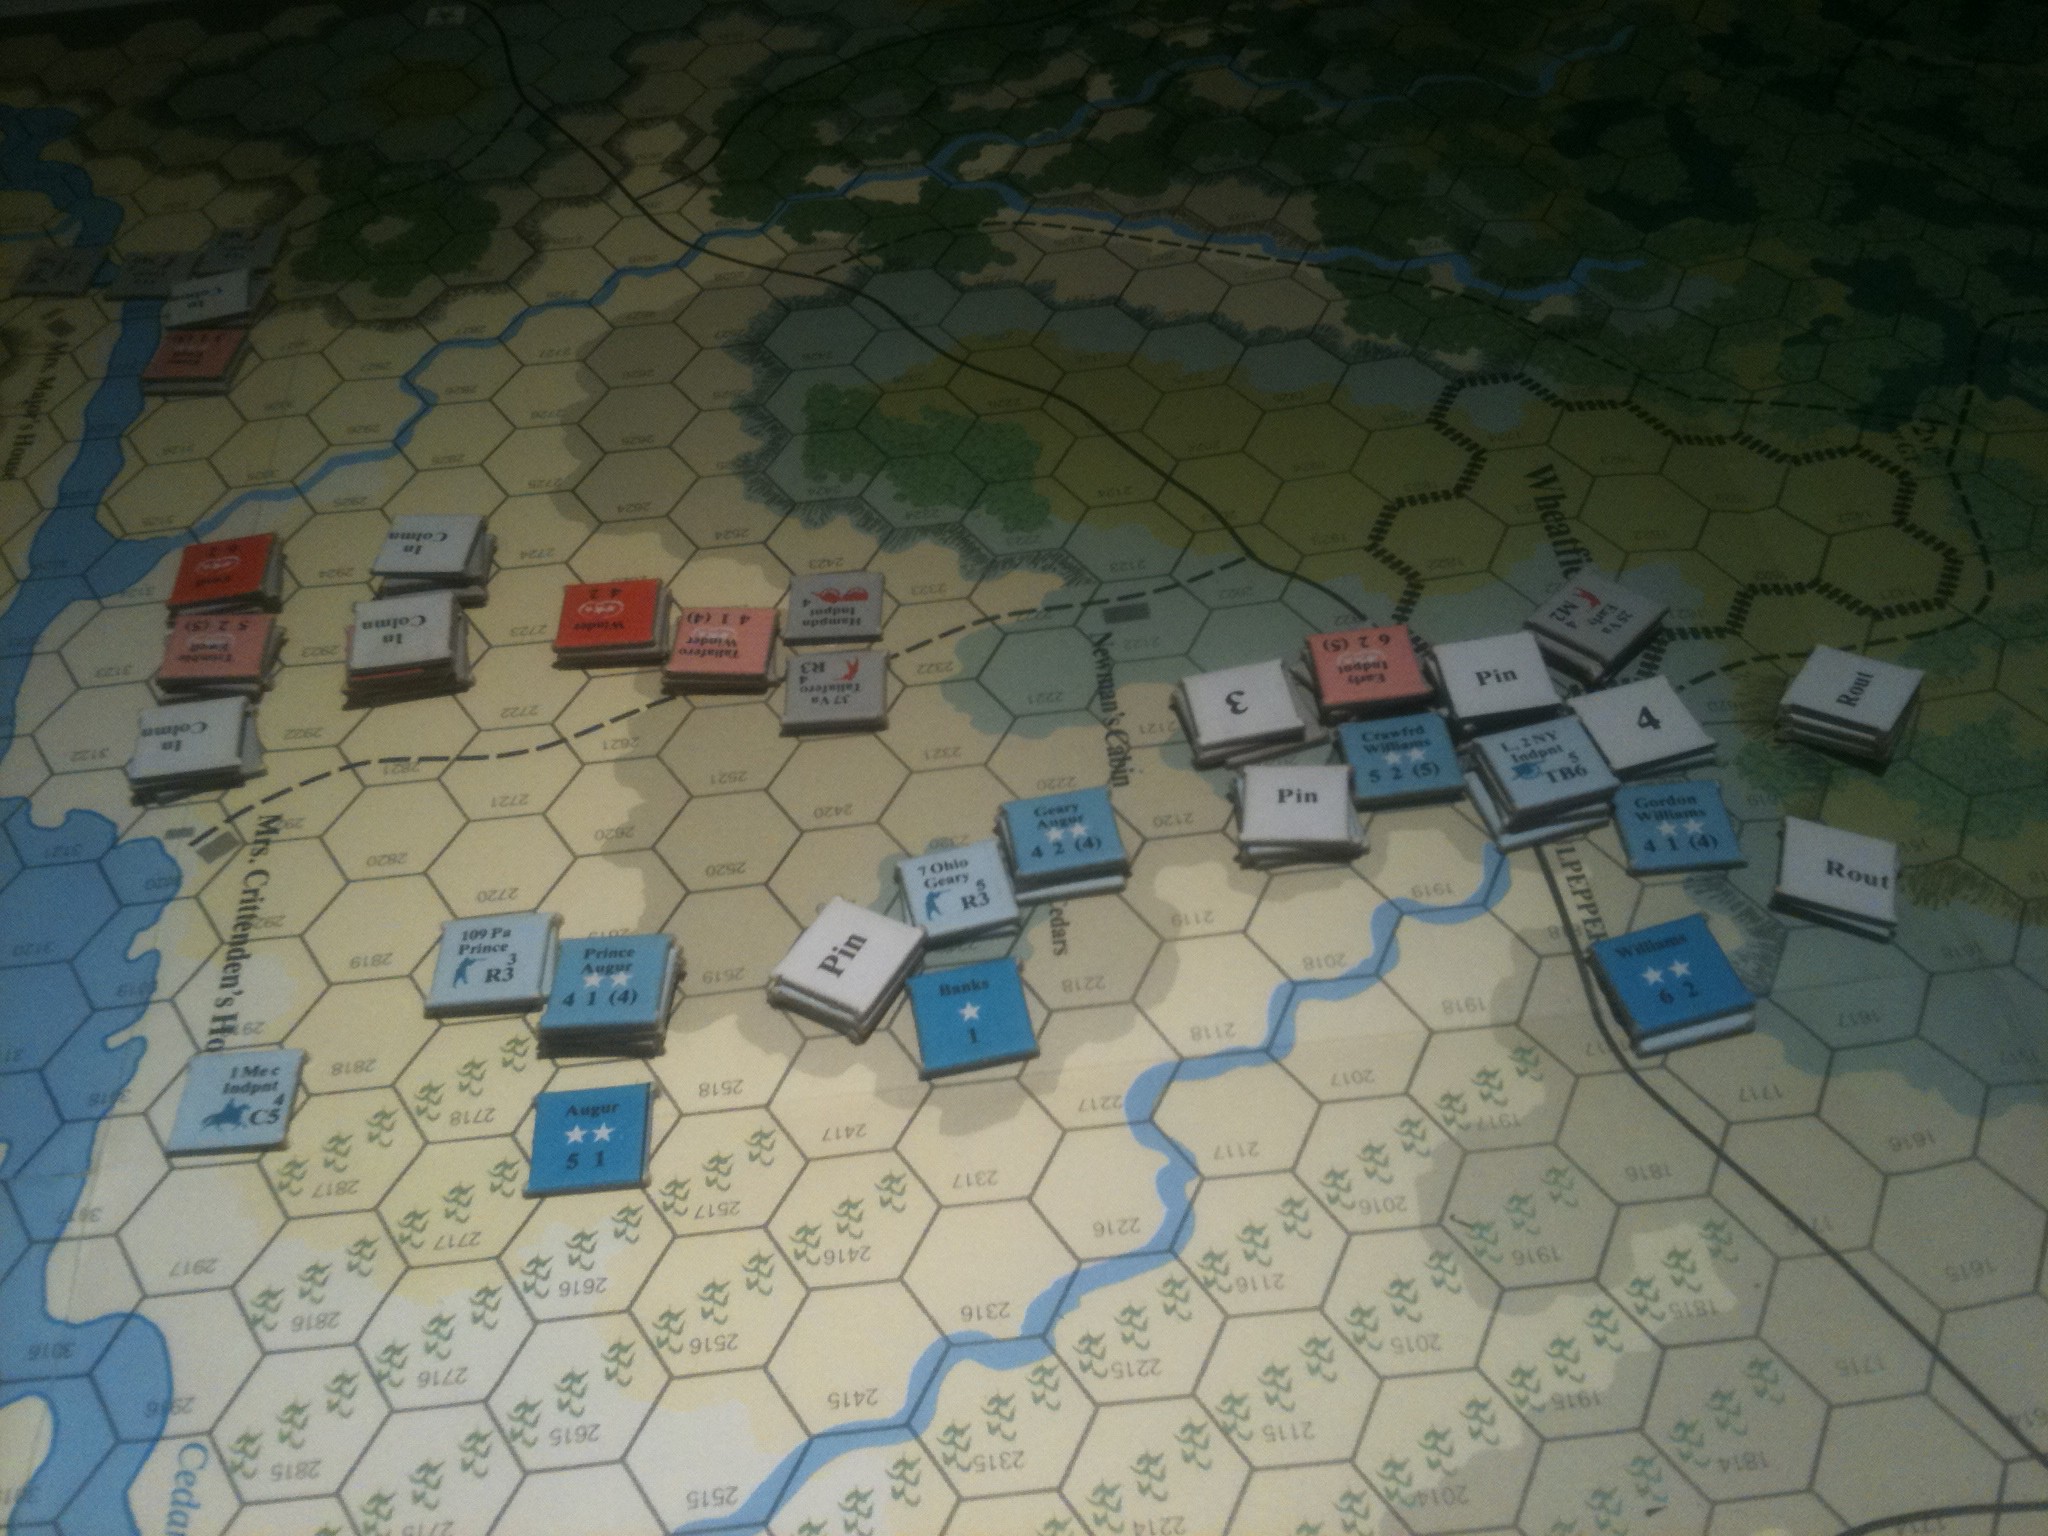
The Union units had the most favorable terrain for a quick advance, and established possession of the victory hexes. Confederate entry speed was hampered by the lower stacking and movement rates in woods. All of the fighting took place in the center of the map, in the area bounded by Cedar Run and the turnpike.
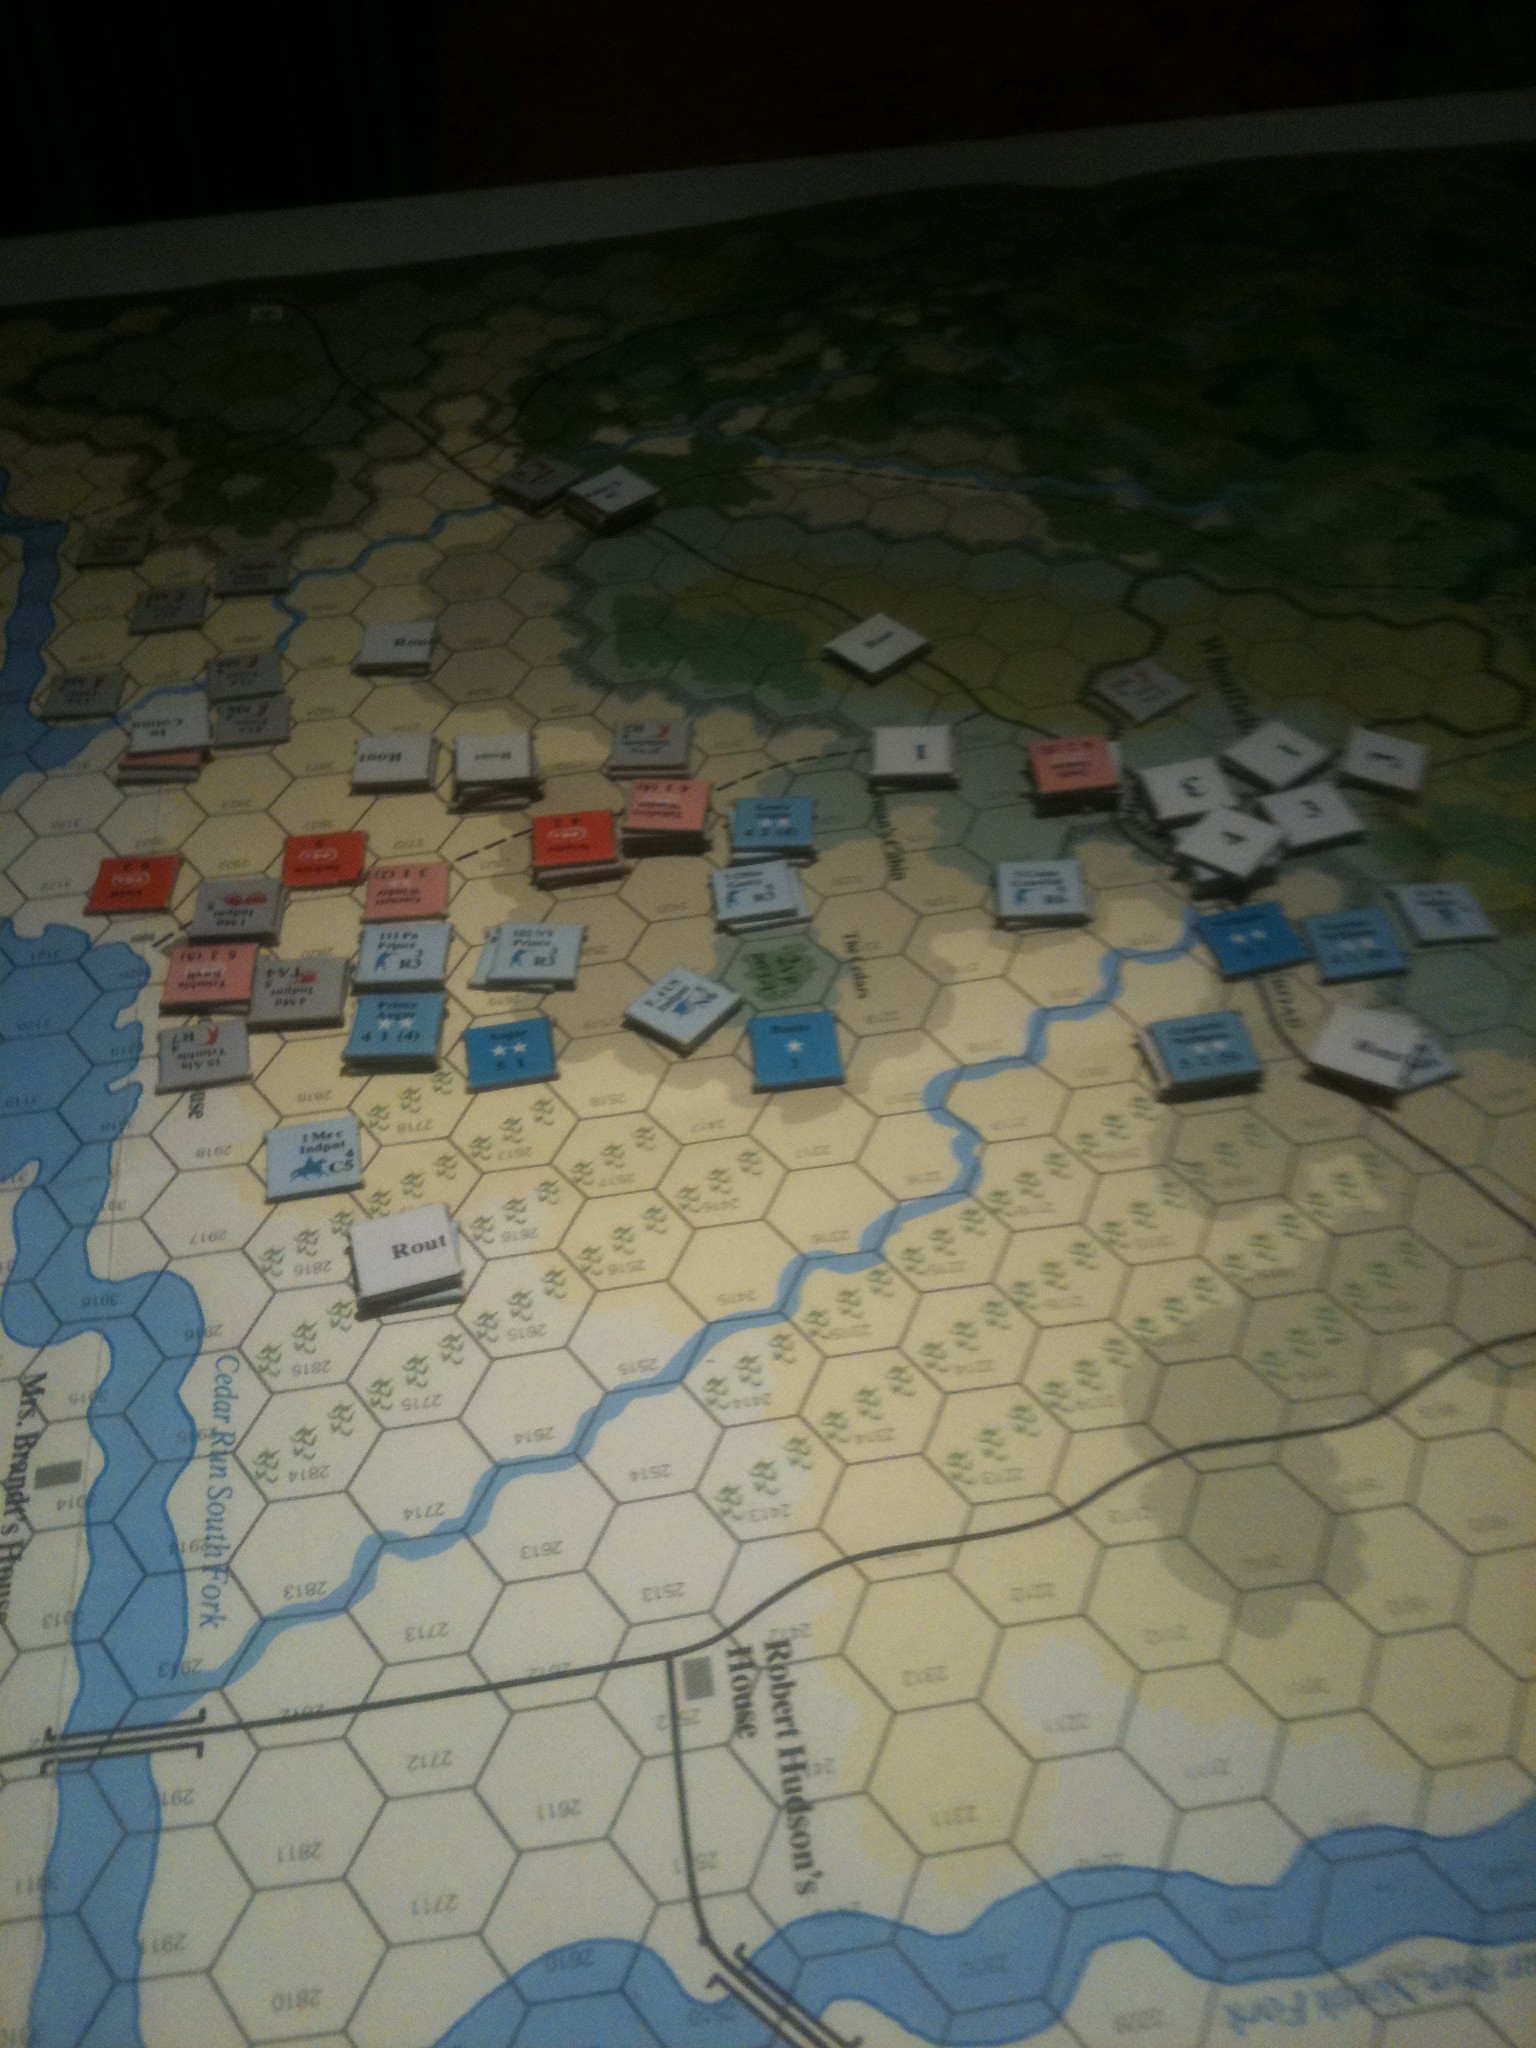
After the failure of an initial Confederate assault, arriving troops were sent on a flanking march around the Union left. Although the initial assault by the flanking units was repulsed, the weakened Union units fell back under pressure, both in the center and left, establishing a horseshoe shaped perimeter in an attempt to conduct an orderly retreat.
Newly arrived Confederates, supported by the tattered remnants of units that had been fighting throughout the day, were able to cutoff any Union retreat. The result was a decisive defeat for the Union, mitigated in Victory Points for the number of turns the Union had controlled the victory hexes.
This was a bloody game, with the aggressive Federal army suffering significant casualties. Confederate units were also badly battered.
Why?
This spate of GBACW games piqued my interest in the Civil War. One of my favorite military historians is the late Paddy Griffith. Although he died (way too soon) several years ago, you can still access his website. He once did me a very kind favor years ago. But that’s the subject of a separate post.
Back on topic. This spate of games (like to use spate) motivated me to buy two of Paddy’s books. One I had owned years ago, but made the mistake of lending it to a Civil War enthusiastic colleague of mine, and as usually happens in that situation the book was swallowed up into the great void of “I can’t remember that”. This book, “Battle in the Civil War“, is an illustrated and very accessible version of his text heavy, and far more detailed, “Battle Tactics of the Civil War“. I decided to employ one of Paddy’s theses in this game. BTW, both books are well worth the cost.
This thesis is that shock tactics were rarely used in the Civil War, but not because of the popular idea of the deadliness of rifled musket fire, but that the armies lacked the ability to coordinate this type of attack, and that by the time they did have the experience, both sides shied away from assaults during open battle (and this does not include the catastrophes of Cold Harbor, The Crater, et al) and were content to engage in lengthy fire-fights.
Confident that I am better than Franz Sigel or Dan Sickles, I launched a series of maniacal John Hood like melee combats. For the most part, Richard Berg’s rules led to a bloody shambles. Because…….Berg’s rules (and he is a wonderful game designer), allow low value musket and rifle fire, doubled, to either pin or rout units in the adjacent hex. This especially benefits the defender, who can conduct defensive fire before the attackers can fire and move into the hex for melee. An attack in depth is a possible solution. Stack three attacking units in the hex, put your lowest valued unit on top because it will take the fire hit, and hope that two of the three survive a morale check. If the attackers are not pinned or routed, they may cause the defender to break and rout before contact is made. This is somewhat consistent with Griffith’s observations that units would break if faced with the threat of a melee. My conclusion: Paddy would have had a different design take on GBACW.
Anyway……….
Another enjoyable game, and I am putting “Drive on Washington” on the table for another (and probably my last) round of GBACW.
Here’s a series of photos to give some vague concept of what happened in the game. I take a solemn vow that I will never, never, ever, use an IPhone for photos, and if for some reason I break this vow, I will always, always, always, turn on more lighting. Not impaired, just pathetic.
Advancing Union Forces Occupy Victory HexesConfederates Flank the Union LeftConfederates Increase Pressure on Union LeftUnion Left Collapses
Here are Tim’s comments….We plan to play this scenario one more time, hopefully between Xmas and New Year.
Weather was an issue. The rain, with the accompanying -1 die roll modifier and increased movement costs was a real problem for me. I was having to use units to cart supply to the front when I needed every body at the front.
I should have attacked your river transports much, much sooner. I was pleasantly surprised at how effective the one raid was.
I understand better why it is hard to use the factional units as cannon fodder. Even with their stacking limits, I still wonder if it would be possible to use them in good defensive terrain (rice paddies, or behind a river) hoping for an exchange or to buy time. I know its not really an issue in the context of the scenario but the Central Army 4-6 divisions can’t be replaced and the 3-5 divisions can be only replaced very slowly.
I hope you handed out lots of medals to your aviators. They gave their all and suffered accordingly! I wonder if the Chinese would be well advised to adopt a ‘fleet in being’ strategy for their air force. Having said that, I was sweating when your one naval patrol attack got through…
NGS is really important to the Japanese. I actually could have used it more than I did– I forgot that TFs can sail up the Yangtse as far as Nanjing.
Infantry having an exploit phase is nice. I often would launch an attack and then use the exploit phase to regroup my troops for your turn. I would create a big stack and then split them back up during the exploit phase.