Category Archives: Boardgames

The Kaisers War – Central Powers Turn 2

The Central Powers continued their attacks both in Italy and along the Western Front.

In Italy the attacks came up just short of capturing Genoa, but did expand Turn One’s gains along the Adriatic.

Two British armies were pinned along the coast and destroyed near Calais.  German units are now adjacent to Paris.

Combined German and Austrian attacks captured Salonika, cutting off Allied armies from that port.

Here are photos of each front showing dispositions at the end of the turn.

The Kaiser’s War – Allies Turn 1

Unlike the Central Powers, the Allies have no limitations effecting their Turn 1 Mobilization Phase.  Italian, French and British armies are mobilized (cannot enter until Turn 2), and a US army with Pershing’s headquarters, already mobilized, is sailing to France.  This will all cost victory points, but the situation in Italy is bordering on the desperate, and additional units are needed for operational flexibility (that’s a nice euphemism for “jeez I have no idea what might happen next”).
In Italy, a very weak defense has been strung out to (hopefully) delay the Central Powers until reinforcements arrive.  In the West, a fairly strong defense has been established north of Paris.  British forces are advancing towards Beirut and moving west of Baghdad.
Here’s the situation in Salonika, Italy, and Western Front

The Kaiser’s War – Central Powers Turn 1

Finished up the Central Powers’ turn.  Went all-in for both the Western and Italian Front offensives.  Used up victory points  to provide Maximum Attack Supply (which doubles unit attack values) in order to get odds of 5:1.
Each side has two combat phases (consecutive) per turn where any units can attack. With a Defender Panic combat result the defenders are eliminated if they roll a D6 greater than their movement allowance (most units have a movement allowance of “3”).  If not eliminated, they must retreat a number of hexes equal to that die roll.
The results were mixed.  In the West, the attacks were successful in forcing the engaged British units to retreat.  However, they did so in good order and were not eliminated.  A different story in Italy, where two Italian units were destroyed and a gaping hole opened (Caparetto).
Further east, Central Powers armies are massing along the Salonika Front.
Here are a photographs of the Western and Italian Fronts, respectively.

Kaiser’s War – Initial Dispositions

My resolve remains high.  Set up and ready to play.

With my usual lack of imagination, the Central Powers (CP)  focus is on The Western Front and Italy.  No ahistorical play right now.

The rules highly incentivize the CP player to attack in the West.  Tempting bonuses for using Storm units and occupying Allied (A) trenchlines at the end of Turn 1.

Here’s the situation in the West, followed by that in the East.  Play starts tomorrow…..I mean it!


This Time I Really Mean It

Boardgame Geek has a wargame forum thread entitled something like “What’s Your Table Look Like”.

Well, my table here in the Sunfish Capital of the World has been dipped in amber.  I’ve had The Kaiser’s War: 1918 on a card table for well….this is the third calendar year.  I think the initial map placement was in Fall 2022.

I’m setting it up now.  All credit to the dreary, rainy, windy weather of the past two weeks.  Yes, the forecast for the next several days is good, but it is now a matter of pride.

So, what approach to take?  Option Number One is a well thought out consideration of the strategic situation and painstaking referrals to the rules.  Option Number Two is just play the damn game.  I’m going with Option Number Two.

Not that I have something else lined up, but I’m genuinely curious how this system will play, especially since it has – by definition – many of the same “option(s) of difficulties” encountered in Paths of Glory and Pursuit of Glory, but using a traditional hex and counter approach without event cards or even random events.

Here’s a quick shot of the map with sorted counters and the beginnings of the Allied set-up.

I’ll finish the set-up tomorrow and get at it….really…..I mean it this time…..

Something New

The weather final cooperated, and Tim was able to make his long anticipated – and often delayed – trip to the Pine Cone Lodge.

He is a fan of the Standard Combat Series now published by Multiman.  I had purchased two of the games some time ago.  We decided to play Yom Kippur.  The game covers the initial Egyptian assault across  the Suez in the October War.

We started and reset about three time.  The first was due to a rules knowledge breakdown (shocking!), the second due to Tim’s die rolling breakdown, and the third for “let’s try it again”.

We never made to Turn Four, but had a lot of fun working through several  operational approaches.

I also gained an appreciation of why so many like this system and how it has stood the test of time.

The basic concepts are straight-forward for an experienced gamer.  The only real adjustment is that you always “round up” for die rolls and an eligible unit cannot move in the Exploitation Phase if it is in an enemy zone of control (ZOC).  Each game has its own specific rules, but I found these easy to work with.

Plenty of comments and insights into the system and game at the links posted above.

One thing, though.  The map……….BTW that’s the situation at the end of last play-thru.  Israelis are Blue.  Map is oriented to the East.

Even More Heroes

Set up another DIY scenario for Heroes of Normandie (HoN).

A meeting engagement between two reconnaissance forces attempting to secure a crossroads.

Both sides had a mix of reconnaissance sections, along with infantry support in two halftracks.  The Germans had a motorcycle/sidecar/machine gun , and panzerschreck section.  The US had a Greyhound armored car and Jeep with .50 caliber machine gun.

The scenario length was 8 turns, with turn initiative alternating between sides.  Each side entered on opposite sides (east and west) of the map.  I used event cards, but did not remove any inappropriate ones from the draw decks.  This was a conscious attempt to incorporate them in gameplay, but reduce their possible impact.

It was quite the slugfest both times I played.

If I had set this scenario up in Advanced Squad Leader, my play would be far more constrained, with concerns about doctrine and realism.  Not with HoN.  The cartoonishness that is off-putting for some, seems liberating to me.  I feel encouraged to take more chances; that is within tactical reason.  Maybe it’s the straightforward vehicle rules…….

Here’s a photo of what was left after eight turns.  Most of the vehicles are wrecks, with units huddled in the hedgerows, or in the house at the crossroads.  North at top of photo.

More Heroes

Still having lots of fun with Heroes of Normandie (HoN).

Set up a quick scenario the other night.  Simple objective for the Americans; Get your armor across two boards.  Six turns, but Germans already in  ambush positions.  Same basic forces for both sides, except each now has a tank.

Played it through a few times.  It all boiled down to the last turn or two.  That’s when the German Pz IV and panzerschreck each get a shot  at the US M4 Sherman.  However, the US advance sequence during the preceding turns is critical in order to get infantry in position to support.  To make things even more difficult, I ran a scenario where the US had to also get an infantry unit off-board.

Did not use cards.  Drew them, though.  What wild outcomes they could have produced!  Need to reconcile my need for order with even more possible fun and confusion.  I’m not in a hurry to resolve this psychological conundrum.  I think a reading of the solitaire rules published on Boardgamegeek may be in order.

Simple, but interesting and fun.  Here’s a bad pic taken before the final game turn, with the Germans having initiative and Americans hoping to get to their turn with the tank still operational.  Cell phone is holding down a non-compliant map corner.

Not Bad

Back from a fun 2+ week trip to (and recovery from) Joshua Tree NP and Organ Pipe NM.  Weather could have been better.

Have started playing Heroes of Normandie (HON)again.  I like this game, and I stress the word “game”.  Not a simulation, but still a challenge.  Beautiful components.  Just follow the Tag for my earlier impressions.

I realized during this latest play iteration that understanding the game’s rules and flow was all about the symbols.  In a typical hex and counter game, counter symbols are sparse, and aside from attack/defense/movement, provide little information concerning the  connection with the rules.  In HON, the unit counter is loaded with symbols involving literally every action that unit can take.  Understand the symbols, and you just play.  Very similar to Kriegsspiel, and makes for a far different  learning curve.

I’m using the updated, and cleaned up, rules found in the HON Compendium, as well as the Action Cards.  Need to read up on the solitaire guidance concerning the cards as how to handle them has been a little problematic.

Going to enjoy this for another week and then probably shift over to WW2 coastal naval combat.

Pursuit of Glory AAR- Part 2

Quick Comment:  This game was played using the First Edition, not the recently published Second Edition which, from what I gather, contains some significant rules modifications.

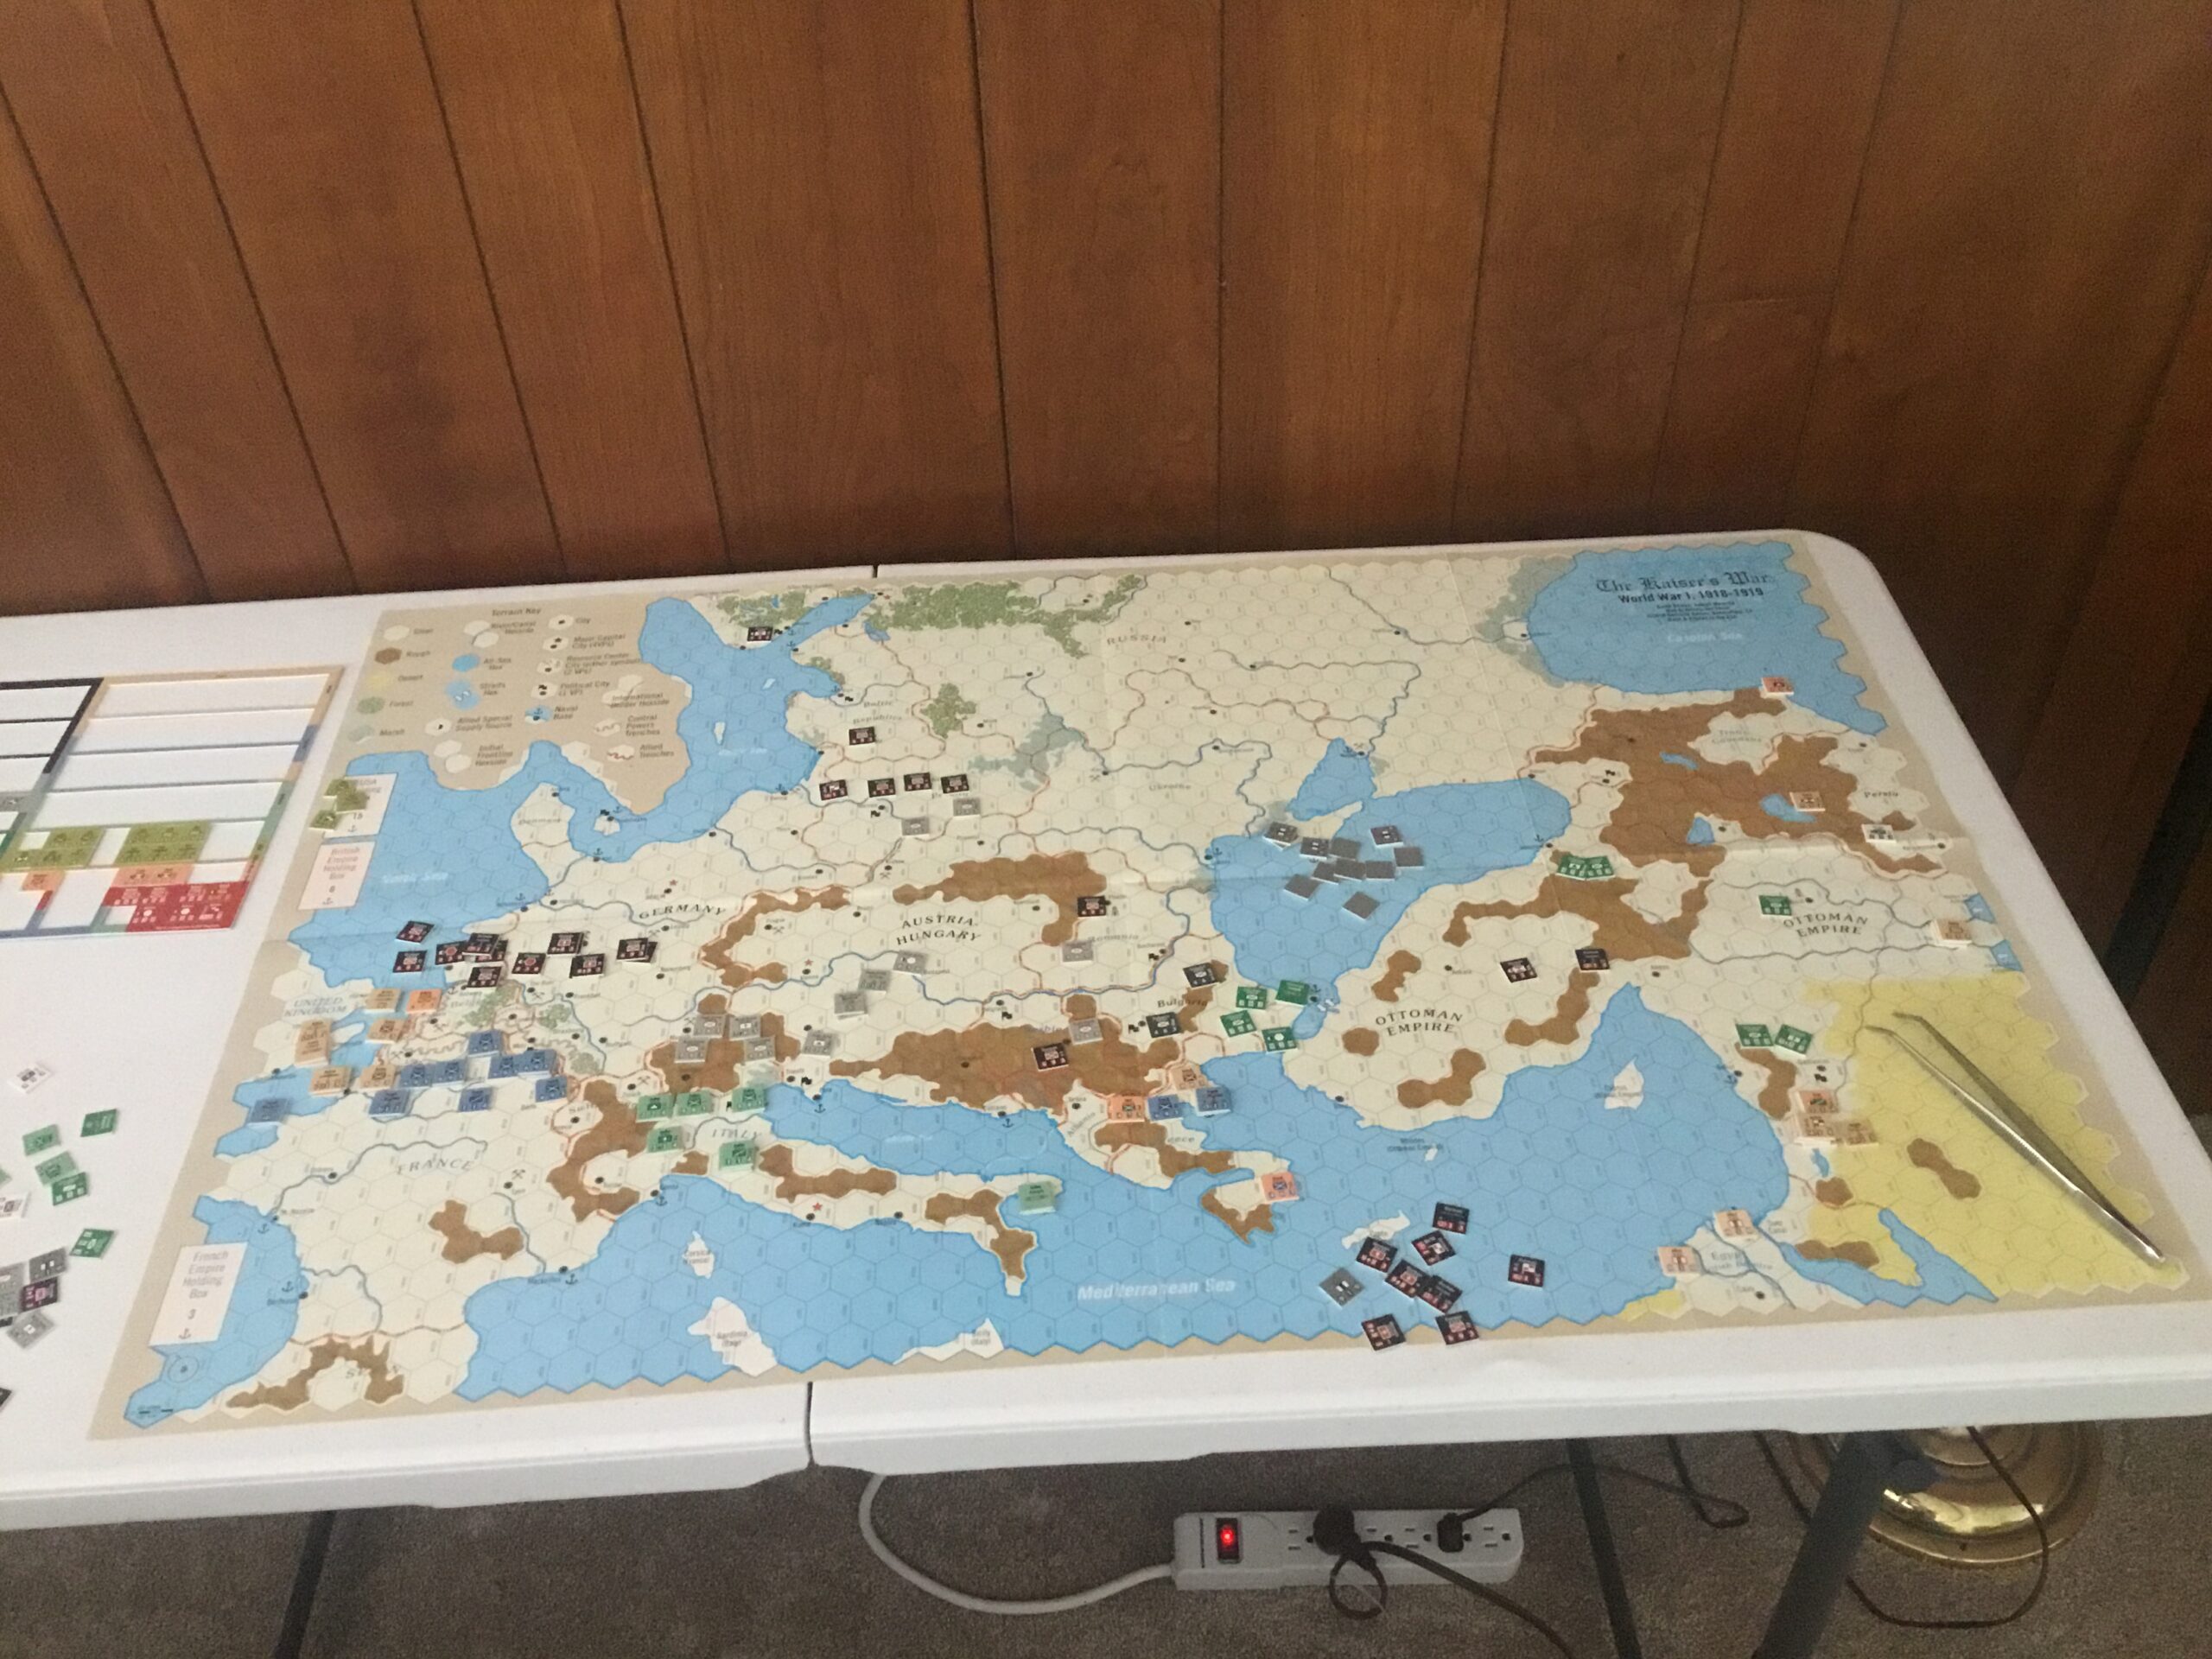
And now….Wargame Forensics.  Why?  I forgot to include the cards played in my map photo.  So, here’s a stab at what happened during the Summer 1915.

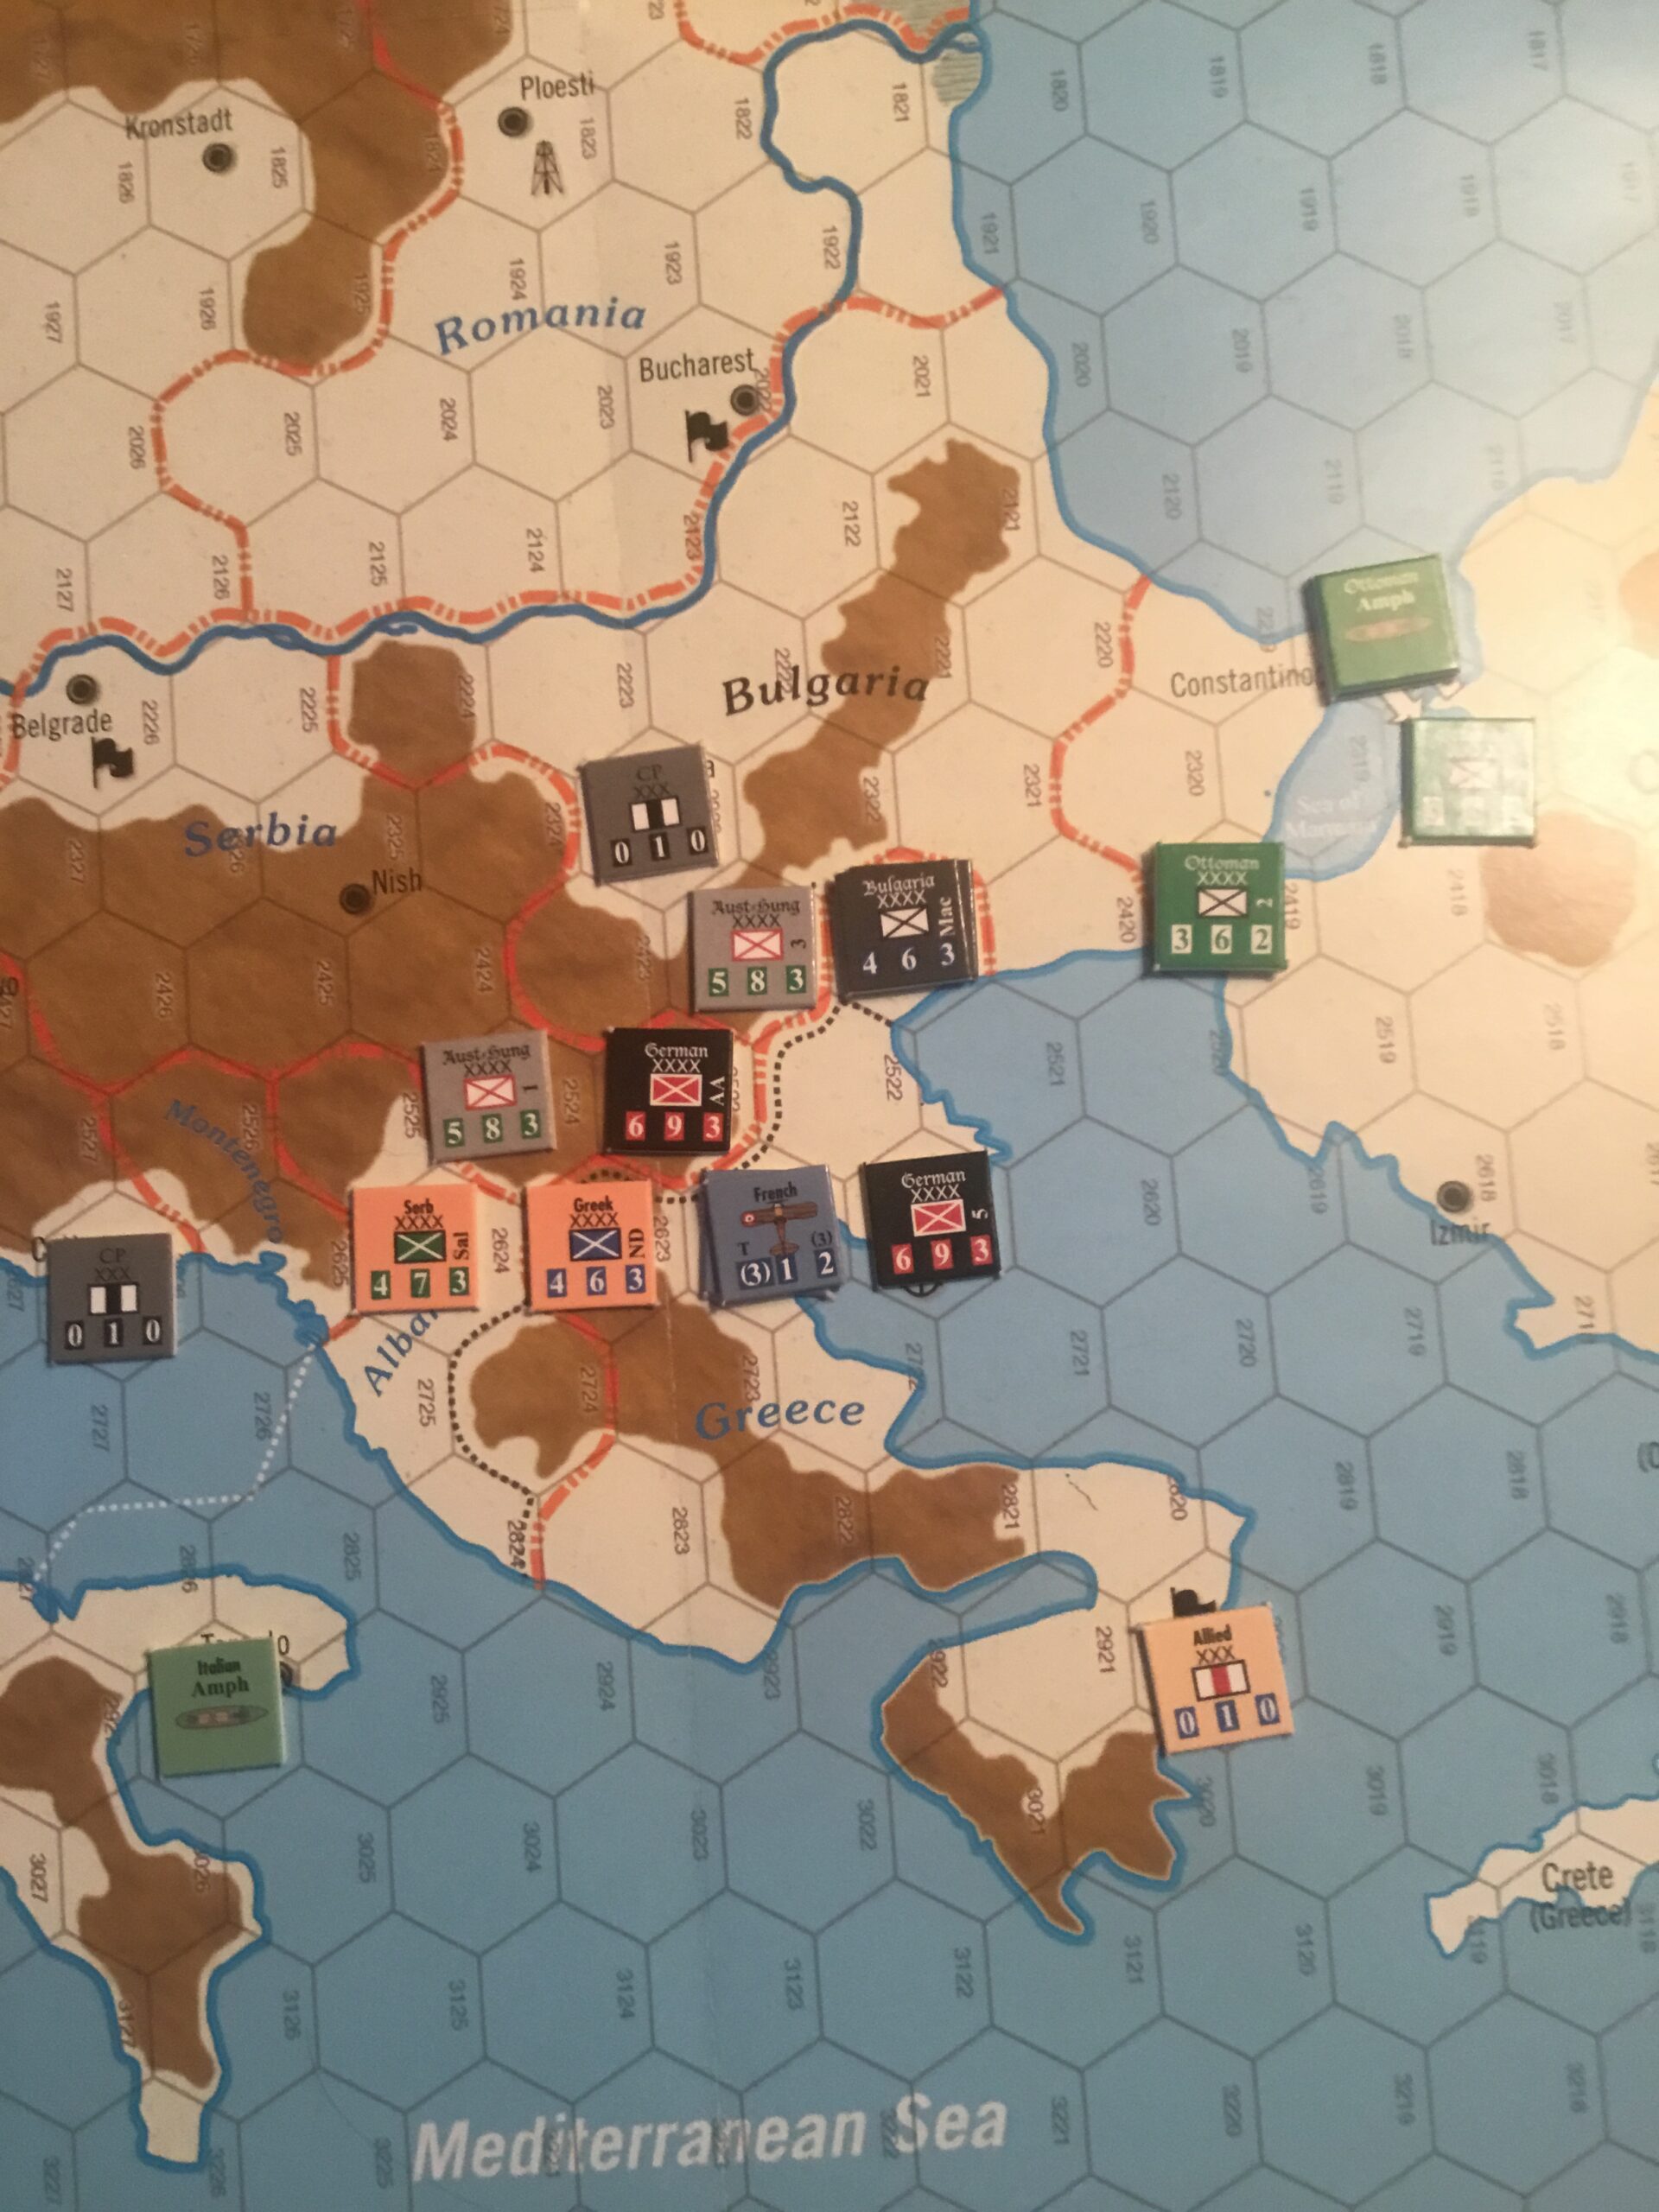
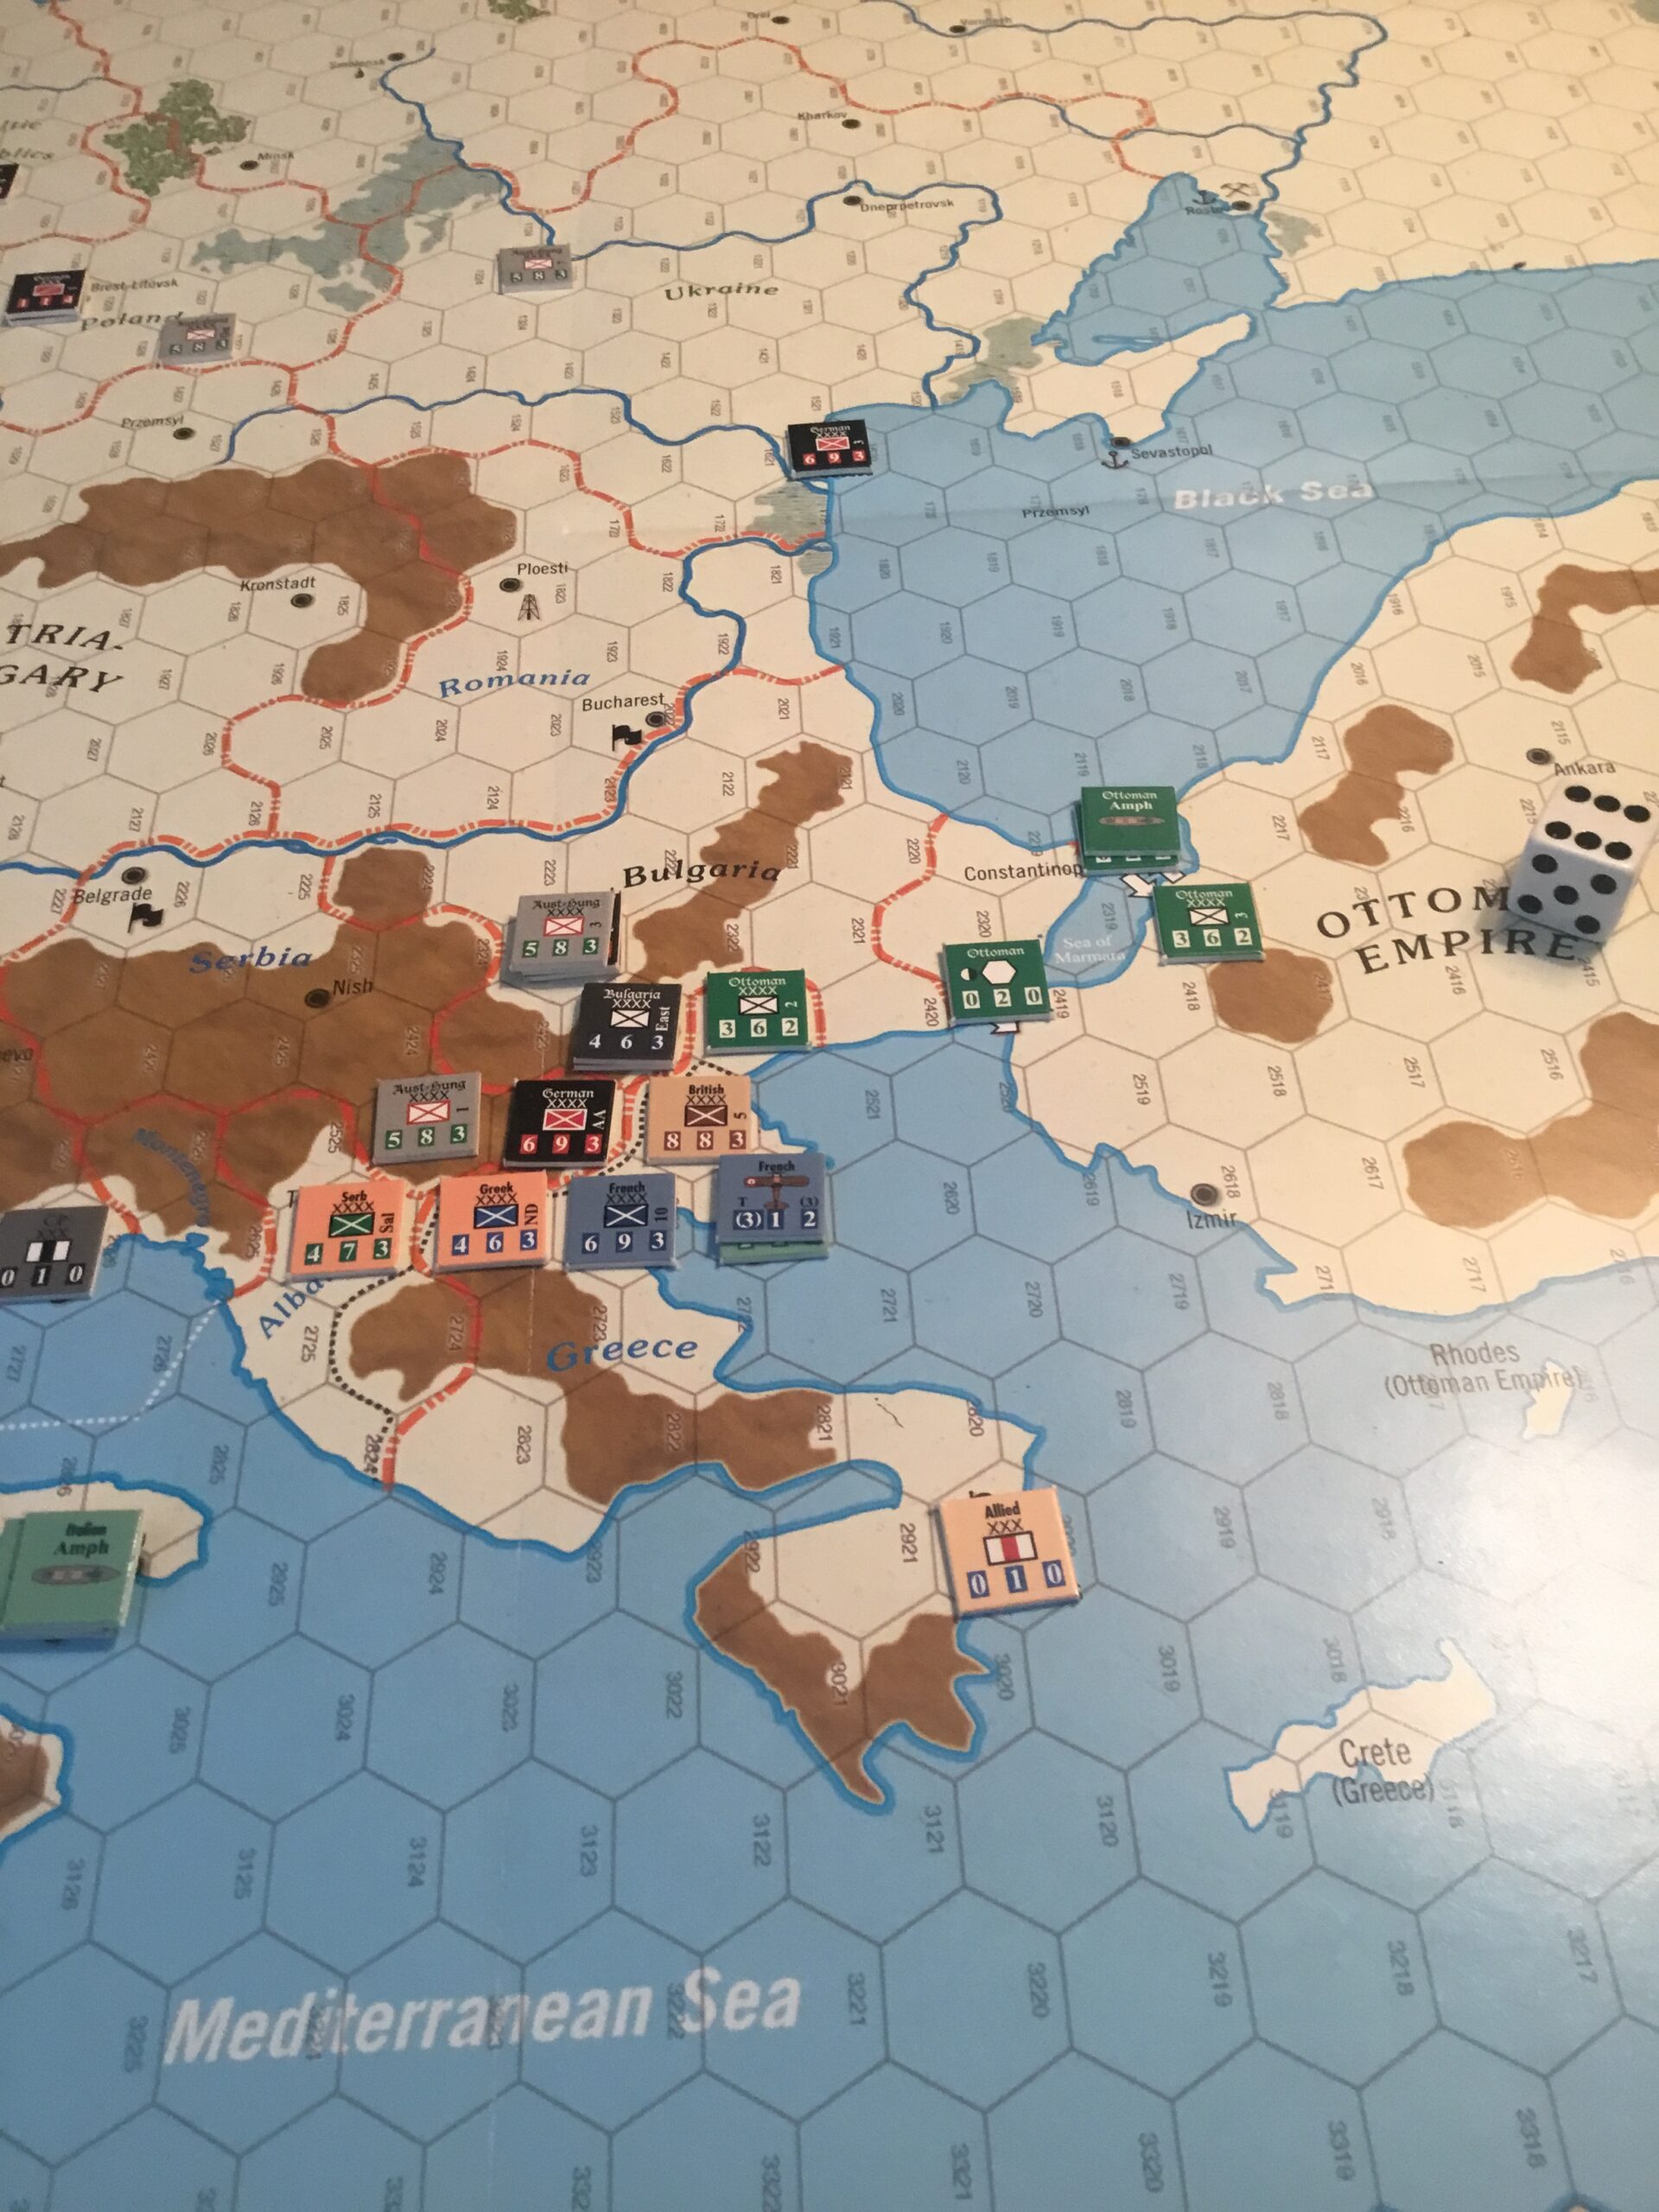
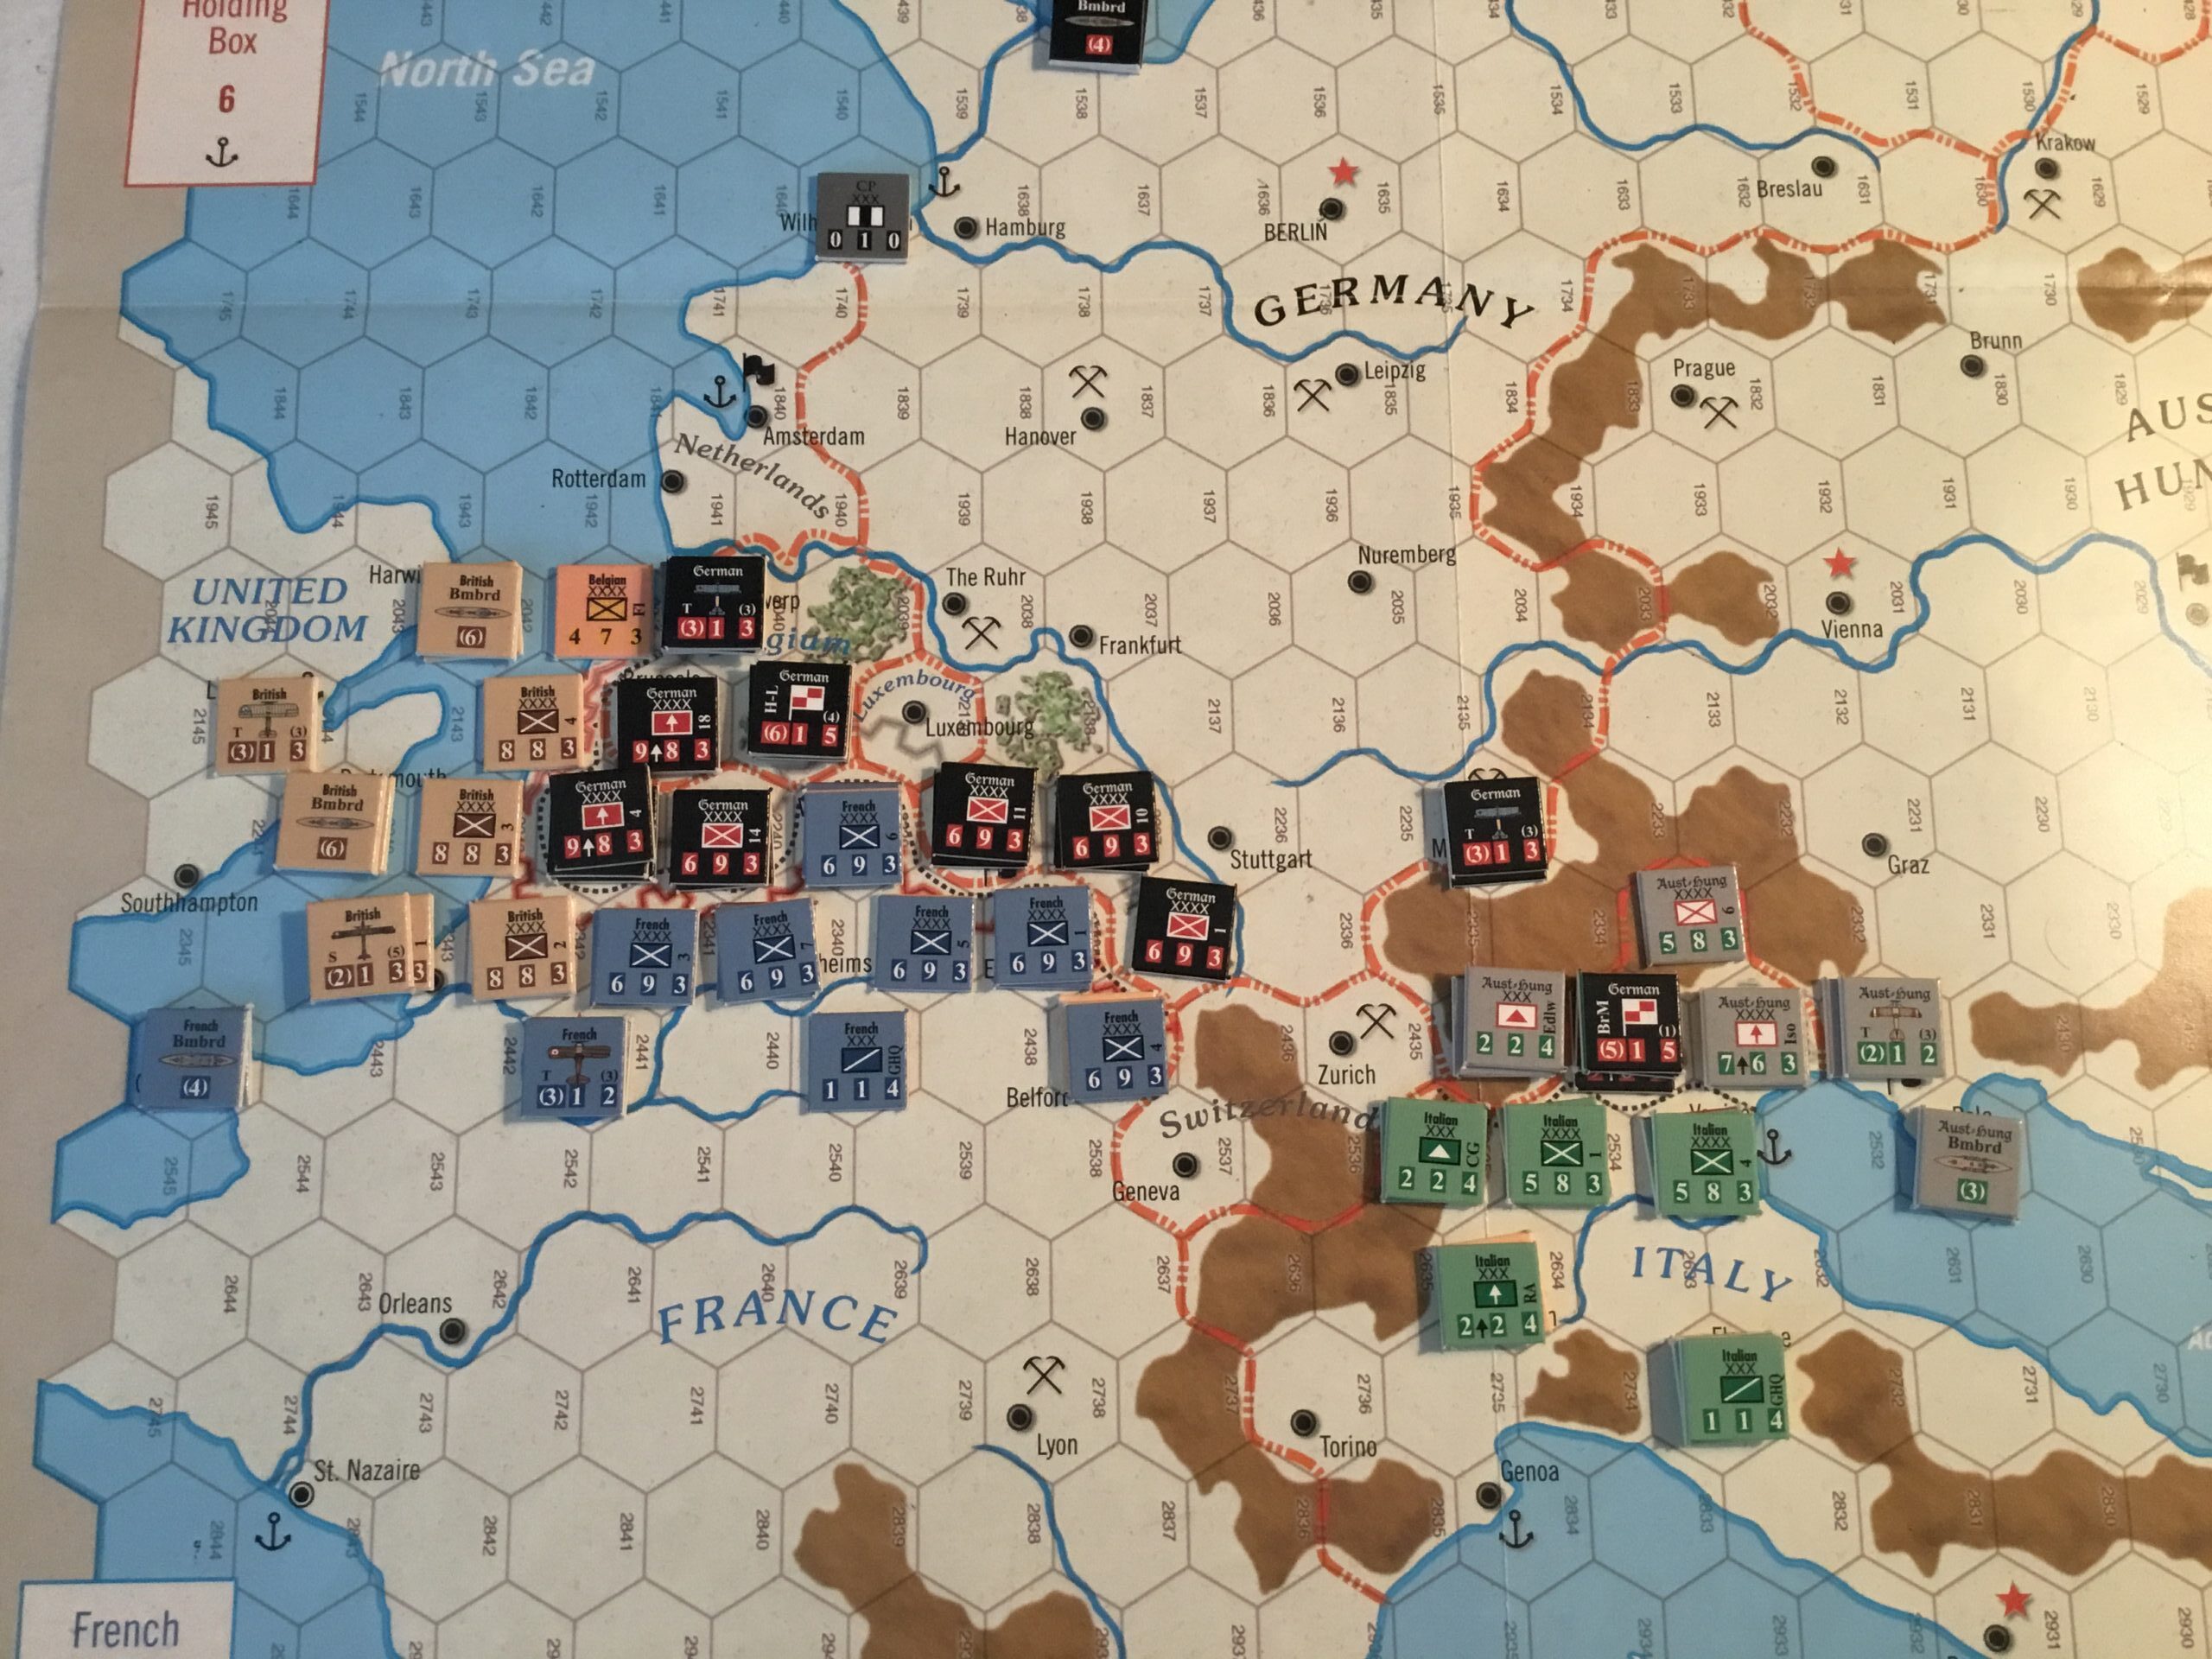
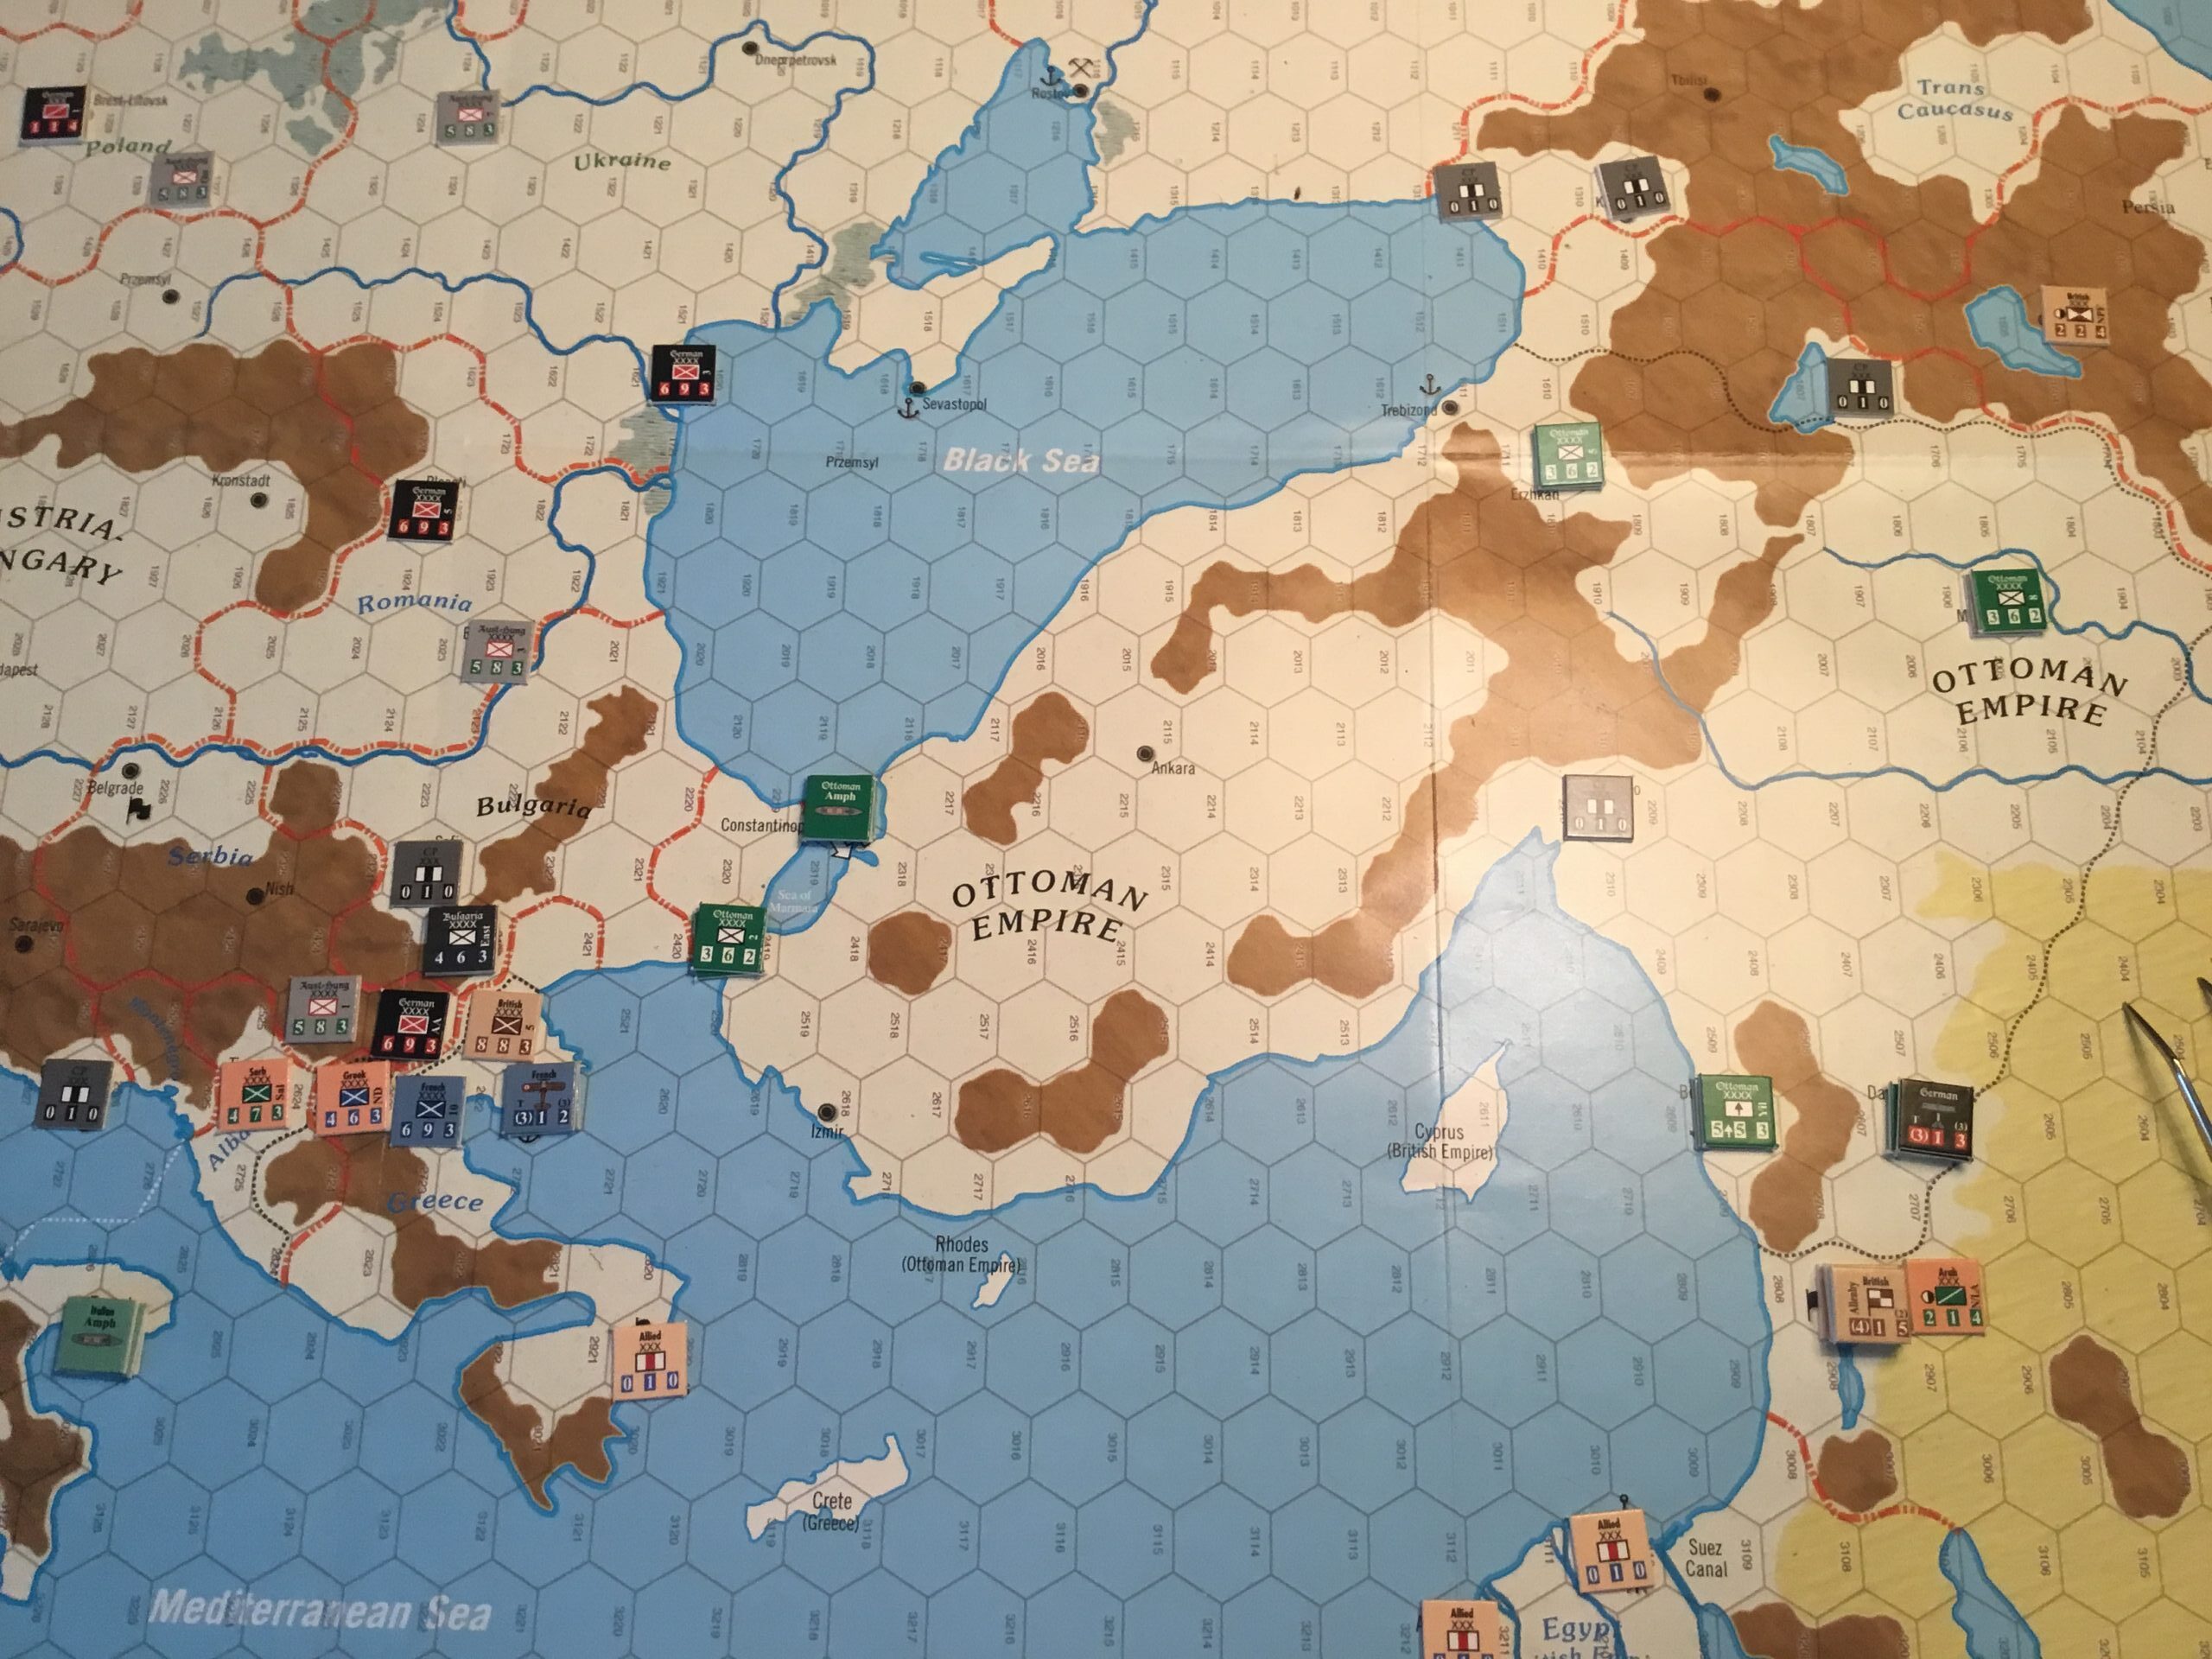
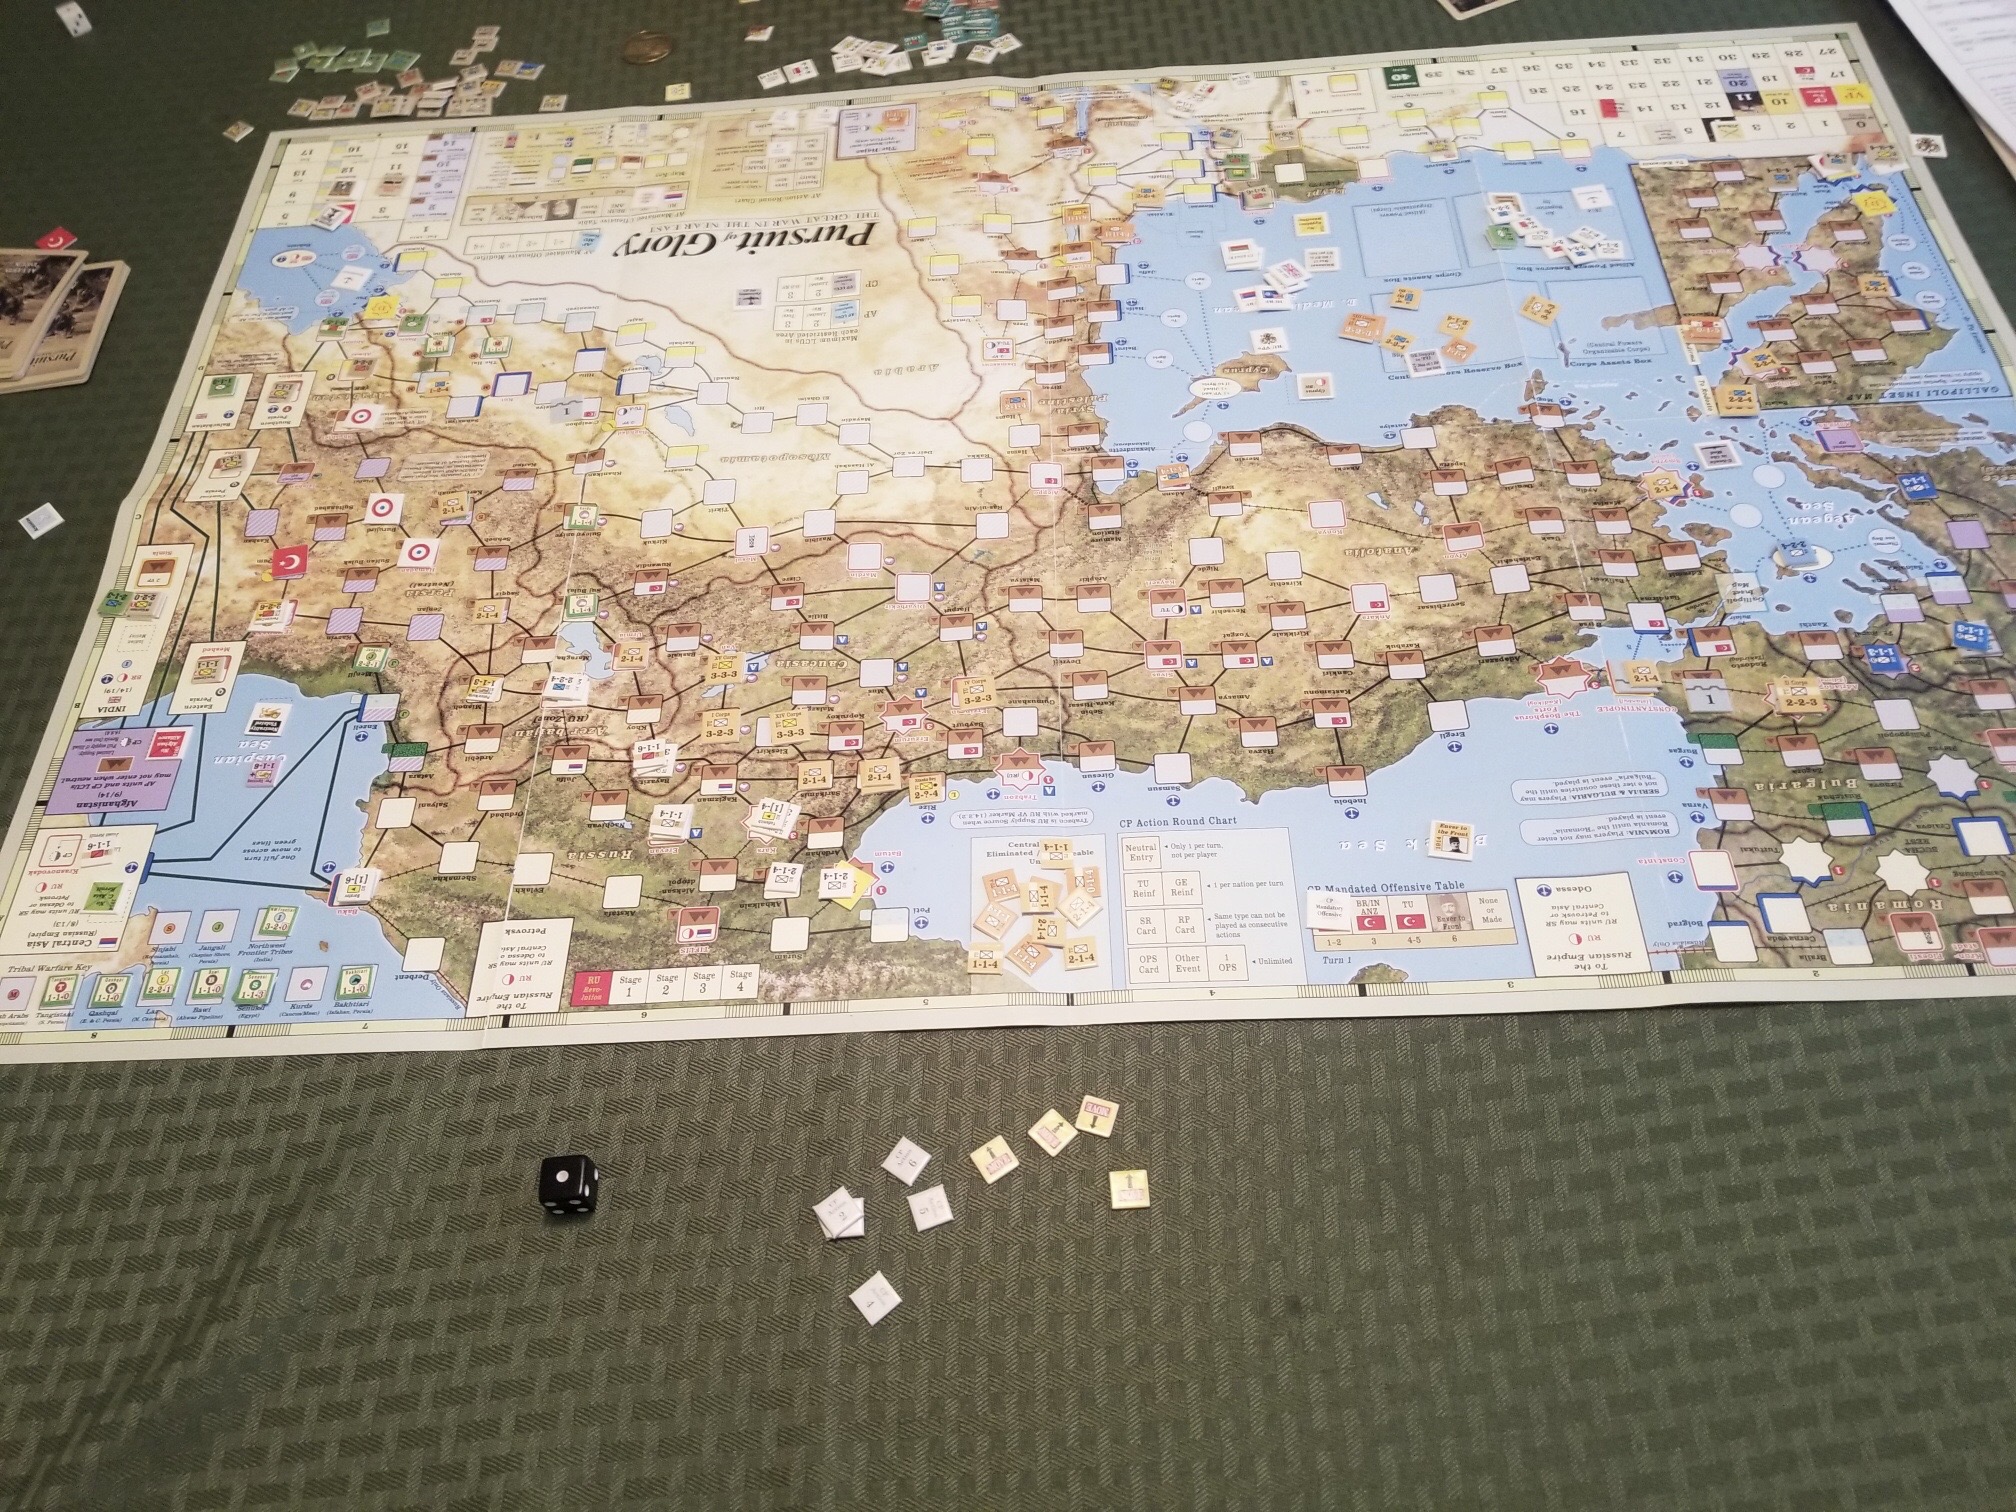
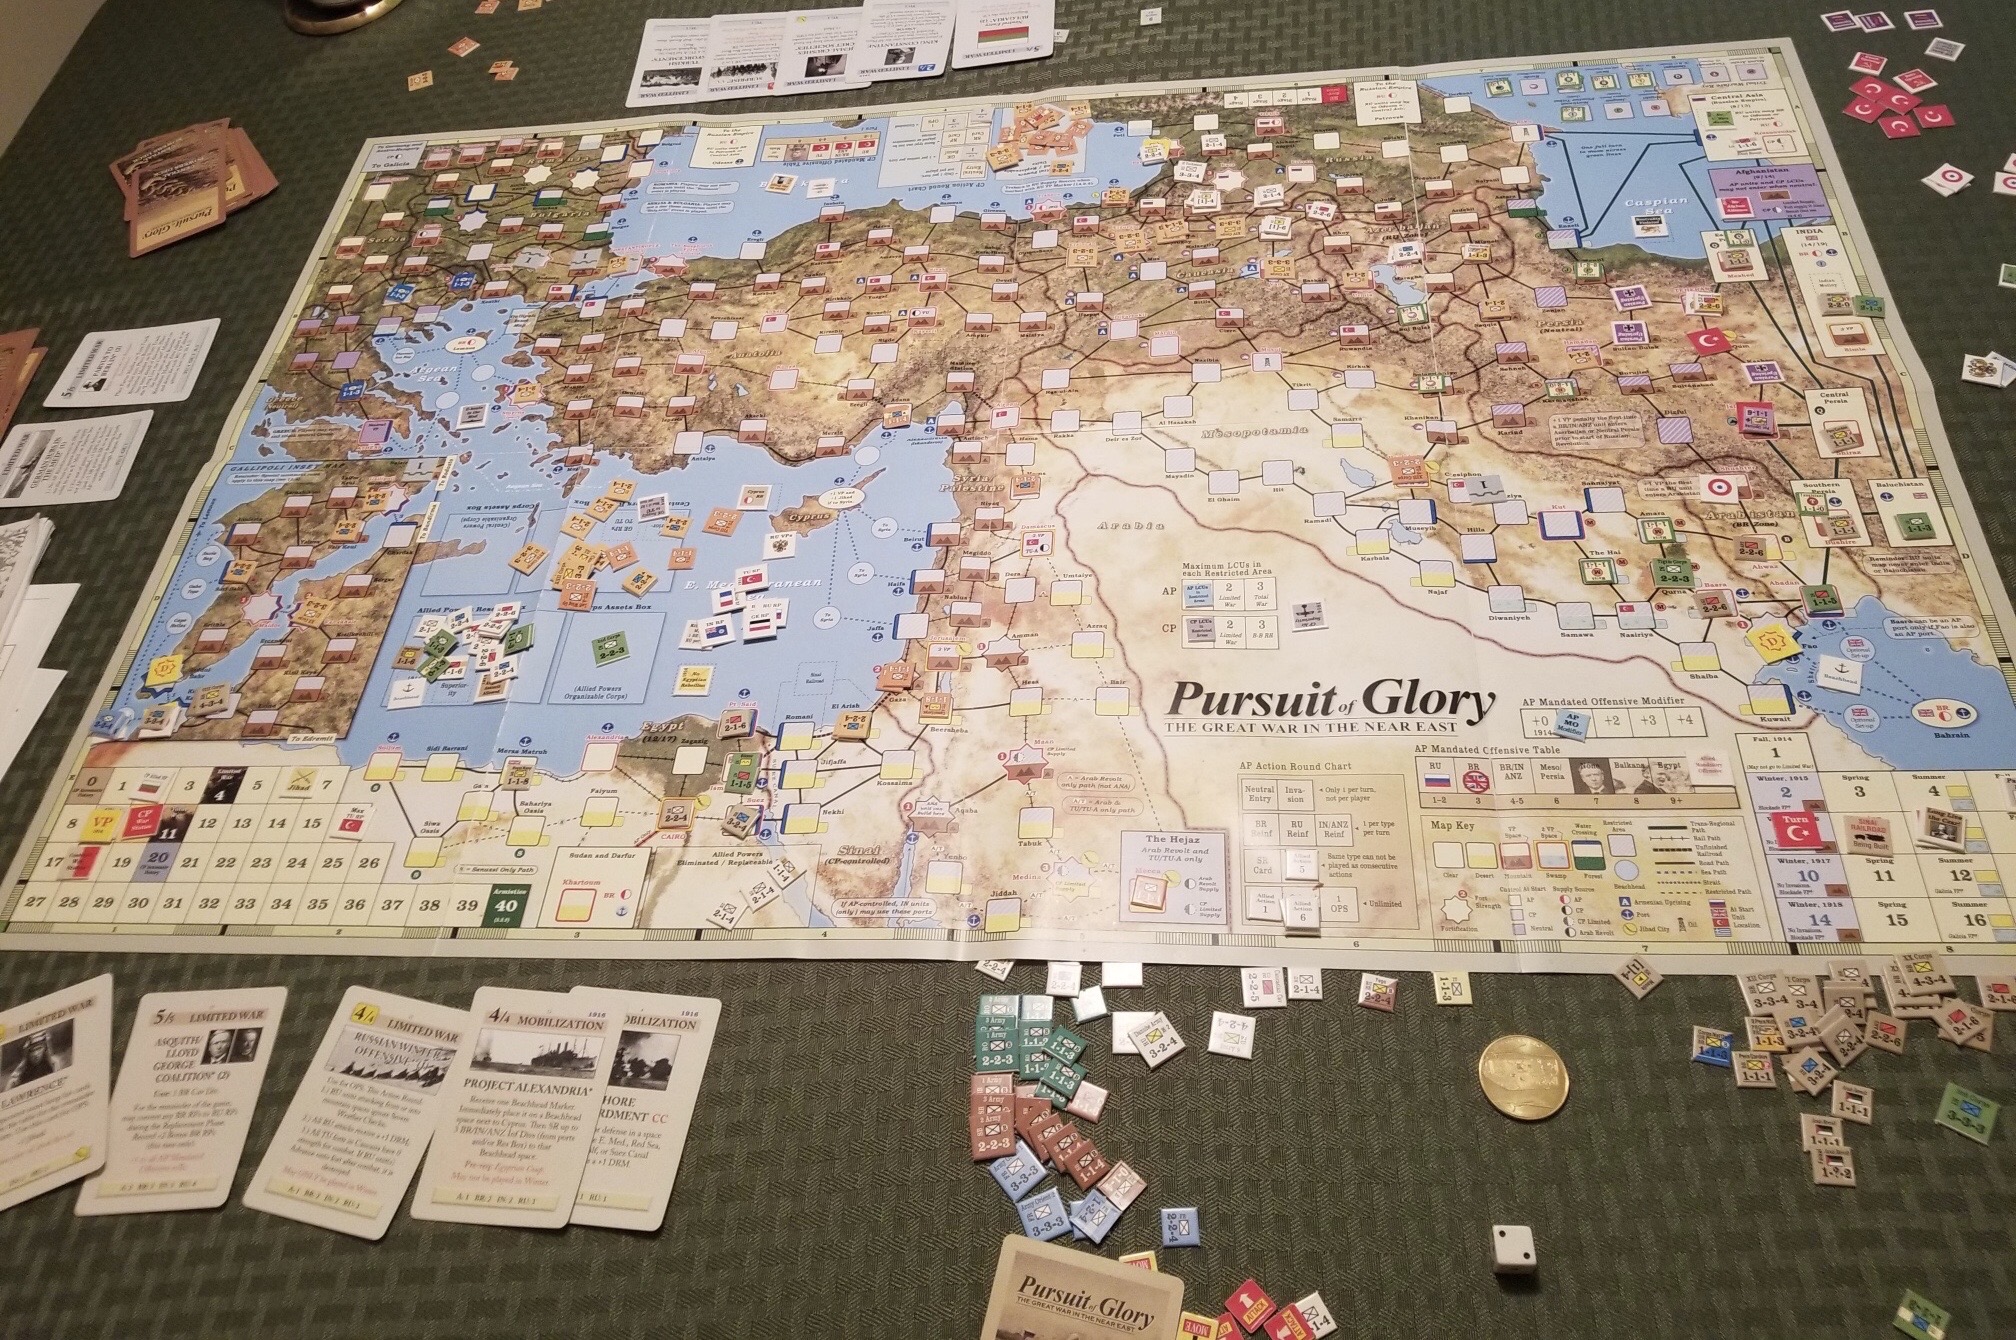
The major development was the Allied invasion at Gallipoli and accompanying Central Powers response.  It was business as usual in Caucasia – with more attrition – and a lack of activity on other fronts.  At this point, the Ottoman replacement pool is dangerously shallow.

During the Fall 1915 turn, the Allies shifted focus to  Mesopotamia, eyeing an undefended Baghdad.   The Marsh Arabs tribe frustrated the Allied advance, buying time for the Central Powers to deploy forces to the threatened city.

The Romania Enters The War card was played in error.  Tim noticed that the pre-conditions had not been met (Allies in Salonika), so the forces involved were taken off the table and Tim used the card for operations.

The Central Powers were in reaction mode, trying to cobble defenses together in Mesopotamia and Caucasia, attempting to build up the replacement pool, as well as maintaining some momentum in their effort to “Set The East Ablaze” using dissident tribes.

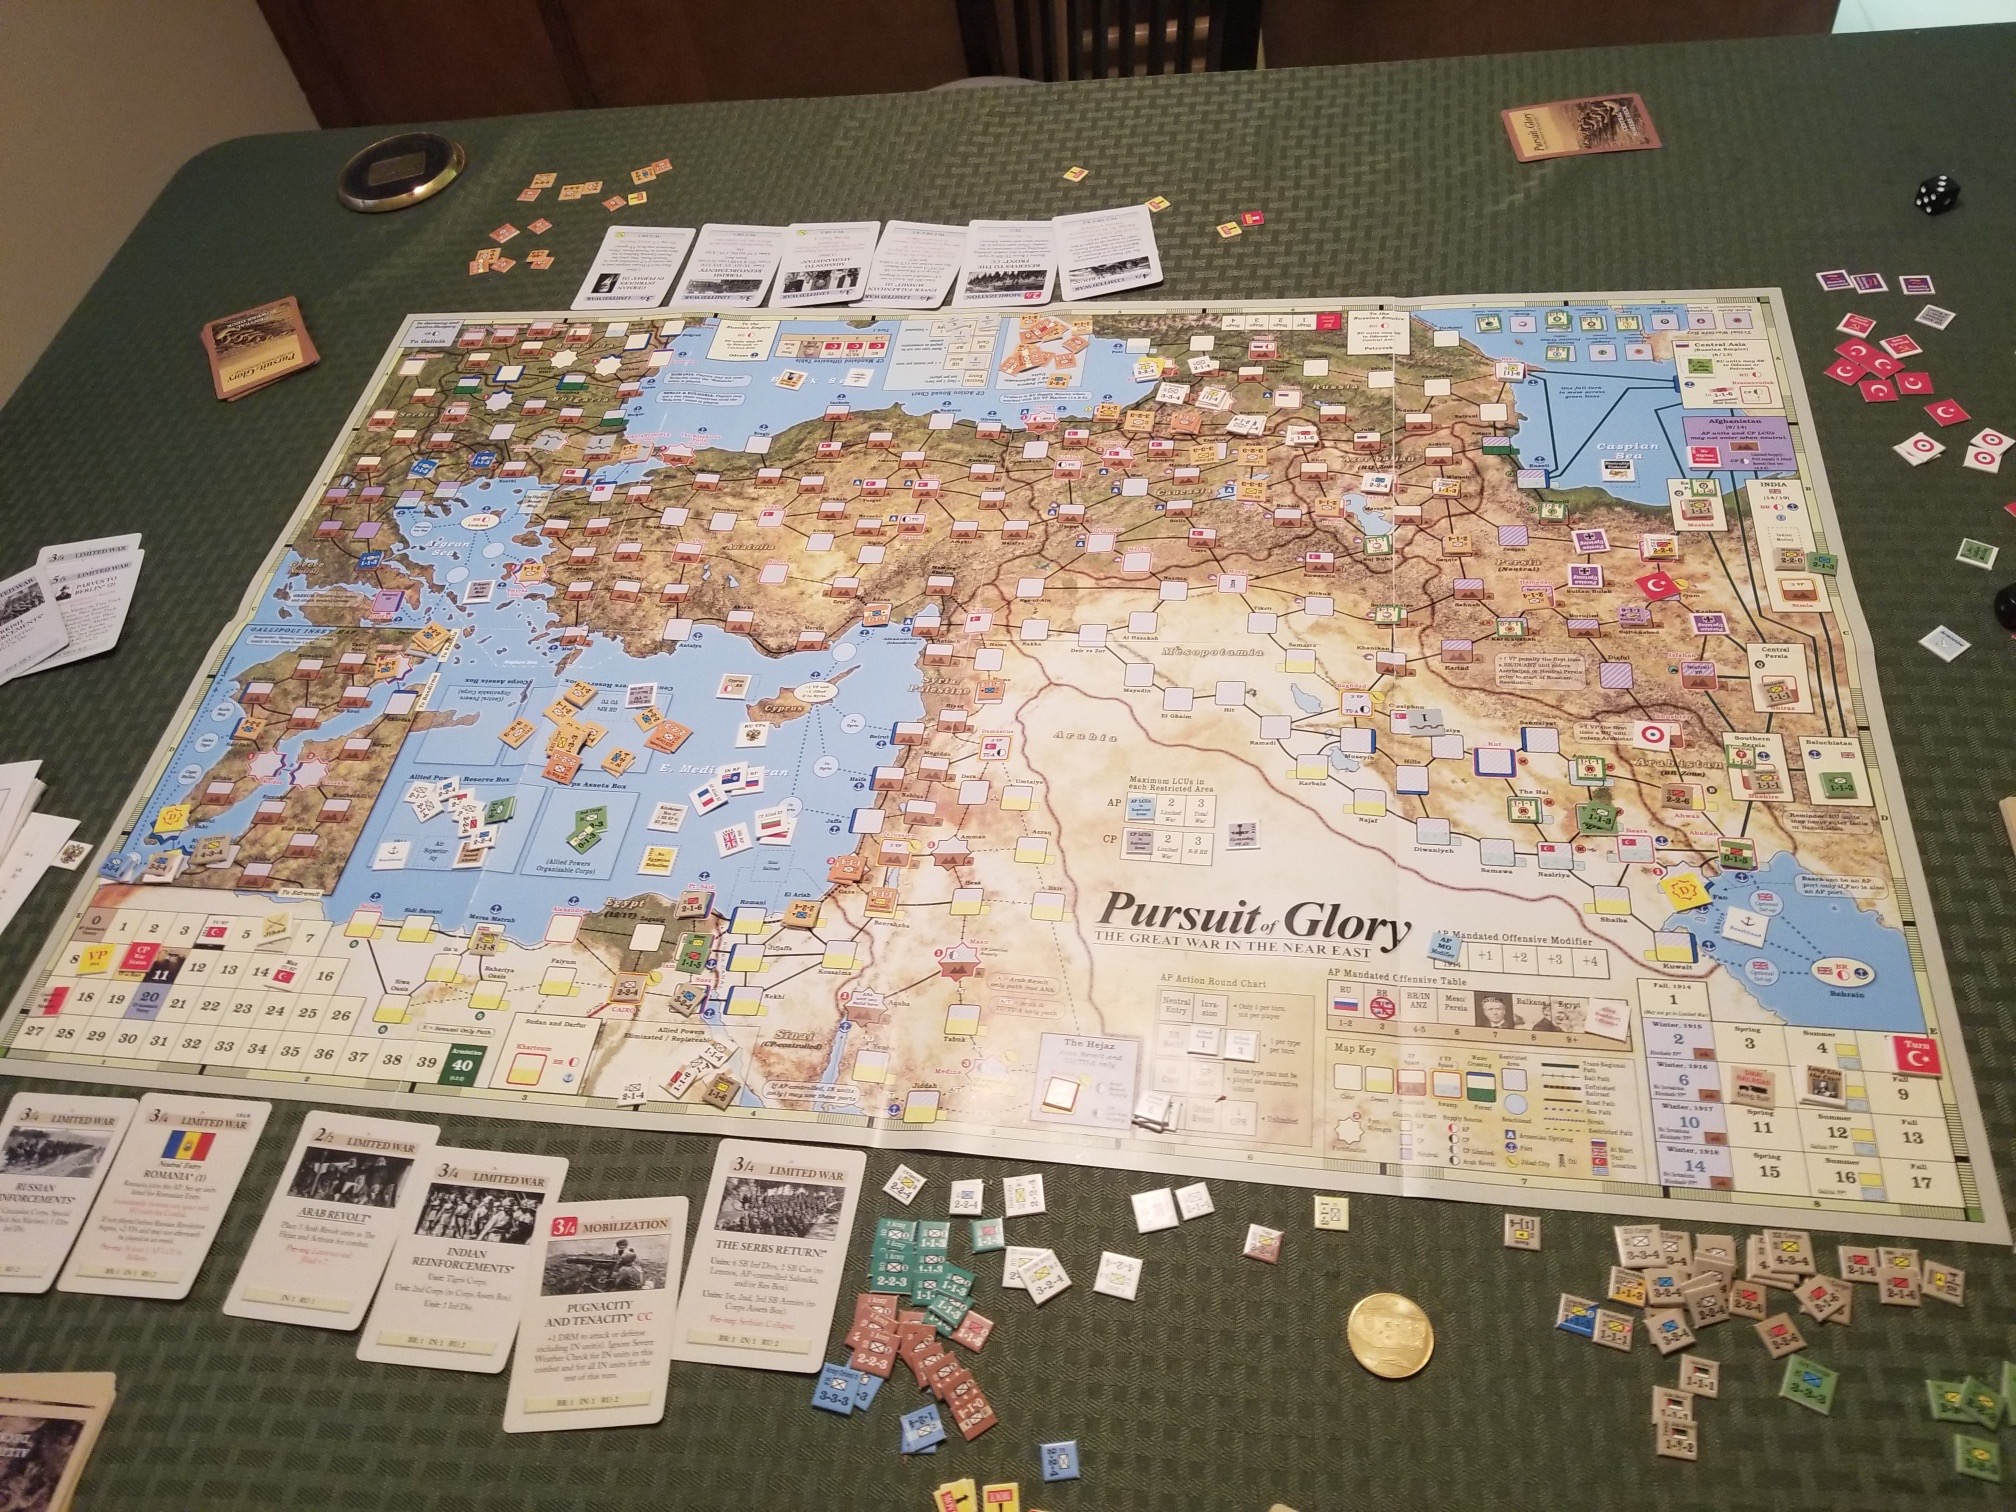
Our final turn was Winter 1916.

The Allies played the Russian Winter Offensive card, reducing the negative effects on winter attacks, and so maintaining the momentum of  their  push towards Anatolia.  The Asquith-Lloyd George card allowed an increase in British aid to Russia in the form of replacement points.  These positive developments would help Russia delay the beginning of the revolution.

The Central powers gained Bulgaria as an ally  (forces cannot be set up until the end of the turn), and the Ottomans were able to stabilize both the Mesopotamian and Caucasian fronts.   For how long is anybody’s guess.

As usual, just when things were getting good, or dicey depending on one’s perspective, it was time to pack it up.

One overarching observation is how both of us shied away from any significant effort(s) outside of the Caucasian front.  Yes, Tim did invade both Mesopotamia and Gallipoli, but with limited assets.  Neither of us showed any interest in the Sinai or Egypt.  The historical Allied invasion at Salonika did not occur in this game.

My other impressions from the Central Powers’ perspective are:

  1.  Is it worth pursuing a peripheral strategy focusing on Jihad and tribal actions?
  2. How quickly Ottoman forces are reduced.
  3. Given this attrition, is there a more defensible series of positions in Caucasia that will not provide the Russian player with the ability to further delay the revolution?
  4. Outside of Bulgaria (and perhaps the peripheral strategy) what are the opportunities for the Central Powers to be pro-active?

My head is starting to throb.  Time to play something less taxing.