Used the cards shown in my Zapped! post to get the East African Renaissance Campaign off dead center.
Worked fairly well, but the results were mundane. Had been hoping for a civil war situation, which is the result of both colonial powers being supported by the Zanj or Inland Natives.
Here’s the results:
Ming Chinese
Natives are helpful neutrals, and will provide access to their cities and supplies. The Zanj are neutral but open to other offers. Government support is weak, and their initial troop strength is 10 bases. Their primary objective is a port, with inland towns as their secondary and tertiary objectives.
Portuguese
The Natives are neutral, but open to others. The Zanj are uncooperative and will fight if attacked or territory occupied. The Portuguese also have weak government support, and only 10 bases. Their primary and tertiary objectives are ports, with an inland town a secondary objective.
I’ll start using the Irregular Wars rules to set up some operational parameters.
Finally back at the Pine Cone Lodge, and have spent the past few days setting up projects for the Fall gaming season.
My IPad locked up over the trip and required drastic measures to return to operational condition. And yes, I had not backed it up. Stupid. In a flash, I lost all my back issues of Miniature Wargaming and lots of other stuff.
Stung and motivated, decided to plow ahead with my Renaissance East Africa campaign game without notes and resources. Set up a solo-decision making chain for the initial scenario.
The overarching concept is that the Ming Dynasty continued their ocean going voyages when proposed in 1477. They encounter the Portuguese as far north as Malindi, Kenya circa 1510. The Chinese had visited this city back in 1417, with the Portuguese arriving in 1498. I don’t have Kenyan native figures, but I’ll make my other Sub-Saharan forces do.
The rough/beta decision making chain shown here involves the reaction of Inland Native and Coastal ArabZanj trading cities. Will they ally themselves with one group, cooperate, or remain strictly neutral? OK, it’s backwards, but the scanner is cranky.
Other considerations to be worked on are levels of government support, and reactions of groups that might lead to a civil war.
Played a repeat of the mounted scenario last night, incorporating the new thoughts on rules and use of dice to guide play.
Added “Quality” as a troop attribute, using “Excellent”, “Good”, “Average” and “Poor”. These classifications were assigned probability percentages of 75, 60, 50, and 40 percent, respectively. I also rolled a D4 to see how many individuals might have qualities that differed from the group. Another D4 to determine what that might be, with a roll of “4” being “Excellent”, a “3”, “Good” etc.
Final “Yes”, “No” roll was for awareness, which effected the ability to react in the first few turns of the game.
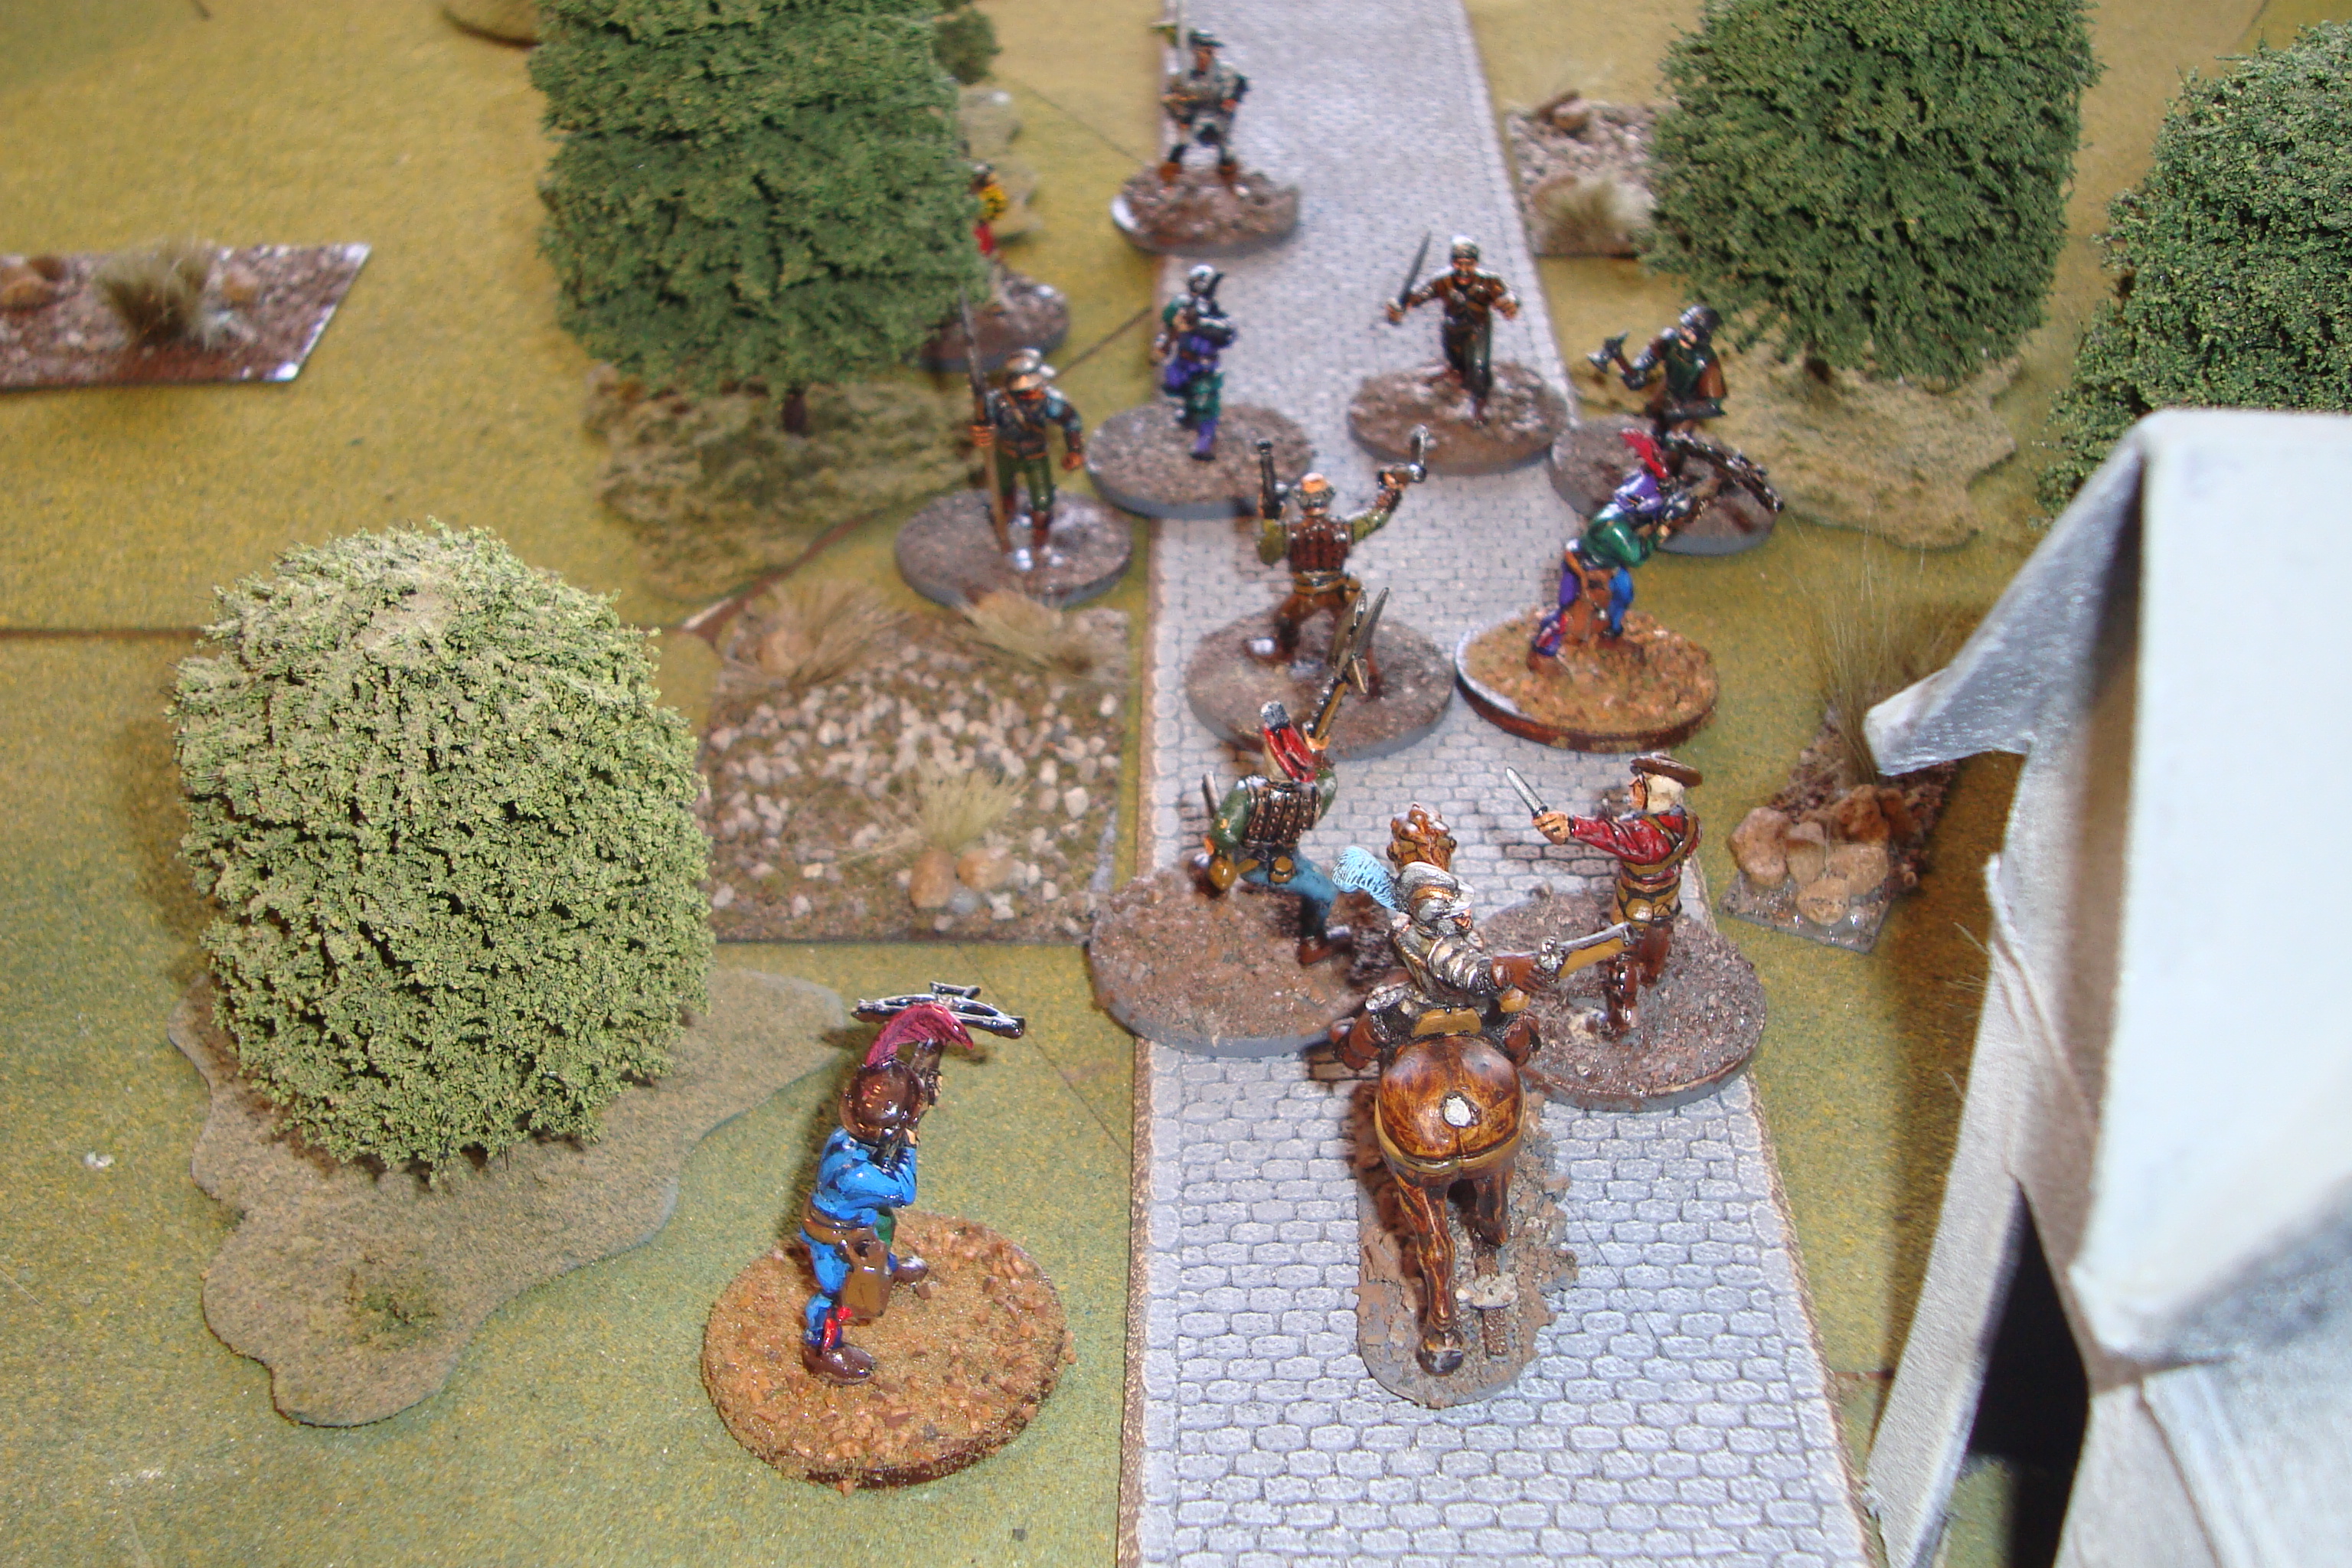
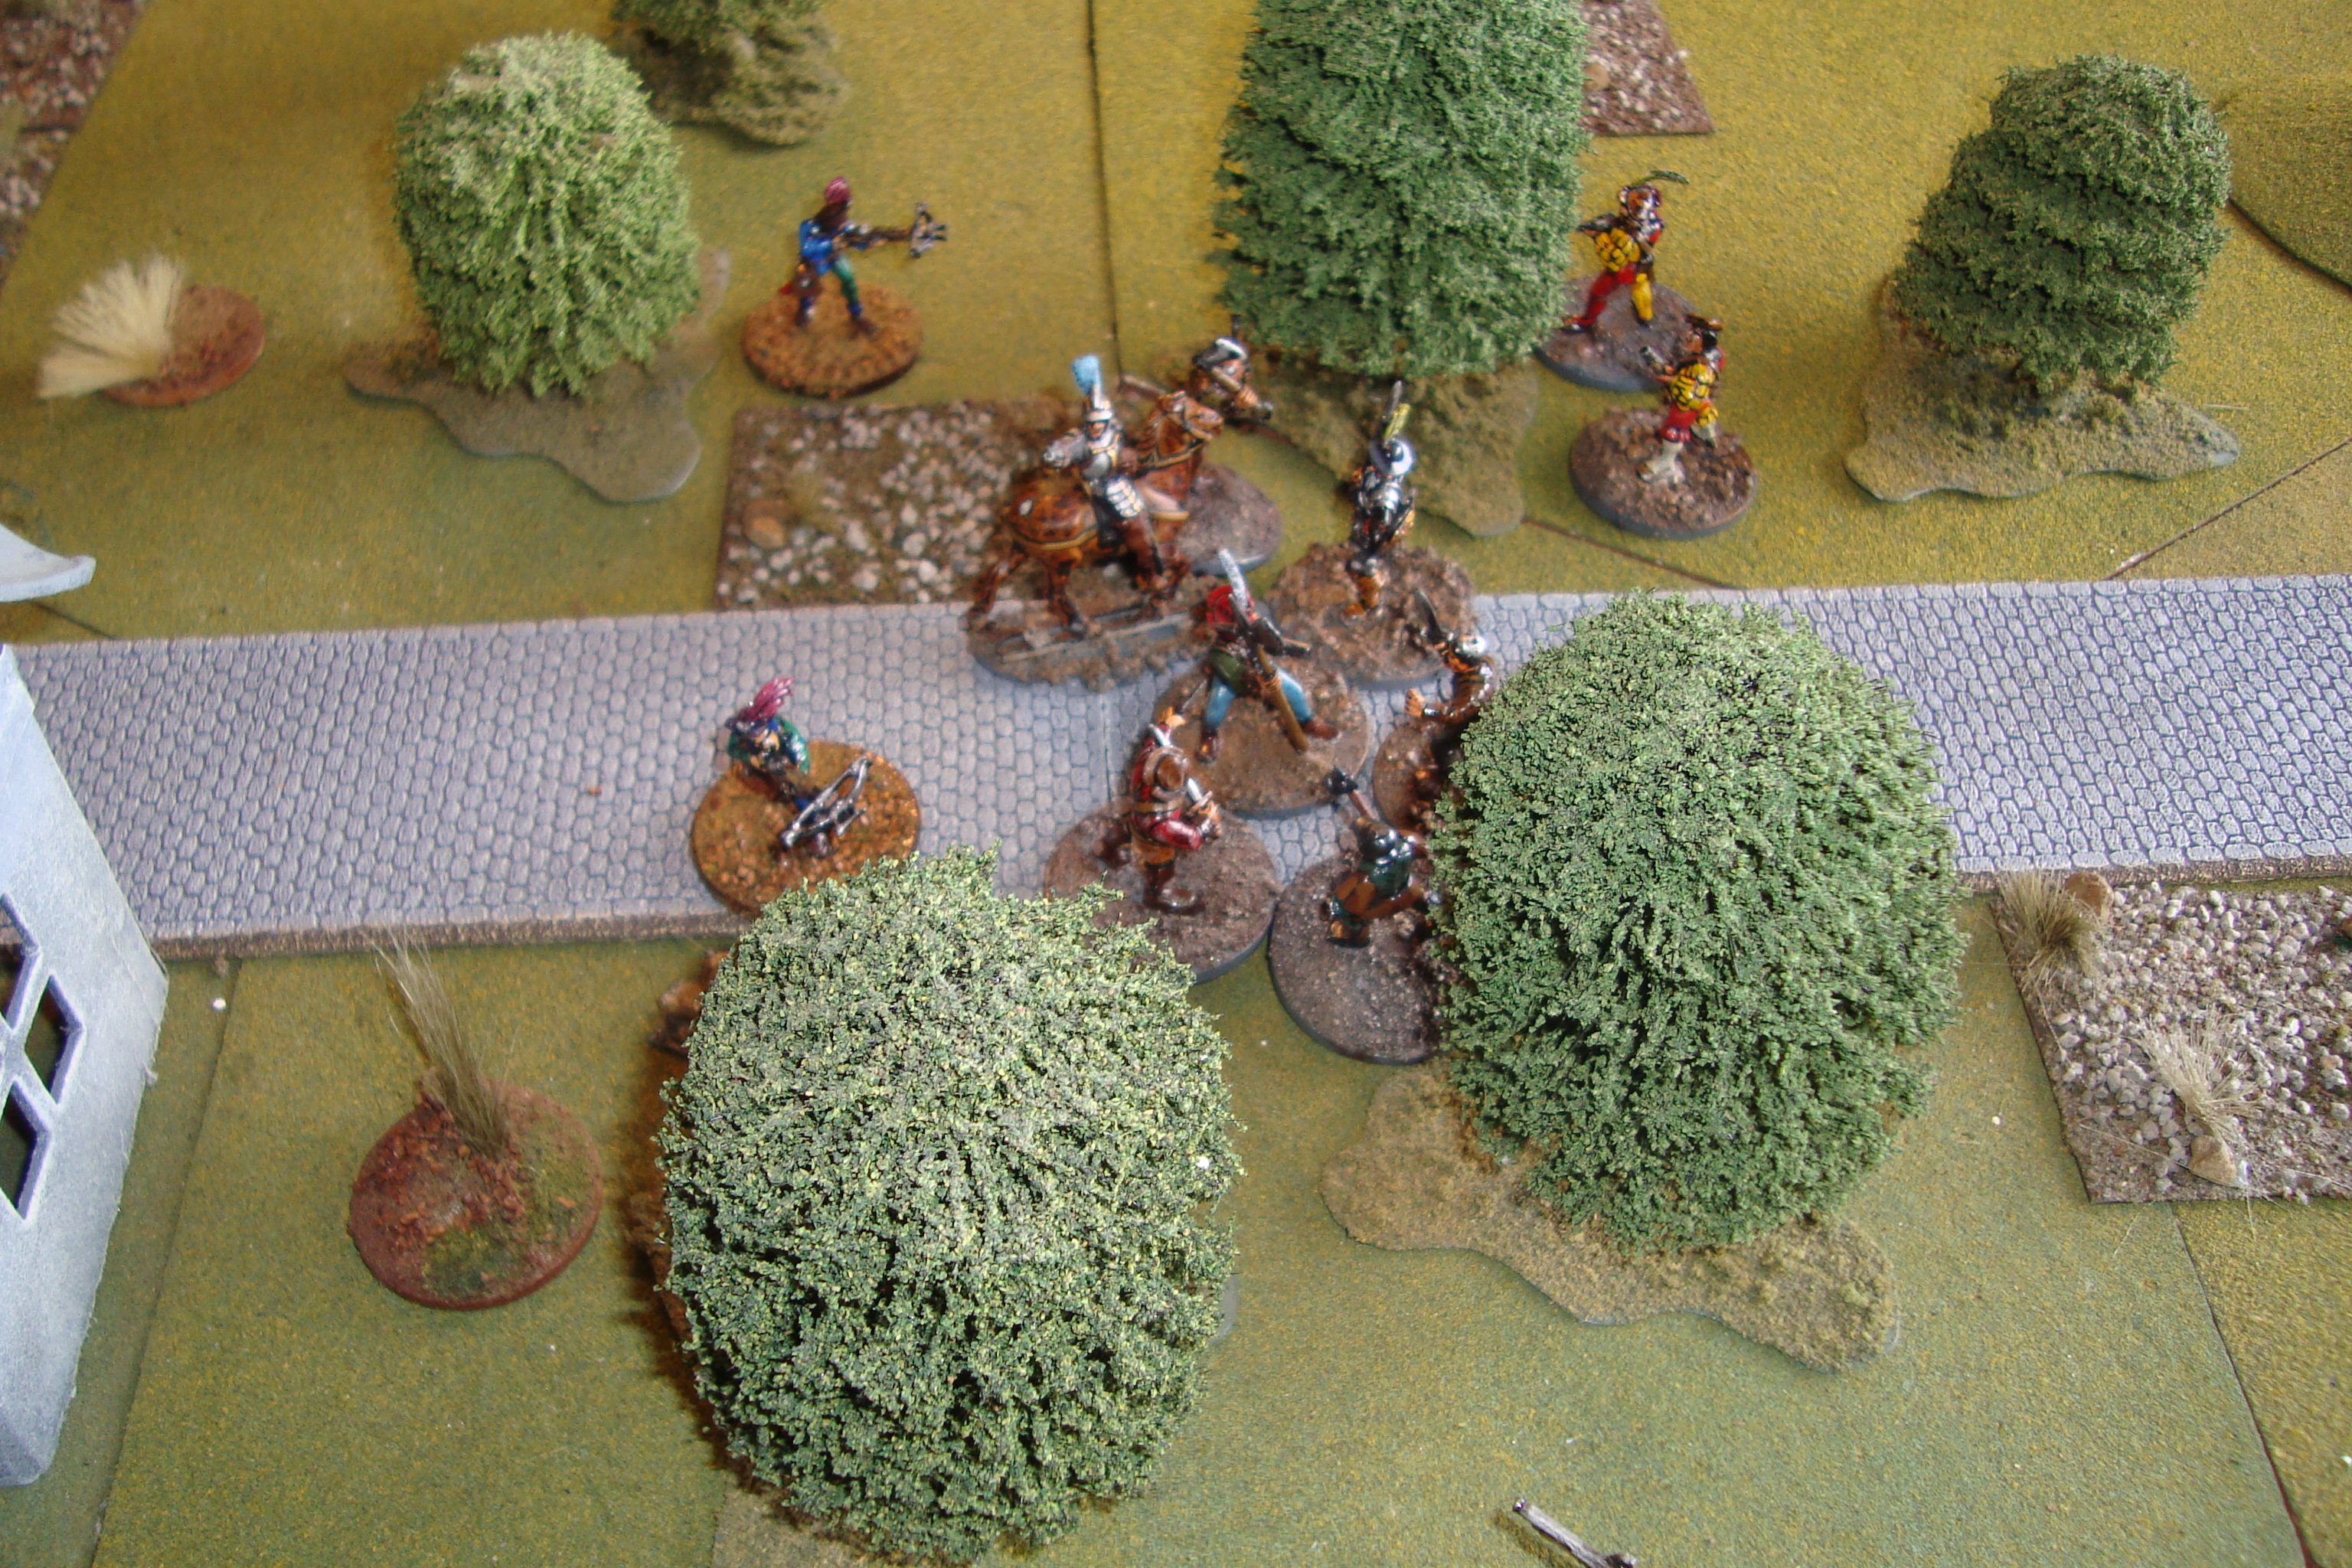
Turn 1: Blue had initiative, but was unaware, so Red entered at a trot.
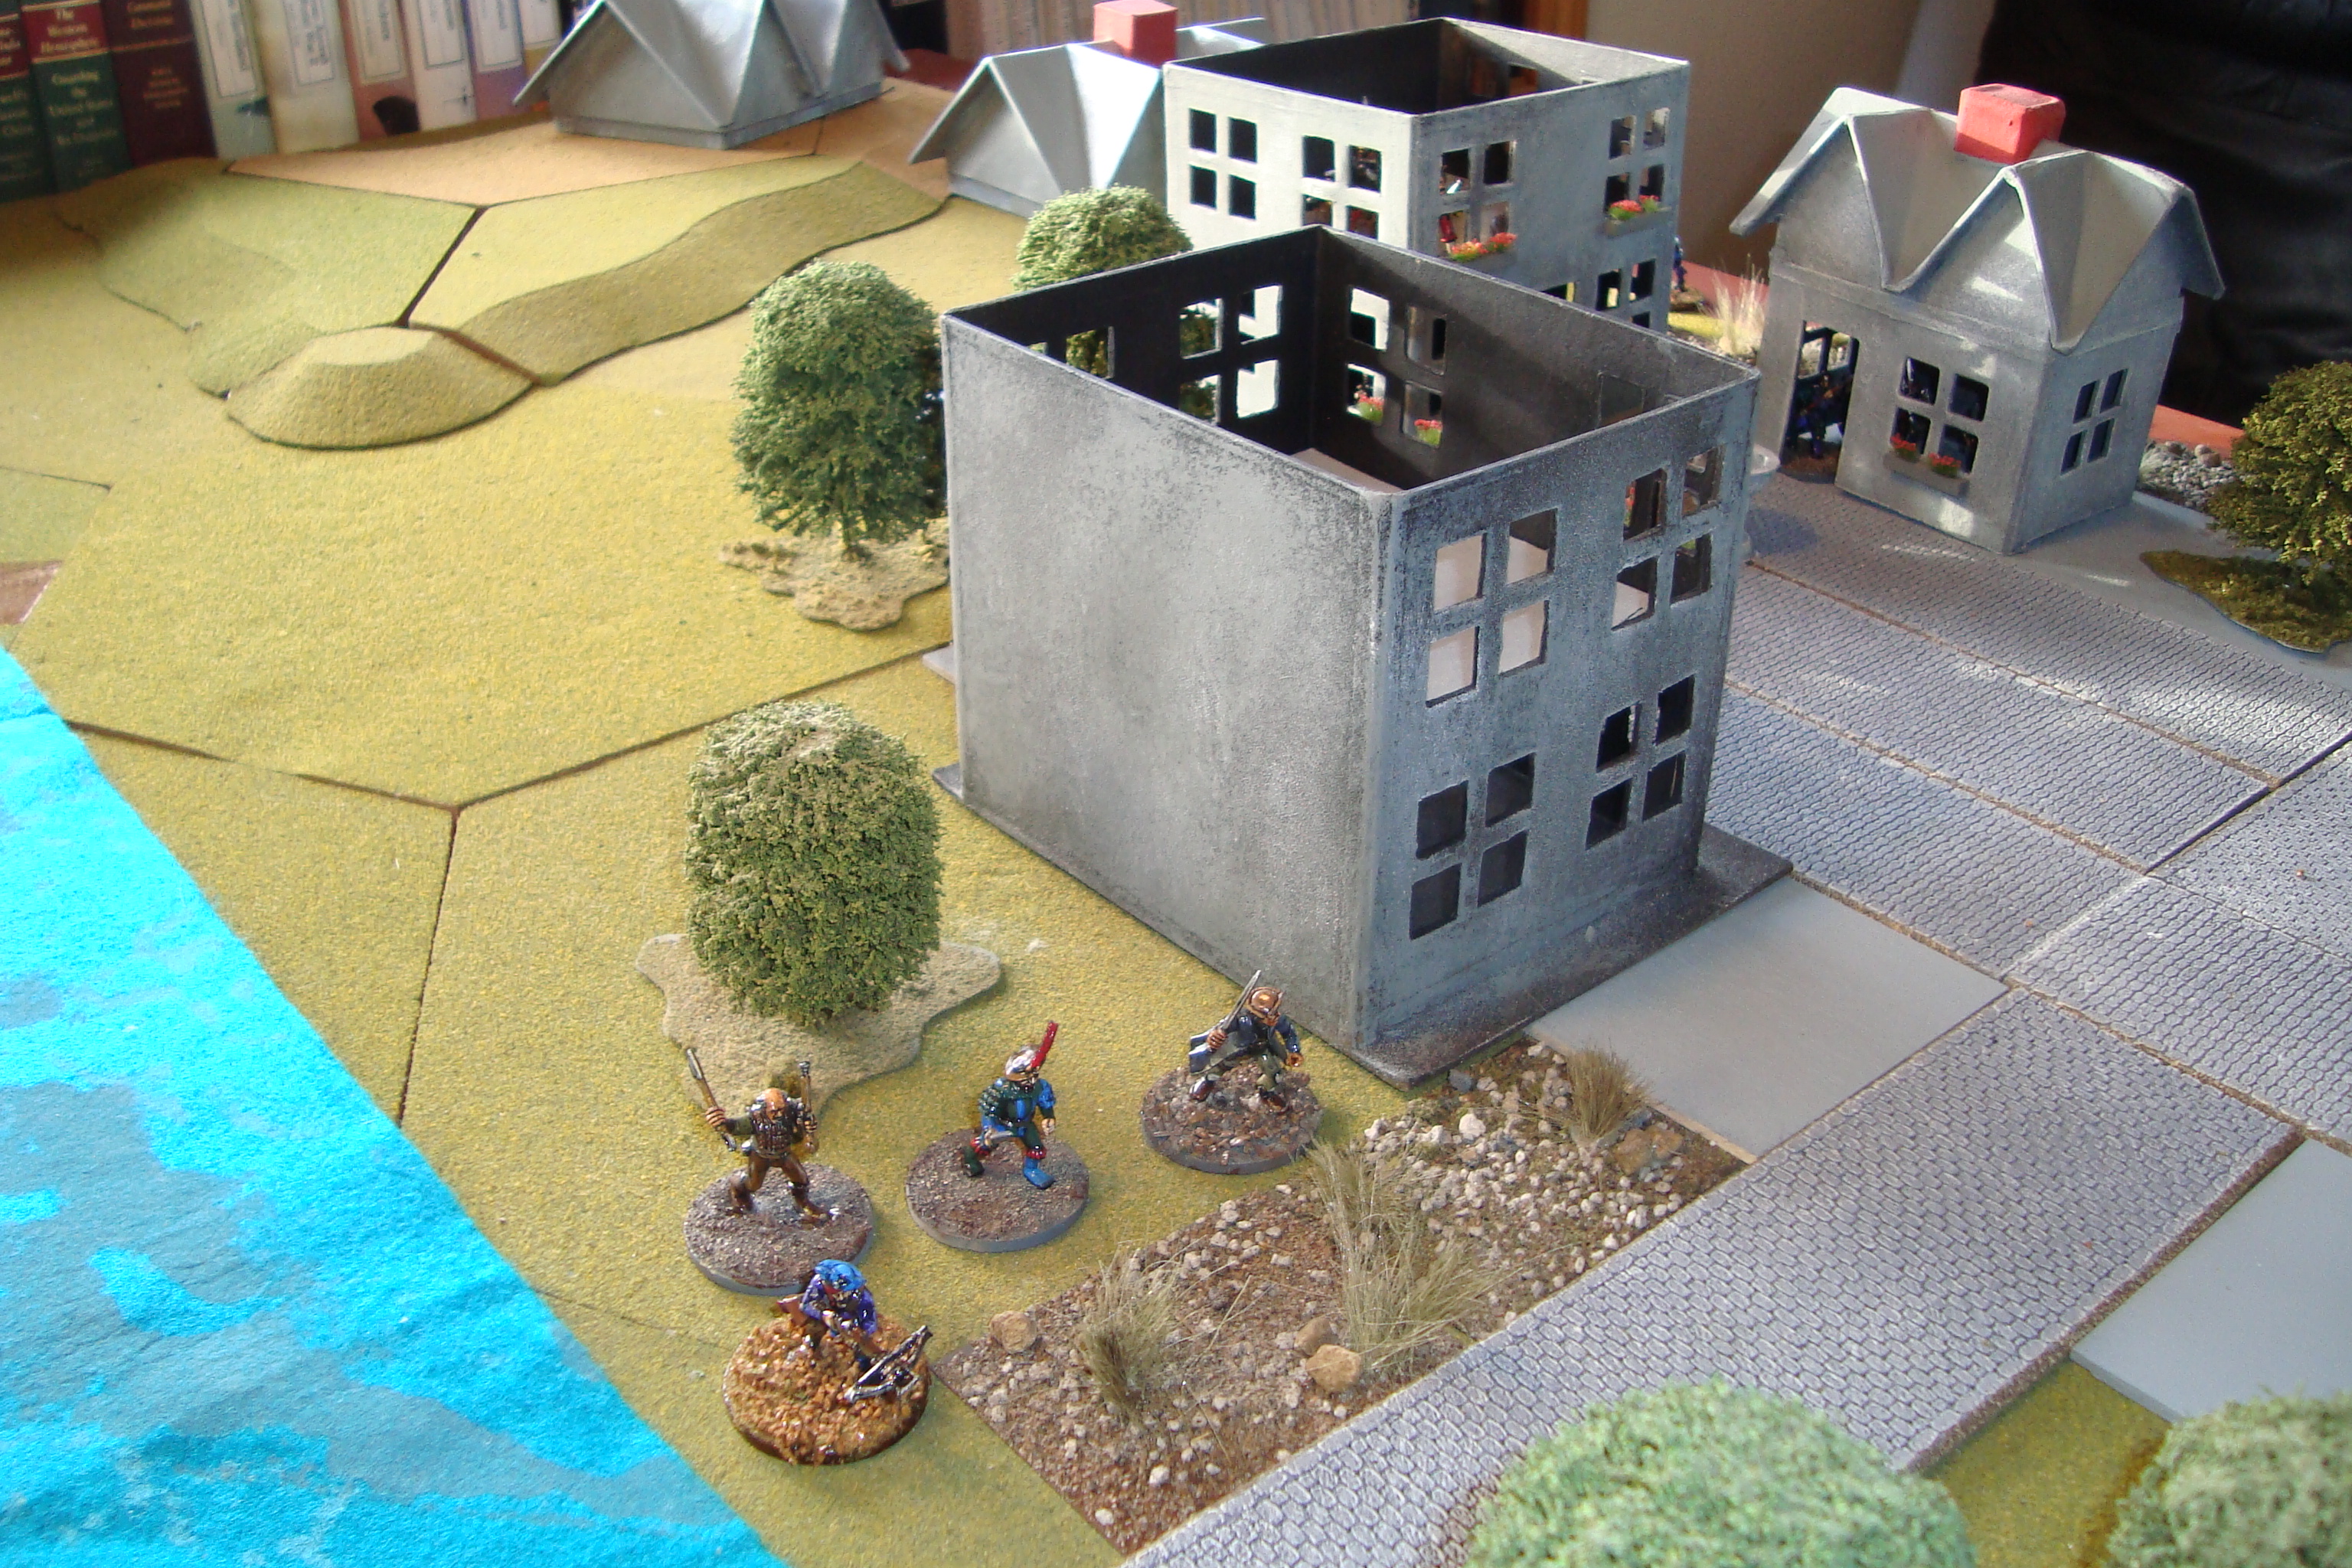
Turn 2: Blue again had the initiative, became aware, with crossbowman moving to the road to shoot. Red accelerated to a gallop and entered into melee with the crossbowmen, with one bowman killed, and the other locked in melee with Red’s leader.
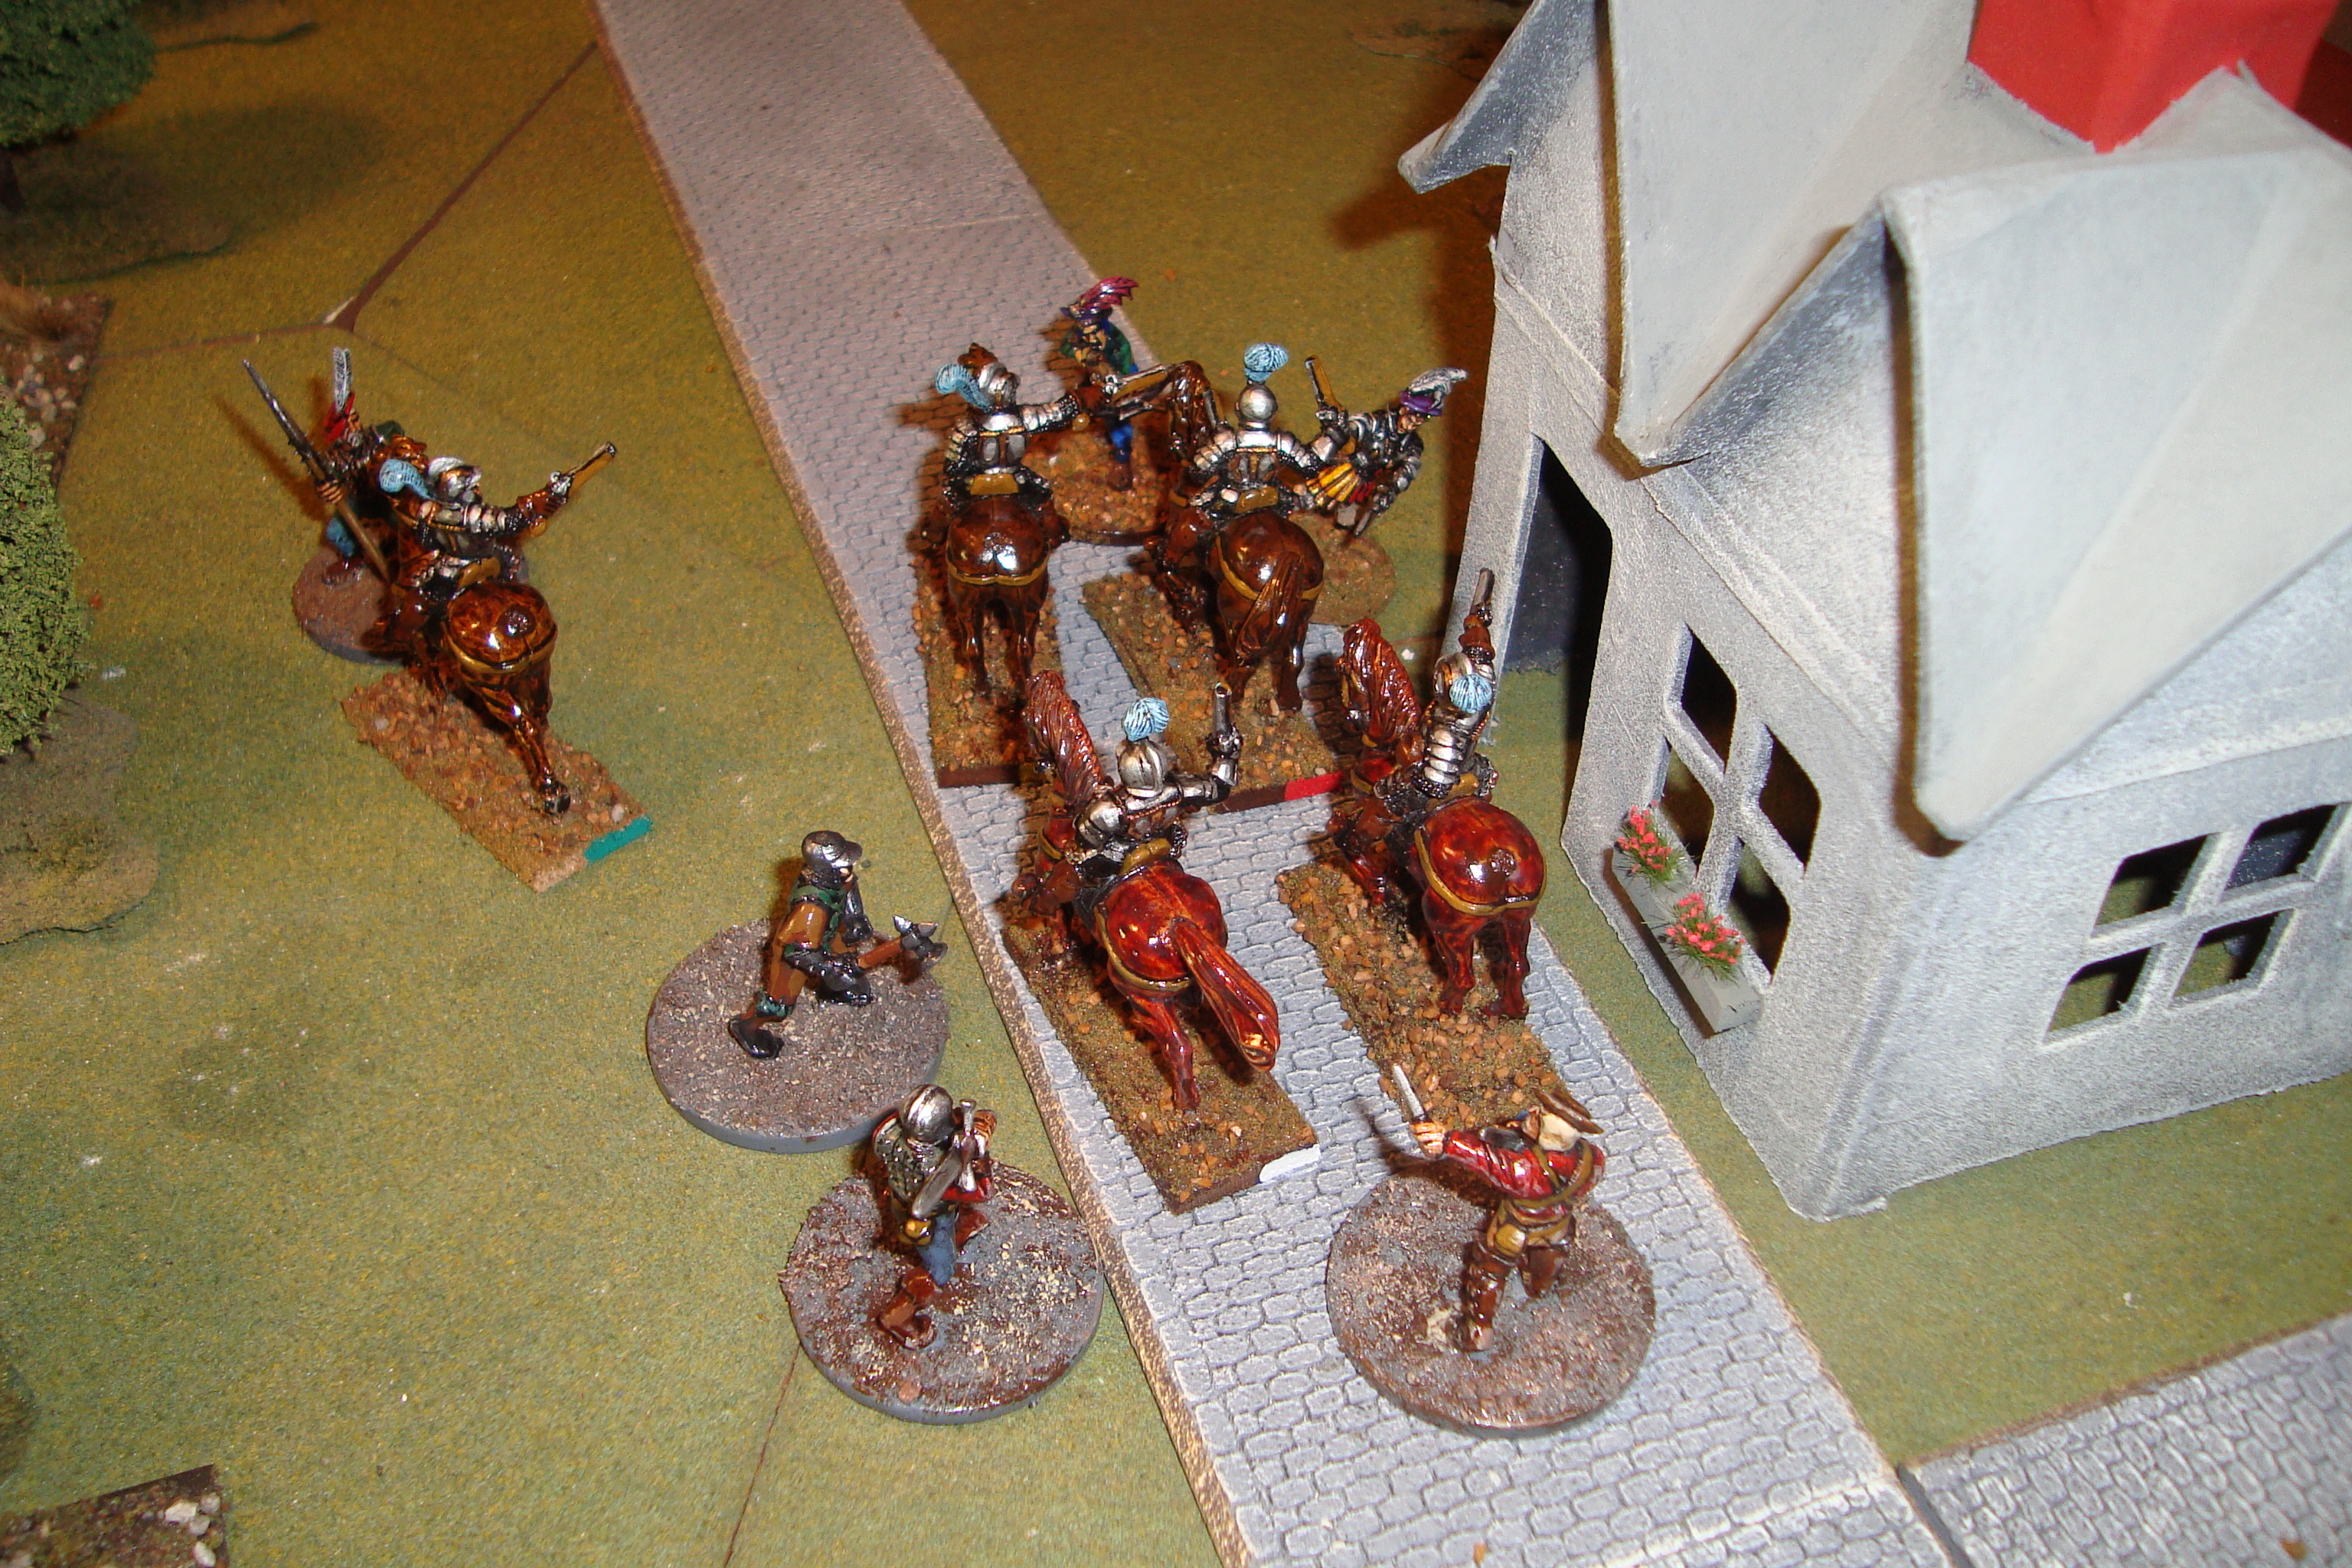
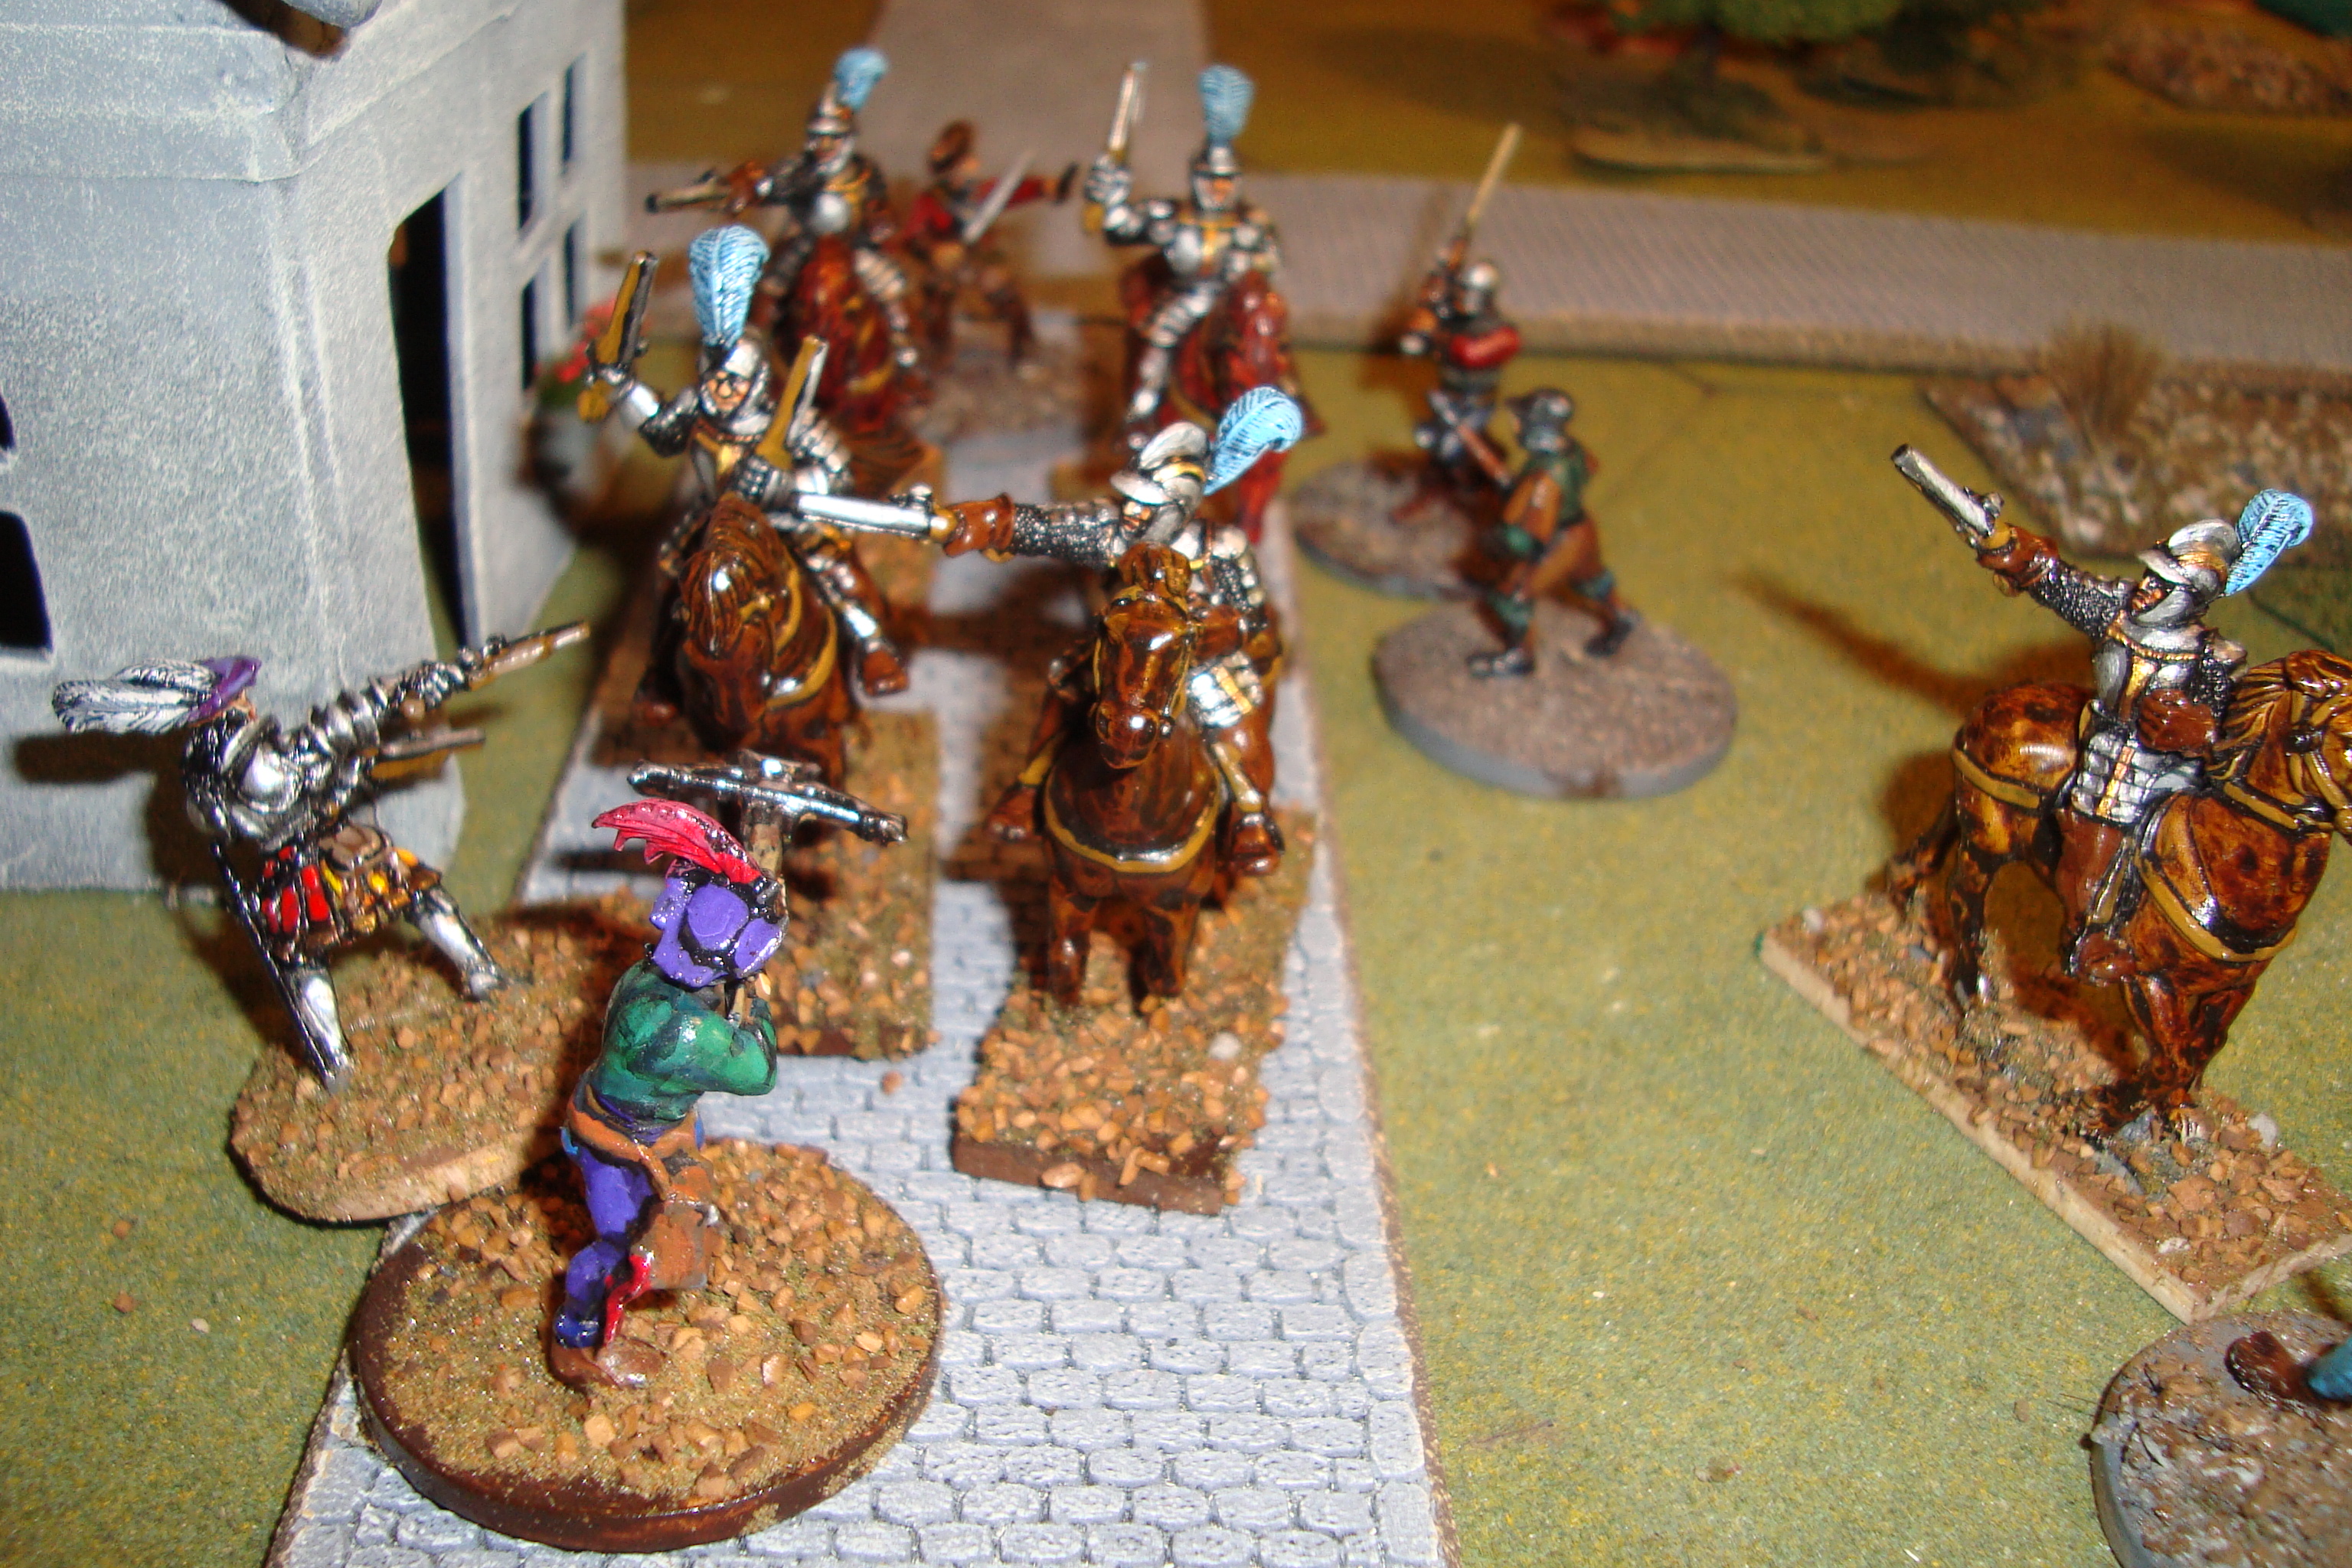
Turn 3: Death of the bowman did not effect Blue’s fear rating. Blue troops charged out of the house, surrounding the Red troopers. However, the troopers (excepting the leader locked in melee), simply charged through the swarm of their assailants. Red leader killed the other crossbowman.
Turn 4: Death of the second bowman increased Blue’s fear rating. Still having the initiative, Blue fled into the woods.
In retrospect, it was a bad move to move the crossbowman to the road. Should have waited. Still a quick and fun scenario. Another run-through tonight. Here’s a few photos.
Red Surrounded. Note Identification Colors On Rear Of Cavalry.Red Leader In MeleeRed Troopers Gallop Past Assailants. Leader Still Locked In Melee
Out on the road for the past week. Long drives. Had some time to think about the skirmish rules.
Will stick with RAW’s basic framework but will rely on the dice to determine the probability of actions not covered, but intuitively needed.
The “Yes, No” dice will take care of questions such as “Can he fire this turn or must he reload?”, or “Is there a modification for this moving target?”, or “Can he add pistol to melee strength”.
Don’t want to bogged down in charts and modifiers. Will add gallop (walk, then trot, then gallop), but other than that. Just play the game and rely on common sense. Will see how it works.
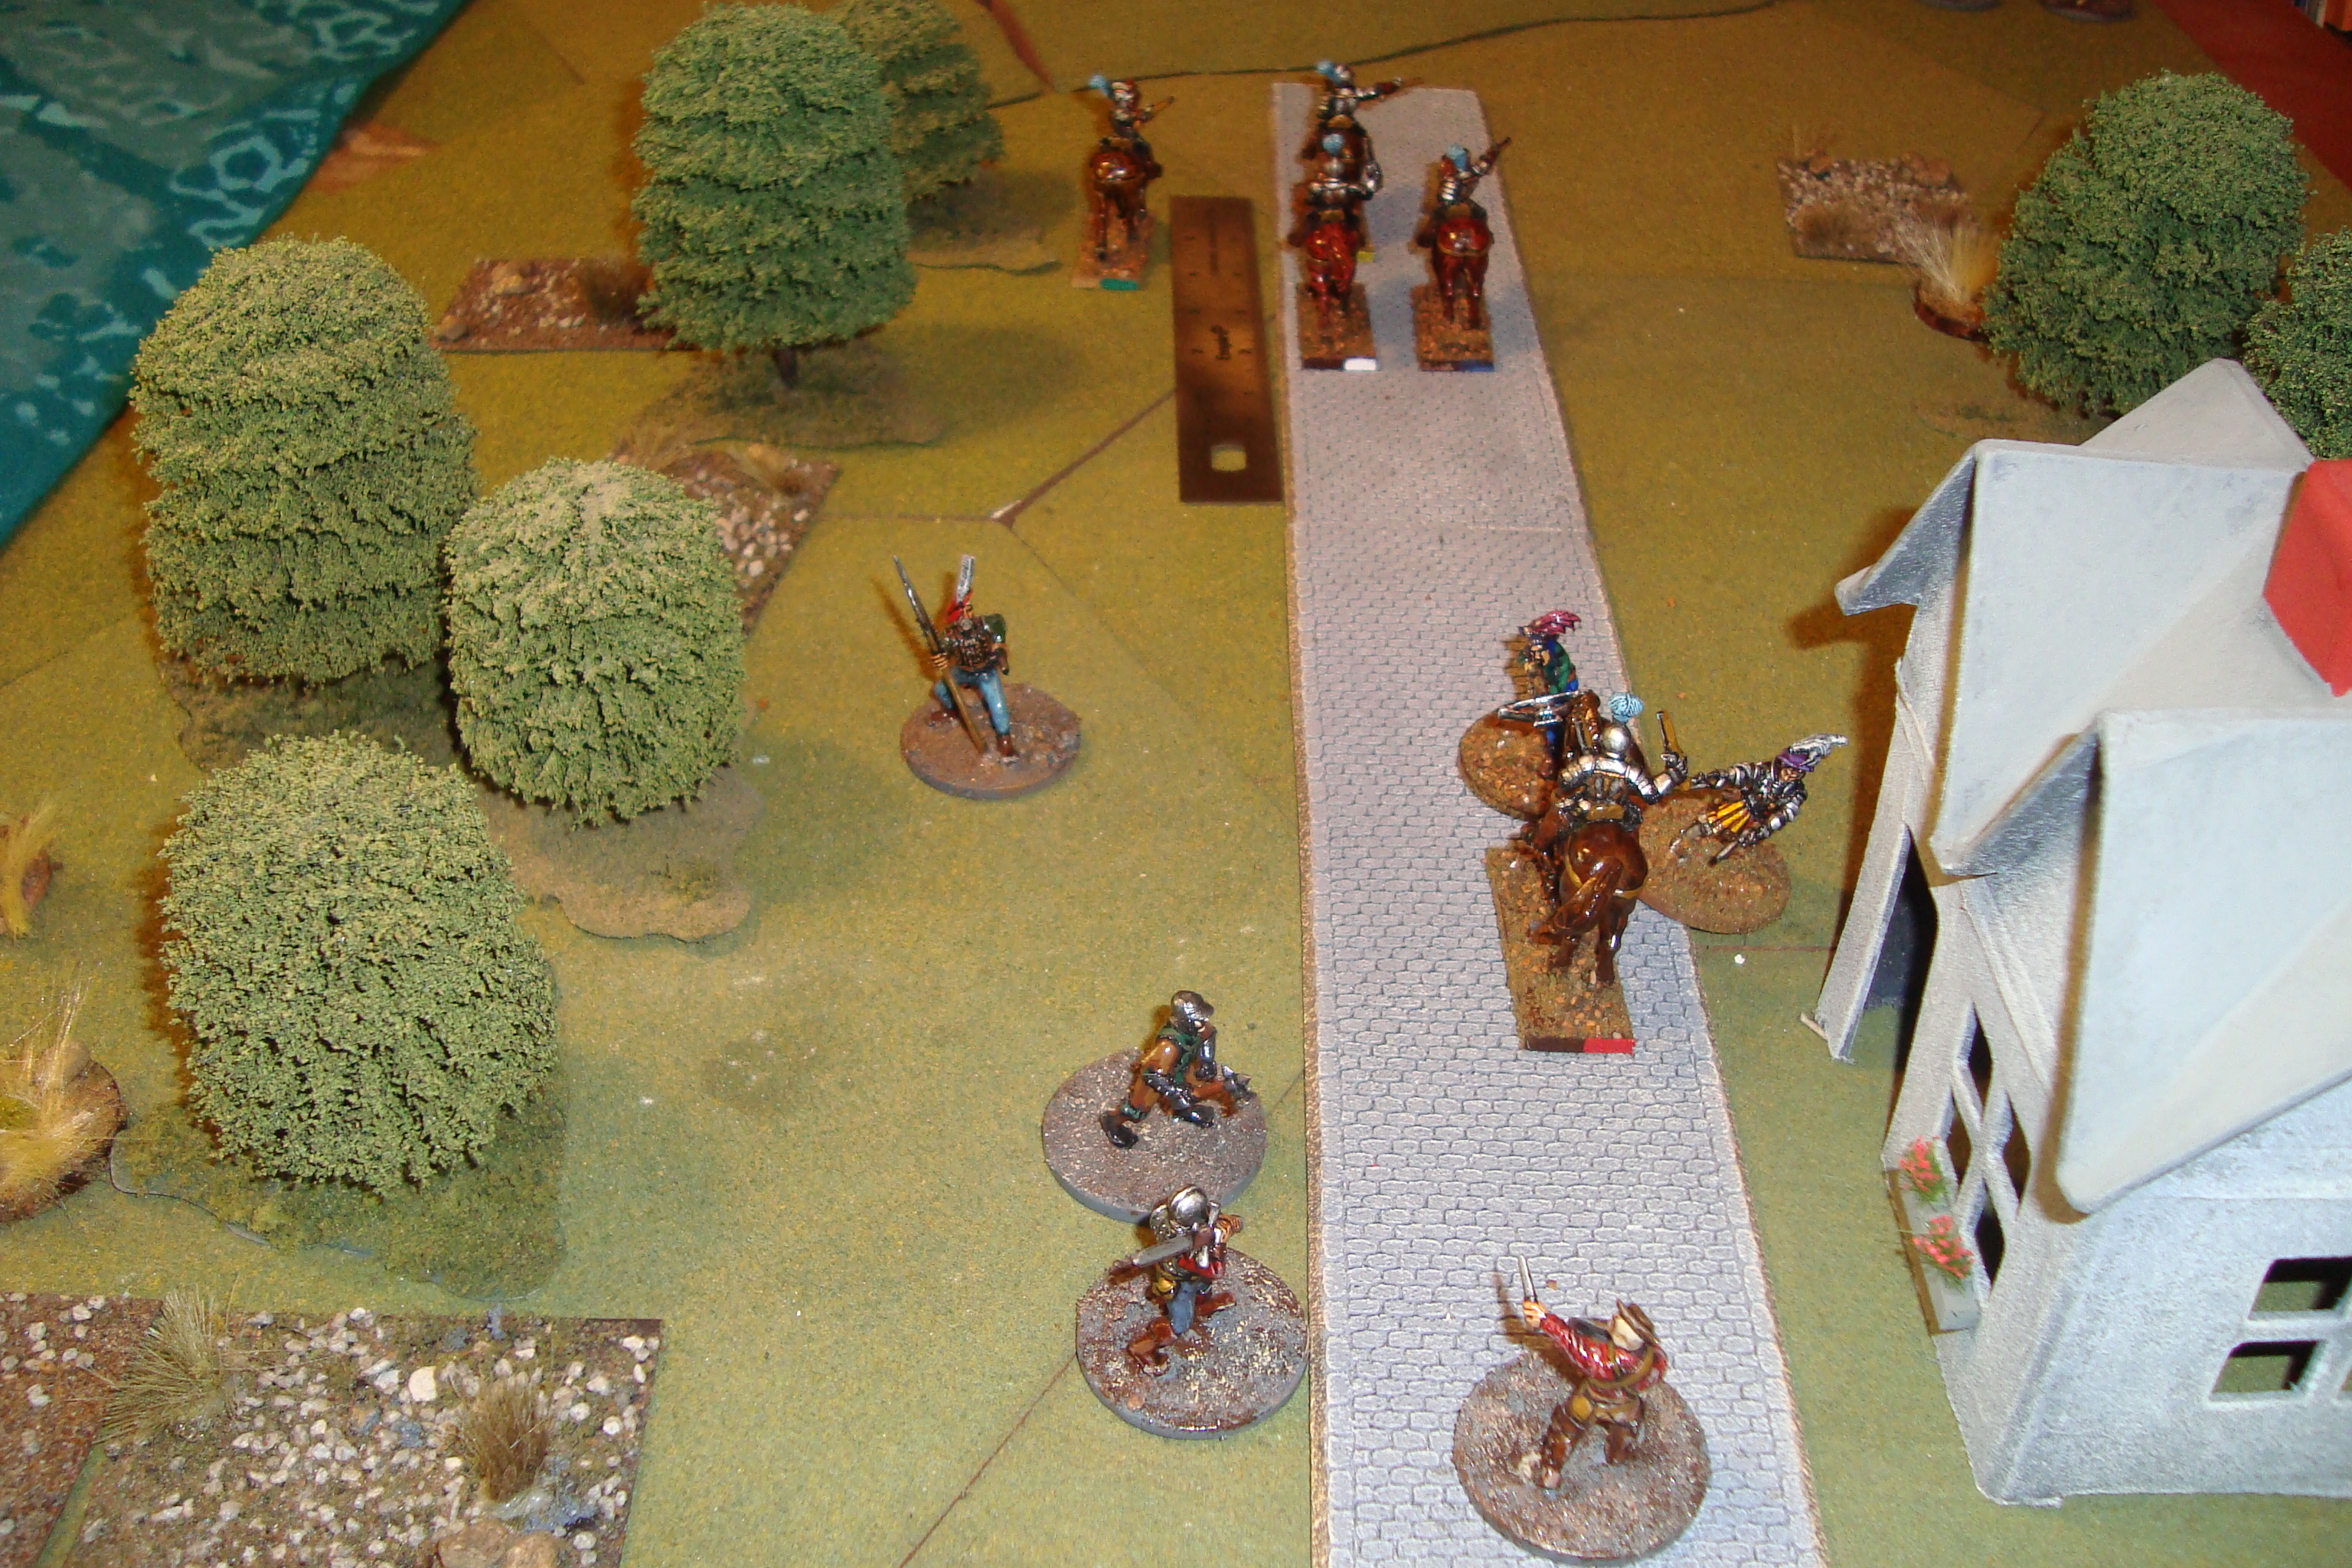
It involved five of my recently mounted cavalry descending on a house being looted by seven infantry, two of which armed with crossbows.
Rolled for whether cavalry was moving at trot or gallop, and whether looters were aware of their approach and could then move during the first turn. Cavalry galloped and looters moved.
The cavalry charged into the village, with most of the looters running into the house. The two crossbowmen snapped off shots, one of which killed a horseman. A horseman shot the looters’ leader (who also fired – and missed – while remaining outside the house) but, wearing armor, survived with a saving throw.
The horsemen charged past the house, regrouped and turned. The crossbowmen could not turn and fire. The horsemen then rode once again past the house. During the exchange of fire the looters’ leader was killed.
I stopped at this point, overwhelmed by the number of situations in these few turns that are not addressed by RAW.
1) There is only one speed for horsemen.
2) No reloading time for missle weapons.
3) With RAW sequence, shooters that are not oriented towards targets cannot turn and shoot, or can they?
a) If not, how long does “turning” take?
4) What happens if a leader is killed? Quick rules read-thru twice, no answer.
5) Galloping horseman easy to kill as running human?
I fully understand that these rules are somewhat secondary to nautical and campaign considerations. However, I’m not working with those two aspects.
In short, wrong rules. Good framework – especially greed/fear as I have mentioned before. But not enough detail.
But how much? Ahhhhh, the eternal Grognard question. I have Donald Featherstone’s classic Skirmish Wargaming, as well as the earliest published version of The Sword and The Flame.
Sounds like a mash-up. Another try tonight, with a couple new concepts.
Spent a few hours this week basing more Warhammer figures for skirmish encounters. More arquebusiers, a few blade weapons and some cavalry. Will use them for new scenarios.
Always nice to pull some derelict figures out of a semi-forgotten box, glue-on detached limbs, base and gloss coat.
Also prepped some figures for painting. Trying to expand the Red on Blue possibilities.
Thunderstorm activity forced the cancellation of today’s lake fishing expedition. So, up at 0530 with nowhere to go.
Gloomy, rainy weather was the perfect motivation to start working on the Renaissance Skirmish rules and scenarios.
Set up an encounter scenario using the same forces as last game, but with only a small building at a crossroads. I added an on-foot leader for Red, and a mounted leader for Blue.
Really had to resist promiscuously adding chrome to the On The Seven Seas rules. However, given the scenario, I had to use something for sight and spotting. Used 24 inches for unobstructed sighting, 12 inches into brush/rough and six inches into heavy cover (woods/forests). Roll for spotting at end of turn. Once within range, use the trusty Y/N/M dice to find out result. Once again, if result was a “Maybe”, then percentile dice above 50 percent for “Yes”, under for “No”.
For shooting, a D10 of 10 was a kill. Saving throw per RAW only if in cover or wearing armor.
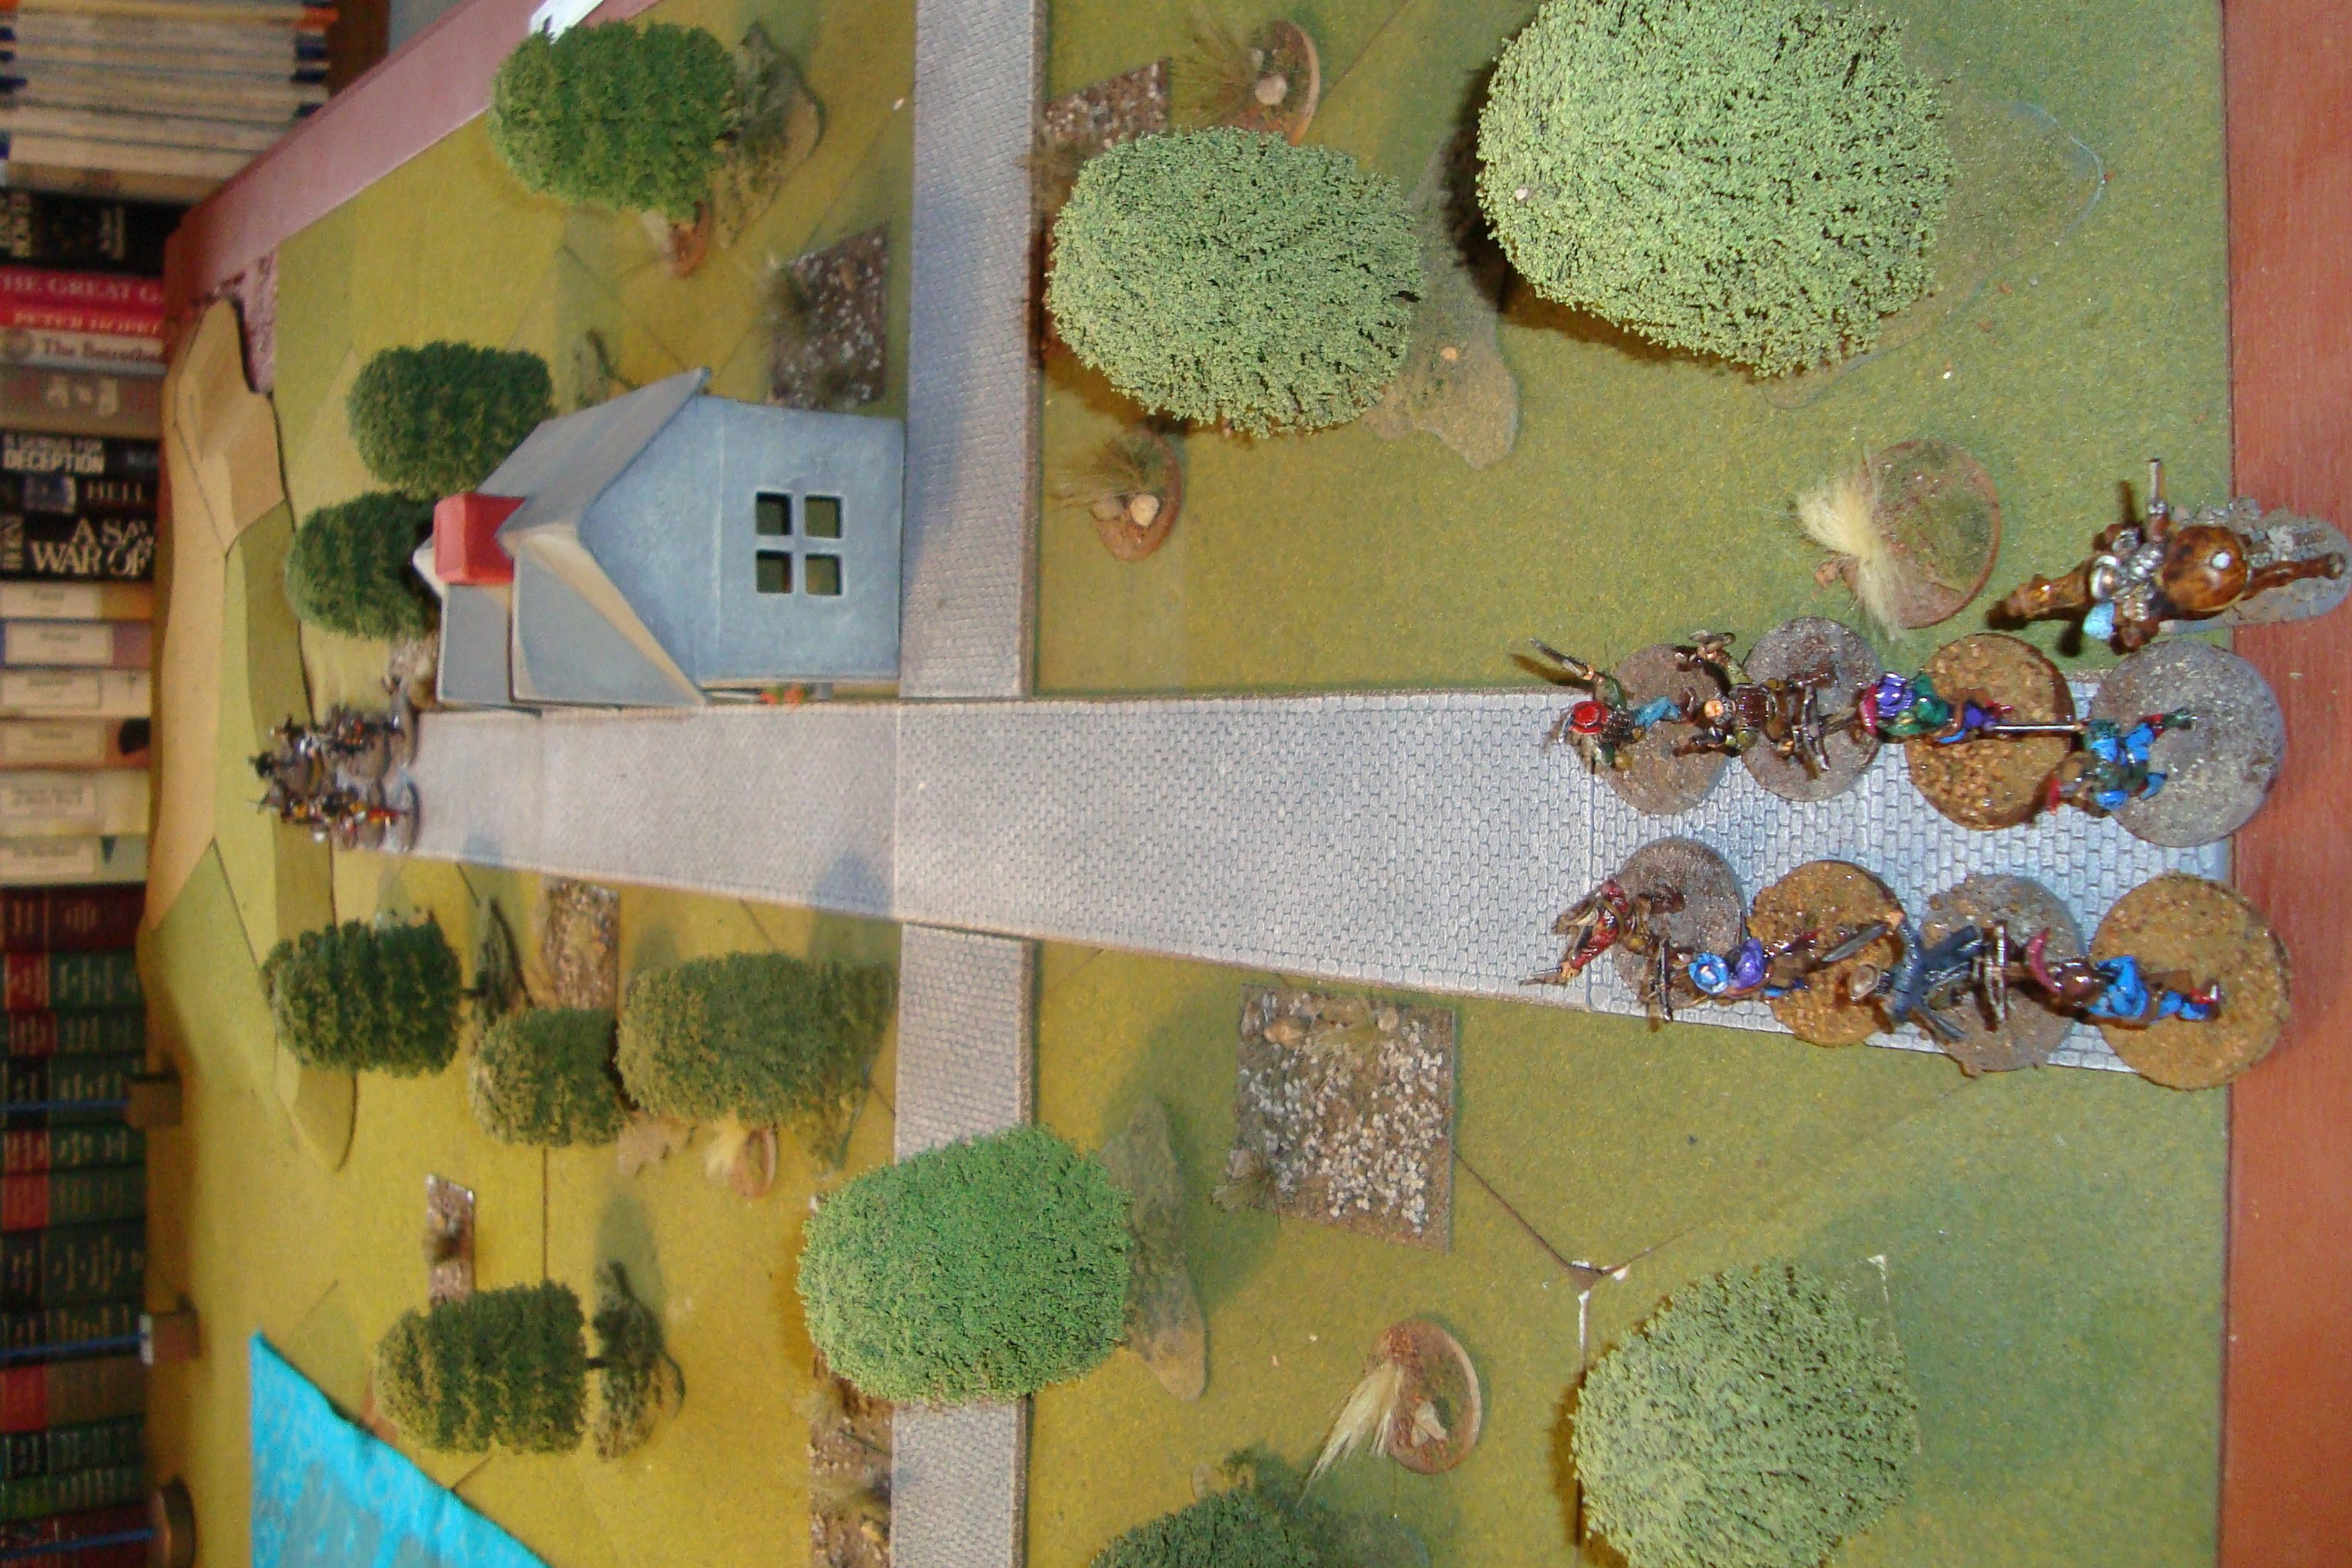
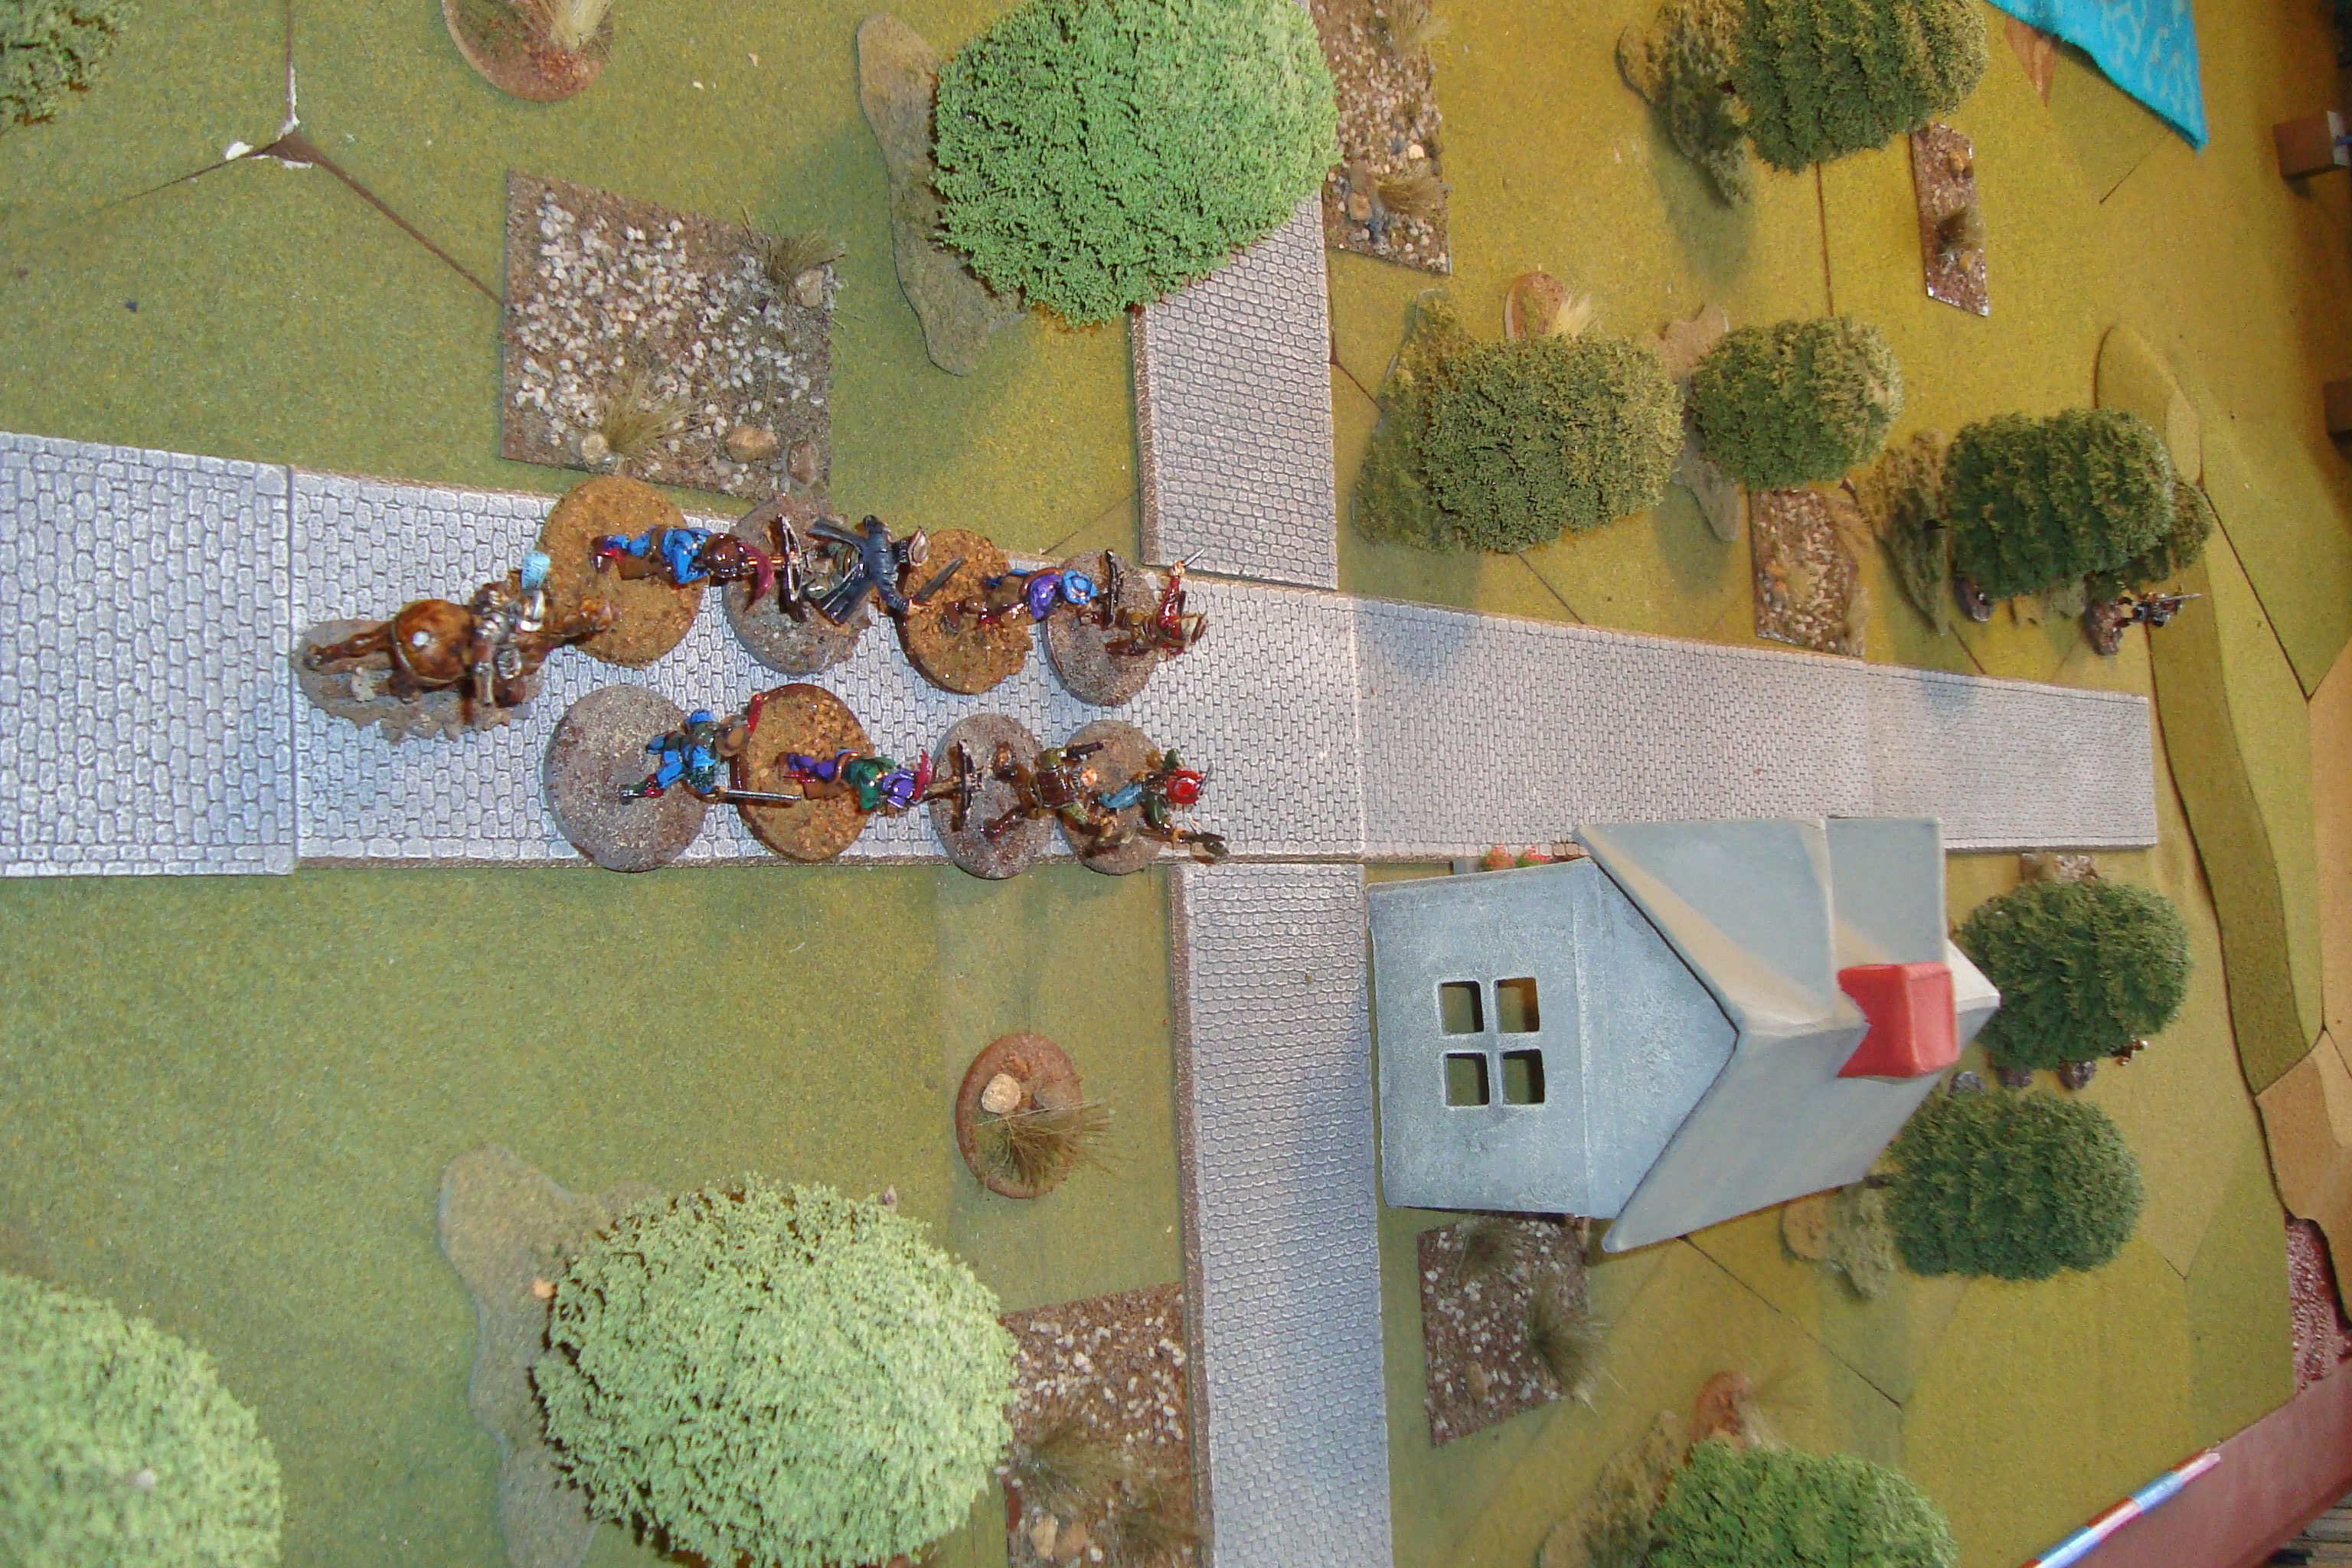
Both Red and Blue forces assigned Greed and Fear ratings of 7 and 6, respectively. Rolled for alertness, and neither side was alert. This meant administrative formations moving down the road. Red from the North, Blue from the South. Red has three Arquebusiers, with Blue having three Crossbowmen.
Turn 1: Both sides move down the road.
Unaware Of What Lies Ahead, Both Forces Advance Towards The Crossroads. Blue in Foreground (South)
Turn 2: Both sides move down the road. Red sights Blue.
Red Sights Blue And Takes Cover
Turn 3: Red has I (Initiative). Red takes cover, Blue moves down the road.
Red In Ambush Positions
Turn 4: Blue has I, moves down the road. Red Arquebusiers move into firing ambush position.
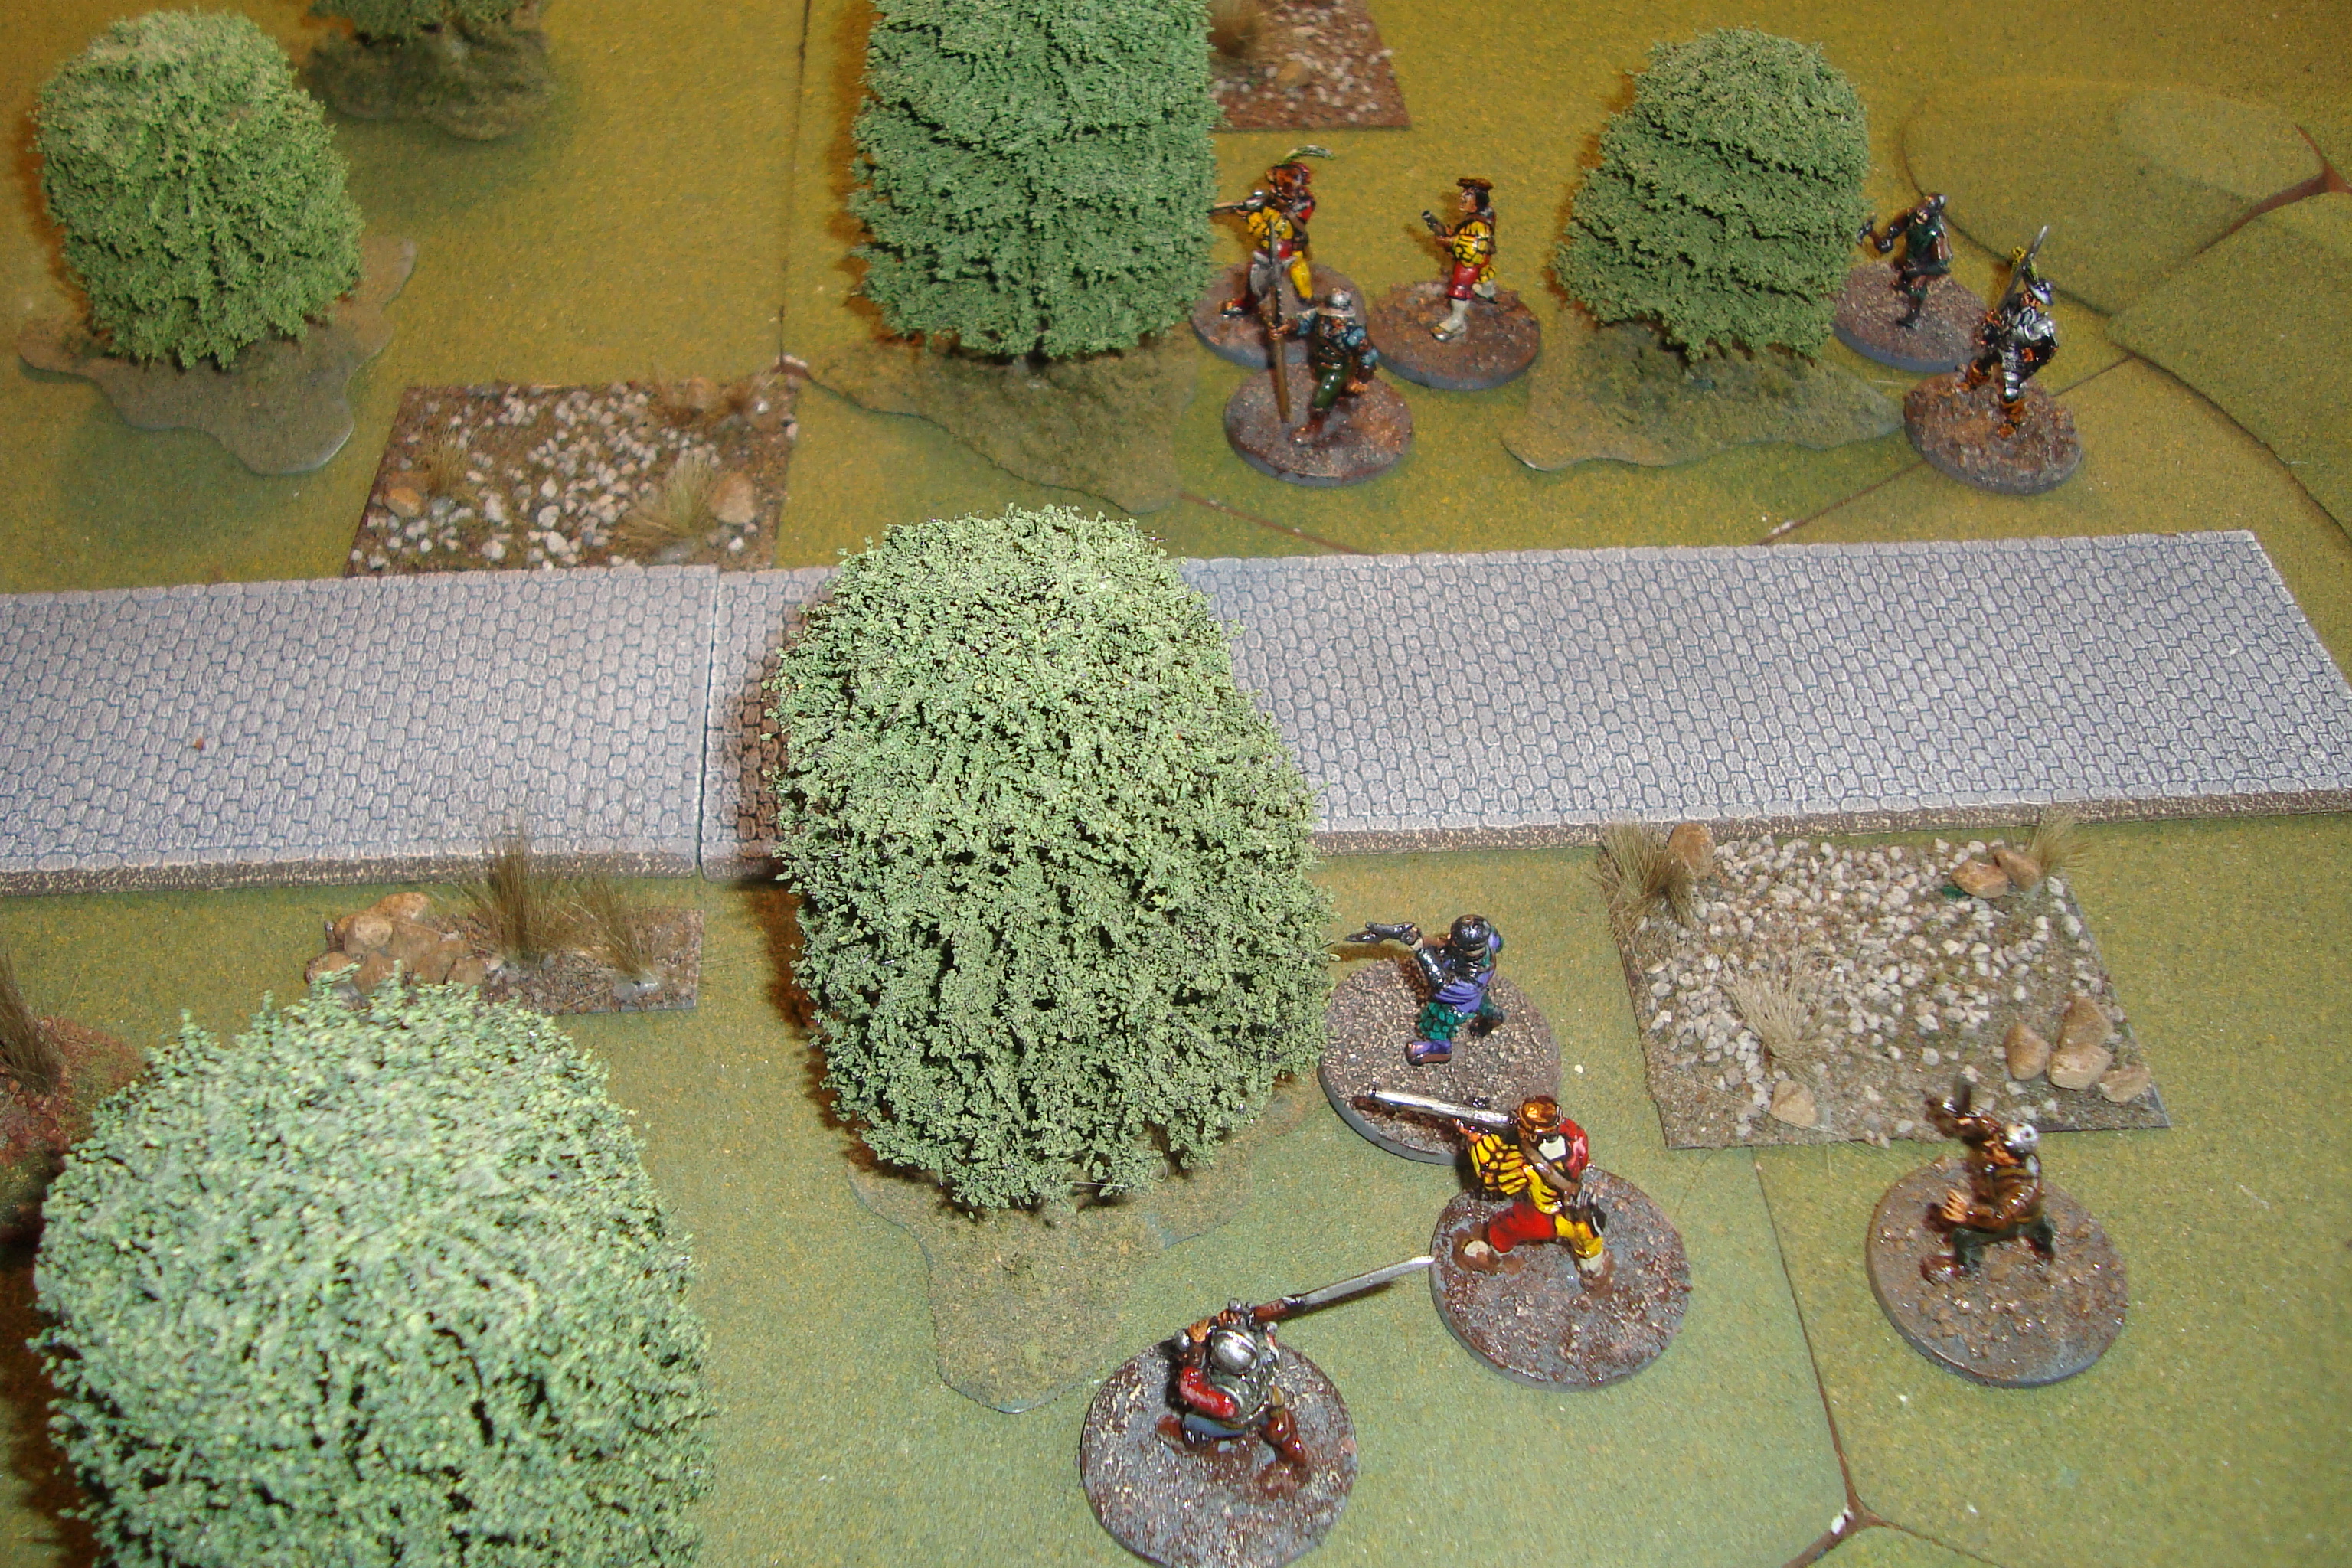
Turn 5: Red has I, lies chilly. Blue sends two men to loot the house, remainder keep moving down the road.
Turn 6: Red has I. Stays in ambush position, Blue moves (luckily) just outside of firing range (6 inches for Arquebusiers).
Blue Moves Towards The Kill Zone
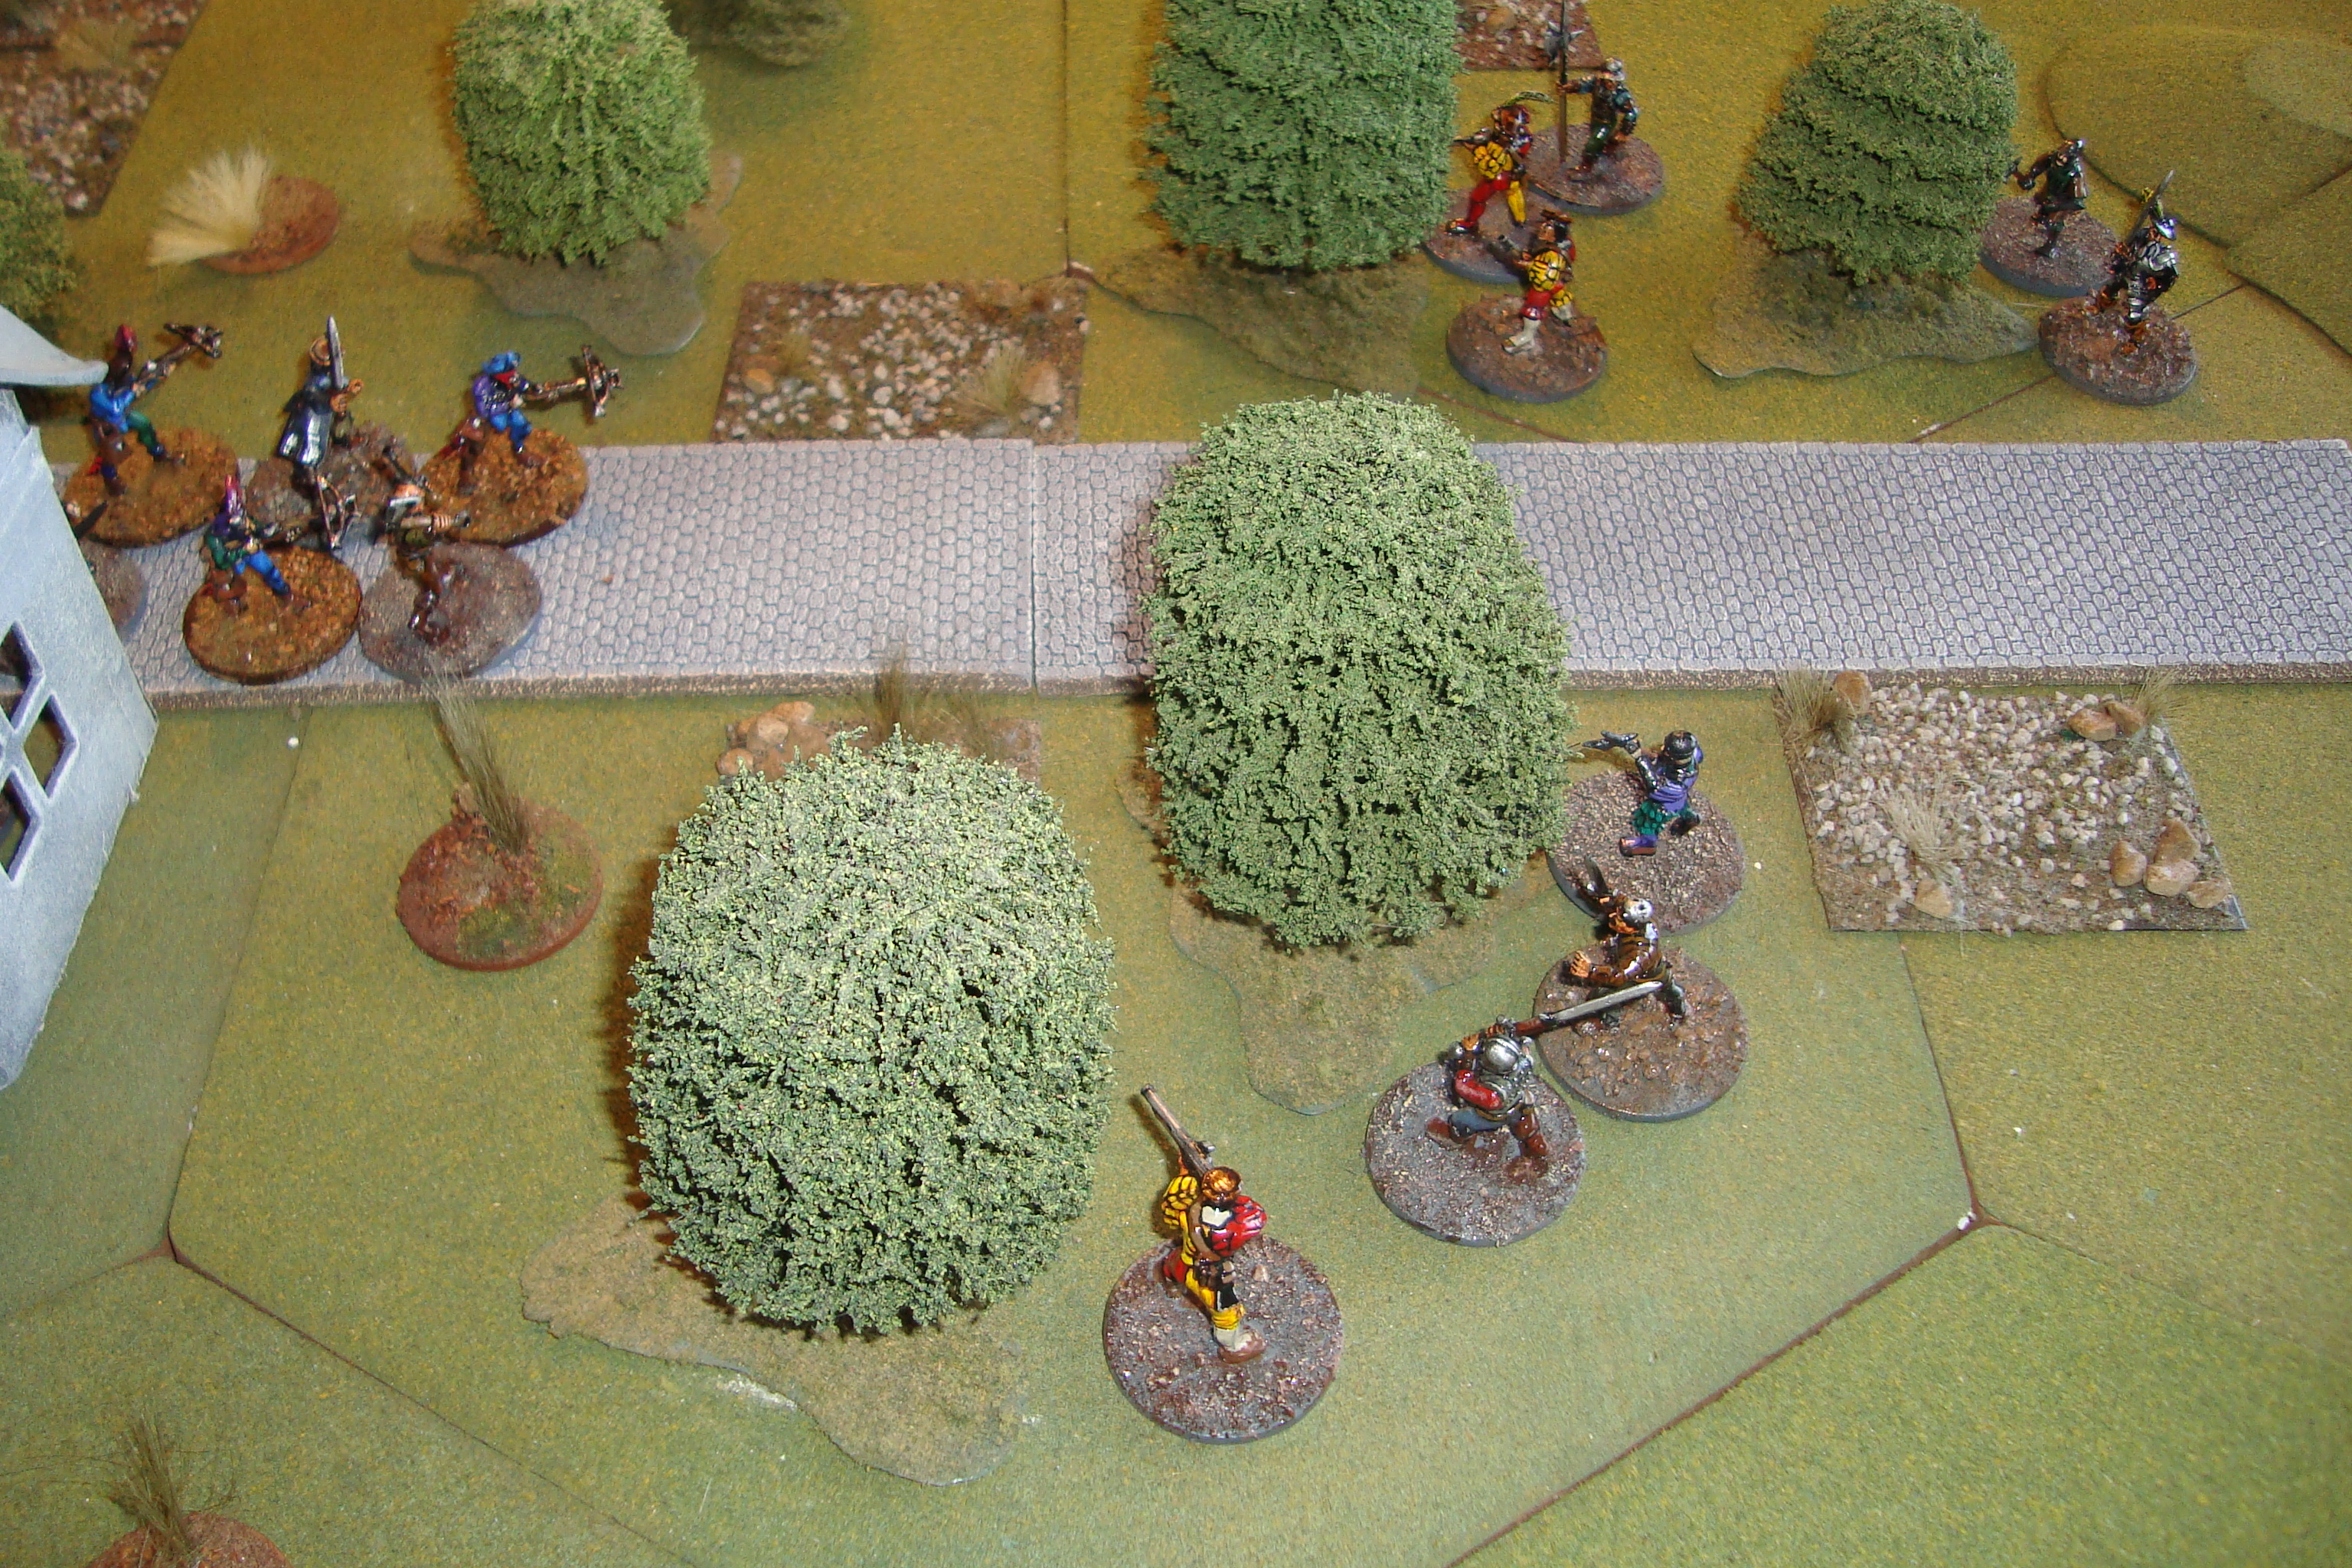
Turn 7: Red has I. This is very bad luck since they cannot shoot at Blue, and Blue can move within 6 inches and potentially spot the Red ambush, before being shot at. And, of course, Blue moves in and spots.
Turn 8: Red has I. Both sides exchange fire. No hits. Red moves into melee. Blue loses a Crossbowman and Swordsman. Red loses a Two-Handed Swordsman.
Initial Melee
Turn 9: Blue rolls D10 four times (one each for casualties, two for ambush), no change in Fear rating! Red rolls once, no change. Blue has I. Melee continues as more Blues join the fray. Blue looters move out of the house advancing towards the melee. Blue loses one Swordsman.
Blue Takes Casualties And Pushed Back
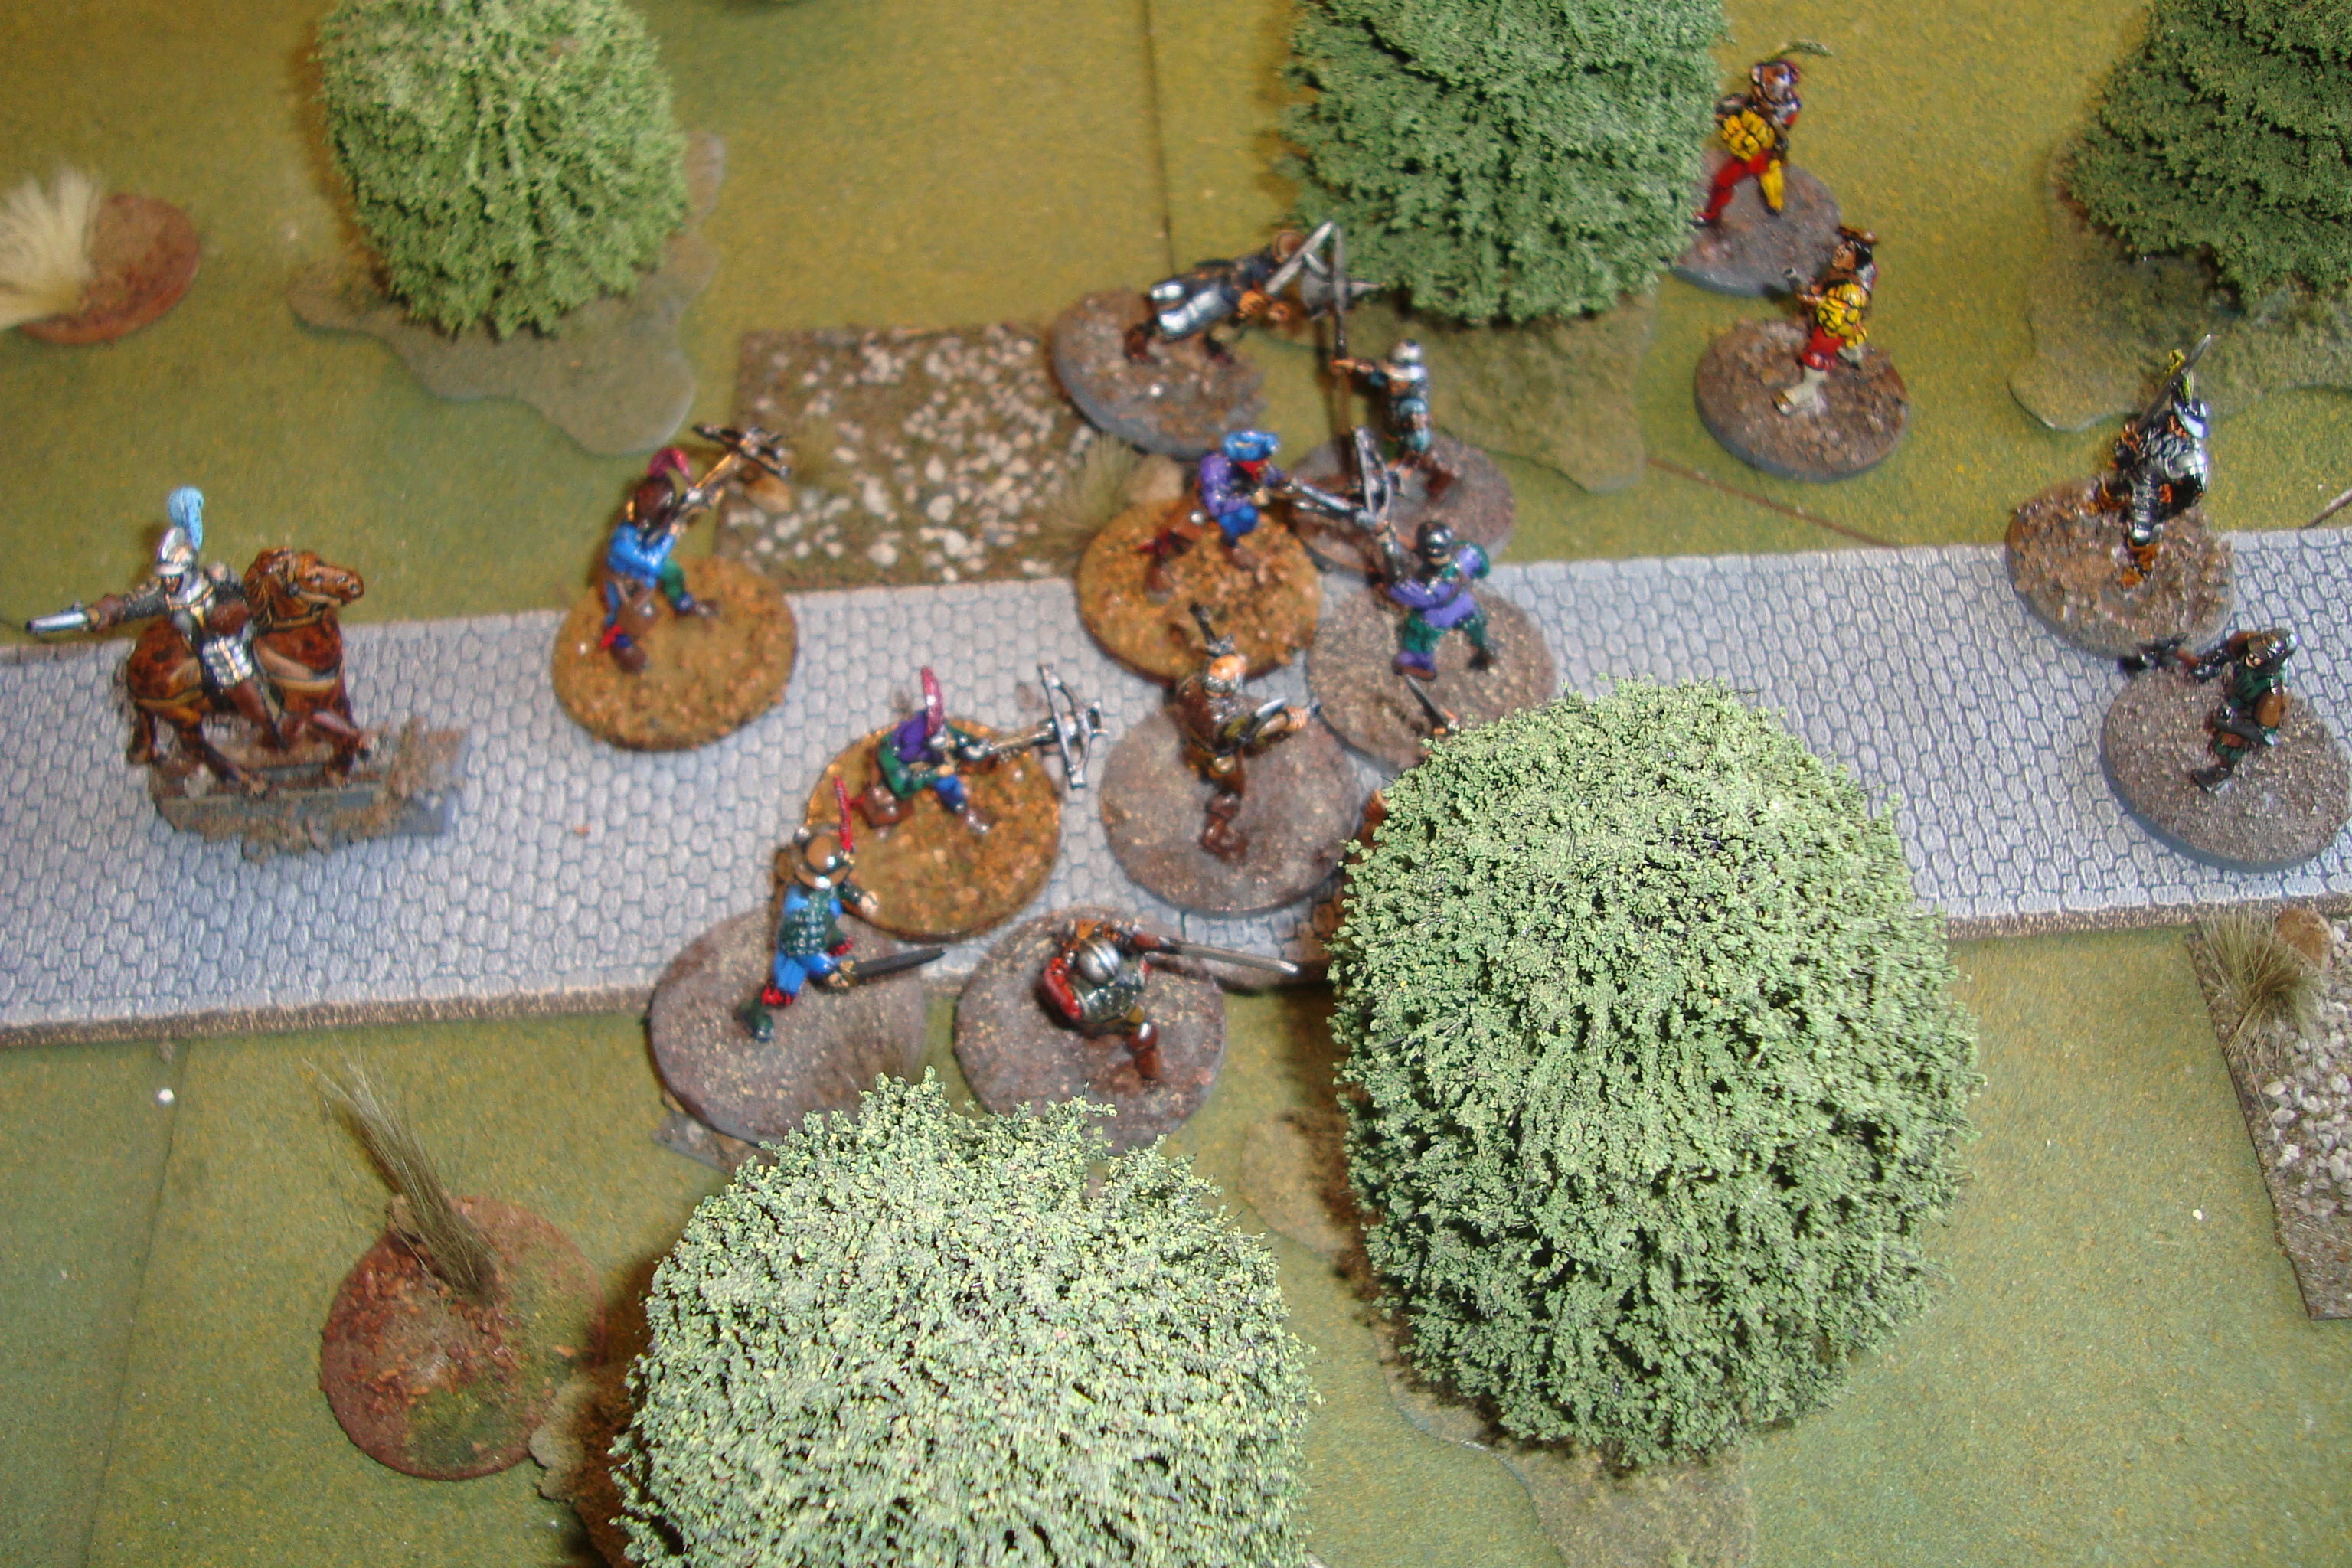
Turn 10: No change in Blue fear. Looters and Blue Leader join the melee. Blue Crossbowmen kill a Red Halbadier, and (with saving throw) force a Red Arquebusier back into the cover of the woods.
Blue Leader Joins The Fray
Turn 11: Red fear increases by one. Shooting ineffective. Red leader joins melee. No casualties.
Red Leader Fighting, Blue Gaining Upper Hand
Shut it down at this point because it will be nothing but a Dice Fest. Blue has survived the ambush and it more than holding its own in the melee. So, what mechanism to break off contact?
Will run the same scenario again, but add rules for running, horse galloping, and use of pistol in melee. Have to consider the ineffectiveness of shooting despite the two “tens” rolled in Turn 10. Also, some type of reaction to orders/situations might be needed.
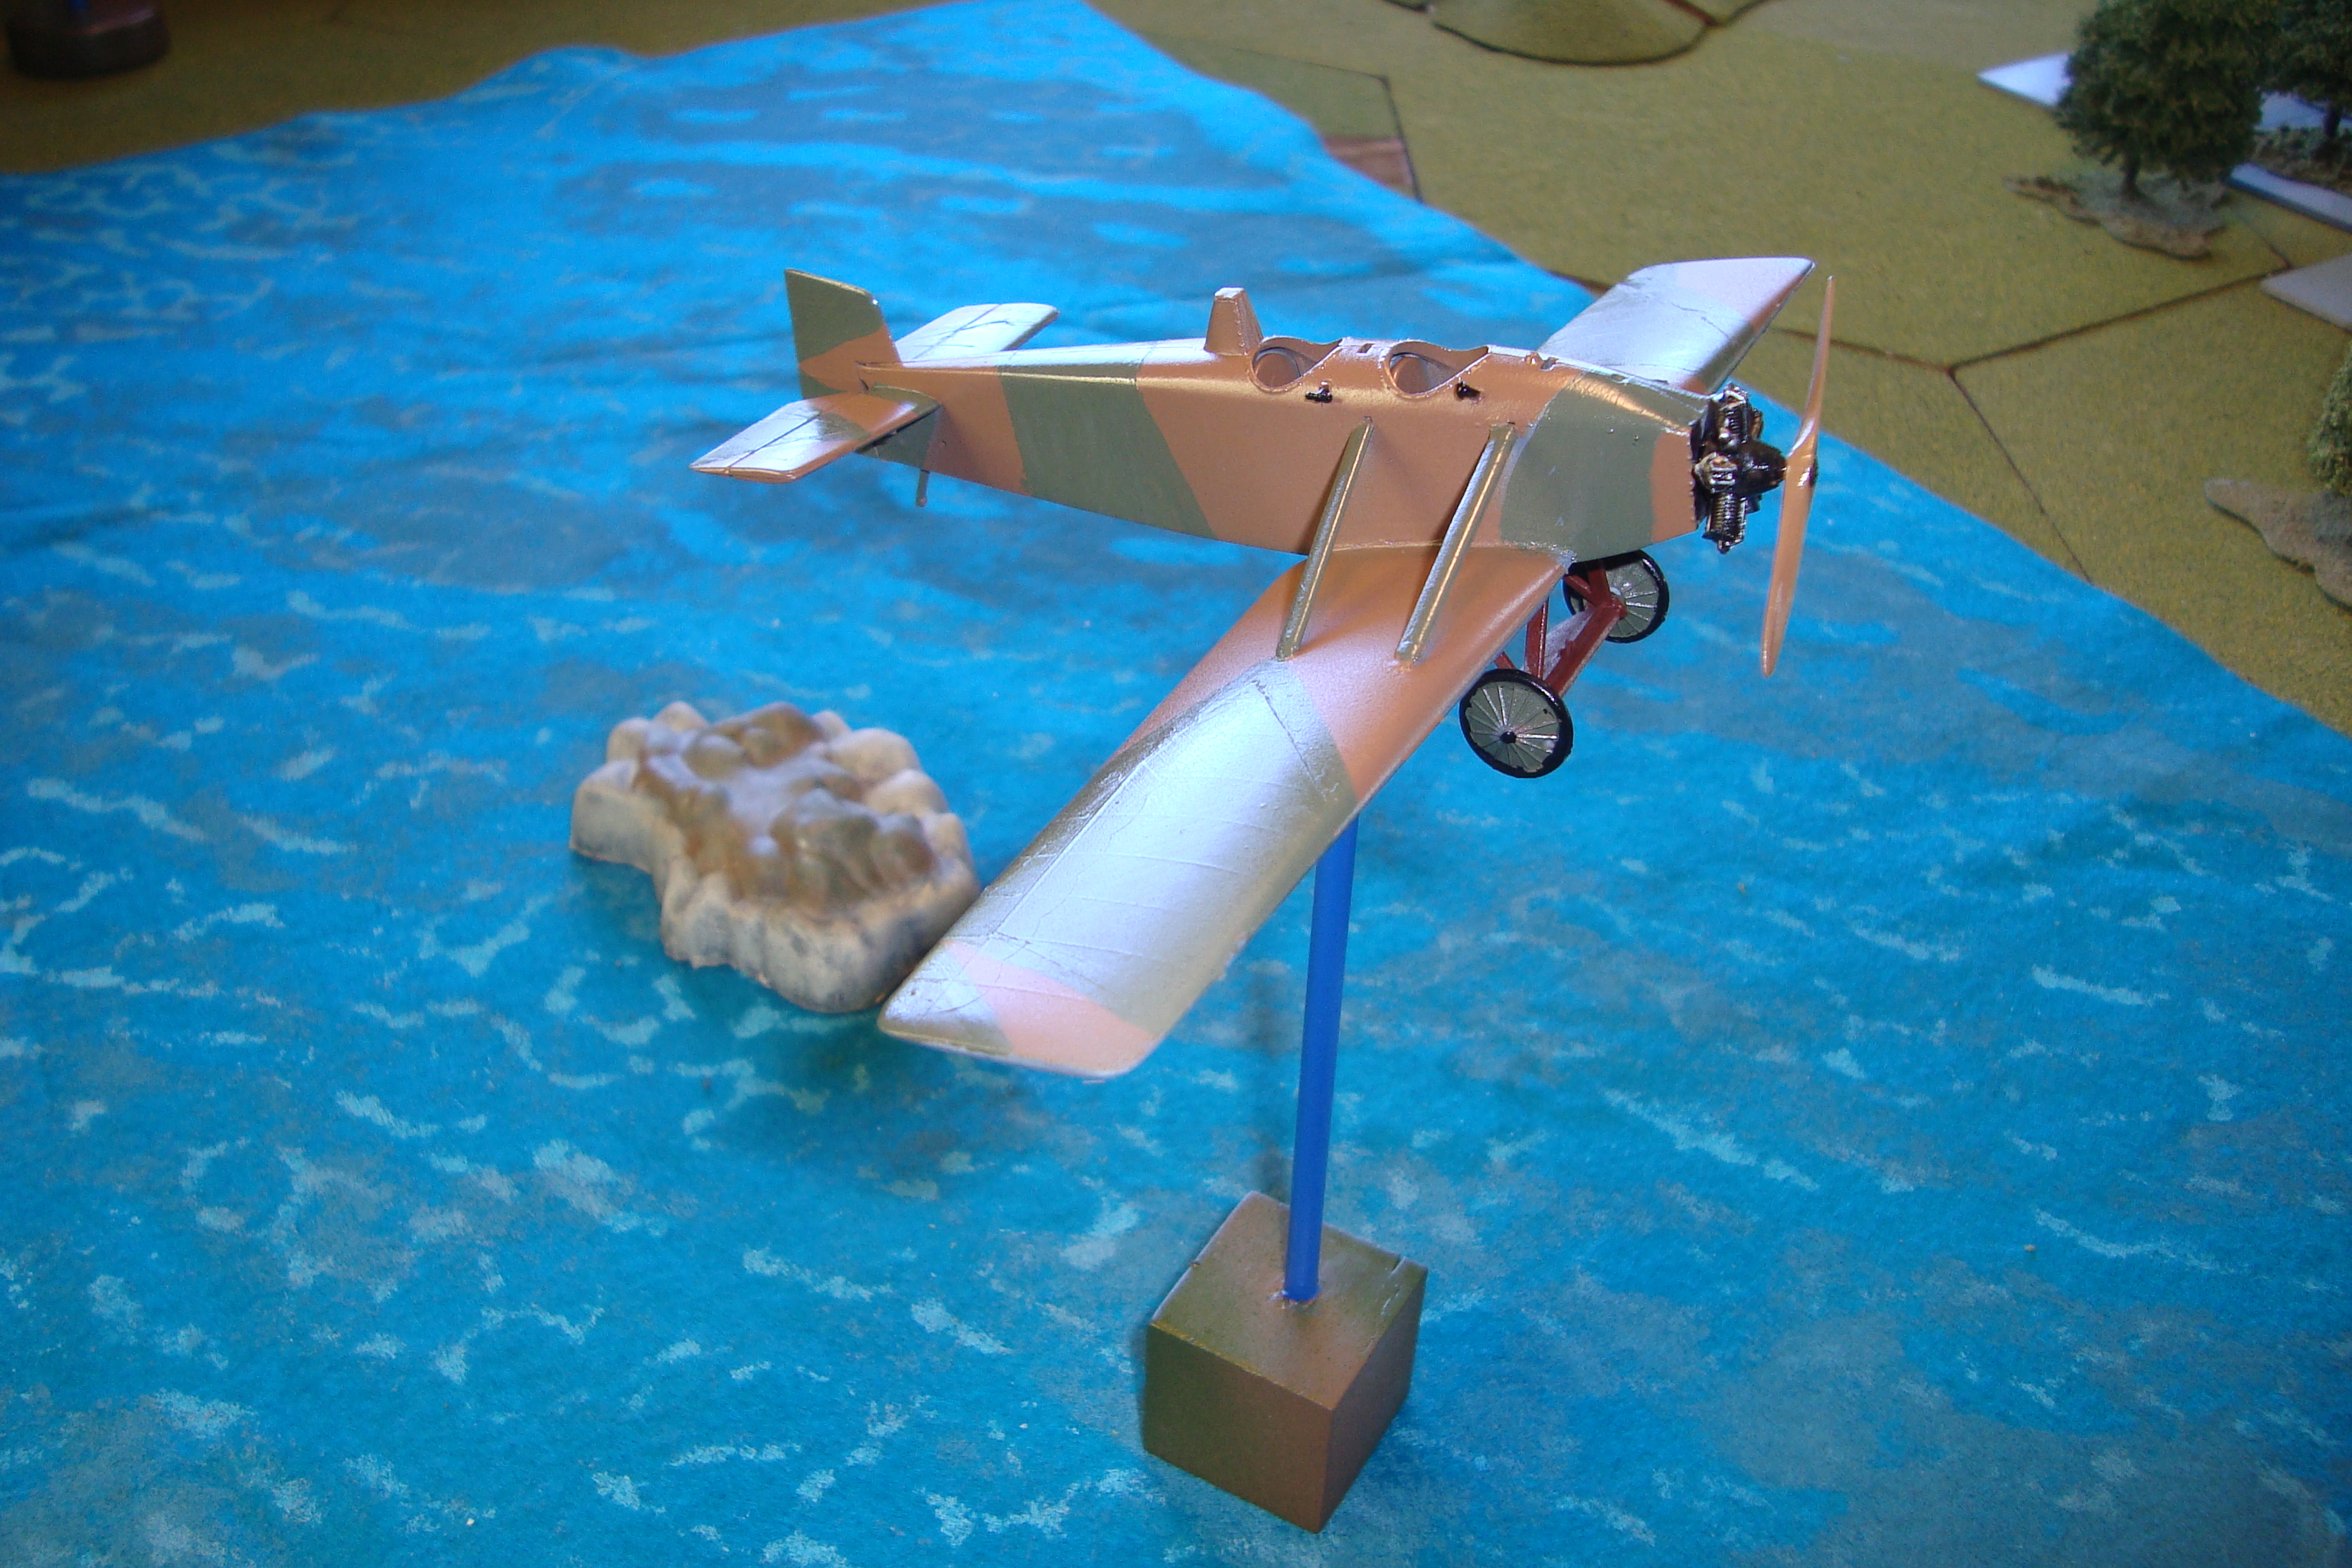
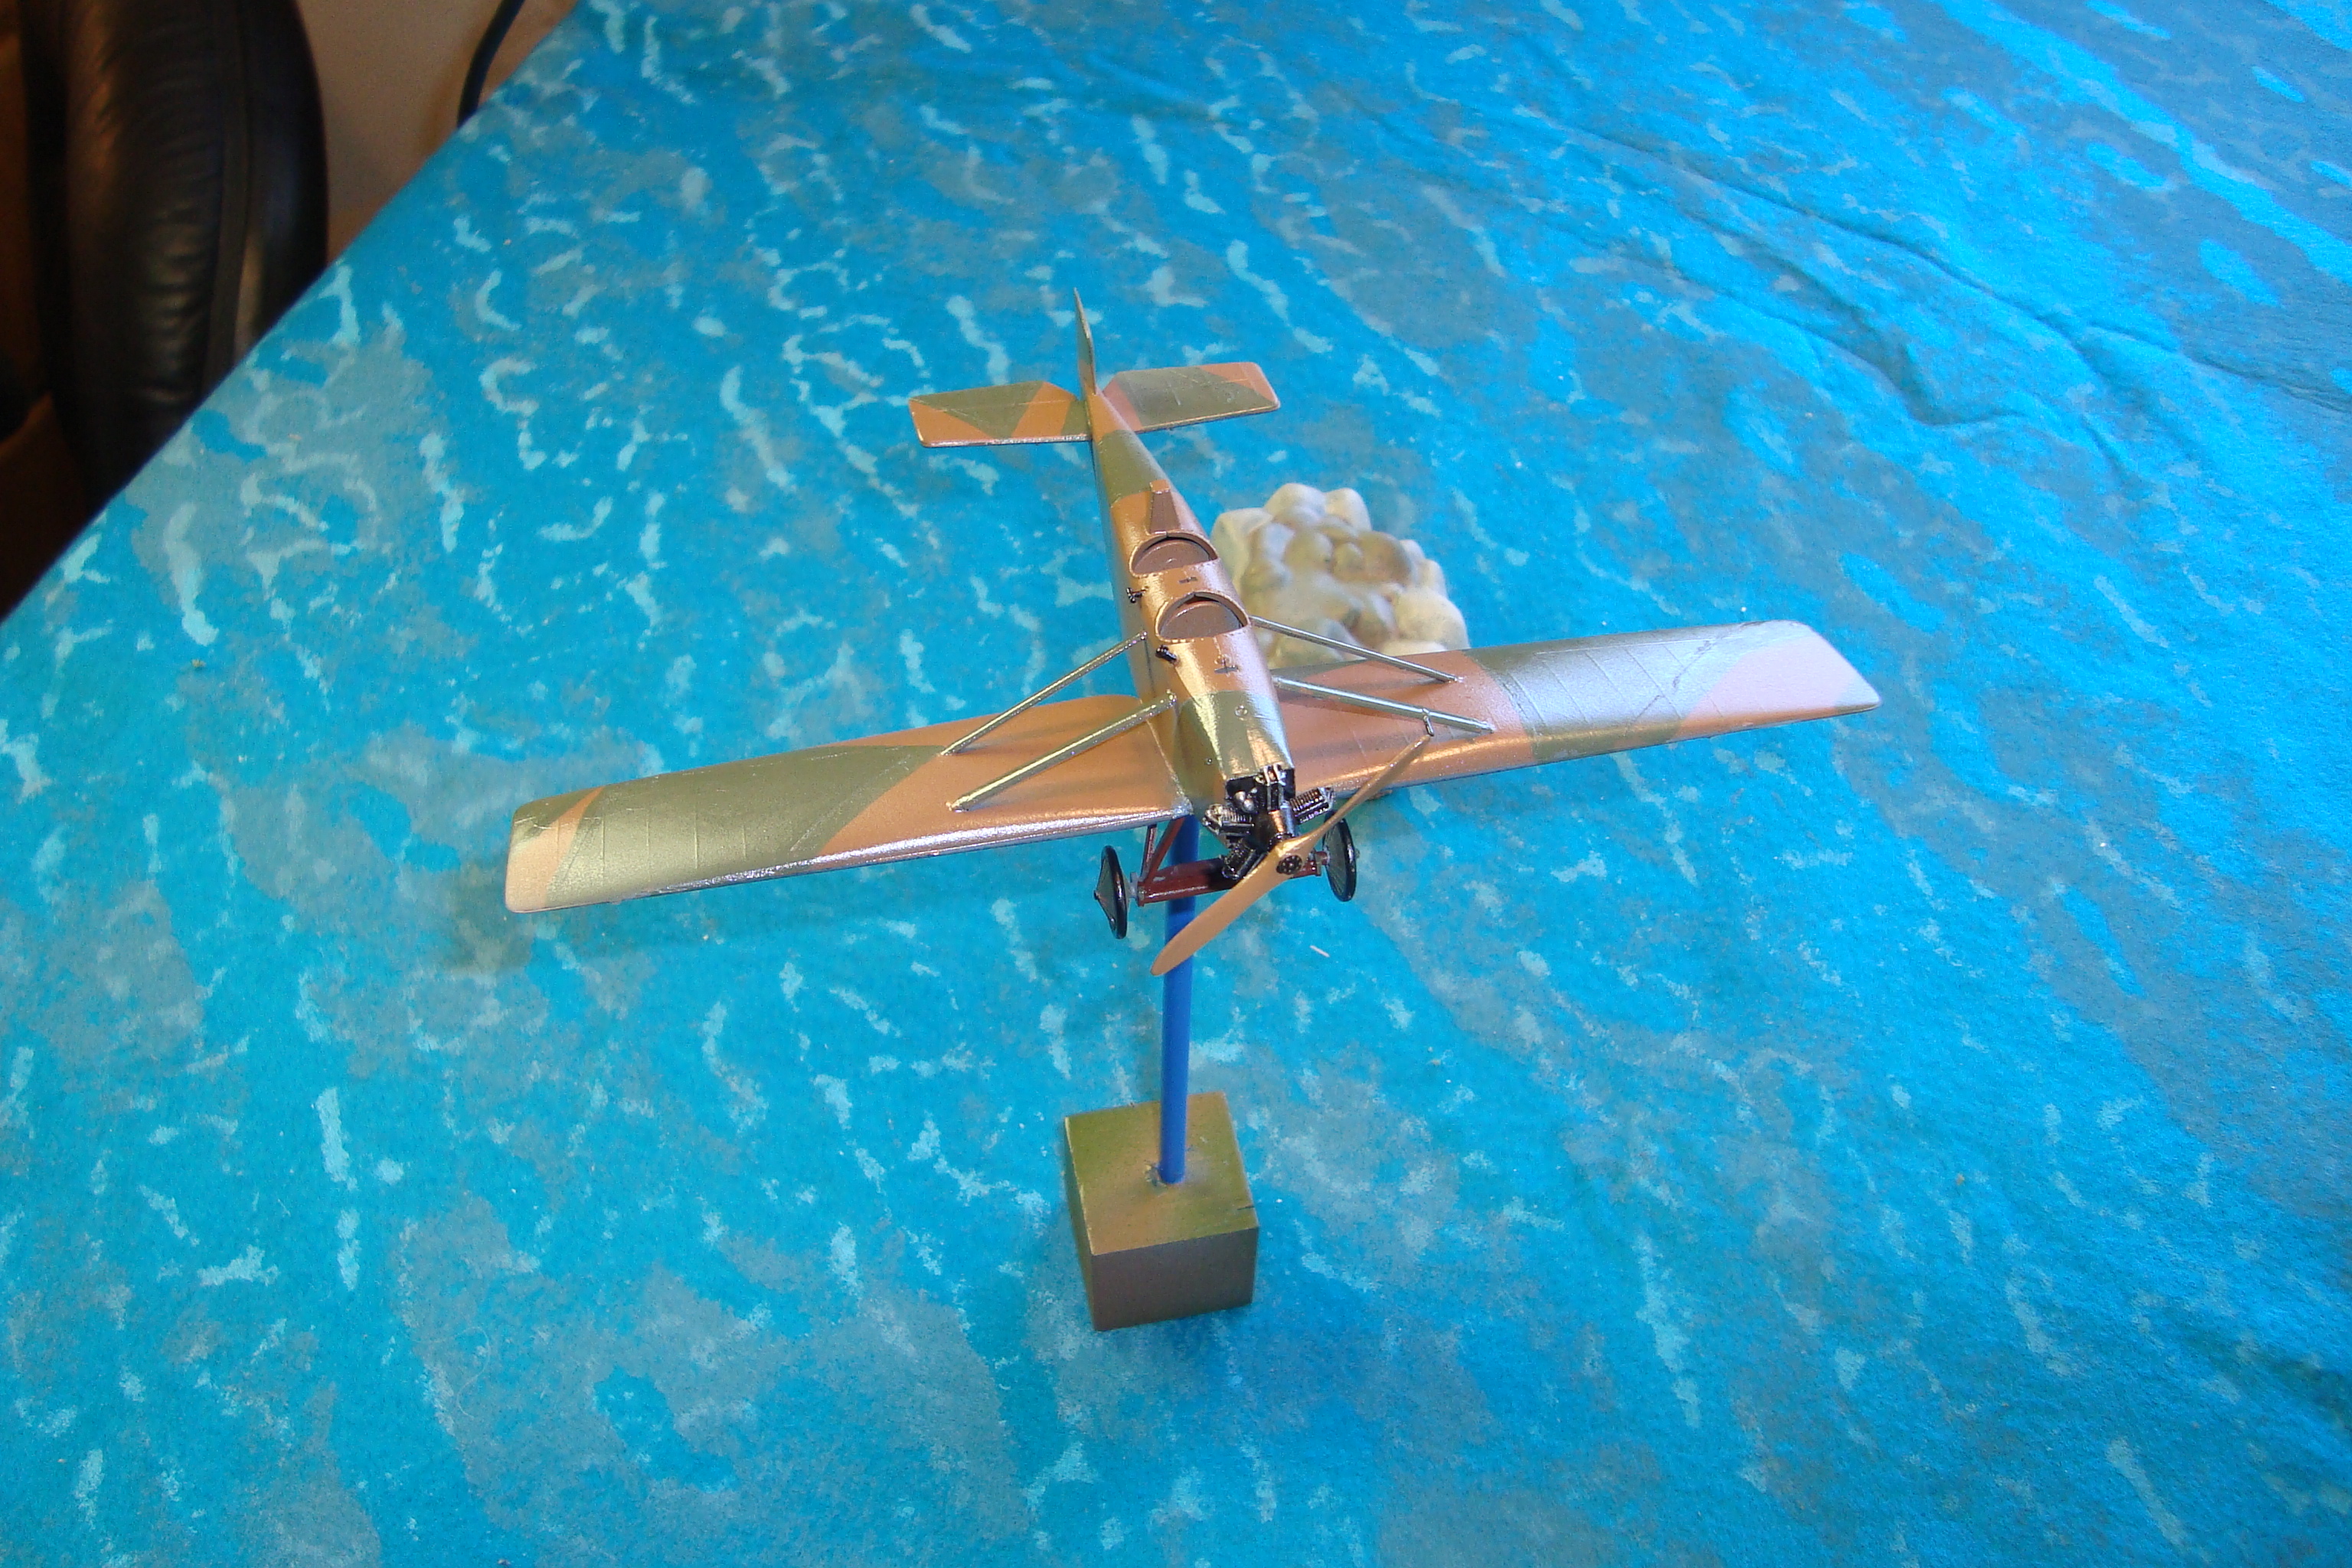
Here’s the latest (and probably last) addition to my BoB air force. It’s an Avia BH-11. But, notice something missing? Windscreens.
Yes, it was trash day and in my frenzy to get out both garbage and recycling, as well as tidy up the war gaming room, I grabbed the box of the (I thought) now assembled aircraft and tossed it, with some other stray boxes, into the recycling.
This morning at 0530 I was thinking about the day, and finishing the model. Ooops…..the windscreens were in the ^&Y&^%*$ box which is now down at the Knott Road Landfill. I’ve dumpster dived, but never land fill dived. Ughhhhhh.
Oh Well, My My. Another stupid war gaming trick. I’ll wait and see how much this omission bothers me until I try to fabricate the screens (they were different and neat looking) or just eat it, and (this is insane) buy a new kit.