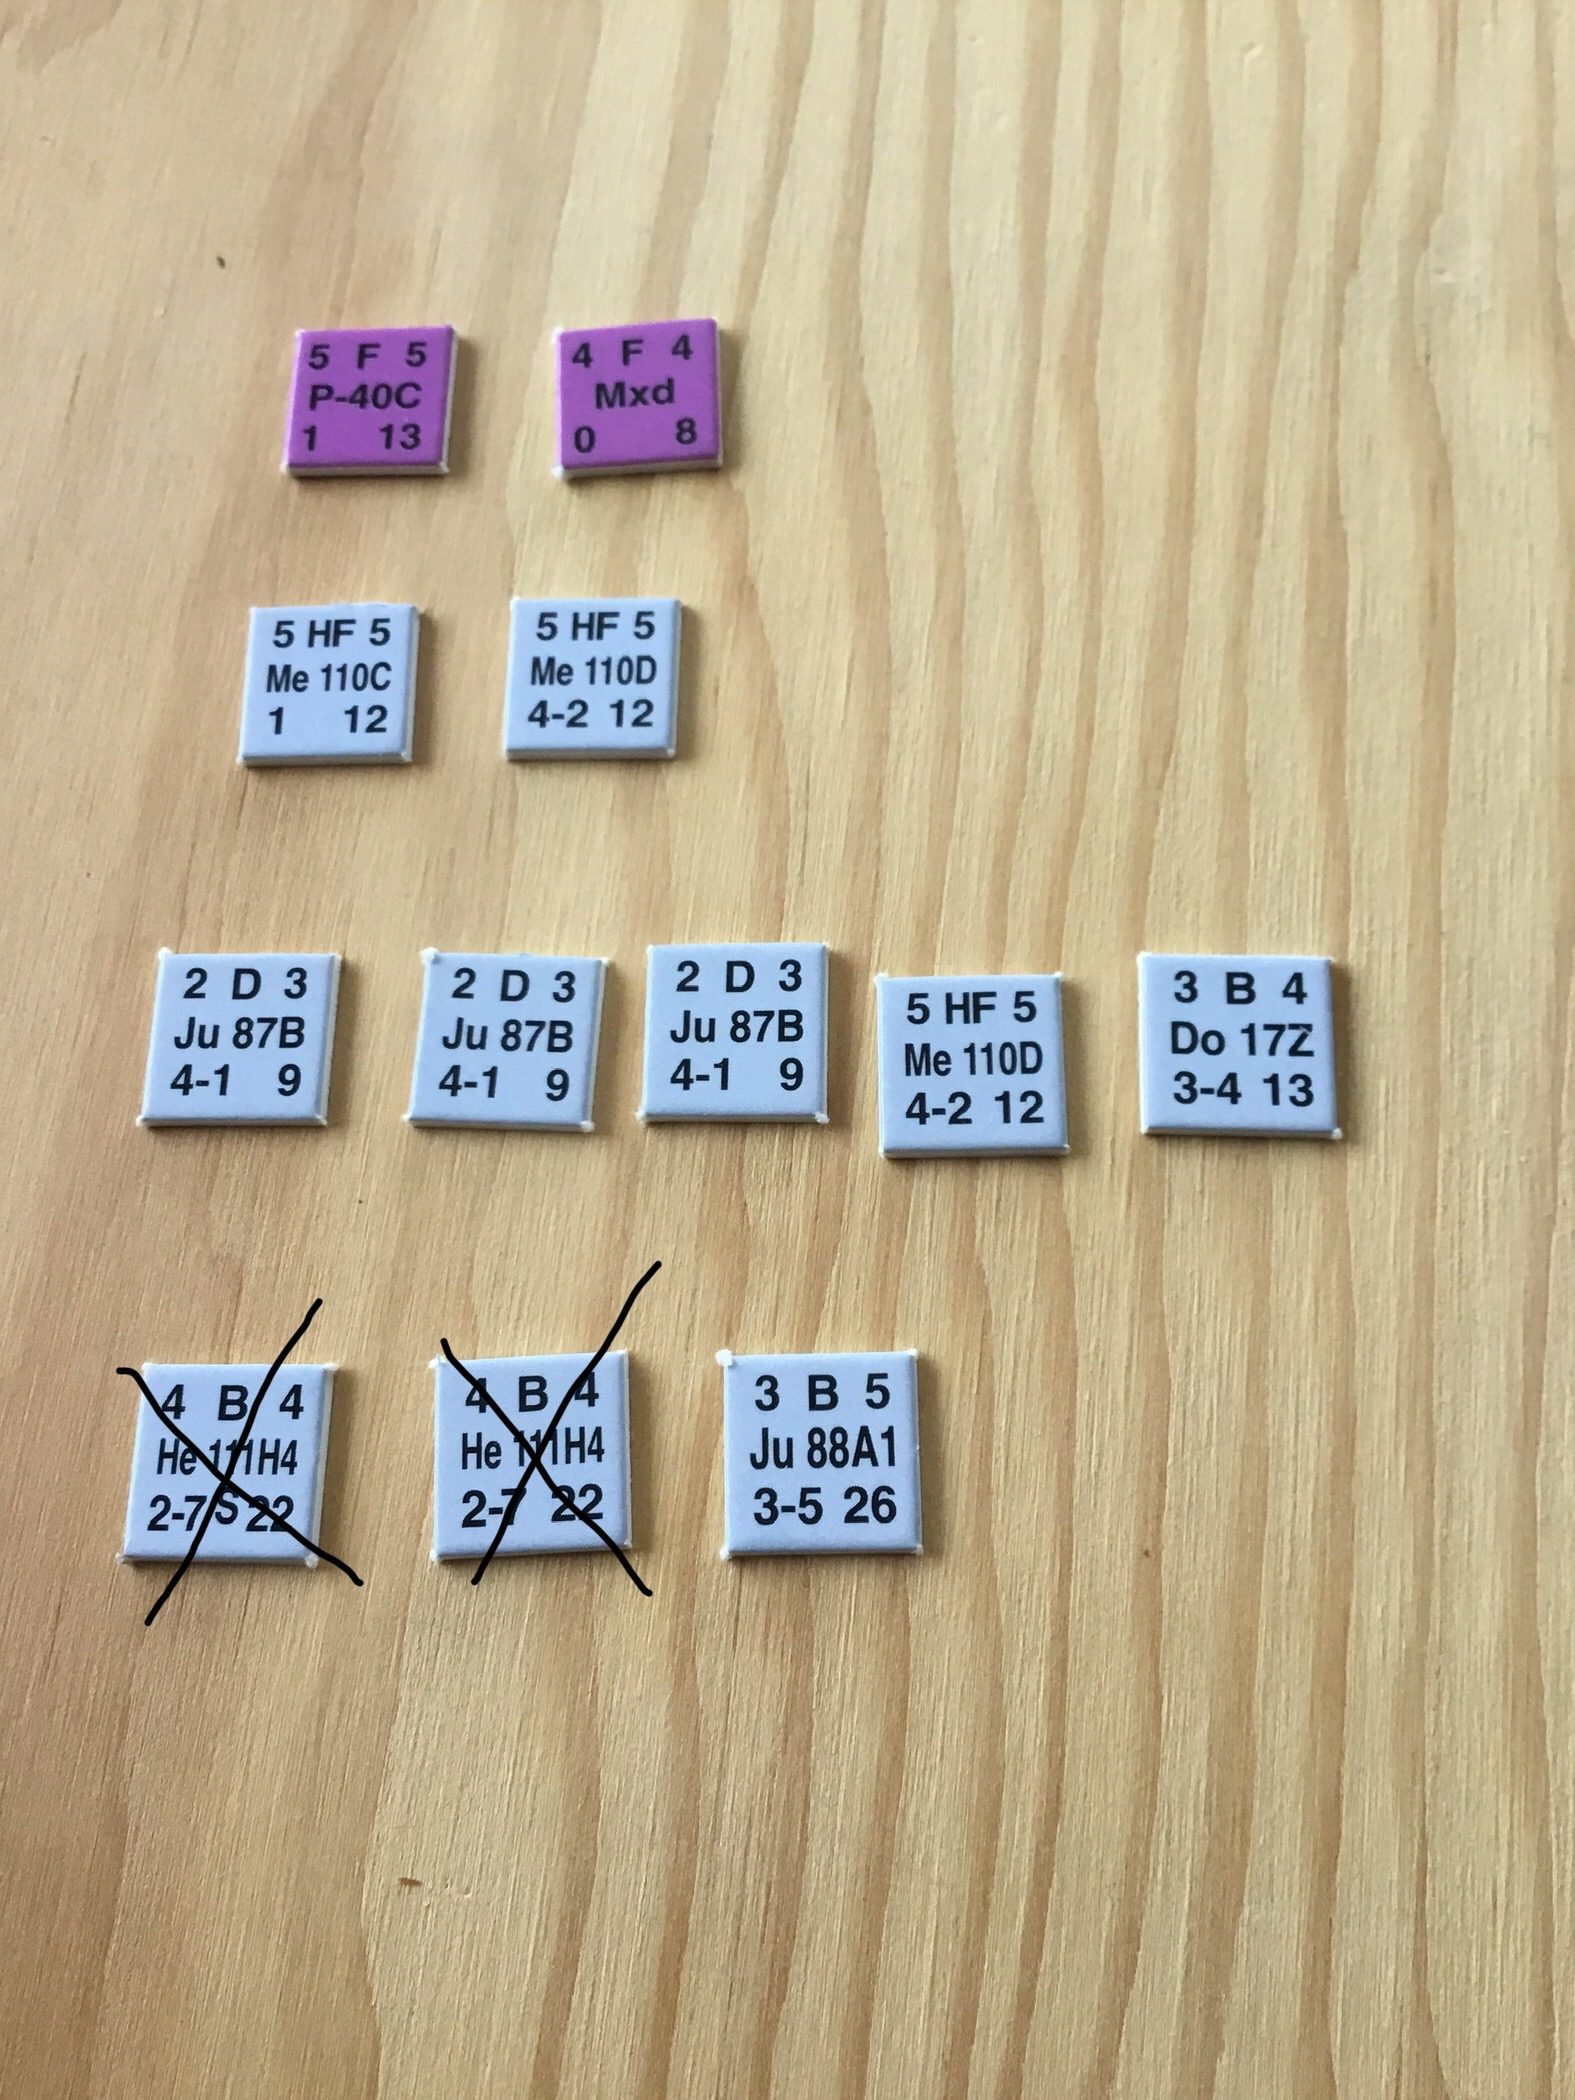
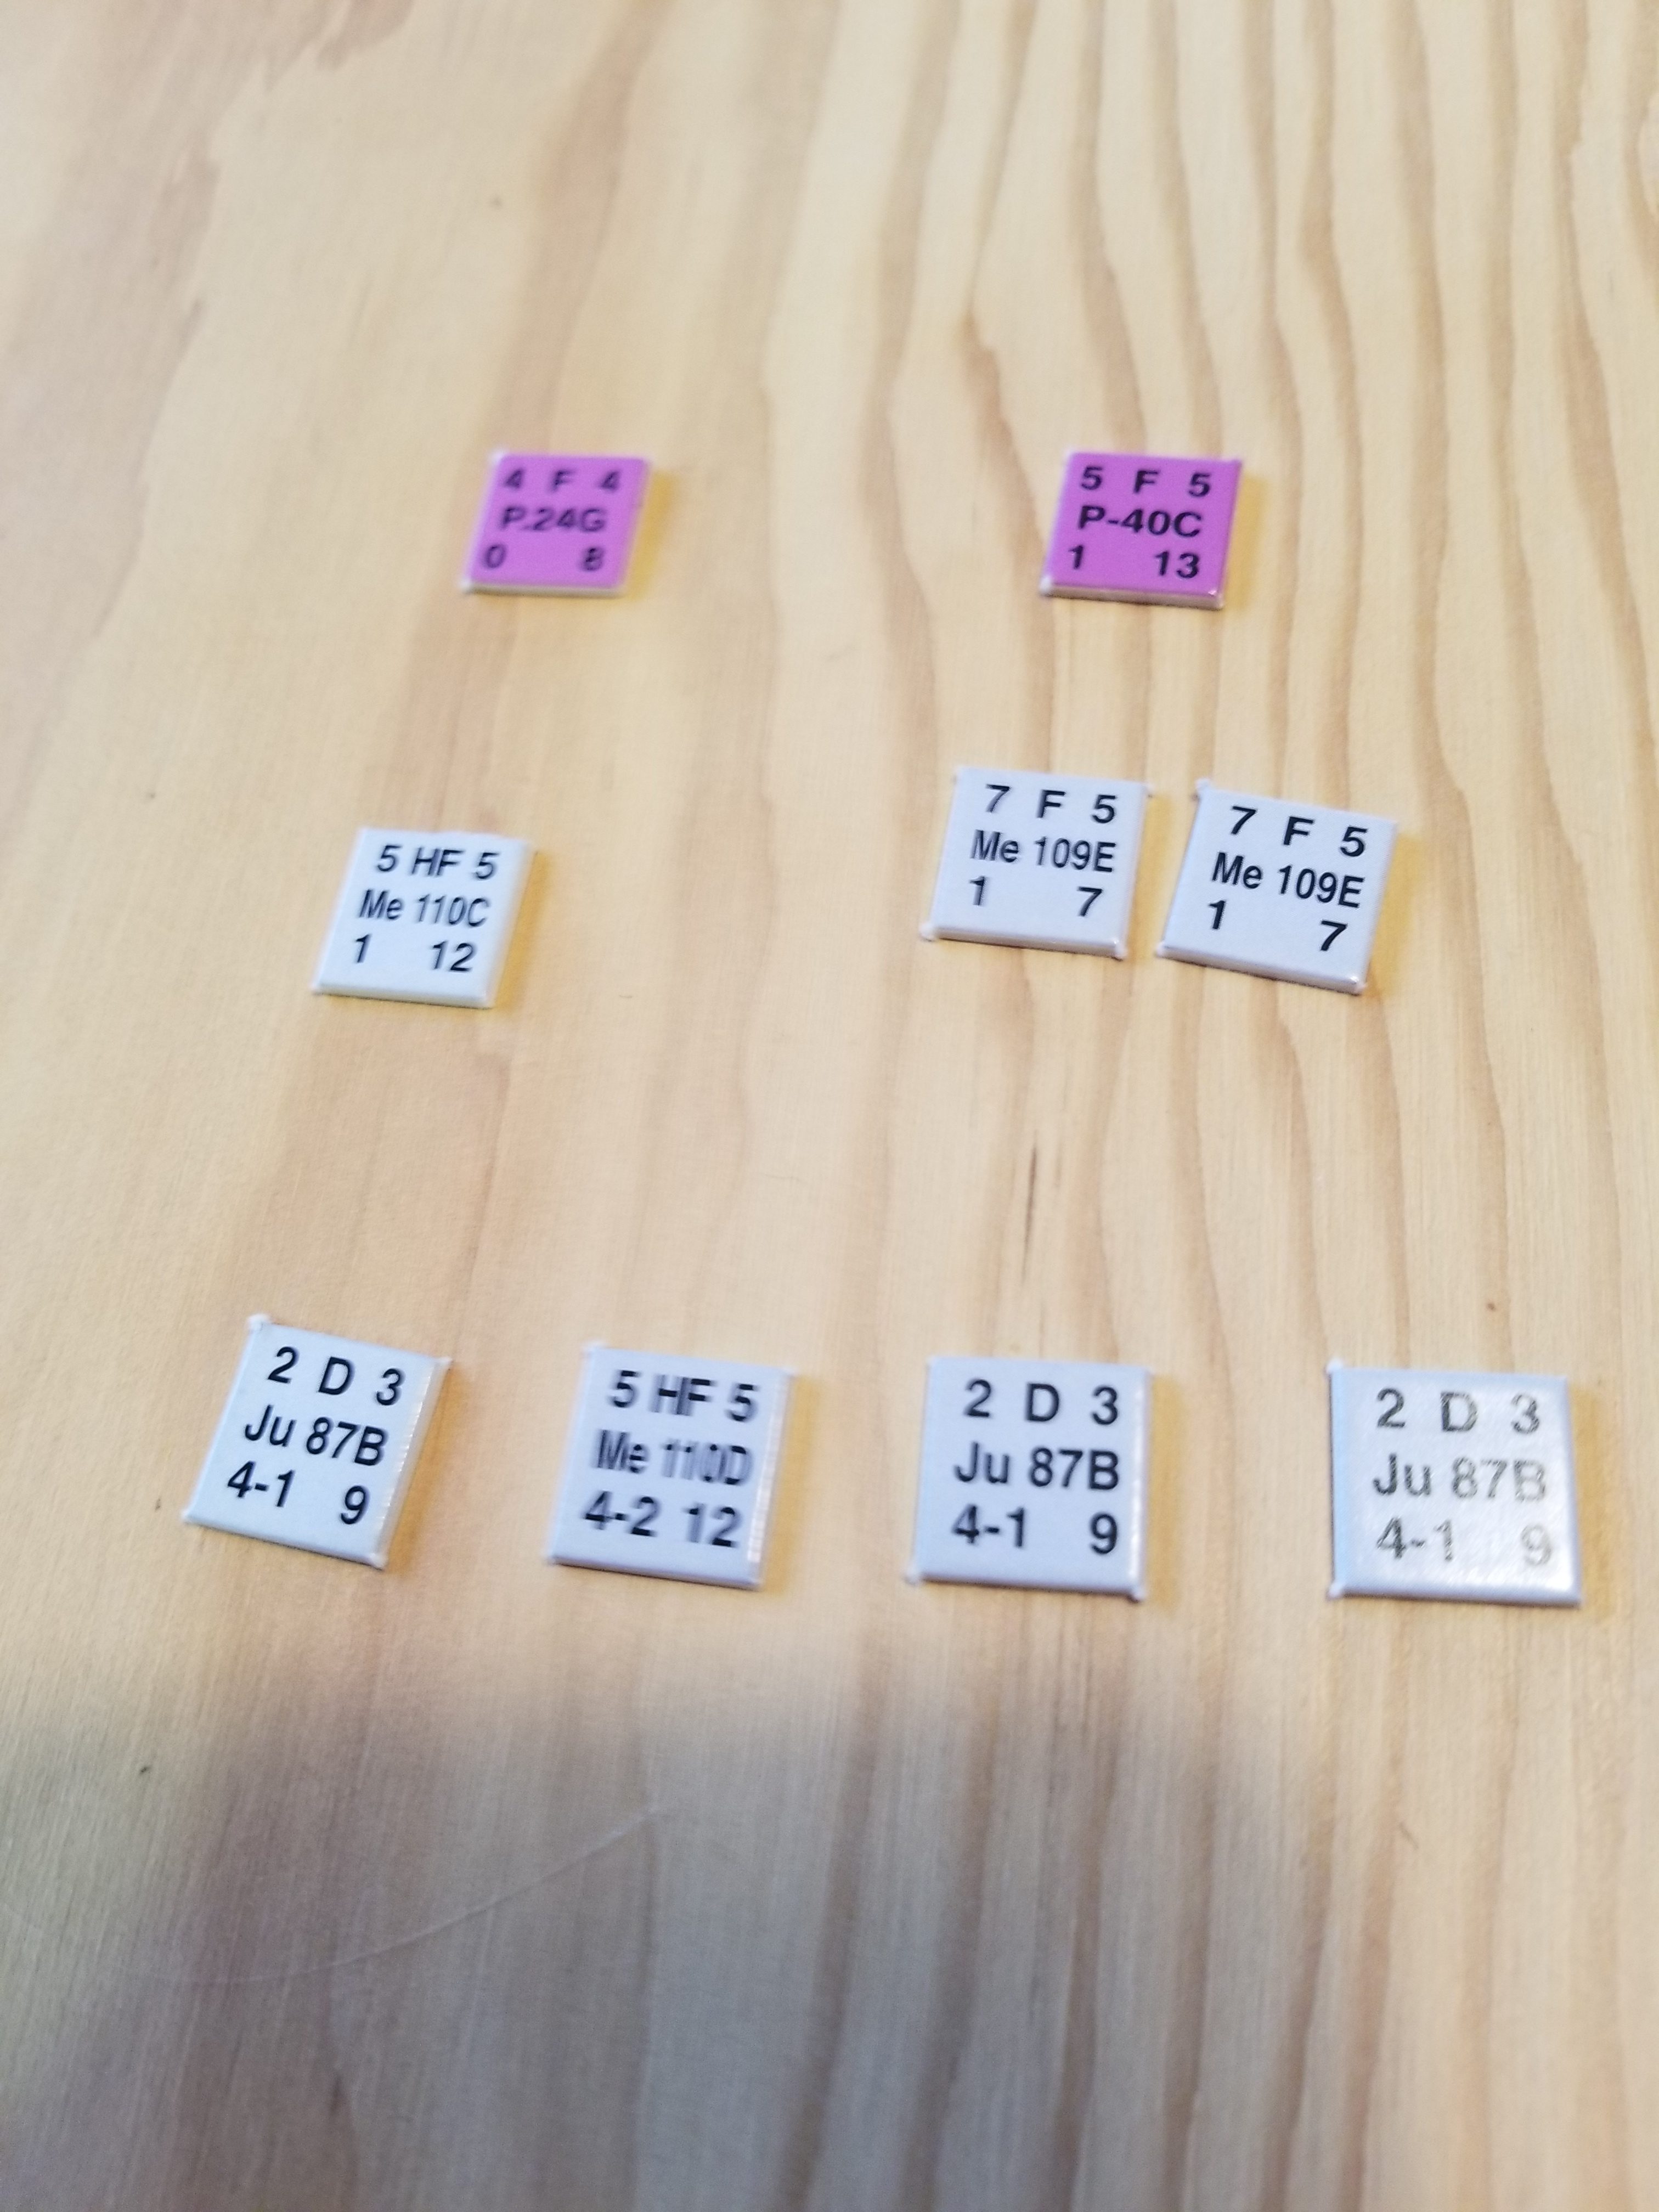
To borrow from Christopher Shores….a “Bloody Shambles.” And as bad as the TV Show.
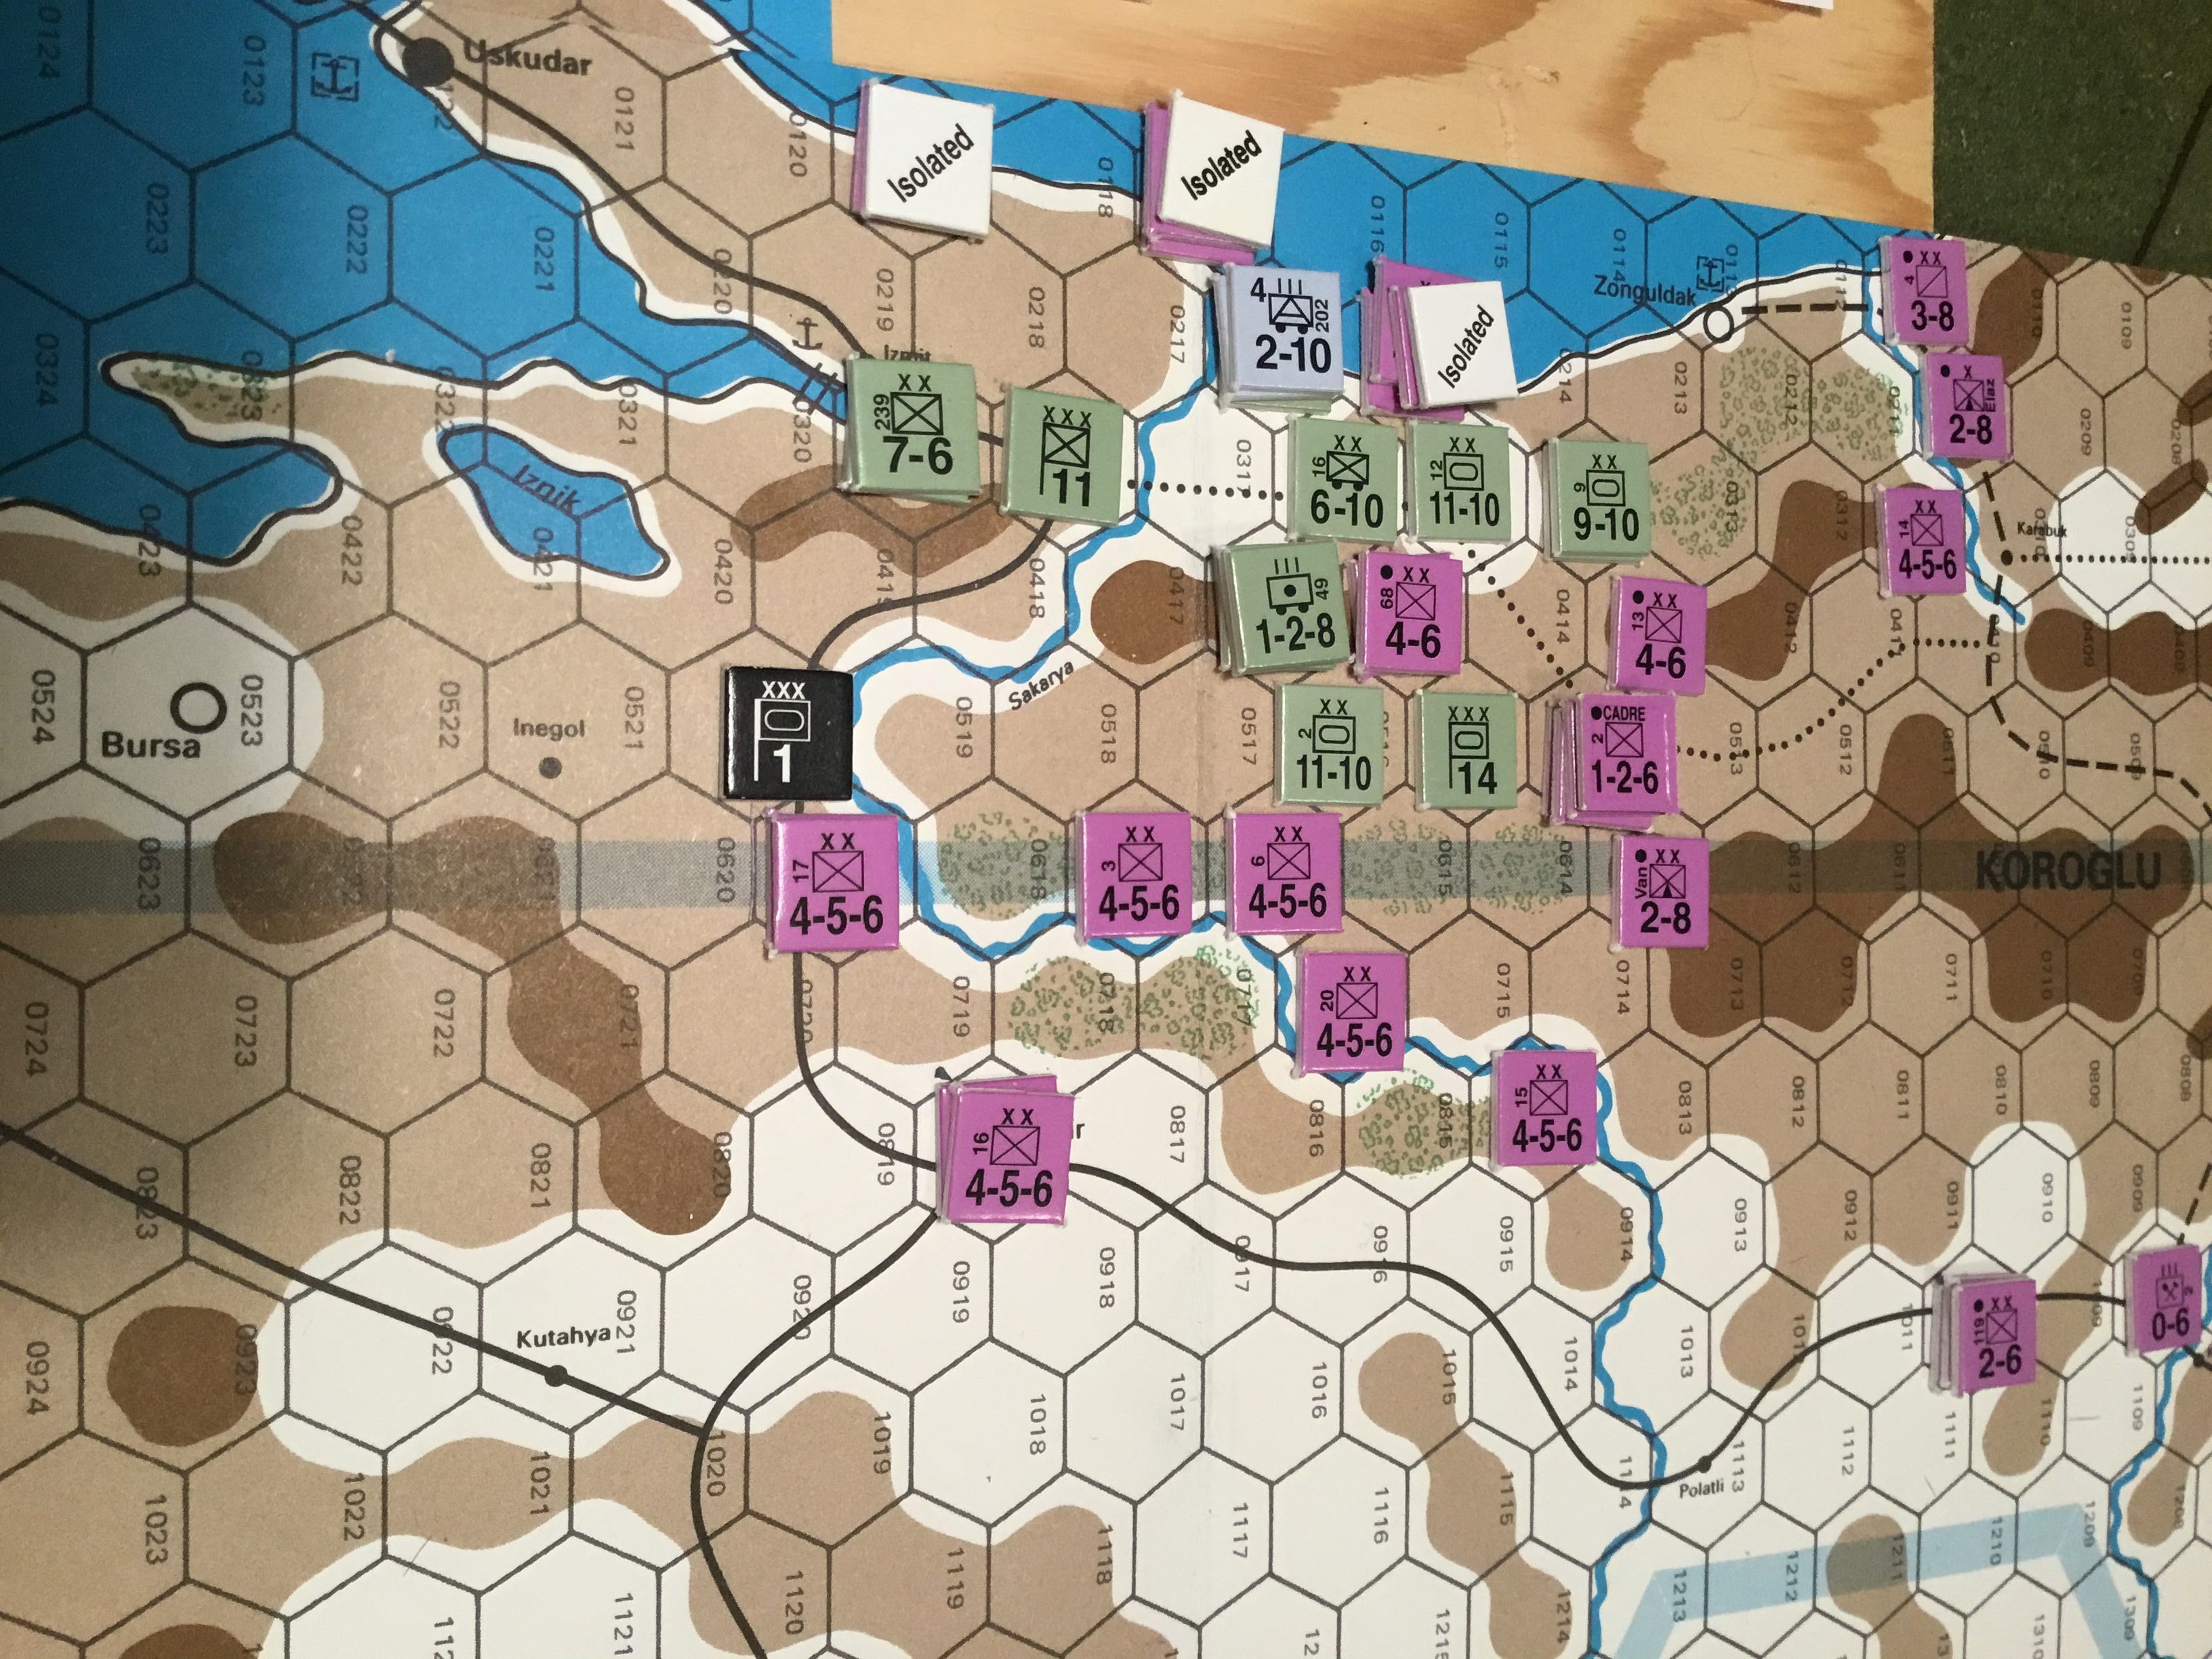
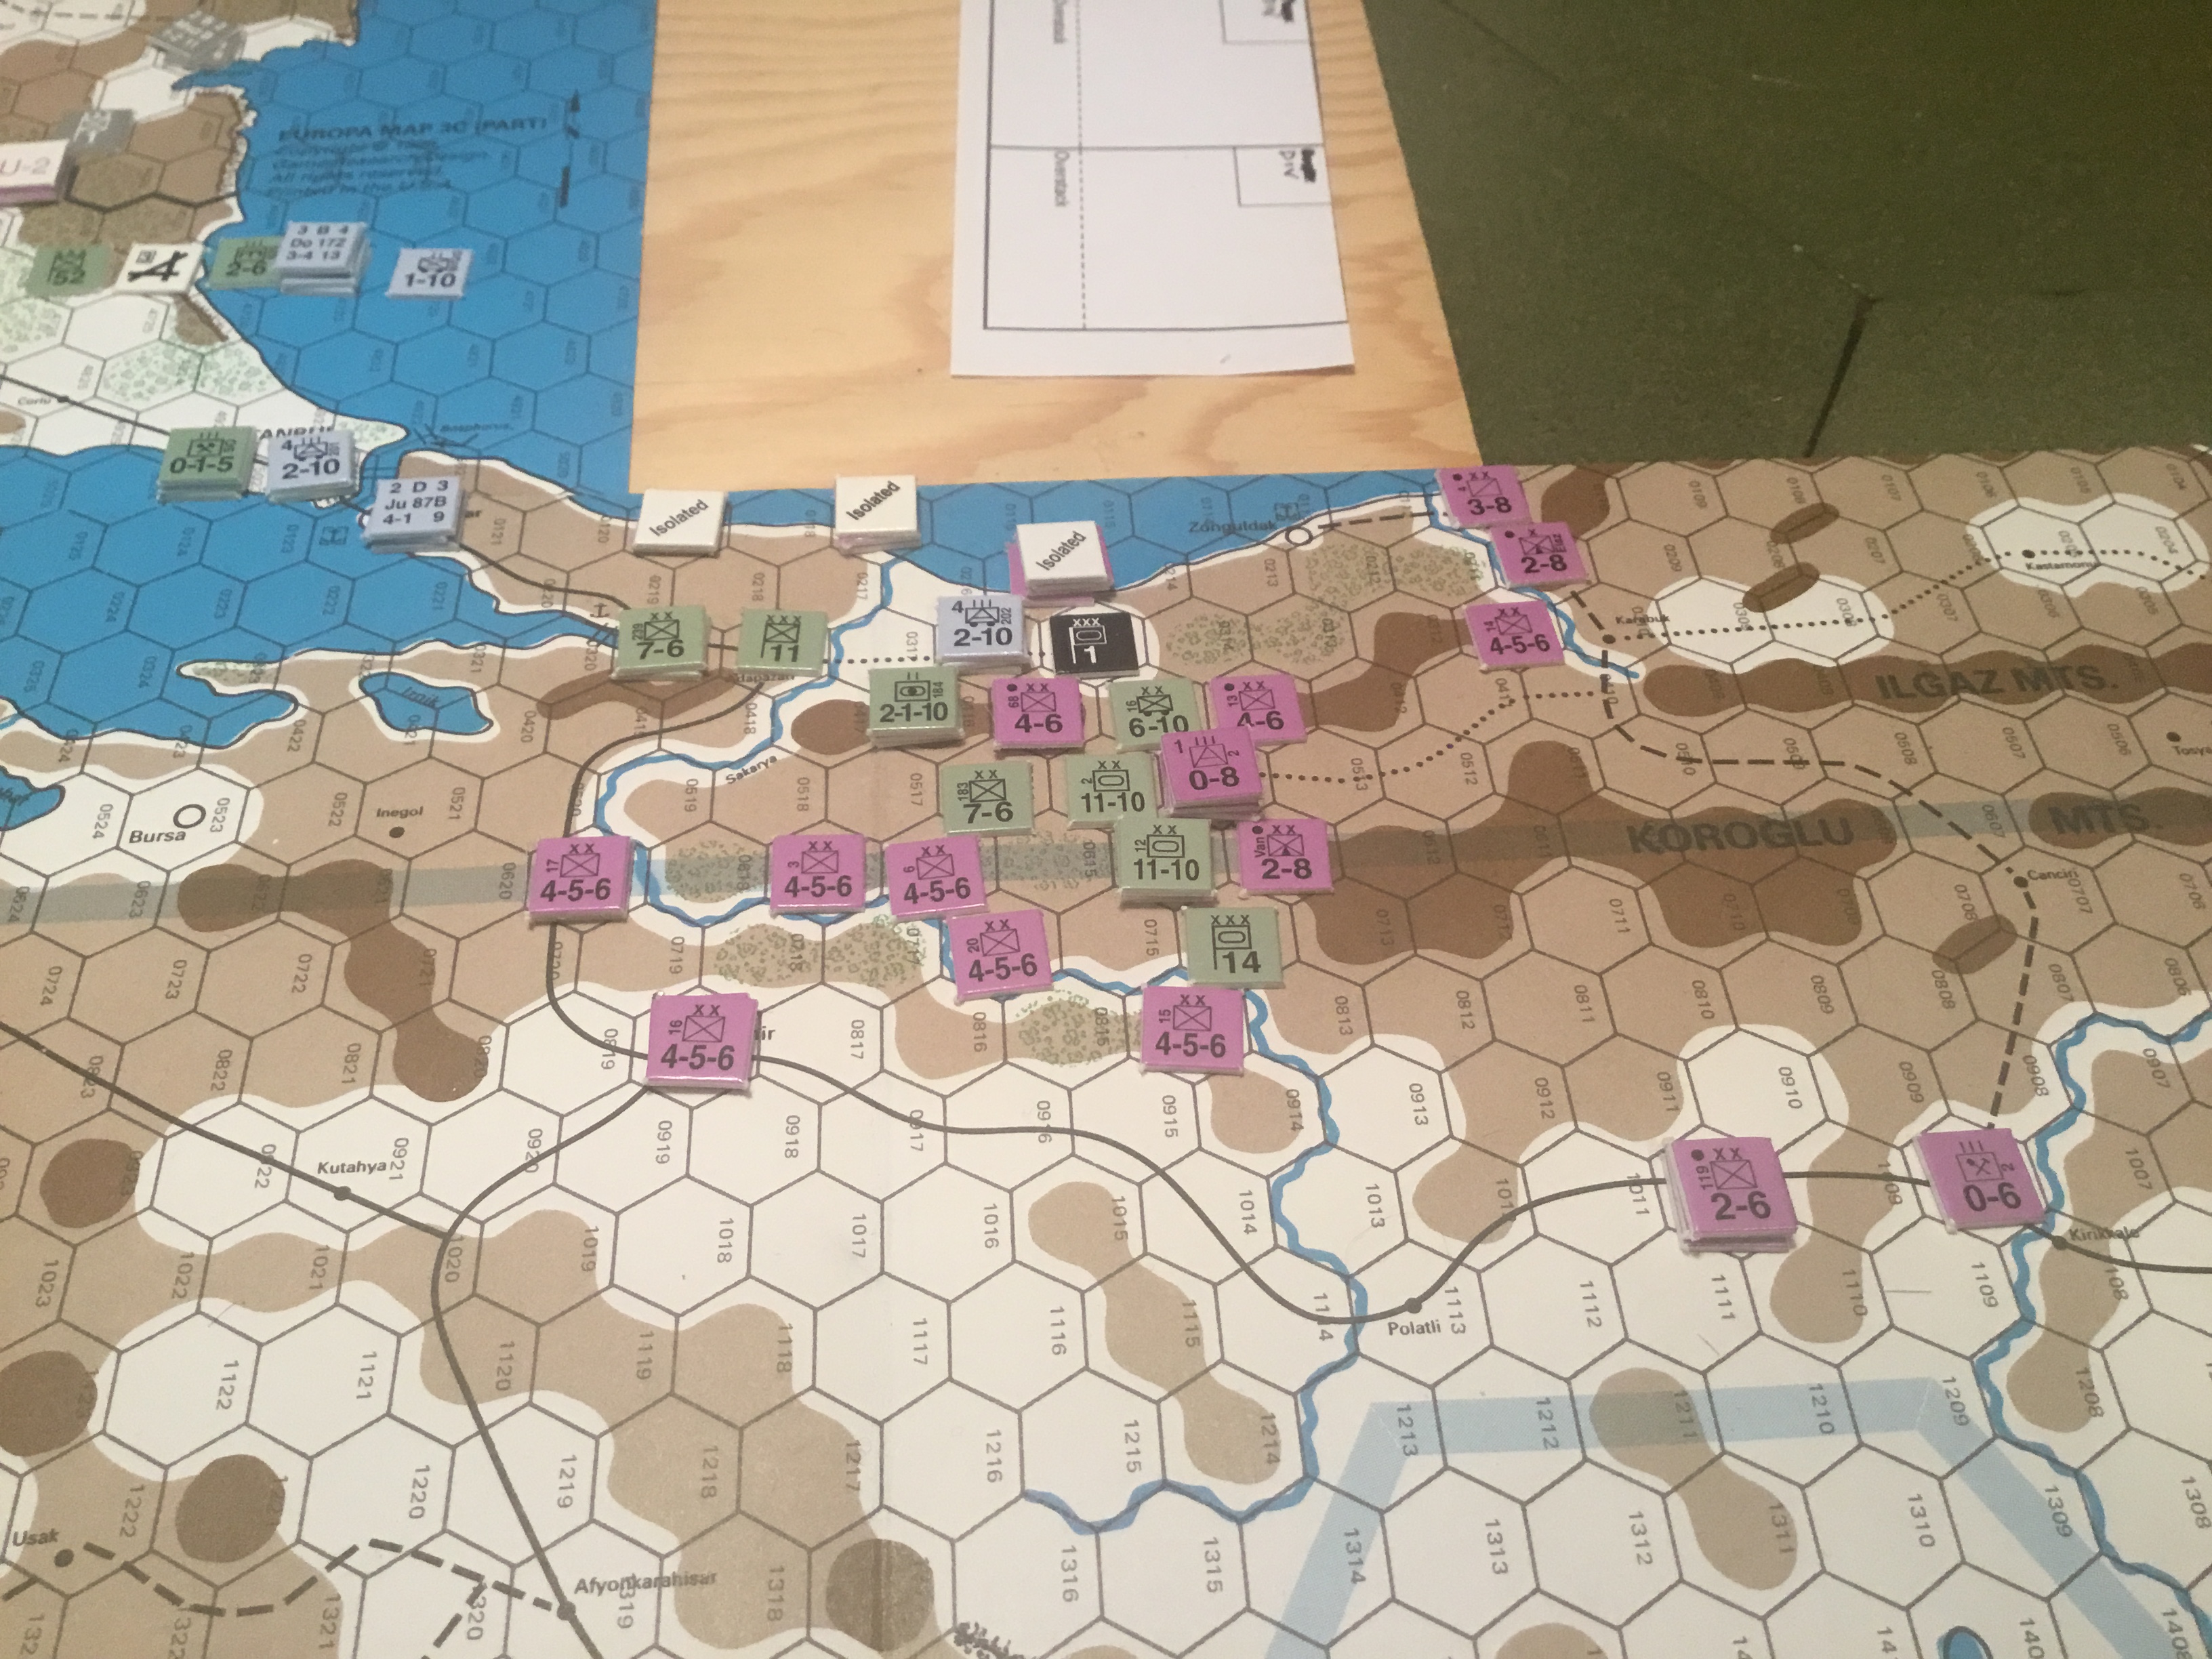
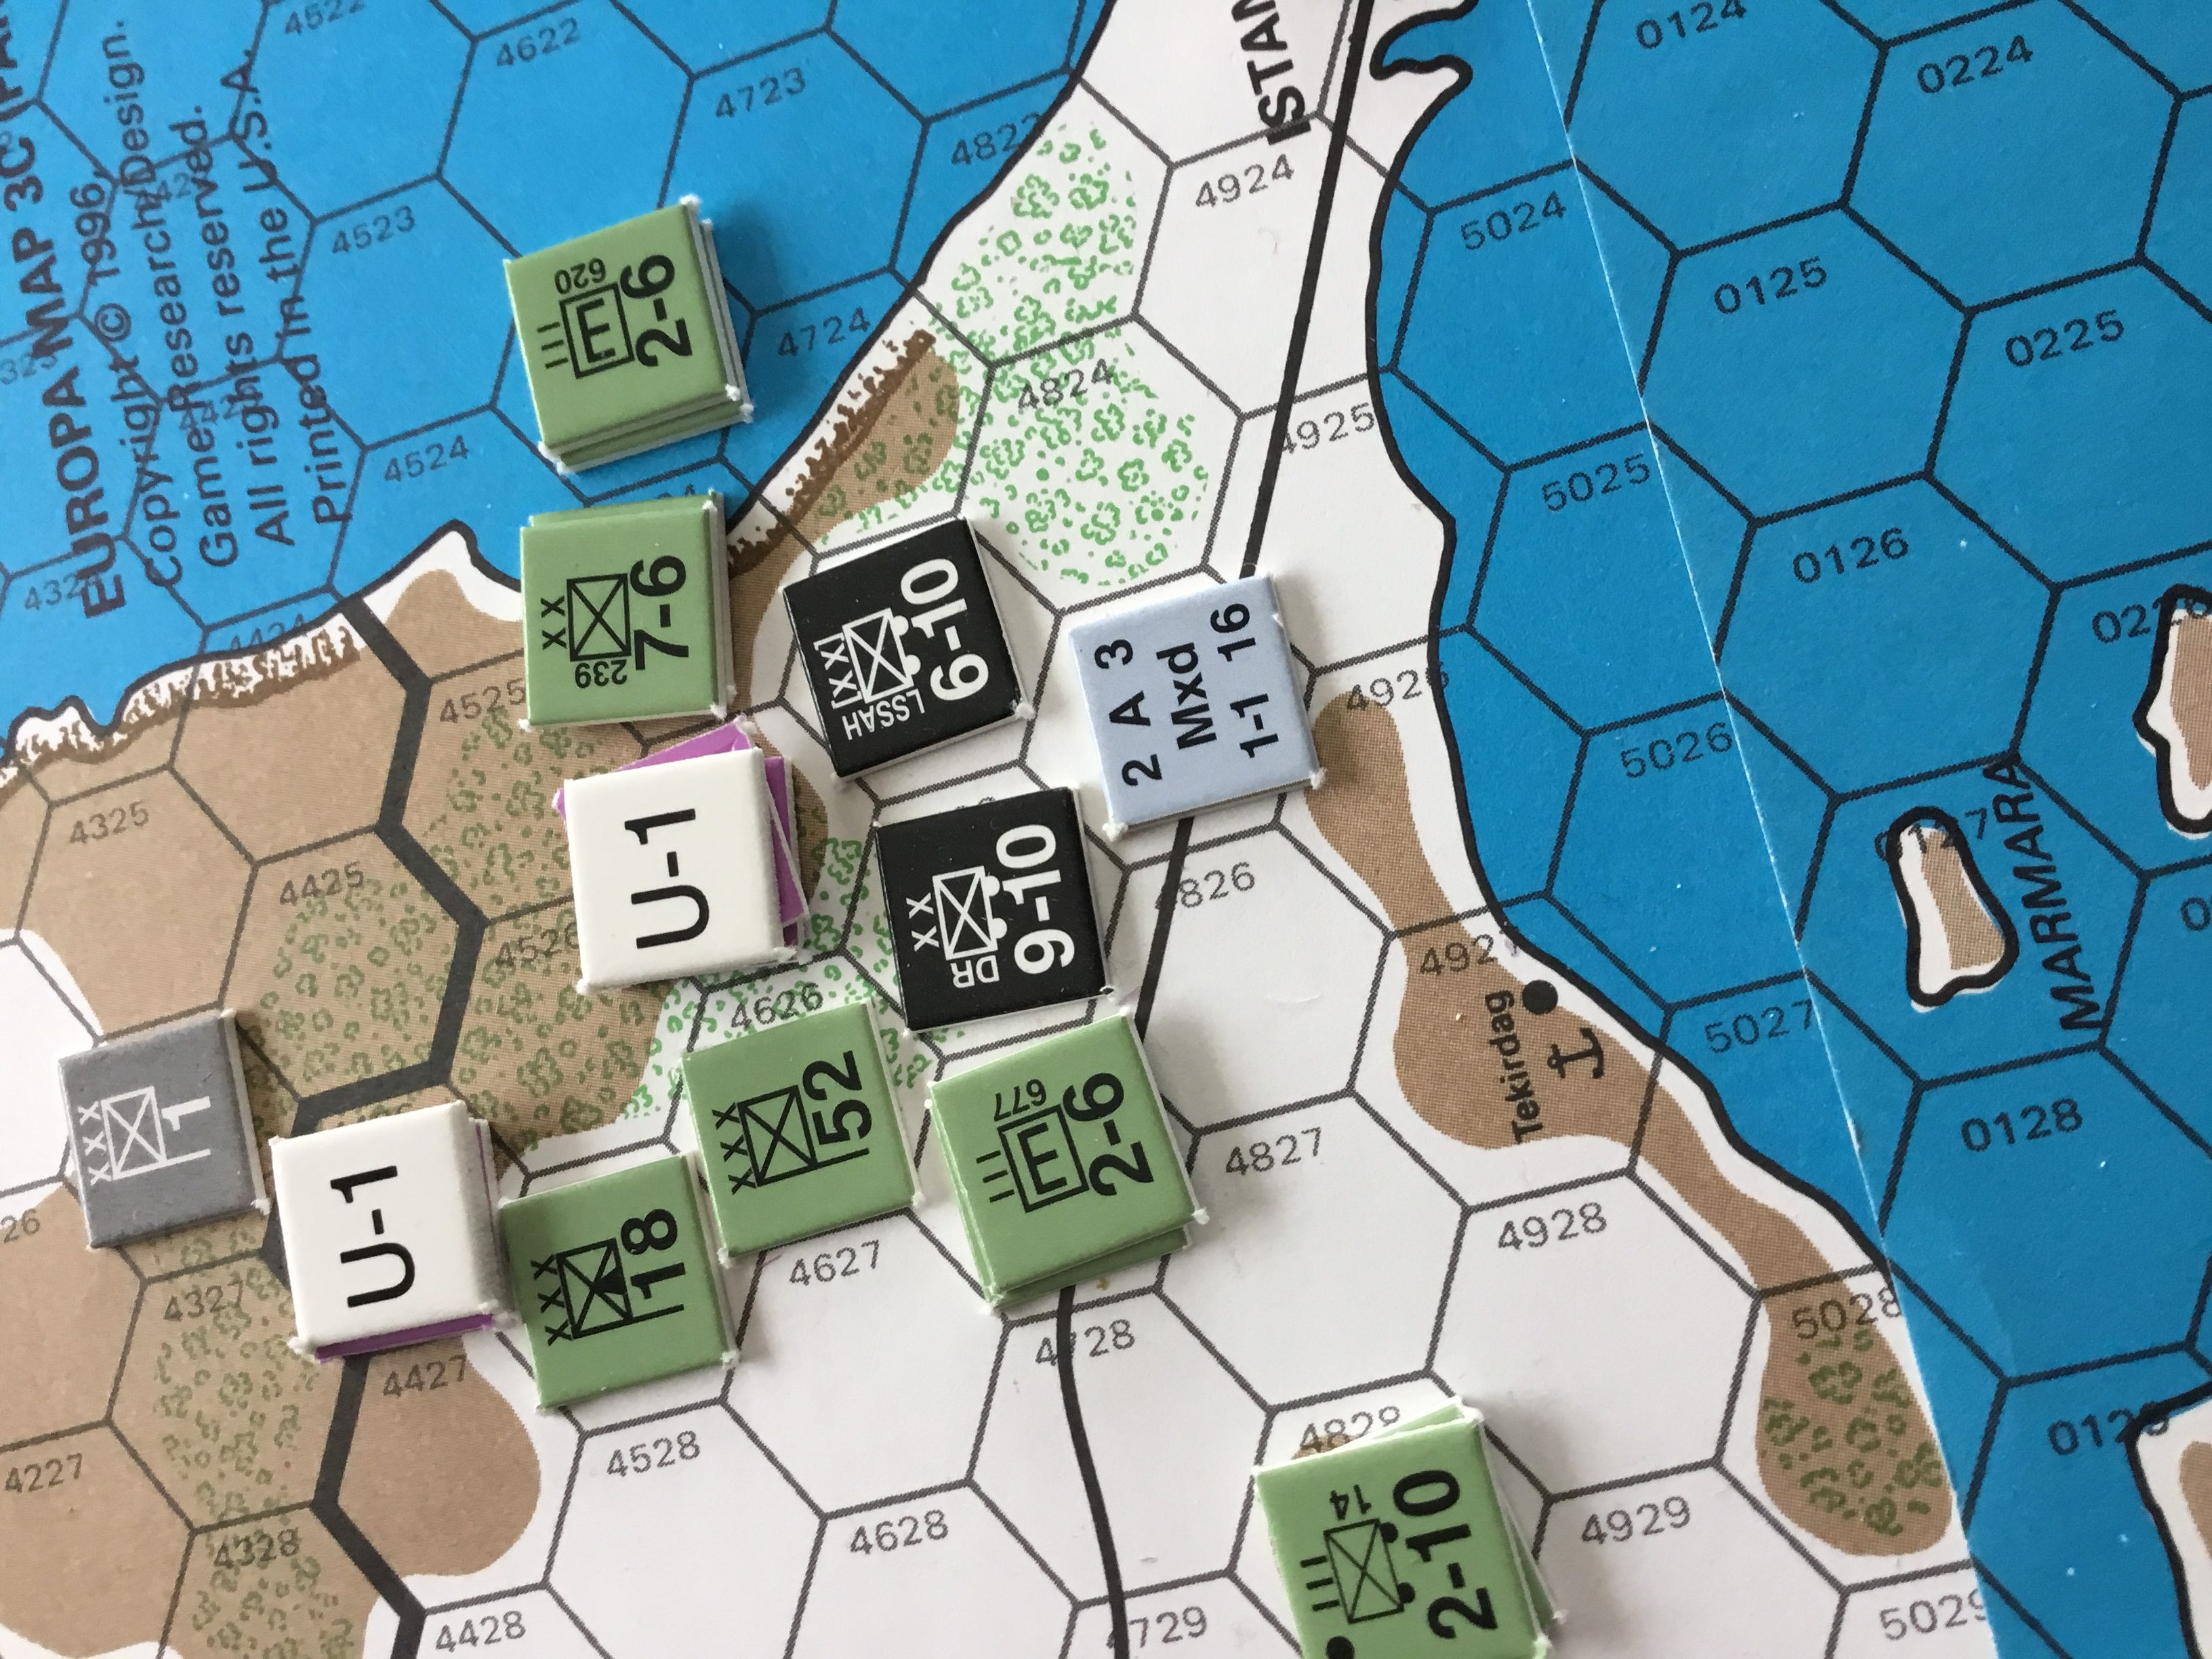
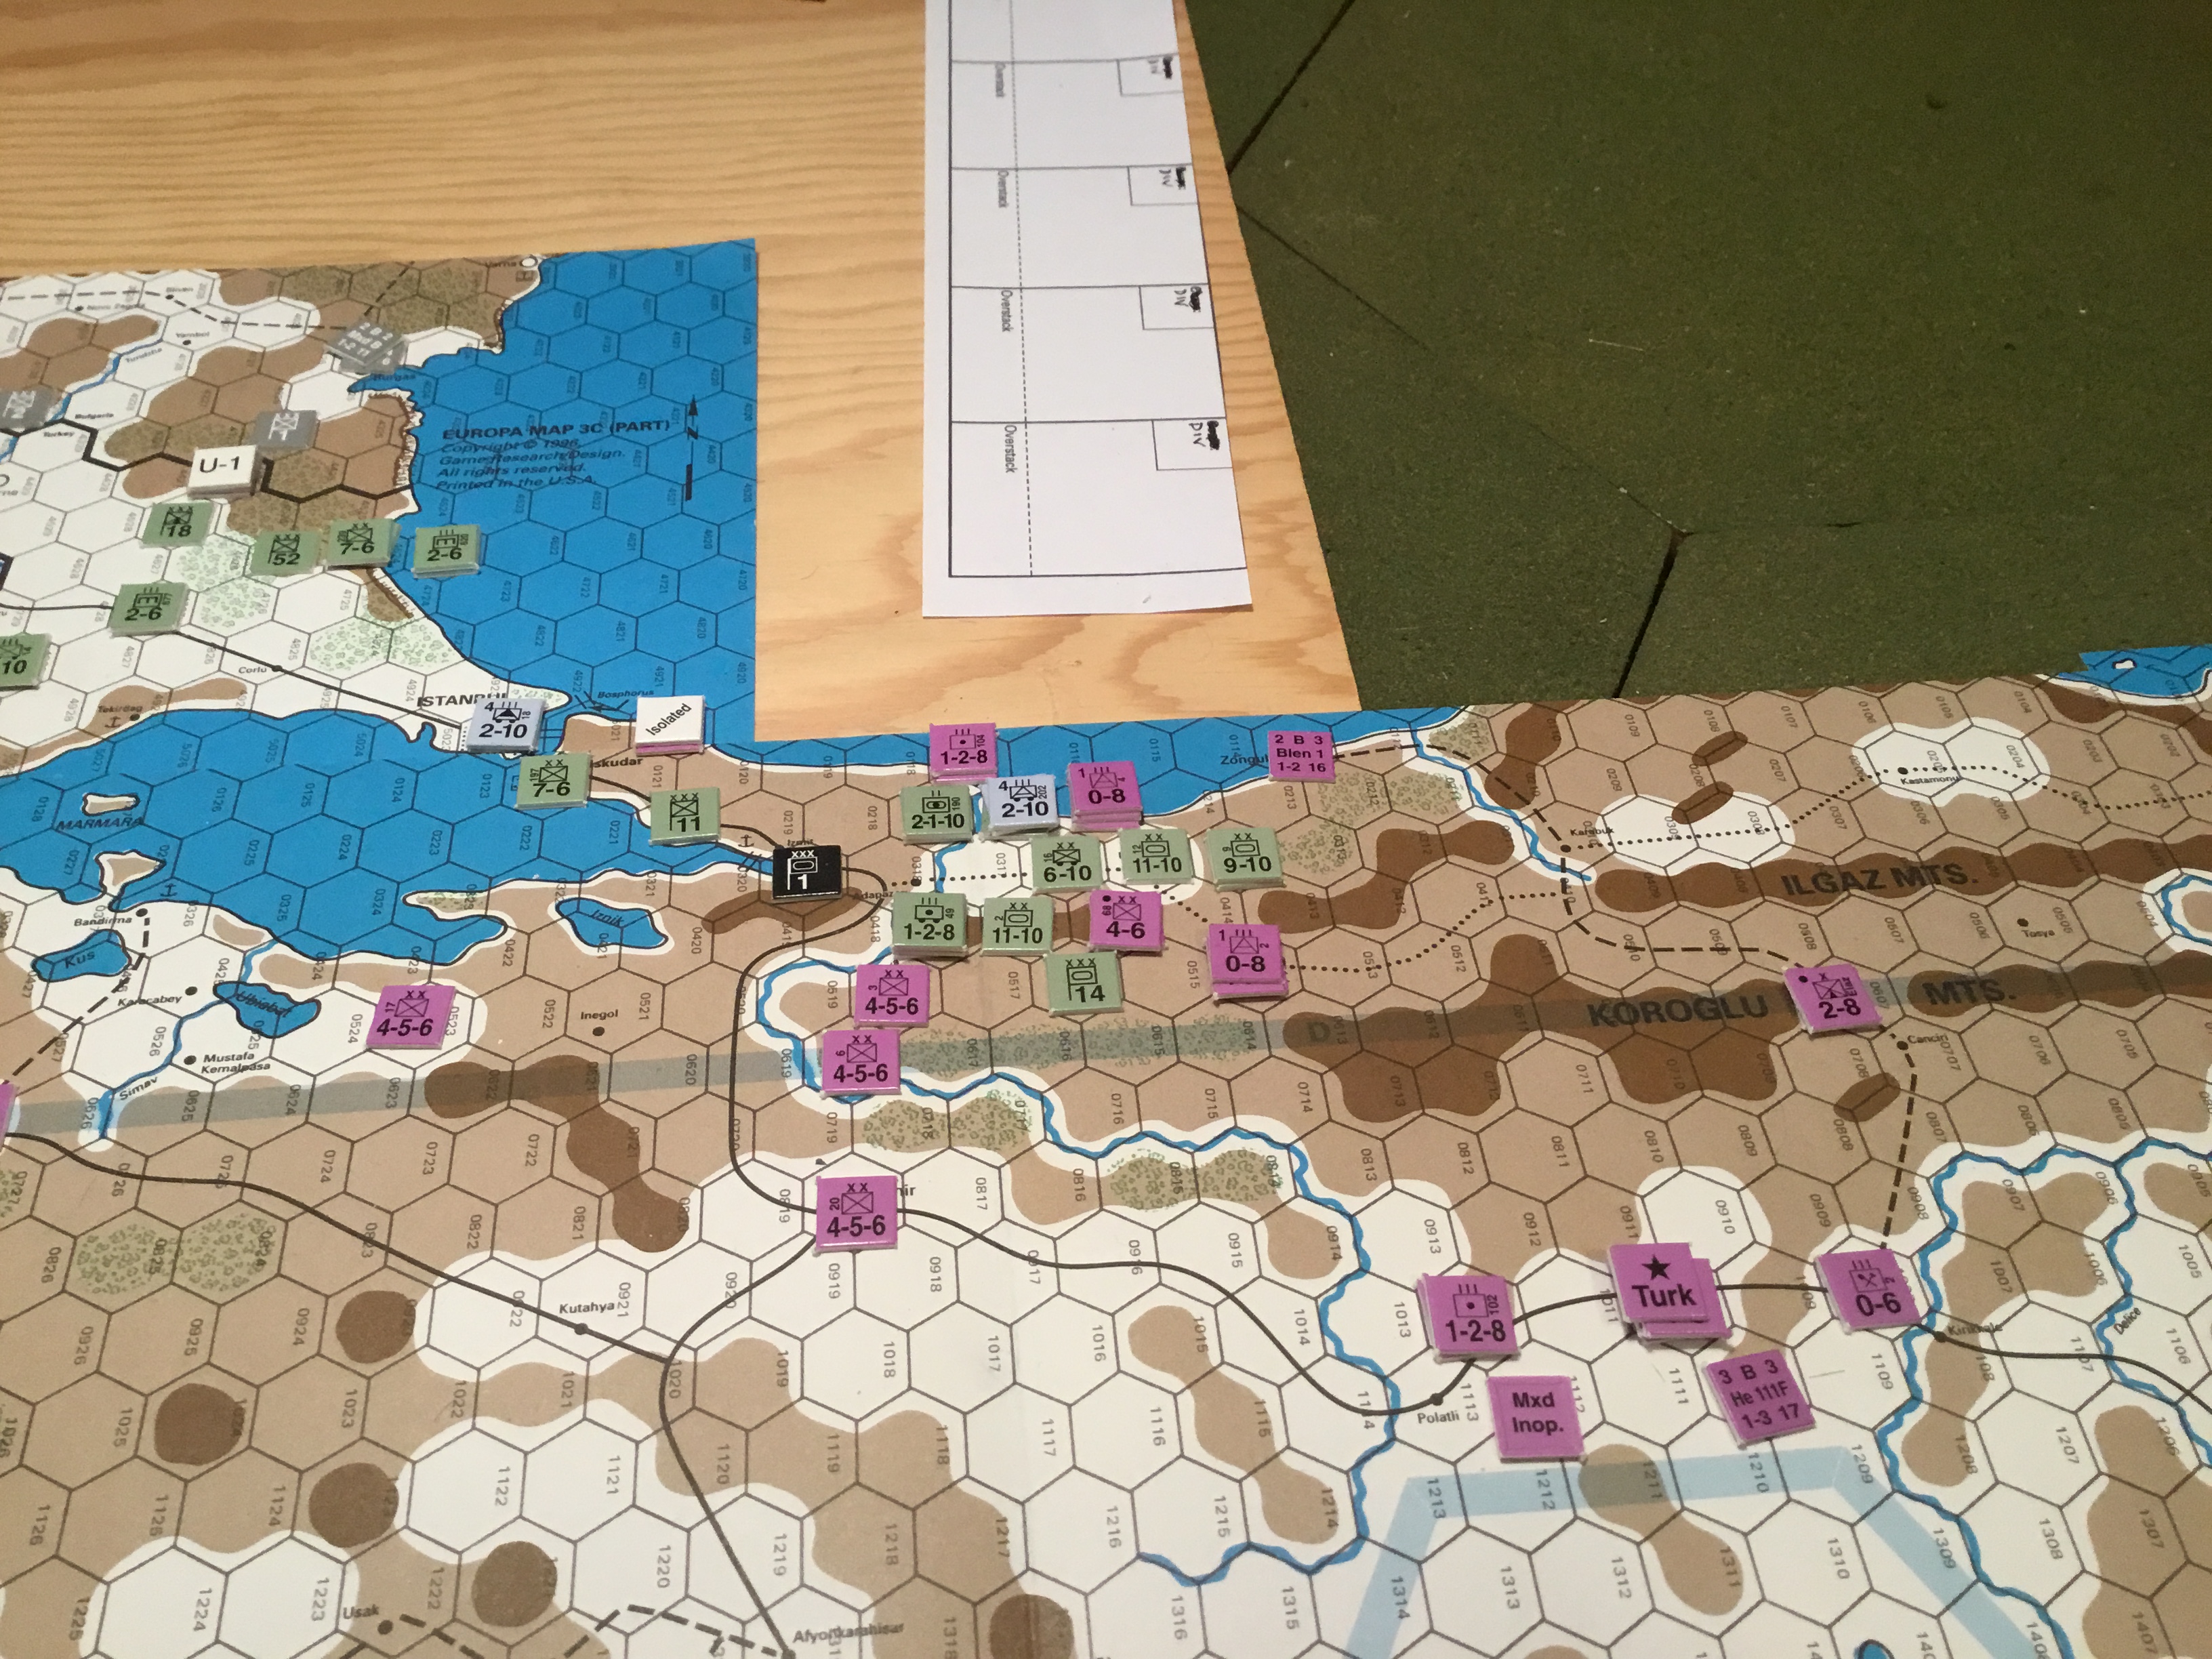
Axis forces now in a cul-de-sac. I’m sure there is a way out of this (desperate airborne divisional drop?), but lack the time and patience.
So, where did it all go wrong? Feel like Jeff Goff looking at Super Bowl film. I’m so Kubler-Ross.
Think this sequence sums it up……
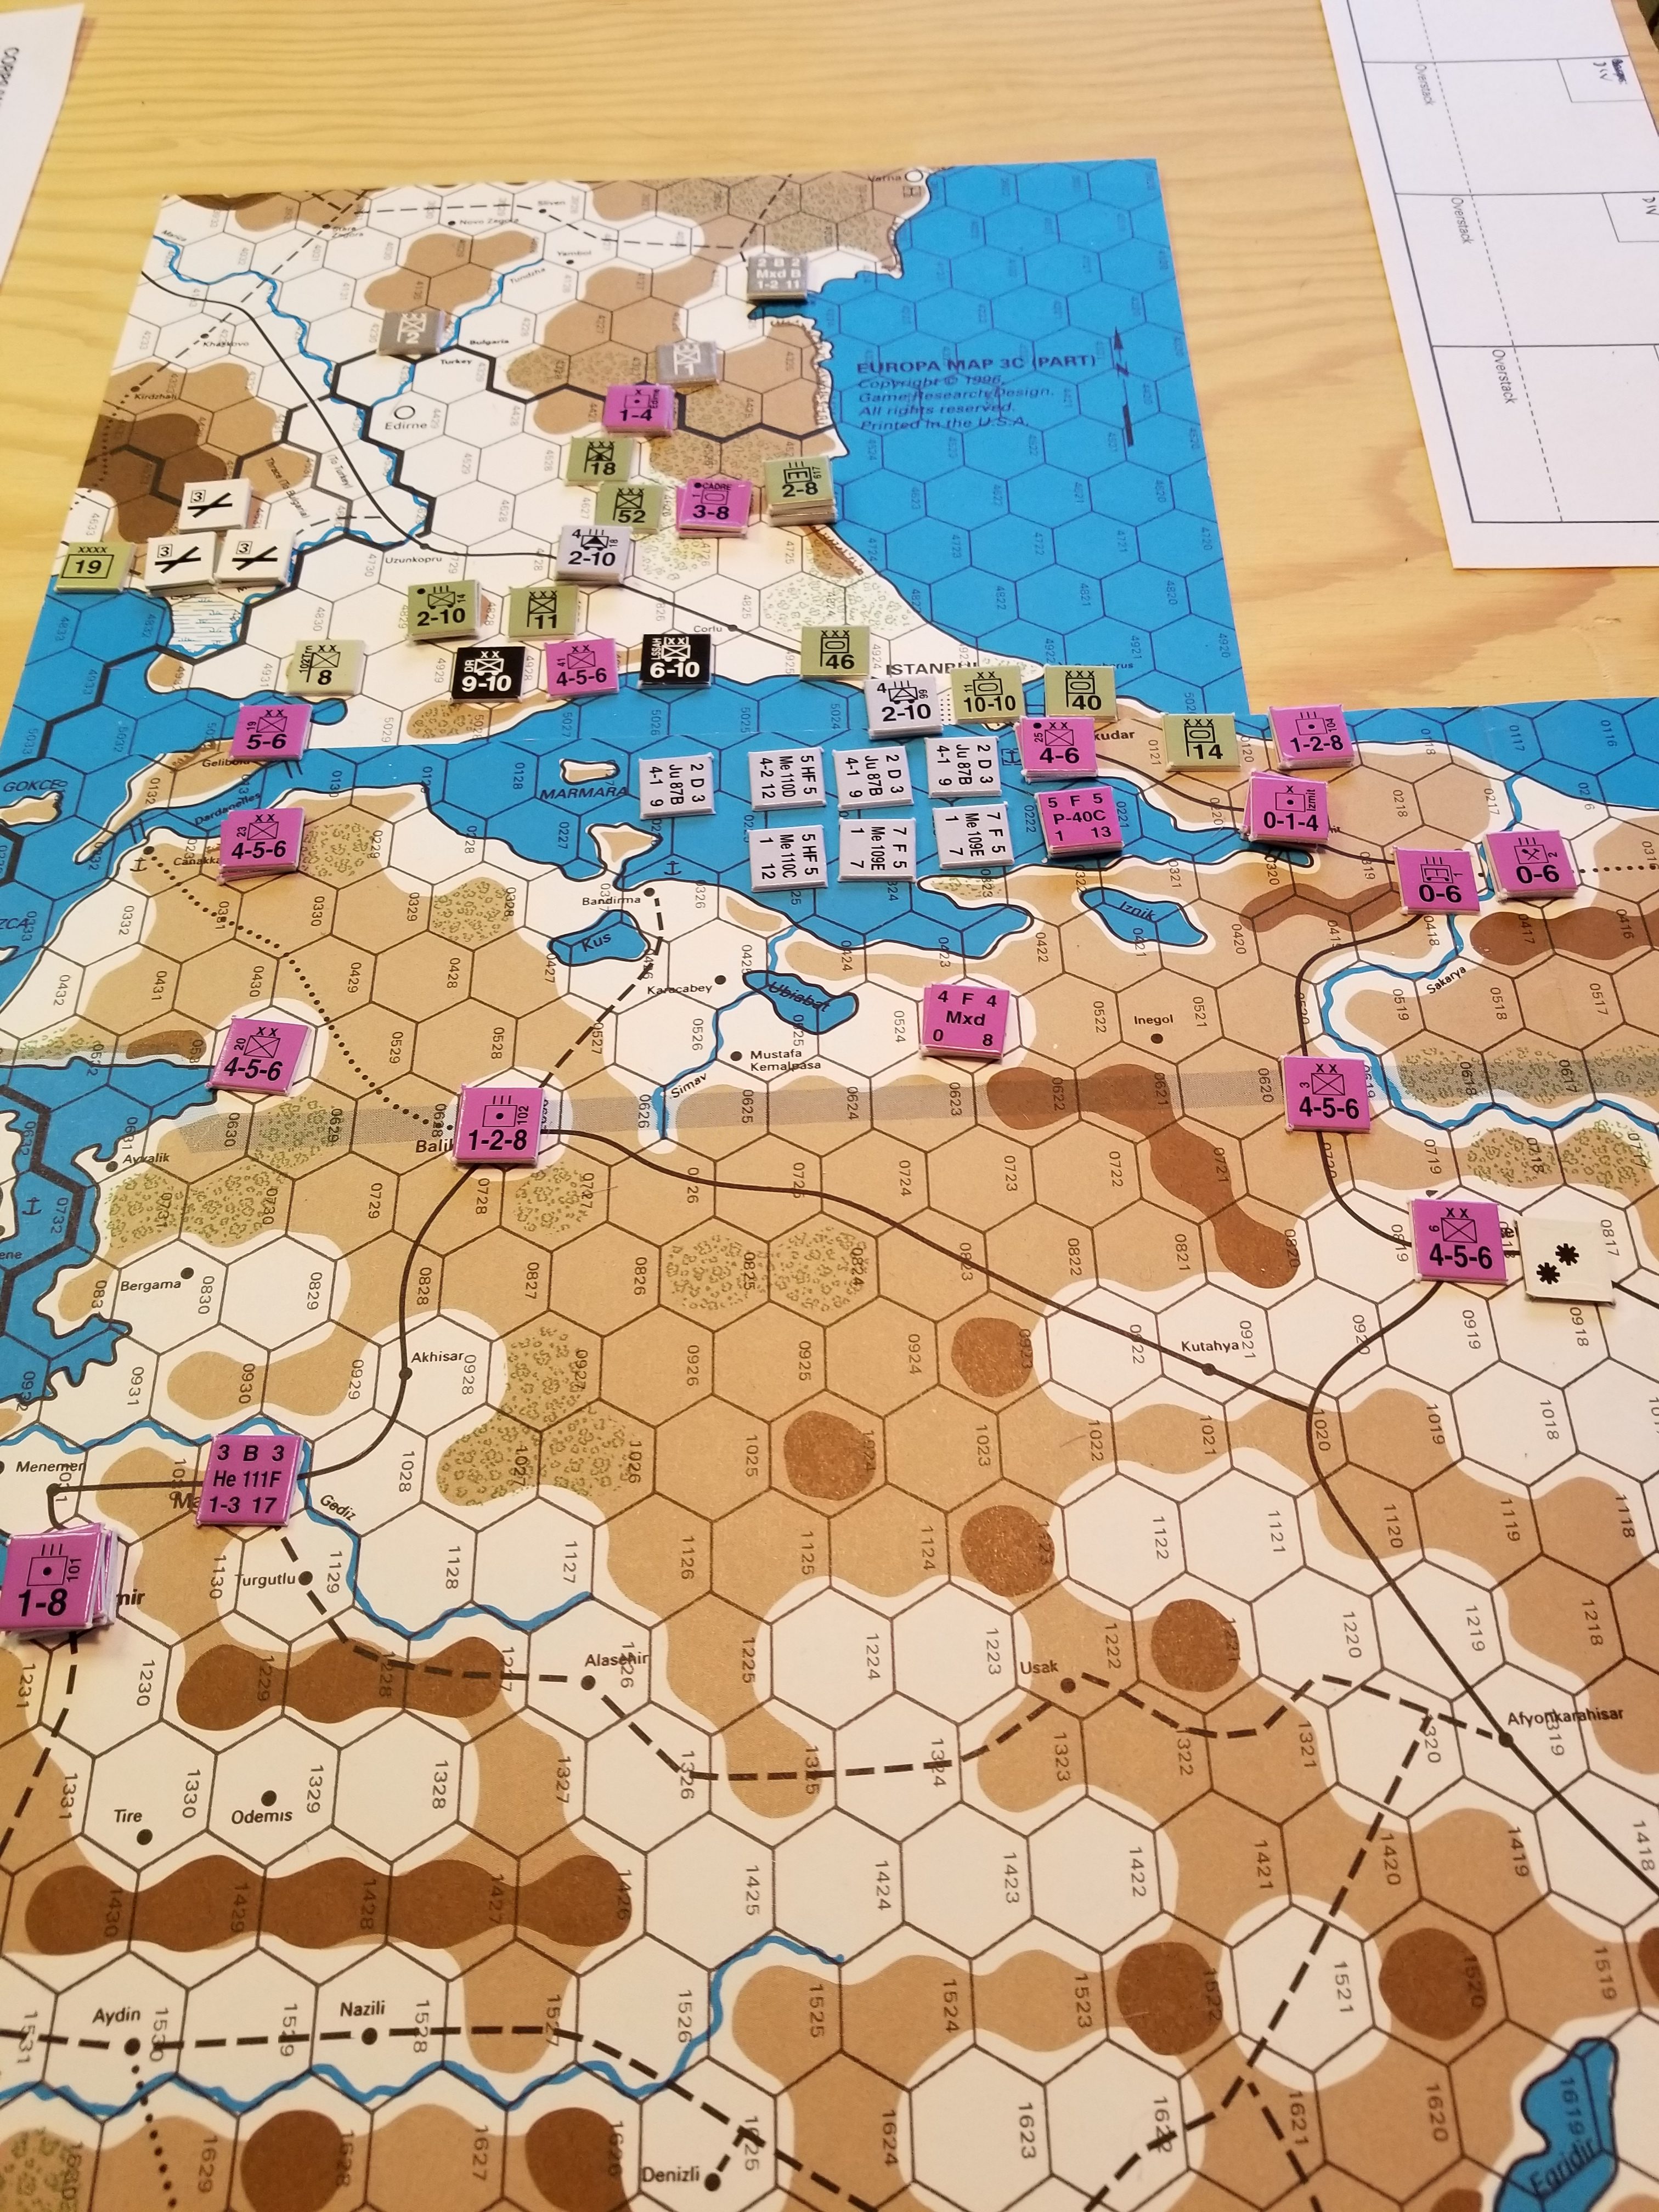
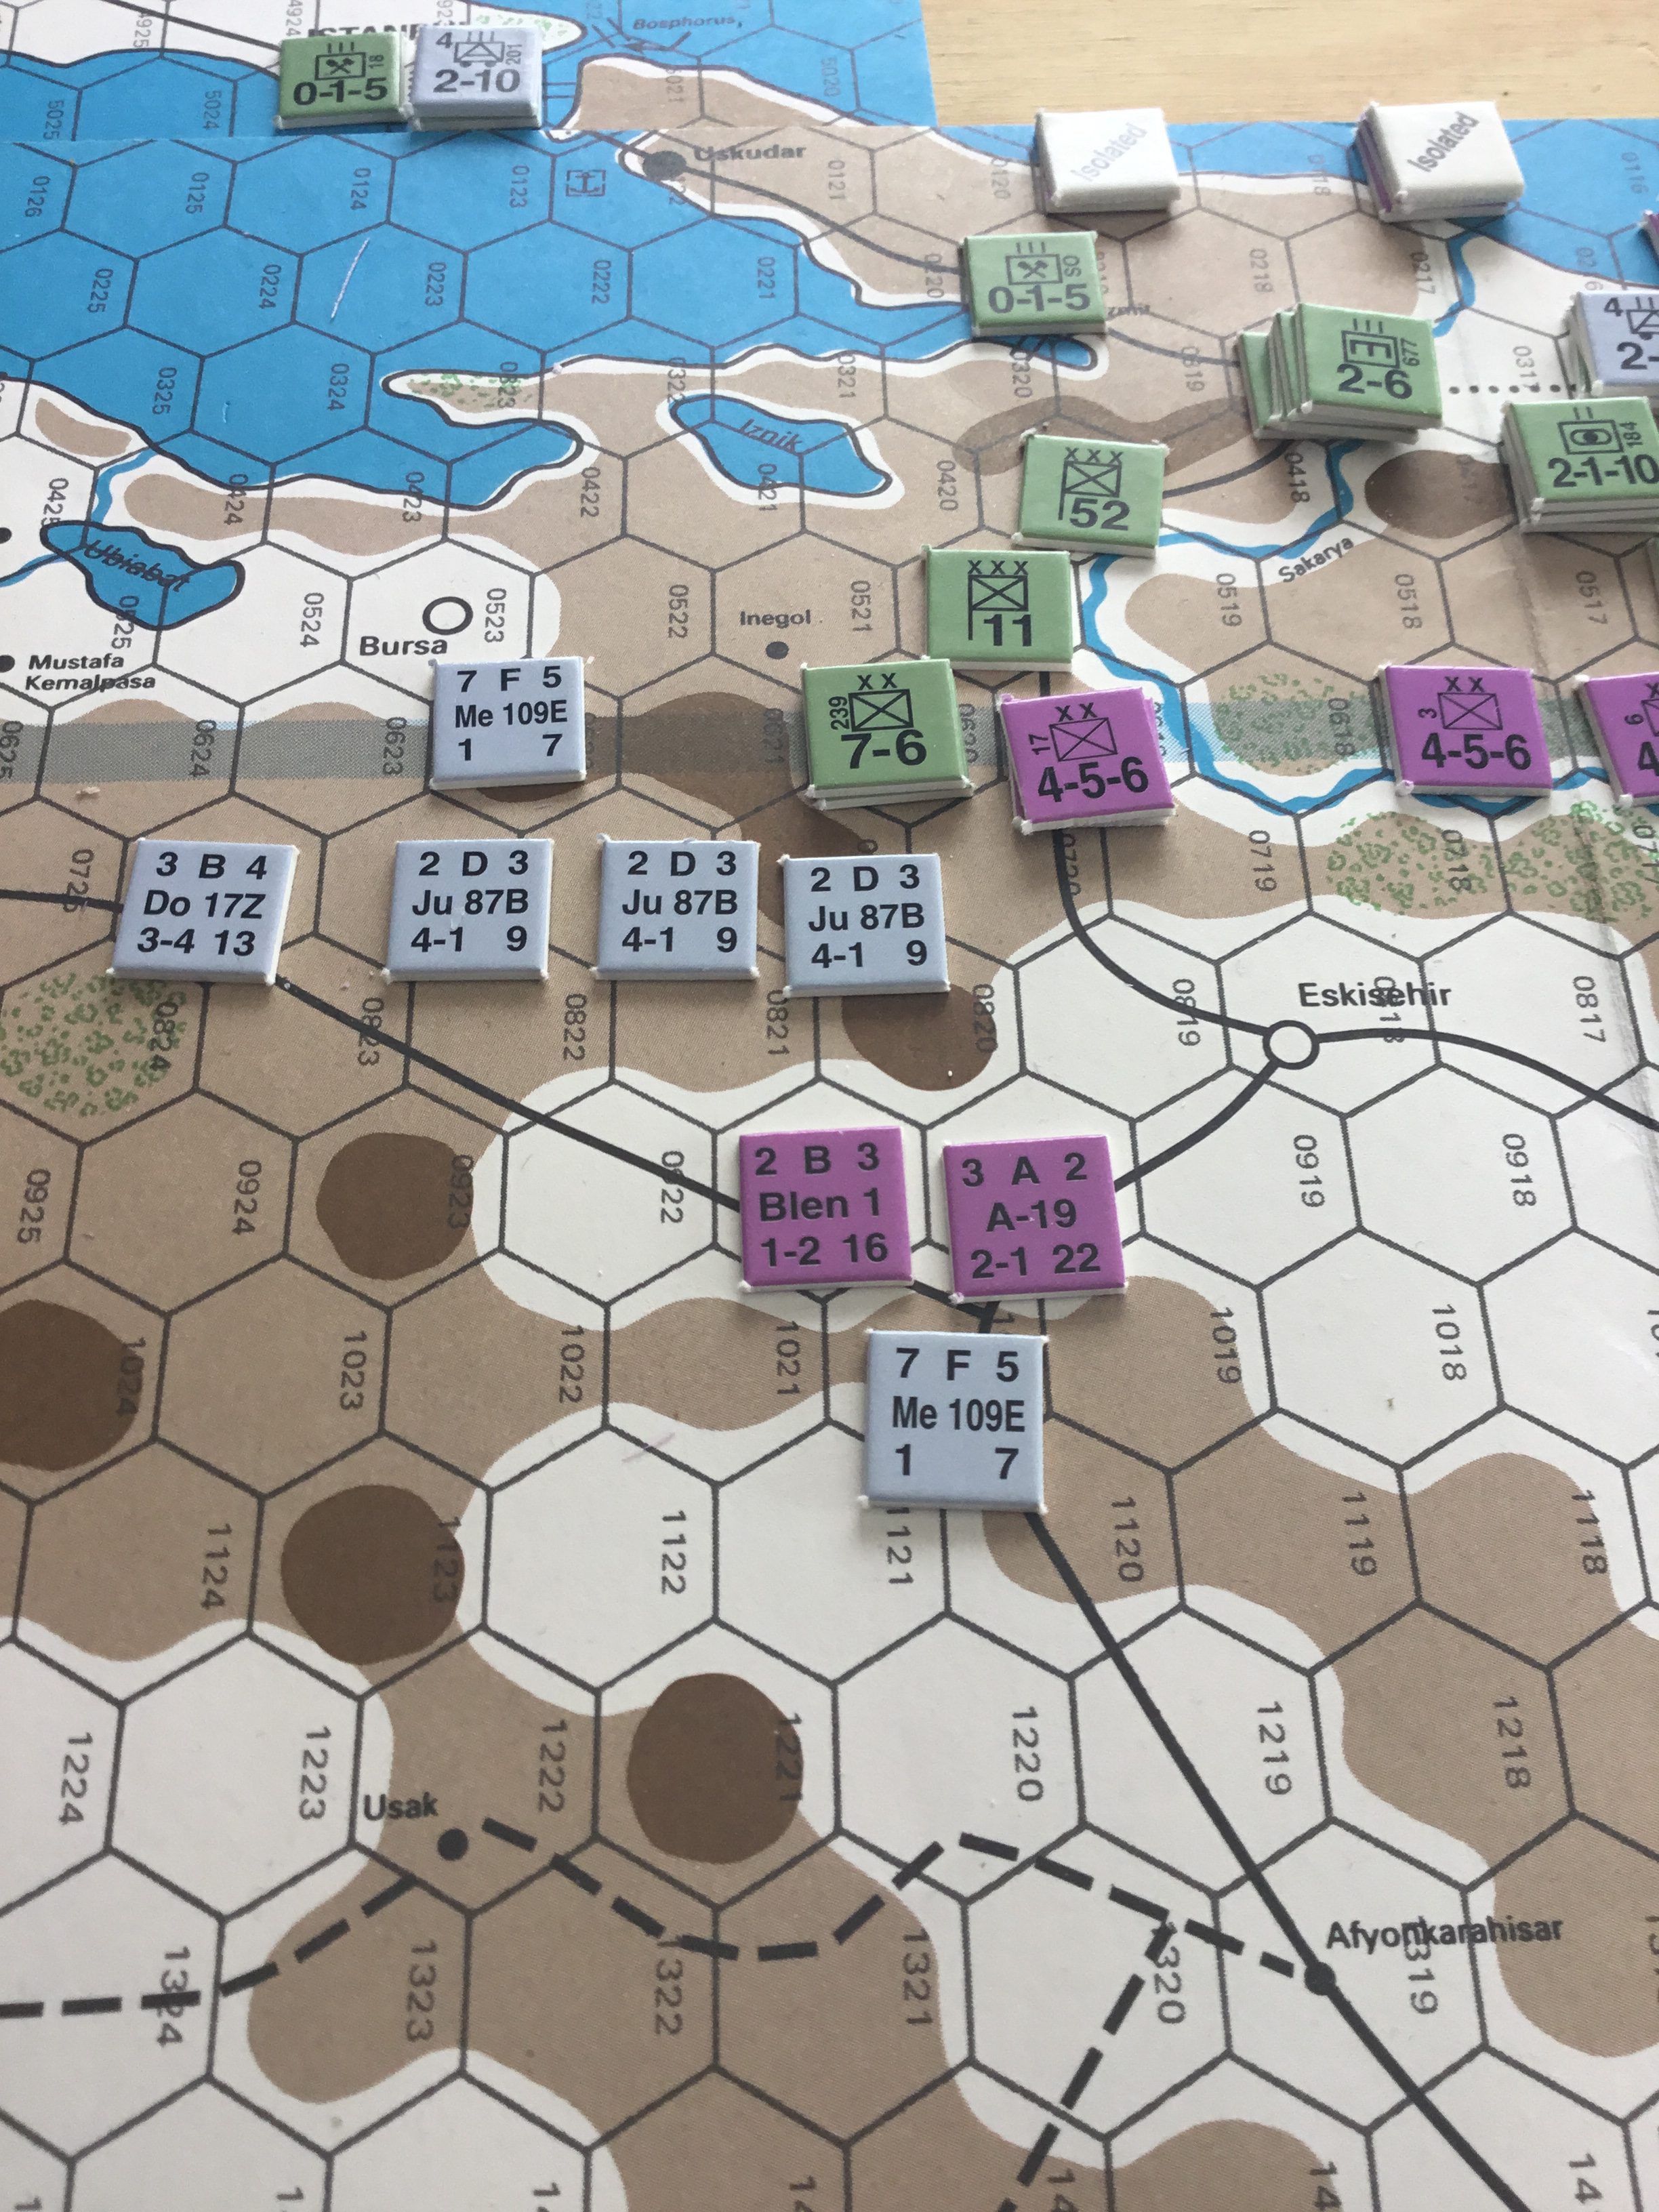
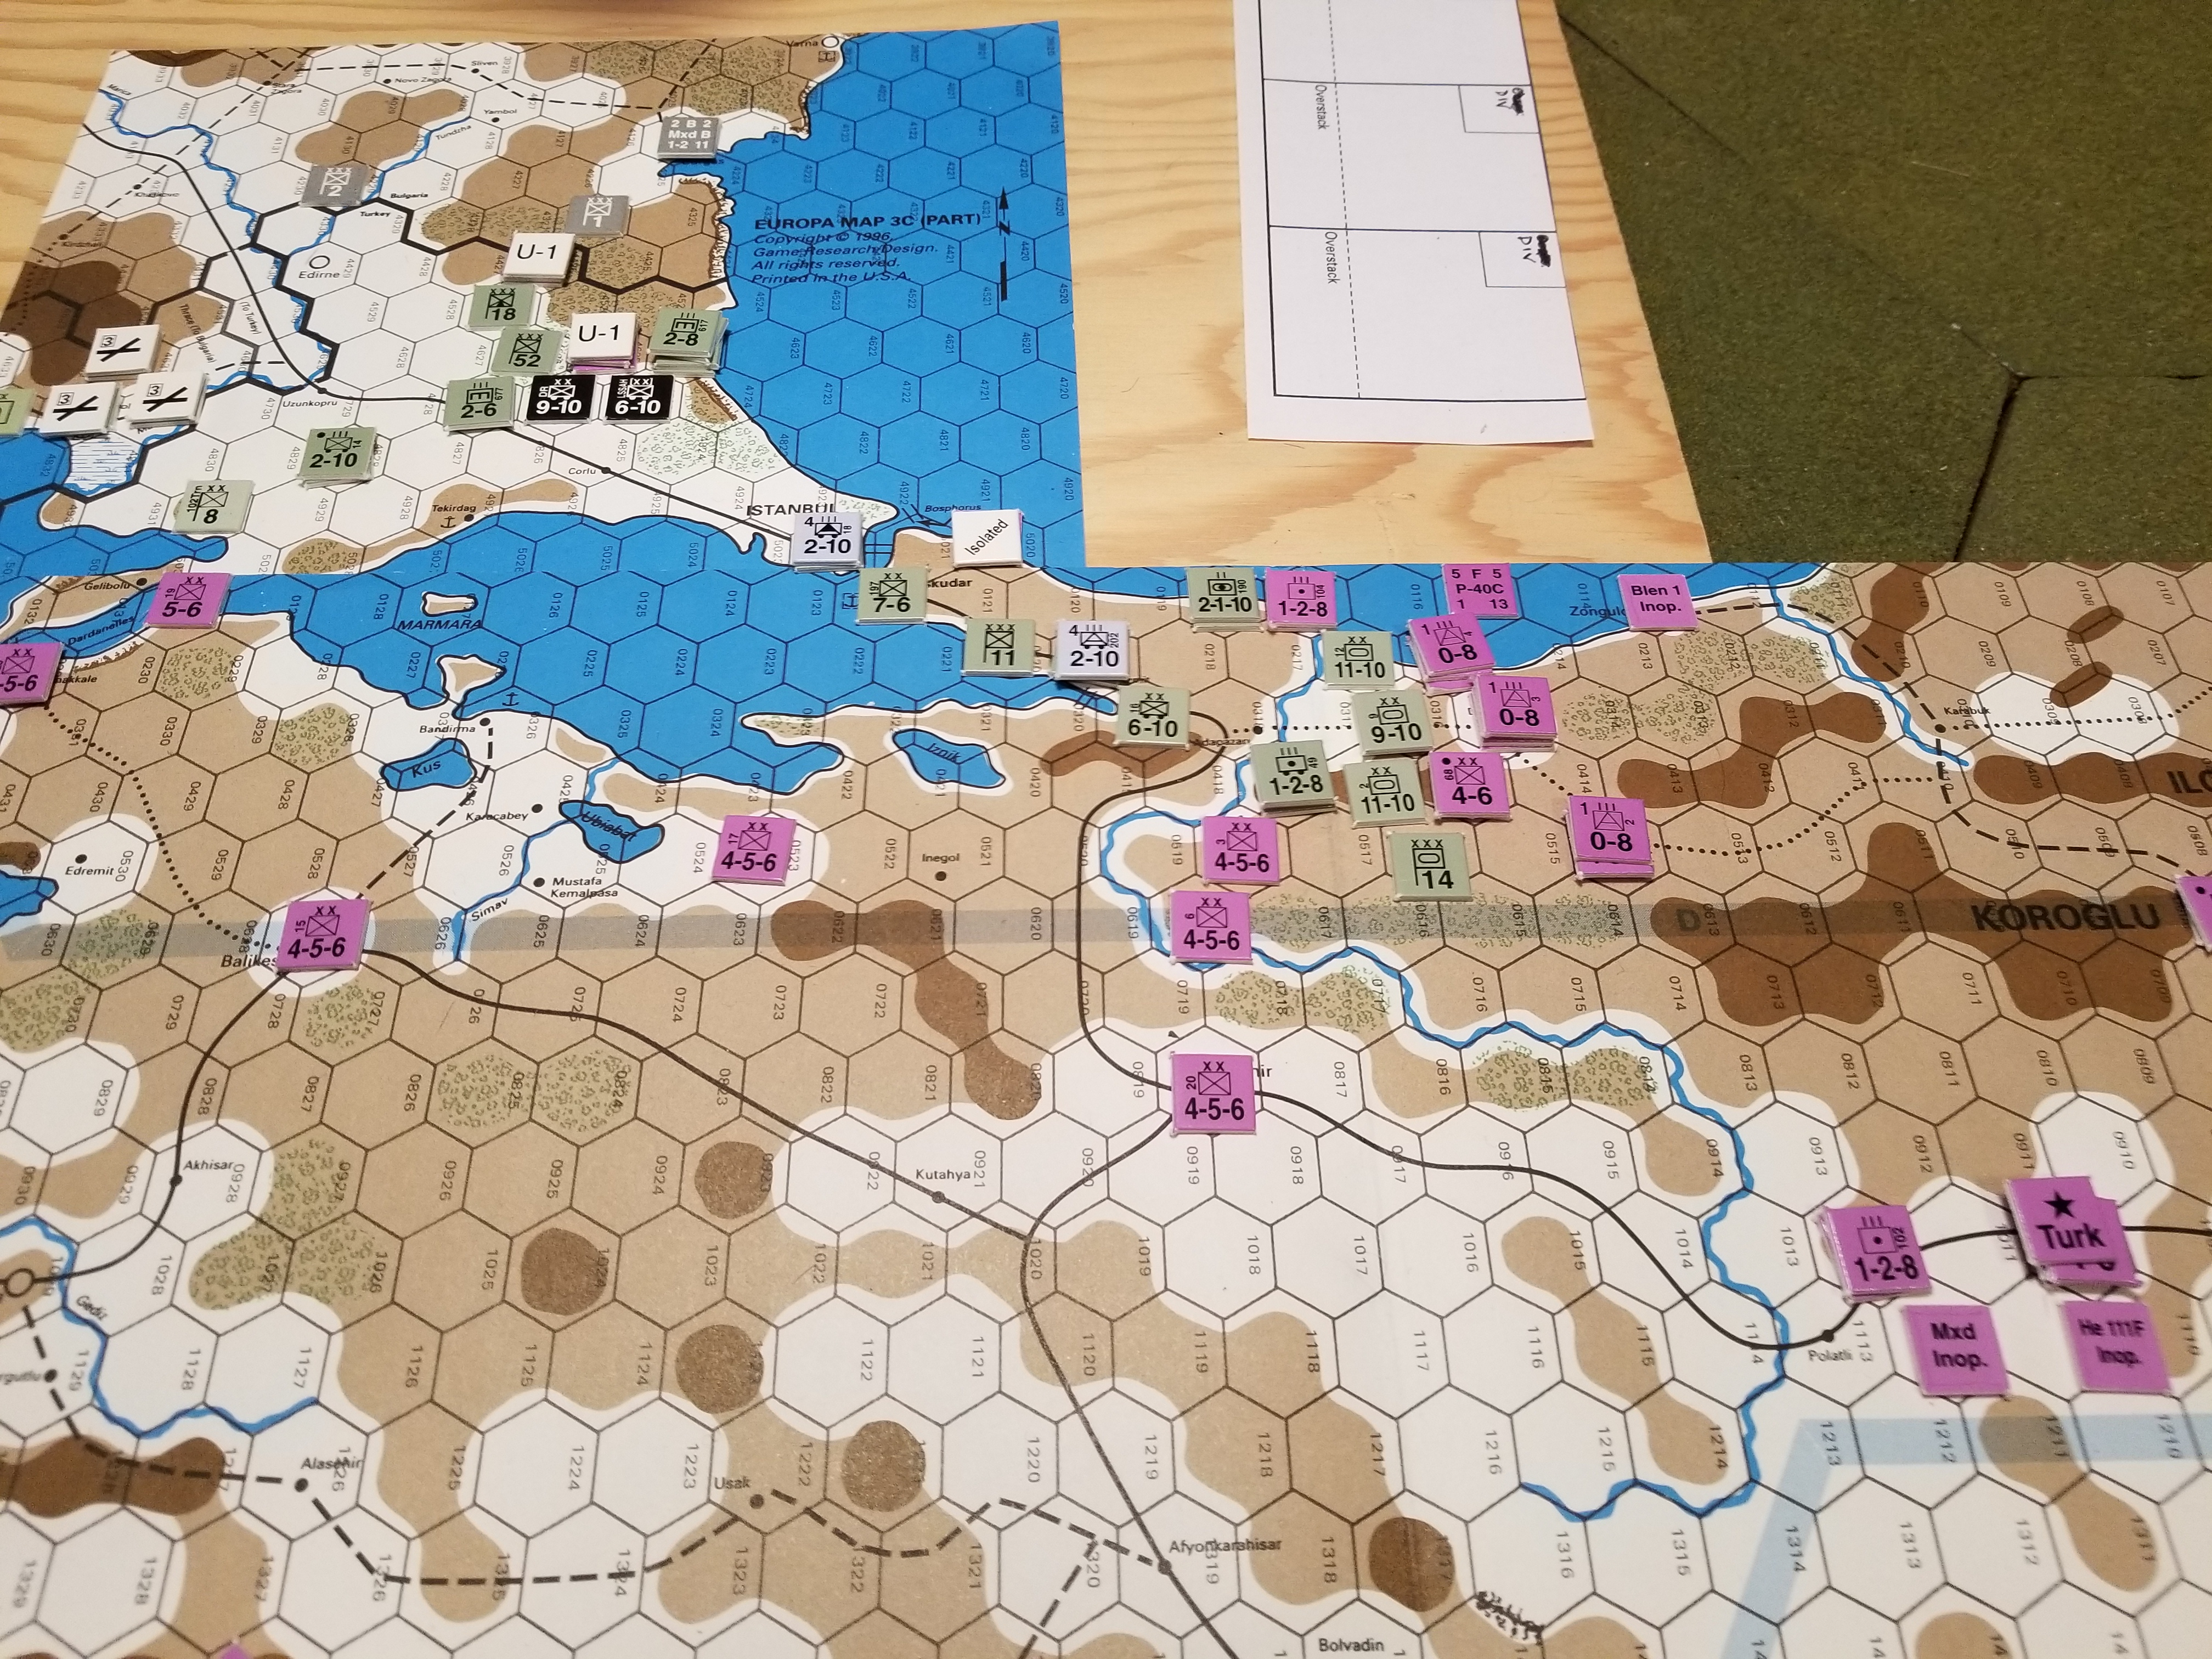
Ready to Break Into Asia
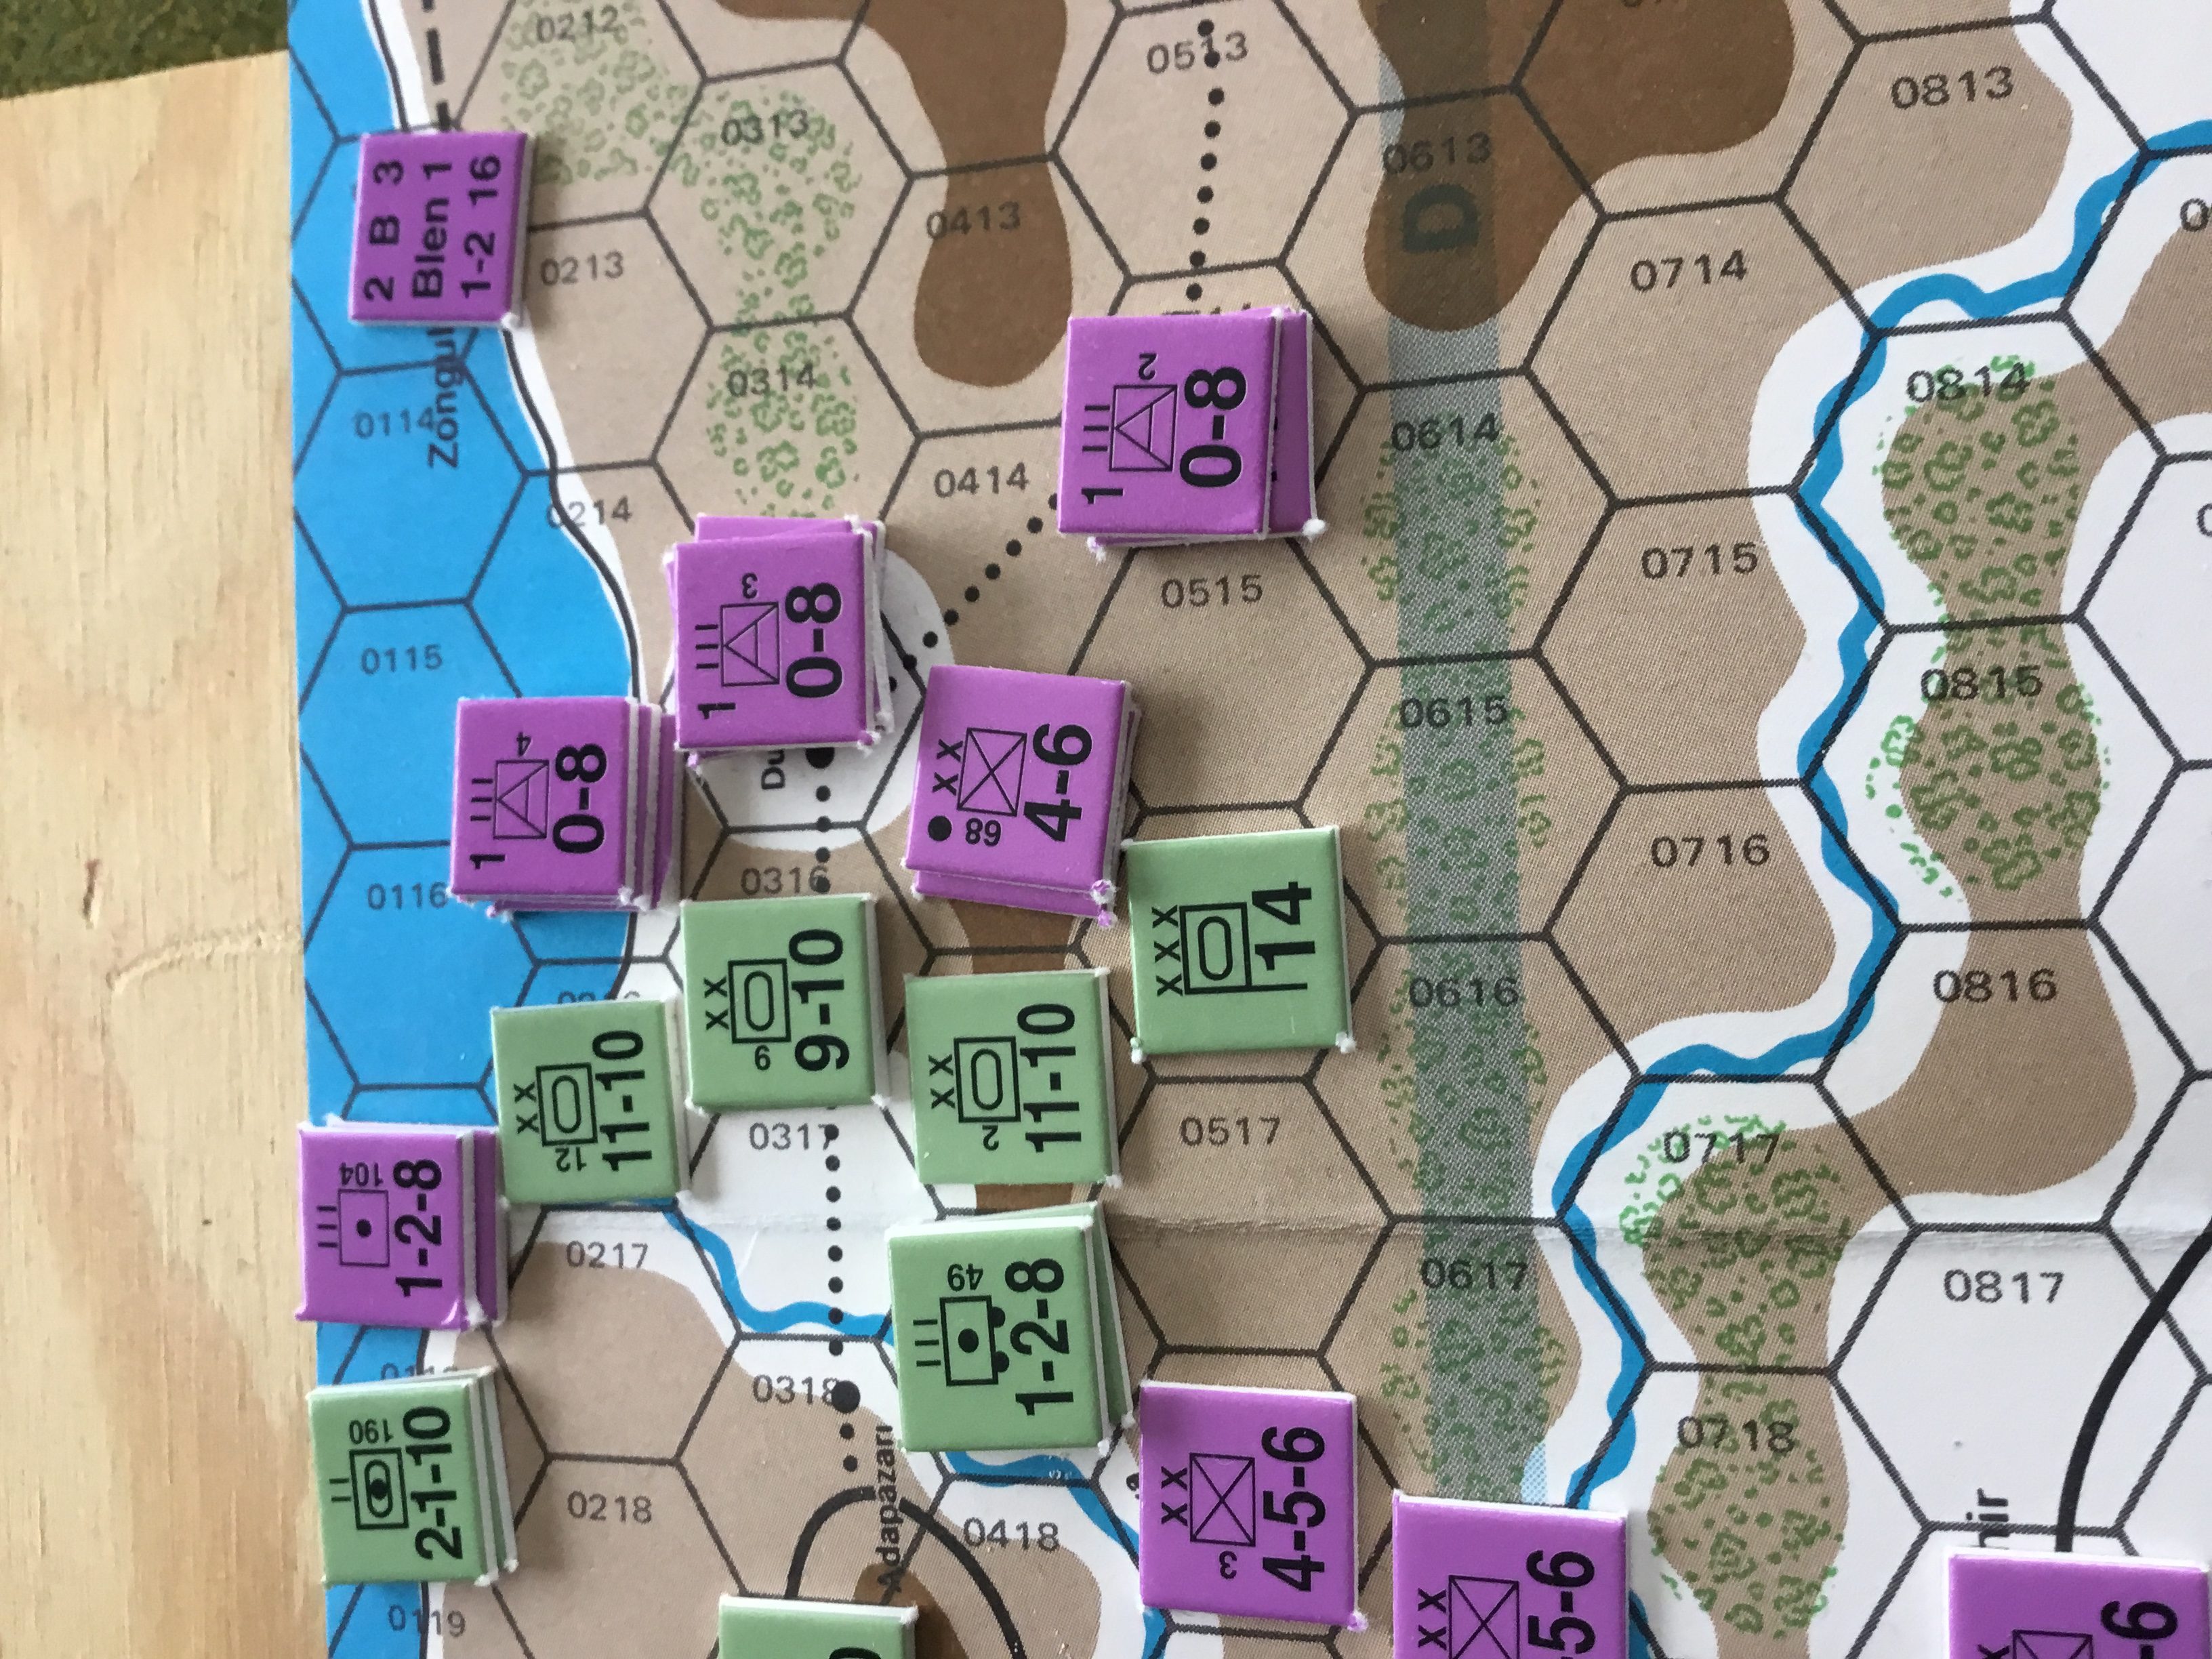
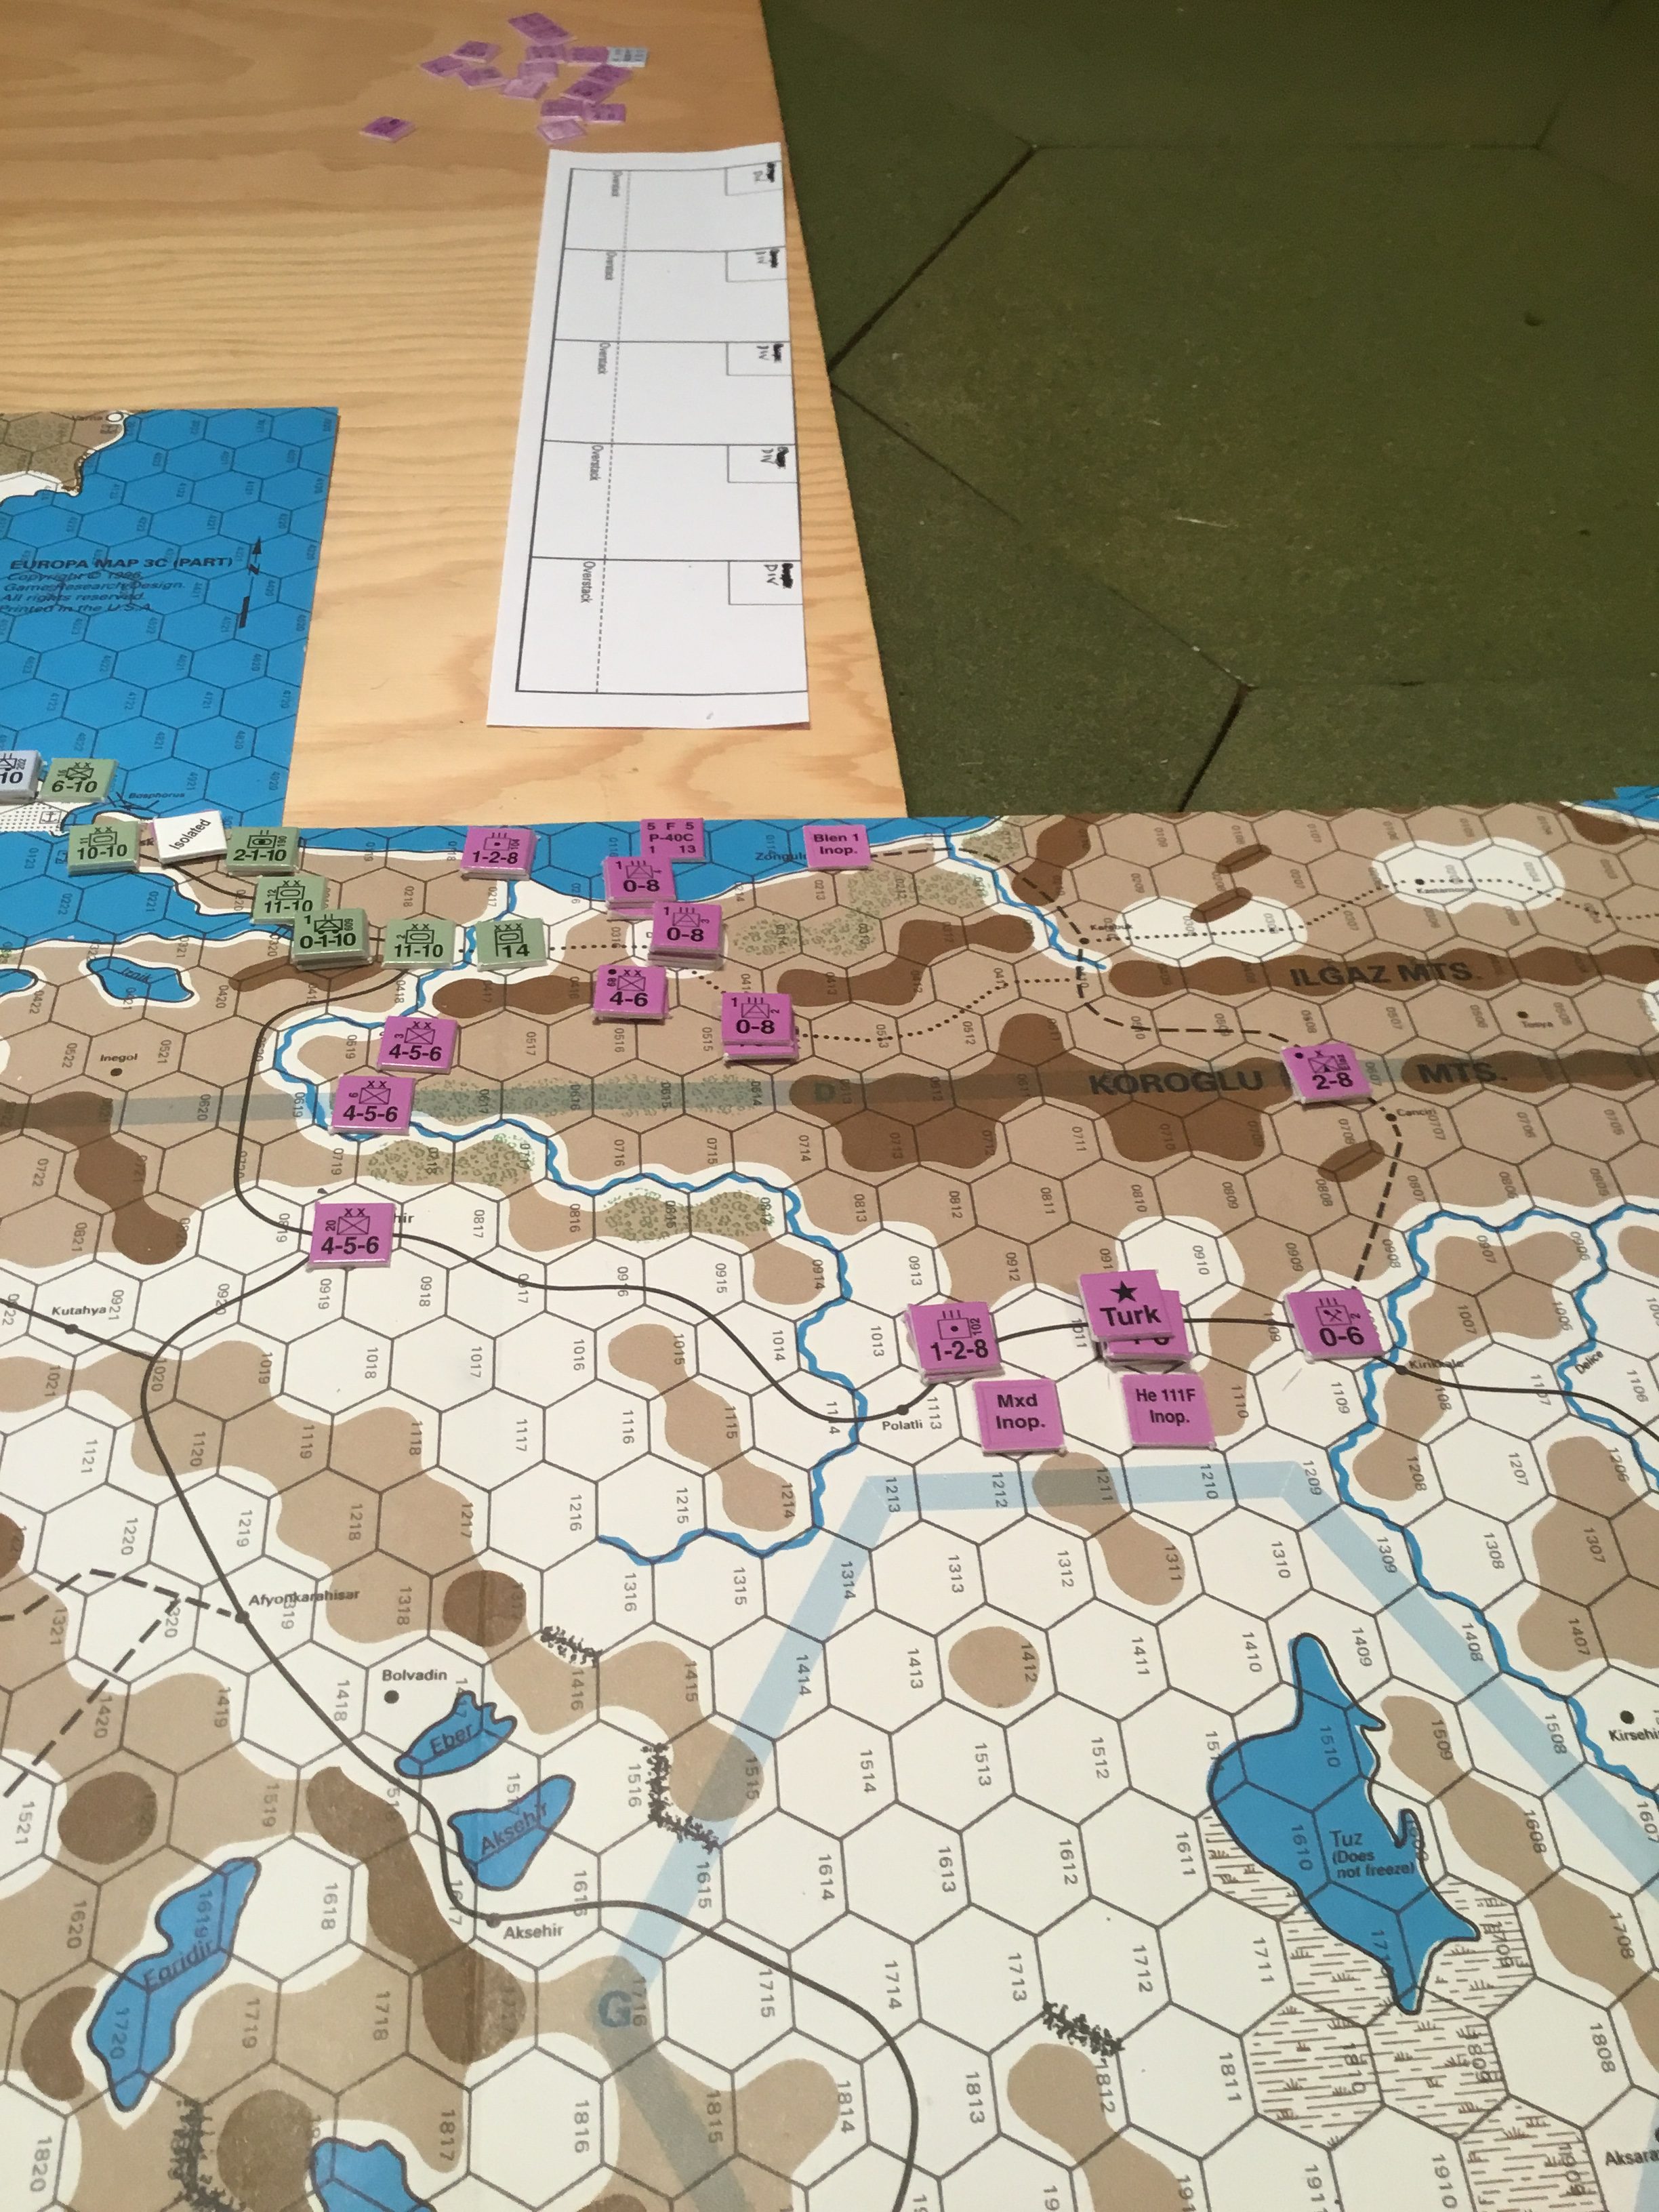
Too Many Units Mopping Up
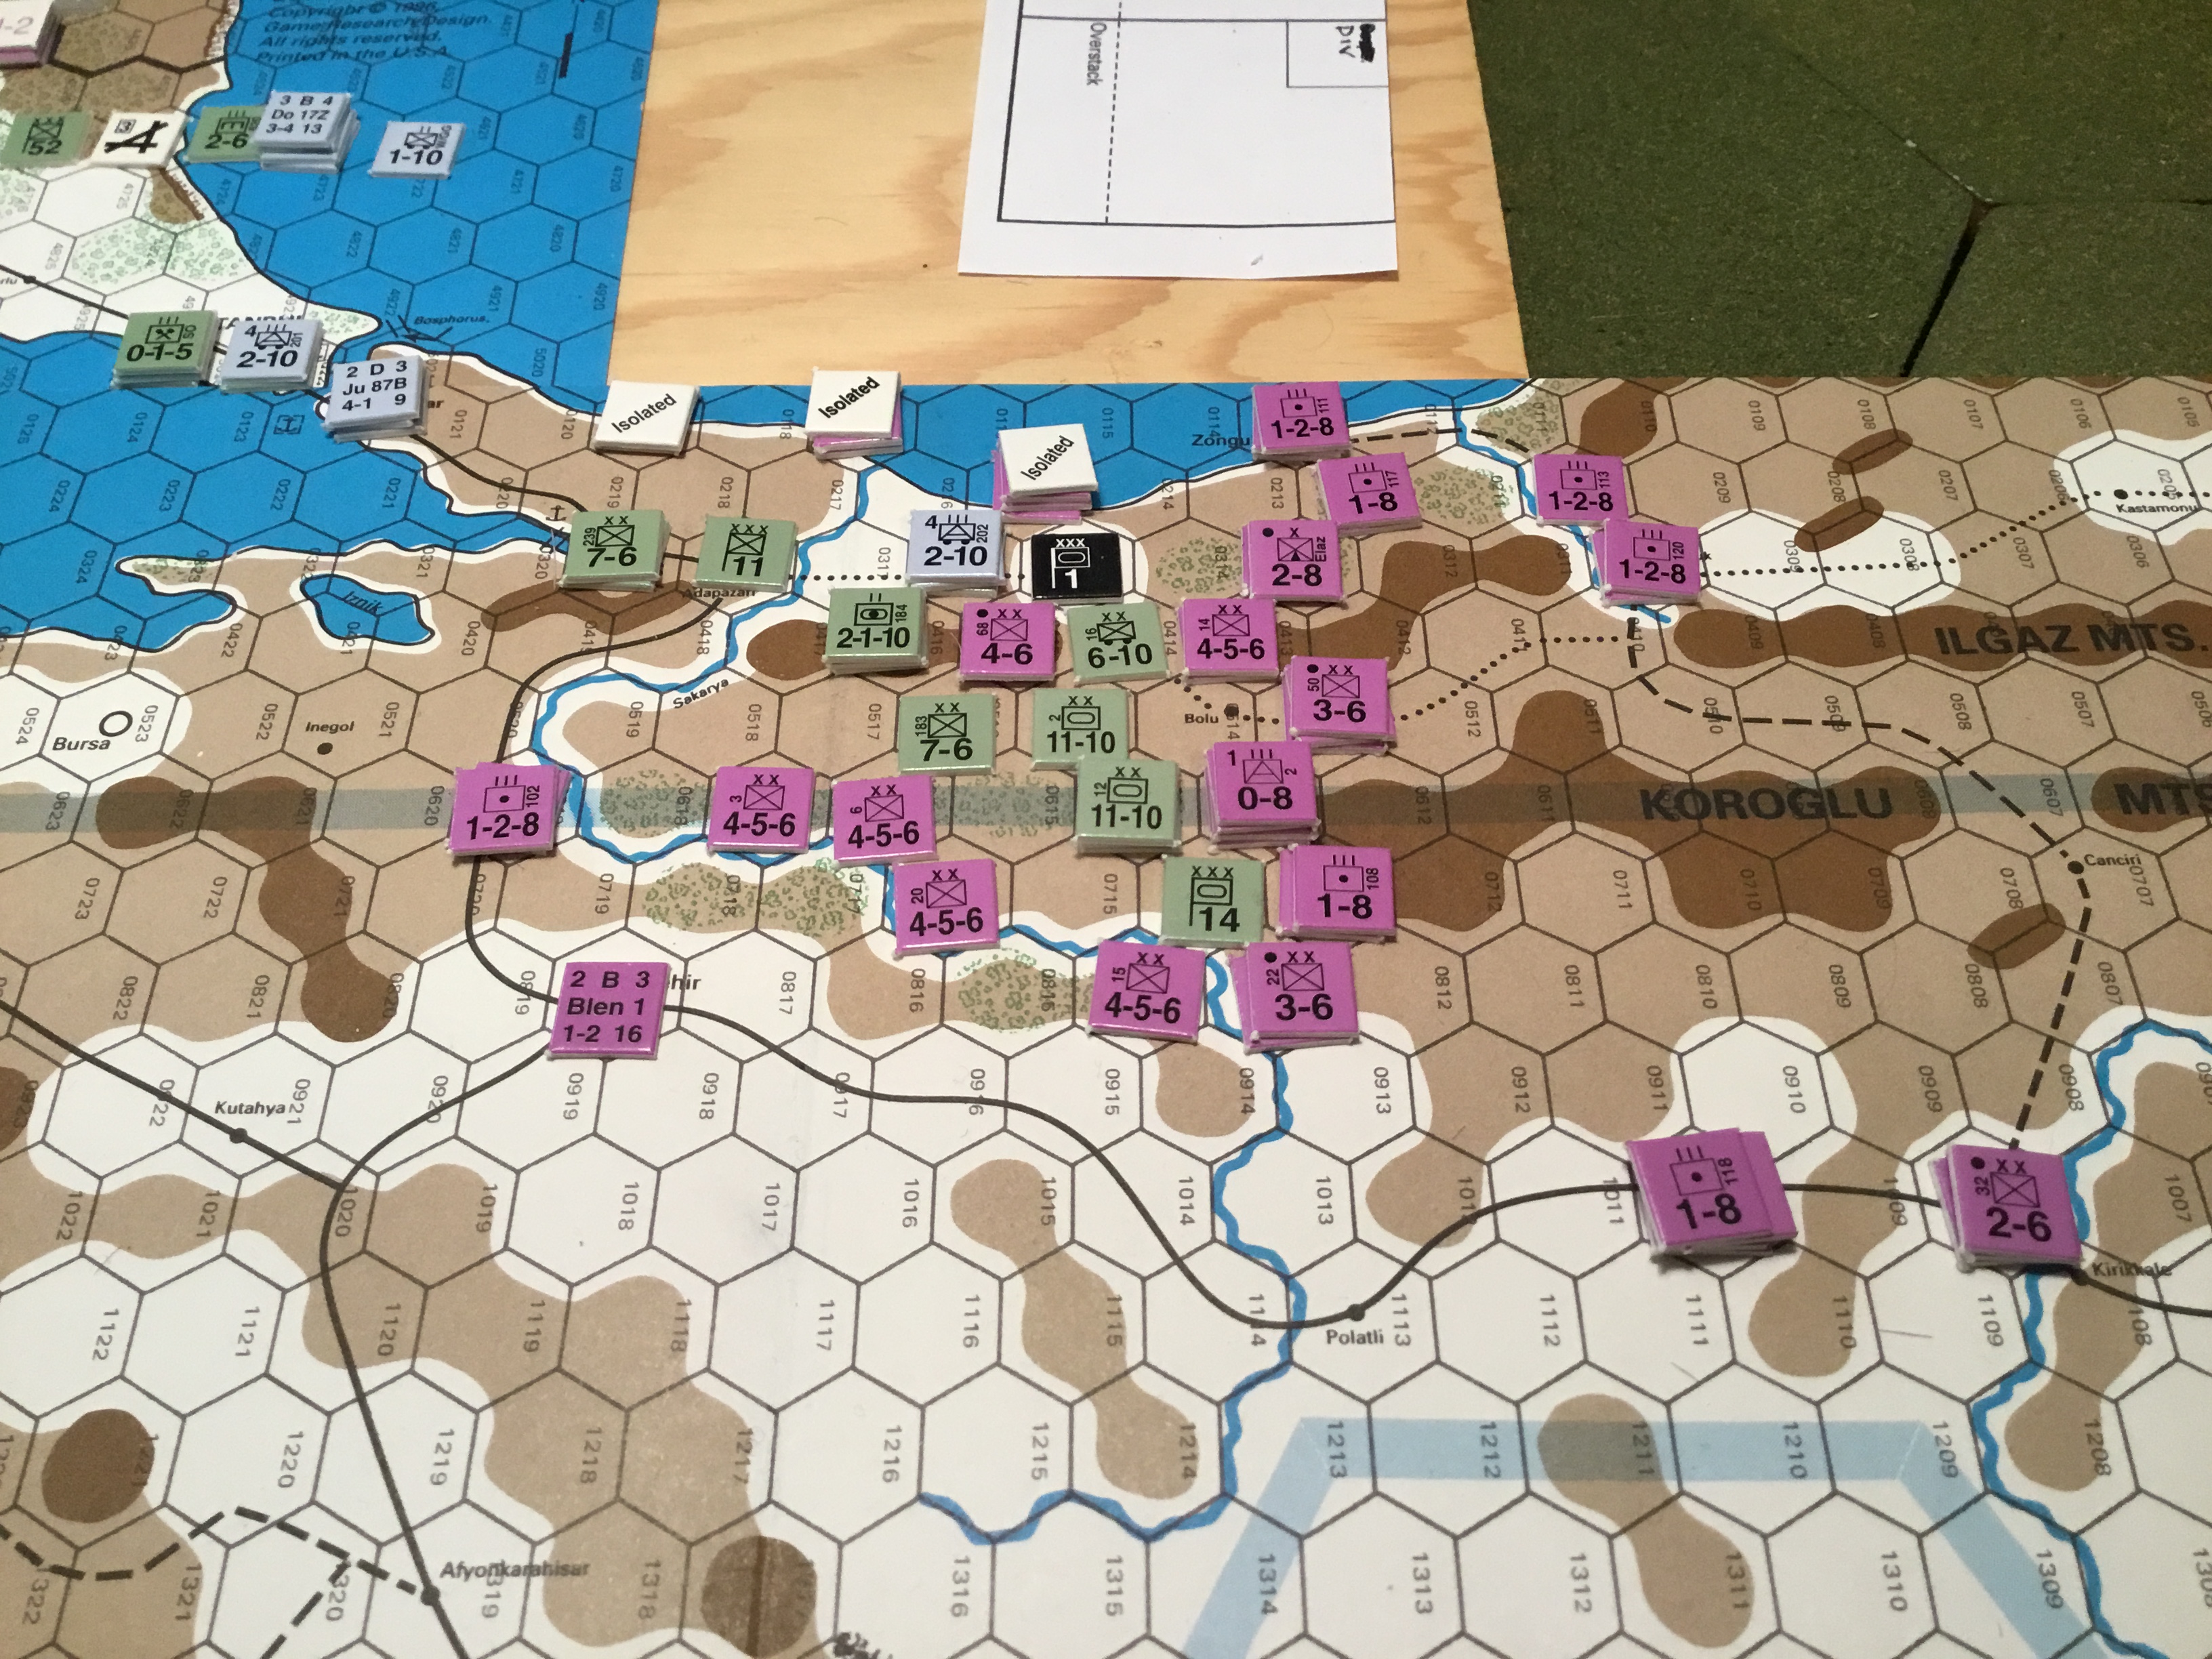
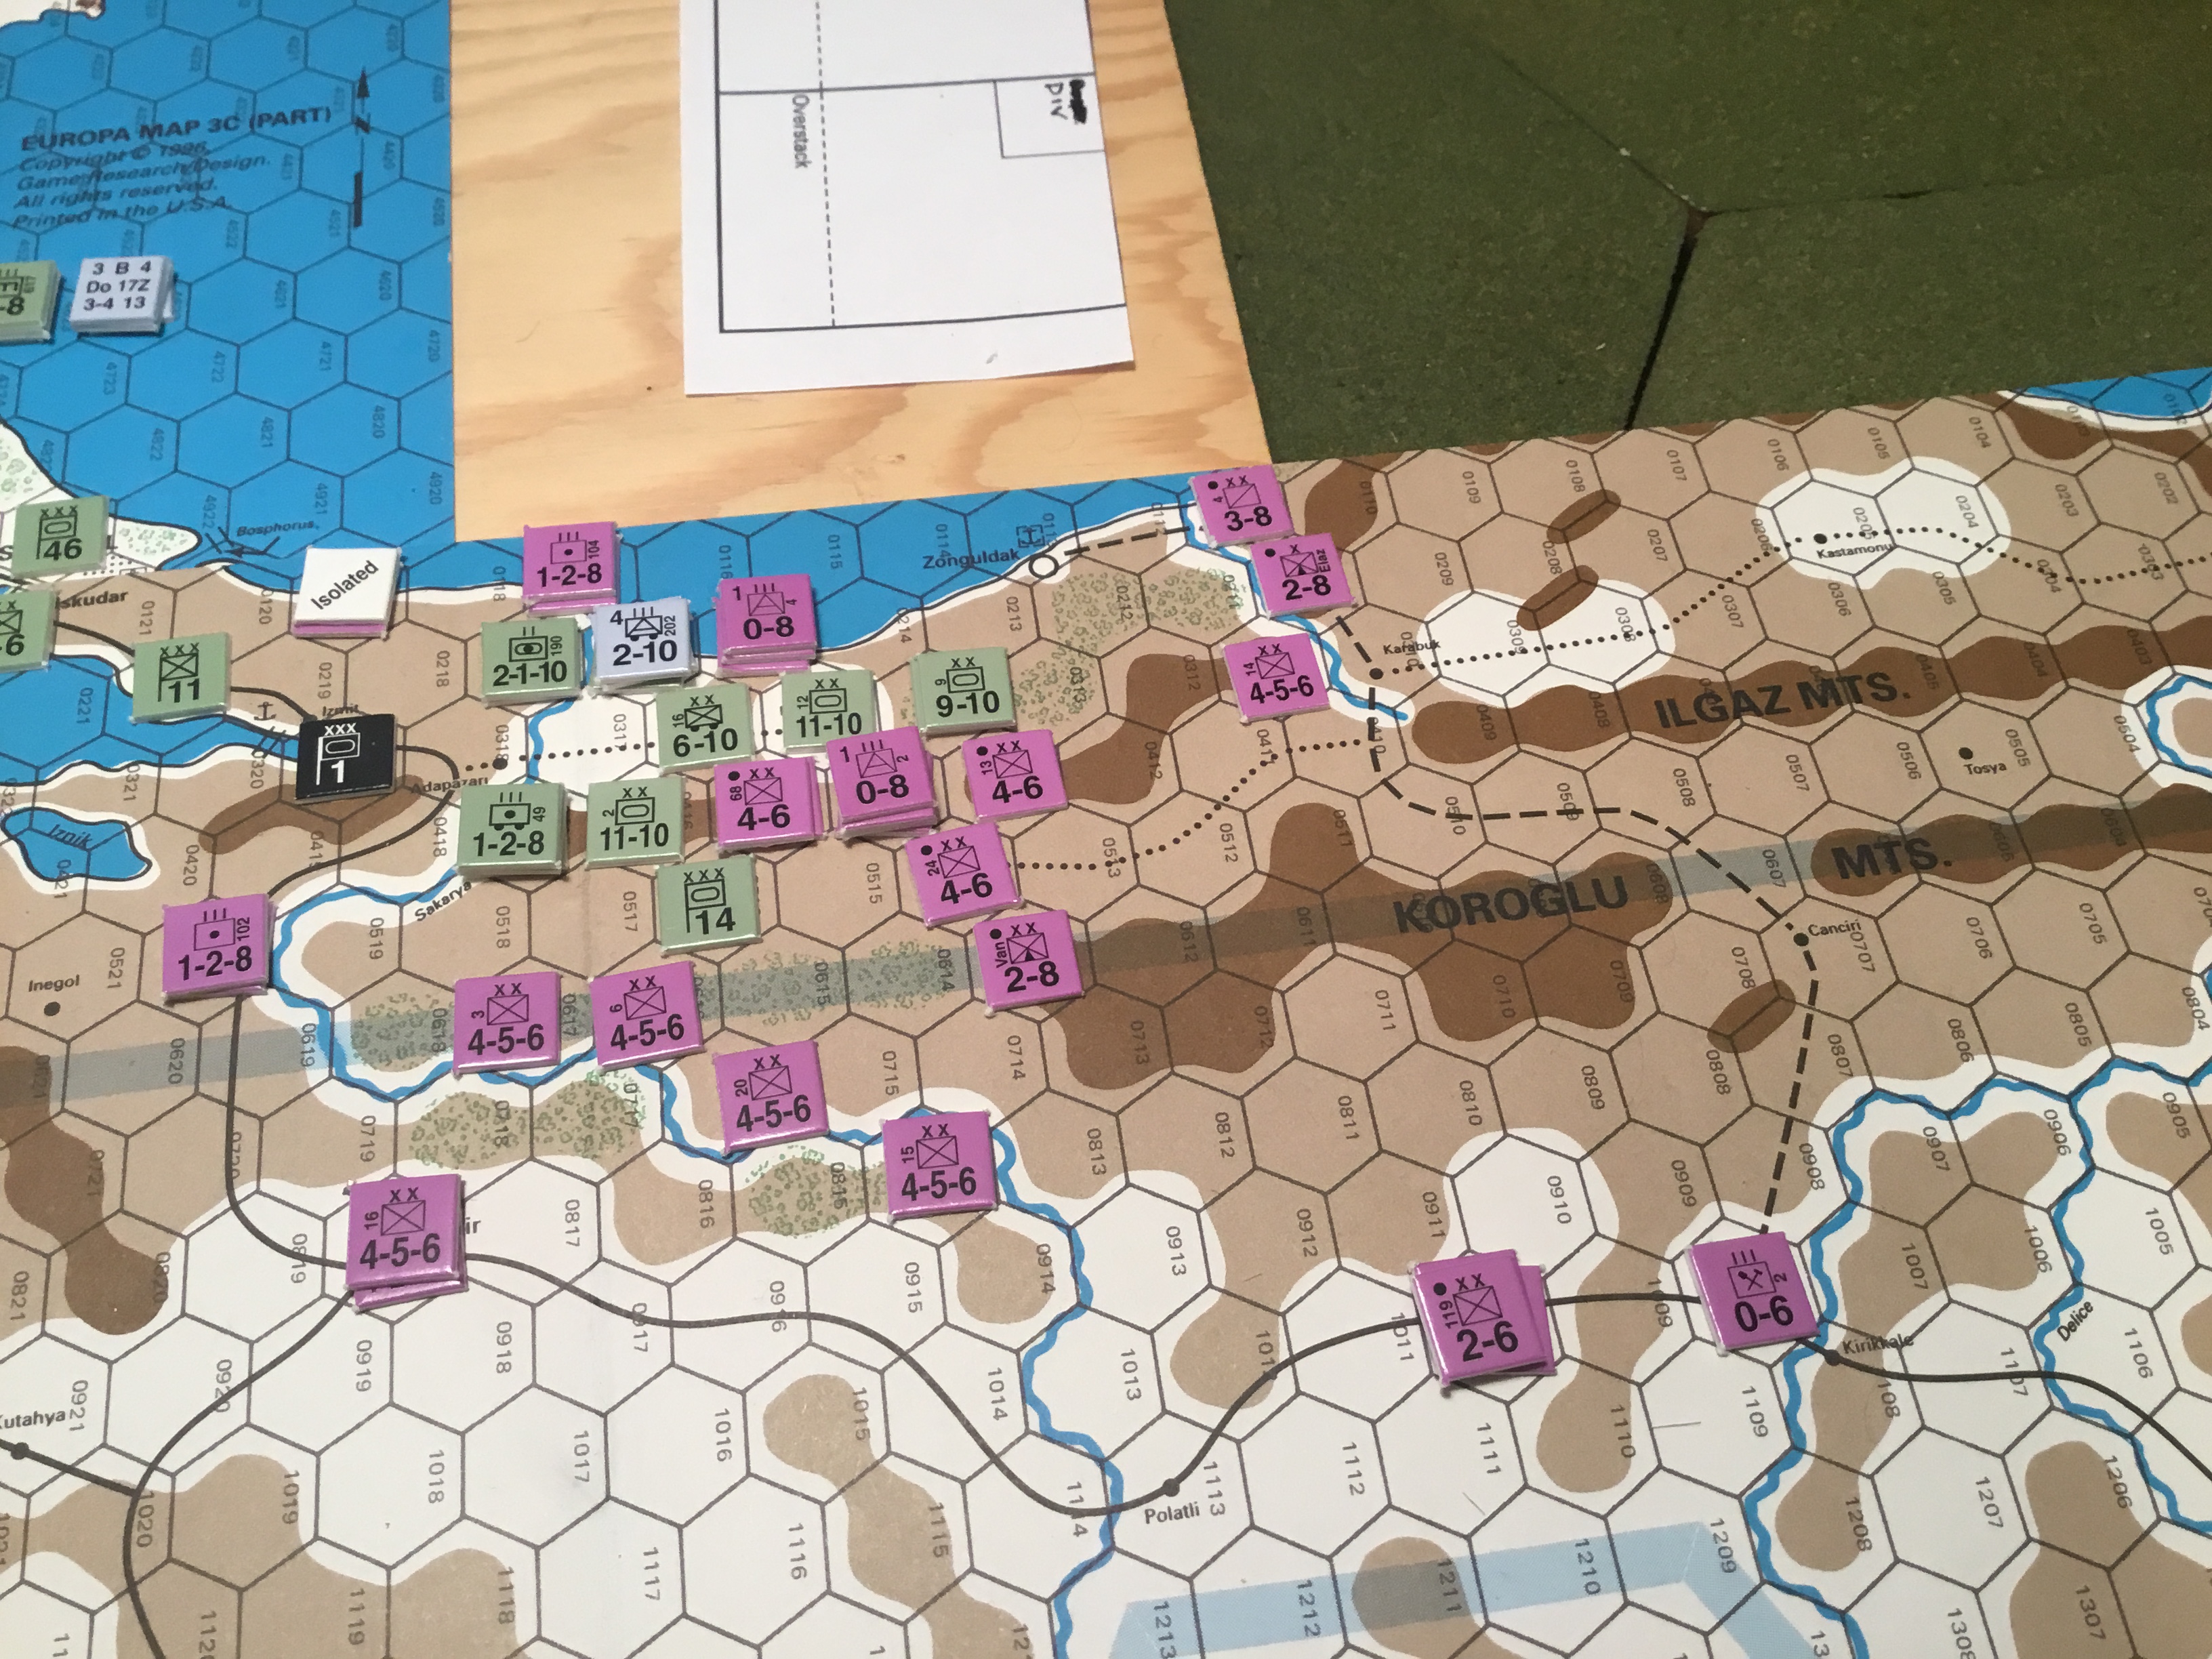
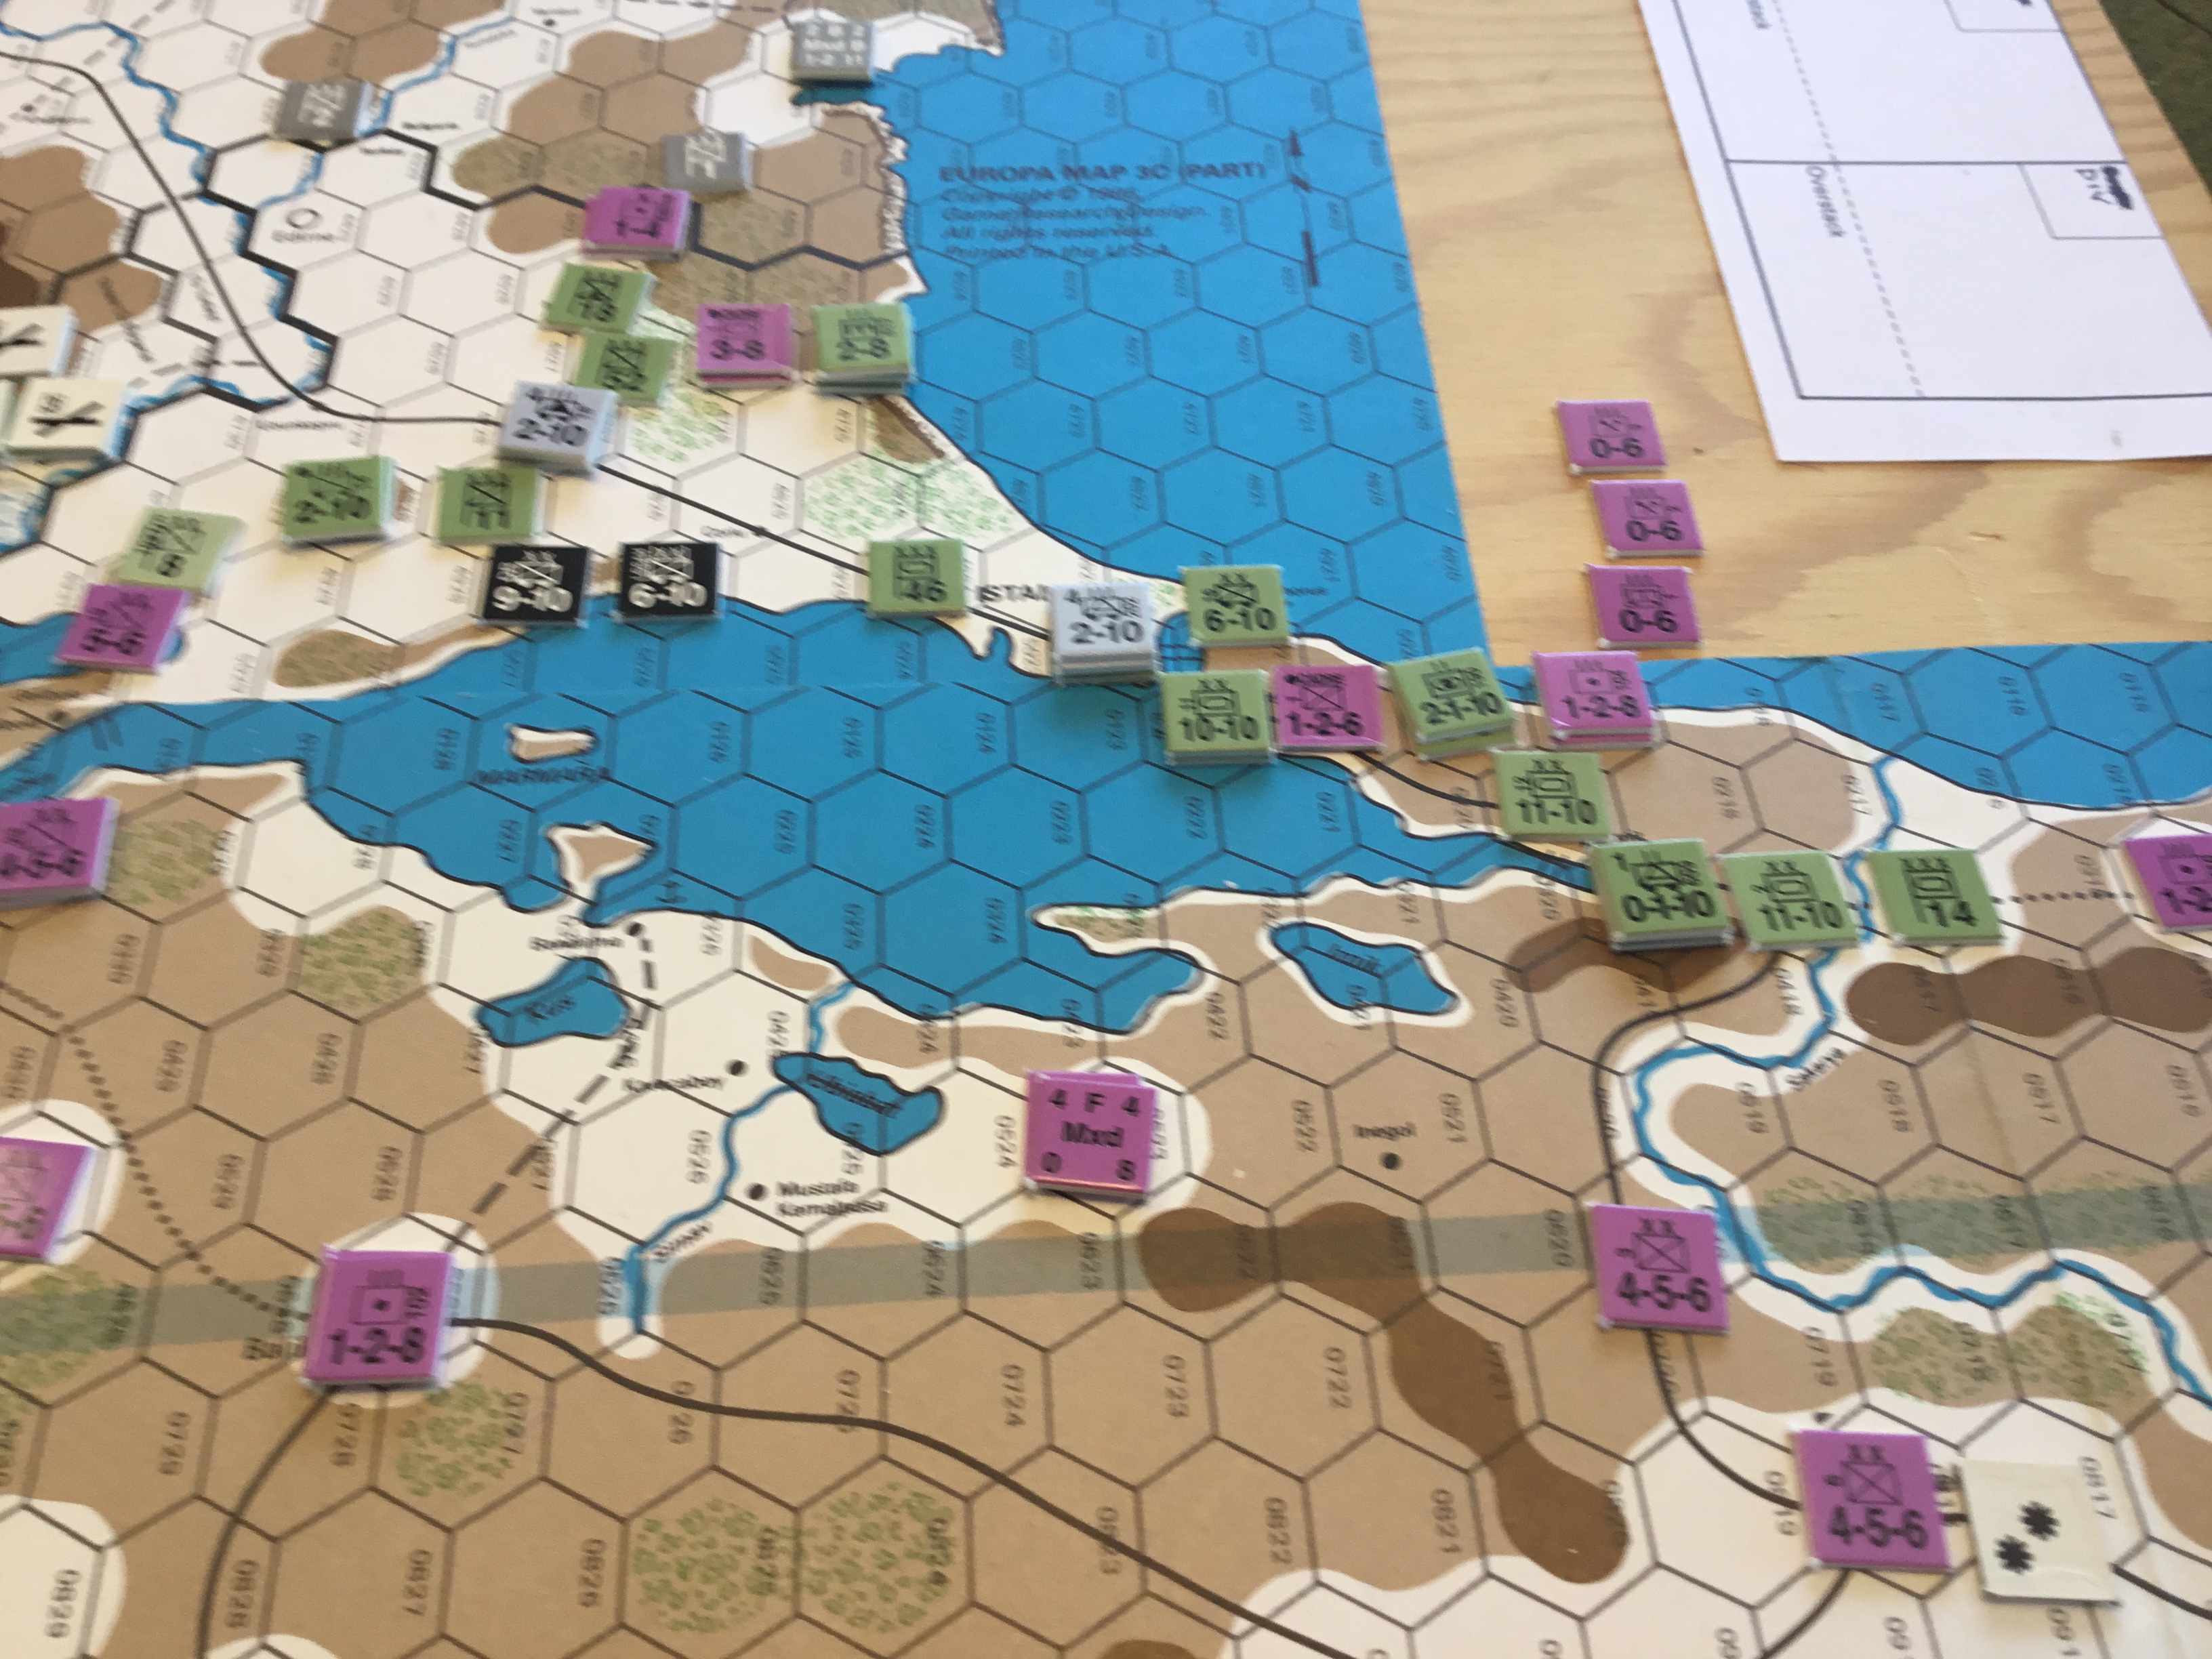
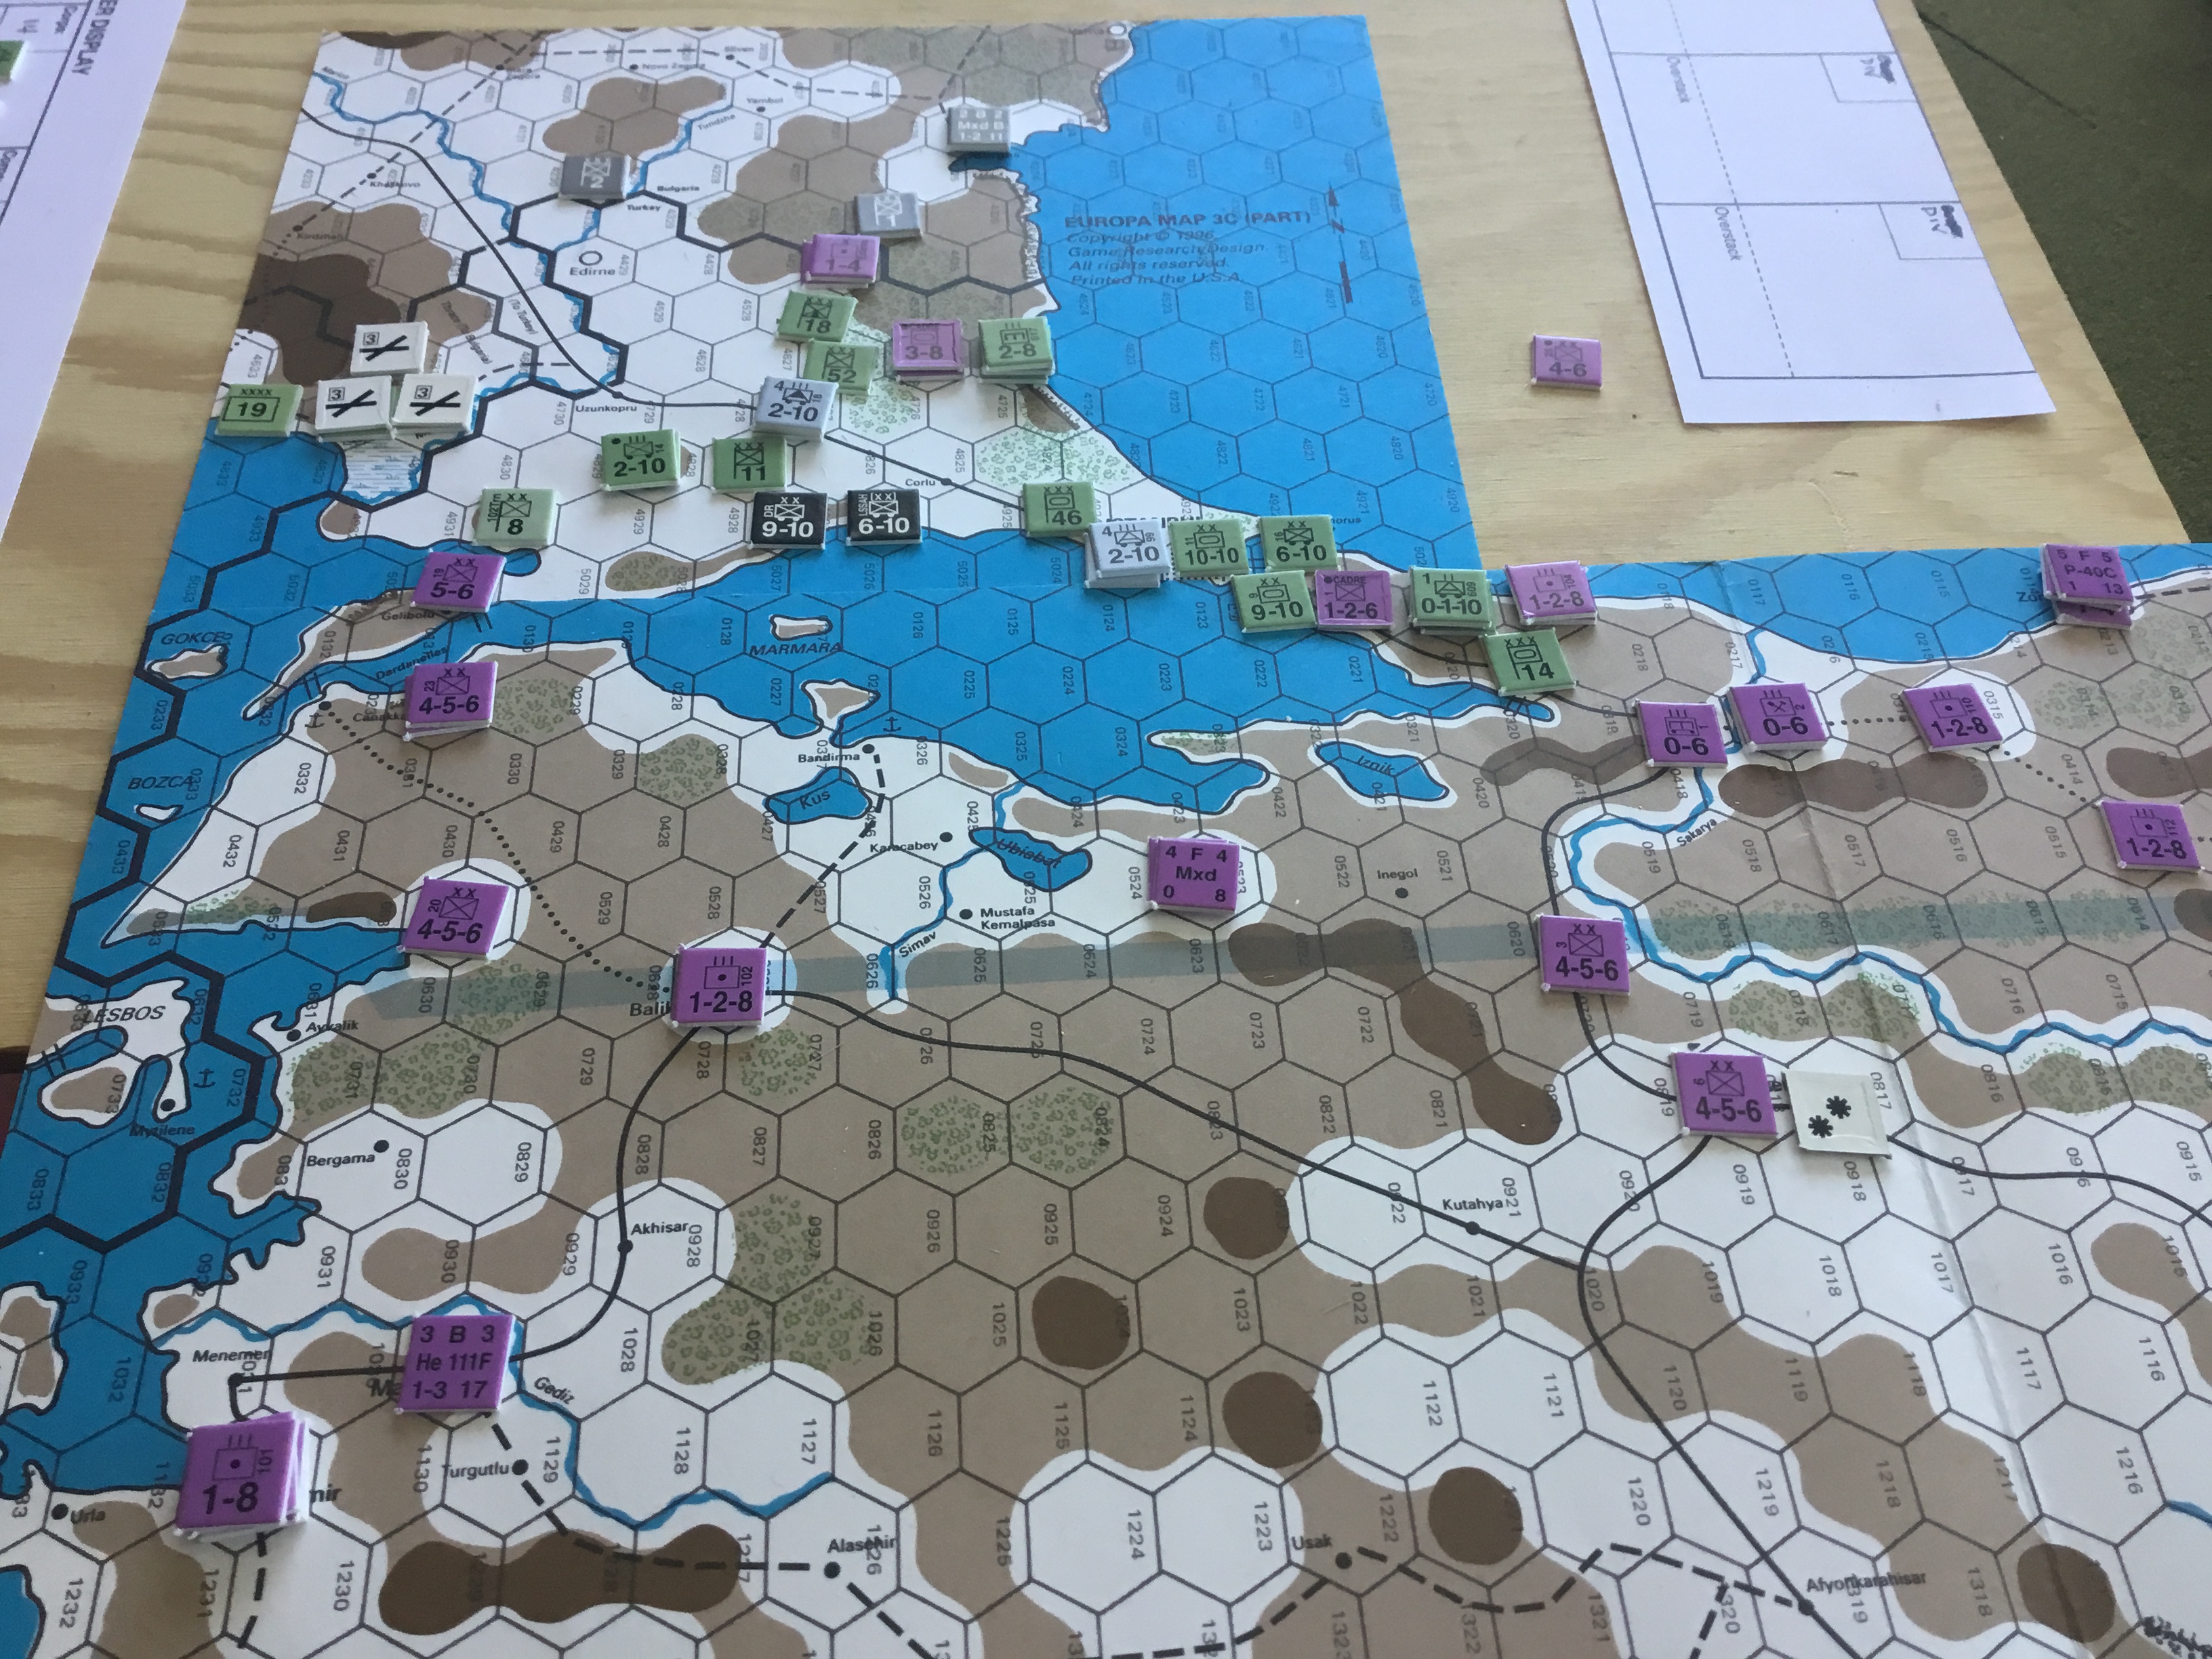
Go South, Not East!
Instead of East, I should have moved the Panzers South and East, to the Anatolian Plateau, and tank country. Needed to either quickly eliminate, or mask, the by-passed Turks west of Istanbul, and move the bulk of the infantry east to maintain pressure there. Too much reliance on speed and luck.
Still, it was way too much fun getting the Turks on the Europa Table, and exploring a might-have-been scenario. Persia next? I think there is a Europa Scenario for that…………