Been thinking about my solo play of DBR and ways to artificially interject some variety. By artificially I mean using random generators for a scenario, rather than just pre determining scenario inputs.
I won’t bore you with the overall thought process. What thinking that did take place was random and unfocused, flitting about with all types of tables and charts to reflect temperment, efficiency, and morale by CinC, sub-general, troop type and unit. After messing around with various and increasingly arcane methodologies, it dawned on me that I had to work “inside” the rules, not outside of them.
Let’s assume that Phil Barker is a superior game designer. If that assumption is made, then the parts are connected to the whole and his system, at the very least, abstracts many considerations that are presented in a far more granular manner in other rule sets. Think Gush’s (very good) Renaissance rules.
When this series of assumptions is made, then any changes reflecting my three criteria (temperment, competency, morale) must be inside, or within Rules as Written (RAW).
If the objective is to add variety, but directly and without undue complications, then some general assumptions have to be made.
First and foremost is that the army will reflect the temperment of their general. I’m playing games with about 150-200 points, so only need a CinC. There’s no way I want to get into the business of creating an AI to guide the behaviors of various types of generals. However, I can directly, and within, DBR’s rules guide how the army will behave.
The three categories for the CinC are rash, steady and cautious. Elements or groups in a “rash” army will always followup and pursue, regardless of troop type. A “steady” army will follow RAW, since Barker has built in typical behaviors into his troop types. A “cautious” army will not followup or pursue in any situation.
Individual unit competency will be reflected in their (as Barker puts it) “efficiency”. Units can be up or down graded from the “Superior”, “Ordinary”, and “Inferior” ratings contained in RAW. I did not mess with “Fast” since this seems to be heavily dependent on fighting style. A change in ratings effects combat outcomes, and for shooters, a decrease in effective range. I decided not to downgrade movement for “Inferior” shot units to that of a “Horde”, or from 150 paces to 100.
As with my CinC ratings and effects, morale will be army-wide.
Morale is reflected by changing the criteria for a “Beaten Command”, as well as the rallying and steadying units of a Beaten Command. RAW has an army becoming beaten when casualties exceed one-third of its individual element strength. When this threshold is crossed, groups of elements can be steadied (in that turn, only), if not steadied, the units rout, but can be rallied element by element during subsequent turns. All of this takes Player Initiative Points (PIPs), which are generated by a D6 roll for that turn.
An army with good morale will use the RAW over one-third element criteria. An army with high morale will become beaten with a threshold over forty percent, and an army with low morale will have its threshold drop to over twenty-five percent.
An army with high morale takes one PIP to rally an element or steady a group. An army with good morale takes the RAW two PIPs per, and an army with bad morale takes three PIPs per.
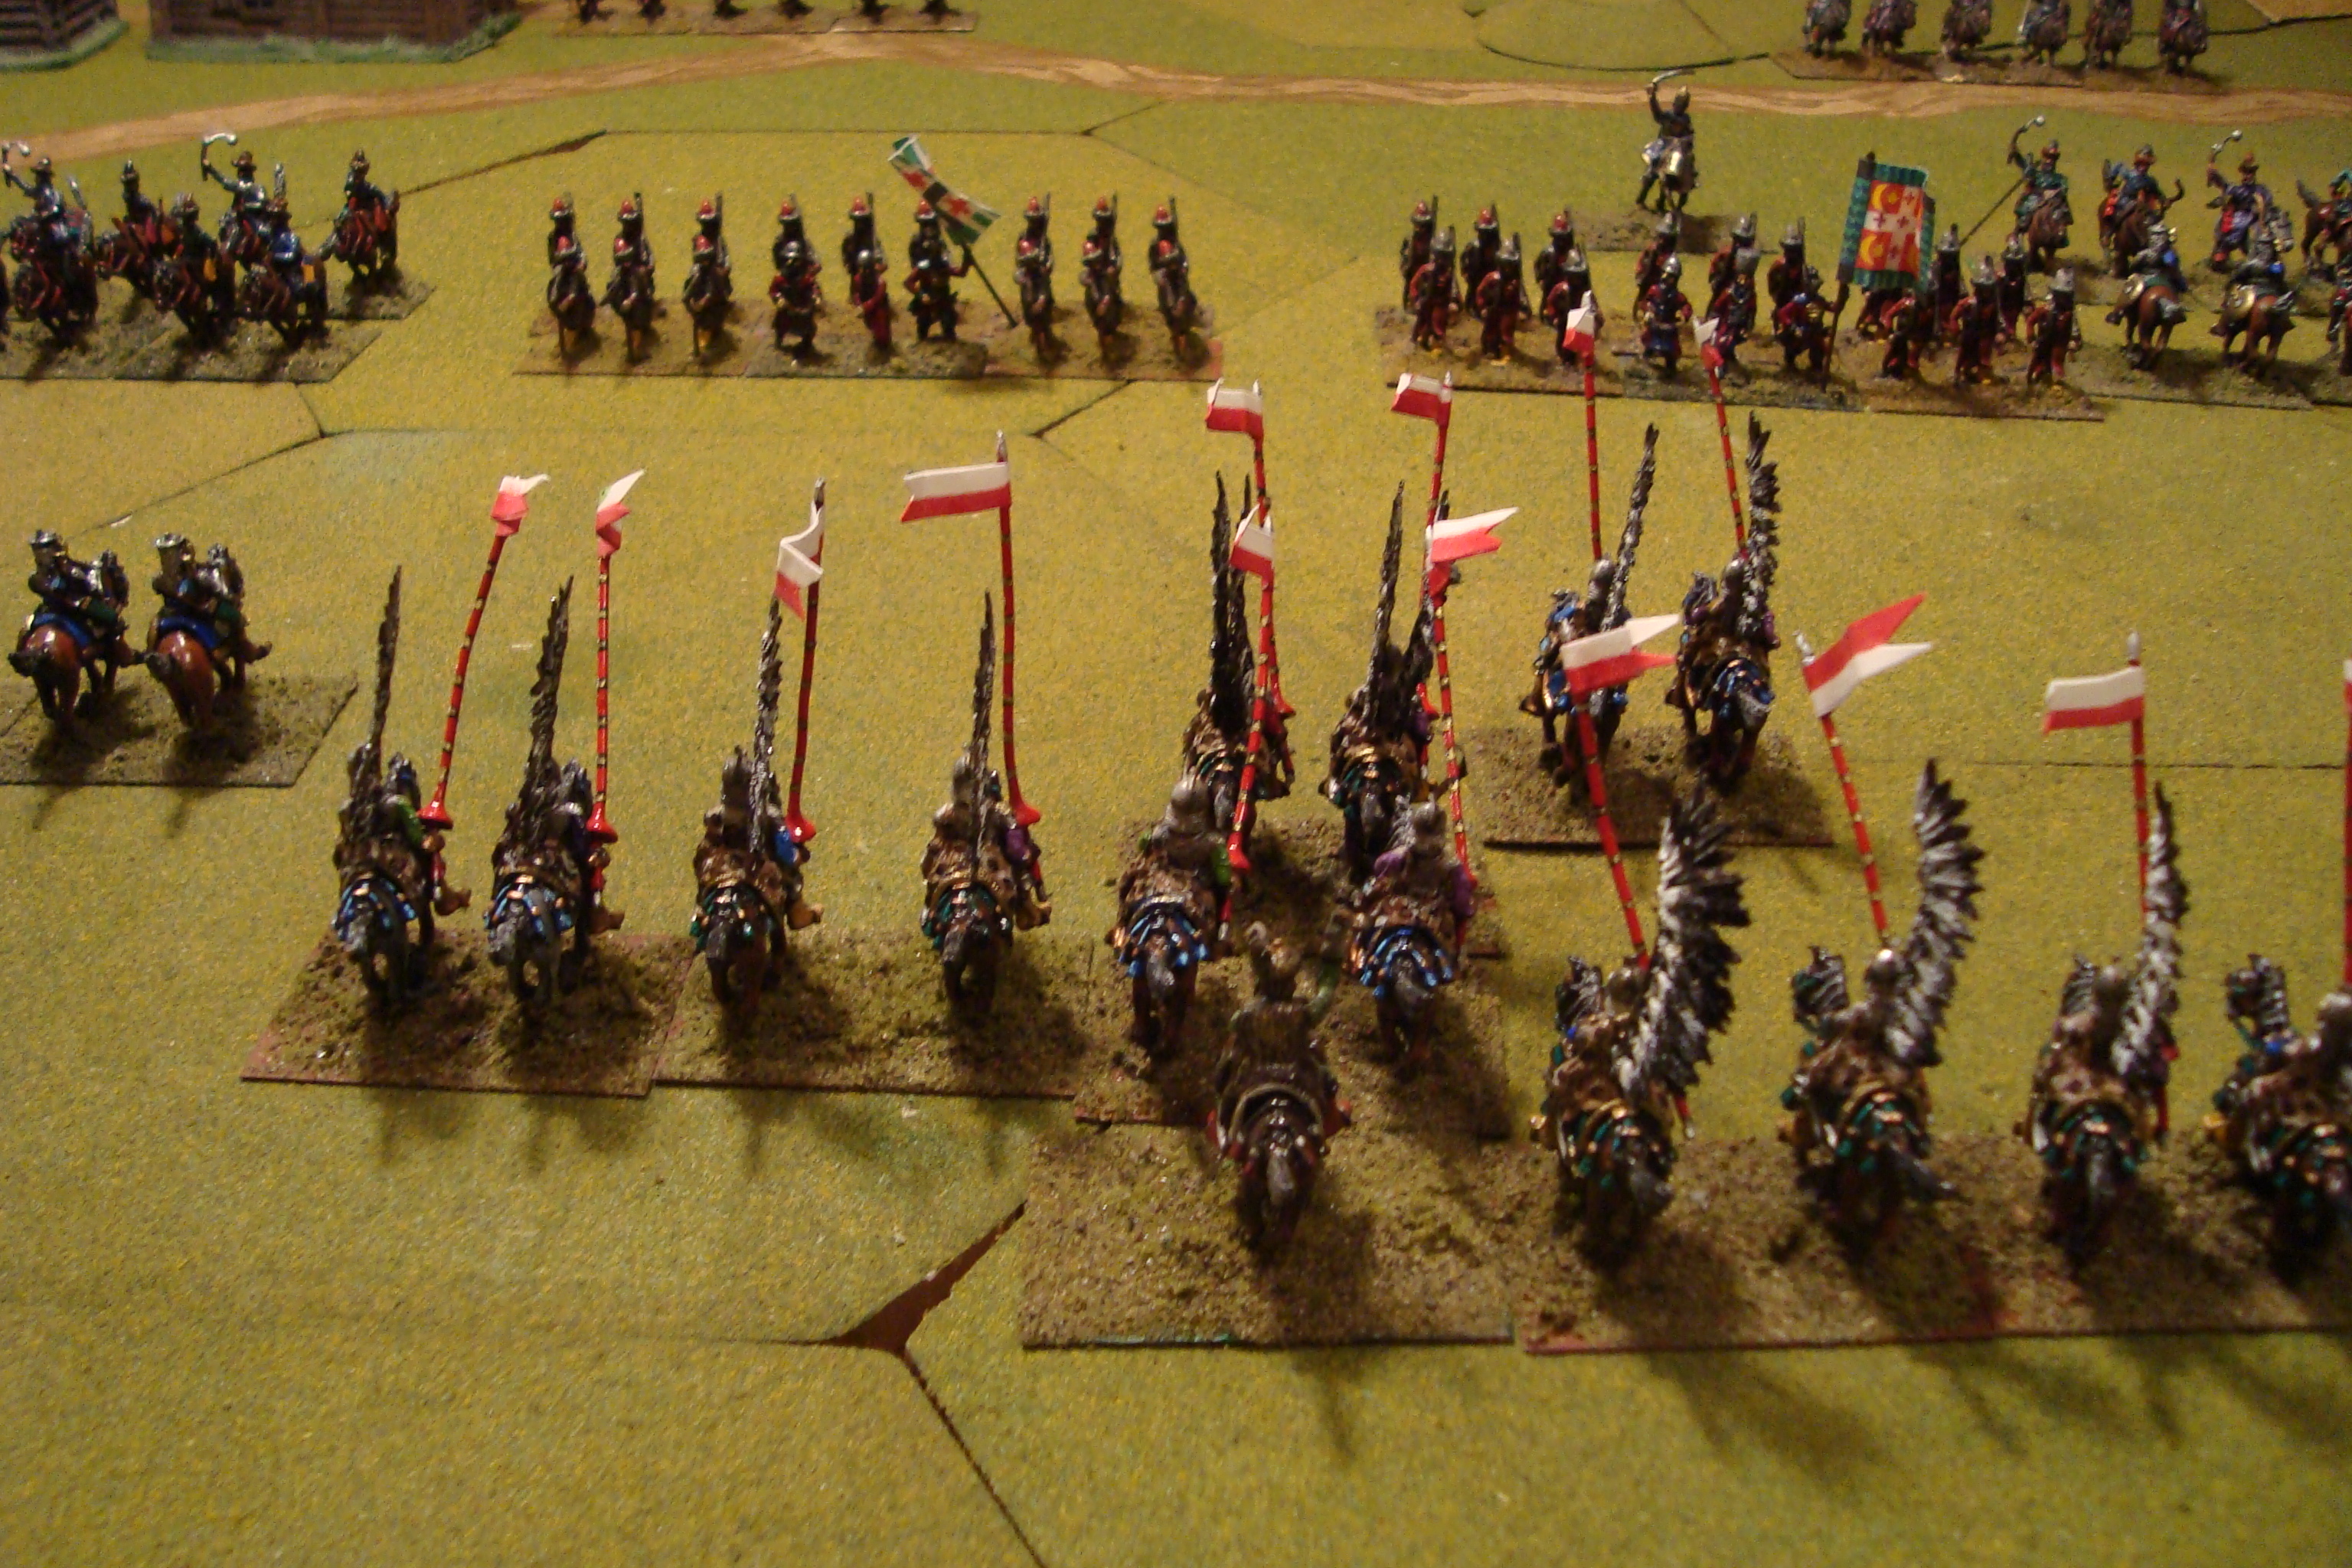
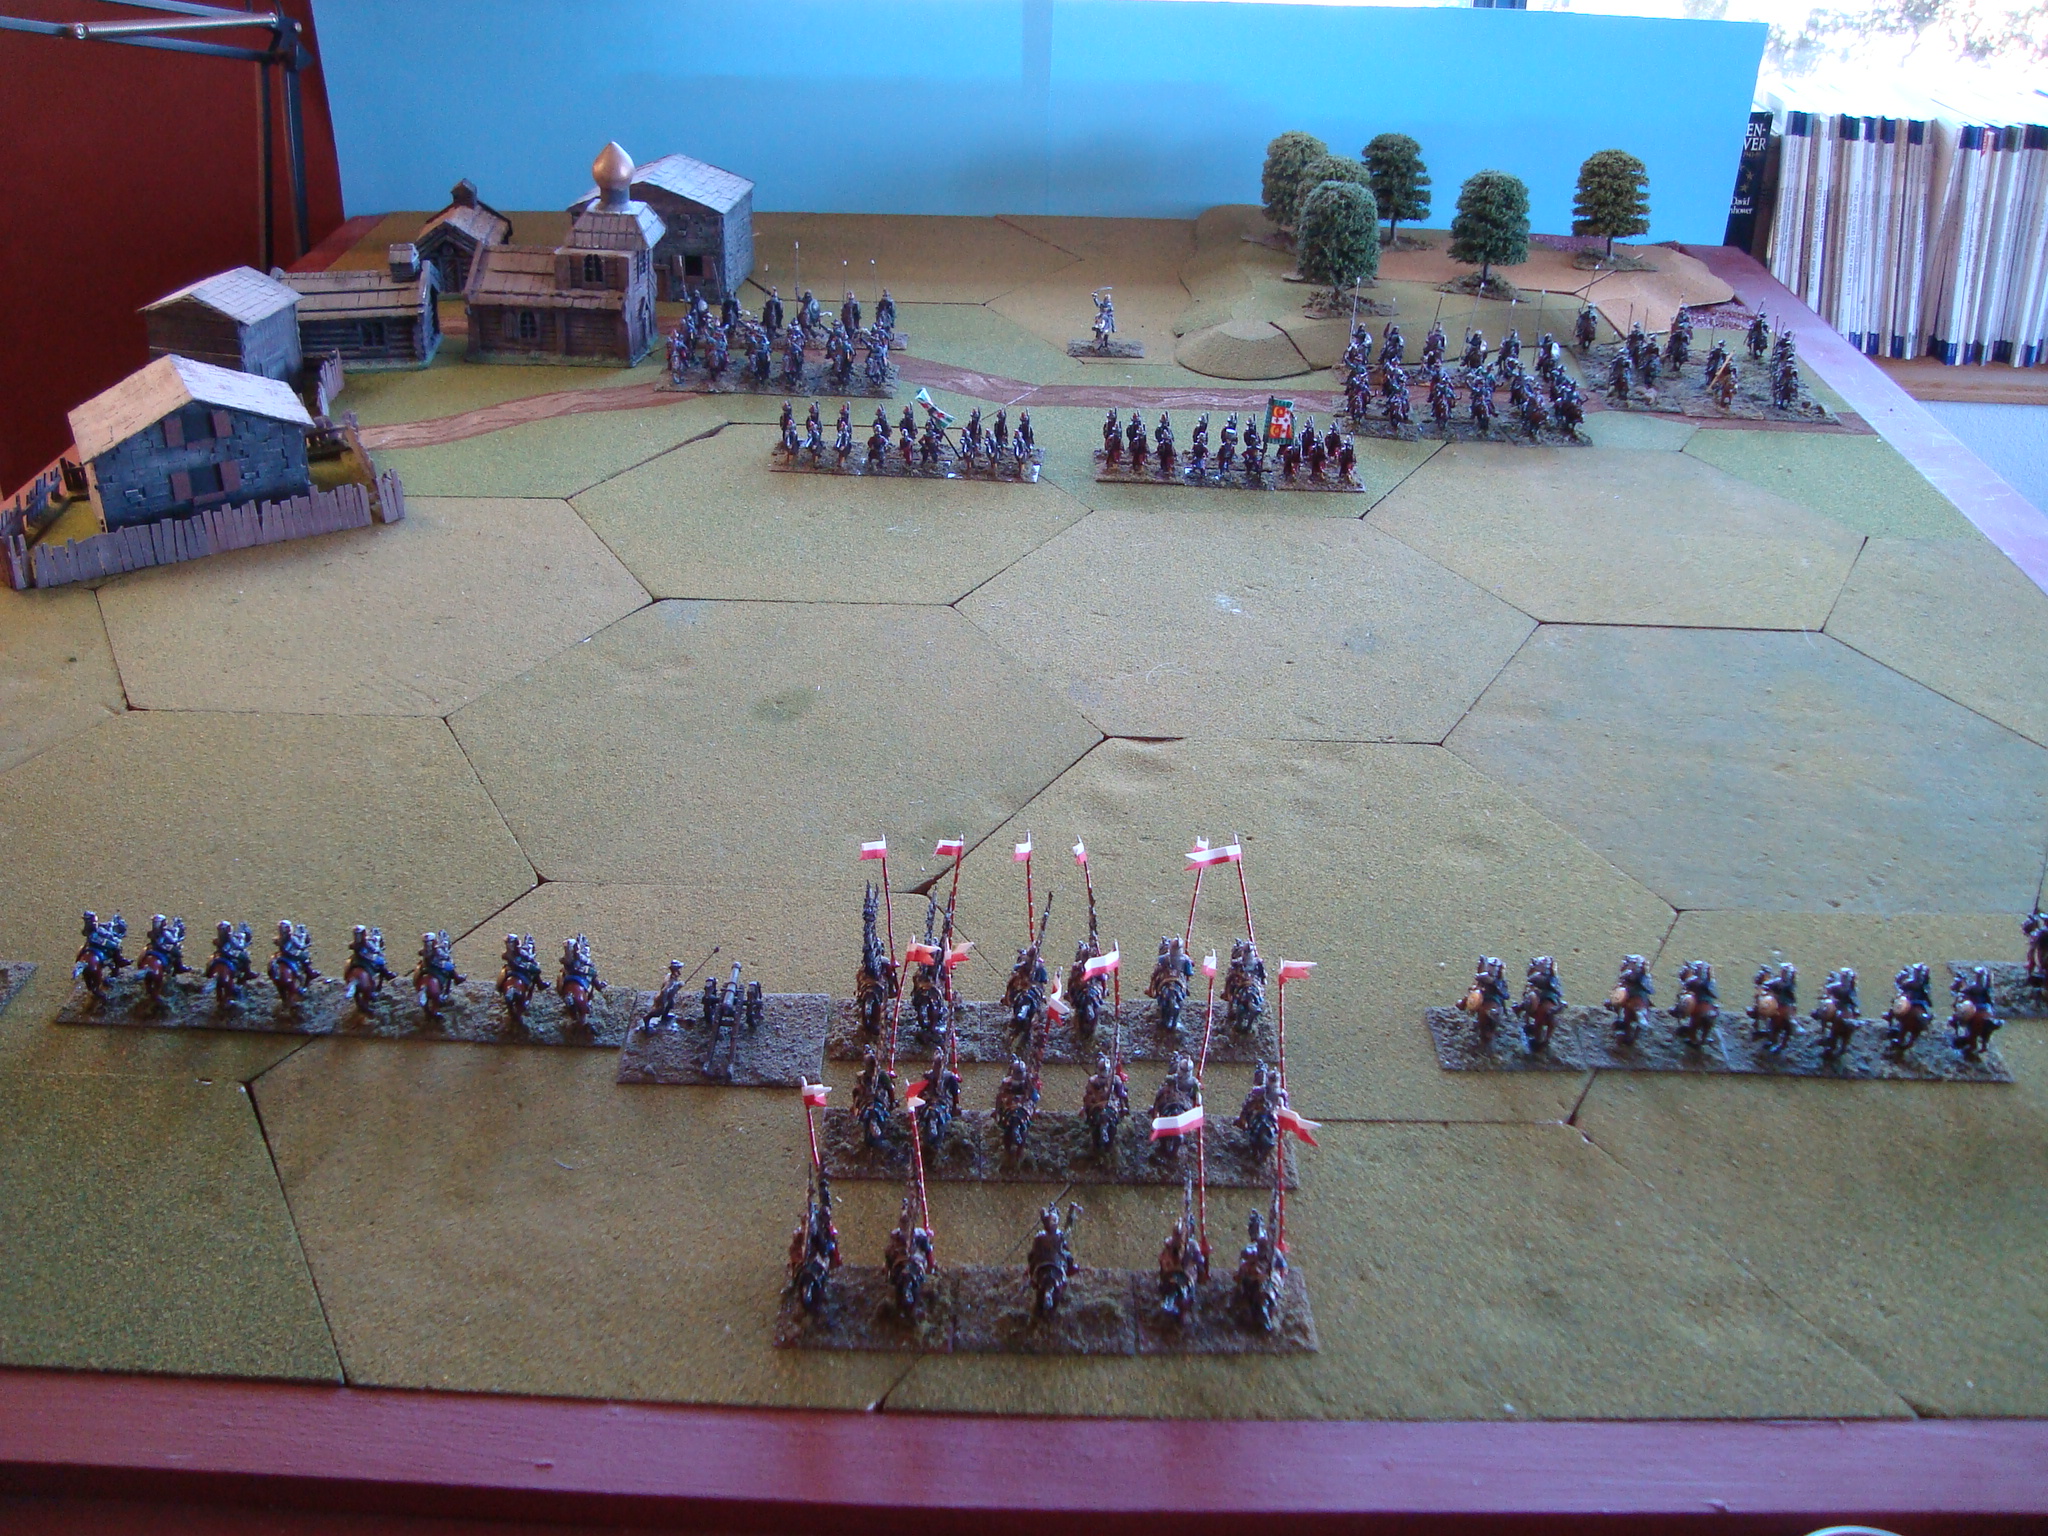
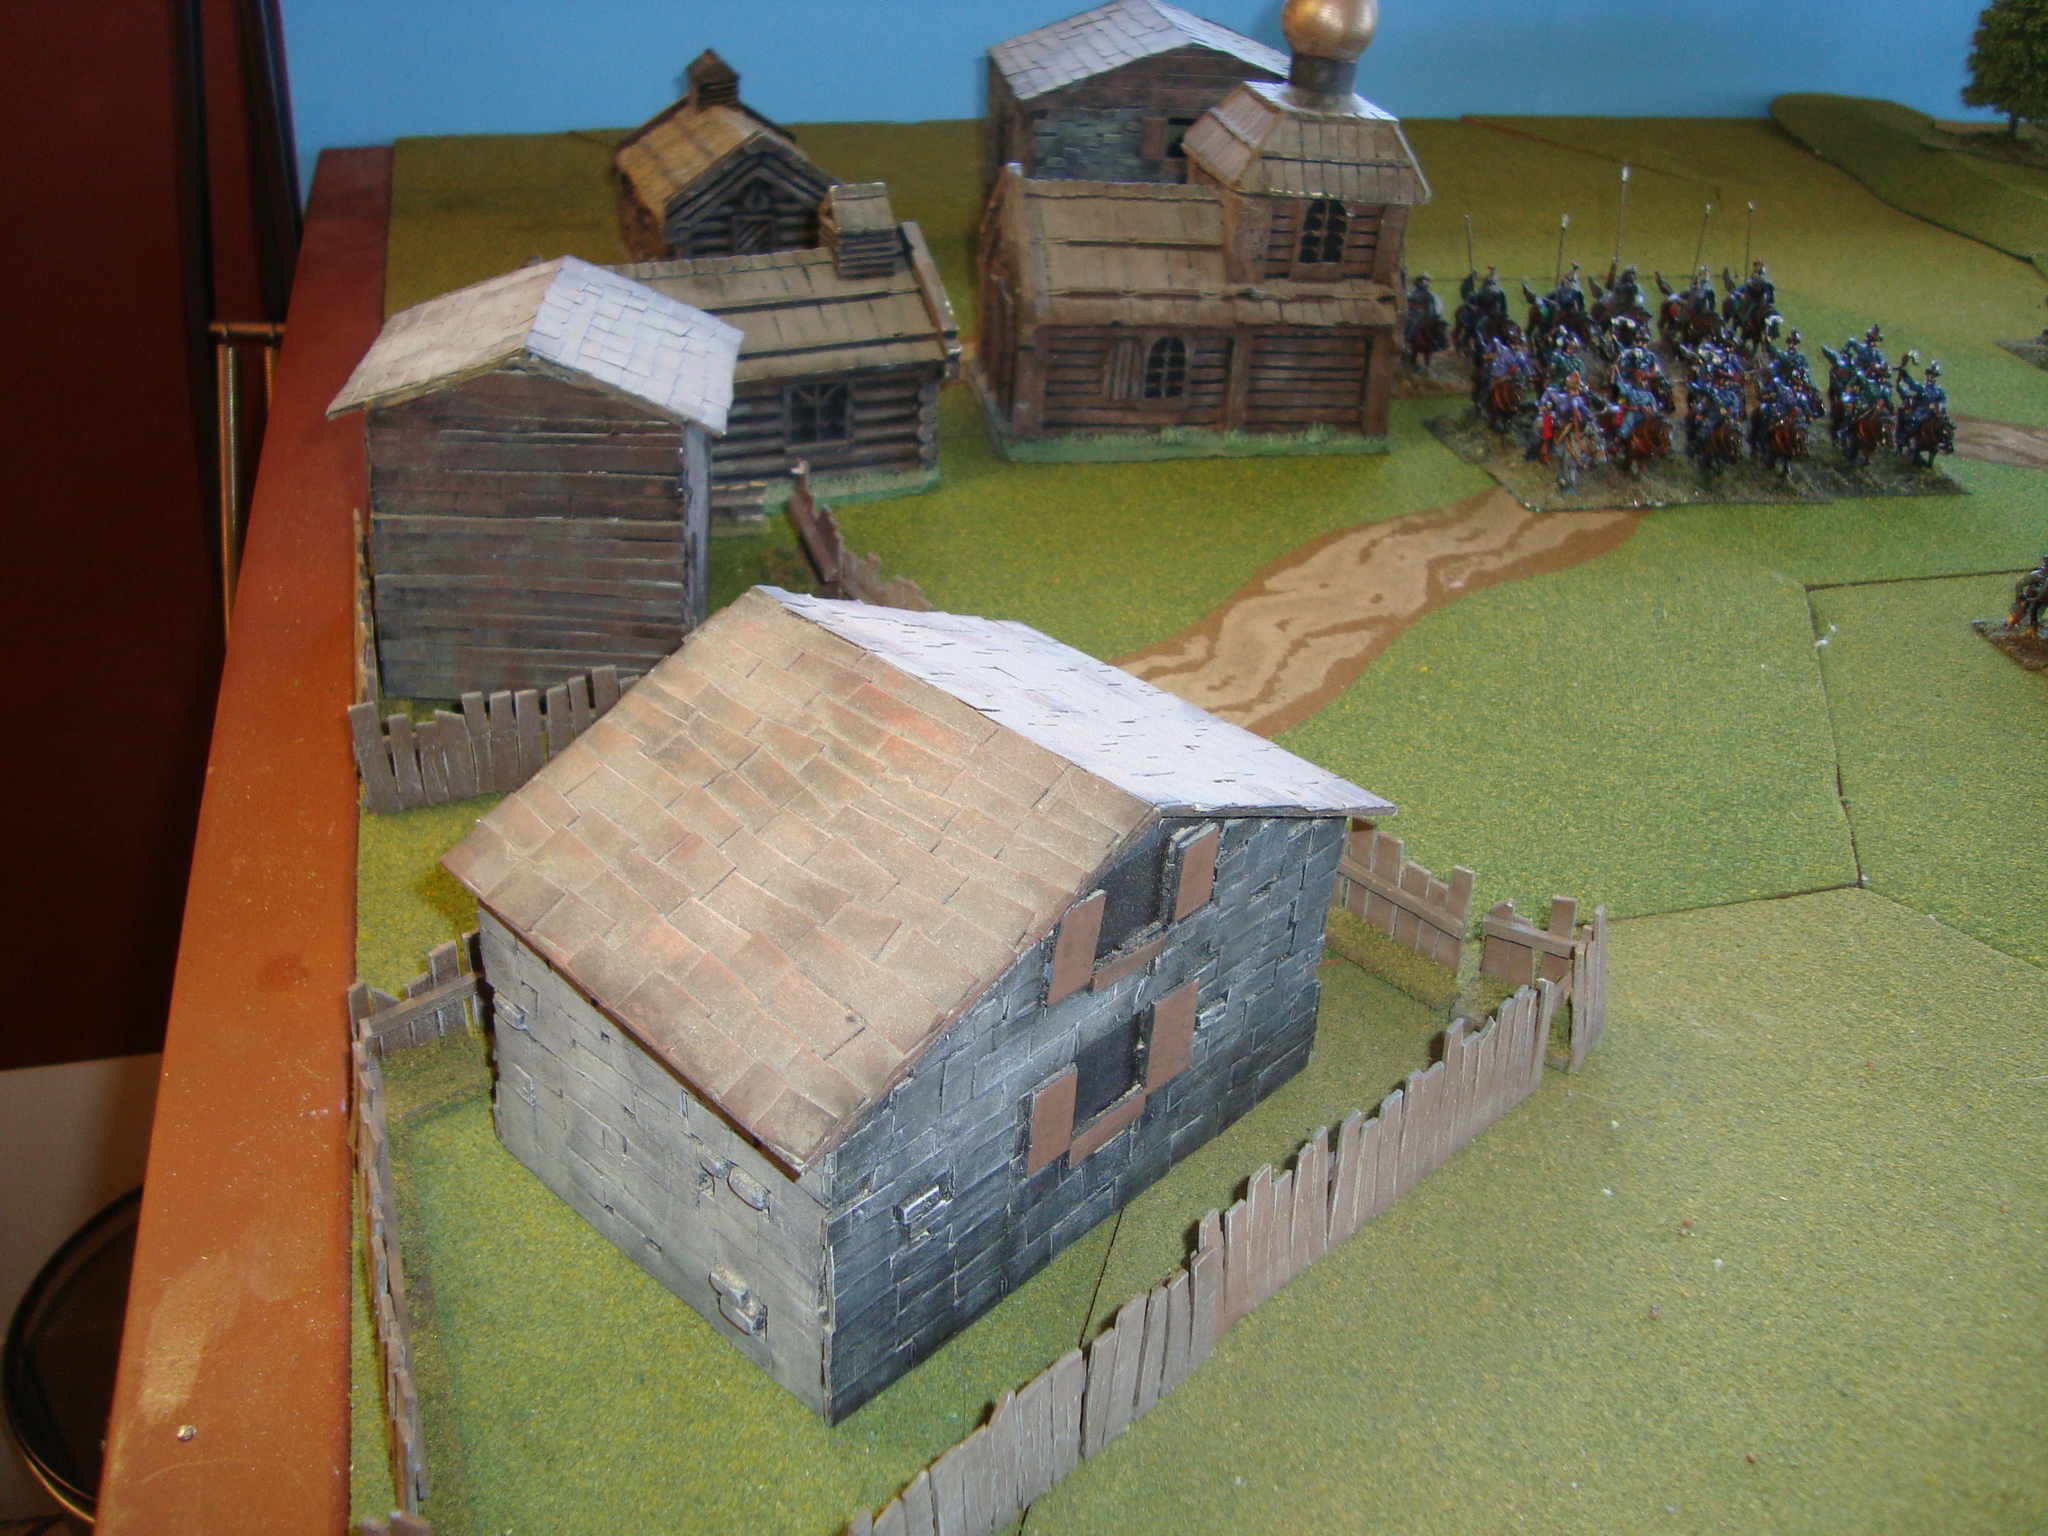
How all of this works in a campaign is another question. I’ll try this out once I finish the current Pole vs. Russian game.