Finished up playing yesterday with mixed feelings. This scenario is one of four published under the overall title of “War In The Outposts”.
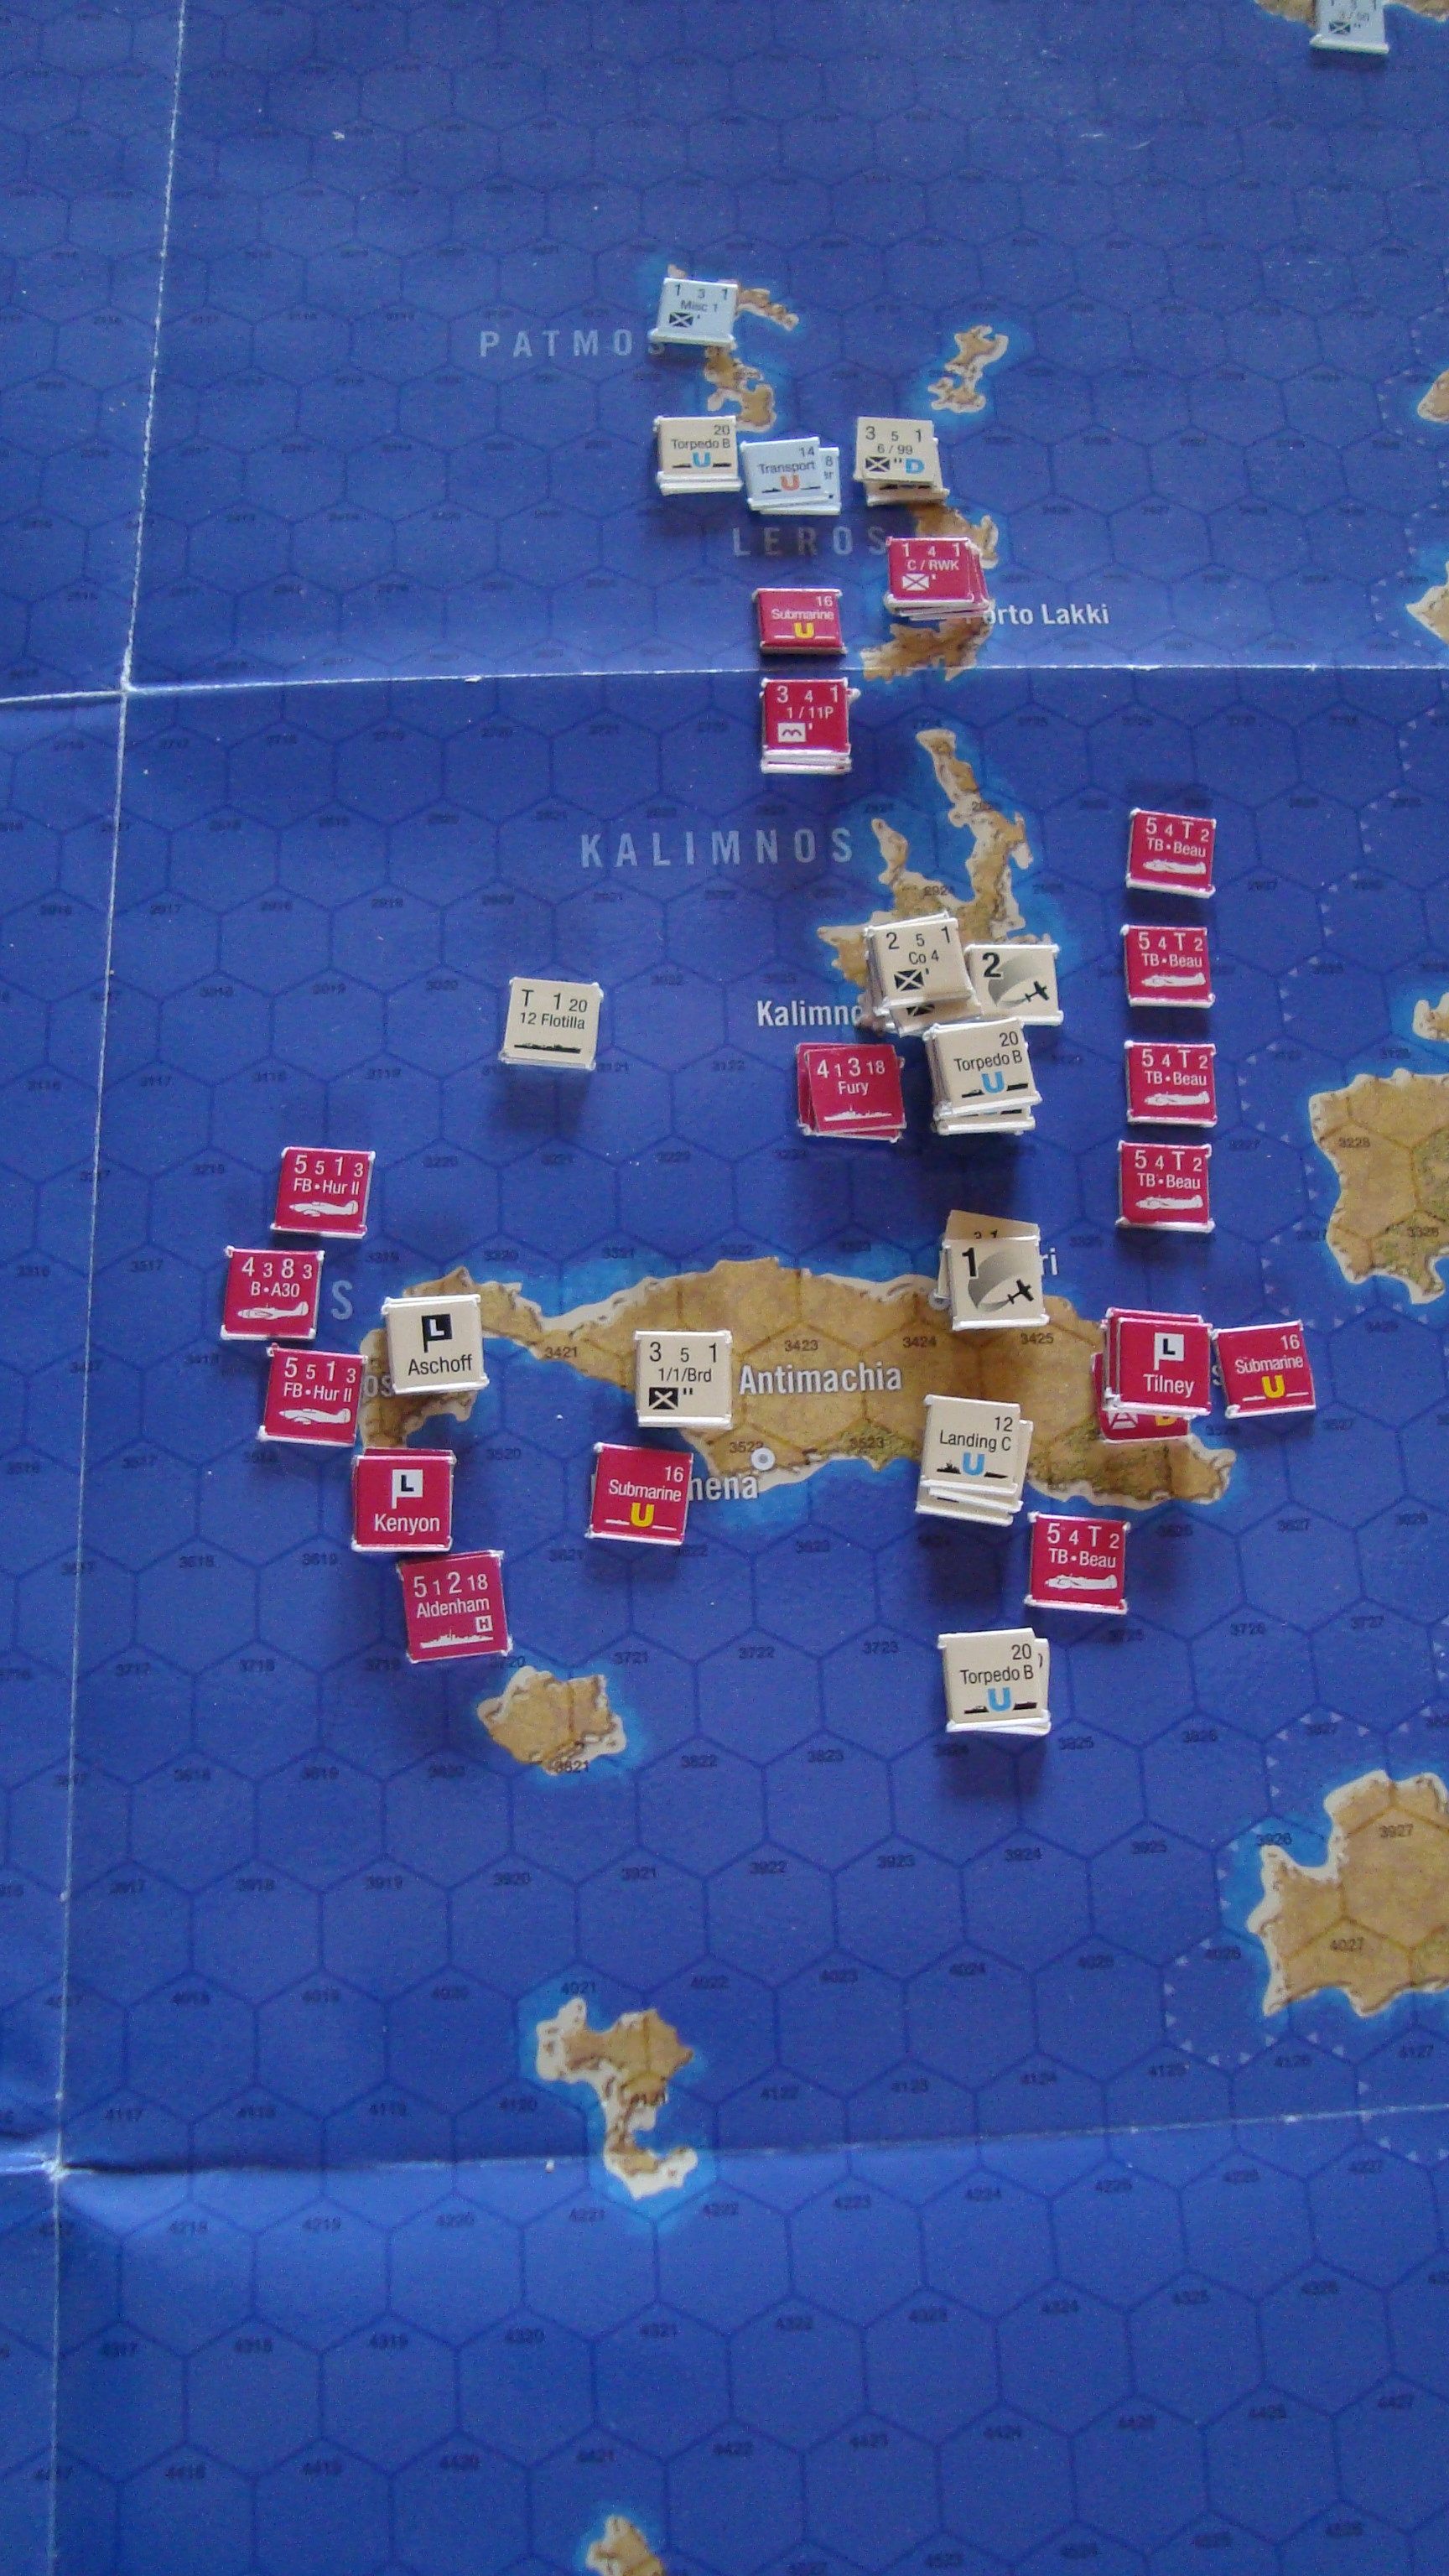
It’s a great scenario if you want to “play” a physically manageable & comprehensive overview of this system. The scenario has a low counter density, a small map so it can stay set up for a long time, and a relatively short time frame beginning in May and ending in October (bi-monthly turns). It involves just about every aspect of the Glory (and by extension, Europa) system. The naval system, which many consider problematic, is featured, with an emphasis on amphibious landings, use of ports for general supply, submarines (and midget submarines) and coastal defense.
On the other hand, it’s not much of a game. Let’s call it “an operational study”. Here’s a link to a brief overview of the campaign. I’ve included it because it contains a good bibliography, as well as a link to a brief overview of South Africa’s part in WW2. I can vouch for “England’s Last War Against France”.
The decisive victory conditions are stringent: Take Diego Suarez in two turns, control Madagascar by October, do not lose a unit, and not expend more than one resource point. Attaining the latter is especially difficult because it limits British player is limited to one attack with one regimental equivalent (RE) at full strength for the entire game. Everything else is at half-strength, which makes losing a unit very possible and, perhaps, probable. While the Allies have overwhelming naval and air strength for the first two turns in May, most of these assets are immediately diverted to other theaters. From June through September, the British have to operate with minimal naval and air assets, with a carrier/battleship force arriving for the final month.
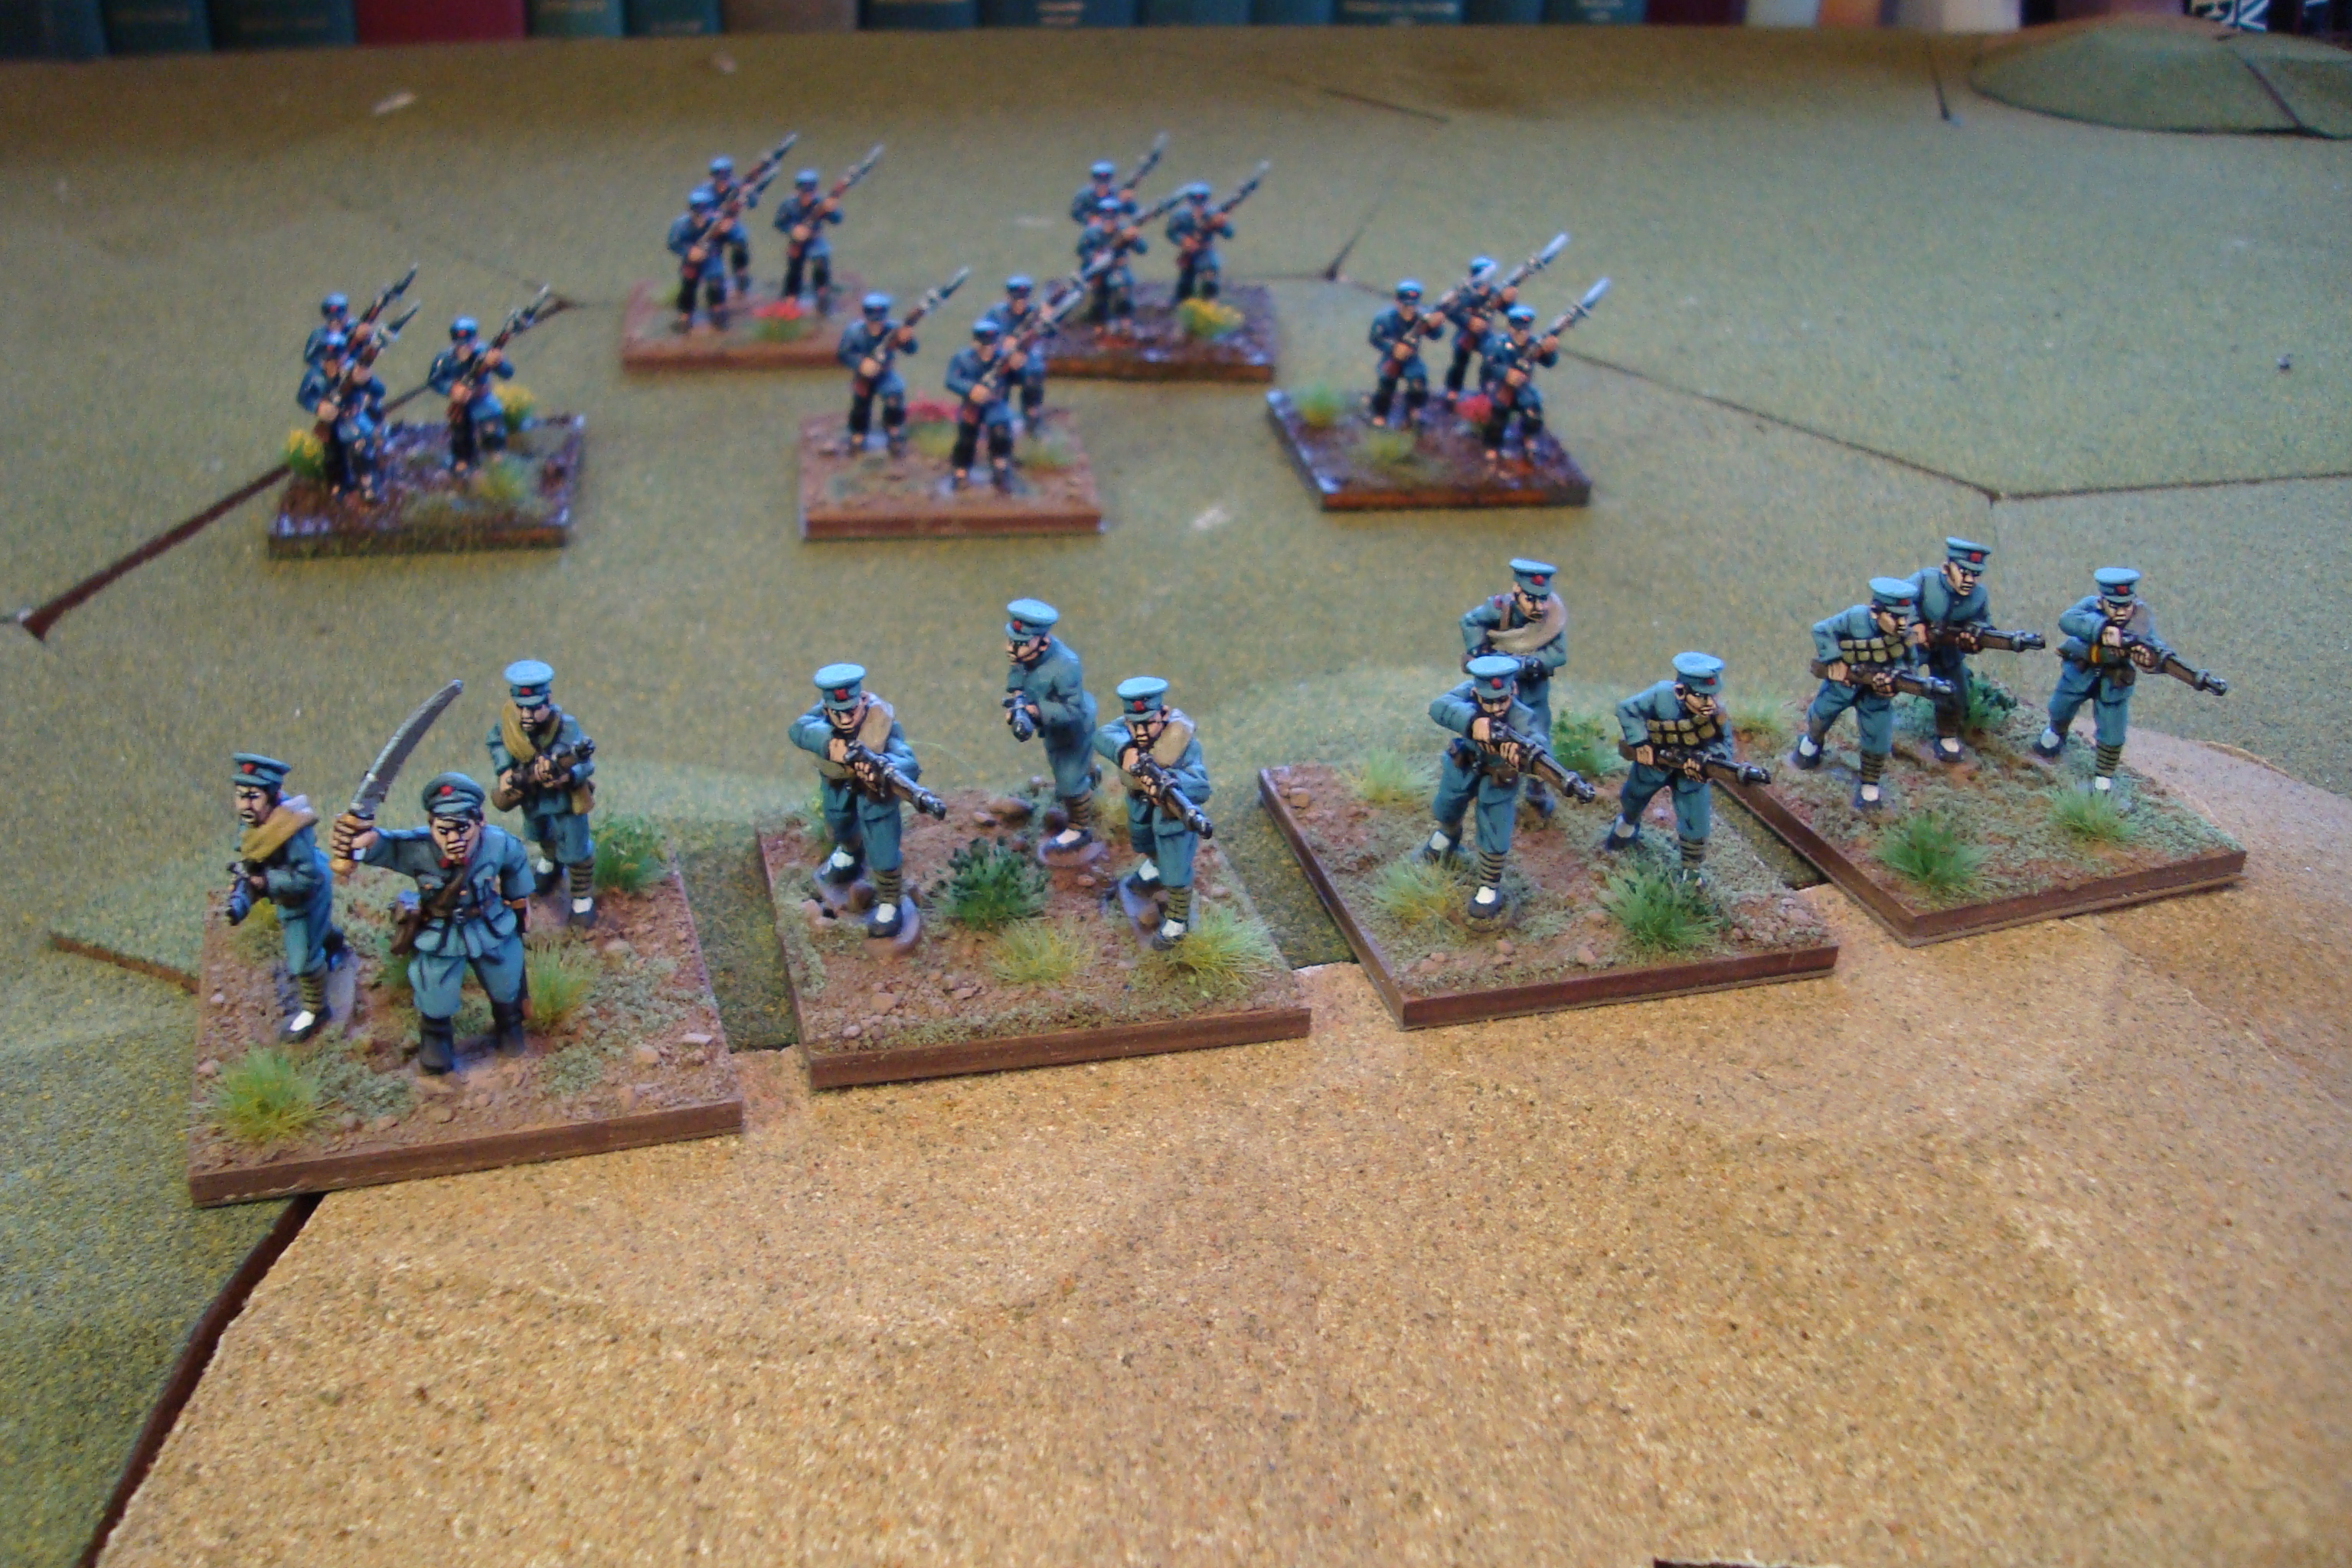
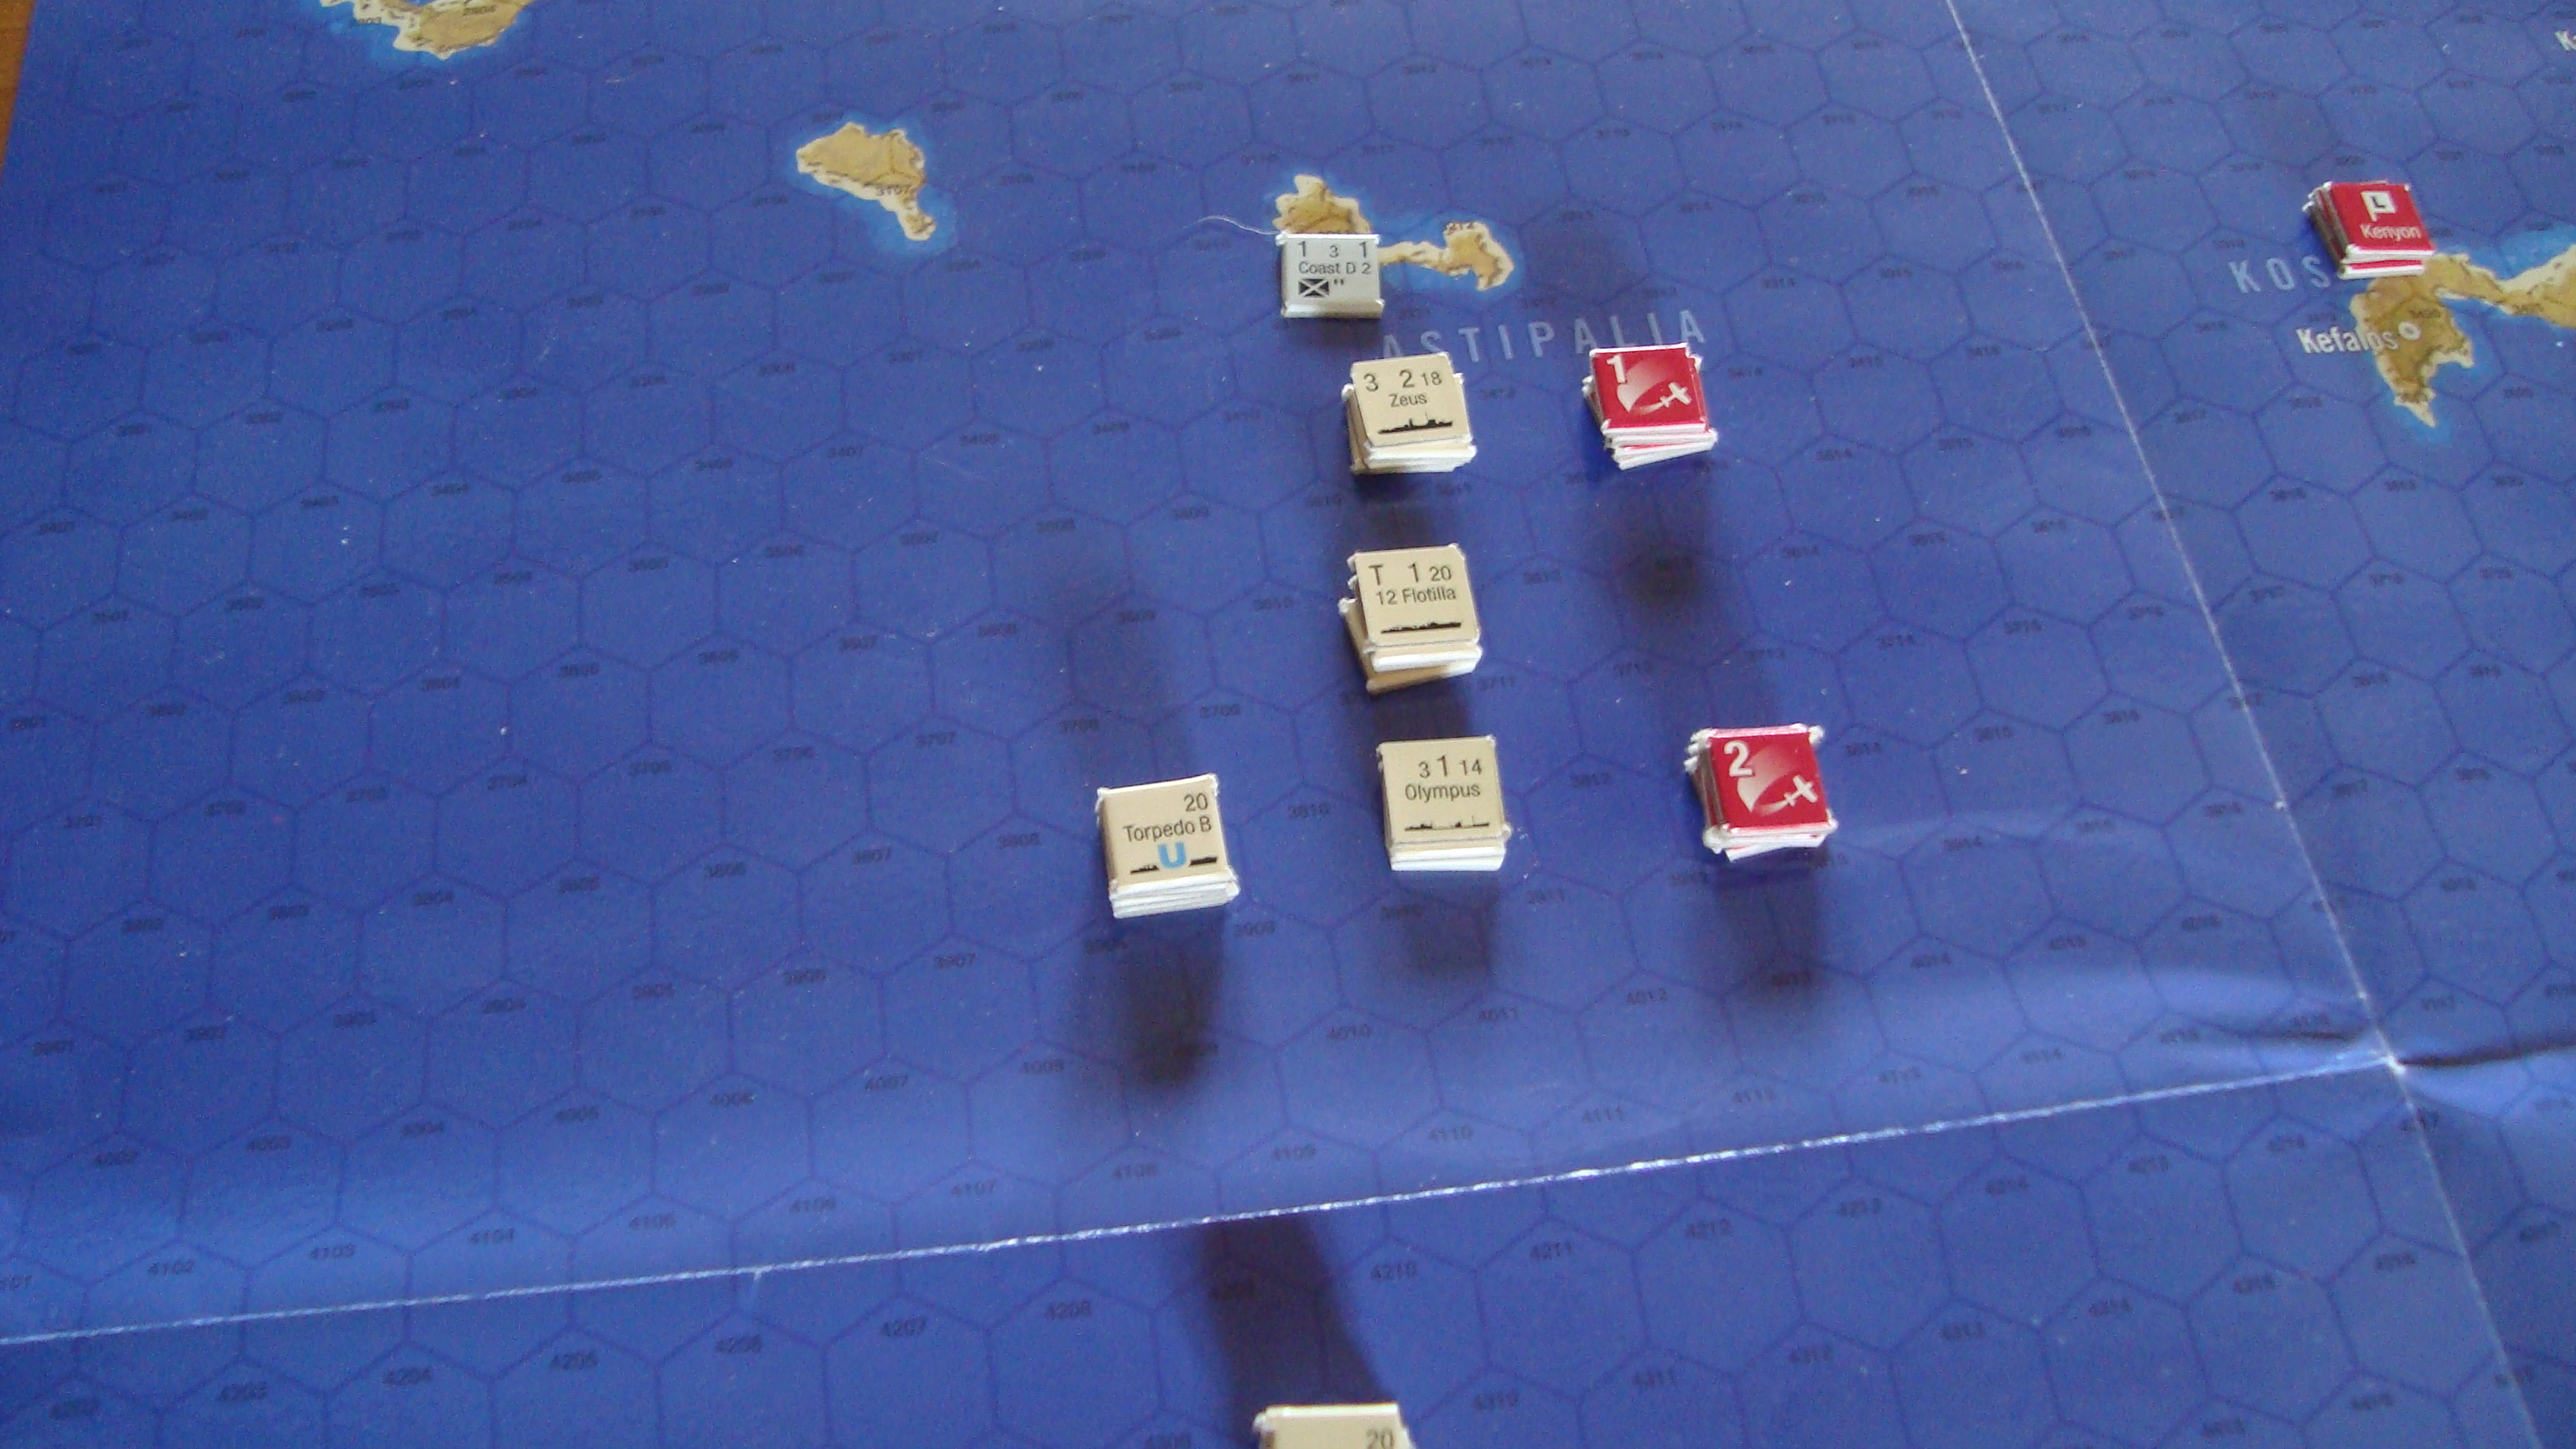
The opening two turns are devoted to taking Diego Suarez. This area of operations is represented by a map insert at an expanded scale. The British must negotiate restricted waters, deal with disorganization after their landings, and having only a few areas where they can bring overwhelming naval gunfire to bear. A French defense in depth, sacrificing units for time, makes it difficult to control the area by the end of June. British attacks typically take place at 3-1, with maybe a 4-1. The combat results table (CRT) can be brutal, with an exchange result eliminating a British unit, or an attacker stopped result throwing the time track off.
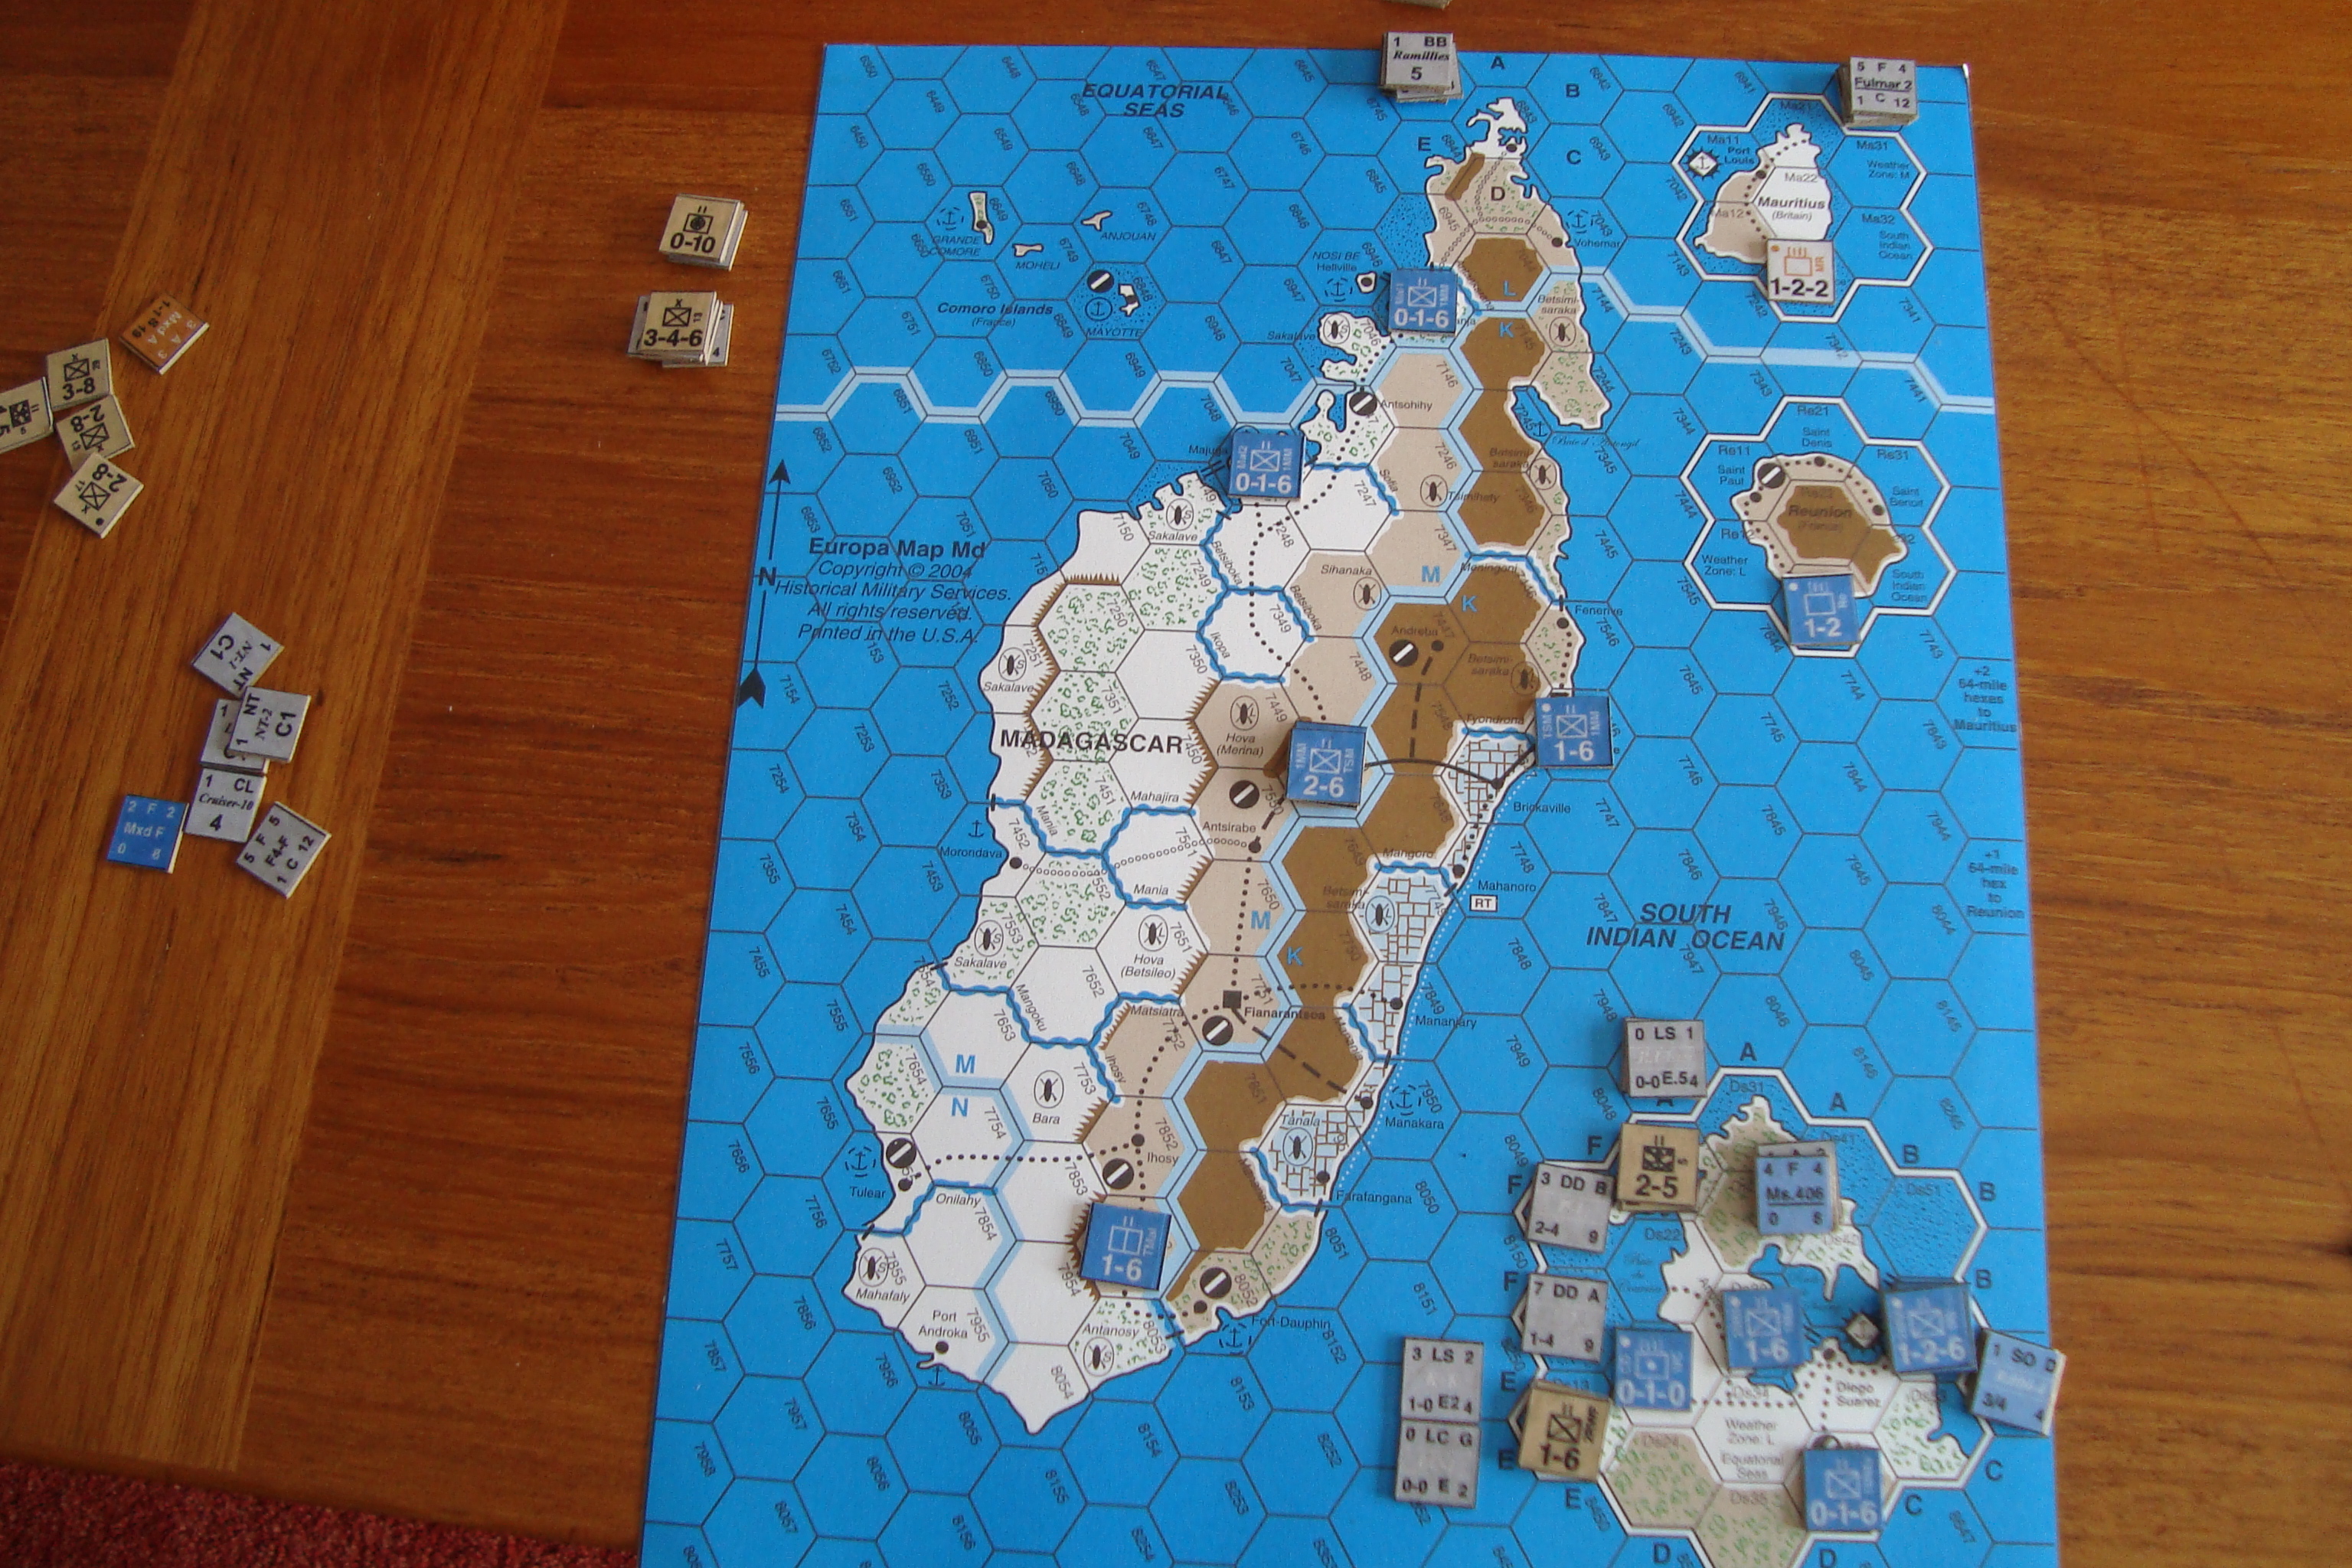
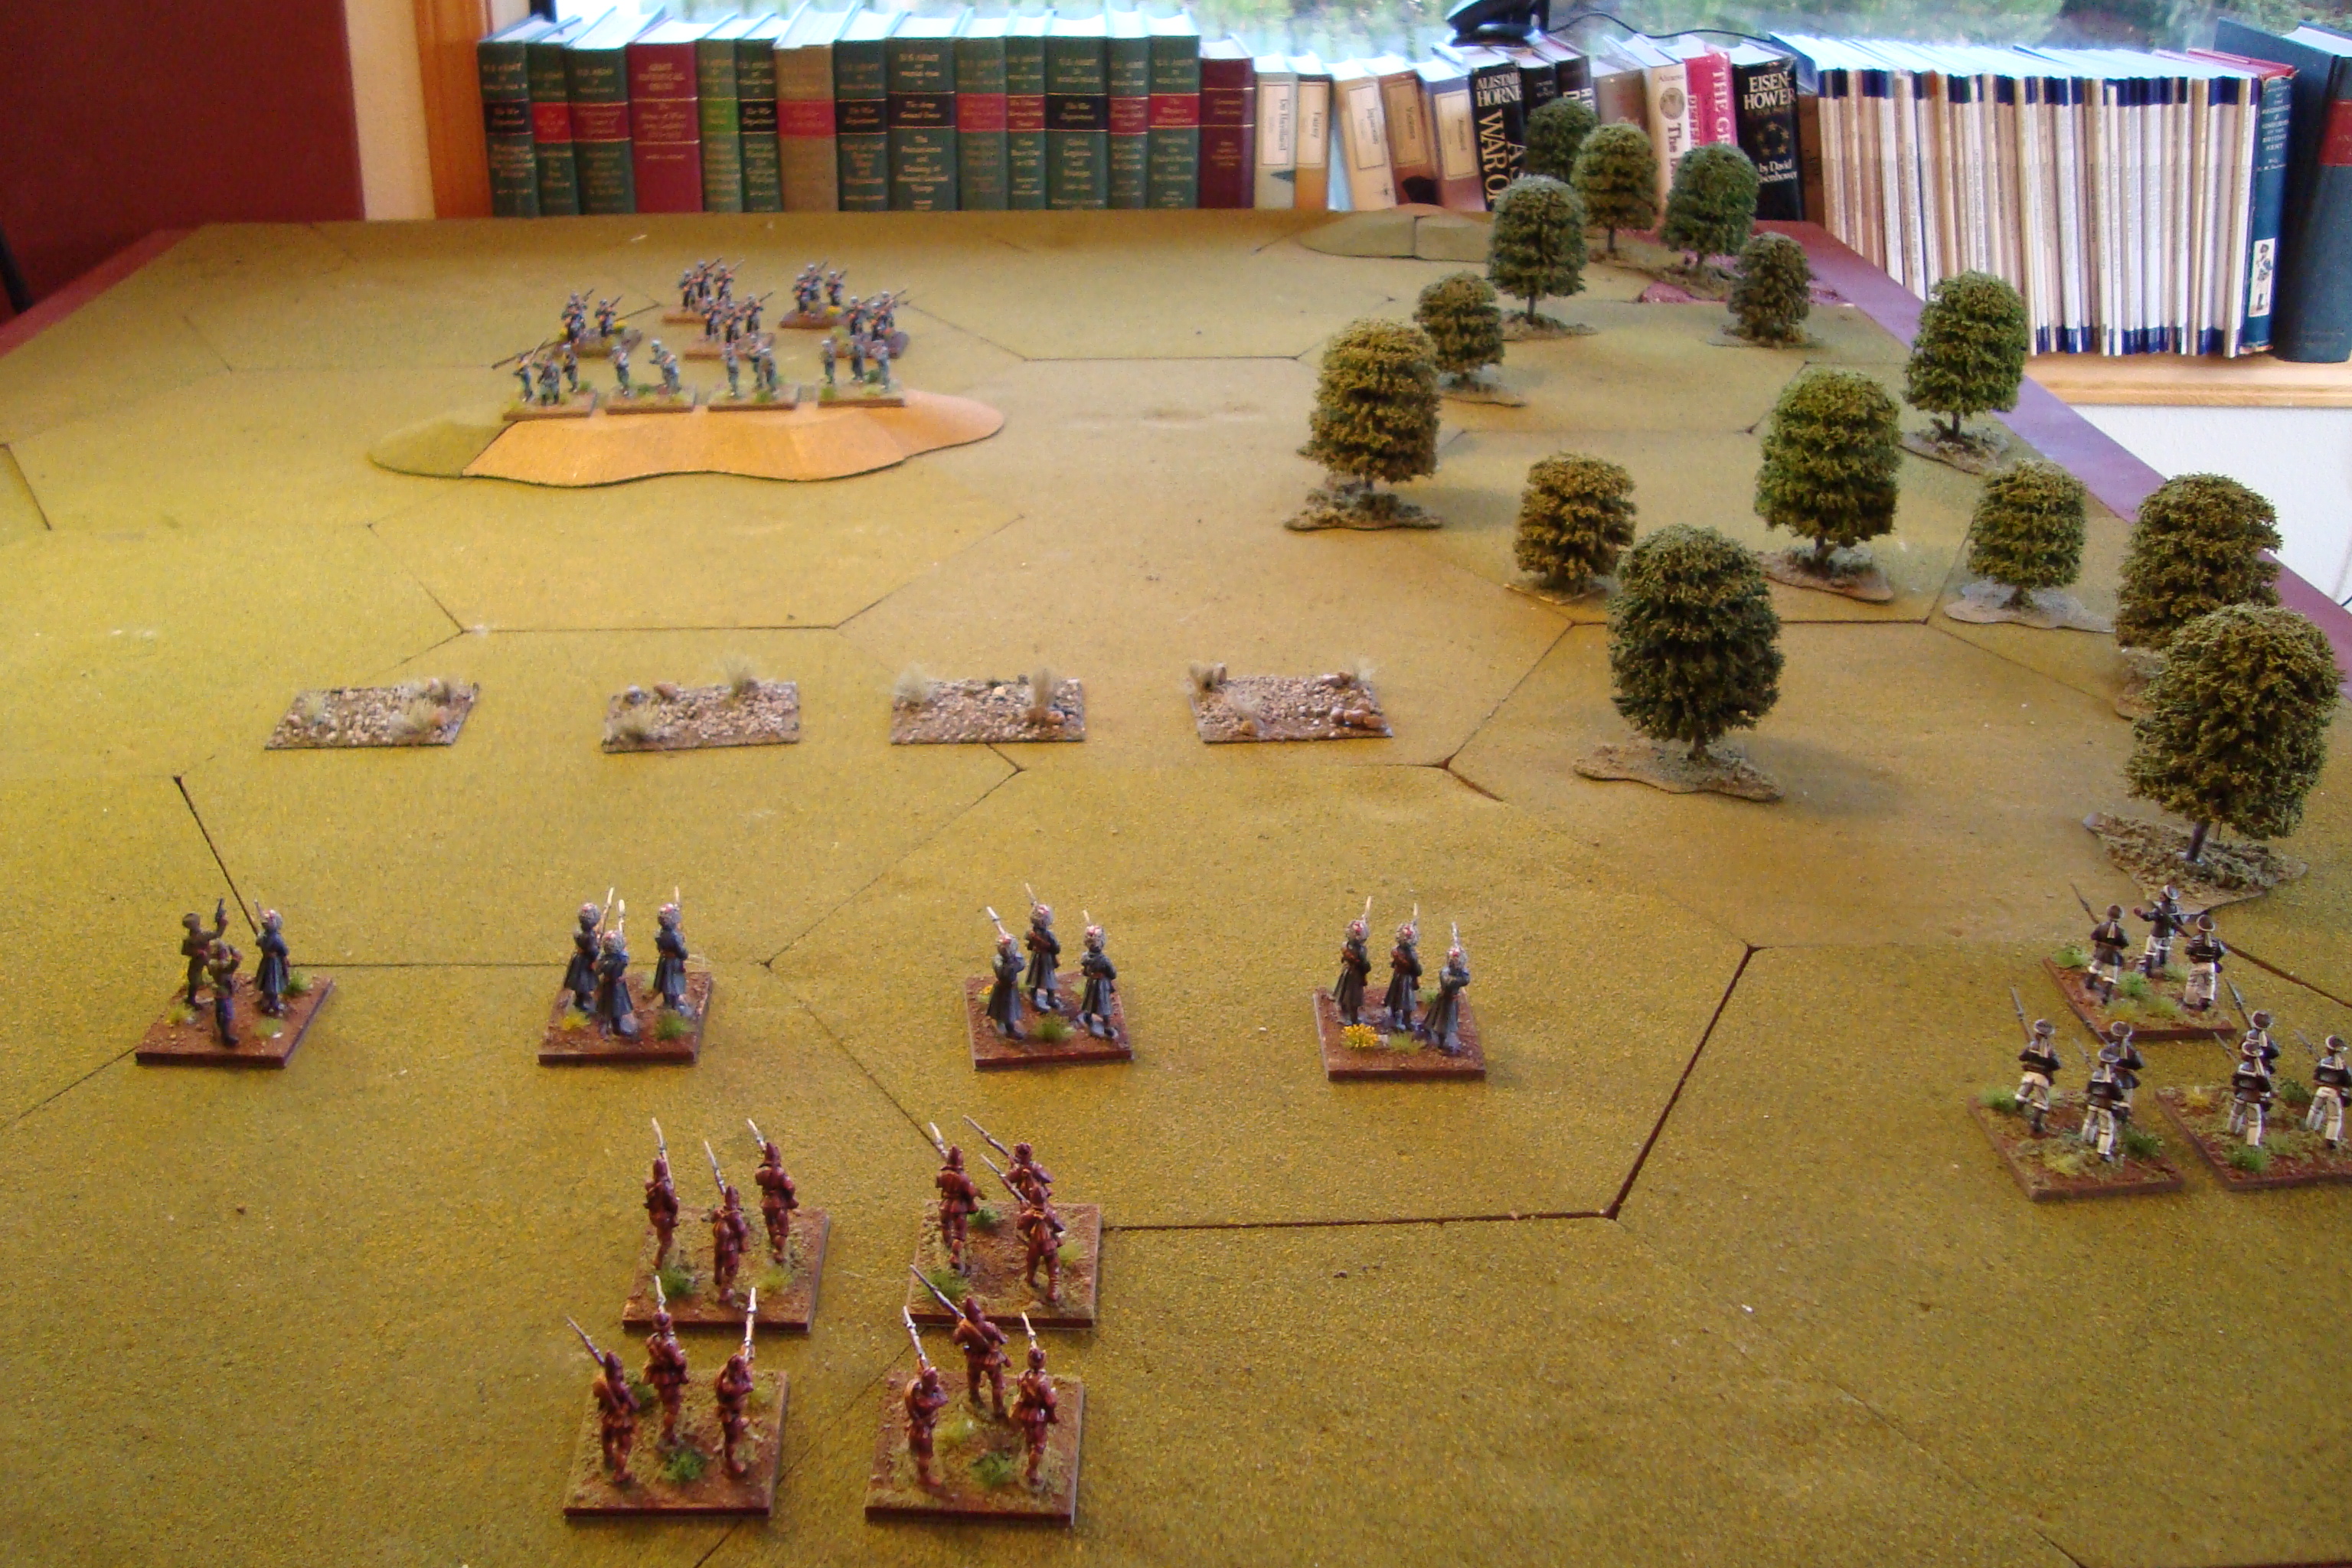
Map Showing Insets, Vichy Set Up and Invasion of Diego Suarez
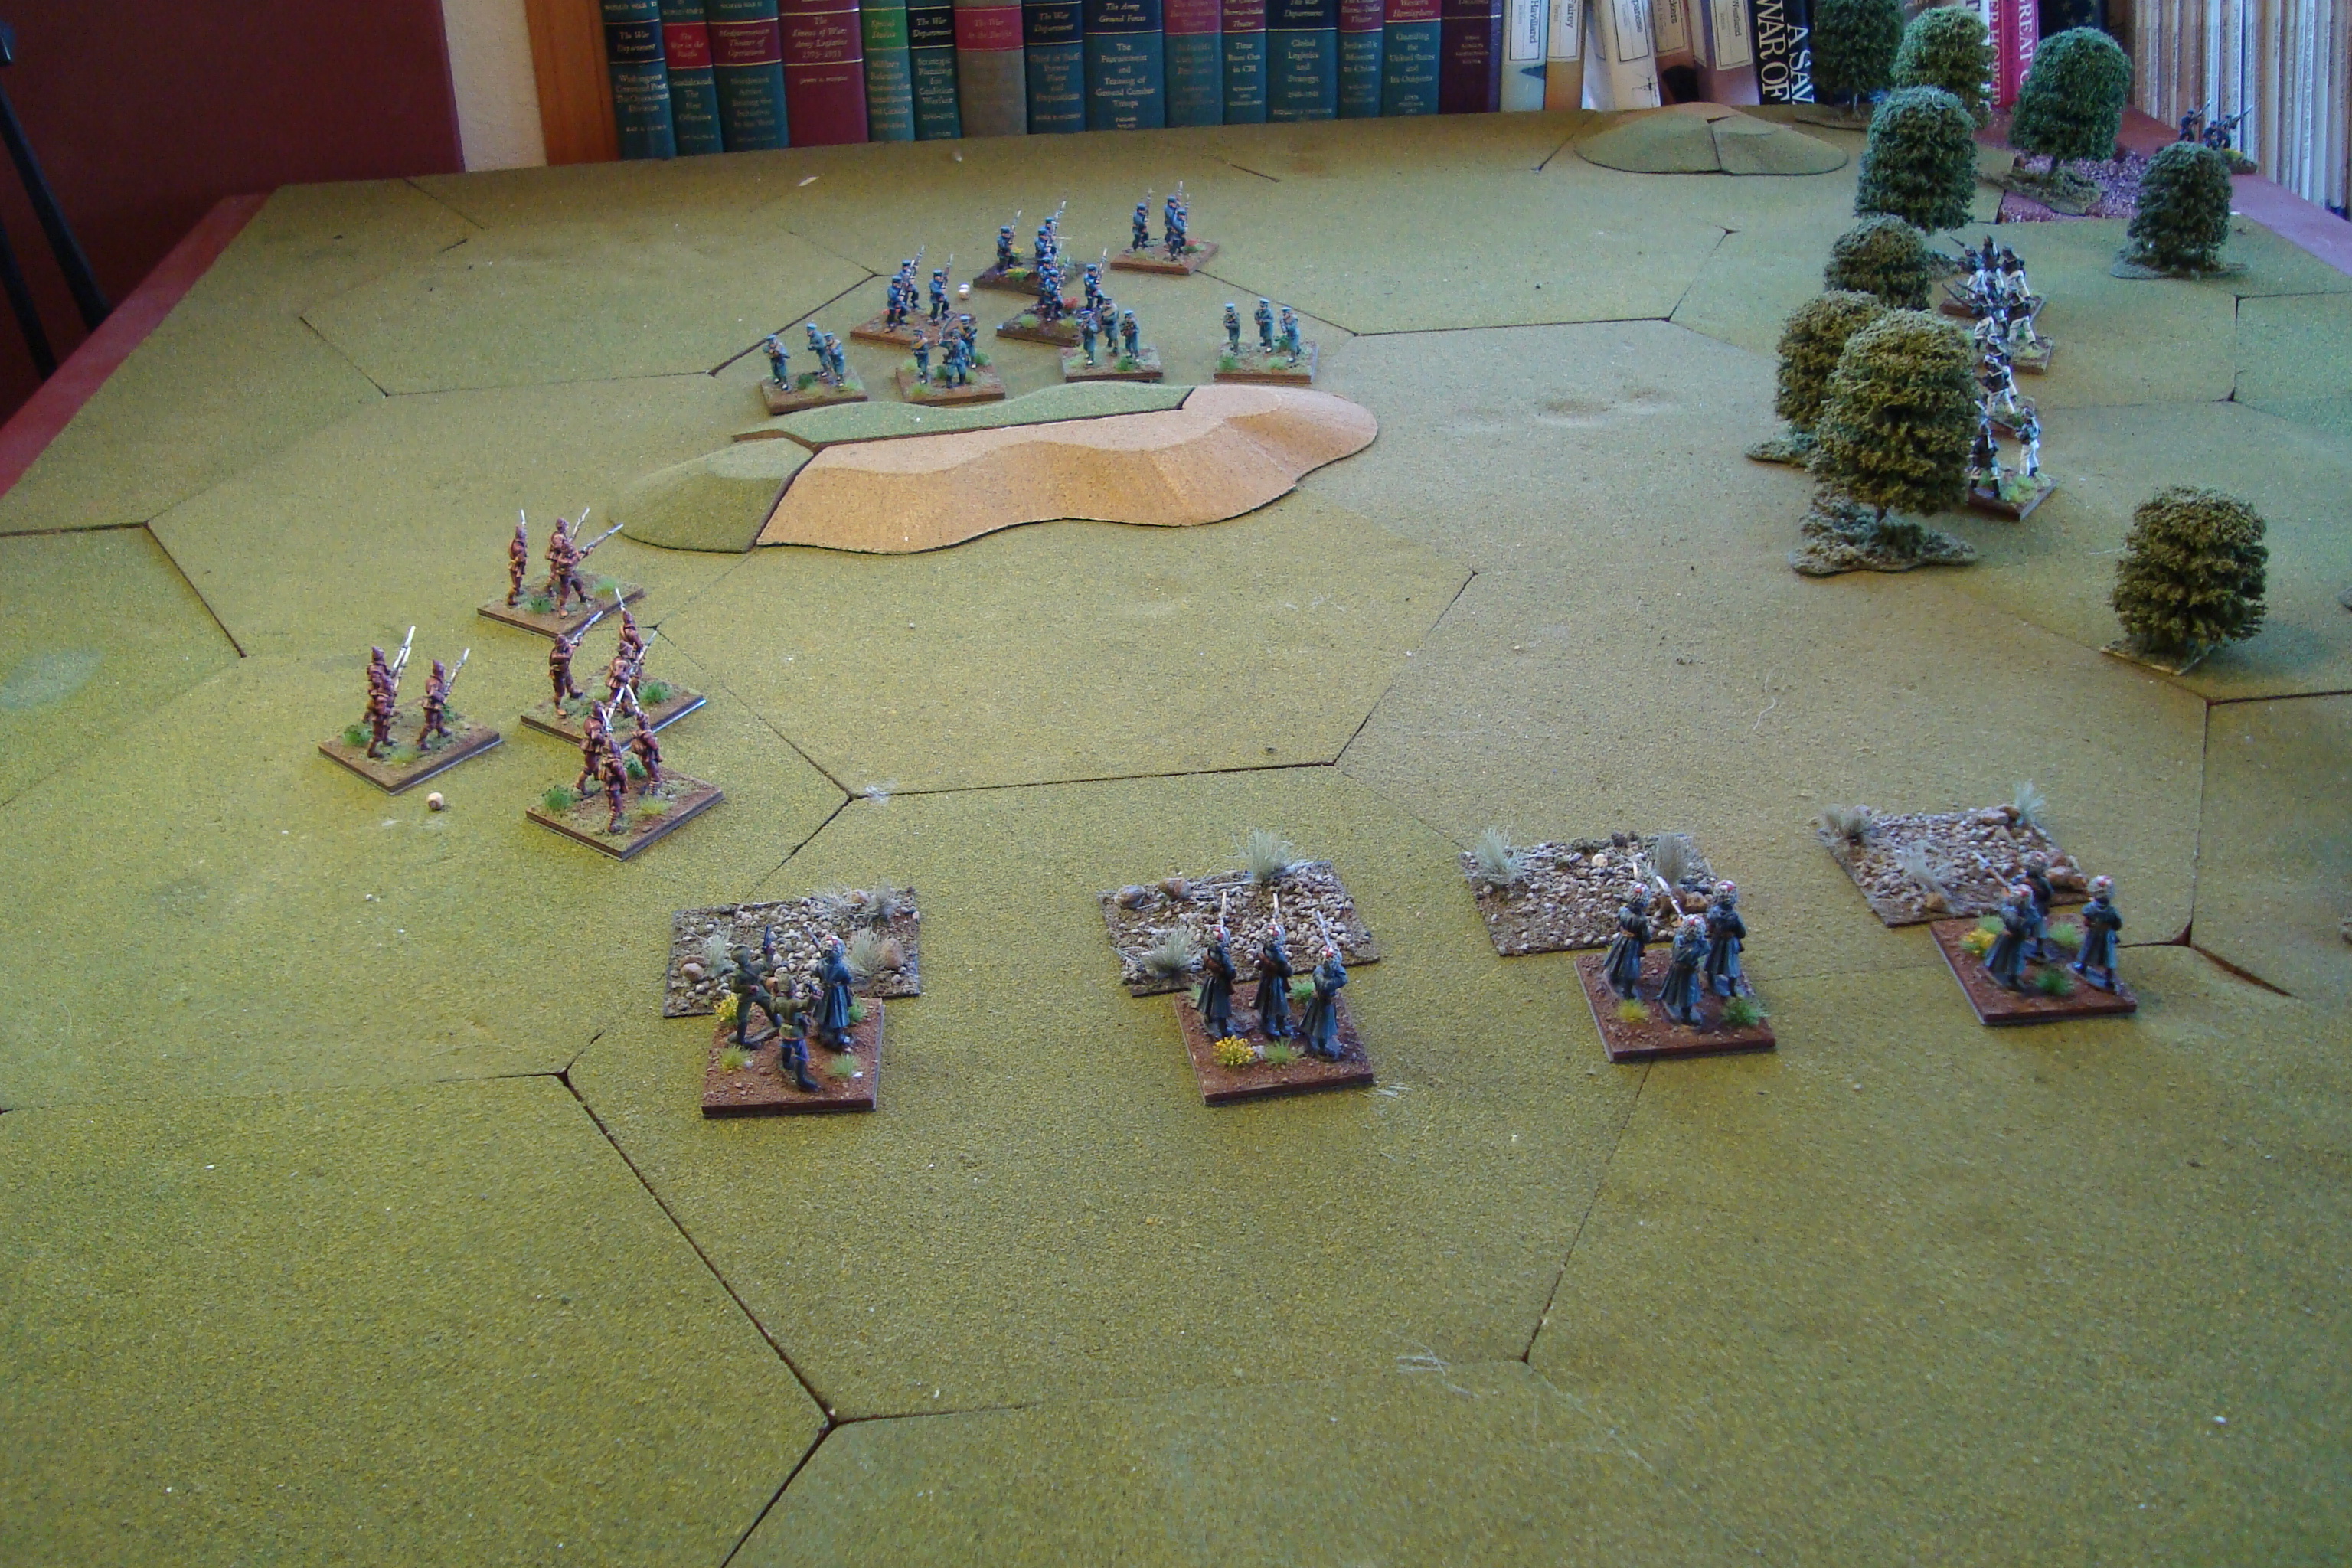
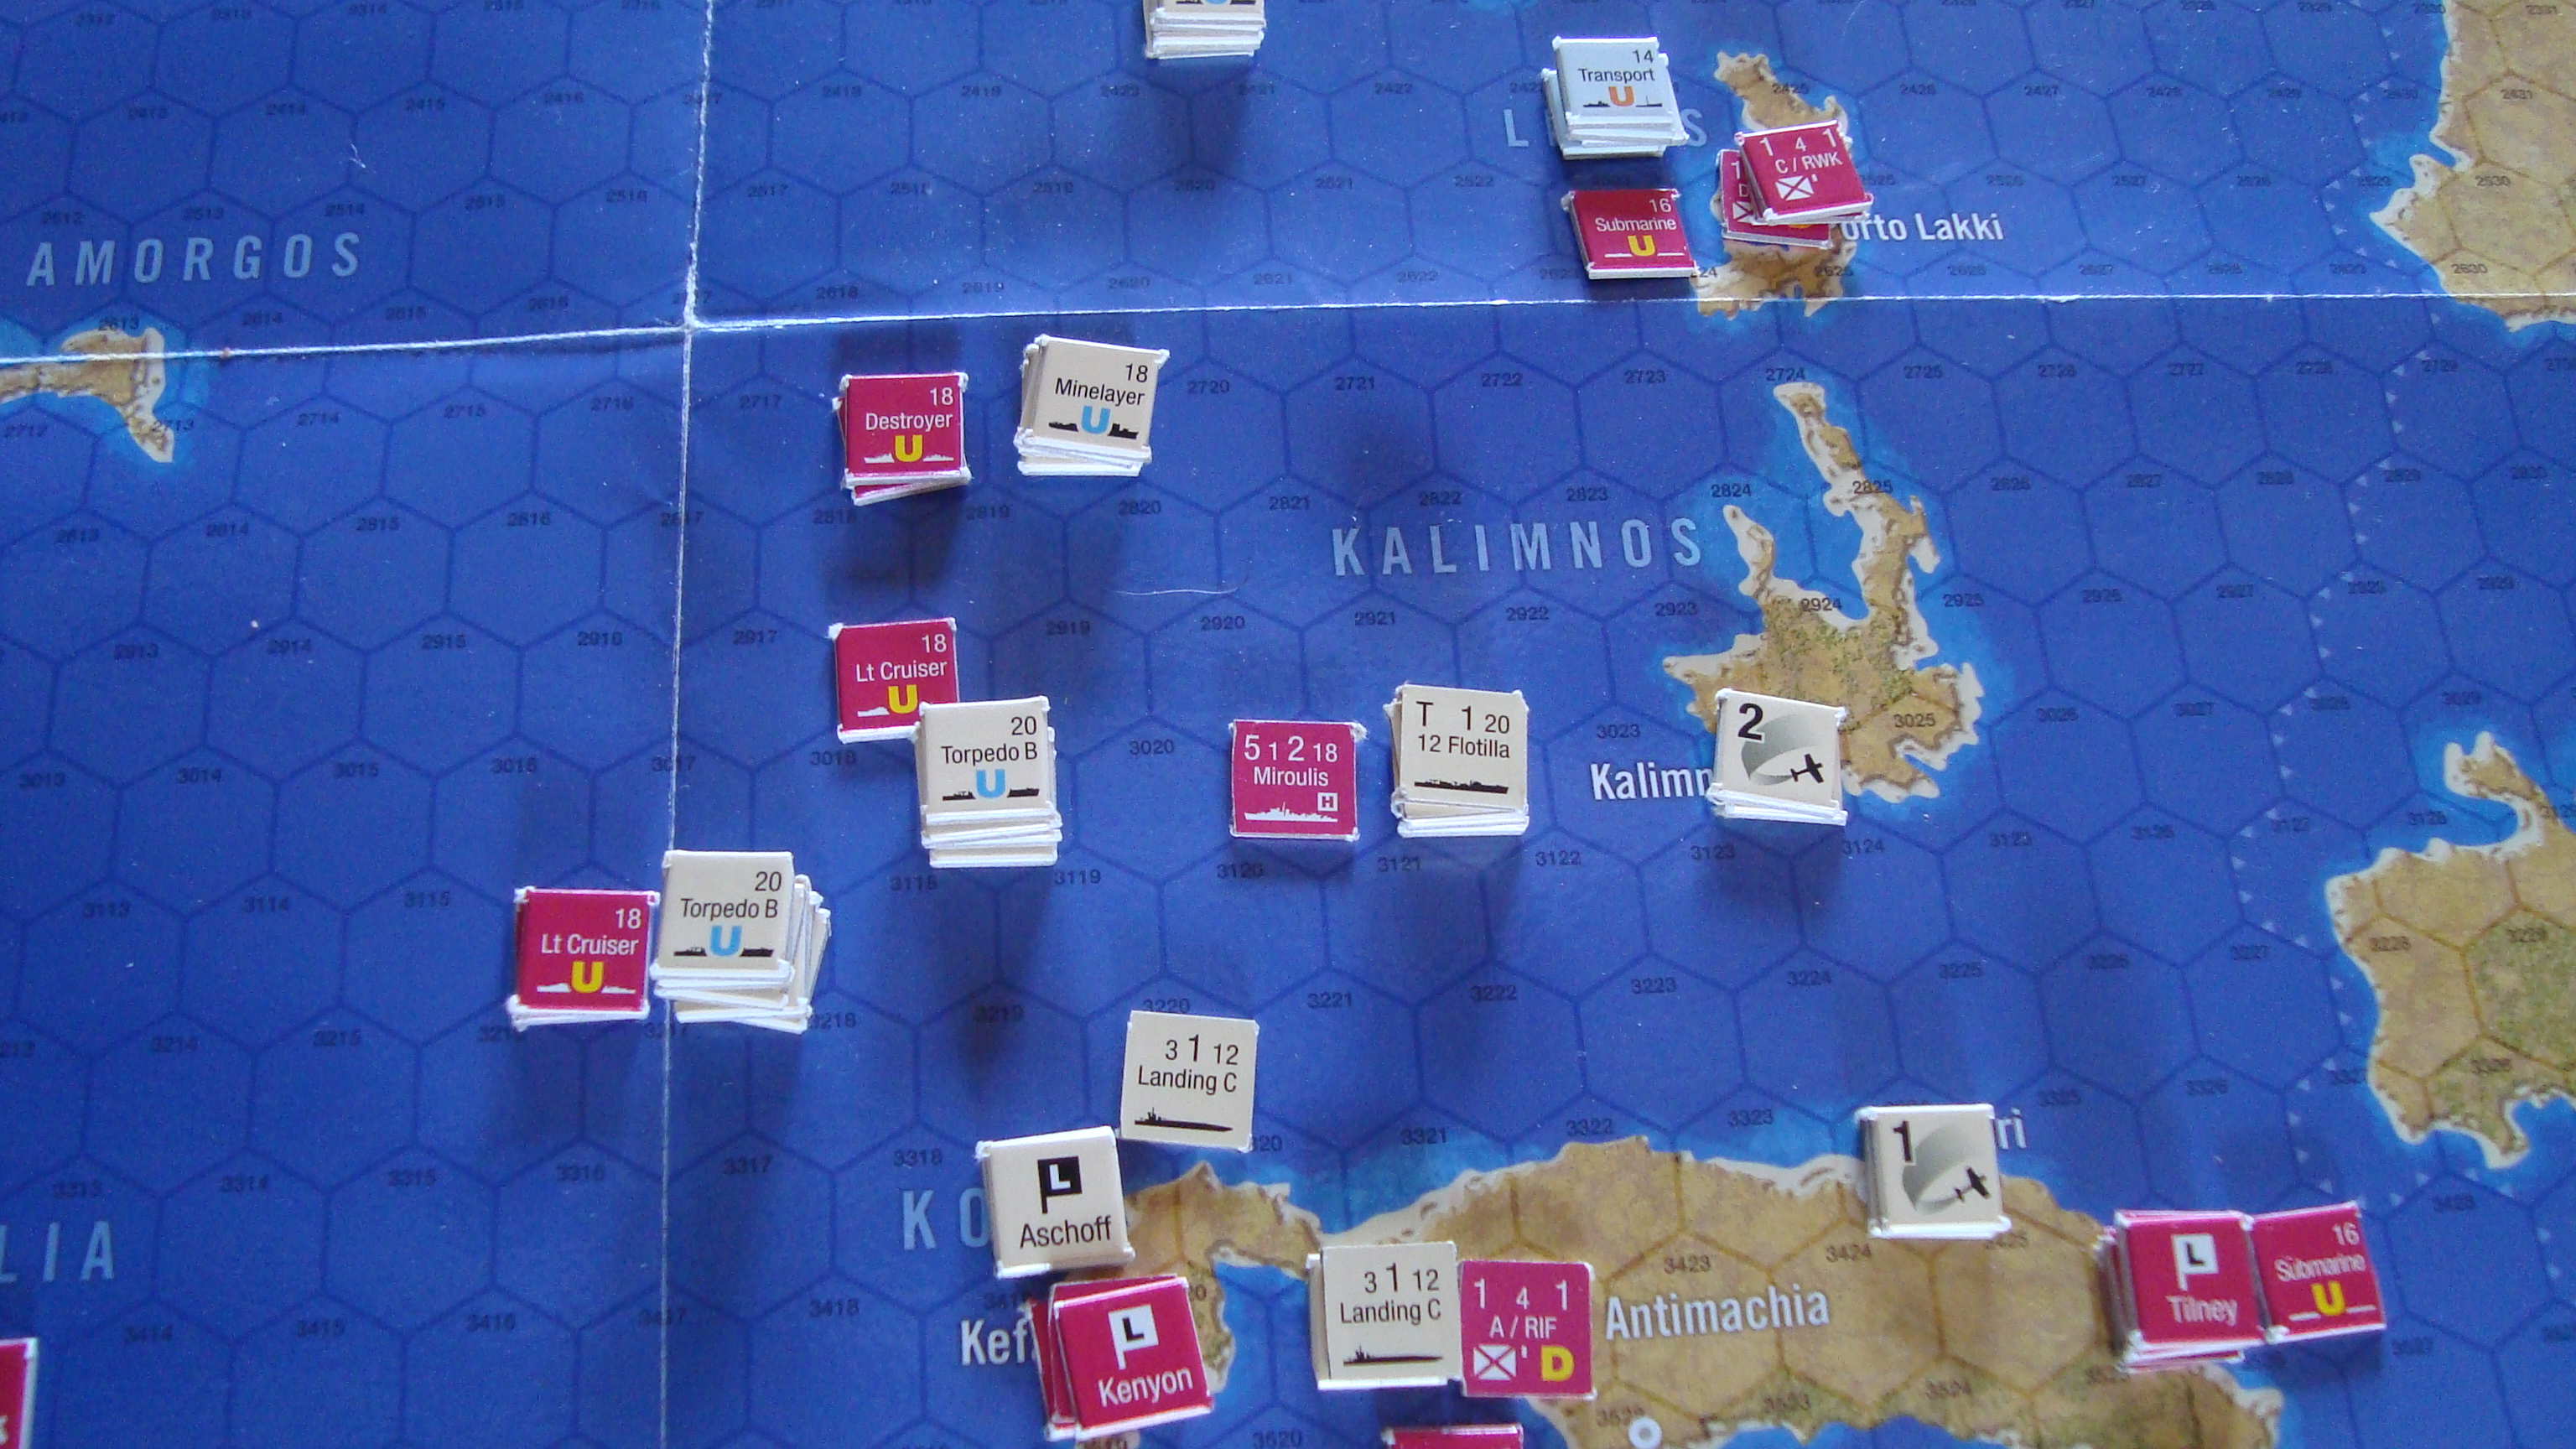
After Diego Suarez is secured, the British slowly move through the island, attacking French units at low odds, after amphibious landings. Overland travel is very slow. The best approach is to isolate the main French units, reducing their strength so, once again, a 3-1 or 4-1 attack can take place. This takes time, and outside of the process of figuring out how to work with zones of control for a mix of units and capabilities, not much fun……if you even think ZOCs can be fun – kinda.
All this kvetching aside, the scenario does simulate the historic campaign, and is a challenge to the player. In that regard, you can’t complain. Would I play it again, no. Was it worth the time, yes. A good rules overview, and a chance to use the color counters I downloaded from the Europa website (DO NOT go out and try to download now. A nasty pop-up will appear) several years ago.