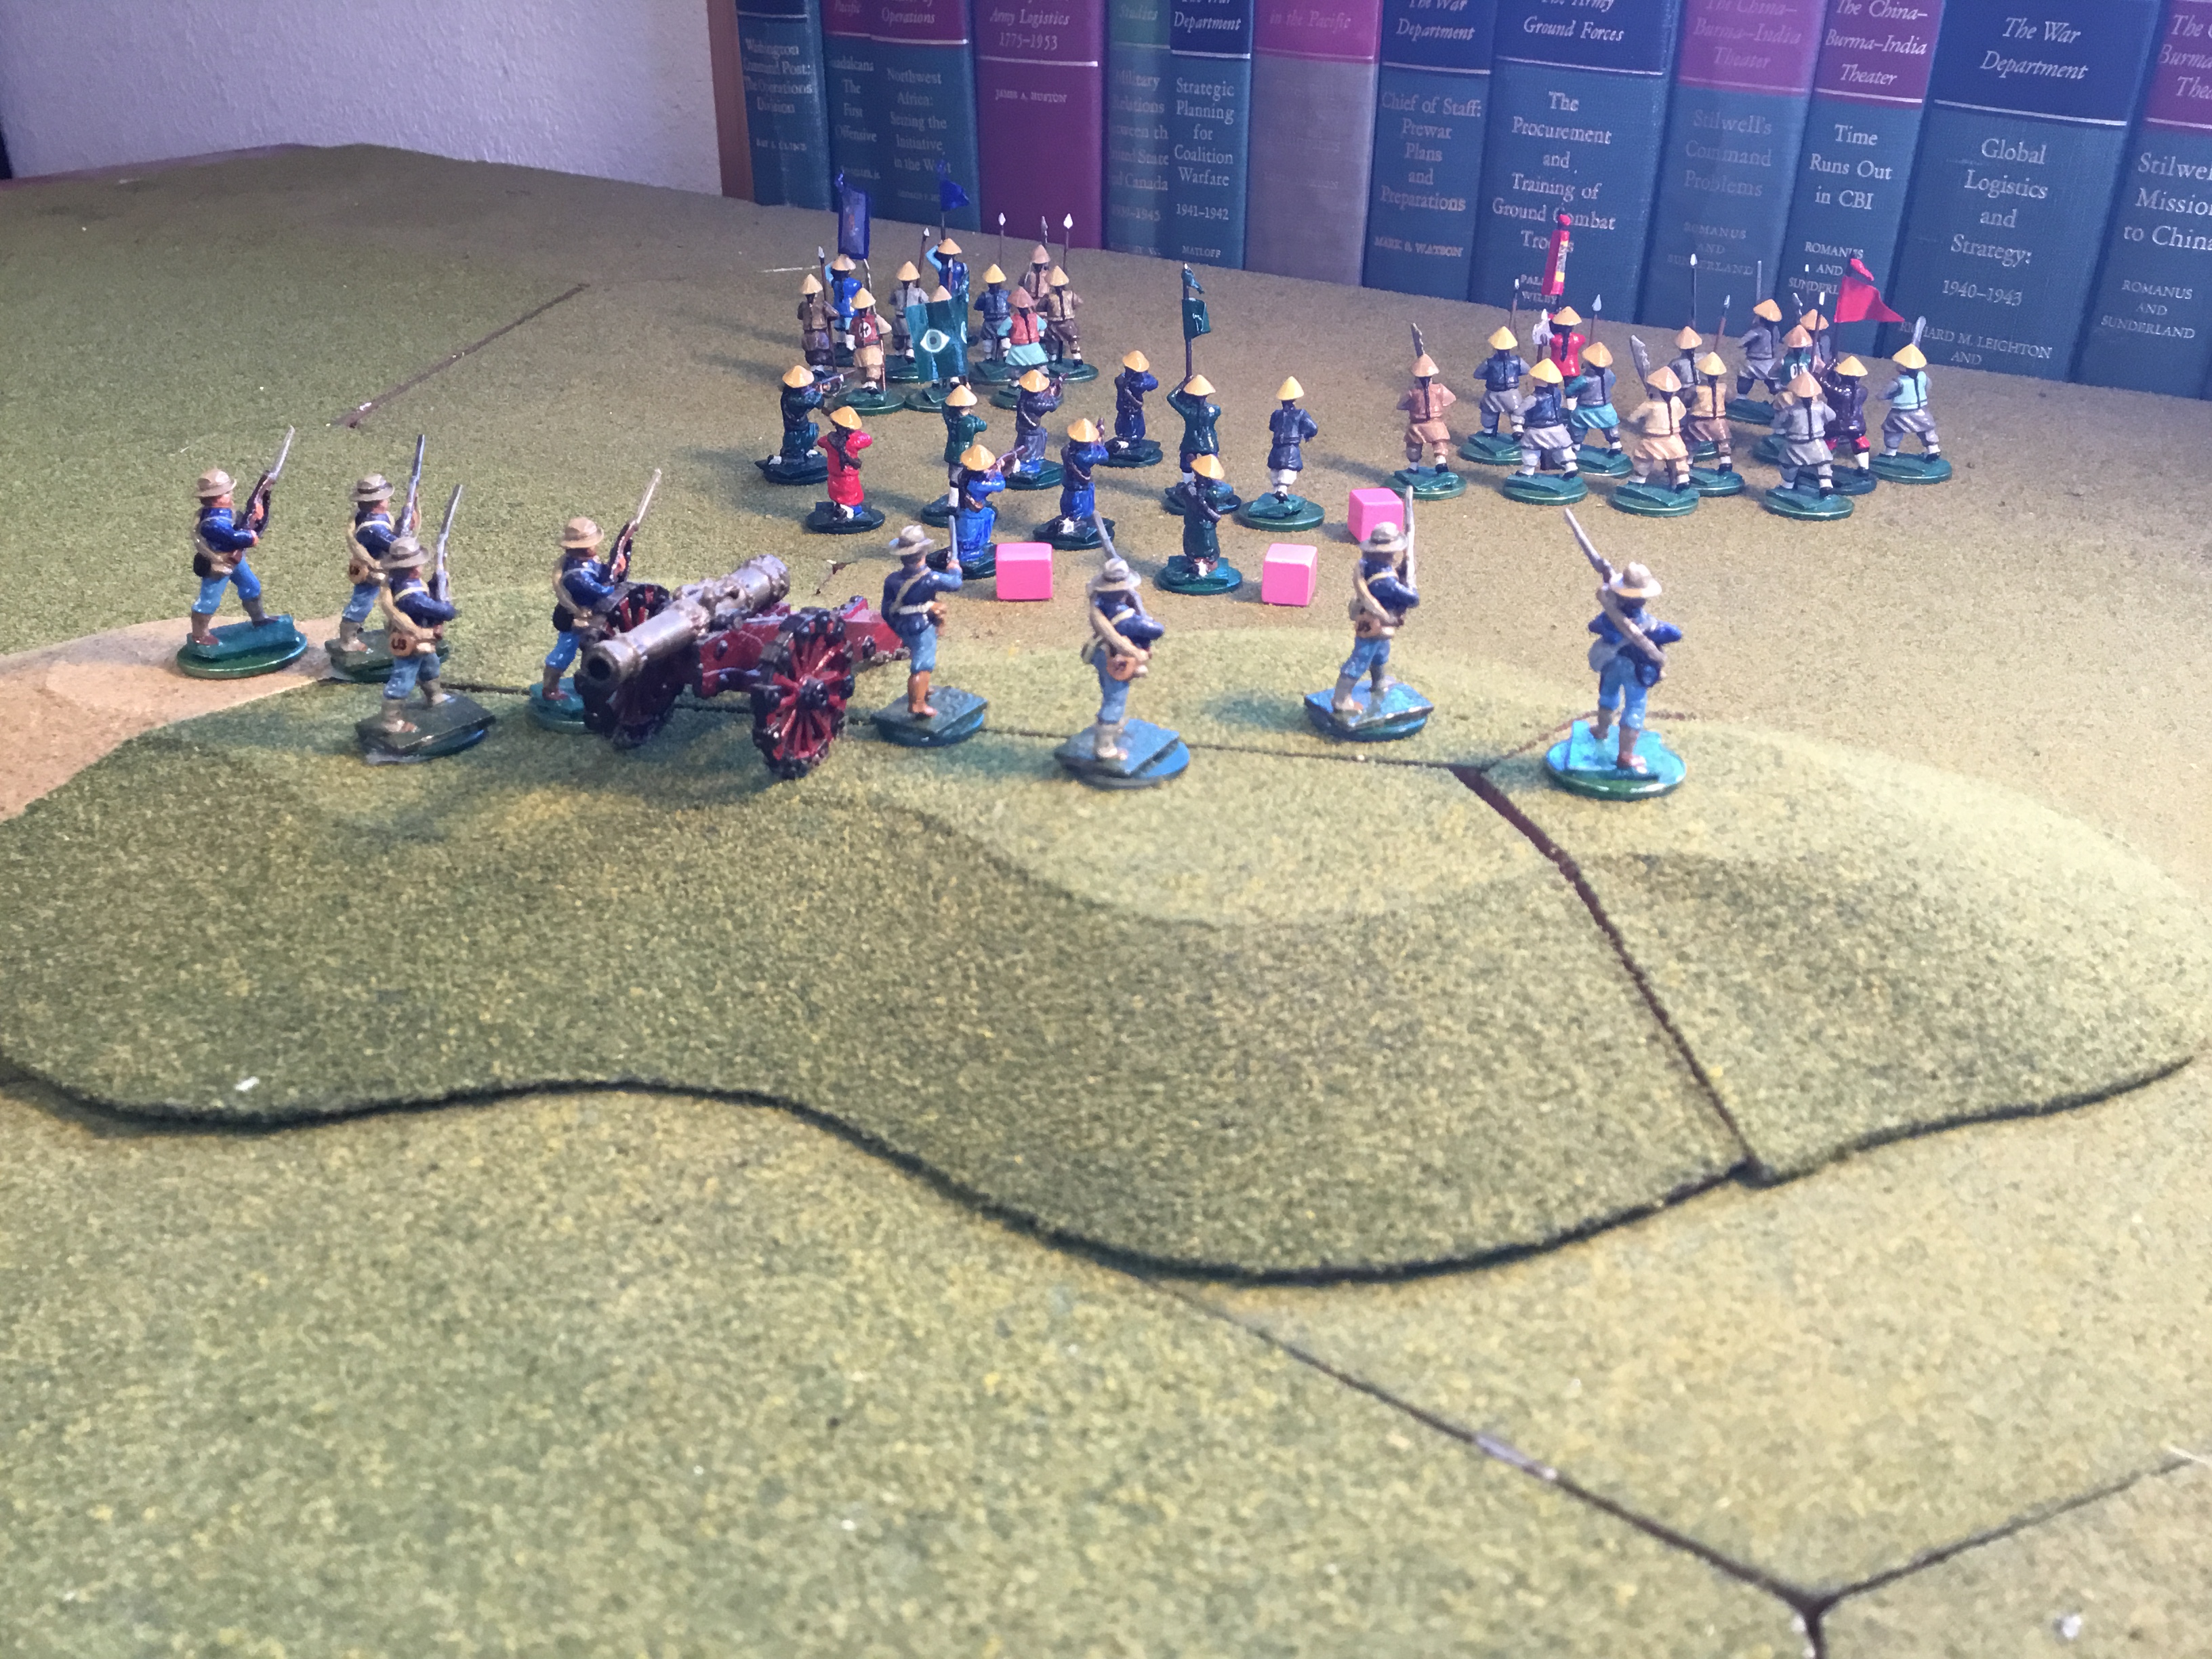
The Lieutenant’s options are pretty straightforward; if you think about them for 10 minutes rather than the minute or less he has to ponder the situation.
- Withdraw – You’ve cleared the woods, now get the hell out of there.
- Fire and Then Withdraw – Punish them. But, they might get the initiative and being only 12 inches away with a D6x4 charge roll, they can run you down in the Woods.
- Fire and Hold – Same as (2) above, but you will be in melee, and the woods have no favorites.
- Charge – Hope they break. If not….
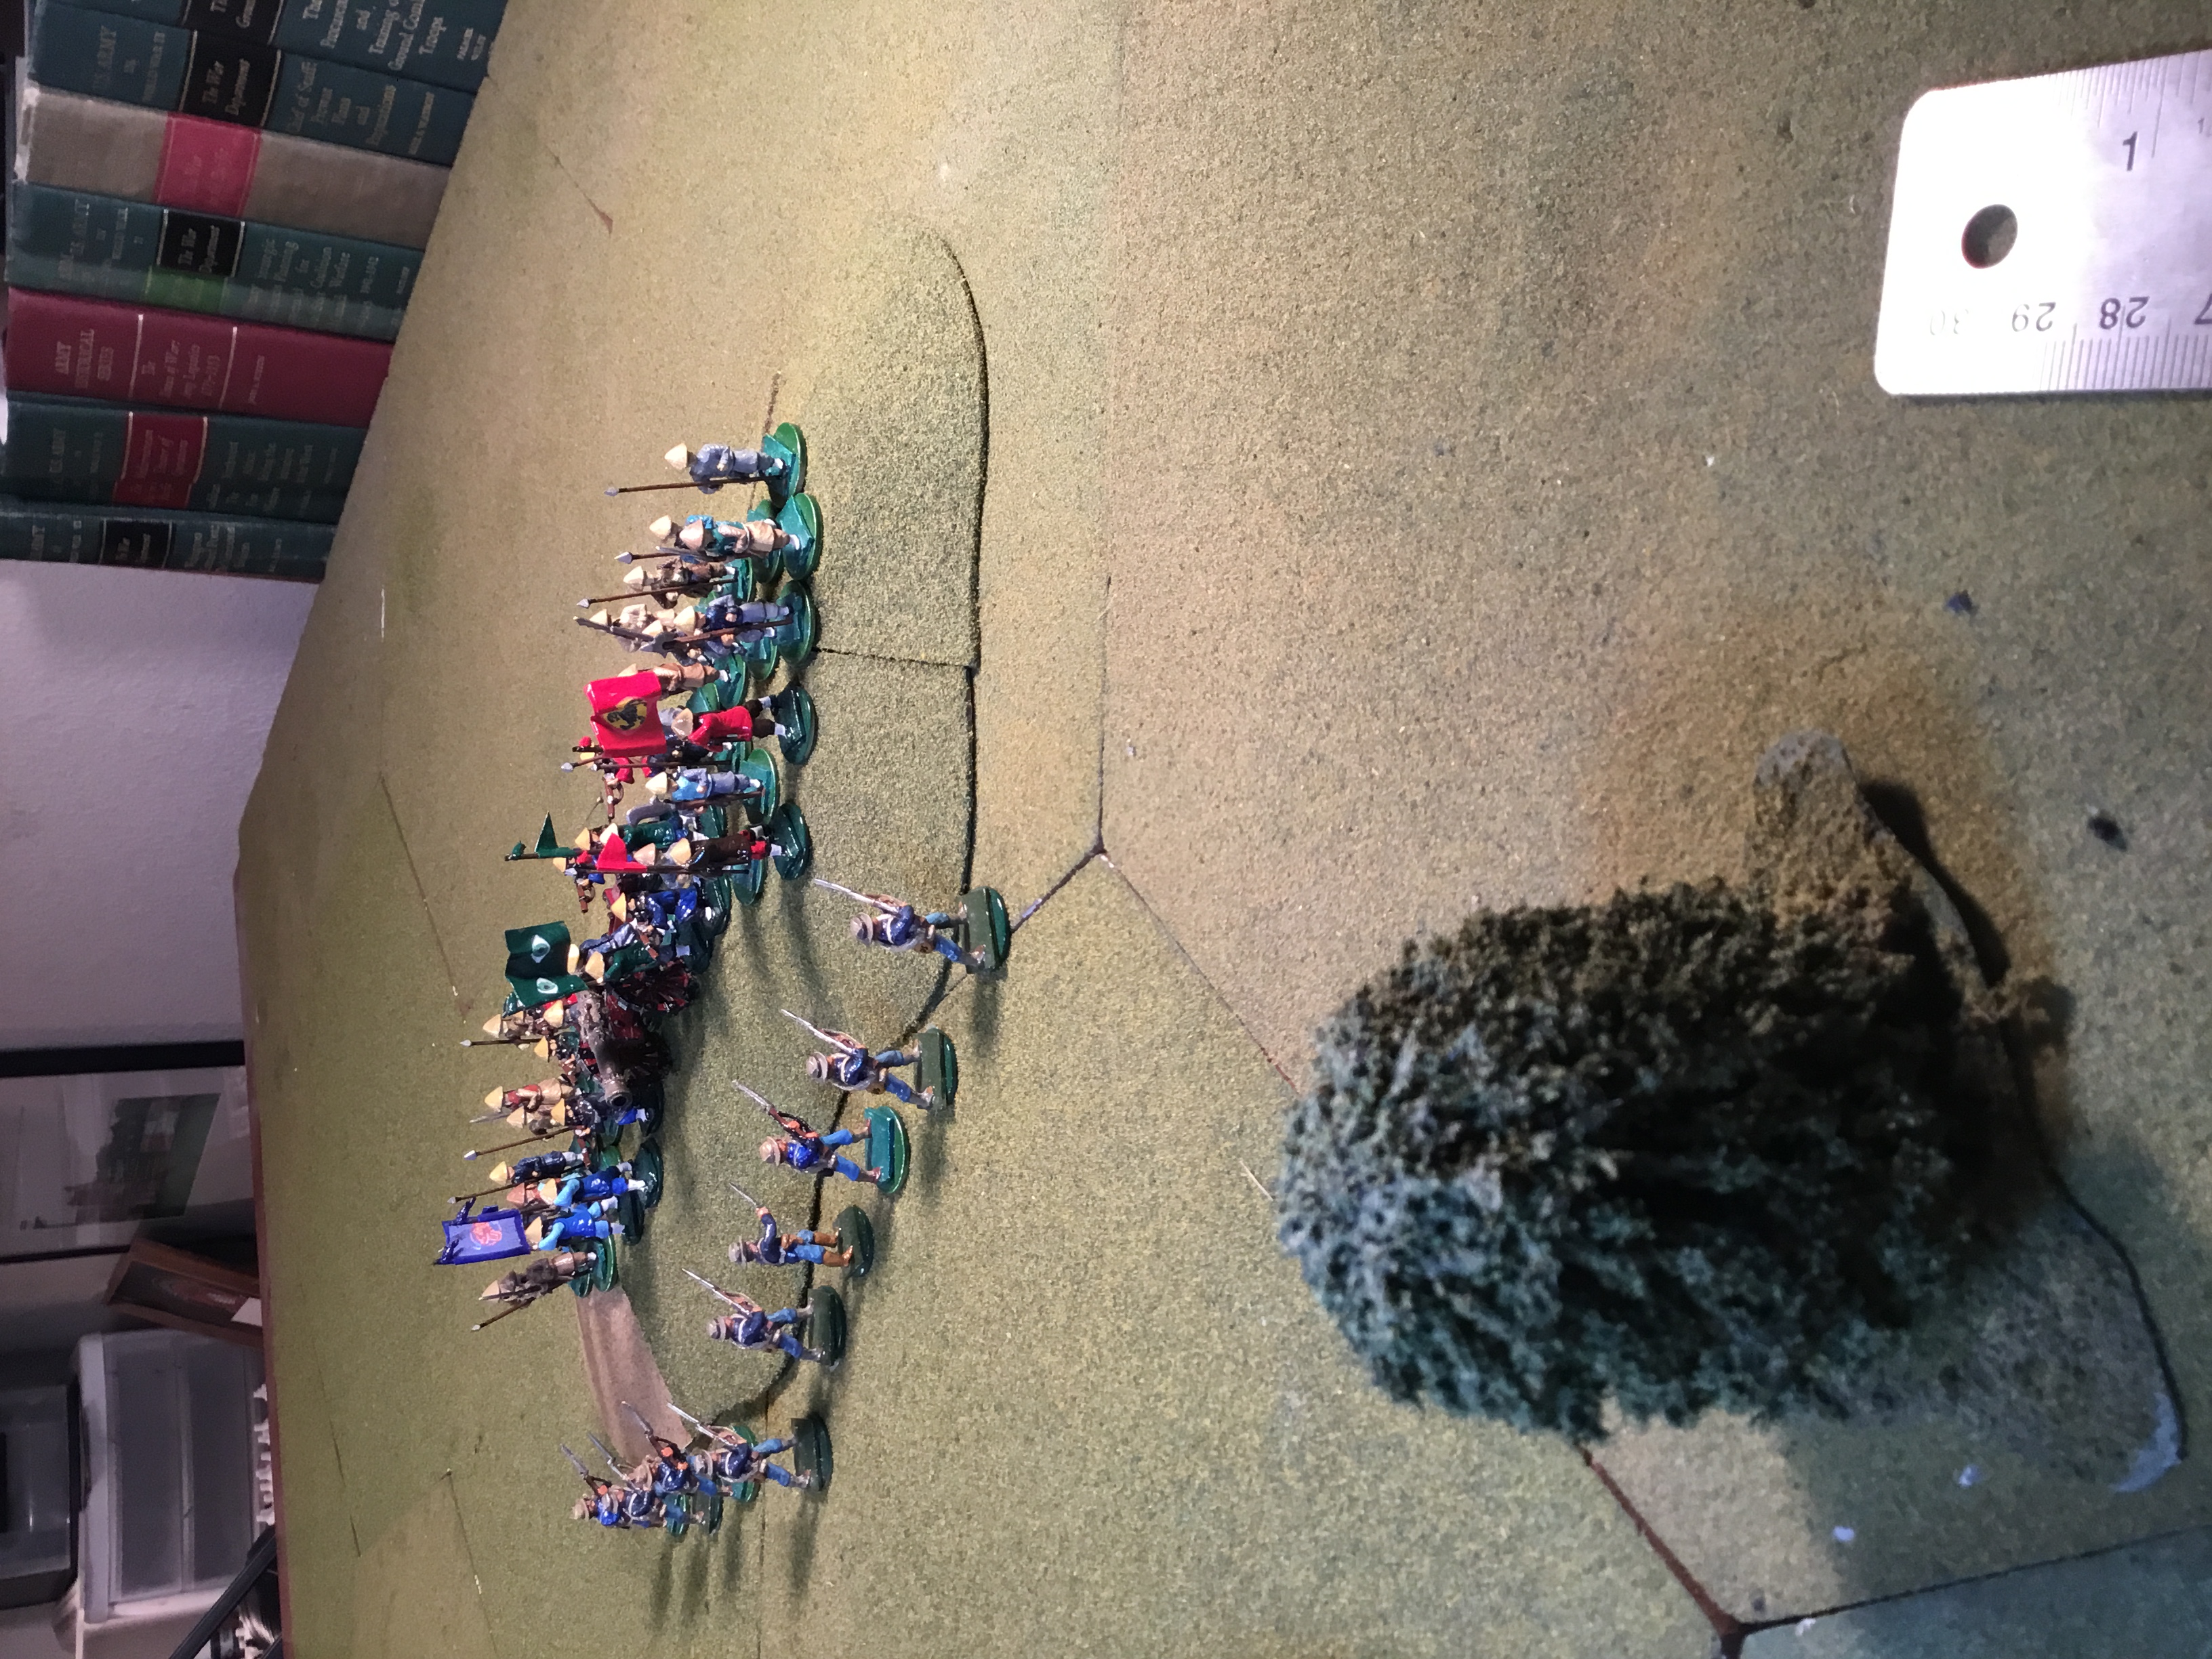
I cheated, playing both Options 1 and 4. In Option 1, the Marines successfully broke contact and moved towards camp.
Two of the three Boxer units fled the Marines’ Option 4 charge. Only the riflemen remained, killing one Marine before melee.
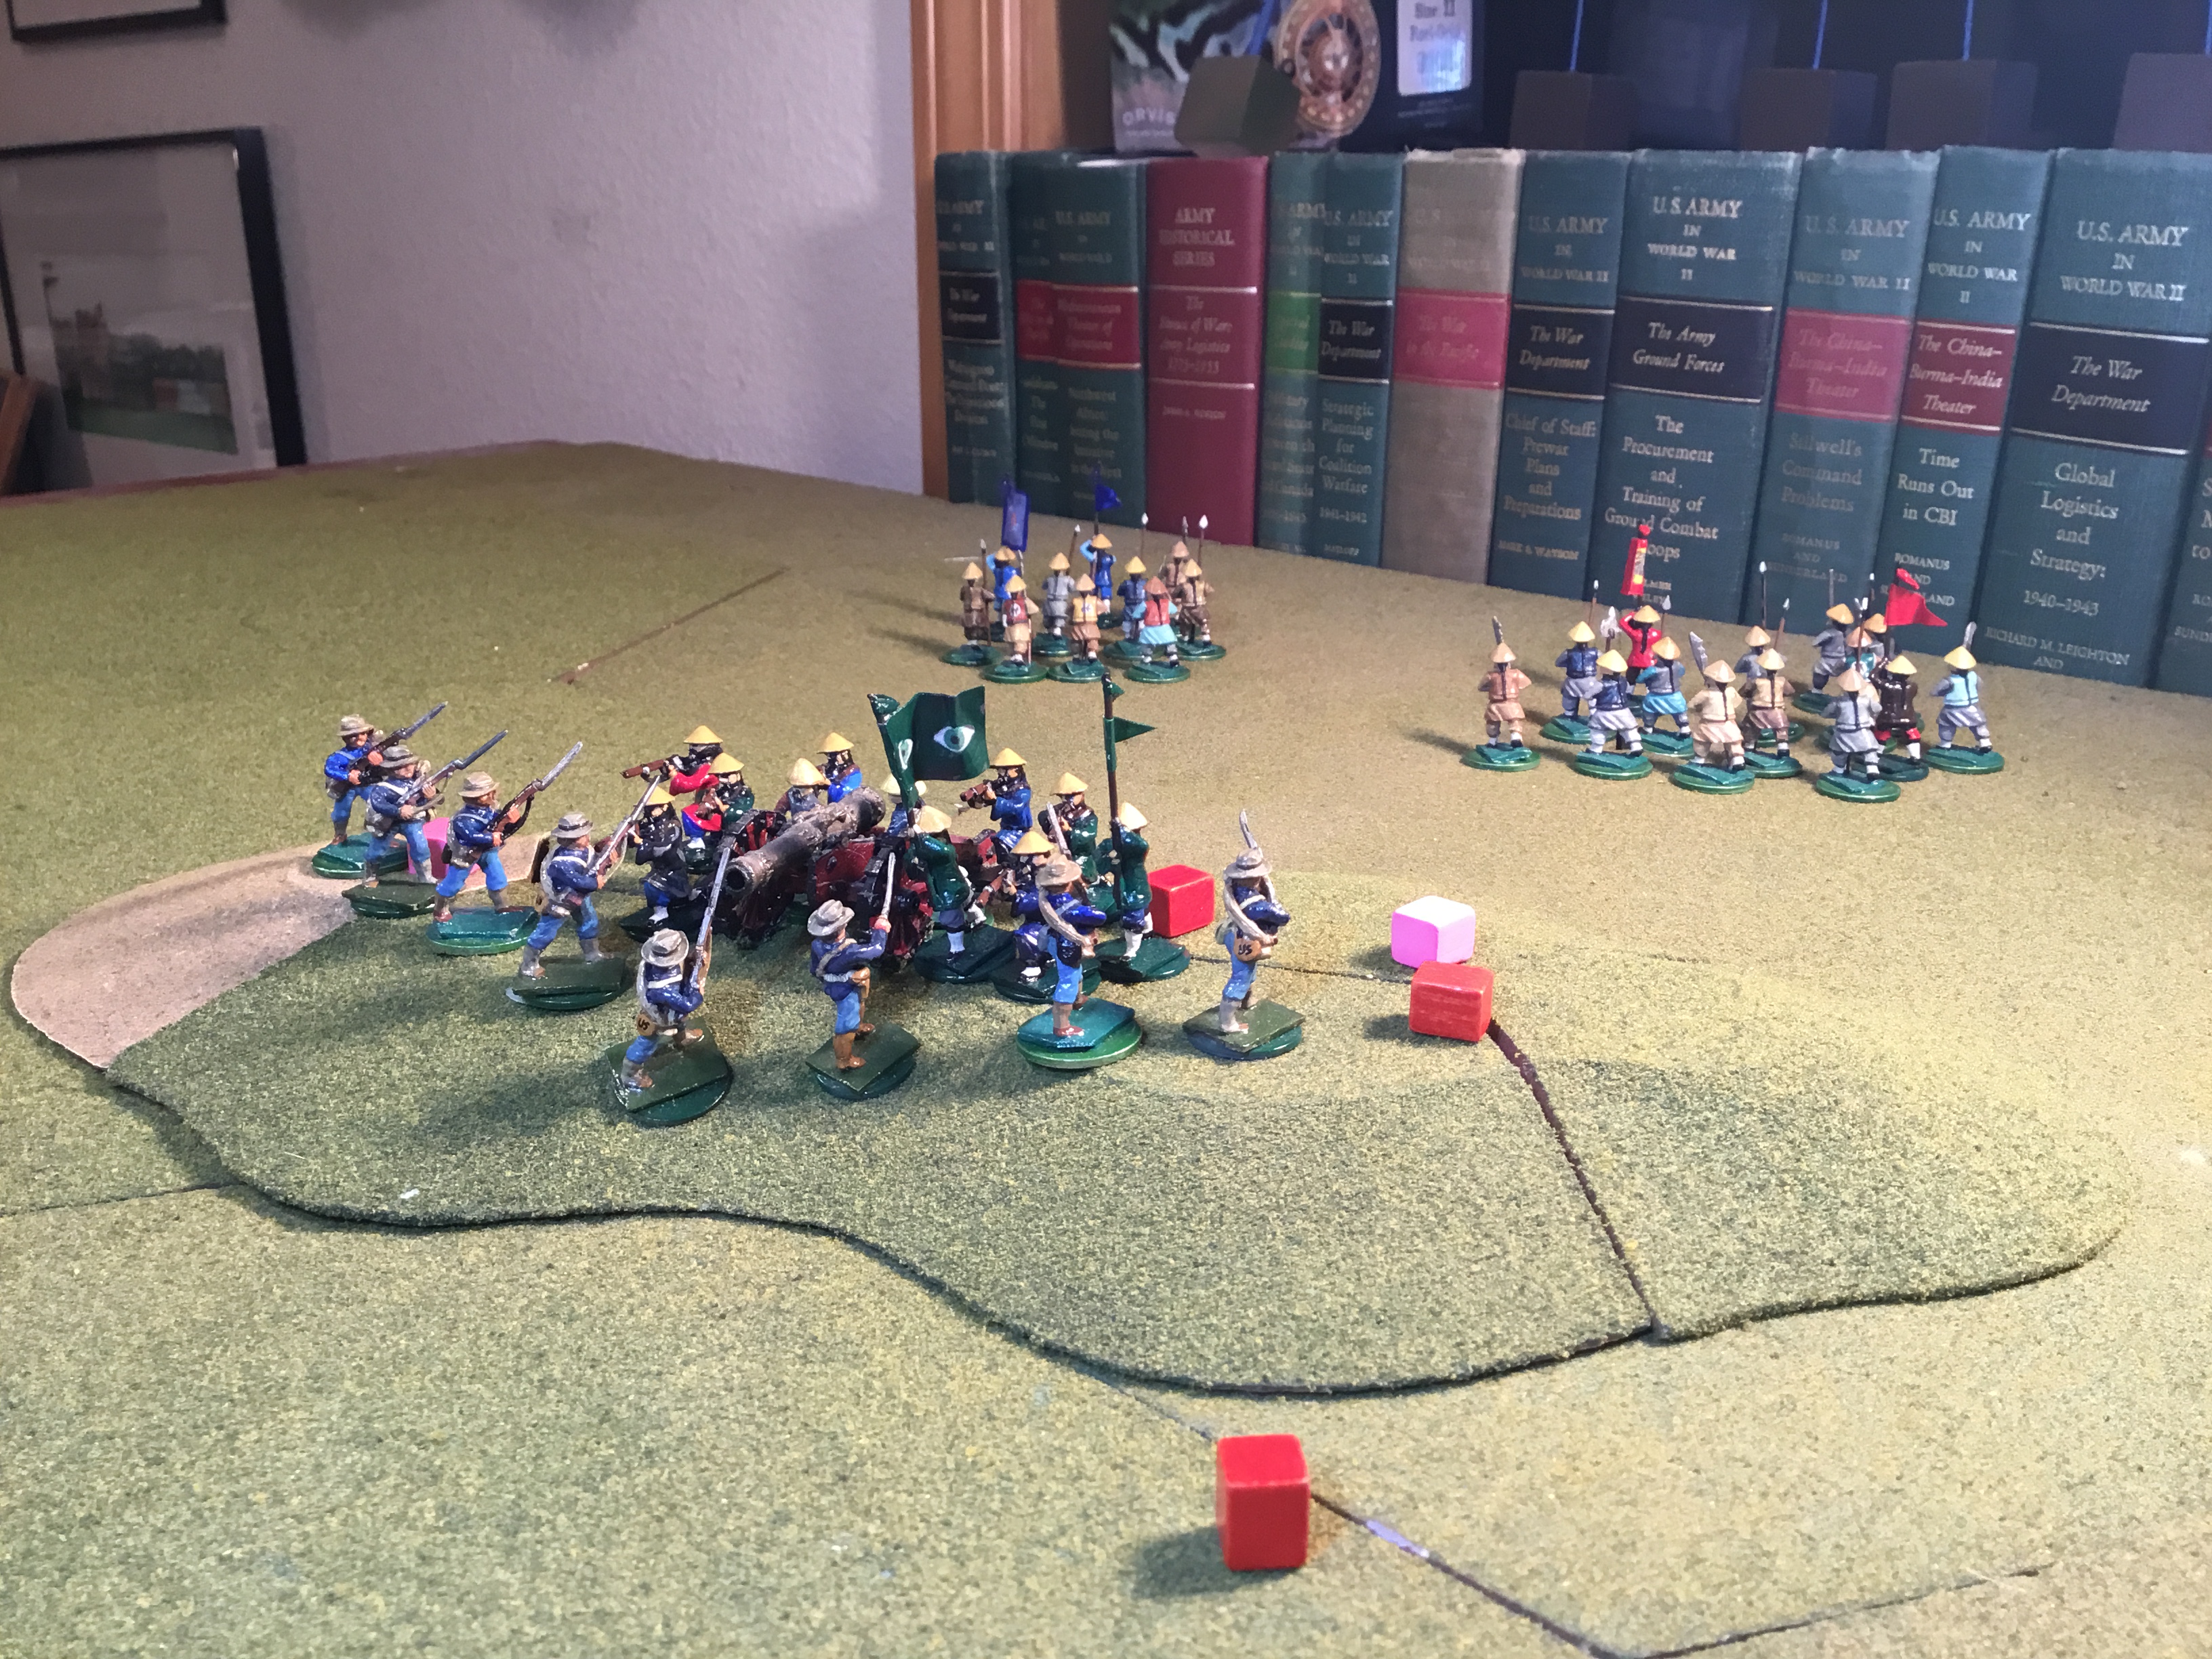

The melee took two turns. The Marines had a +1 D6 modifier because of the rifle and artillerymen’s presumed ineptitude in hand-to-hand combat. OK….????
In the first round, two Marines retreated, with one Boxer killed, one wounded and three fleeing.
Five more Boxers, one lightly wounded, fell back during the second round.
The Boxers left the battlefield on a D6x4 roll of 14, leaving the bloodied and exhausted Marines holding the ridge.