My previous post covered the scenario’s basics. Now to the gameplay.
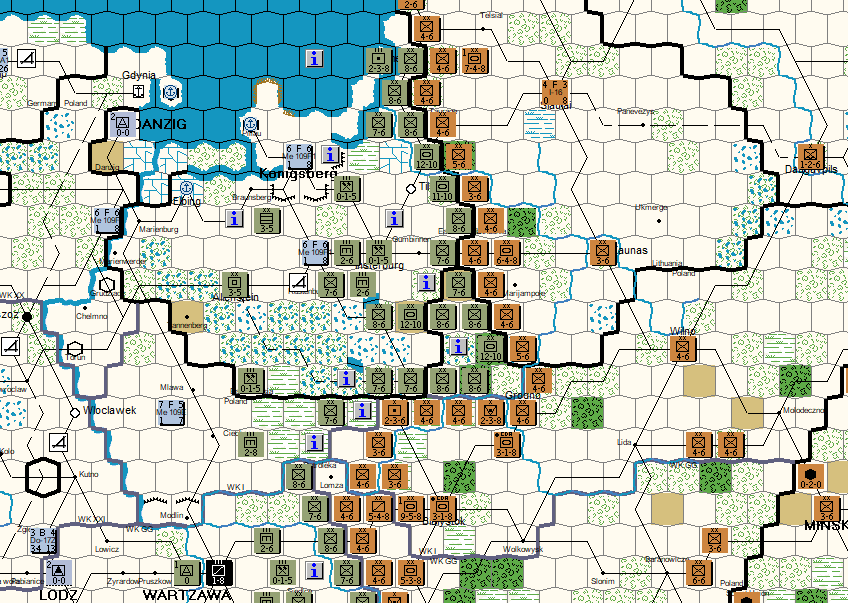
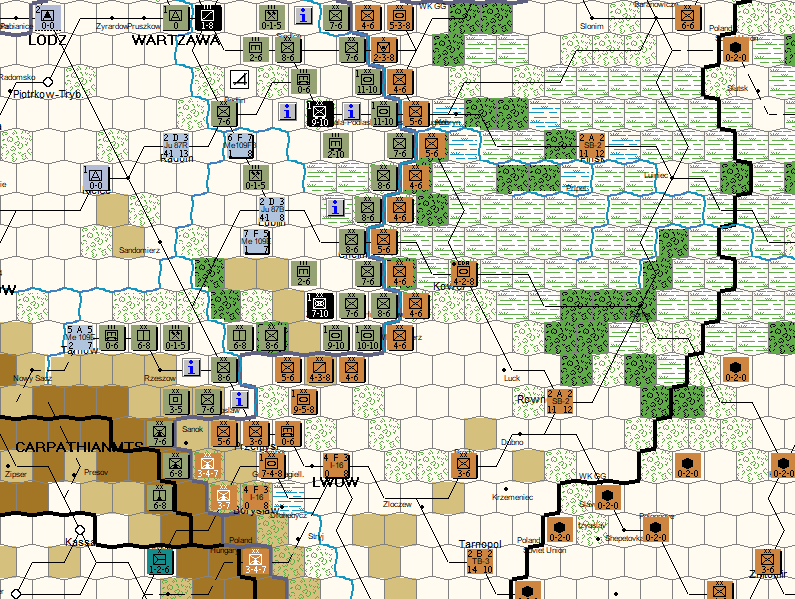
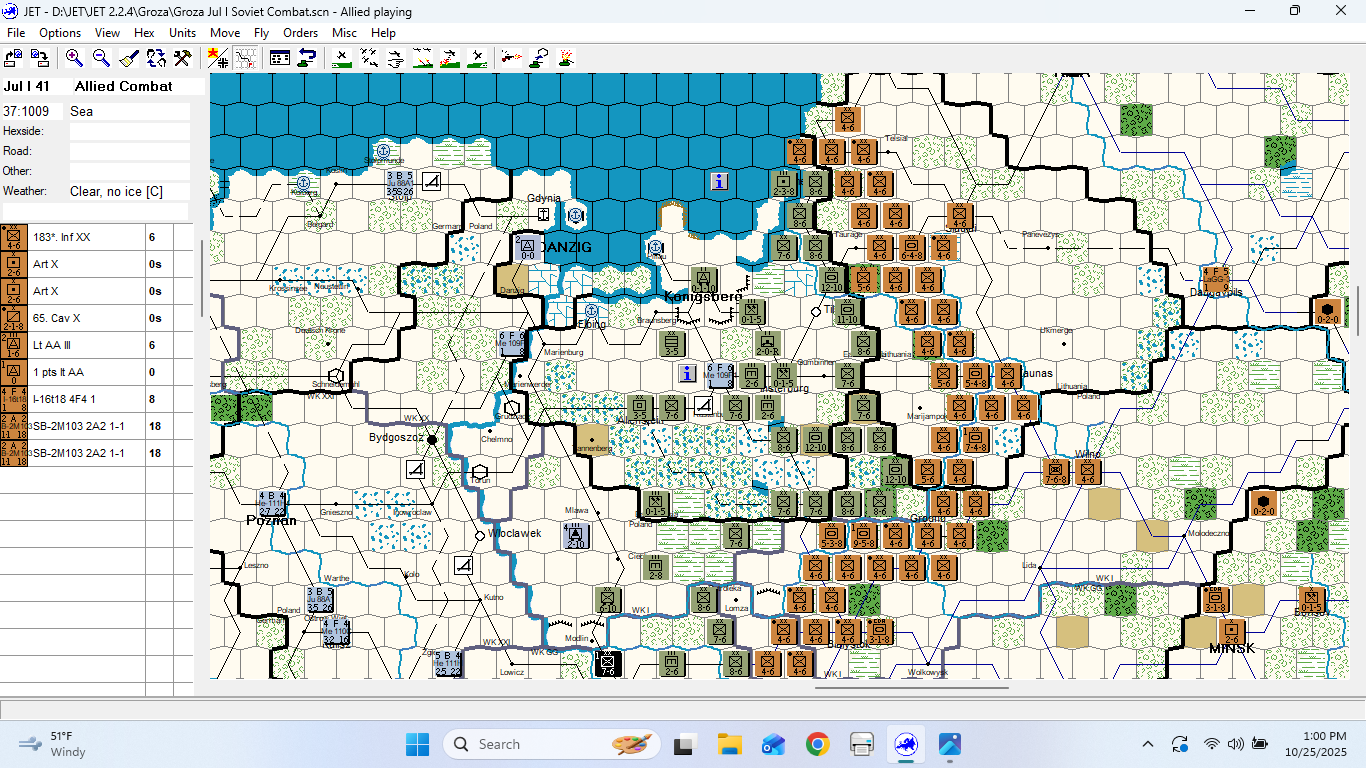
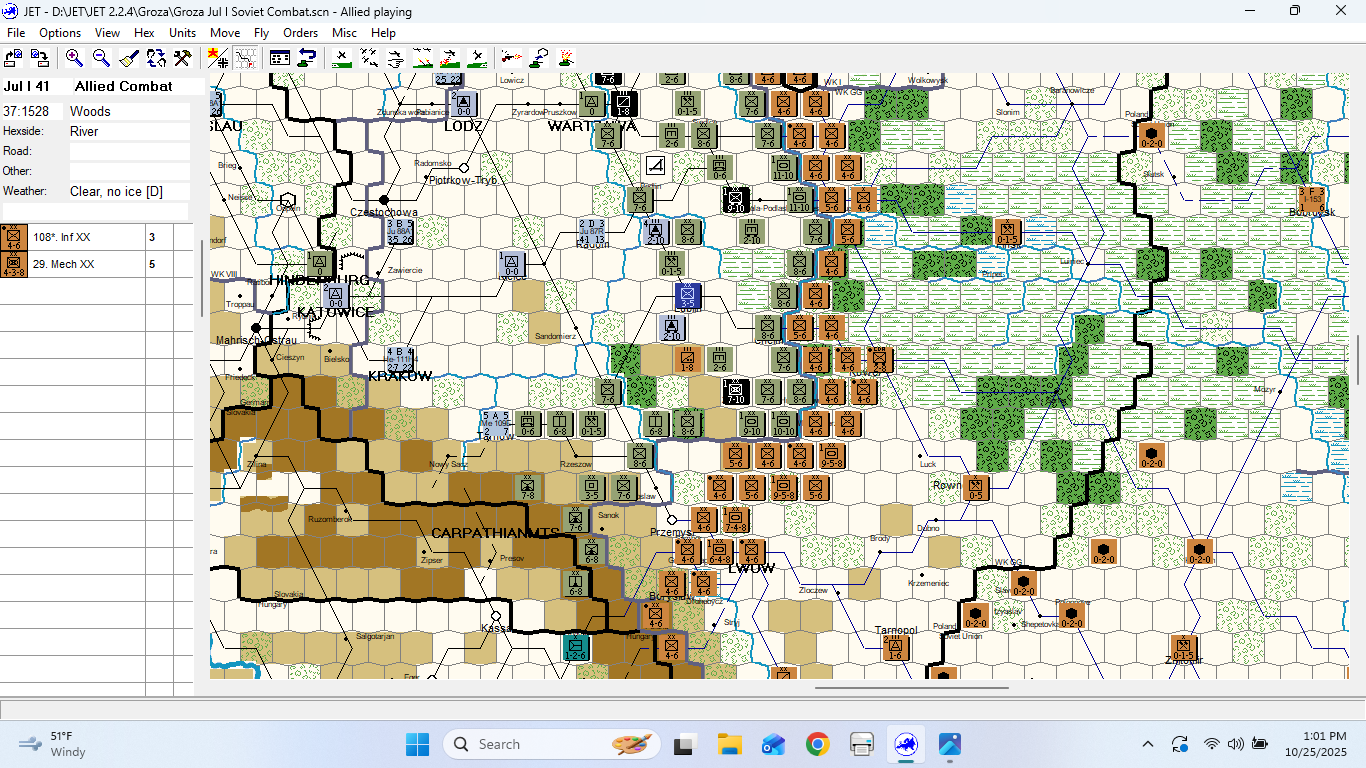
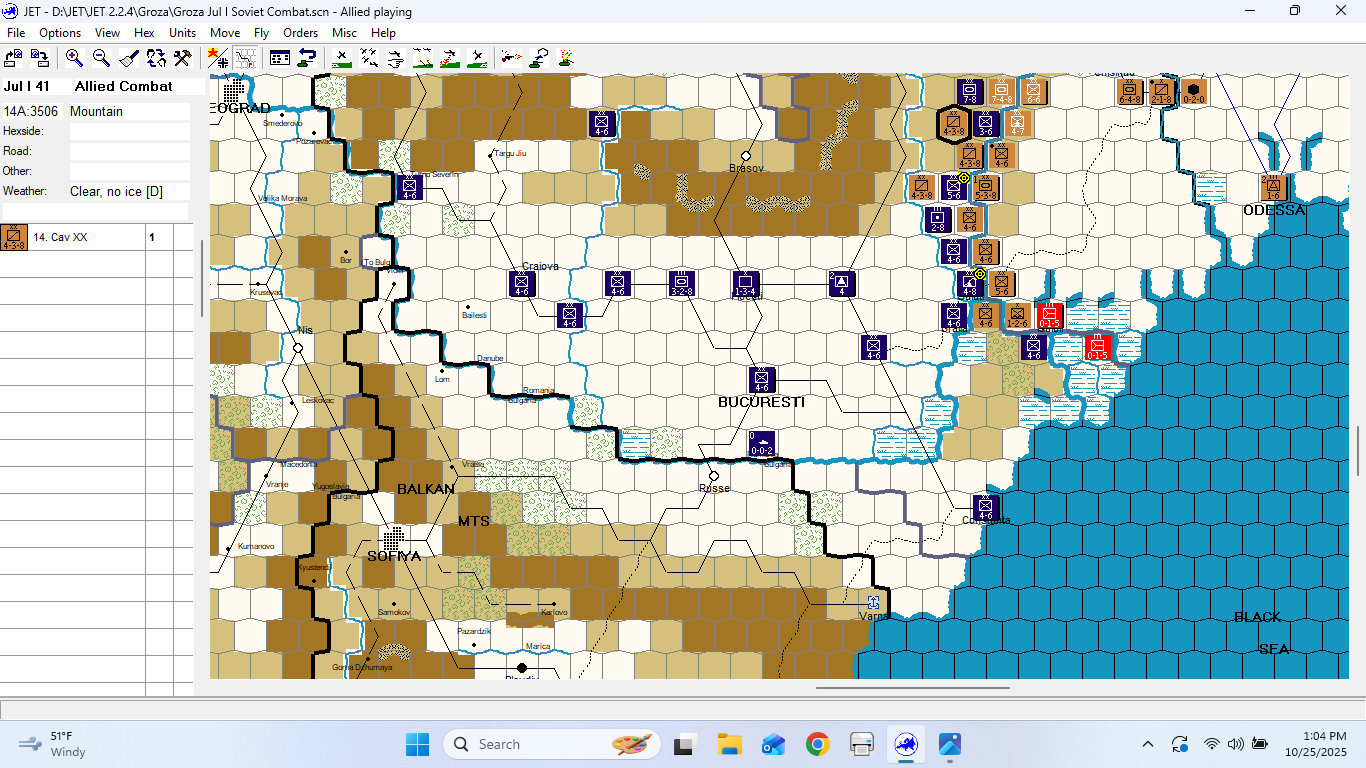
Here are shots of the initial dispositions (after the Soviet Jun II Special Turn) from North to South. I discovered it takes four (4), not three (3) screen shots to cover all fronts. This group is missing the southern tip of Romania.
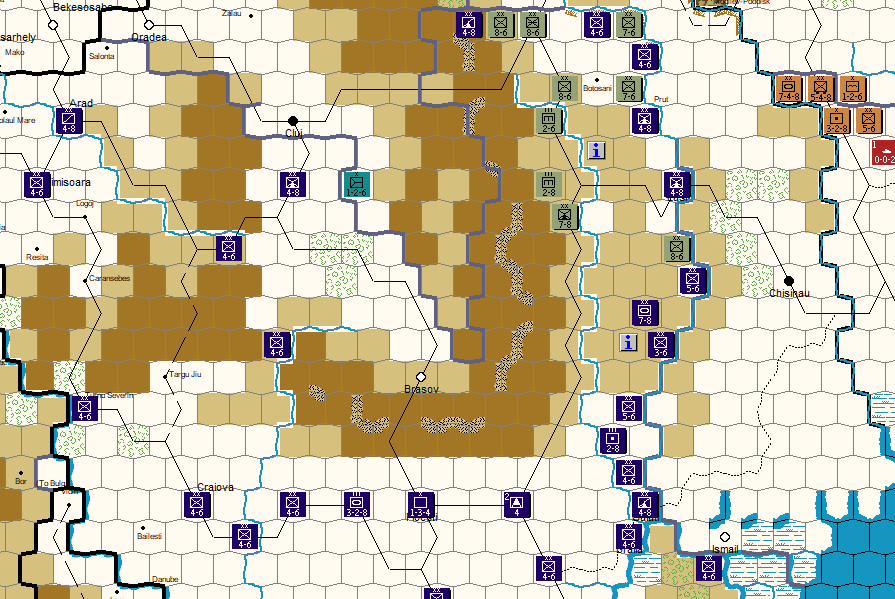
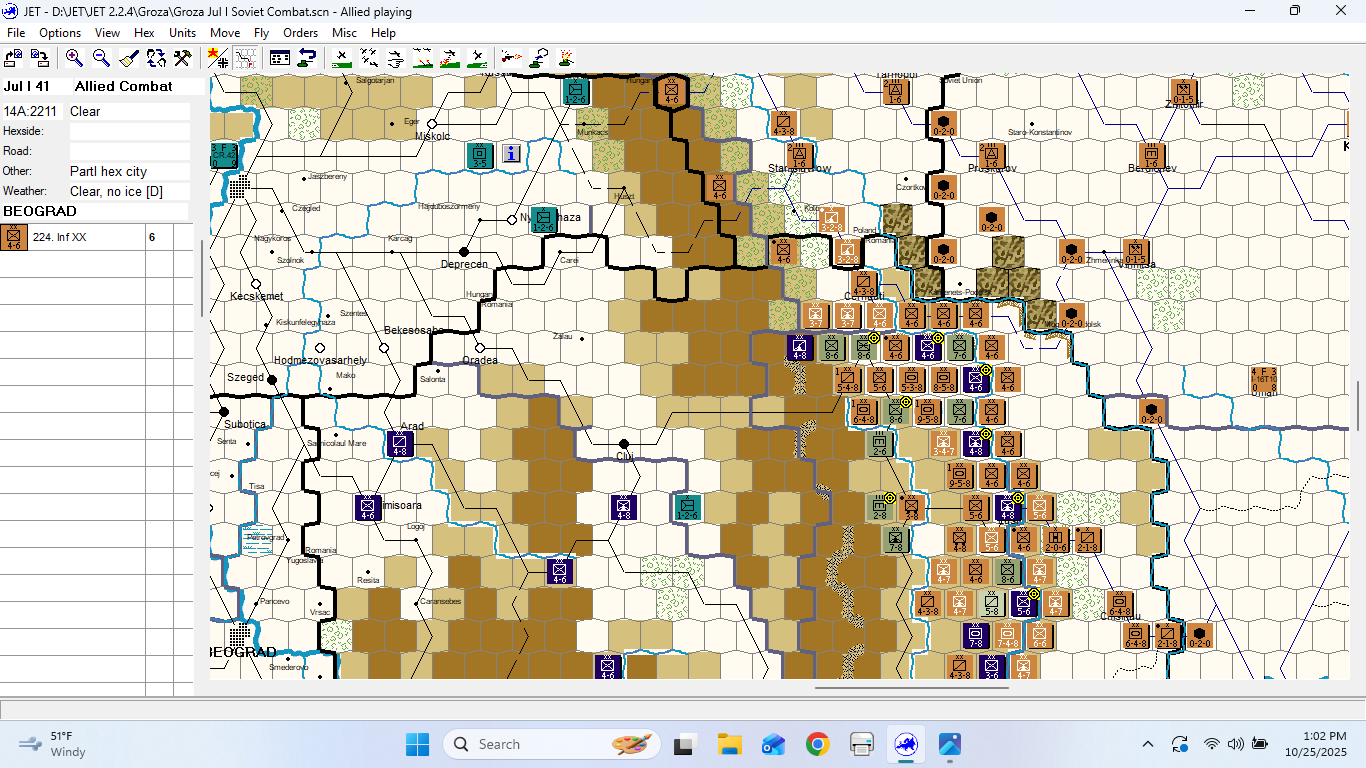
For some reason, I never “captured” an image with Tim’s Soviets dispositions in Romania. But this is pic of mine is damning enough. Just wait……
The following show Tim’s Soviet onslaught. Not much going on in the northern and central pictures, but in Romania……whoaaa!!!
They say we create our own Hells. Yes, my Romanian Hell was a product of failing to comprehend the interactions of two Special Rules.
For the first turn, Zones of Control (ZOCs) are reduced. And, Axis units must be placed so as to either occupy border hexes or have them in a zone of control. Too much of the latter, and not enough of the former. I needed a solid front in Romania, with reduced border strength, but without gaps that, literally and figuratively, could (and would) be exploited.
To compound this error, I did not recognize the implications of the enhanced exploitation capabilities of Soviet units. Here’s Romania after the Jul II Soviet Exploitation phase.
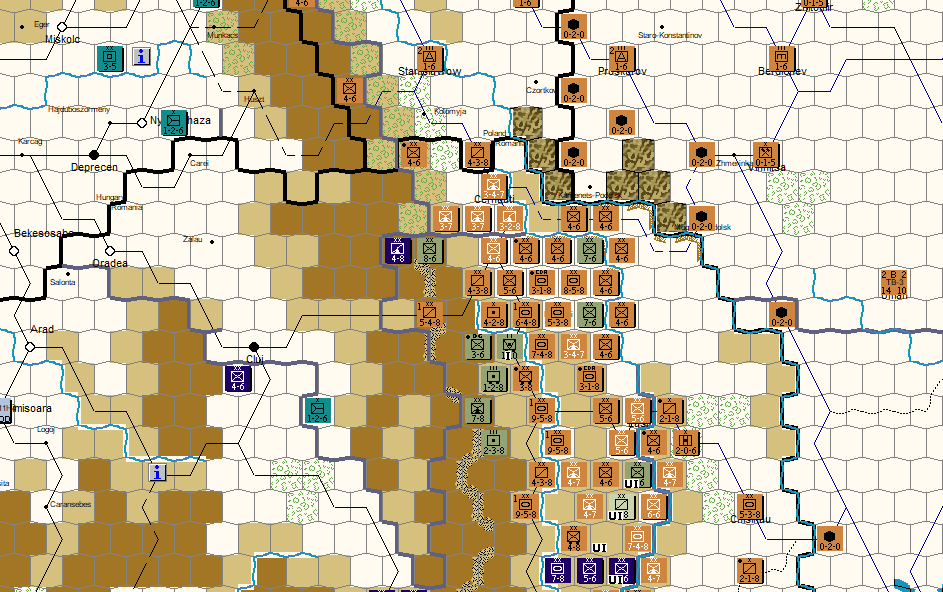
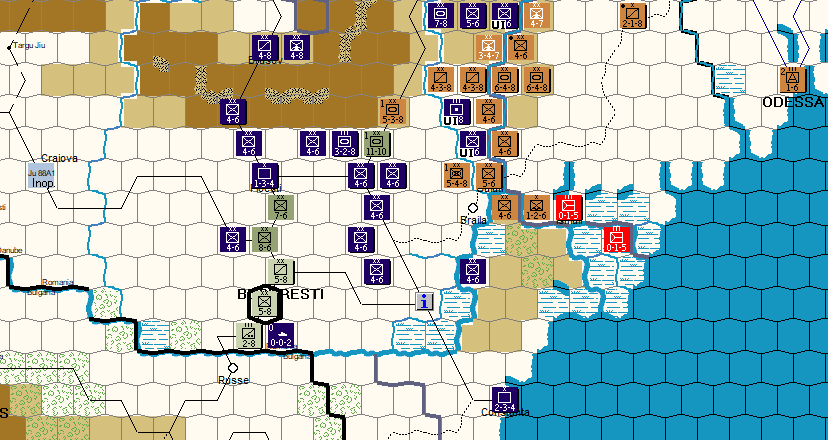
Gruesome. Enough! I’ll cover the rest of our game after my return from W.C. Fields’ (not so) favorite city.