TAD back in the Midwest. Had visions of getting some gaming in, but small children, erratic weather, poor planning, and nearly catastrophic fall from a boat hoist have rendered these plans moot.
What I have done is read some old issues of Panzerschreck picked up on EBay a couple of weeks ago. The poor planning part was not bringing card and adhesive to use after I cut out counters and markers.
Did get through the rules for both Battle of the Atlantic and Fall of Constantinople. Gary Grabner’s solo games always have a certain level of abstraction, and I mean that in the best way. He always focuses on the simple solution in the cause of playability. Granted, these are truly low-fi games, but many designers would be tempted to overwhelm the player with rules/chrome to compensate for a nearly absolute lack of physical quality.
While it is patently strange to compare games of these topics/periods, there are similarities. Both games use area movement, by turn assignment of units to these areas, and straight-up combats without a whole load of modifiers.
I will play these games during the trip…..well, I need to find the misplaced Battle of The Atlantic issue (no, don’t blame pain meds, not using them). It’s just the problem of finding hobby supplies in a town of 7,000.
I really am looking forward to the Constantinople game. I own and actually tried to play the S&T game. That was before I read about its total lack of development, playtesting and……this is the best…..total ommision of naval rules.
Finally started pushing cardboard, but immediately ran into problems. Not unanticipated, but one of them brought the session to a halt.
Movement phase difficult because counters are damned fiddly. Movement trays? Bad thought. Cardboard is easy, right?
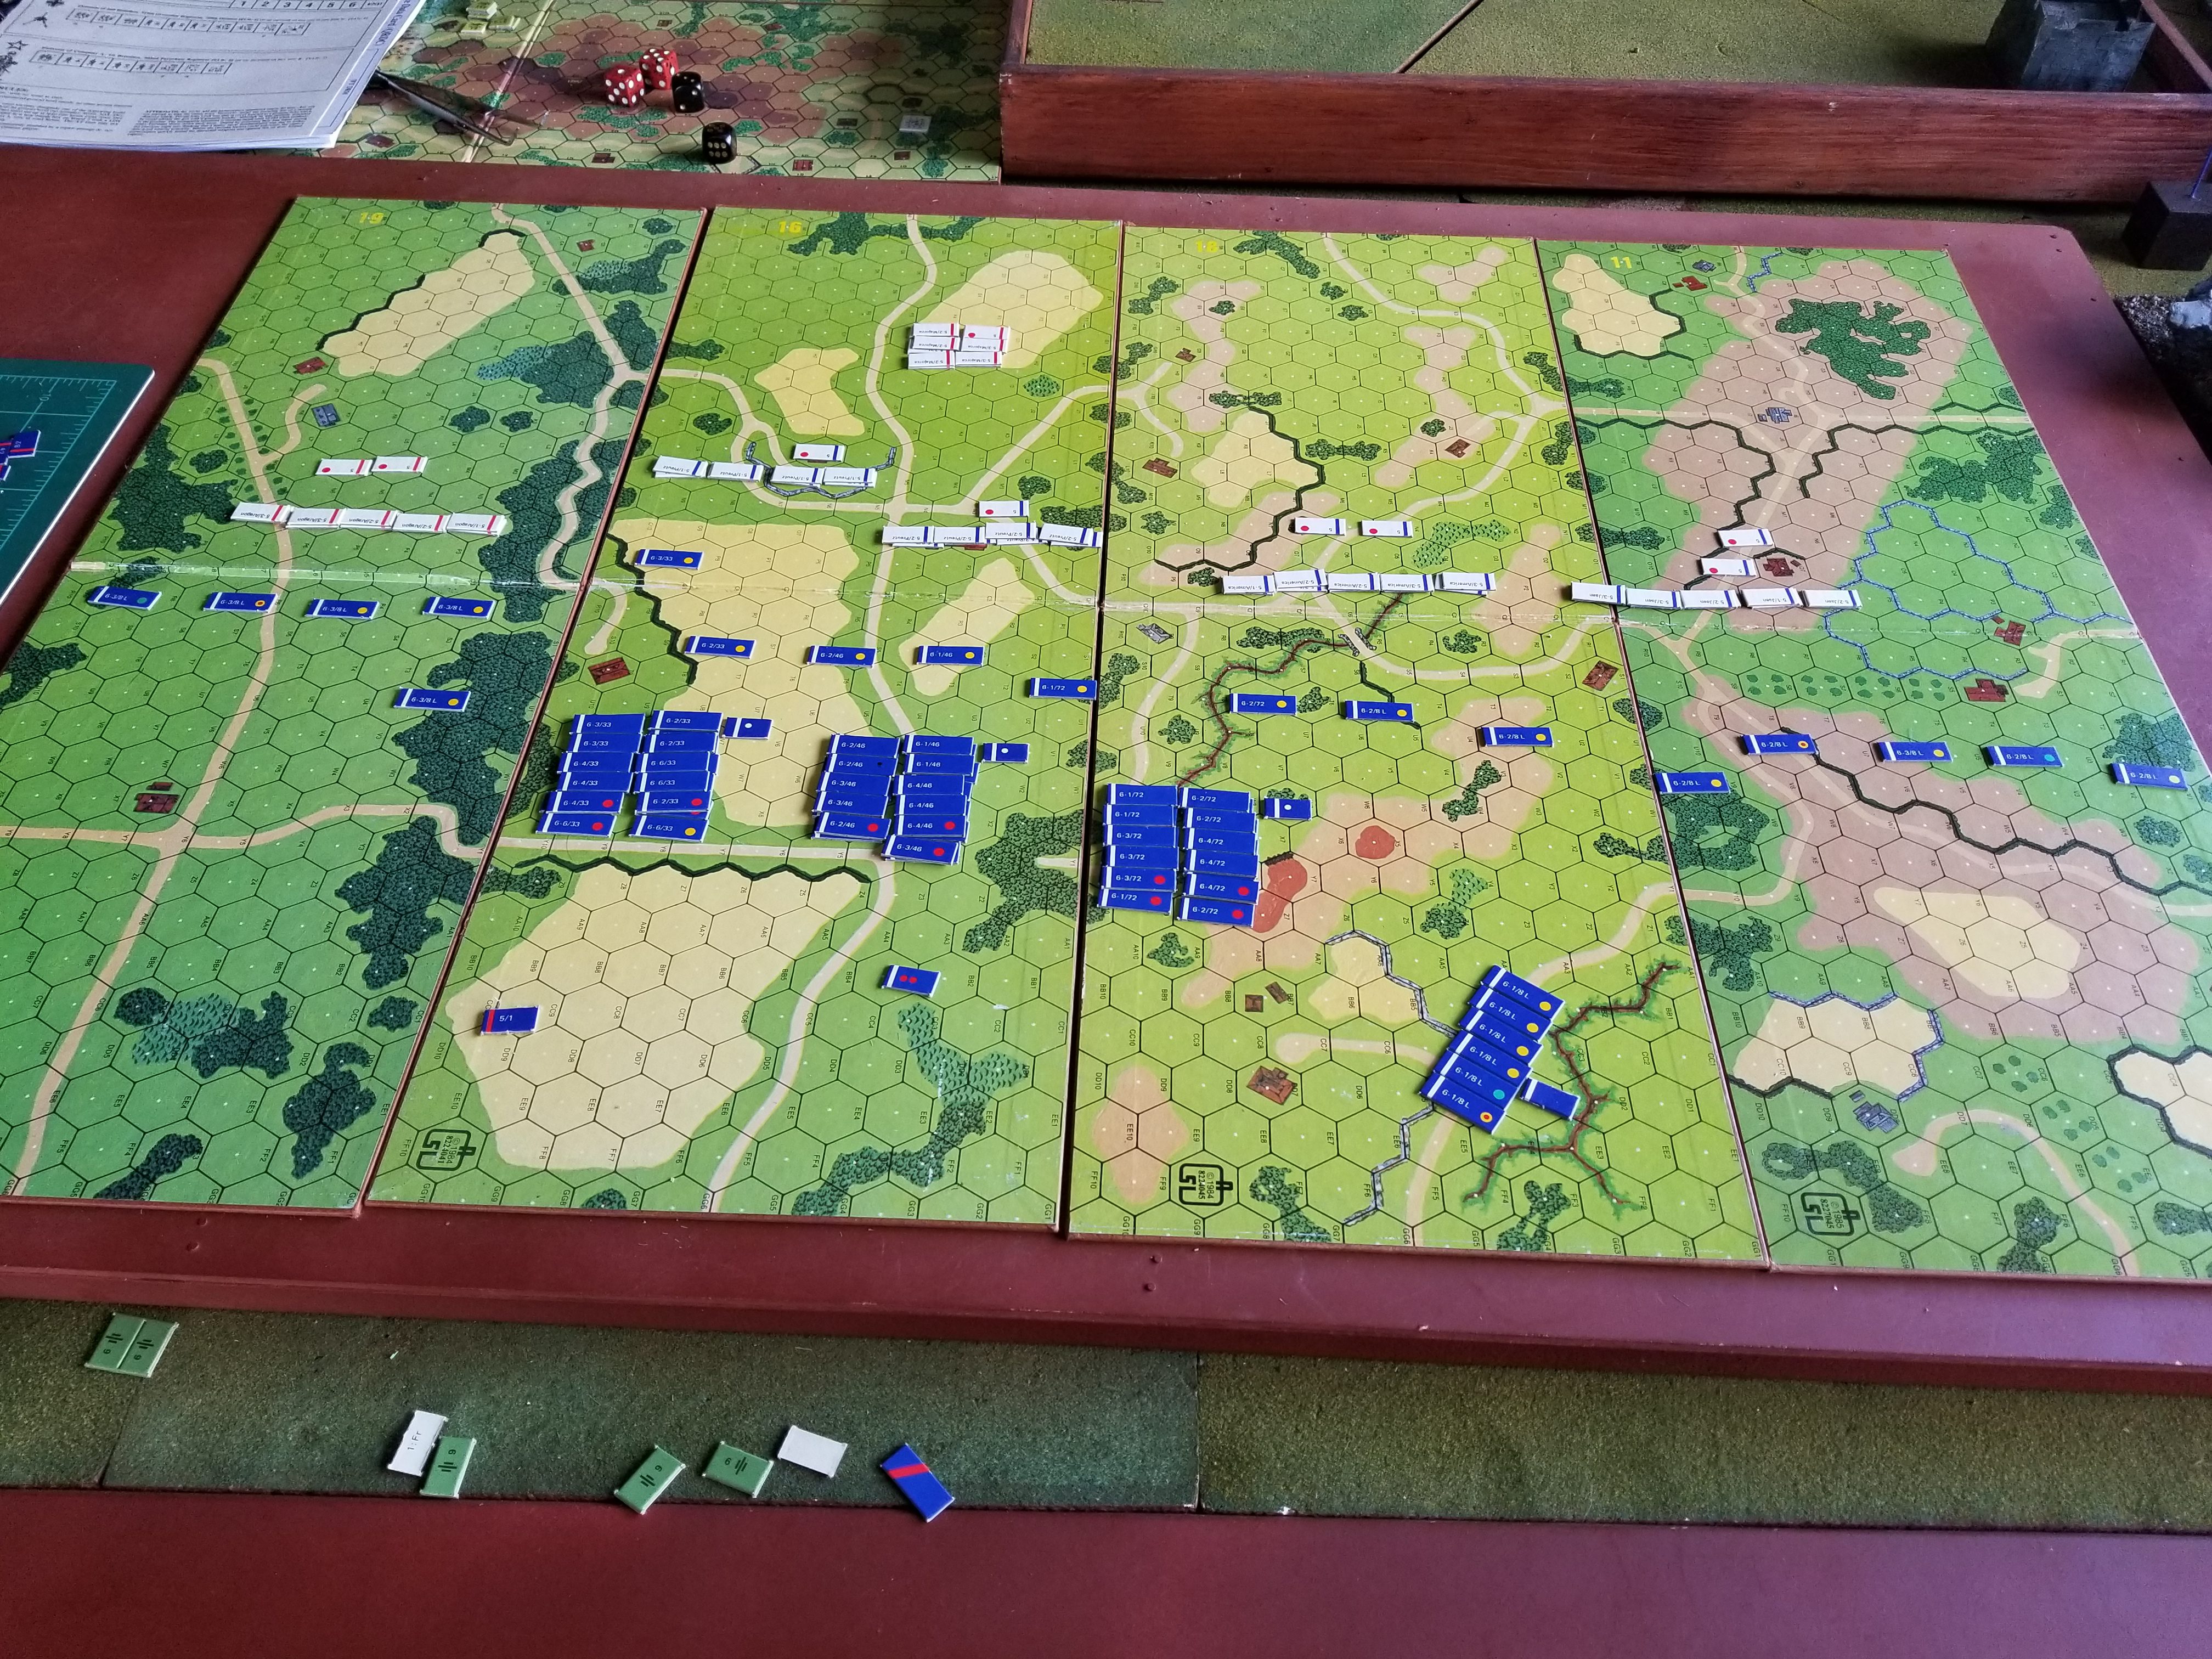
The French advanced with skirmishers front, engaging each Spanish regiment. I do like the way the game looks!
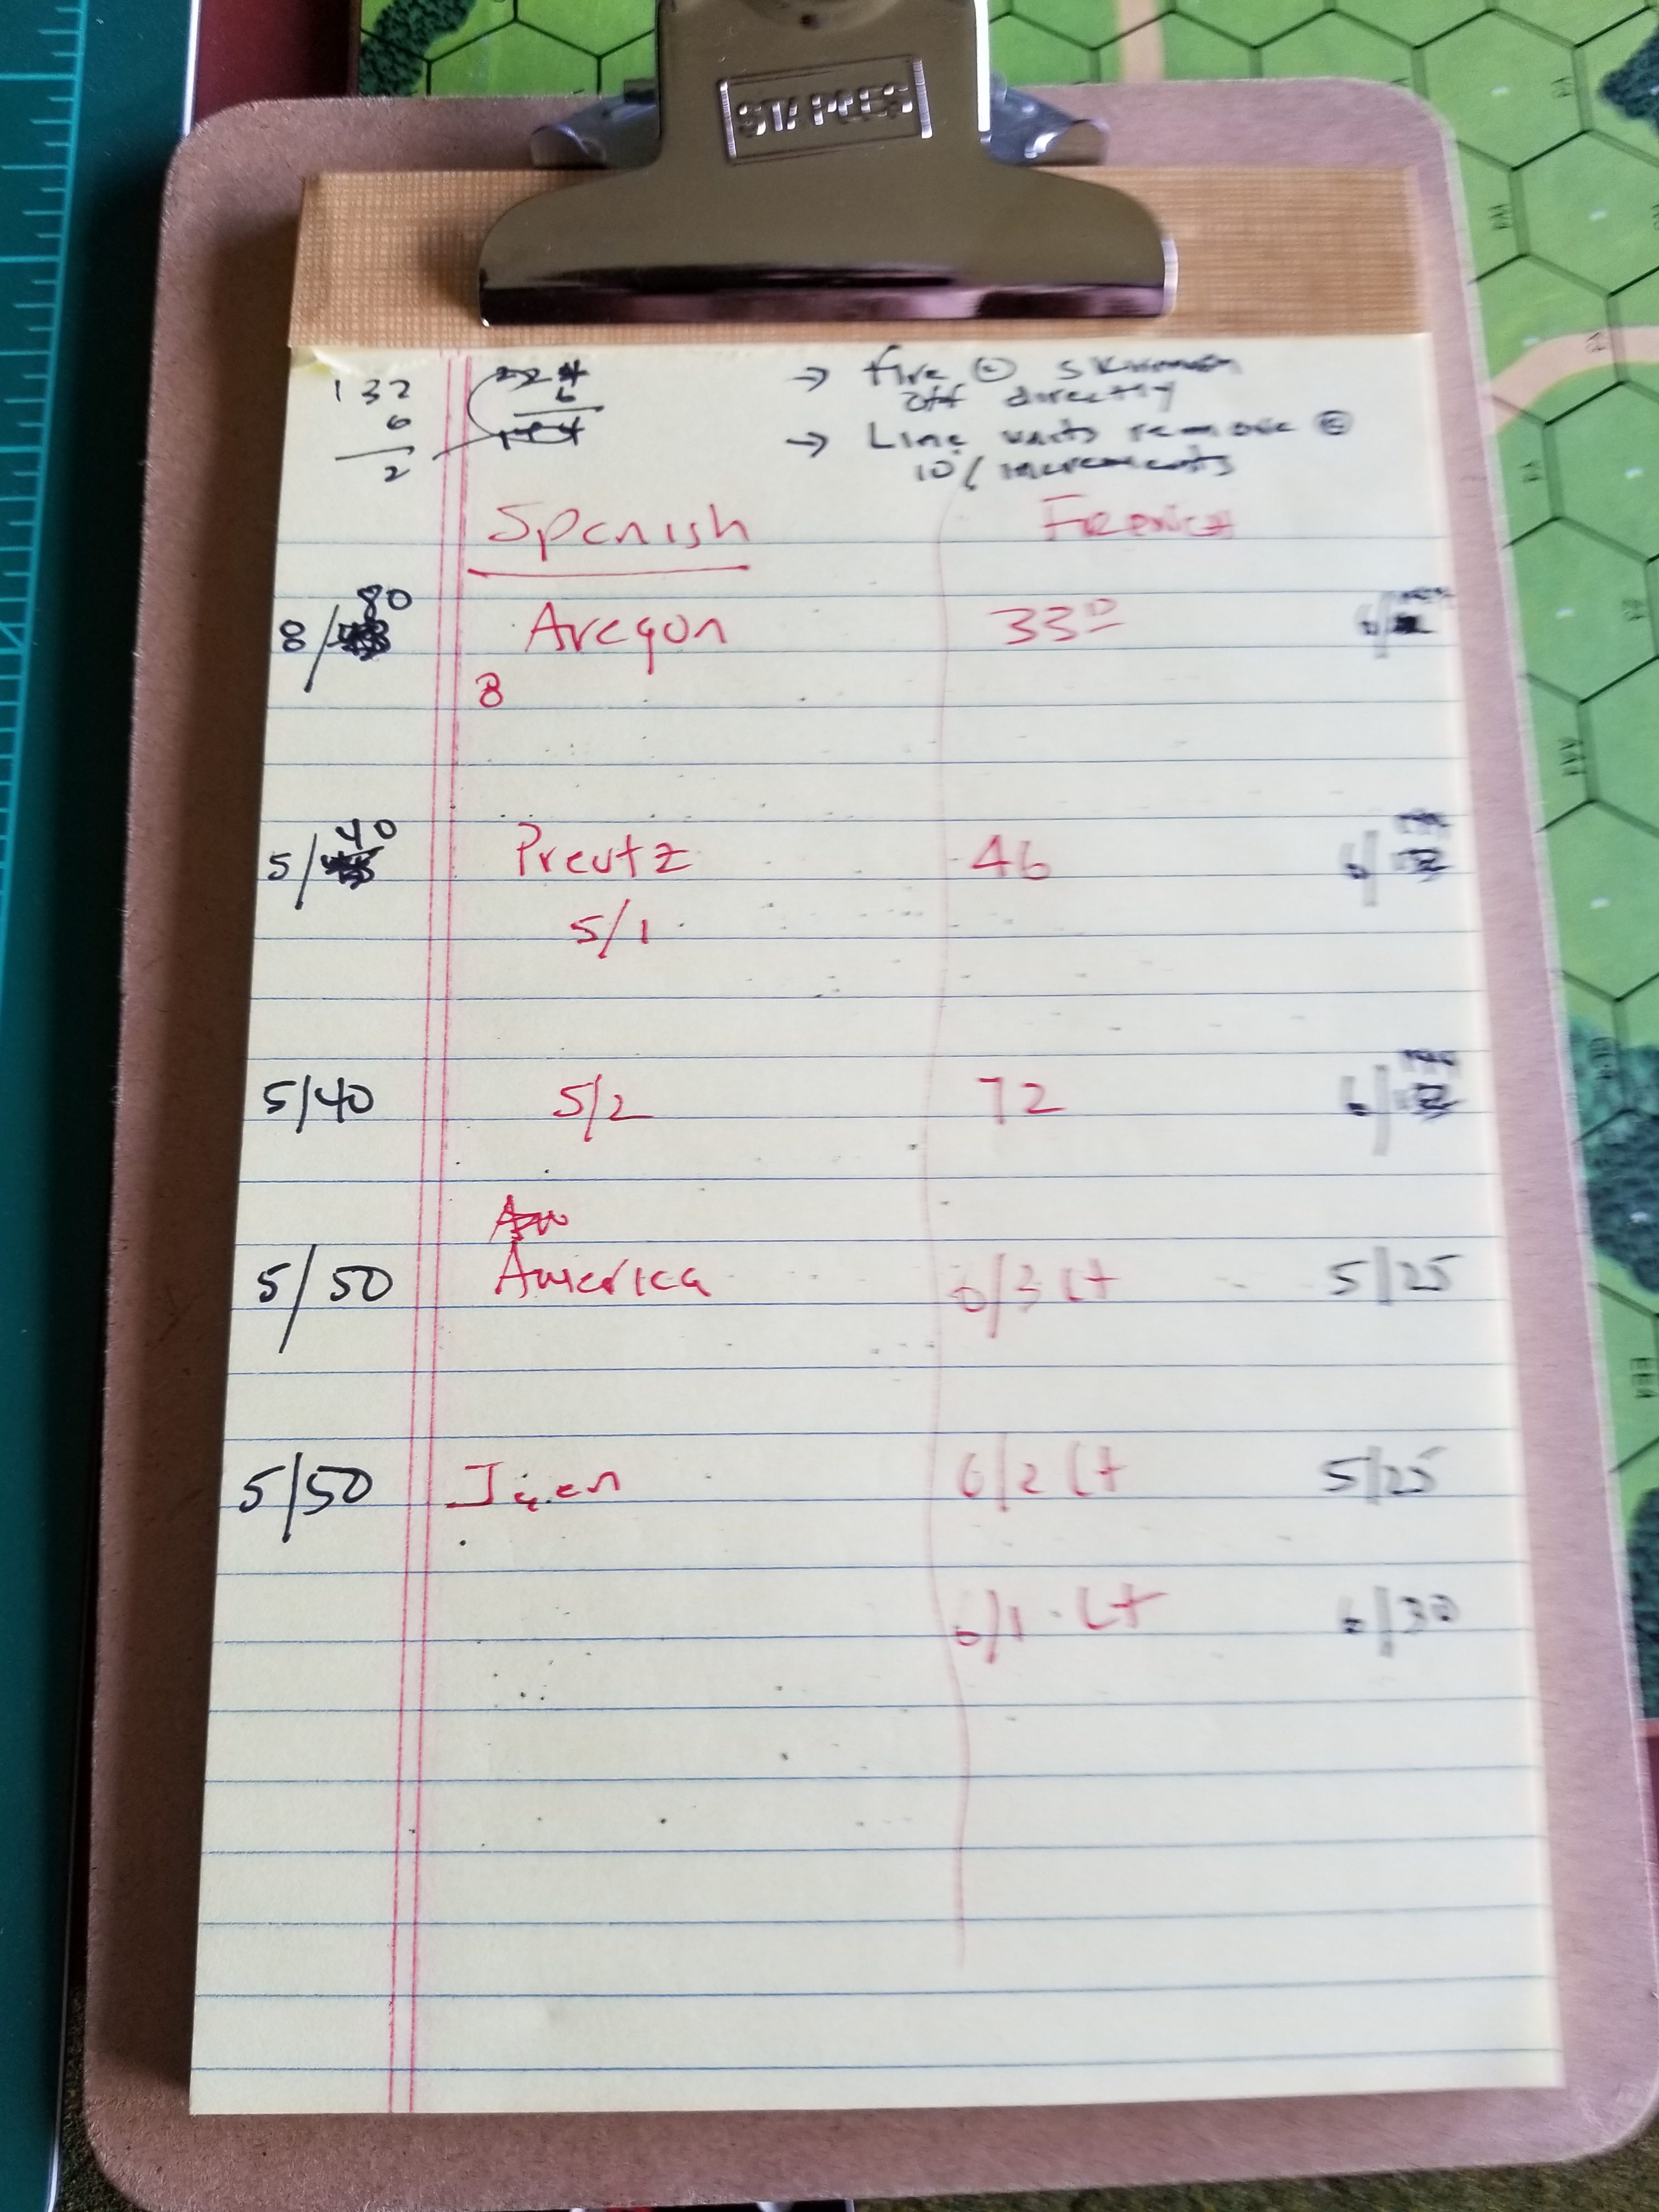
Then, another problem: Casualties. The game calls for a detailed accounting of losses. Makes the fiddiliness of moving regiments pale in comparison. So, in the name of my sanity, decided to assign losses to the entire regiment, removing company counters for each 10 percent loss of the regiment’s total strength. Skirmishing companies will be accounted for individually.
Drafted up a regiment, company strength, total strength worksheet. A picture is shown below.
Crude, but hopefully effective.
While messing around this morning found this link/article over at Web Grognards. Confluence of events?
That CRT is interesting, with the attackers possibly taking losses even on an 8:1!
It seems that a defender would be well advised to defend with at least two factors in each hex. That way the attacker doesn’t get the +1 modifier for a single defending point and runs the risk (in the absence of other modifiers) of taking losses.
Is supply checked at the instant of combat? If that is the case (and I can’t check since my copy of the rules got put back into the box and is now back in Bend…) surrounding defenders becomes even more important. I would think, given the CRT, it wouldn’t be hard to surround defenders….
That game does not reward defending! The infantry units defend much worse than they attack…I wonder if it would be worthwhile for the Poles to continue to attack in the North. I had thought about making a couple of spoiling attacks against weak units, but I didn’t want to trigger Russian reaction and extra reinforcements.
You did a good job with the Konarmiya. I’m not sure how that would have played out…I was hoping that you would suffer some attrition that would prevent them from rolling up my southern flank and I was directing all of my reinforcements and replacements there, but who knows if that would have been enough to stop them…
I had thought about moving a unit next to the units in the Konarmiya to deprive them of the charge bonus, but that felt too gamy…
Over to Portland for Tim’s birthday and some wargaming at Guardian Games.
Fun place. You can game, drink beer, and when it’s your opponent’s turn, look at the inventory. It’s not a wargame store, but they do have some games, along with Flames of War miniatures.
Lots of diverse Portlandians playing a wide variety of games. However, the fellow next to us playing D&D using different voices for each character was a bit difficult to handle.
Thank Goodness The D&D Game Is Over
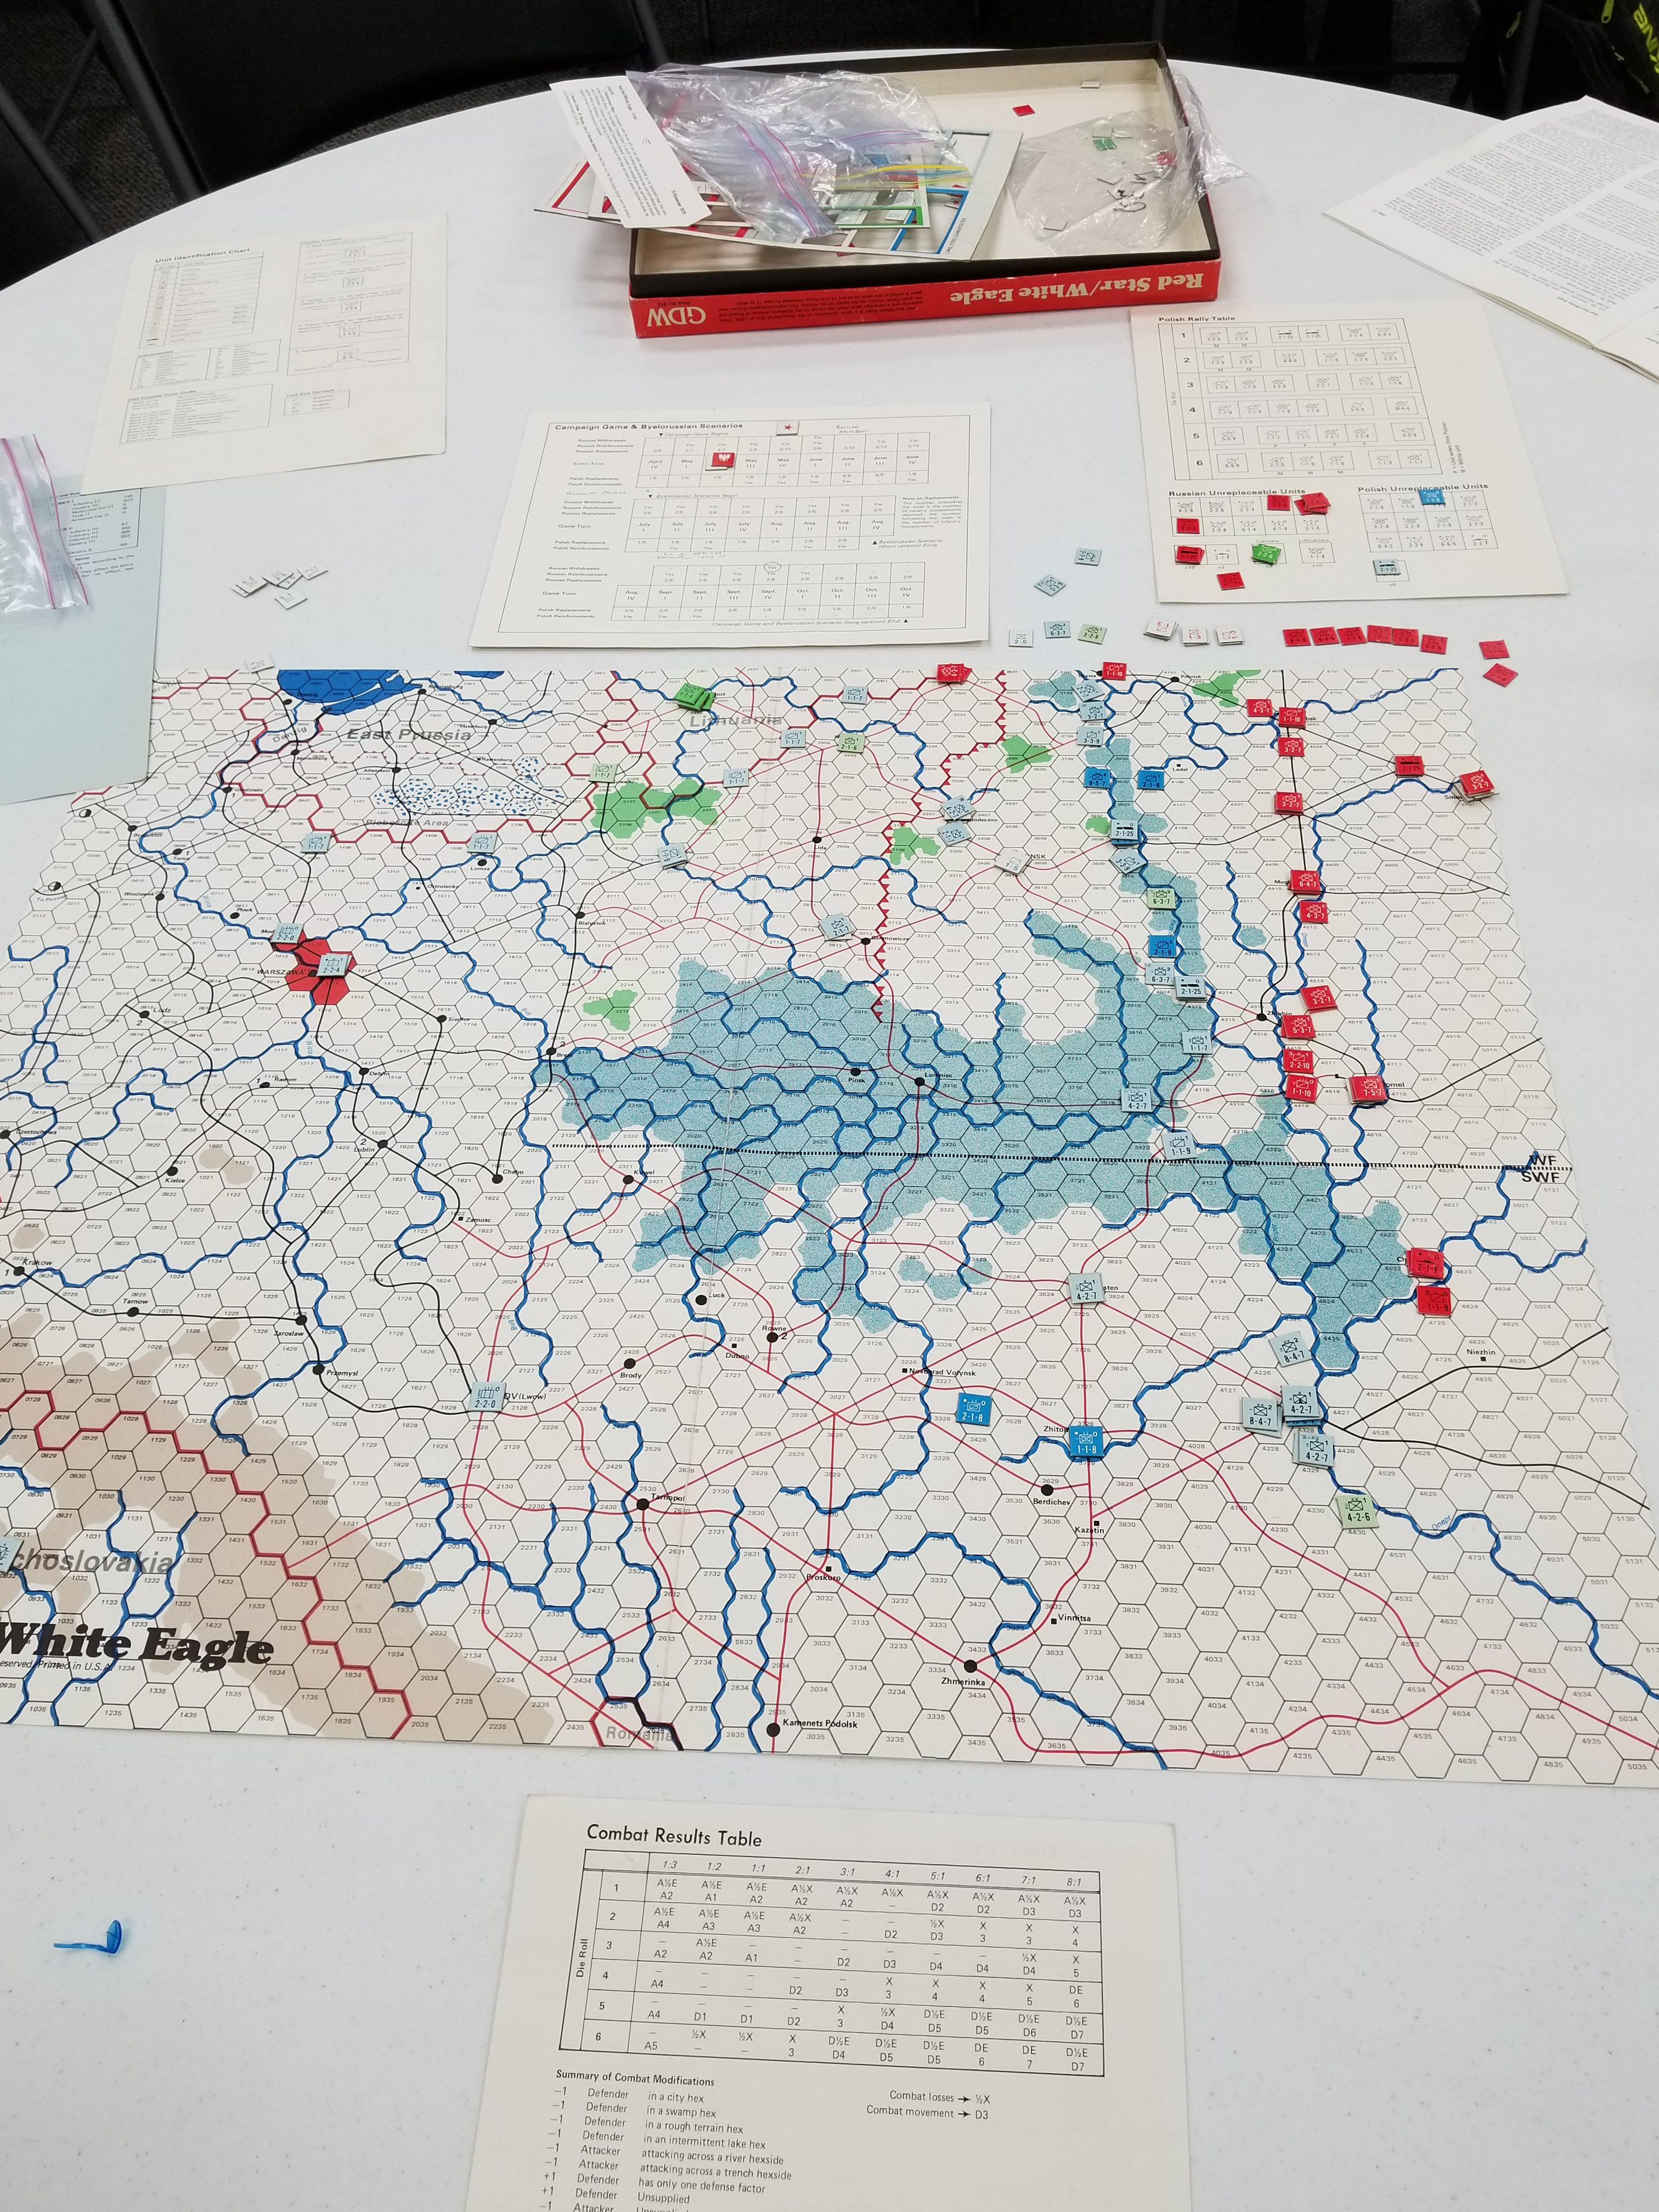
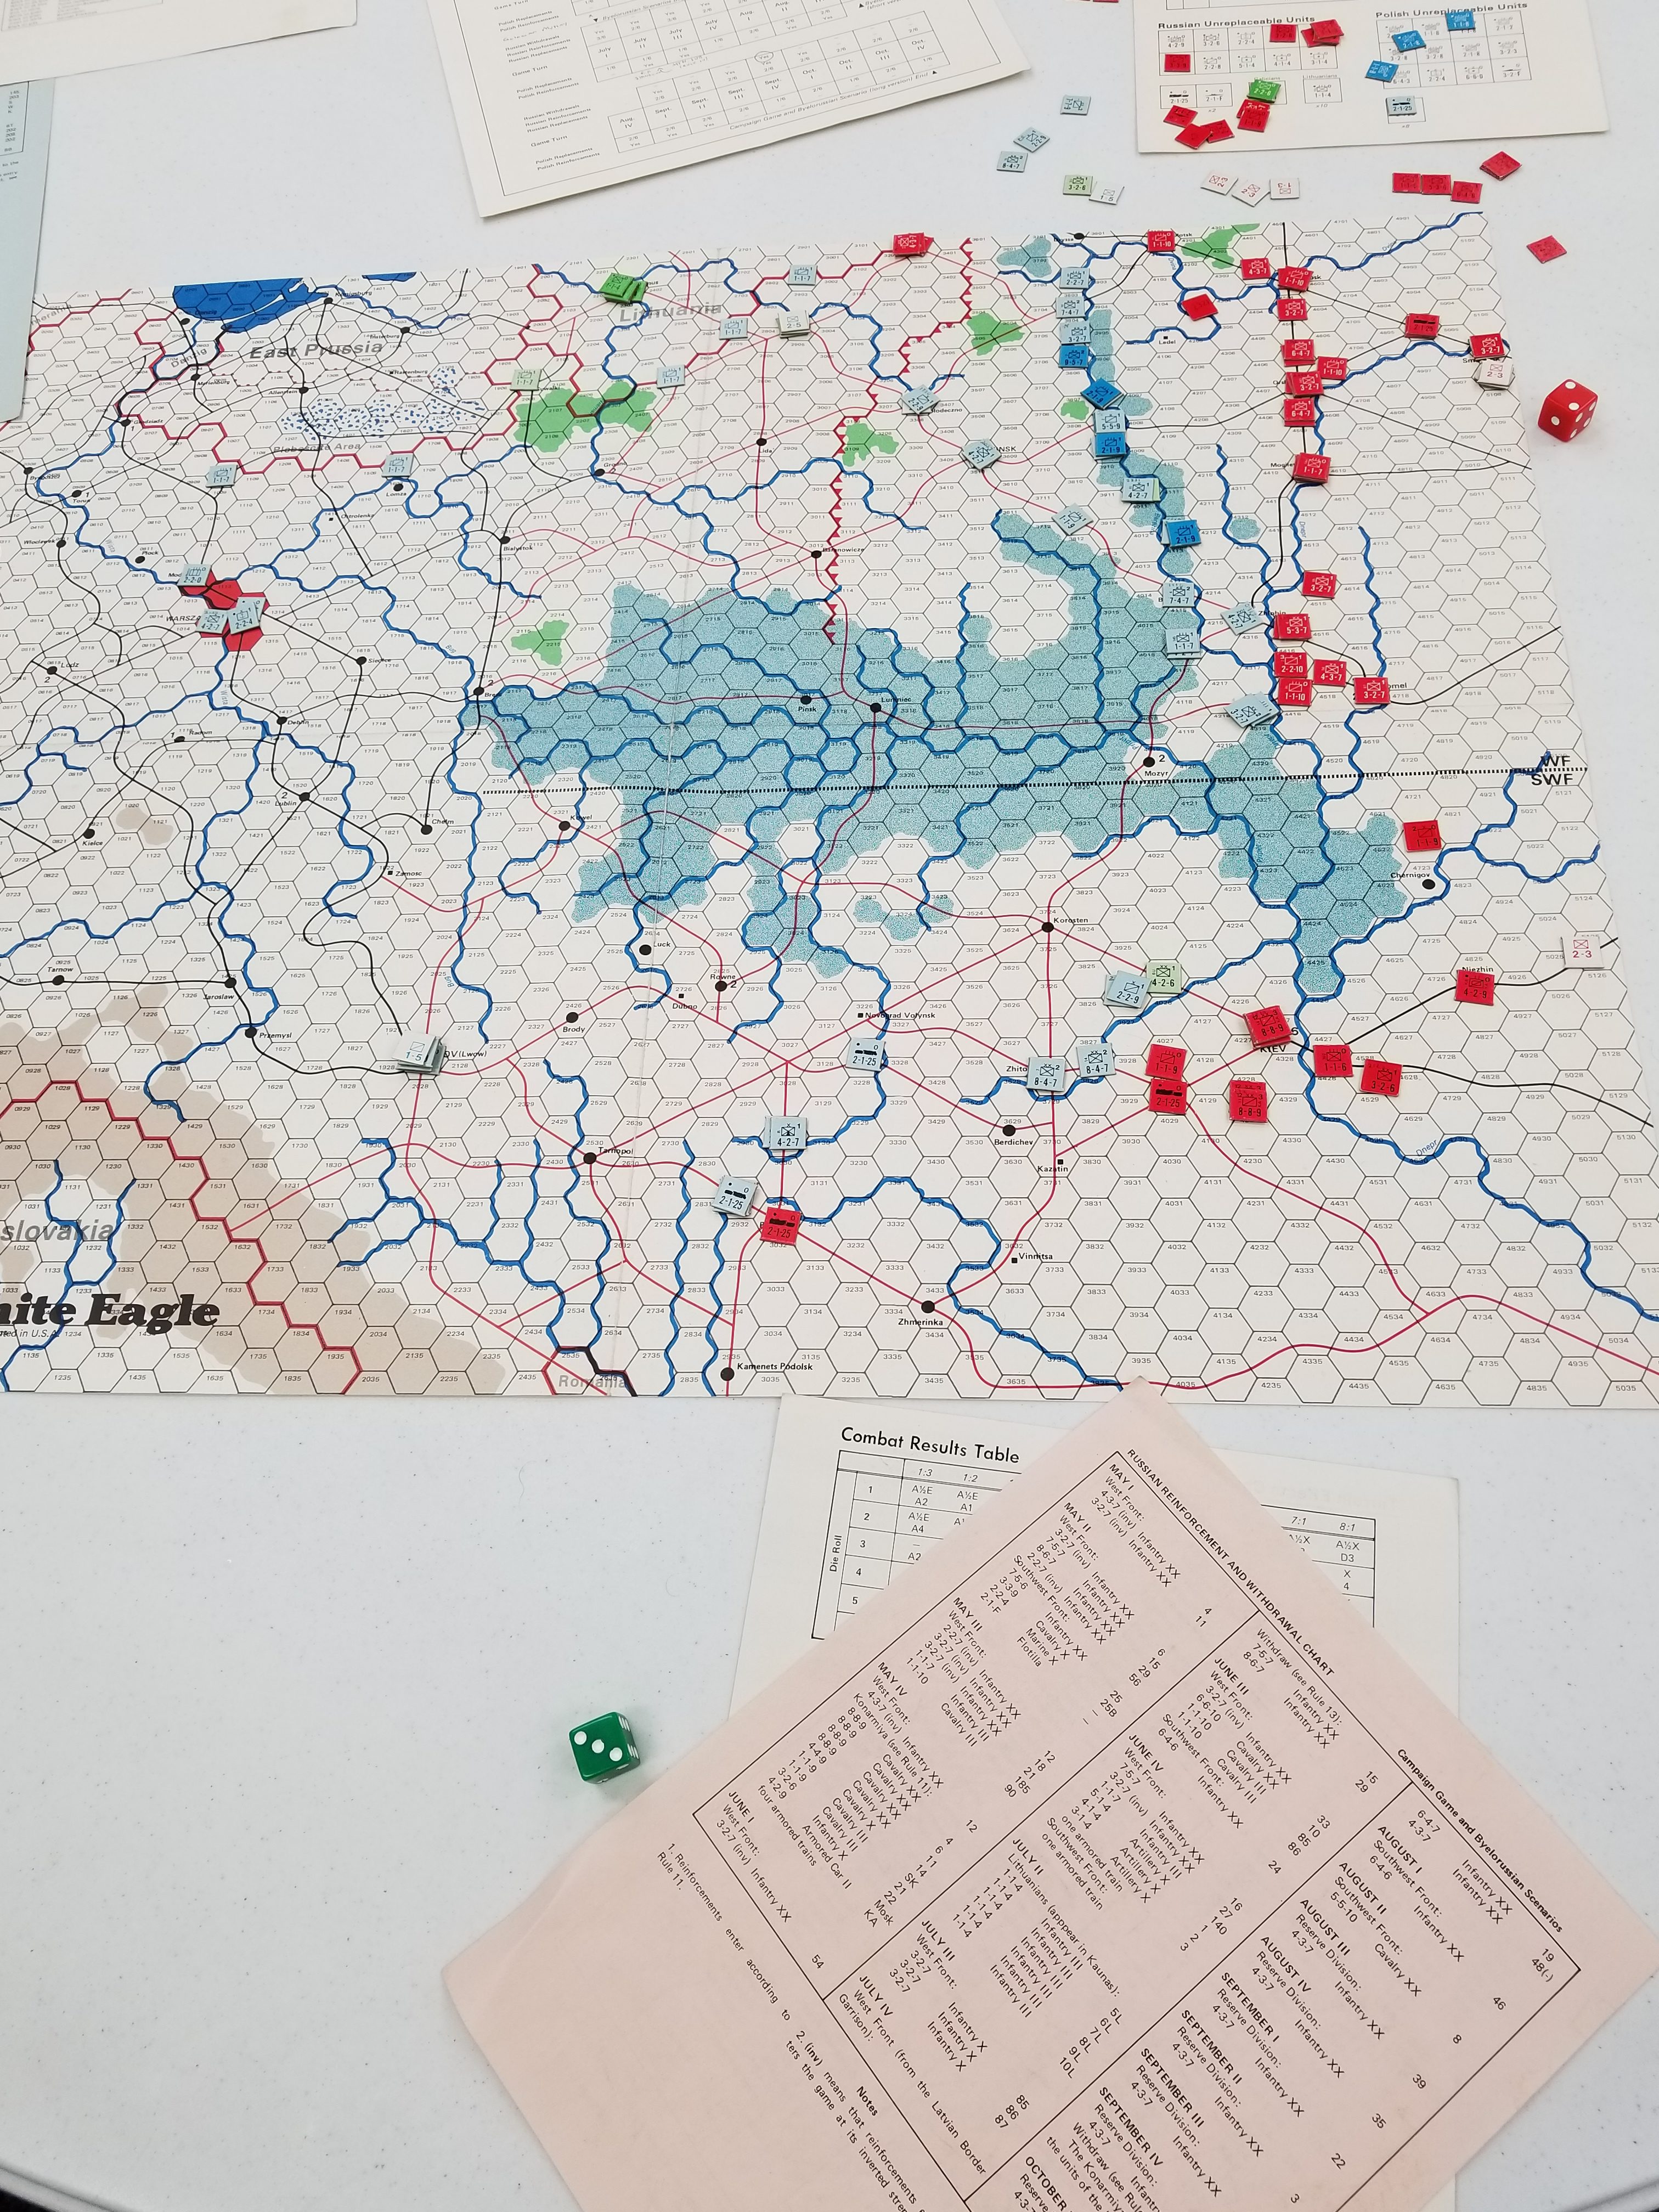
Played Red Star/White Eagle, an old GDW Russo-Polish War game. Mechanics similar to Europa, but with period chrome. An earlier session attained legendary status due to a rules gaffe changing it from a fluid, fast and fun game to a static, boring slogging match. We misinterpreted the CRT. I’ll leave it at that.
That CRT is bloody. Most casualty results also require retreats of several hexes, with opponent able to pursue. There are no outright ZOC kills, but many units have a intrinsic “delay” factor, forcing a retreating unit that pass by them to roll for casualties on a separate table. Literally double jeopardy.
Tim played the Poles (blue counters).
Situation After Game Turn 3
It’s a big map with relatively low counter density. The Soviets have two armies, which cannot cooperate, located in the north and south, respectively. The map’s center is dominated by marshy terrain, significantly reducing movement, with rivers creating east-west compartments. As you can see, the mandated initial set-up for the campaign game places both side’s units facing each other in the East. Victory is determined by city occupation.
Both Soviet and Polish armies are mobile, with most units having much higher attack than defense factors. Mobility is assisted by rail networks.
Each side receives significant replacements. These factors are represented by special counters which must be in the same hex as an active counter during the reinforcement and replacement phase of a game turn. So, some planning and management is required to reinforce reduced strength units.
The northern Polish and Soviet units have limited movement and attack options for the first three turns, so early action occurs in the south. Also, the Polish player must capture Kiev early, or lose his Ukrainian troops. Tim attained this objective and gained 6 victory points.
Poles Take Kiev
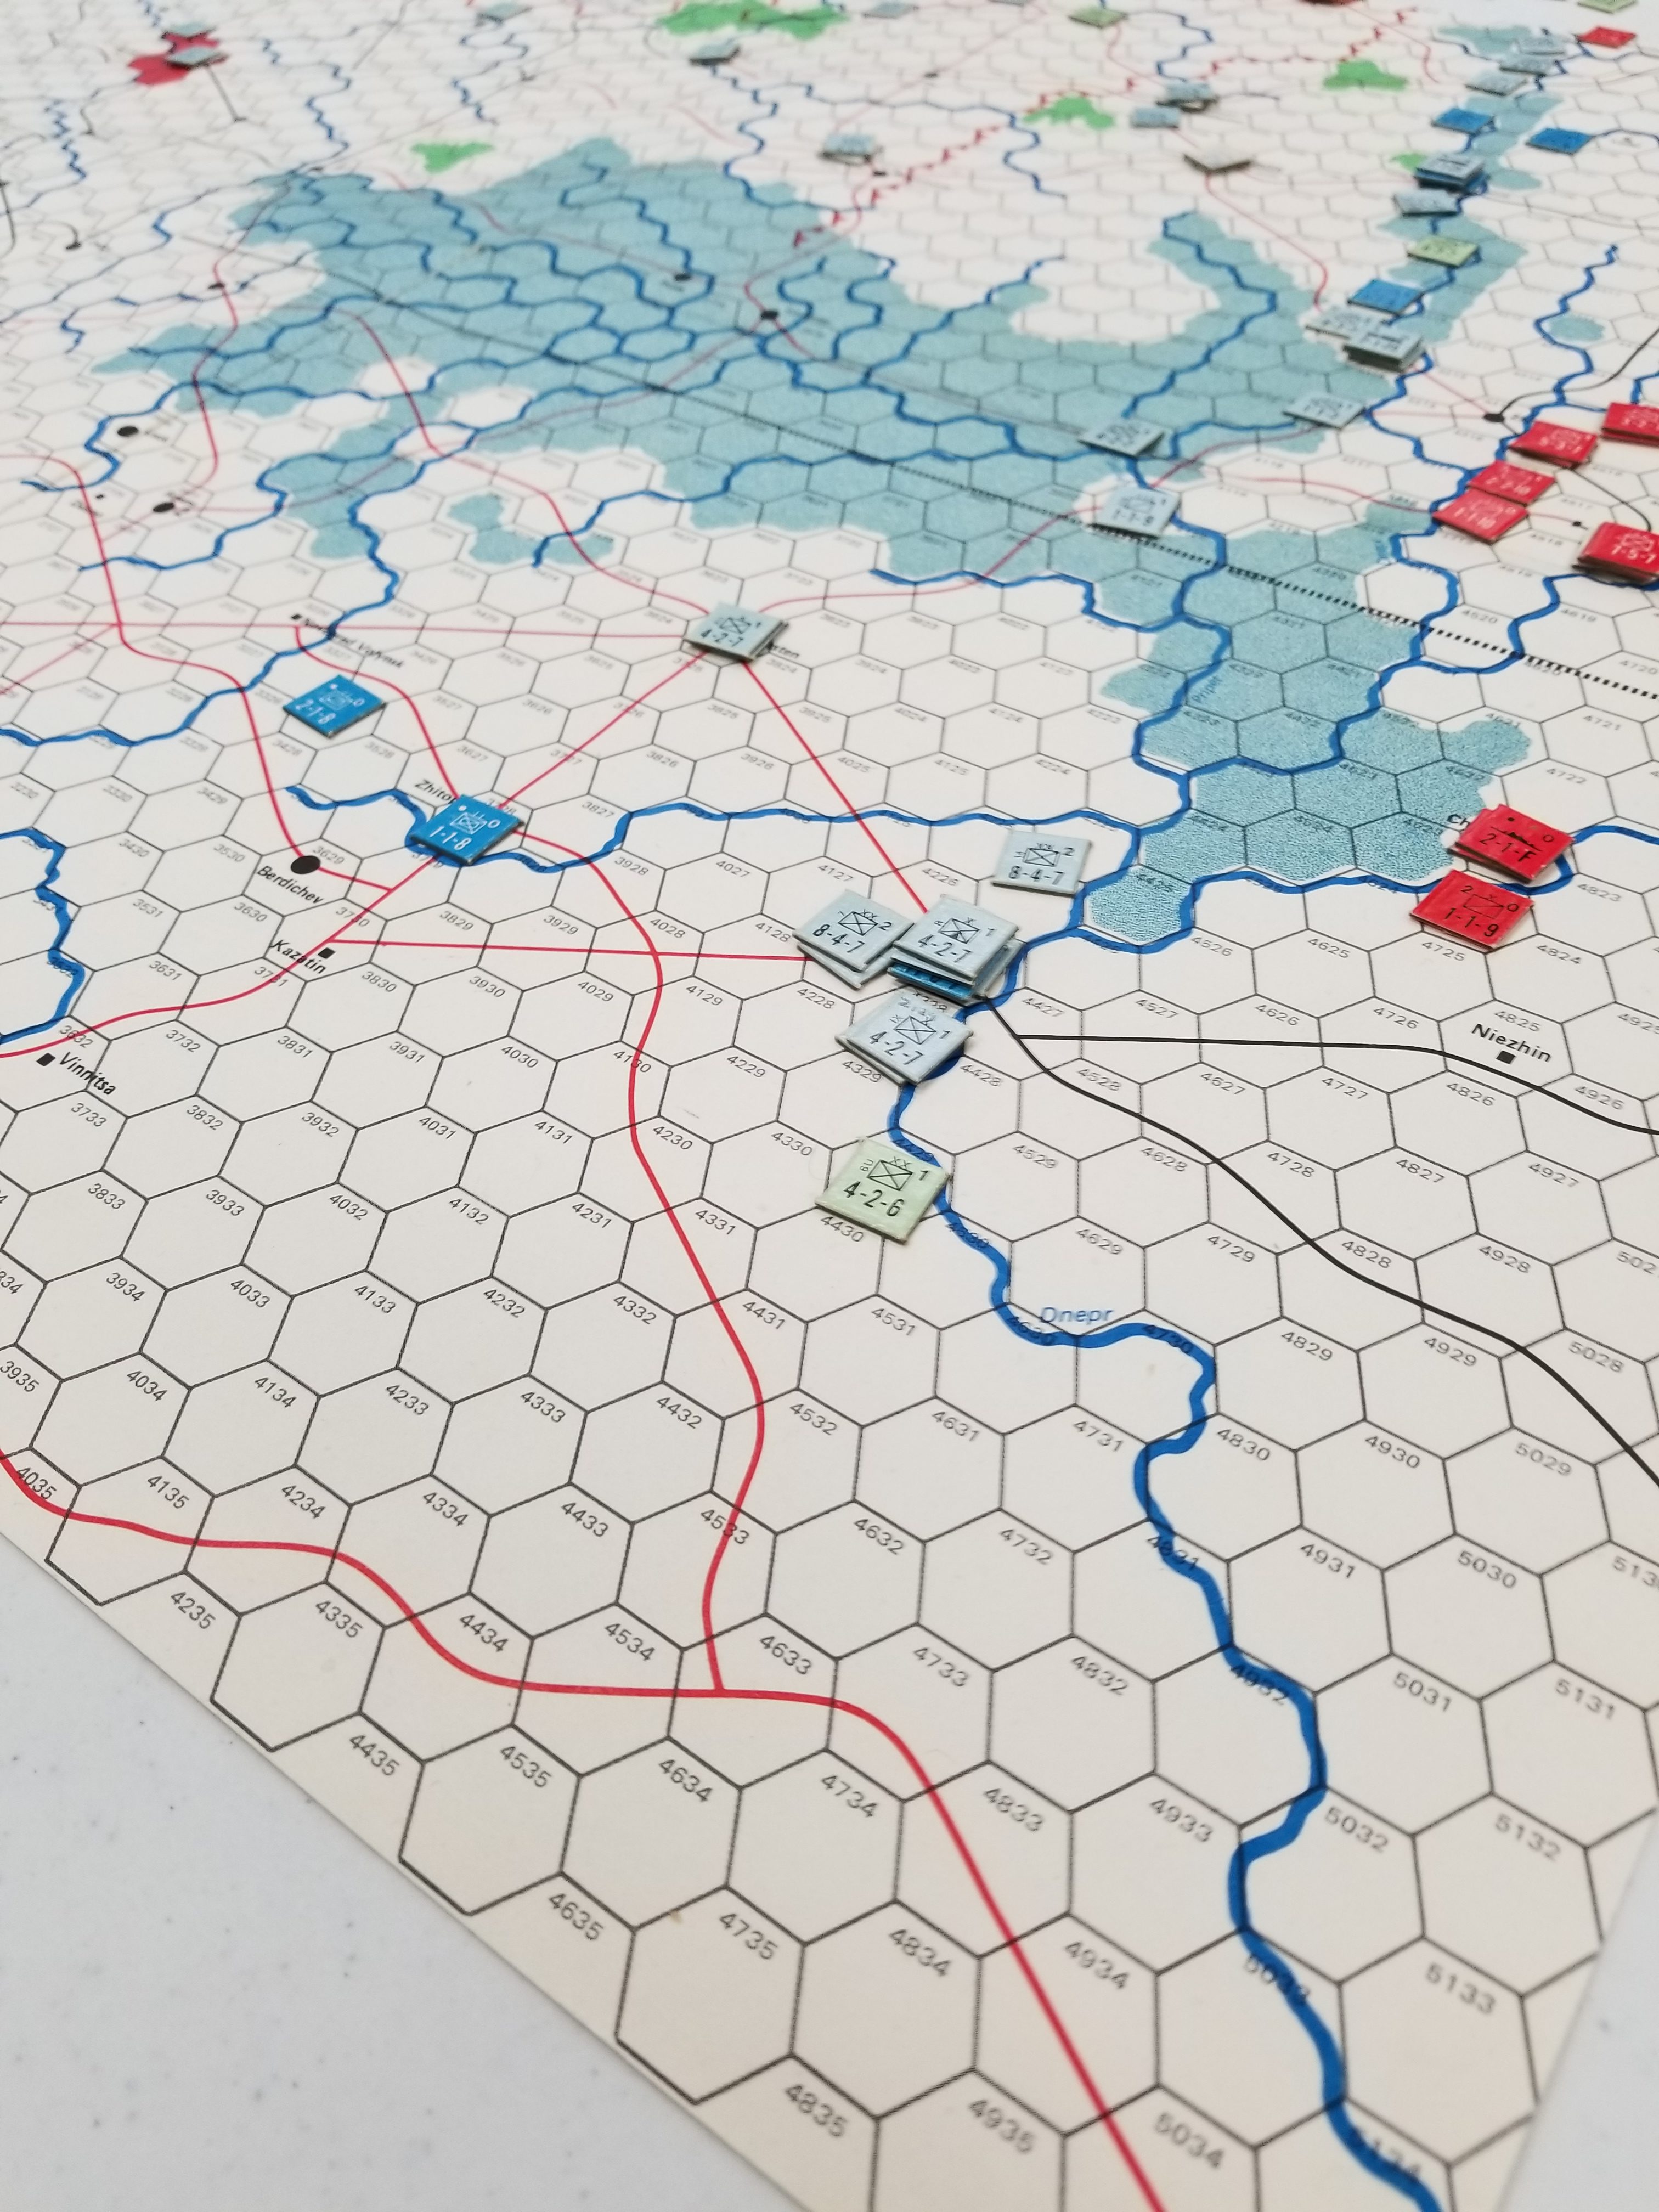
By Turn 4, both sides are free of movement restrictions and by Turn 6, the Soviets have received the Konarmiya reinforcements. This is a corps of cavalry and mechanized units, with extremely high attack factors and a charge bonus. To gain this bonus, the unit(s) must begin their movement outside a Polish ZOC.
I pushed my Konarmiya south of Kiev, maintaining sufficient distance from Tim’s Poles. I was afraid that Tim would “ZOC up” the Konarmiya with low strength units to reduce my combat effectiveness.
Russians Counterattack Kiev
The attack was successful, but it was time for a big Italian dinner. Just when it was getting interesting.
In summary, this is a fun and challenging game. We will play it again when we meet this summer. No food until game finished!
Thrashing now. Trying to reconcile the game system with reading Napoleonic tactics. Disconnect with battalion/regiment frontages and depths. Of course, all of these book dictates are conjectural, based on manuals, pundits, and the revisionist interpretations of manuals and pundits.
One hex in Squad Leader is 40 meters or just over 43 yards. The hex width is 3/4 inch. Counter frontages in System 7 are one inch equals 40 yards. Battalion frontages were 75 yards. Not a match, but close enough.
The real problem appeared to be a company counter depth of 5/16 inches or roughly 14 yards in scale. According to my interpretation of a Chandler, a six company battalion advancing in column would have an overall depth of 15 yards. This is problematic, especially since according the rules, maximum stacking is two companies, which leaves a depth of 42 yards per battalion if attacking with two companies abreast. All of that just doesn’t make sense and at this point I was dizzy.
Somehow came to my senses, looked a few more resources, had a pop…..ahhhhhh…the depth was 15 yards per company or 45 yards.
Wargaming involves a lot of preparation. Reading rules, understanding rules, punching counters, set up, the inevitable initial rule foul ups and finally, an understanding of how the game mechanics work.
But, there’s also the understanding the period piece of any game. Background reading is always helpful, because you want to “play the period”. While the game designer is tasked with this, it’s up to the player to appreciate the intent, and play the game as intended.
System 7 is a miniatures game played with cardboard on cardboard. In theory, there are no tactical constraints. It’s up to the player to make it a simulation.
Spent the last few days getting things ready. The handout accompanying the counters implores the player to cut out the counters, not punch them. Good advice. The punched counters I inherited have those unsightly “chads”. Lots of x-acto knife work, but worth it.
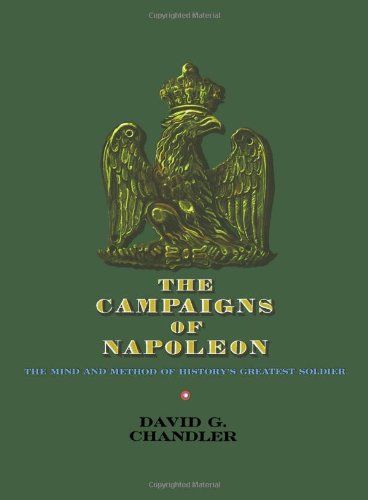
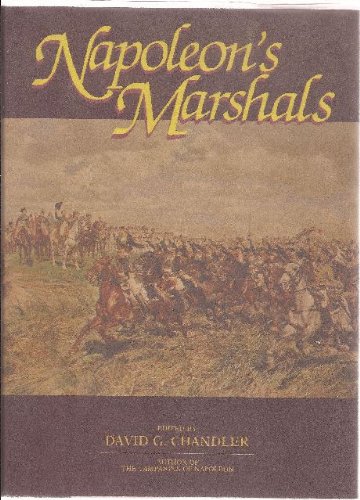
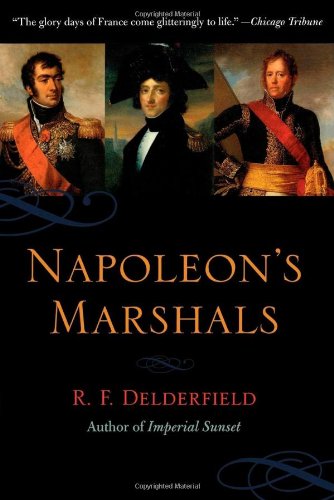
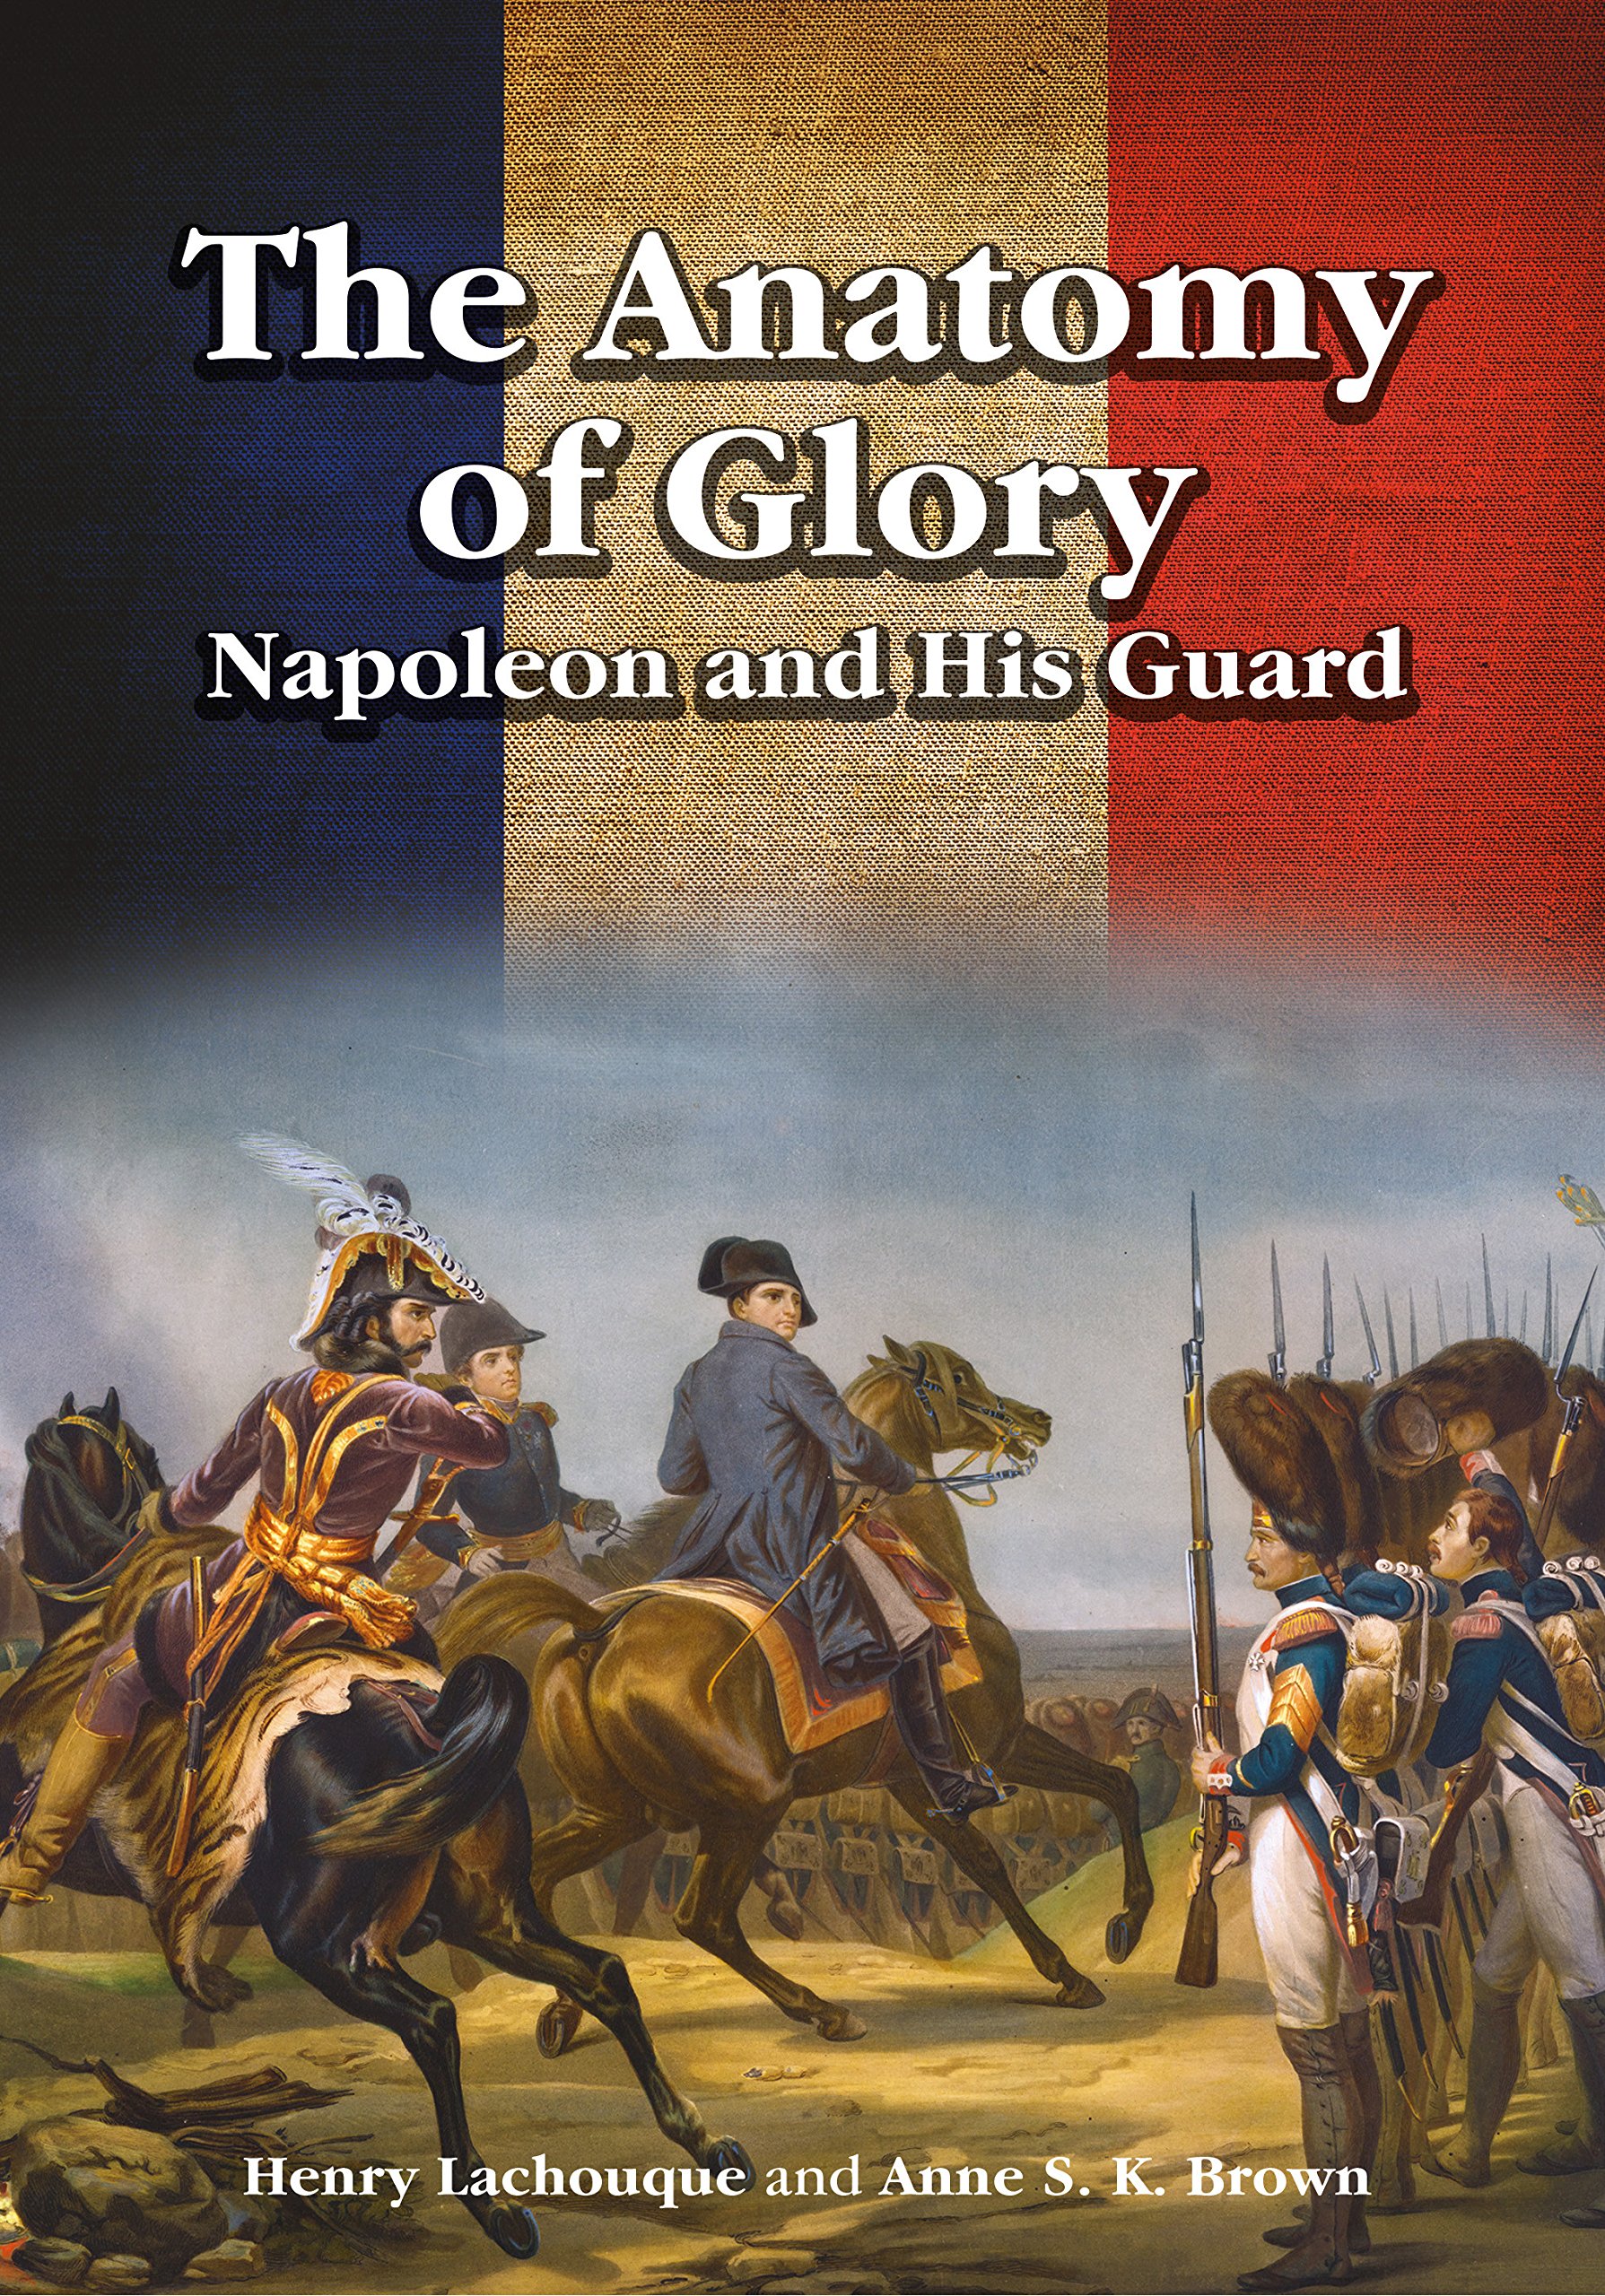
The other prep piece is some reading on background and tactics. I’m not that interested in Napoleonics, but I have a few helpful books. Here they are. Again, I’ve collected these over the years, all used, at reasonable prices.
This is the Mother Ship. If you can only have one, this is it.
Elting is completely underrated. Also has done some wonderful work on US military uniforms.
Chandler again. Formal, and informative.
Informal and compelling. Fun Read.
Everything you ever wanted to know about The Guard. Can also serve as a doorstop.
I like this game……I really do. But, for some damn reason I found it hard to start pushing the counters.
Some games you just can’t wait to get to the table and play the next turn. Examples? Can’t roll that one over in my brain right now, have to focus on SOA.
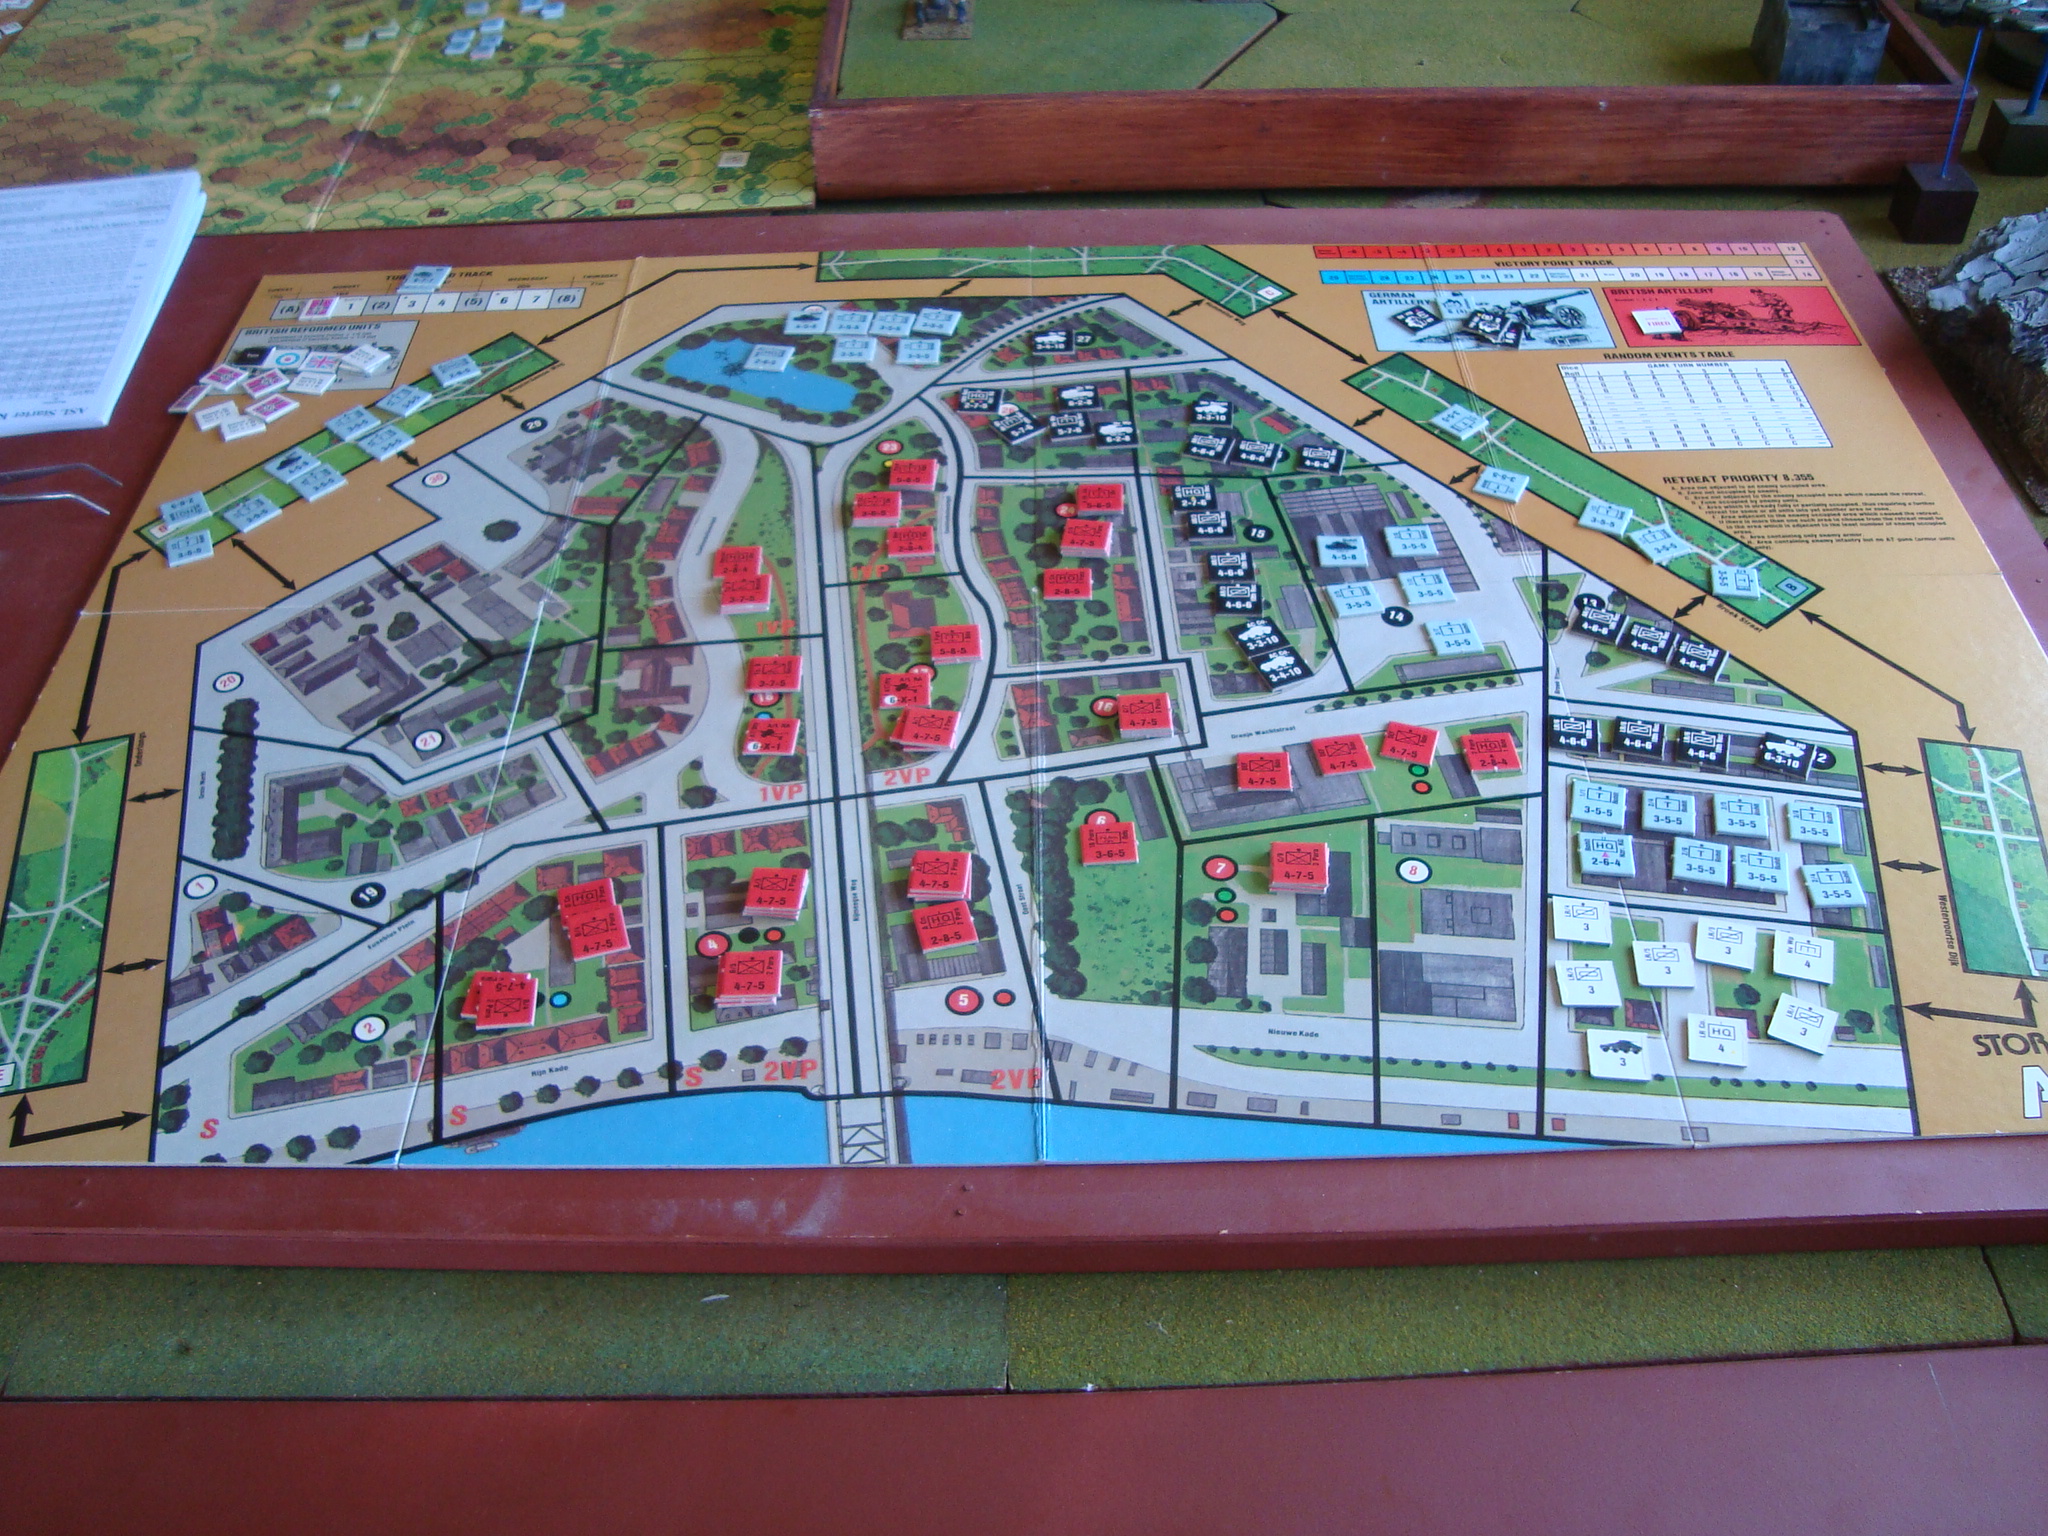
A highly regarded game that has spawned a number of “Storm Over” games. Great area movement map, big counters (no tweezers needed), rules are……hmmmm, well maybe it’s just my learning style. Perhaps the problem is the chrome with tanks, reformed units, bren carriers, and setting fires. This play aide found over at Boardgamegeek was very helpful.
I really like the impulse turn system involving individual sectors, and units becoming more vulnerable after they have either moved or fired. This leads to a cat-and-mouse tactics (at least in my first play). You don’t want to move/shoot a unit that would be “flipped” to a committed status with a lower combat/defense strength with a full-strength enemy adjacent to your area. On the other hand, an area can only be fired on once a turn, so one has to maximize an opportunity to attrit an opponent.
Close-combat is a separate phase with all committed units flipped to their active side, engaging in new combats with any enemies in their sector.
Outcomes are dice-tastic, but generally reasonable. Lots of counter-punching (no pun intended) with one side reacting to their opponents preceding move.
Maybe what I like is the problem; yes isn’t that the way of the world. Constant back and forth with no respite for the solo player. It would be really fun FTF, especially with RAW restricting the time a player has for each impulse.
In my first try I relied on the British set-up used in the Avalon Hill General. My German tactics were relatively ham fisted, blasting away at British units, with results less than optimal. Pretty sure the Brits will prevail.
But, we’ll never know. Time to take it down and make way for System 700. However, this quality game will be back on the table sooner rather than later.
Maybe I can talk Tim into playing……
By The General Set-Up. Very Nice Looking Components.
Back from a week in the Sun with friends. Nice way to spend the time.
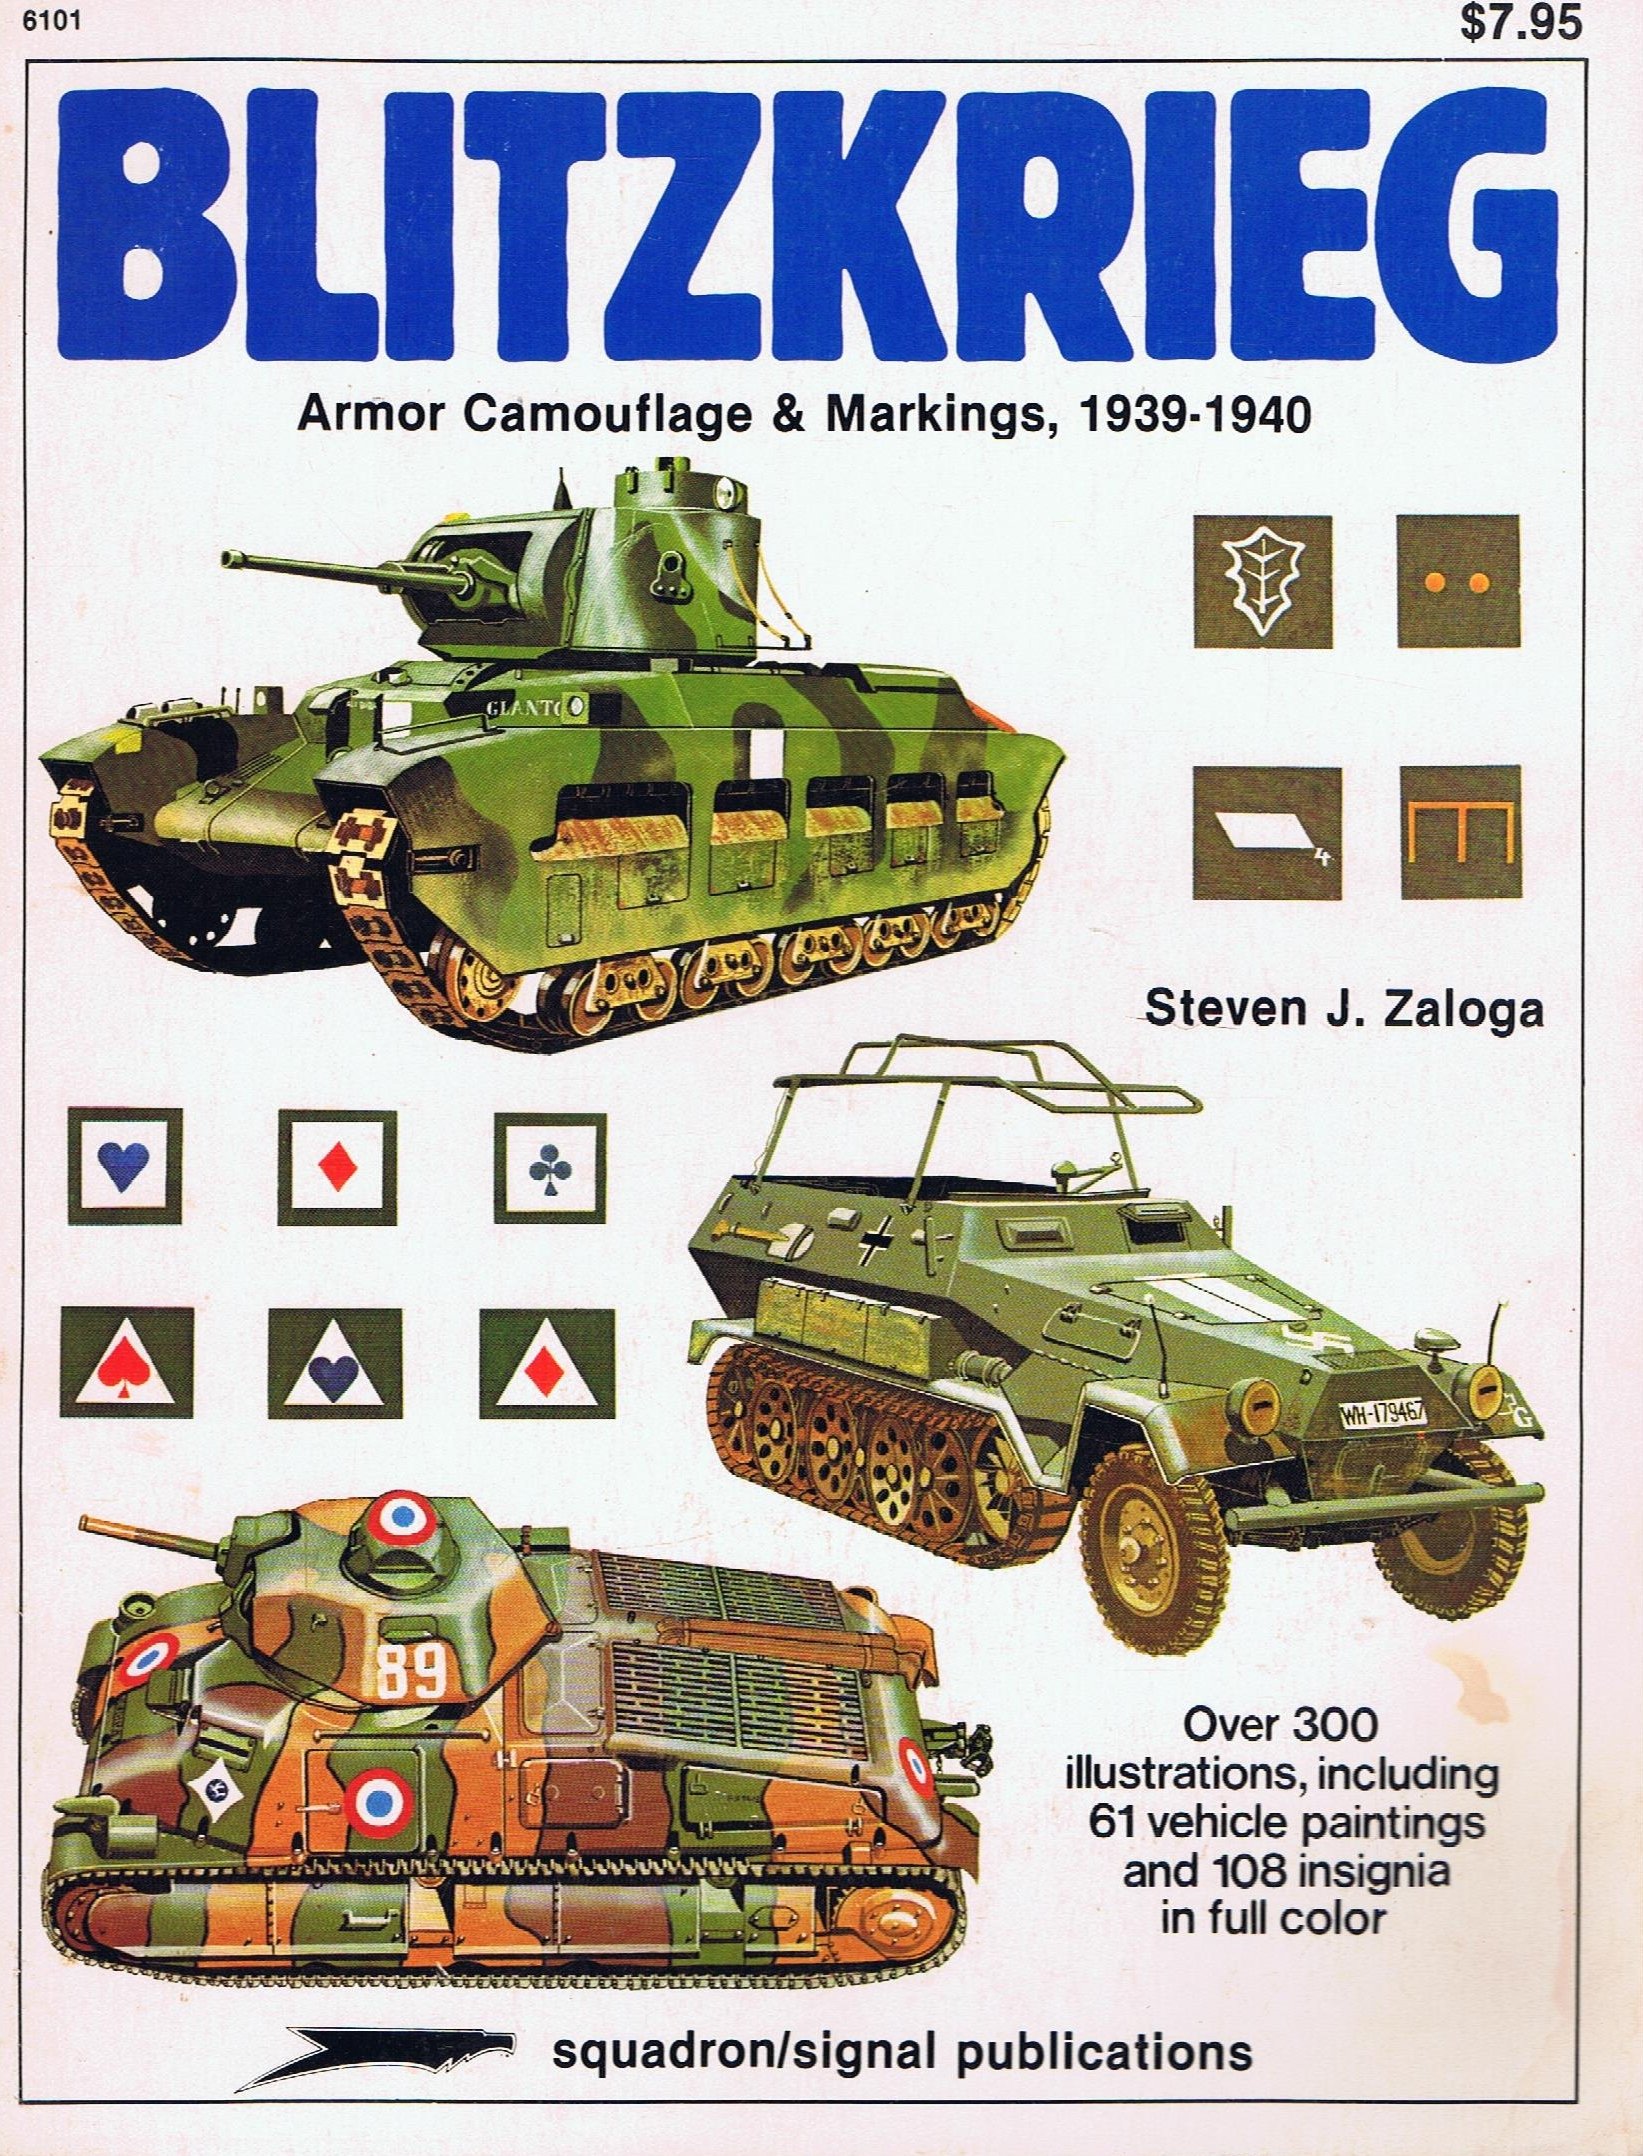
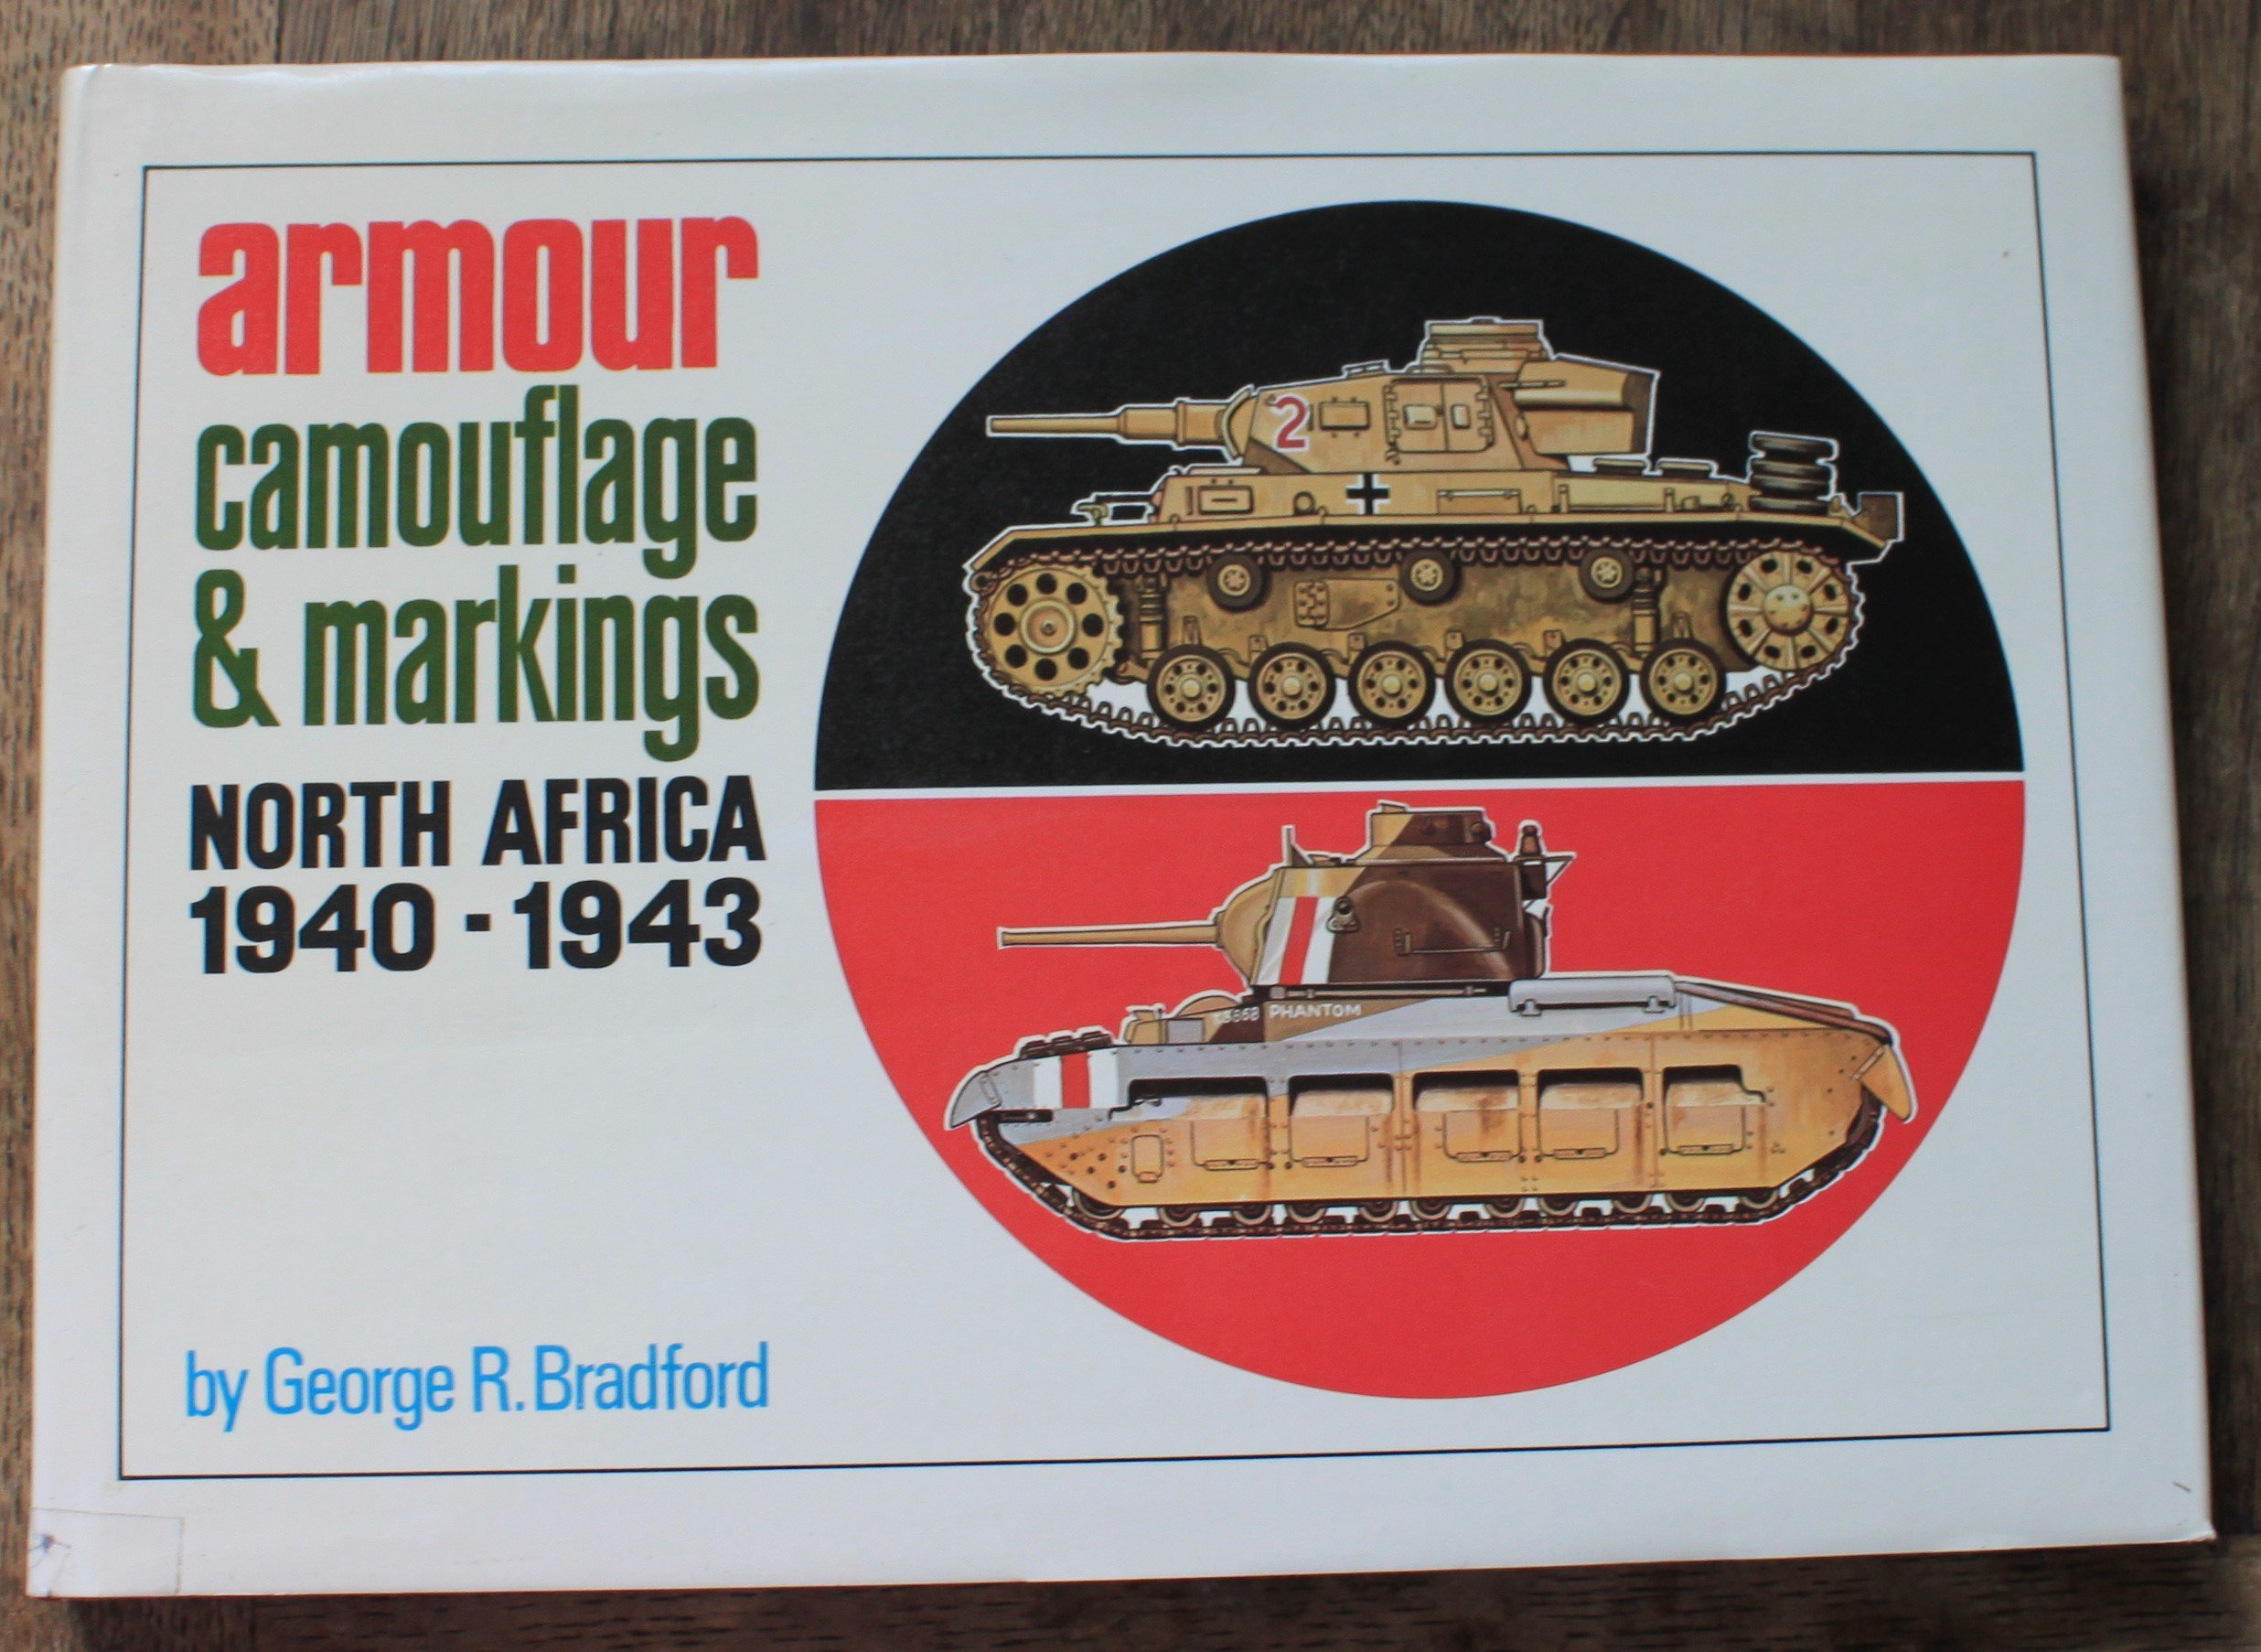
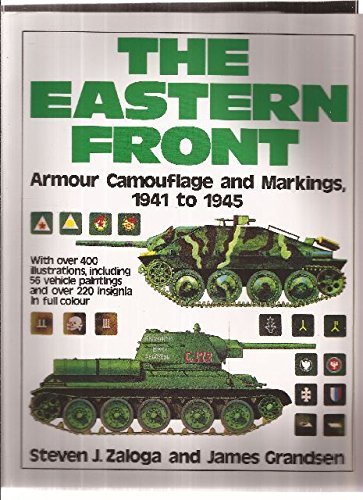
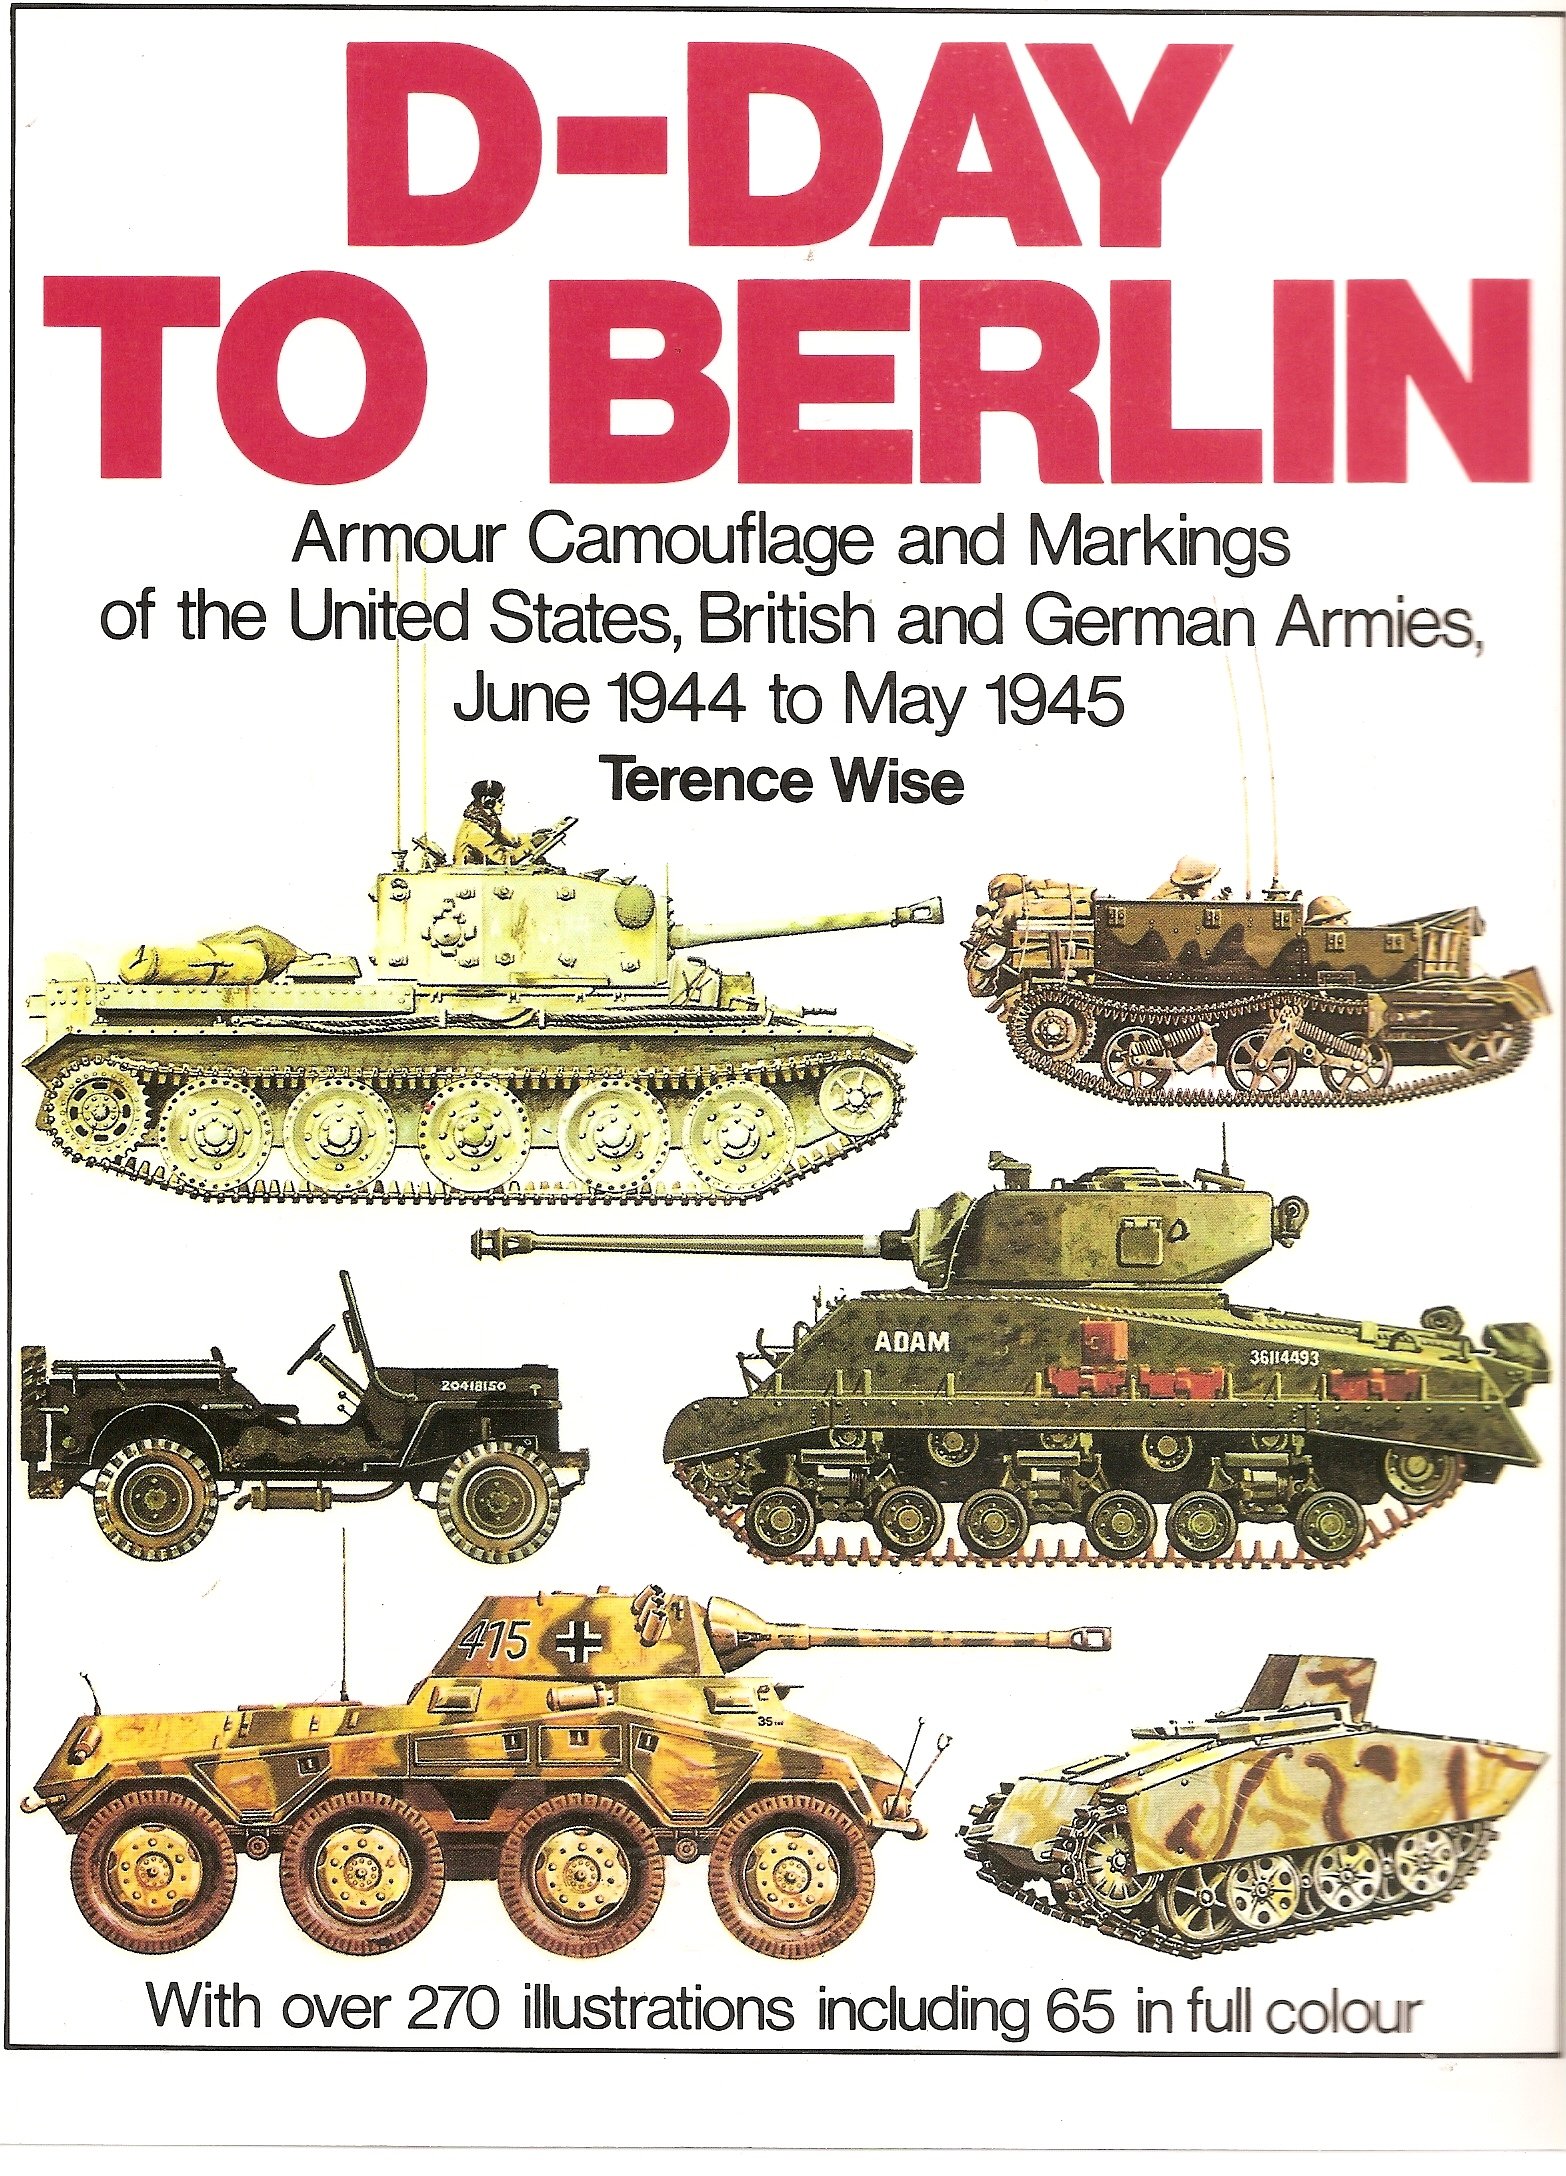
Just before departure, I received the last of three books ordered to help with the Tanks project. All of these involved camouflage and markings throughout World War II. I already had one book covering the Polish and French campaigns. Each of these four books, while originally published many years ago, is highly recommended. Here’s a few comments on each.
The cover says it all. I was especially intrigued by the widespread use of tankettes and carriers by the Allies. Many of the photos were of abandoned Allied armor, which shouldn’t have been a surprise, but the sheer frequency of breakdowns reported was astounding.
This is the only book not published by Arms and Armour. George Bradford is well known for his profiles series. I was not overly impressed with it at first glance-through, but subsequent readings proved it to be a very satisfying overview, complete with scale drawings of all the armored vehicles used during the campaign.
Another volume with Steven Zaloga, the well known armor expert and author of the popular Panzer Colors series. This volume includes a helpful survey of German Panzer unit insignia, as well as an interesting discussion of Soviet tank inscriptions. Vehicles from Romania and Hungary are also covered.
This book begins with a very interesting discussion of the purposes and techniques of camouflage. The author emphasizes the effects of dirt, dust and foliage on armor camouflage, and the differences in philosophy between the Great Britain, United States and Germany. To me, the illustrations aren’t consistently as good, but I am a fan of profiles and not aspect renderings of equipment and aircraft. Most of German vehicles photographed were captured, with only a few shots of them in action.
Prices for these books – all used- range from the reasonable to the absurd. It took time and effort over a period of months to locate quality copies at good prices. I feel the money was well spent.
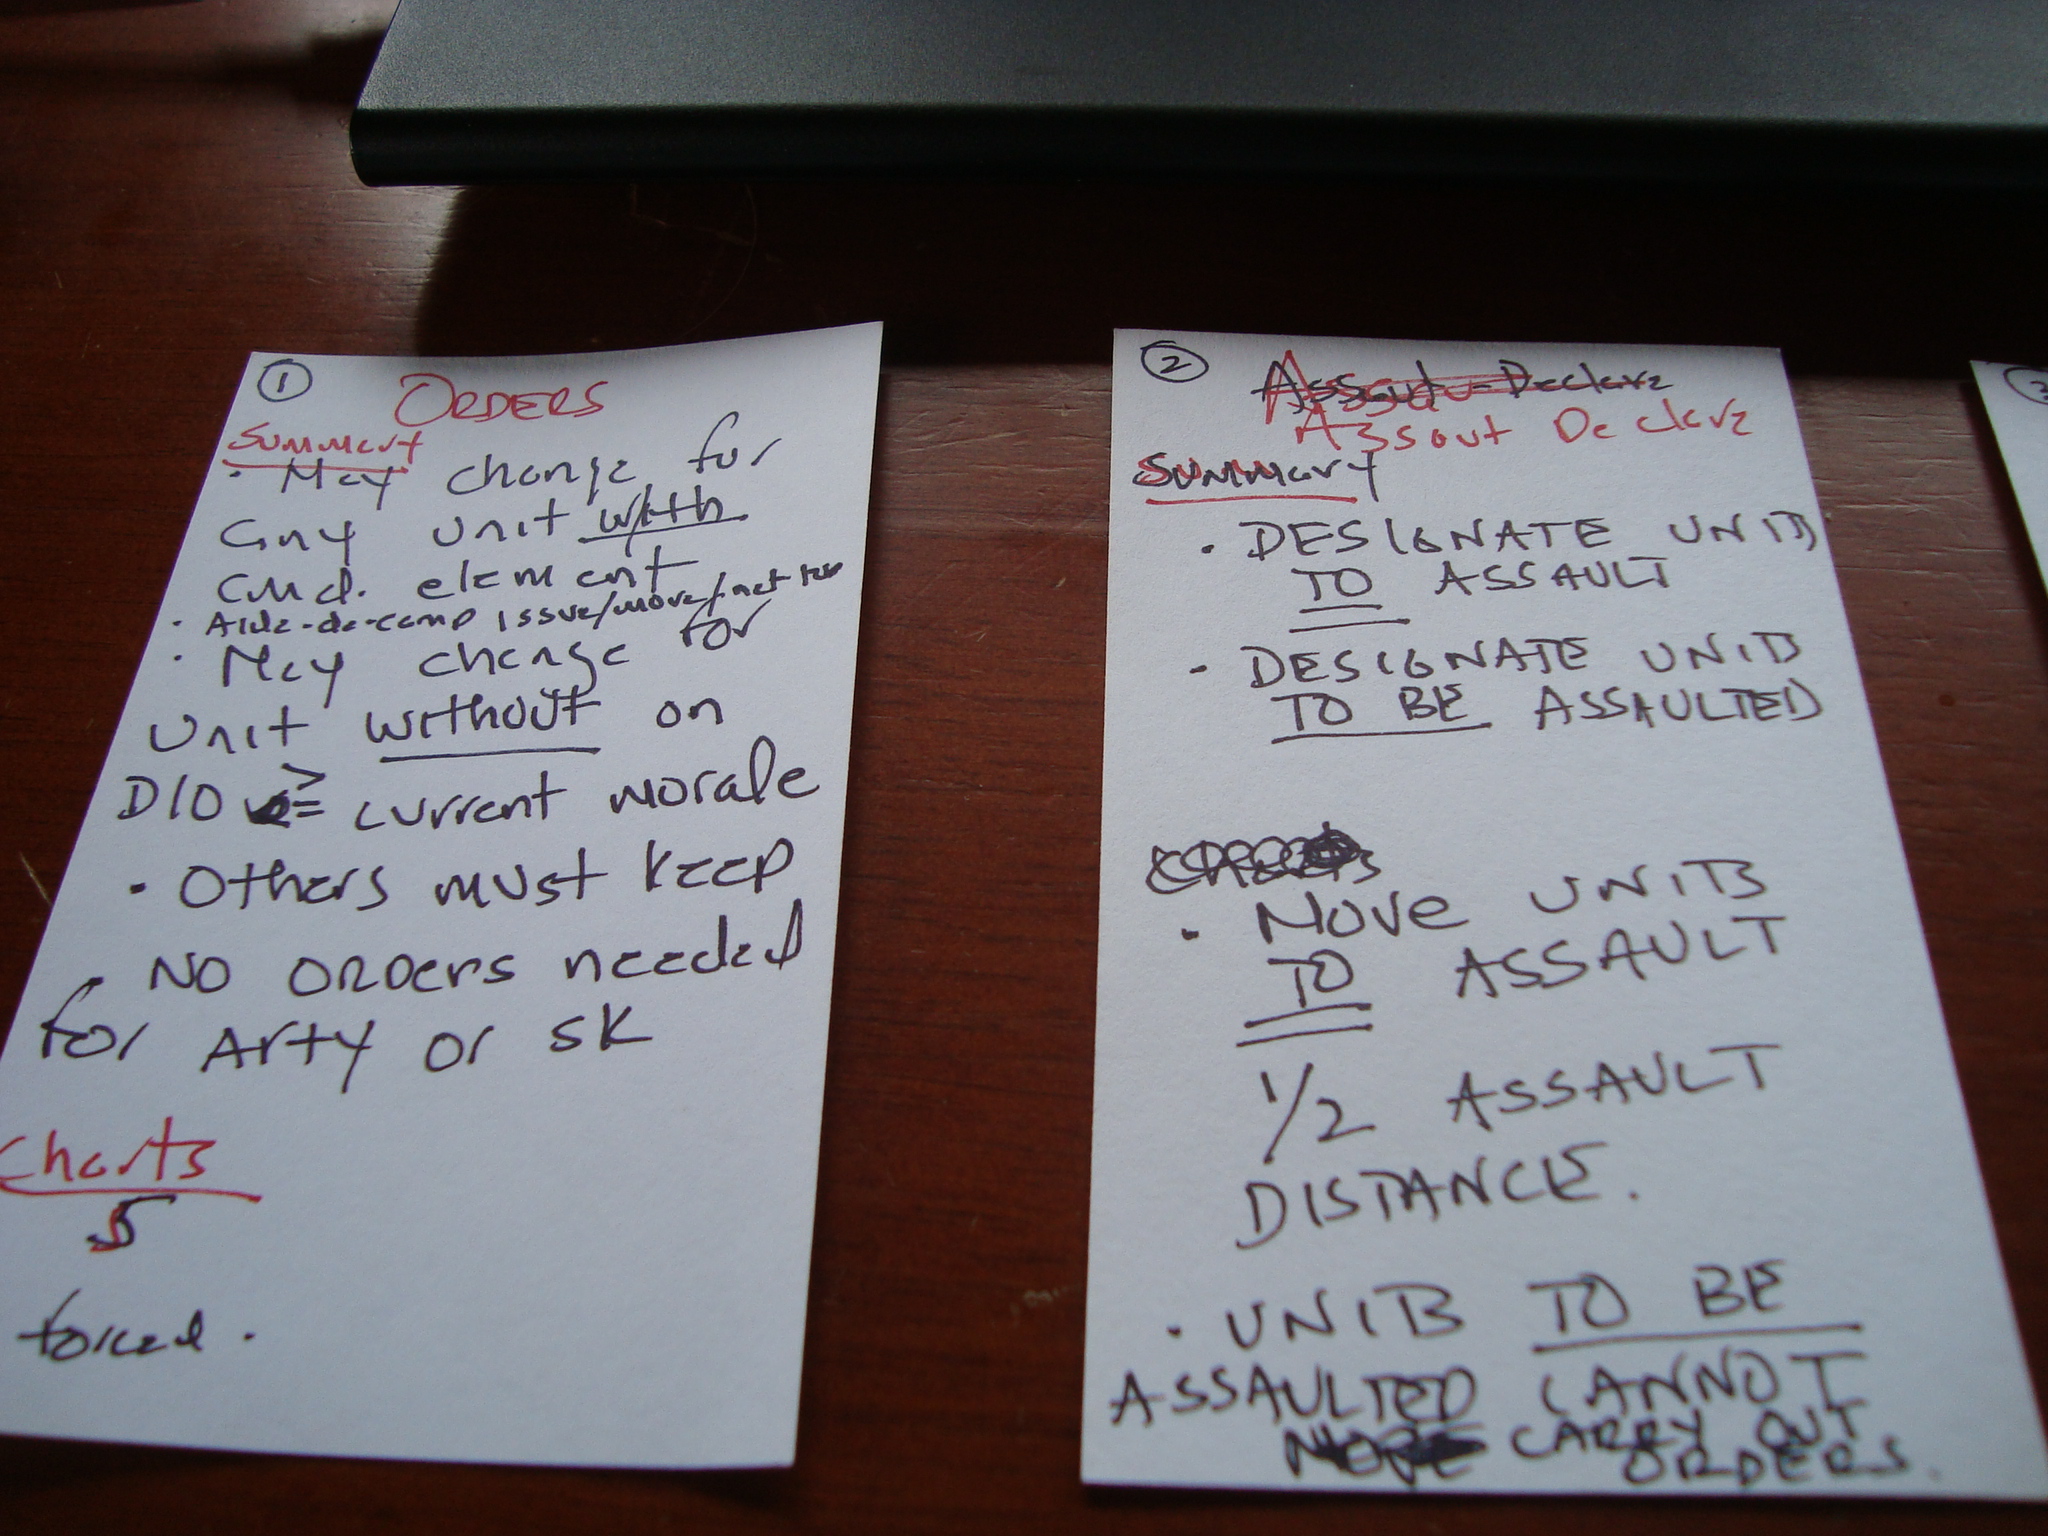
The Devil’s In The Details, and System 7 is devilish. A classic chart intensive miniatures game, with accompanying rules framework.
Drafted up my rule summary cards. One card for each of the ten turn segments.
The cards use bullet points for the rules and also indicate which charts to use.
The intent is to put together a booklet of rules and charts (working on those tomorrow now that the printer has been brought back to life) that has an accessible reference page for each turn segment.
Wargaming involves some form(s) and level(s) of obsession. One of mine is the tendency to develop a fixation on certain games, usually due to period, regardless of playability and availability.
E-Bay has taken care of the latter, but the former remains problematic with some of my choices.
I’ve had a strange and troubling fixation on System 7 Napoleonics for a long time. This is a hybrid of miniatures and board gaming. And, if you read the Boardgamegeek comments, others find the system troubling, as well.
When I started gaming with miniatures, many of my wargame-friends were into 15mm Napoleonics. Huge games, hundreds and hundreds of figures, manic painting. No Thank You. OK….not exactly….there were the 15mm Ottomans, but that’s another story.
Starting in 1978, System 7 offered the opportunity to play big games on the cheap, without the time and effort of painting. I was intrigued, but drifted off into another fixation.
I re-encountered System 7 while scanning E-Bay, eventually picking up several sets at significant discounts. That was a slippery slope. First the super cheap Spanish, then German States….but how can they fight, so I need French, and hey, those Russians seem pretty inexpensive…..You know how that goes.
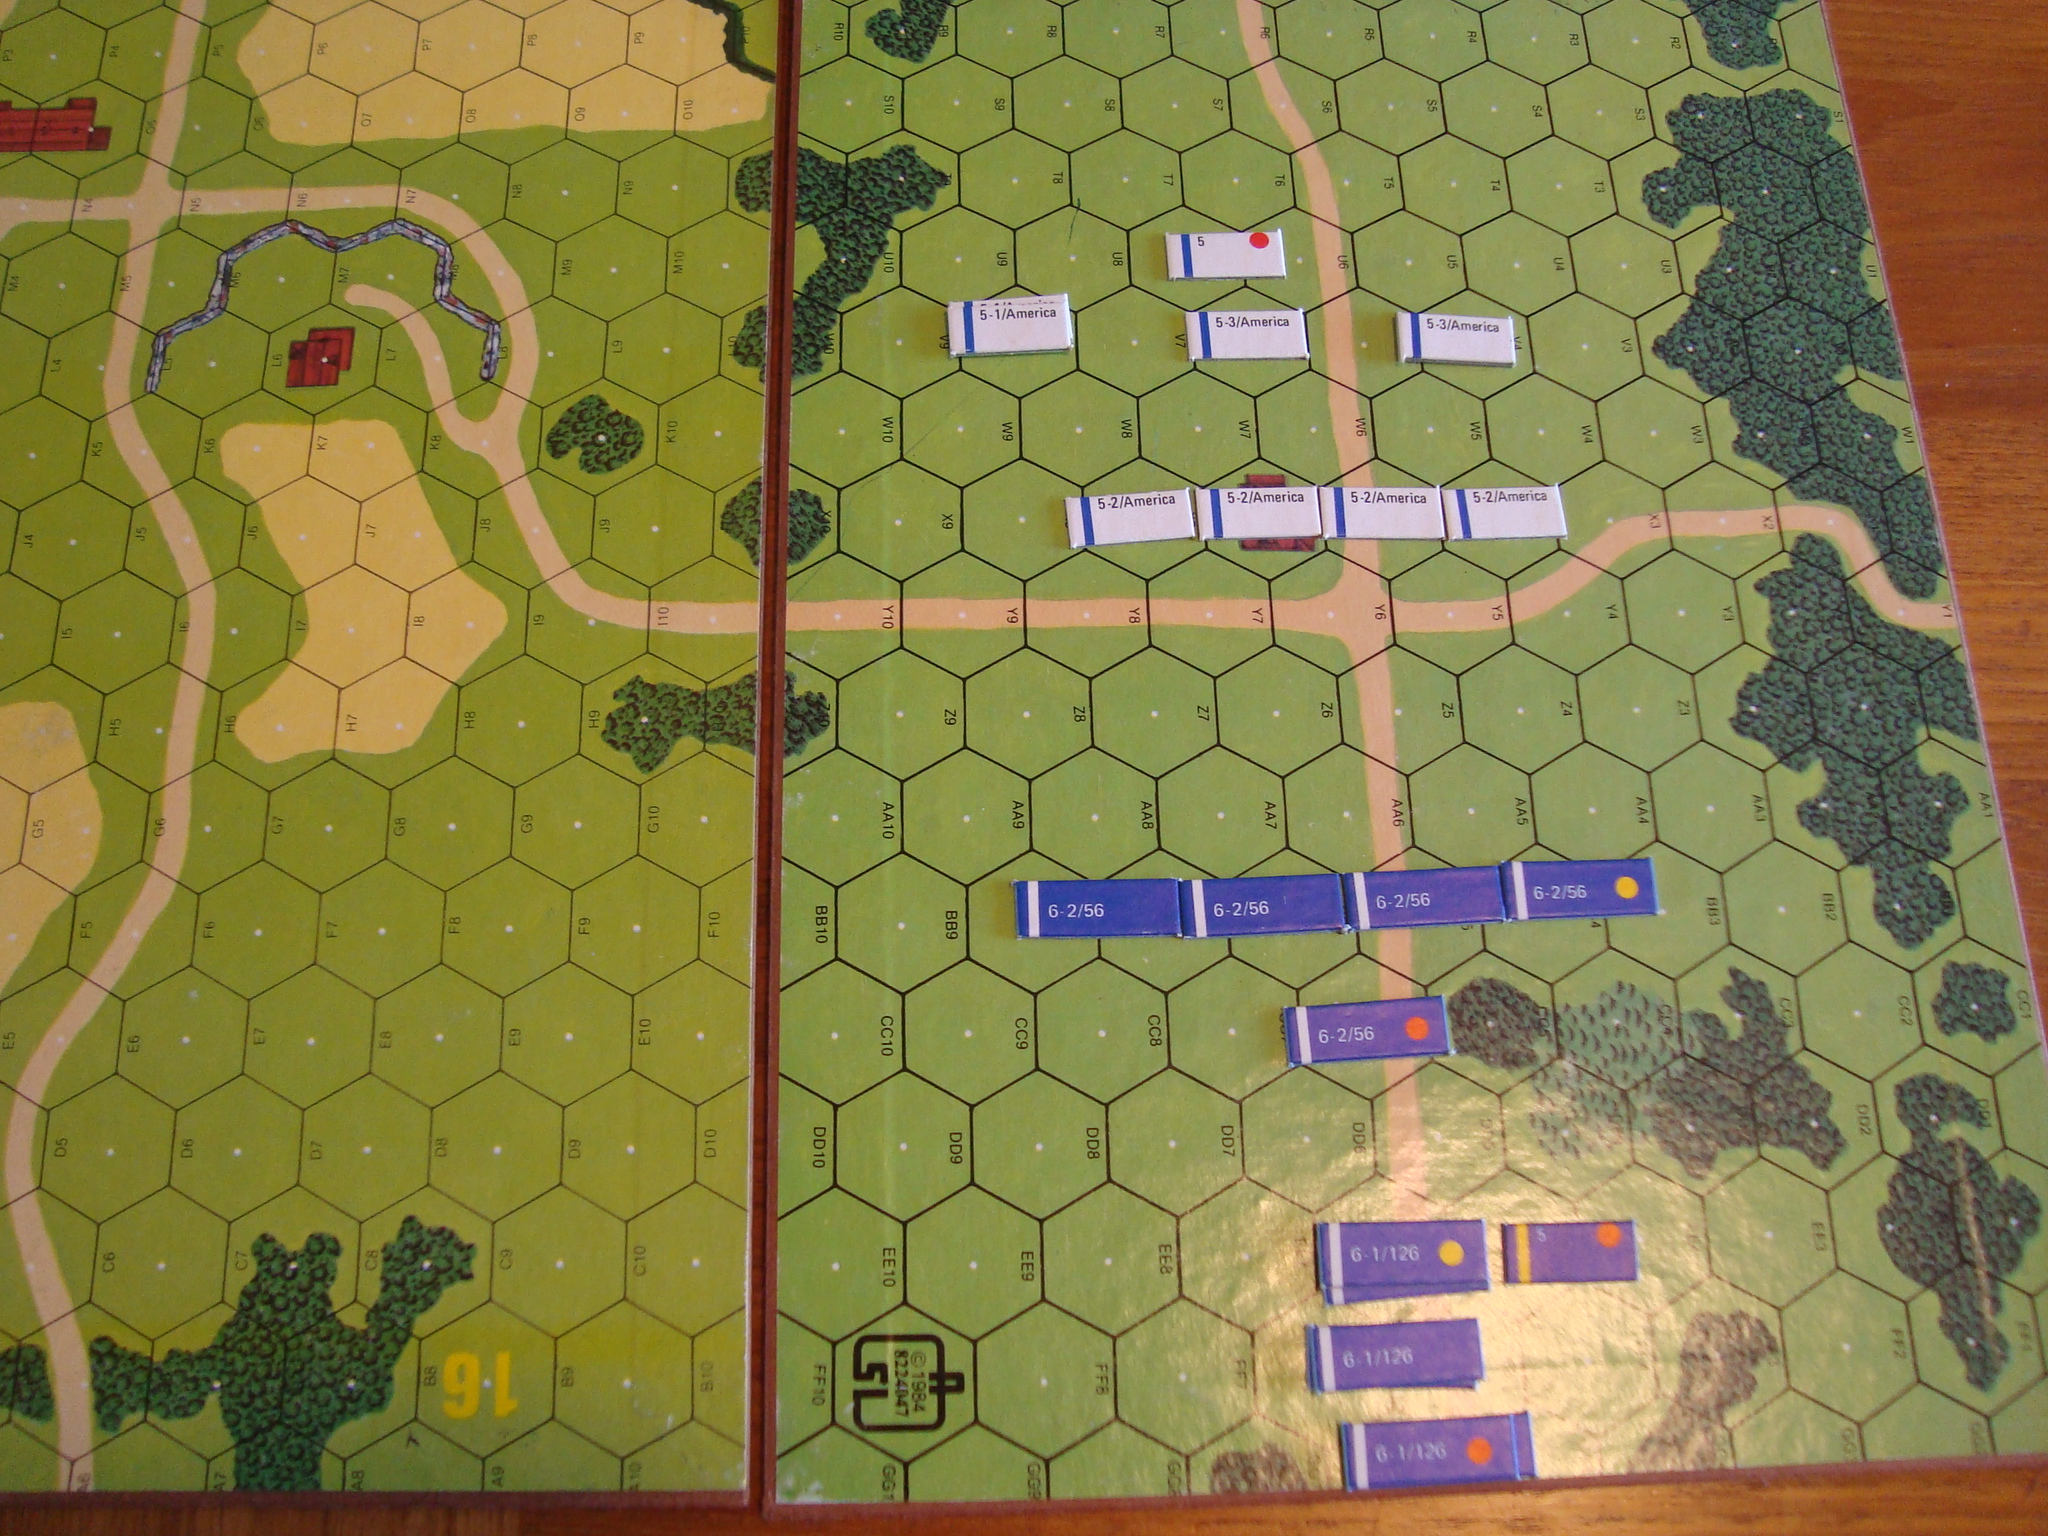
The critical difference between then and now was the opportunity to use Squad Leader boards for terrain. The scale is roughly the same, so one hex represents one inch of movement. No rulers needed! And, the visual effect isn’t all that bad and a little less incongruous than mixing cardboard counters with miniatures terrain pieces.
French Deploy
One lingering problem was the rules. Hard to find, and expensive. However, I found a bare-boned set of the rules on the net.
So now, I’ve started breaking down the rules and pushing counters. It’s a start.