Pursuit Of Glory AAR – Part 1

The first rule of Blogging an After Action Report (AAR) is to blog right after the game.  The second rule of Blogging an AAR is to……you know the rest

I’ve let two weeks pass since Tim and I sat down for a session with the game that gives both of us headaches.  So many situations, so many theaters,  and so few cards

We managed to get through the Winter 1916 turn, and left it with Bulgaria entering the game.  Tim had a definite advantage at that point, as my Ottomans were badly attrited, and barely hanging on in Caucasia.  But, that situation had stabilized to some degree and his Commonwealth forces had bogged down in Gallipoli.  On the other hand, my situation in Mesopotamia was not the best, with only a corps between him and Baghdad.  Still, I now had the Plucky Bulgarians along with their powerful German friends ready to go.

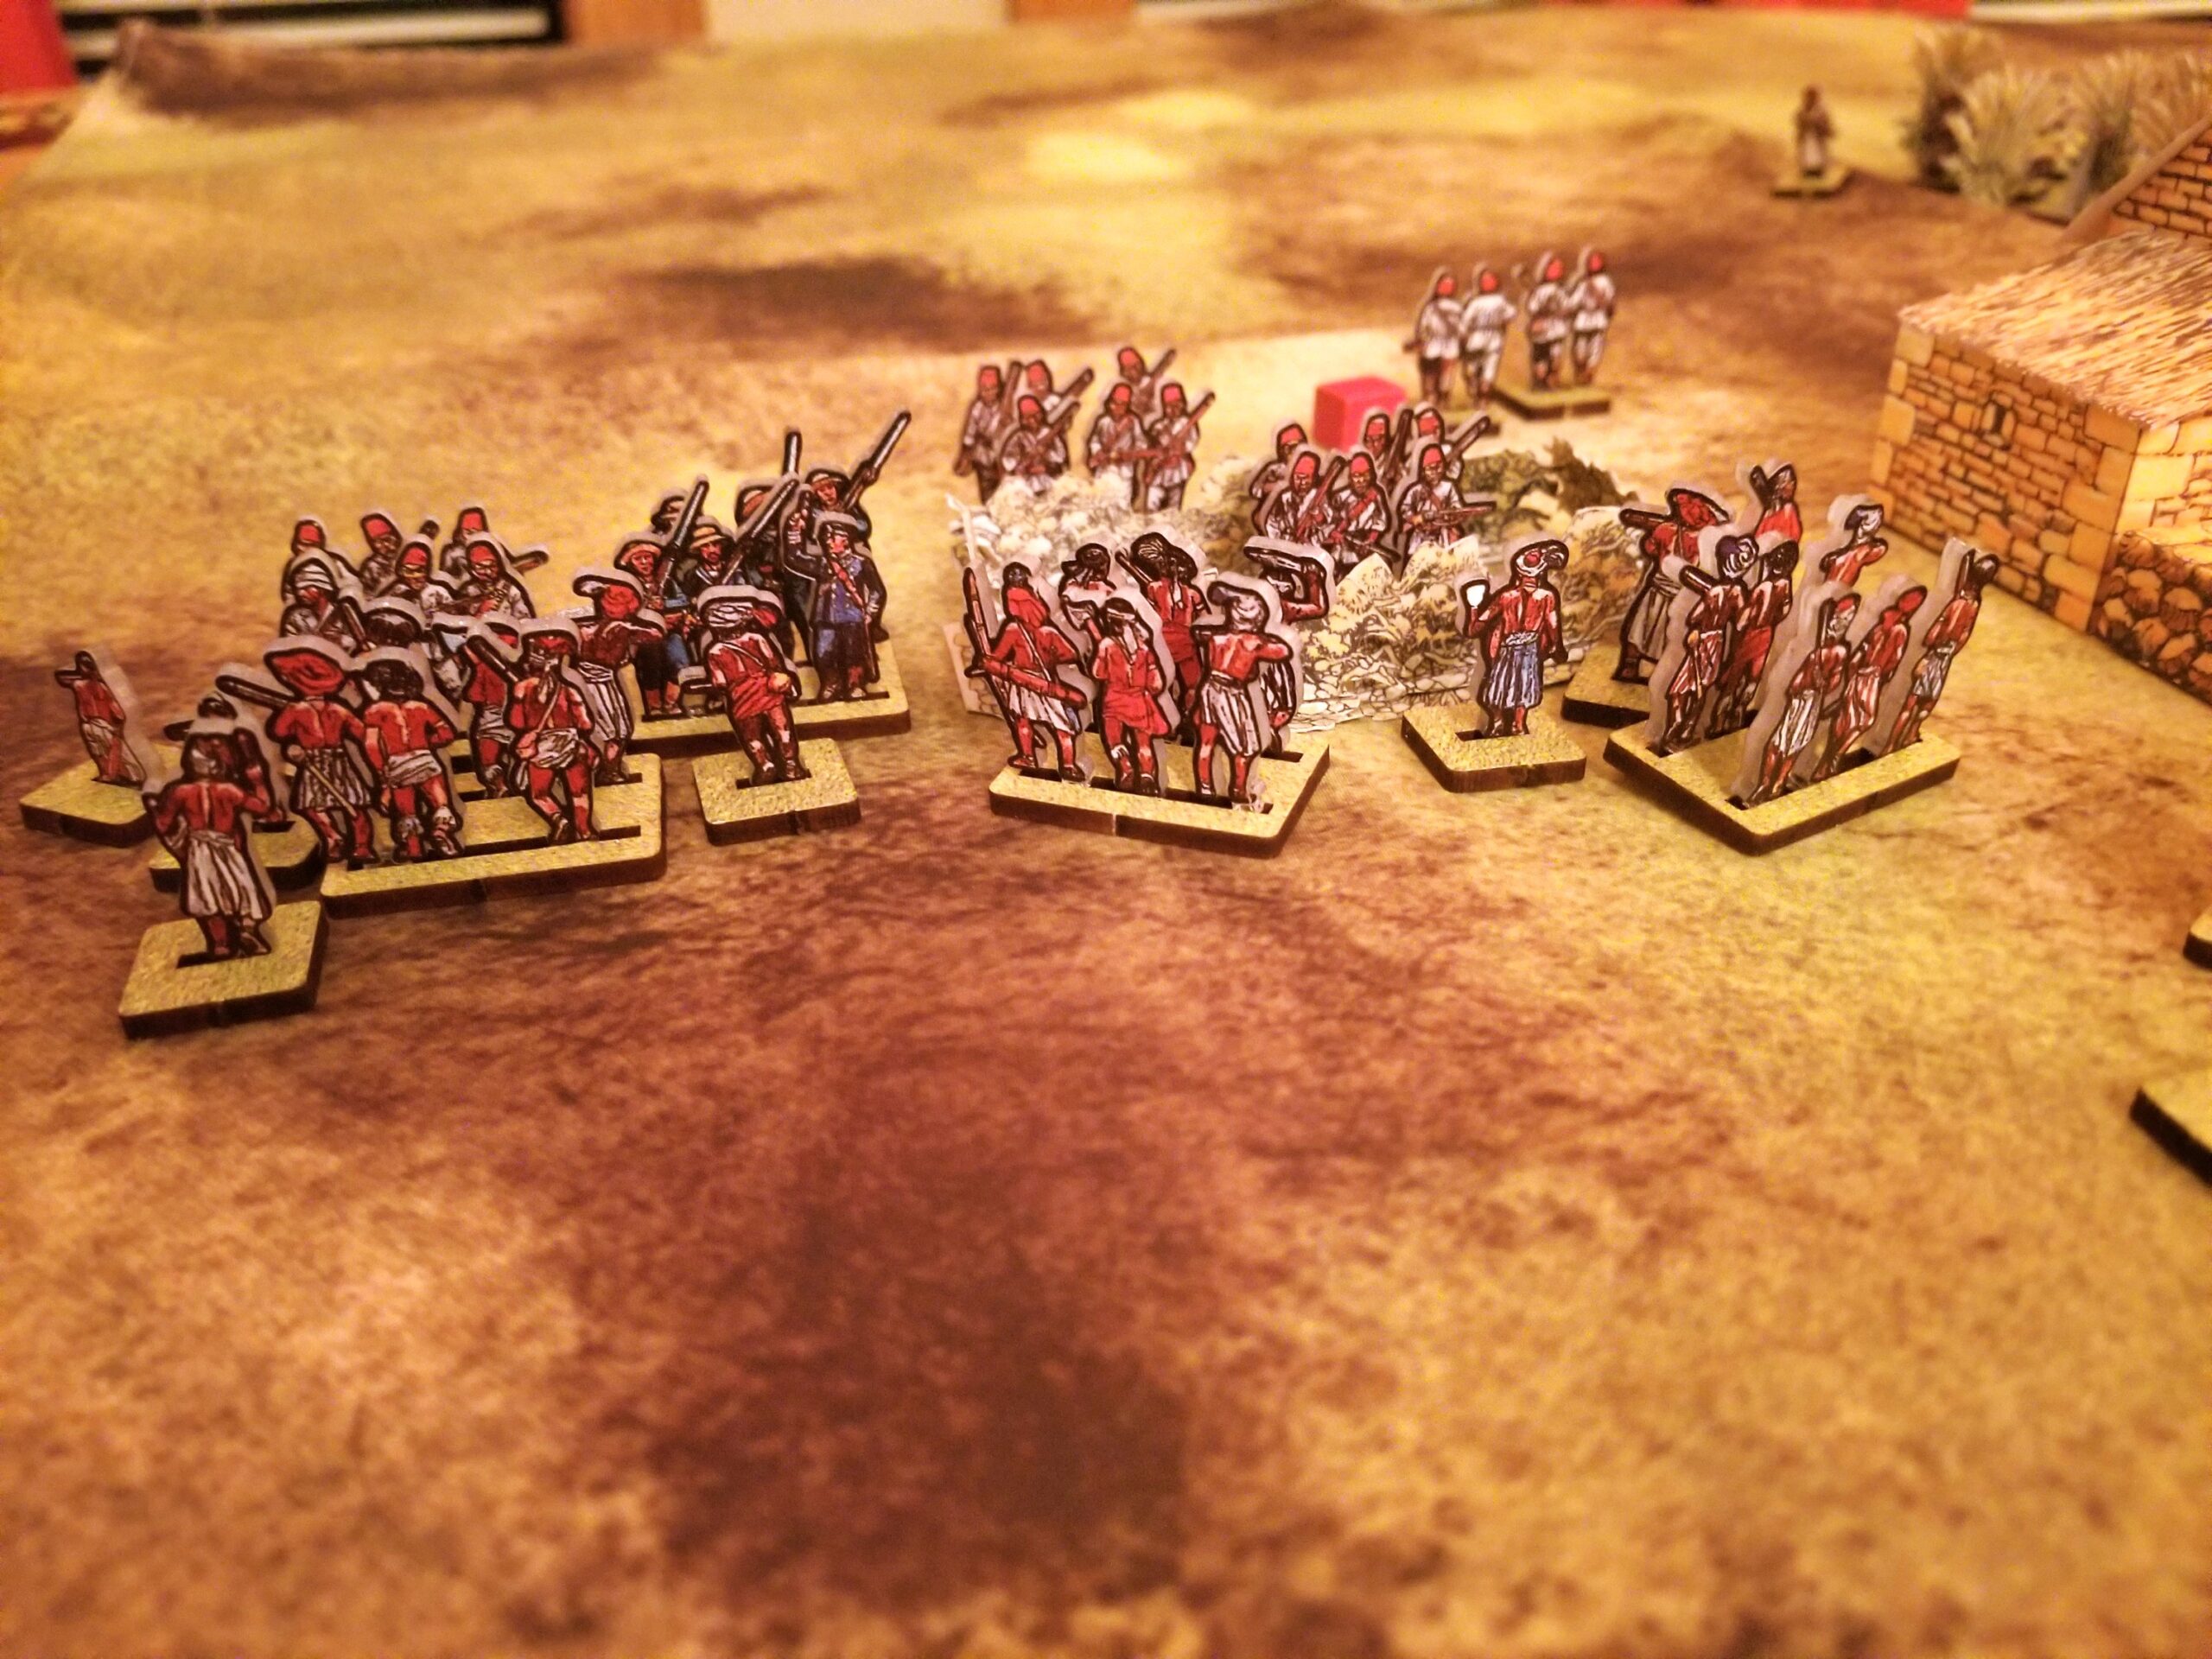
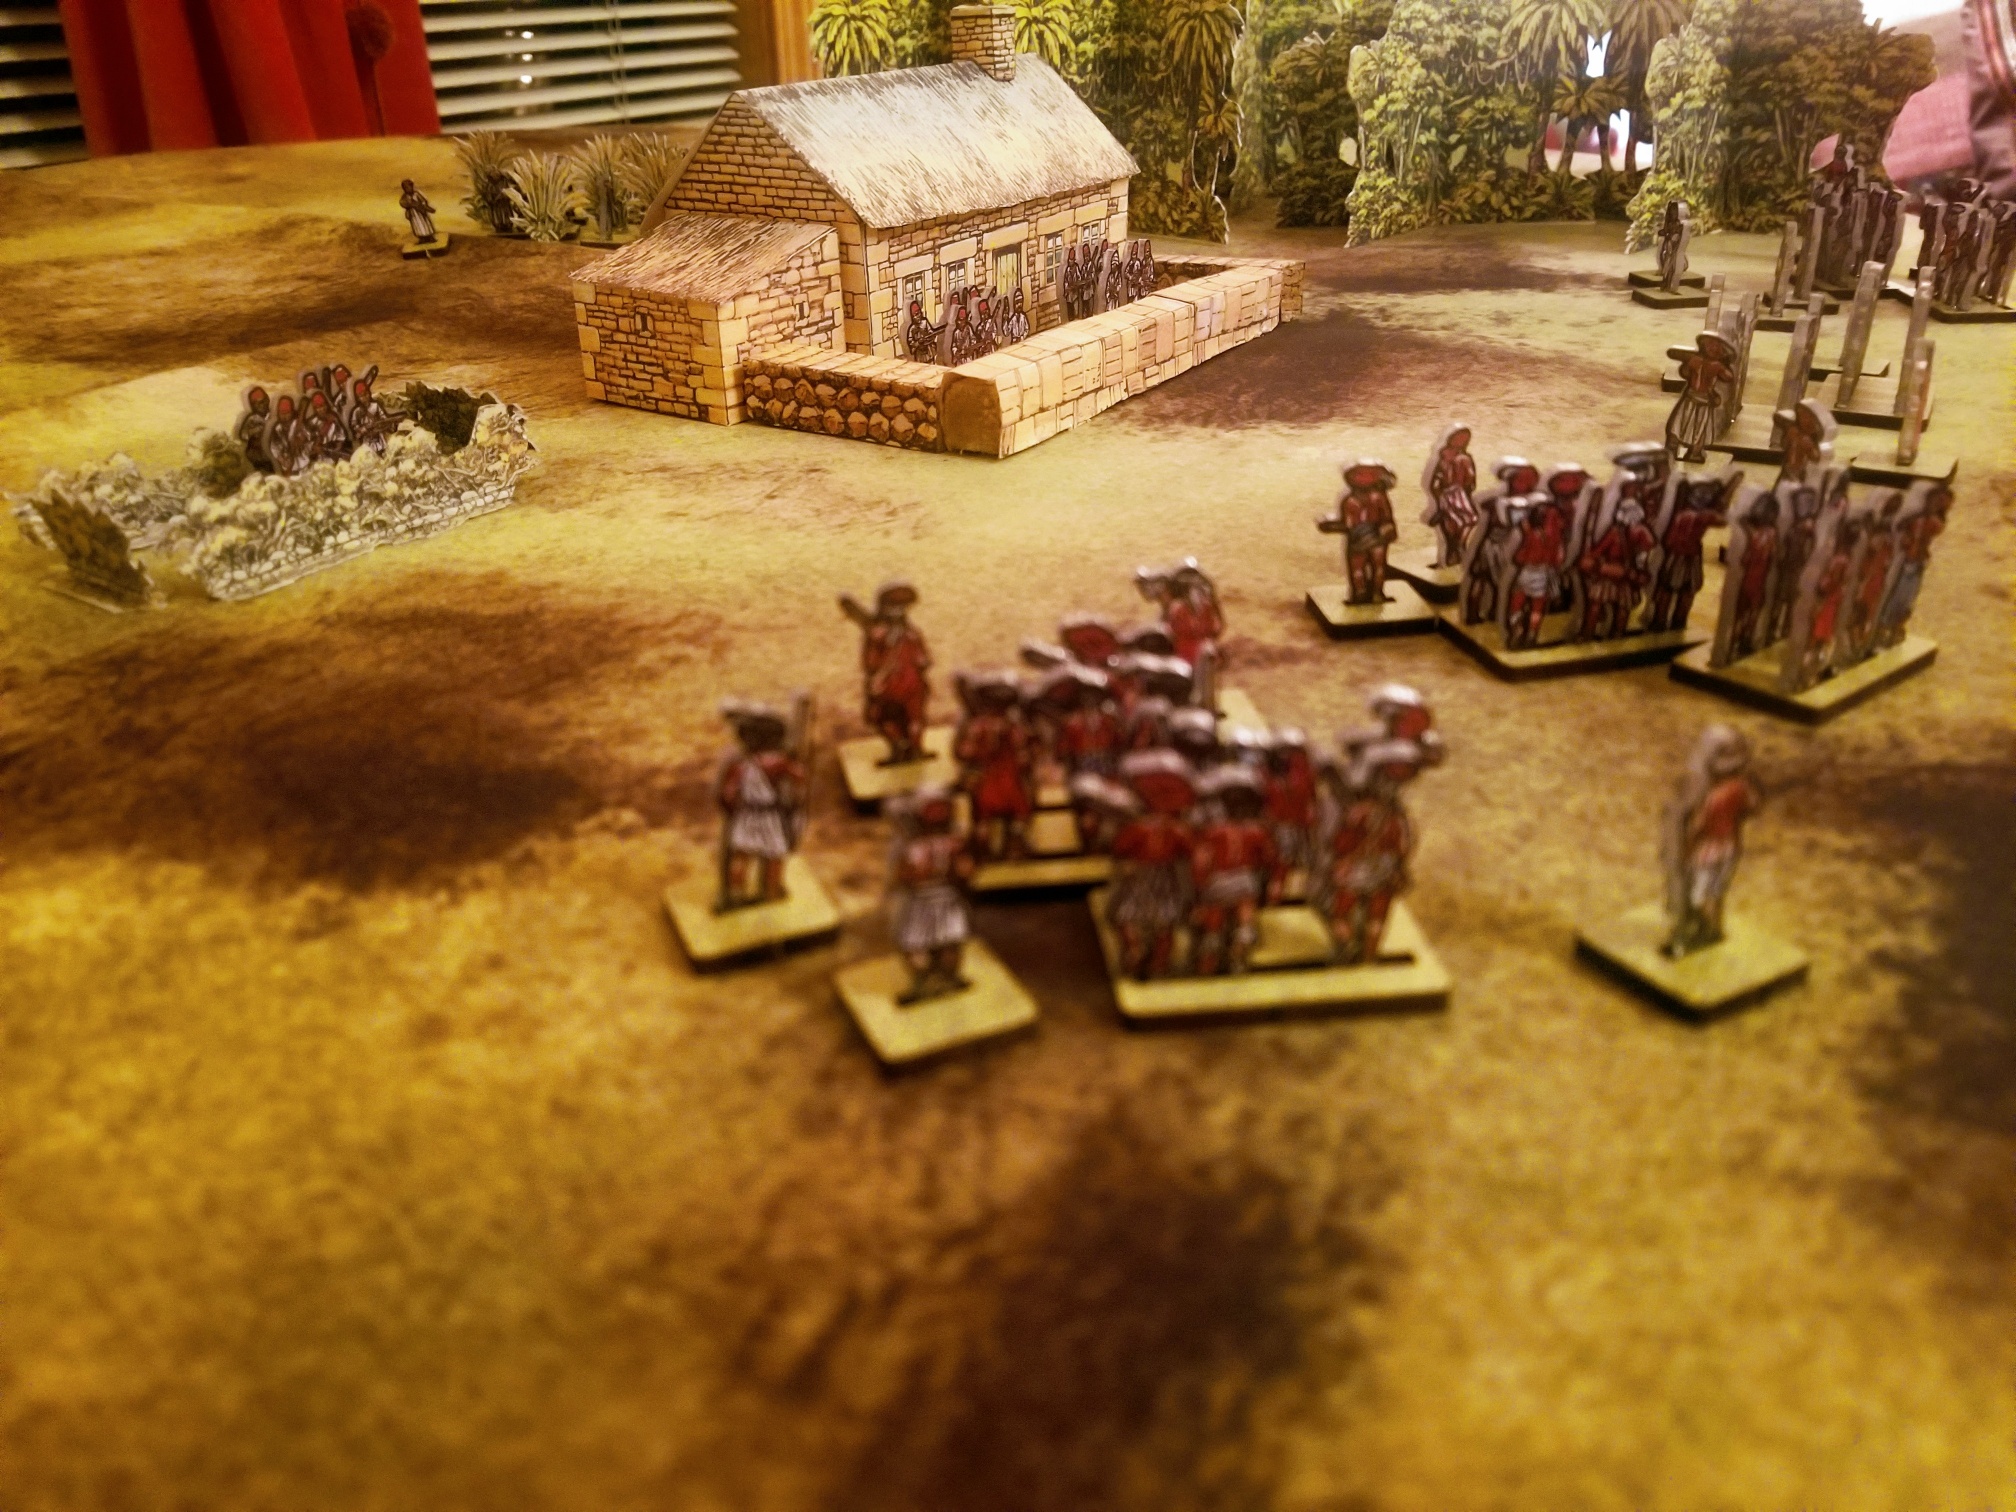
Here’s a shot of the situation at the end of the (first) Fall 1914 Turn.  Plot Spoiler:  These photos are up to my usual (sub) standard.

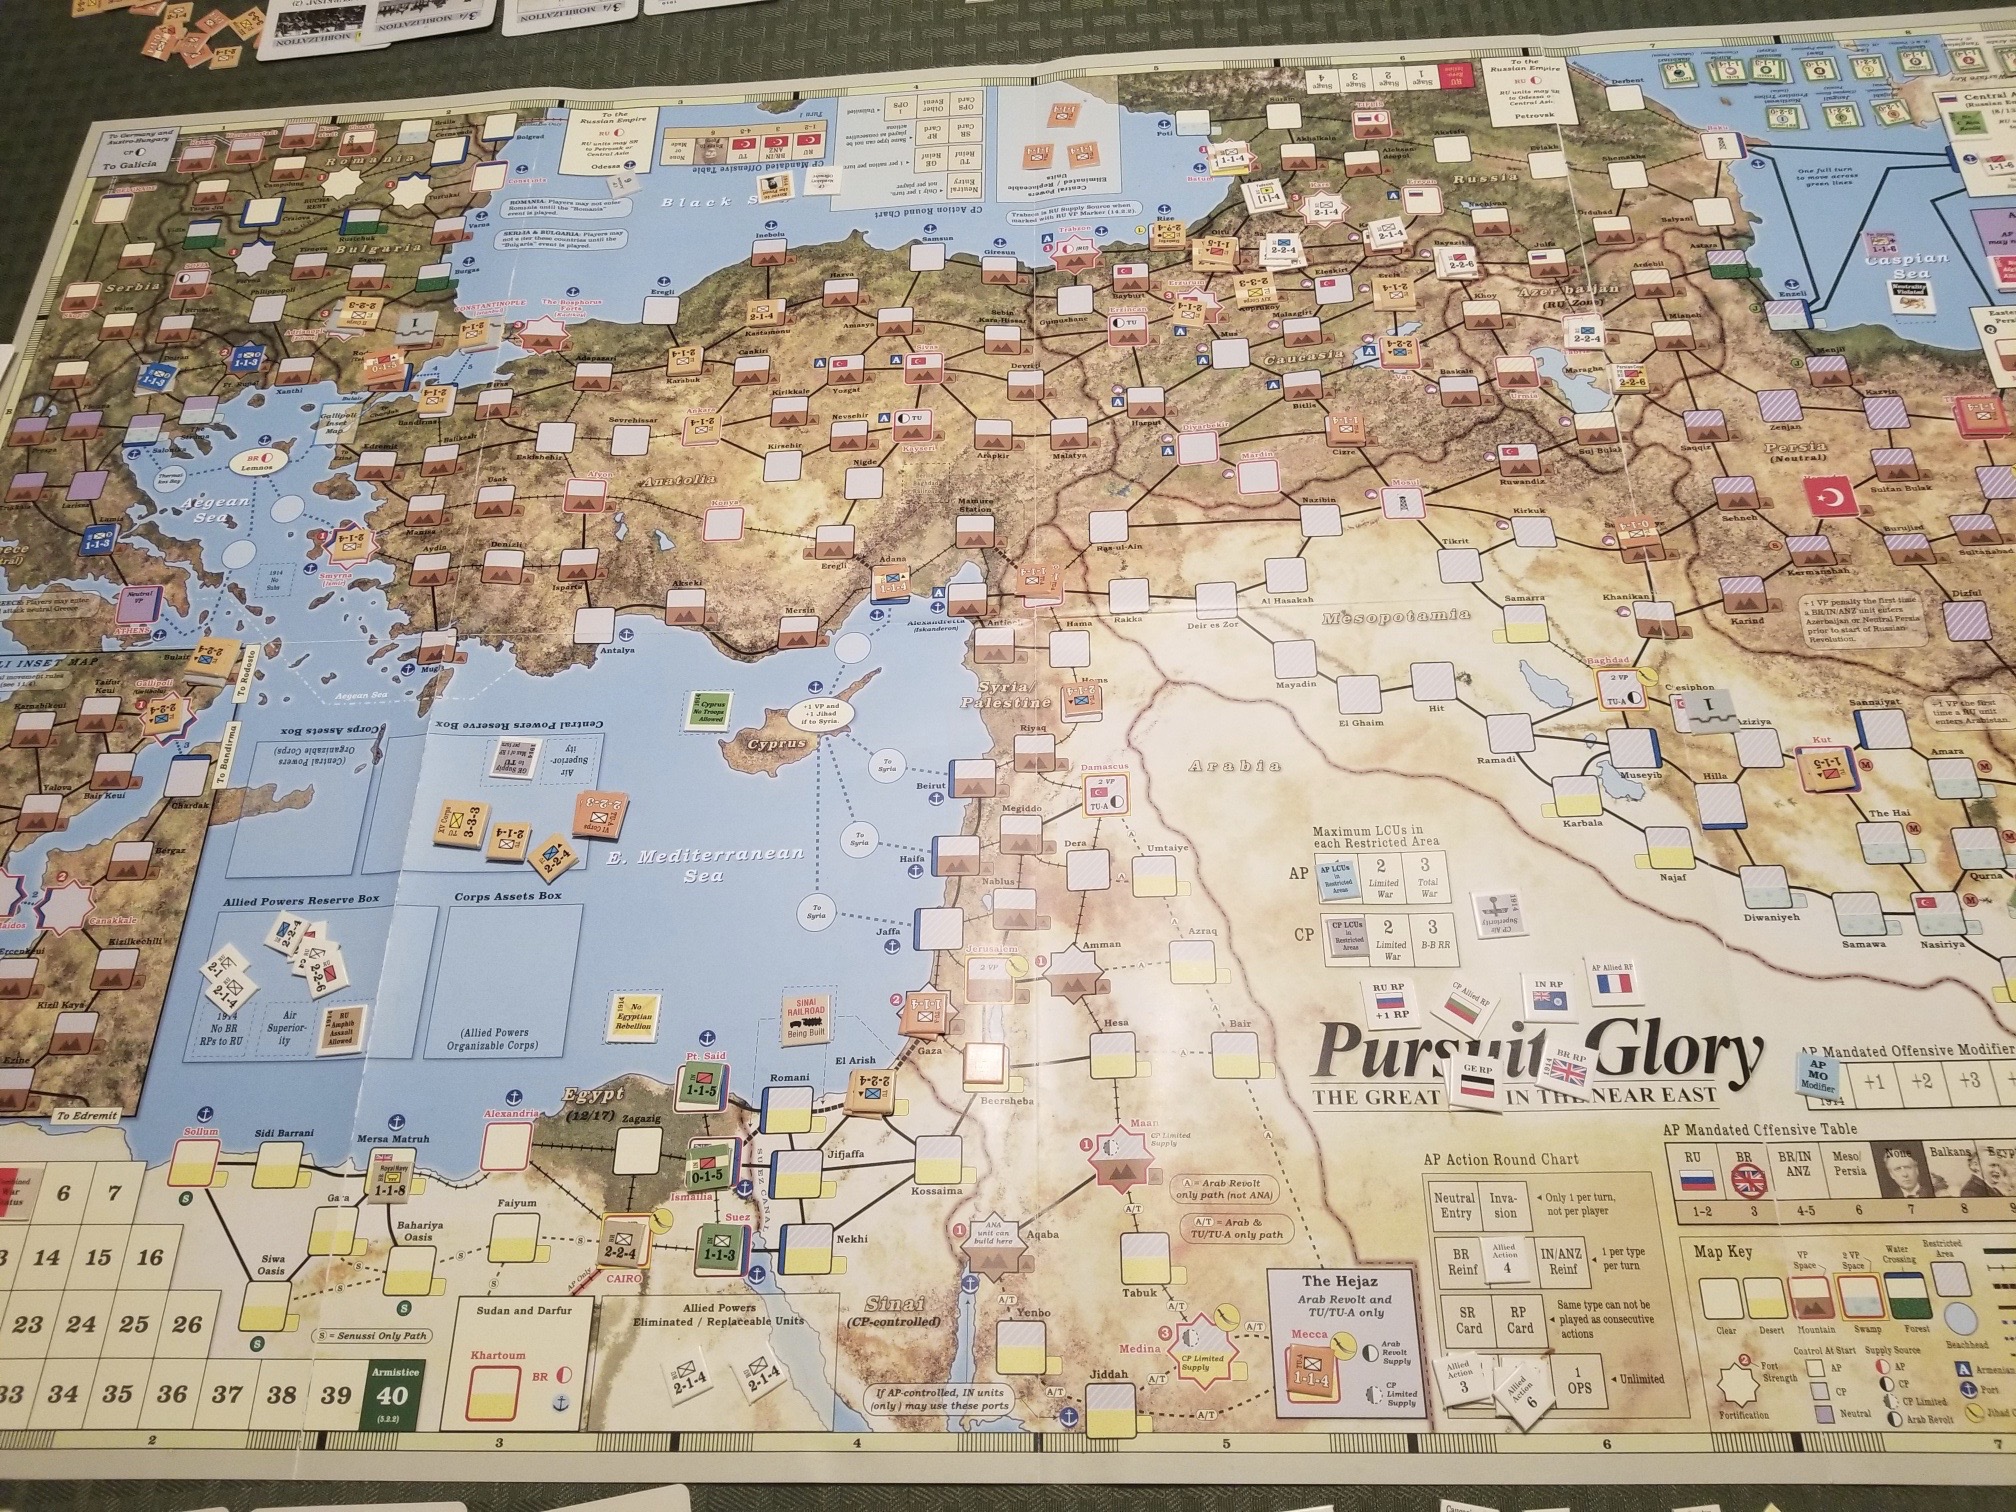
I failed to capture the cards played in this photo and, as you will see, it happened again in the Summer 1915 turn.  Lack of attention to detail.

My strategy from the outset was to increase the Jihad level as quickly as possible by playing  event cards and capturing Jihad cities.  Of course, starting the time track towards the Russian Revolution was a priority.  I needed  the “Parvus To Berlin” card on the table as quickly as possible.  From an operational standpoint, I wanted to actively defend my victory point cities in Caucasia.  Any loses would delay the revolution. I kept a relatively strong force in Western  Anatolia to act as a reserve, especially to counter an Allied amphibious invasion of Gallipoli.  One challenge for the Ottomans if reserves are kept there is their rudimentary rail system, limiting their ability to shift troops from one theater to another.

I’ll ask Tim to provide some comments on his strategy and operational intent.  From my perspective, he was aggressive in Caucasia, and did an excellent job of wearing down the Ottomans.  This is important as the Turks have limited and dwindling replacement opportunities as the game wears on.

During the turn I played the “Goeben”, “Persian Push” and “Pan-Turkism” cards.  I was able to destroy the fort at Batum, and the latter two cards started jacking up the Jihad level, and my ability to place dissident tribal units on the map.  These tribes can take isolated victory point cities and delay/defend Allied moves in Persia and Mesopotamia.

Tim enjoyed playing the “Enver Goes East” card, forcing me to undertake mandatory attacks at time I wasn’t quite ready for them.  He also opened up the Mesopotamia theater by playing the “Russo-British Assault” event.  Surprisingly, he played the “Churchill Prevails” (more on this later) event for replacements.

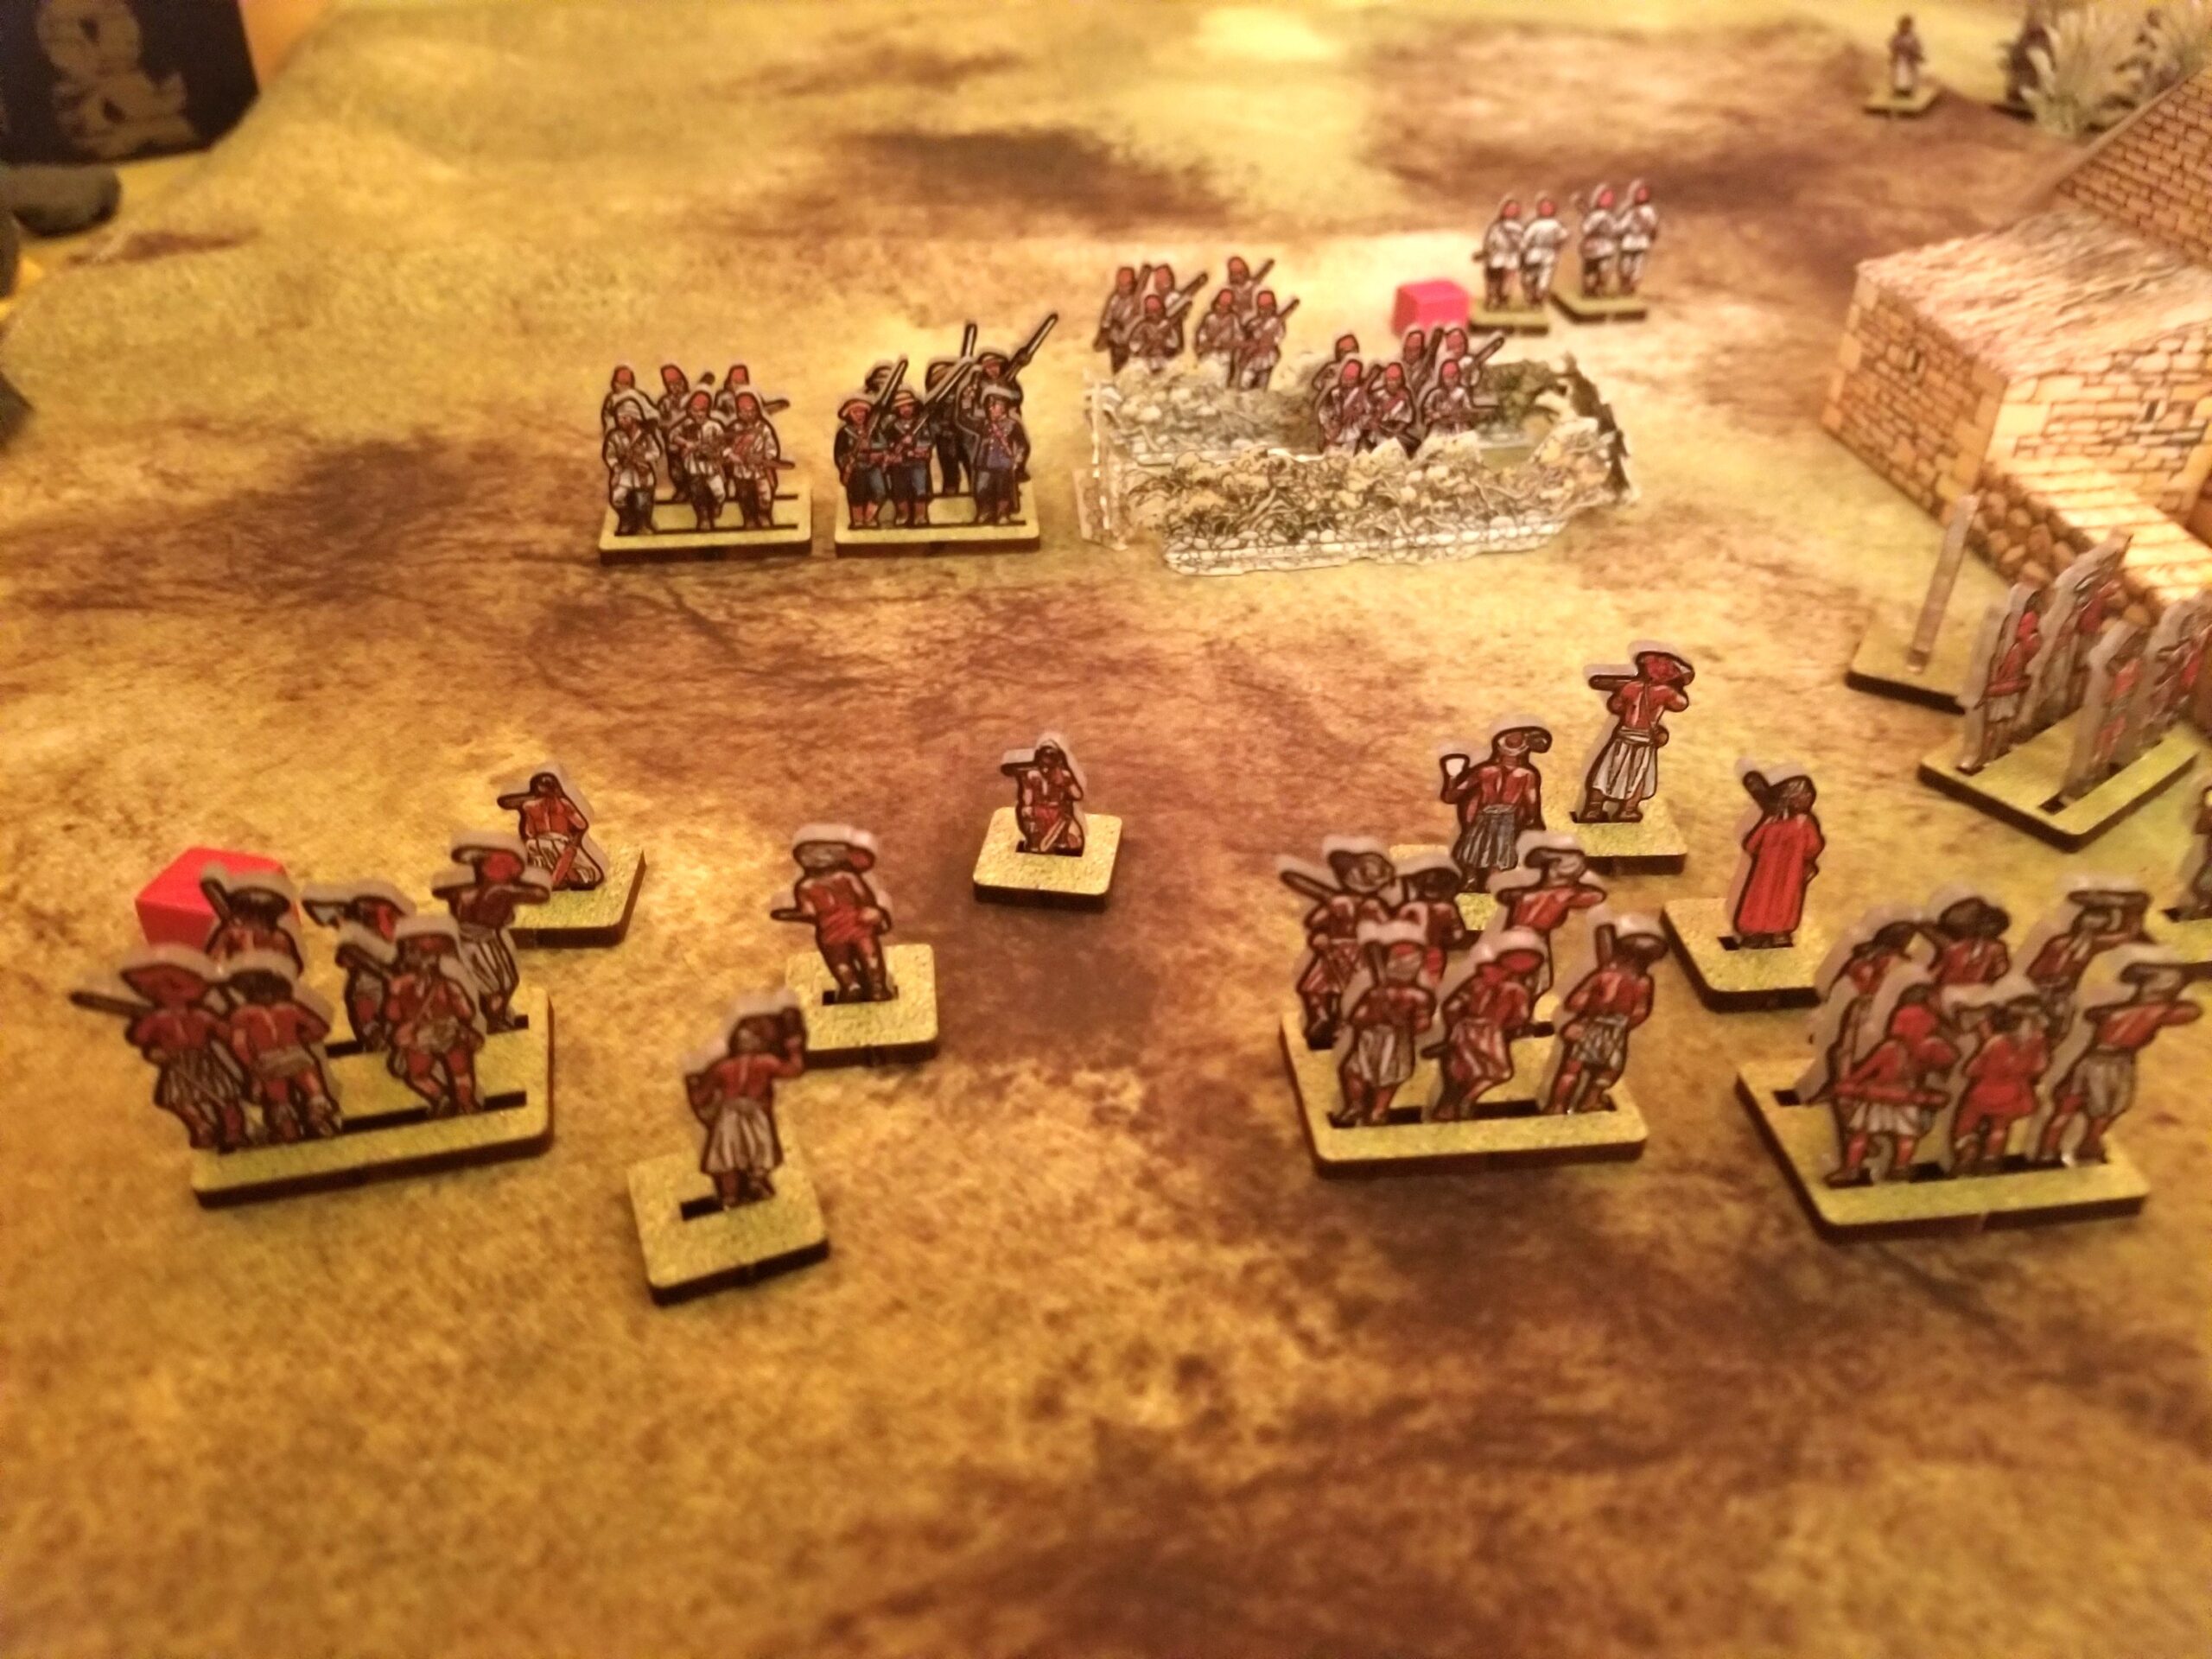
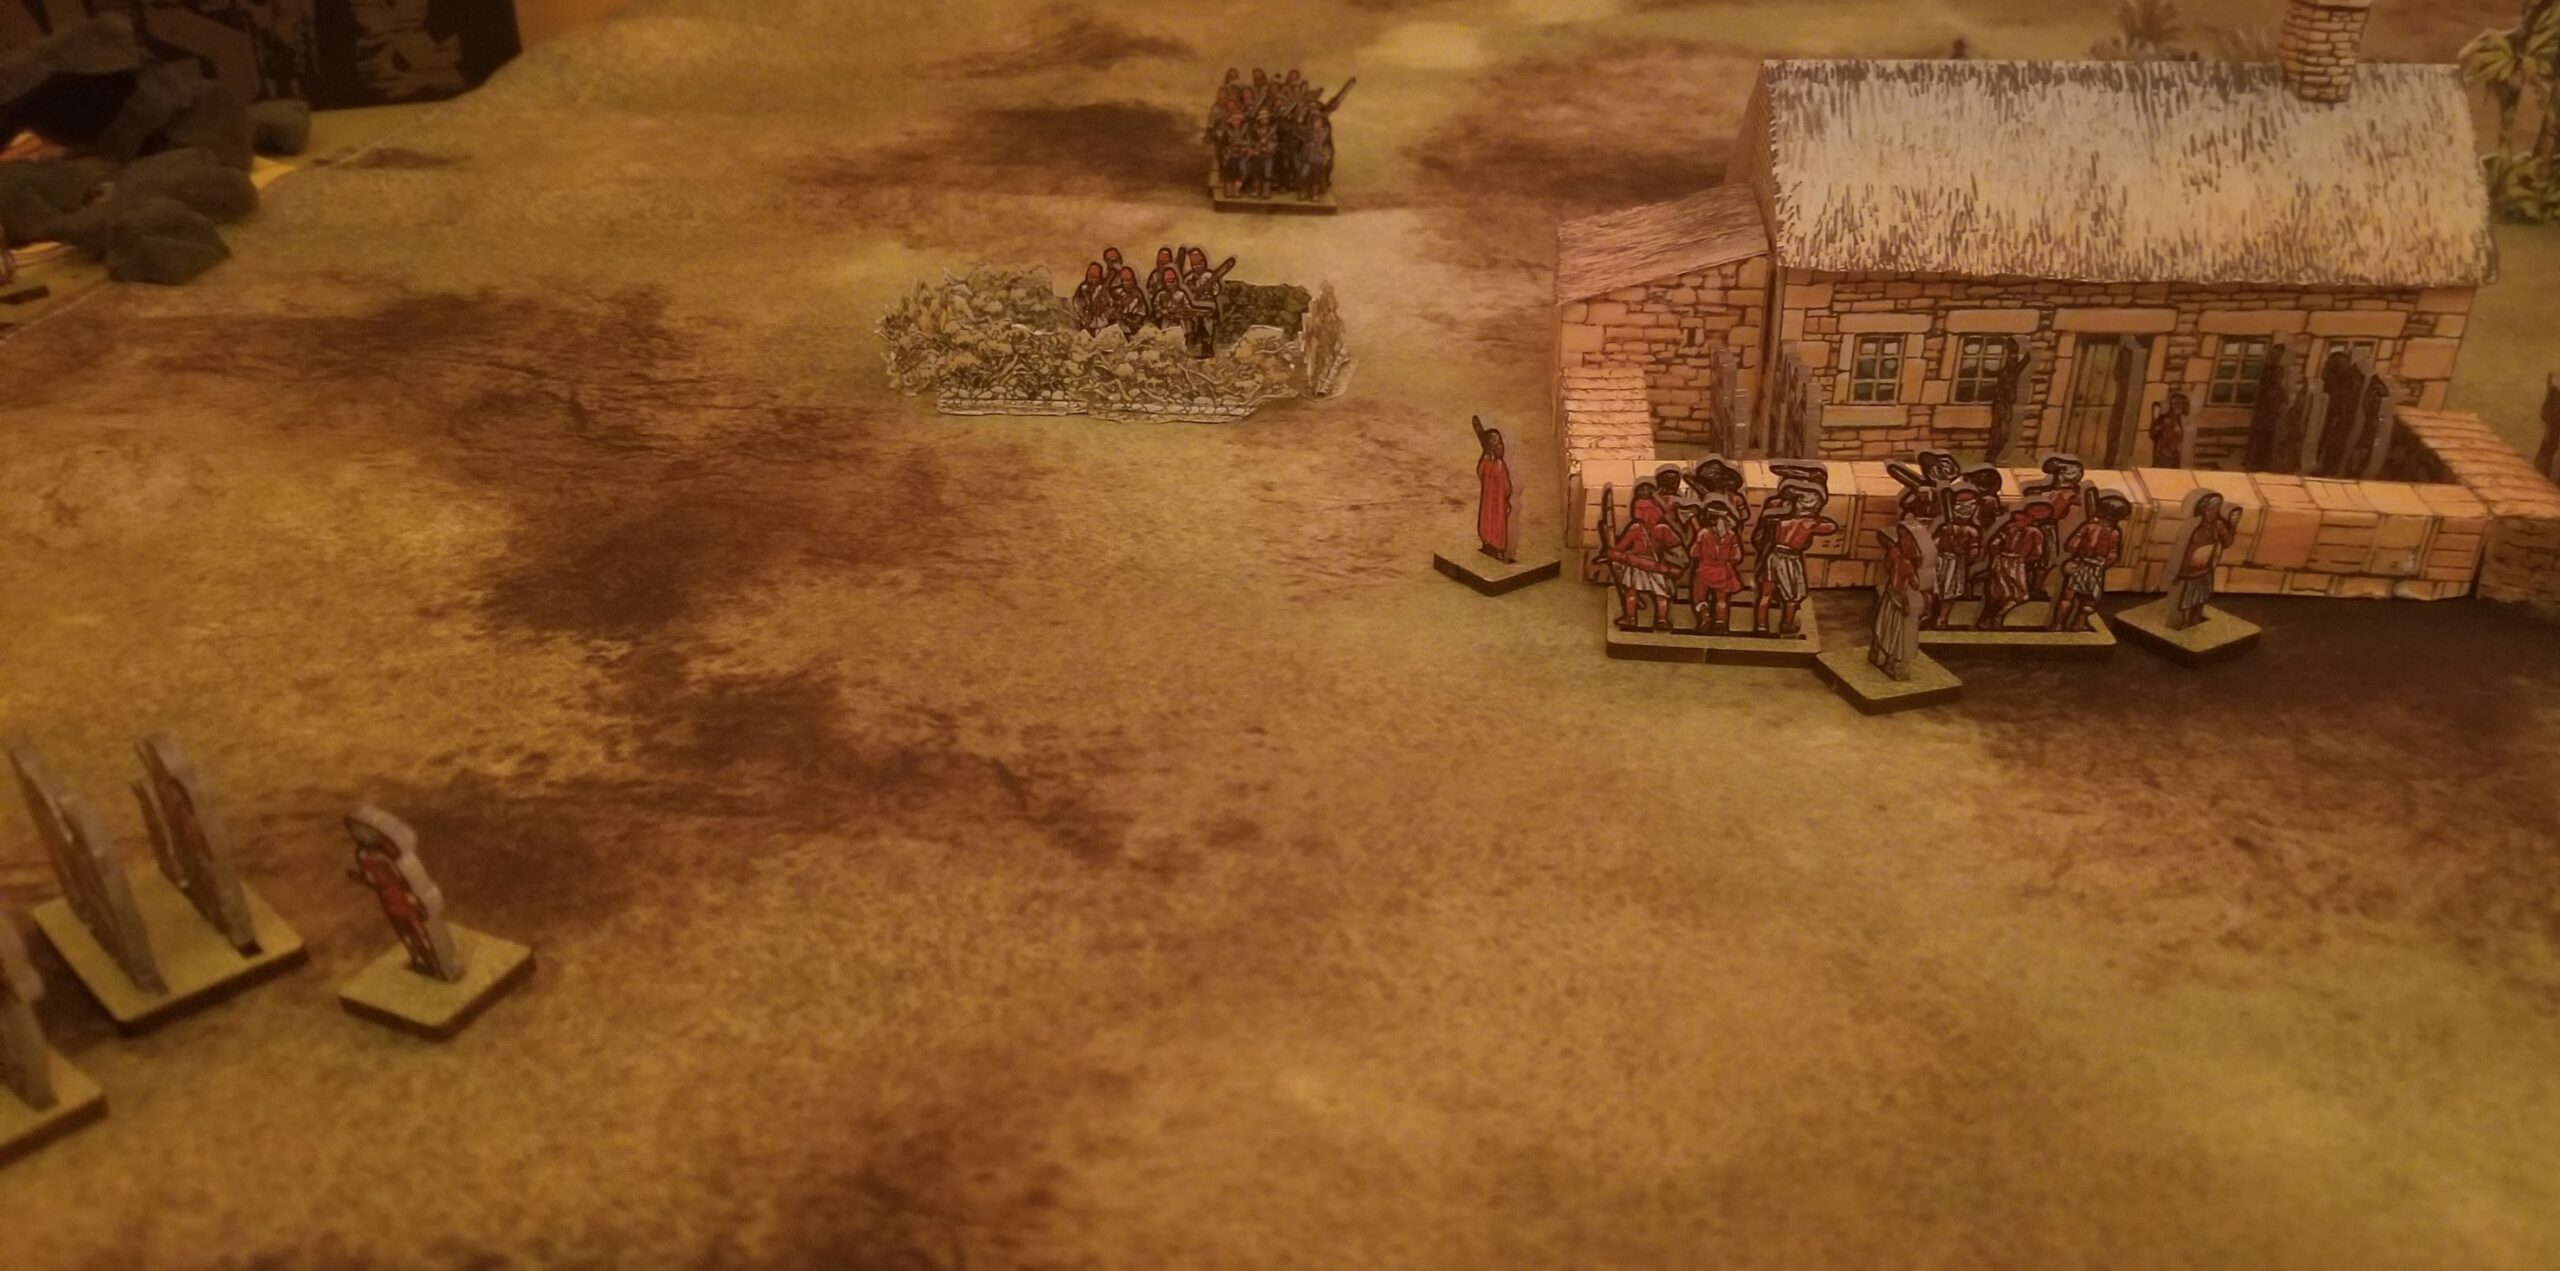
Here’s the situation at the end of the Winter 1915 turn.

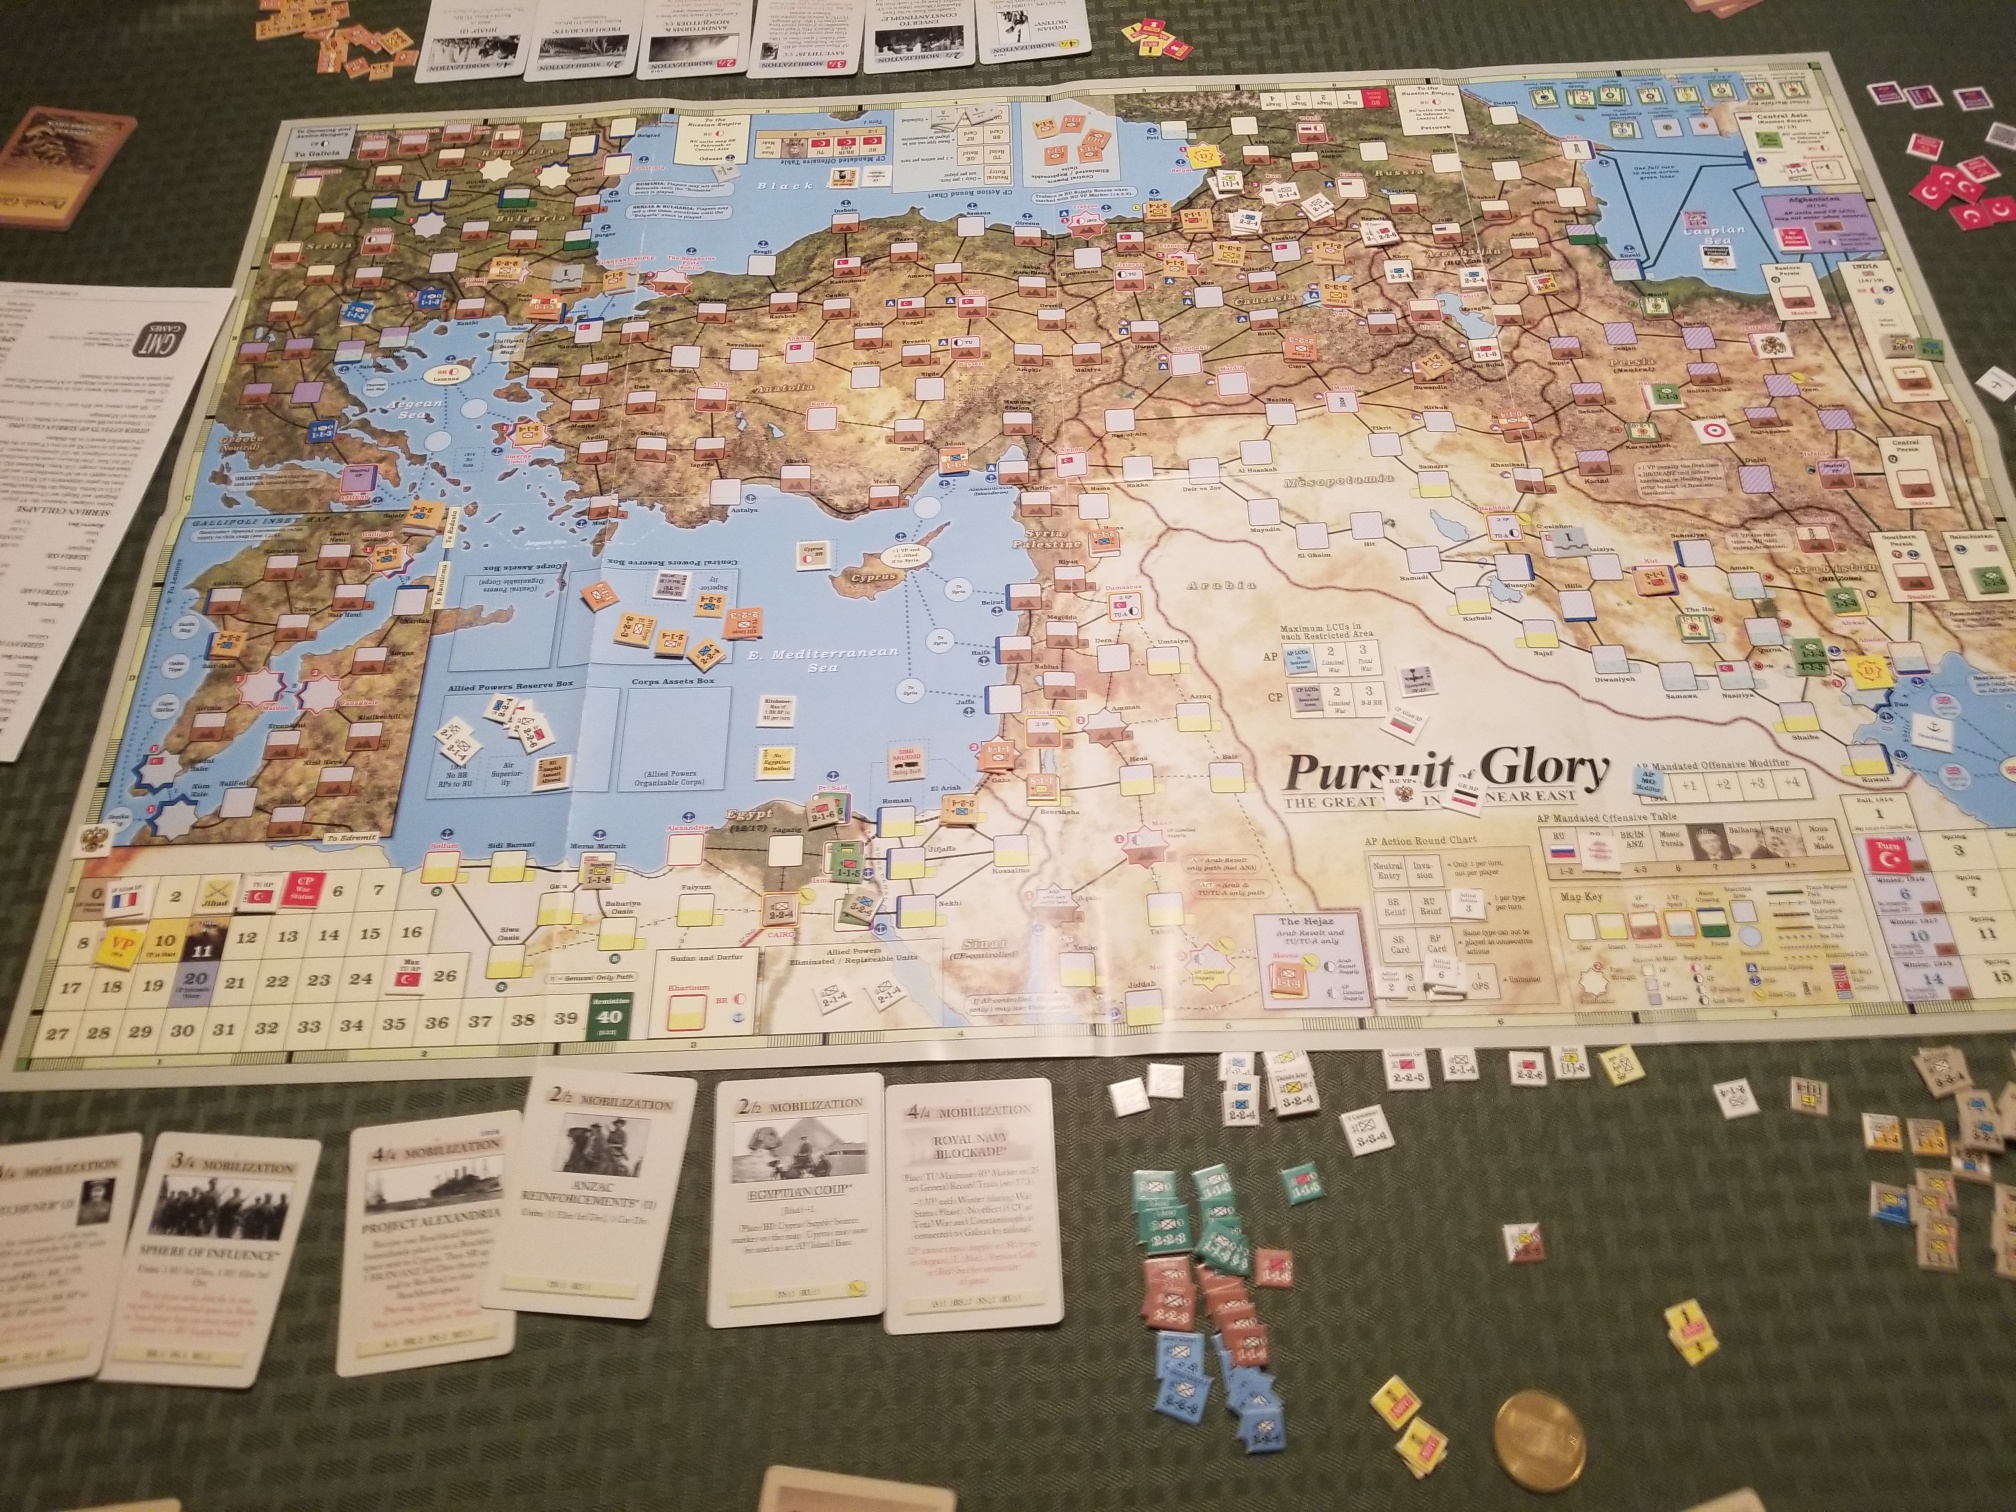
The Allies began the turn by playing the “Kitchener” card.  This allows the British player to provide the Russians with replacement points.  The “Project Alexandria” initiated a build-up of forces in the Aegean.   And,  it got worse for the Central Powers.  The “Royal Naval Blockade” event was played.  It “caps” the Ottoman replacement pool at 25 points, with each point taken reducing those available and with a -1 Victory Point (VP) adjustment each winter.

The Central Powers used their cards for operation points to undertake less than successful mandatory offensives and taking advantage of victory point opportunities in Persia.

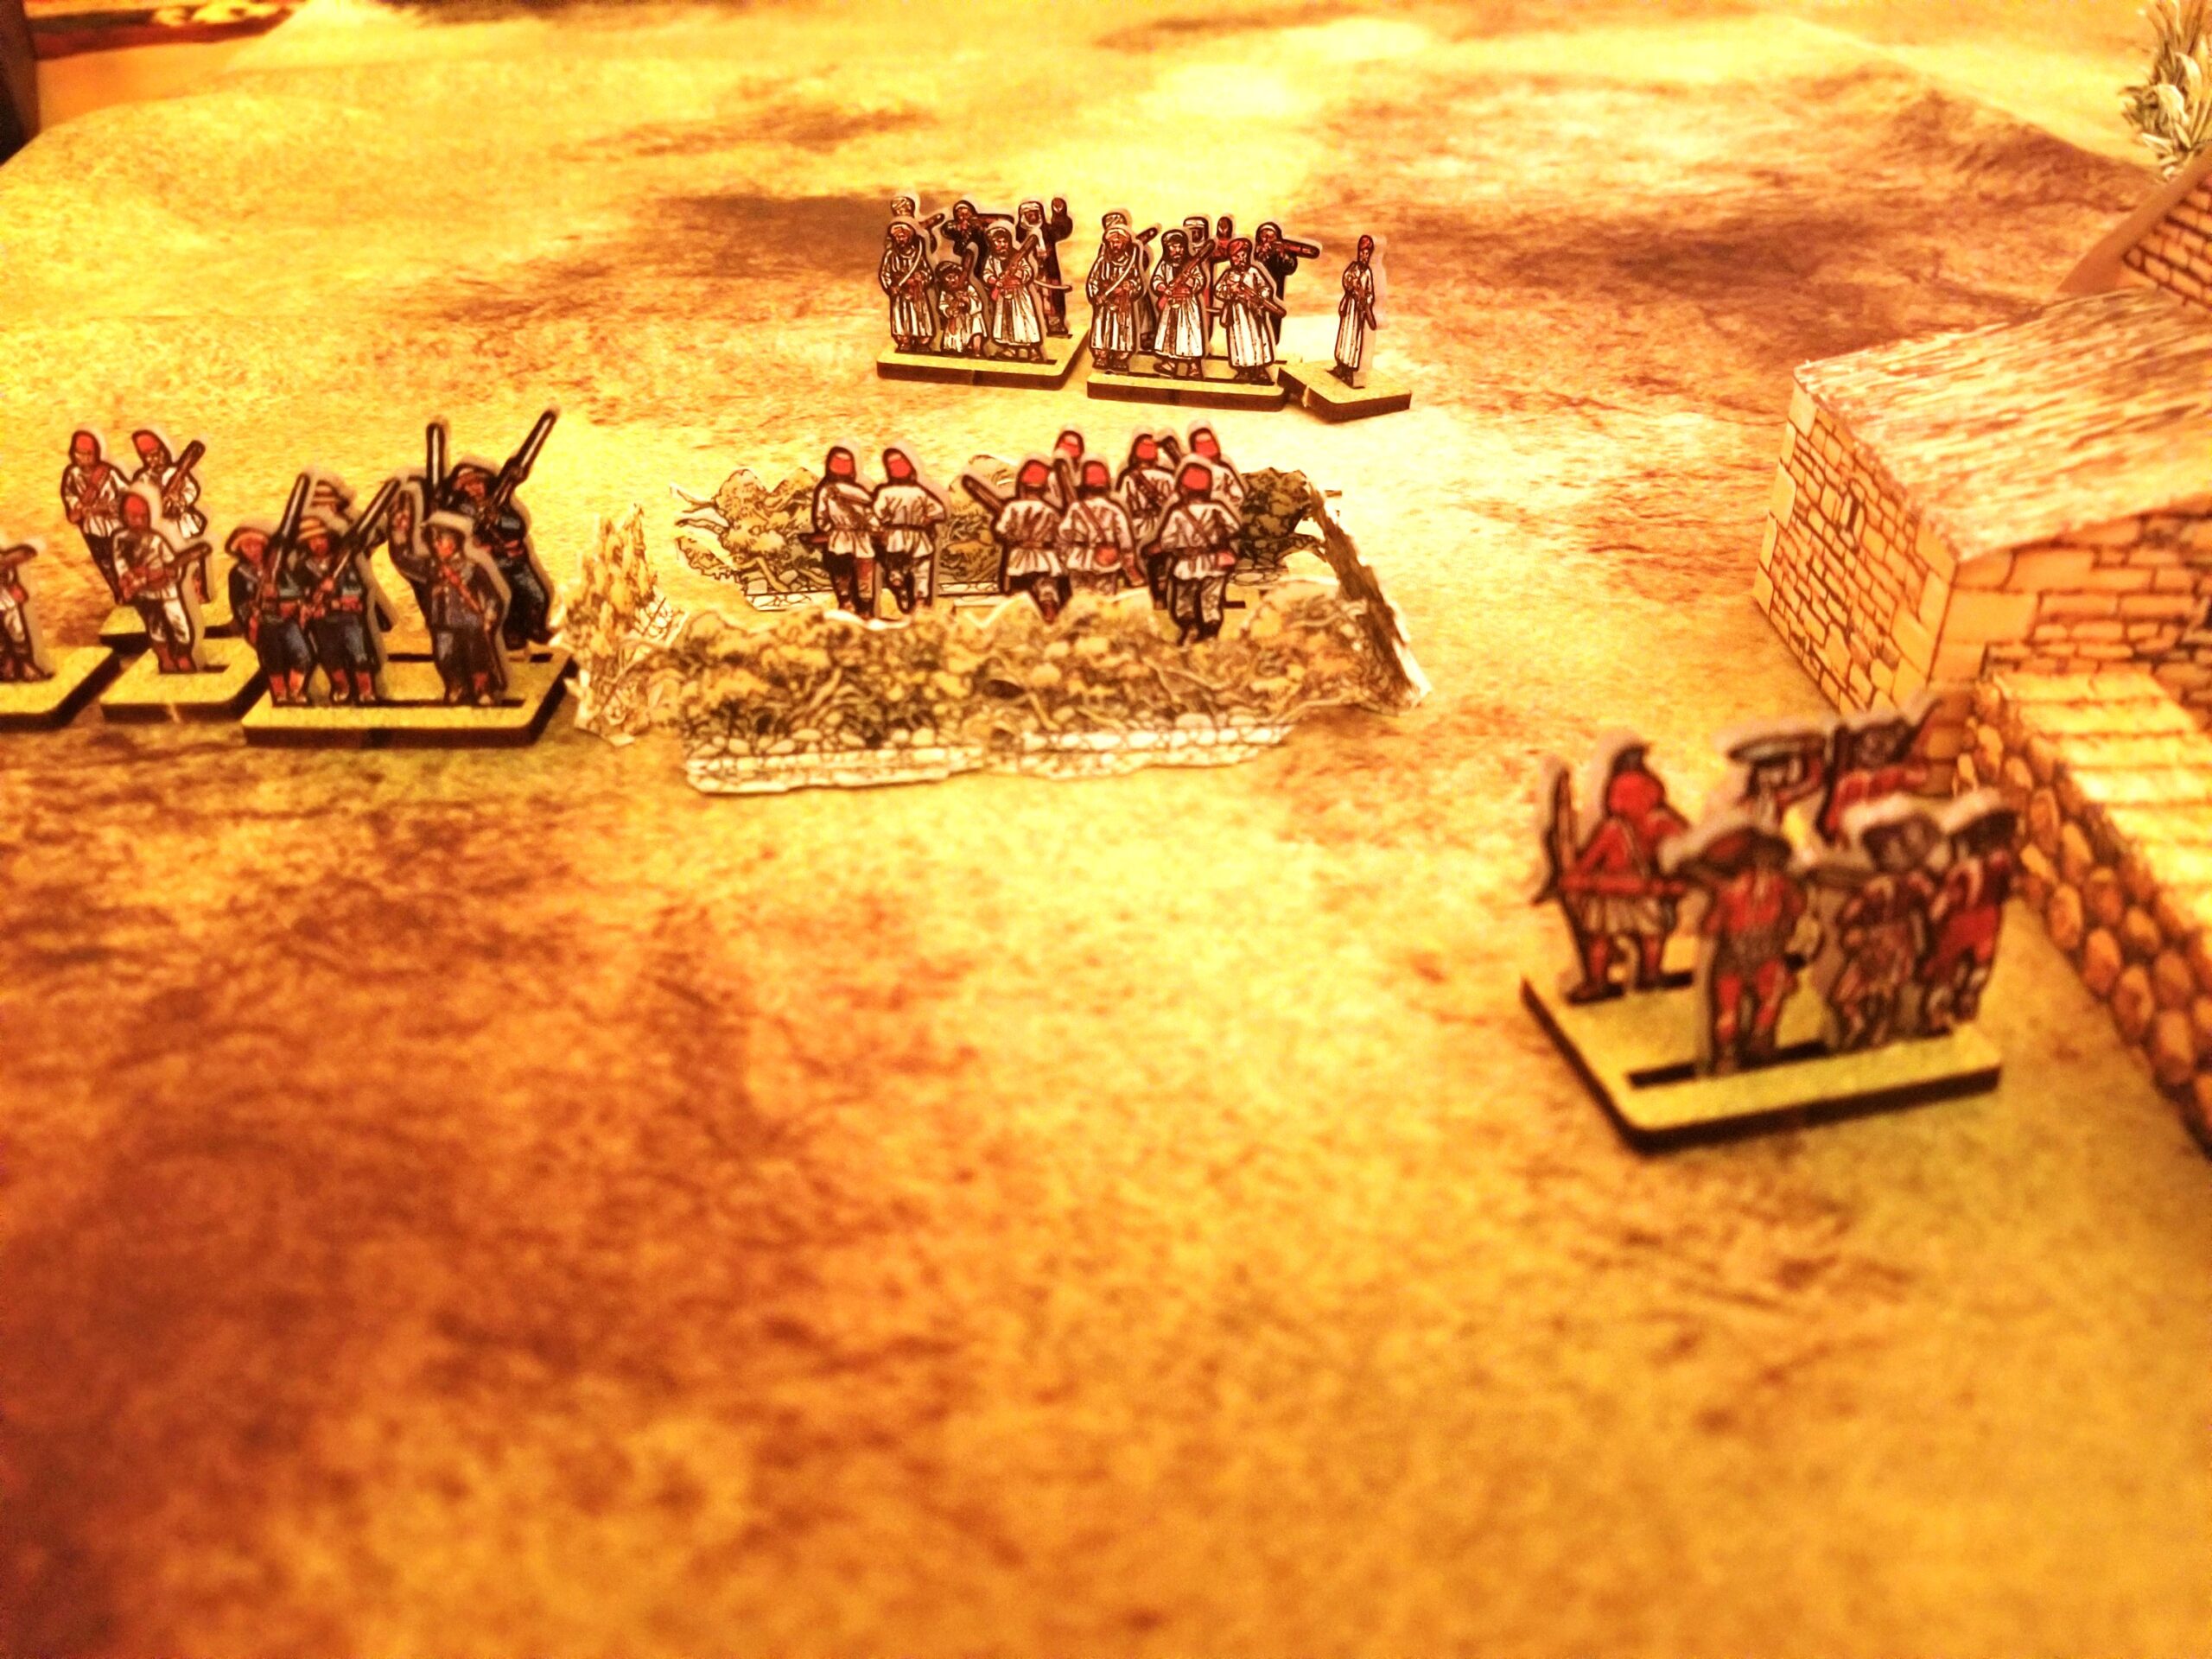
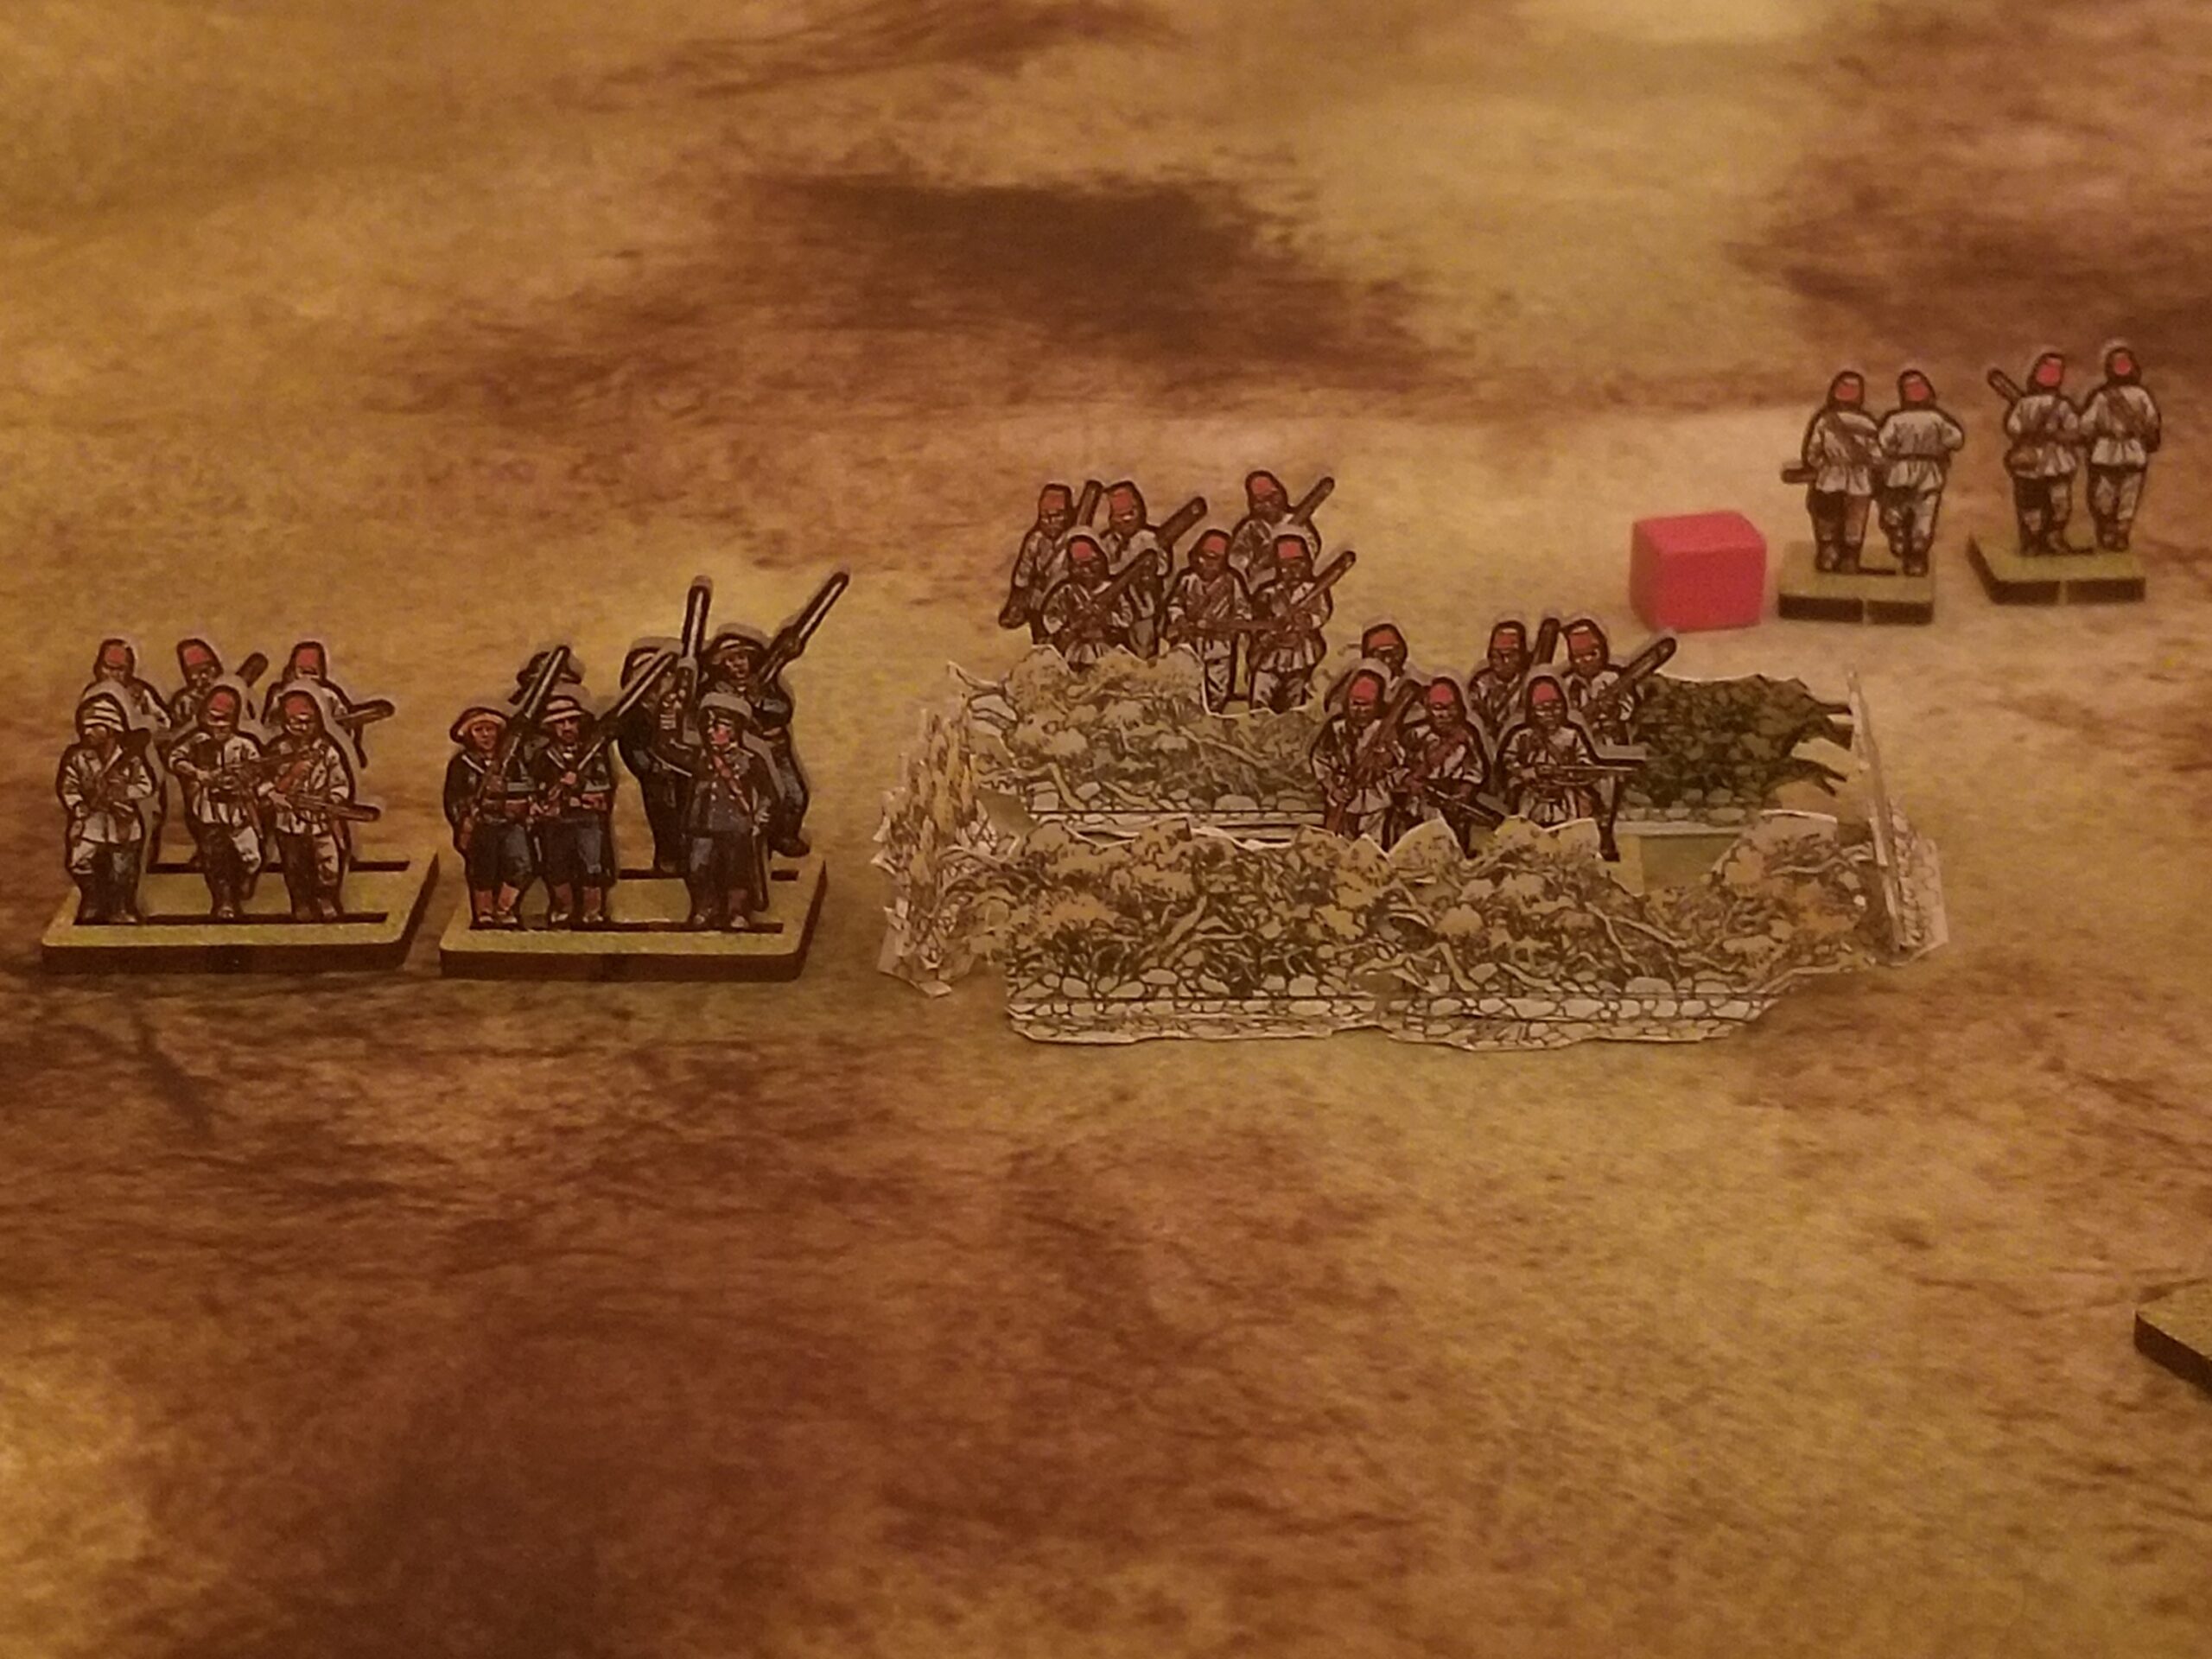
The situation at the end of the Spring 1915 turn is shown below:


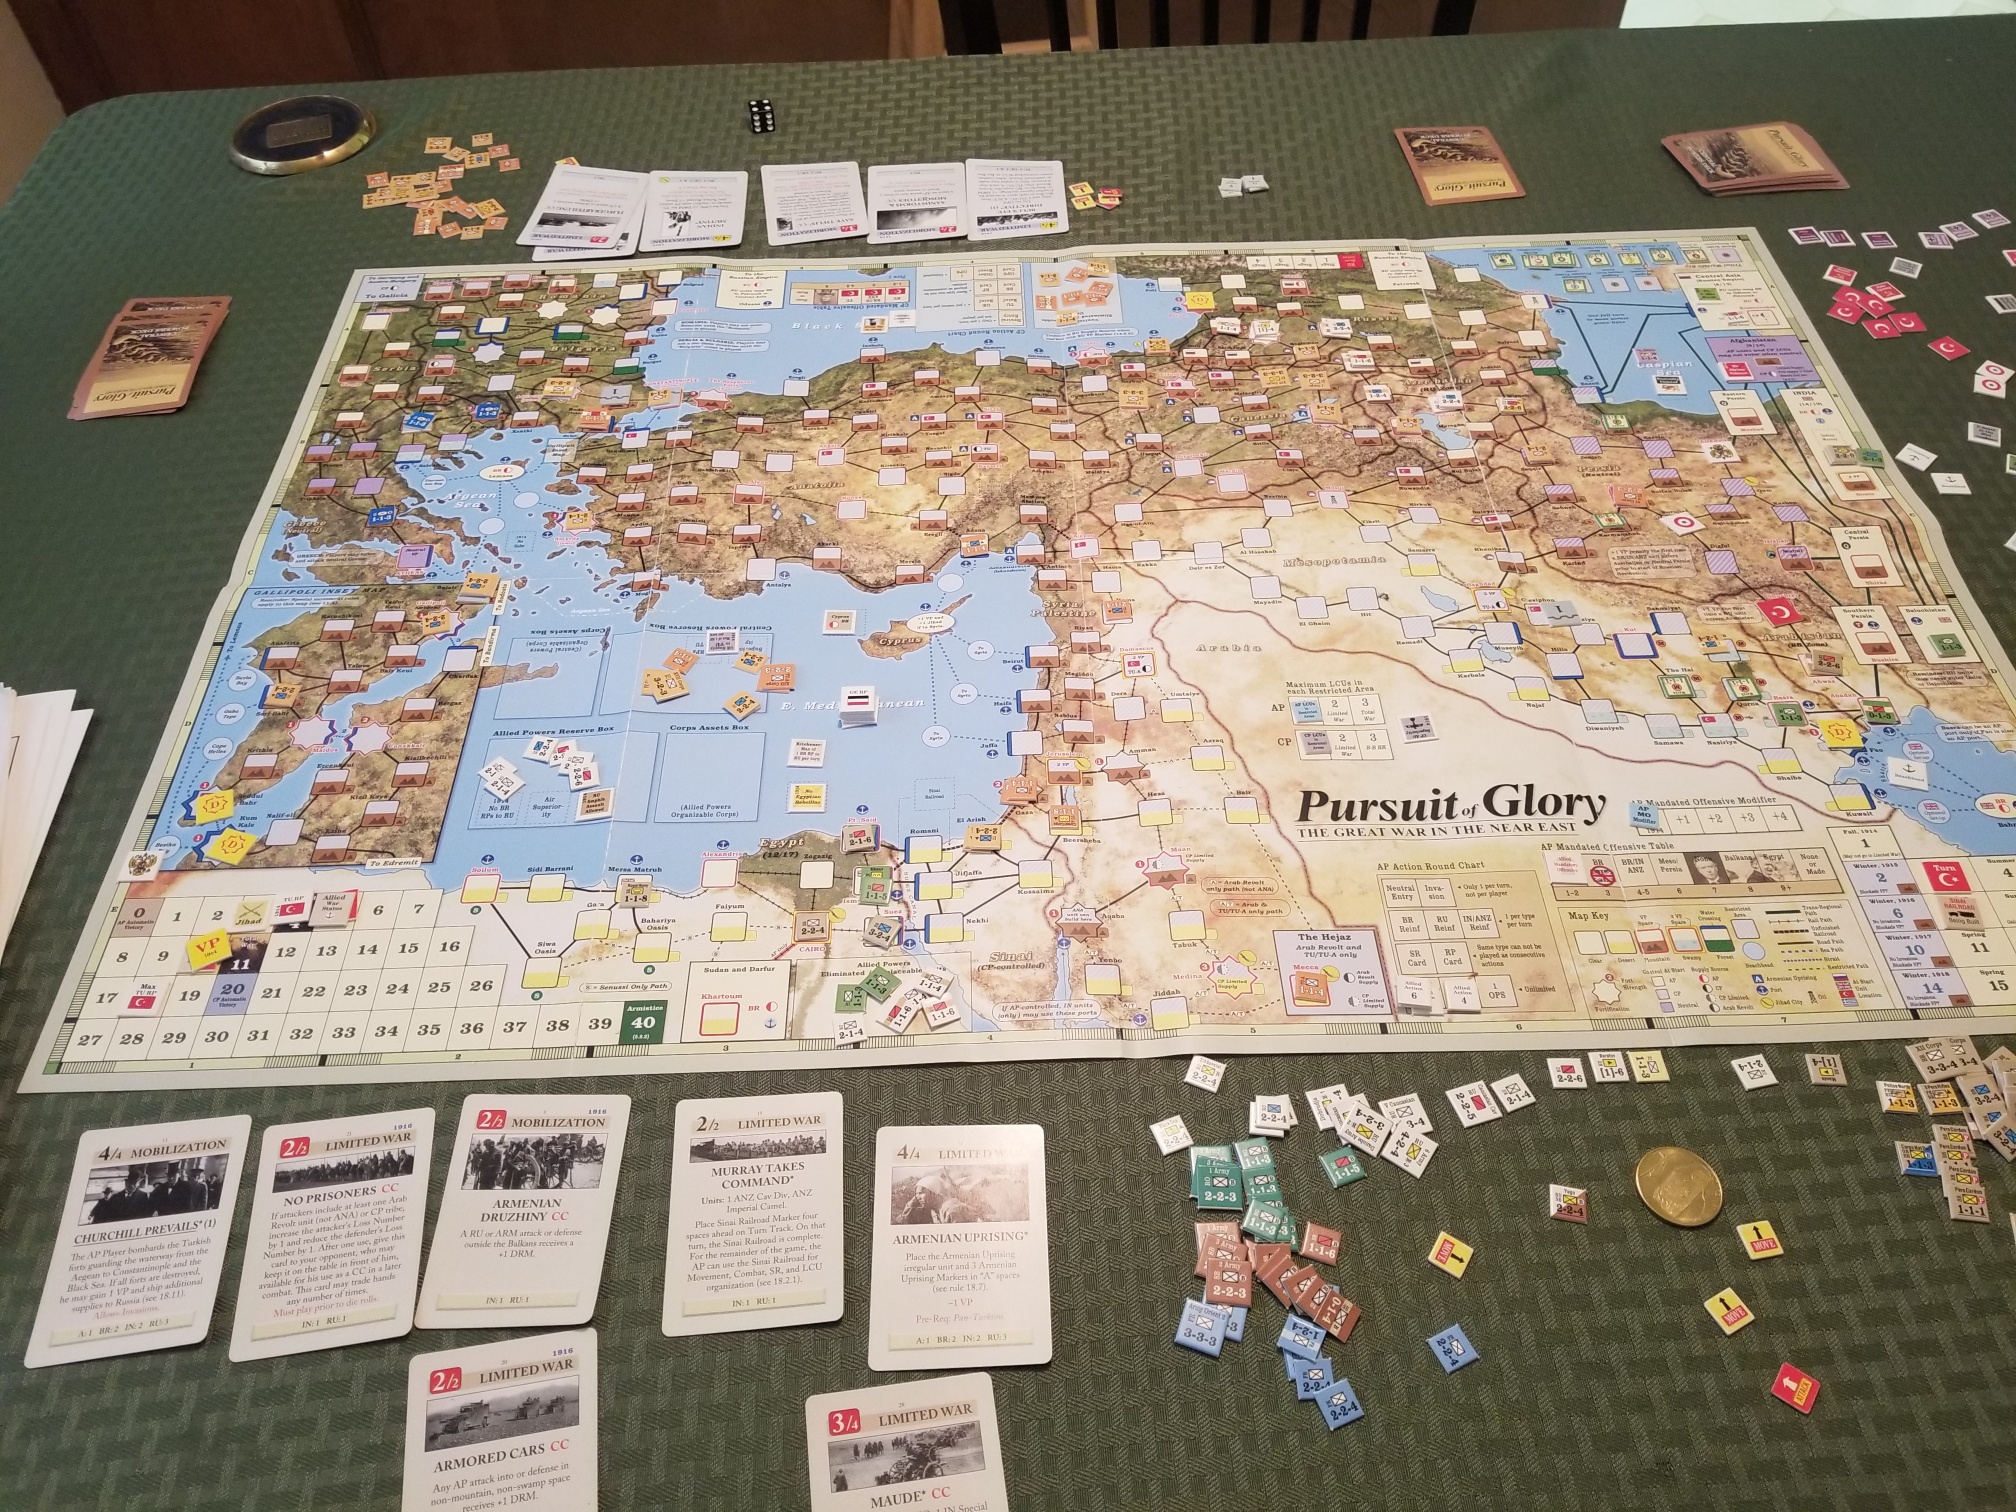
During this turn the Allies played the “Churchill Prevails” card, bombarding  forts guarding the entry to the Bosphorus.  Fortunately, for me, only two forts were destroyed.  The “Murray Takes Command” card was also played.  This card initiates the construction of the Sinai Railway,  required for an Allied corps size unit to participate in any regional offense/defense.

Again, the Central Powers concentrated on operations in Caucasia and Persia, launching a corps eastward into Persia, while playing the “Enver To Constantinople” to reduce the havoc that rascal plays on operational planning.

I’ll leave this fragmented account for now, with a follow-up post later this week.

Missed It…..By That Much

The timing was just right.  Finish up over a year’s worth of planning and work on New Year’s Day.

I was close……but didn’t quite make it.

The genesis of all this was my decision to focus on  specific figure brands for  each period.  The next steps were to inventory all my painted lead and decide what rule sets to use.  This all occurred way back in October 2022.  The rule sets were…..

Pre-Renaissance:  WRG 6th Edition;  Italian Wars:  DBR;  Eastern European Renaissance:  Husaria.

Purchases were made, grotesque shipping charges paid,  and the painting began.

I added an even dozen Hinchliffe Sipahis, along with random German Knights, to the to-paint list.  These stalwarts had been occupying a paper sack since about 1991, but lacked mounts.

Progress was in fits and starts until mid-October, when things got serious.  To keep things moving at speed, I relied on cheat sheets like this:

The bulk of the effort  involved the Old Glory Italian Wars figures.  Painting was the least of my worries.  Figure prep involved a power drill auguring out hands for pikes, spears and halberds.  This was accomplished with White Knuckles and Cold Sweat.

The Hinchcliffe figures came with plenty of flash, requiring way too much X-Acto knife work (with accompanying loss of flesh).

To complicate things, I was running low on metal bases.  Fortunately, after several calculations I determined the quantities on hand were (just) adequate.

The culminating events would be a final base flocking and spraying the figures with gloss coat on New Year’s Eve, with all of my storage boxes (metal hand and shop tool boxes) cleaned and re-organized on New Year’s Day.

It all happened……but late on 12/31 I discovered  two lonely Sipahis and eight Arab Archers  had been missed.  OK, not that big a deal……but still.

These figures will be finished this week.  But, as they say, “Now Is When The Work Begins.”

I have to start playing with the damn things.

The Men Who Would Be Kings – Some Observations

I refrained from any review-type comments about this rule set in my initial post.

Changed my mind.

This is a good set of rules.  Easy to digest and fun to play.  The general structure is very similar to “Pikeman’s Lament”, but provides excellent historical context.

The temptation here is to start layering on house rules to increase rule “realism”.  Then it becomes something it is not.  I’m sure the author considered anything  I thought about and, after careful consideration, declined to add another layer of complexity and/or chrome.

This result is a rule set placing an interesting burden on the players – a different sand box so to speak –  to construct interesting scenarios with interesting smaller forces with interesting mixes of troop-types.

What a relief!  No longer are colonial battles limited to big games with small,  highly disciplined, regular units decimating wave-after-wave of native hordes.  Rorke’s Drift is so boring.

Here are some thoughts based on my initial play-throughs and formulaic scenario described in my previous posts.

  1.  Make the majority, if not all,  of your Askari units Irregulars.  As Irregulars, their musketry and hand-to-hand capabilities will make them far more vulnerable.
  2. Upgrade at least one (1) Tribal unit to “well armed”.  Longer range will  increase their ability to inflict casualties and pin opposing forces.  A pinned unit is very vulnerable in melee.
  3. Use “Go To Ground” for native units in the open and waiting to assault.
  4. “On The Double” is one way to allow your Tribal units to remain out of deadly short-range weapons fire (especially when delivered by Regulars), and have decent chance of attacking into melee.  All you have to do is roll a D6x5 or D6x6 to get the extra move distance.  Try it with multiple units.
  5. Vary the leader rating of your Native units to avoid a cycle of pin/rally/pin.

More Action! (Finally)

Been fishing.  Time to finish up the narrative on my latest game.

The Natives finally launched a coordinated attack against both the Zariba and troops in the open.

The attacks were repulsed by a combination of good (Colonials) and bad (Tribal) die rolls.  The Africans will be flayed by rifle fire while attempting to rally.  Notice the Arab Band unable to get it together in the upper right corner of the photo.

The Arab contingent finally swung into action, making quick work of the small Askari unit detached from the main body of the relief force.  However, their attempt to assault the Zariba from the rear was shattered by accurate Askari rifle fire.

The Regulars and Askaris now decimated the pinned Native and Arab units, which were unable to rally and charge back into close contact.  Very few remained on the field at the end of the engagement.

An entertaining game.  I’ll follow-up with some thoughts on the rules in my next post.

Action! (Finally)

Enough of the musings for now.

Been playing an African scenario using “The Men Who Would Be Kings” rules by Osprey.

Threw out a terrain cloth on a living room table, set up some paper scenery, and organized my WoFun troops.

One of the criticisms leveled at these rules is that Tribal units are battered by modern weapons fire and are quickly pinned and attritted without getting close enough to to melee with the Colonial regulars or irregulars.

So, I set up a small “Last Stand” scenario to judge for myself.  All Tribal units had a morale rating of seven (7), with the Colonial at six (6).  Morale checks involve a D6x2 role equal to or greater than  the morale rating.

My first try involved a force ratio of 1:1 and, sure enough, the tribal units were paralyzed and shredded.  I increased the number of tribal units for my second try.

The colonial troops are deployed by sections of six (6) figures, with a unit comprising two sections or twelve (12) figures as per Rules As Written (RAW).  The colonial force is comprised on Askaris (classed as Irregulars) with a section of Naval Infantry (classed as Regulars – better morale and melee capability). Tribal units/bands are sixteen figures (16) each, as per RAW.

The initial set-up looking northeast. Askaris occupy the fortified house and a zariba.  Reinforcements are somewhere in the offing.  I’ll trigger their movement with a “Yes/No” die roll when the Tribal units get within a charge move of the house.  Right now – given table space – the Tribal units are at long range, one move from where they are on the table.

Tribal advance hampered by failed activation checks. But, one unit charges an Askari section engaging in melee.  Overwhelmed, the Askaris are destroyed, without inflicting a casualty.  The Tribal band occupies  one half of the Askari fortified position.  The other Tribal units advance, taking casualties.  One pinned band is destroyed by fire from the zariba position.

Another Tribal band assaults the house, engaging the other Askari section.  The reinforcements, after some hesitation, advance in column at the quick.  The Tribal band concealed in the elephant grass fails their activation check, losing their chance at an ambush, and remain in place.

Reinforcements arrive, advancing past the fleeing Askaris (red cube indicates pinned – and needing a morale check) to support the zariba position, choosing not  to re-take the house.  This may be a tactical error.  One Askari section needs to take additional time to enter the zariba.

I’ll get back to the game this evening.

Me & Army Painter – It’s Complicated

I love to cycle.  I don’t much care for E-Bikes.

E-Bikes have their place.  For certain people and situations they are a wonderful solution, allowing folks who might not be able/willing to ride to do so.

But, they don’t provide the entire cycling experience, which I will summarize in two words:  Pain and Accomplishment.

When a grinning e-biker zooms past me on a hill,  all I can think is “Cheater”.

Army Painter is the E-Bike of miniatures.  For people who don’t paint all that well (Me) and  want to do a half-way-decent-job on well sculpted figures (Me & Old Glory Landsknechts right now), it is The Bomb.

What’s missing is the pain of trying to paint well, and sense of accomplishment when one actually does a pretty good job.

With Army Painter, just block in the colors (not sloppily), and apply.  The results look pretty damn good, and far better than if I was to stumble my way through details and a myriad of washes.  The tricky part is figuring out how thin one wants the wash.

Cheater.

Will I use Army Painter when I finish up my Hinchcliffe Ottoman Turks?  No, out of place for their dated sculpting.  On my 15mm Alternative Army Ottomans……maybe.

So, I’ll ignore my superficial hypocrisy and grin as I zoom through the last of my Italian Wars figures.

I can live with it.

Paper, Plexiglass and PDFs: A low cost wargaming path of less resistance

Over the past couple of years I’ve become intrigued with paper soldiers, terrain and buildings as a low cost, lower time alternative that allows me to tryout intriguing new rule sets as well as an alternative to my ham-fisted DIY efforts.

I initially started out with paper buildings for my Fistful of Lead games.

My first paper soldiers were sourced through Wargame Vault using Batalov’s titles, as well  as those created by “Antohammer”.

Earlier this year I discovered Peter’s Paperboys, featuring both Peter Dennis’ quality work and others.

Combining these low cost figures with (comparatively) low cost PDF rules opened up a number of possibilities, especially skirmish or small unit encounters, with quick set-up, small footprint and big fun.

Two new rule sets  I’ve been working with that combine attributes of both skirmish and small unit (s) games are Osprey’s Pikeman’s Lament and The Men Who Would Be Kings.  These sets have been exhaustively covered, so there’s no need to go into any discussion here.

The paper soldiers provide the ability not only to get into the rules, but create  interesting matchups.  For example:  Portuguese vs. Spanish Conquistadors for “Lament” and Late 19th Century Russians vs. Central Asian Factions in “Kings”.

The overhead for each of these games was no more than $20 each, all-in with rules, figures, terrain and professional printing.

A bonus is that  cutting out 28mm figures and terrain, as well as 15-18mm buildings gives me an excuse to have football on and not feel like I’m wasting time.

It was then just a short jump to WoFun’s 18mm plexiglass figures.  This range also includes 28mm figures, with work by both Batalov, Dennis and others.  Why 18mm?  Because 18mm paper soldiers are just too hard to cut out.

Yes, the plexiglass figures are more expensive and postage from the UK is a drag (although some sets are available from US based Raven Banner Games).

I purchased British and a variety of African Askaris, Arabs and Tribal figures for skirmishes and a campaign using the “Men” rules.

I’m really enjoying this combination of interesting match-ups and quick set-ups.

Fifth Corps

I have each of the four games comprising SPI’s Central Front Series covering a hypothetical Warsaw Pact versus NATO conflict in the 1980s.

The system has a following, and has evolved.  Here’s a link to some downloads.

Finally set this up after some 40 years of procrastination.  And then, procrastinated another two months before I sat down to actually do more than stare.  Plenty of rules reading during the interim – isn’t that a good substitute for action? – but no pushing of cardboard.

I would characterize the game as operational, but a far, far more granular approach then, let’s say, The Third World War.  So, Grand Tactical?

This thread at BGG does a great job of describing the game’s characteristics, warts (with that emphasized) and all.  Each of the perspectives is valid.

The thought that really resonated with me is Jason Cawley’s comments about “Analysis Paralysis”.

On a macro level, my entire involvement with this game reflects this.  I intended to use the updated and comprehensive rules.  Too much of a slog.  My compromise was to use the rules as updated after the publication of BAOR.  Too much of slog, especially given my manic habit of having about three games set up at any one time (yes, any vacant horizontal space is at risk at The Pine Cone Lodge).  Finally decided “Just use the original rules and play the damn game.  It’s a helluva lot easier to flip through five pages of rules than thirty.”

Sage Self Advice.

After getting on it, I discovered  I couldn’t manage all of the map and so focused on one section and its units. This reduced scope allowed me to play out the initial turn and grasp the rules.

Yes, the friction points mechanic is a bitch.  Yes, the Combat Results Table (CRT) is a bitch.  Yes, the stacking limits and pesky NATO “Ants” are a bitch.

The turns do seem endless. There are any number of courses of action for the Soviets.

But that’s all part of the system’s charm.

After all, beauty is in the eye of the beholder.

But, it isn’t love and I don’t know if I will finish the game much less play the other ones in the series.  Who knows, maybe I’ll put them up for sale, or consign them to even more time in Box Purgatory.

But, the process has not been a waste of time.

Another Try

Back to Portland for a long-awaited replay of the new version of Red Star/White Eagle (RSWE).  This  Deluxe Edition  is published by Compass Games.

Tim and I played the old GDW version several times (follow the tag) and always enjoyed it, despite some serious rules screw ups.  We started playing the  new version back in early February, but ran afoul of the Super Bowl and some accompanying wackiness.

The Compass edition of this classic Polish-Soviet War game is improved in every way, with a better map, thicker and larger counters (too large for our tweezers), as well as very functional set-up and reinforcement displays.  These displays, combined with  counters that include campaign set up designations, really help the set-up.

One aspect that hasn’t changed is the very bloody Combat Results Table (CRT).  The CRT also allows the attacker to advance multiple hexes after combat.  With good die rolls, an aggressive attacker can generate plenty of operational movement with opportunities for deep and wide envelopments.

But, these envelopments  must be judiciously evaluated, since they also provide an opponent with opportunities to sever exposed supply lines or cutoff extended units.

Another game element that hasn’t changed, and one that significantly effects (maybe “shapes” would be a better term) play is how zones of control (ZOC) are treated.  In RSWE, passing through the ZOCs costs additional movement points. The exact costs are shown on the unit’s counter.  Also, enemy ZOCs cut supply lines, and the presence of friendly units doesn’t offset the effects of enemy ZOCs.

The attractive and functional map is divided into Soviet South and Southwest Fronts.  The central area is heavily wooded, while the  topography to each side is  both sides is open, but with river barriers, especially in the South Front.   Soviet units must remain in their respective fronts, and cannot be transferred from one front to another.

The game abstracts concurrent Soviet operations against White Russian forces.  The primary tool for this is a mandatory  “stand down” for the South Front units.  During this stand down, these units cannot attack Polish forces unless Polish attacks occur, and then, only on a one-for-one basis.  There are also mandatory unit withdrawals representing other developments during the Russian Civil War.

April IV (1920) the first of the weekly campaign turns.  The Soviet player conducts his reinforcement/replacements, movement and combat first (except for the April IV turn!).

The Polish player has the initiative for the first few turns.  The Soviet player must initially cover each hex along both fronts with either a unit or a ZOC;  a very real  Thin Red Line.  The Poles set up last and can pick and choose where to attack.  This creates several opportunities, especially around Kiev in the Southwest.  Taking Kiev produces victory points as well as Ukrainian reinforcements.  But any advance beyond Kiev faces  a flood of Soviet replacements and reinforcements.

The management and placement of these replacements (within their assigned Front) is a critical aspect of the game, allowing the Soviet player to not only stabilize the Southwest Front, but also counterattack, especially after the arrival of the First Cavalry Army (Konarmia).

Replacements arrive as generic units placed either on the map, to rebuild reduced (divisions and some brigades have full strength and reduced combat values) units, or held off map to recreate eliminated units during the next turn.

Here is a quick visual summary of our game.

End May 3 Turn

The Poles are in Kiev (lower right hand corner), with the Soviets cobbling together a cordon defense.

End May 3 Turn – Southwest Front Only

Armored trains cannot be rebuilt and are kept out of harm’s way until they can be productively used.

End June 1 Turn

The Poles have pulled back from Kiev, anticipating the arrival of the First Cavalry Army.

End June 3 Soviet Turn

Fighting now taking place along the river lines.  The Soviet player now has the First Cavalry Army on the map.

A big meal and a tendency to bullshit led to an early end of play.  A rematch is scheduled for the second week in June.

Showdown!

Decided enough is enough with my Husaria contest between Poles and Muscovites.

Just “guided” units to set up cavalry confrontations in the center.  Guiding is my polite term for “to hell with the rules, let’s get these units into position.”  Yes, to do so would have involved finagling figures through expansion/contraction of frontage gyrations, as well as the timing of said moves.  Said finaglings would have expanded my deeper knowledge of the rules, but in my current bloody mood, it would have just been another experience tantamount to a telephone hold (thank goodness for the speaker setting on cellphones).

Now that the units are in general position, I can pick up the game using Rules As Written (RAW), and see what happens with cavalry combat.  To this point, all combats have involved infantry units.

Here’s the overall situation:

Poles to the right, Muscovites to the left.  The flanks are secure for both sides.  The Polish Pancerni are moving into attack position, as are the Muscovite heavy cavalry and Ratjars.  The center area is narrow and becoming congested for the Muscovites.  Since both sides are now within charge distance (28 cm), the Muscovites may not be able to expand their frontage before first contact.   In this rule set, only the front rank of Cavalry fights in melee.  However, rear ranks can overlap after the initial melee turn.

This photo gives  little better view of the Muscovite situation.  The cavalry in the foreground is retreating (not routing) and will pass through, and disrupt, the Streltsy infantry.

The Polish objectives are the two villages.  With that in mind, the Muscovite CinC (single figure top center)  has moved to rally the withdrawing cavalry units and direct the reorganization of  each village’s defenses.

I’ll pick this one up with the usual turn sequence, starting with declaration of charges for whichever side wins the initiative die roll.