Good System = Enjoyable Game

Finished up  my first attempt at Valour & Fortitude (V&F).  Enjoyable.

Of course, after all of the pre-game preparation, I was inconsistent (at best) in using the commander characteristics and army orders I had created, and forgot to draw Fate Cards at the beginning of each and every turn, or playing those I had drawn.  Typical omissions once I get playing.

But why let all that get in the way of some fun?

The Fire and Action phases are straightforward, with a minimum of moving parts.  Likewise for the Melee phase.  In the Action Phase, a unit can move either in column, in line or double time (always allowed one facing change (Reform)); Rally by rolling to remove Tenacity “hits” (more on this later), or Assault.

For me, the tricky part of play was when to implement the Valour and Fortitude morale tests.  However, a quick and handwritten “if this, then that” cheat sheet solved the problem.

What really intrigued me was the lack of chrome involved in failed tests.  Units simply are taken off the table, with neighbors  affected only when their brigade fails a Fortitude check.  I’m used to a whole series of movement and impact gyrations for neighboring units when a  rout occurs. This is a welcome and effective change.

Also, the (almost) universal use of a six-sided die roll of “4” as the minimum roll to score a hit on an opponent during fire and melee, as well as pass morale checks, greatly reduced chart checking.

Speaking of charts, I did put together a Terrain Effects Summary which I glued to the back of the cheat sheet included in the rules.

Along with my failure to consistently employ characteristics and cards, I also did a spotty job of documenting the entire affair.  And the depictions of what I did capture are, as usual, less than stellar.

The British mission was to defend the river bridge.  Their programmed plan was to position units on  both intervening hills, with a reserve of grenadiers and cavalry across the river, but ready to support either the first hill’s brigade of Regulars, or second hill’s Militia defenders.

The Jacobite Highlanders assaulted the first British hill position, with a small brigade of French troops bypassing the hill, and moving to flank the second British hill position.  Roughly 40 percent of the Jacobites were held in reserve (as dictated by the programmed scenario).

The Highlanders “went right at ’em”, using their high melee ratings to clear the British position.  However, they suffered significant losses and were close to Shaken status.

Jacobites Capture First Hill

A quick (well , maybe not so quick) rules note…..each unit has a Fire, Melee and Tenacity ratings.  Tenacity reflects their ability to take casualties.  When a unit’s casualties equals their Tenacity rating, they become Shaken.  Any casualty taken by a Shaken unit  exceeding their Tenacity rating prompts a Valour Test (one for each casualty above their  rating), with an immediate D6 roll of 4+ required to pass each required test.  If failed, the unit routs and simply goes away.

A unit rout  triggers a brigade Fortitude  Test at the end of the current turn phase.  Again, a D6 roll of 4+ is required to pass.  If failed, any Shaken units in the brigade rout, and any Brigade unit within 6 inches of an enemy takes one loss.  The brigade also suffers a defeat (defeats are used to determine winners/losers, with terrain objectives designated at the beginning of the game also considered defeats if lost).

One additional melee note.  A unit that wins a melee (suffers fewer losses than the opponent) does not have to take a Valour Test.  On hills, the up-hill side wins ties.

And…yet another note.  Reducing Tenacity hits is an iffy business.  A D6 roll of “6” is required to remove one.  Hard to do – at least in this battle.

The British response was to deploy the Grenadier brigade to stop the Highlanders and to order the Militia off their hill position to stop the flanking French.

Highlanders Assault British Grenadiers As Jacobite Reserves March Forward

The Grenadiers did stop the Highlanders, but were overwhelmed by the Jacobite reserves.  The Militia succumbed to French musketry.

Surviving Grenadiers And Militia Face Jacobite Reserves (L) and French (R)

At this point, the loss of the bridge position was inevitable.  I would consider it a marginal Jacobite victory, as their losses were significant and it took a long time to take the bridge.

I’m going to play this one again, but put together definite Defeat parameters, which will include not only geographical positions, but turns necessary to take the bridge.

More Fun!

GWAS – The Wheel Had Been Built

Can’t rationalize my way past this one.

Digging around various Great War At Sea (GWAS) archives, I came across this 1898 Naval Campaign over at Web Grognards.   An excellent effort  covering a lot of bases.  I would really like to find out where he discovered the specifics.

BTW, I hadn’t visited Web Grognards lately.  Boardgamegeek has surpassed it as an overall resource, but WG still is an excellent source of information, especially older games.

Underrated!

GWAS – Re-inventing The Wheel?

I’ve come up with three basic scenarios.

The first assumes Admiral Cervera’s fleet runs the U.S.blockade and makes it to Havana.  From there, he can threaten the Florida Straits, U.S. East Coast and/or Puerto Rico.

The second anticipates Spain commits to reinforcing the Philippines,  with a U.S. counter move sending the Eastern Squadron to the Mediterranean, protected by the Covering Force.

Finally, that Spain purchases ships from Chile.  This possibility affected U.S. dispositions.  The Chilean ships were the O’Higgins, weeks away from completion in a British shipyard, as well as two ships already in service, the Esmeralda and Ministro Zenteno.  The latter two were situated in the Pacific, where they could sail to the Philippines, with the O’Higgins close to Spanish territorial waters.

While working my way through all of this, I came to realize this is really a series of Red vs.  Blue operational problems, with the Spanish-American War providing historical context.  The scenarios are more than counterfactual, as the underlying assumptions are so very significant, anticipating Spanish domestic and foreign policies resulting in a trained and maintained fleet, without the ambivalence and defeatism.

After scratching all of this out,  I took a detailed look at the scenarios accompanying the game.  They are good, well explained, and cover what happened several might-have-been.  There’s even a campaign game linking the scenarios with die-driven variables!

So, my afterthought is “Why Did I Do All Of This?”  Well, I guess it would be depth of knowledge and the ability to view the historical events not as a series of separate scenarios, but within a  broader scope.

At times, it’s good to rationalize.

GWAS – Attention Now Focused

Well, the seemingly indispensable 3×3 blue hexagonal grid never arrived.  Some Amazonian problem with delivery.  Very vague.  Frantic Google activity revealed no viable substitutes without paying too much.

Now unable to throw a reasonable amount of money at the problem, I was forced to think.  Reluctantly, I started grinding the gears.  DIY options involved a lot of work…No interest in that.  Further grinding resulted in a question; “Why do I have to use hexes?”

The ship counters are one inch long.  The rules call for movement by number of hexes.  Convert hexes to inches – or ship lengths.  How about changes of course?  Changes are effected by stern or bow pivots of 60 degrees.  Why not use a protractor until you can eyeball the pivot without help?

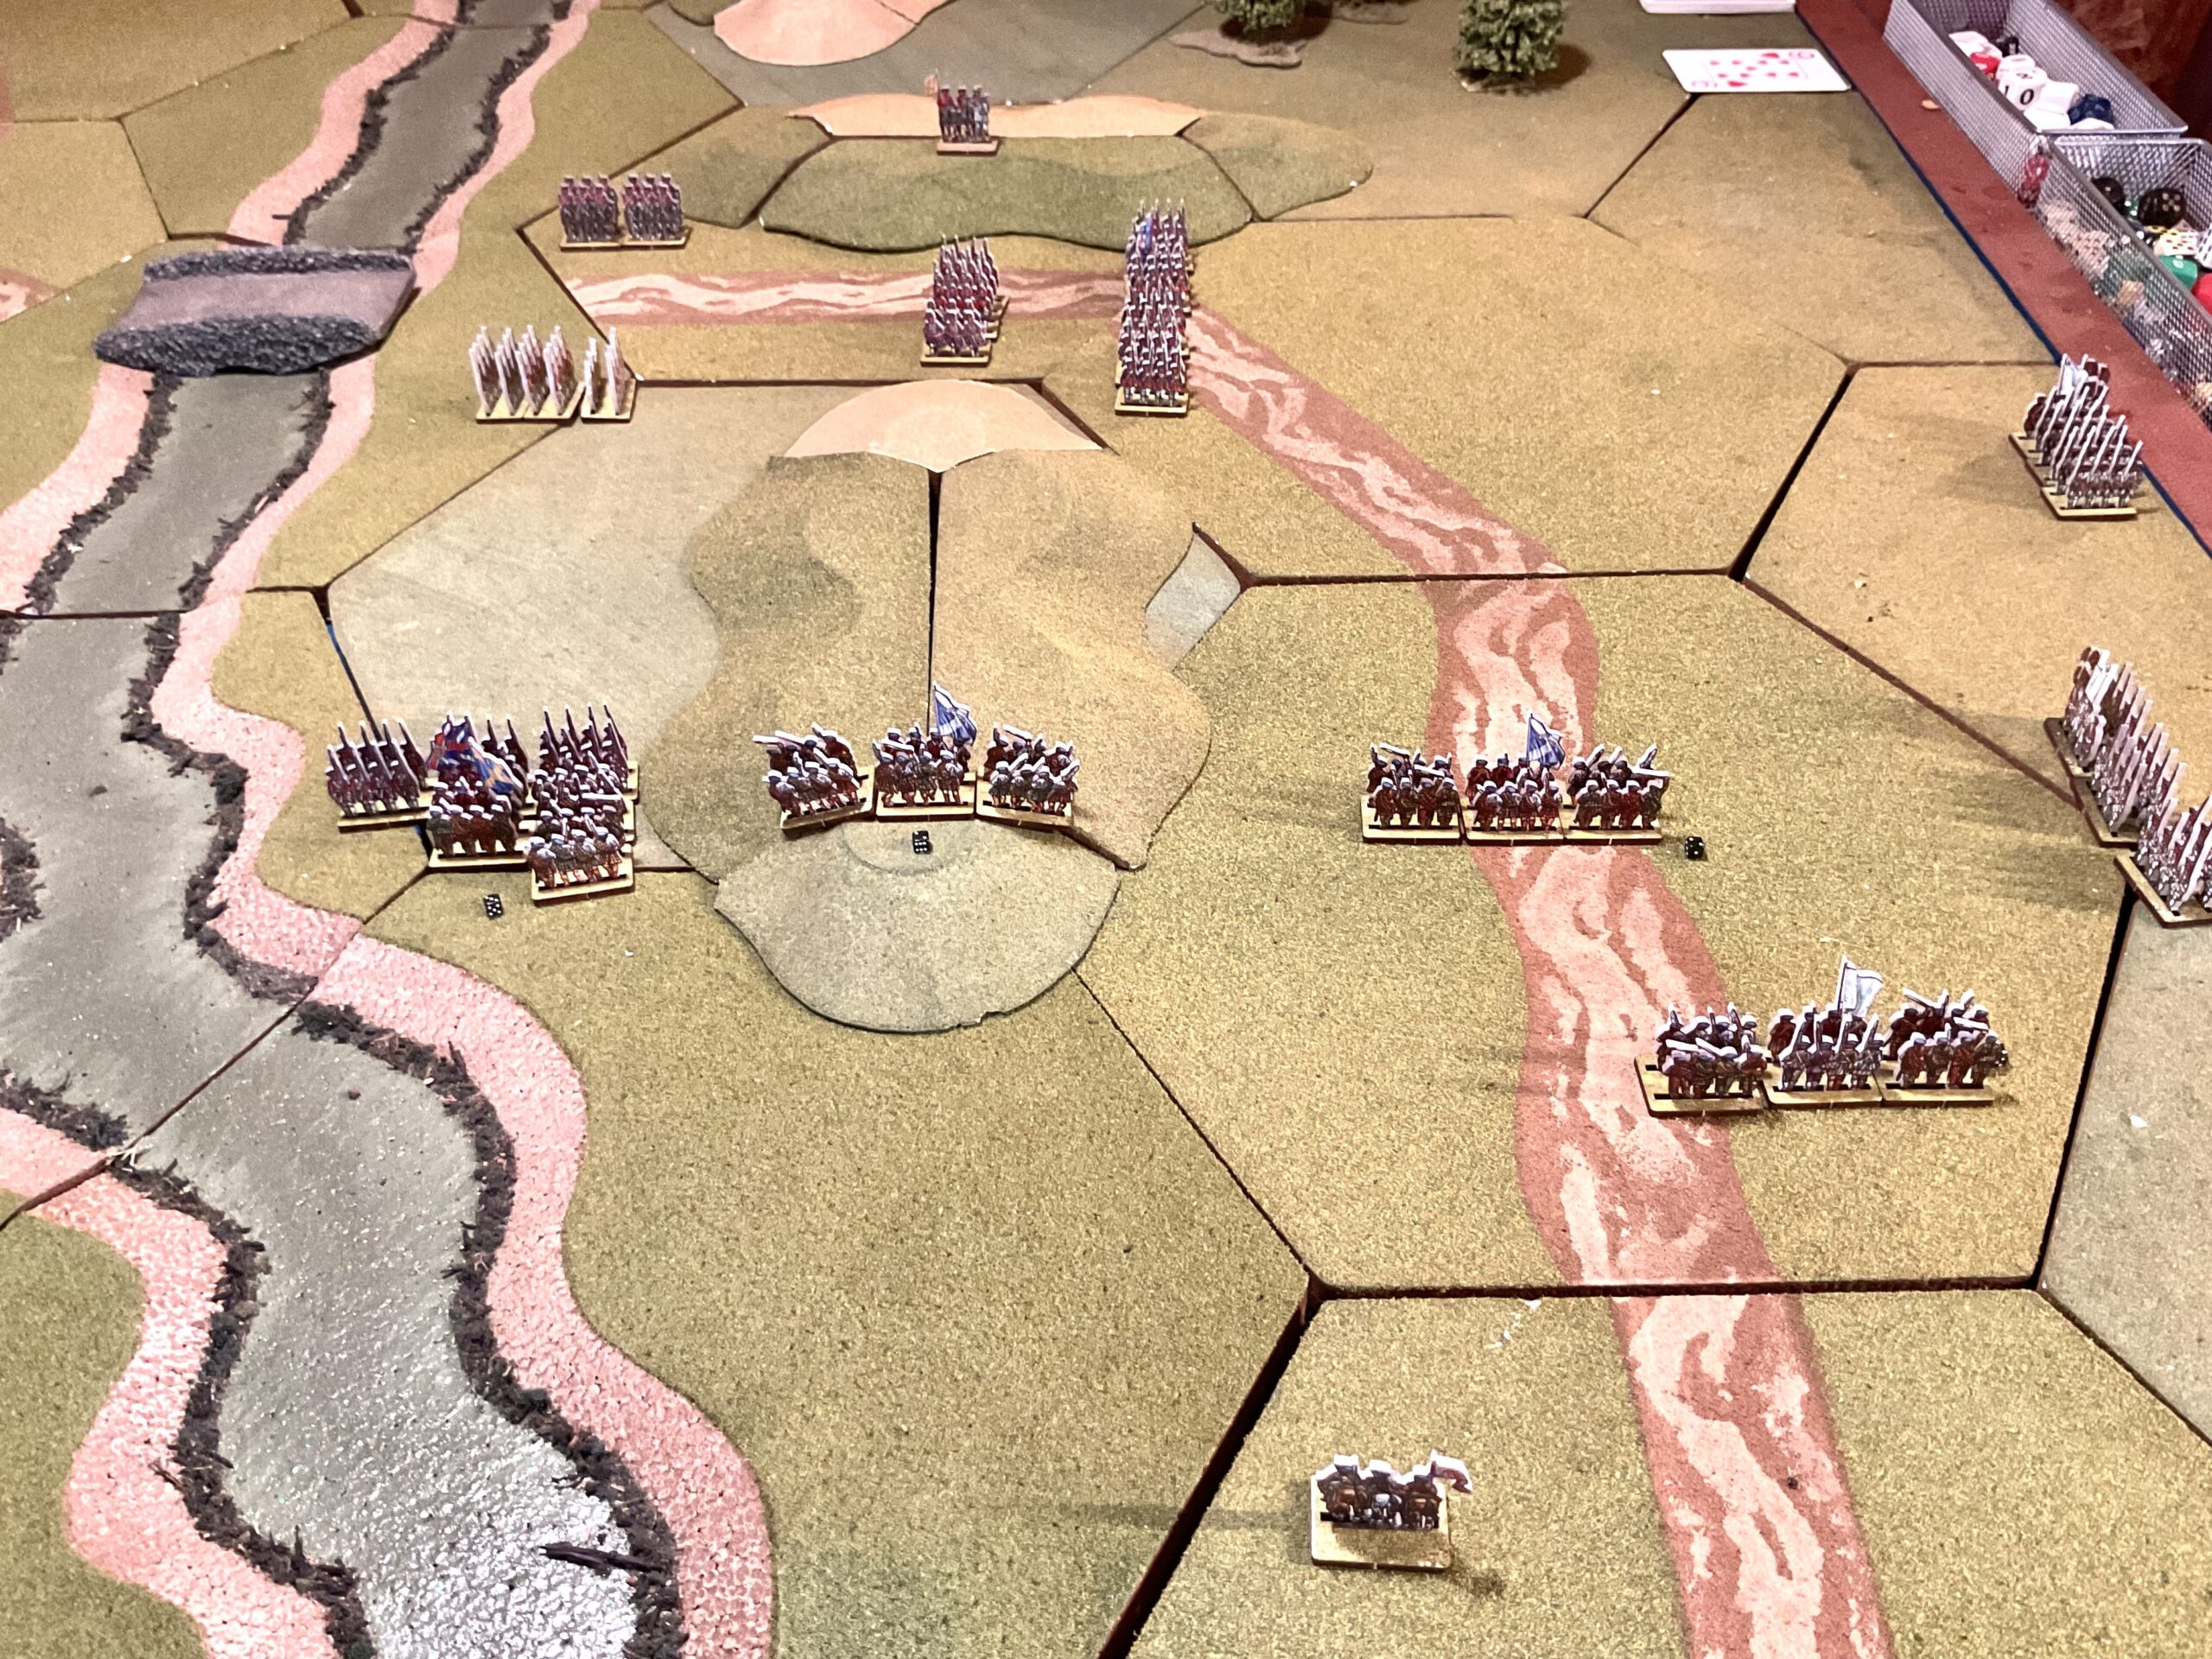
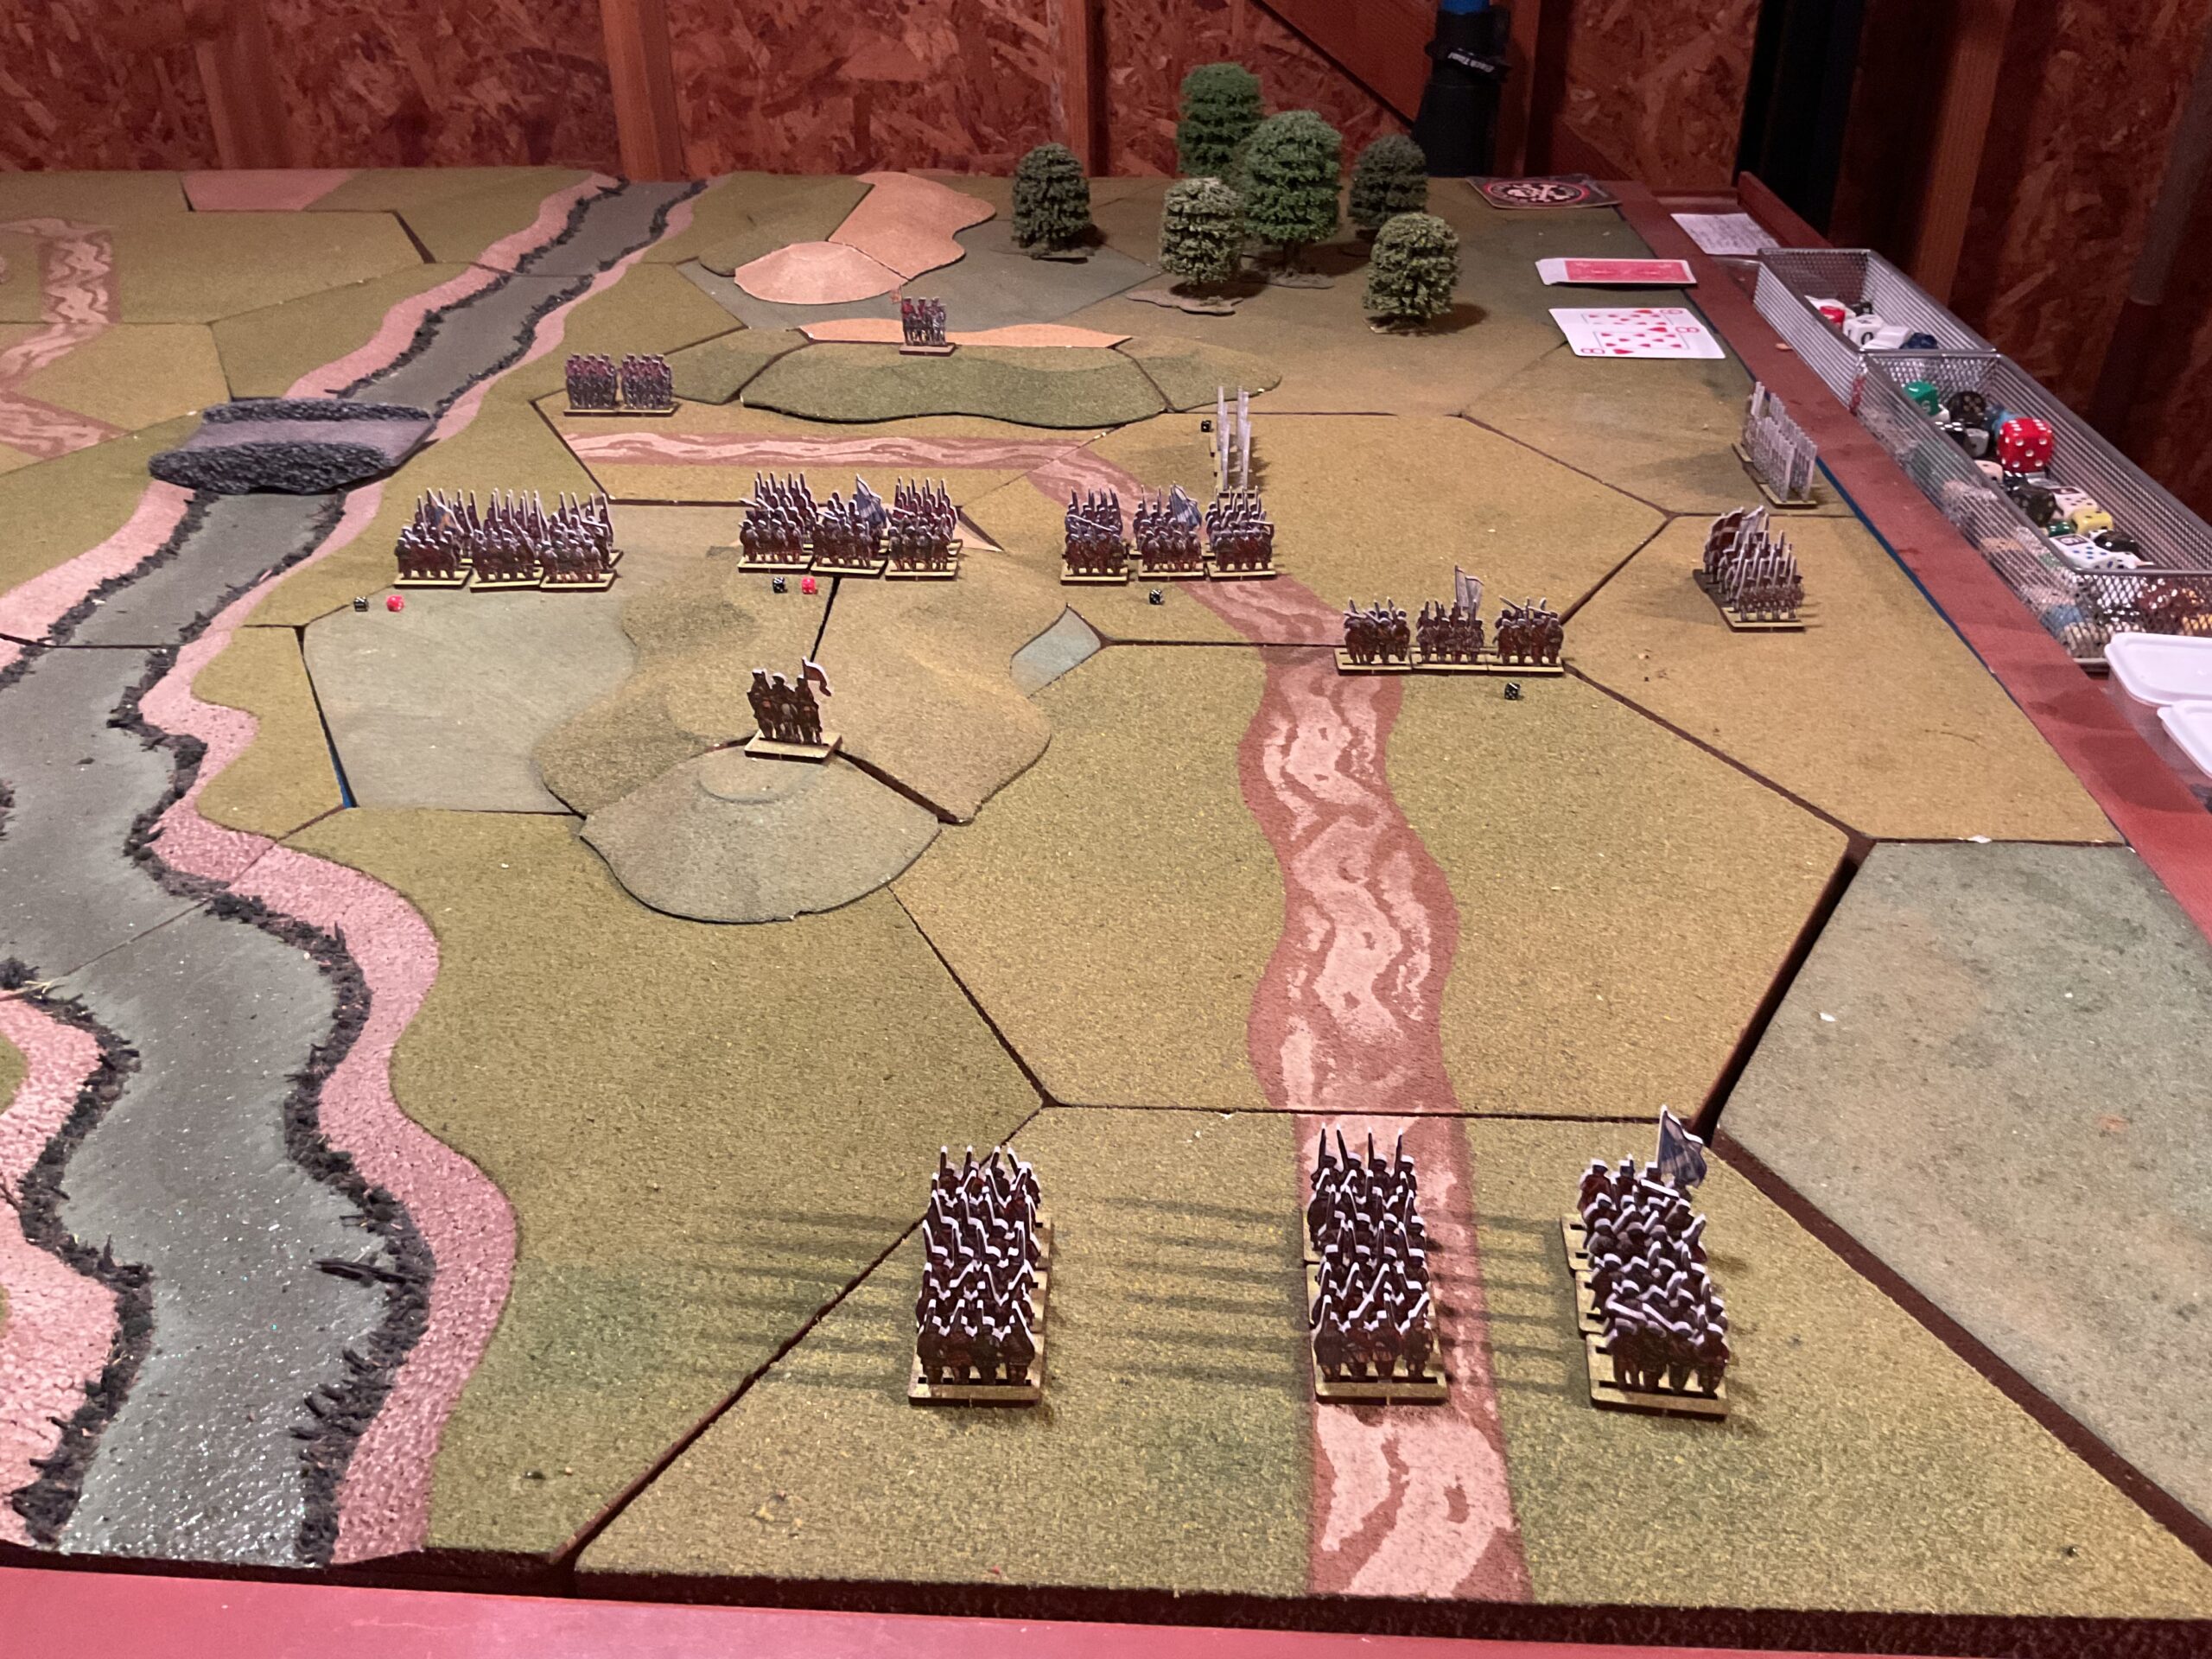
Now I just needed a blue surface.  You MUST fight naval battles on a blue surface.  It cannot be done any other way.  Believe me.

The solution was to use either an ocean gaming mat, or the DBA “table”.   My ocean mat is an early version of the type with a fleece texture.  OK for miniatures, but counters are clunky to move and just don’t look right. The DBA table has a surface color of blue,  intended for just this sort of thing, but typically covered with GeoHex tiles for land battles.

Having taken care of the tactical infra-structure, it was time to get on with the strategic and operational aspects of the project.  So, back to Trask’s history, and this time really focus on the Navy’s organization and plans.

For my purposes, the naval campaign takes place from early April through July.  I’ve bookended the campaign with the U.S. decision to organize and  implement a blockade of Cuba and the return to Spain of Admiral Camara’s fleet which had intended to attack Admiral Dewey’s forces in the Philippines.

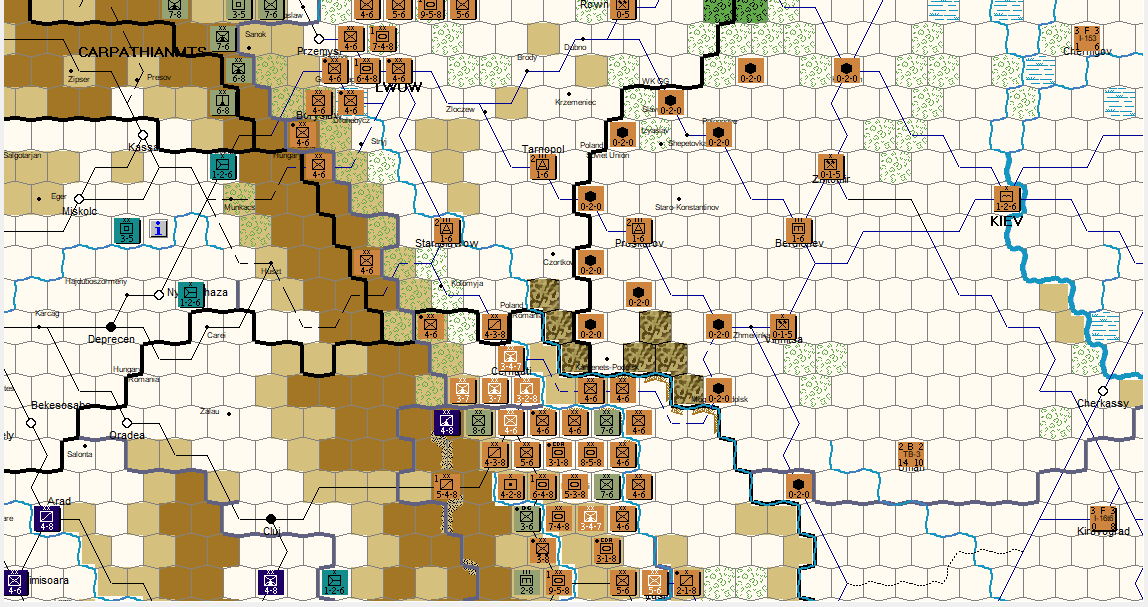
The historical naval campaign….what a cluster!  Orders  from the Secretary of the Navy  to Key West changing on a daily, and sometimes hourly, basis.  Ships being shunted between fleets and missions.  Order and counter-order.  The Navy’s mission was four-fold:  Defend coastal cities  from Spanish attack, blockade Cuba, escort the expeditionary force forming in Tampa, and stop any Spanish efforts to reinforce Cuba.  Later, two other missions were discussed and almost implemented.  One was  to raid  coastal cities on the Iberian Peninsula and outlying islands.  The other was to counter any Spanish attempt to regain control of the Philippines.

Rather than construct a time-oriented orders of battles, it seemed best to use the basic organization which called for – eventually – four US entities.  Initially these were the North Atlantic Fleet and Flying Squadron.  The  Eastern Squadron and Covering Force were created later in the campaign, and comprised of units from the  two basic organizations.  Ships were also  periodically detached for patrol duties.  Again, rather than go through an attach and detach process during the course (turns) of the campaign, it seemed best – and easiest – to “pool” (no pun intended)  these primarily Auxiliary Cruisers into a group available for scouting duties.

The basic organization is:

North Atlantic Fleet (Admiral Sampson), Key West – Iowa, Indiana, Oregon (maybe delayed reflecting its redeployment to Caribbean), New York, Amphrite, Terror, New Orleans, Montgomery.

Flying Squadron (Admiral Schlee), Hampton Roads – Texas, Massachusetts, Brooklyn, Columbia, Minneapolis.

Scouting Pool – Harvard, Yale, St. Louis, Minneapolis, St. Paul.

Reinforcements To Philippines – Monterey, Monachock.

One option discussed by leadership was to form an Eastern Squadron, with the mission of  countering Spain’s attempt dispatch ships to contest Admiral Dewey’s control of Manila Bay.

The Eastern Squadron included the following ships:  Oregon, Massachusetts, Newark, Yosemite, Yankee, Dixie.

The Eastern Squadron was to be assisted by a  Covering Force.  This force was to engage any Spanish effort to attack the Eastern Squadron as it passed by Spain until it was east of Gibraltar.

The Covering Force included: New York, Brooklyn, Iowa, Indiana, Texas, New Orleans, Badger, Yankee, Mayflower.

Putting together Spain’s fleet organization was simple.  Just go with the historical composition of Admirals Cervera’s and Camara’s fleets.  But, with the intriguing possibility  of Spain succeeding with their plans to purchase one if not three Chilean ships – O’Higgins, Esmerelda and Ministro Zenteno.  Spain’s conduct of the naval operations was marked by the same level of vacillation and indecision as U.S. operations.

Enough for now.  Ole Miss vs Miss State coming on.  Can’t miss another episode of “Lane Kiffin’s Ego.”

Renovated Venue

Got to it with Valour & Fortitude yesterday afternoon.  First game in The Shed in a long time.

As usual, thought I was prepared, but wasn’t.  Needed to put together unit ratings cheat sheet – with fire, melee and tenacity ratings,  get a deck of cards for the Fate Deck,  as well as retrieving my Commander Characteristics and Army Orders.

Despite these administrative chores, and following the Oregon vs USC football game on radio, I managed a couple of preliminary moves.

The unanswered question about the updated venue is how well it will heat up as temperatures continue to drop.  We’ll see.  I have the space heaters.

Here’s a quick shot of the table.  It’s roughly 4×5 feet.  Note all the boxes of terrain and gaming materials stored underneath. Decades of accumulation, with little if any purging.

Der Weltkrieg – Osmanli Harbi – The Ottoman War 1914-1918

Finally finished up Galacia after more than a year on the table.  Yes, that long.  Pathetic is too kind a description.

Shamed, I had no other option But to set up another Der Weltkrieg offering, Osmanli Harbi.  Much lower counter-count, but some very interesting scenarios and rules.

The module’s scenarios cover the Caucasus, Macedonia, Iraq, Sinai and Albania theaters.  Just the names bring back memories of these regions bedeviling me while playing Pursuit of Glory.

Each theater has separate battle scenarios, as well as a campaign, which the system refers to as “Duration Game Scenario(s).”

Decided to play a Sinai scenario involving the Third Battle of Gaza , and covering the period October through December 1917.

The game’s rules have some significant differences/additions from/to the Der Weltkrieg Standard Rules.

The overarching changes for  Osmanli Harbi address the differences between fighting in Europe and the game’s theaters.  These focus on the harsh environmentss, with its effects on operations as well as logistics.

Desert hexes have reduced stacking limits; roughly half of that allowed in the standard rules.  Units crossing desert hexes also lose one movement point.  An attacker suffers one additional loss when attacking into a desert hex.  Operations during Summer turns involve further reductions in movement allowances as well as increased mandatory combat loses.

Lines of Communications (LOC) and Supply Depots are introduced to reflect the lack of transportation networks in these remote theaters.

LOCs are required for a unit to remain in supply.  LOCs must be traced to a rail line, port, headquarters or depot, with a maximum length of two hexes in the desert.  The headquarters or depot must be within two hexes (in the desert) from a rail line or port.  You cannot “daisy chain” headquarters units.  So, in the desert, a unit risks out-of-supply effects if it is more than two hexes from a rail line, or four hexes with an intervening headquarters.    The effects are attritional, either losing one (1) strength point if moving more than half of its allowance – in any terrain, and/or having to roll for attrition during the Special (first) Phase of a monthly turn.

Other scenario-wide rules involve reduced rail construction and capacity.

The impact of these changes pale in comparison to the rule that allows  Ottomans to mount counter-attacks at maximum strength without infantry or cavalry units being supplied.  In the series rules, a unit can only counterattack at full strength with the expenditure of two (2) supply points per strength point.  If not supplied, the unit attacks at half-strength.  This is a significant factor, with the designer explaining  this rule reflects the Ottoman’s ability to put together scratch forces (much like German Kampfgruppes) to respond to Allied operational successes.

Each set of  scenarios also has its own special rules.  For Gaza, these include rail capacities, German and Austria-Hungary support units, the requirement(s) to maintain garrisons, and special attack rules for the 1918 Meggiddo scenario.

I am also using an alternate Combat Results Table (CRT).  This CRT is recommended for low counter density scenarios.

The 3rd Gaza scenario is a stand-up slugging match, with the British assaulting an entrenched Ottoman force.  It’s a good solo scenario since the Ottoman player simply using his limited reinforcements to plug gaps created by British attritional attacks.  Maneuver is limited by desert and mountain terrain.

Victory is determined by capturing/defending cities and combat losses – which are accounted for as “Demoralization Points”.

The first play-through resulted in a Central Powers (Ottoman) Decisive Victory, as the British (Entente) suffered significant casualties while seizing just one of three cities required for a Substantial Victory.

I’ve set the scenario up again, and am giving it another try.  Here’s shot of the game.


Valour & Fortitude – Jacobite Rebellion 1745

Setting up a Valour & Fortitude(V&F) 1745 Jacobite Rebellion game using  WorldofFun (WOF) 18mm plastic flats. Finally have the shed table (re)squared away and ready for action (photos in follow-up post).

You can read all about these rules over at the Perry Miniatures website.

I bought the figures several years ago without any specific game system in mind. V&F is all the rage, the rules are free, and they had army lists available for the rebellion. I use the past tense, as I have copies of the lists in Goodreader, but can’t find them on the net.

Why a new search? Well, I downloaded the Jacobite army sheet twice, but not the characteristics – or fate cards – sheet. Typical. I’ll cobble something together from other lists. Fortunately, only the first four characteristics on the sheet are unique. The remainder appear to be the same for each army.

While the game system involves drawing a fate card as the first action of a player’s turn, and using points to upgrade a commander’s capabilities,  I wanted to add other, more personal, characteristics for each side’s leaders. Rather than use the Irregular Wars system for that, I dug out the old standby, Programmed Wargames Scenarios by Charles Stewart Grant. Published in 1981, it has been an  influential and relevant resource.

Grant’s system uses dice to determine his array of characteristics for commanders, and “programmed” orders for either Red (Attacker), Blue (Defender), or both armies. It’s a good and fun solo system. He also includes an excellent and amusing set of “fate cards”.  However, I’ll use those contained in V&F for my first couple of games.

The results were interesting to say the least. Here’s a summary.

TRAIT/ORDERS

BRITISH (Blue – Defense)

JACOBITES (Red – Offense)

C in C Personality

Bold

Bold

Tactical Capabilities
Attack Good – +2 to unit attack Weak – -1 to unit attack
Defense Above Average – +1 to unit Weak – -1 to unit defense
Local Population Attitude

Indifferent

Indifferent

Allocation of Forces 50% defend South Hill 40% attack South Hill
30% defend North Hill 20% bypass to East, attack N. Hill
20% reserve (West of bridge) 40% reserve (off table)
Execution of Orders Give no ground. Defend well forward. Can move off contour to exploit favorable situation.

See Pg. 19 for responses to events.

See Pg. 21 for reserve response to events.

The local population option is an interesting touch.  Locals can actively aide one side or the other.  This includes sabotage, giving bad directions, or whatever one’s imagination conjures up.

I haven’t figured out how to apply the tactical modifiers.  Apply to the entire army or to a single unit designated by the CinC?

In addition to the CinC, V&F calls for Brigade Commanders.  A brigade can have anywhere from two to eight units.  I’ll have two Brigadiers per side.  However, I’m not assigning characteristics/traits to them since it’s my first game with this system, and I’ll have plenty of other opportunities to butcher the rules.

More as I get things figured out.

GWAS – Attention Diverted

Way back in March I posted about a Great War At Sea (GWAS) project involving Chile and Argentina.

That one is now on a backburner, with my new emphasis on the “what ifs” of the Spanish-American War.  As usual, the move from South America to the Caribbean did not involve a straight line.  Instead the initial detour was to “Plan Black”, a possible United States-Germany confrontation.  This, in turn, was an offshoot of a by-chance read about the international squabble(s) over Guam and the Philippines in which Germany was an active participant.

Plan Black was a bust, since the GWAS scenarios are set during the Dreadnought Era, and I wanted something turn-of-the-twentieth-century.  Looking for a path of least resistance, I dug into GWAS’s 1898, The Spanish-American War,  module.  This opened up some immediate possibilities.

Fortunately, I own a copy of David Trask’s “The War With Spain In 1898”.  This one volume history covers the naval aspects in some detail, going far beyond the usual coverage which is typically limited to the battles of Manila Bay and Santiago De Cuba.

The game’s scenarios cover some hypothetical situations, but I was interested in a campaign that assumed (and this is quite an assumption) that Spain had not neglected its fleet for ten years, and was a far better match for the United States “New Navy”.  This is where Trask’s book was so helpful.

But, things ground to a halt when I decided to use the alternate Dreadnought tactical rules.  These require a roughly 3 ft x 3 ft hexagonal grid sheet, and I don’t have one.

Amazon should be delivering a blue hexagonal grid sheet any day now.  Everything else is ready to go.

And, I will get to Chile vs. Argentina. Sometime.

Up Front – Filling the Gap

This Summer I played Up Front (UF) both solitaire and face-to-face.  It’s a comfortable game.  I keep coming back to it.

What I like about UF is that it isn’t too complex (like Advanced Squad Leader), isn’t too simple (like many miniature tactical/skirmish games), and is more accessible than Advanced Squad Leader Starter Kit (ASLSK).  By “accessible”, I’m referring to a level of detail requiring numerous chart references, multiple plays for the requisite knowledge, or a savant-like memory.

Also….you don’t need the space required for a board.  ASLSK has a number of compact one- board scenarios…..but not that many.  UF doesn’t require  multiple boards to enjoy an involved experience,  but the number of scenarios provided are limited.  However, those scenarios can be tarted-up using different force mixes, different nationalities, or removing cards to create new terrain and obstacles.  Actually, if you could still buy the game (and why that is involves a strange and terrible saga that I am only vaguely familiar with), a case could be made getting a second box to add cards.

By the way, Chris Farrell has some very interesting observations about the game over at his blog.

To keep the game in its comfortable place, I add selected sections to enhance the  Basic Game which is limited to Sections 1-16.

17.  Flank Fire and Encirclement; Lateral Group Transfers

18.  Weapons Acquisitions

19.  Malfunction and Repair

20.  Infiltration and Close Combat

For Chrome, I will include – on a case-by-case basis –  the following sections.

21.  Demolition

22.  Flamethrowers

23.  Pillbox

24.  Minefield

39.  Troop Types

With these five additional rules, you can attack a pillbox; first without any additional weapons, then with demolitions and, finally, flamethrowers.  After that, assault the pillbox through a minefield.  Excellent for solo play.

Tanks? Artillery?   I’ll leave those for Advanced Squad Leader or the Starter Kit.  Tanks & Artillery rules make me uncomfortable.

Learning Curve Continues

Finished up ASLSK’s Scenario S2, War of the Rats.

I thought it would be an easy mopping up after the early punishments meted out by the Germans.  But, the Soviets were surprisingly resilient.  It all came down to a climatic melee in the last German turn, in the last hex, of the last building.

Given the weapon mix (demolition charges and flamethrowers), unit types (conscripts and elite) and urban terrain, the scenario is a great introduction/review of the system’s first infantry-oriented iteration.  As I’ve posted  before, ordnance and especially armored fighting vehicles slow things down.

Well, why not another play?  I’m curious if my “overload tactics” will work again.  And, if so, can I finish off the Soviets quickly?  As a teaching colleague used to say “Repetition is the key to knowledge.”  Then, perhaps, something with ordnance…..