Winter has finally arrived. Gone are sunny skies and temperatures in the sixties. Disorientation replaced by discomfort.
Home Alone, so wargames spread out all over the place. As always, the problem is to avoid the avoidable distractions and just sit down.
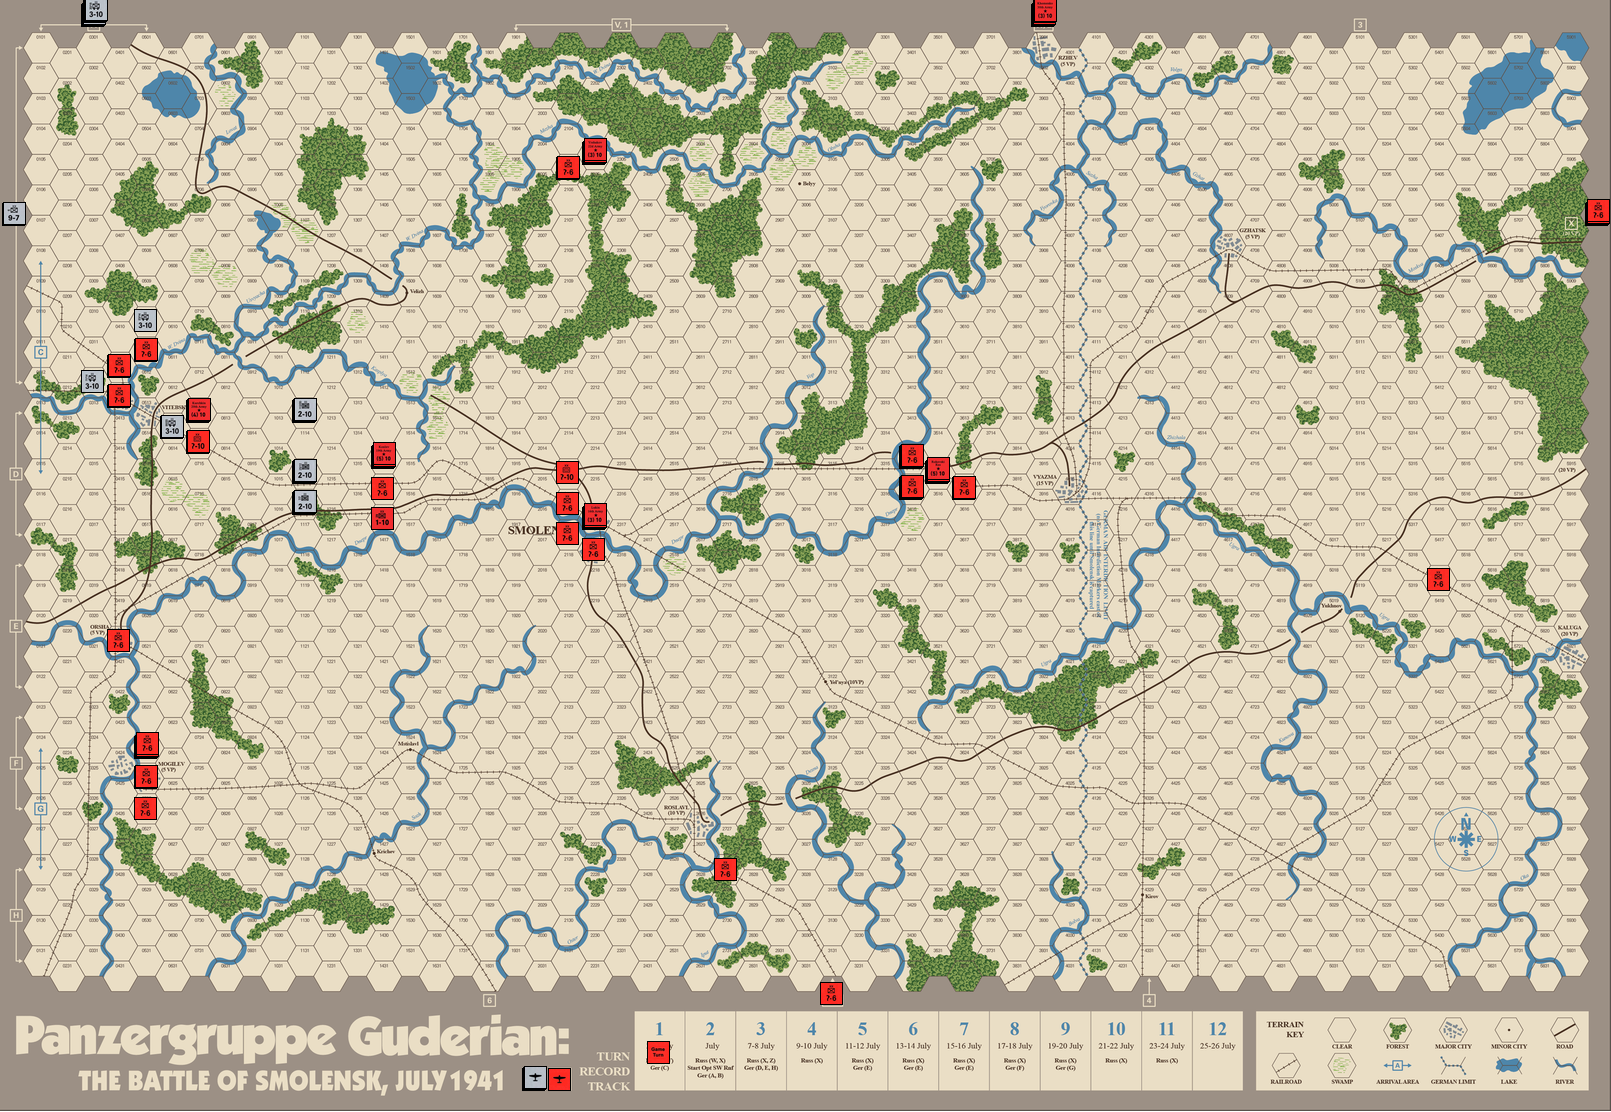
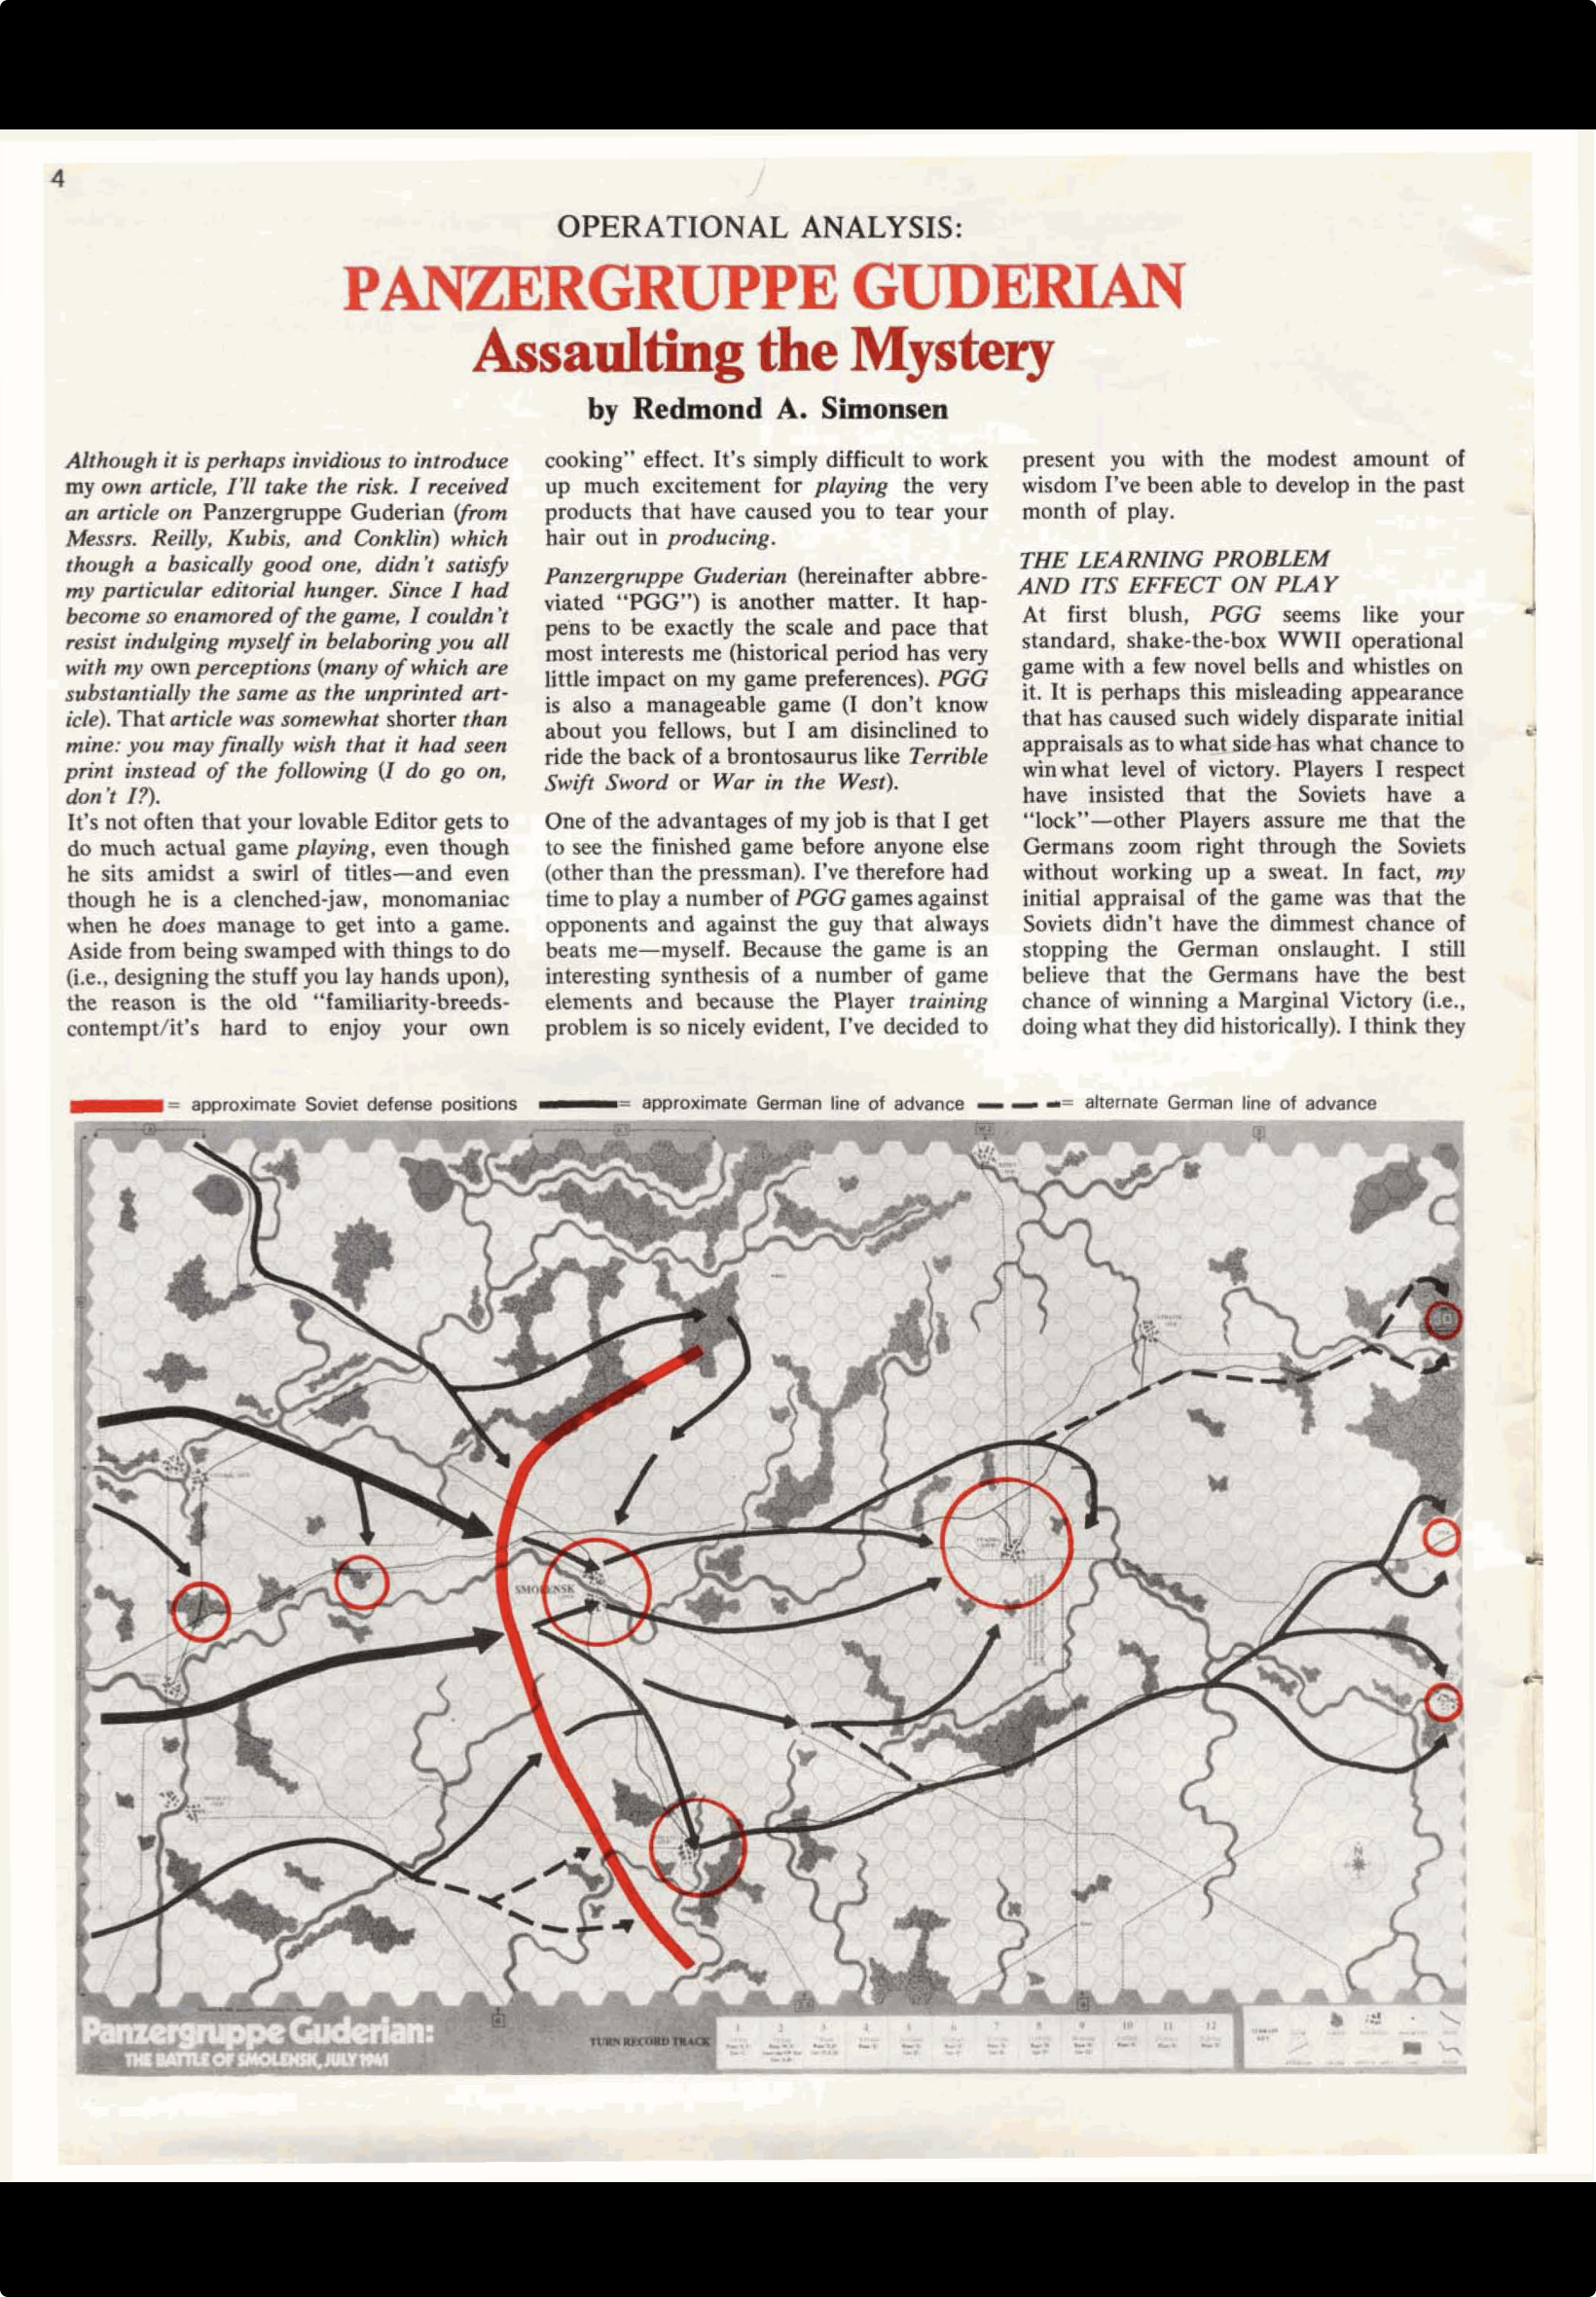
One project is a solo Vassal game of the venerable Panzergruppe Guderian. To make things fun/different, and to learn a little more about how to play, I dredged up an old copy of Moves Magazine #29.
None other than Redmond Simonsen walks the reader through what to do. So, I’m following his guidance.
Here’s the game board (or most of it) after Turn 1, along with a shot of the first page of the article.
Couldn’t resist the rogue synapse that compels me to pull out my System 7 Napoleonics components.
I had a partial jolt back in 2023, with my last full synaptic jolt several years ago.
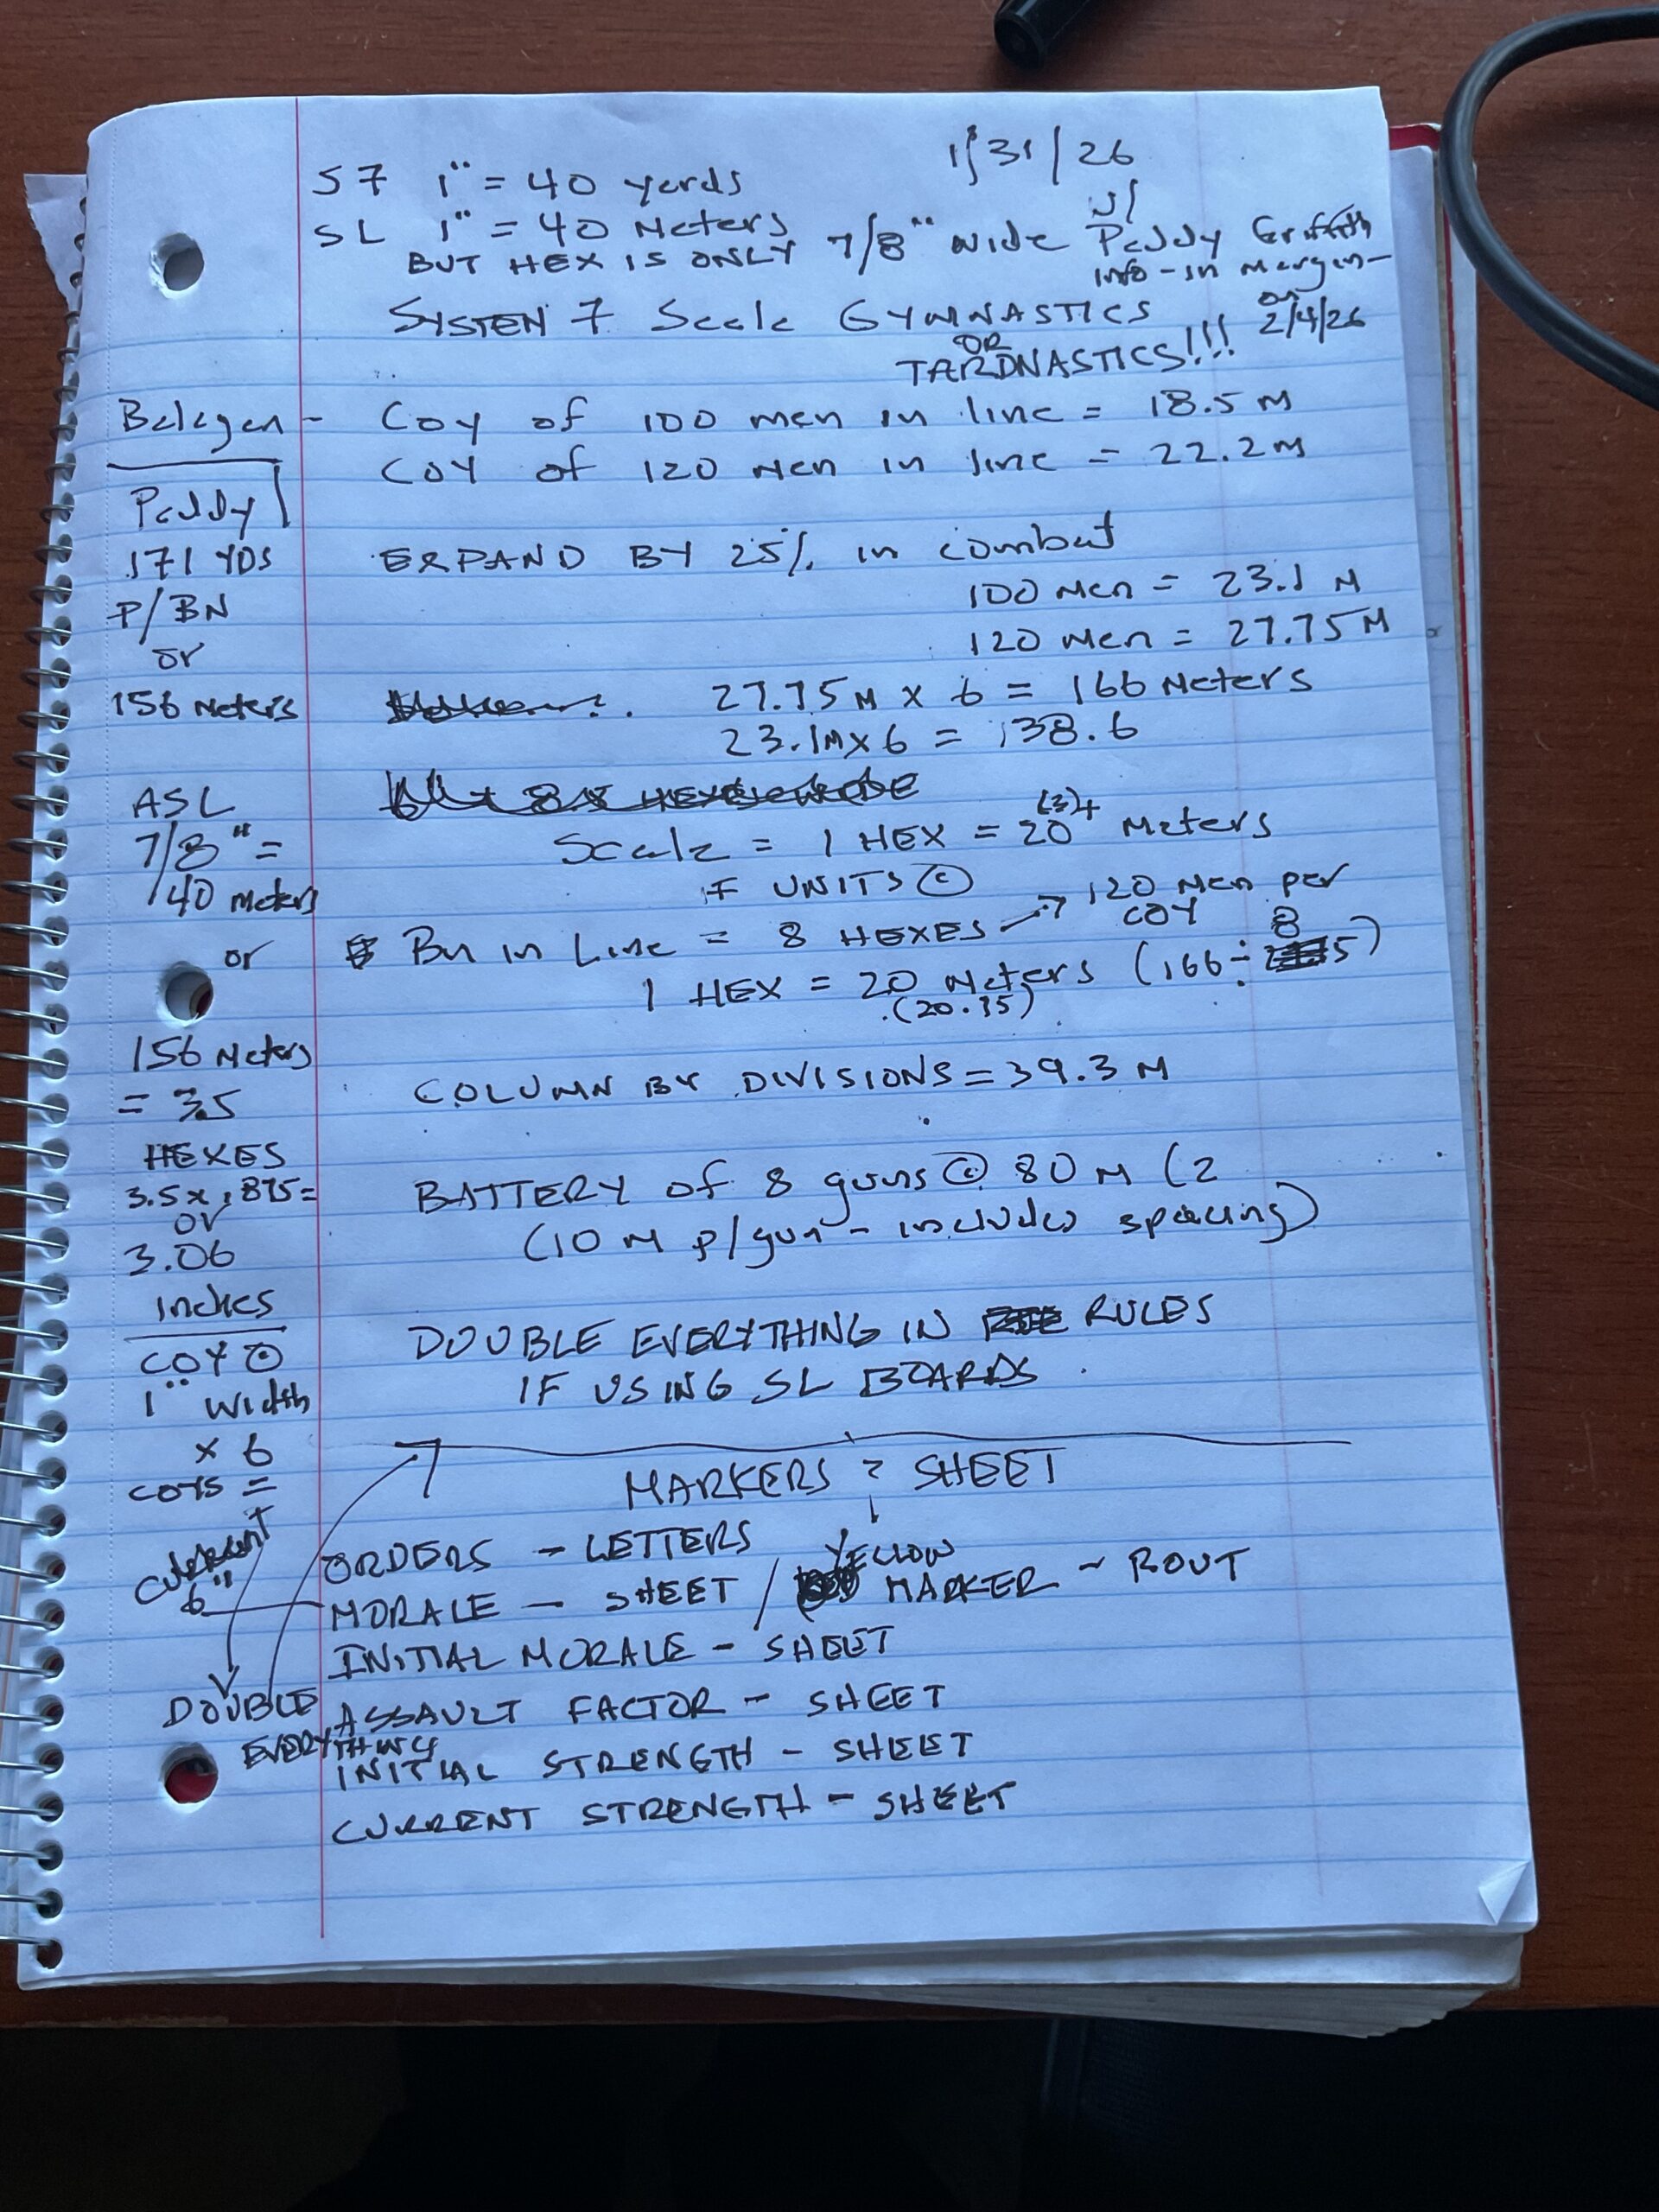
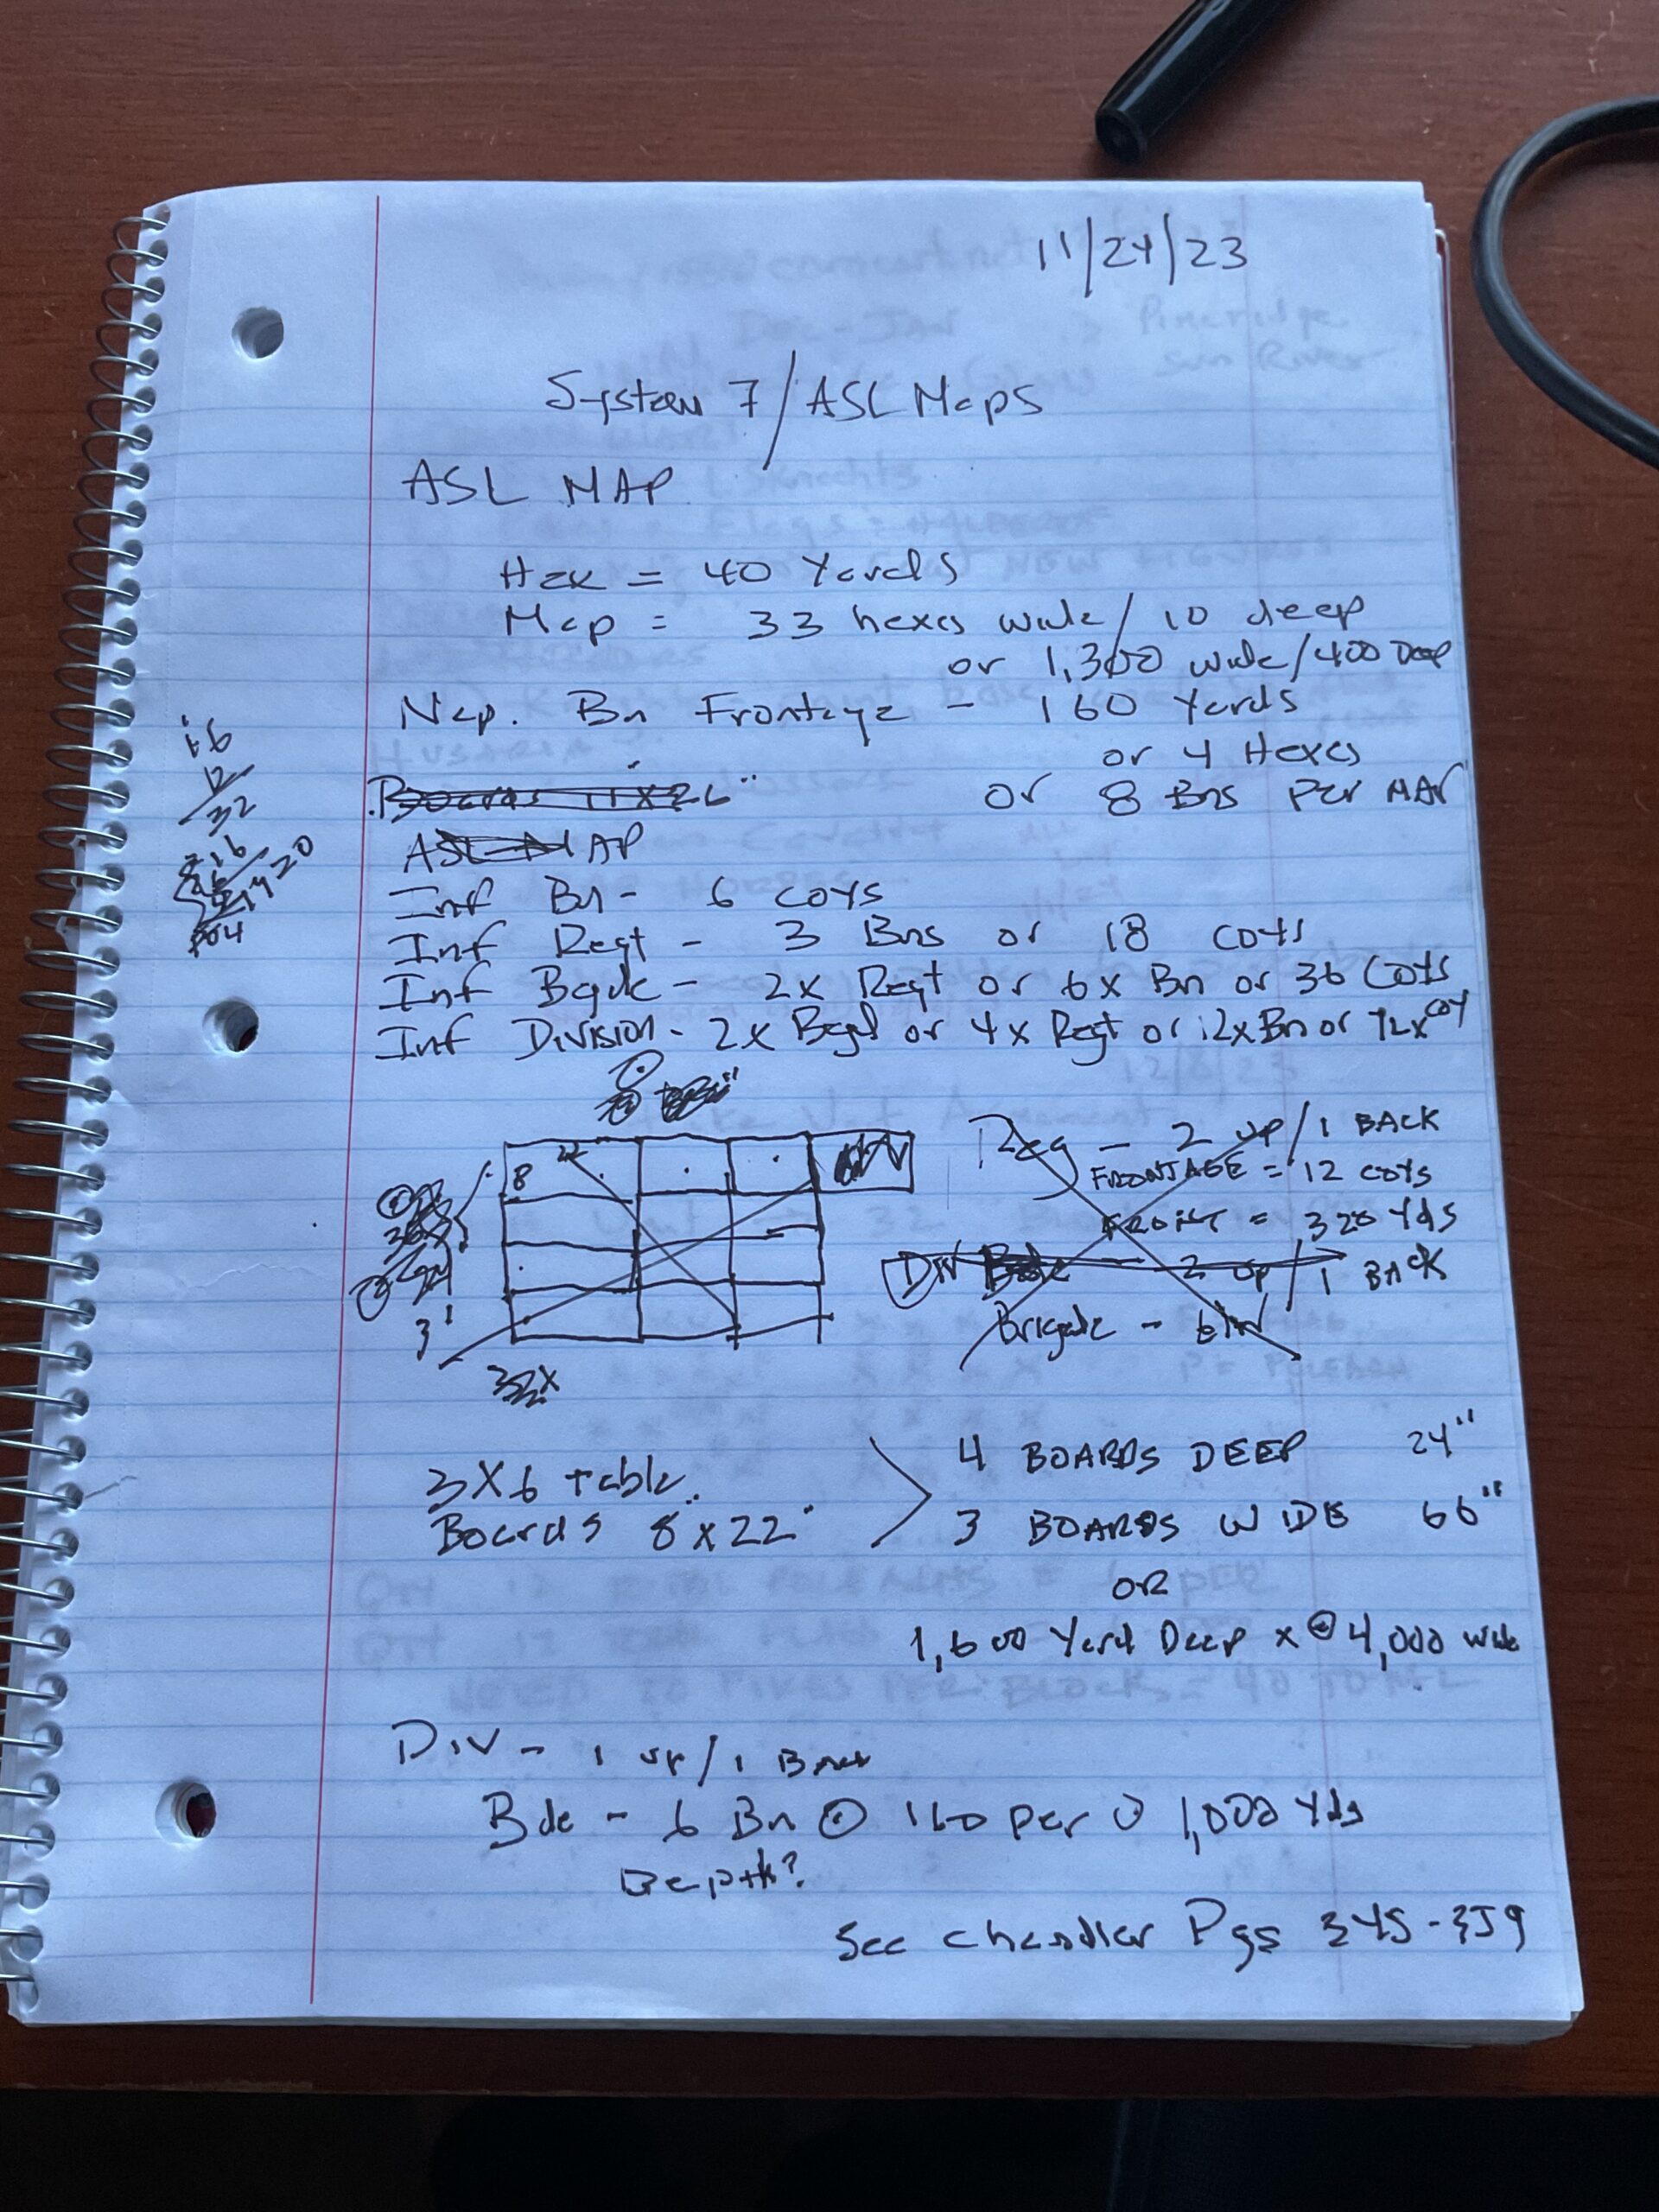
It was as though time had stood still. Still thrashing on scale and unit rosters.
Here’s how I operate. Not pretty.
Finally figured it out, with the help of Balagan and Griffith. Scale using Squad Leader maps is approximately 2:1, so movement and firing ranges are doubled from rules as written.
I worked out a cut and paste template for each/most unit sizes and morale ratings.
Now I can assemble a roster based on force composition. Haven’t tried it, but it might work.
As usual, the real problems are a) getting it all to the table and b) playing.
Now playing this great solitaire game. I had forgotten just how good it is.
Went over to its Boardgamegeek page and downloaded this mini-mat. Saves so much space! Now I can comfortably play it at my desk, with the Soldier Player cards and loadout on a small side table.
The usual re-entry fits-and-starts with the rules. This narrative discussion really helped. So, with this, the 2nd Edition rulebook, downloaded key terms and universal rules, I had all the resources required to play.
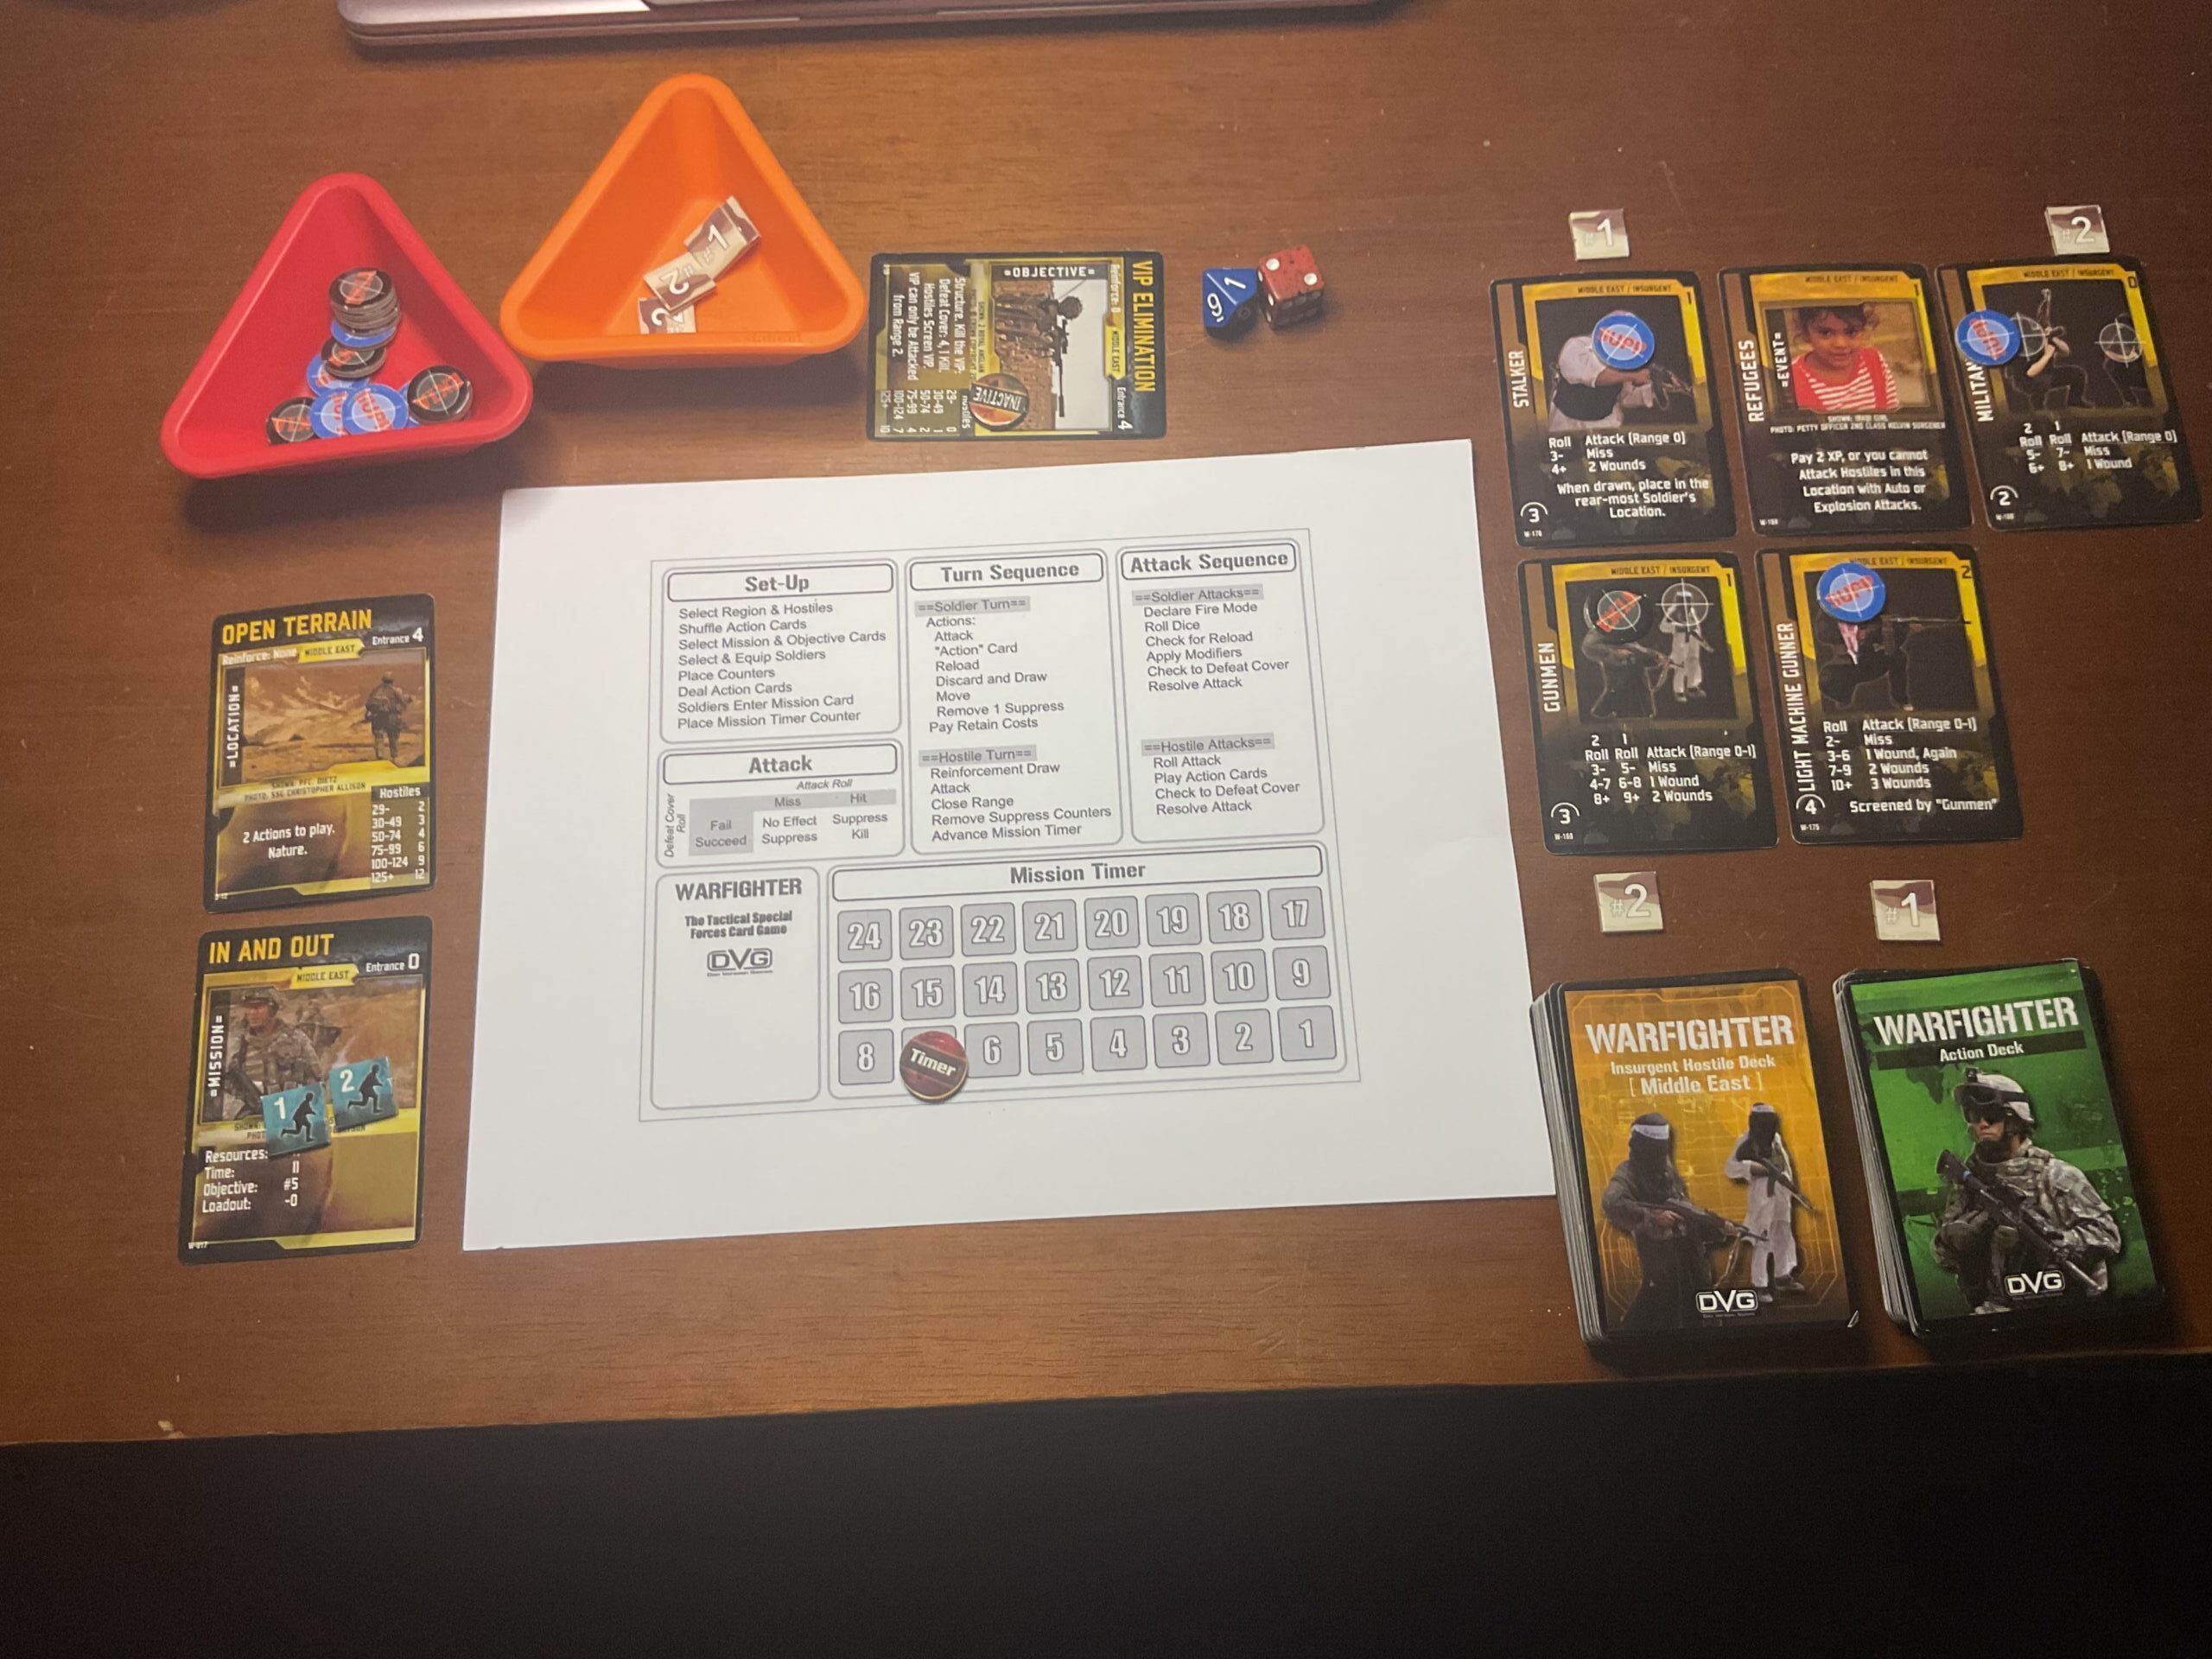
Here’s a quick snap of the first mission of my campaign game.
Notice the Refugee Card? That ruined everything. Damn Kids!!! No auto bursts or explosives. My M-203 – which I’m counting on to kill the mission’s VIP target and to kill multiple bad guys, is useless. So, I became bogged down in a gunfight characterized by my die rolls that suppressed, but did not kill. After one Player-Soldier was wounded twice and my Mission Timer clicking down, I went into abort mode.
Granted, it is a tough mission with low (41) resource points. But, I’m sure an experienced player would have figured things out. I’ll use this as a negative score, and do my usual reset.
We didn’t use any of the optional or experimental rules, just the new Combat Results and Supply Effects alternate rules. We also found two changes to the basic rules that had an immediate impact on play.
The alternate combat results seem less bloody, and, according to Tim, simplify the replacement process. Units that are out of supply no longer roll for elimination (4th Turn), but continue to exist albeit in a very weakened state.
The changes in airfield capacity and stacking had the most significant impact on play.
Full and Partial Hex Cities now have a maximum capacity of 3 air units. With Minor Cities having a capacity of one air unit. In the older rule sets, the former had a capacity of six air units, with Dot Cities at three units and Reference Cities at one unit. Apparently there will some changes in the categorization of cities when new maps are published. We simply used a capacity of one for both Dot and Reference cities.
The total number of Regimental Equivalents remains at twelve, but in the new rules all twelve factors can be divisions. The allowance for artillery remains the same. This change allows for some very robust combinations.
I’ve sent my initial dispositions to Tim. More on that later……
The remainder of this session report will focus on Romania. There was mutual nibbling up north, but the bulk of the action was to the south.
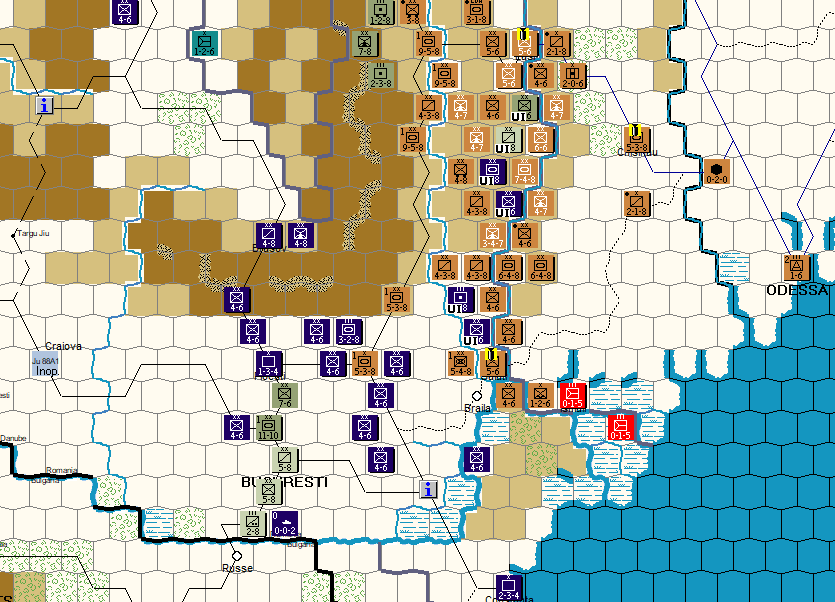
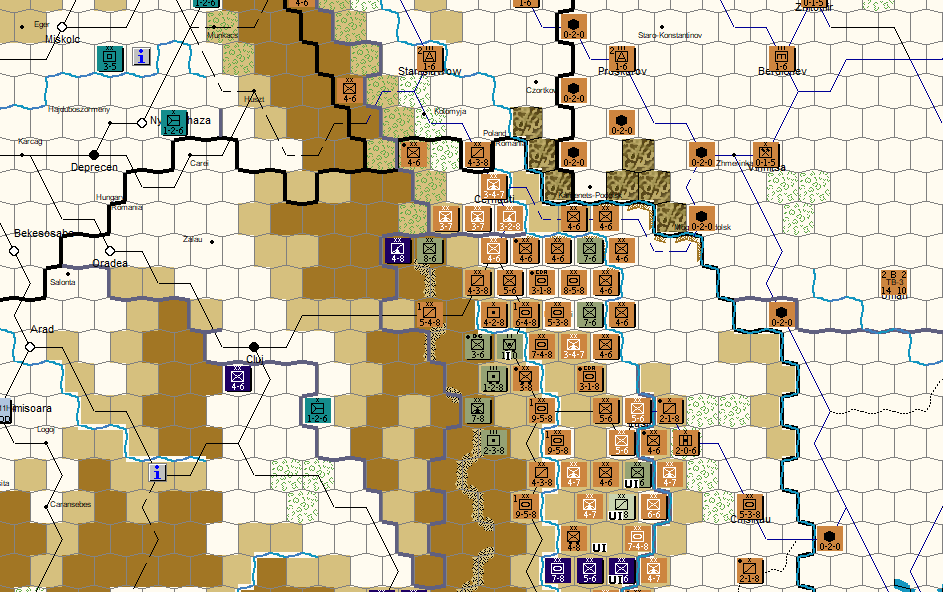
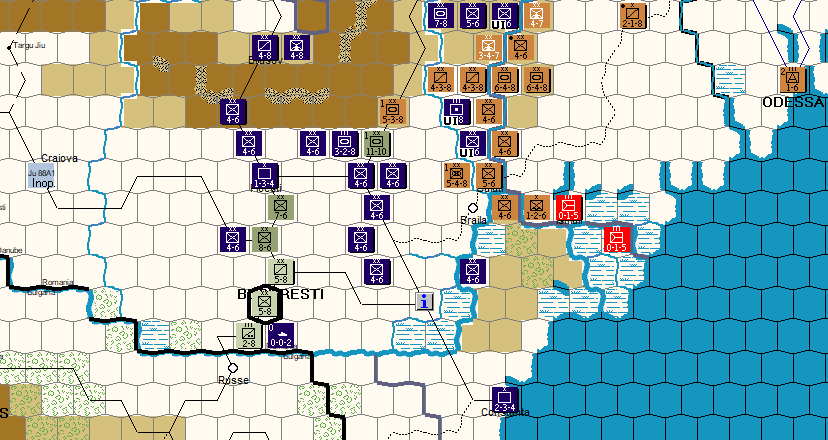
Here’s the situation at the end of the Soviet Exploitation Phase.
Not good at all. Desperate Times…..
Here are my Desperate Measures……Strategic Rail Movement for German ground reinforcements and Transfer Missions for air assets. Fortunately, Hungary is a benevolent neutral, so the Axis can use Hungarian rail and airspace, as well as trace supply through it. Unfortunately, Romania does not have many airfields, although I had engineers working diligently for more fields to be ready in the Aug I Initial Phase. The supply access really helped withdrawing units.
Axis Movement…..
Up north, I tried to extricate units by moving west into the mountains. Down south, the priority was to stop the Soviet advance from down the valley, while having German armor in position to move during the Exploitation Phase. Some of the stranded units had no hope for a successful retreat, so they would buy time for the others.
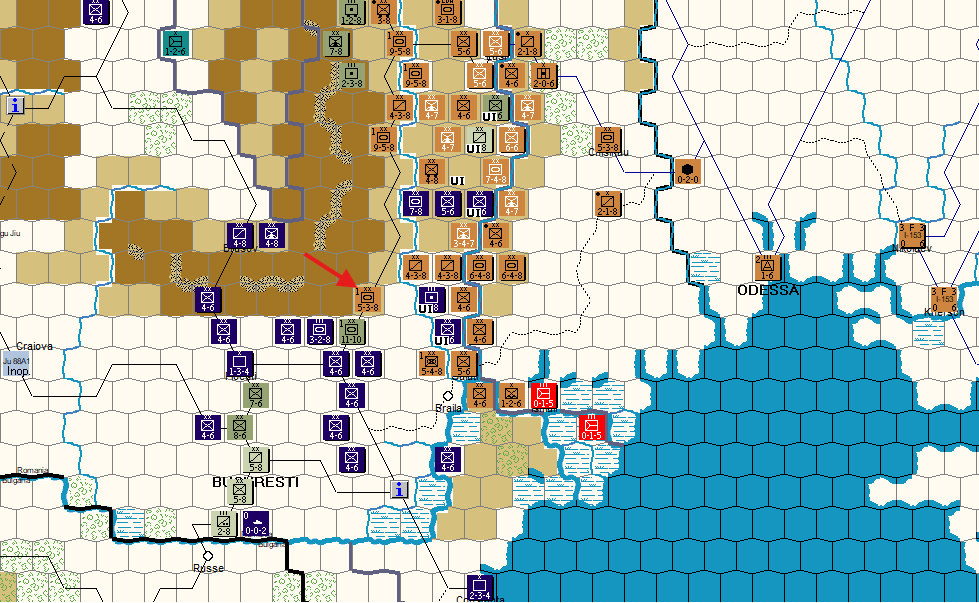
These two shots show the situation after the Axis Exploitation Phase. A cobbled together perimeter defense with the panzers providing some depth.
The big problem is the Soviet unit identified by the red arrow. Couldn’t reach it and establish a zone of control.
When Tim diplomatically suggested a re-set, I took up his offer.
Next, some observations we have about the Barbarossa Unleashed rules. Plot Spoiler……..we like them.
My previous post covered the scenario’s basics. Now to the gameplay.
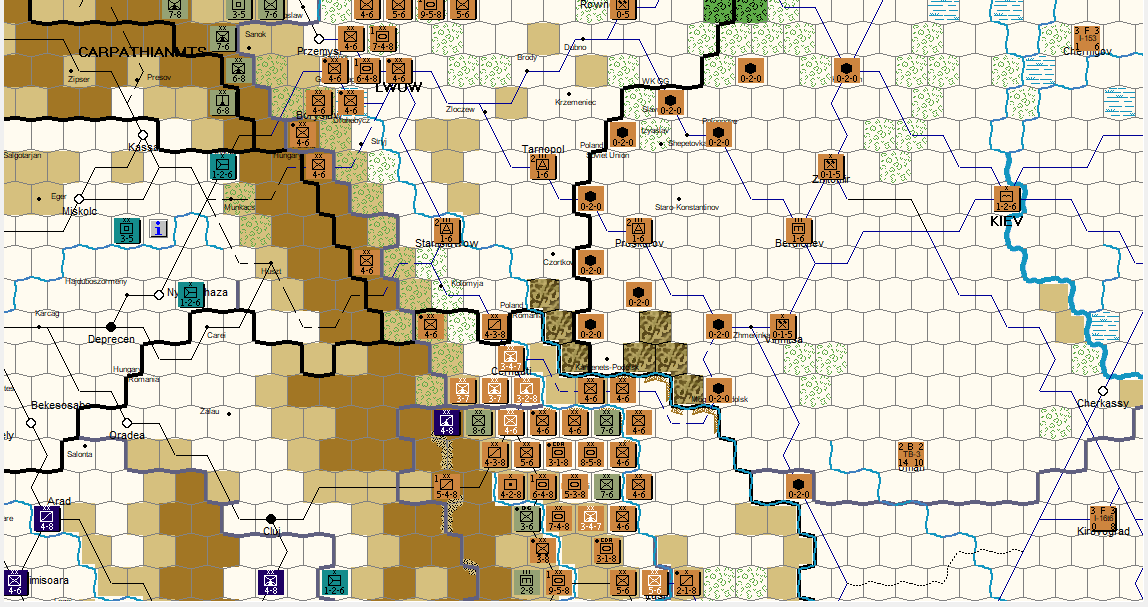
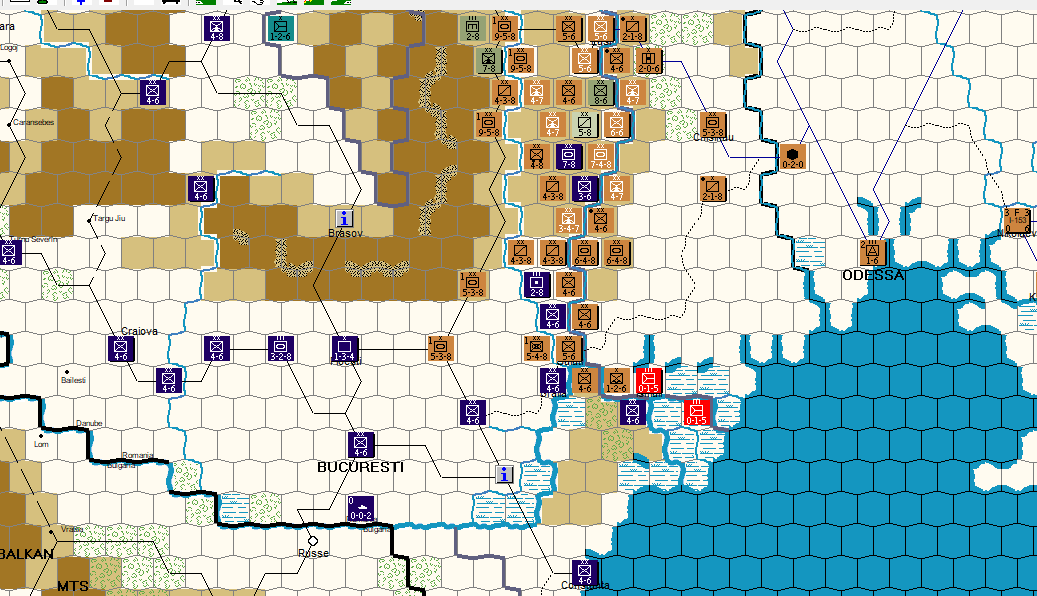
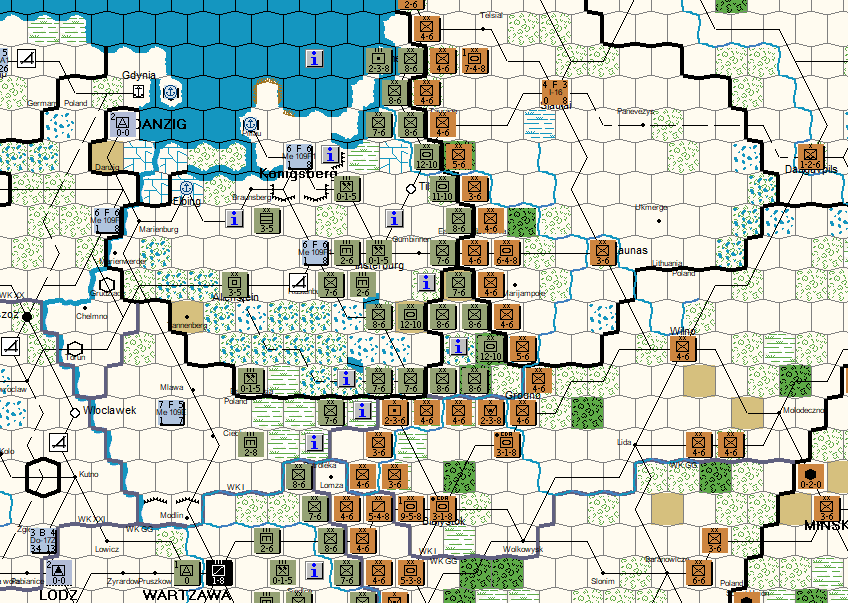
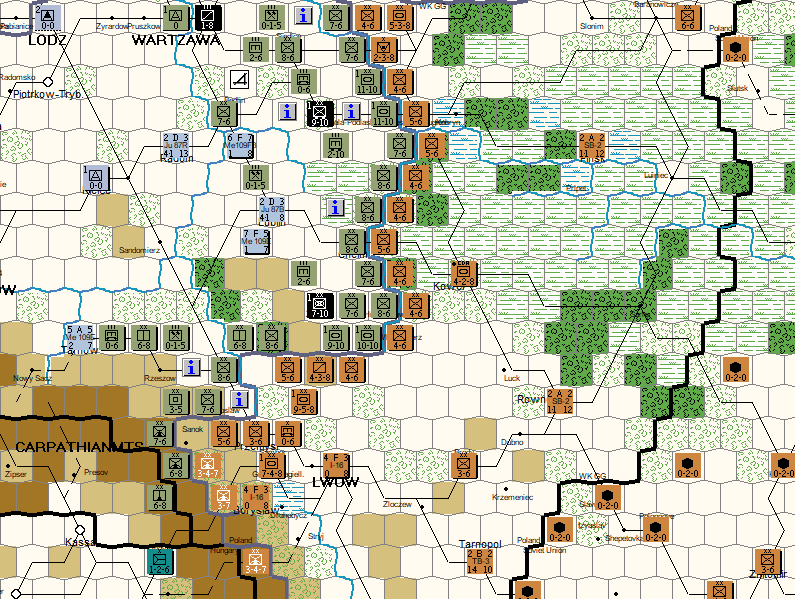
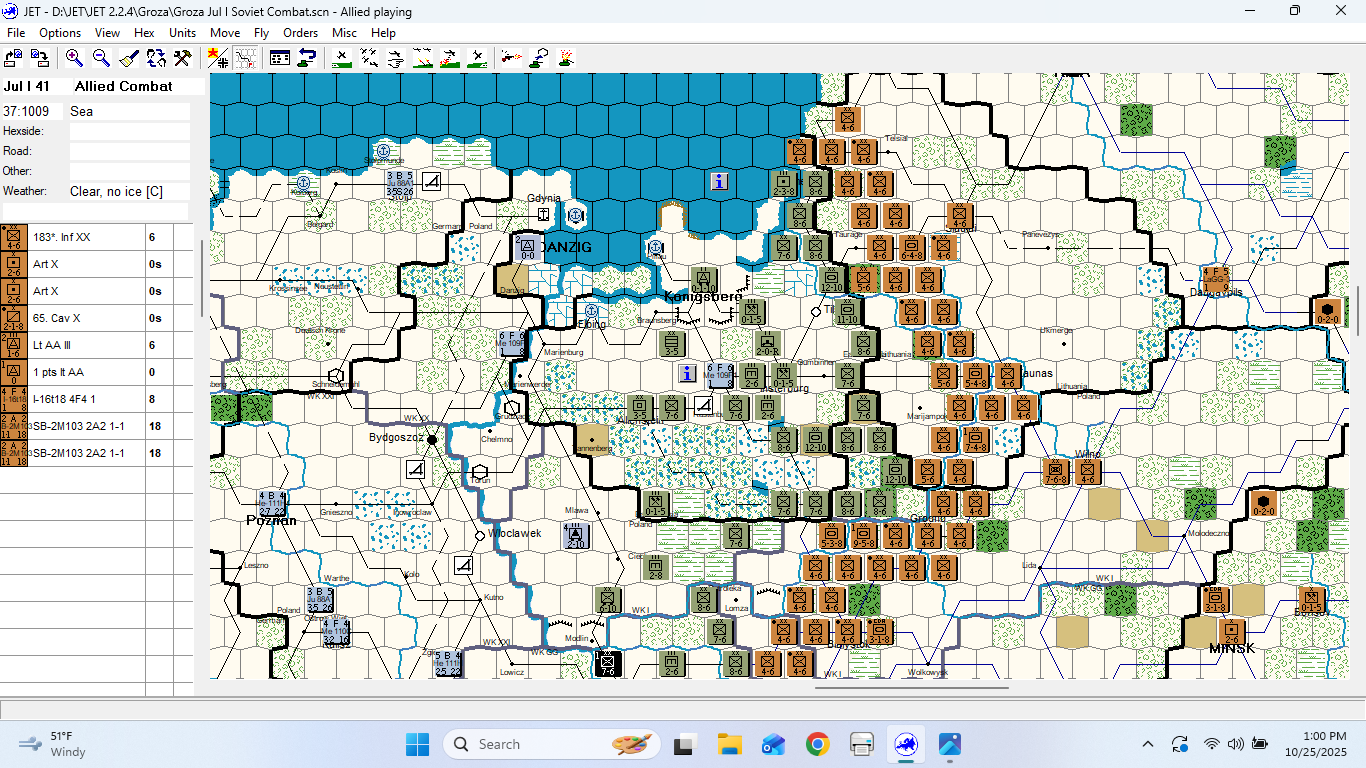
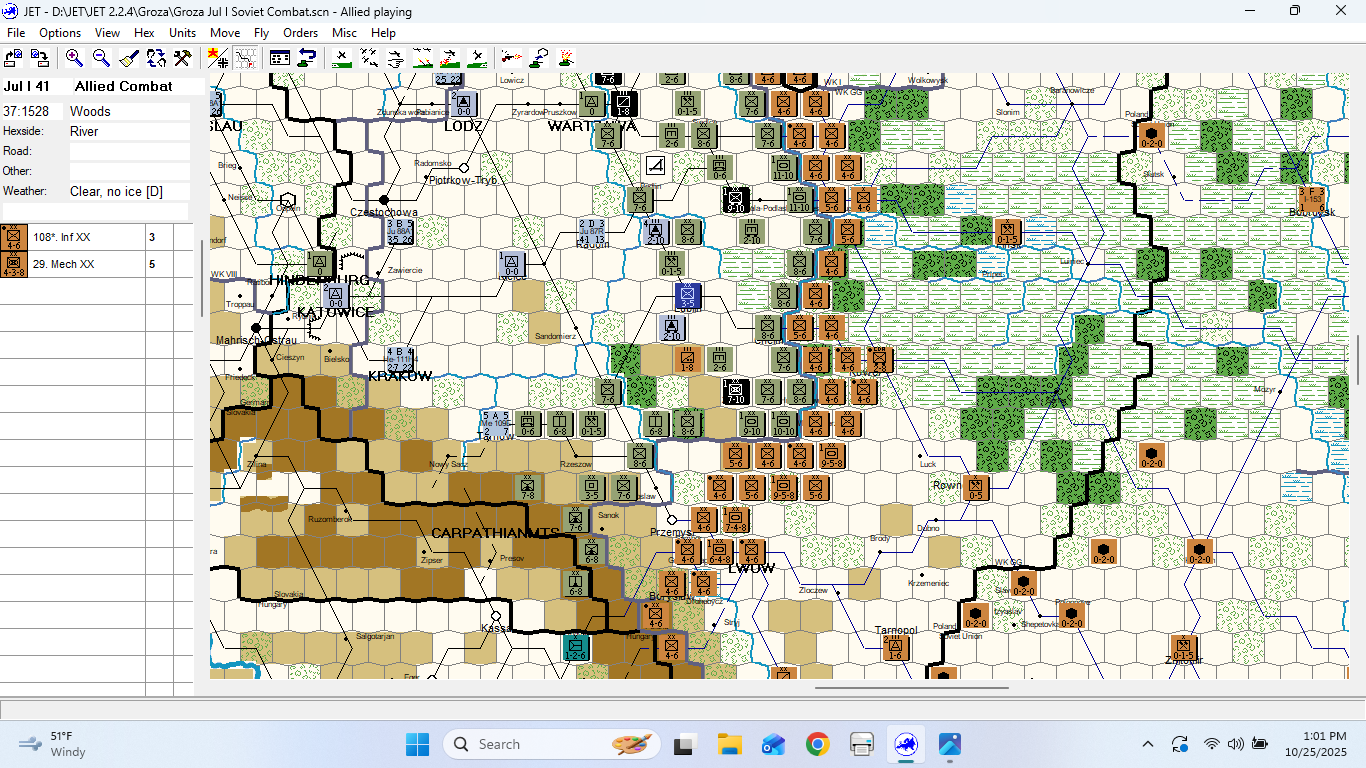
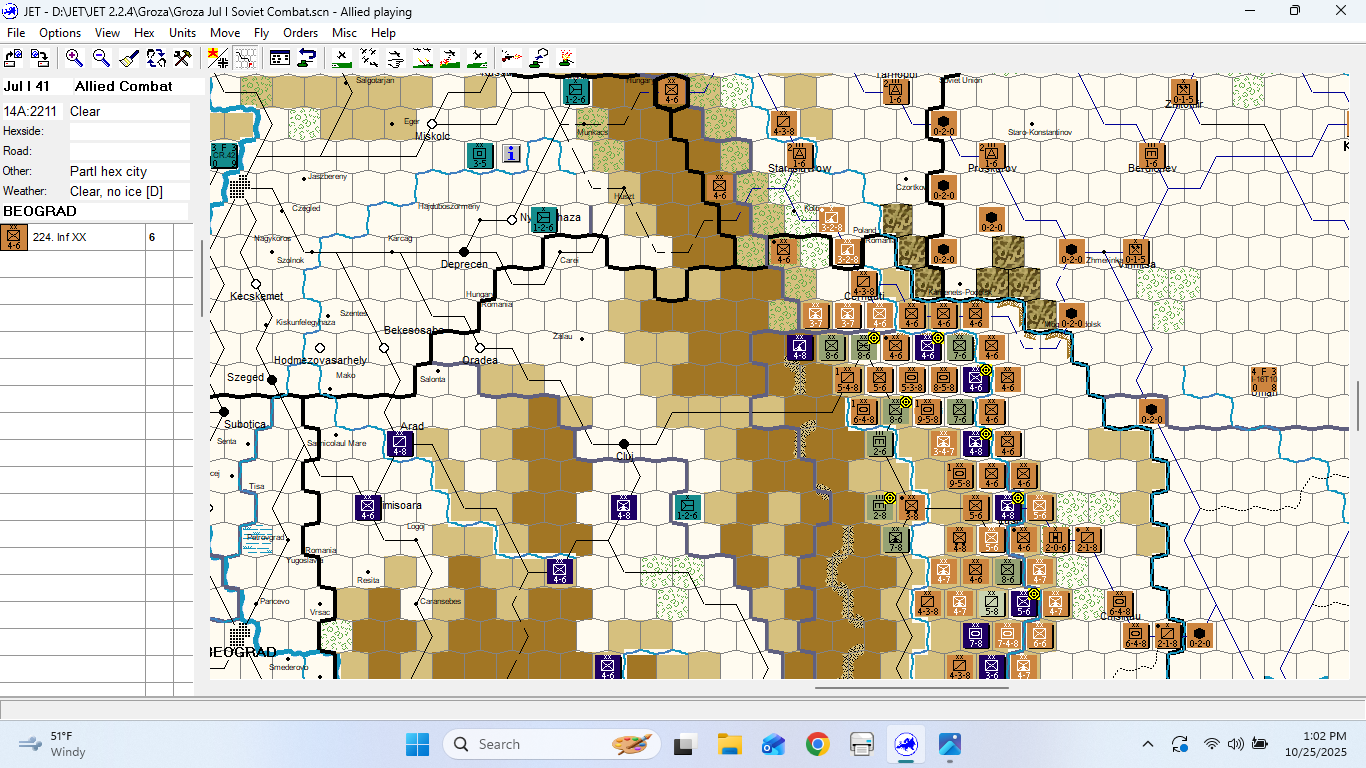
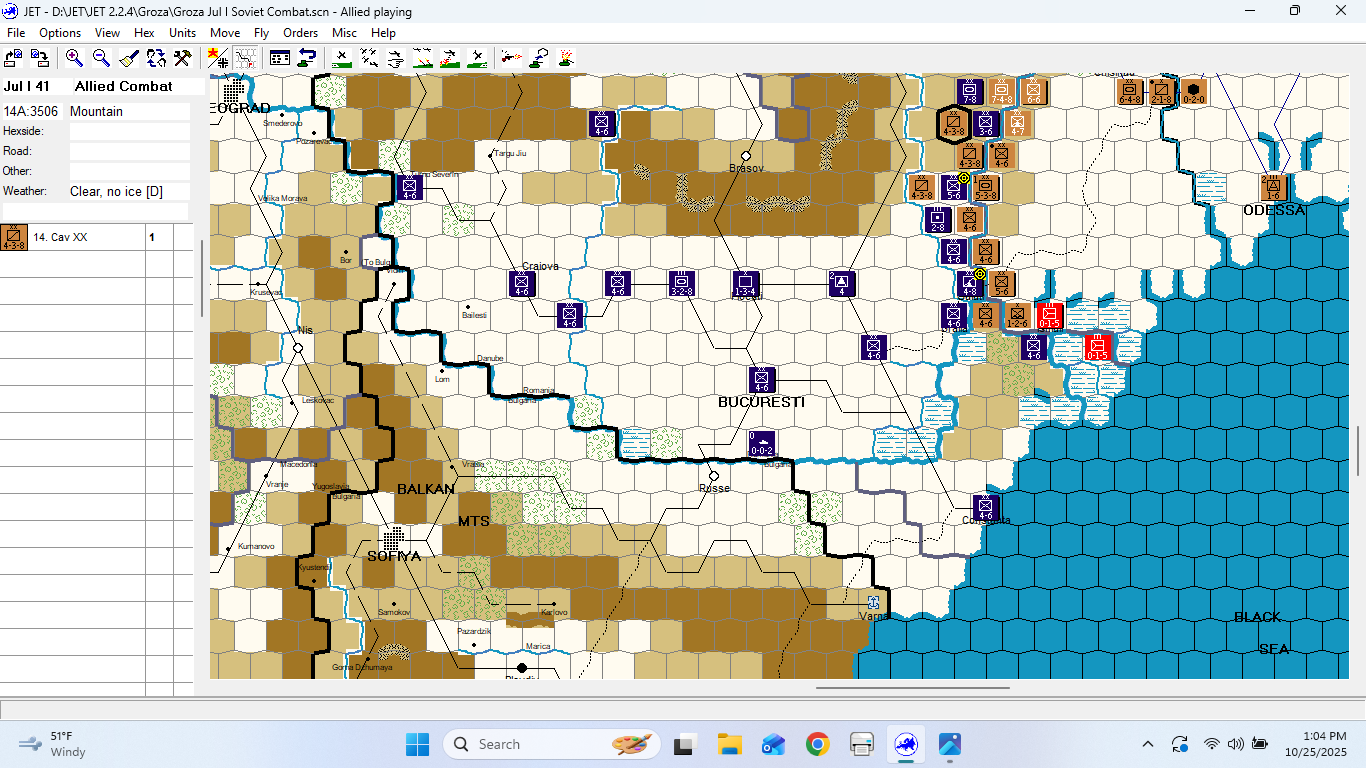
Here are shots of the initial dispositions (after the Soviet Jun II Special Turn) from North to South. I discovered it takes four (4), not three (3) screen shots to cover all fronts. This group is missing the southern tip of Romania.
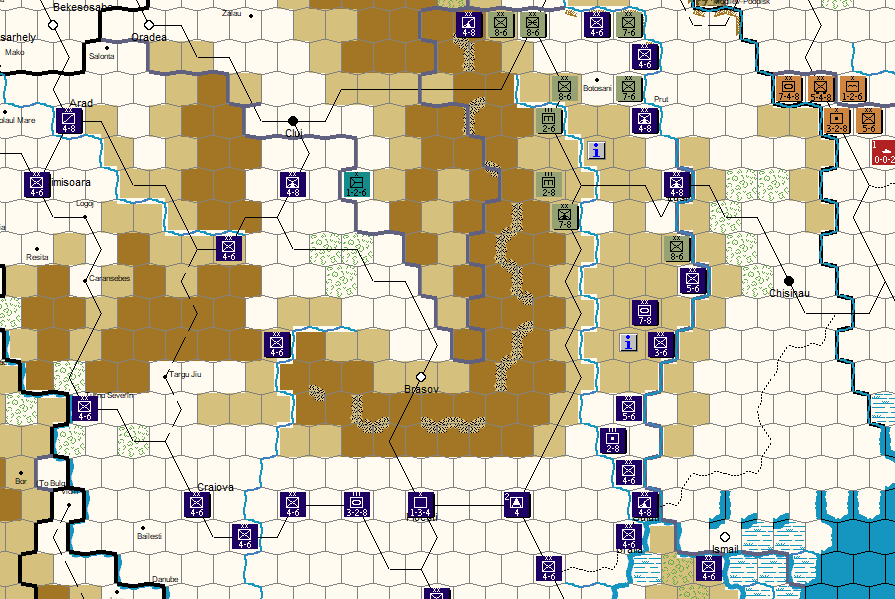
For some reason, I never “captured” an image with Tim’s Soviets dispositions in Romania. But this is pic of mine is damning enough. Just wait……
The following show Tim’s Soviet onslaught. Not much going on in the northern and central pictures, but in Romania……whoaaa!!!
They say we create our own Hells. Yes, my Romanian Hell was a product of failing to comprehend the interactions of two Special Rules.
For the first turn, Zones of Control (ZOCs) are reduced. And, Axis units must be placed so as to either occupy border hexes or have them in a zone of control. Too much of the latter, and not enough of the former. I needed a solid front in Romania, with reduced border strength, but without gaps that, literally and figuratively, could (and would) be exploited.
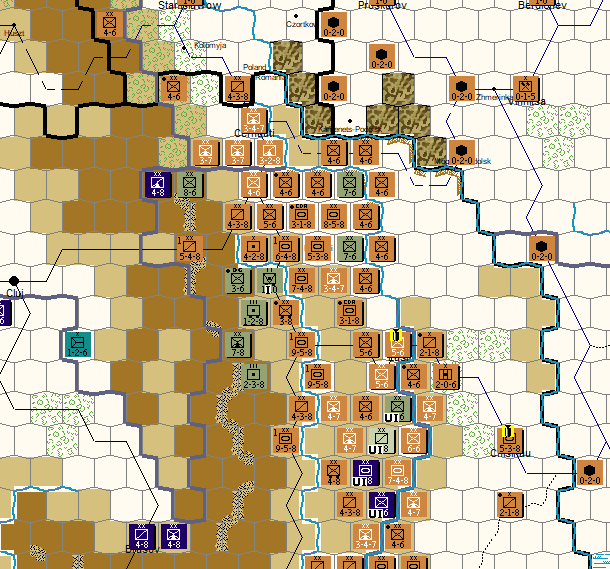
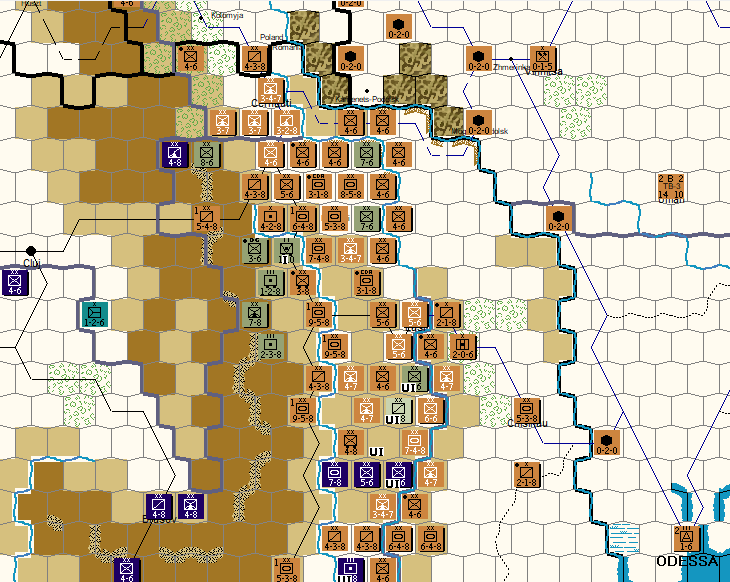
To compound this error, I did not recognize the implications of the enhanced exploitation capabilities of Soviet units. Here’s Romania after the Jul II Soviet Exploitation phase.
Gruesome. Enough! I’ll cover the rest of our game after my return from W.C. Fields’ (not so) favorite city.
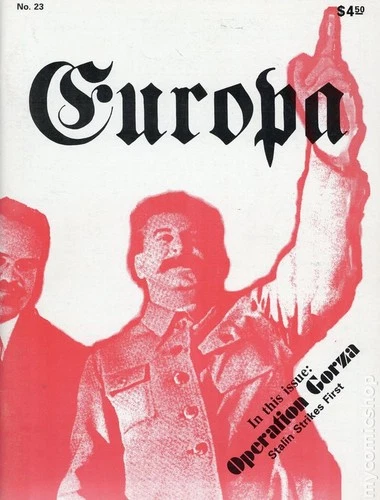
Went to the web to find a picture of The Europa Magazine #23. This is the issue with Groza. But wait! Look at the cover!!!
What? Gorza? Jeez, did I get it wrong?
Backpedaling furiously, I changed EVERYTHING in the site to “Gorza”. After this 20 minute frenzy I took another look. Ahhhhhh…..it is “Groza”. Either Winston or one of his minions jerked the cover up.
And, a side note. Is it Romania or Rumania. Here’s the scoop from our Beloved Google AI.
“It’s Romania, the official and current spelling, though Rumania (and French Roumania) were used in English previously, especially before the 1970s, influenced by historical spellings, but the “o” spelling aligns with the native Romanian language and is now the standard in English. “
Quick note: If you are viewing this on an IPad or IPhone, scroll down to the bottom of your page. This is where you will find the tags for Operation Groza and Europa.
Yes, it’s been a year since I posted up about Operation Groza. Why? Sheer indolence. But recent announcements about Europa provide new motivation.
To recap: The Groza scenario was published in The Europa Magazine #23, with many special rules and modifications to the Orders of Battle (OBs) found in the Scorched Earth module. Tim and I wanted to play Europa, were intrigued by the scenario, and anxious to try out the Barbarossa Unleashed draft rules published by John Astell. Tim took on the herculean task of adapting the elderly, but still very serviceable (let’s just leave it there), JET Scorched Earth module for Groza. This involved merging maps and creating supplementary counters. We started play in late Winter 2025.
Might all of this involve confusion, numerous operator errors, and low levels of frustration? Not to mention the usual screwing up? Yes! So, here we go, starting with a summary of special rules with subsequent posts describing game play, observations about the rules, and lessons learned.
BTW…..We have reset, and are in the process of starting a new game. But, back to old business.
The game begins with the Jun II 41 (Soviet) turn. There are several significant factors affecting each side’s initial deployments.
Axis Player –
Deploys air and ground units first, with each Army having designated zones of deployment. Units deployed include reinforcements for the Jun II and Jul I turns. This placement simulates their movement during those turns the Axis player cannot move units.
Every hex along the Greater Germany (including occupied Poland) and Romanian borders must be either occupied by, or in the zone of control of, an Axis unit.
Note: Hungary is neutral. However, Axis units can overfly Hungary and use that country’s rail lines.
Soviet Player –
Deploys initial air and ground forces, with special modifications for each Military District (MD). Again, each Army has deployment zones.
Can change four (4) combat/motorized (c/m) cadre units to full strength, and all 3-4 infantry cadre units to their full strength sides.
Places Jun II reinforcements on the map reflecting mobilization.
Game Play –
The Soviet player conducts a special Jun II turn limited to movement and exploitation phases (no combat). For those unfamiliar with Europa, c/m units may move during the exploitation phase. Movement is limited to within the Soviet Union (not occupied Poland). Air units may move in either, but not both, phases.
The Soviet may designate NKVD units as Spetsnaz. Ahhhh….Chrome!
After all Jun II movement/exploitation is finished, the Soviet Player begins a “normal” Jul I turn. But, “normal” applies only to turn sequence as their are several special, and very significant, “benefits” ( per scenario designer) to be used during this turn, only.
The Soviet Player 1) ignores border river hexsides for purposes of combat and overruns (not movement). 2) increases the attack strength of his artillery units by 50 percent. 3) c/m units at full strength have full, not limited, exploitation capabilities. 4) conducts movement as though each Axis unit has a reduced zone of control (ZOC). 5) Spetsnaz units are treated like commando units, and have an attack strength of “1” when used in conjunction with other units. Ahhhh…..Chrome!
The special Jun II move combined with the Jul I rules and inability of Axis forces to react simulates Groza’s surprise attack.
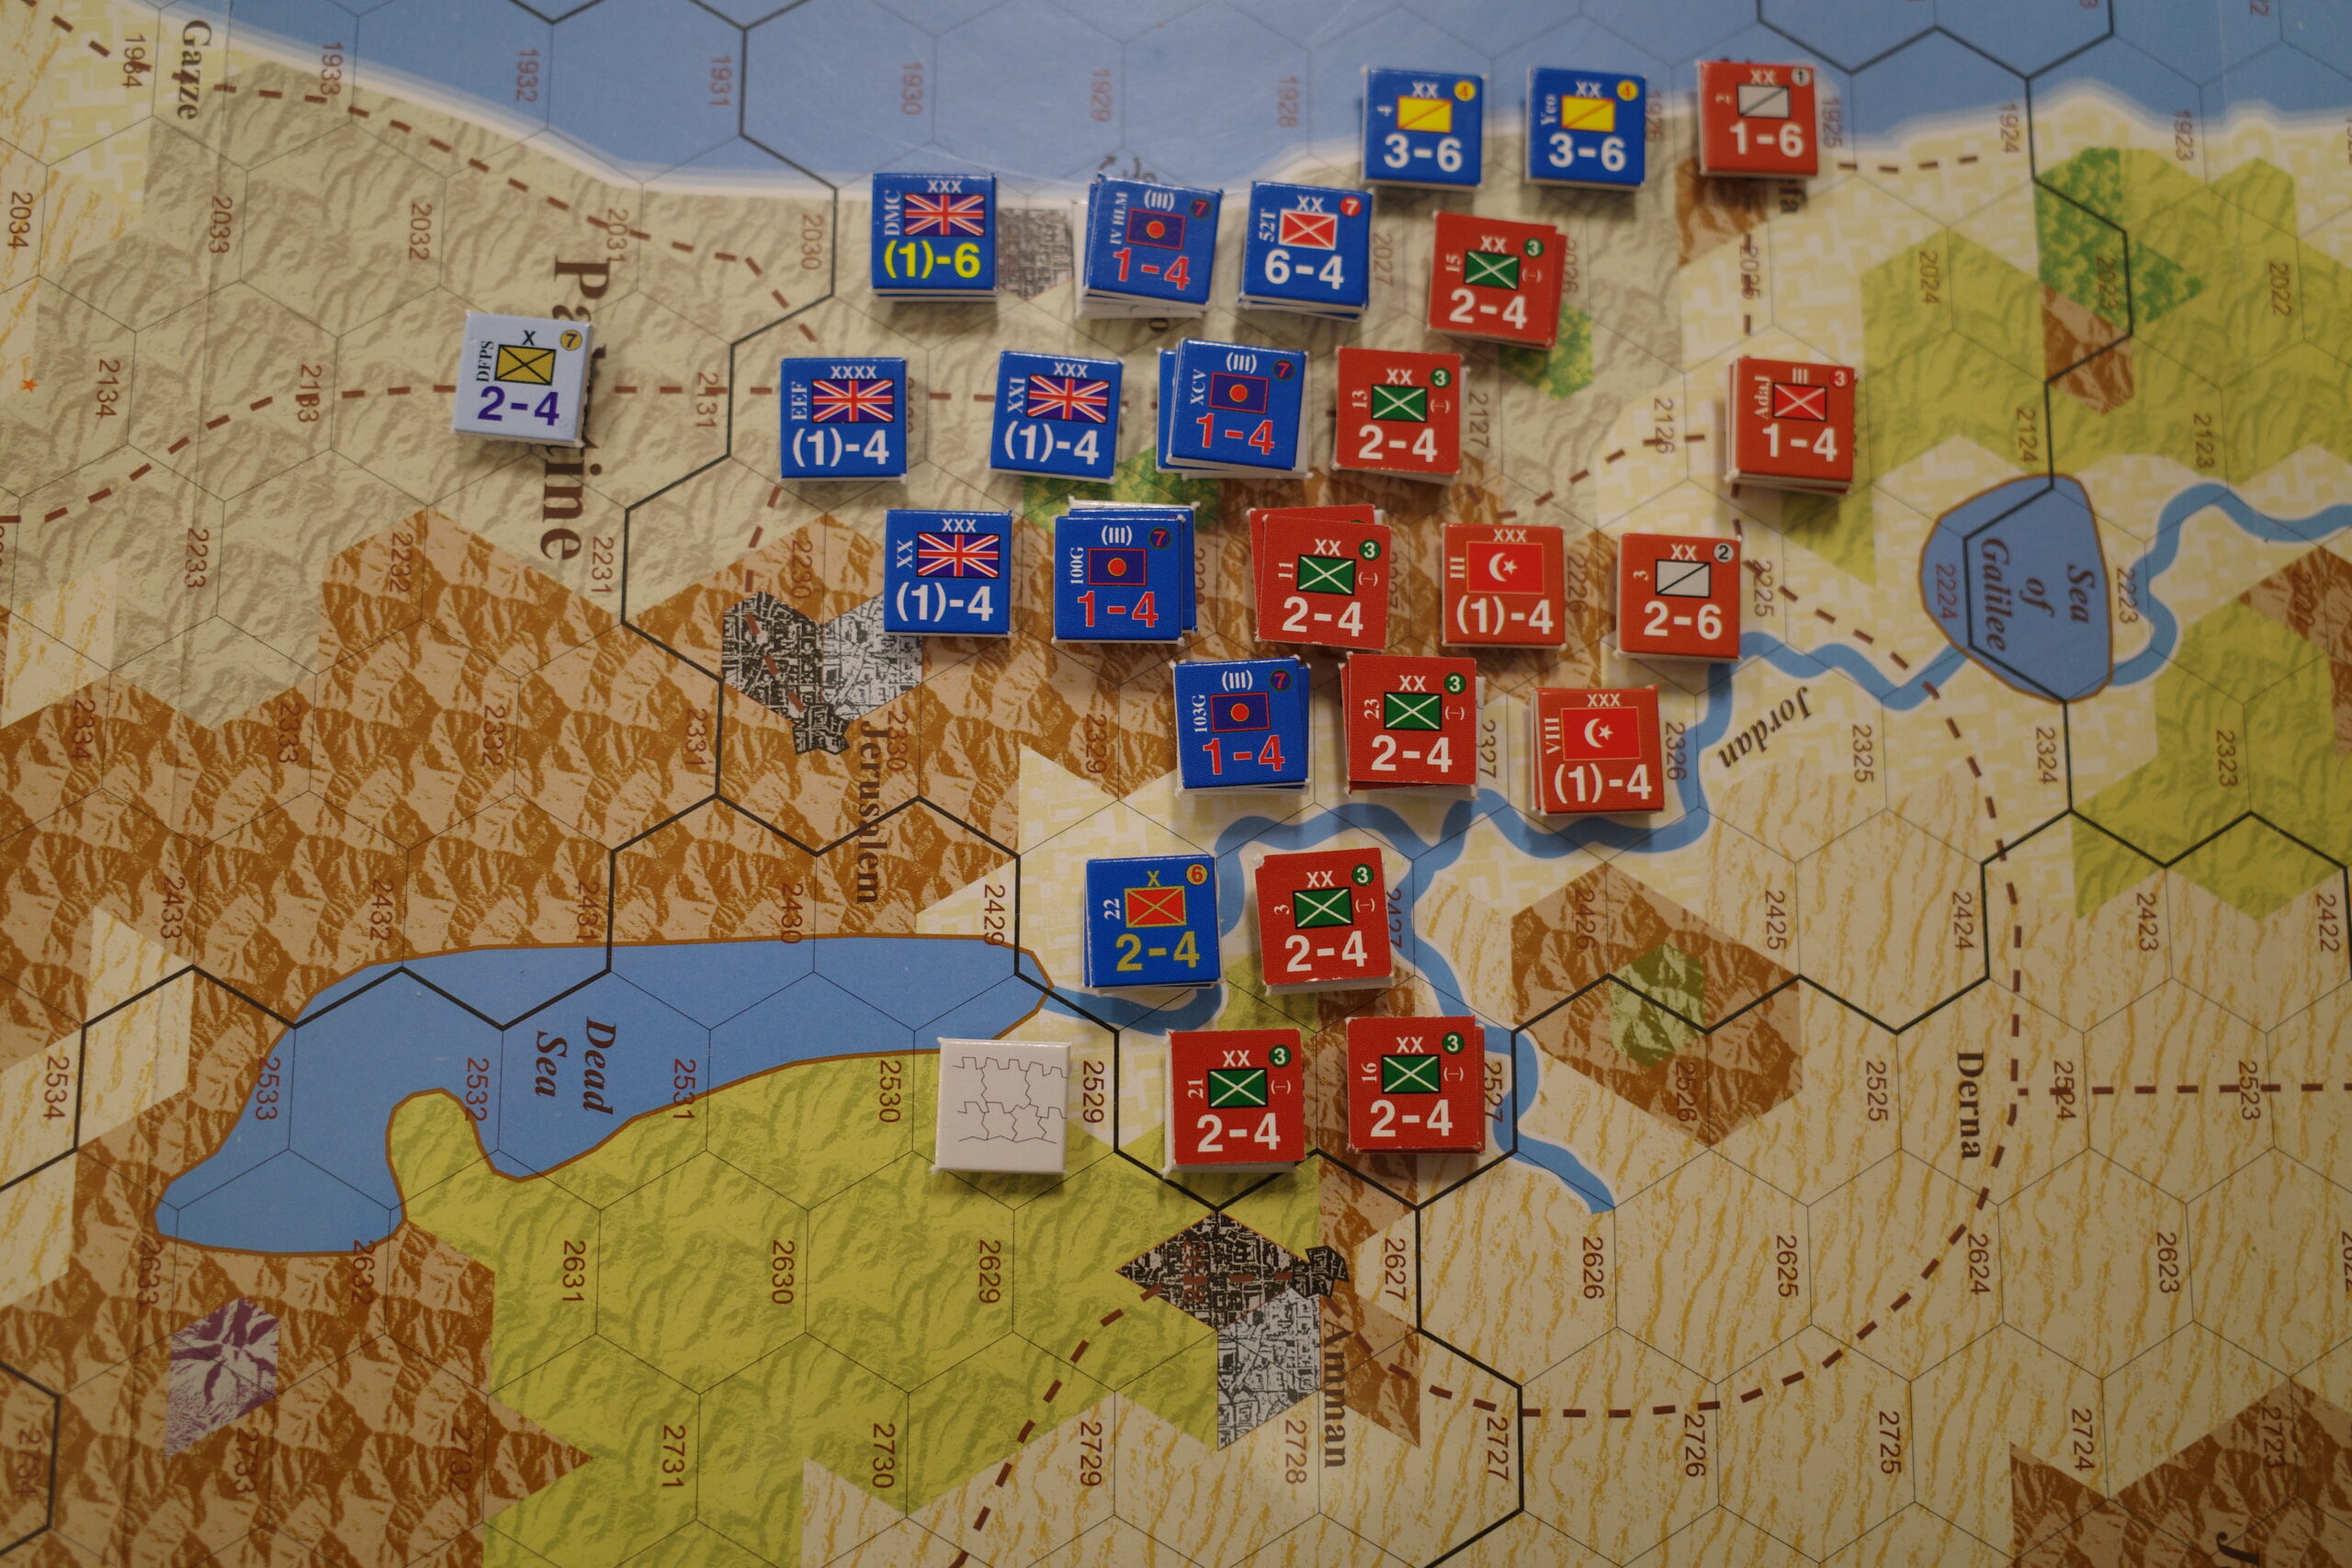
Set up another Gaza scenario. This one covers Allenby’s 1918 campaign.
Yes, more set-piece battle action, but with the enhanced possibility of a decisive Allied breakthrough.
Why? A special rule for one turn. The Allies can ignore the effect of enemy entrenchments, and add a +2 to their D6 roll if supported by two factors of artillery, to an attack using at least 20 factors. Also, any cavalry not involved in the attack can “exploit” (after combat is completed) up to their full movement allowance and launch an attack (no special modifiers) of their own.
Later That Same Day
Reread the scenario rules. The special rules cited above hold for any attack (with at least 20 factors) during one turn, just not “an” attack.
How typical. An error of omission. I will avoid descending into a public display of self-castigation.
So, here’s the result of my misguided efforts.
The breakthrough took place along the coast, with two cavalry units exploiting. An opportunity, but probably not as good as one generated by two attacks with these favorable modifiers.
Also, an additional cavalry unit is hiding under a headquarters situated along the coast. Jeez! Sloppy staff work!
I may play this one out for another turn or two, but will set it up again to take full advantage scenario rules to see if I can completely “unhinge” the Ottoman defenses.
Finished up my first attempt at Valour & Fortitude (V&F). Enjoyable.
Of course, after all of the pre-game preparation, I was inconsistent (at best) in using the commander characteristics and army orders I had created, and forgot to draw Fate Cards at the beginning of each and every turn, or playing those I had drawn. Typical omissions once I get playing.
But why let all that get in the way of some fun?
The Fire and Action phases are straightforward, with a minimum of moving parts. Likewise for the Melee phase. In the Action Phase, a unit can move either in column, in line or double time (always allowed one facing change (Reform)); Rally by rolling to remove Tenacity “hits” (more on this later), or Assault.
For me, the tricky part of play was when to implement the Valour and Fortitude morale tests. However, a quick and handwritten “if this, then that” cheat sheet solved the problem.
What really intrigued me was the lack of chrome involved in failed tests. Units simply are taken off the table, with neighbors affected only when their brigade fails a Fortitude check. I’m used to a whole series of movement and impact gyrations for neighboring units when a rout occurs. This is a welcome and effective change.
Also, the (almost) universal use of a six-sided die roll of “4” as the minimum roll to score a hit on an opponent during fire and melee, as well as pass morale checks, greatly reduced chart checking.
Speaking of charts, I did put together a Terrain Effects Summary which I glued to the back of the cheat sheet included in the rules.
Along with my failure to consistently employ characteristics and cards, I also did a spotty job of documenting the entire affair. And the depictions of what I did capture are, as usual, less than stellar.
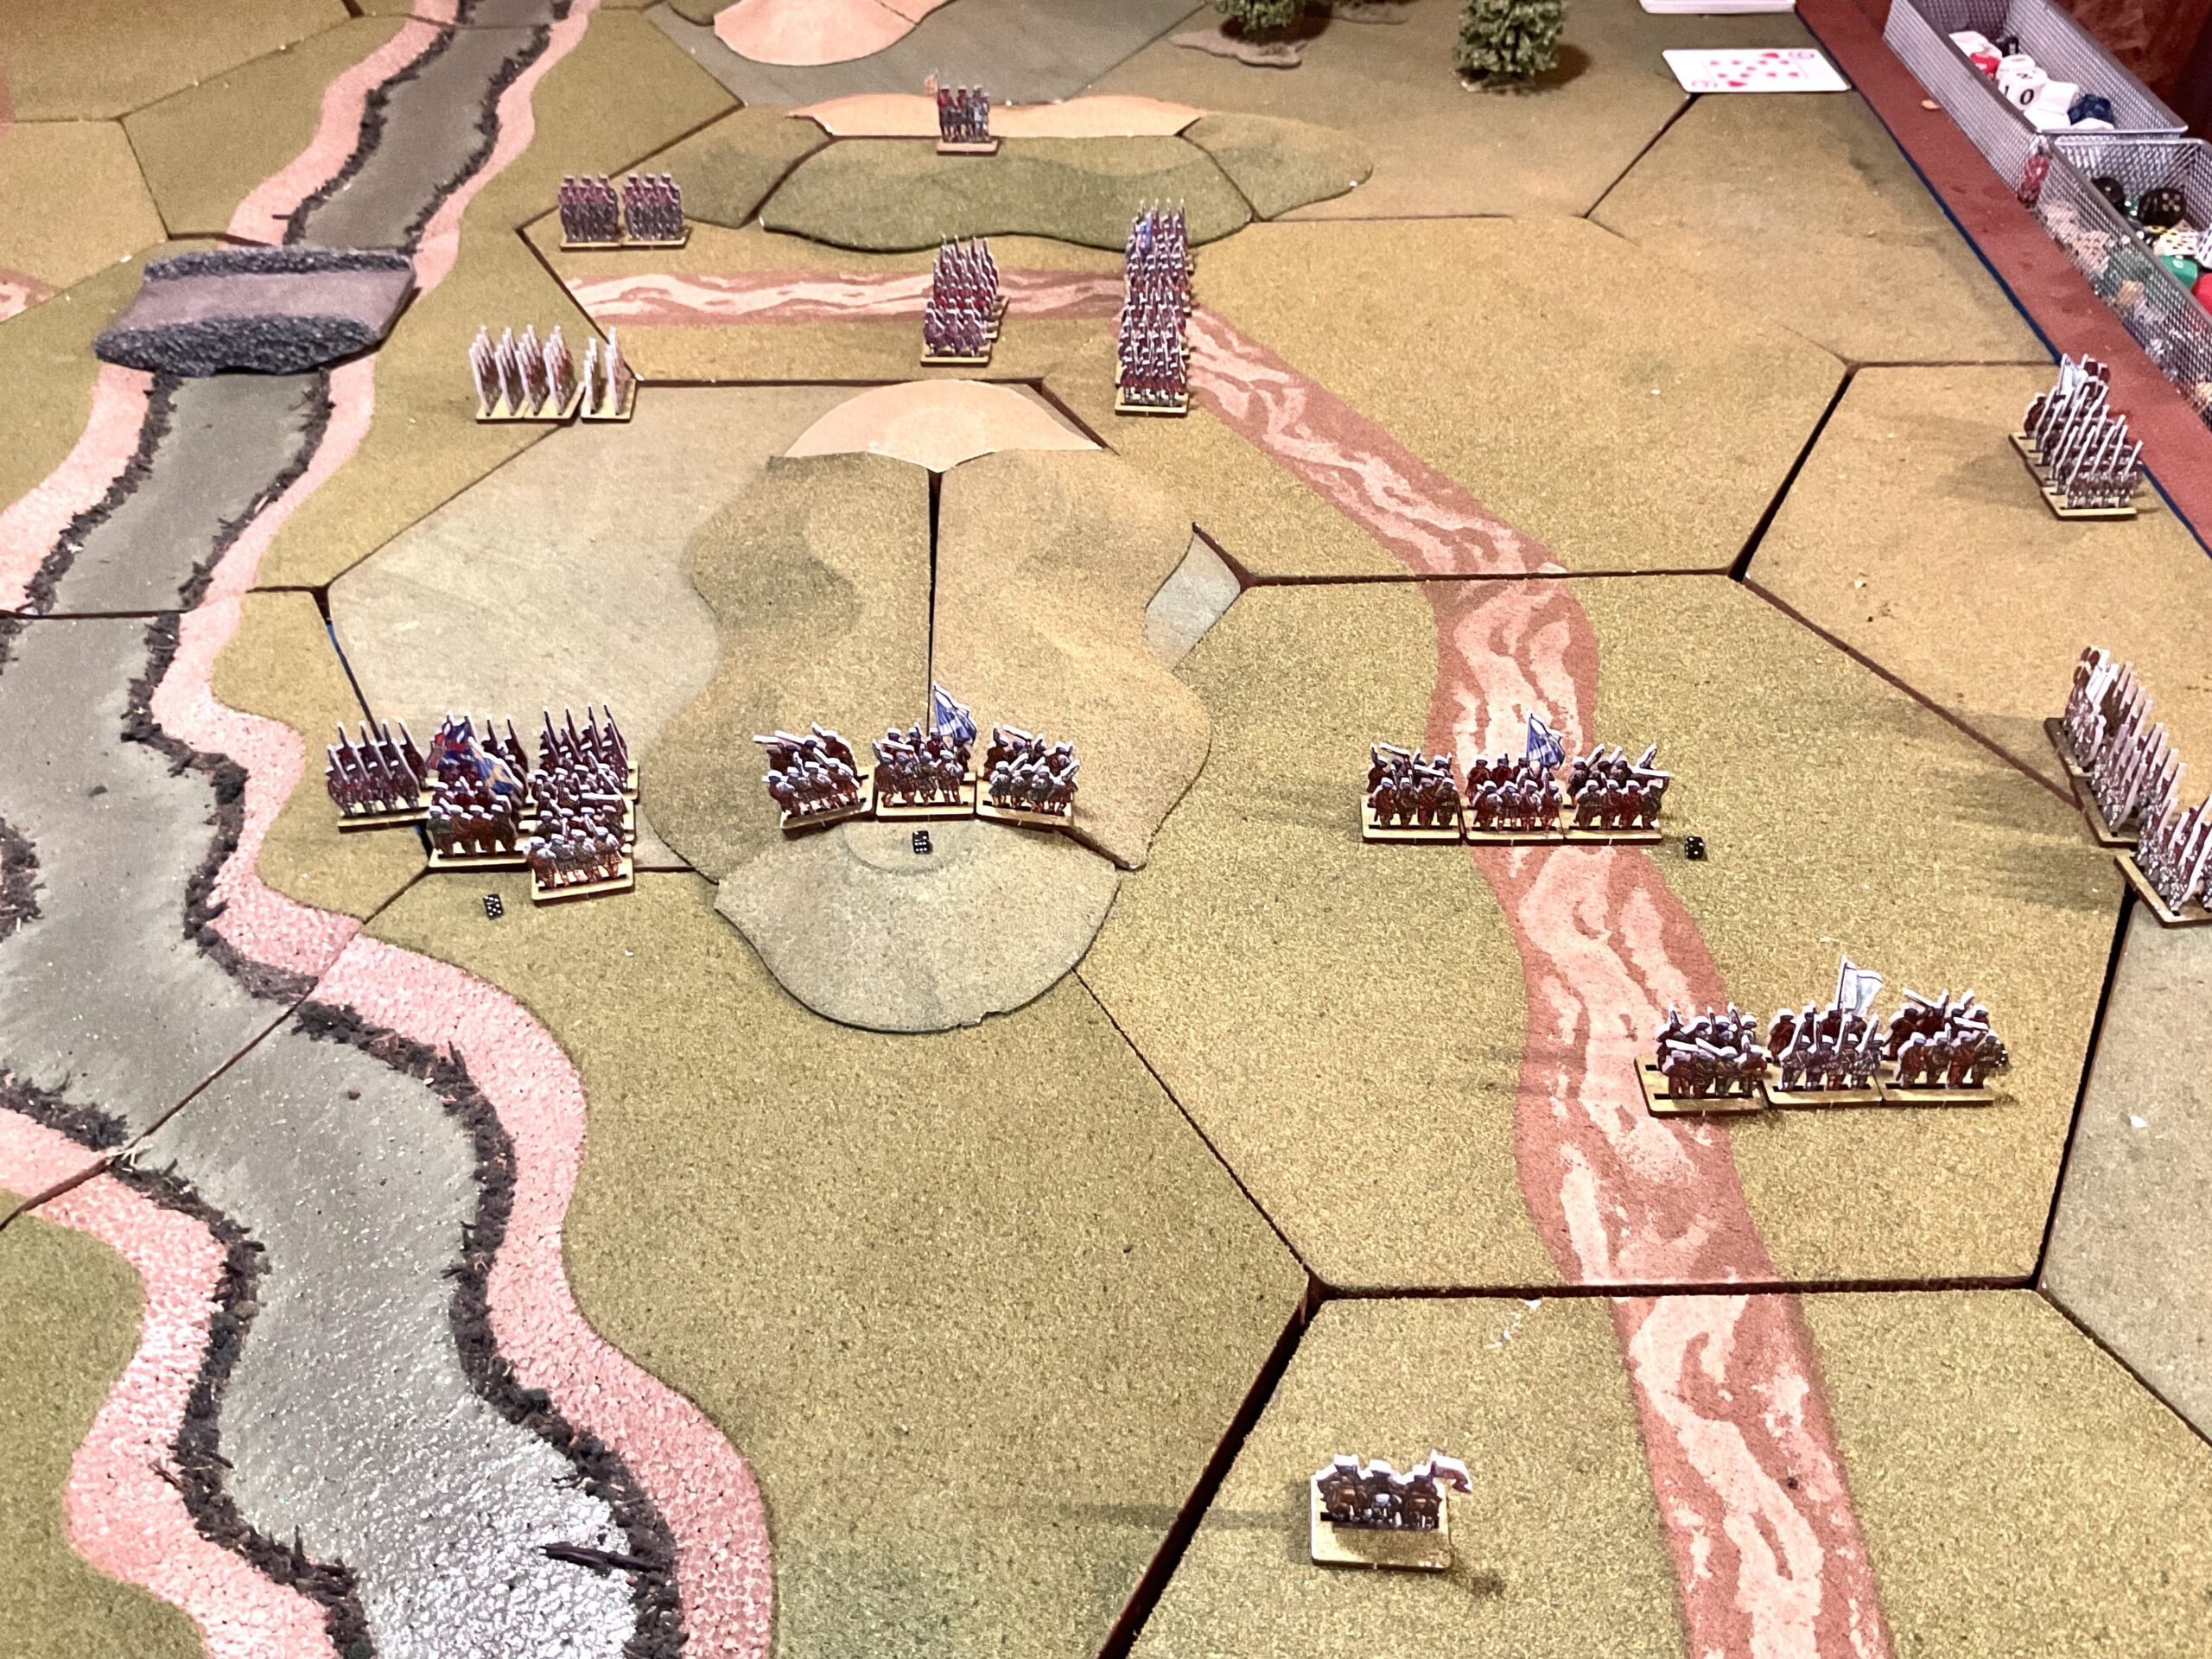
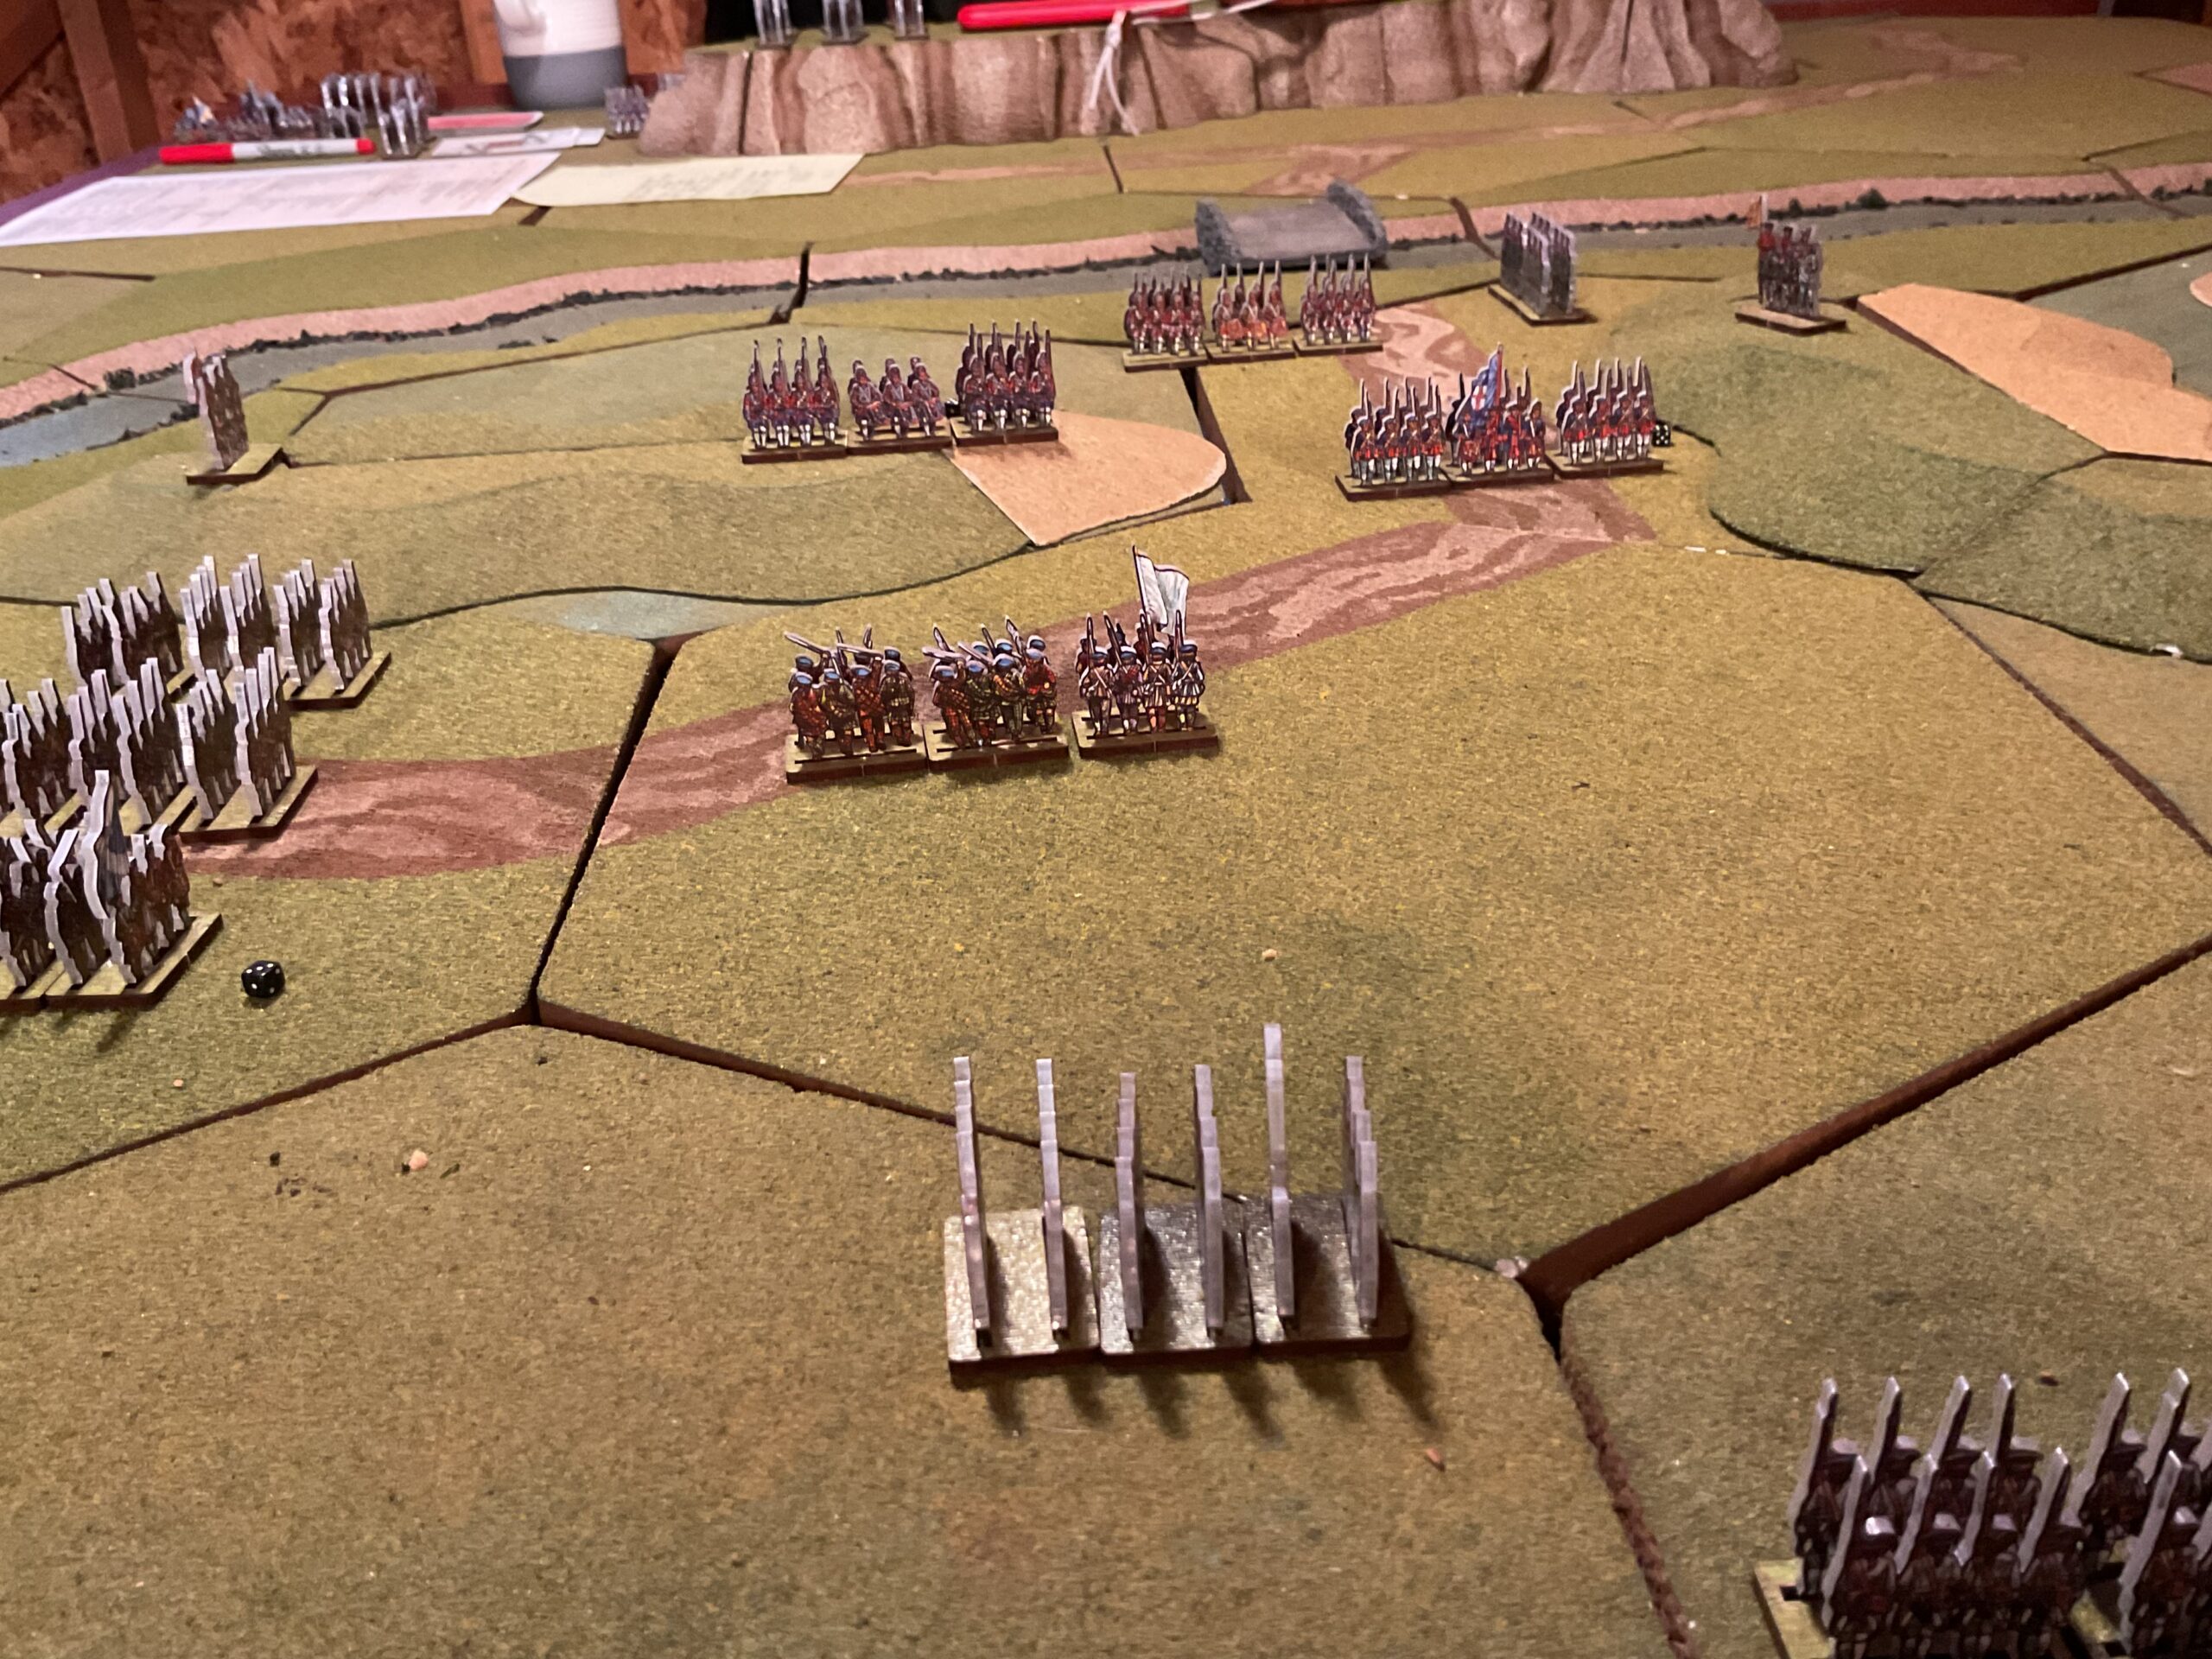
The British mission was to defend the river bridge. Their programmed plan was to position units on both intervening hills, with a reserve of grenadiers and cavalry across the river, but ready to support either the first hill’s brigade of Regulars, or second hill’s Militia defenders.
The Jacobite Highlanders assaulted the first British hill position, with a small brigade of French troops bypassing the hill, and moving to flank the second British hill position. Roughly 40 percent of the Jacobites were held in reserve (as dictated by the programmed scenario).
The Highlanders “went right at ’em”, using their high melee ratings to clear the British position. However, they suffered significant losses and were close to Shaken status.
Jacobites Capture First Hill
A quick (well , maybe not so quick) rules note…..each unit has a Fire, Melee and Tenacity ratings. Tenacity reflects their ability to take casualties. When a unit’s casualties equals their Tenacity rating, they become Shaken. Any casualty taken by a Shaken unit exceeding their Tenacity rating prompts a Valour Test (one for each casualty above their rating), with an immediate D6 roll of 4+ required to pass each required test. If failed, the unit routs and simply goes away.
A unit rout triggers a brigade Fortitude Test at the end of the current turn phase. Again, a D6 roll of 4+ is required to pass. If failed, any Shaken units in the brigade rout, and any Brigade unit within 6 inches of an enemy takes one loss. The brigade also suffers a defeat (defeats are used to determine winners/losers, with terrain objectives designated at the beginning of the game also considered defeats if lost).
One additional melee note. A unit that wins a melee (suffers fewer losses than the opponent) does not have to take a Valour Test. On hills, the up-hill side wins ties.
And…yet another note. Reducing Tenacity hits is an iffy business. A D6 roll of “6” is required to remove one. Hard to do – at least in this battle.
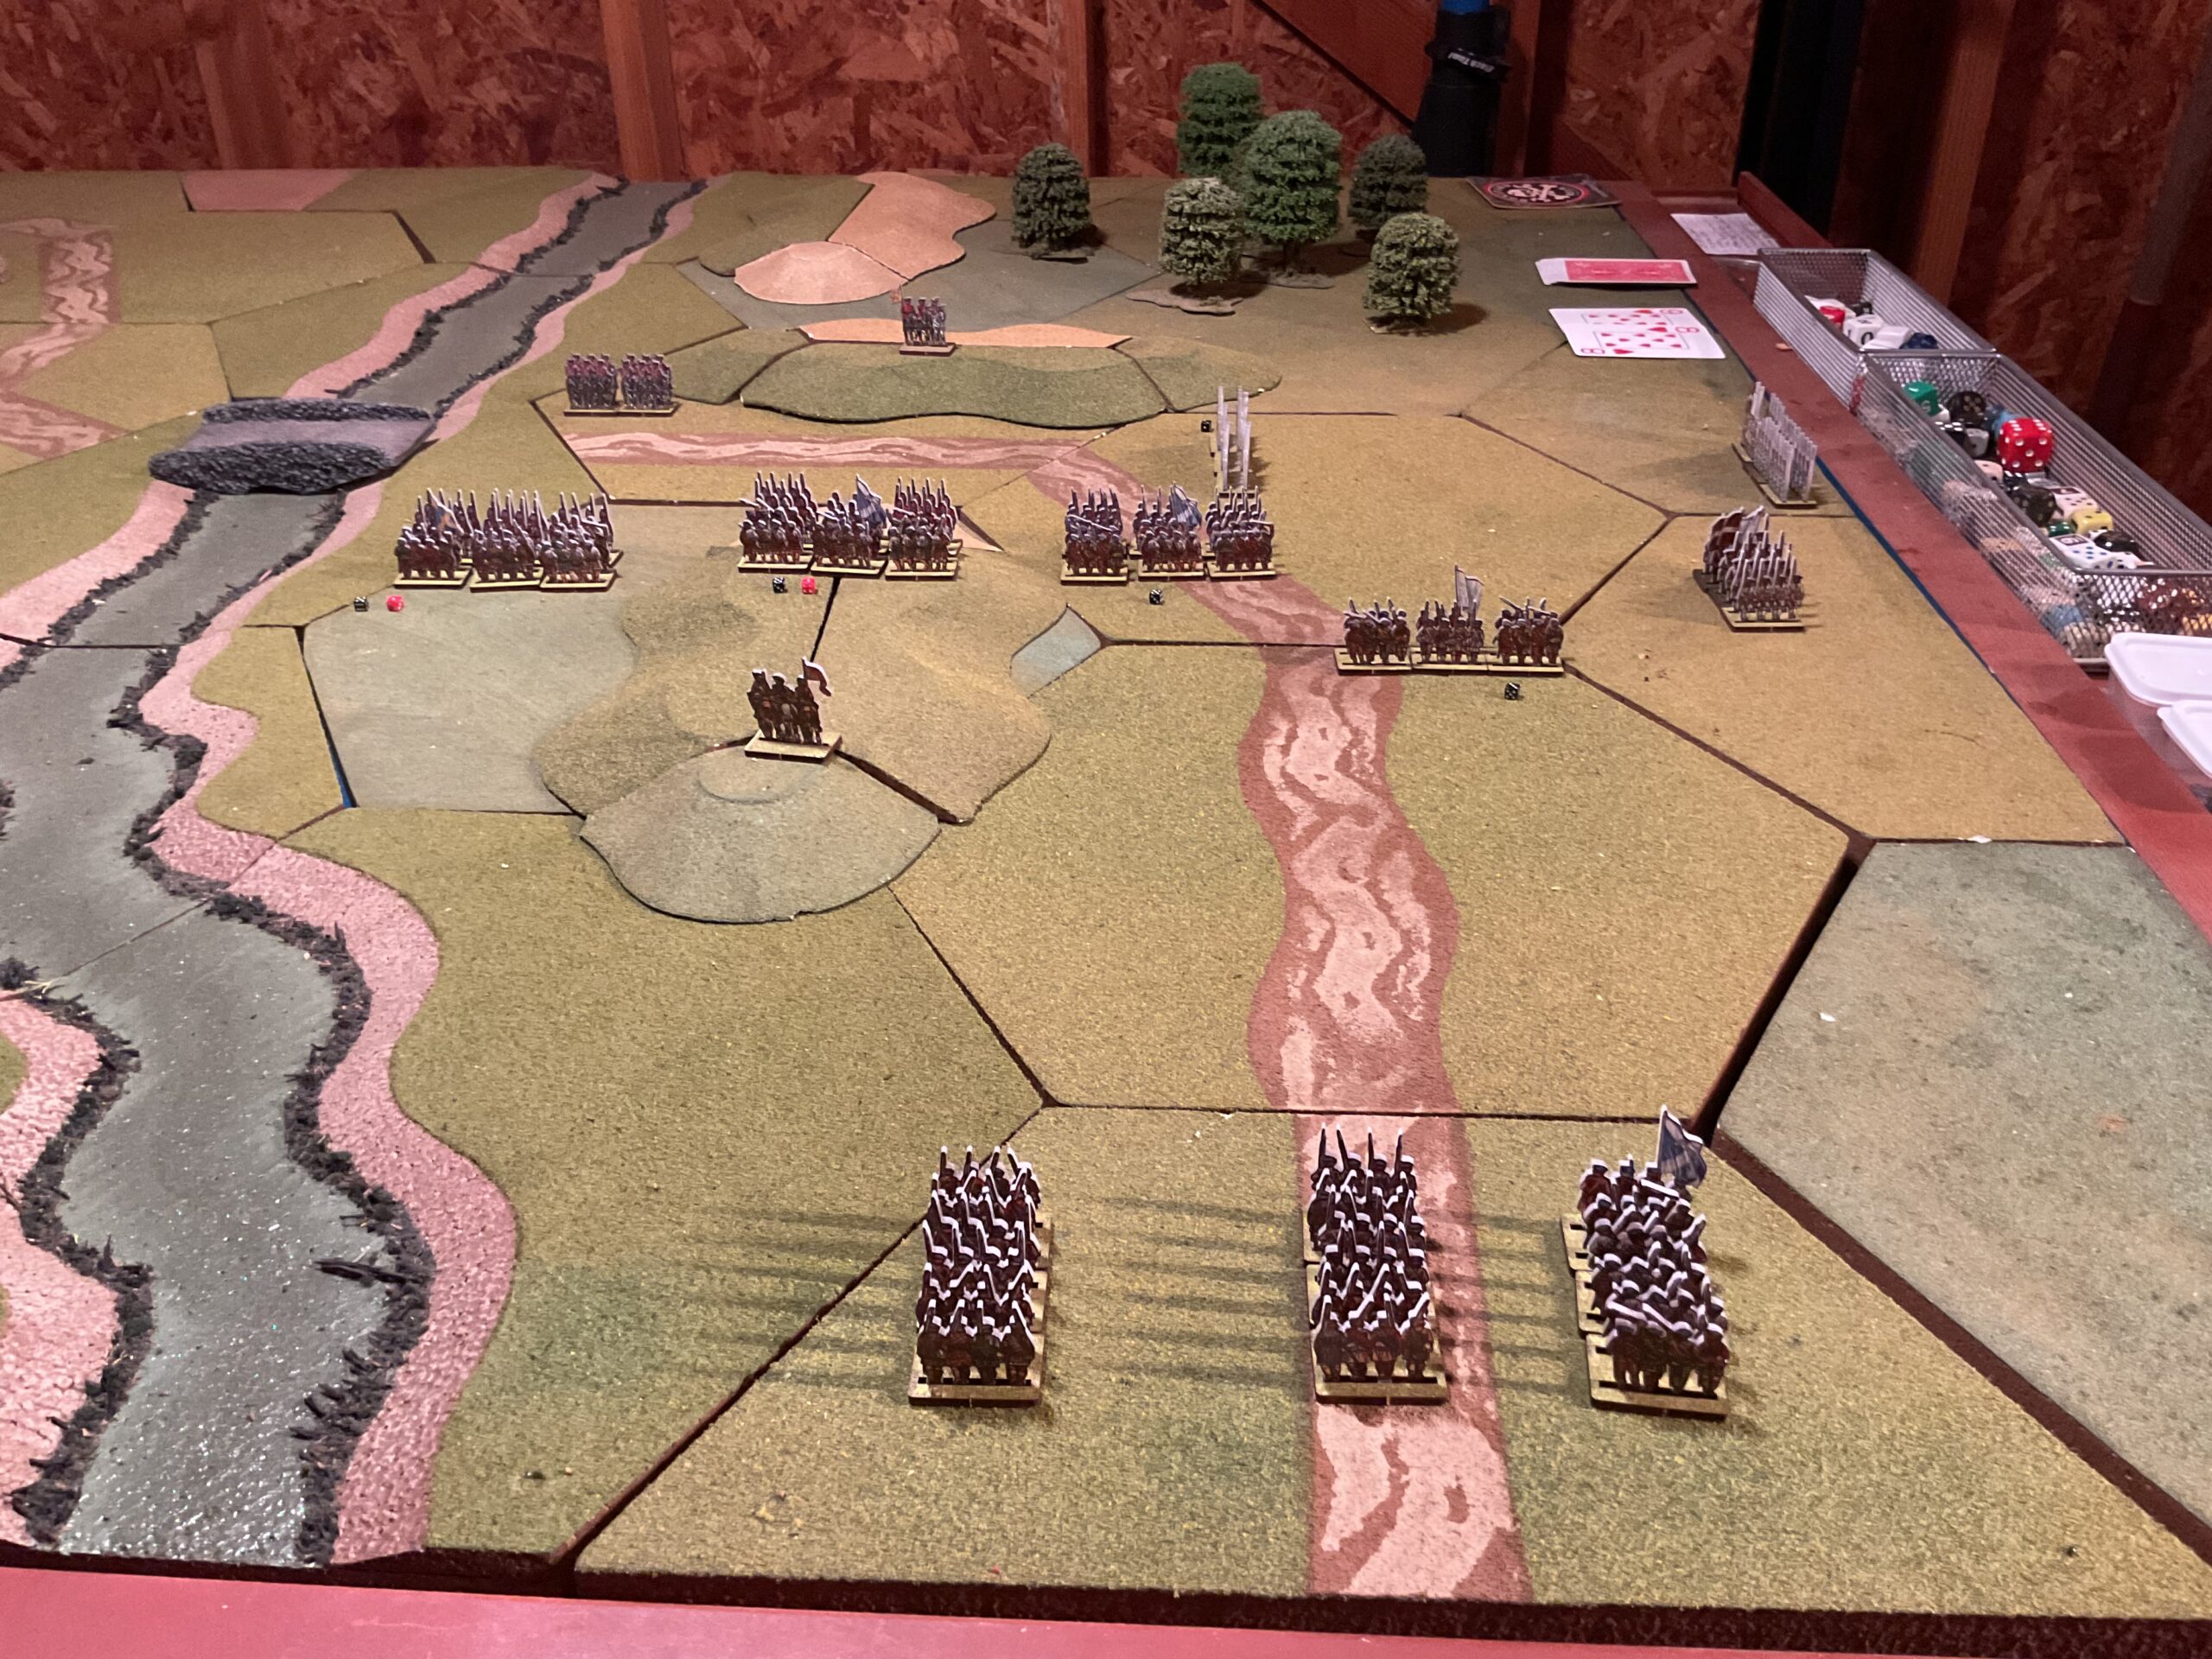
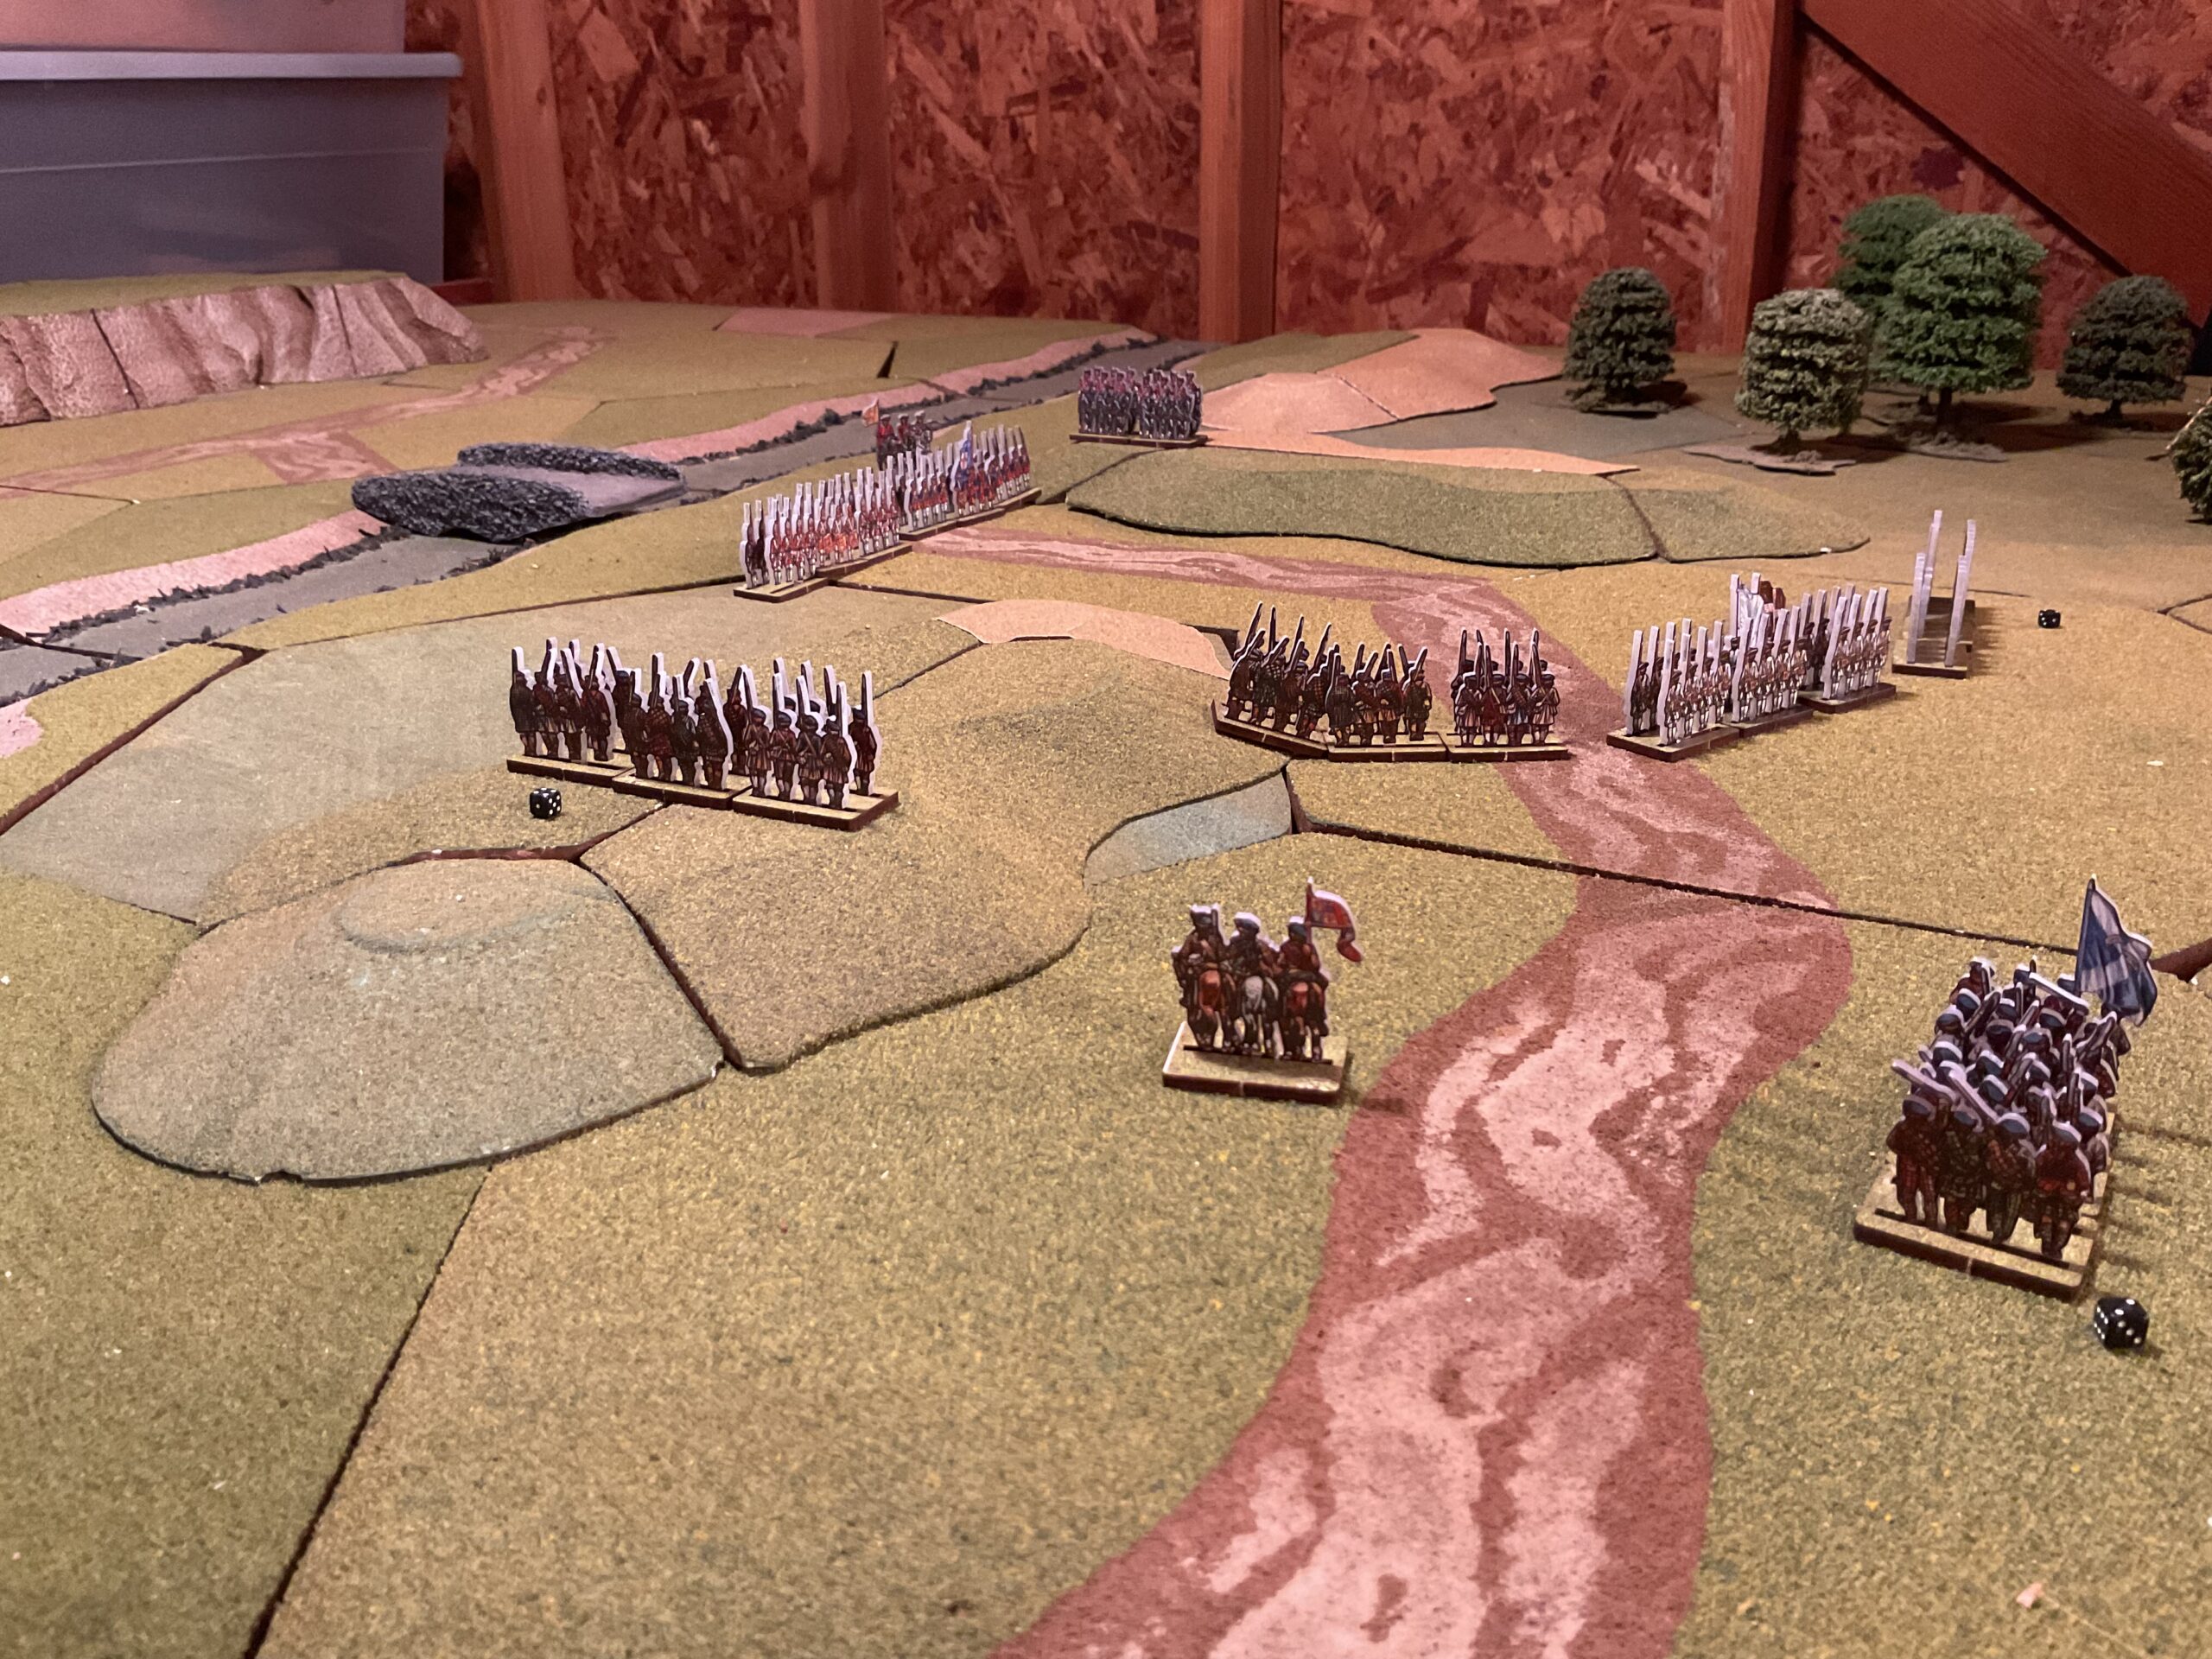
The British response was to deploy the Grenadier brigade to stop the Highlanders and to order the Militia off their hill position to stop the flanking French.
Highlanders Assault British Grenadiers As Jacobite Reserves March Forward
The Grenadiers did stop the Highlanders, but were overwhelmed by the Jacobite reserves. The Militia succumbed to French musketry.
Surviving Grenadiers And Militia Face Jacobite Reserves (L) and French (R)
At this point, the loss of the bridge position was inevitable. I would consider it a marginal Jacobite victory, as their losses were significant and it took a long time to take the bridge.
I’m going to play this one again, but put together definite Defeat parameters, which will include not only geographical positions, but turns necessary to take the bridge.